Crystal Hammer
2026 MC1 Mouse keys🖱️
C++, Modding, MCU, Mouse, OLED 128x32
⏱️Overview
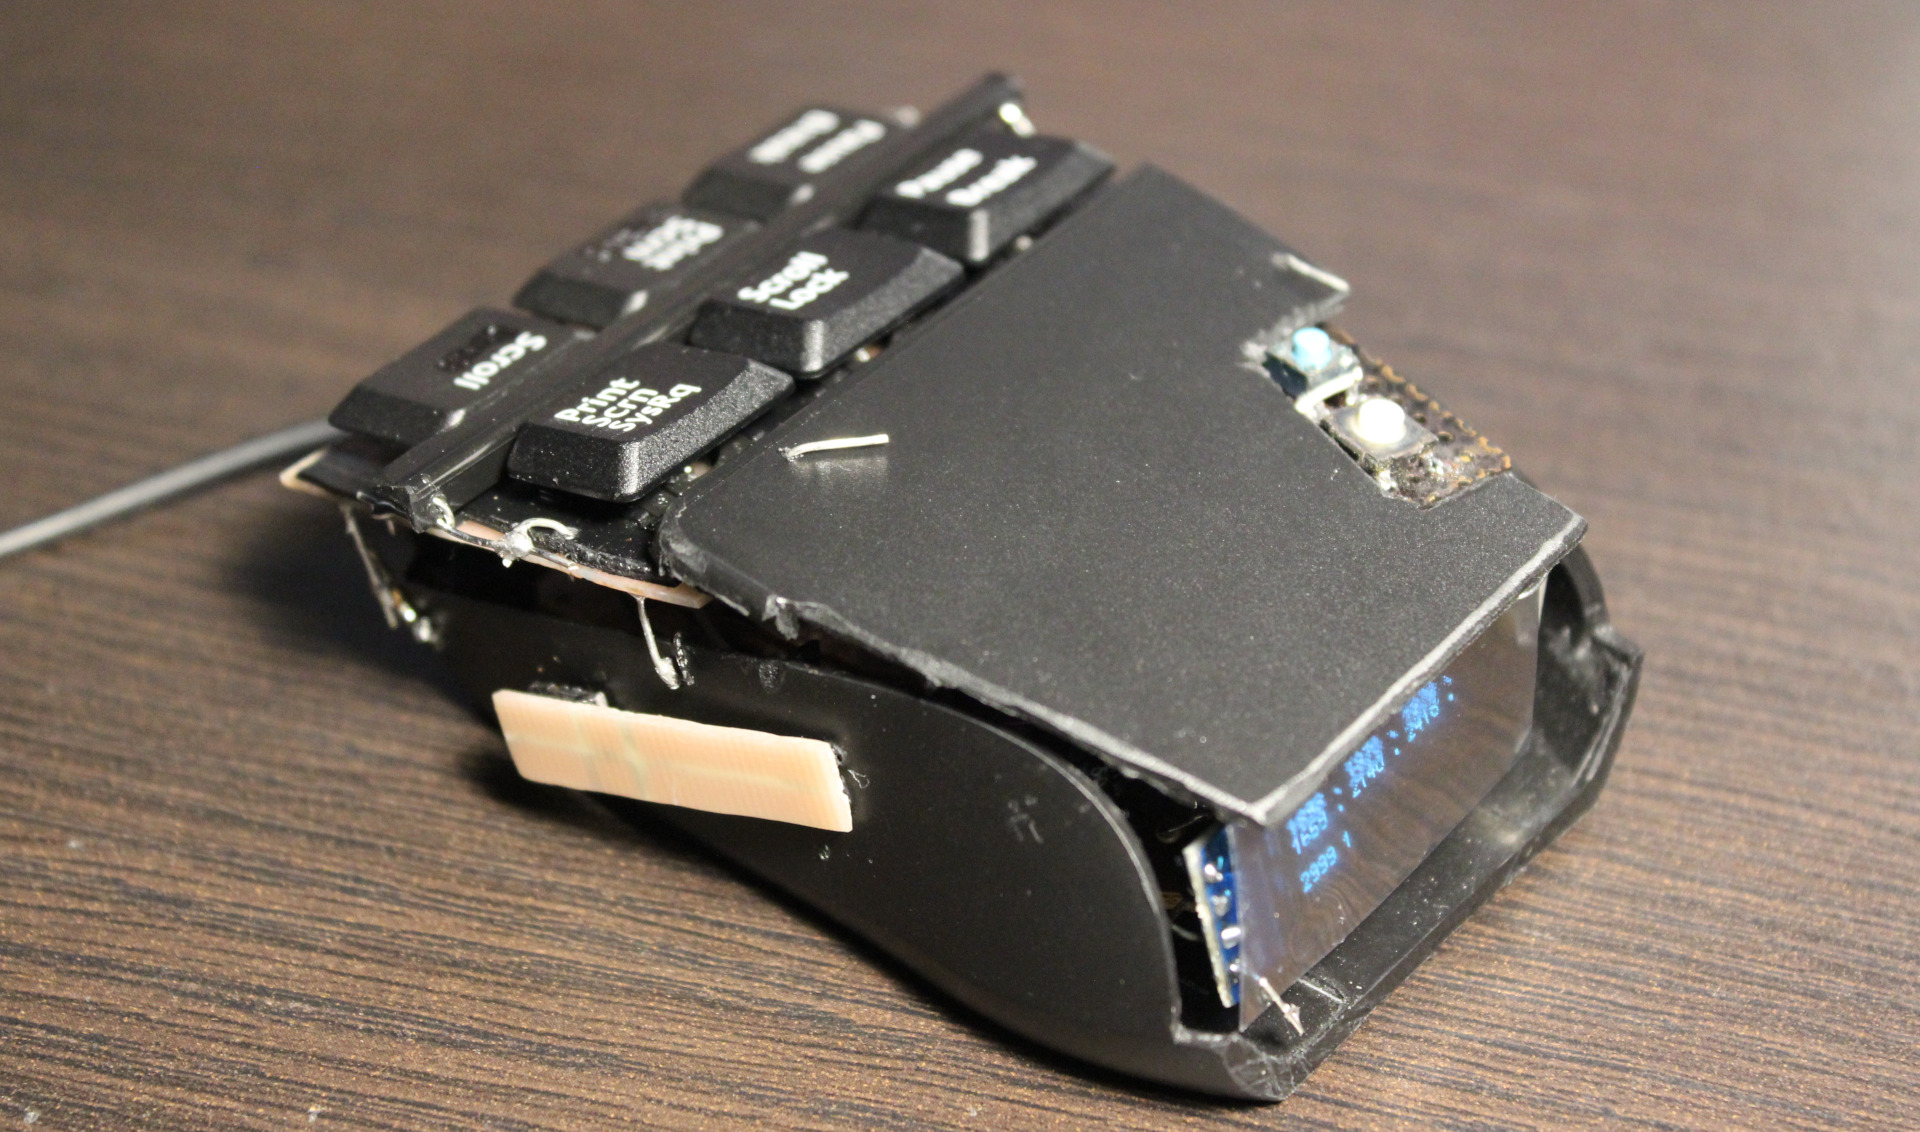
This project is a PC mouse modification with very light press keys, using mini magnets.
📝Motivation
I have been using my keyboards with modified keys since 2004. They have been nice and a joy to use, less tiring too, since I cut off the rubber domes to reduce force. Still there are limits from the foil beneath.
They are better also from medical reasons, less force means: less fatigue, less likely injuries, etc.
It’d be good if the freaking old industry didn’t sell old crap for 50 years. As with keyboards now just with added RGB lights or even big display under, or small for for each key, etc. To maximize cost and profits and cash on the stupidity and looks instead of functionality, ergonomics, productivity. Yeah whatever, that’s why I do it myself (DIY).
Since years I’ve been using my latest keyboard (has a display and my own firmware) with Layer 2 having keys for mouse buttons, mouse move and mouse wheel with acceleration. It is much better to use (than those real from a mouse) because these are now light press keys (about 20 gram).
It’s been way too many years (over 30) of me using the default PC mouse with those ancient old microswitches. It’s just retarded for me nowadays. They usually need like 75 gram force (gf or cN) to press, have that old click sound. And the button under mouse wheel needs even more, like 100 gram.
At least that’s what my previous (20 year old) mouse Logitech G5 has: OMRON D2FC-F-7N (10M) which says 0.74N (N to gram convert), cool websites with that switch here or here, video here, images.
▶️Video
Video here. Shows inside, weights testing, and at end blowing air to press.
🔍Details
Here I write (a lot) more detail of my approach for keys, with comments.
Keys
Keys are from keyboard (scissor switches), those narrow (like F12).
But now for each key I use a Hall sensor (CS49E, SMD) and 2 tiny magnets.
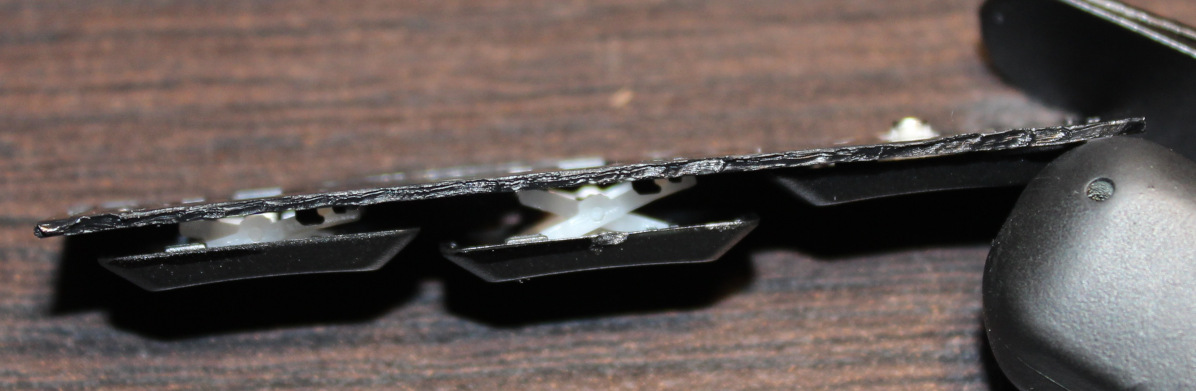
Thus so called mag-lev (levitation), since these magnets push each other out.
There is no spring, no rubber just small magnetic force, making it much lighter and IMO say more reliable.
I saw earlier this page with video of another such way. And also there are a few keyboards already produced with such design. It’s just that they still have long travel and way too high press force, some still non linear press too. Obviously a nope for me.
Result
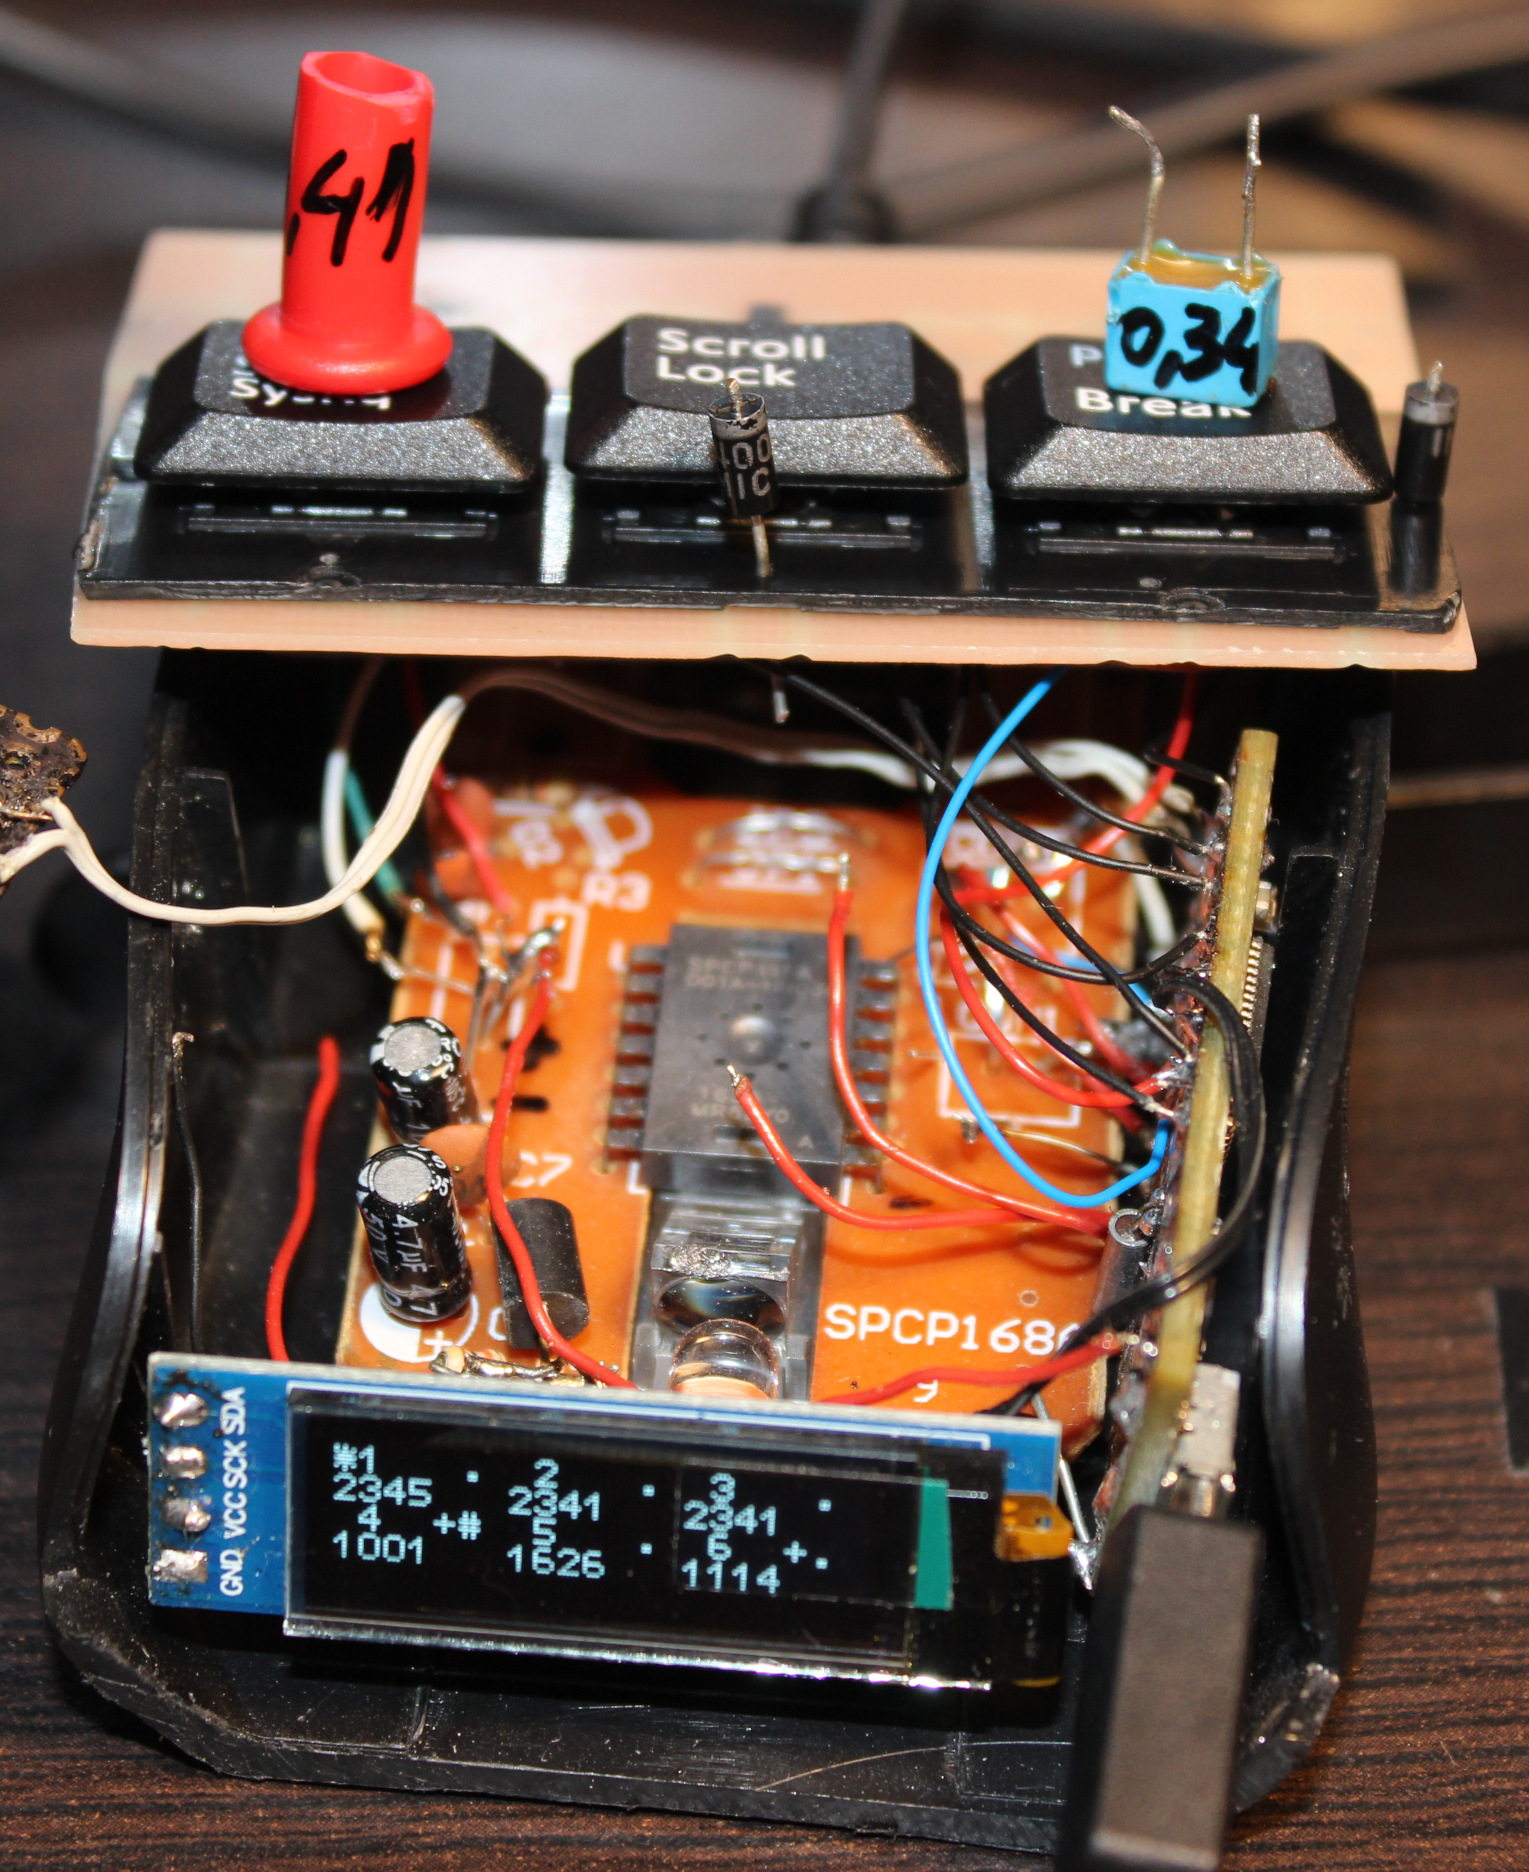
The resulting press force is way lower. I managed to get it even to 0.34 gram. It’s incredibly low, you can just put a tiny M3 screw on key to press. Or even blowing air to press works🌬️.
I set it later to around 0.7 or 1 gram force.
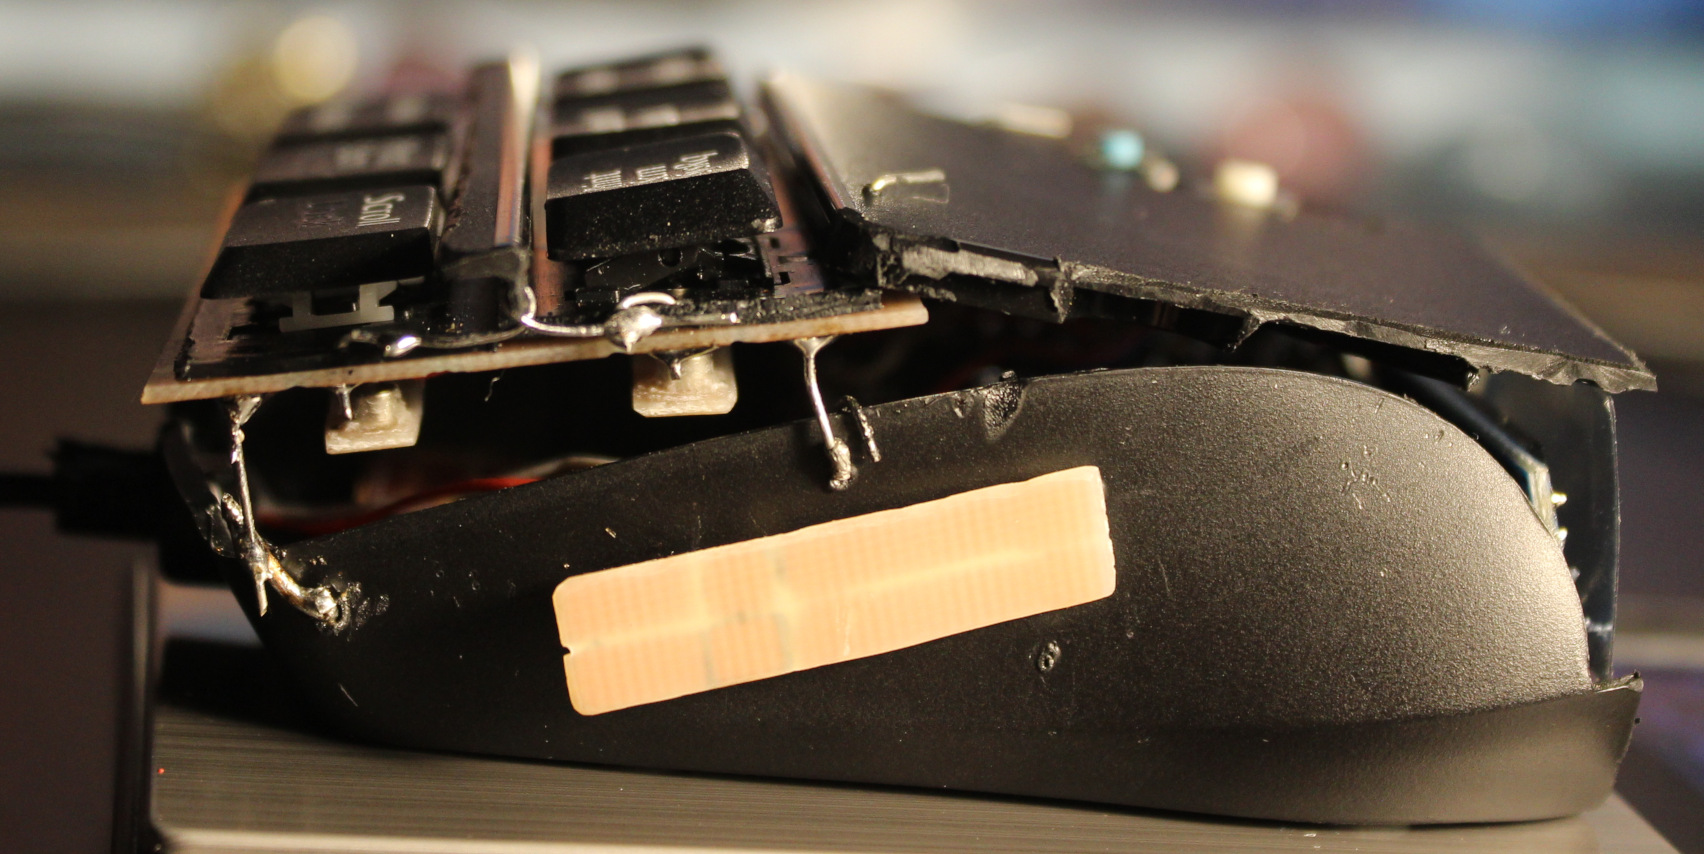
Of course this creates another problem, that you can’t rest your fingers on keys now. That’s why I put this plastic bar between keys for fingers to rest.
Silicone cylinder🛢️
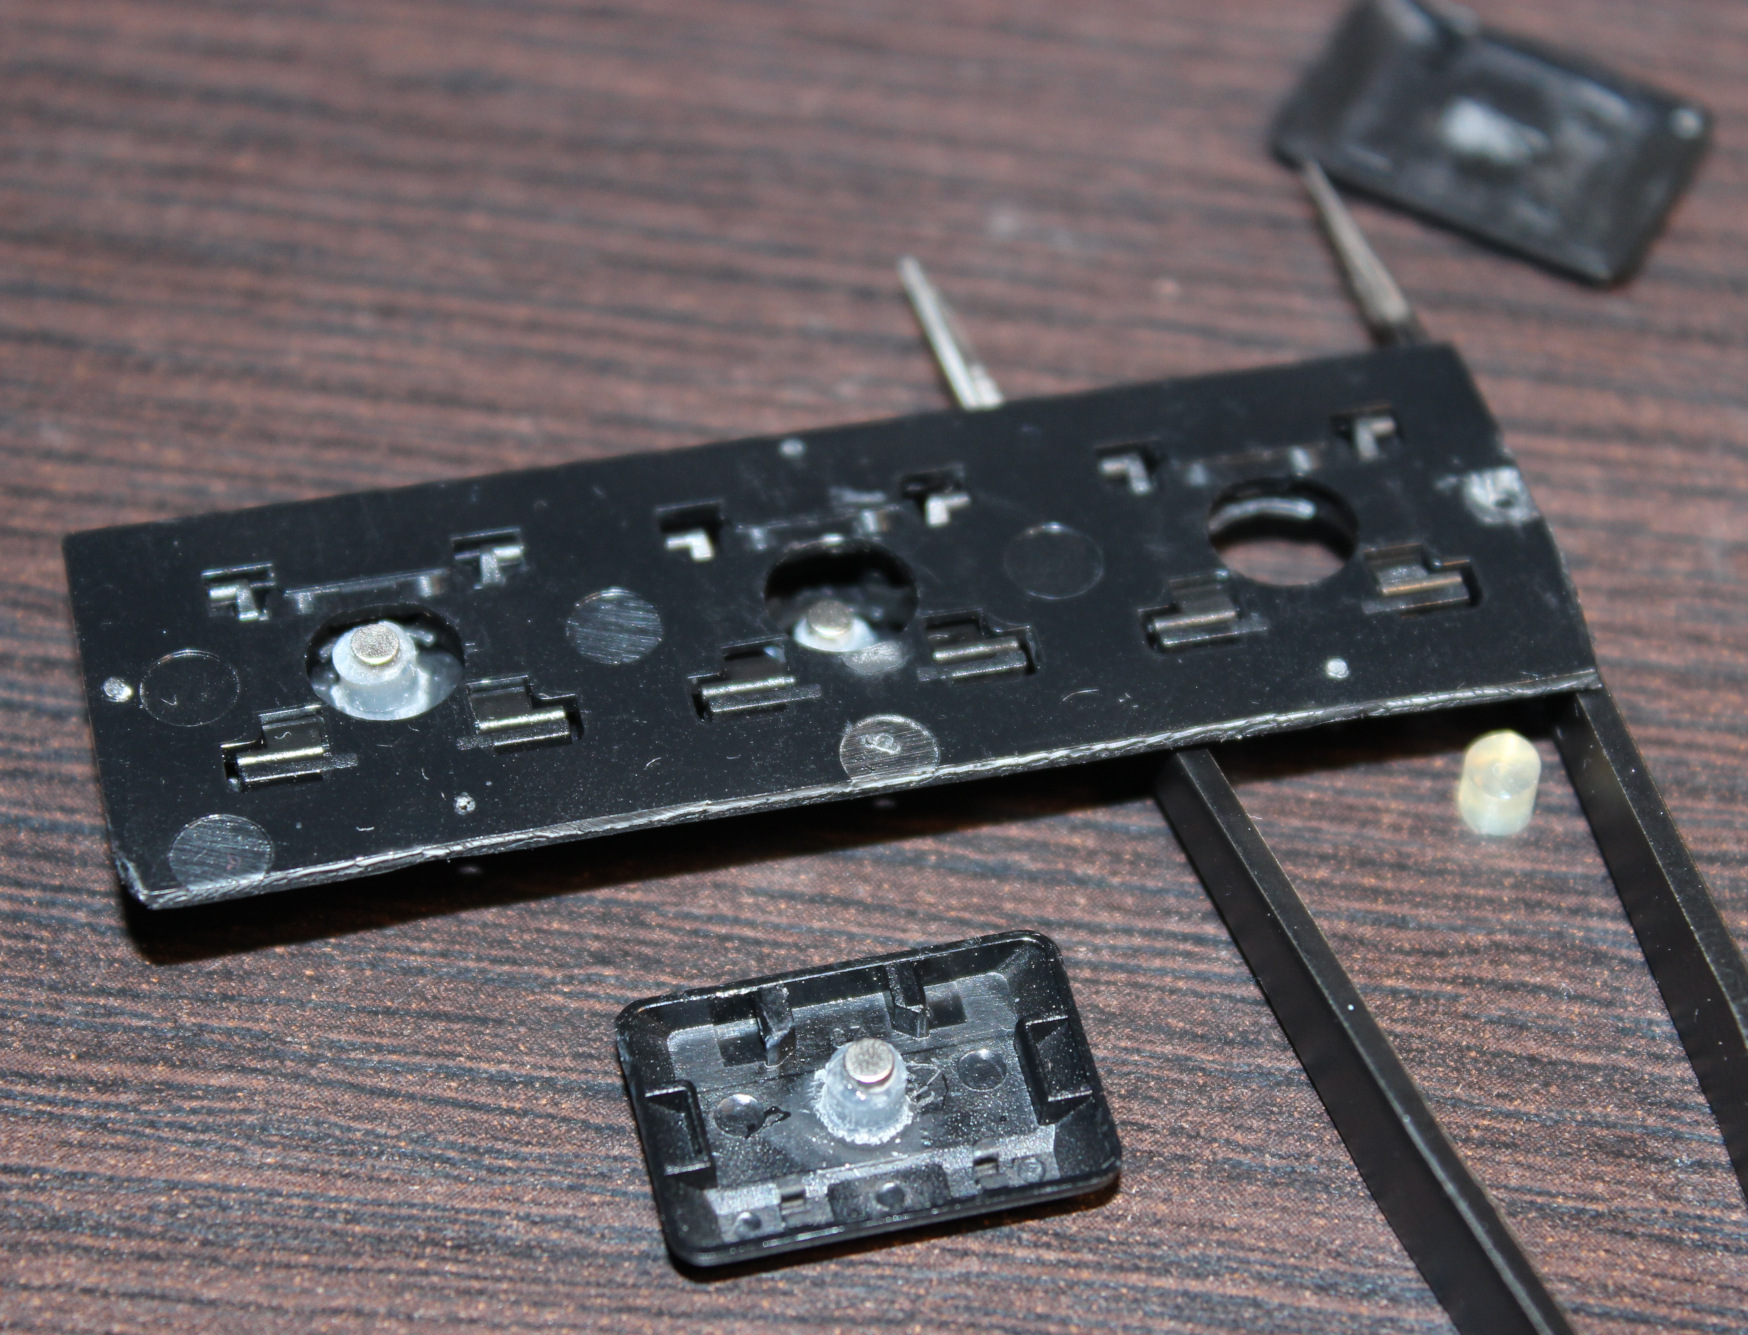
The top of key has beneath a (super) glued silicone pad (3mm diameter cylinder (I bought silicone rope and cut it), *height about 2.5 to 3.1 mm).
Then on top of it glued the first mini magnet 2×1 mm (diameter x height). I think the default N42 neodymium🧲. This magnet when pressed touches the CS49E SMD Hall sensor which is on PCB.
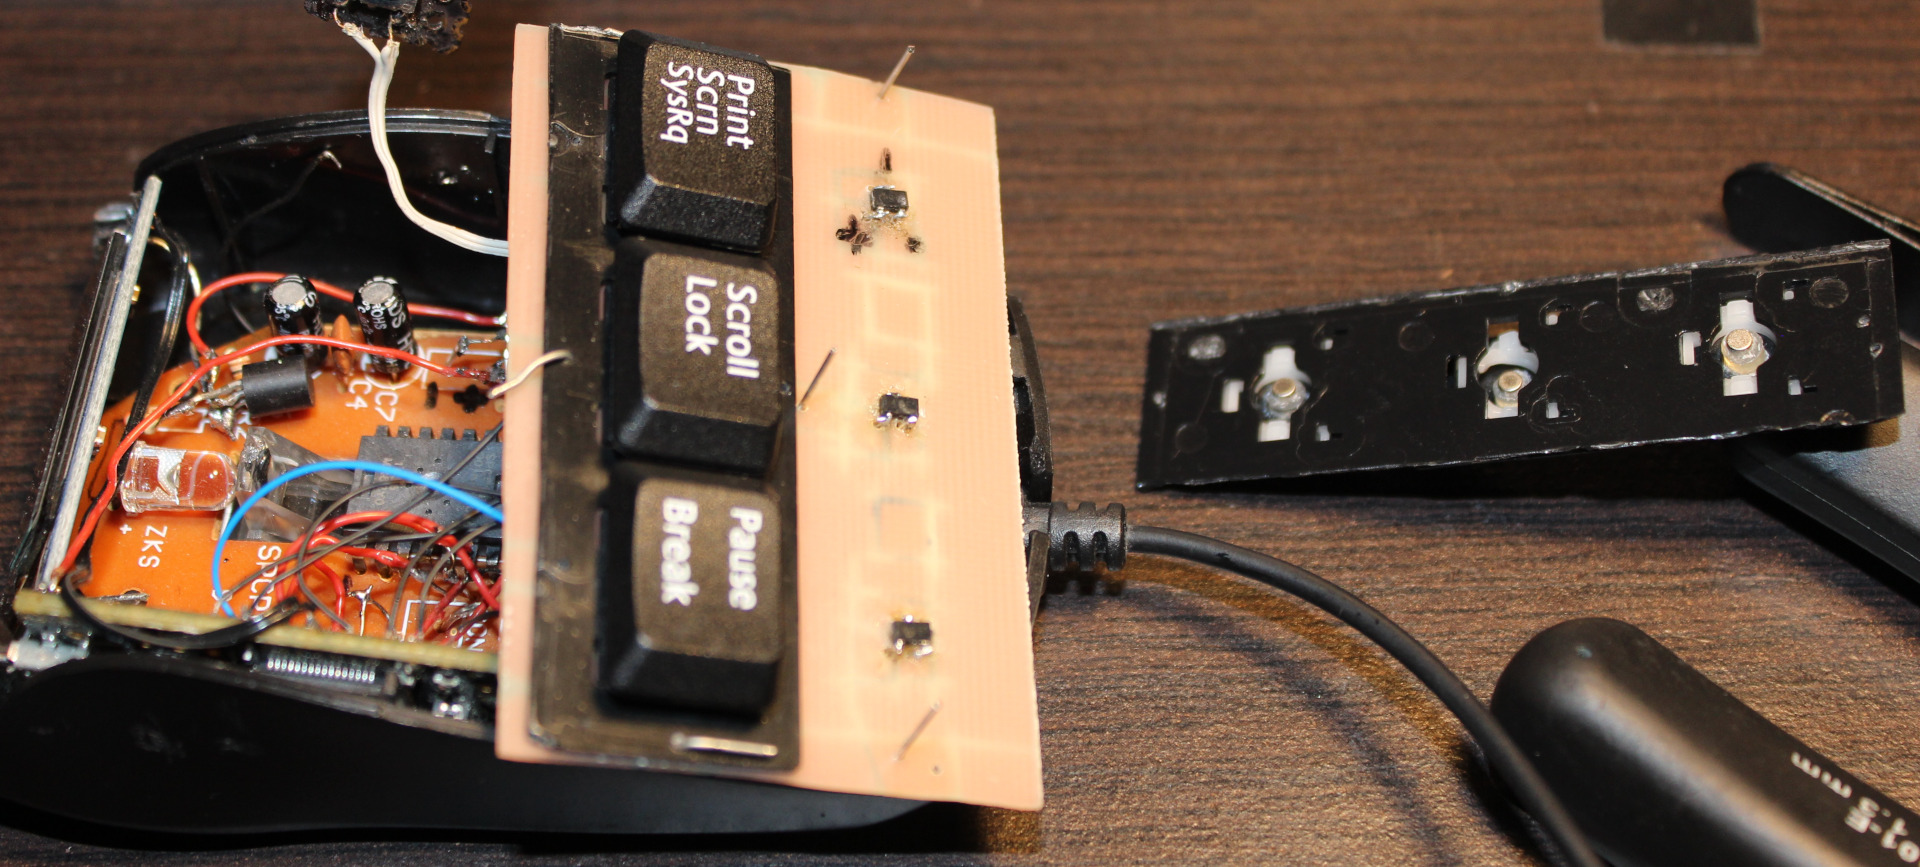
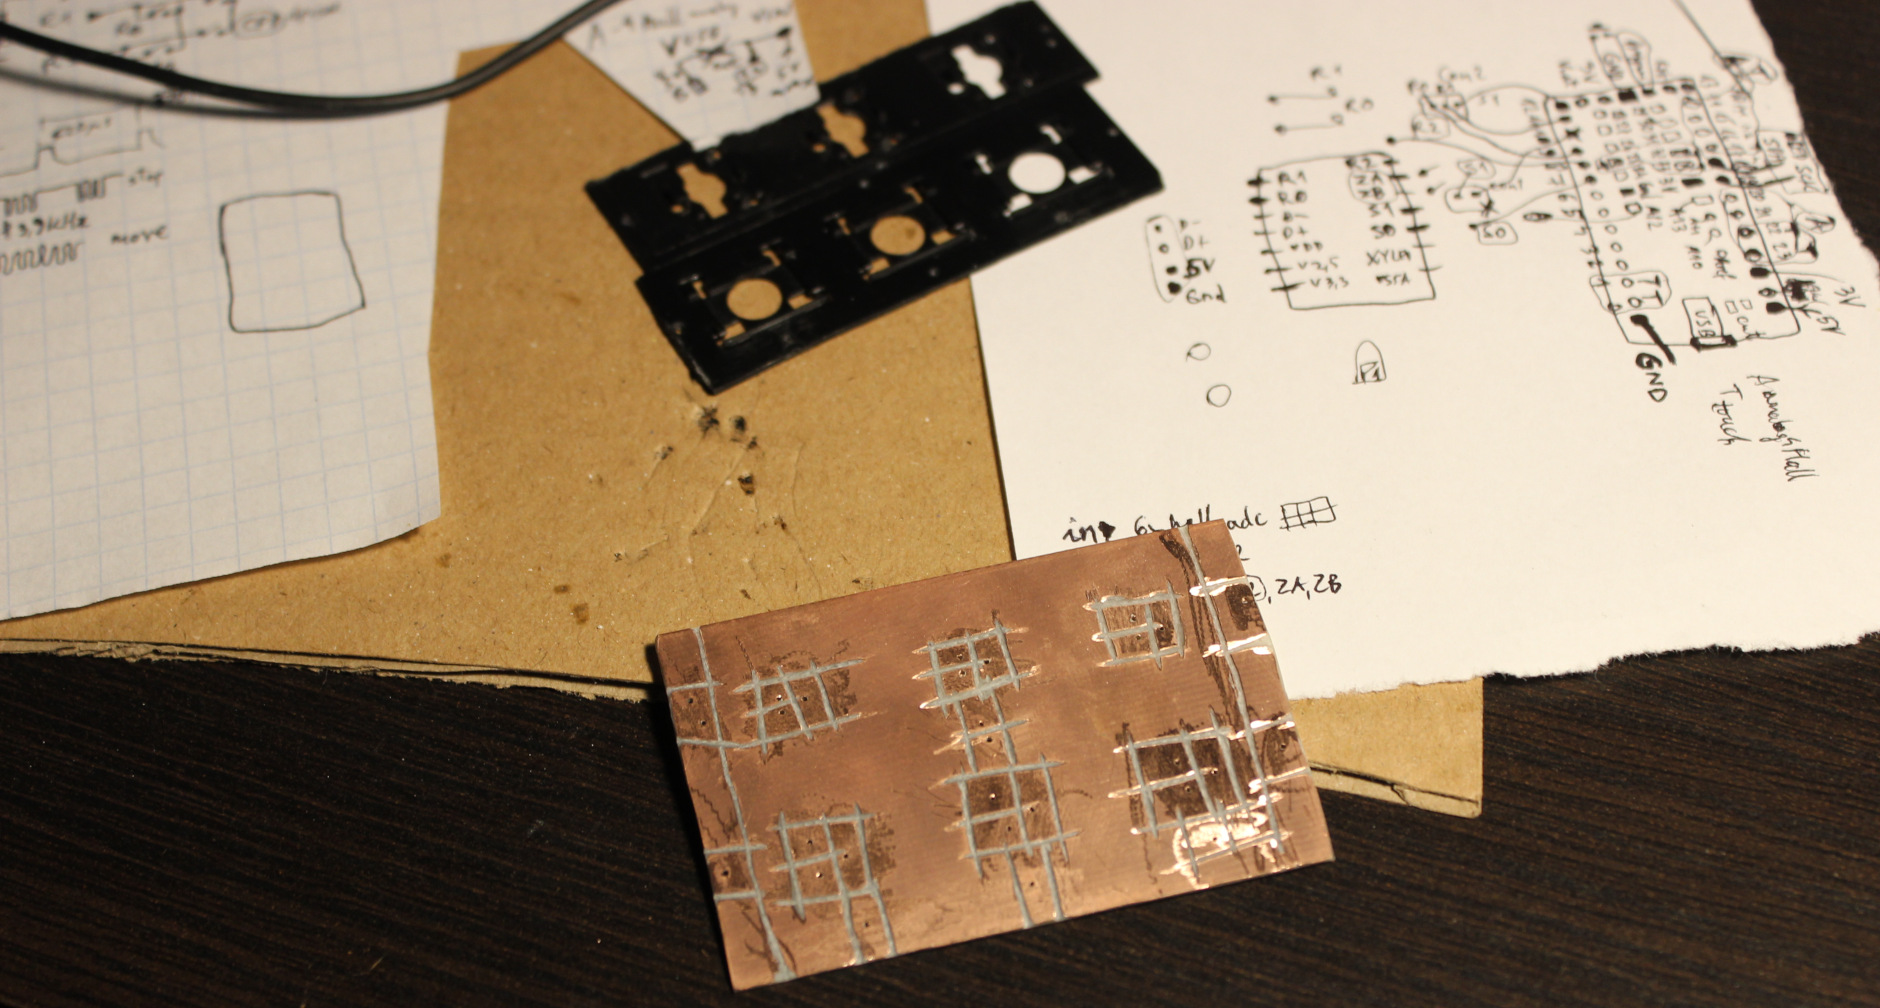
It could be a 2 layer PCB, but since I got 1 layer, this SMD chip is glued onto it, in right place (middle of plastic circle hole), then through drilled holes, tiny wires are soldered to sensor chip’s 3 leads.
Travel
Travel distance can be changed, but needs cutting *height of that cylinder and glueing magnet again. Or just scraping cylinder and doing a new one with other height. It’s not that precise even if measured, there can be some tolerances in scissor keys etc. So getting exactly 0.5 or 1 mm travel would be hard. It is also possible to add just small tape pad⚫ (from e.g. black isolation tape) for a thin layer on top of sensor. It would decrease travel and also sound less when hit with magnet (2×1) from key. Less sound is also the reason why cylinder is from silicone.
Sensitivity👈
Also the less travel the less sensitivity and value change from Hall sensor.
So MCU’s ADC is 12 bit, meaning it could get values from 0 to 4095. But it won’t since CS49E has 3.3V supply and its output has limits, doesn’t go below 1V or higher than 3.3V – 1V. Doesn’t really matter.
So I get about 1000 when pressed (magnet closest) and about 1500 for lightest (0.35 g) setup if done right. But it can be tricky if there is friction in scissor key, I had to slightly cut off a bit. If I didn’t do it you can get 1100 or so, sometimes if key gets stuck (while otherwise it’d go much higher) and that’s a problem (it’s unusable).
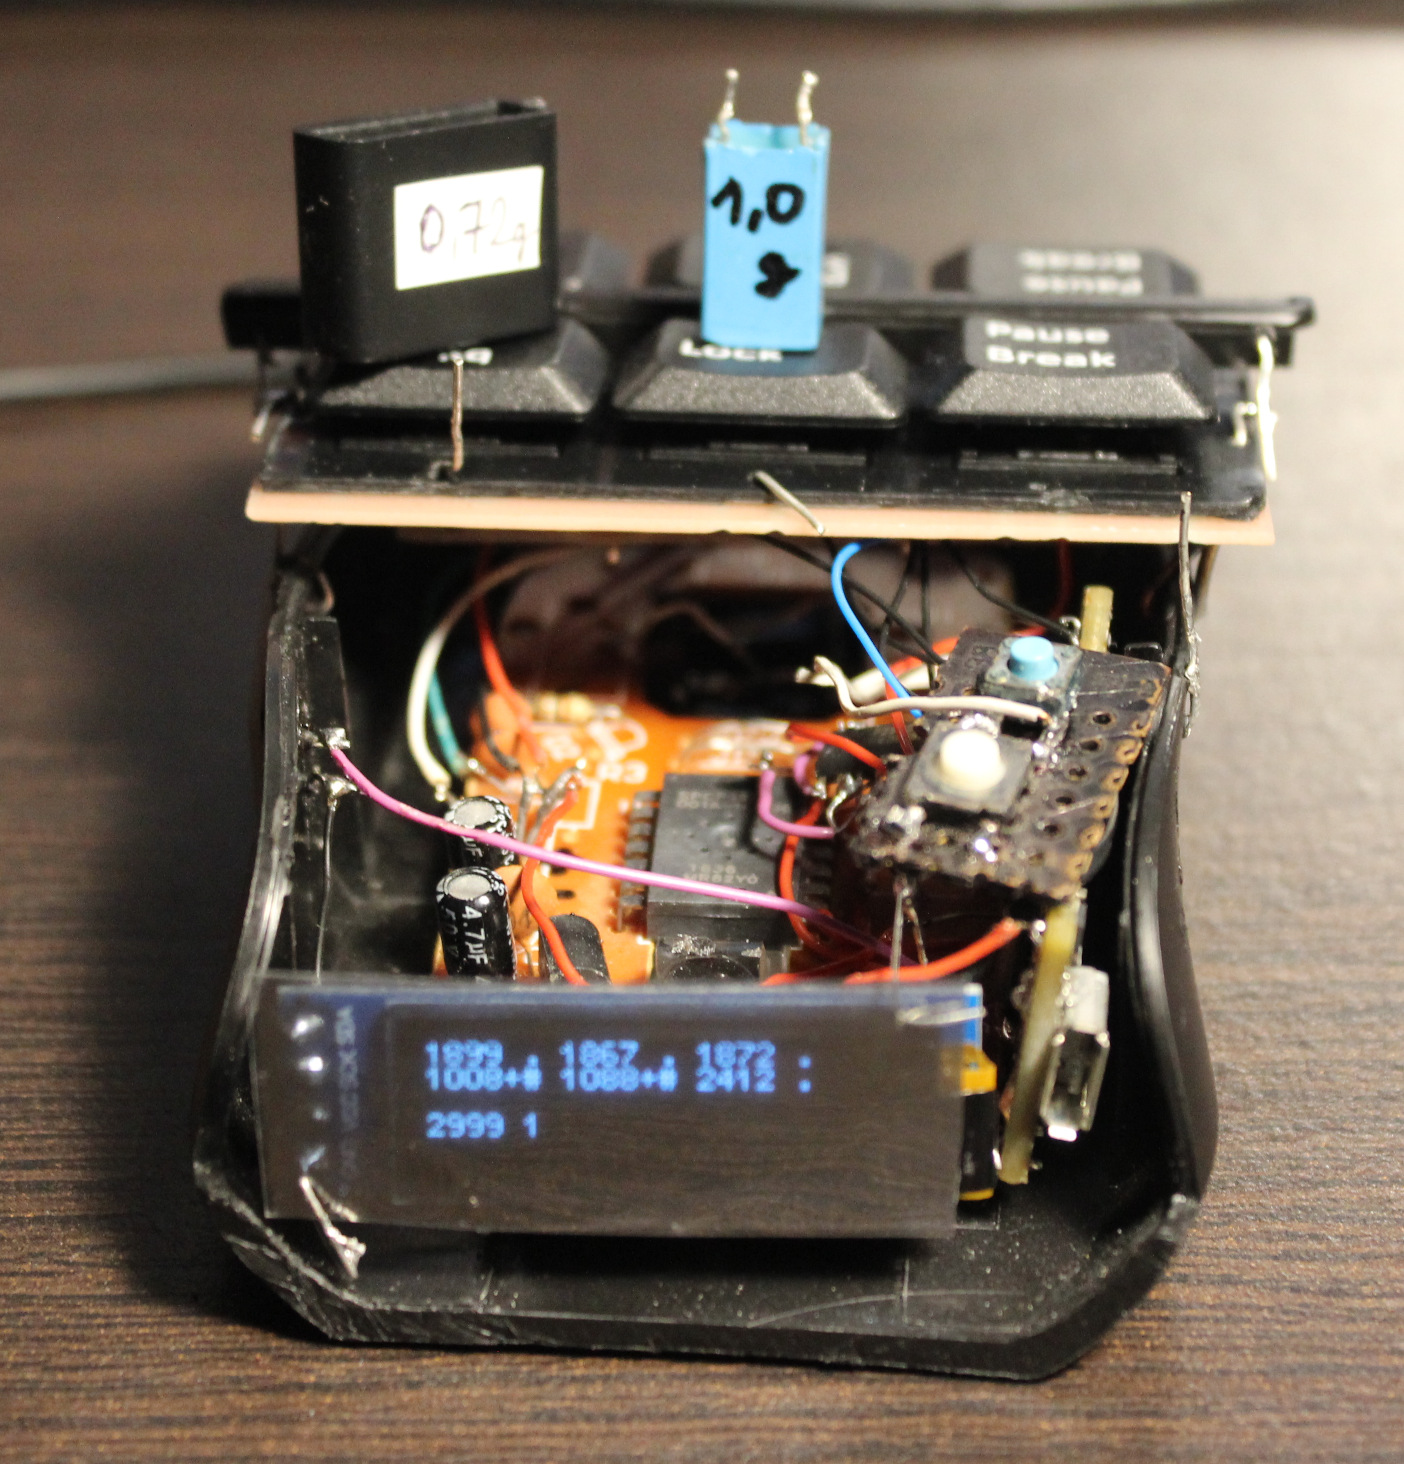
As for the regular keys there is no issue: 1742 for 0.72 g, 2146 for 1 g, 2416 for 2.23 g. This is plenty difference from about 1000. Each keys/sensor will have some minor difference too. Not required but could be set up with some calibration for each key in practice.
Magnets🧲
The two magnets distance affects mainly actuation force and sensitivity (max value). The closer they are the more force one needs to press and higher value if not pressed.
There was a “interactive 2D magnetic field lines simulation applet” I used before to test best location of sensor and 2 pushing magnets (1 stronger), but I can’t find the website anymore (e.g. this).
In general the first magnet (2×1 on key) needs to be closer to sensor, and get closest when pressed, and the second (3×2) should be far. This way I get most sensitivity. The second magnet when far should not affect the value from first (too much). It’s just there to levitate the key after all.
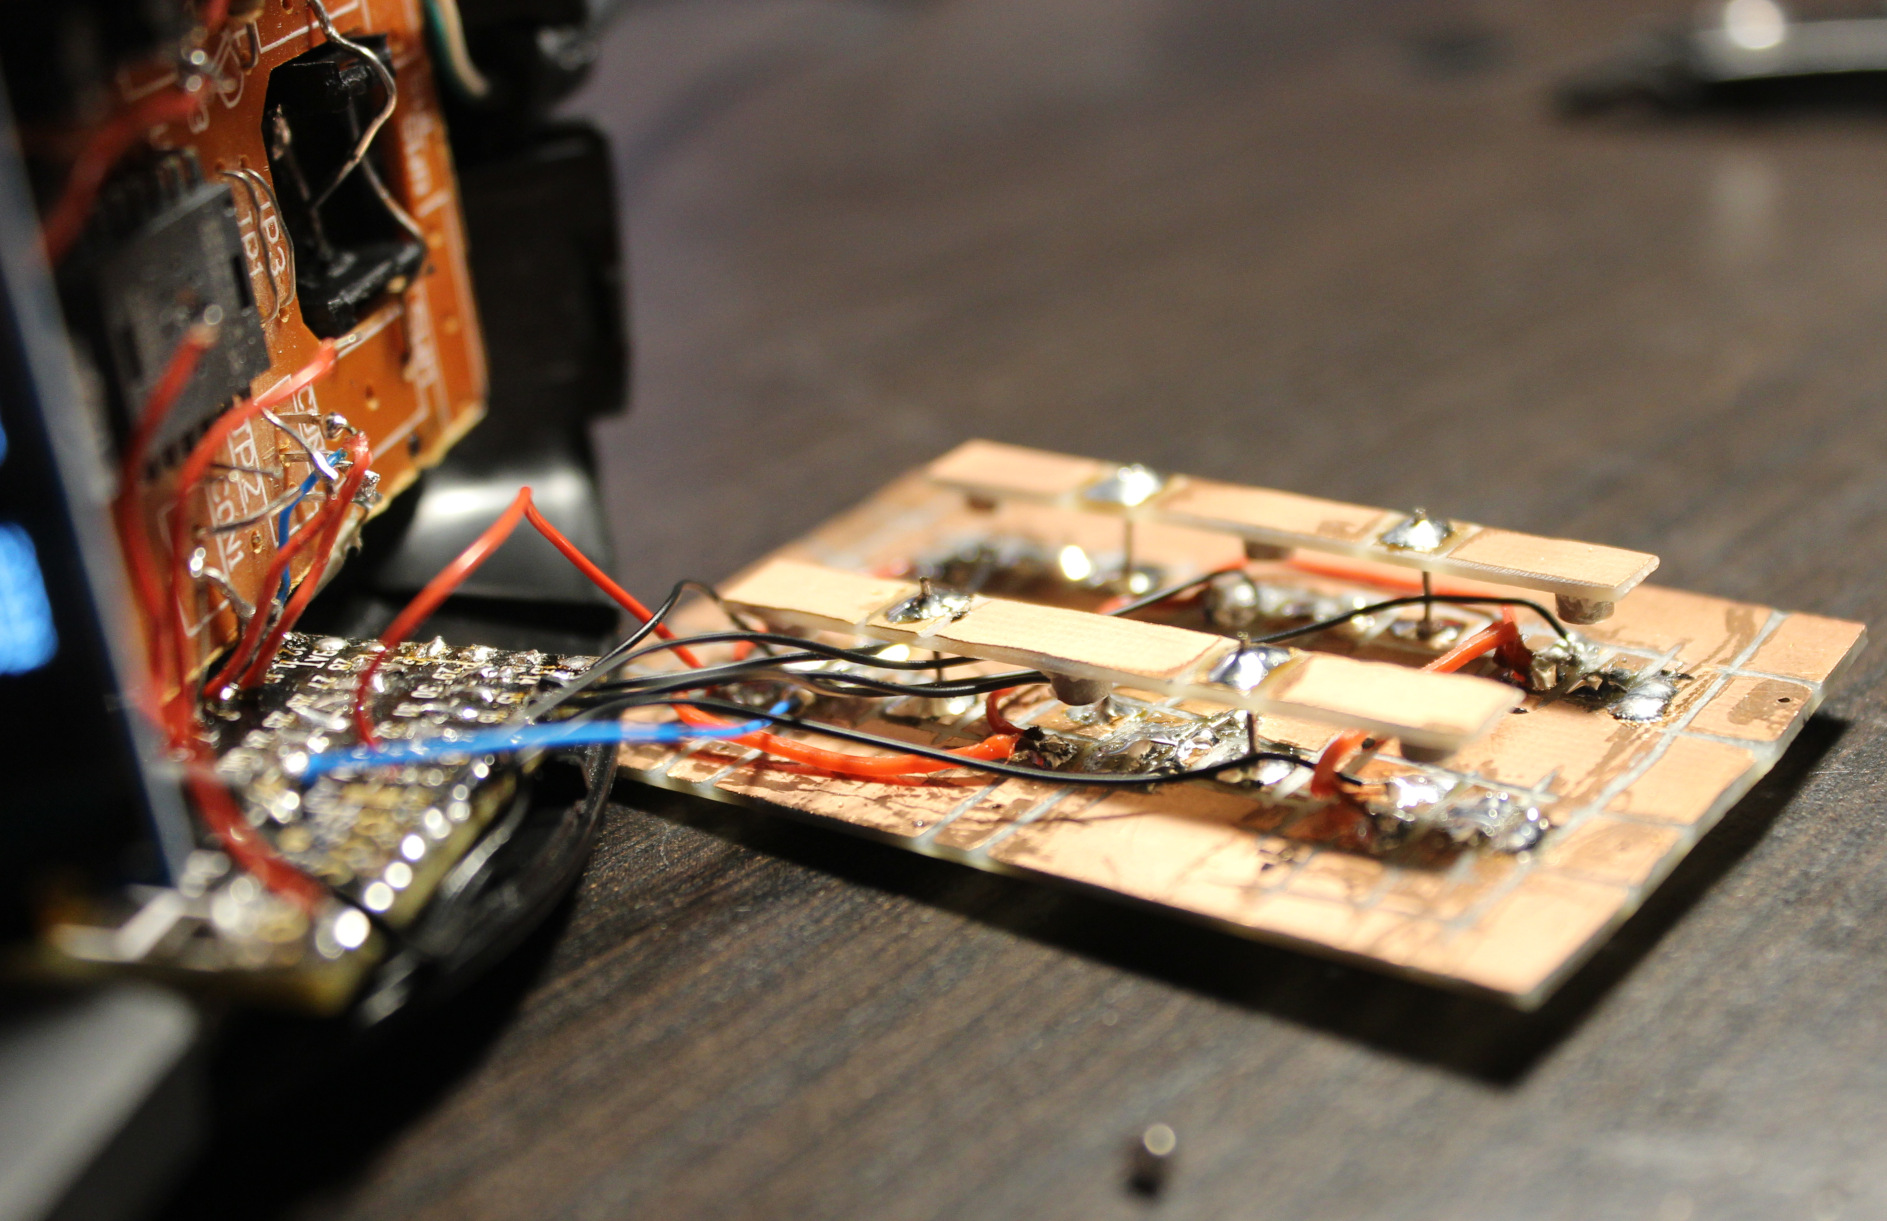
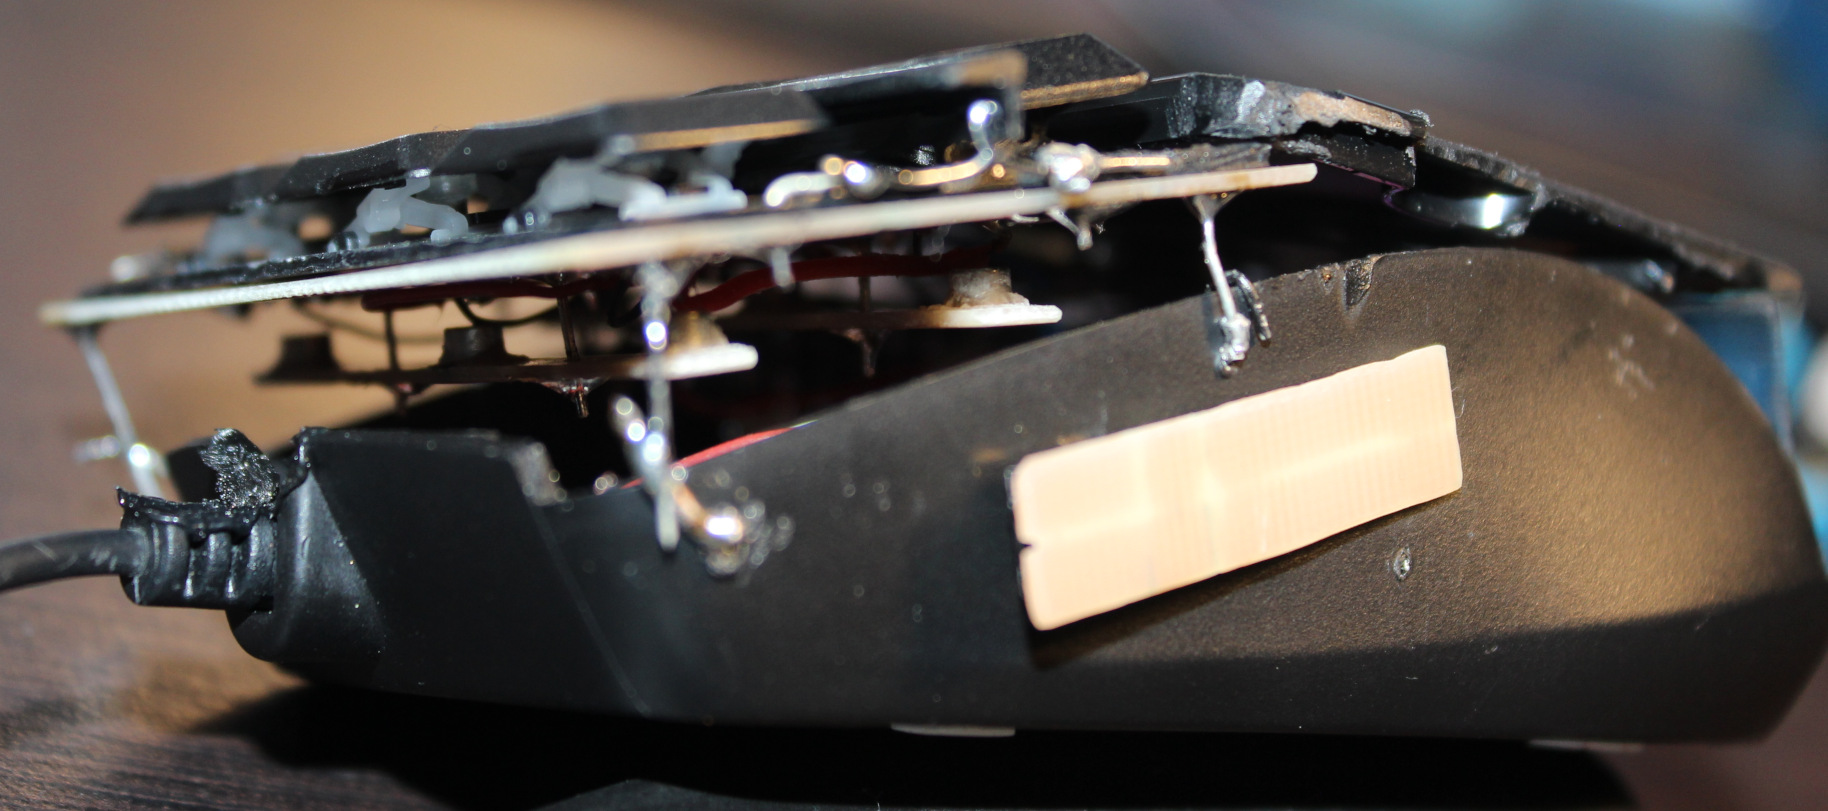
I glued second magnet (in row for 3 keys) to a narrow PCB, which is held by solder and small wires, above the PCB with sensors. This way I can adjust distance of second magnets and so the force for keys. The key resting values (1742 for 0.72 g, 2146 for 1 g, 2416 for 2.23 g) are increasing, because I did shorter distance of narrow PCB on right (last key value) for Right mouse button and did longer distance (on left) and thus lighter press for the (most commonly used) Left mouse button (first key value).
Customizable🔩
As explained above, the actuation (pressing) force is customizable. Not too easy, but easier than travel. One way is resoldering that narrow board closer (more force) or further away (less).
It’s also possible other way, by adding more magnets (3×2) to the one already there. Makes magnetic push force stronger and so needed actuation force higher. It’s a worse idea since magnets aren’t cheap and one is enough. But it’s surely easier and quicker to adjust this way. So more user friendly.
Mouse
Mouse is an old, wired Gembird model MUS-GU-01, it is small. Not very recognizable anymore after modifying.
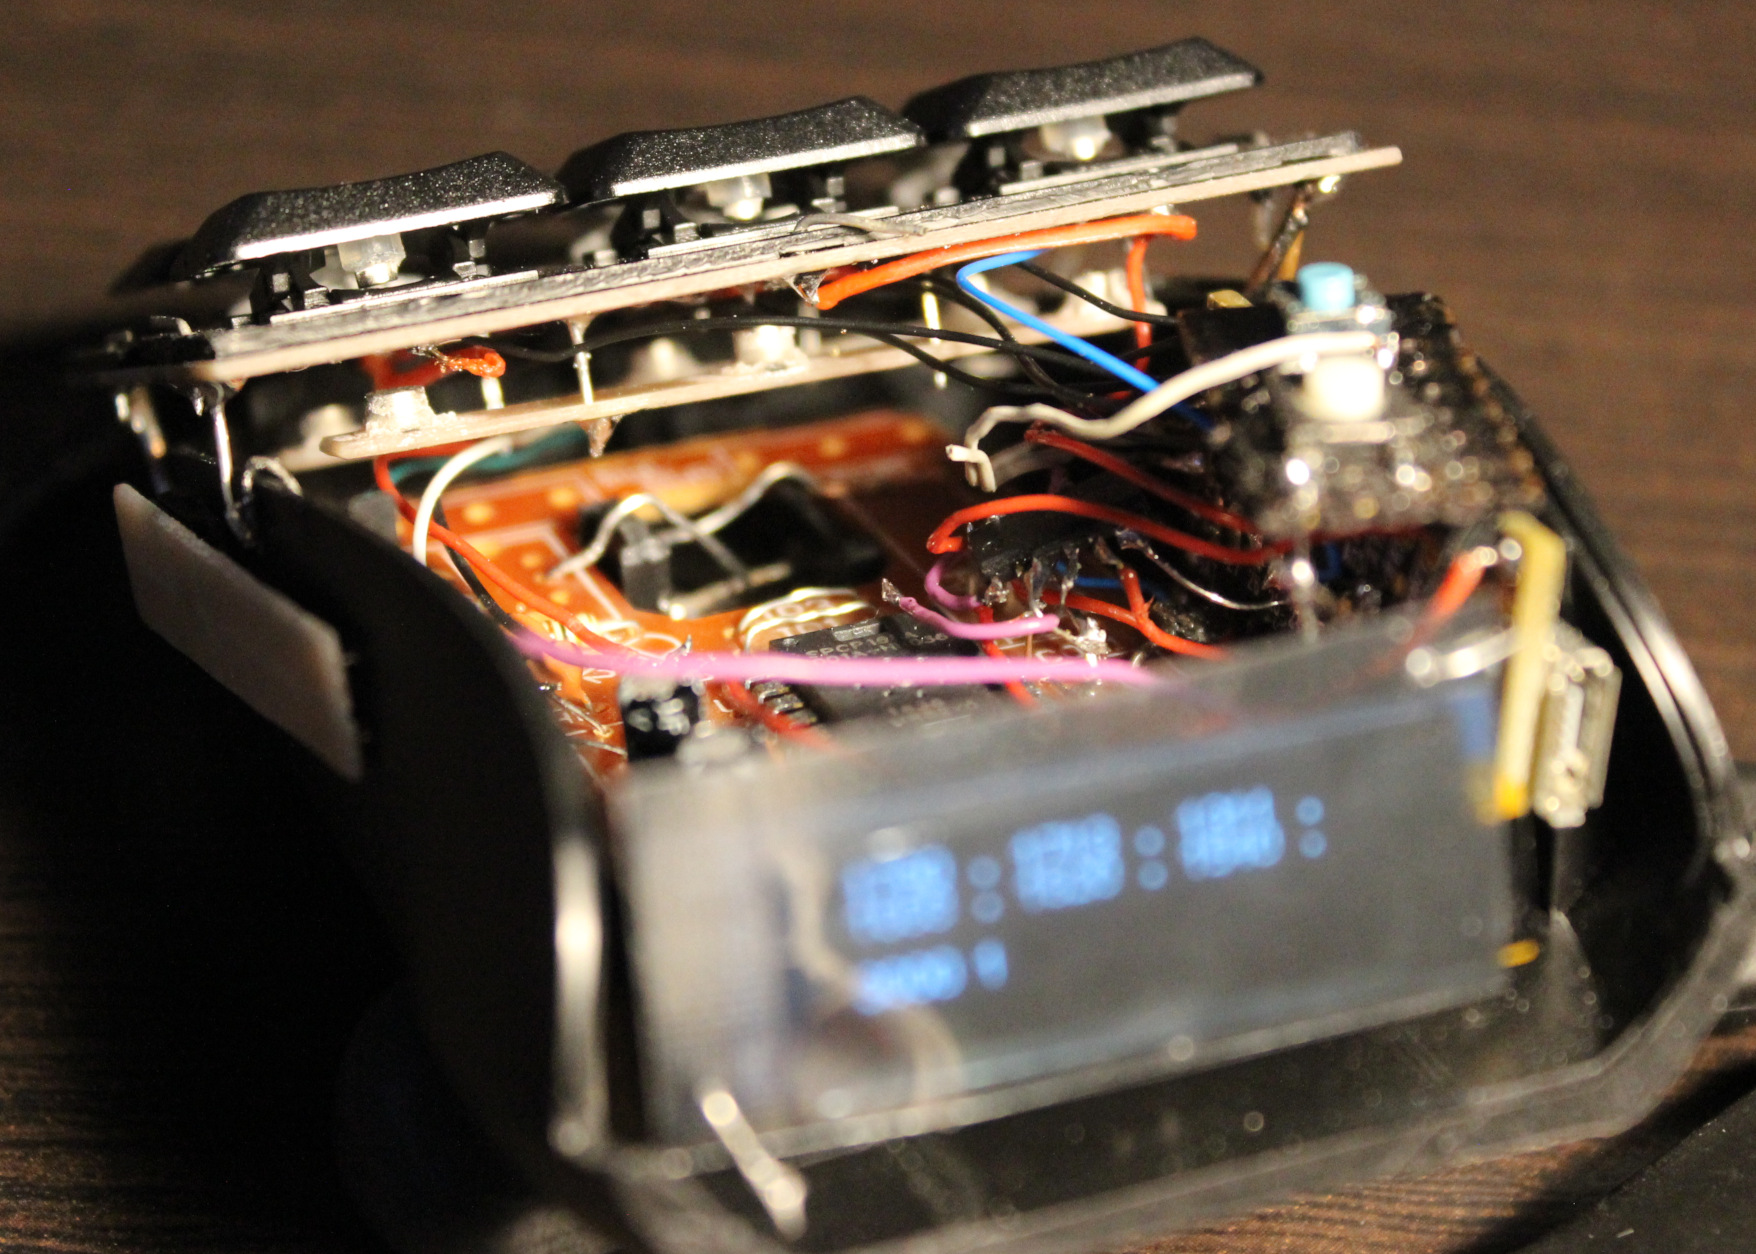
It has a SPCP168A optical mouse chip. It’s old (from 2010), so not very high dpi. Neither fast pooling, I even saw that L,M,R buttons are checked (by S0 signal) at about 370 Hz only (could mean a 2.7ms delay).
MCU
For MCU I used an old Teensy 3.1 I had from my old keyboards. Surely an ESP32-C3 could be a cheaper and better choice. And likely most MCU could do the job here: just read analog value from ADC from 6 hall sensors.
Next I use a CD4066 (SMD, Quad Bilateral Switch). Its 3 analog switches are used instead of old mouse buttons microswitches. Triggered from MCU which reads hall sensors values with some of my code.
📊Features
So the mouse now has a few extra things:
- 🎹Hall sensor keys, 3 x 2, so total 6. These are used for:
– Left, Middle, Right mouse buttons – bottom row,
– Double left click, mouse Wheel down and up – top row. - 🪟A small OLED display, 128 x 32 (SSD1306), mono (1 color only).
Only has 1 dim option, it’s always way too bright. I covered it with some foil. It’s usually off anyway.
It is used to show hall sensor values for testing, and for future Gui with settings.
It’s optional. It could surely work without it. - 🖱️”Lift off” key.
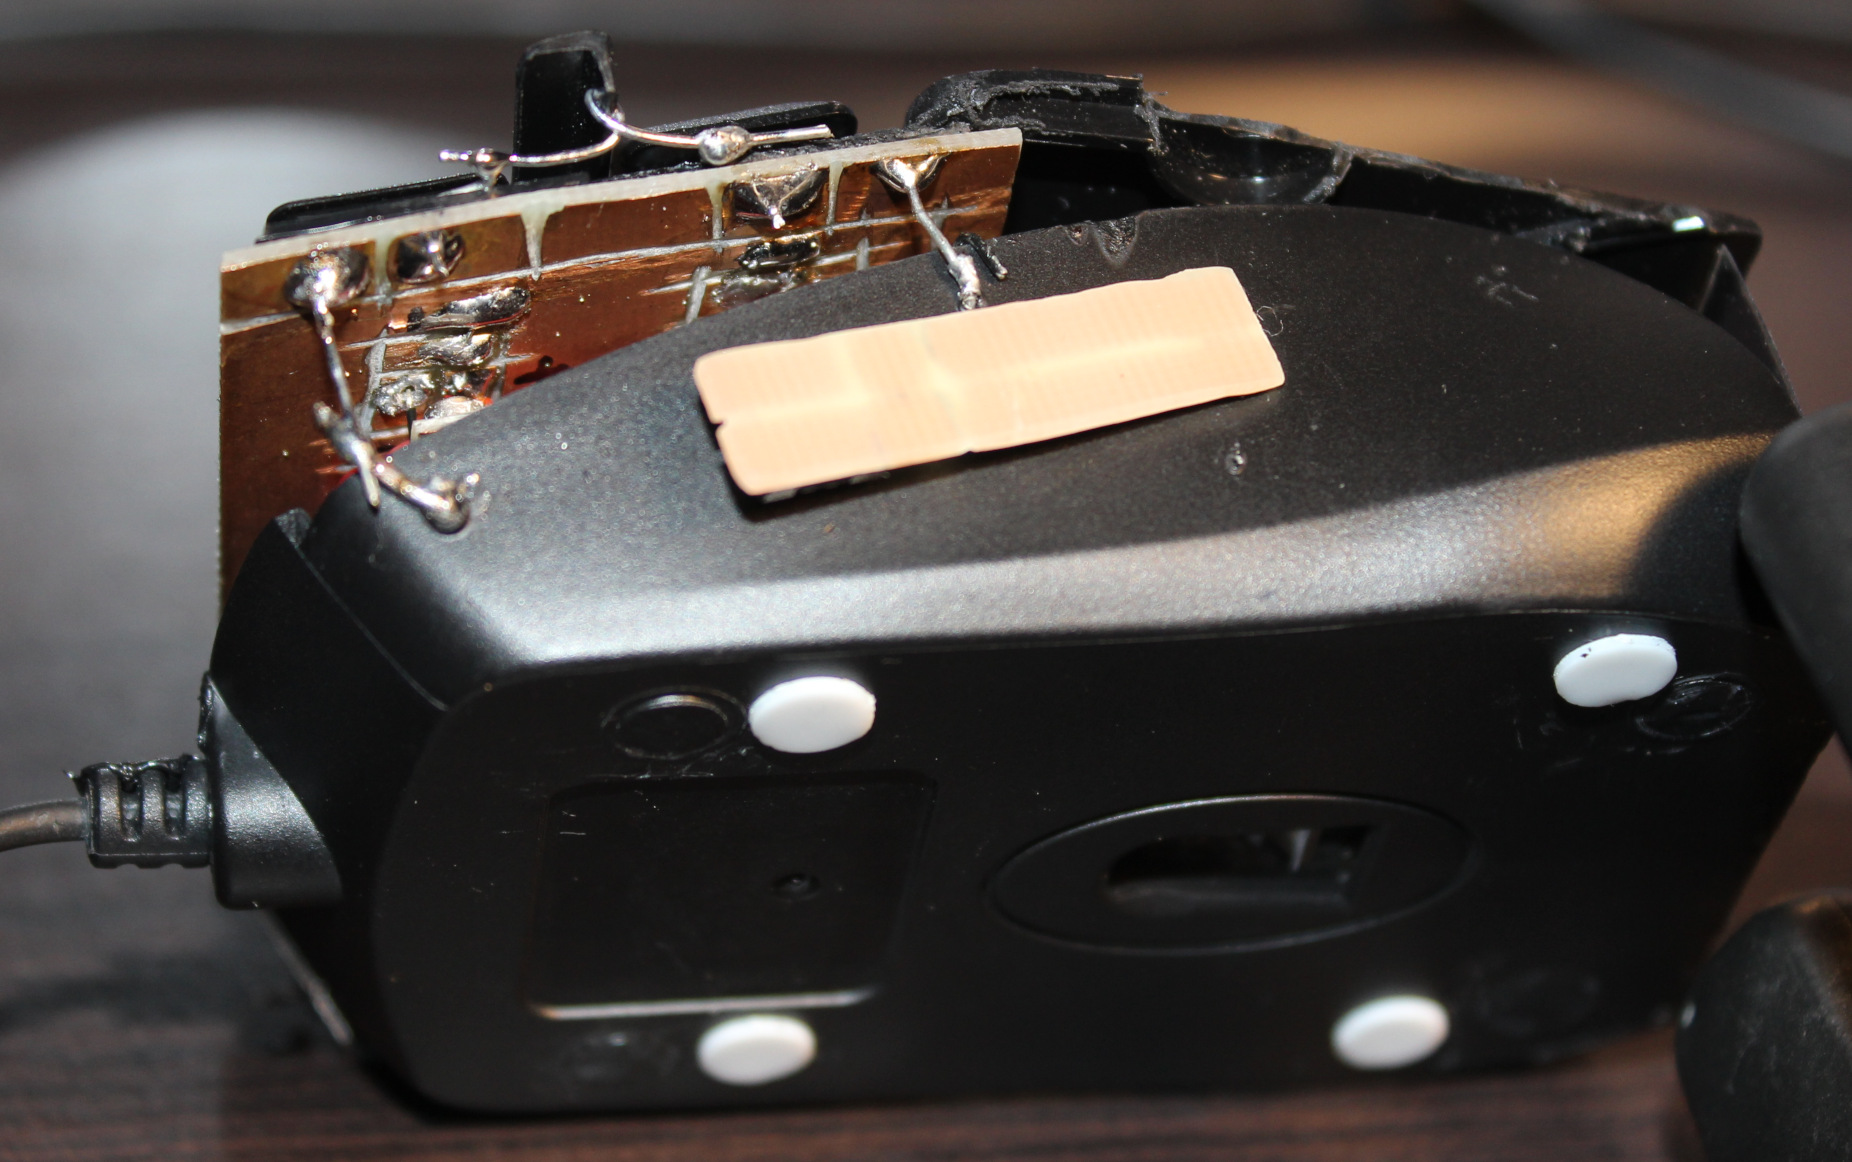
That narrow PCB on left side with has tactile switch (SMD, 0,5N force). When held it disables move movement (on PC) and any mouse keys.
It is easier to press it than lifting a mouse. I mean seriously and it’s not common in mice yet. - 👇2 extra tactile switches:
– 1st for toggling display / Gui on/off
– 2nd tiny blue for programming new code.
There is also a micro USB socket for Teensy 3, needs to be there to upload new code.
📂Sources
Code for this “firmware” is here.
Schematic image here.
I called it MC1, from mouse controller, even if it’s not really one. Just code for those keys
📷Gallery
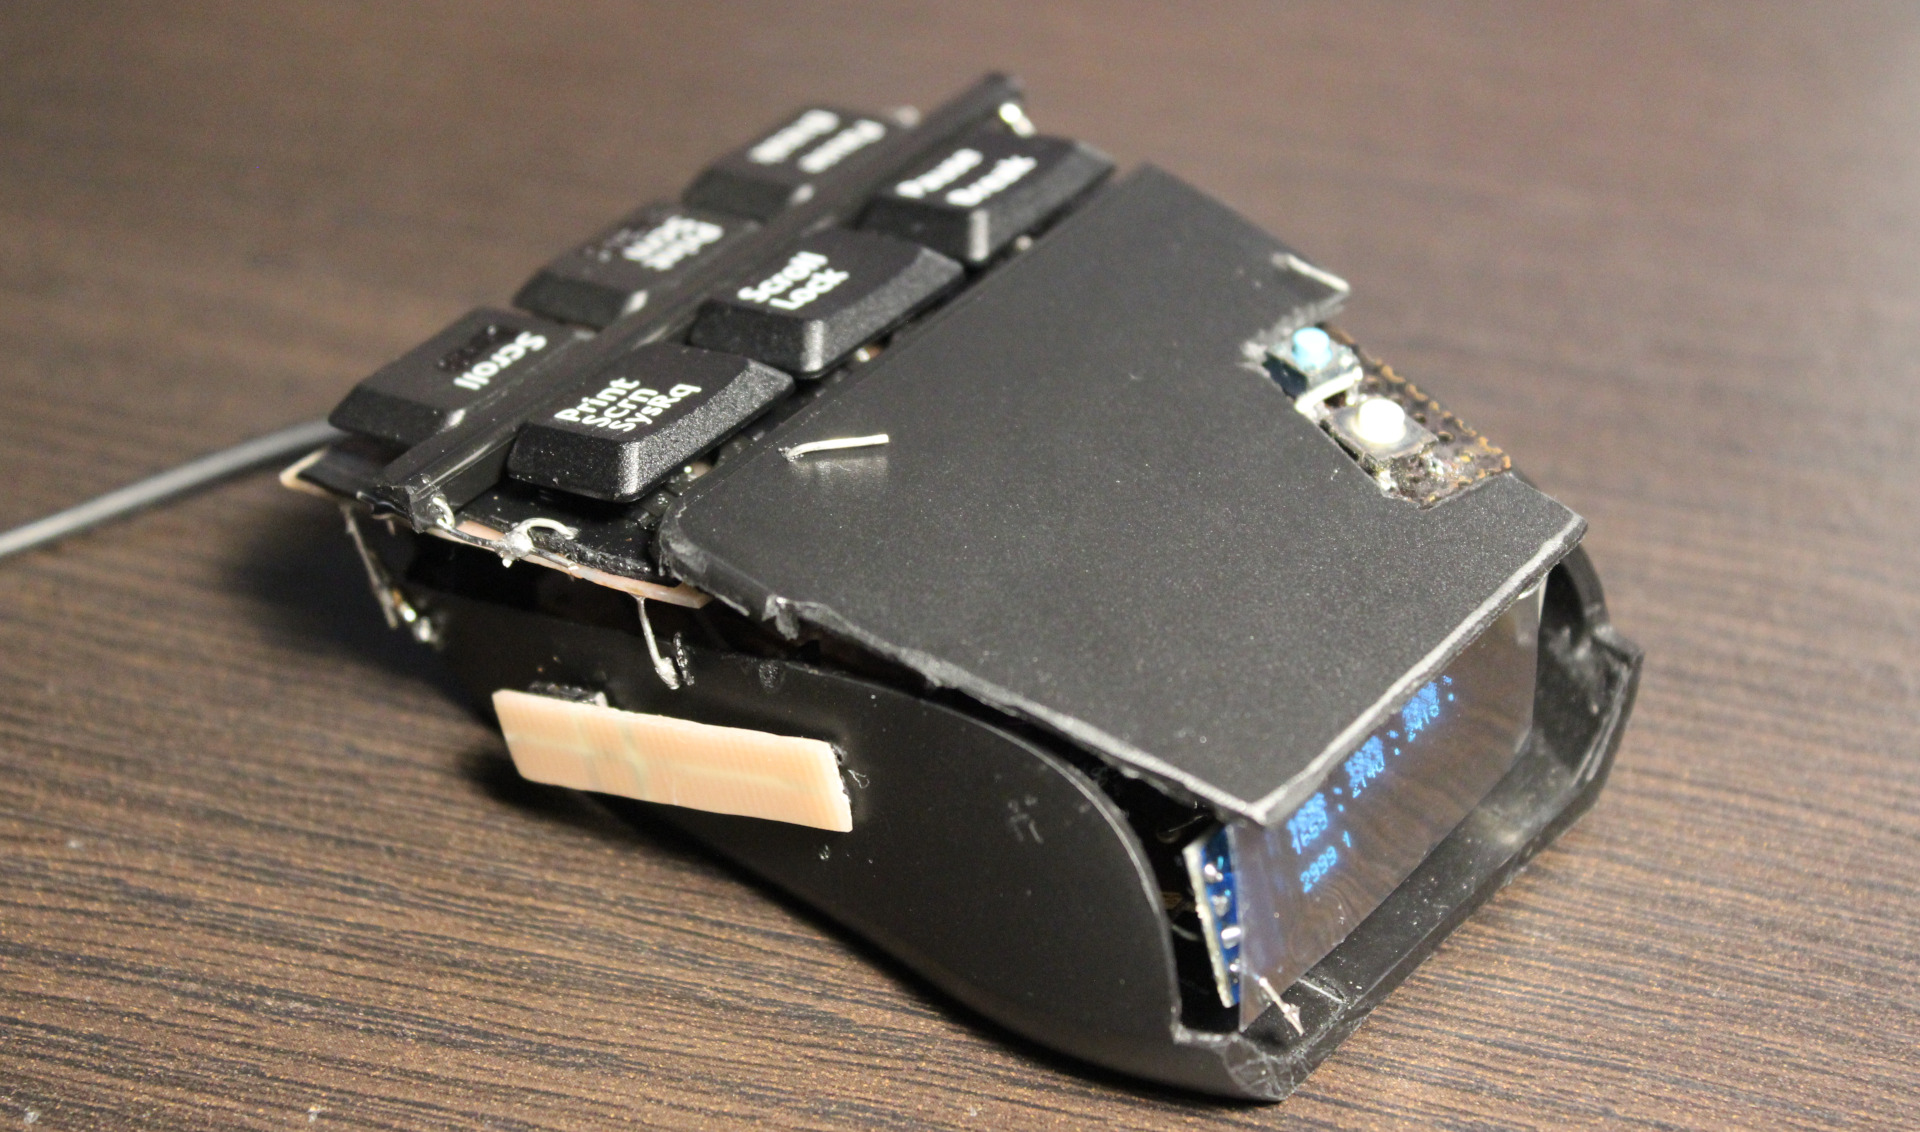
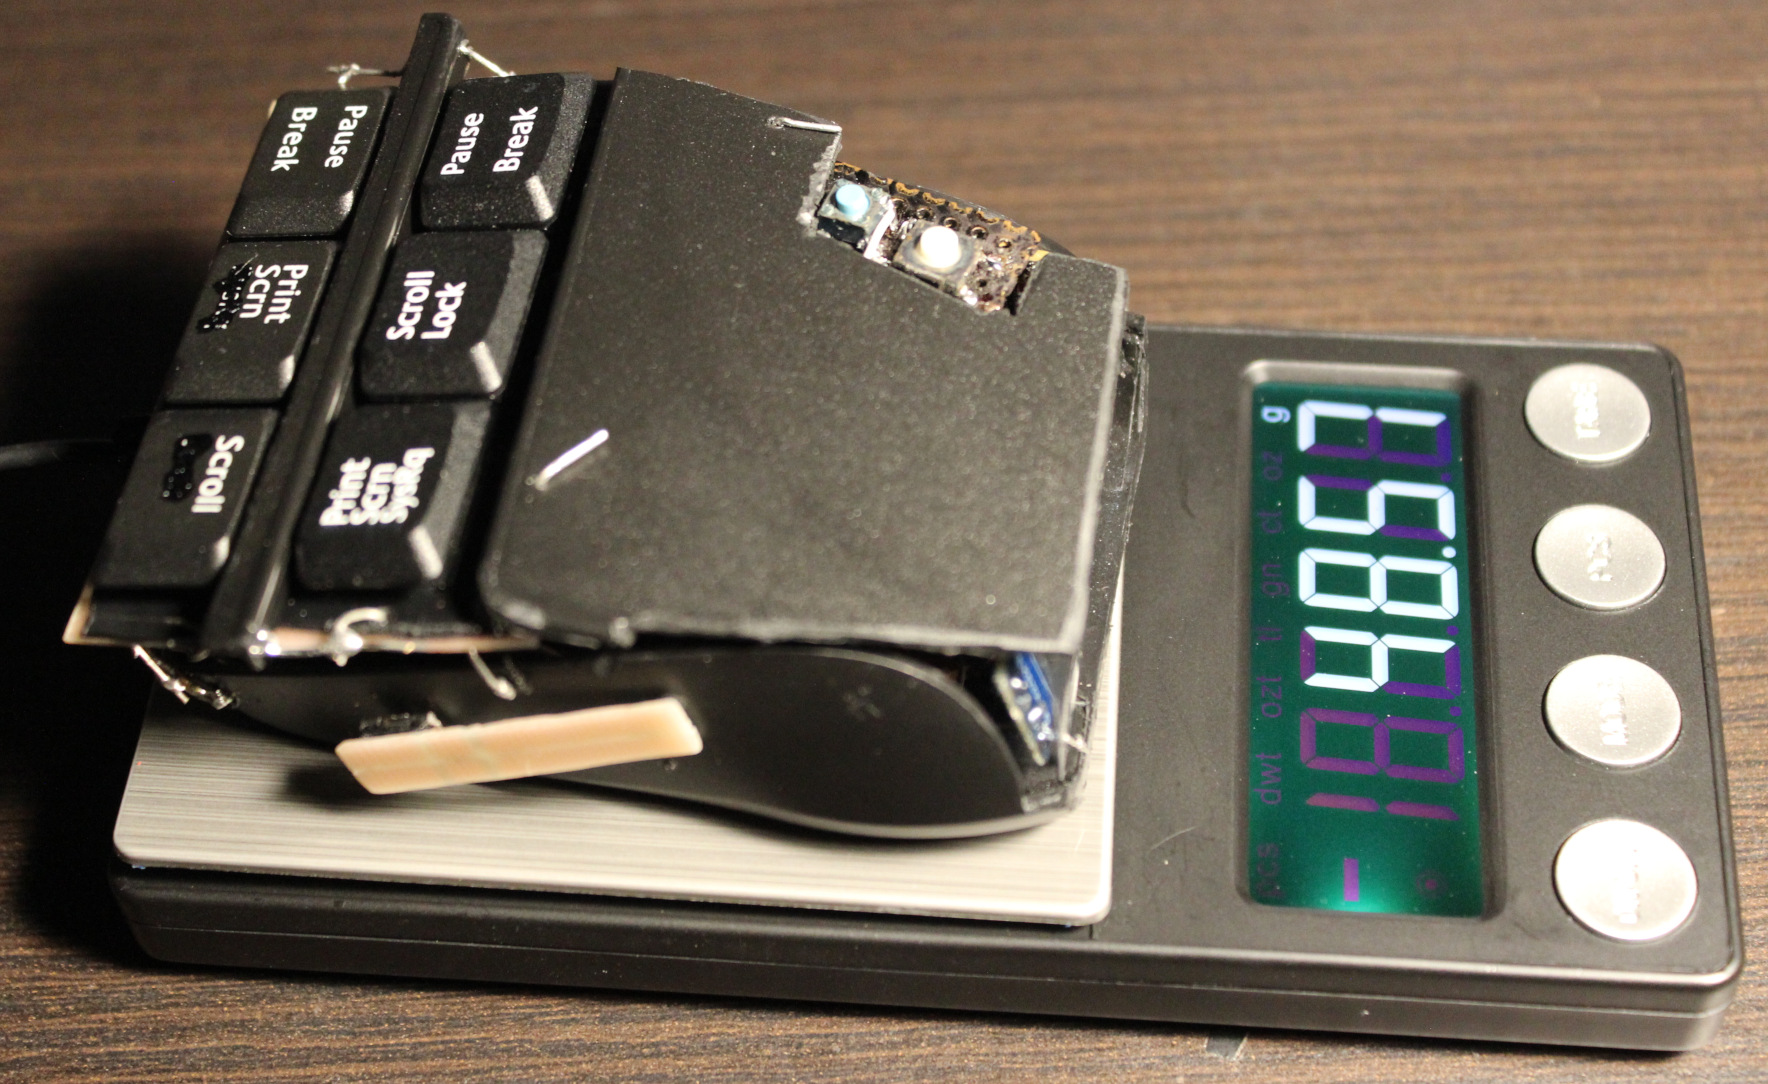
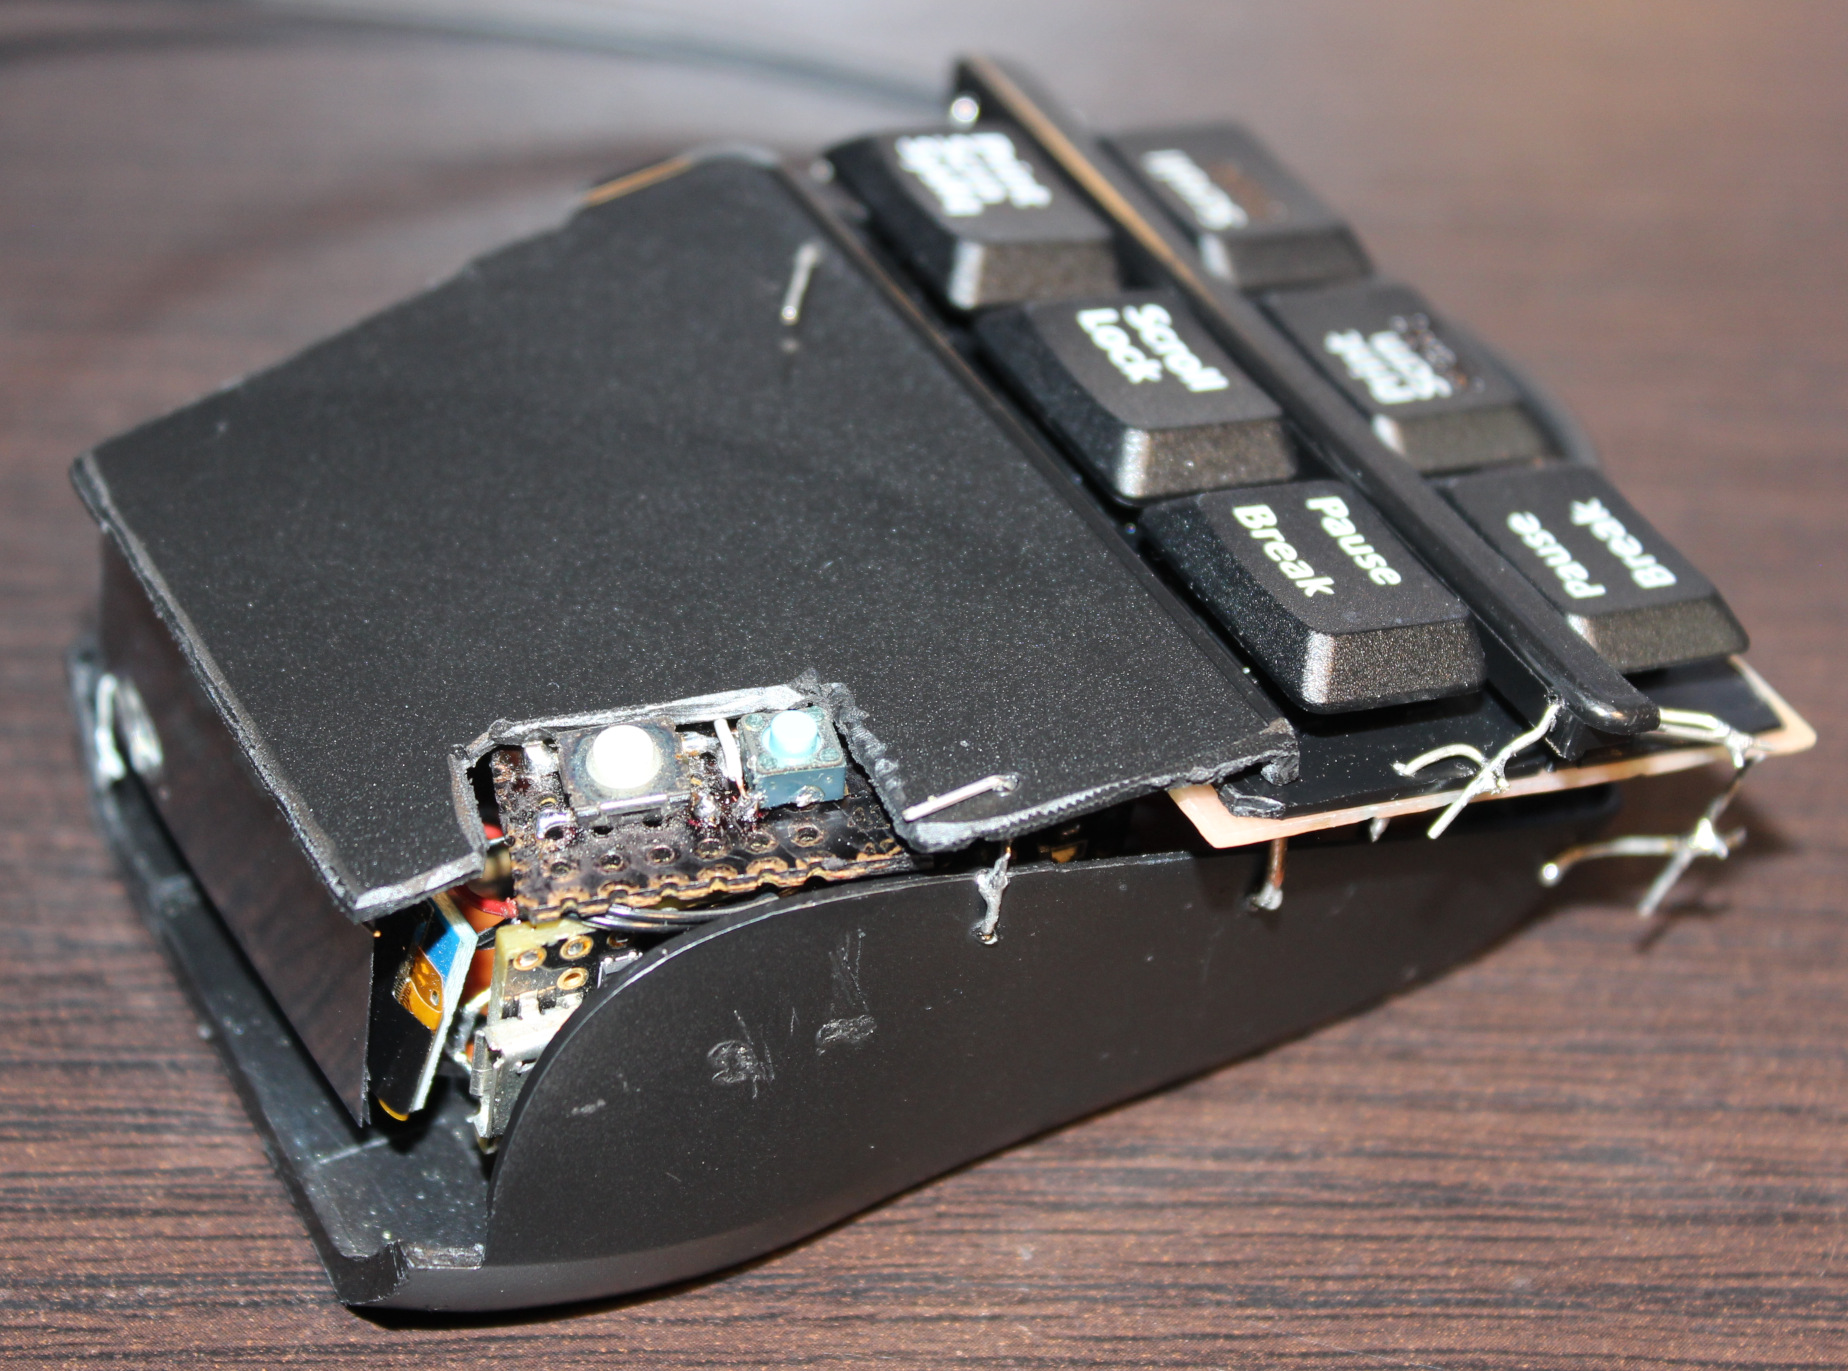
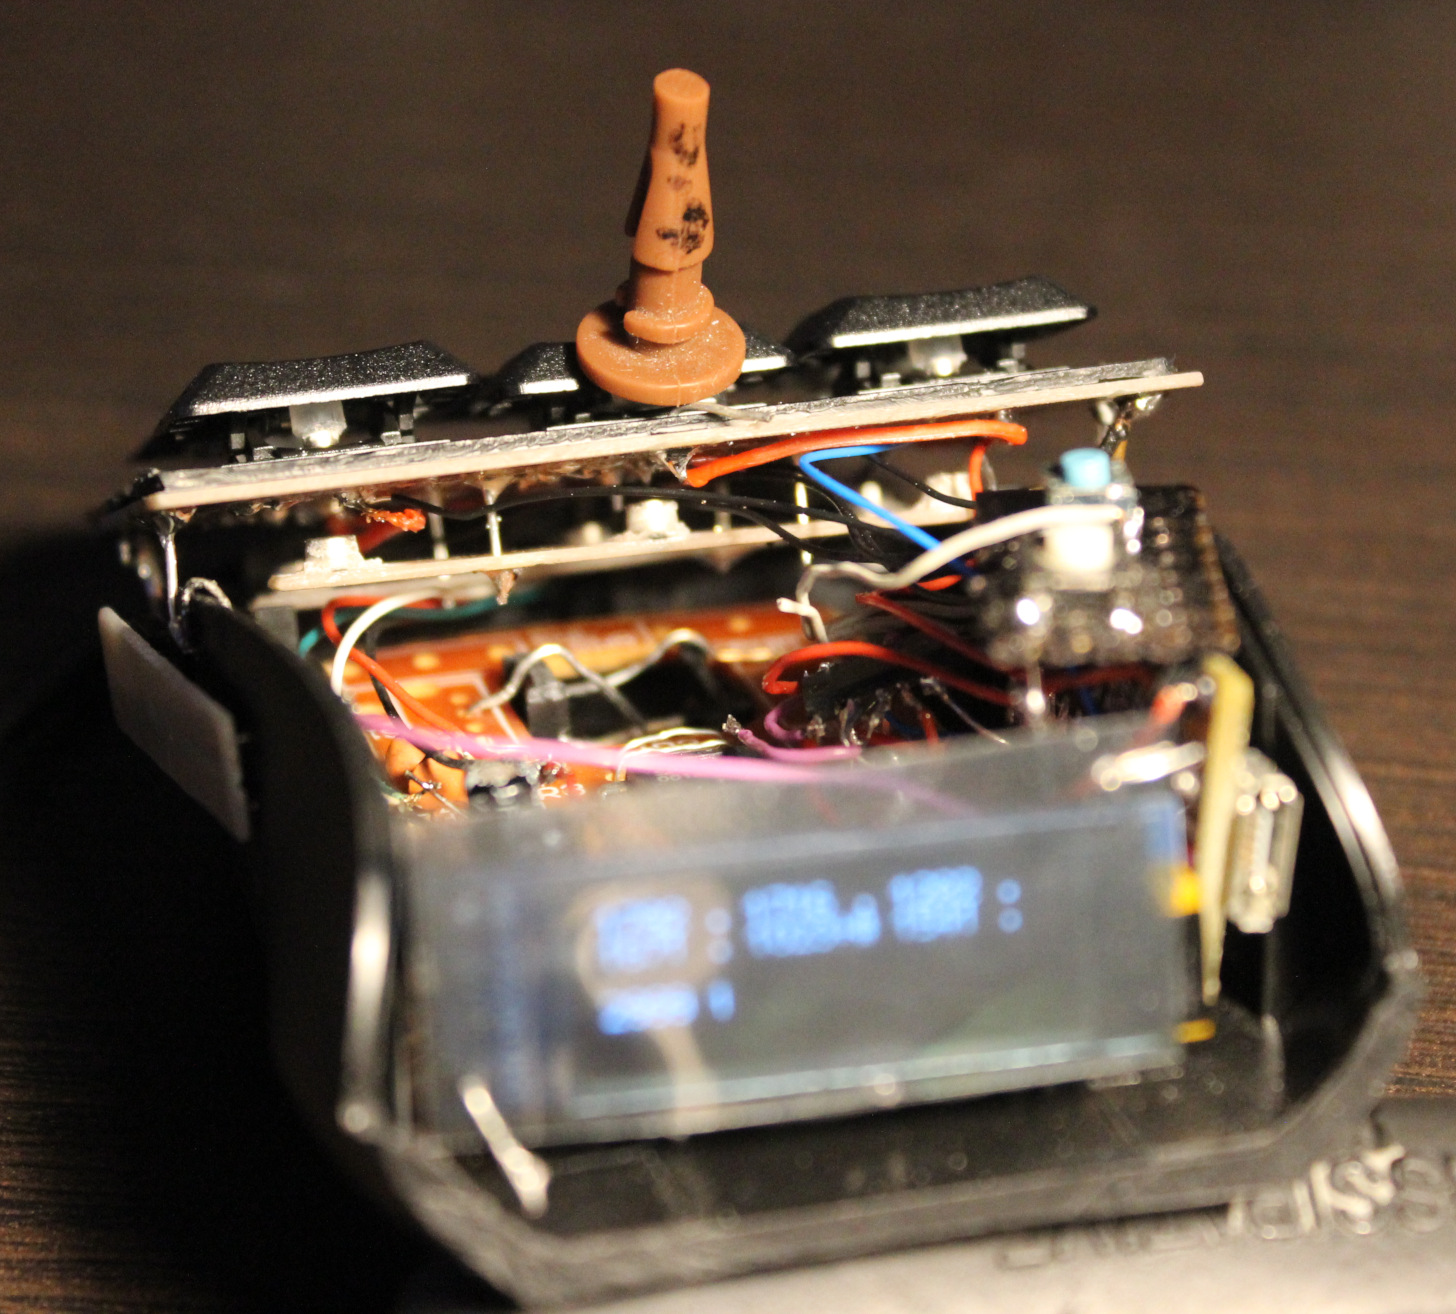
Pictures: outside, then inside, weights, keys. Later pictures show earlier versions, work in progress.
Video here.
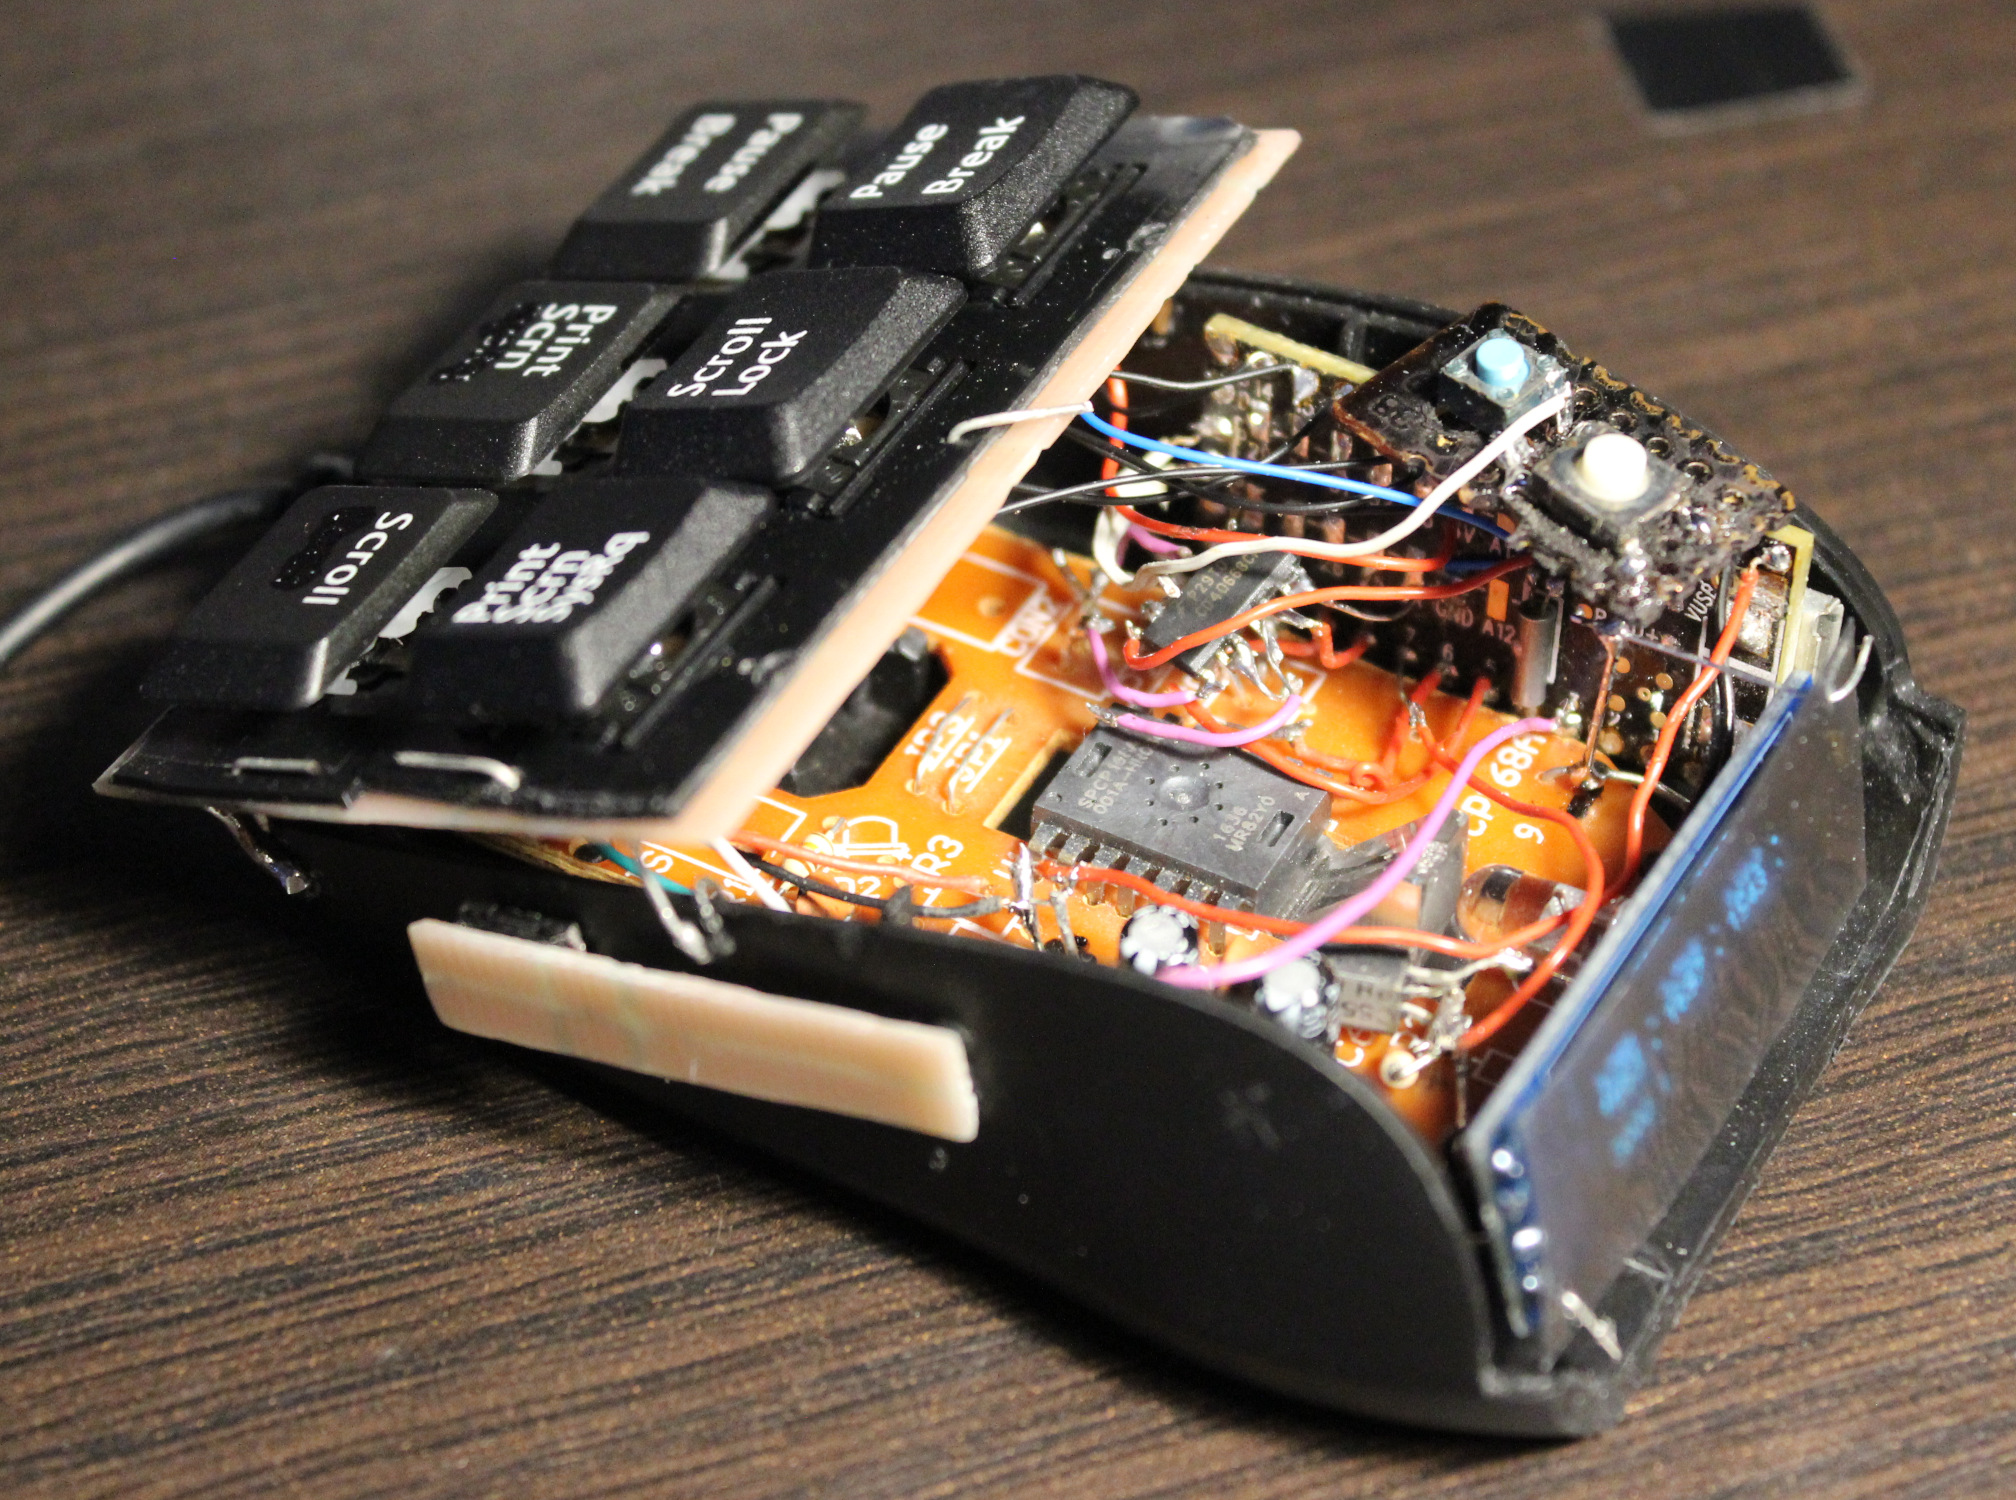
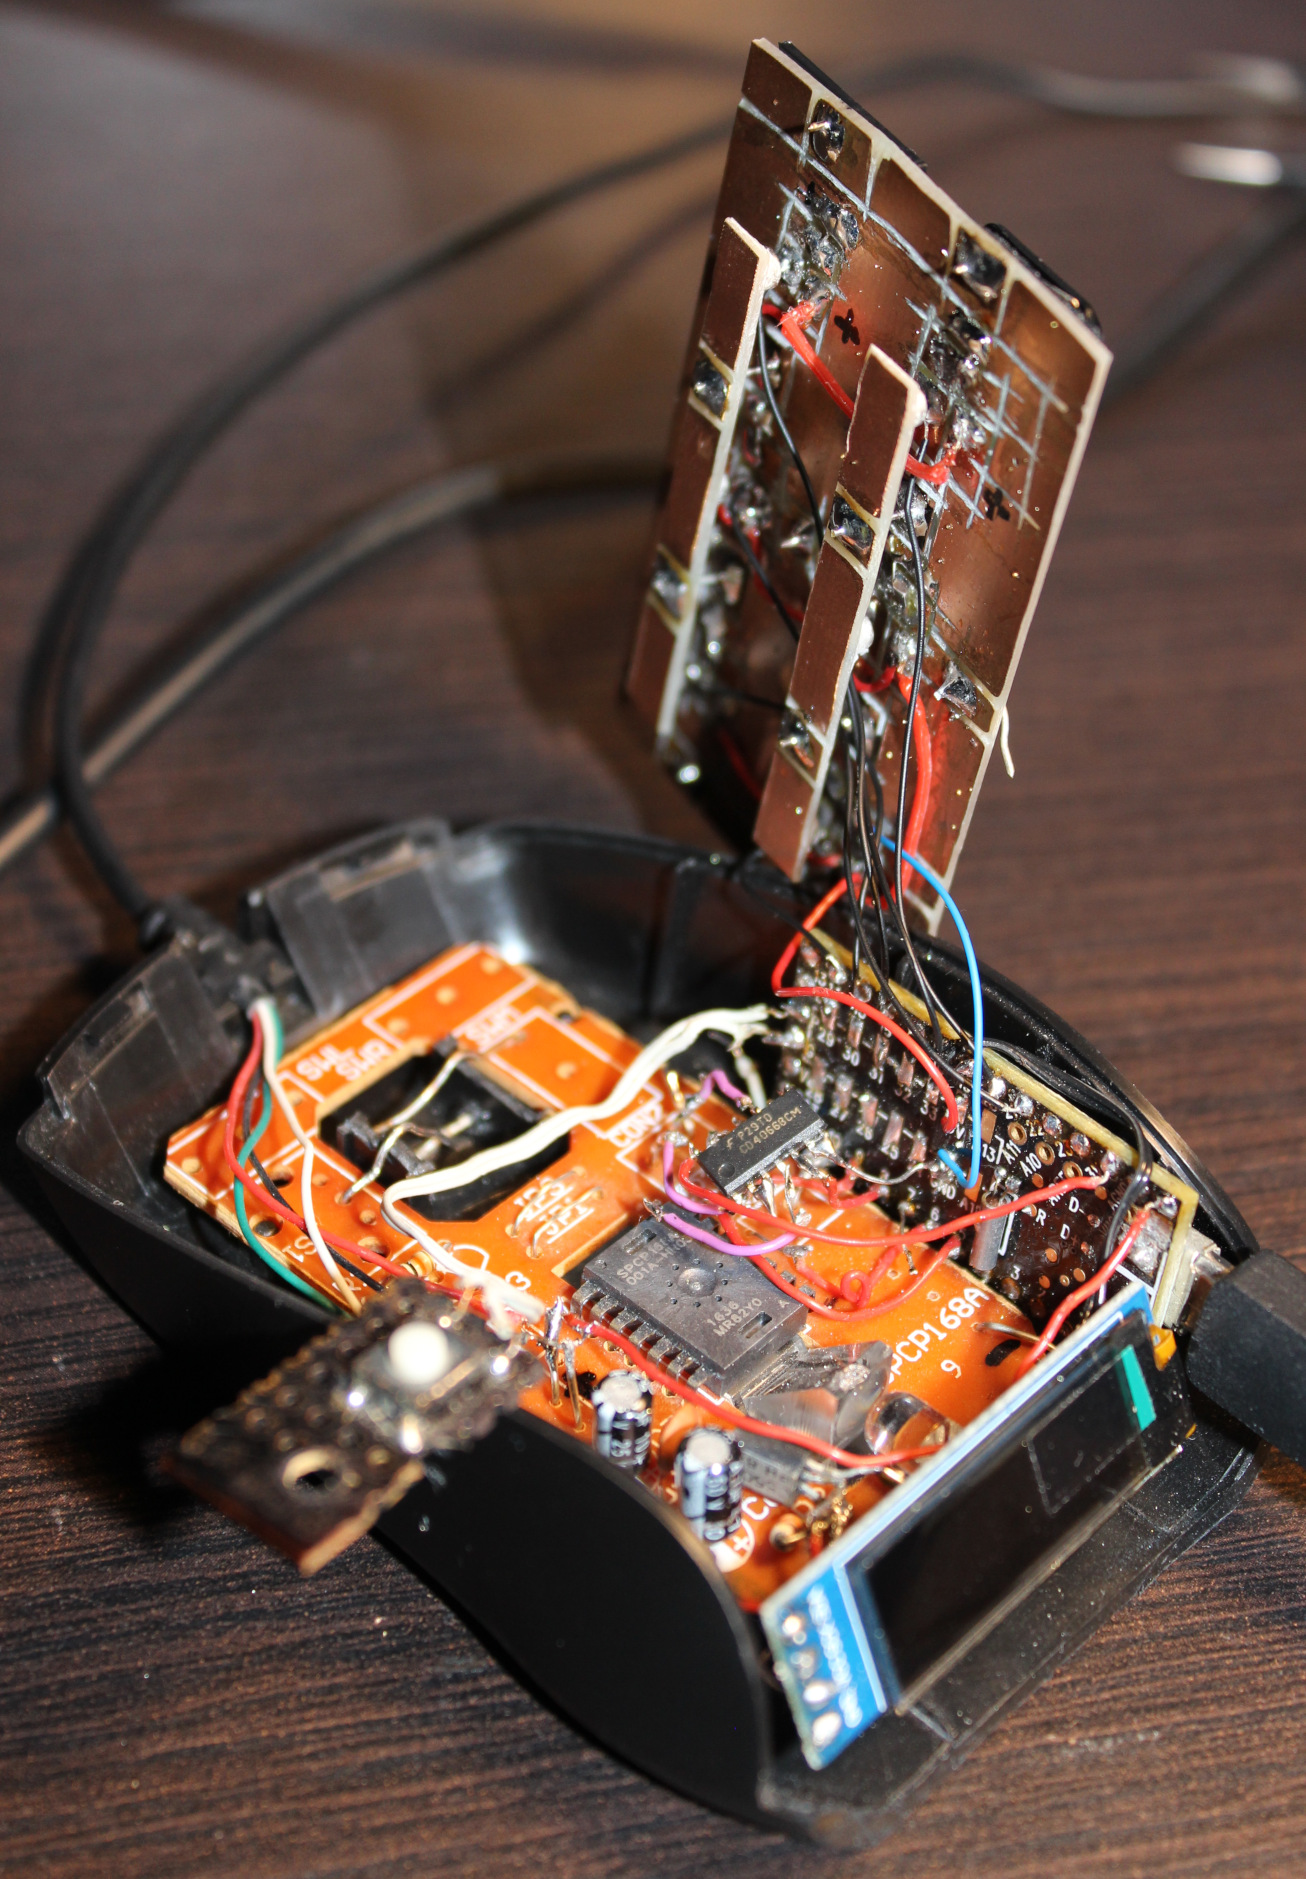
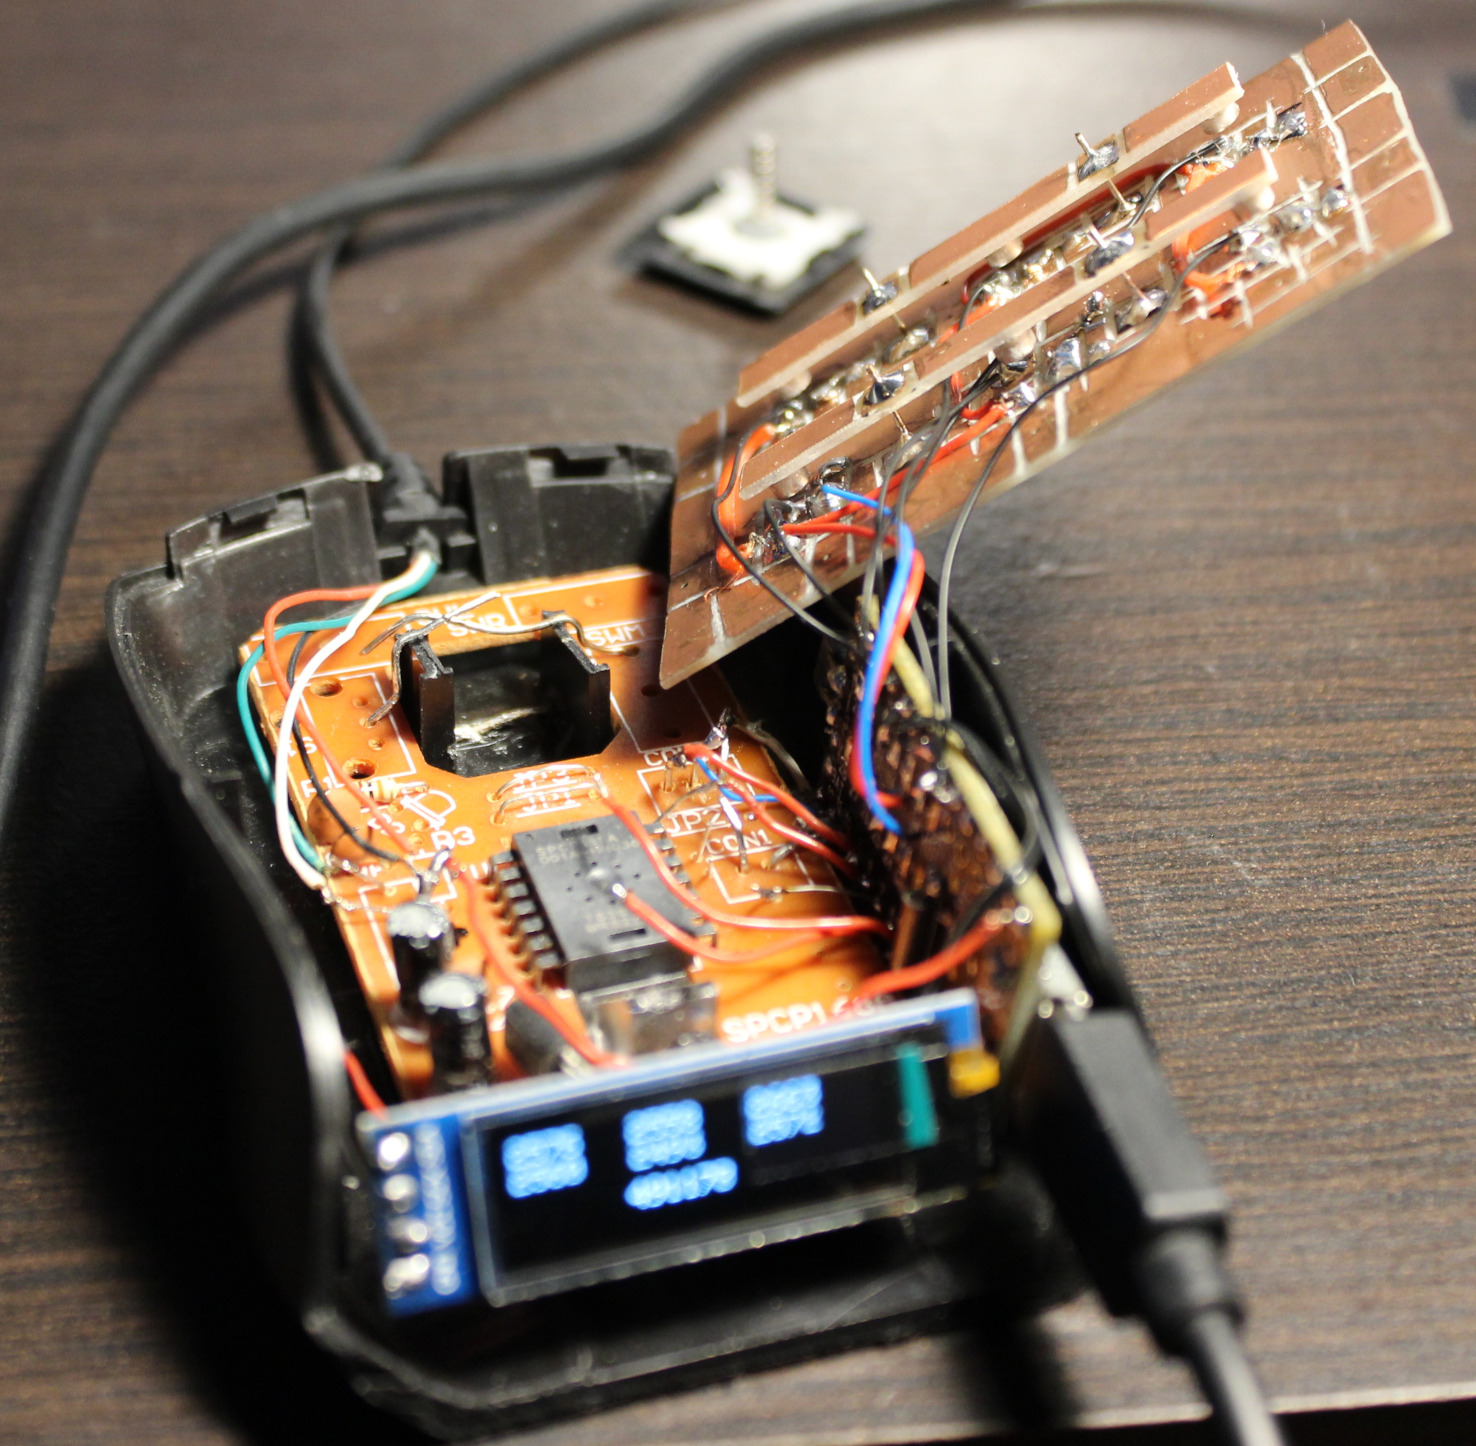
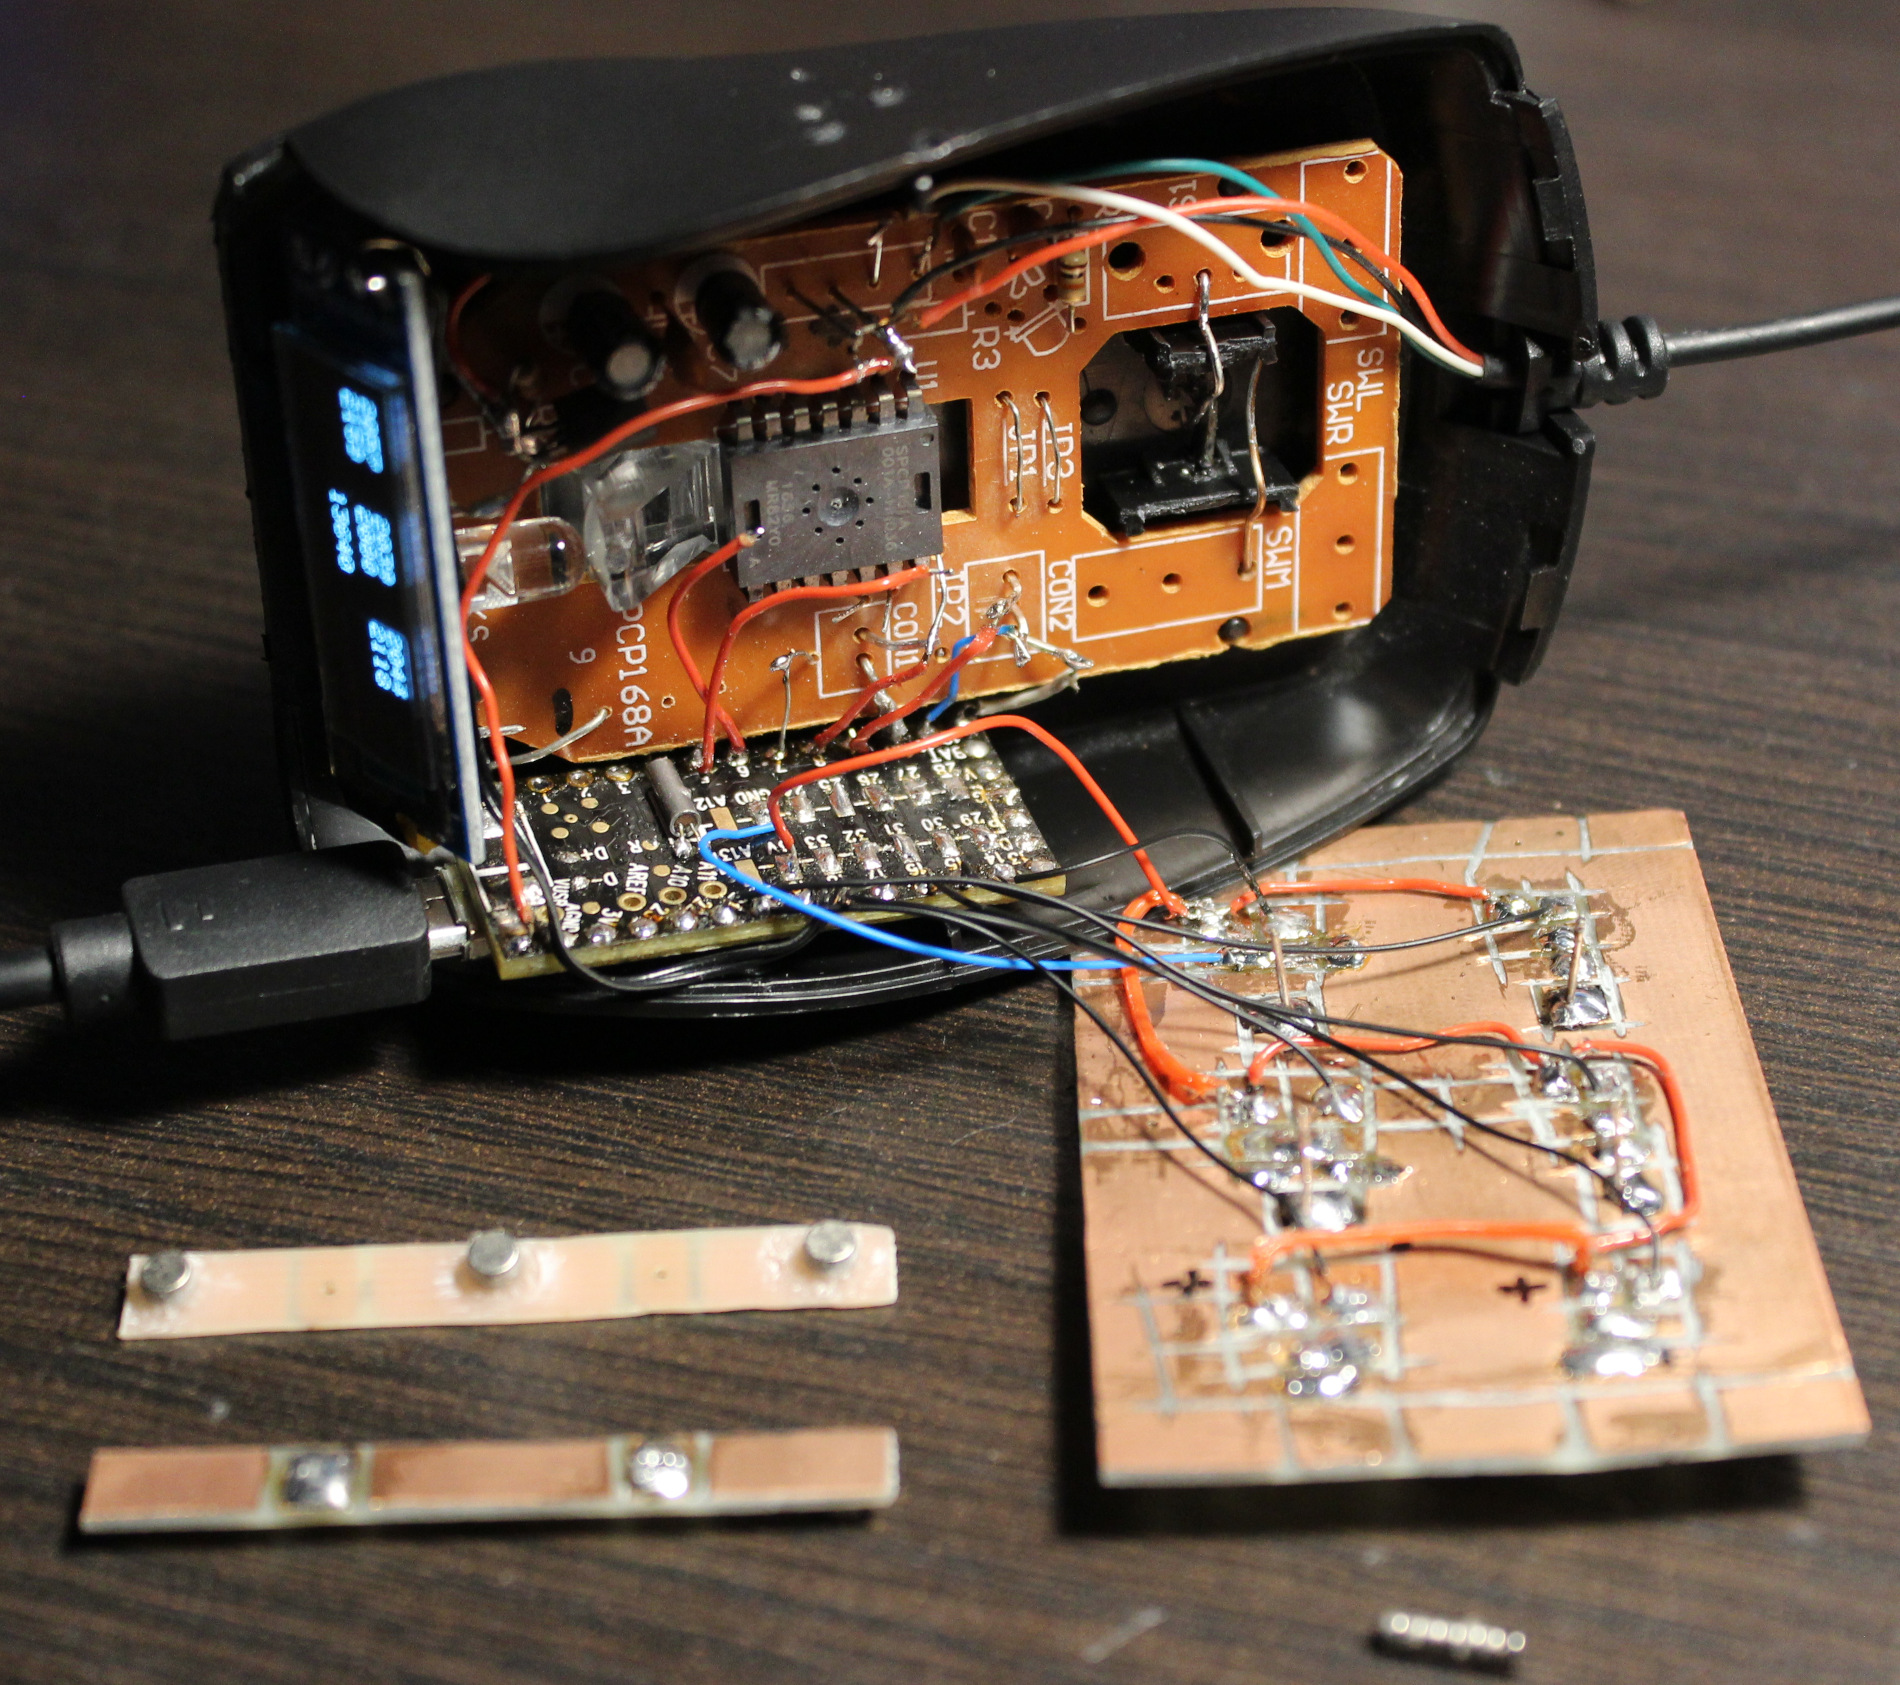

⌛Conclusions
Well, it surely is hard to get used to using it. I mean e.g. moving my hand from keyboard to mouse I can’t touch it or place fingers on these new keys, because that would already press them. That’s why this black plastic bar in middle and plastic cover are crucial, it’s the best first place to touch and rest fingers on it.
So it will take a while. But I don’t want to use my old mouse already. It was nearby for a day and then vanished.
It was a good project for me. It also took me a longer while to figure it out and finish.
I also wanted it done first before going after making a whole PC keyboard (100 not 6 keys) with such sensors. Probably my other design though, PCB made keys not this commercial scissor key crap.
I’m pretty sure anyone using just a default keyboard and mouse (with stupid 50 gram switches or even mechanical ones, that don’t go below 30 g I think), would likely go nuts with this mouse.
Would I recommend it? No. Unless you know for sure you’re after the lowest actuation force in keys. And that could be the case if you have an injury that makes it hurt to press the default (and so stupid) keys. As for me, I want to avoid injuries and fatigue (from using way too old, ancient switches and keys continued just for profits). That’s why I use it.
It is a joy to use even if tricky (you can’t touch this🎵) and a relief, less tiring when repeatedly. It was way to many times of me pressing the freaking mouse wheel (instead of an extra button) or even tedious scrolling. Instead I got a touch-key (for middle mouse), same like all other 6 now. Also keys to touch and hold, when I want to scroll mouse, not turn wheel repeatedly like a knob or something. I can even touch the Left button on mouse nearby with my smallest finger if needed. Lastly the “lift off” button on side is honestly like a must for each mouse. I just need to move it closer for thumb.
The mouse weighs about 48 gram now, less than my previous half of old Logitech G5 which was 62 gram (after cutting off, visible on right of picture here), so it’s also better for me.
I have plans for G5 to also rework it same way. I already removed lots and checked that 25 gram is the minimum working stuff, that’d need my keys and other stuff.
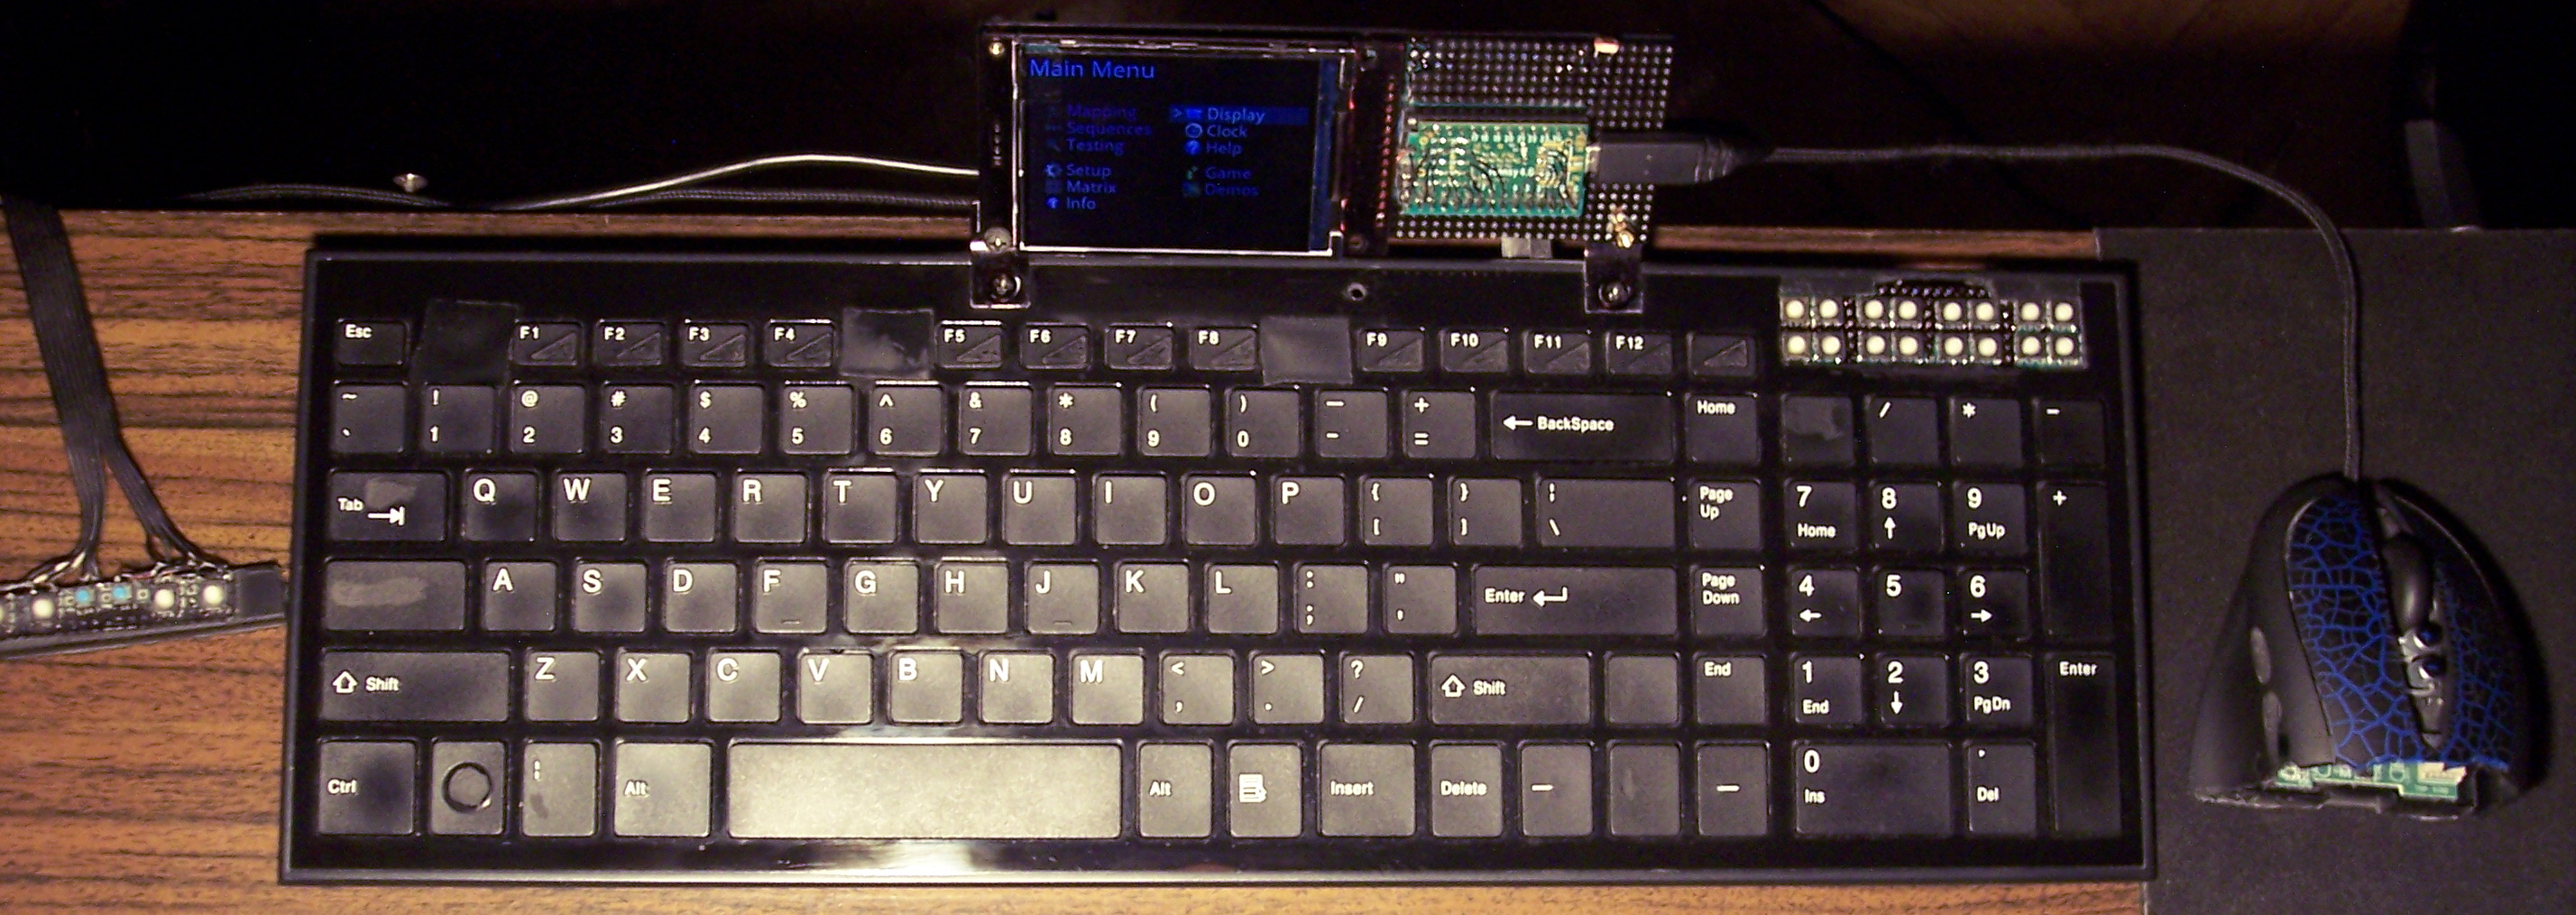
There is also one thing I didn’t do: making it more ergonomic, e.g. having tilted keys at some angle. Well that’s for future project or update.
DIY
Lastly, and obviously this thing ain’t pretty. Was never a goal for me.
It rather screams DIY. And it’s IMHO the only solution, not anything commercial. With DIY I got parts reused, I can fix, adjust or modify it later, etc. I set the budget (or price).
It gives freedom and low cost. It promotes learning, not addiction to buying (consumerism).
And most importantly for me: it makes it possible to have stuff that isn’t commercially available, and probably won’t. Crucial everyday useful things and software.
I recently found this channel (mainly DIY RC toys) very inspiring and enlightening. There are plenty of DIY projects now e.g. on hackaday.
The project doesn’t require 3D printing or company making PCBs. Surely it could.
But for me a 3D printer seems nowadays like a too popular, way too expensive tool, or toy even. And so many projects (e.g. here) just looking like a commercial for 3D printing. But yeah other times like a quick way of sharing your design with others.
I did PCBs just with my small drill, used with a dremel diamond cutting disc. I use it for cutting PCBs and for removing/trimming copper.
This way was cheapest, I didn’t need to pay any company, and I had all stuff already at home. Of course if I had to do 3 or more mice like this, I’d go the alternative way.