2021 RC Drift car 🚗
Modding
⏱️Overview
At end of 2021 I bought a WLtoys K969 RC drift car. I will describe here all the modifications I made to it. Also with few review remarks about it, less important comments and rants are italic.
▶️Video
Video here. Drifting in empty office on carpet and kitchen floor (best of montage).
Camera was just from old phone: LG K10 2017
Car camera: Ion Snapcam LE, like mentioned below
Software used to for video eiditing: Kdenlive on Debian GNU/Linux with KDE
Picture gallery at end of page.
📜History
I guess I should write this chapter here, since being almost 40 requires (an attempt for) an explanation🙂.
Well, as a child I only had a few (probably Russian) cars from 80s, Two did have a cable from controller, and the one that was radio controlled had only 1 button to go backward, which also made it turn. Yeah I also can’t even.
As a teenager, at some point I got an RC car. It had rear wheel drive and used 27MHz. I think I drove it only 2 times. It was fast and meant to drive outside. It had rubber tires so it stuck to asphalt and would rather flip over instead of sliding. It seemed kind of hopeless (compared to today RC toys) and felt like something is missing.
✍️Motivation
In the mean time I got interested in WRC and 4WD on gravel, played a couple of such games too. And finally made my own Stunt Rally. There was a time when I was a lot interested in tires and car simulation.
Recently, once a while I was watching various videos about RC toys. Technology moved forwards a lot in them too.
This way, I found out about RC drift cars of 1:28 scale, and after days of watching videos and researching what would be cheap, but still good for drifting at home (or office) I found this WLtoys K969 and saw how it drifts at home.
I think I watched later other 1:28 cars (like Mini-Z, Mini-Q etc.), and realized that even thought they are much more expensive they aren’t much better. At least for me as a first car, I don’t intend to drive RC professionally or on tracks. There are also cars and people who prefer RWD only drifting (front wheels move freely), but I was never a fan of that.
So I think this RC is a nice, real life example, even if in smaller scale. It surely reacts and changes direction much faster than real cars. But is certainly less complicated, has no: LSDiffs, torque curve, gearbox, central differential, etc. In this RC all wheels rotate the same, electric motors don’t even need gearbox, suspension has only stiff springs, and there is no flexibility in tires, since those are from hard plastic here.
🛠️Modifications
So the things that I changed and added first to last are as follows:
- Moved the pin from servo‘s steering arm higher for more steering angle range.
There is a video here where it was easy..
But, a huge but here, as it turned out (for me) the upper hole for this screw is wider and I couldn’t just simply use the same screw from lower hole.
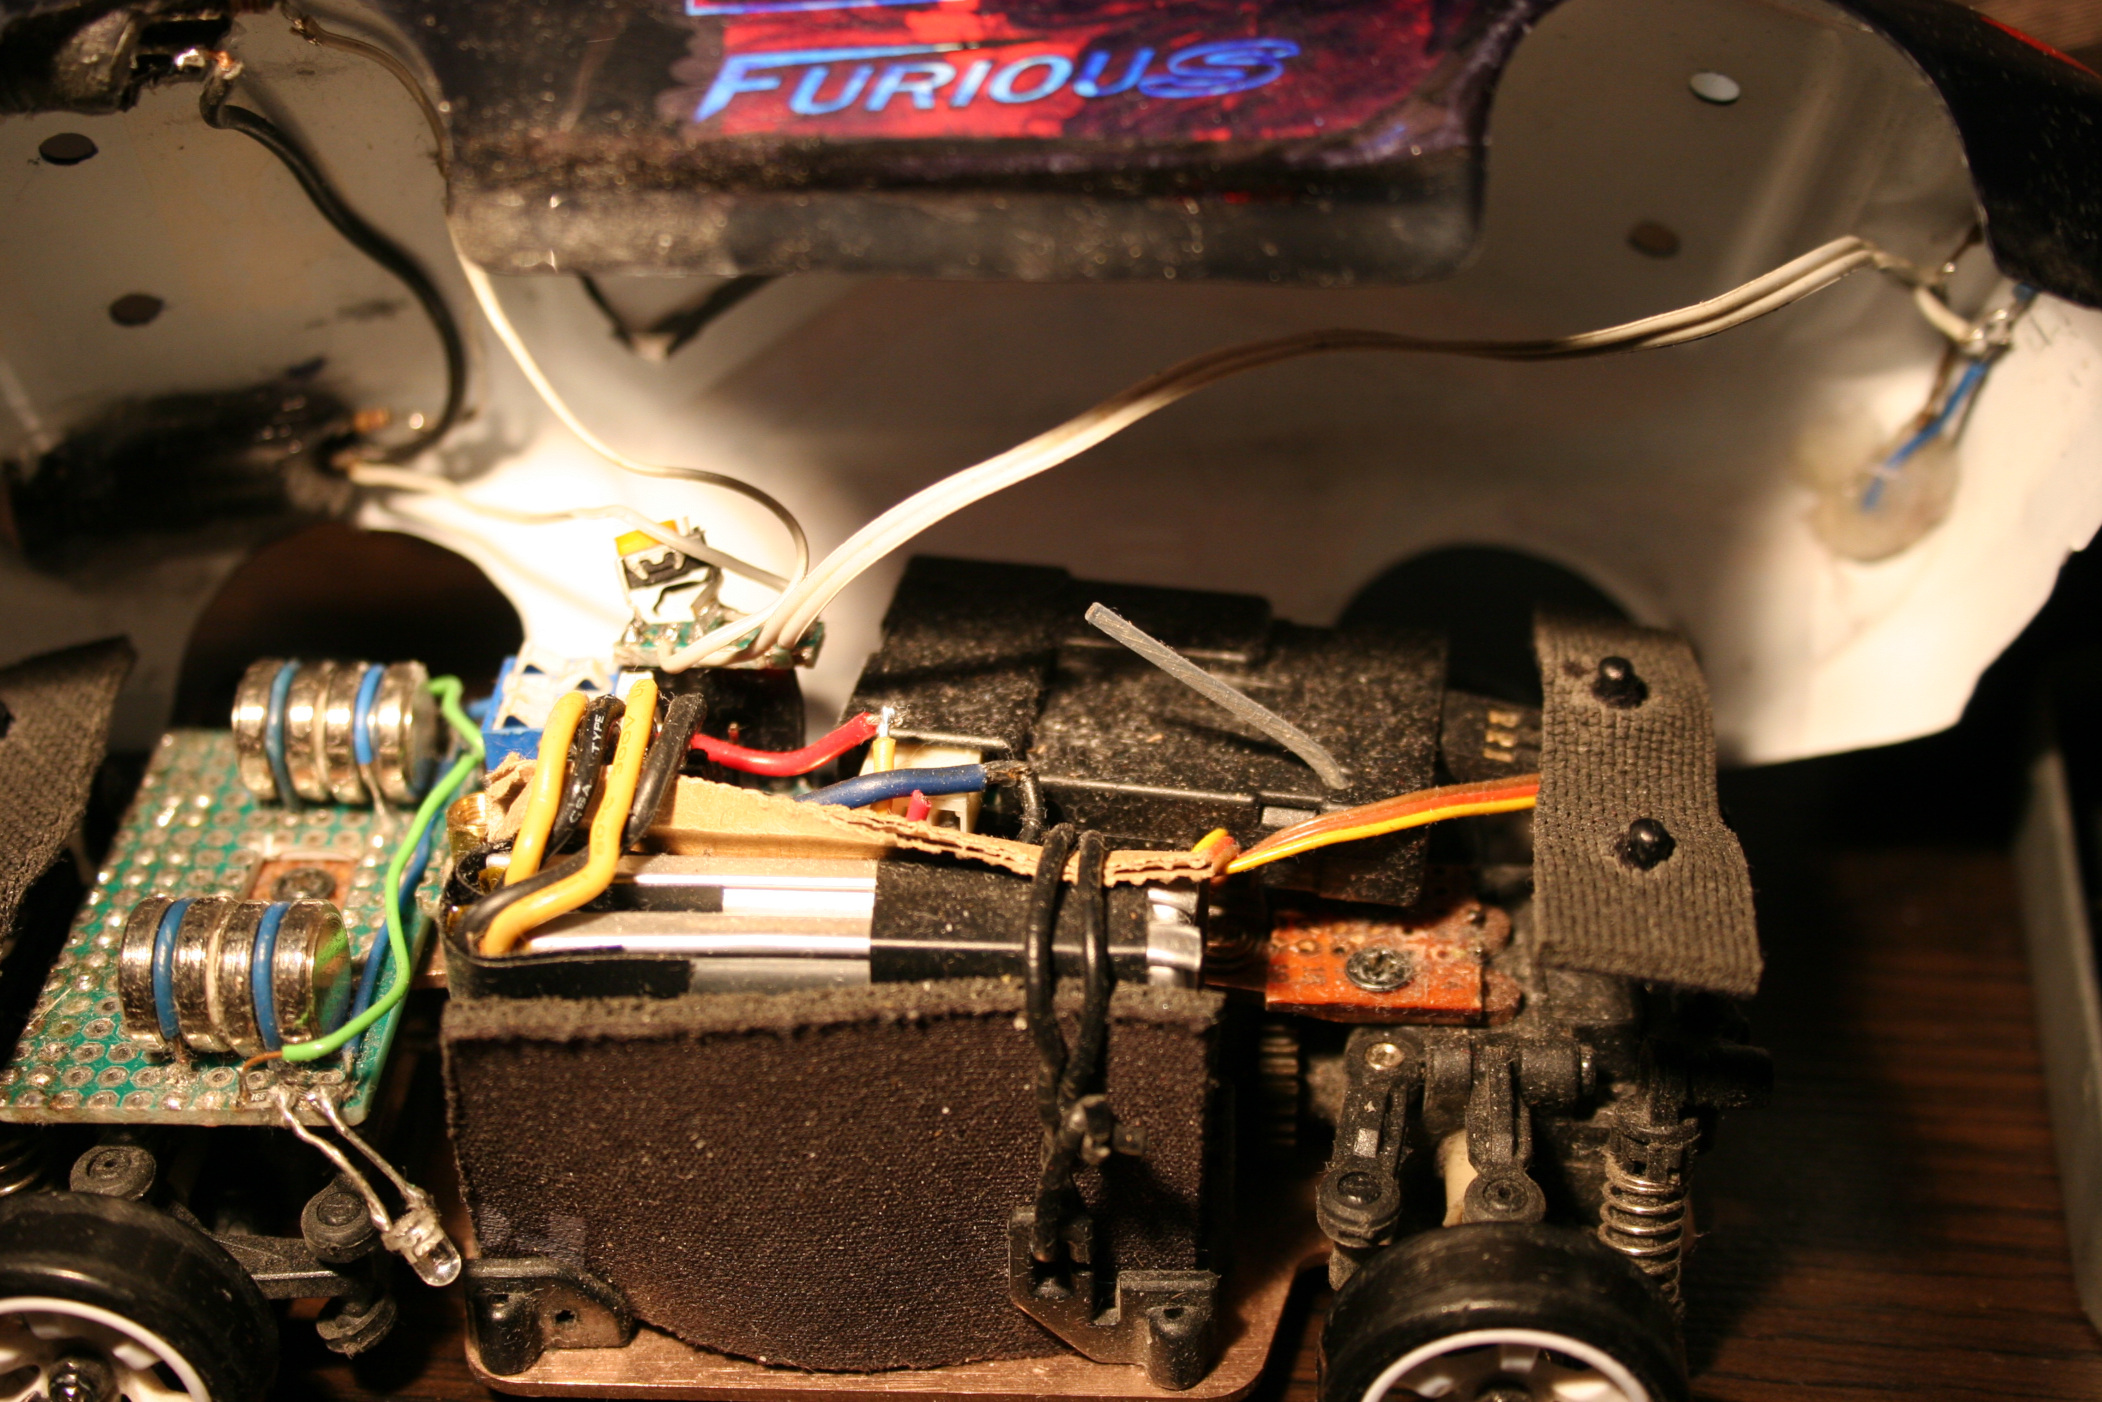
Thus I had to go creative to achieve this. Since I soldered a lot, I came out with a solution of putting few wires together for right diameter, then soldering one end to a tiny PCB part (with 1 hole), and just bending 2 wires out of the other end. It still holds well. Visible on my last picture.
I guess this isn’t that important but is very good to have. Without this, steering angle is lower, making wider turns, but you still can make tight turns by drifting with quickly spinning wheels to oversteer (lose grip on car rear). - Made throttle range adjustable. How to video here. BTW I recommend that channel, it has many good videos including for this RC car.
This is actually the most important one. Without this it will be difficult to not spin out wheels all the time. For small rooms, throttle range needs to be even lower. Of course they made the car to be cheapest, and even didn’t add the most important adjustment to it, I didn’t need those side buttons, so why not having this instead. Meh, always have to make things usable myself. - Added more weight on front.
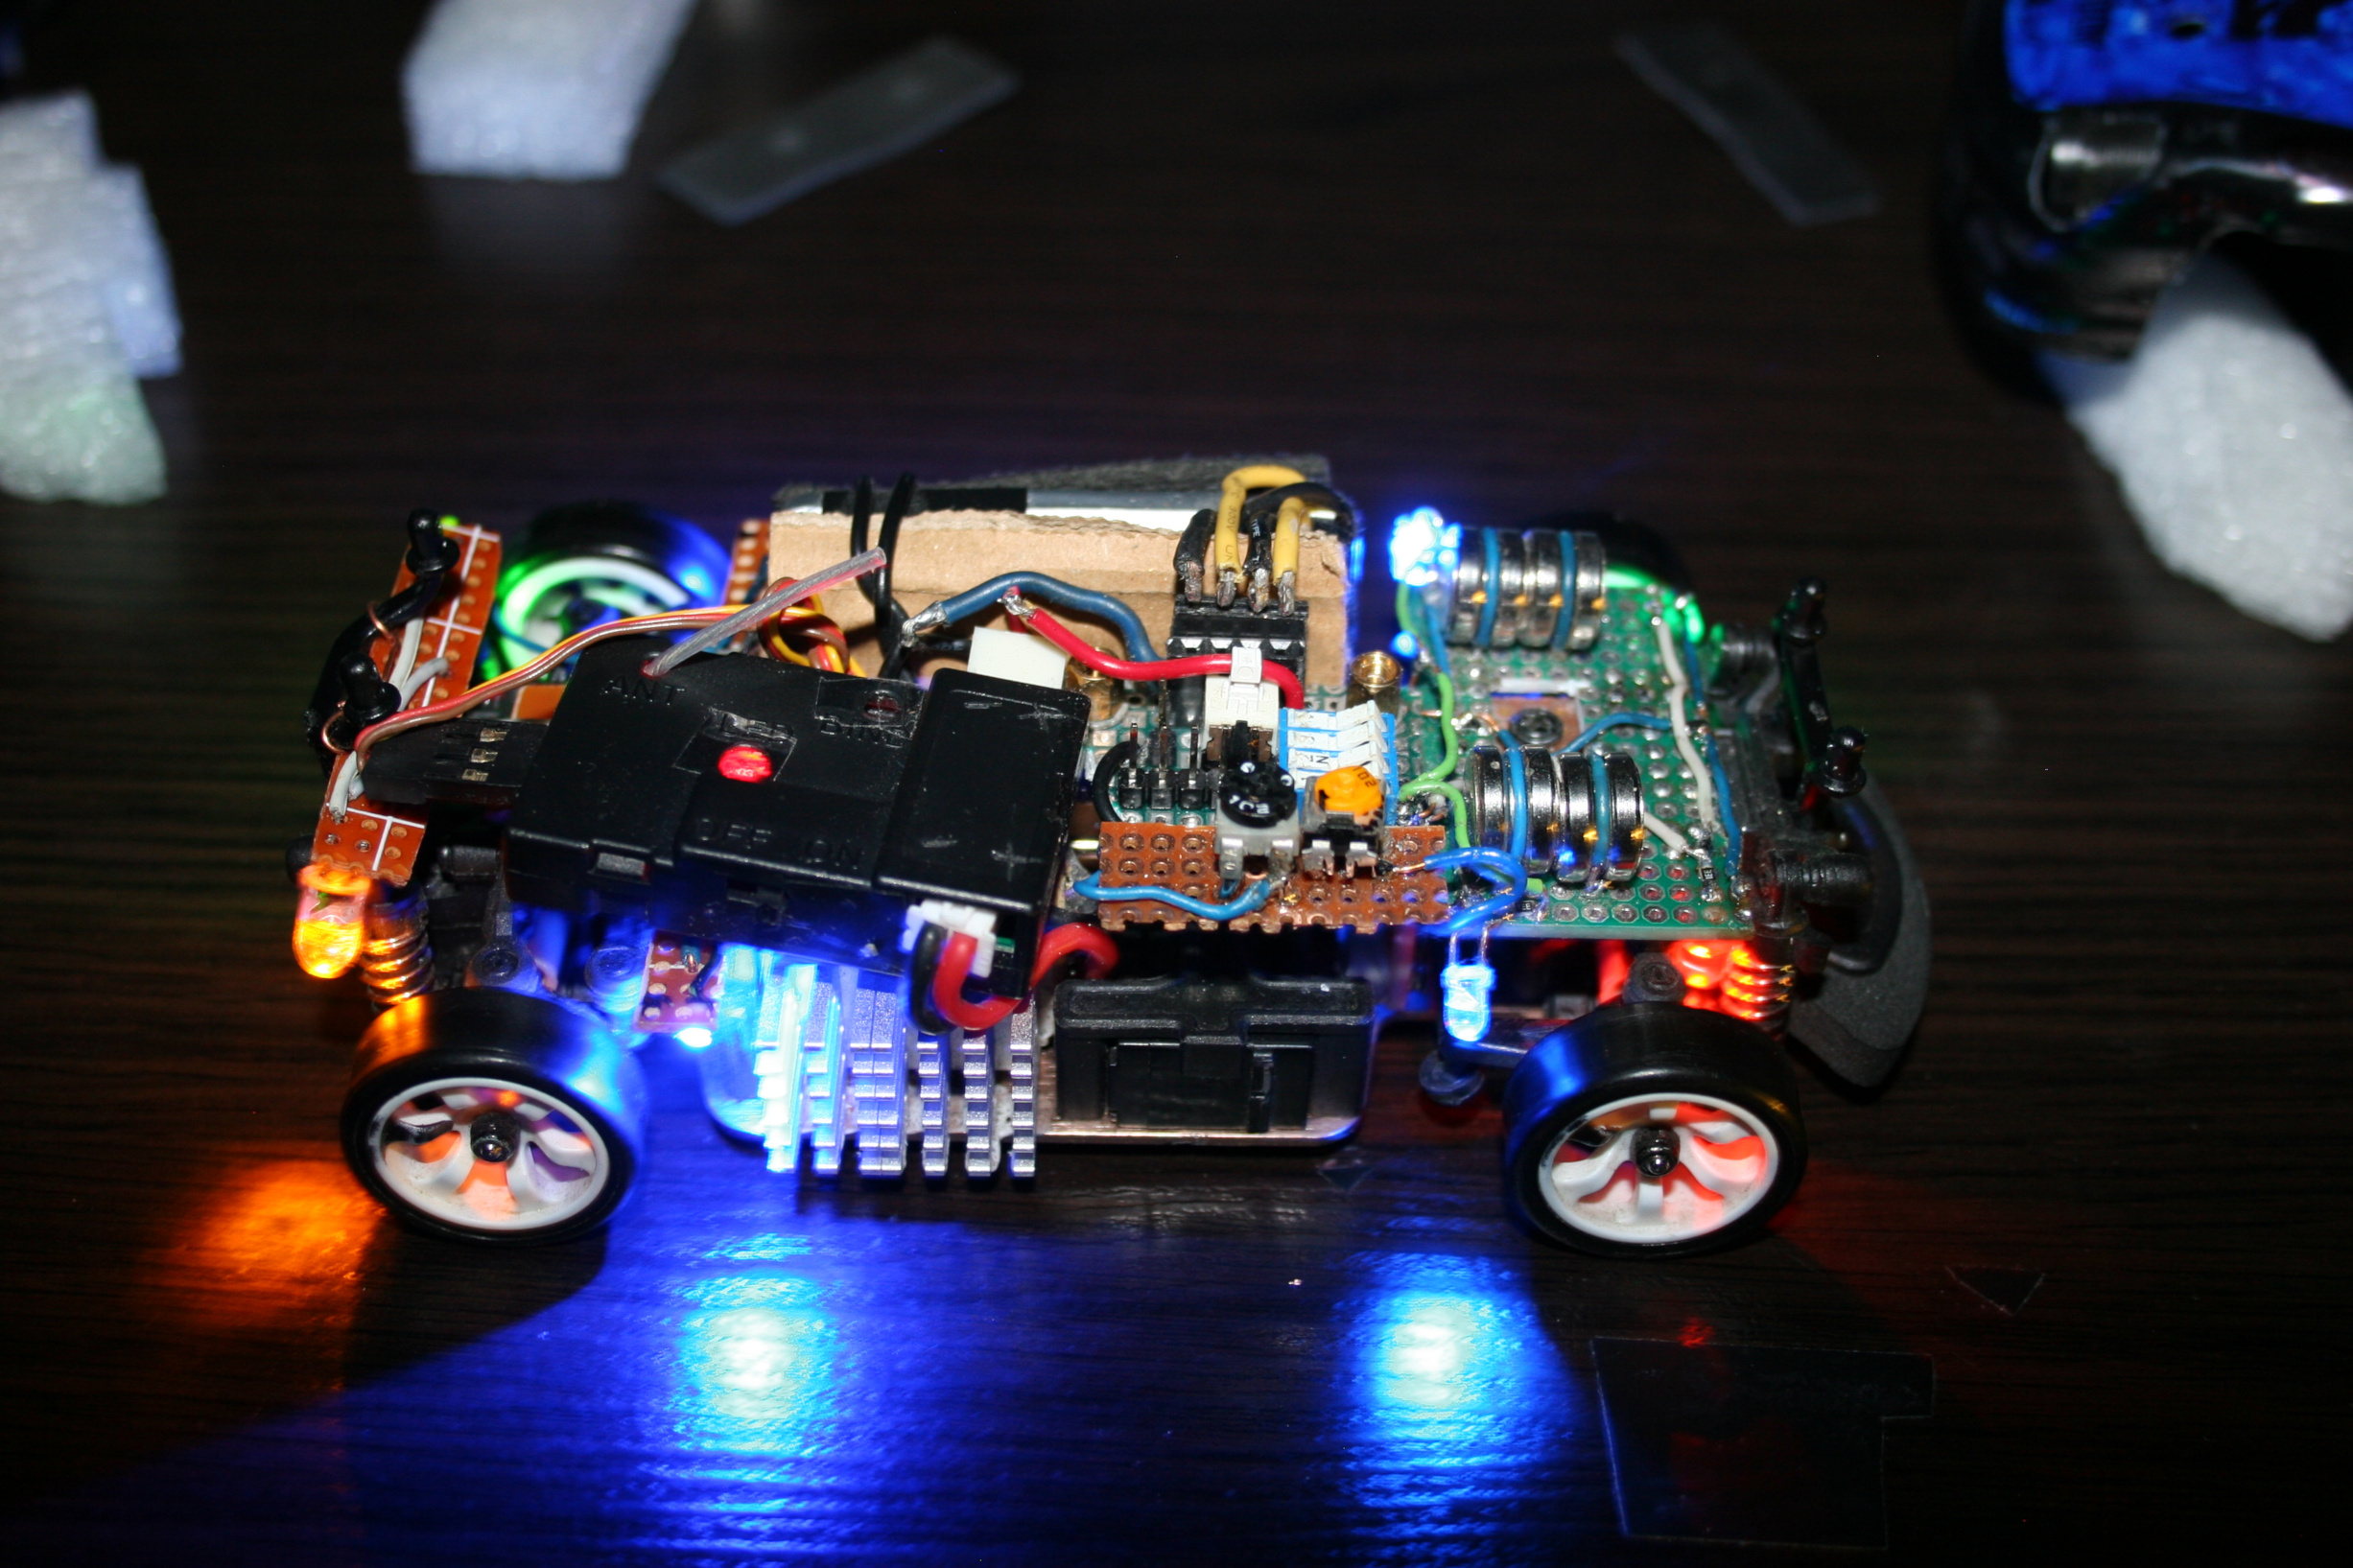
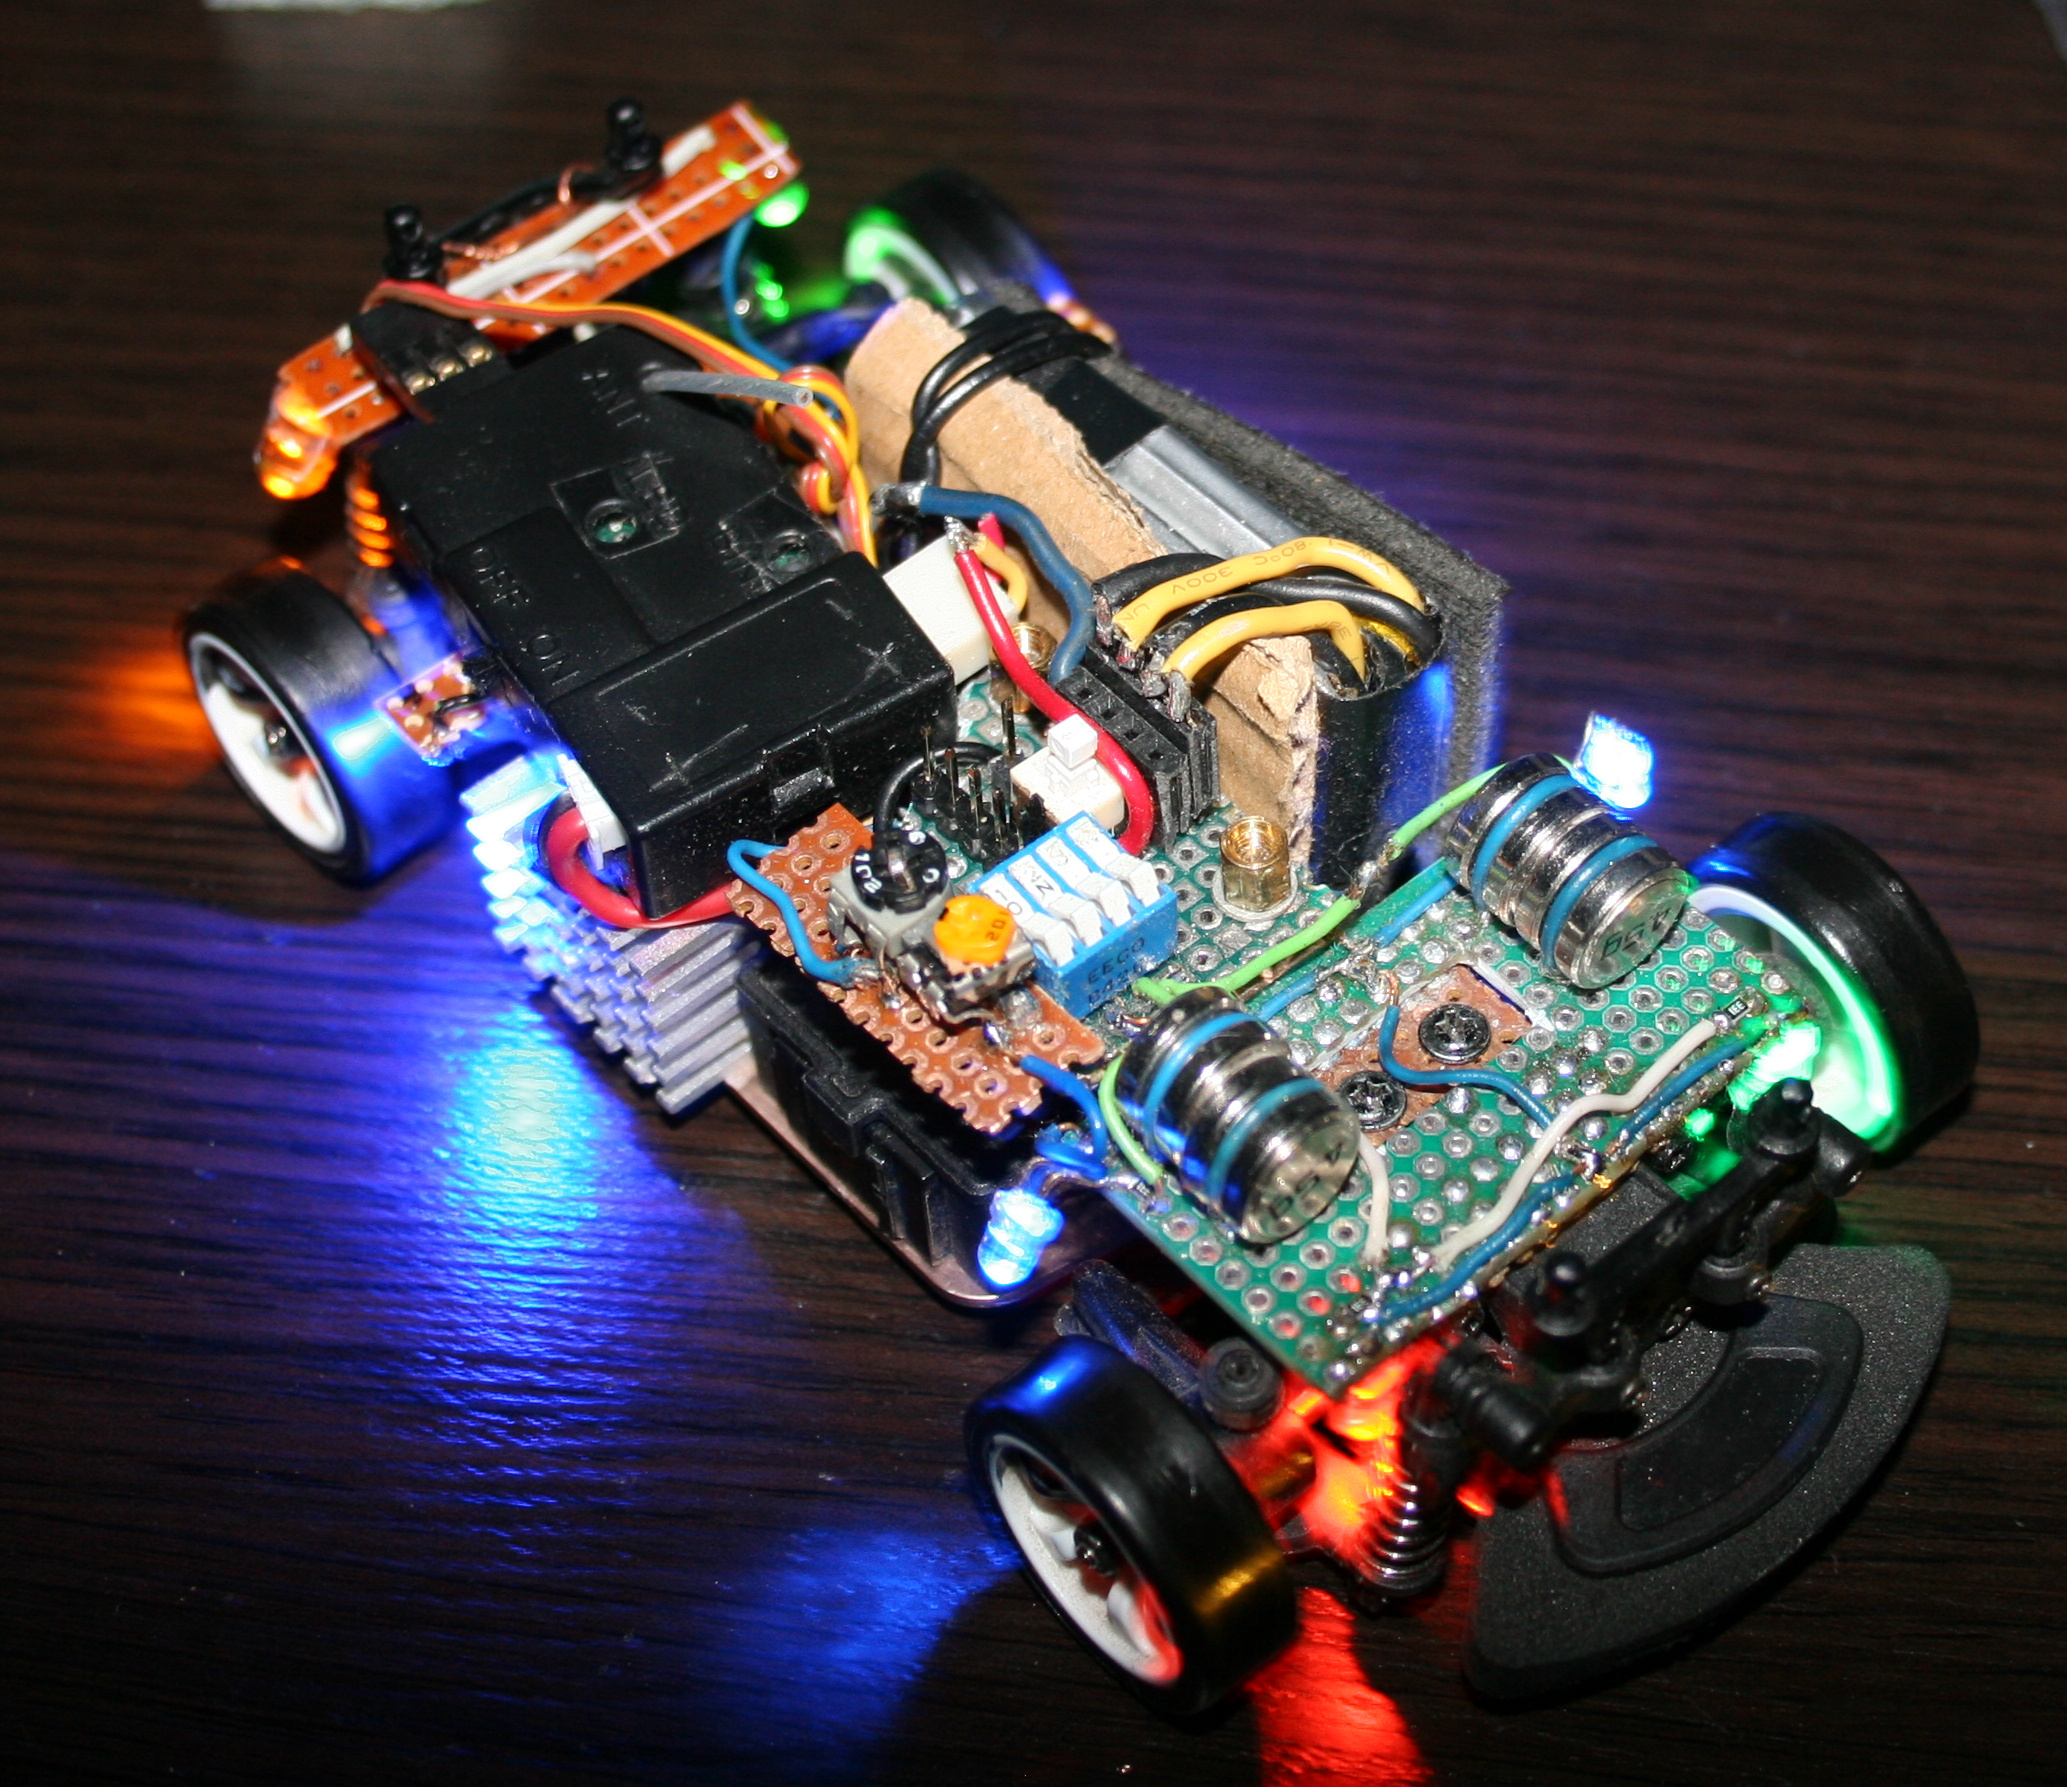
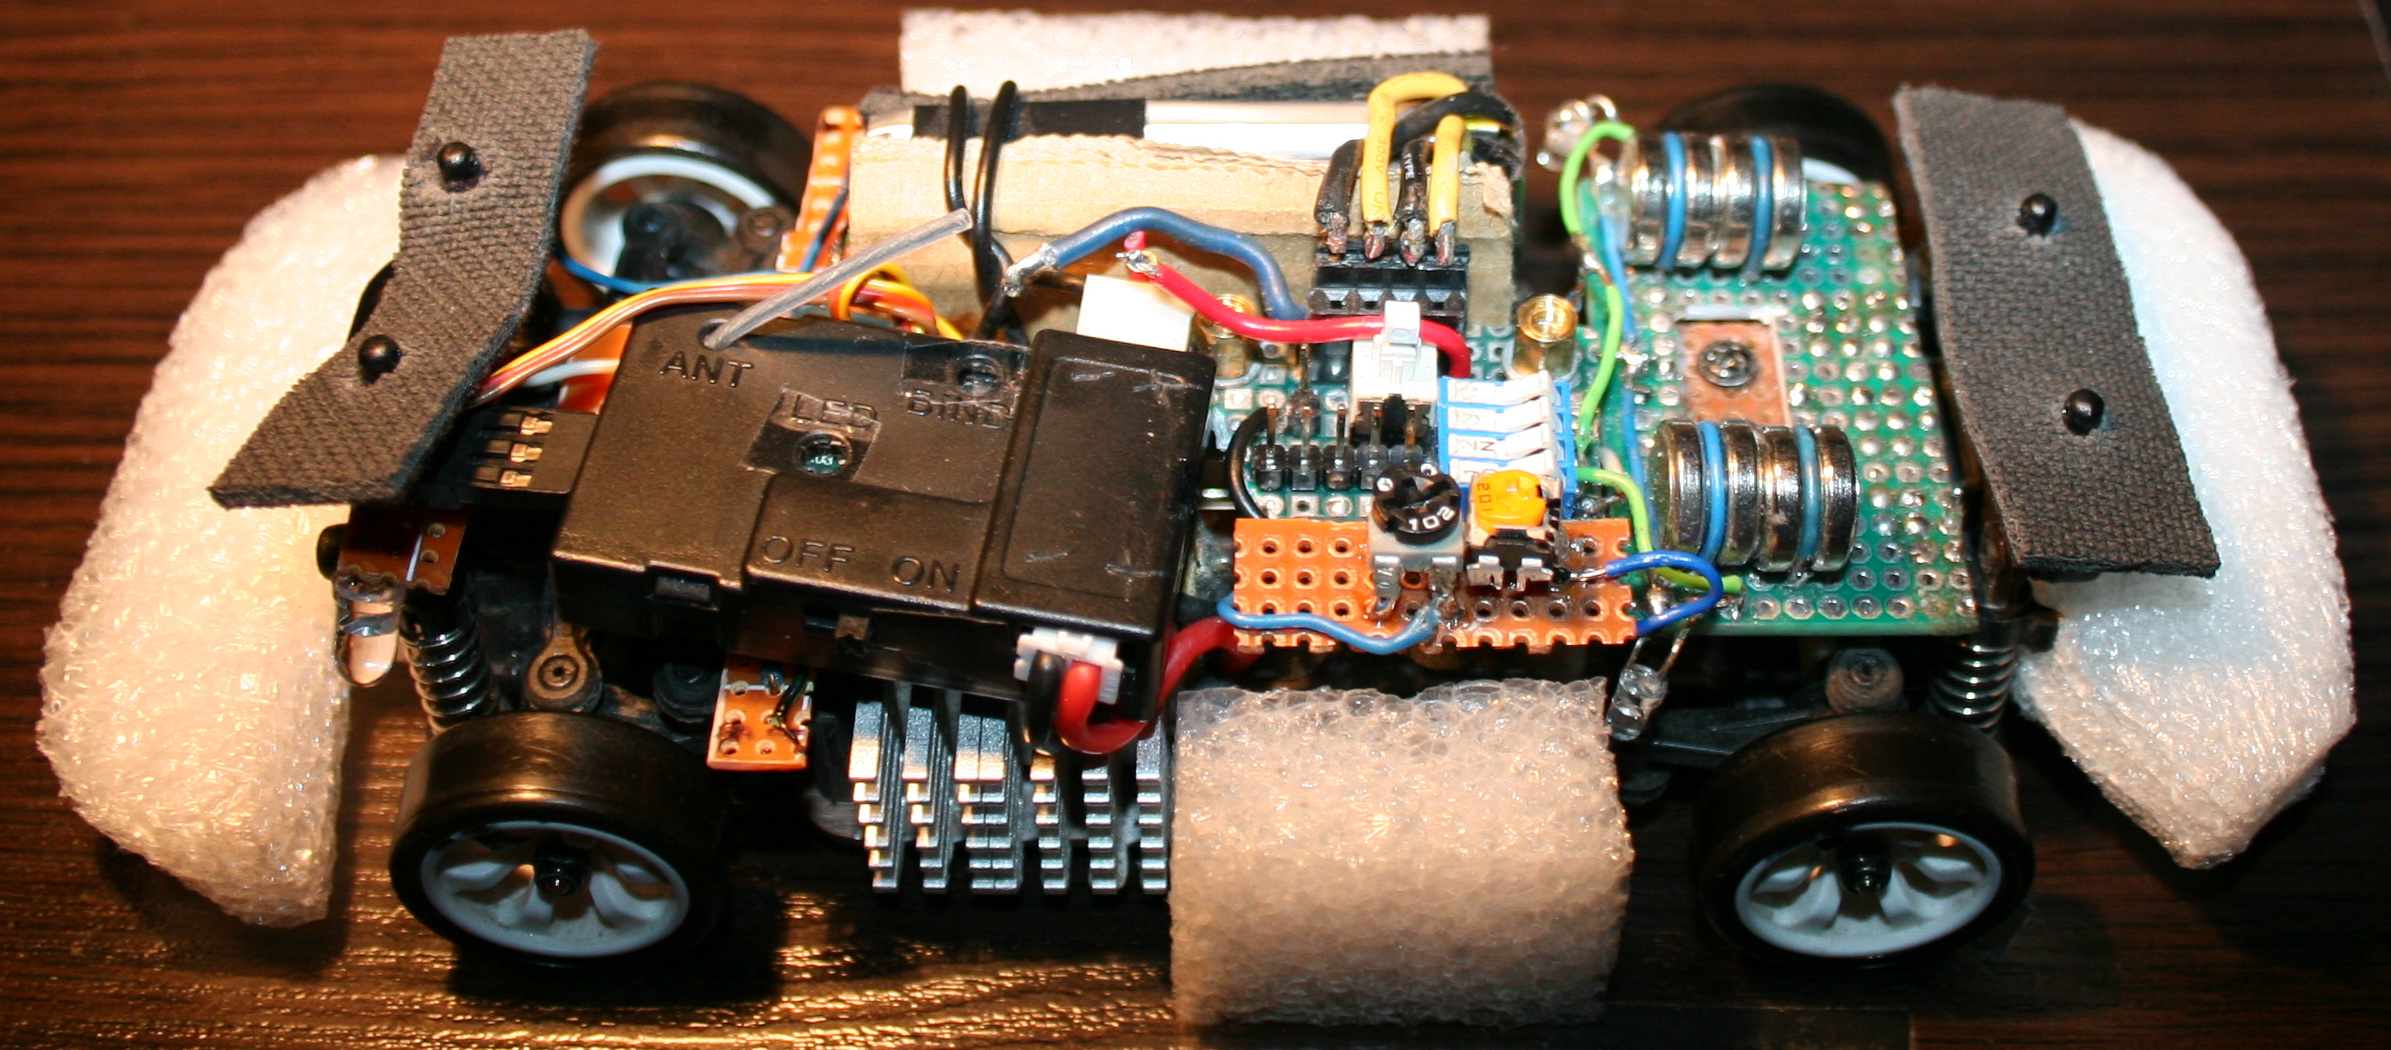
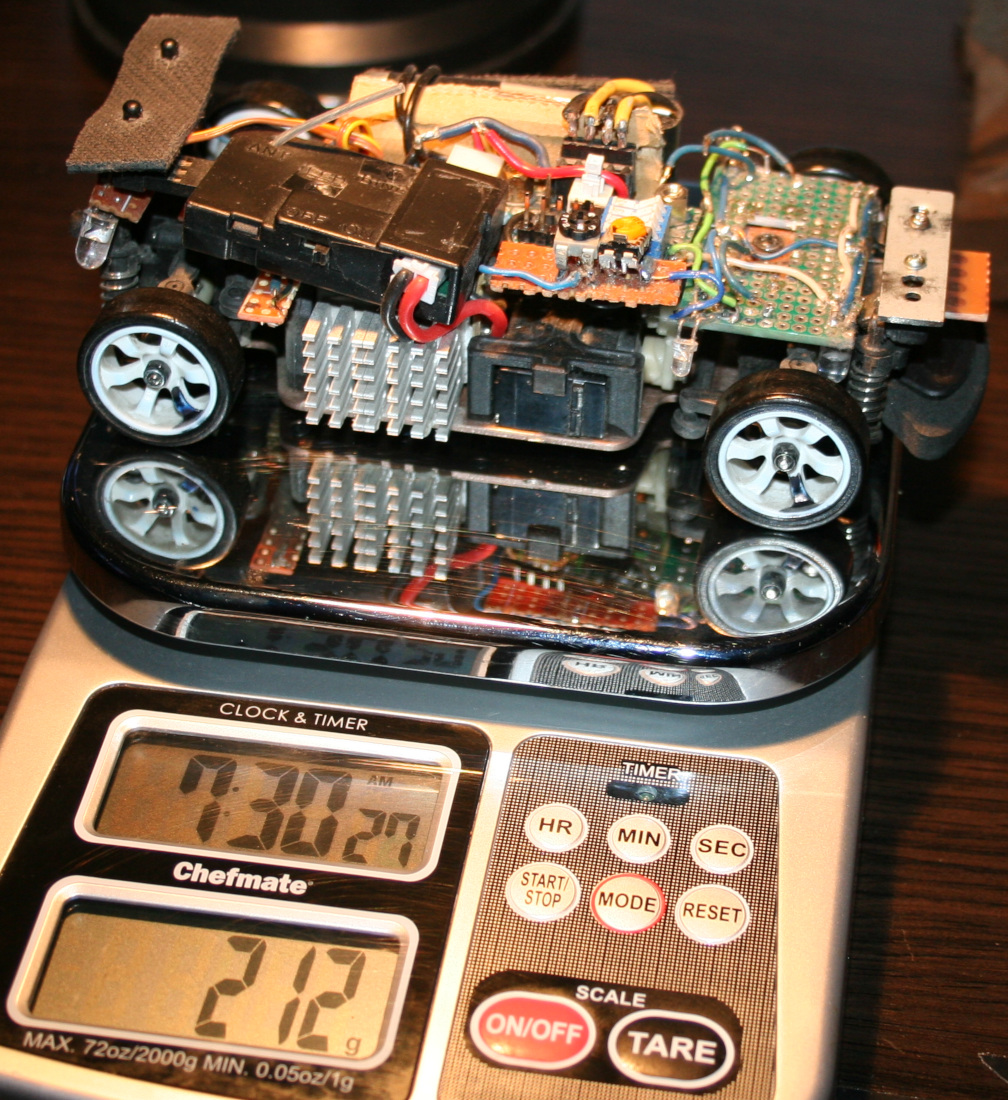
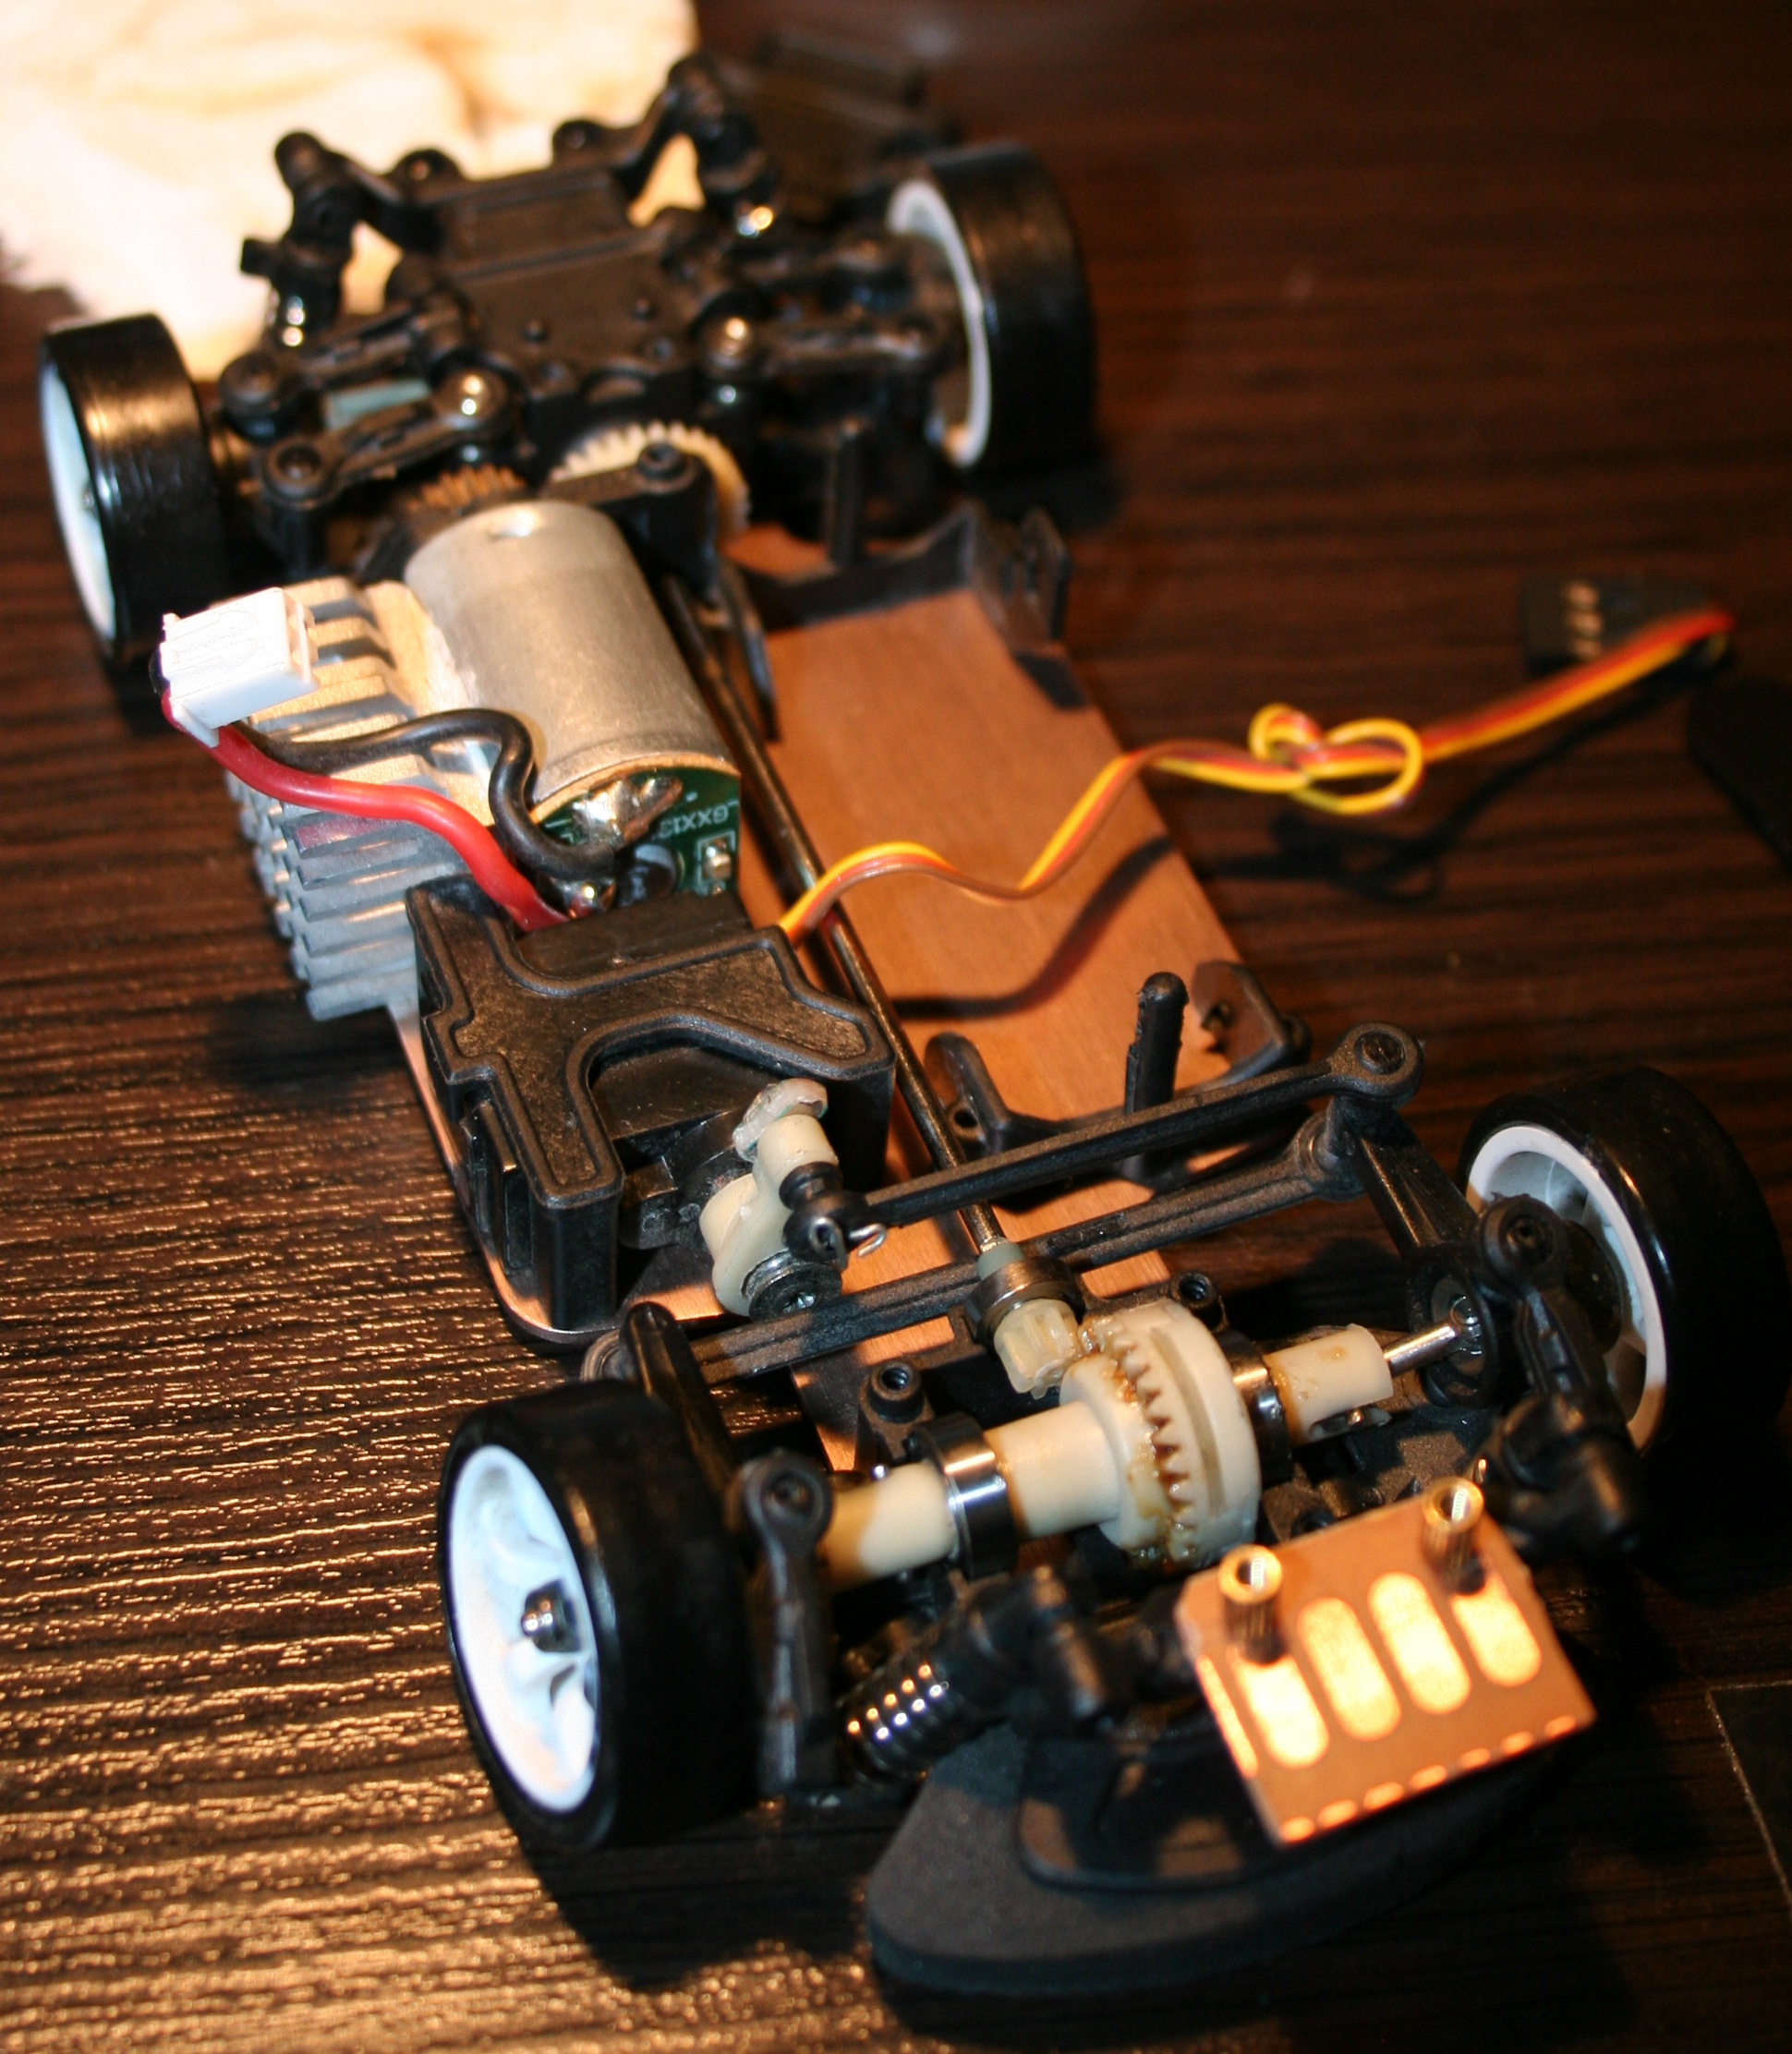
I cut out a universal PCB (my favorite kind) and made a place to solder down wires holding extra weights, they fit well. I used 4 in total, 2 on each side. One weights 4.5g, so this is 18g added on front wheels. This made center of gravity to shift (like 6mm or so) towards front and made the car oversteer even more, it drives better. There were some videos on doing that, just gluing 10g weight.
Isn’t crucial though, still can drift without this. My front PCB is also used for lights and wires. - Added front and rear car lights.
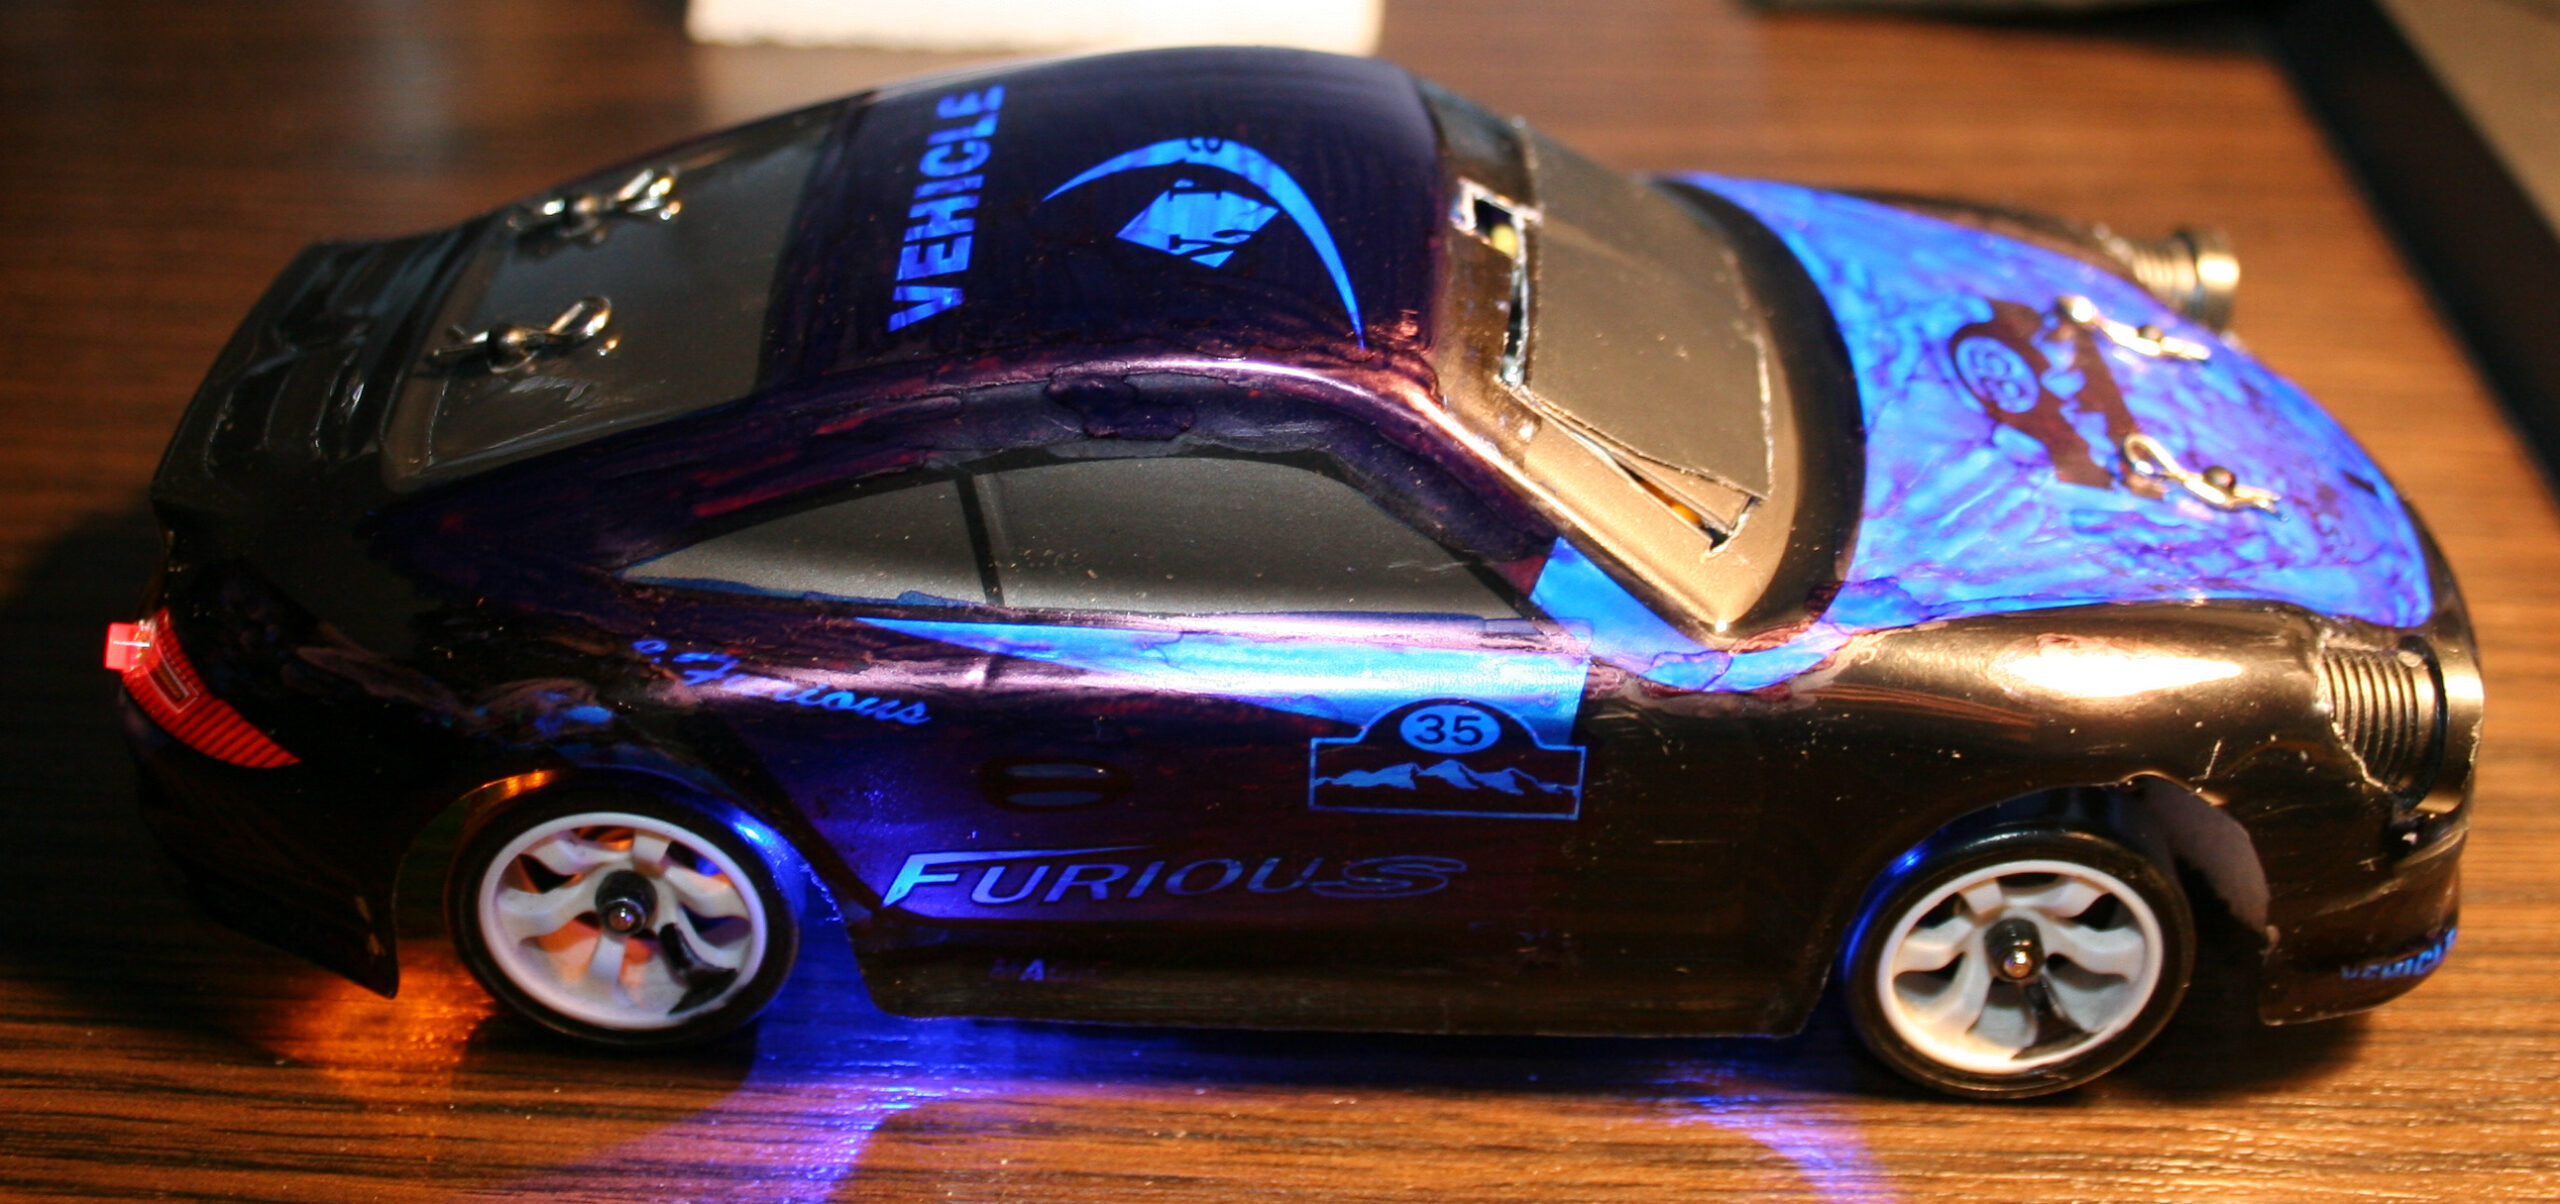
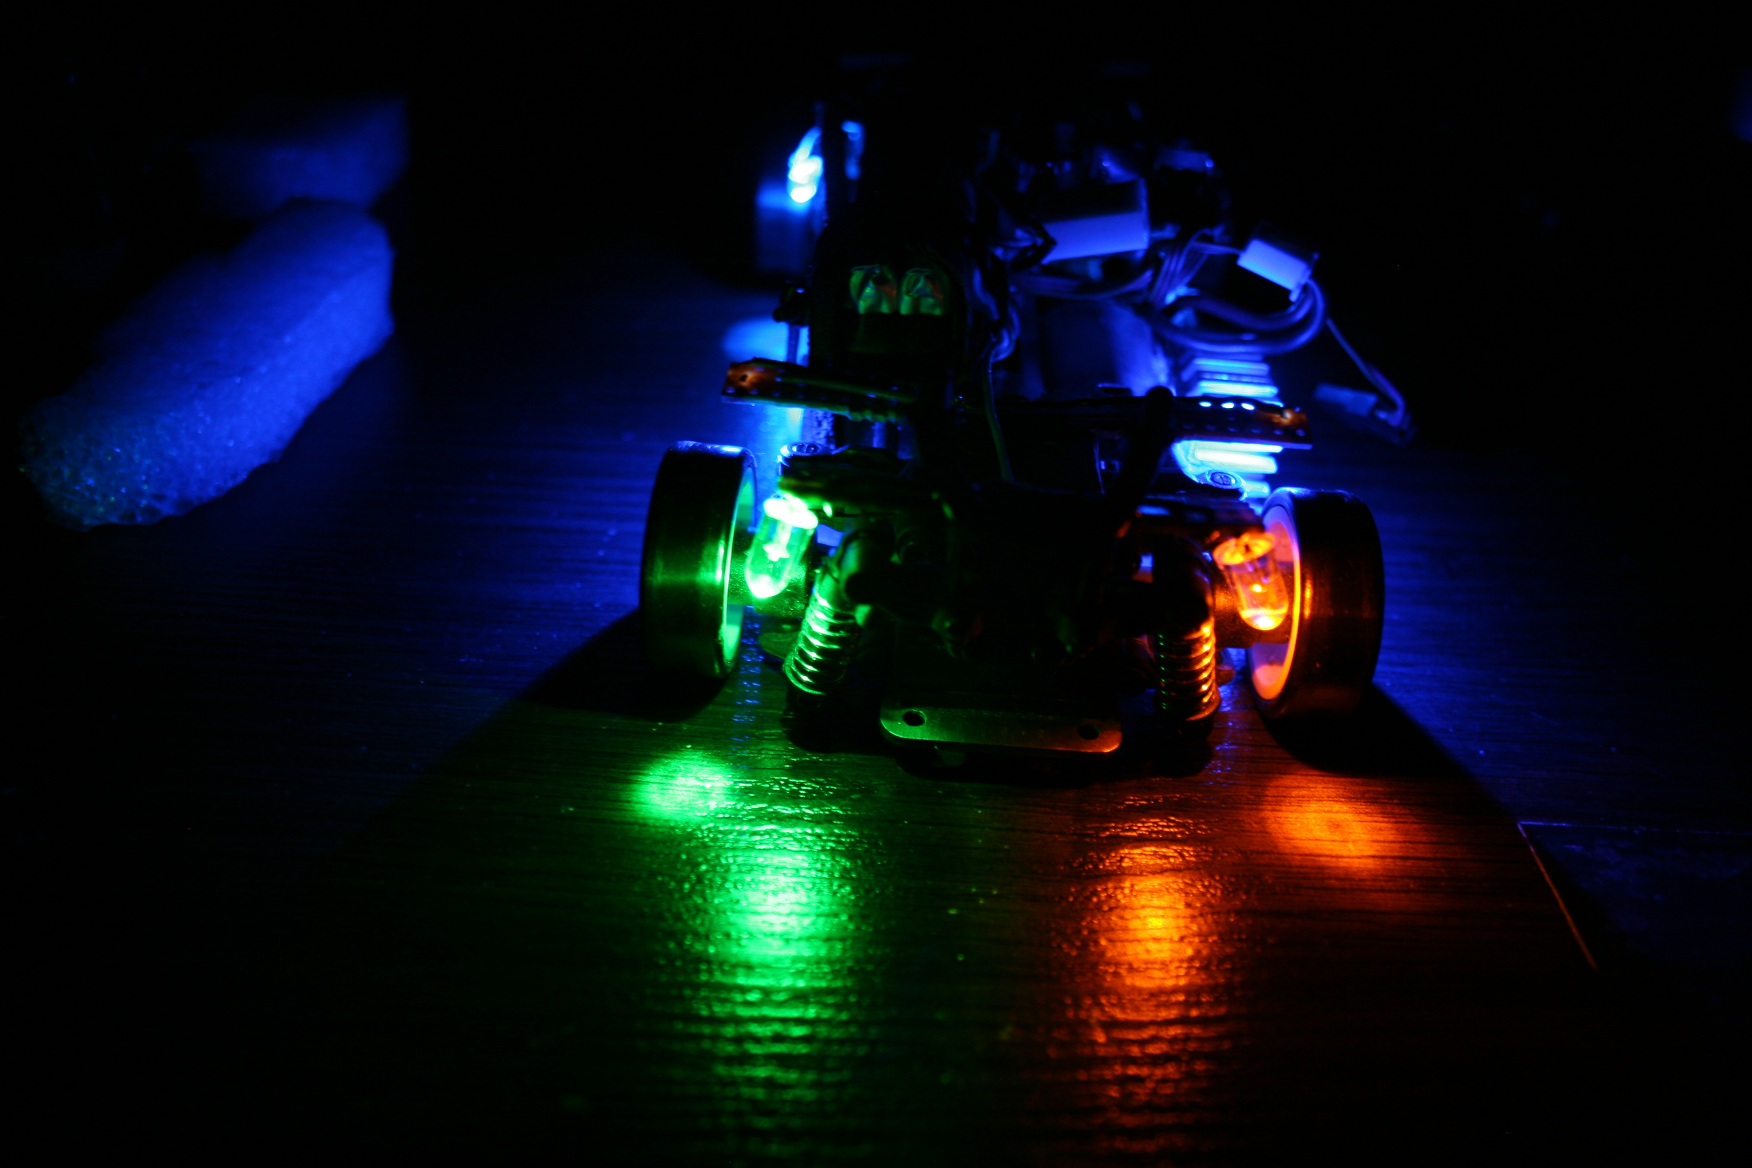
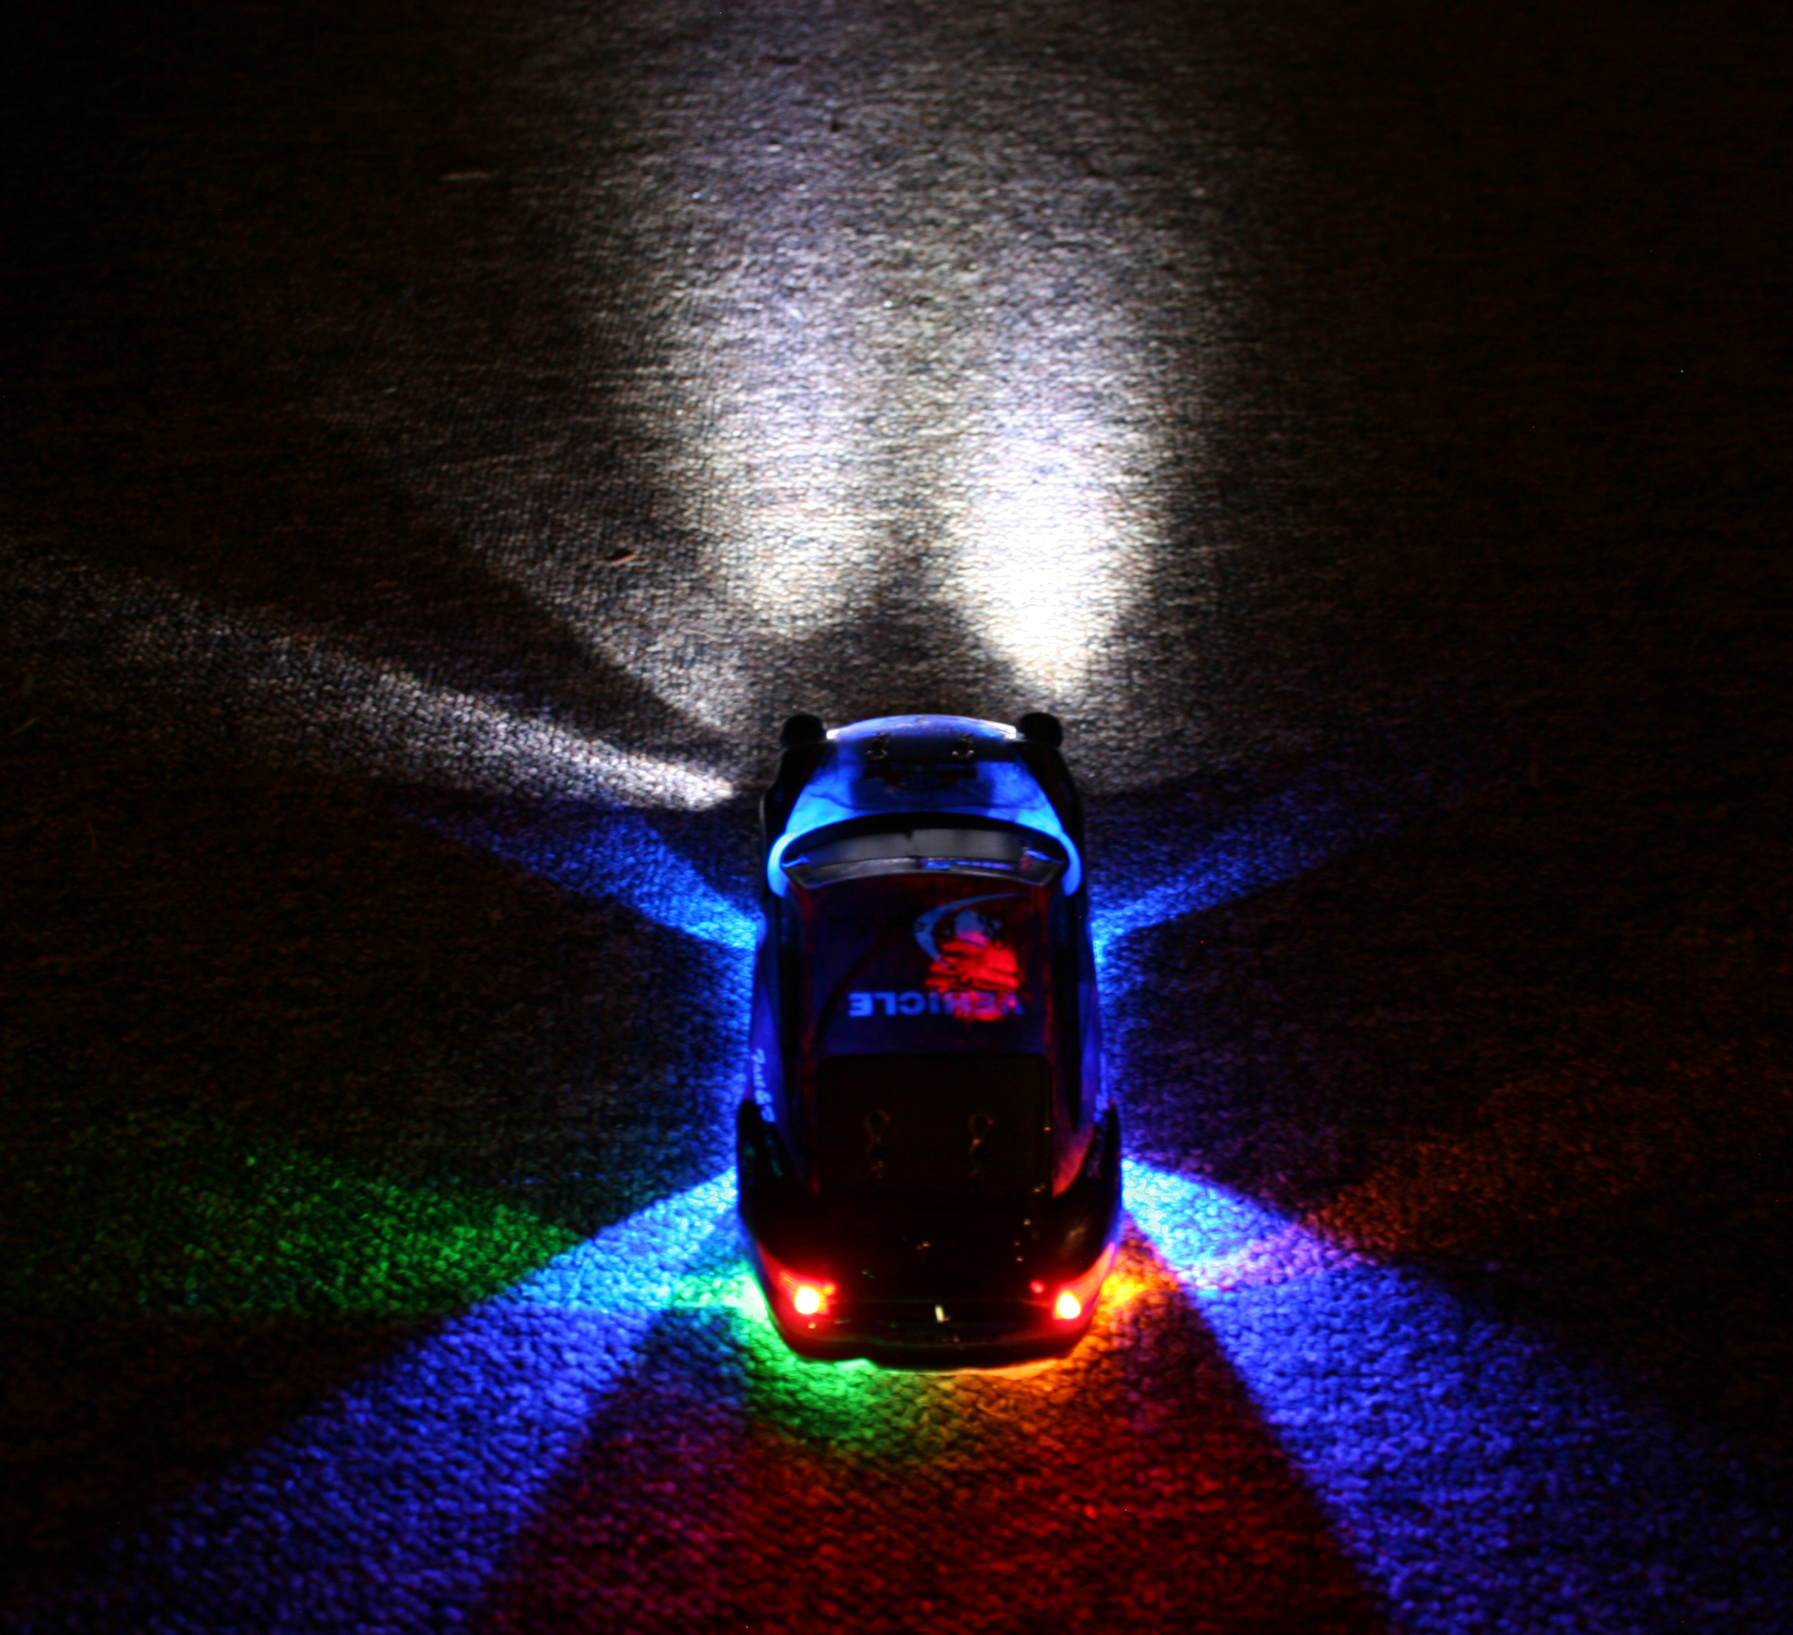
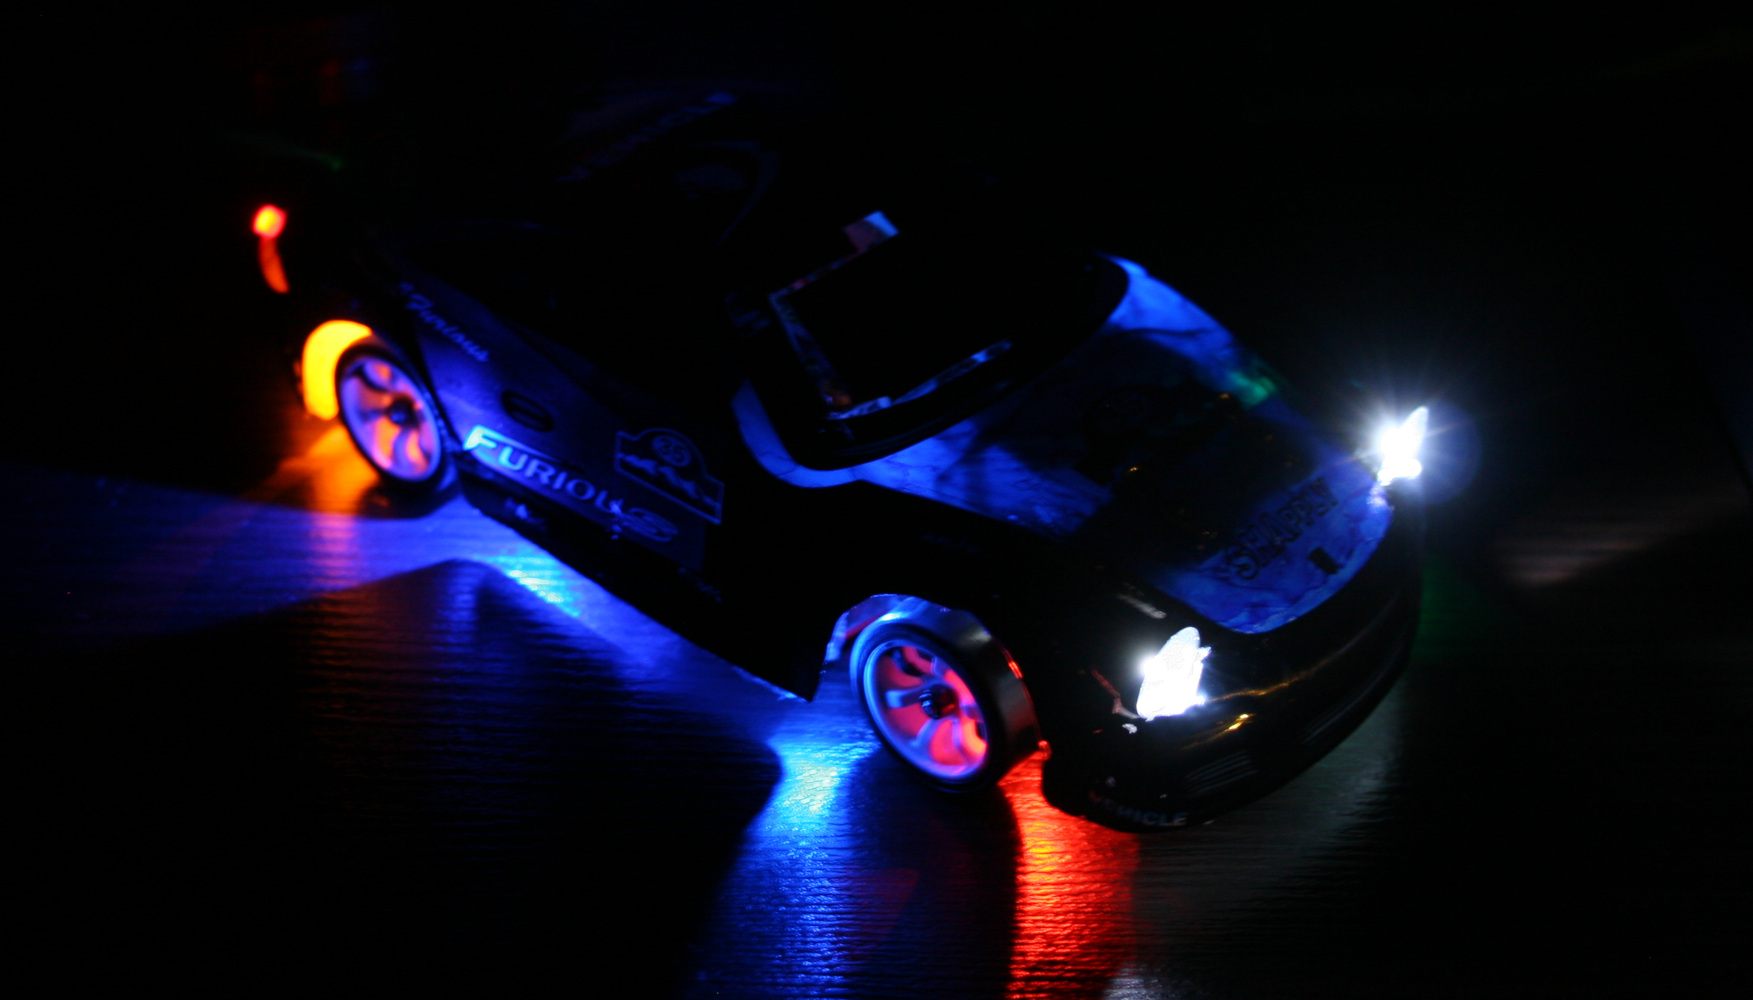
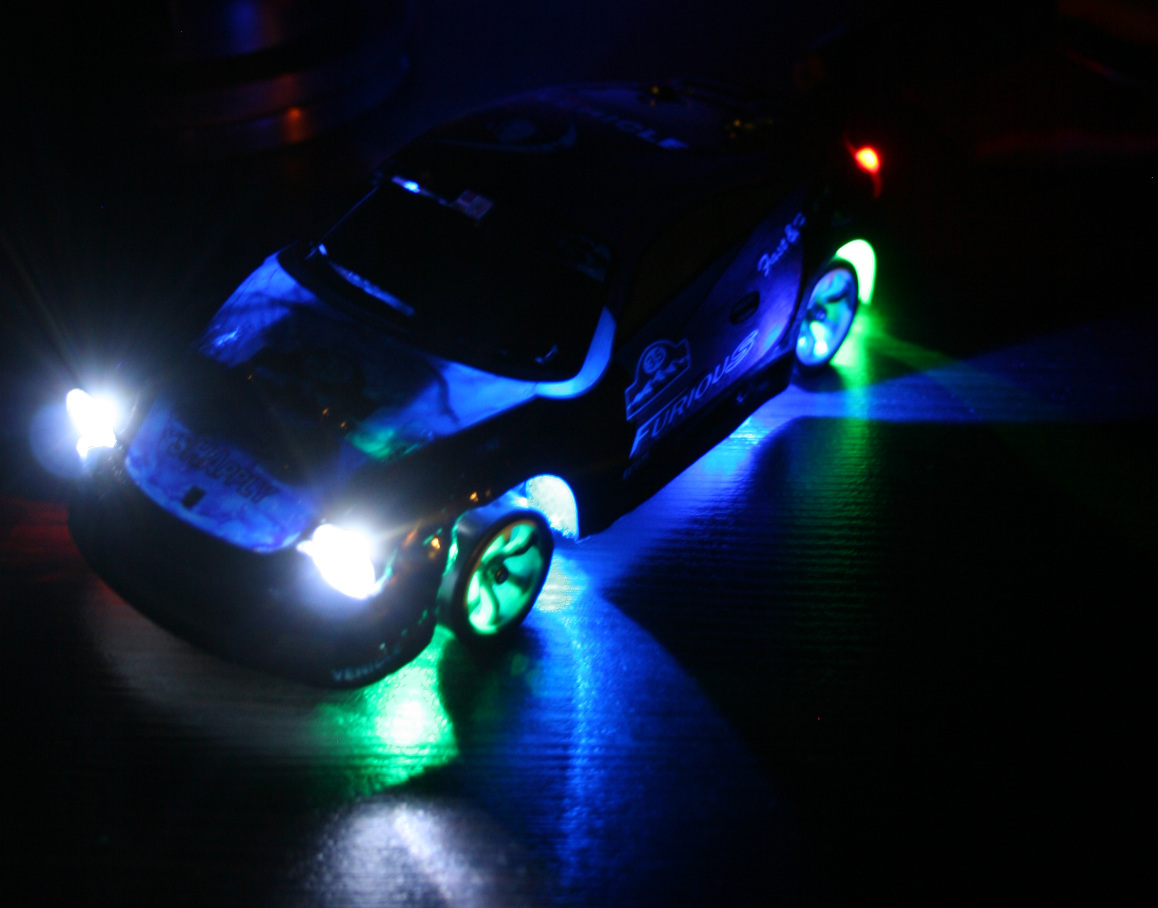
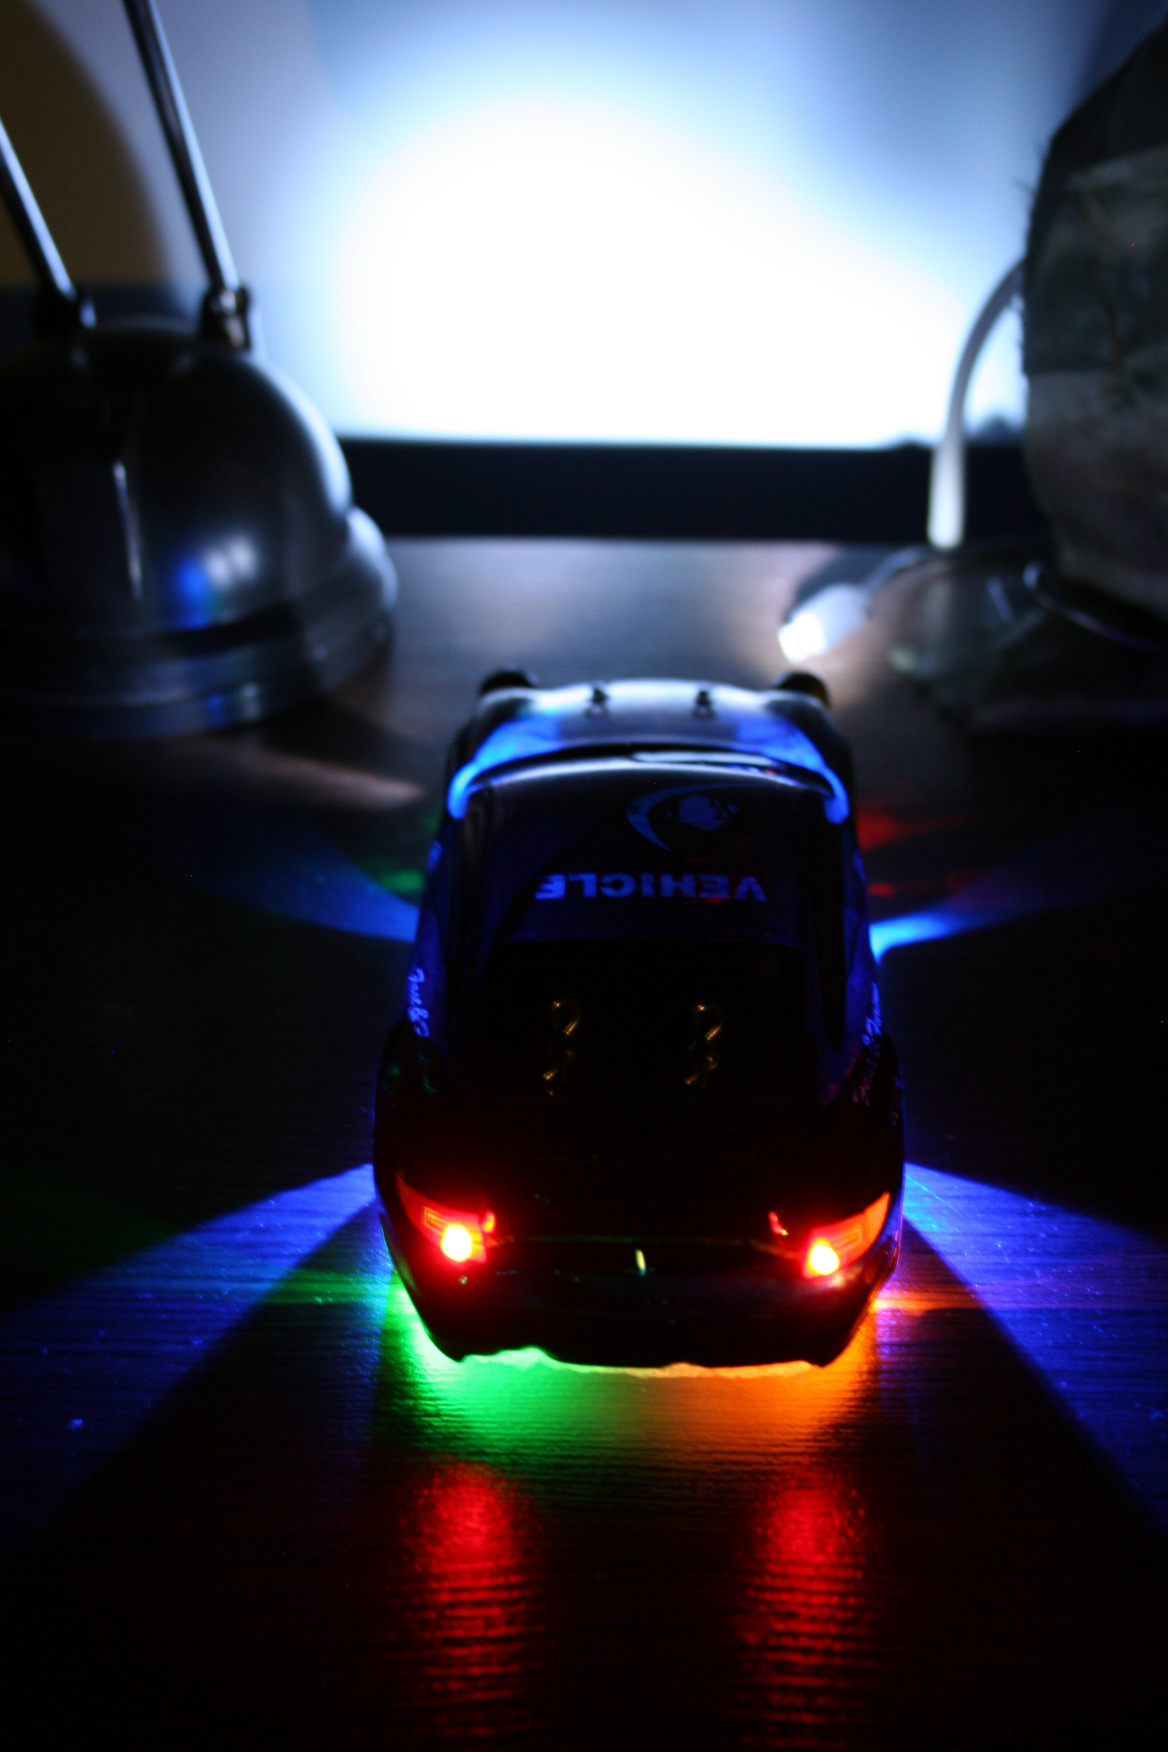
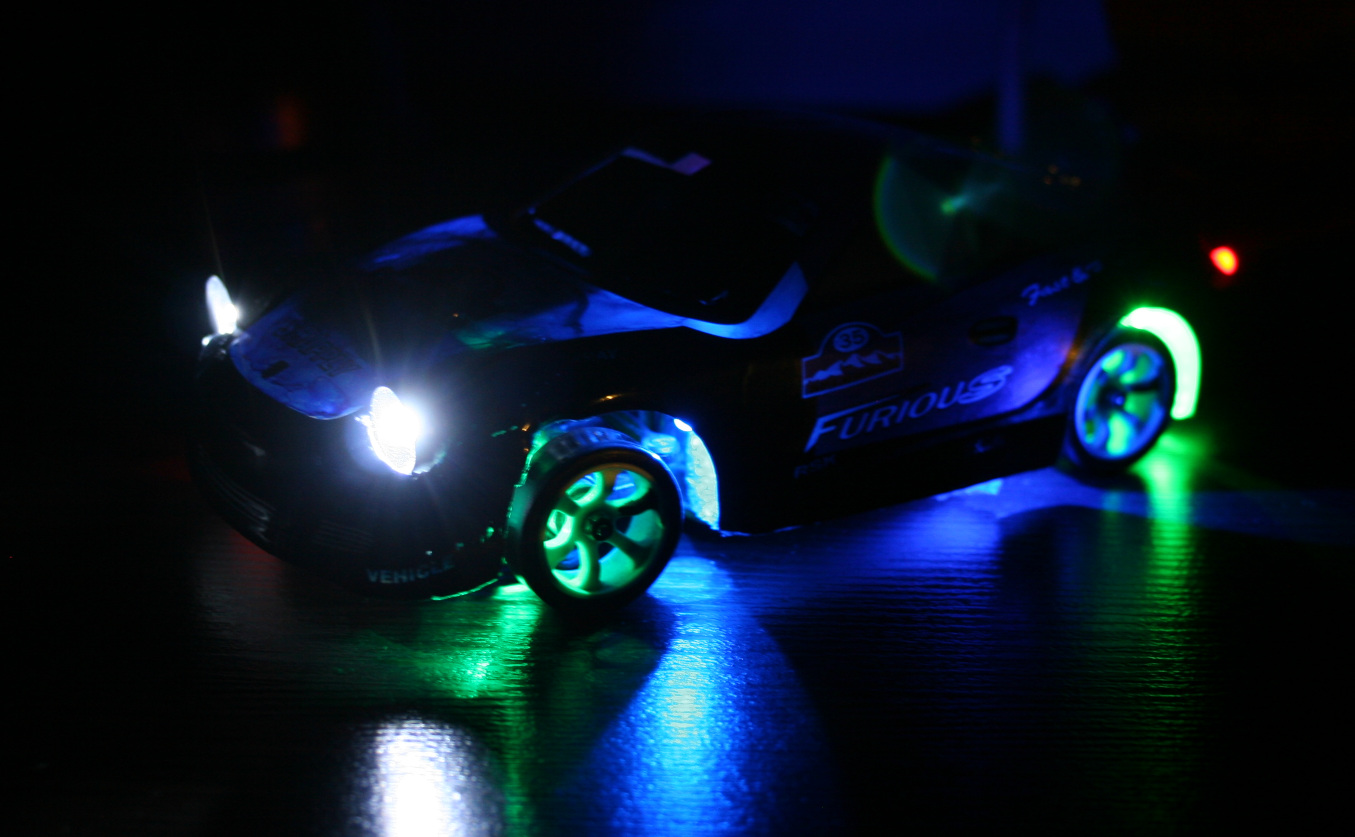
They are good for better orientation of how the car is rotating and what’s its direction. I mean it is actually easier (for me) to tell this by seeing those lights on floor, especially if car is far.
The only way of doing this is making holes in chassis and hot gluing LEDs to it.
I’ve spent too much time with lights, first making them in car. This way anytime I hit something harder they would change angle, go loose or break off.
I also made a second mistake and made holes bigger to have LEDs with cases. It turned out the cases were too big and so long that made wheels hit them, if chassis is low. I will cut them to minimum and glue again. Good thing about that hot glue is that I can actually melt it with soldering iron again when I change my mind. - Made the RF sender battery use a 18650 LiPo.
I don’t get why they didn’t already (was probably cheaper). When full, 4 AAs give 6V, LiPo is 4.2V, but RF sender still works. I thought it would be more difficult, but it was really easy. Just throw out 4AAs compartment and place the 18650 or any other LiPo here. Doesn’t seem to use much power, I didn’t charge it for a month or more. I only don’t know if it maybe decreases range? But with all being digital it may not be affected. - Added bottom lights.
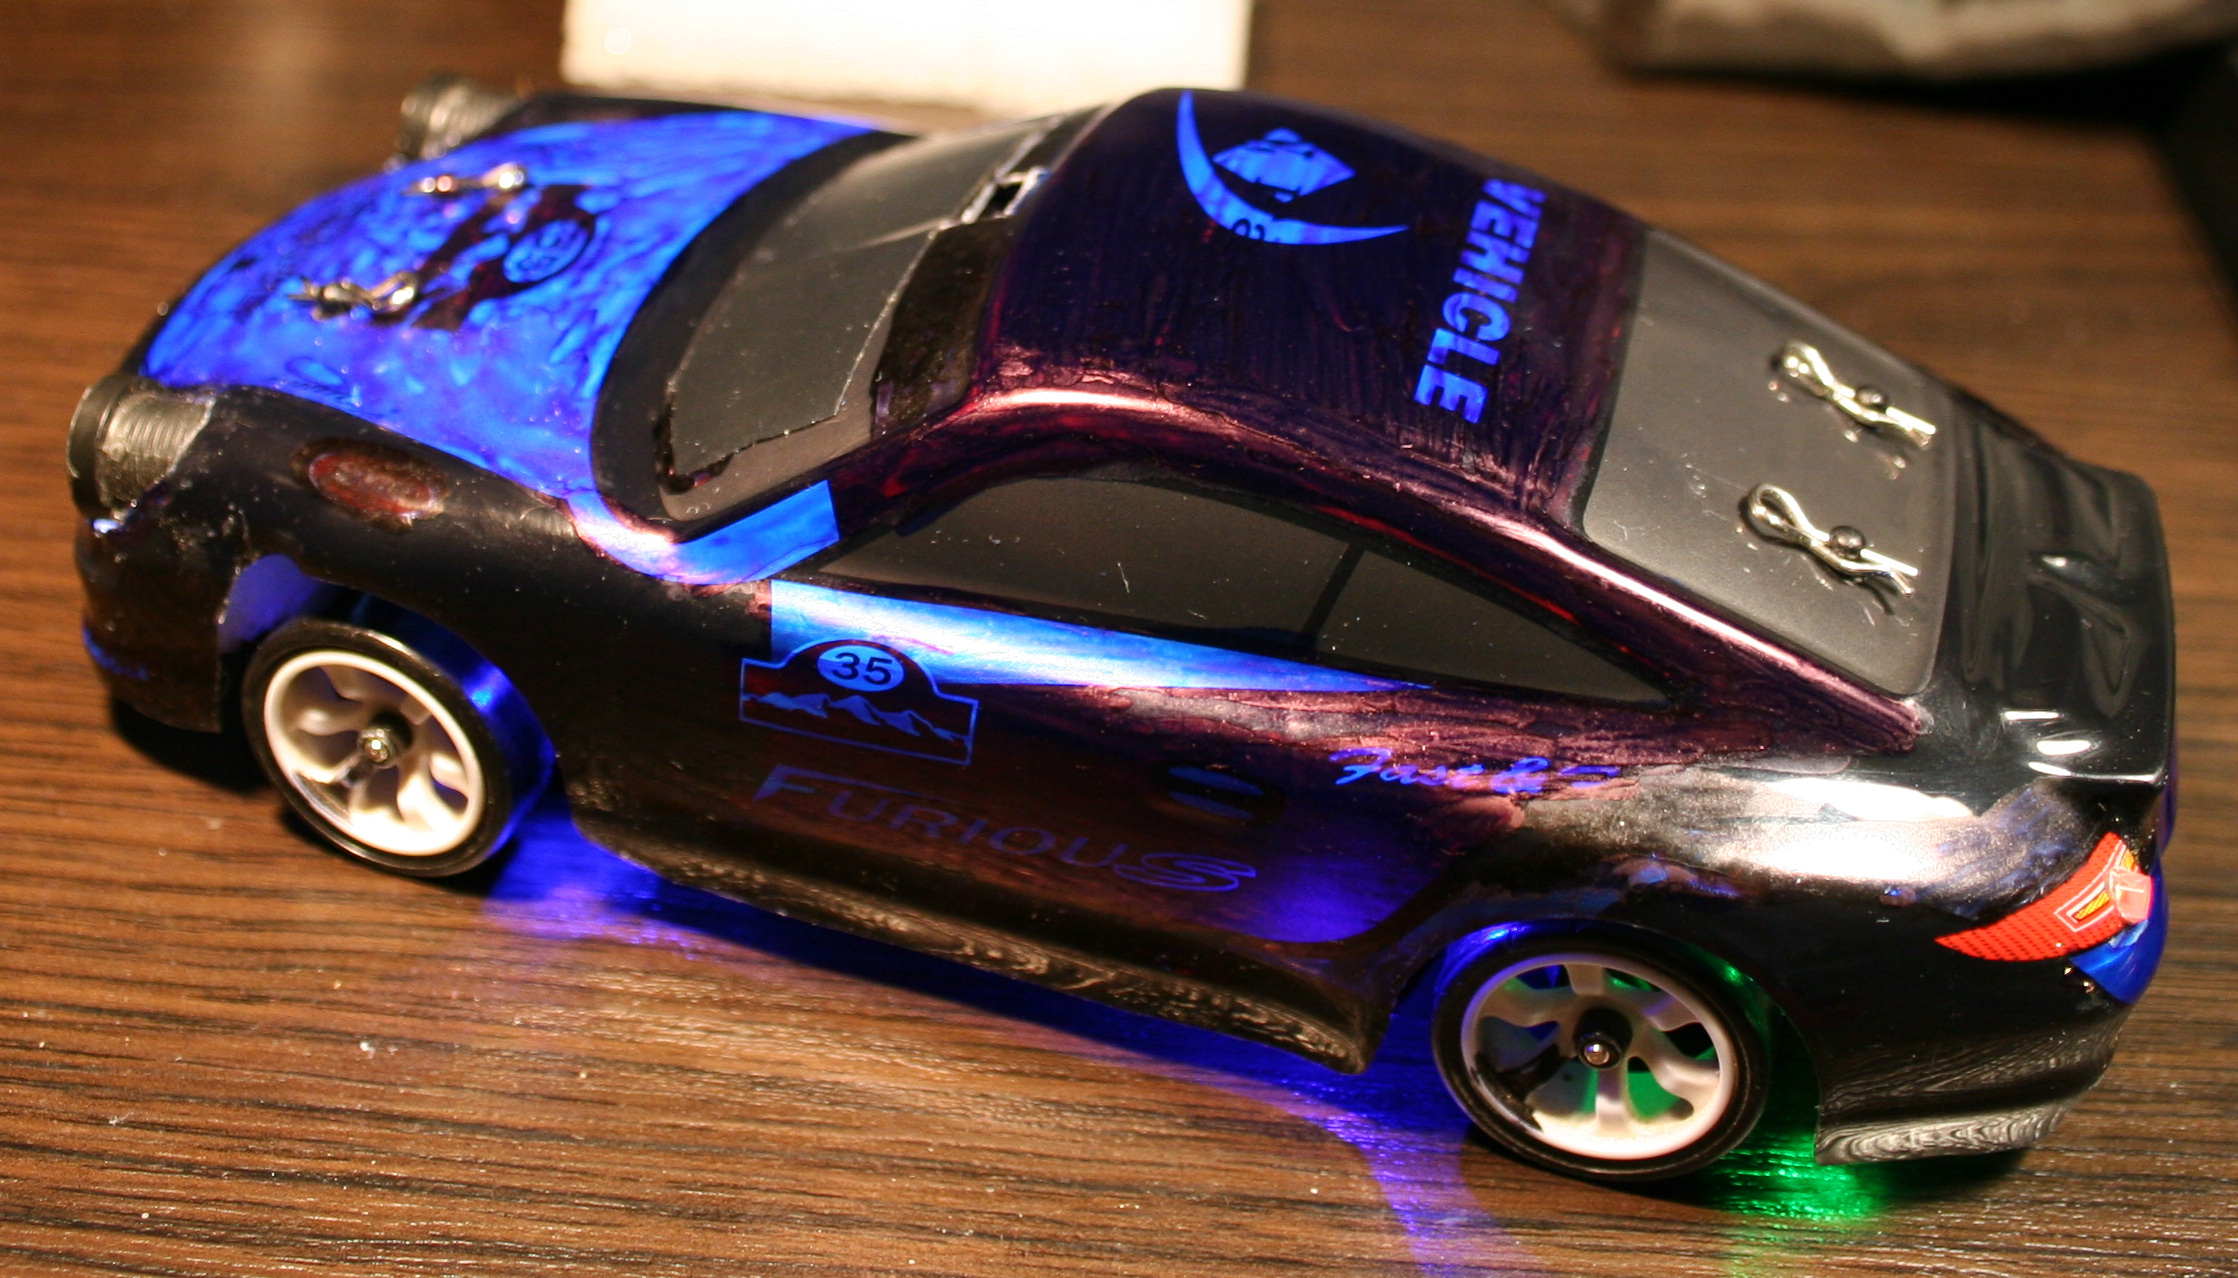
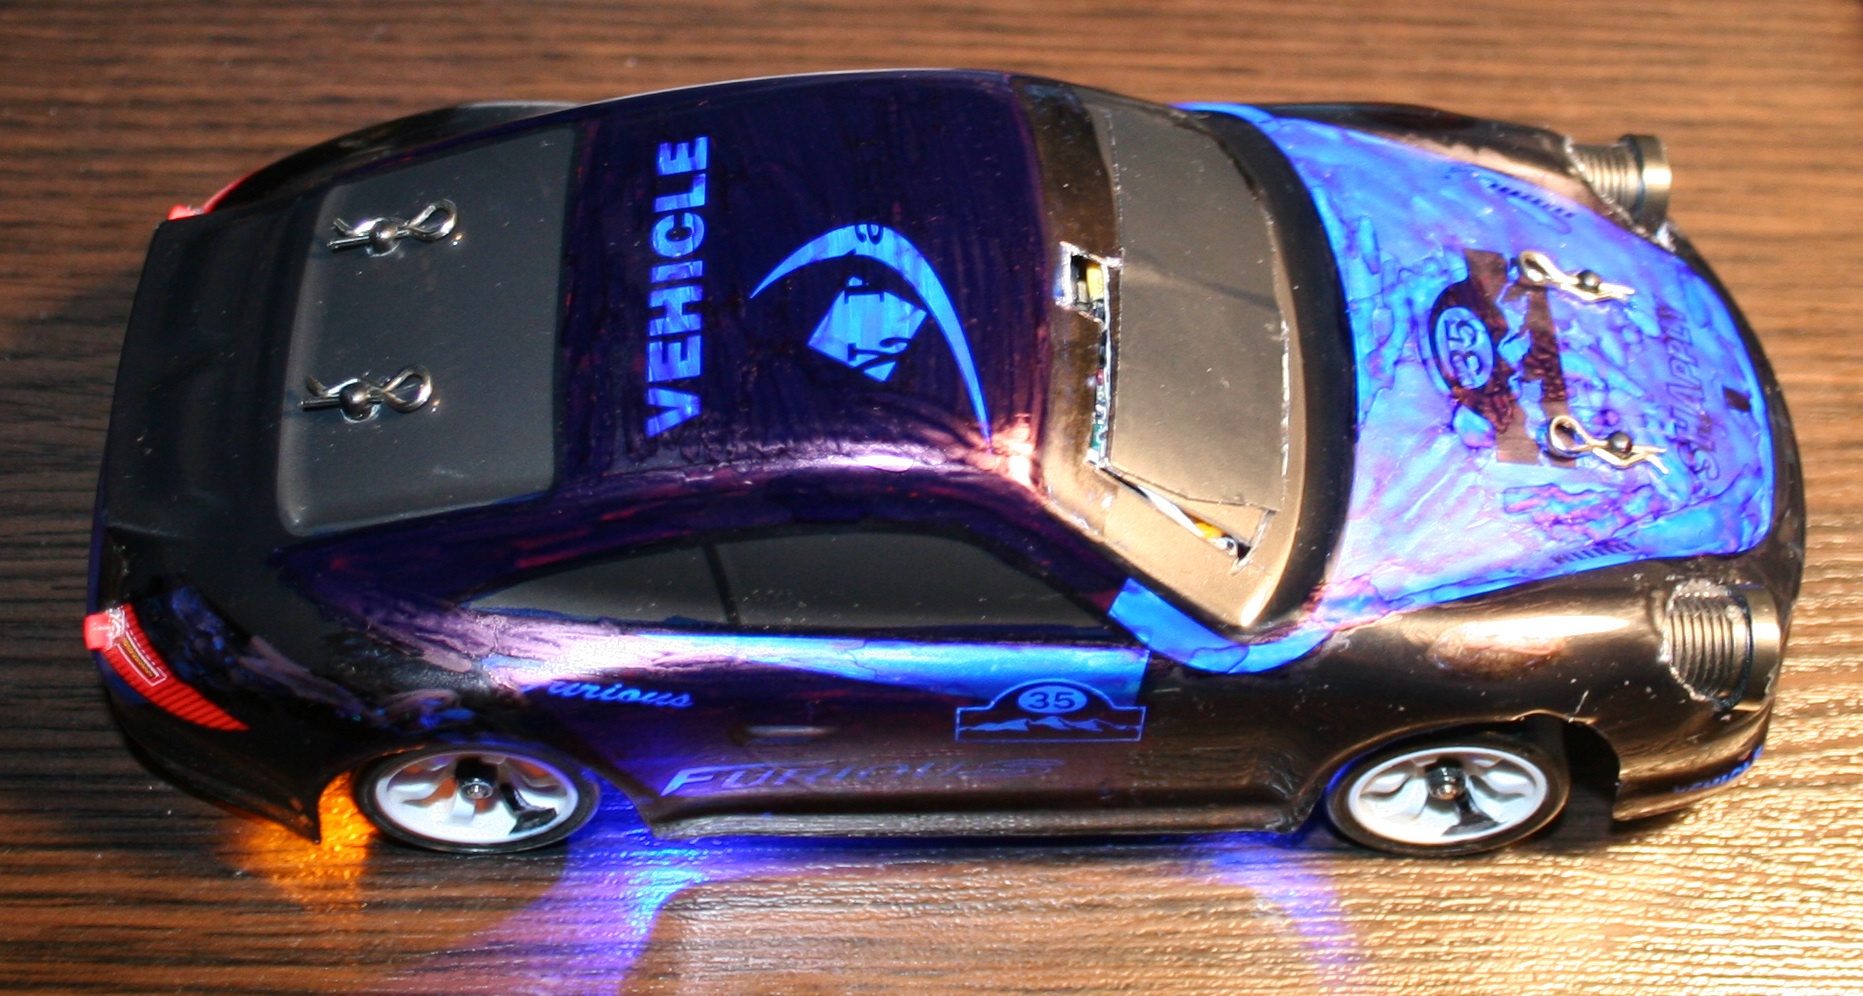
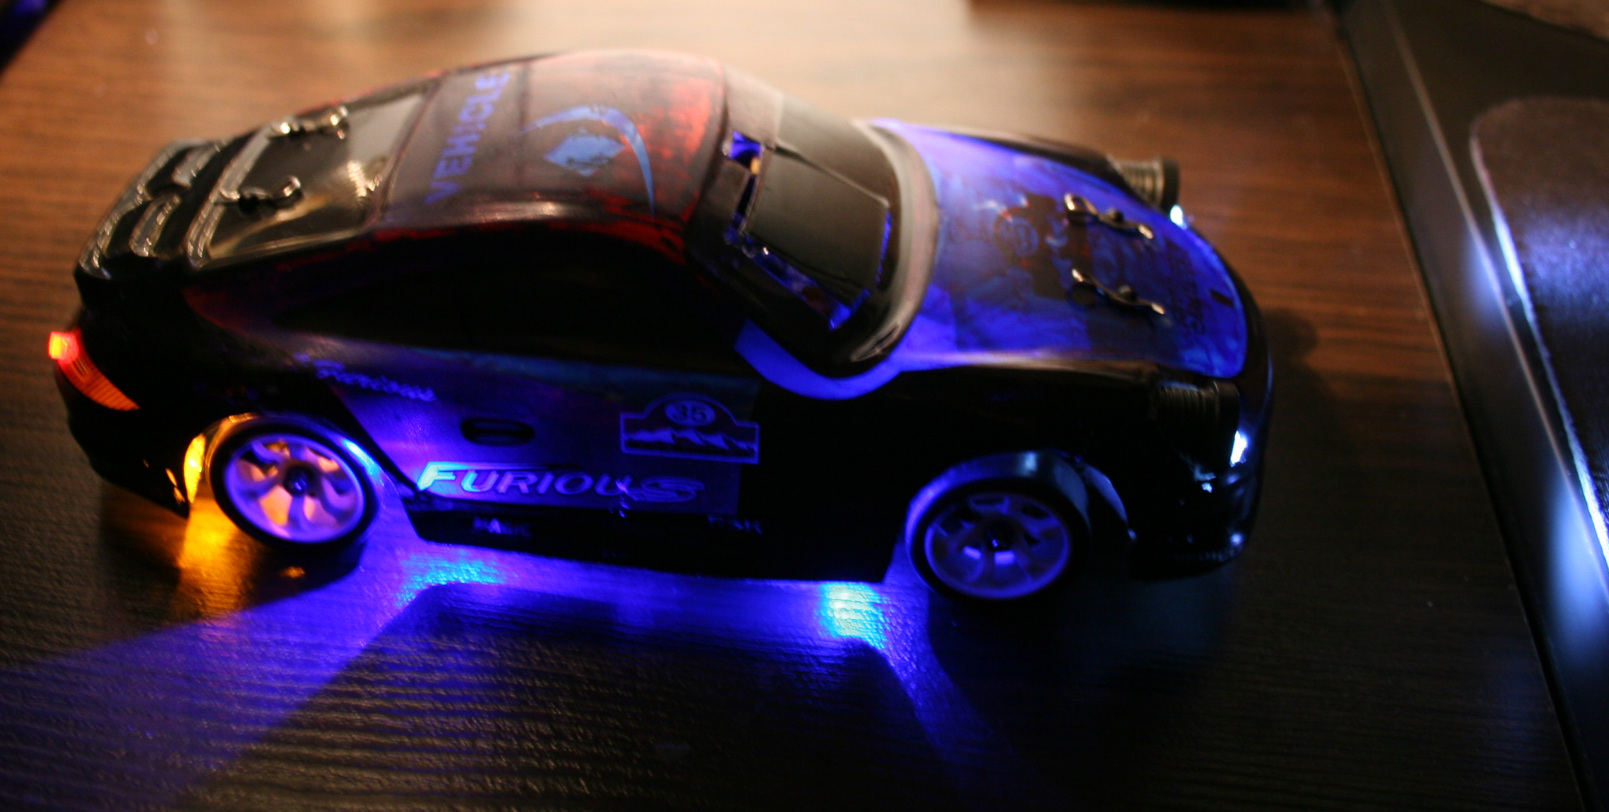
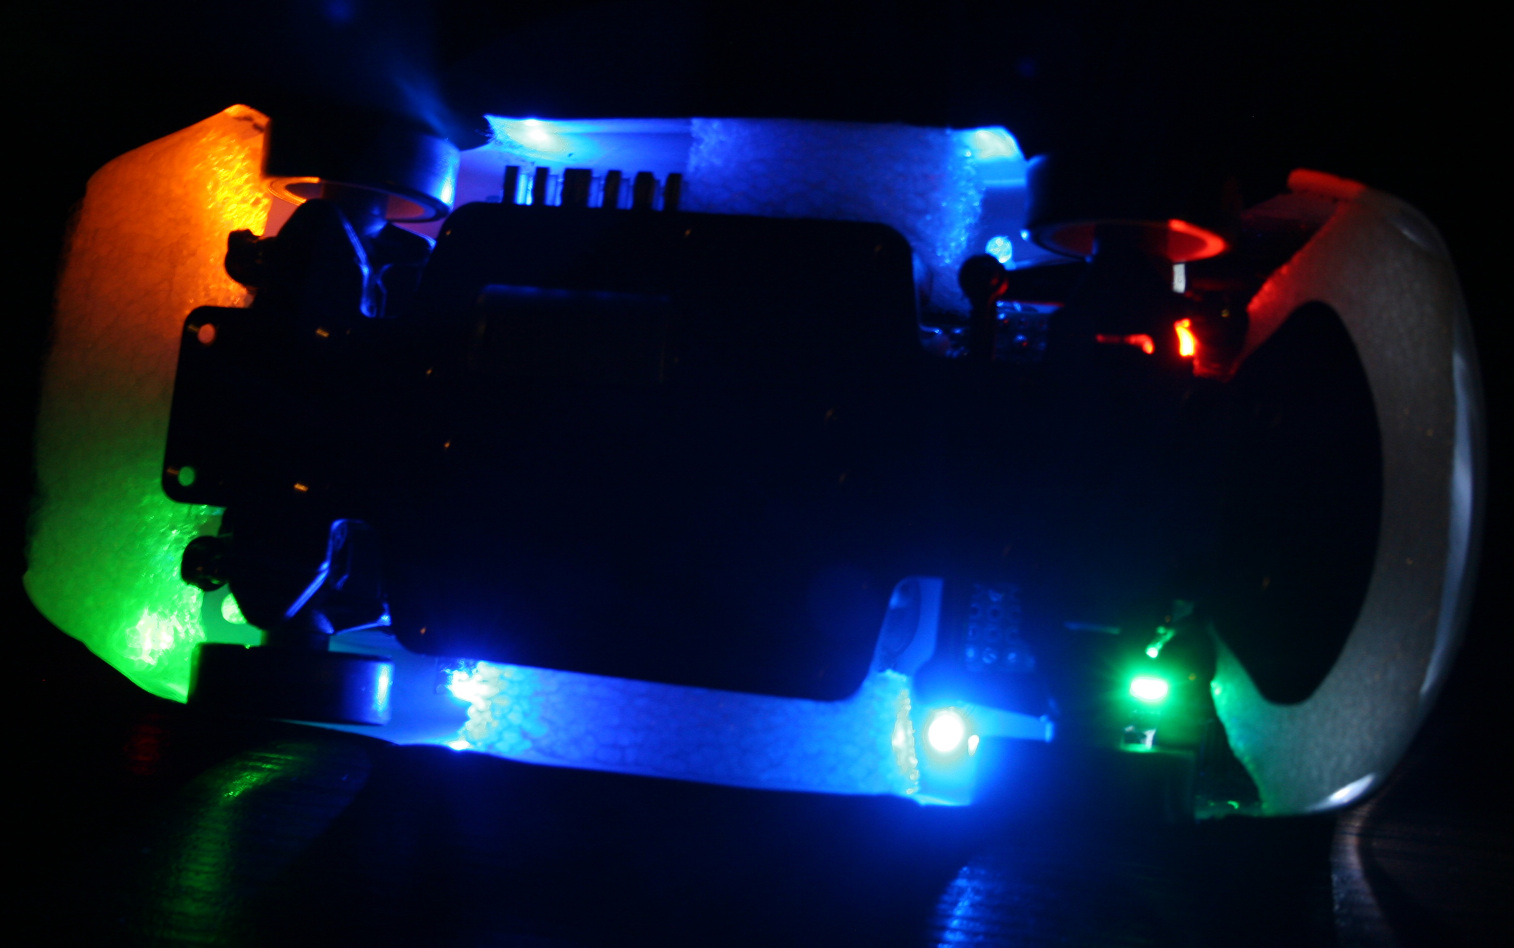
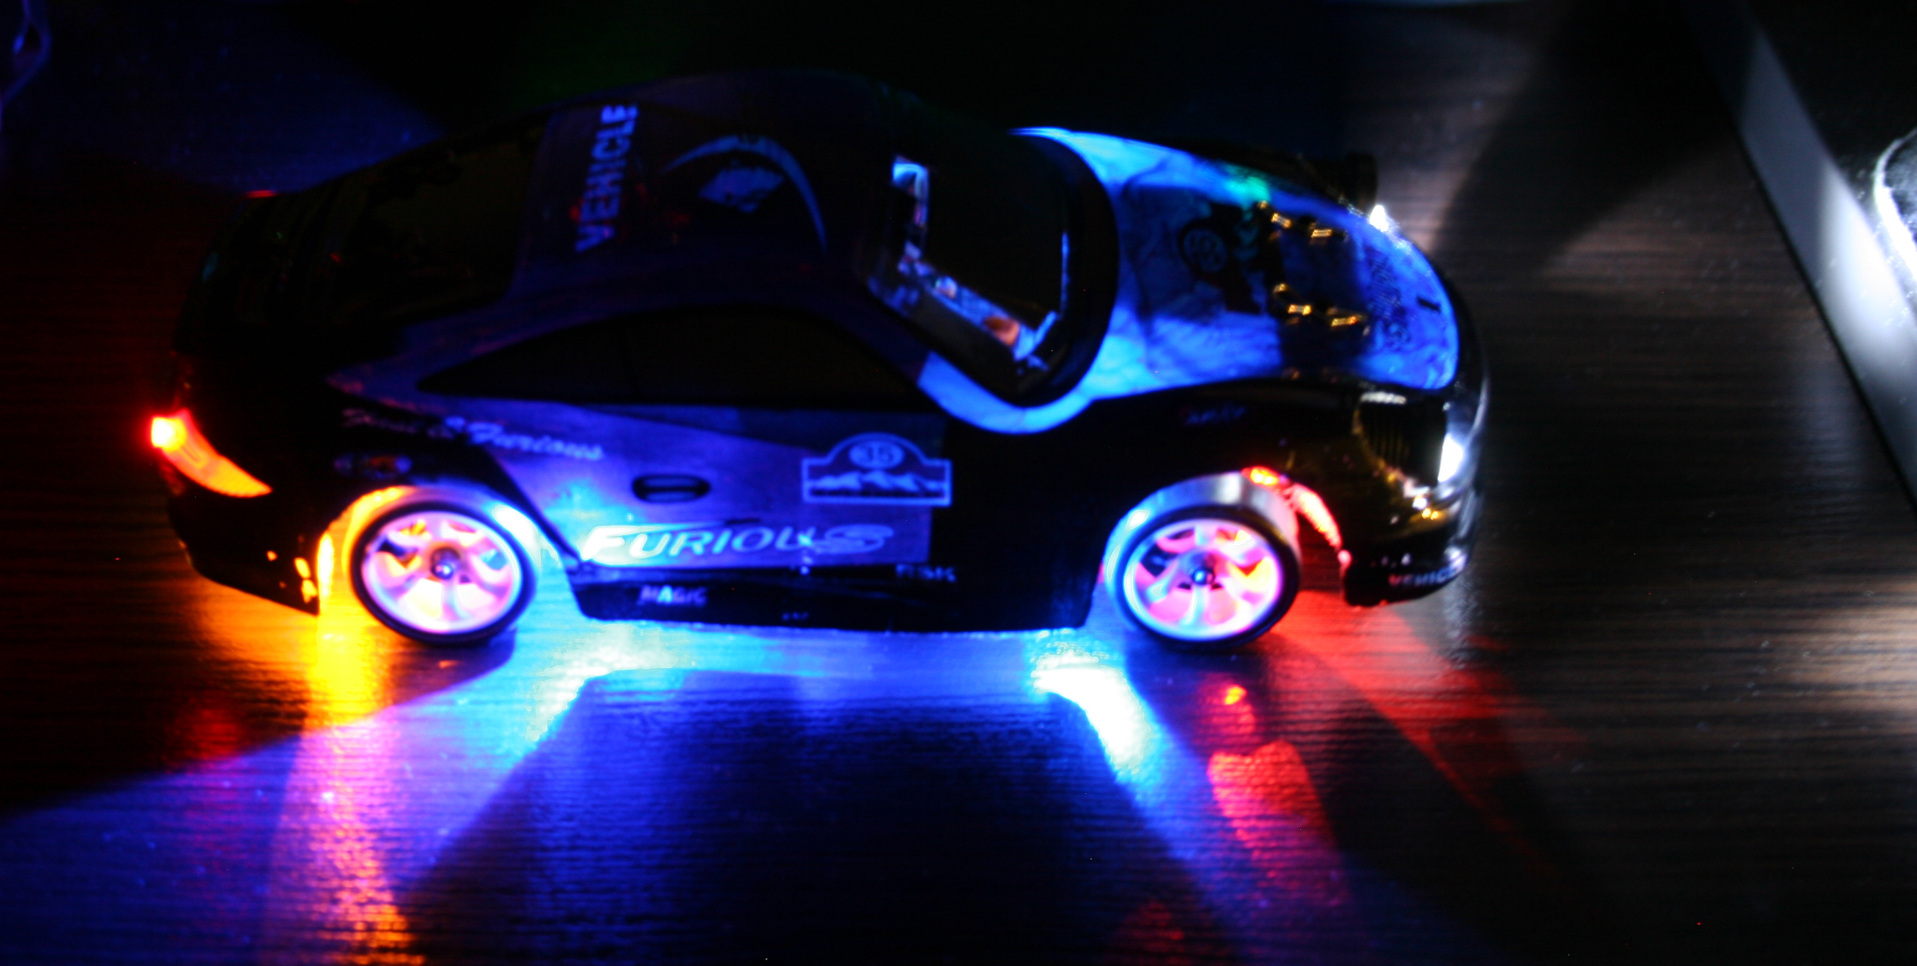
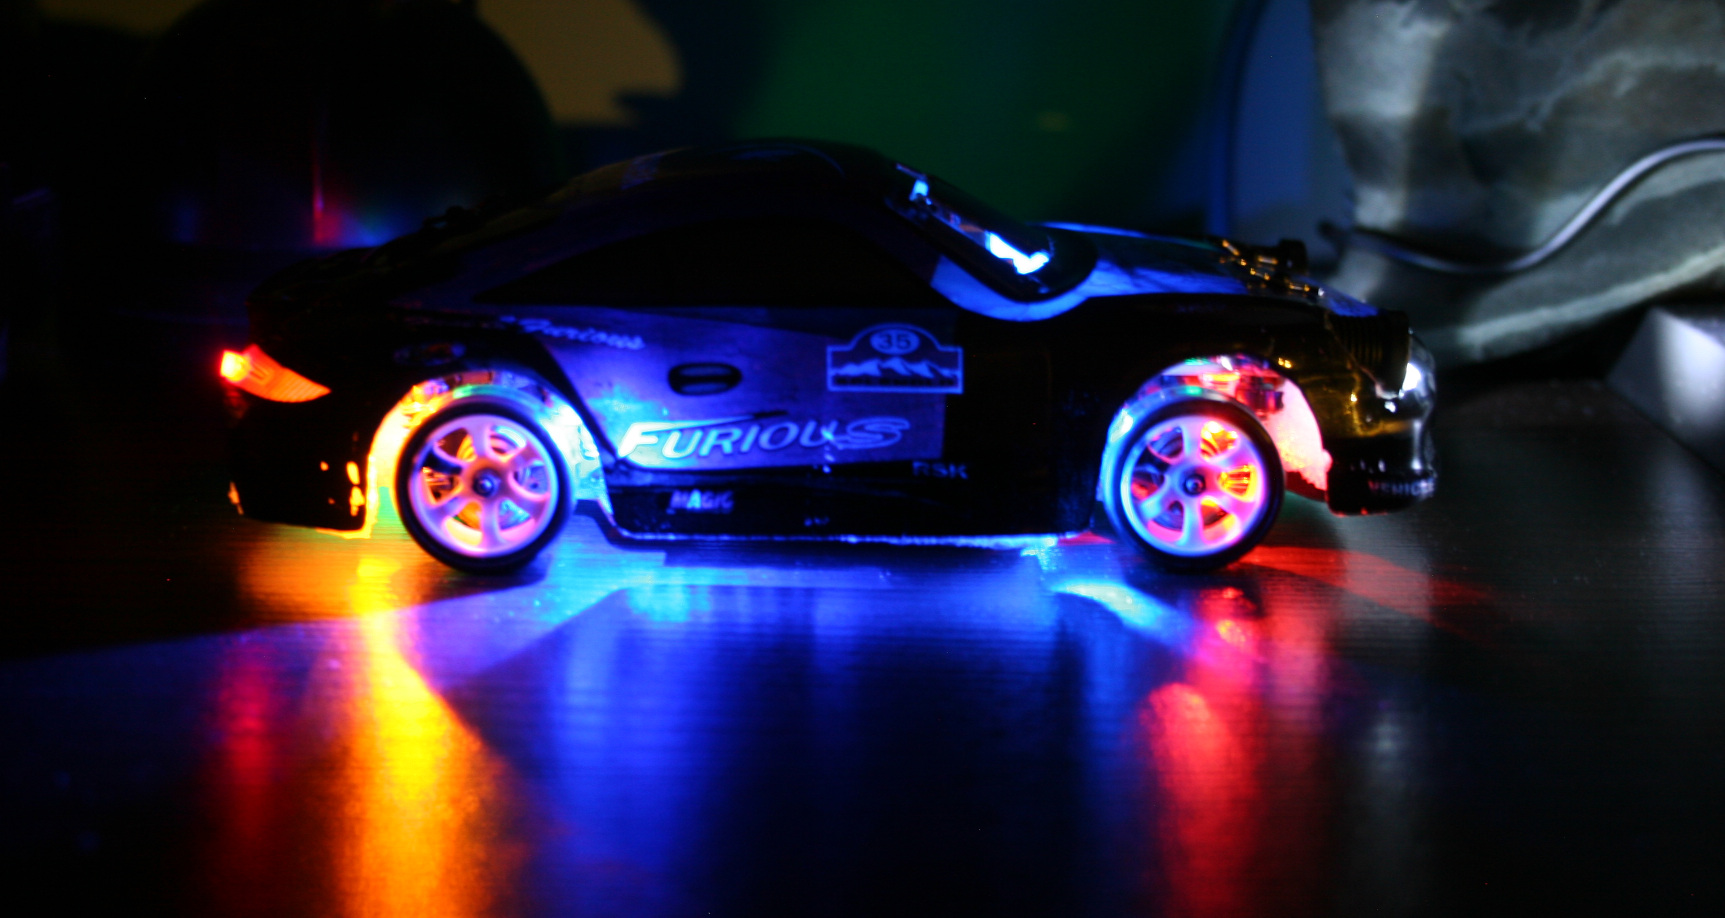
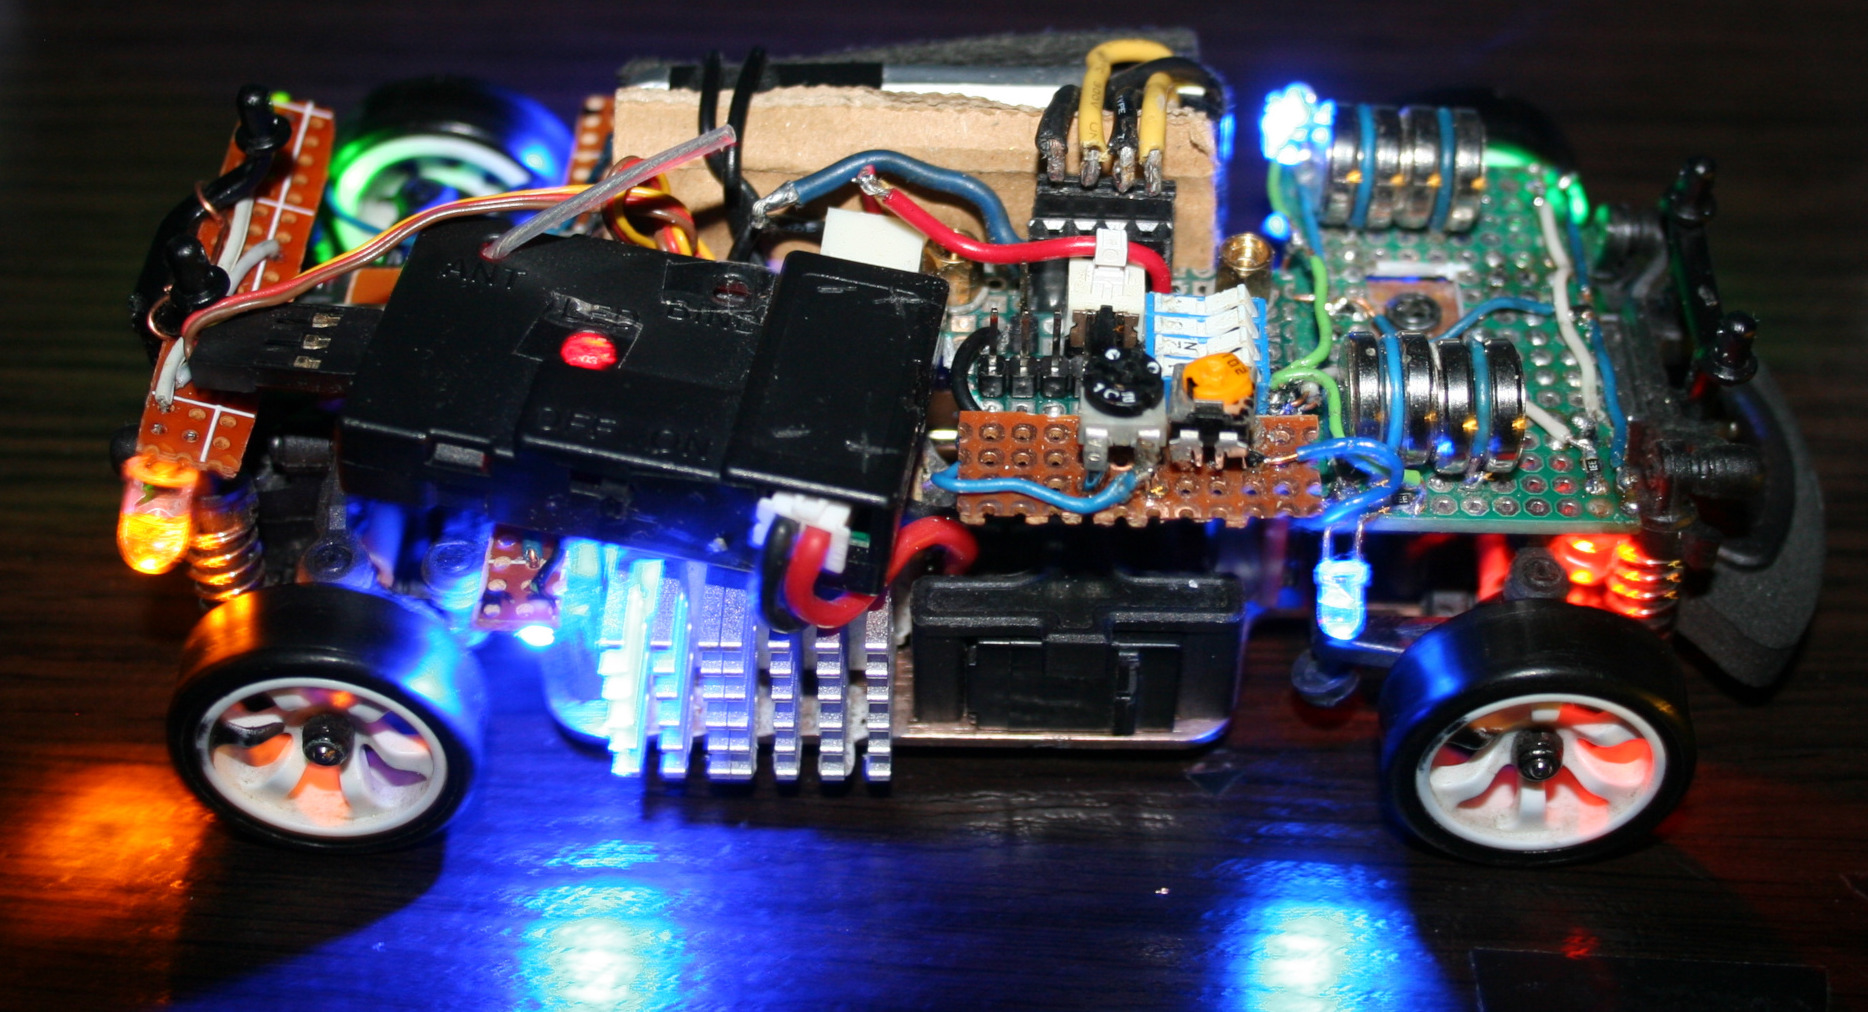
I had some old LEDs lying around, now 2 are on rear before wheels and 2 on front before wheels. Their location with chassis holes makes this cool blue X on floor now.
I had only two 3mm LEDs so I also used 2 SMD LEDs, which I soldered out from those LiPo chargers (who needs them, red when charging is enough, and were so bright that I couldn’t even?).
Then I added two 5mm LEDs (too big, SMD are better) green on left side, yellow-orange on right, located right after and above wheels. This turned out to be useful to know even better how the car is rotated from distance. So later I added same (close) colors to front, behind wheels.
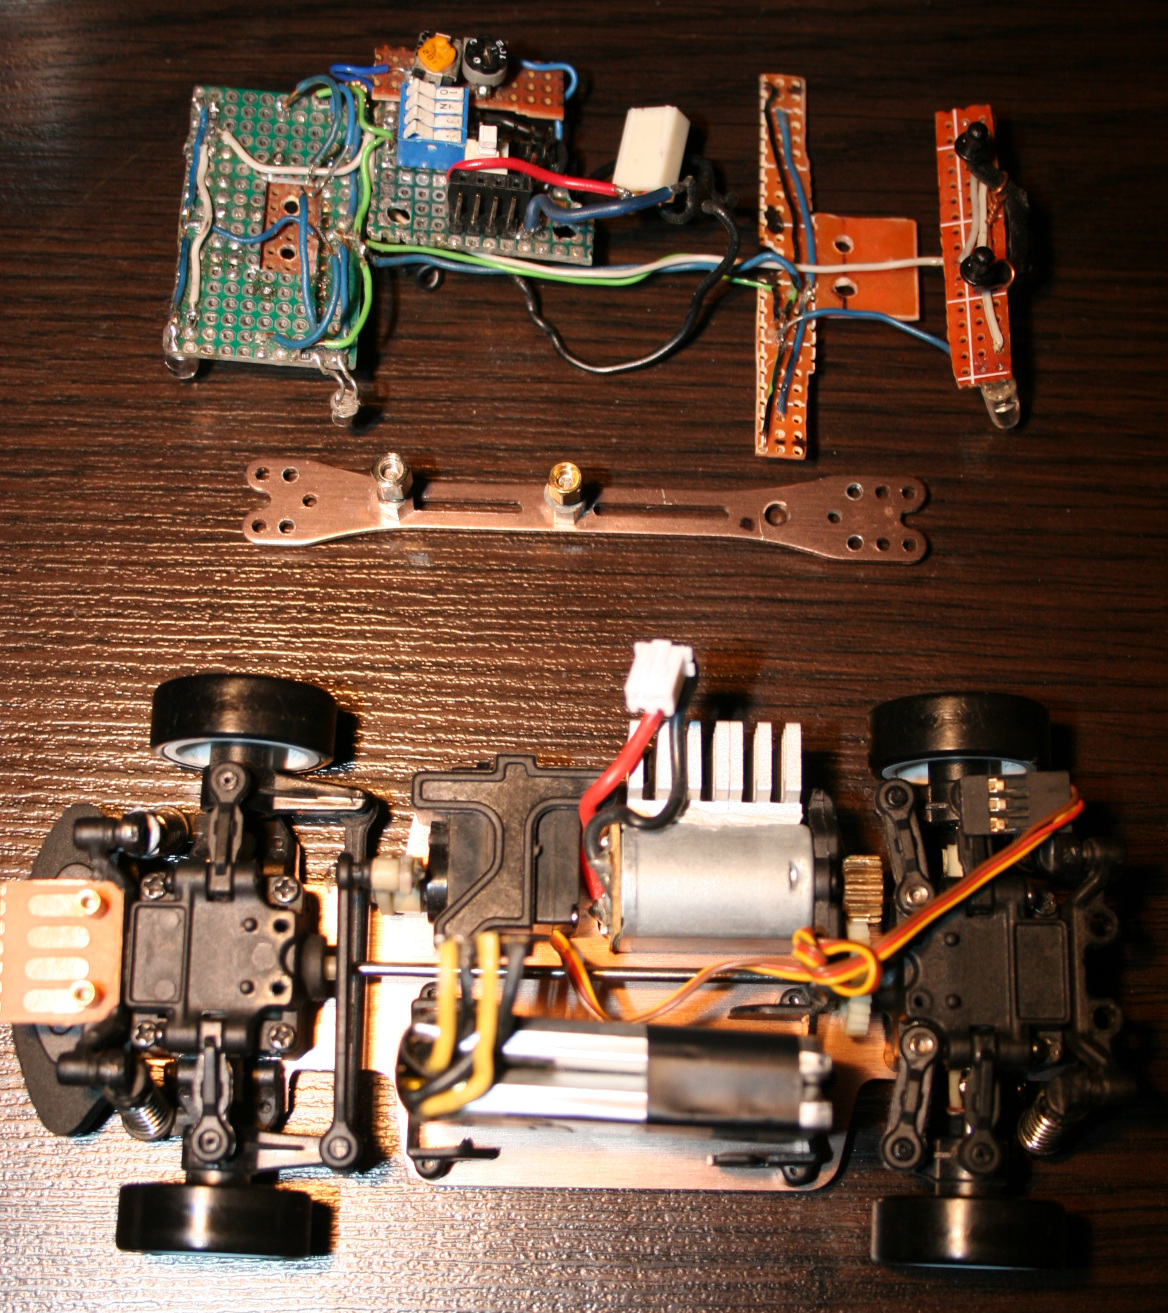
I soldered all on small cuts of universal PCBs. - Changed to a bigger car battery.
The included 400mAh battery allowing 30 min runtime is laughable. Yeah I can’t imagine drones with 15 or less minutes at all.
It was cheap and light, which is why they made it, right. After all, the freaking top speed has to be highest, like it was important at all. It drifts at much lower speed already.
My new battery is 1200mAh and allows 1h 30 min drive time (so 3x more).
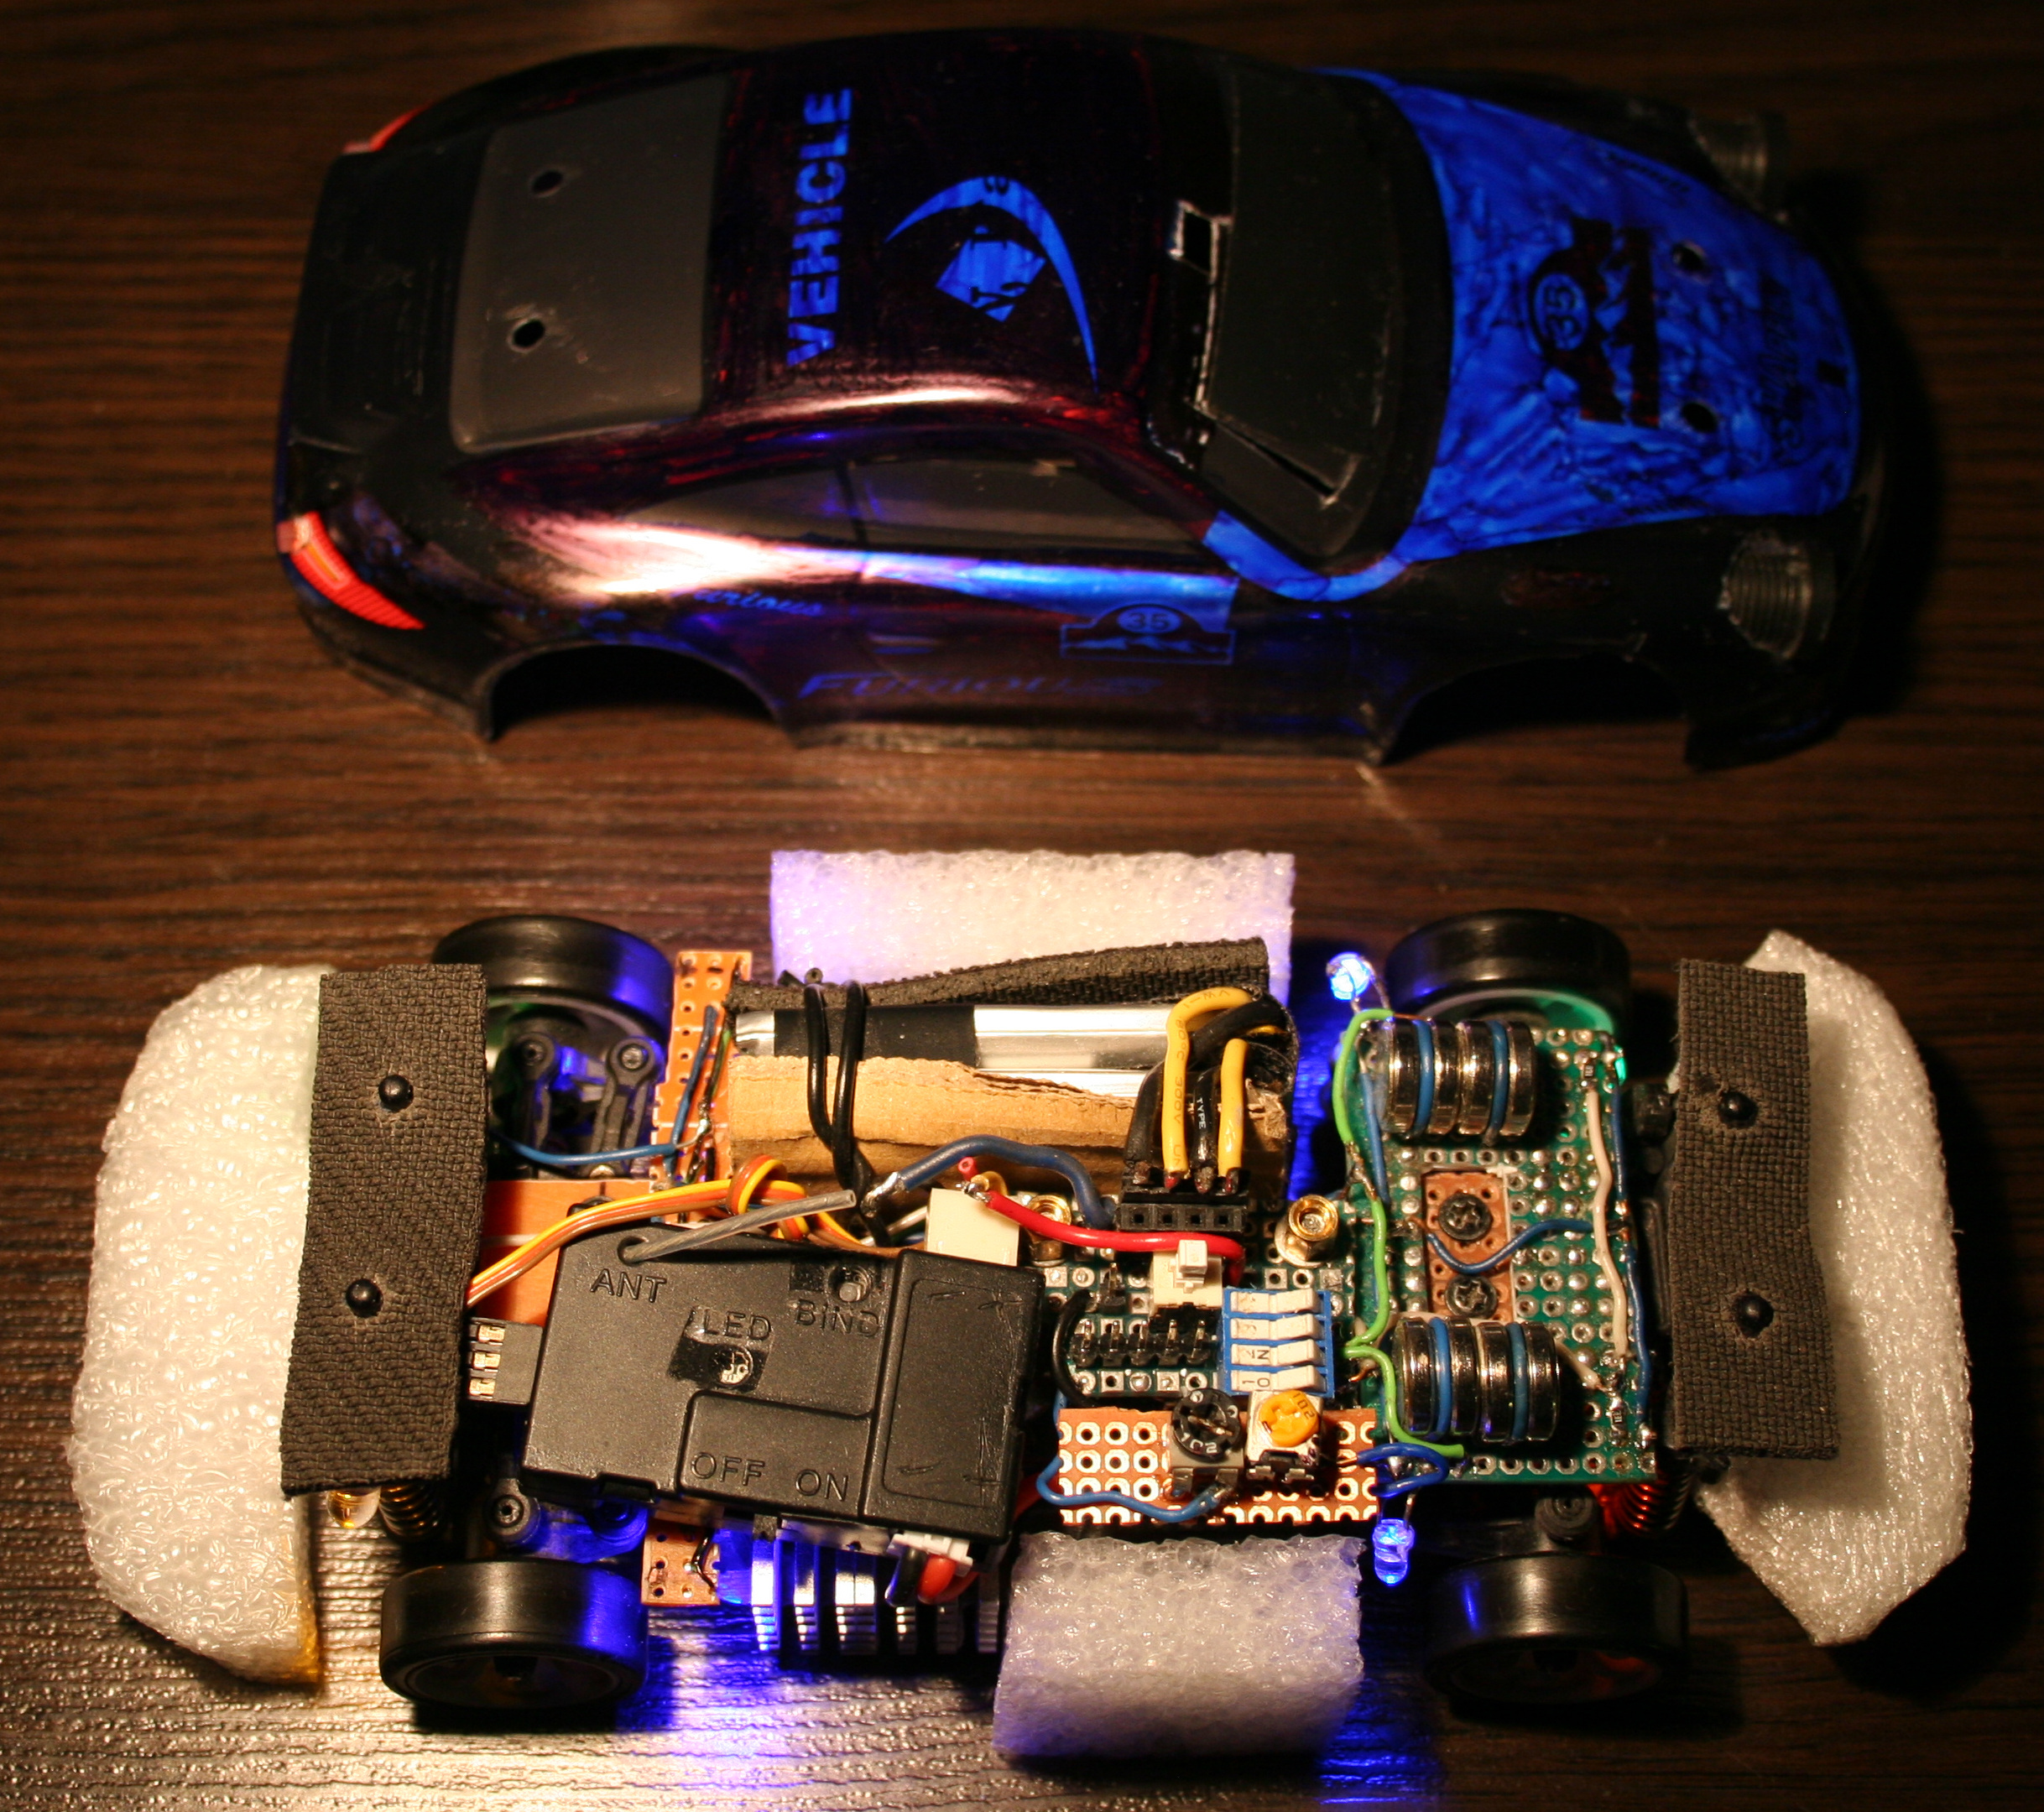
It was made from two LiPo 603450 batteries, each size: 50x34x6mm. Glued with tape, fits nicely in same place, is just much higher and it weighs 45g. Secured it with some cardboard and mouse pad fragments on sides and wire (with thick insulation).
I just had to remove their protection, because with it, it would stop for few seconds when pressing throttle too rapidly (very annoying). - With new battery I’ve also done new electrics in car. namely:
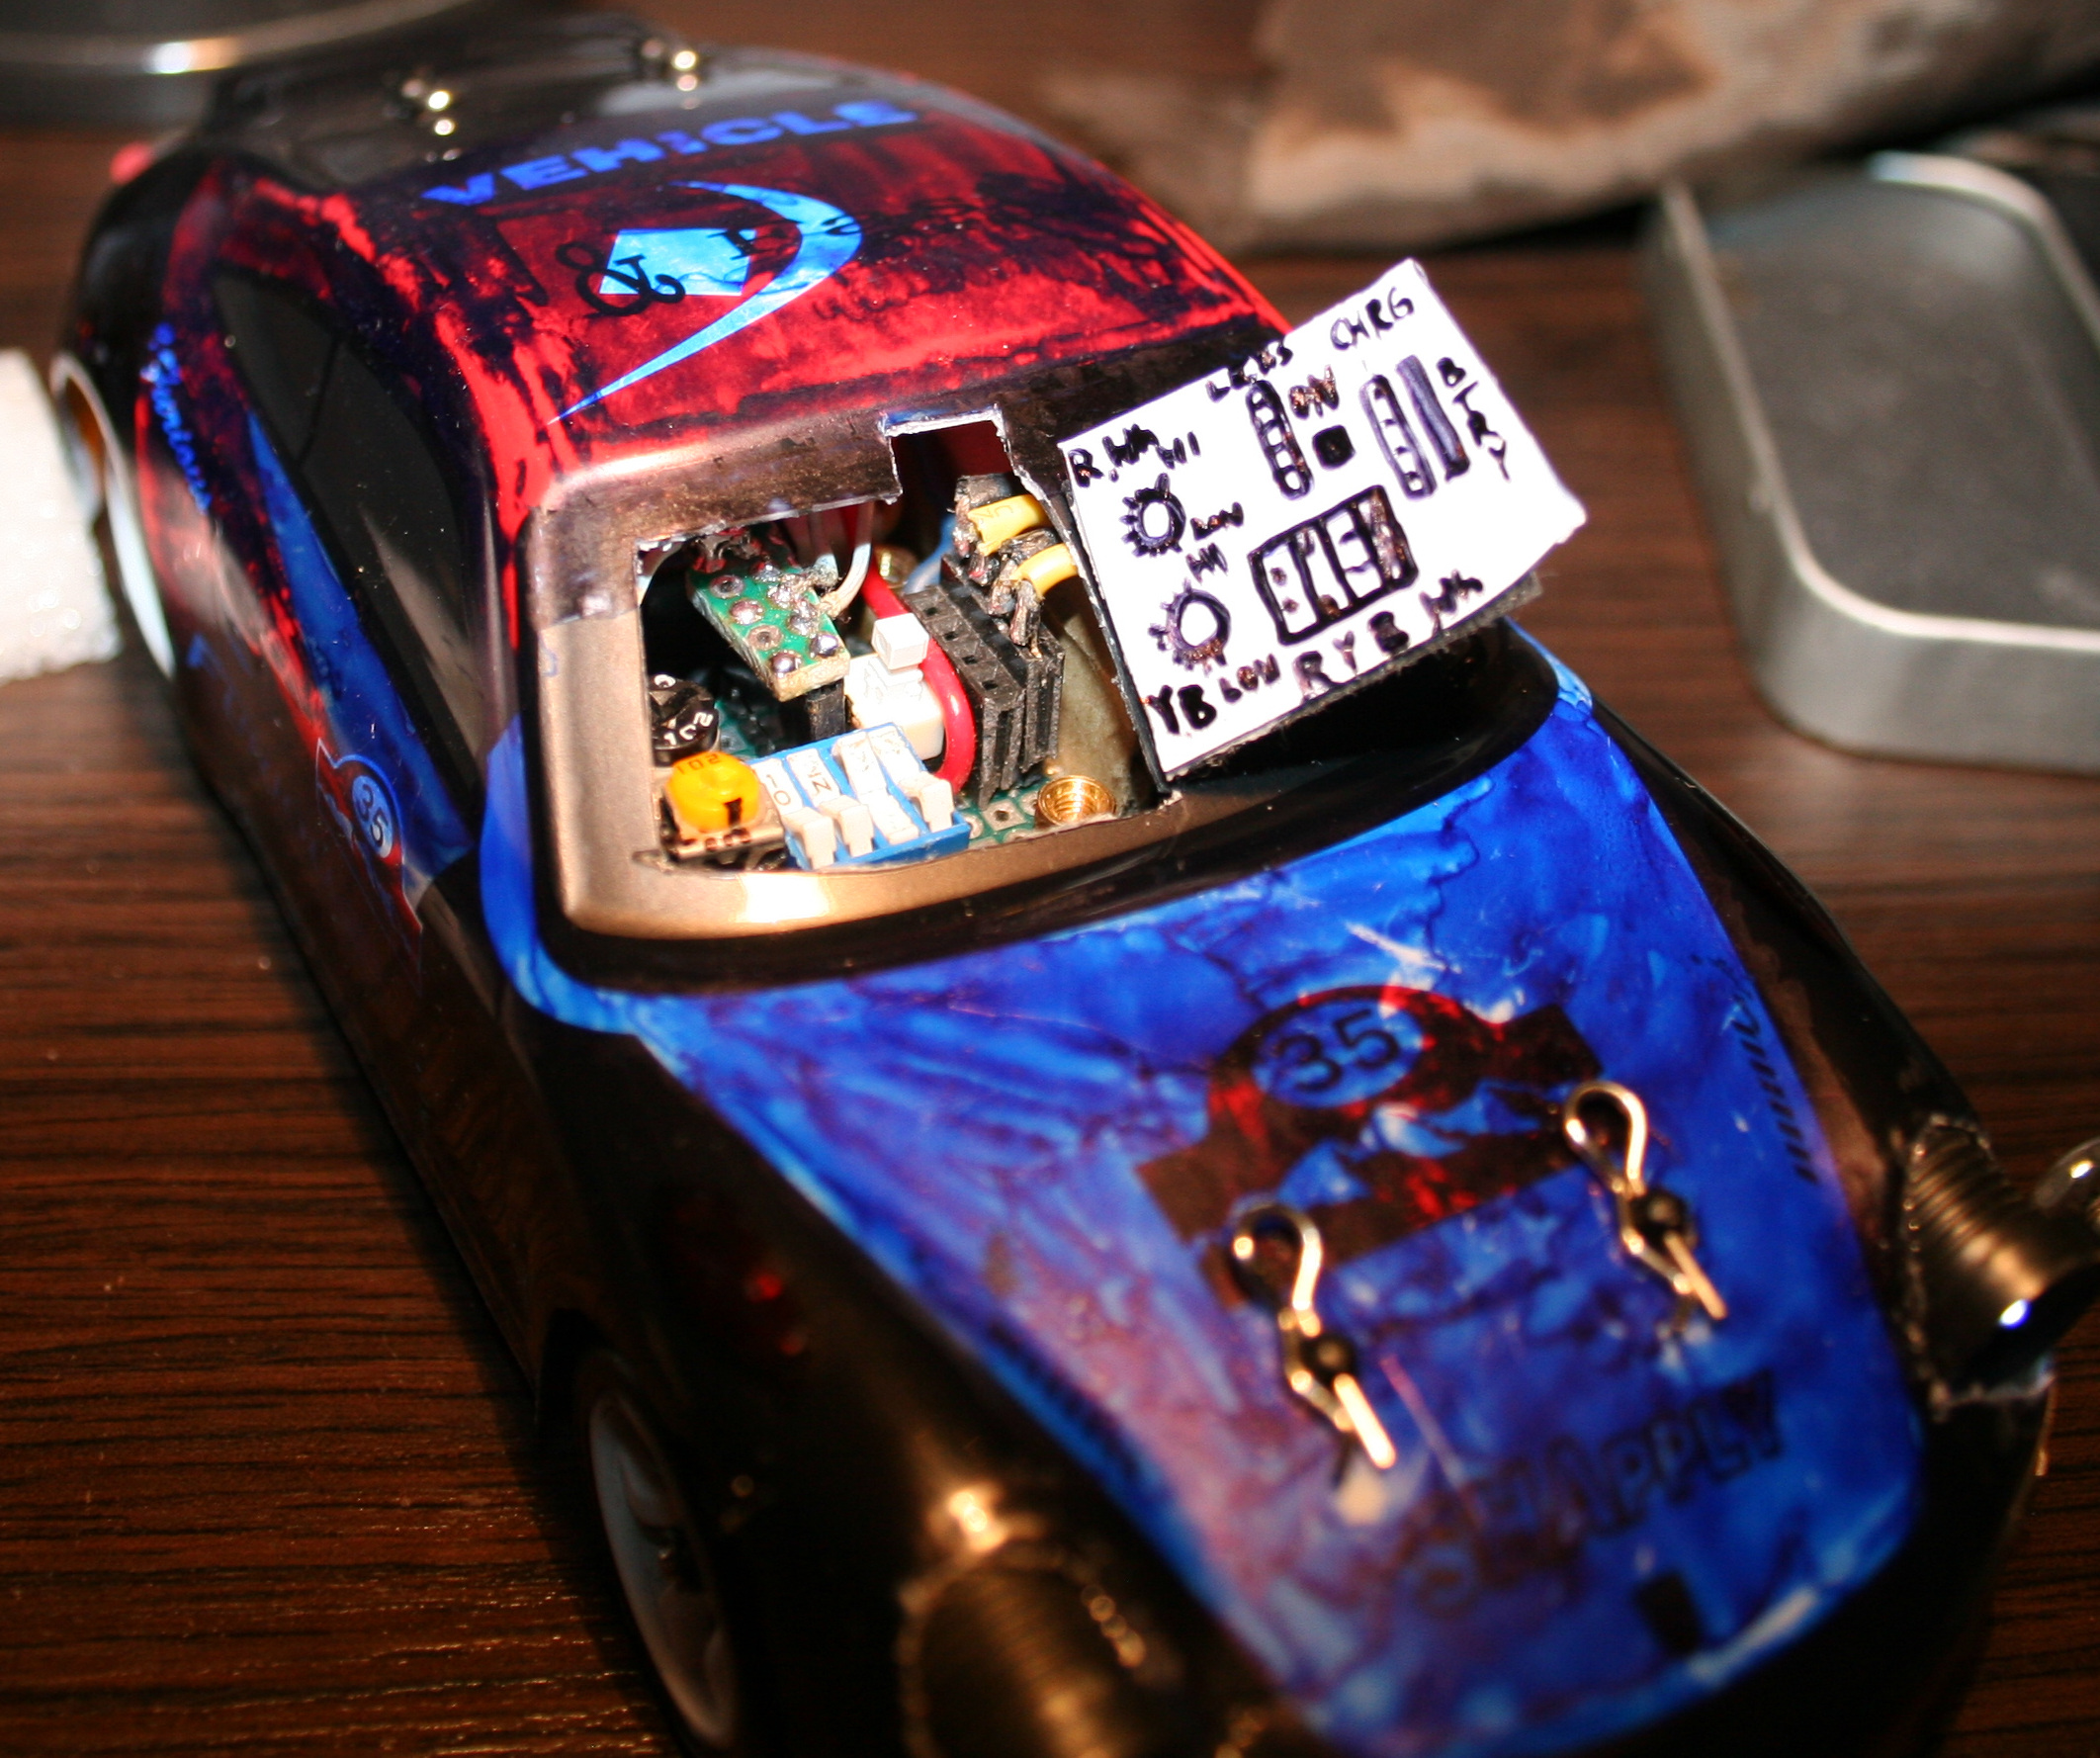
- 4 pin socket for battery, normally plugged in.
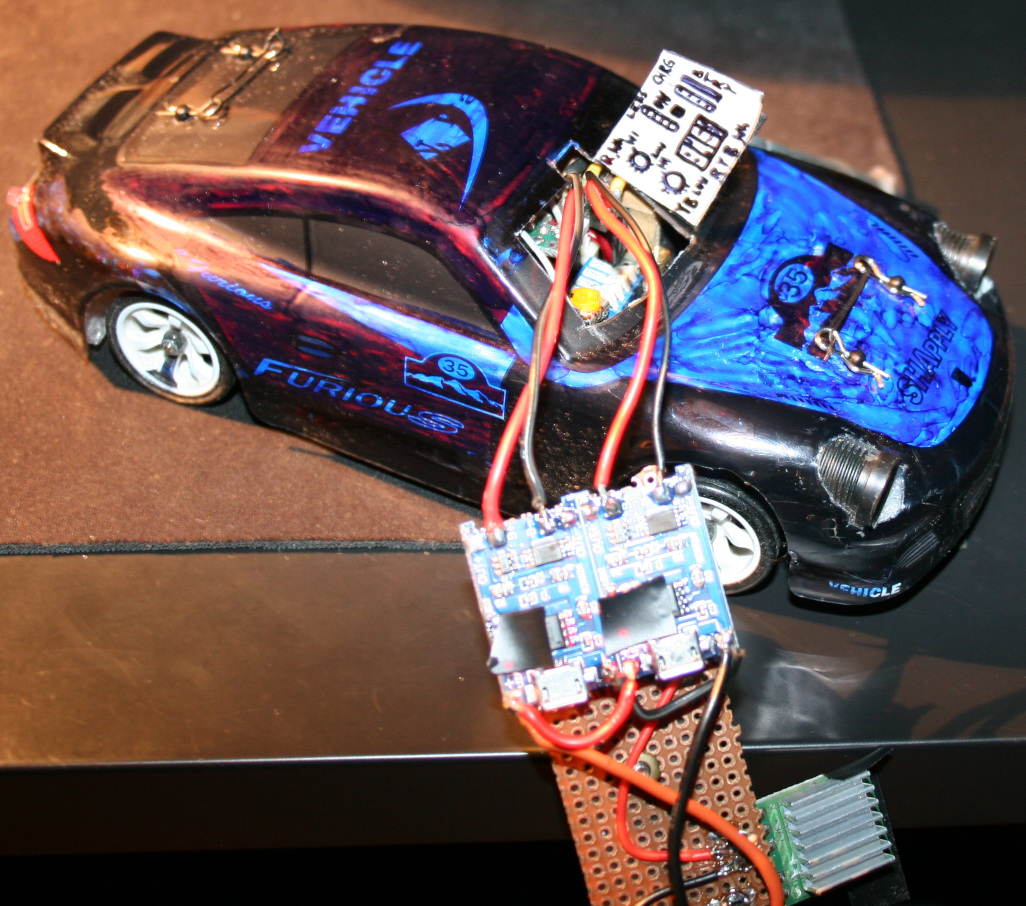
- ON-OFF switch. I used a 6 pin Tactile Power Micro Switch (self lock on) 7*7mm to switch + from both LiPo batteries.
- 4 pin socket for charger, plugged in when charging.
- 4 micro switches for lights (on-off, one small package). I added 47Ω resistors at end of each. I call this a fuse box, their purpose is prevent battery short circuit if by accident some wires connect.
- 5 pin socket (3 used now) to connect chassis lights.
- 2 trimmer potentiometers 1kΩ, for dimming car lights and bottom lights.
- All this required access, so I made a “door” in half of car’s front windshield.
- In total, the boards with bottom LEDs and all electrics weight 27g. Seems too much, but whatever?♂️.
Each LED has a 330Ω resistor before. LED calc can be used if needed.
- Charger
Made using 2 popular modules: TP4056 / TC4056A Lithium Battery Charger and Protection Module.
Just added 4 goldpin connector for car socket and that standard 4 pin PC connector for 5V.
It does charge the battery in about 1h 30min. I’m not sure if it’s too fast or okay. The 4056 chips are heating a bit too much (at start), so I’m using a small copper radiator on them.
Besides of removing blue LEDs from chargers (mentioned earlier) I also reduced the red LEDs brightness, resistors are now 20kΩ (way more). I hate this approach of adding LEDs, even for “turned on” indication and making all LEDs as bright as it can be. I guess if they could they’d made them visible from space or neighboring countries, that would be the best commercial?. - Radiator for main motor.
Having more time to drive showed that it heats a lot, especially in smaller rooms.
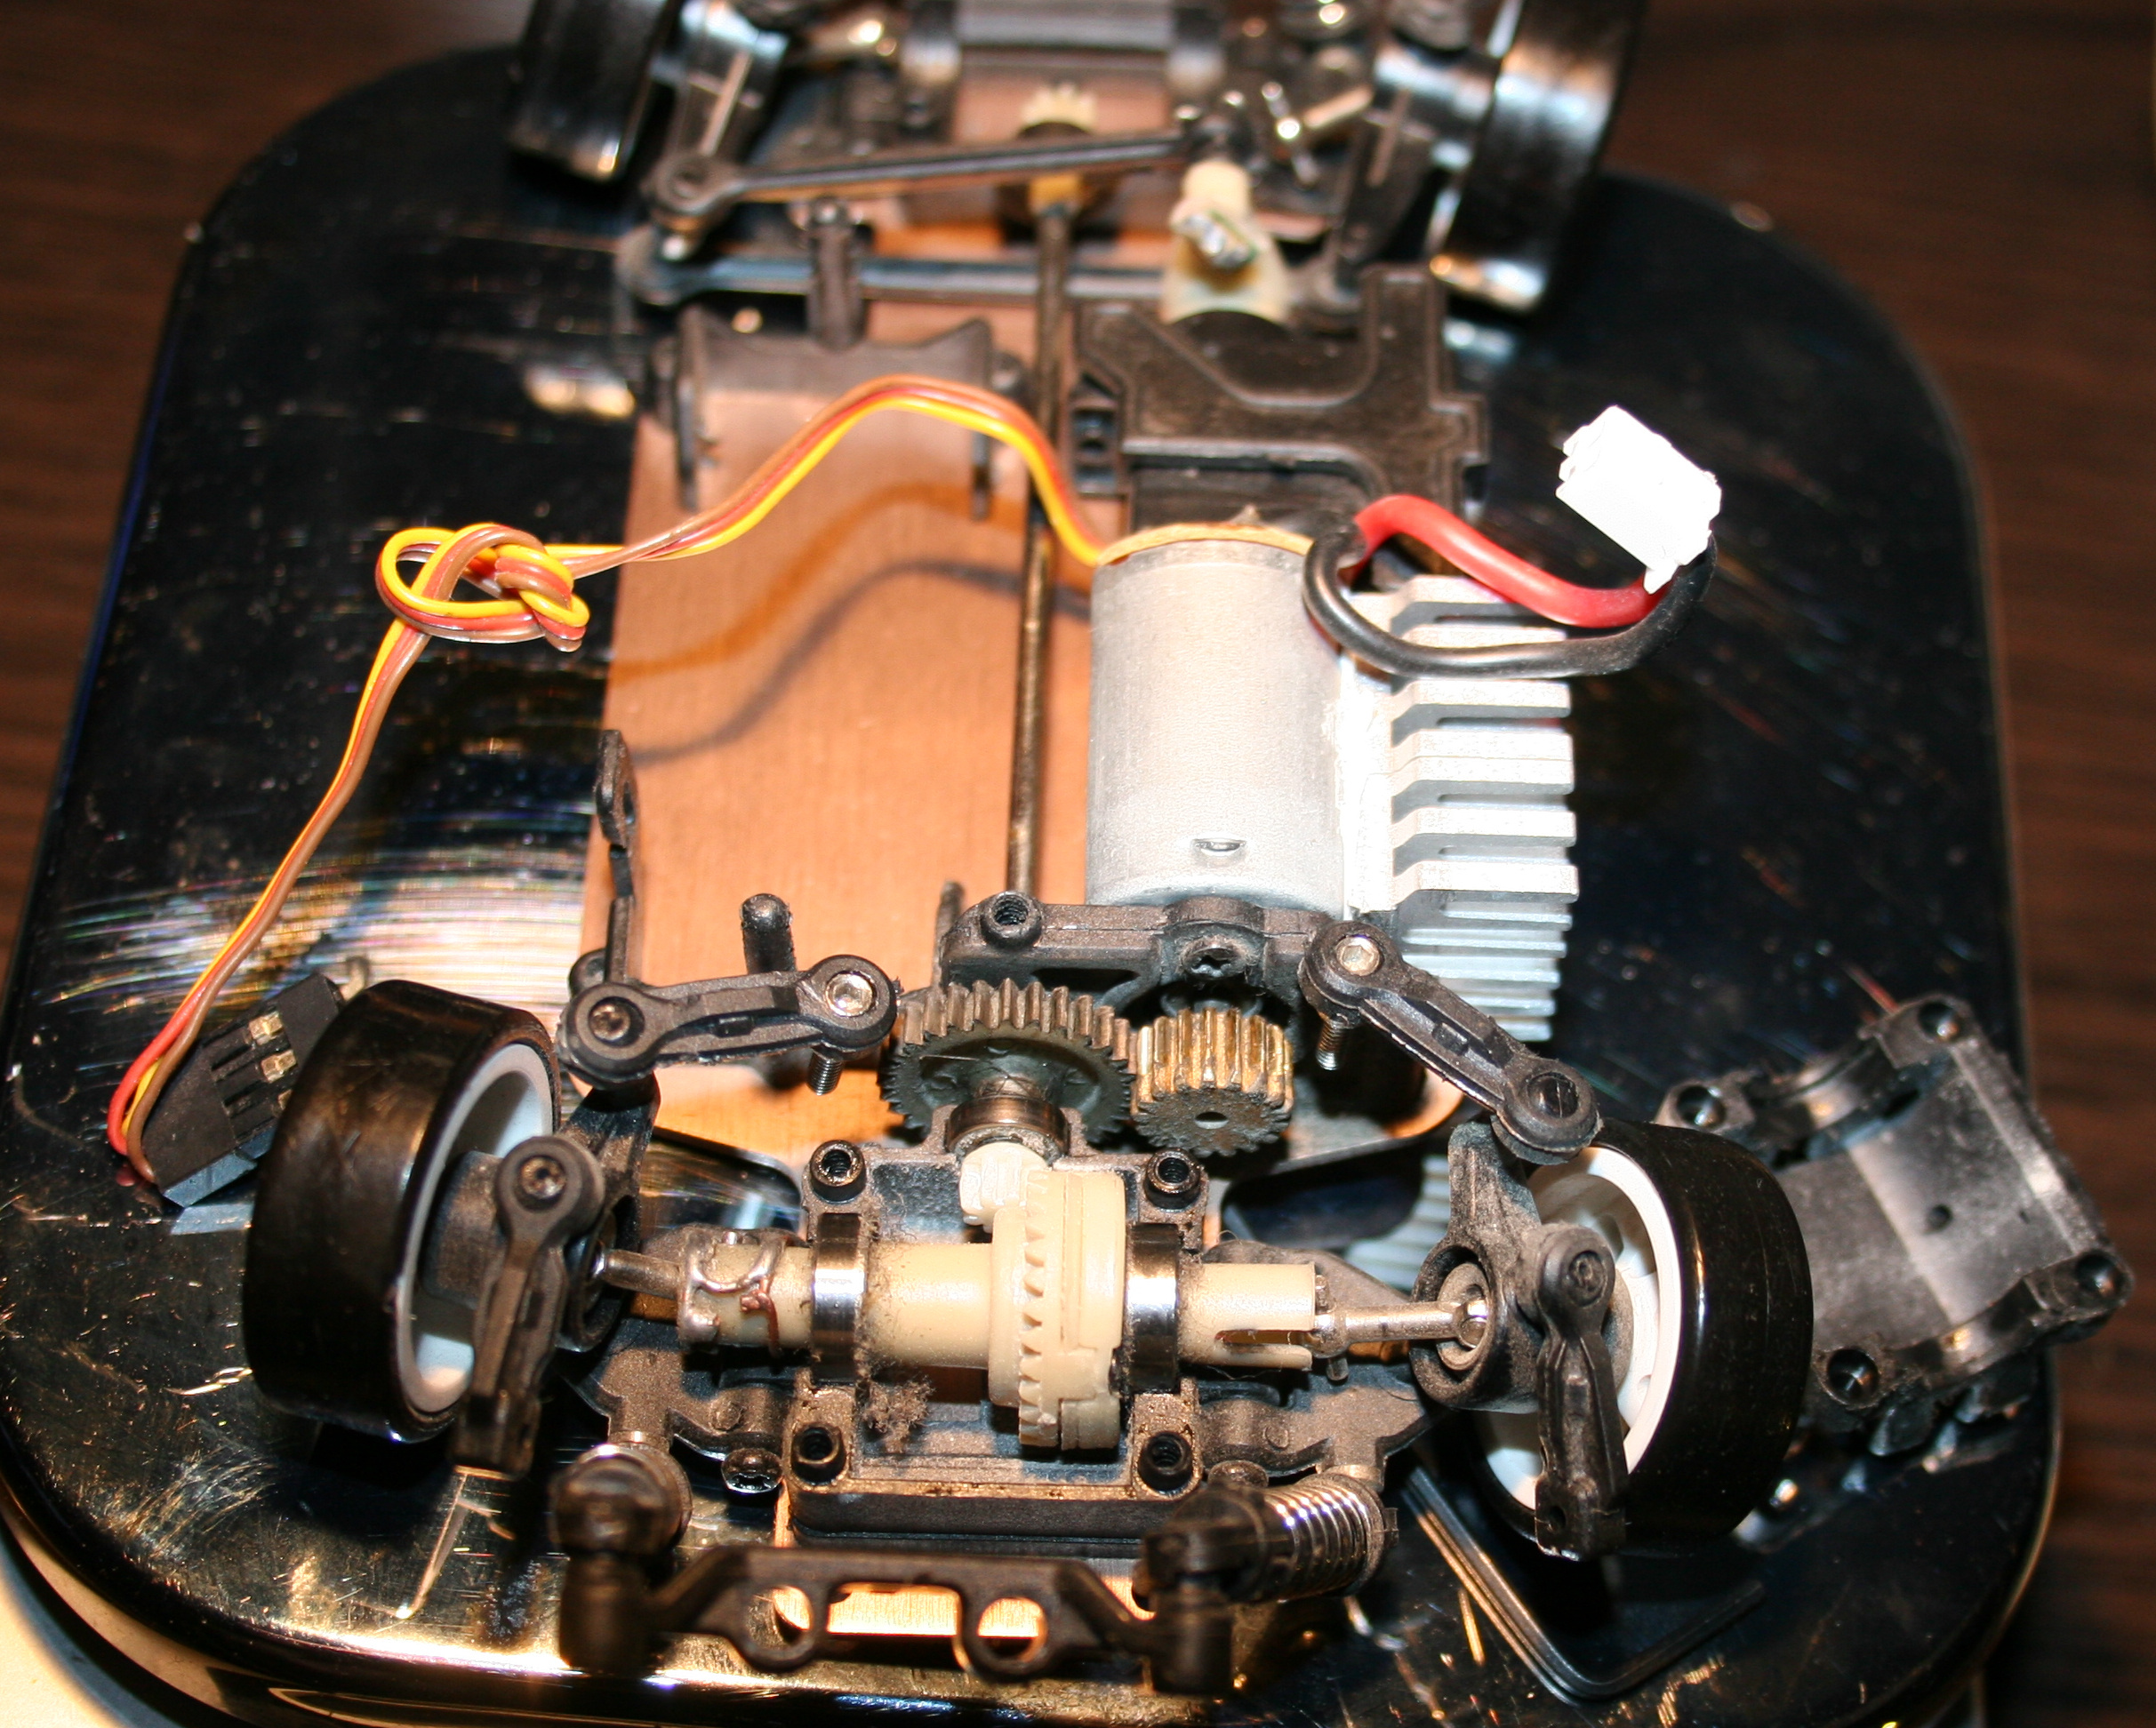
So I used thermal glue and glued some small aluminum radiators (1 cut to match motor length) bottom to motor and side to car bottom, which is aluminum, so good for cooling too.
I’m guessing an even better way could be using copper tape around motor and gluing that to car bottom? Not sure. Either way some cooling is needed and would be better to have it done already. - Added some rubbers (cuts from mouse pad) below chassis mounting points (I saw something similar in a video).
And later some foam around the car, better late than never. This is to soften hard hits, those happen a lot at start when first learning to drive, especially without reduced throttle.
Additionally, at home I do jumps sometimes, banked and U turns (up to like 80 degrees, on a bent sheet of metal I had in cellar) and flip overs can happen this way etc. - At some point while reversing I almost broke one differential end (those, like all parts are plastic). I only noticed when one wheel wasn’t driven. But I managed to put it together with a wire soldered around it, so it doesn’t fall apart completely and works, a bit uneven though.
Parts are freaking expensive, probably few times more than their worth. I hate this approach. If someone bought all parts separately it would cost like 2 or 3 times more than the car itself. Plus the waiting for shipment takes time. - After some bigger hit, I broke the thing that holds chassis on front. It is filled with holes and plastic, so no wonder.
I made something stronger (and heavier like all I did) from a metal part, M2 and M3 screws. Is more difficult to use but should last longer, if I don’t break the plastic part that it’s mounted to. - Added a mount for camera on roof.
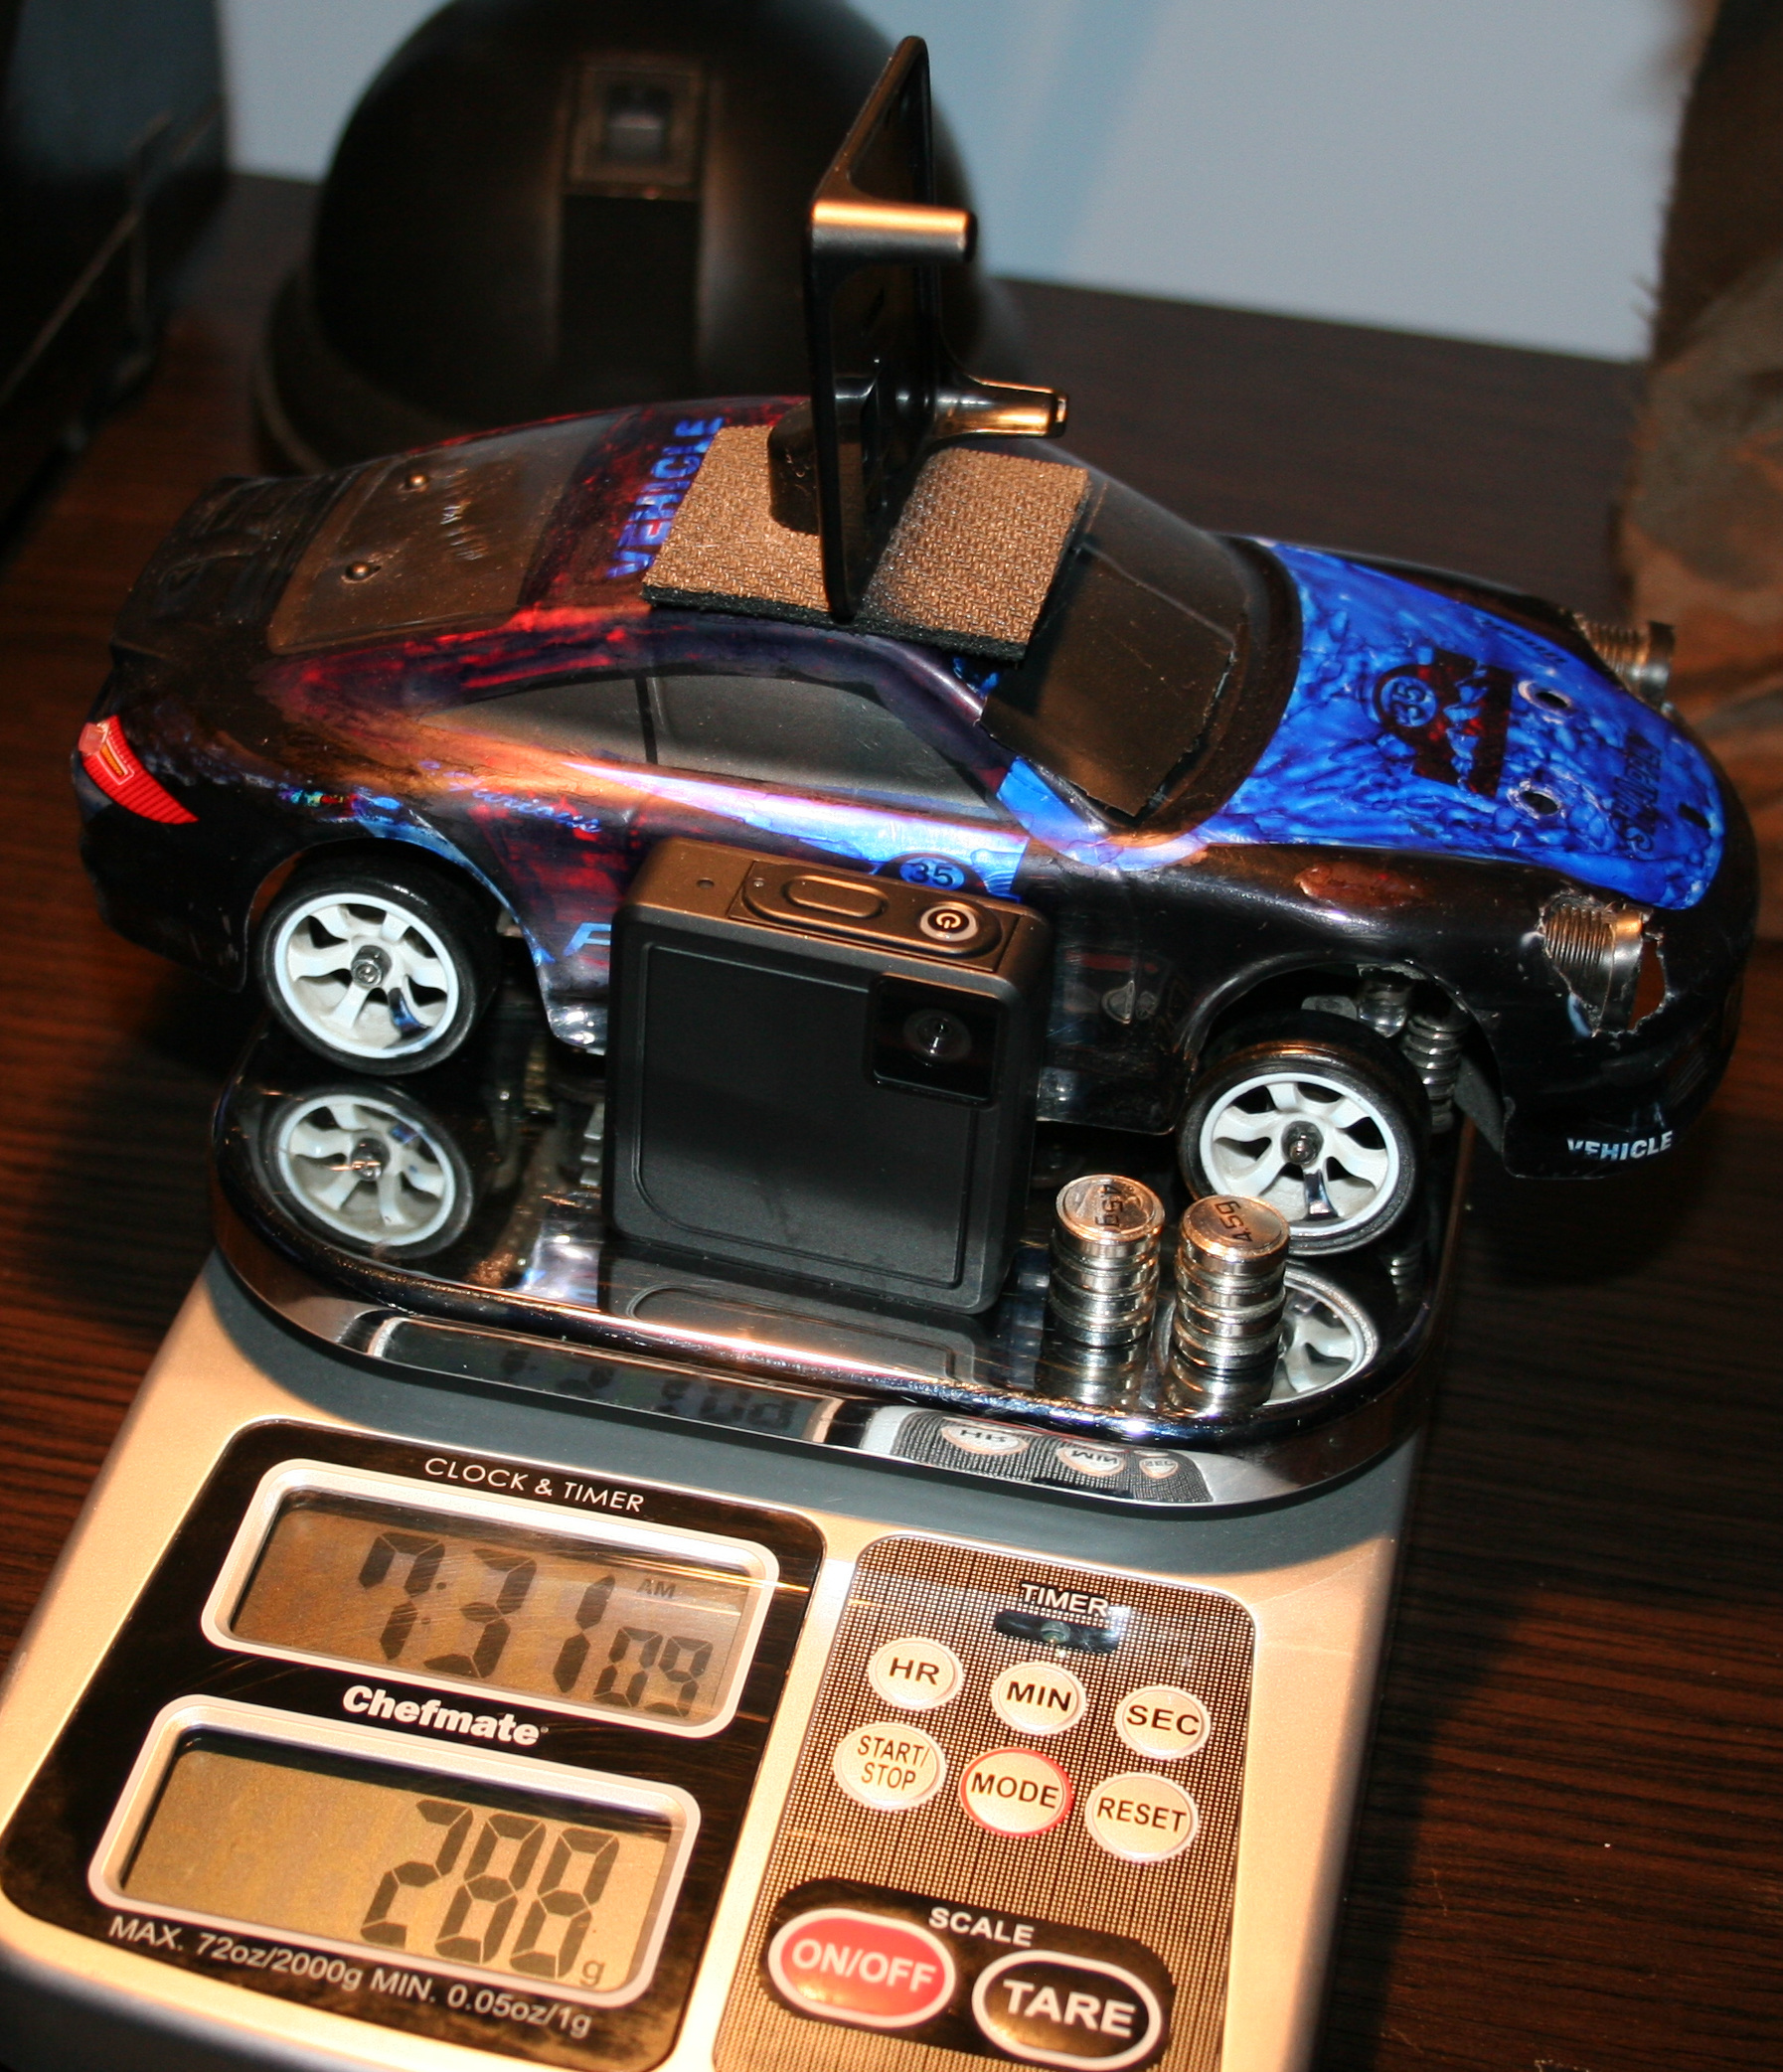
Camera is Ion Snapcam LE, it weights 28g, with its own battery. It even lasted longer than car drive. I didn’t yet make it lighter by using car’s battery. Not sure if I will.
Unfortunately, videos are horribly shaking when driving, because of uneven wheels. - In total the car with camera weights now 288g. So it is a lot more (was 160g at start) and the front suspension won’t allow more. Without camera and extra weights it is about 240g.
I think it still drives well despite the extra weight. But surely when lighter it was quicker and more responsive (less mass and inertia). - Now I’m waiting for new wheels, with aluminum rims.
The default wheels on this cars are cheap, all-plastic and uneven. Even like 1mm difference in height when rotating. This makes the car shake a bit. Surprisingly it doesn’t affect driving somehow, and it wasn’t easy to spot. Only slow time videos showed it and those from car camera, which are rather unusable. - Maybe for future (not sure if I’ll try/do any of these):
I was thinking of making the controller use IR distance detection for throttle (instead of potentiometer which I already once cleaned since dust made it go chaotic). Using a MCU (Teensy 3.2 which I have lying around doing nothing) with LCD, buttons and rotary encoder for a GUI that allows adjusting all ranges and offsets without potentiometers.
I also had an idea about having a light MCU in car to use RF (e.g. NRF24L01 2.4GHz modules) to send some measurements to controller MCU, like: battery voltage (for remaining drive time), motor temperature, car acceleration, rotation and direction (from those popular new accelerometer chips), and making all car lights toggleable and dimmable (with PWM) from controller.
Lastly very doubtful, but maybe if I used PC mouse optics and chip I could get real velocity and position on some surface.
⌛Conclusions / Review
I personally can’t imagine having fun with an outdoor, fast / touring car, with rubber tires. Neither with a smaller car that doesn’t have 4WD and drift. And those big RC cars that can slide on gravel (and jump up few meters) are quite big, very expensive (I seriously would buy a new PC instead) and require a big area or a track. And outdoor and indoor tracks aren’t close, are likely paid per hour and have other people. Plus parts for more expensive cars are of course more expensive.
To summarize, I would recommend the WLtoys K969 car, especially as first RC car for indoor use, with more fun because of drifting. But with a few remarks.
I don’t really recommend driving this car without modification 2 (throttle range adjust). I did it at start and it was chaotic. Some say modification 1 (more steering) is also crucial.
Another thing that many say, is that the 2 smallest gears wear out rather fast. Those that drive each differential, both from plastic again. Why on earth aren’t all gears from metal.
Well as I mentioned few times already, nearly all parts are from plastic, which can be a problem. Surely is for small gears. Later if you drive on uneven surfaces or jump, etc. then mountings for suspension will wear out or break (since closest to floor and from plastic).
Still (and maybe that’s why) there are many metal upgrade parts and kits, but I don’t recommend any, at all. I have seen too many negative comments from people who say that those don’t even fit together, are bigger, leave less clearance etc. So they just look cool, and that’s it.
The rest of my modifications were optional and just an easy hobby, that lets me spend some fun time, but not with my PC as usual.
