⏱️Overview
I describe here my latest PC’s Water Cooling (WC, but not 🚾). Done by reusing previous PC WC components and partly newly made by DIY approach. I also write about my experience from doing and using it and remarks about the parts.
📜Short history of my my WC
I already started with WC for my PC in 2004. I bought a full WC set, it was cheap and low quality. Later I replaced radiator, as it was the worst. I even tried WC in PSU, but that was nuts.
My previous project 2004-2022 has more history and info.
For over 15 years I had 3 things: PSU, radiator and water tank/box/reservoir separated, behind PC, not inside. Was rather immovable. Obviously not great. But I didn’t mind this flaw, since I never moved my PC.
As for water tank, the pump was in it. I made it quieter by tilting (picture). The pump was really cheap, always at full speed and using 220V (that’s bad), 10W power. But it worked well for about 10 years until it stopped. So water tank was better, quieter outside, since pump’s vibrations didn’t amplify, when put tight in PC case. Also easier to fill, add or replace water, etc.
For years I had radiator outside PC too, just hanging, attached to my desk, under which my PC always is.
Later, in previous project I’ve mounted 3-fan radiator/cooler on the PC case I had (picture) and put that big PSU inside, leaving only water tank outside, PC was possible to move. I had previous PC for 12 years, until I finally decided to upgrade all hardware.
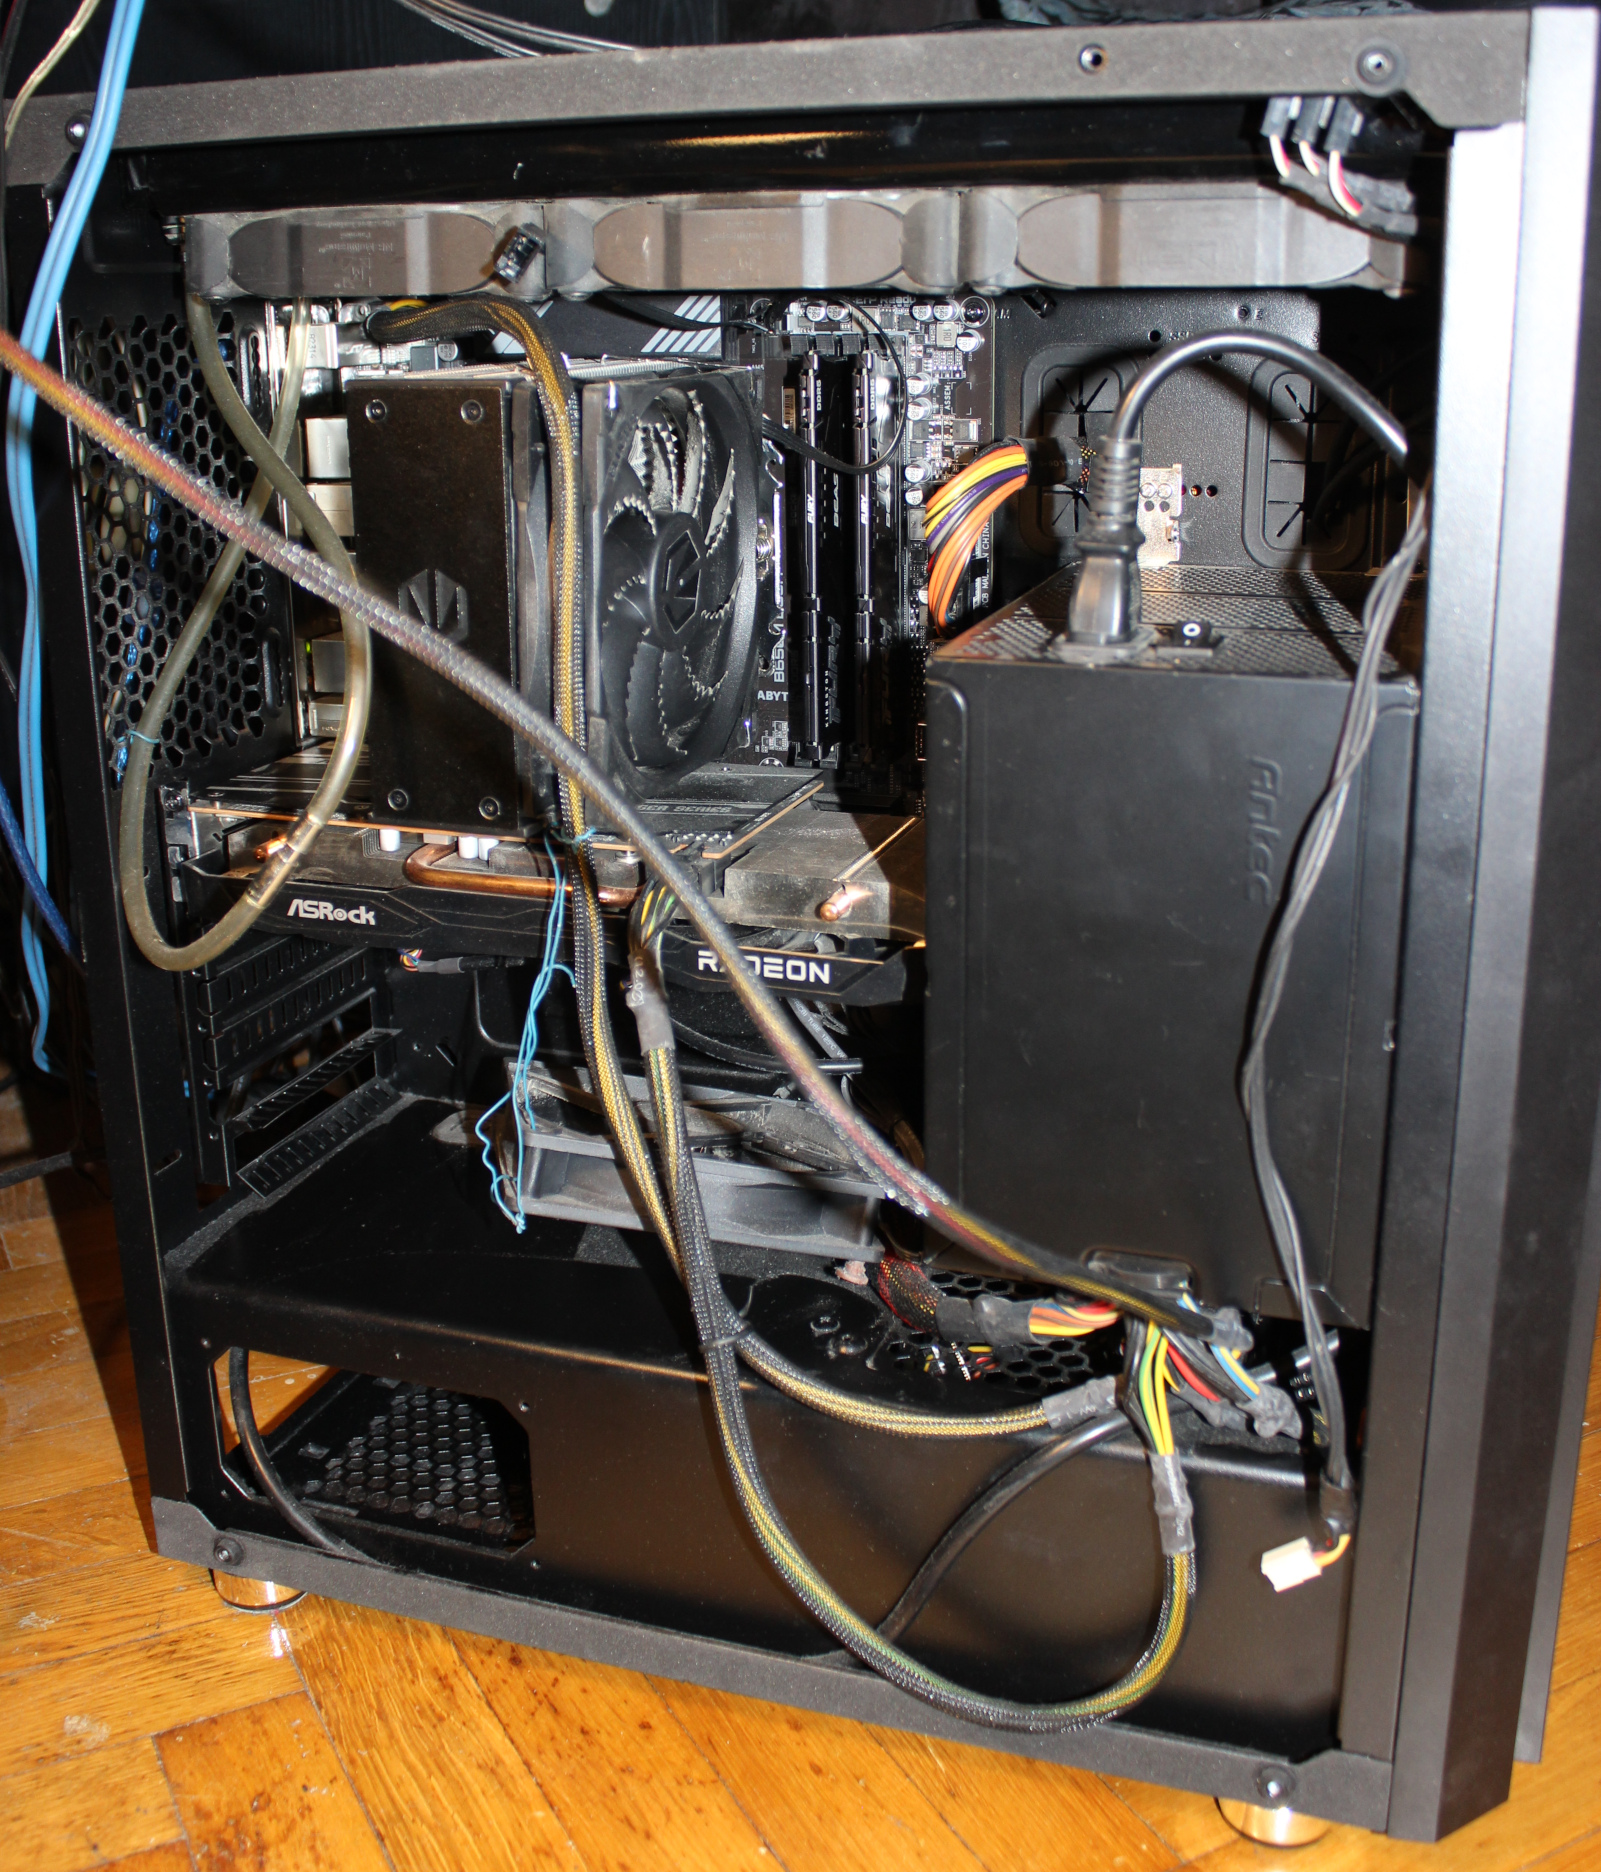
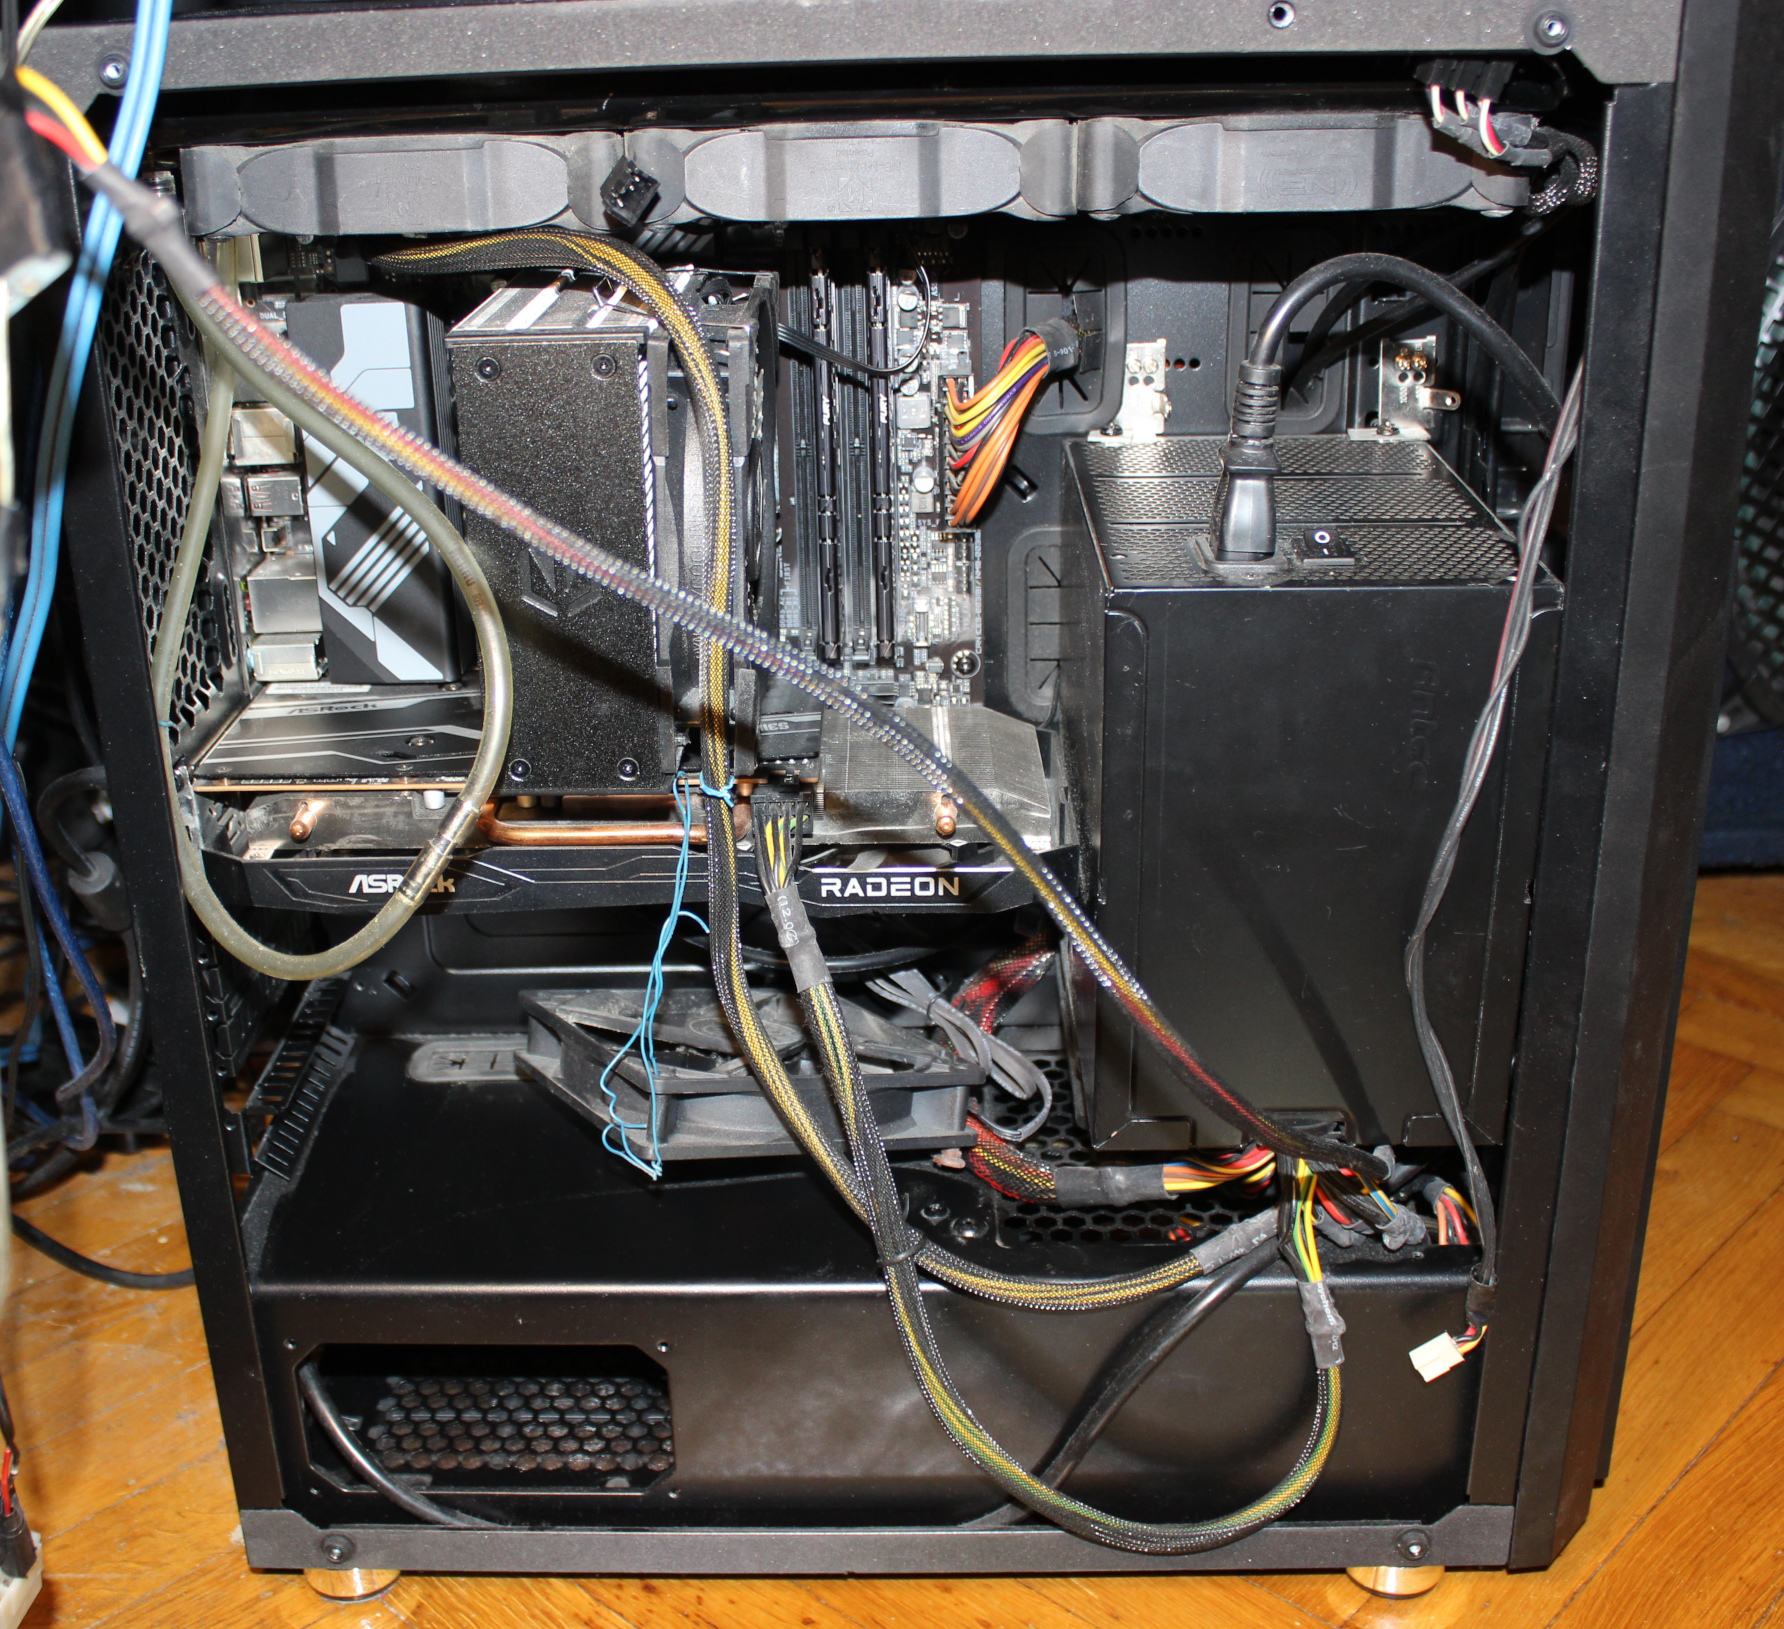
When I bought a new PC in Sep 2023 (I pick all parts myself), I also chose a new PC case. Only PSU was left from the old PC. I measured and planned before, so that this big PSU and new GPU would fit inside (barely, picture). I got a smaller mainboard this time, it’s better.
I used this new PC for a long time with air/fans cooling, until finally in late Apr 2026 I had enough of that CPU fan noise and converted it to water cooling.
Why did I wait so long is because I was busy with Stunt Rally 3 and as always did no other projects while developing it. Also because I wanted to be extra safe, there is always a tiny chance of a mistake and damaging something.
🔍Details
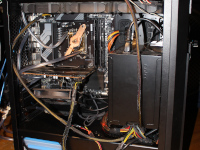
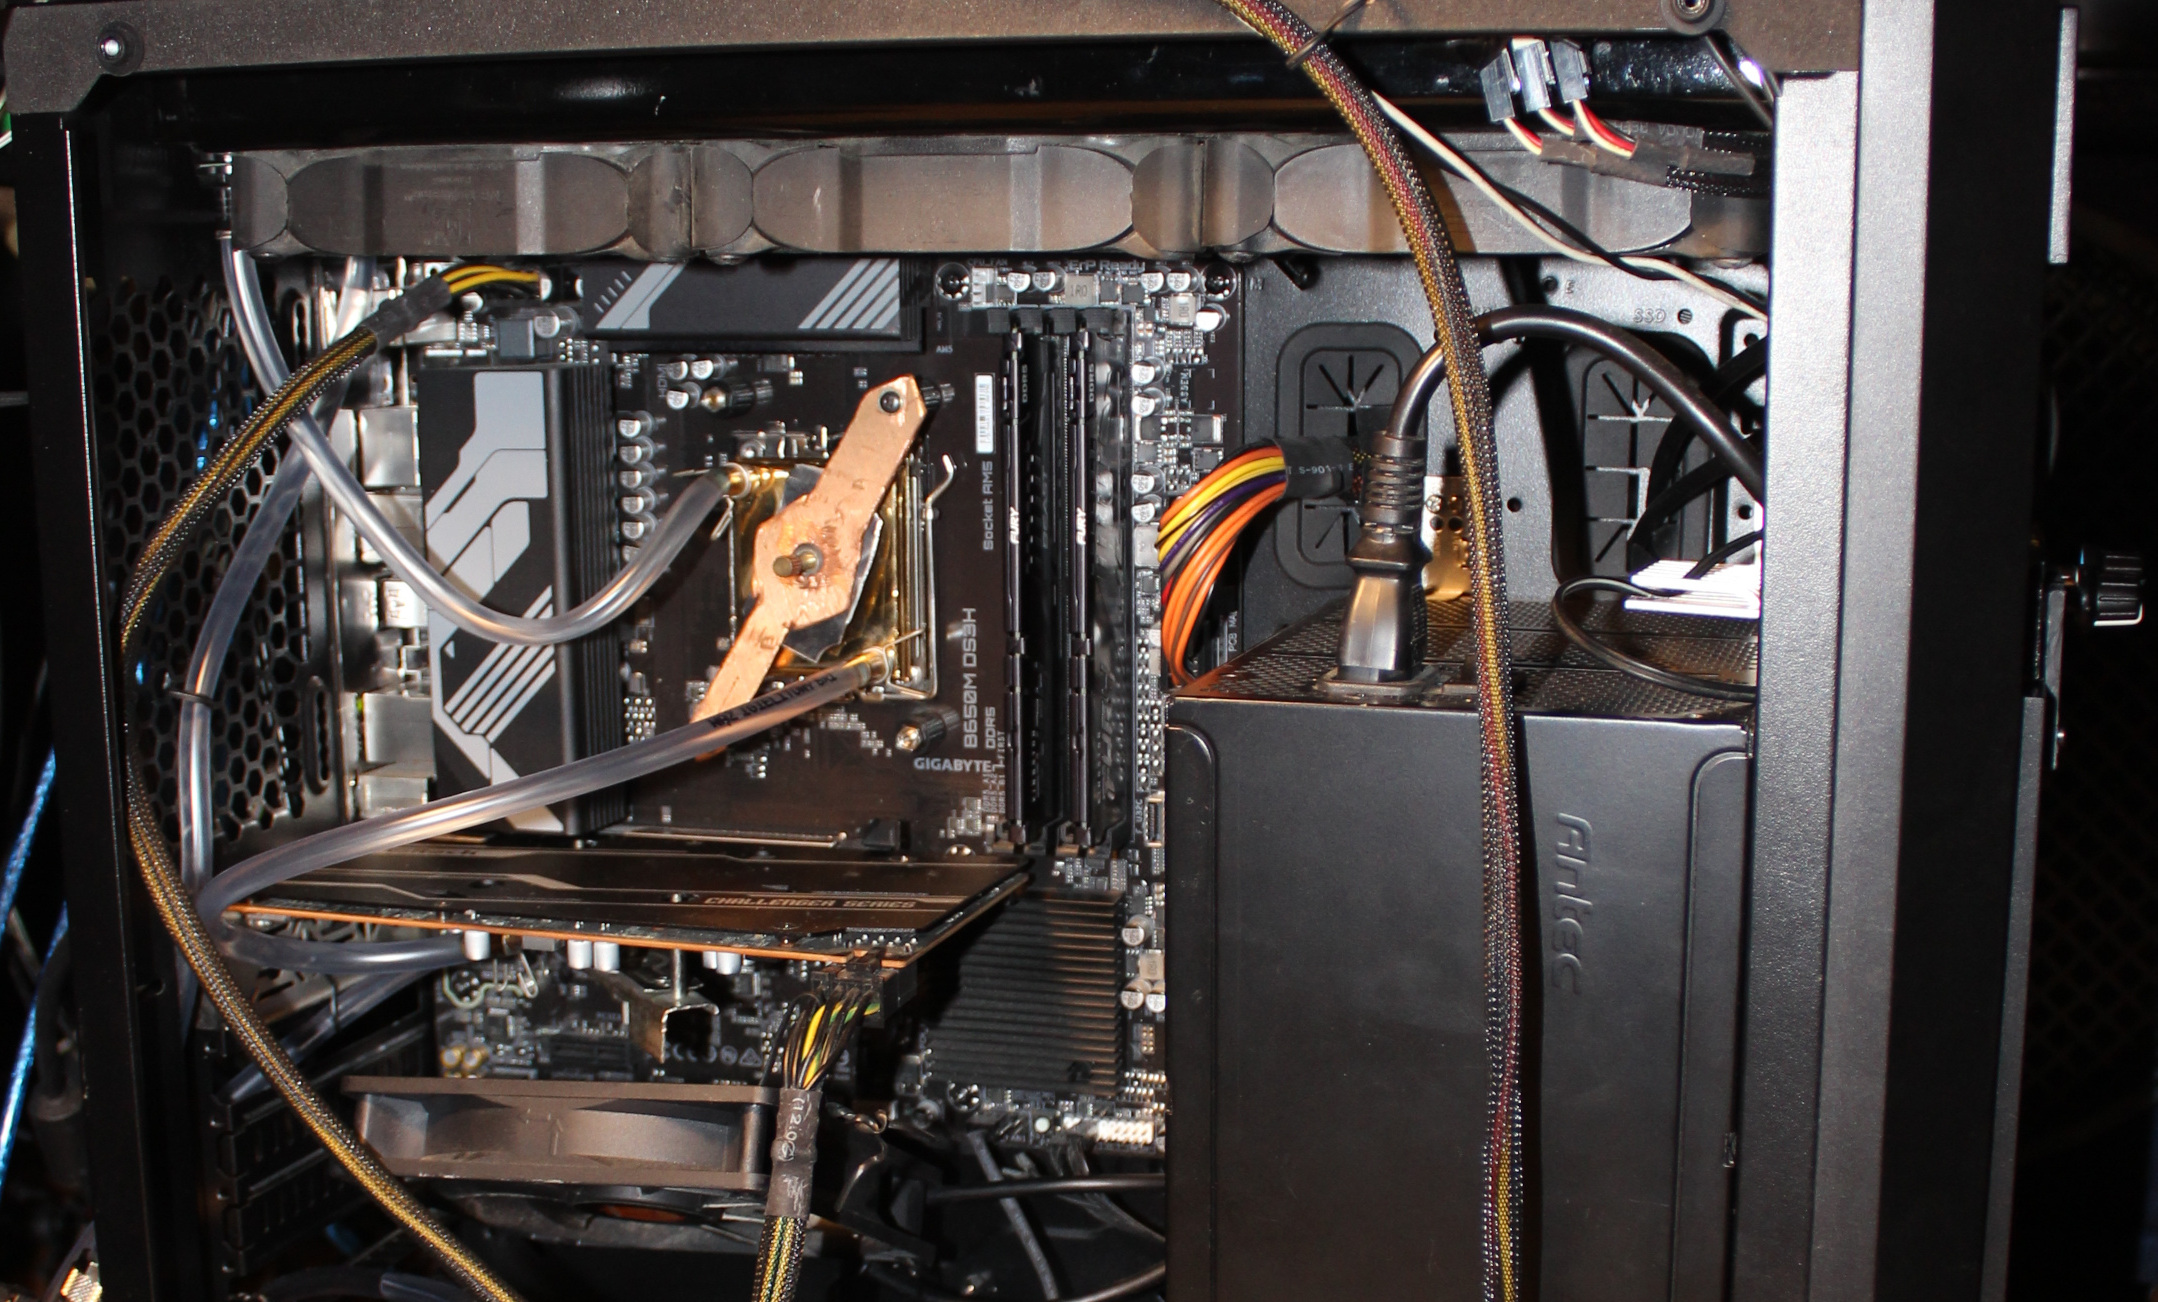
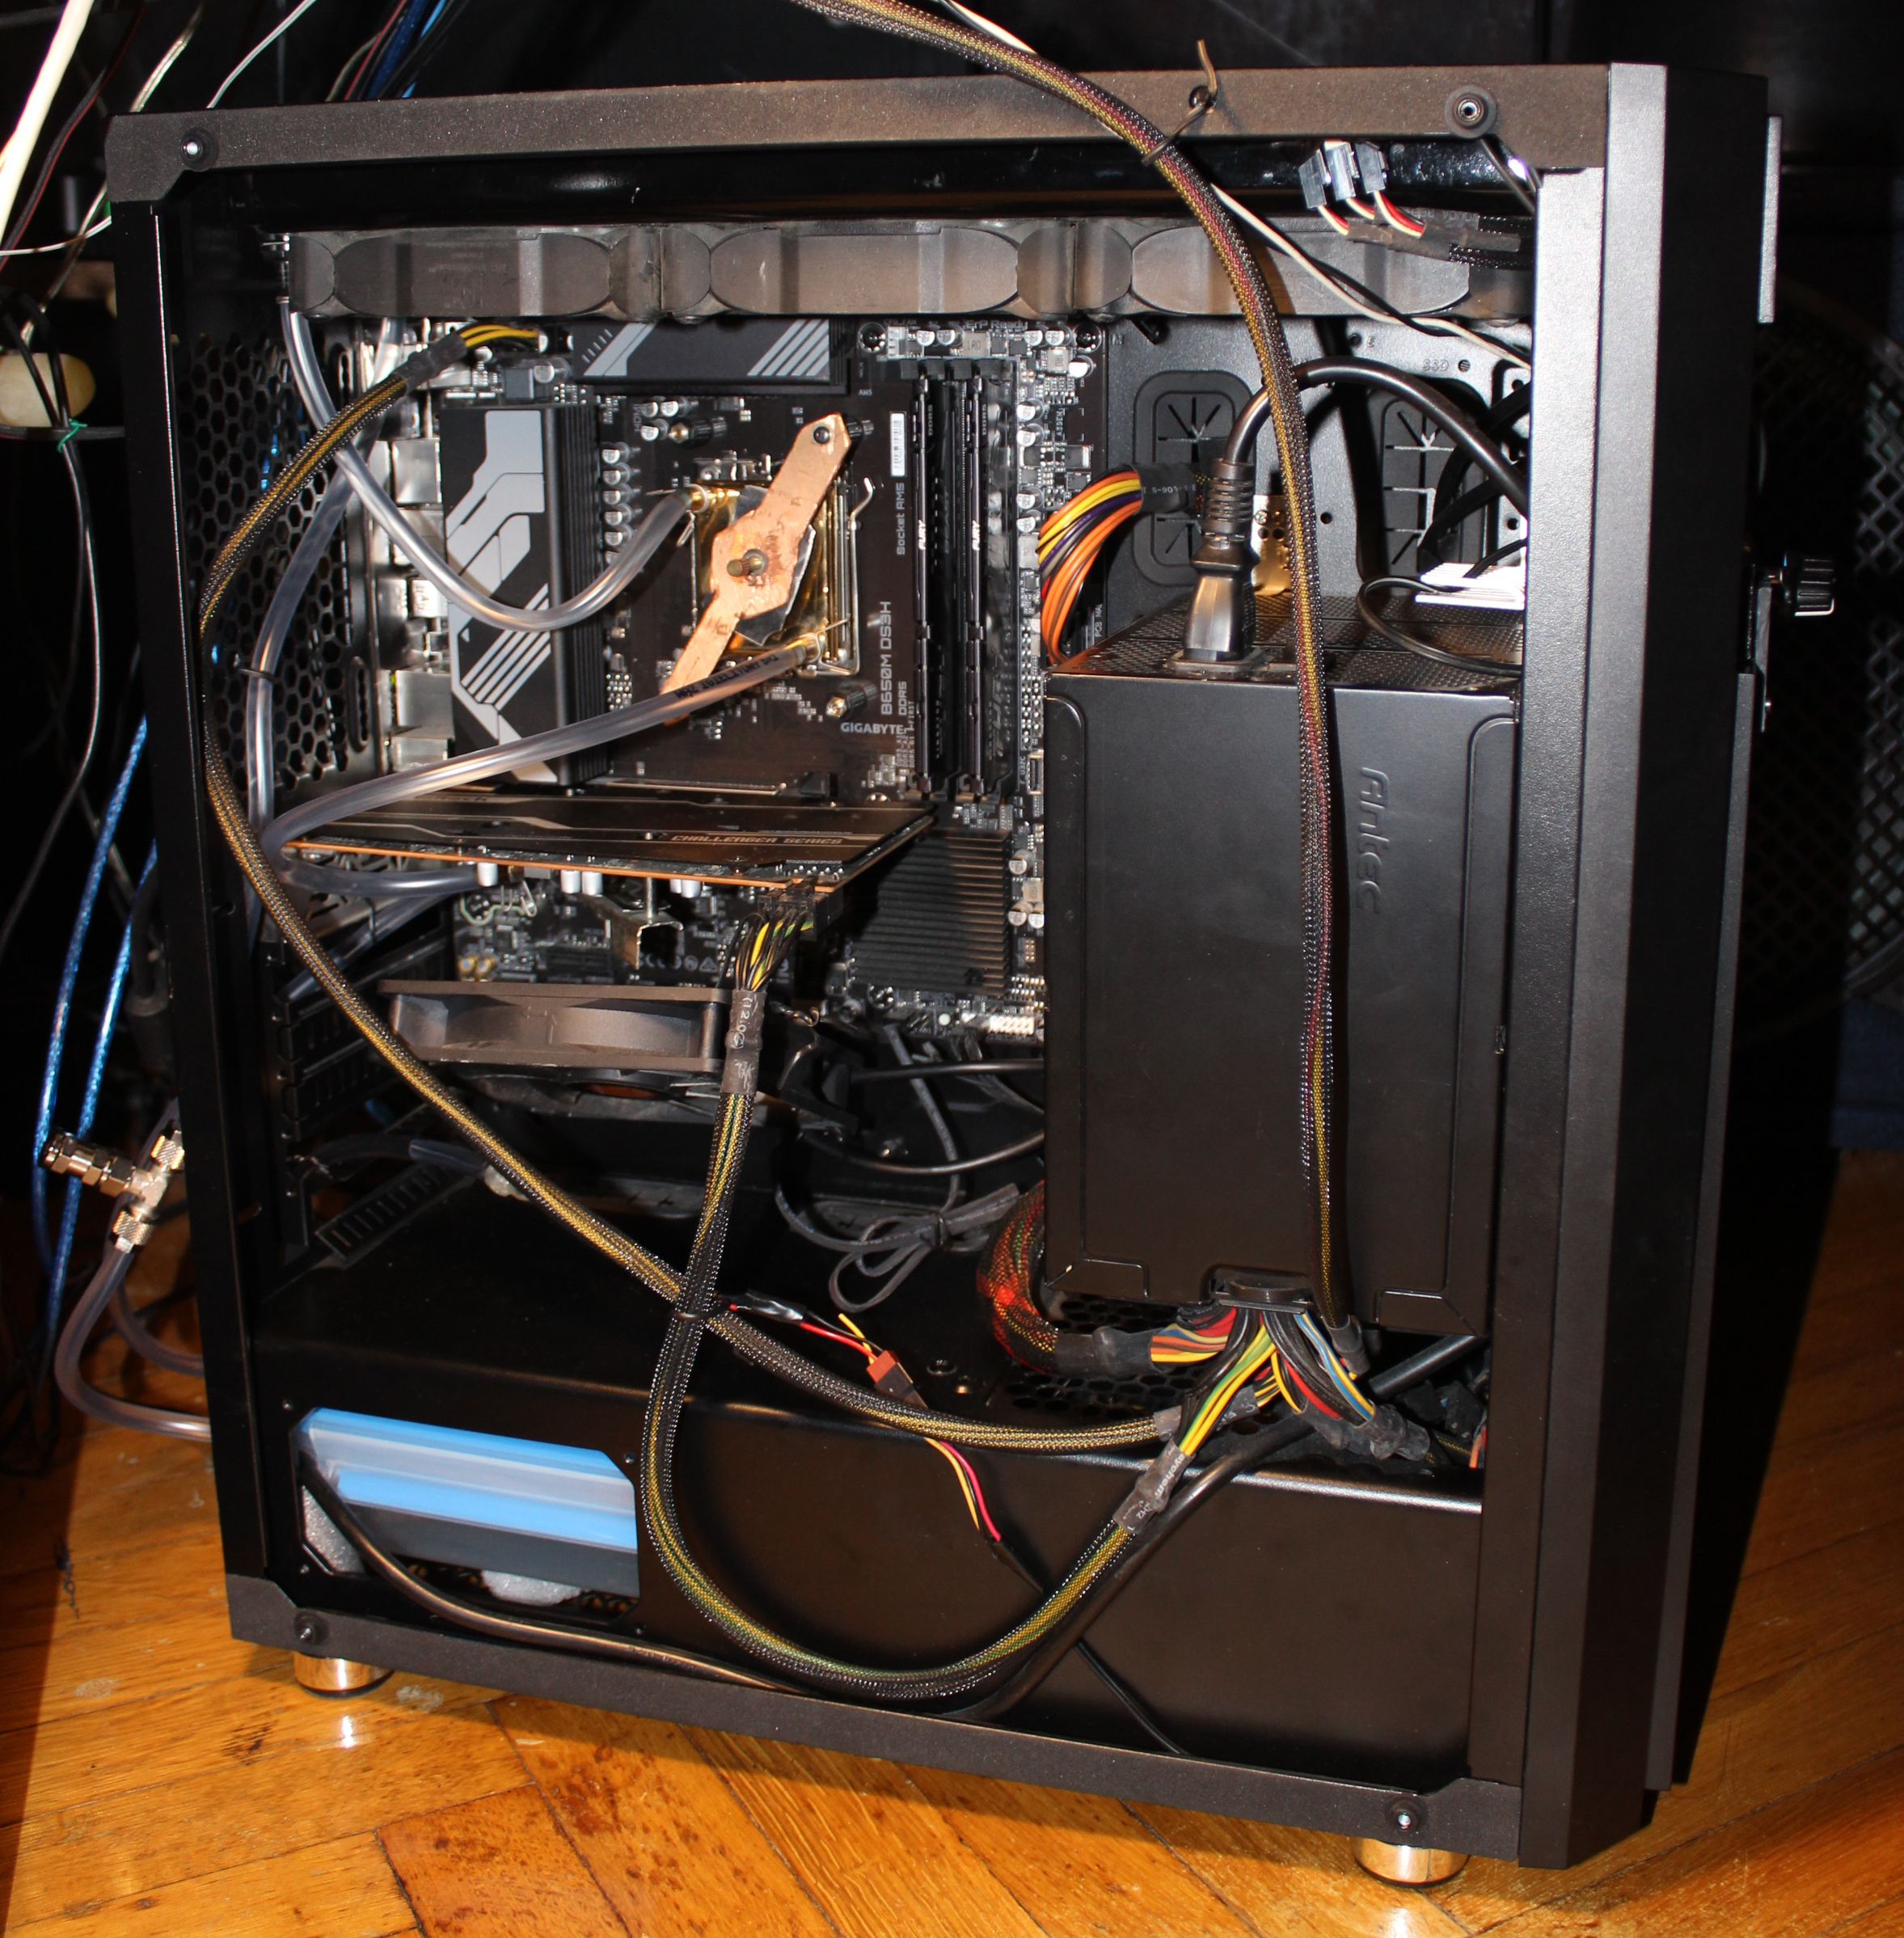
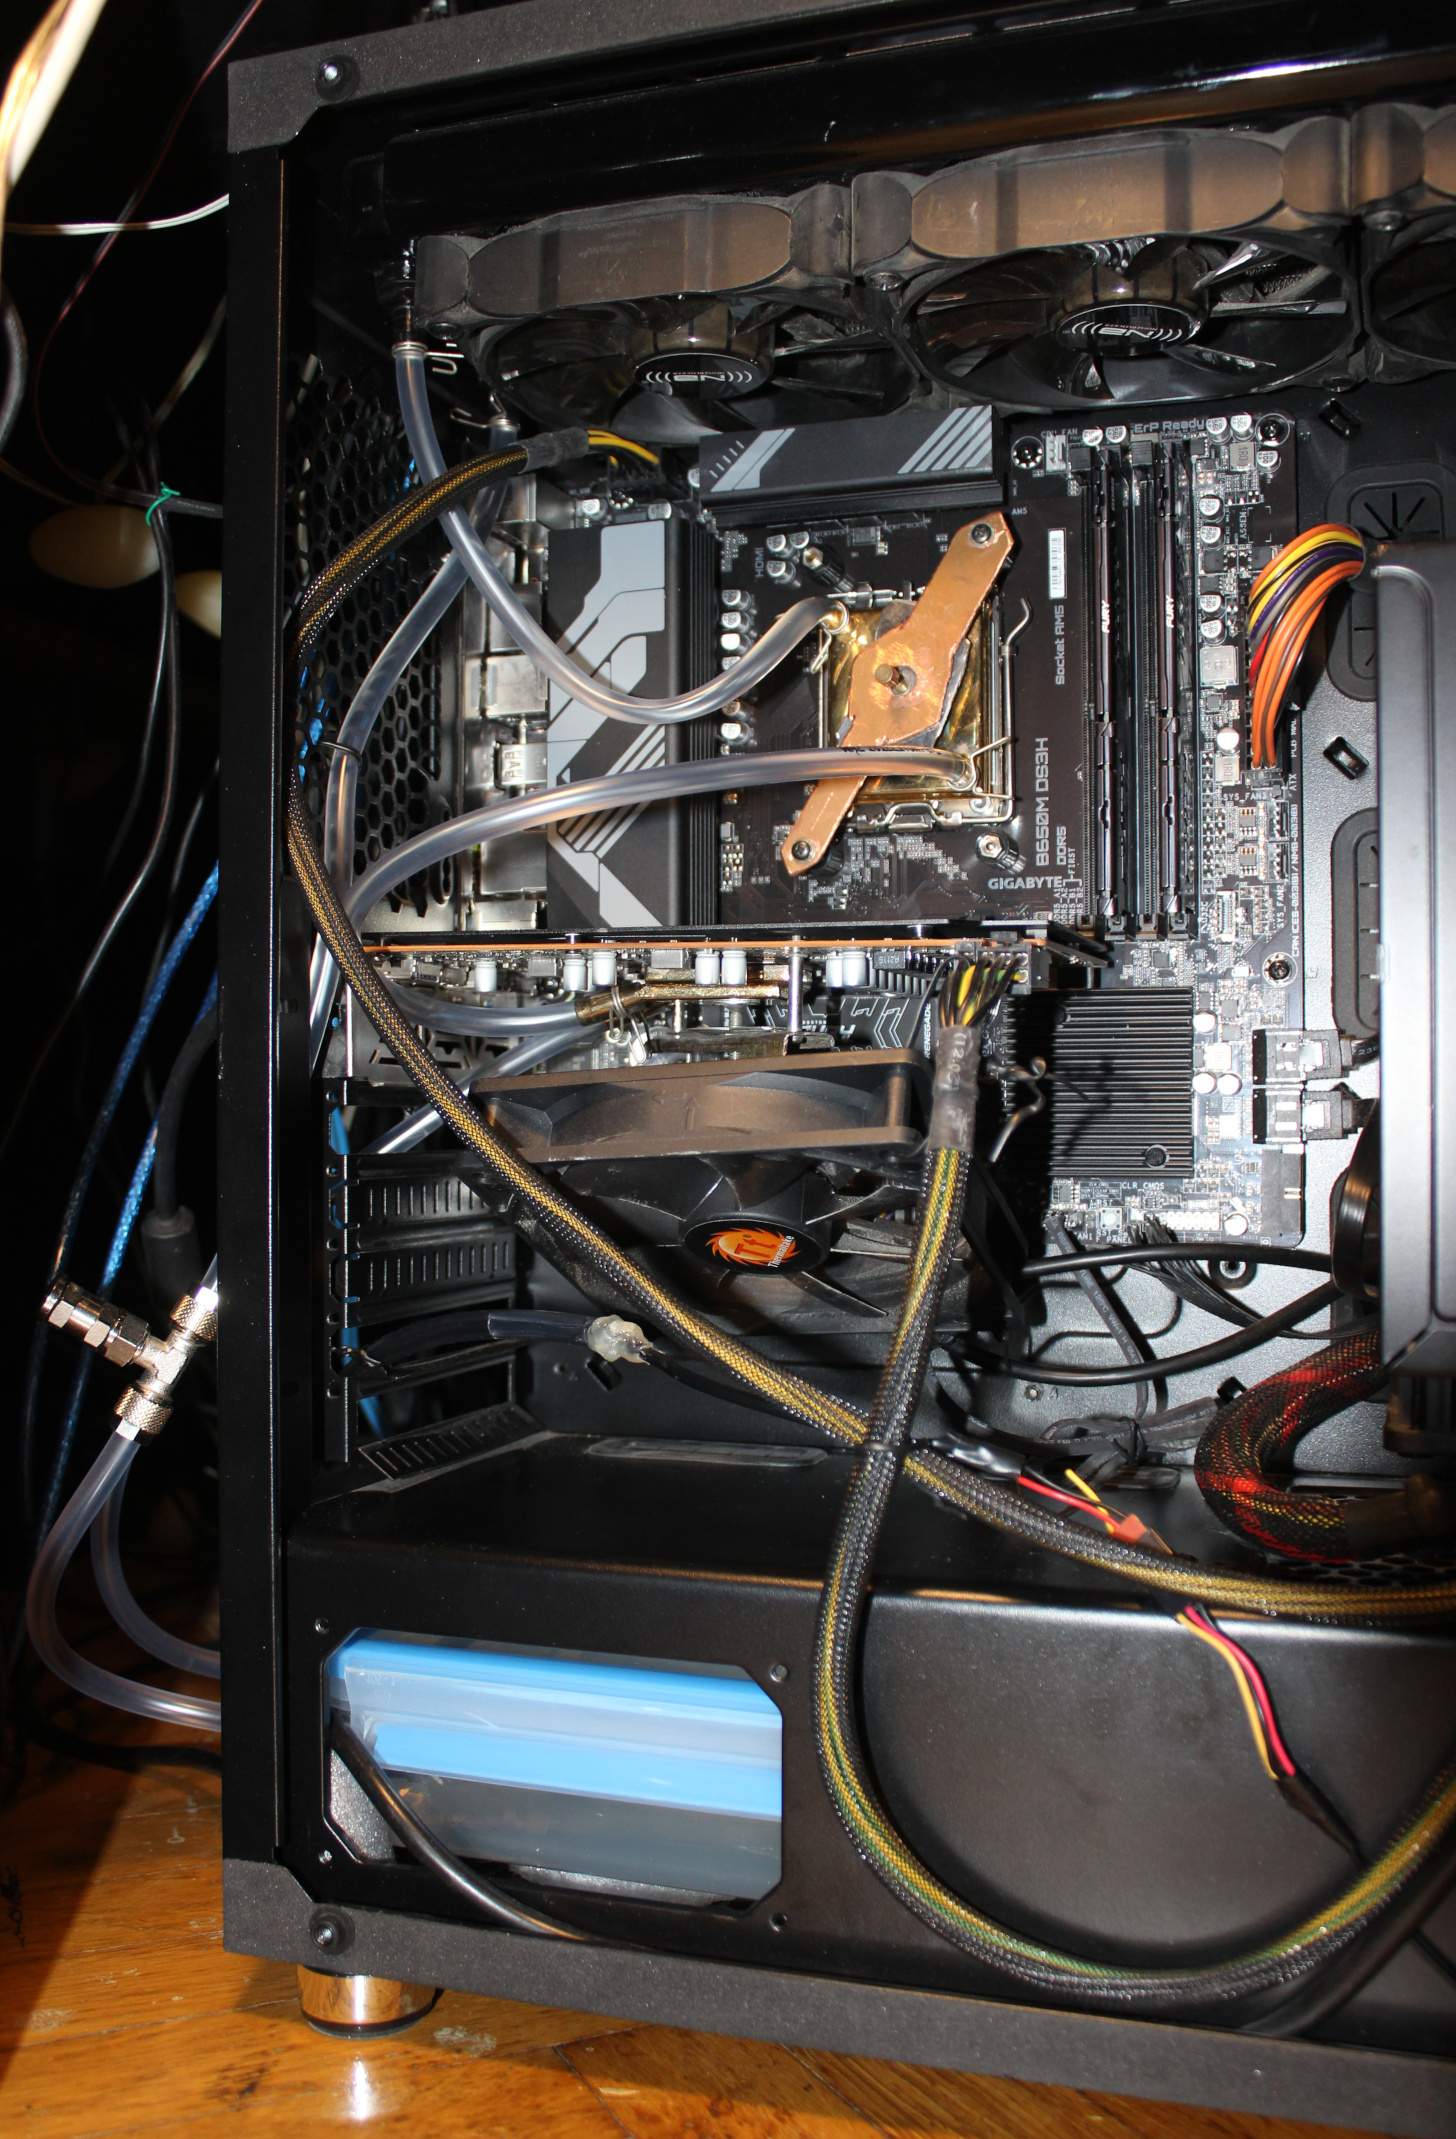
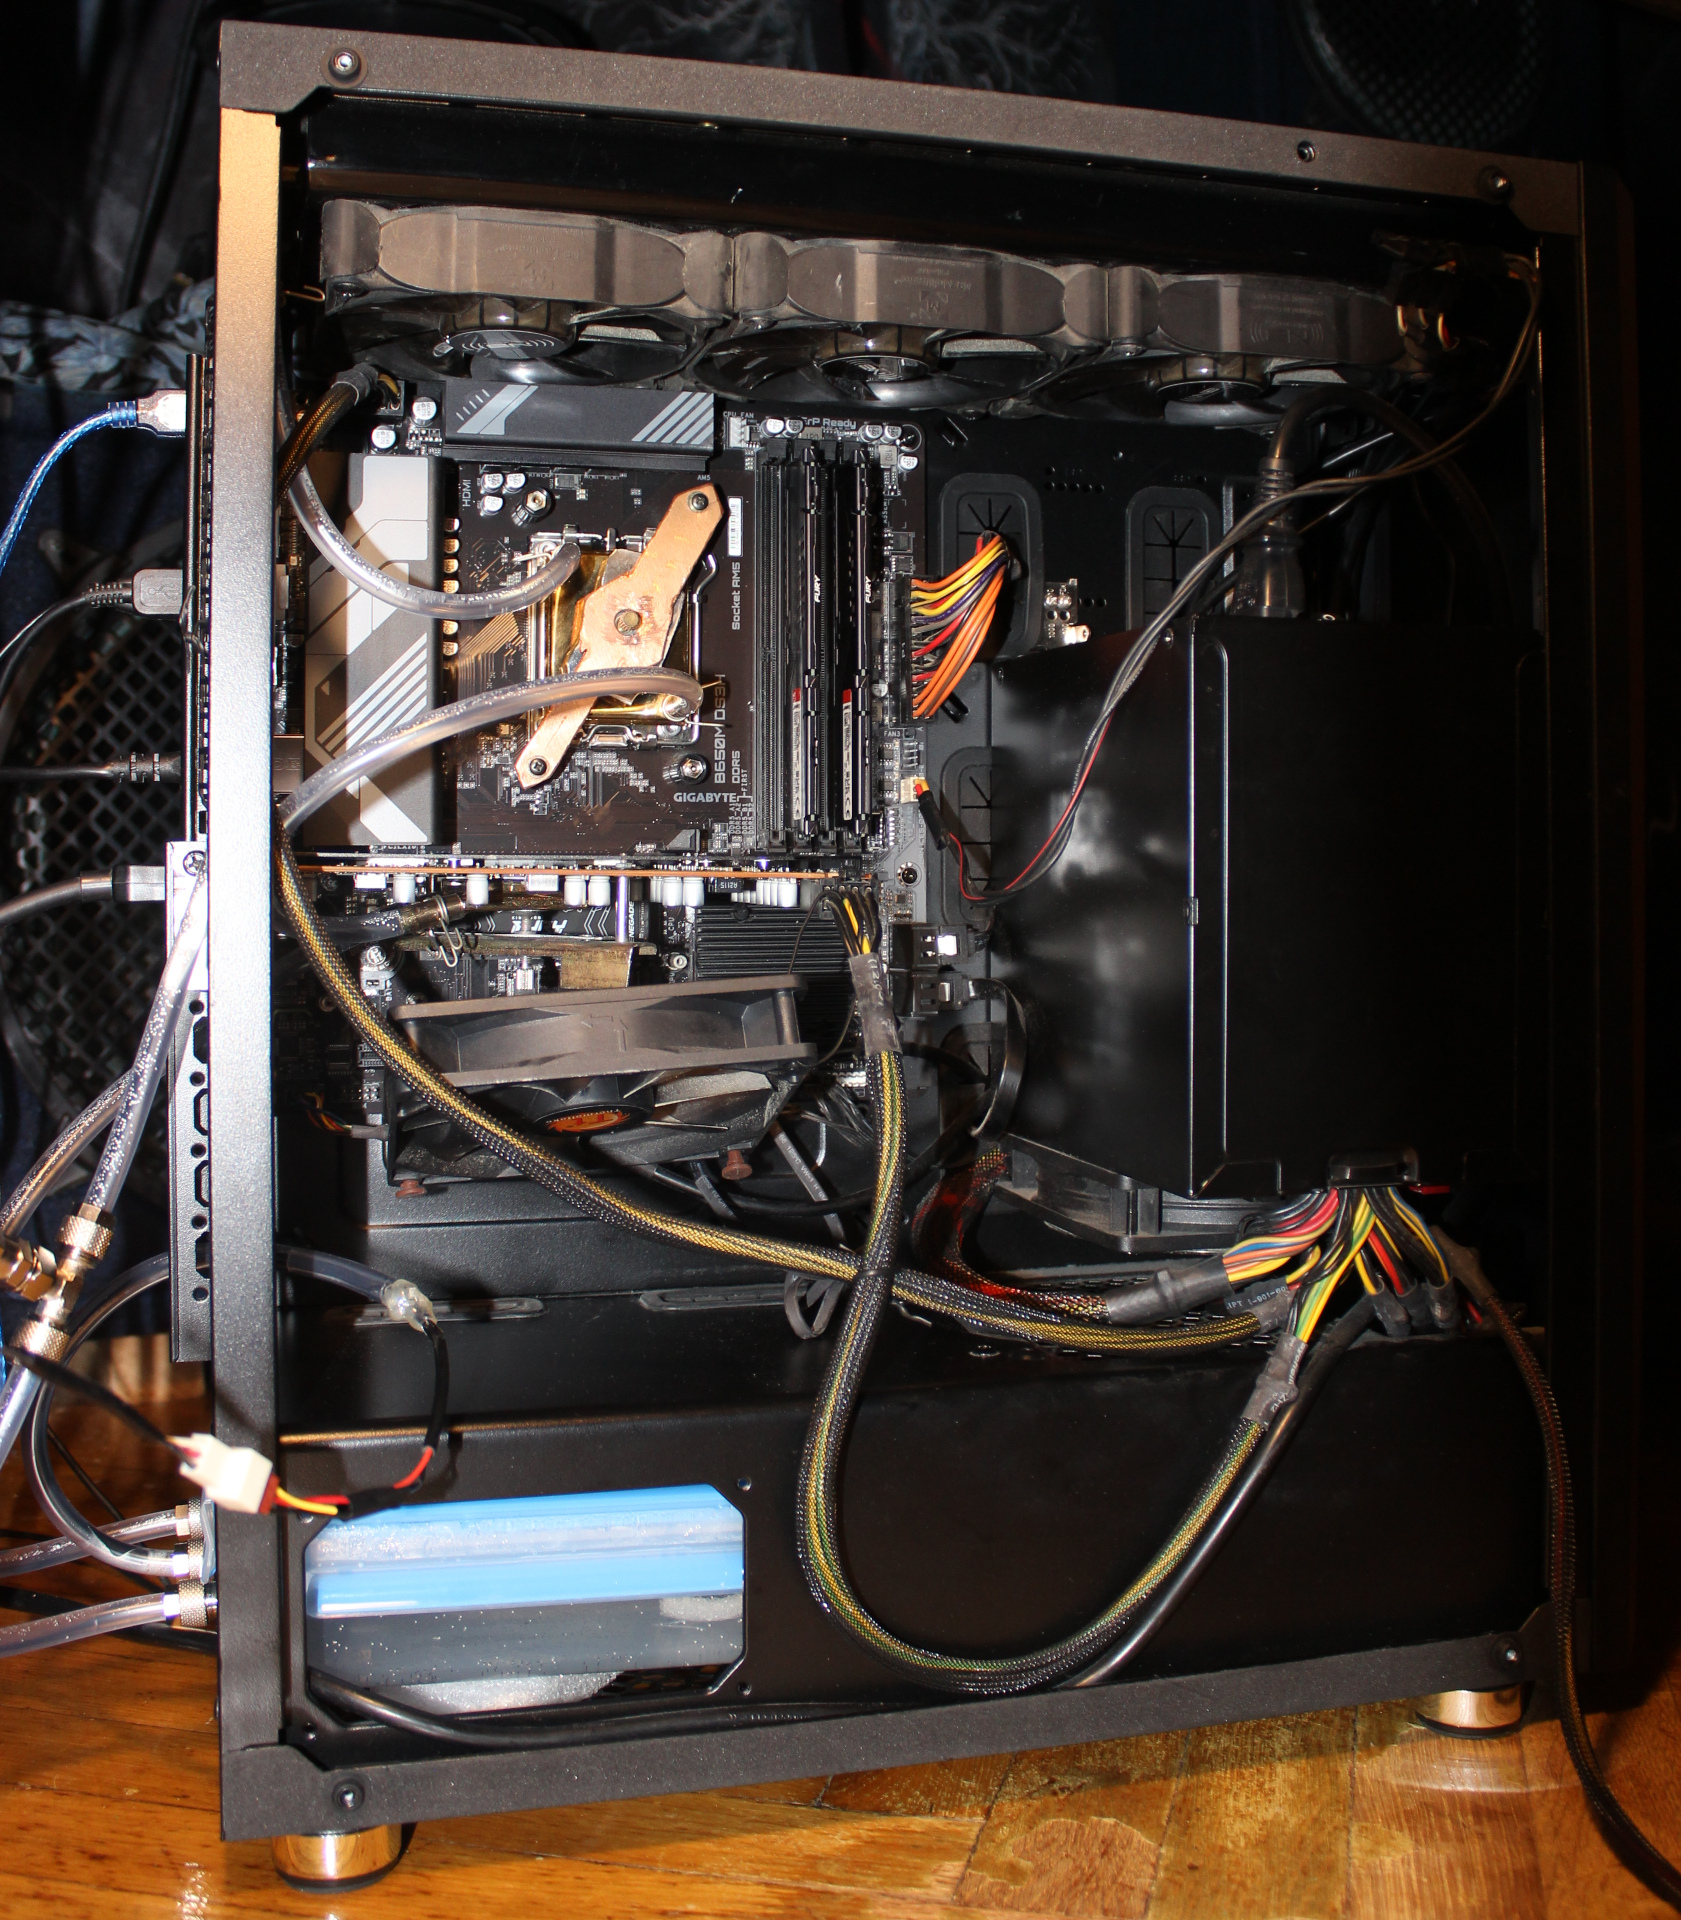
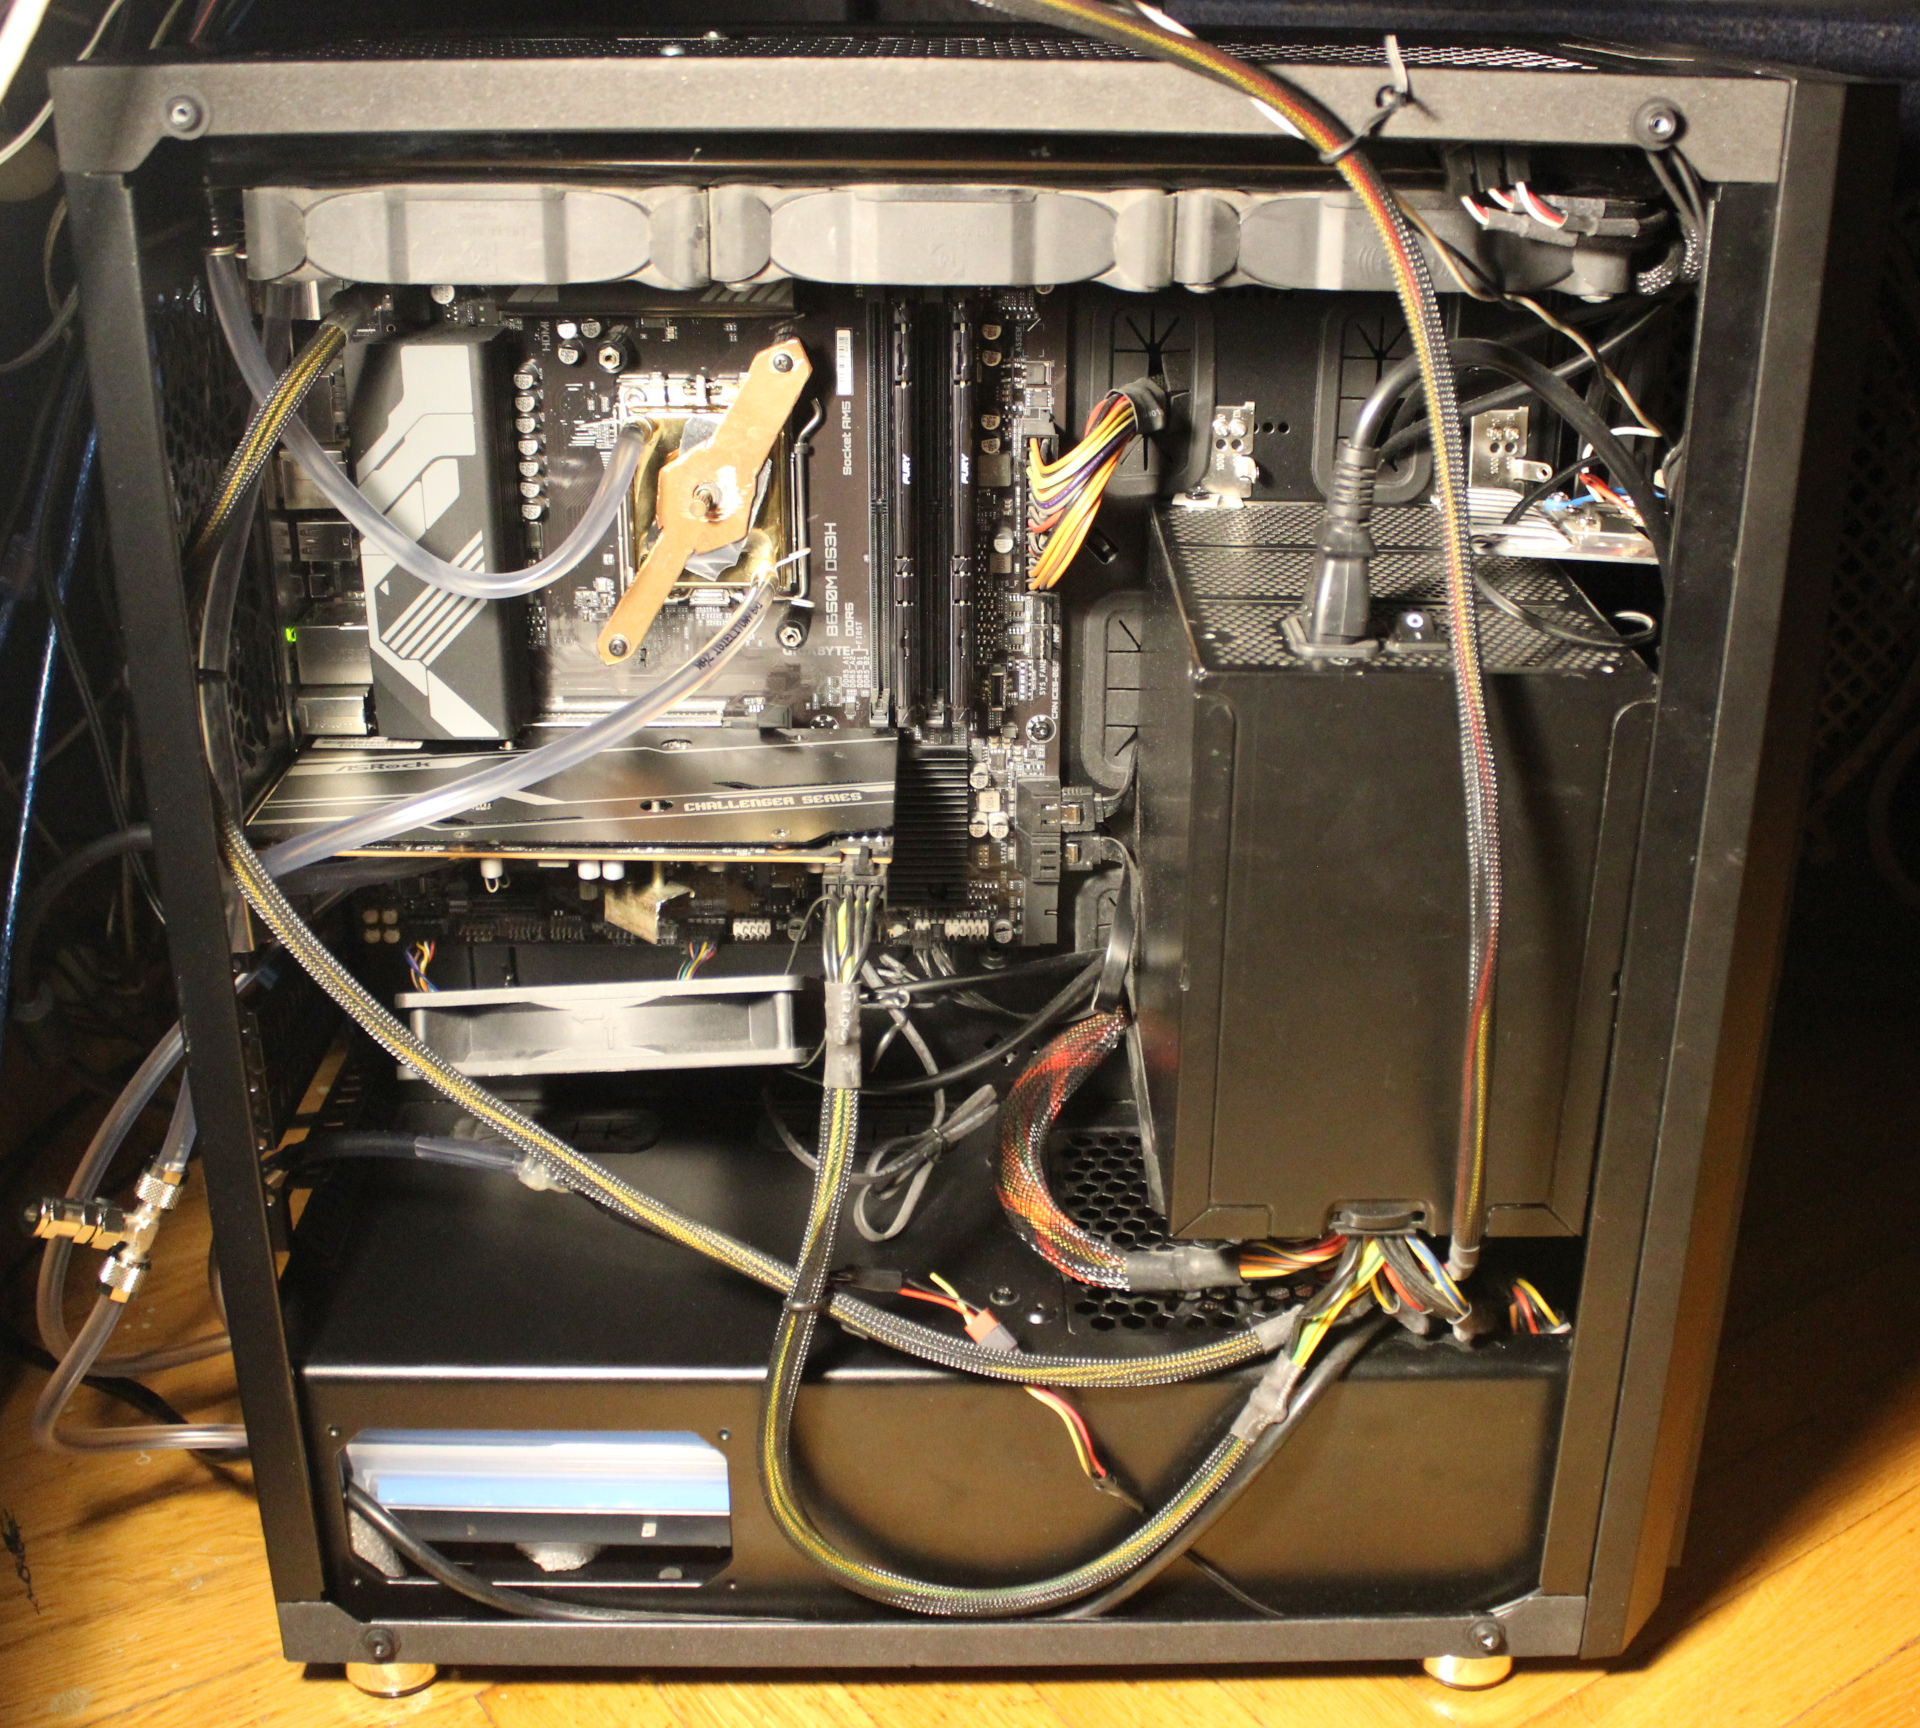
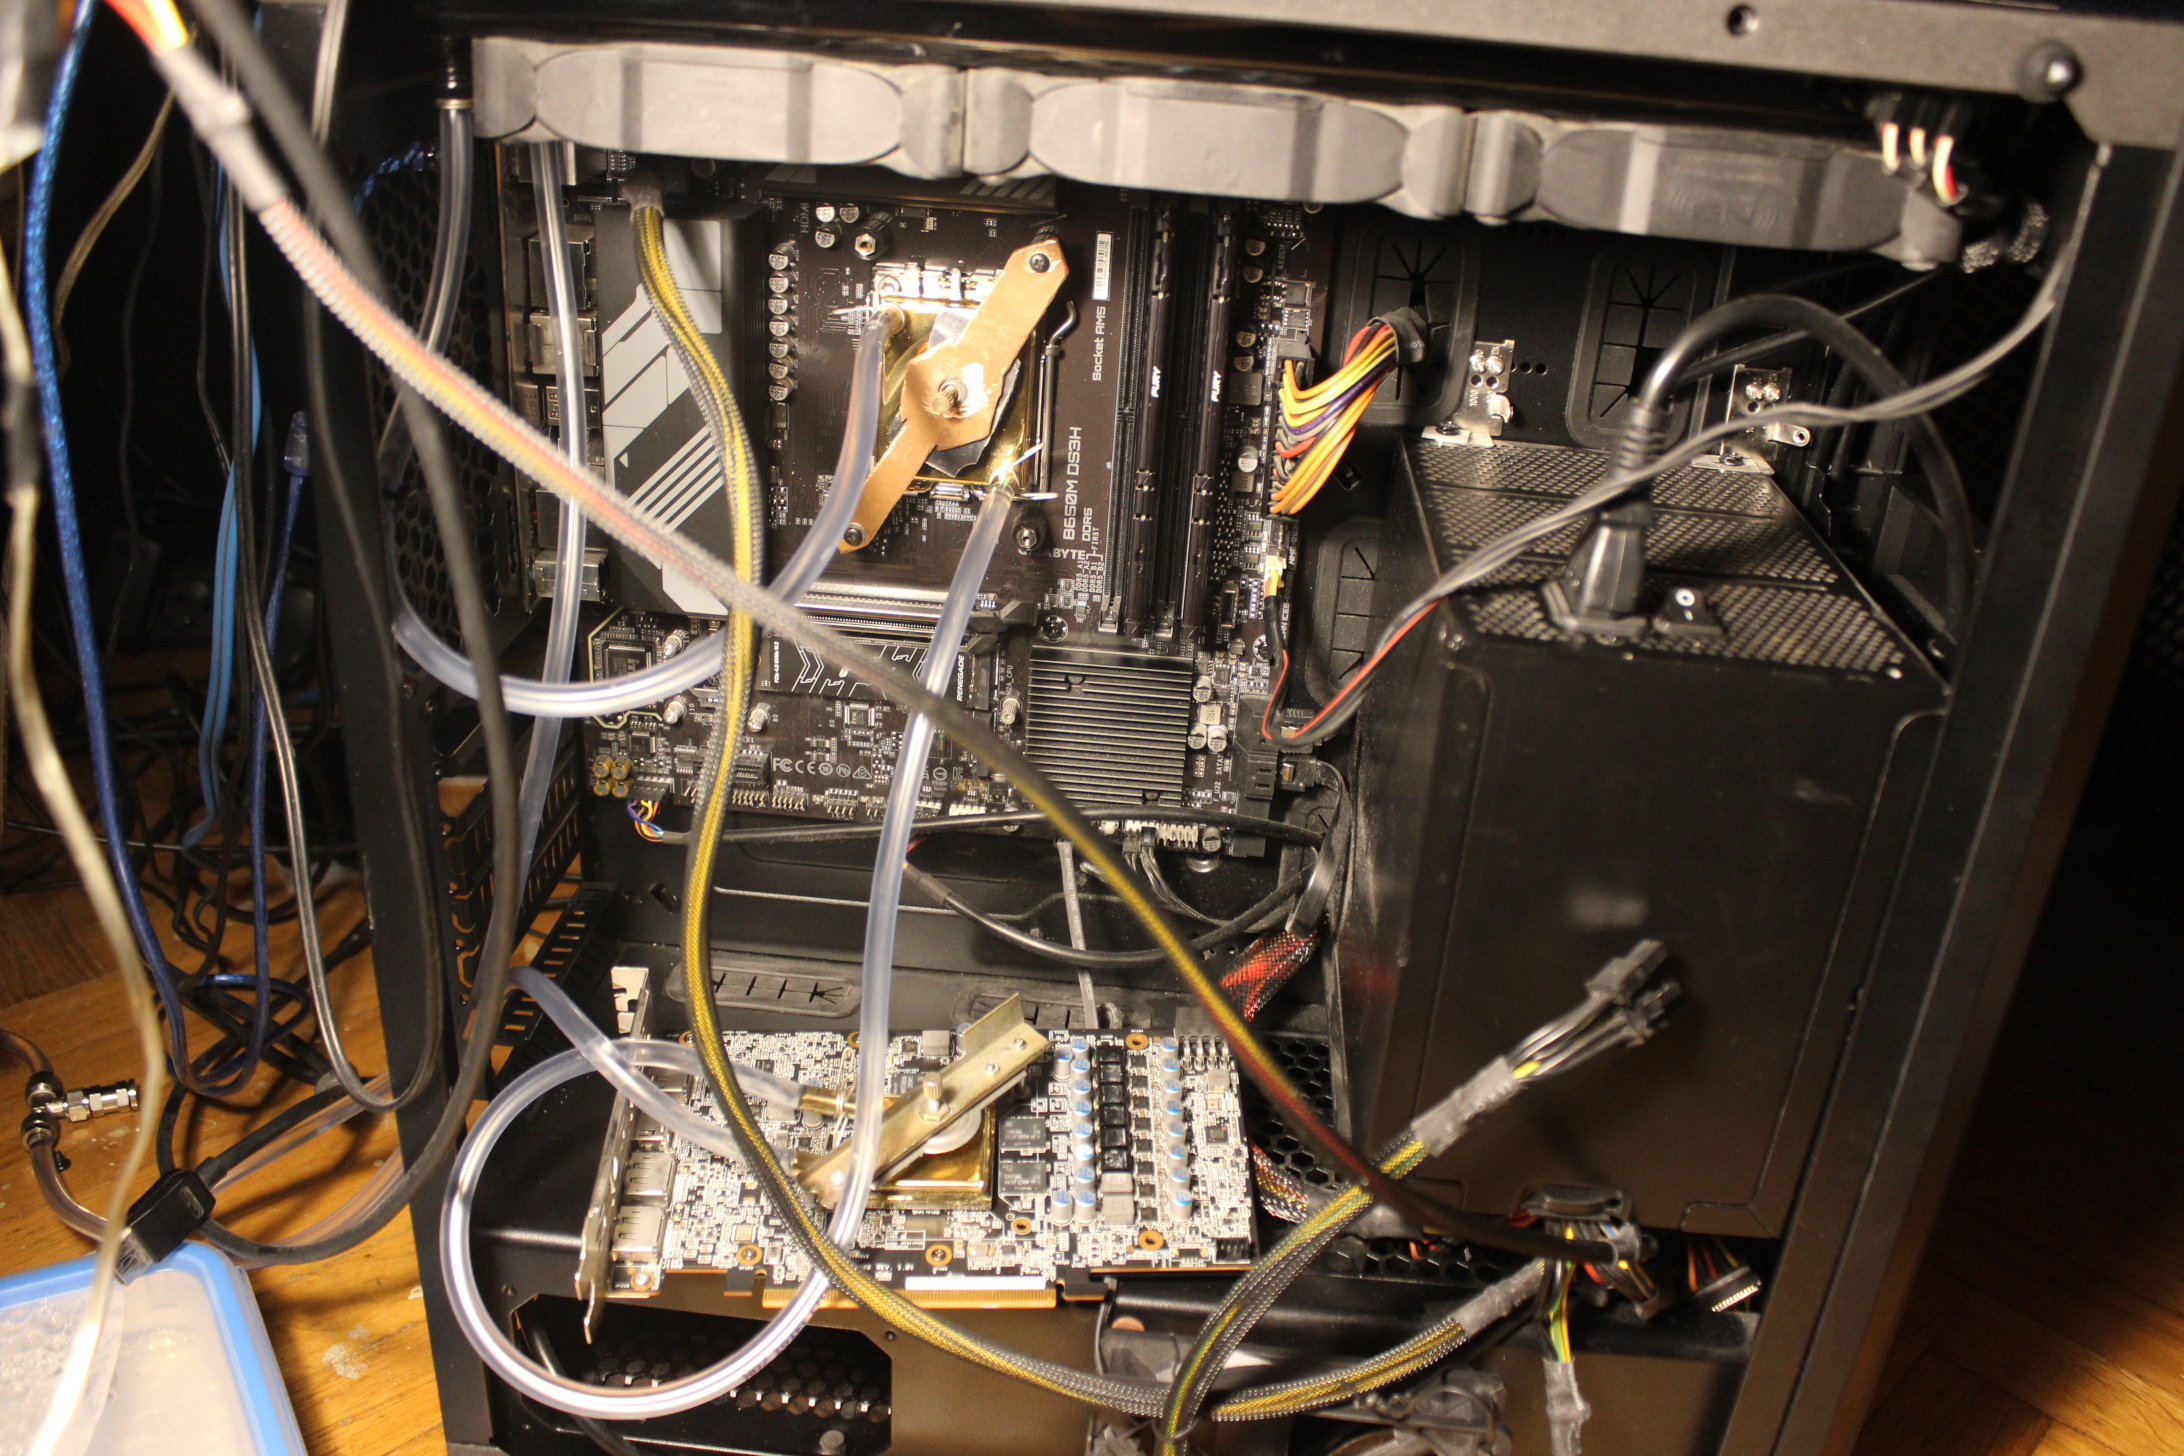
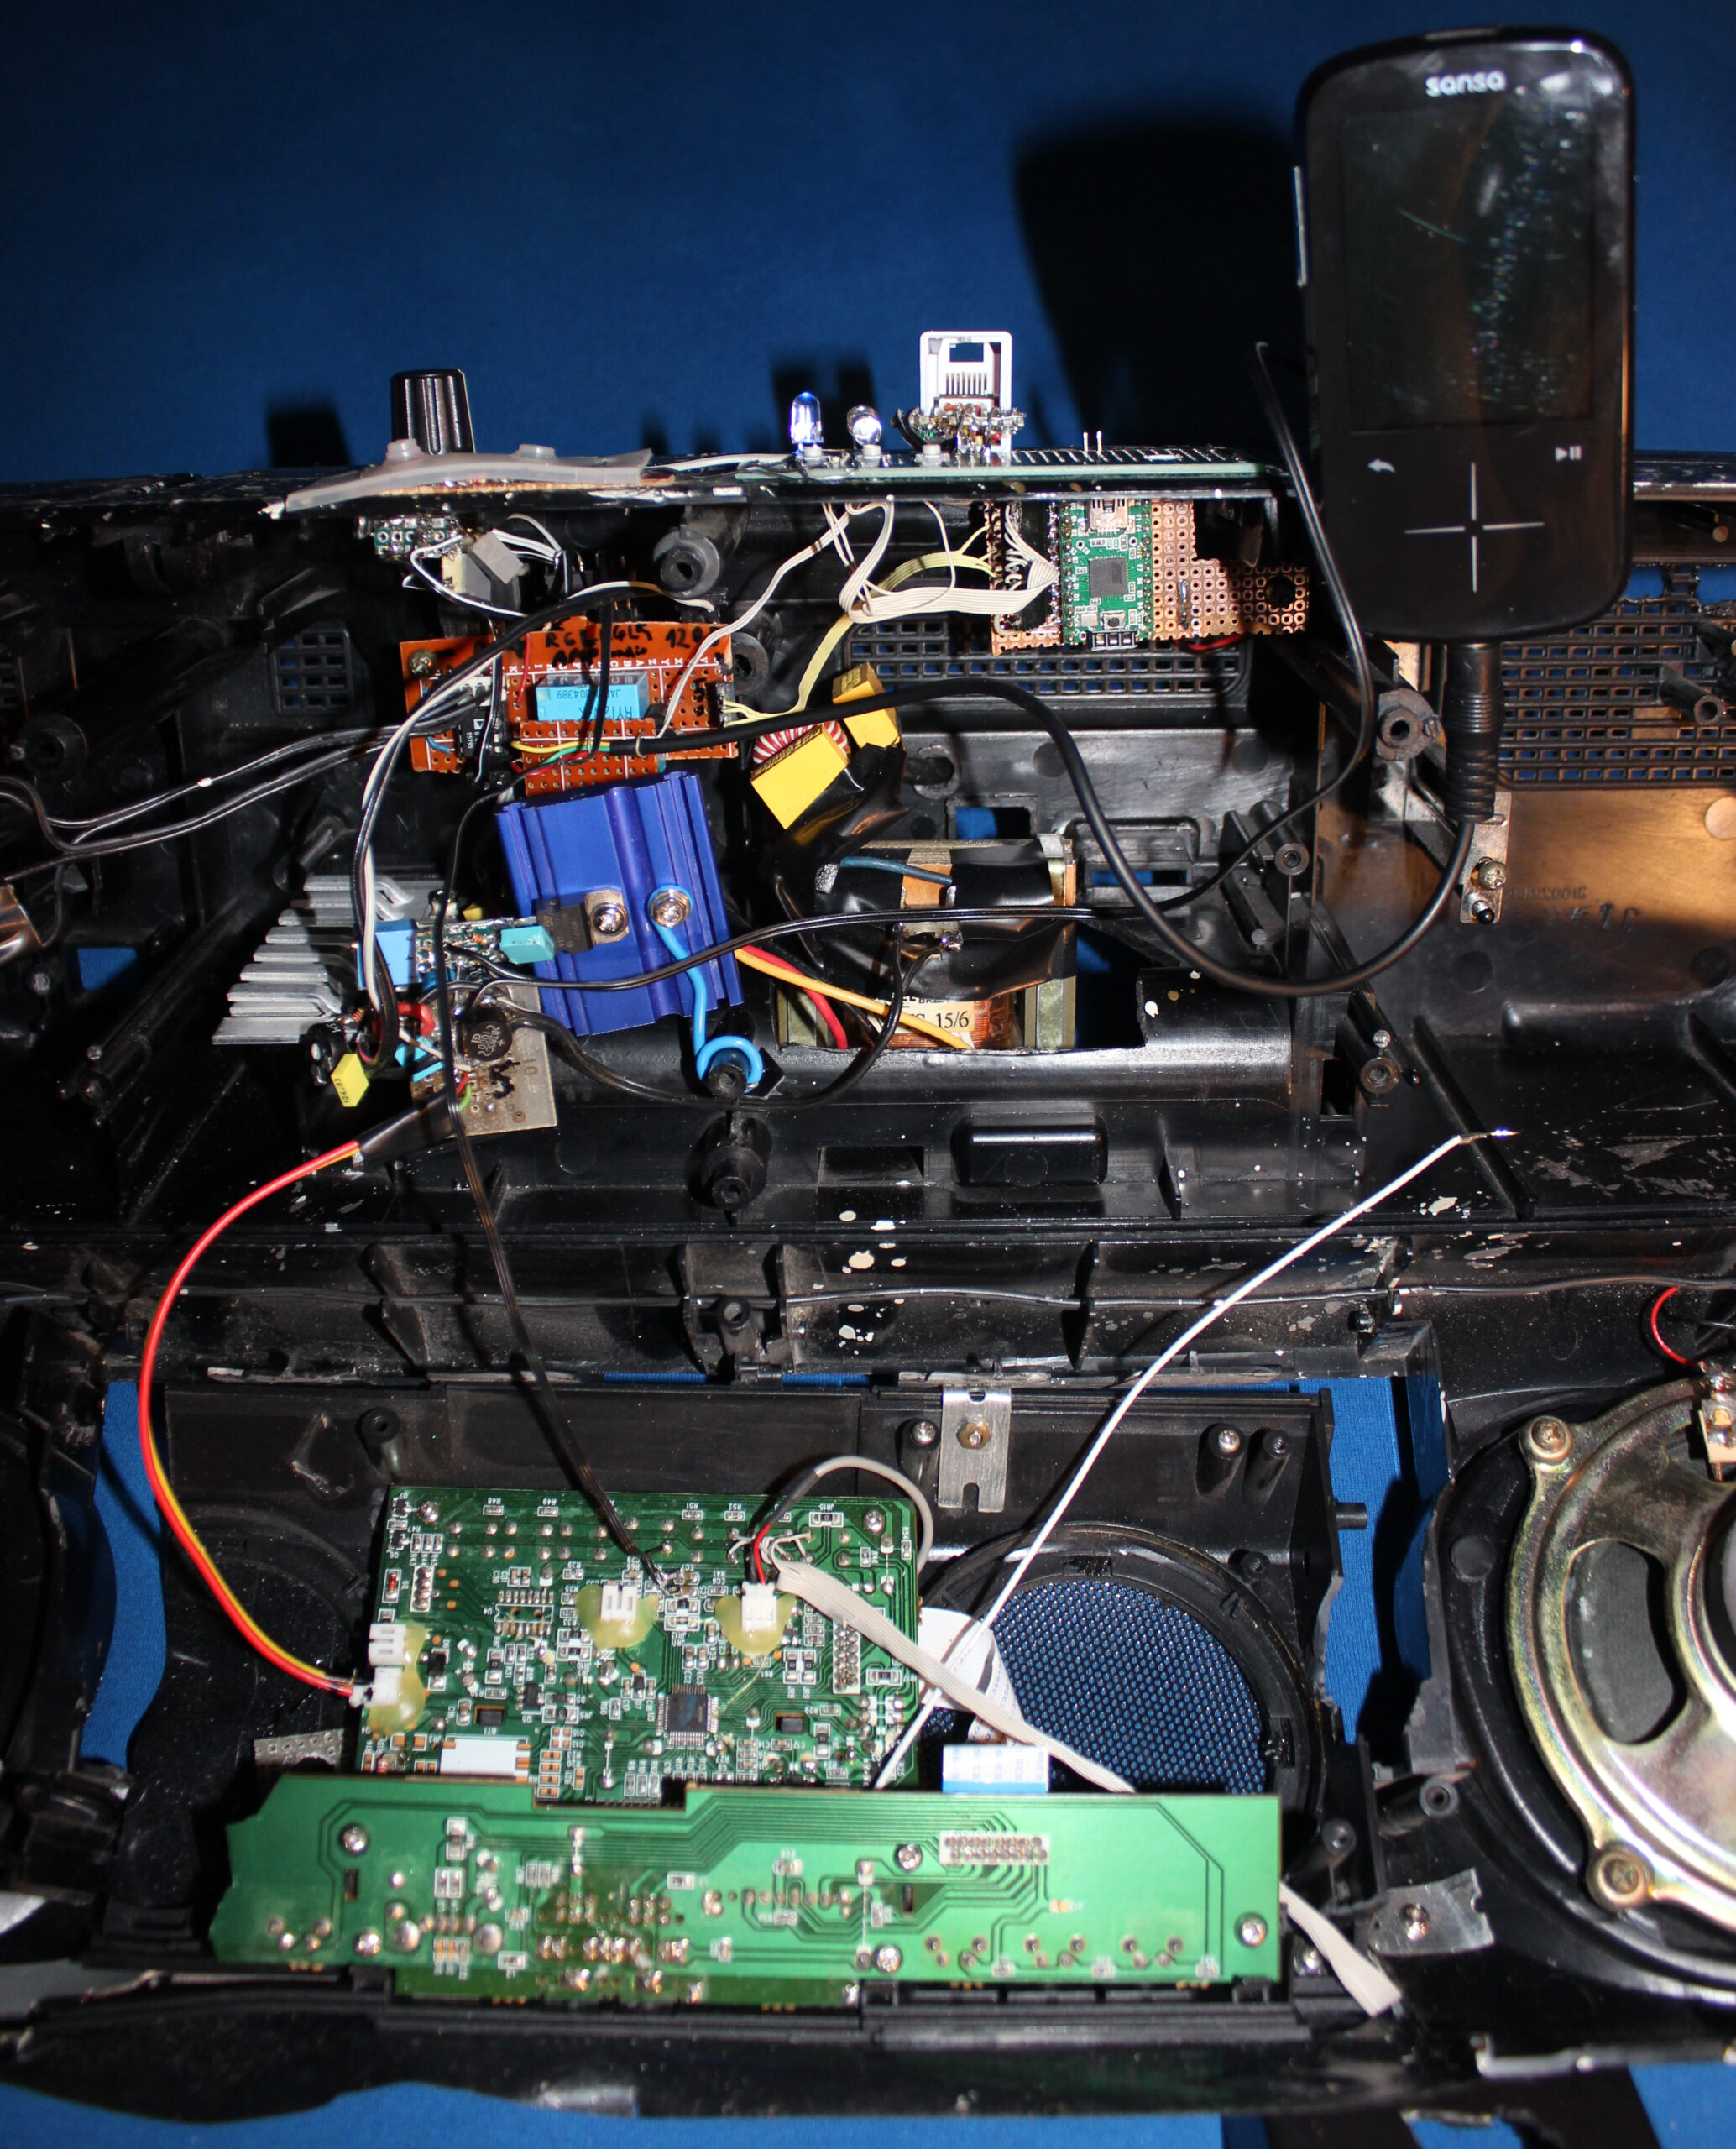
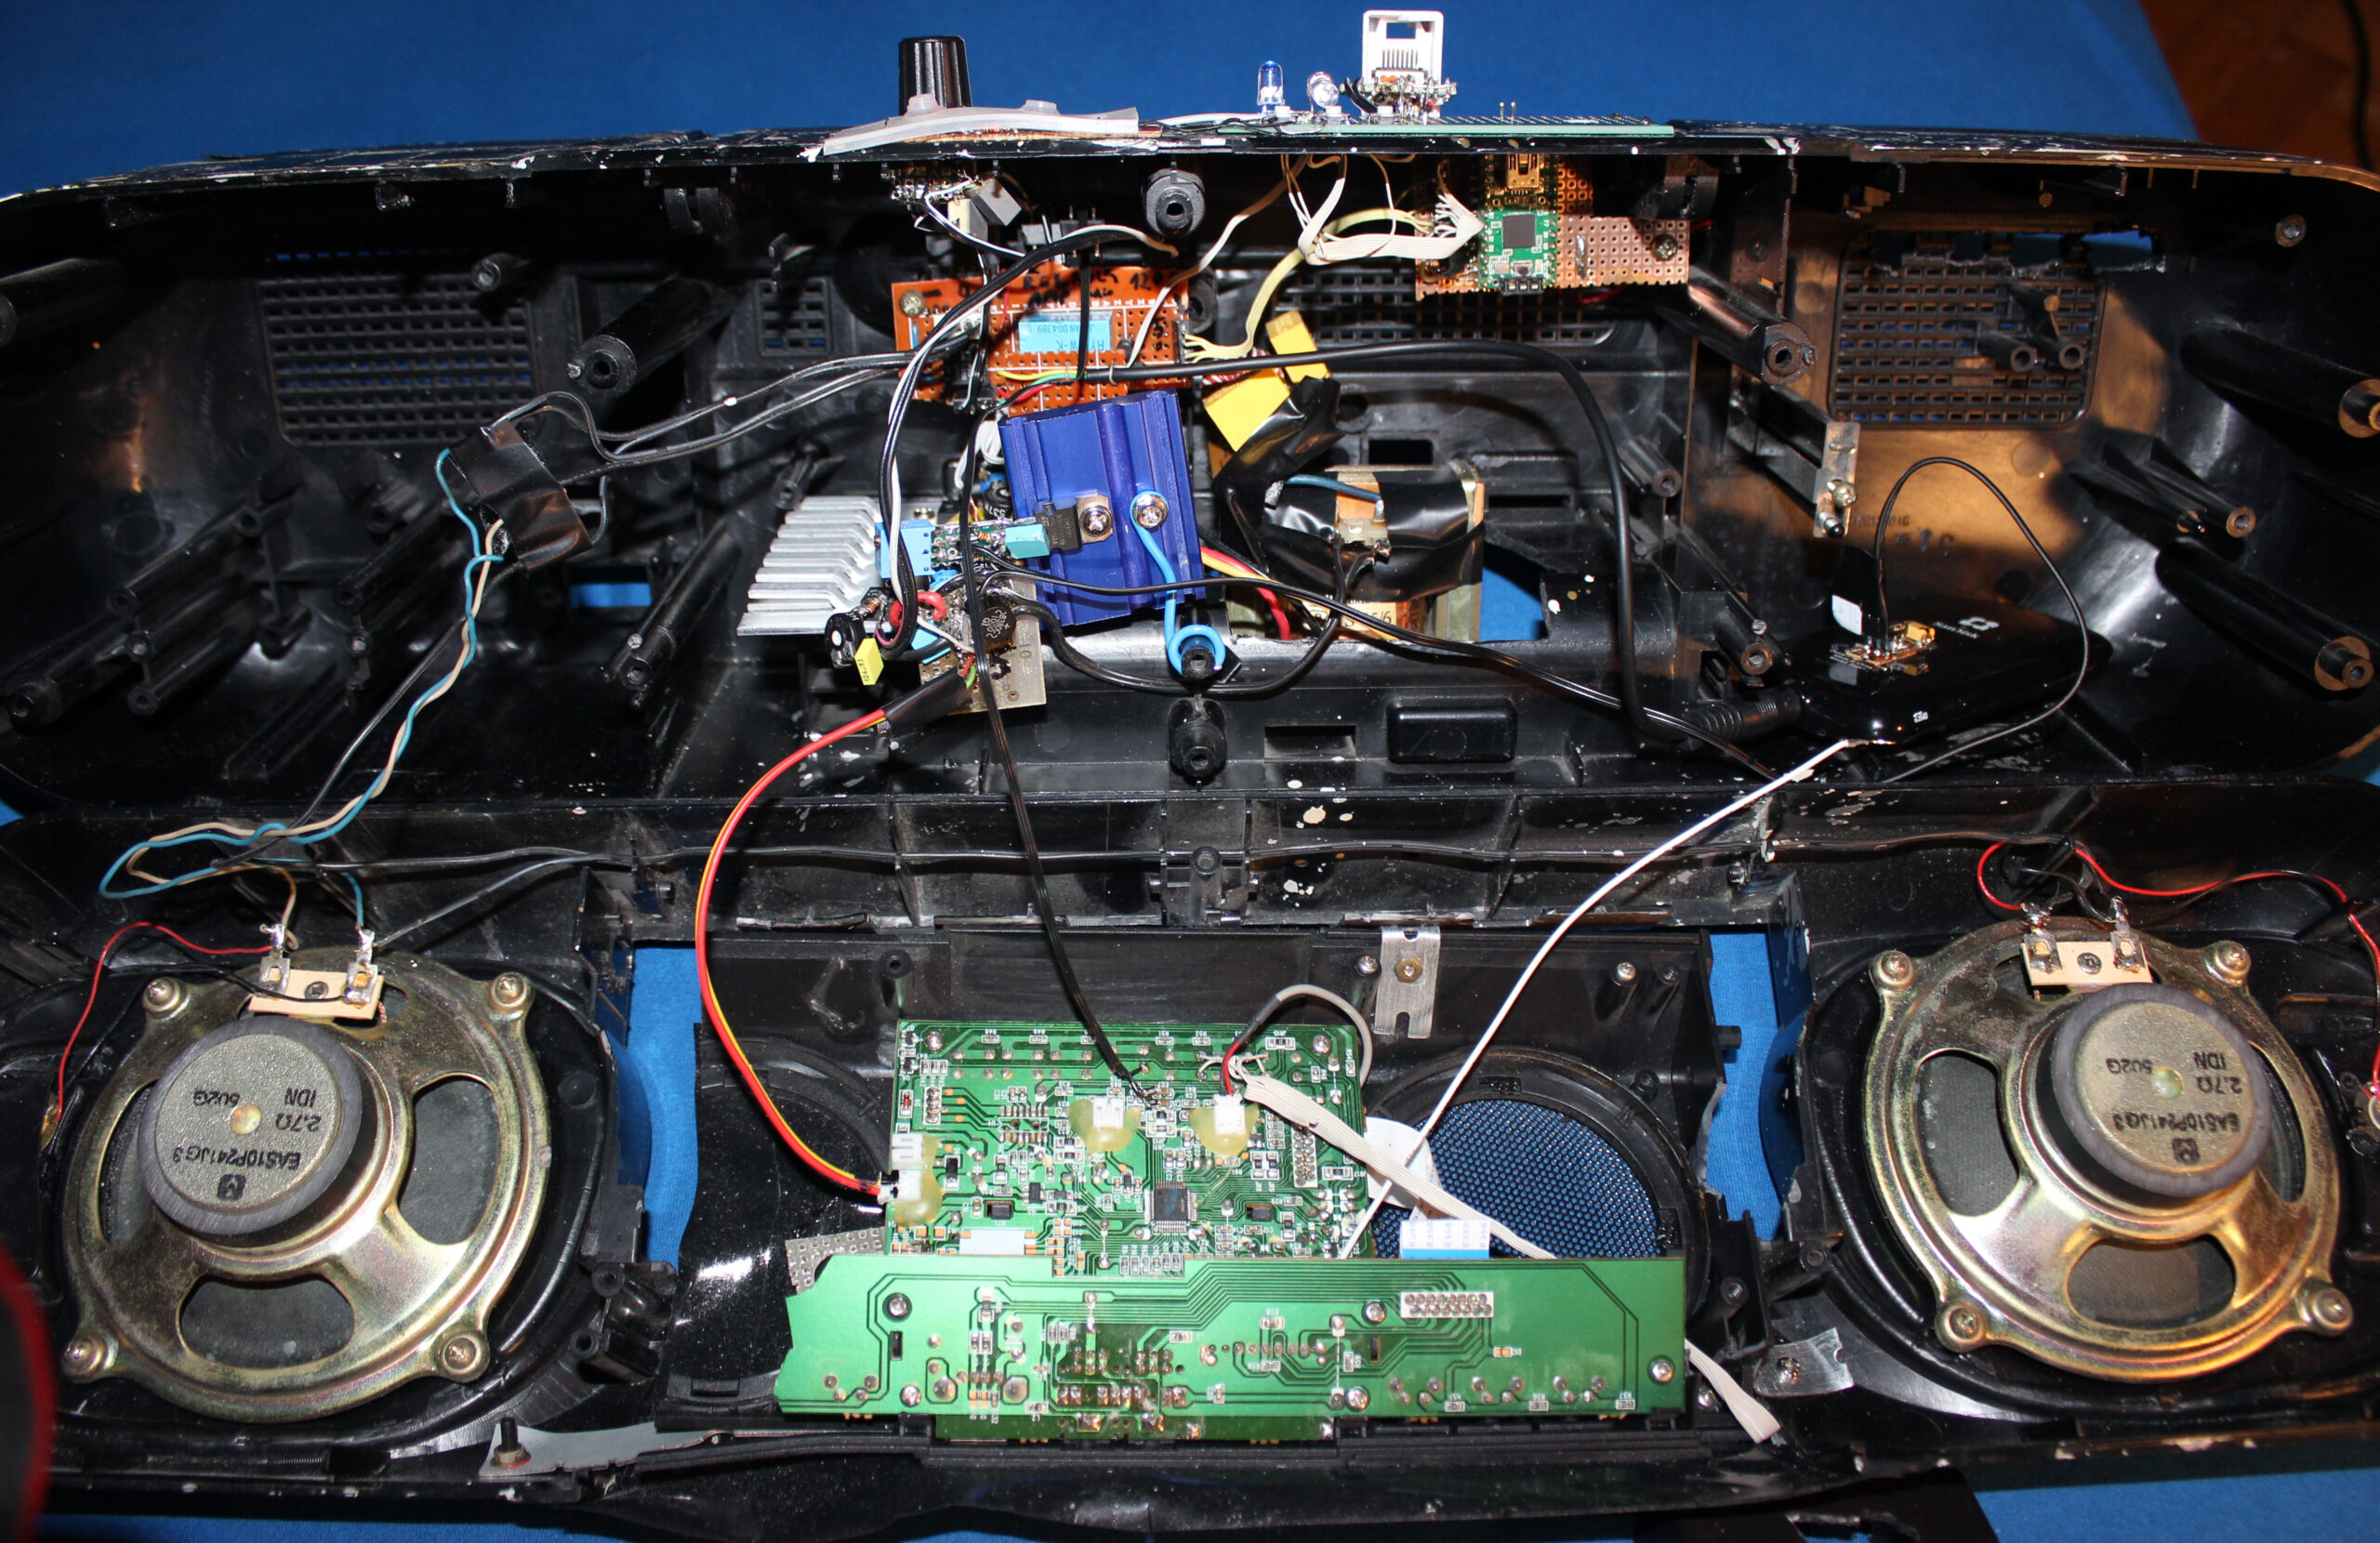
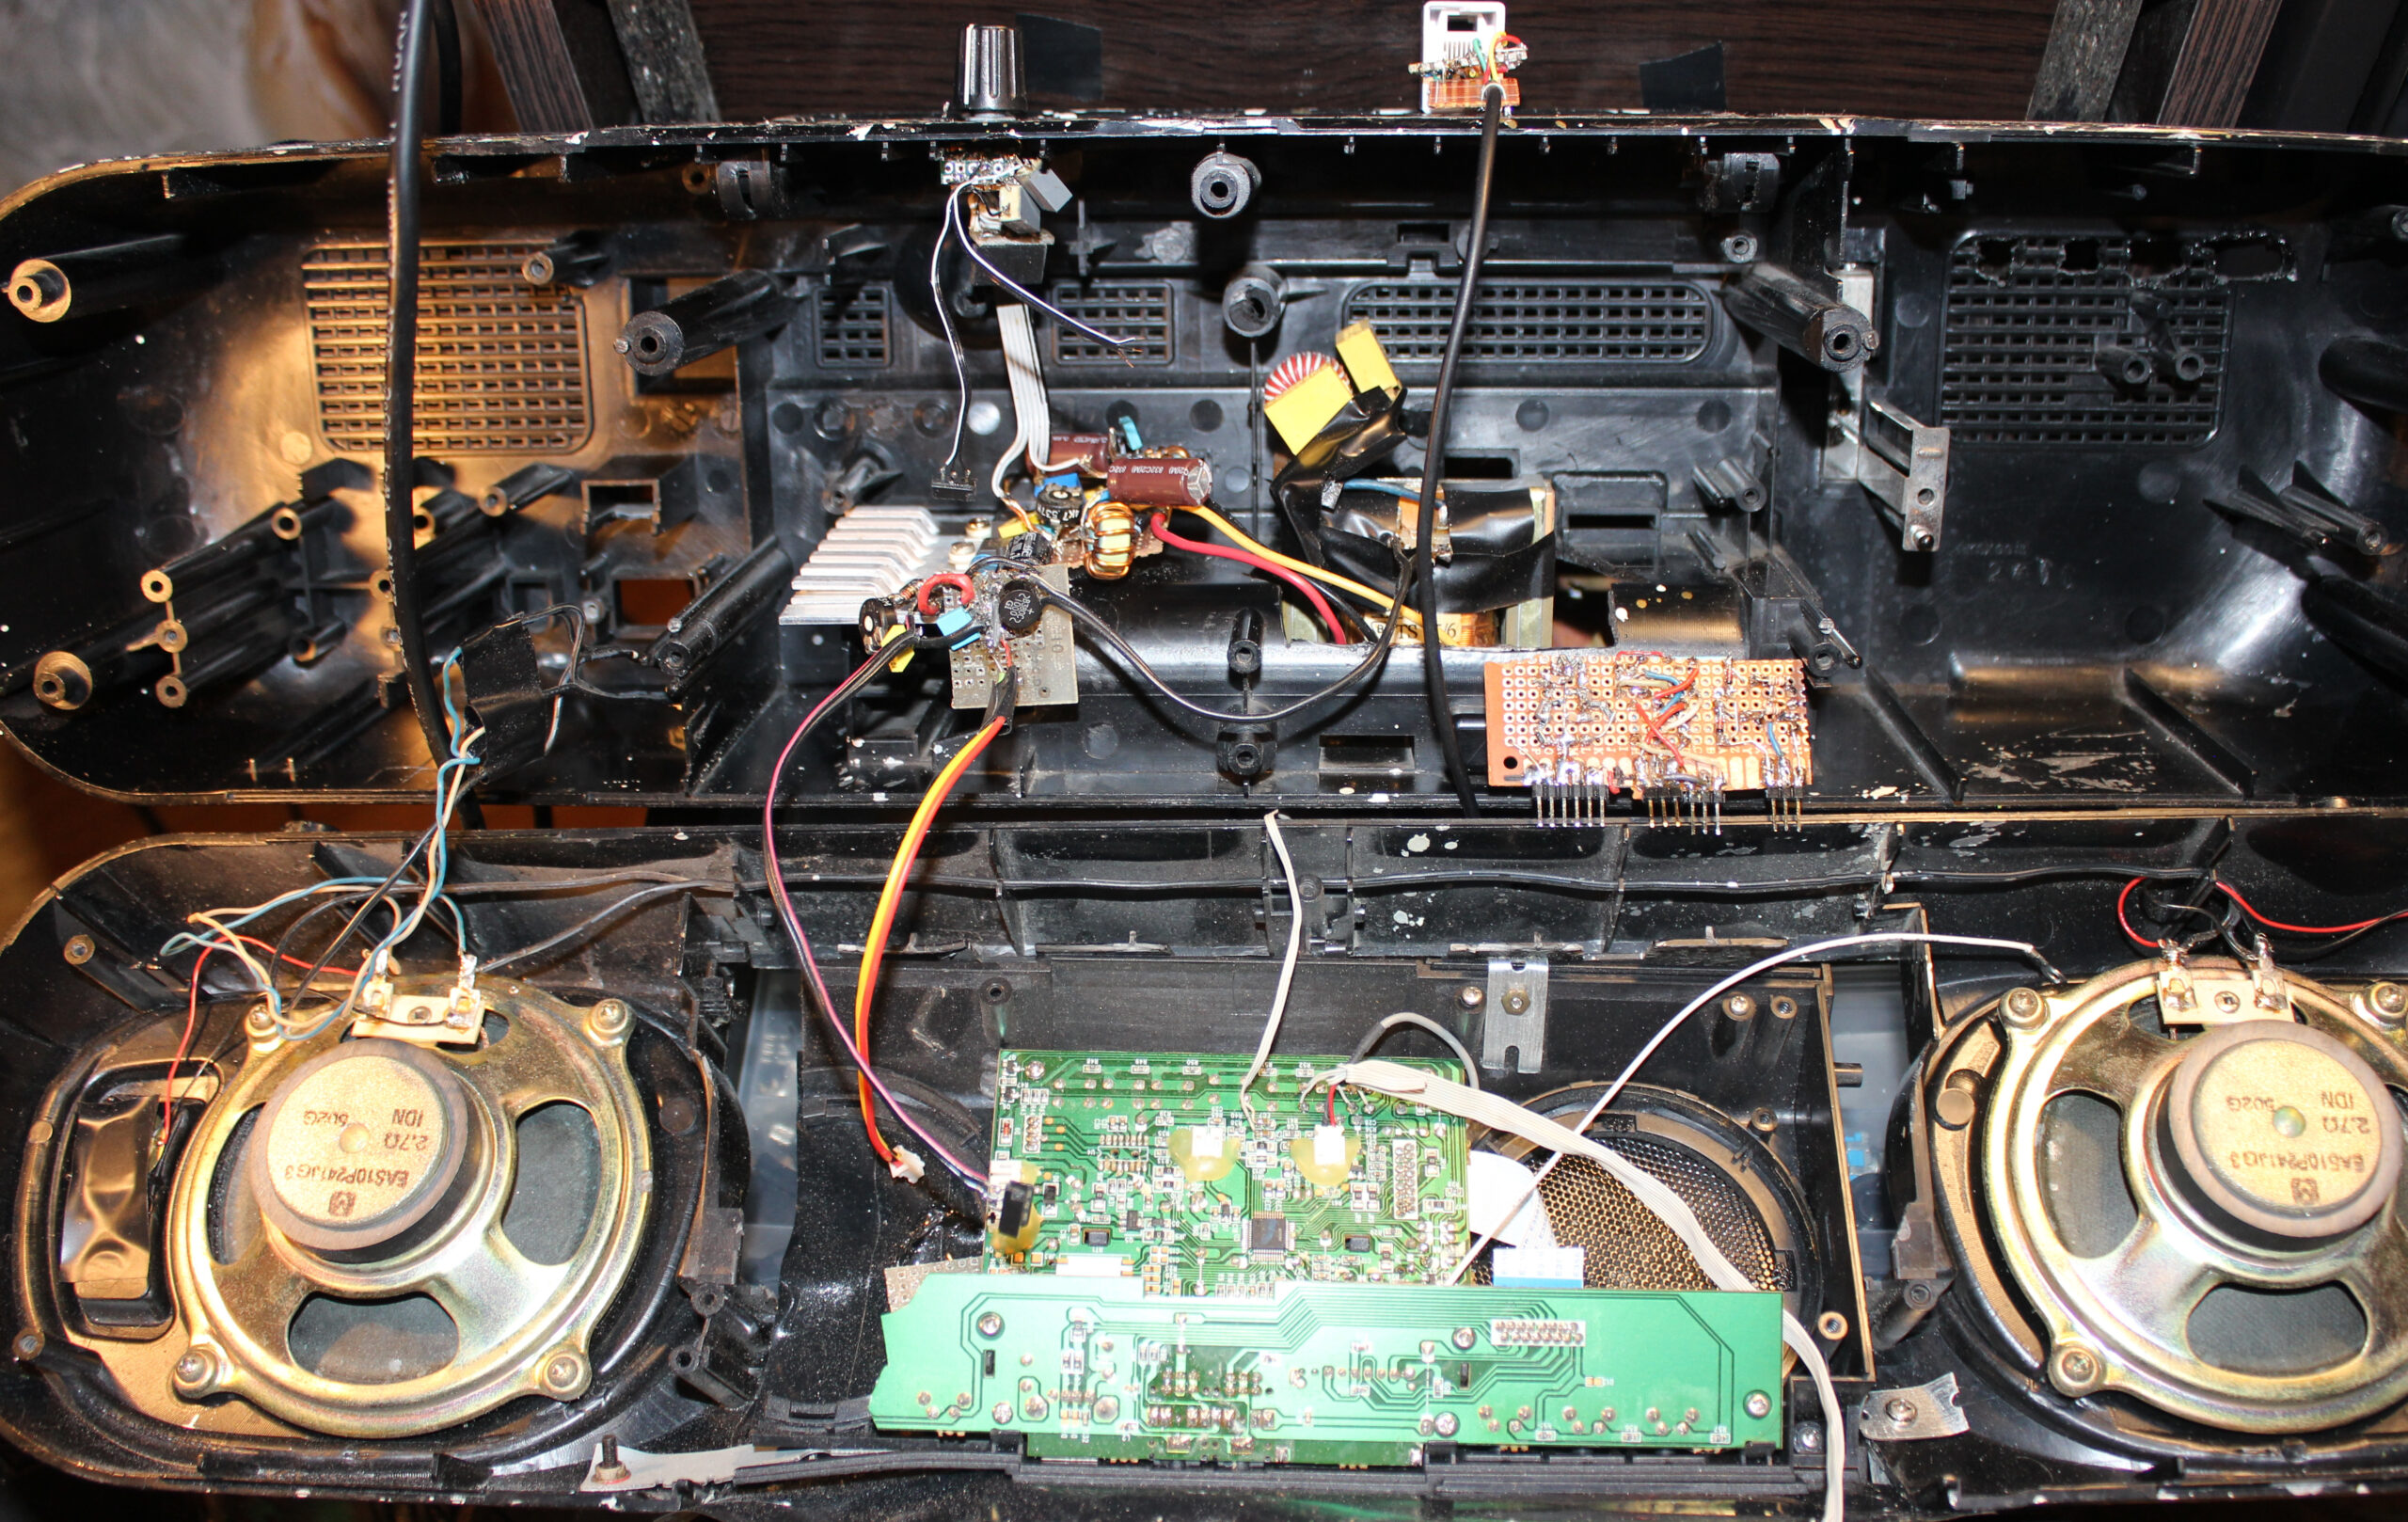
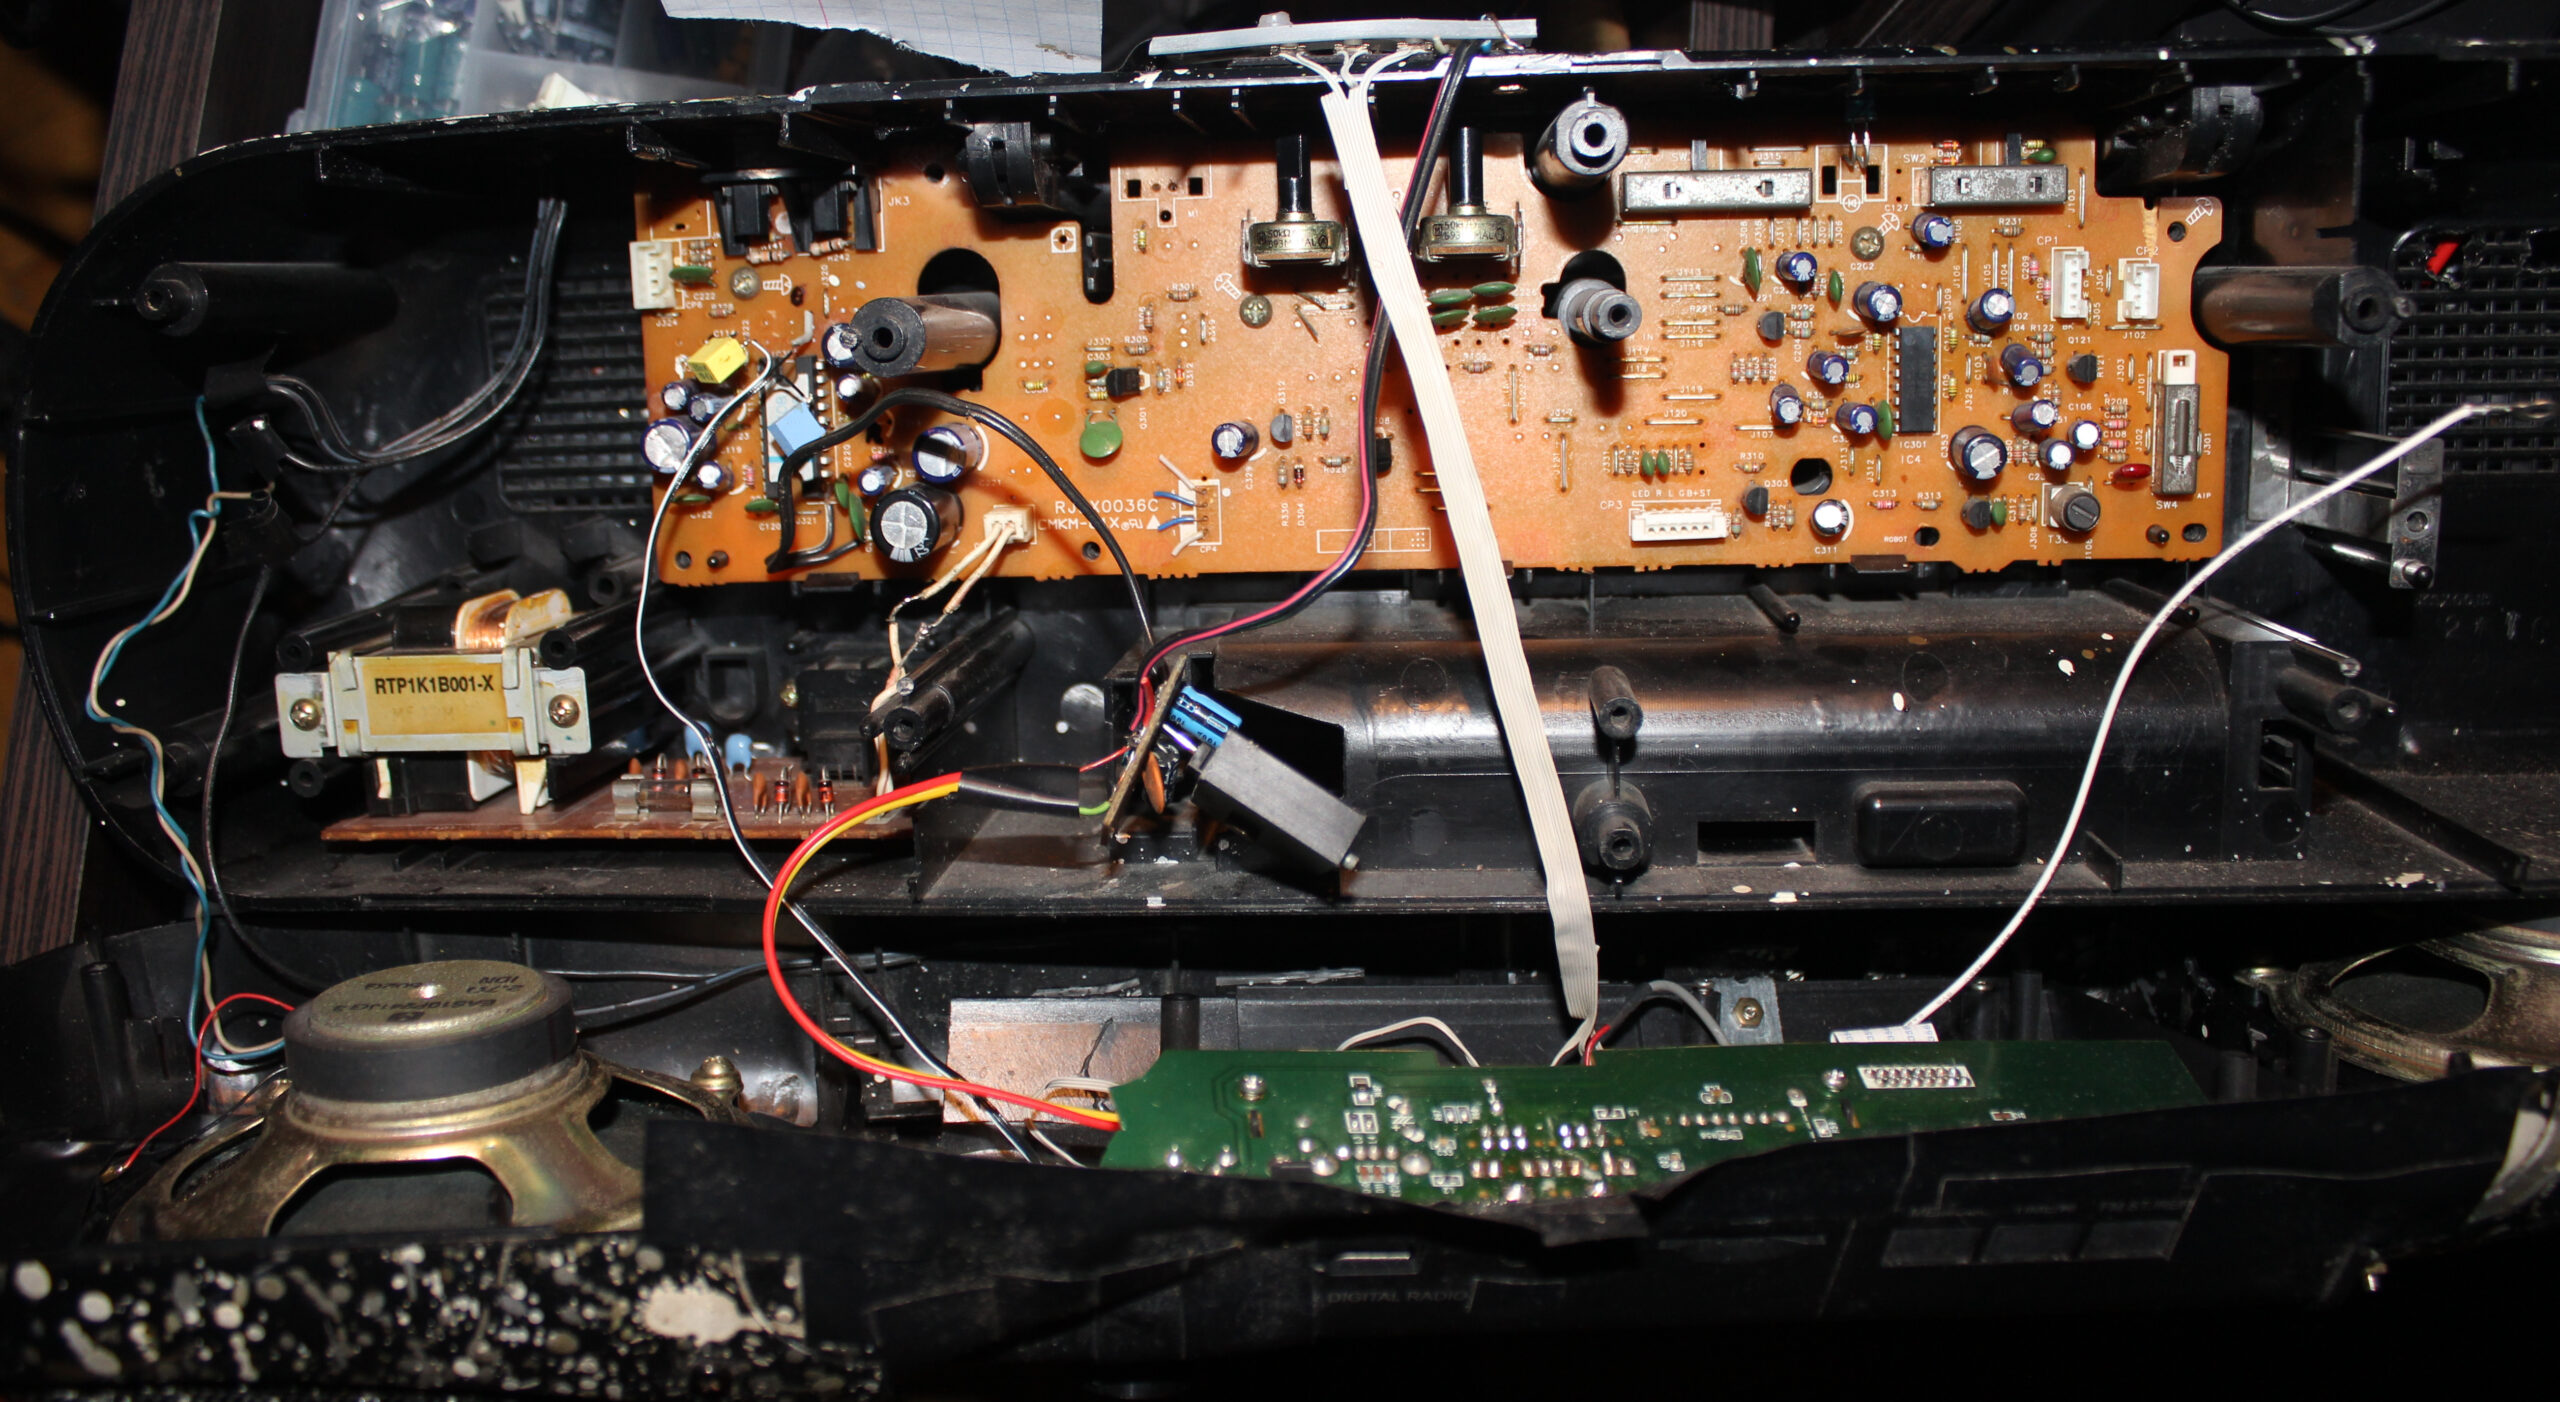
This time I managed to put everything inside PC case (WC radiator, PSU and water tank) even without cutting case. It is a huge improvement from old times when I always had PC stuff out of its case, just lying around on floor.
I list now the main, cooling components of my PC with more info.
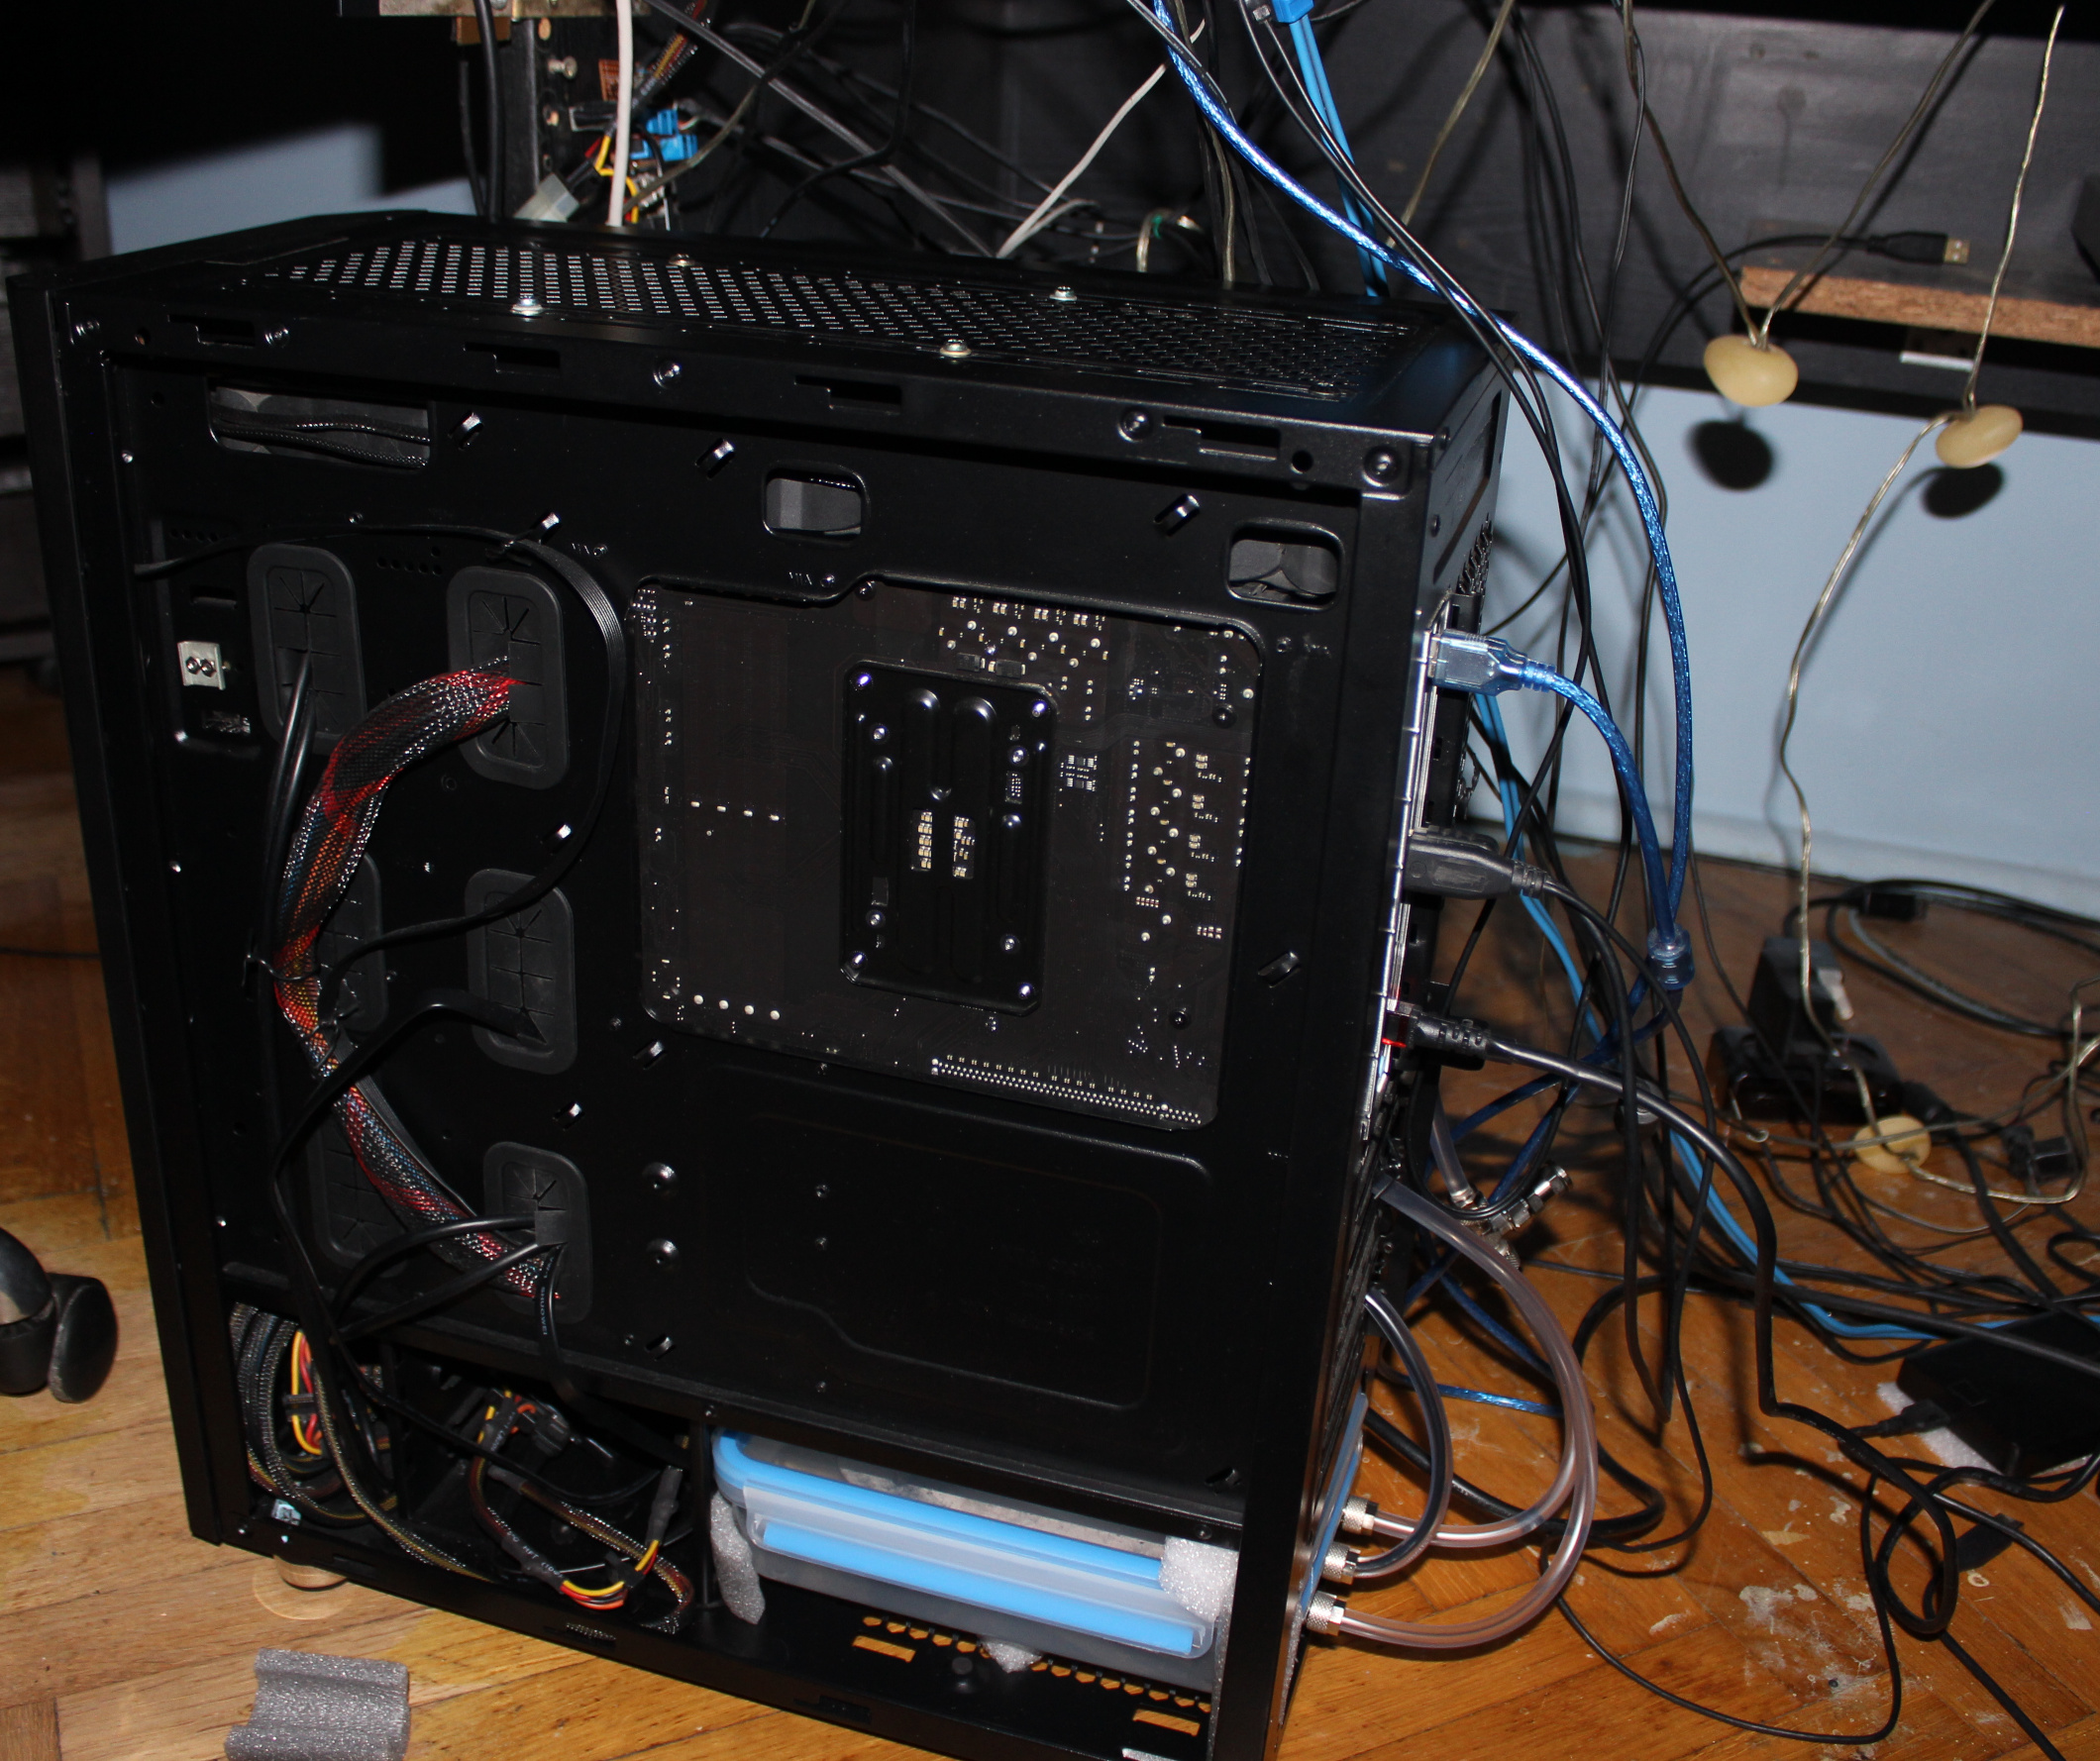
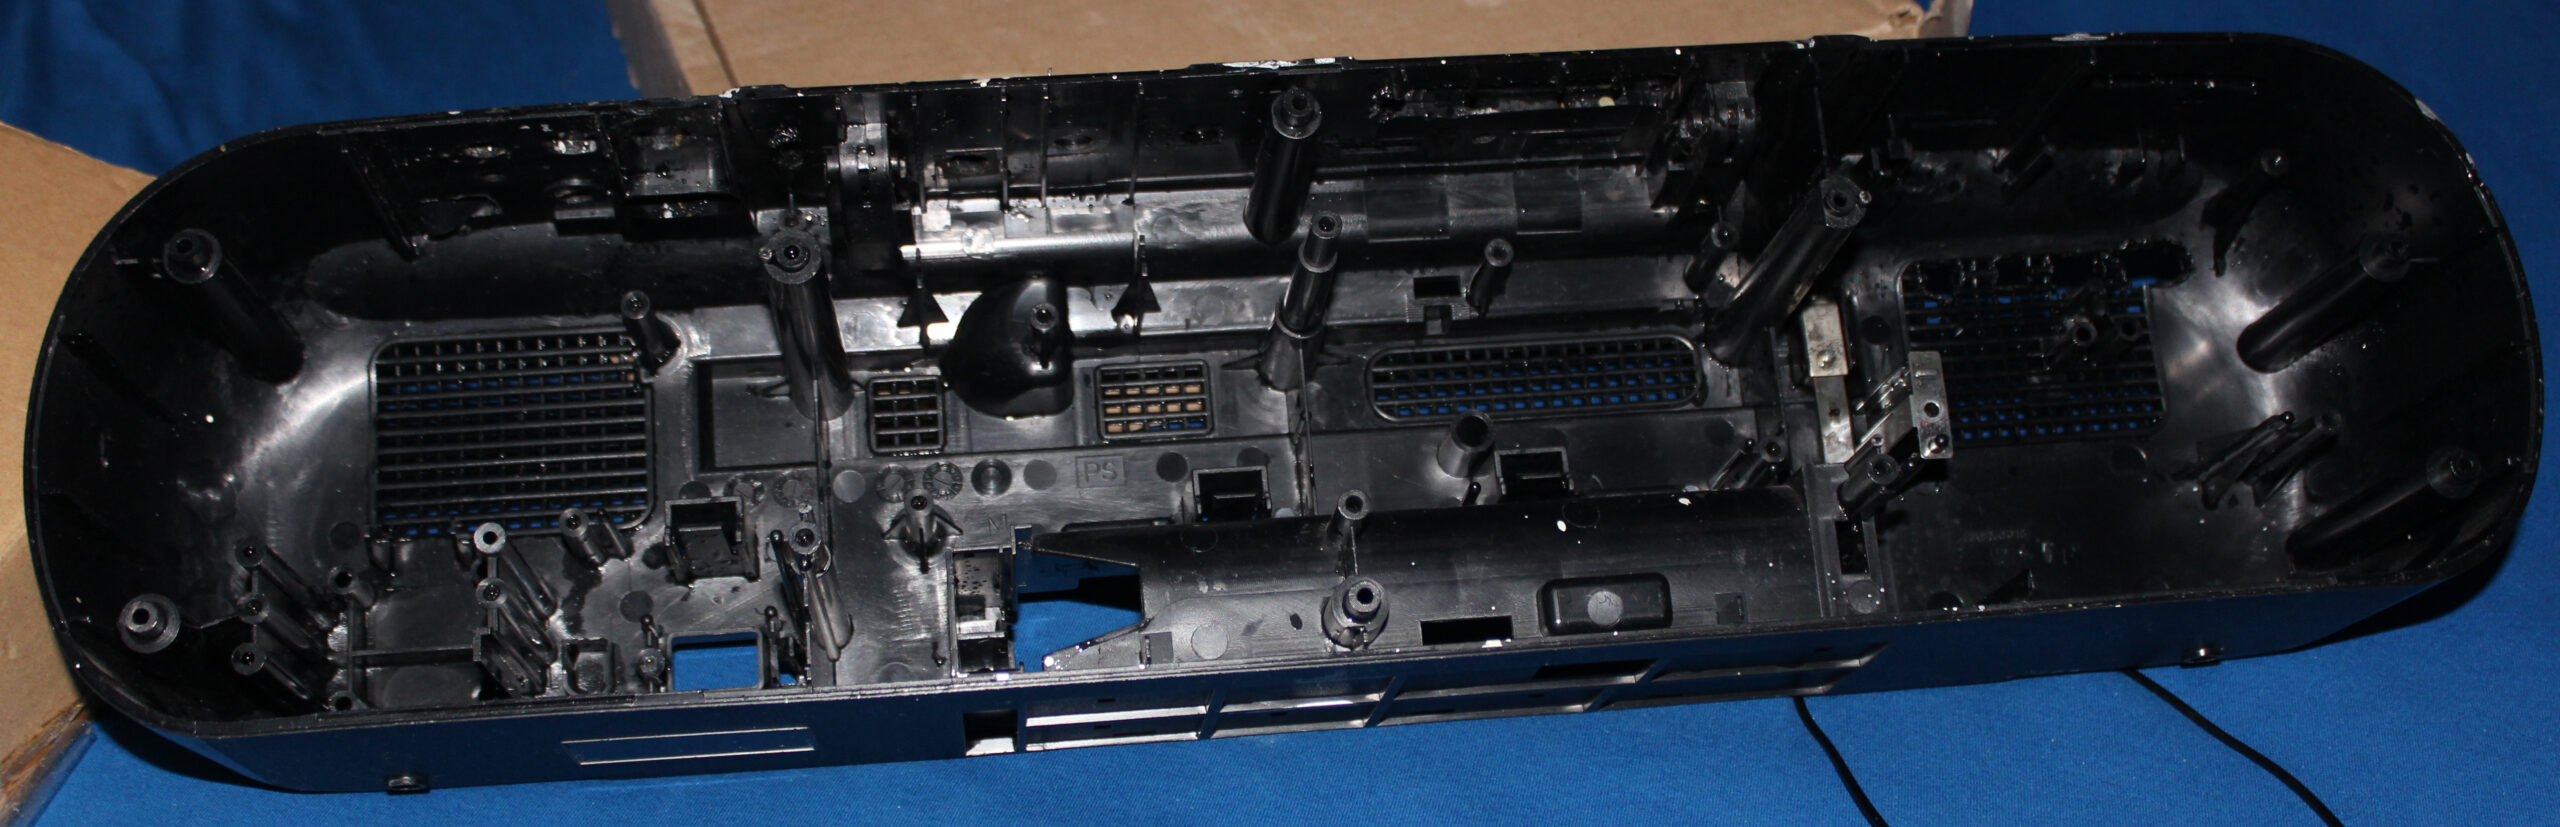
PC Case: Thermaltake Versa H26 (review link, official site, more pics). Weighs 7 kg already.
I like it a lot, maybe because it was so long (like 10 years) since I got a new, small PC case. This new one allows many customizations and adjustments. It has place for WC radiators, back space for cables, etc.
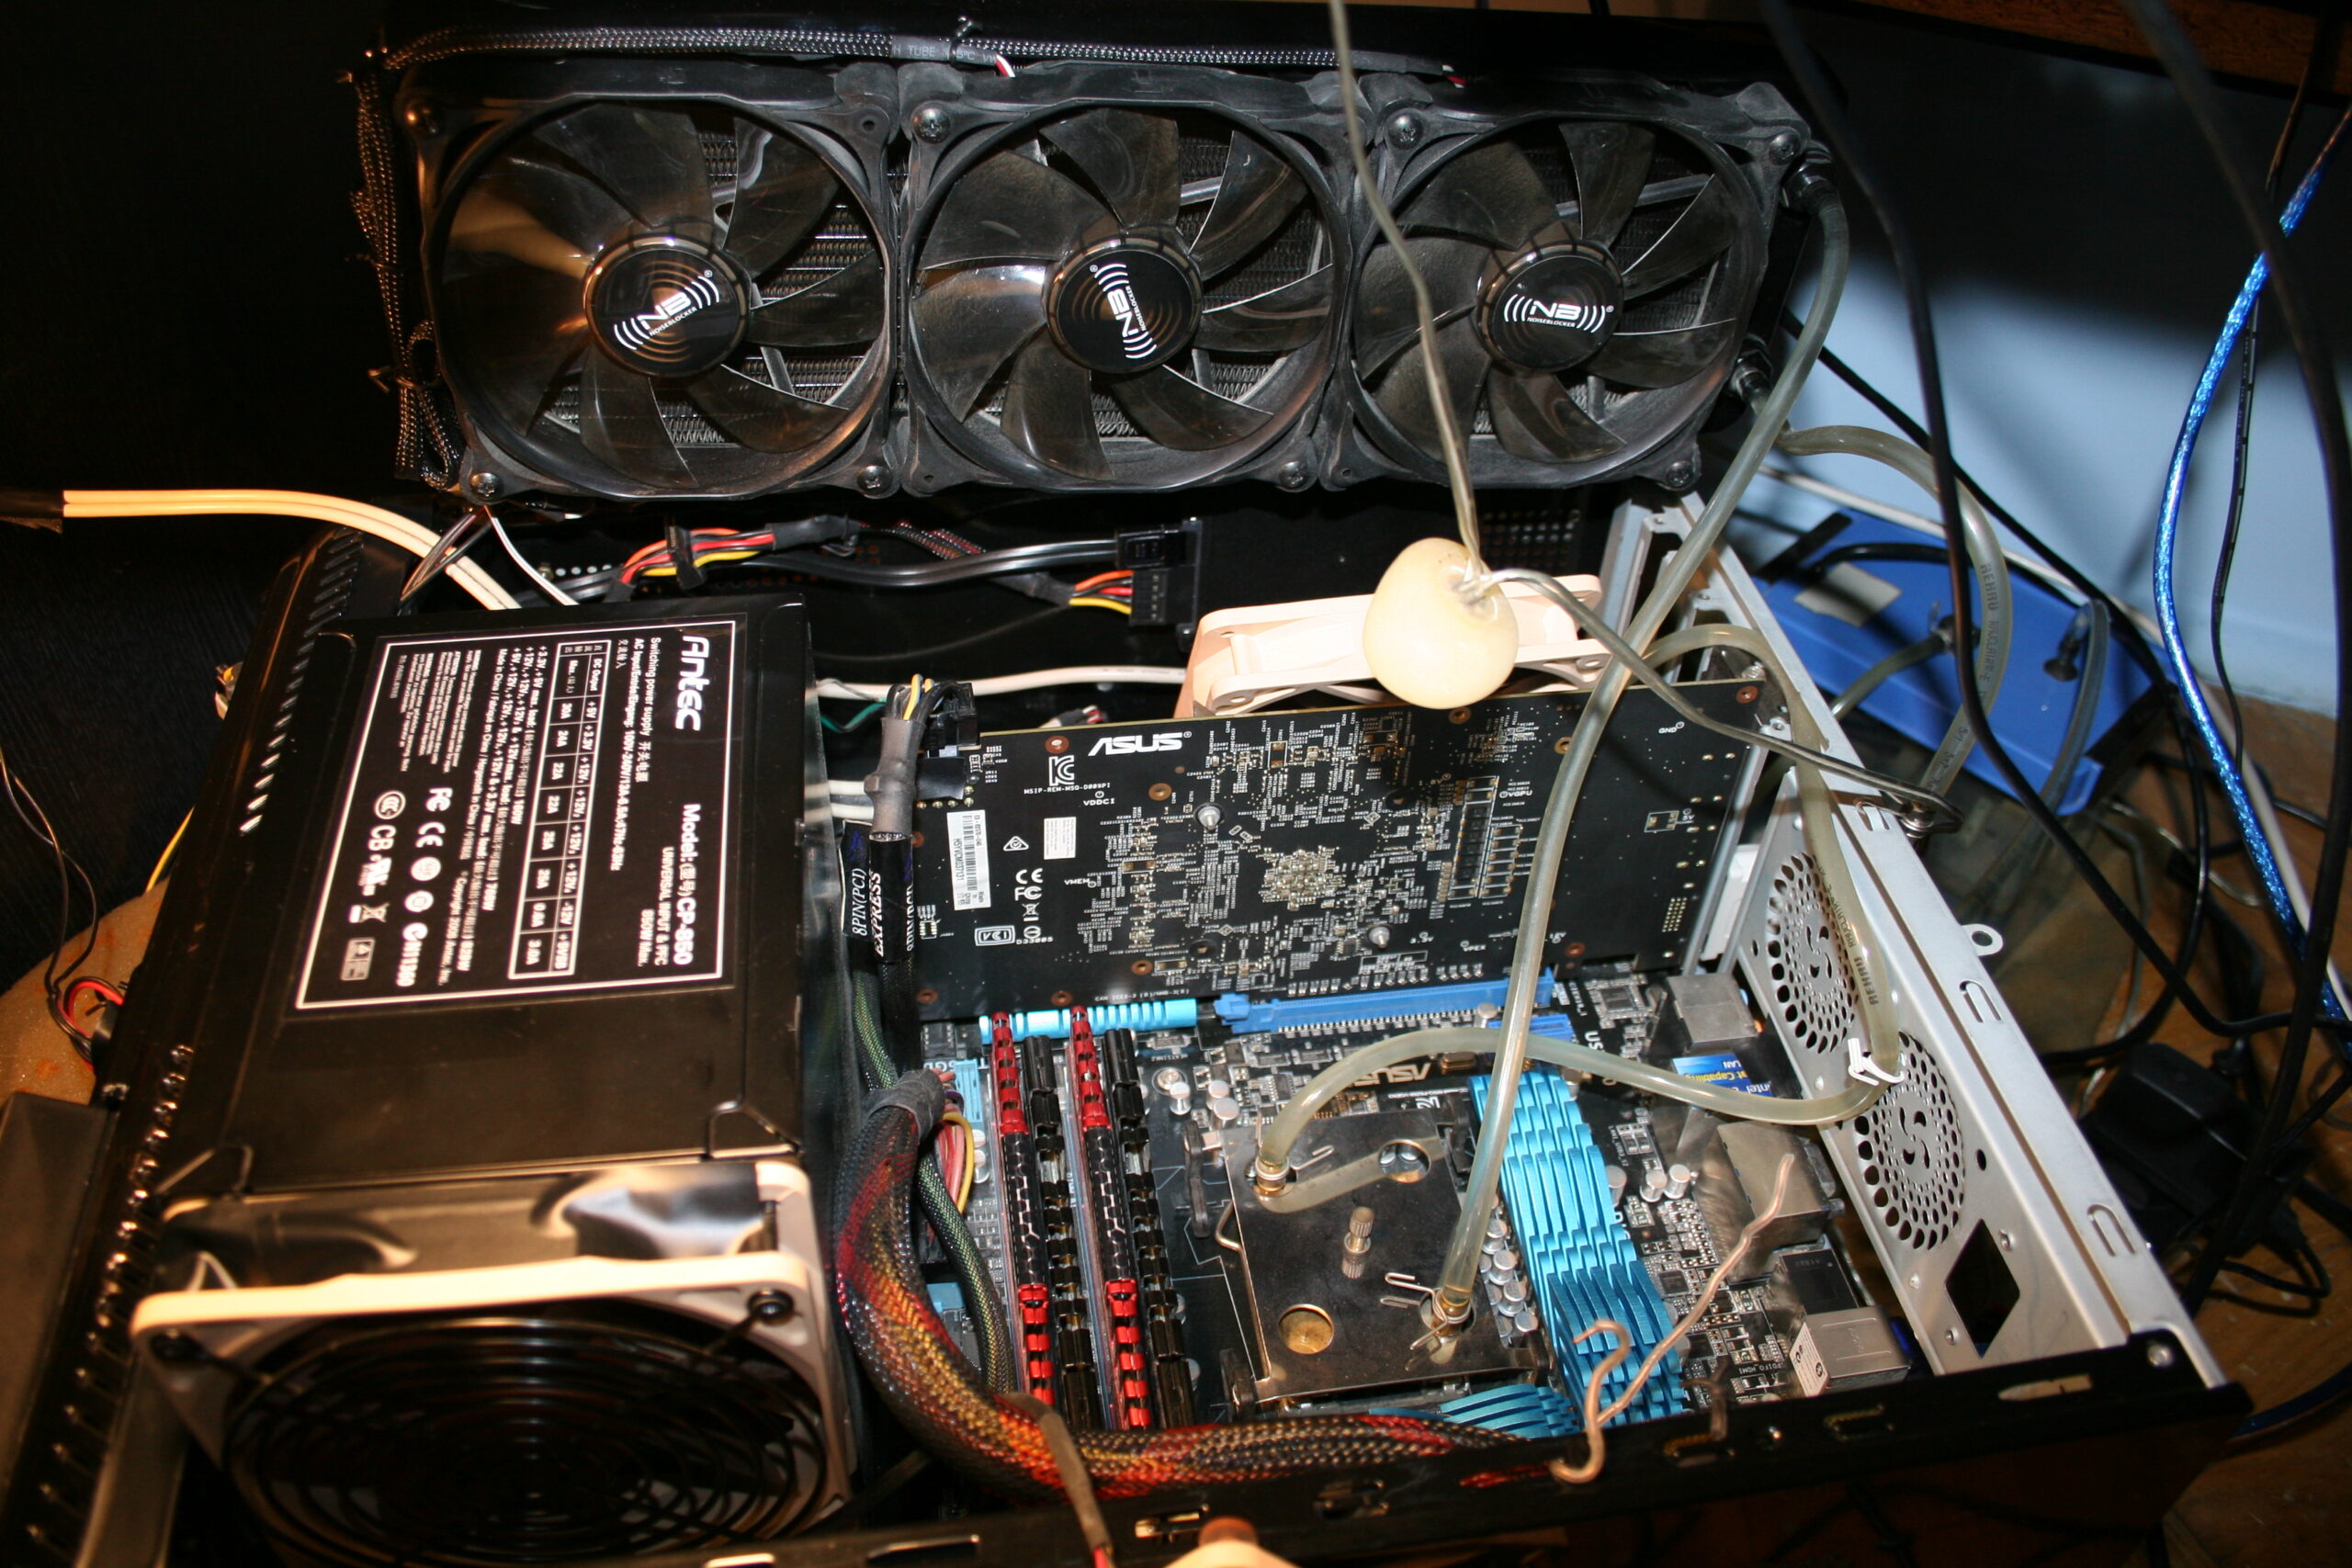
That big PSU: Antec CP-850 (review link, video, video 2), from 2008 (wow, happy 18 years man🎉). Quite big but still awesome. Has a lot of space inside for good air flow, from a slow rpm fan (12cm) on side, not on top, is also quieter this way. It can give way more power (850W) than I need (like 100-300W), so it won’t get warm or loud ever. It weighs 3.2 kg. It is 80% power efficient. OFC now they don’t even have it on their website and don’t do such big PSUs. Pity, the design was way better and ahead.
It needed some effort to put it in the case, and I mounted it on right side of motherboard, not in the usual bottom place. Obviously like before, I wouldn’t consider getting any expensive, huge PC case that would fit this PSU. Maybe that’s why this size factor didn’t take on. In my PC, likely just a regular size, quiet 650 W PSU would do. I’ll probably never know since I don’t need to change.
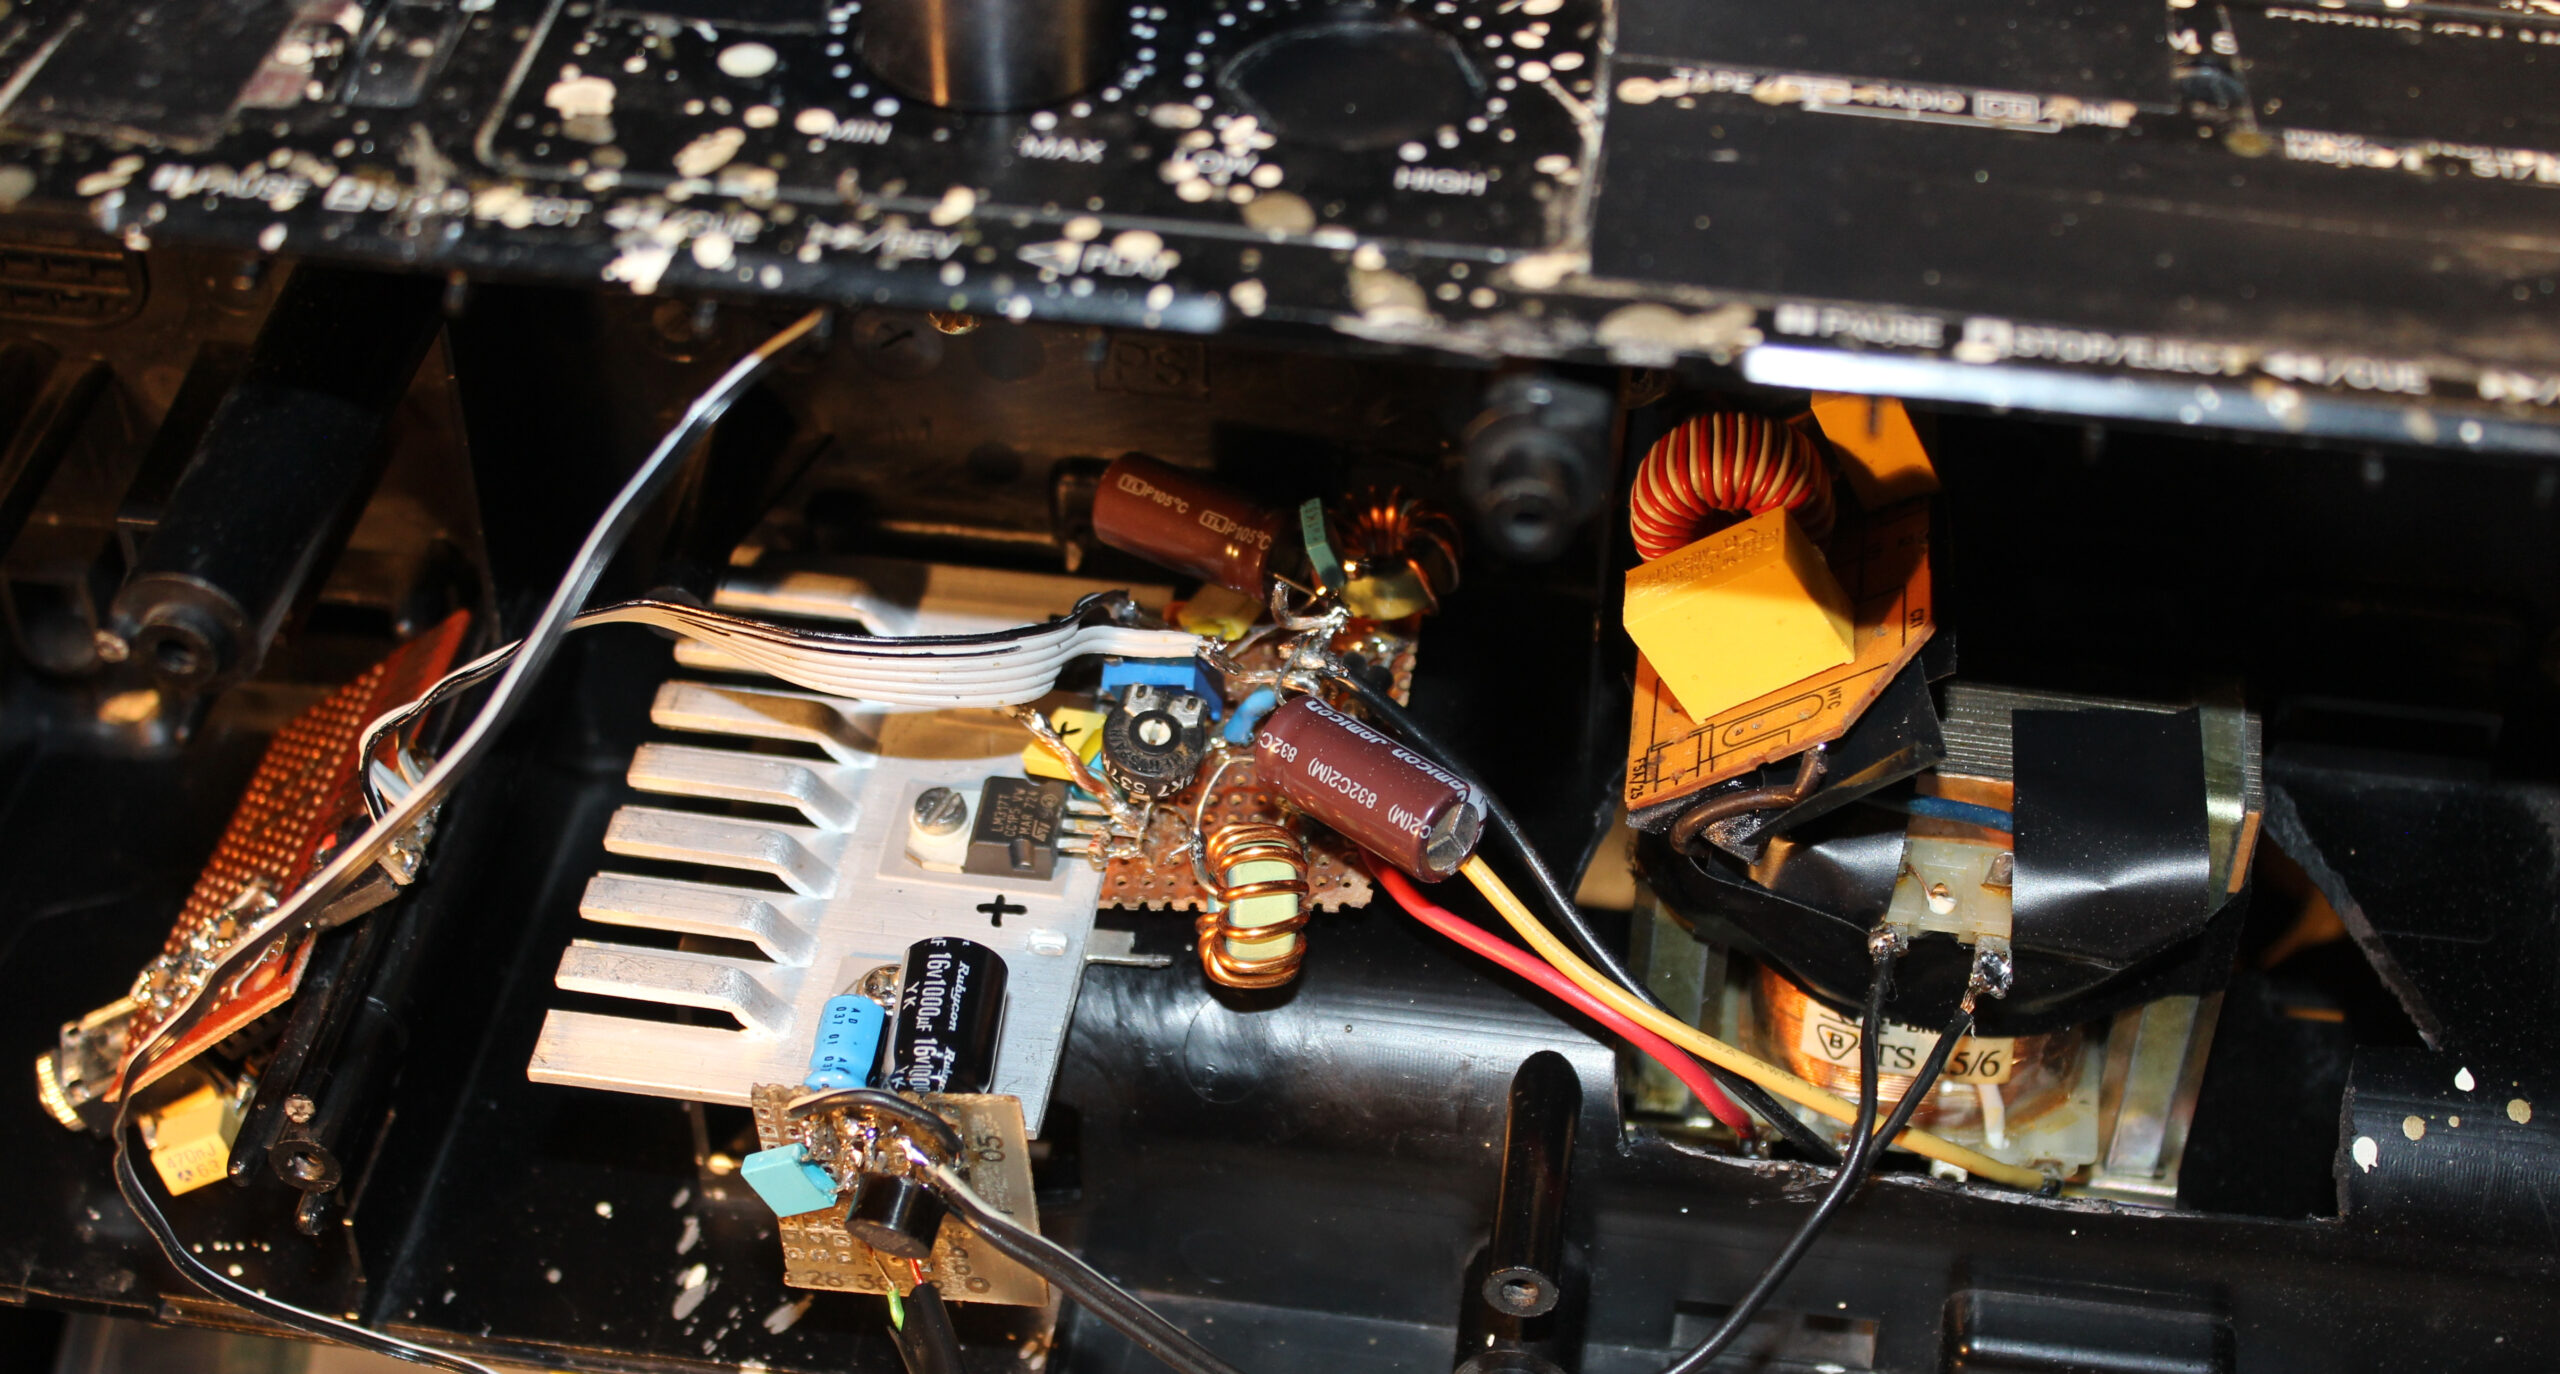
Radiator/Cooler: old Black ICE GT Stealth 360, for 3 fans (12cm diameter).
Fans: on the radiator I got 3 Noiseblocker fans (to be cheaper than Noctua and black already). They came mounted on rubbers and sound okay at low rpm. But not when higher, I can hear some motor noise. Also at certain rpms they make some ringing/resonance like sound. Noctua was quieter but I hate their colors now. I think I’d add a line to that song🎵: I see a Noctua fan and I want to paint it black.
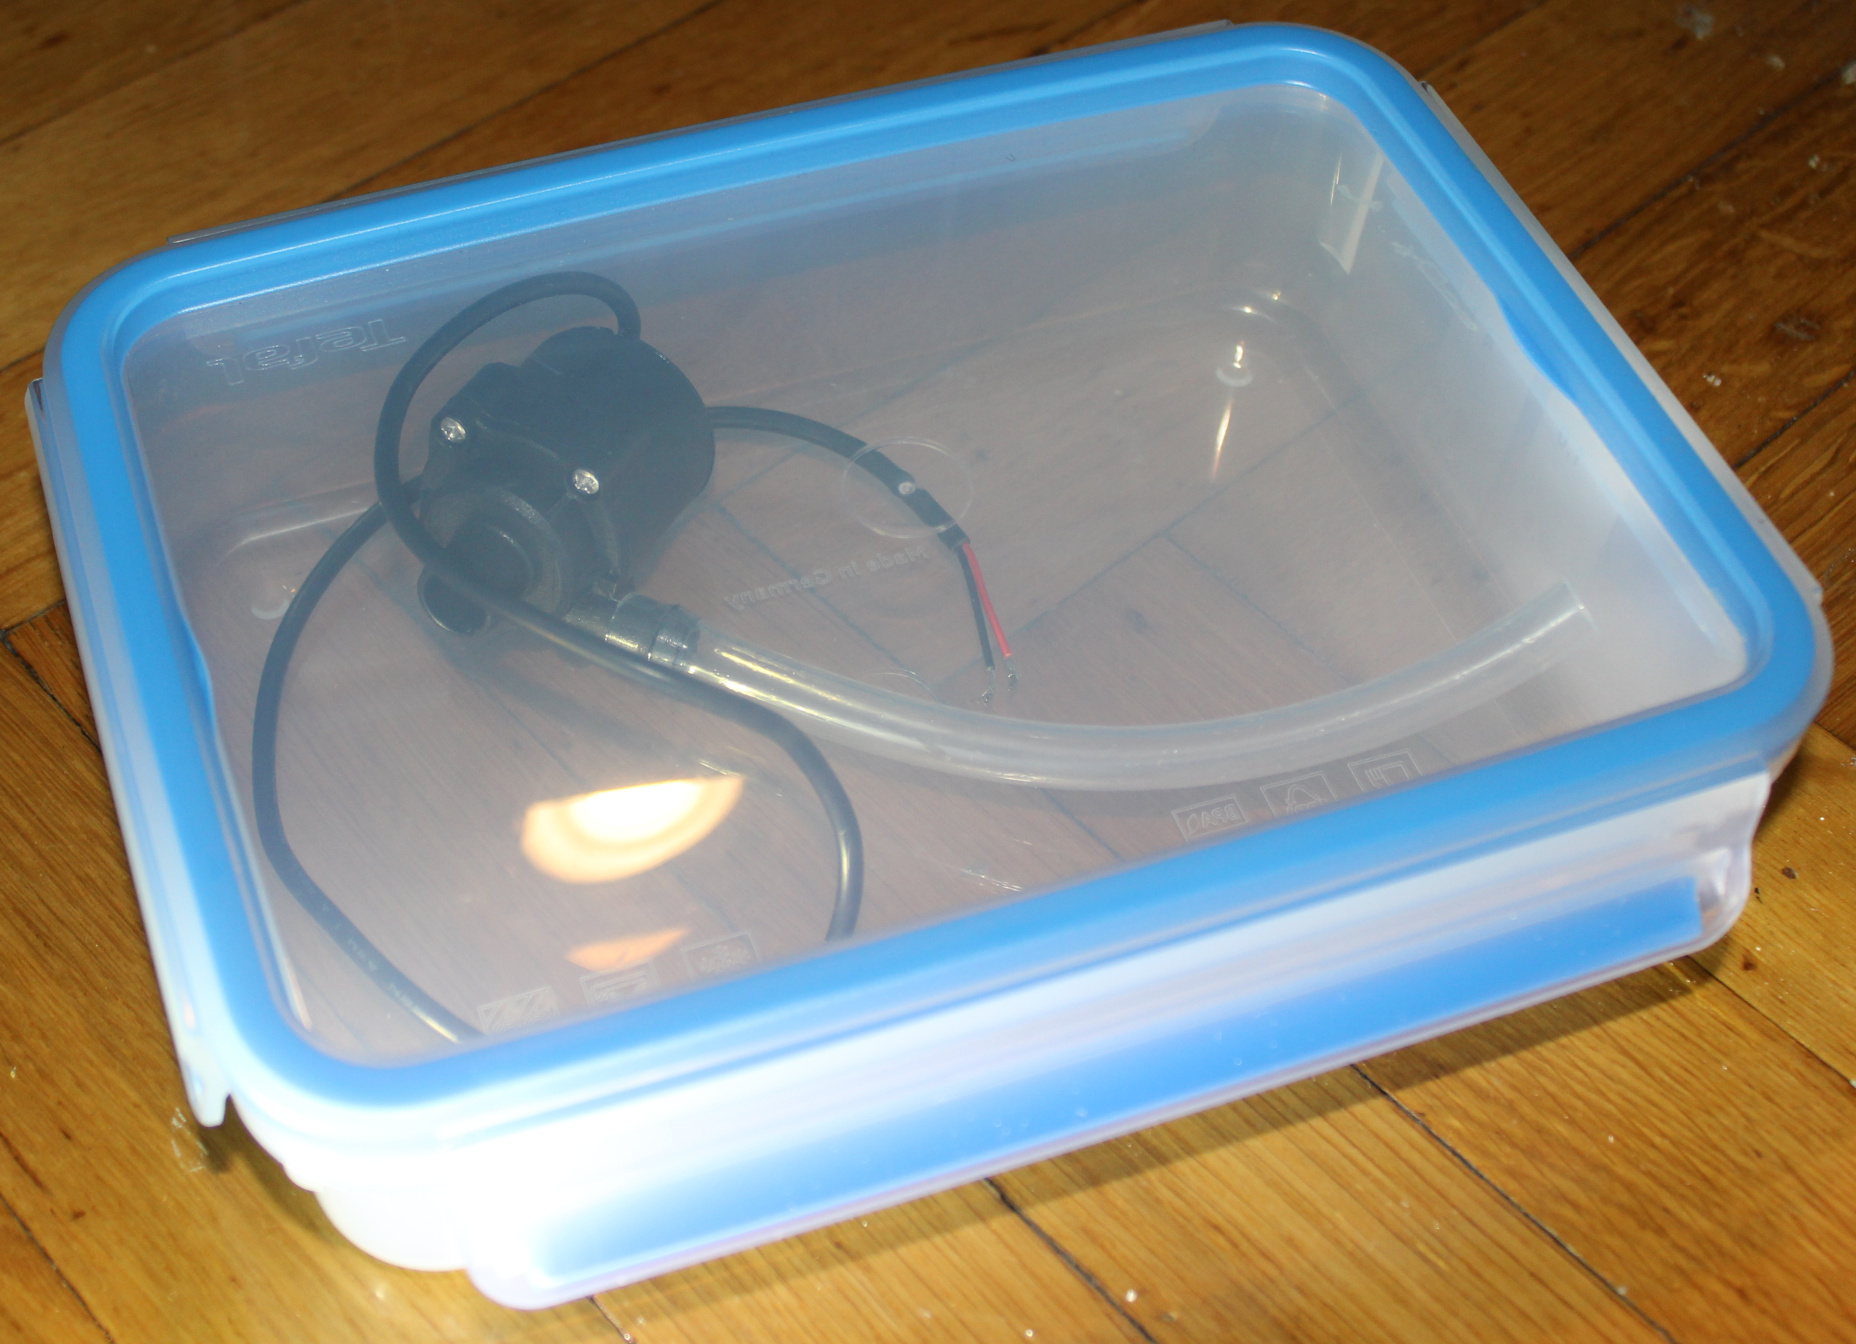
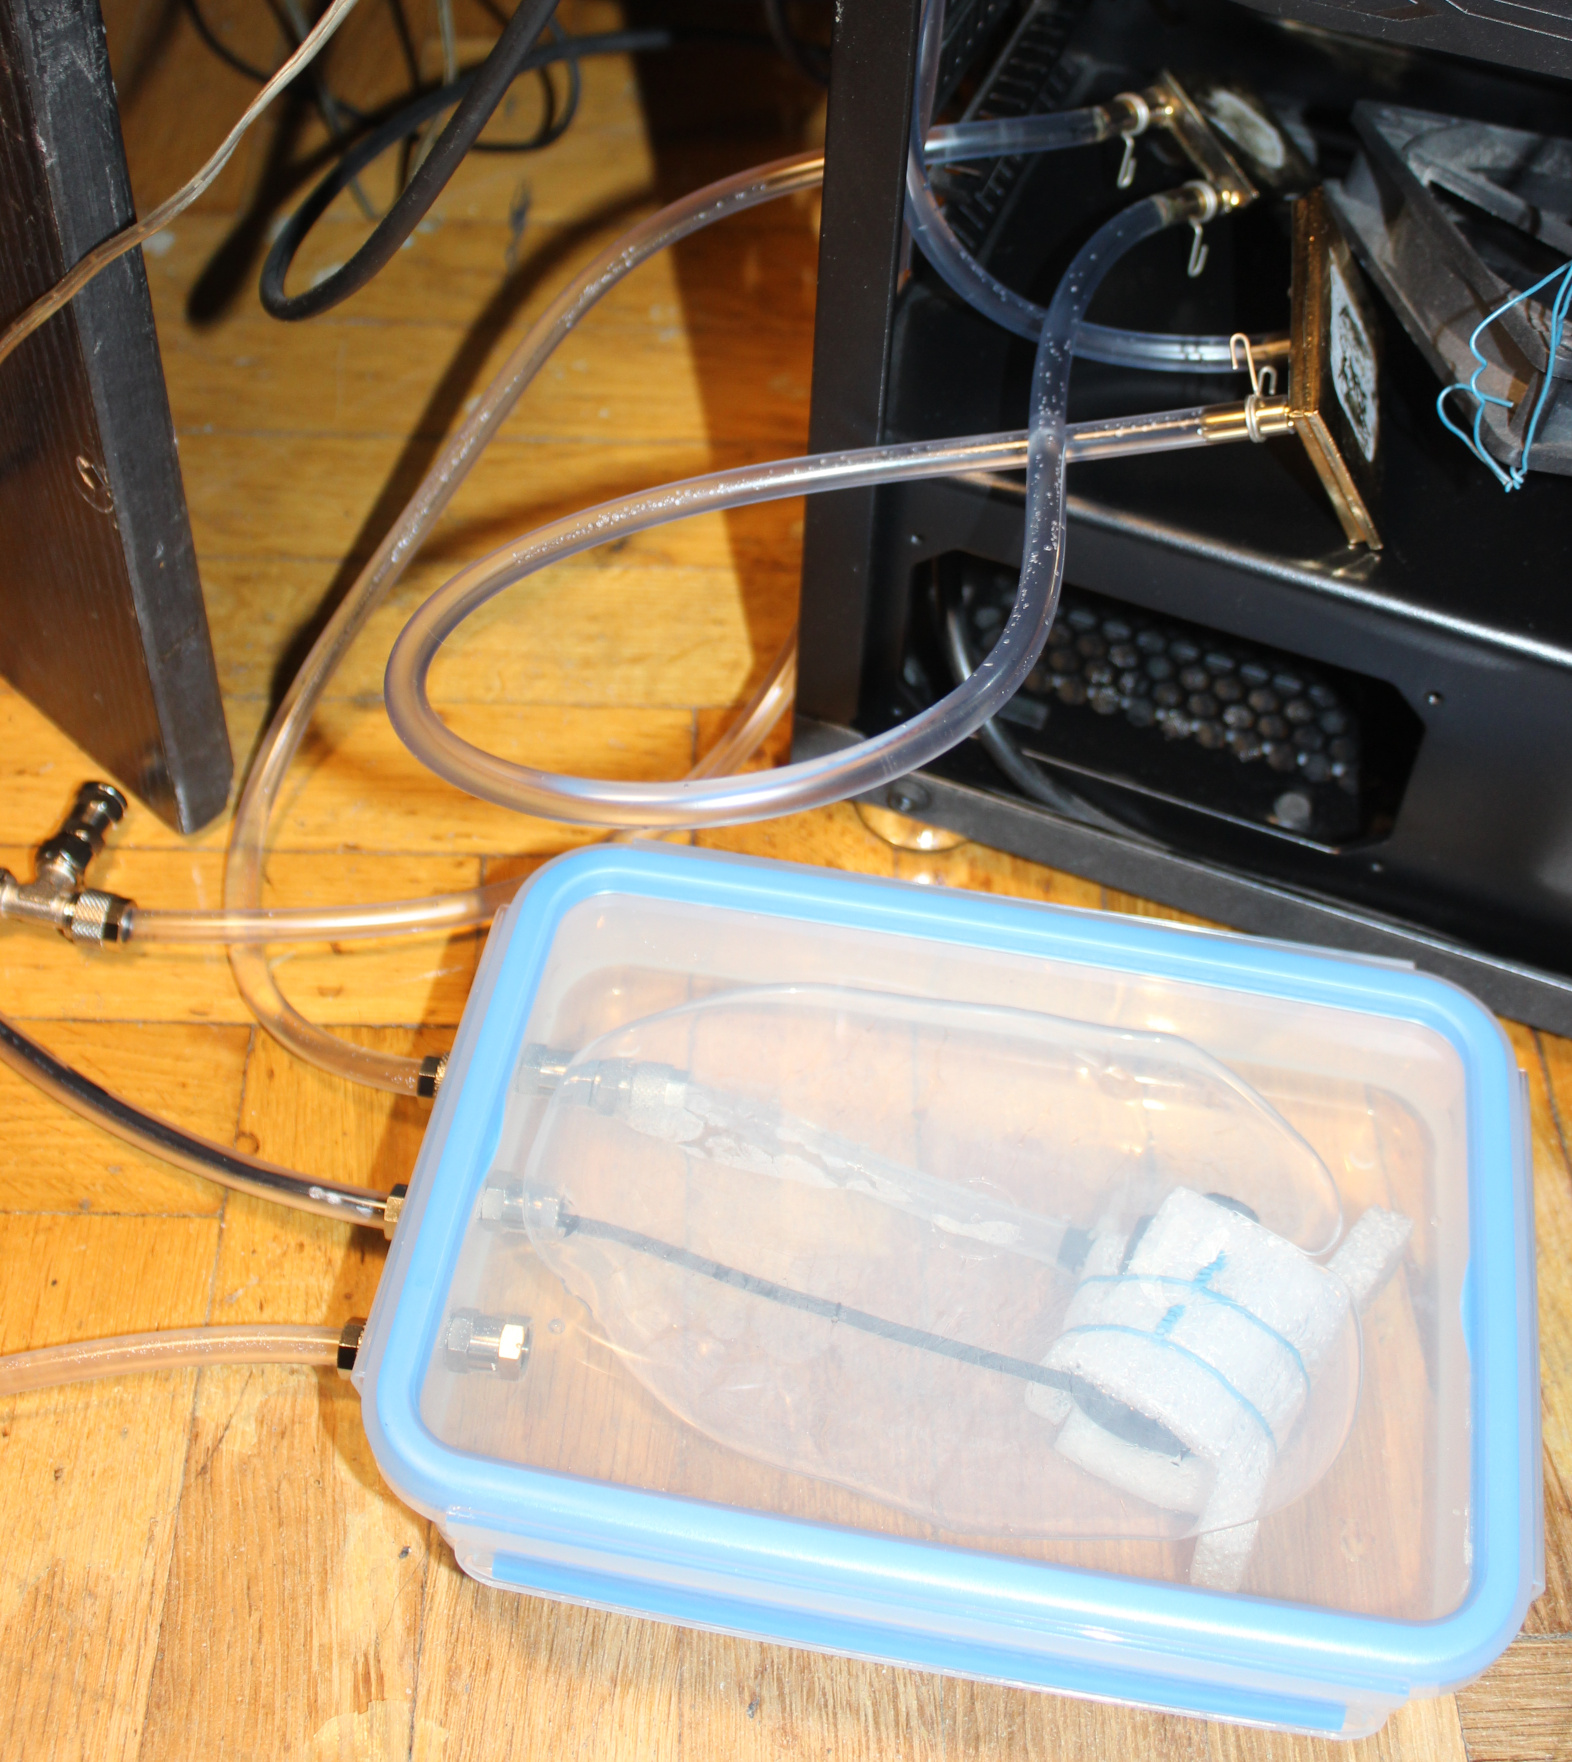
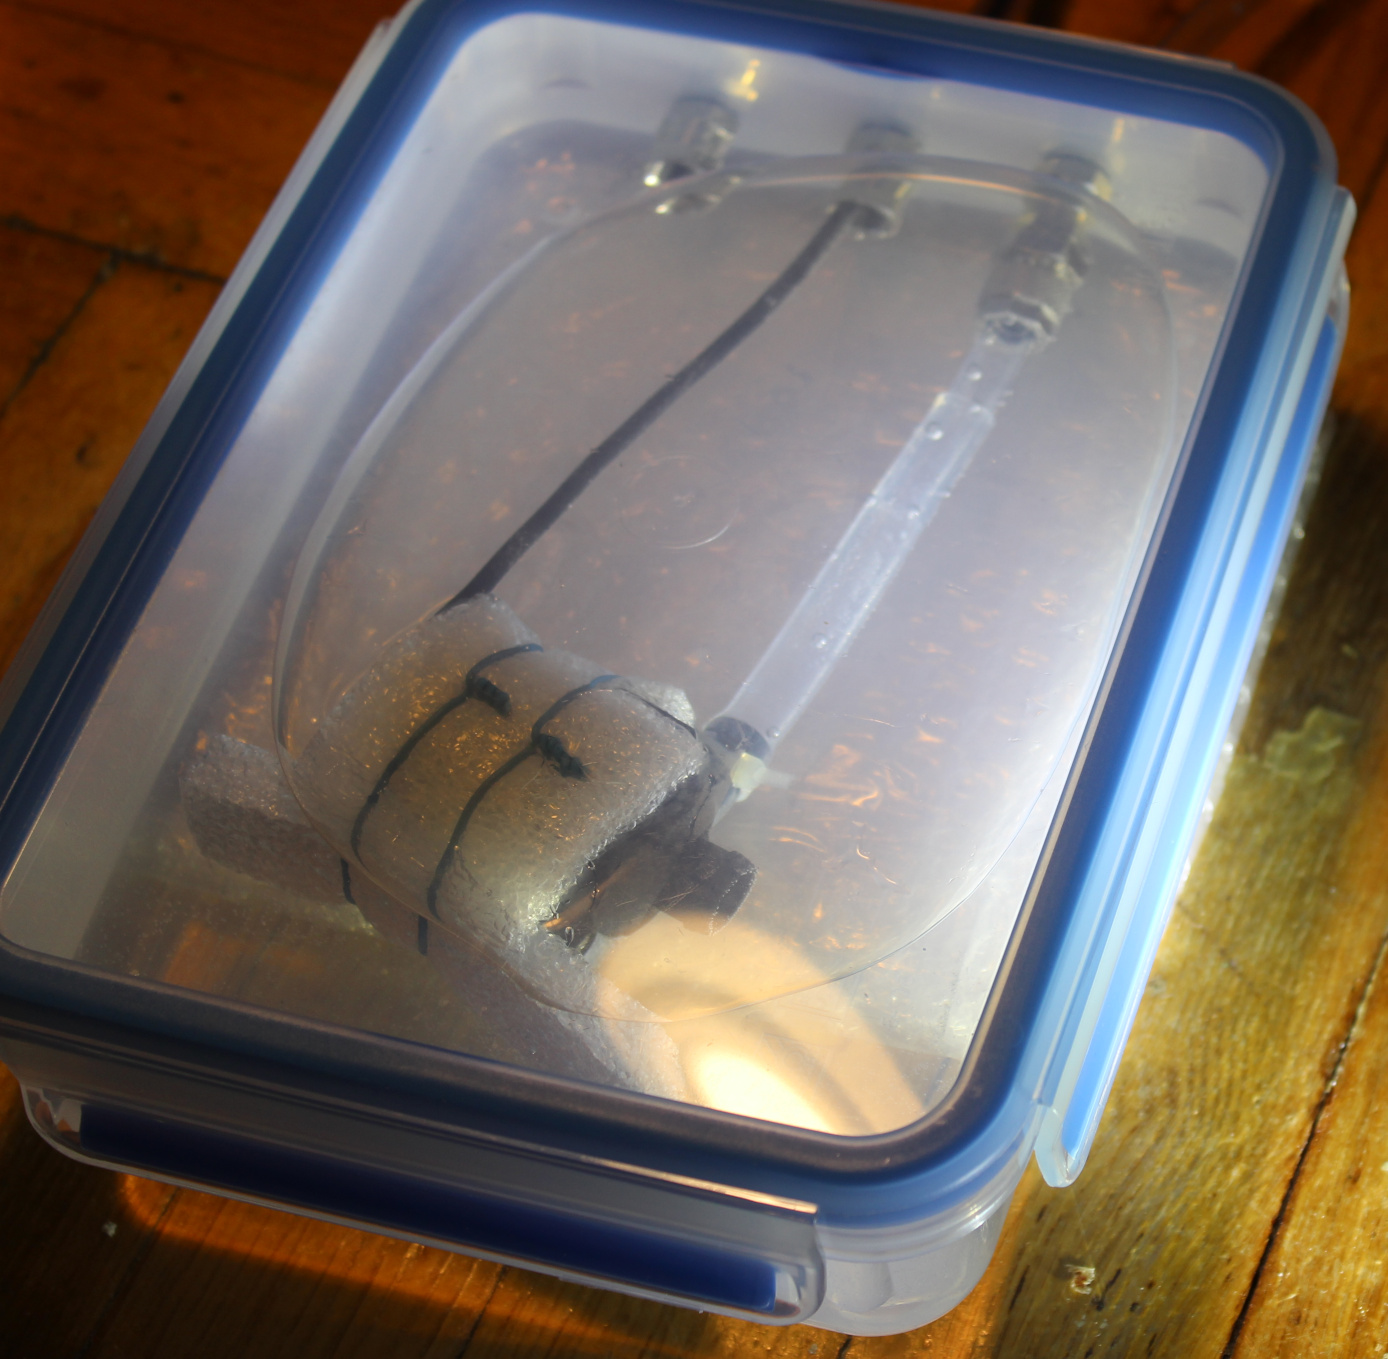
Pump: new, not expensive, centrifugal (usually for aquariums or water fountains), power: 5W, voltage: from 5 to 12 V. This is great because it is quiet at low voltage (enough for doing not much), but can cool faster when louder at higher voltage (e.g. when using full CPU when building/rendering etc).
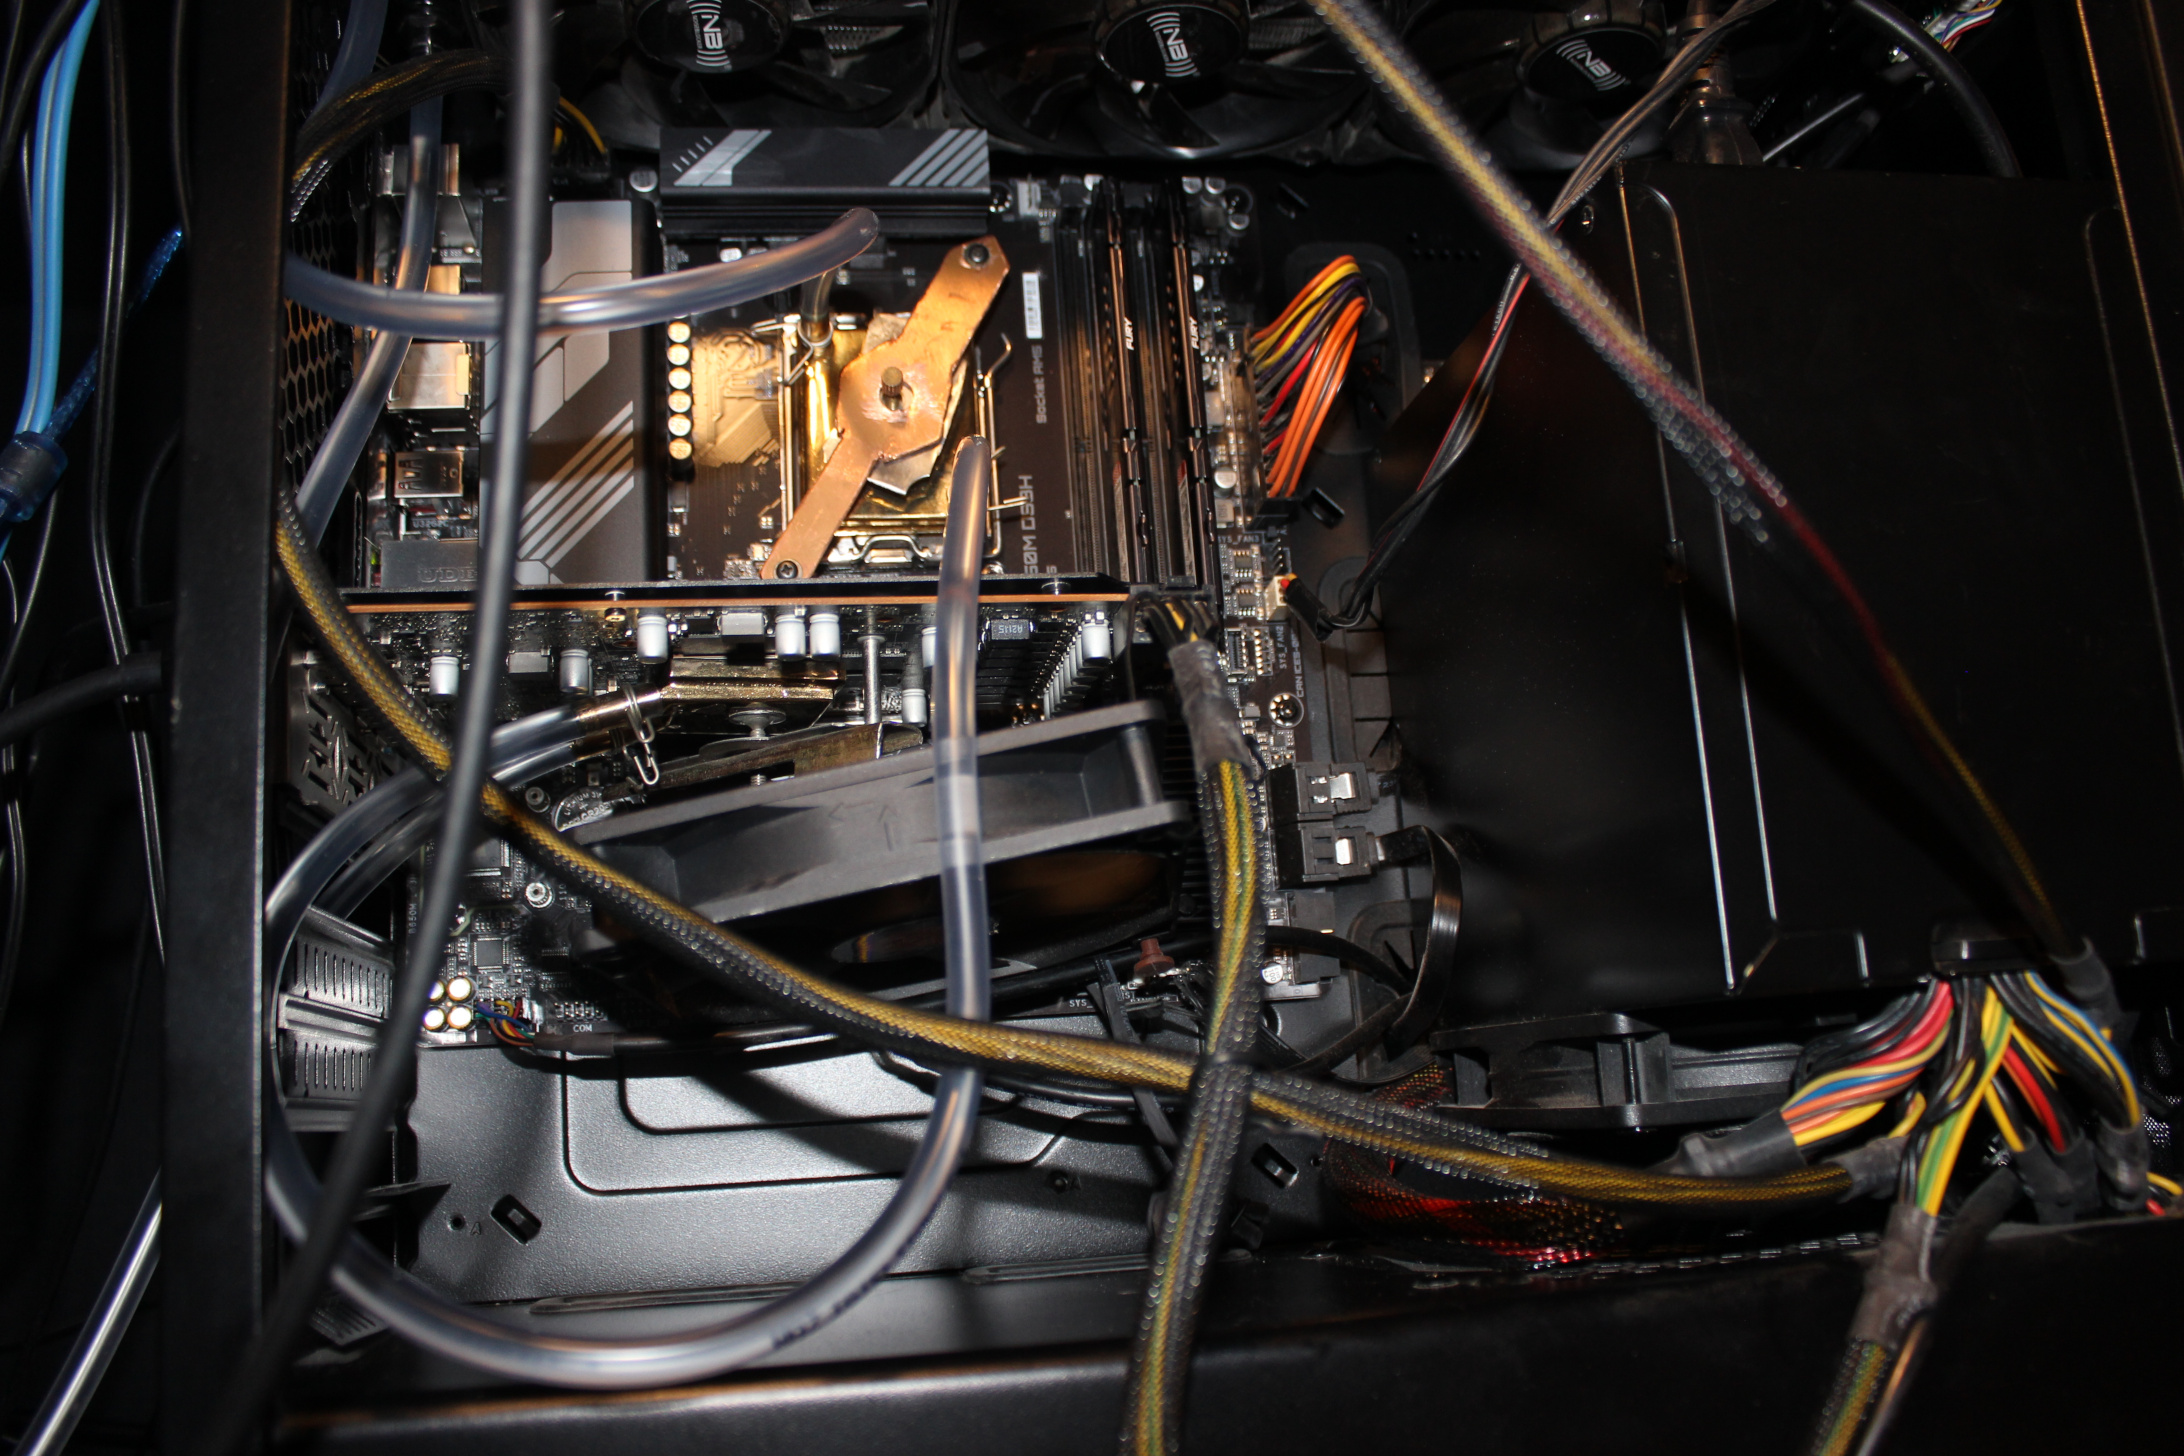
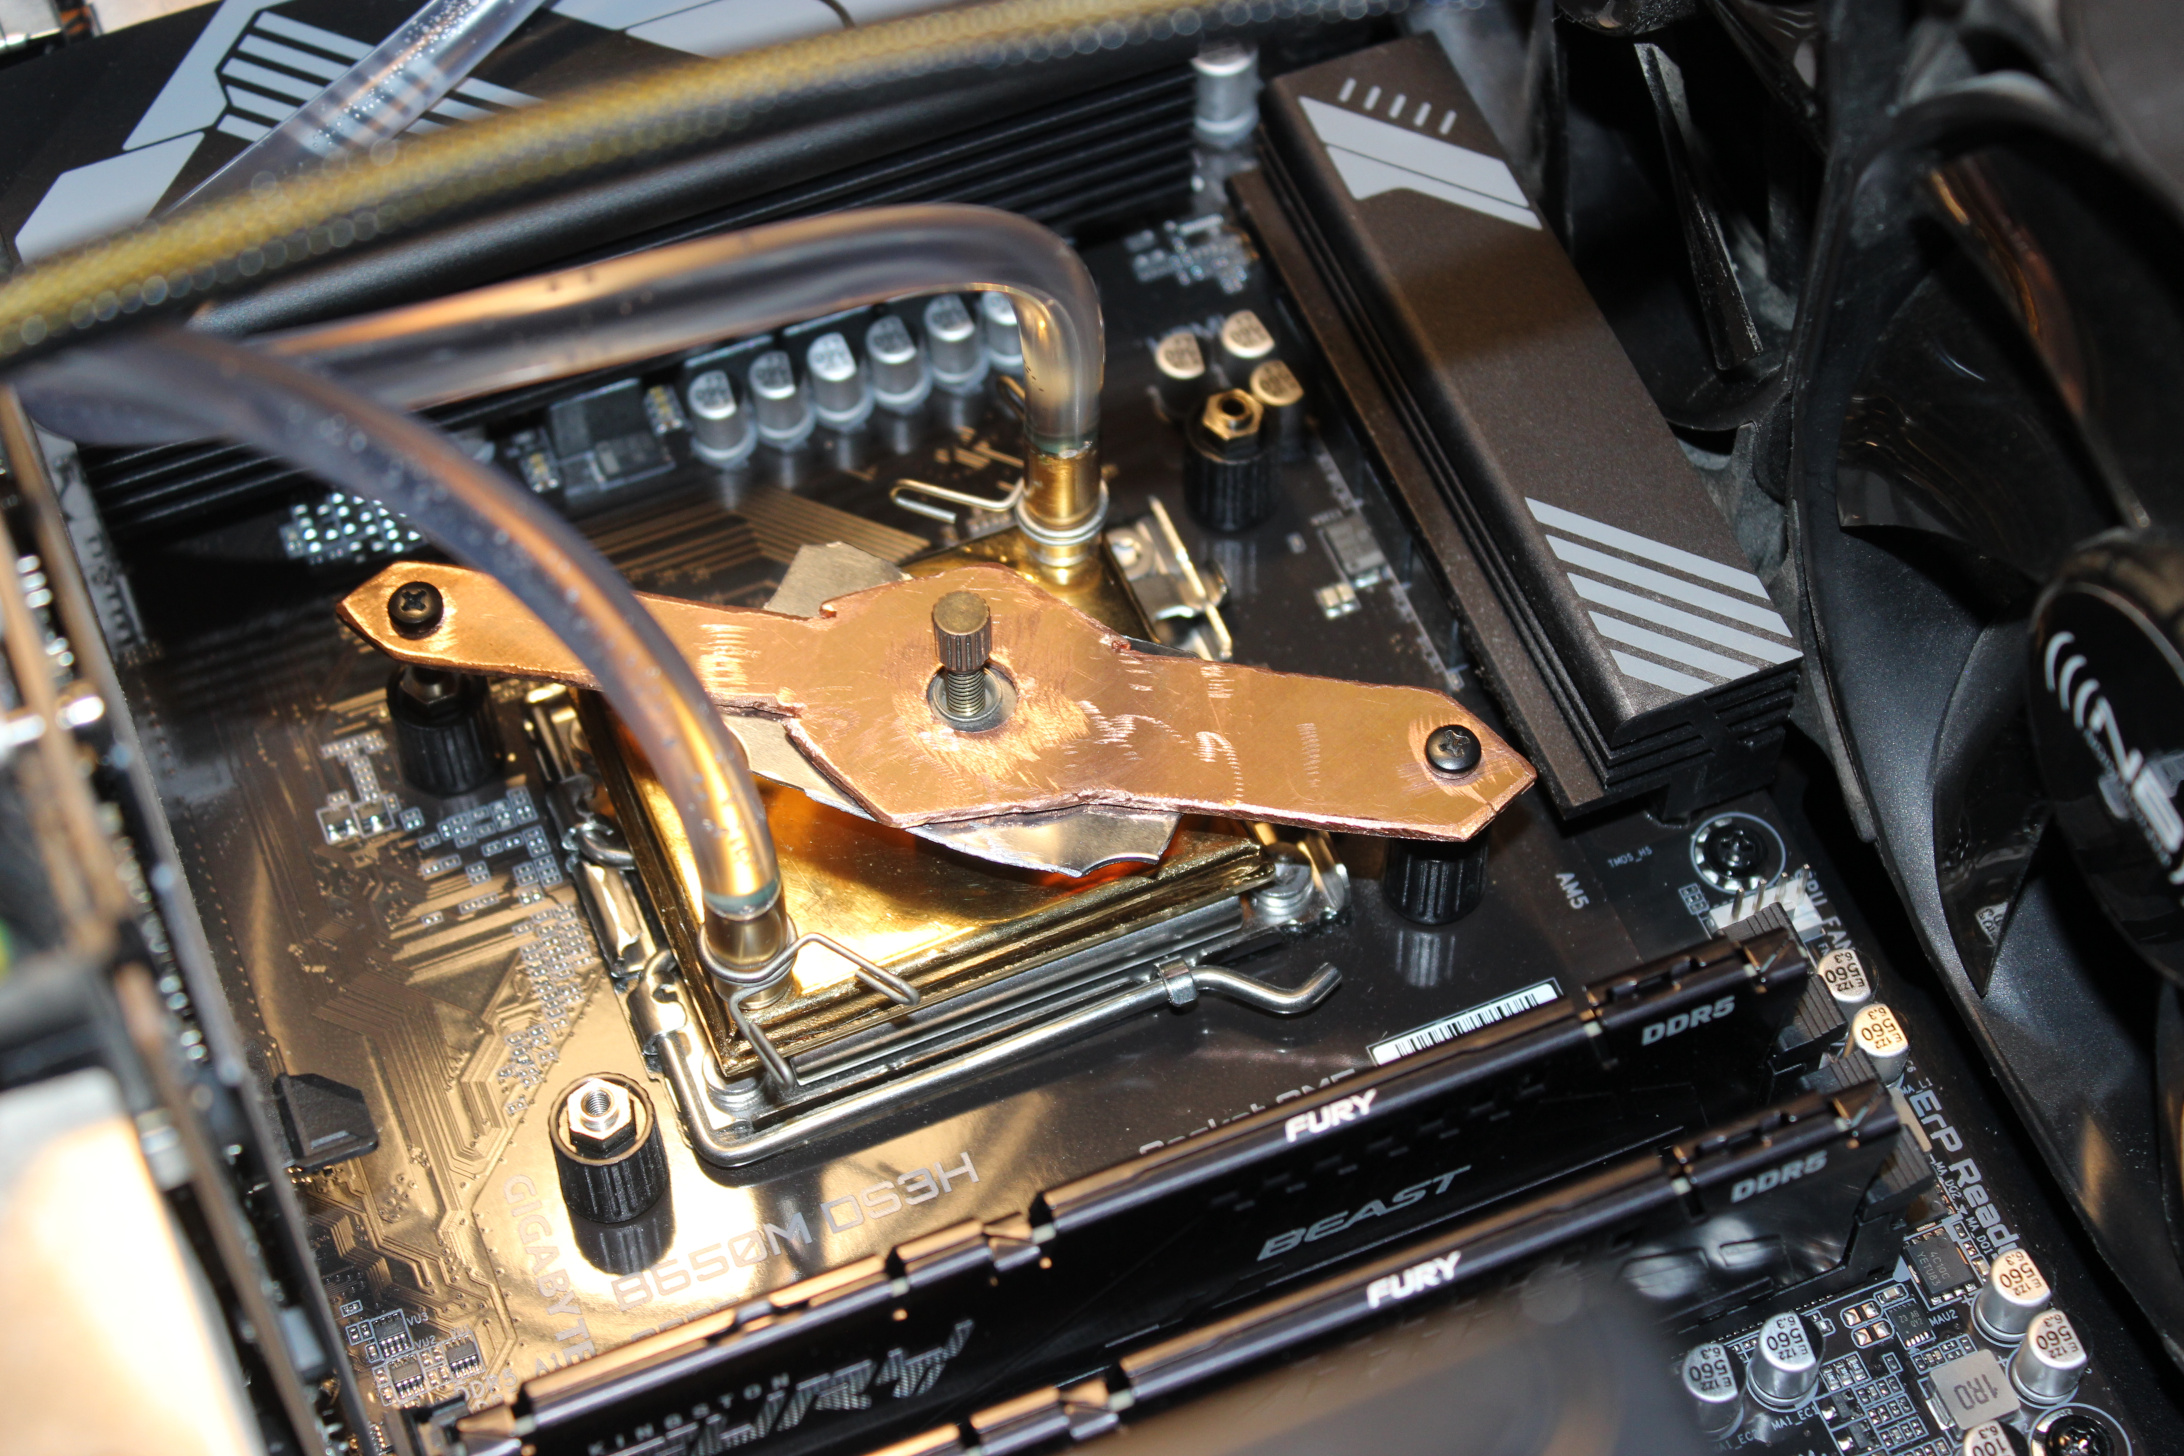
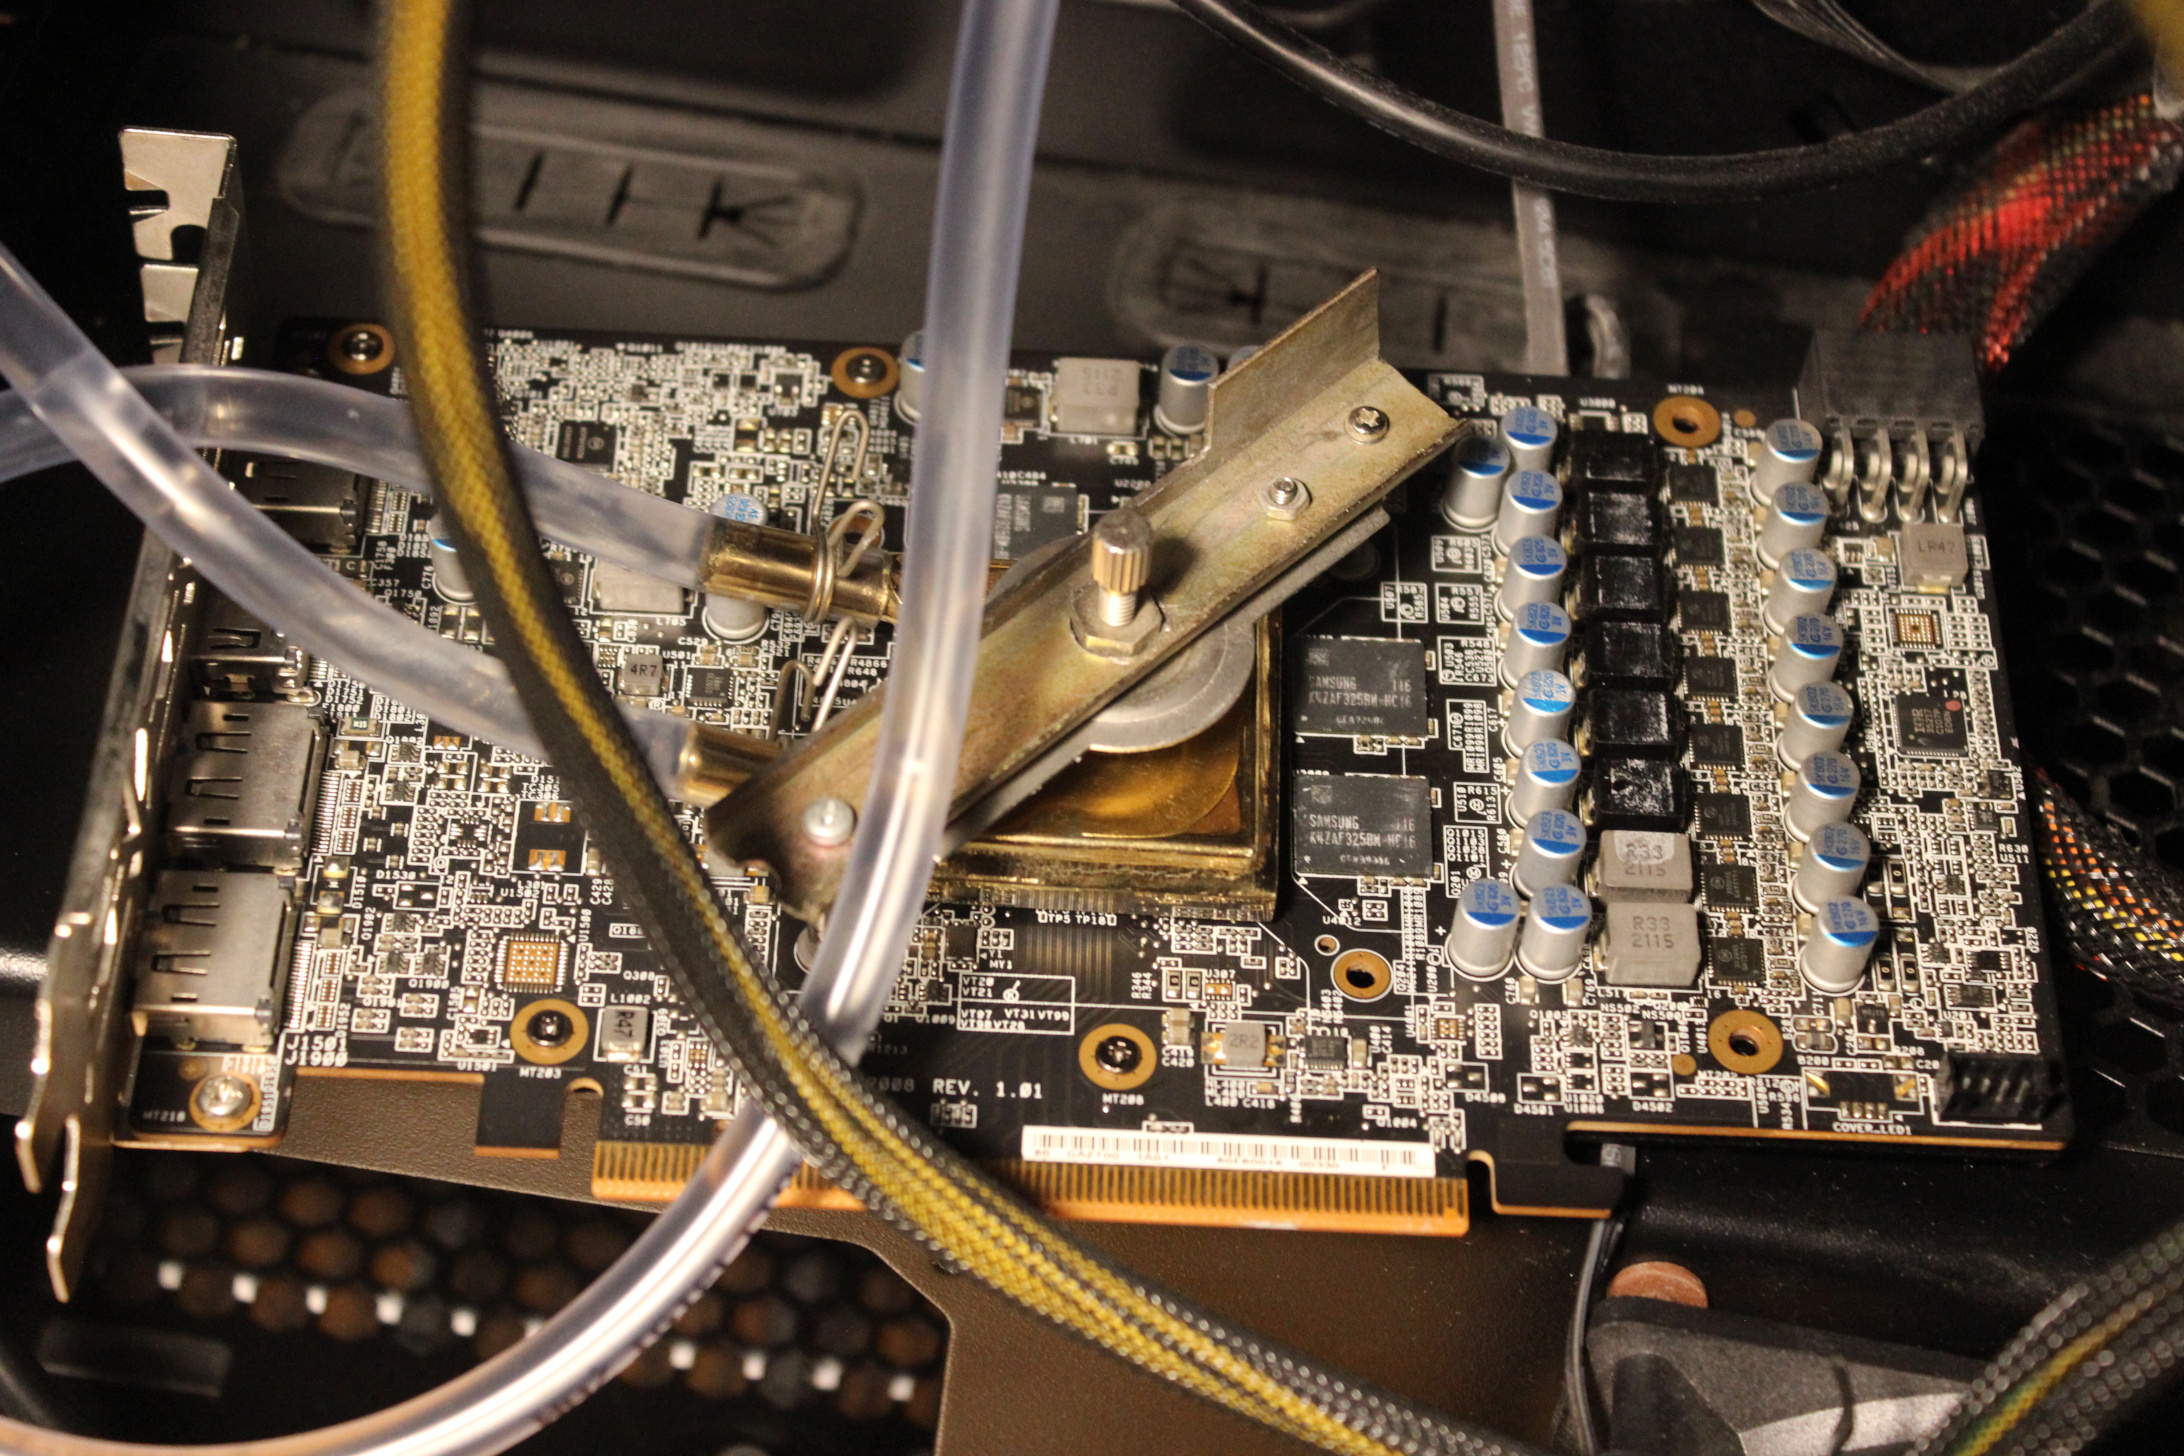
Blocks: old, from 2005 or so, cheap. From a local company, that I think stopped/died after couple of years. These blocks have just 6mm pipes for tube pushed on them, so no expensive fittings needed there. There is a tightening metal around them for extra safety, not really needed, it didn’t leak for me before without them.
Mounting (to hold water block onto CPU/GPU) for these water blocks was a bit tricky. I made it myself (DIY way) reusing the old mounting parts. For CPU also cutting an (rough, ugly) shape from copper to match motherboard’s CPU socket dimmension and used screws.
I think it looks cool, and it screams DIY most (close picture here), on pictures in gallery.
Tubing: has diameter 6mm (1mm wall), to fit those blocks. It is not the thicker tubing used for compressed air push fittings. Also a short 8mm part just out of pump.
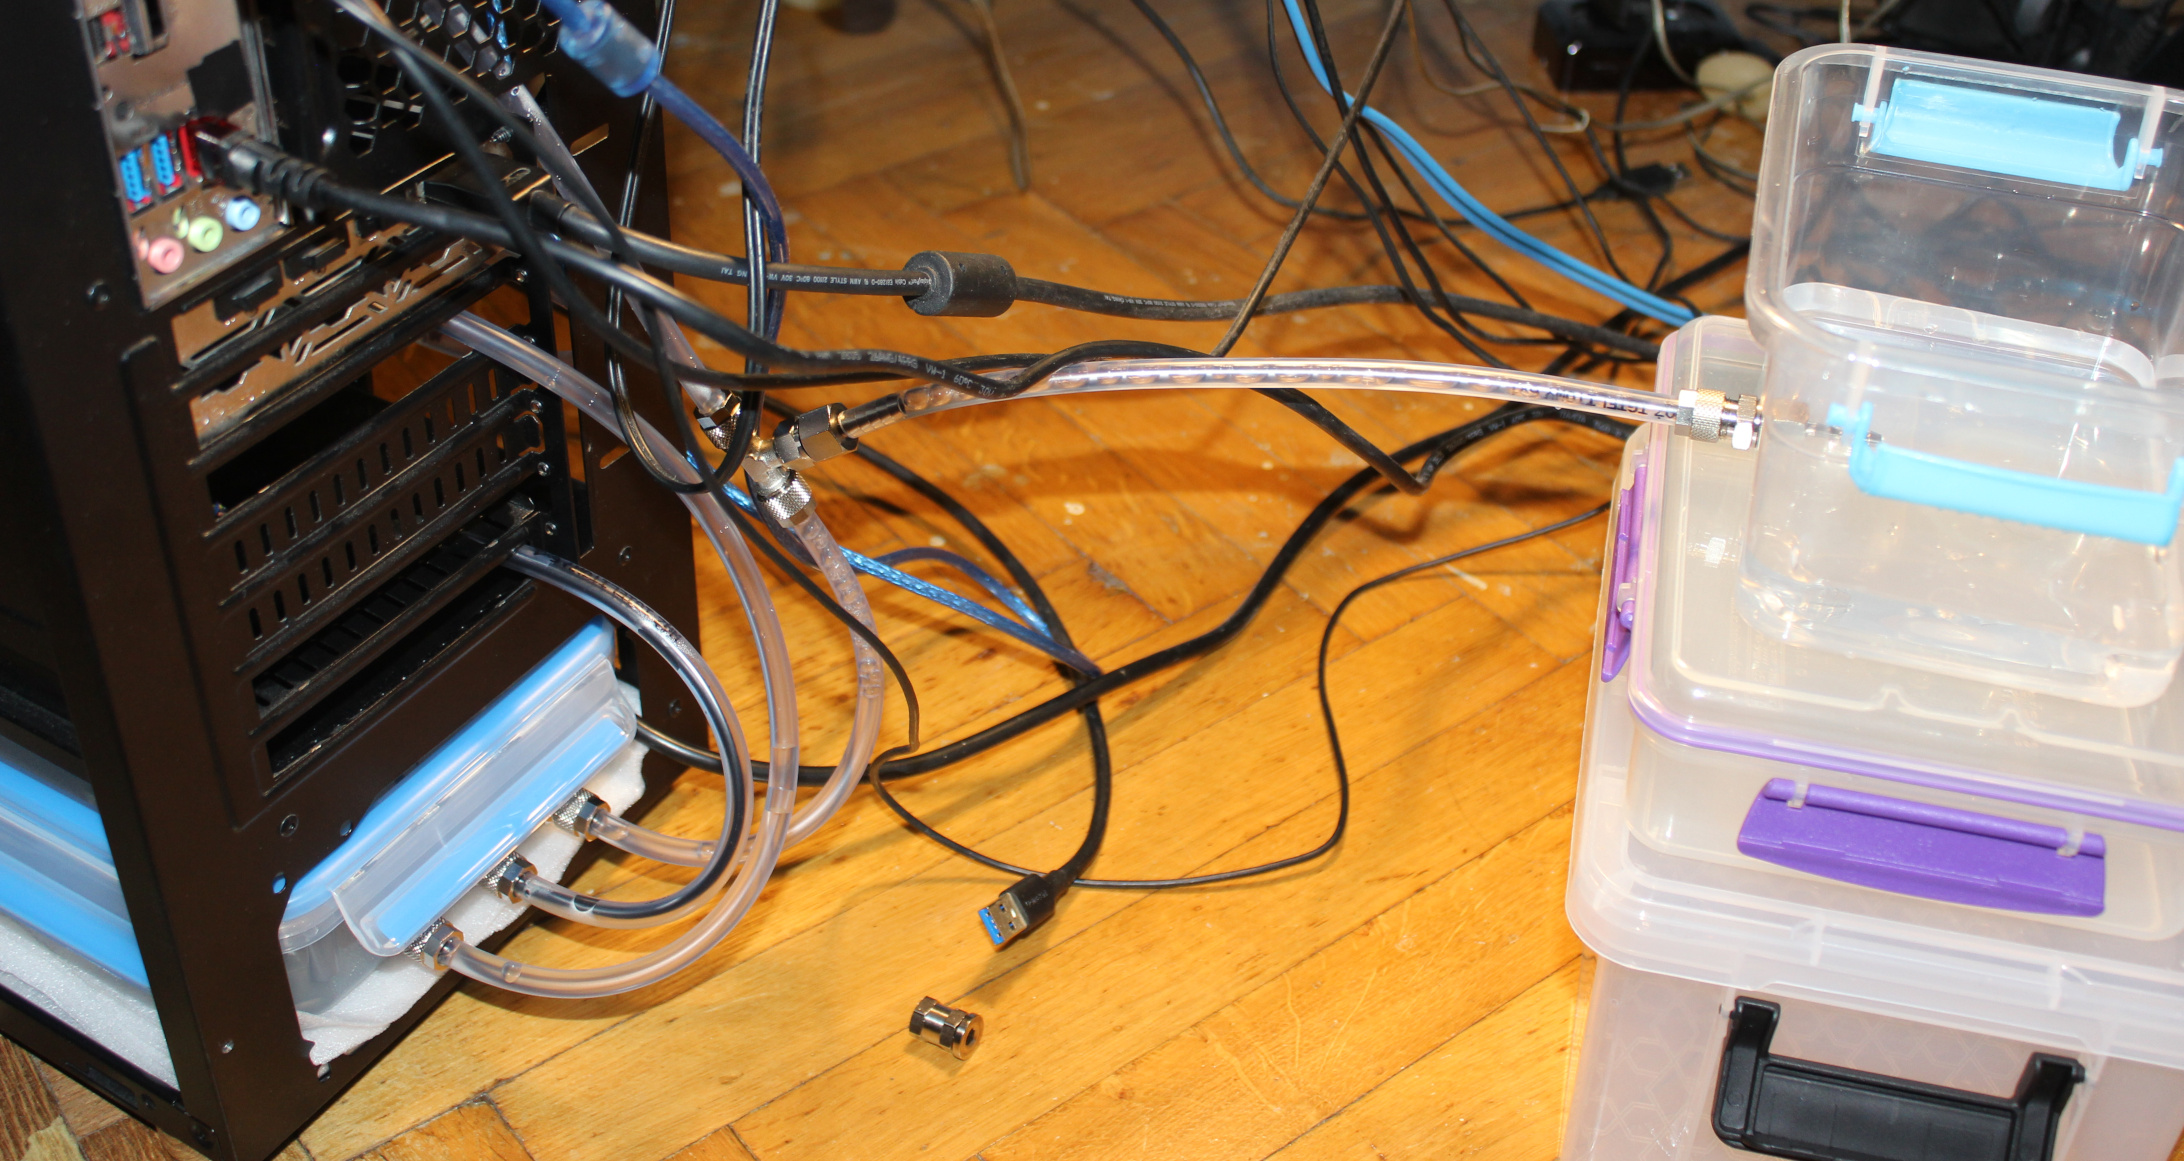
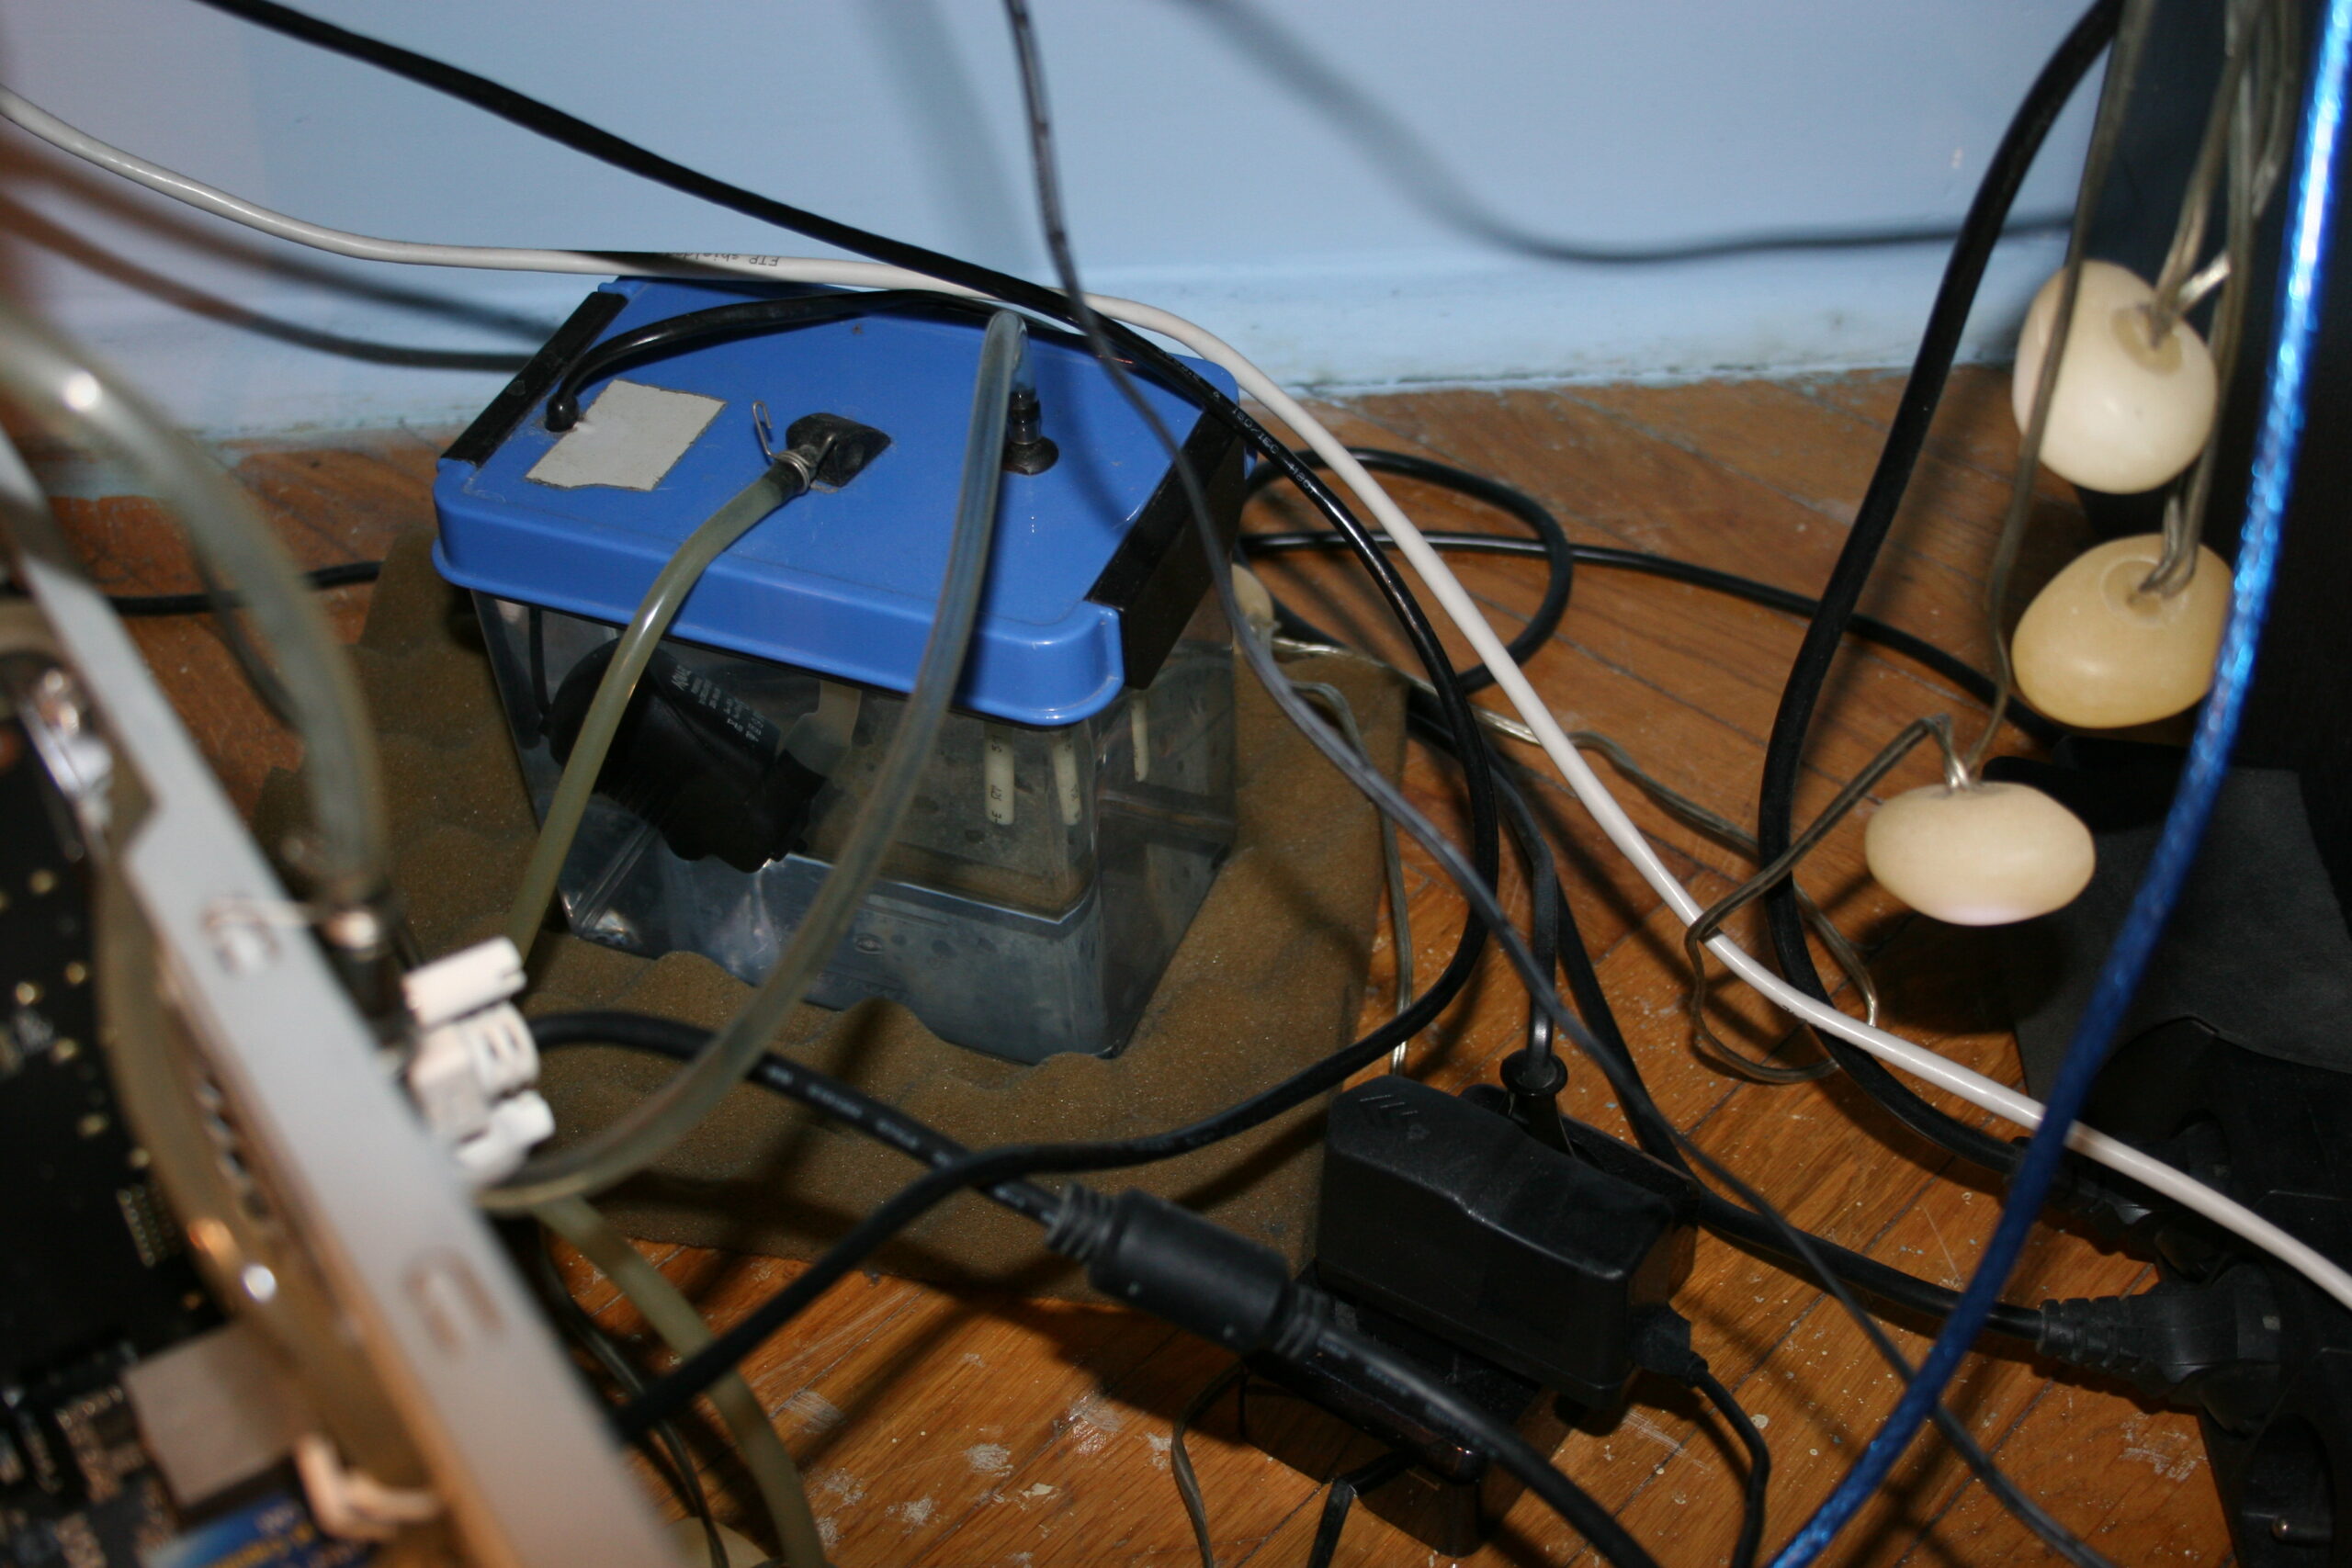
Water tank/box/reservoir. These things are way too expensive (overpriced) to buy. Mine is made from a food container🥗. It gets sealed when closed so water won’t drip out. Rest of it is done by me. I made 3 holes and used fittings (for compressed air or fluids), these have o-ring rubbers for sealing and other side is tightened to tubes. Inside there is water pump, I put around it some packaging foam sheet, held with wire. Outlet from pump has 8mm tube and shortly goes into a 6mm tube, it fit well just like that, by pushing. The 3rd hole (in middle) is for the cable inside short tube. Its end is sealed with just heat glue.
I checked after putting all together and nothing leaked. I added a T-connector fitting, on return way from radiator, closer to ground and water tank. It was useful when filling it with water at first time, from another reservoir (picture). Normally the 3rd connection is closed.
A short video of fittings used in my local Polish. And a website showing (nickel plated) brass push on fittings (also called brass rapid joint fittings). These aren’t cheap I’ll add but that’s due to materials and making.
So the flow order is like this: in the tank water gets sucked into pump, then goes outside into firstly GPU block, then CPU block, then into radiator, and lastly returns into tank. This path isn’t very short, but I don’t see this mattering that much. Surely most expensive WC sets use bigger diameter tubes, not 6mm, and shortest distance. it is likely more efficient, but needs a bigger rotor in pump, which I think gets louder.
The whole PC weighs about 11 kg. It surely feels heavy even to move around.
📜All my PCs, history table
Just for reference, last row has components of my current PC (from 2023).
The rest of table has nostalgic value for me, but it’s just ancient history. It’s over 30 years since my first PC.
I list all my PCs and main parts so far.
Legend for the below table:
? – I’m not sure about exact amount or date
💀 – Dead, it broke by itself. Obviously very undesired.
🔨 – I killed it, so my fault. By bad overclocking @, or by accident otherwise.
♻️ – Sold it, eventually.
🗑️ – It became electronic garbage.
☑️ – Still using it.
| Year | CPU, MB | CPU Freq. @OC | RAM | HDD, SSD | GPU | Monitor | Audio, PSU |
|---|---|---|---|---|---|---|---|
| 1992 | PC XT | 8 MHz | 640 kB | 20 MB 💀 | 14″ CRT EGA | PC Speaker | |
| 1994 | 386, 486? | 33 MHz | 1?, 4 MB? | 260 MB 💀 | 14″ CRT VGA 💀 | ||
| 1996 | Pentium 1 | 120 MHz 🔨@ | 32 MB? | 1 GB 💀💀 | borrow Voodoo1? | ||
| 1999 | AMD K6-2 | 300 @366 MHz | 32? 64? MB | 4 GB? | borrow Voodoo3? | ||
| 2001 | Duron K7VTA3 📷 | 1.0 GHz | 256 MB | GF2 MX400 | 17″ CRT Samsung 753dfx ♻️ | ||
| 2004 | Pentium 4 MSI 865PE Neo2 | 3.0 GHz ♻️ | 2 GB? | 40, 80 GB? 🔨 | ATI 9600 | 19″ CRT Samsung 959NF ♻️ | SB 128 PCI? 💀 Yesico FL-550ATX PSU🔨 |
| 2005 | ATI X800 💀 | 21″ CRT Dell P1130 🗑️ | |||||
| 2008 | Quad Q6600 P5E Deluxe | 2x 2.4 @3.0 GHz | 4 GB? DDR3 1066 🔨@ | 320 GB | GTX 8800 512MB 💀 | 24″ LCD TN Iiyama ♻️ | SB X-Fi PCIe Xtreme 💀 Antec CP-850 PSU ☑️☑️ |
| 2011 | 1TB? 💀 | GTX 560 Ti 1GB💀♻️ | |||||
| 2012 | i7 2600K P8Z68-V GEN3 | 4x 3.4 @4.4 GHz ☑️ | 8 GB DDR3 1333? | 2TB | |||
| 2014 | 24″ LCD IPS Eizo EV2436W ☑️ | ||||||
| 2020 | 16 GB DDR3 2133 | 1TB | RX 570 4GB ☑️ | DAC AIYIMA A5 PRO ☑️ | |||
| 2023 | Ryzen 5 7600X B650M DS3H | 6x 4.7 GHz ☑️ | 32 GB DDR5 6000 | 1TB M.2 Gen4 NVMe | RX 6600XT 8GB ☑️ |
💧WC comparison⚖️
Here are water cooling pros (advantages, good) and cons (disadvantages, bad or costly), as compared to the cheaper air cooling:
✅Pros:
- Definitely quieter.
- Reacts slower to CPU or GPU load (use percentage). As whole water tank heats up slower. Thus it’s nicer, less annoying than hearing high rpm fan every time when load goes higher.
- Way more optimal at cooling by water🌊 than by air only.
It’s just physics. Heat transfer coefficient for water is between 500 to 10,000 W/(m²K), while for air from 10 to 100 W/(m²K). More coefficients e.g. in table.
Of course at end, it still has to be done by air in radiator. But at least that radiator can be of any size and well made for this. Instead of being heavy and mounted with fan(s) above CPU or flat, narrow on GPU to fit. - If done right, it needs less frequent and easier (vacuum) cleaning.
CPU radiator (under fan) was always quickly dusty in my case. And it was harder to clean, I had to remove the fan first. - More reusable.
I already used these water blocks in 3 PCs. Radiator, previous water tank and pump in 2 PCs.
But it did require adjusting or DIY making of new socket mounting to hold water block onto CPU/GPU.
Perhaps one can do the same with CPU/GPU radiator and fan sets. I didn’t try making a new socket mounting for that, but I think it’d be more difficult and risky since these radiators are rather heavy and bigger than water blocks. - More place inside PC case, after removing CPU and GPU radiators. Possibly better air flow in PC case.
- More room for DIY, more options and more fun assembling yourself. Way more if compared to just default provided cooling.
❌Cons:
- More expensive.
But not a lot if partly done as DIY, and reused over more PCs for many years.
(not that way too expensive crap, made custom for 1 PC or specific 1 GPU, etc). - More components needed: pump, water tank/reservoir, blocks, radiator(s), tubes and their connectors.
- There are some full sets with all components and just for cooling CPU. But I’m sure they’re overpriced and I won’t need any.
- Likely more fans needed, but they run at low rpm (e.g. 600), thus are still quiet (versus one going hight rpm).
- Not ideally quiet like with passive cooling or with fans that don’t rotate yet. Because you’ll always need at least pump running which is alos usually louder than a slow fan.
- More weight, heavier, needs more space.
- More risk, after all there is now water here. But I never had any leaks on components, just some water around PC during maintenance like refilling.
- With no flow indicator or meter, you don’t know if pump is running. Only by very high CPU temperature shown in OS. This is also risky. A “pc water cooling flow indicator” is rather expensive so I never got one.
⌛Conclusions
I surely waited too long (2.5 years) hearing that CPU fan go loud whenever I started building Stunt Rally 3 or rendering my 3D hammer or even recording with OBS (at just 12% CPU). Well as always when I finish a project I think I should have done it earlier. But it’s a matter of priorities and first doing what’s needed most (or giving most fun😉).
I think I also didn’t do water cooling for long, and forgot I actually am able to, I got experience, and it’s not that risky for me. I never had any water leaked on mainboard or such. I did have some water on floor few times. Meh, used a sponge and towel and that’s it. Even this time, when filling, I think I had too much pressure and the tank started leaking on floor. BTW I was on phone when it happened, which was stupid too.
For me it was always way too annoying to hear a CPU fan over 1200 rpm or more. Especially every time CPU load goes high and fan goes loud. The solution is water cooling, it’s a different approach, also one that’s much more optimal by physics. If I don’t increase fans rpm accordingly, then water will get more warm, but slowly. Eventually I have to cool it more. But it’s my choice. For now I have only manual knobs for both pump voltage (flow, speed) and radiator fans (rpm). Both when higher are cooling better while being somewhat louder.
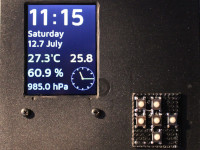
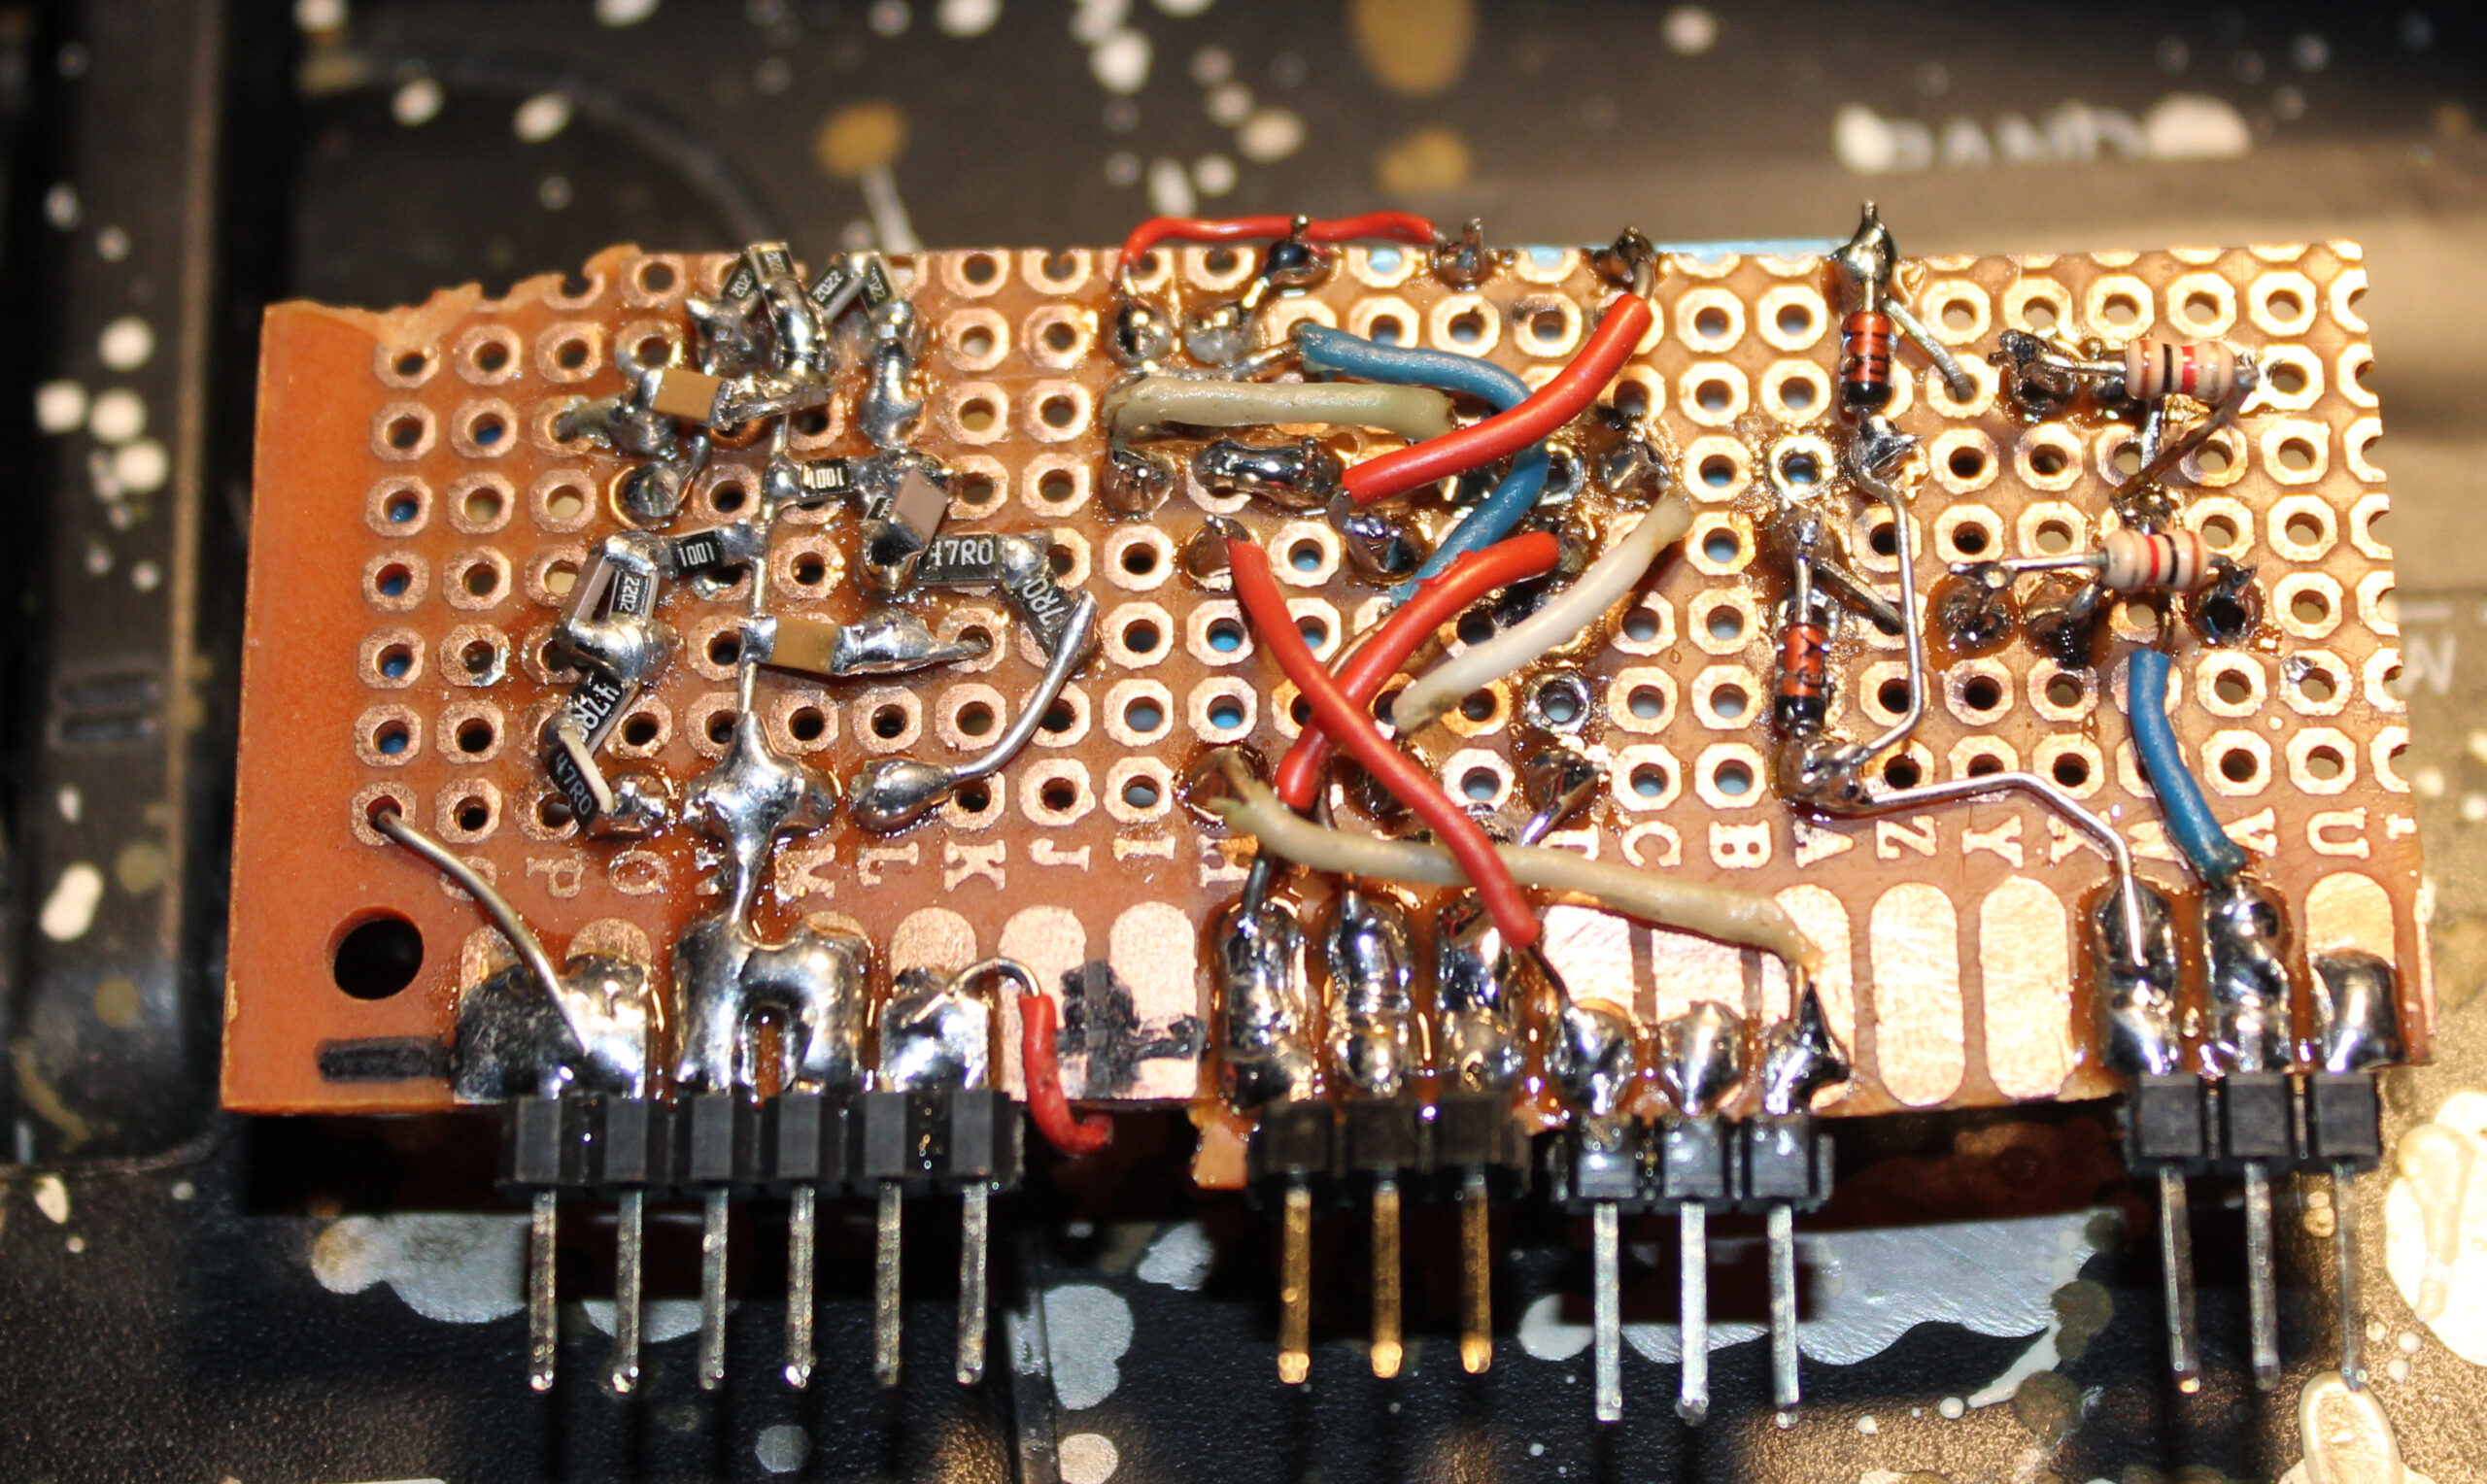
Possibly my WC needs a custom (auto) regulator now. I mean I can’t just add a water temperature sensor(s) (e.g. DS18B20) to mainboard, and use its software to auto regulate pump’s or radiator fans’ voltage (rpm). It was possible with just air cooling. And since I got new PC, its mainboard could do that. Thus I later disassembled my fan controller (I used its MCU for other project). But it’s for me another reason to remake my fan controller again and BTW adapt it to other MCU (cheaper Esp32 likely now).
Lastly I do rarely look at those fancy (and stupidly commercial) water cooling PC cases, with unnecessary, expensive style, RGB LEDs and whatnot. I despise all that. For me a PC is not about looks or light at all, it’s about: functionality, DIY solutions (as nobody makes what I need besides me, e.g. my keyboard firmware), reusability, and minimizing costs (stretched over many years).
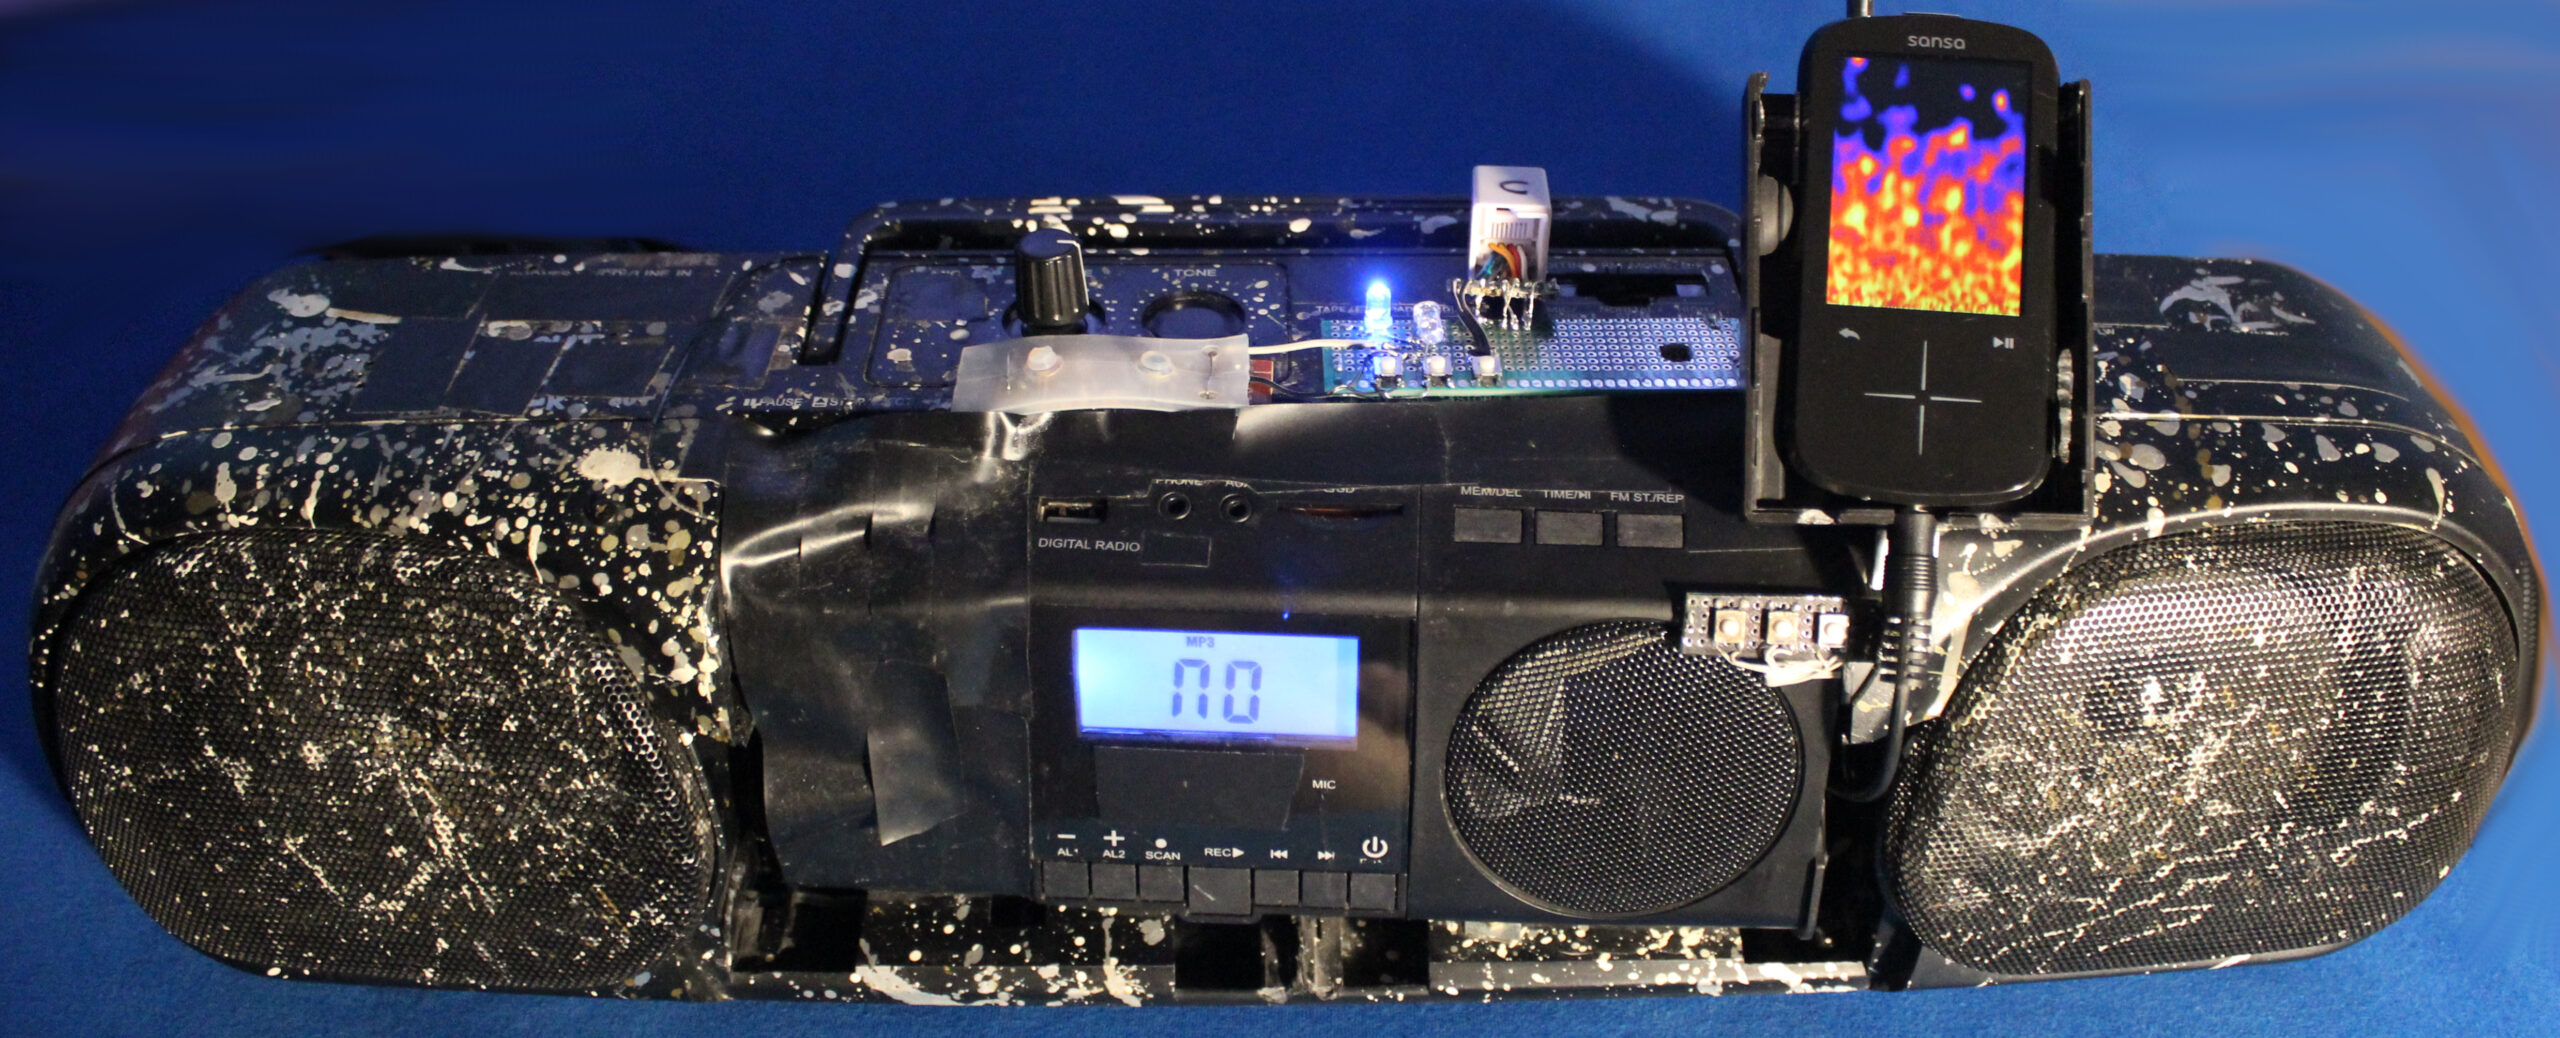
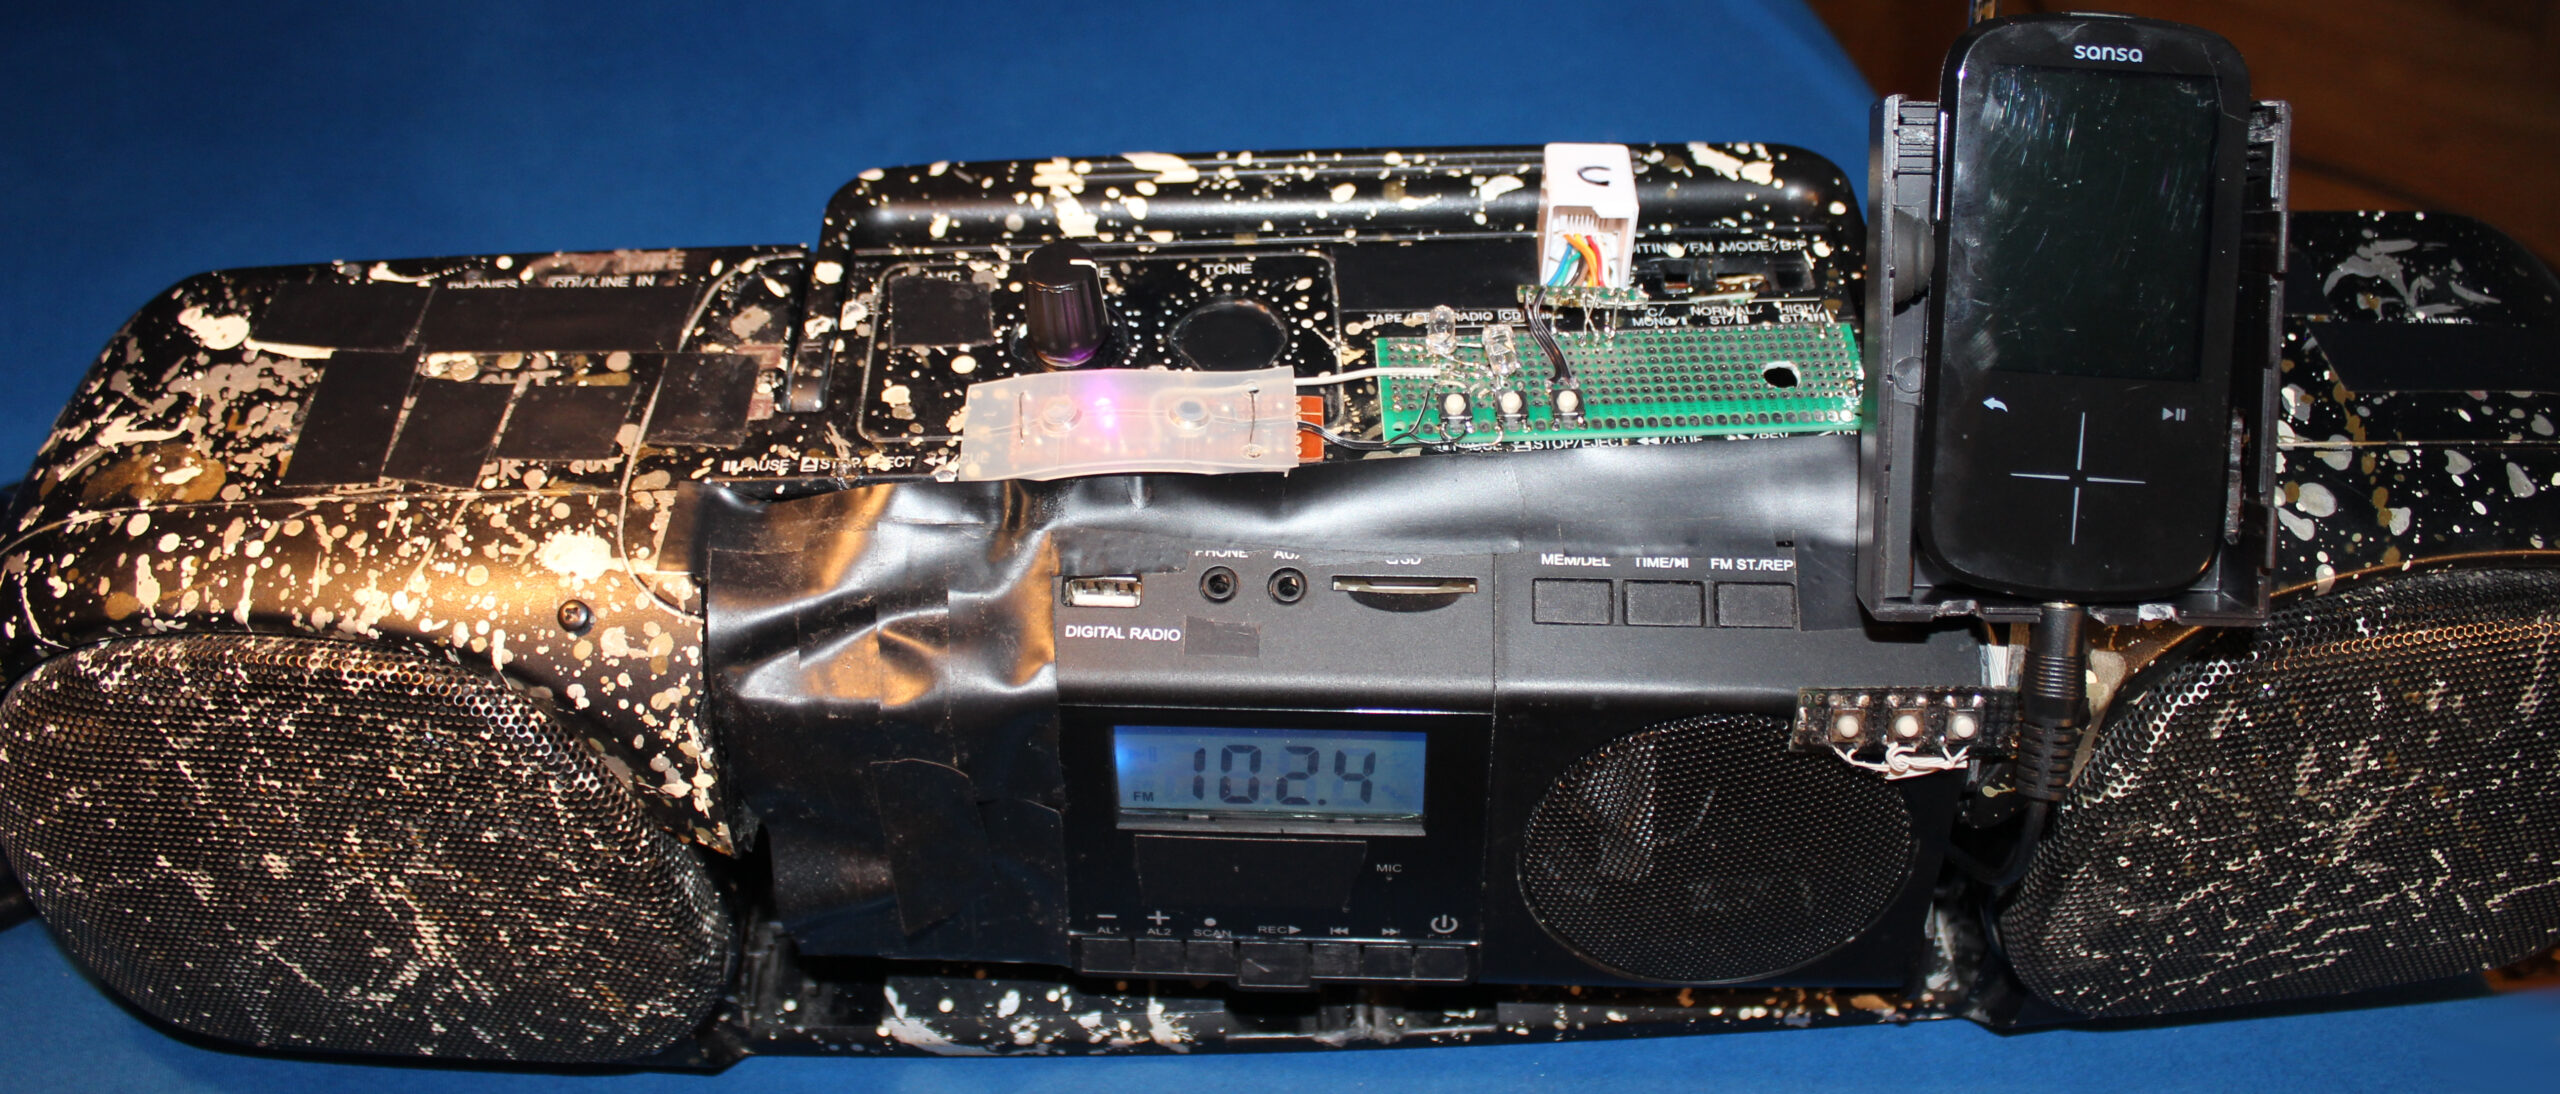
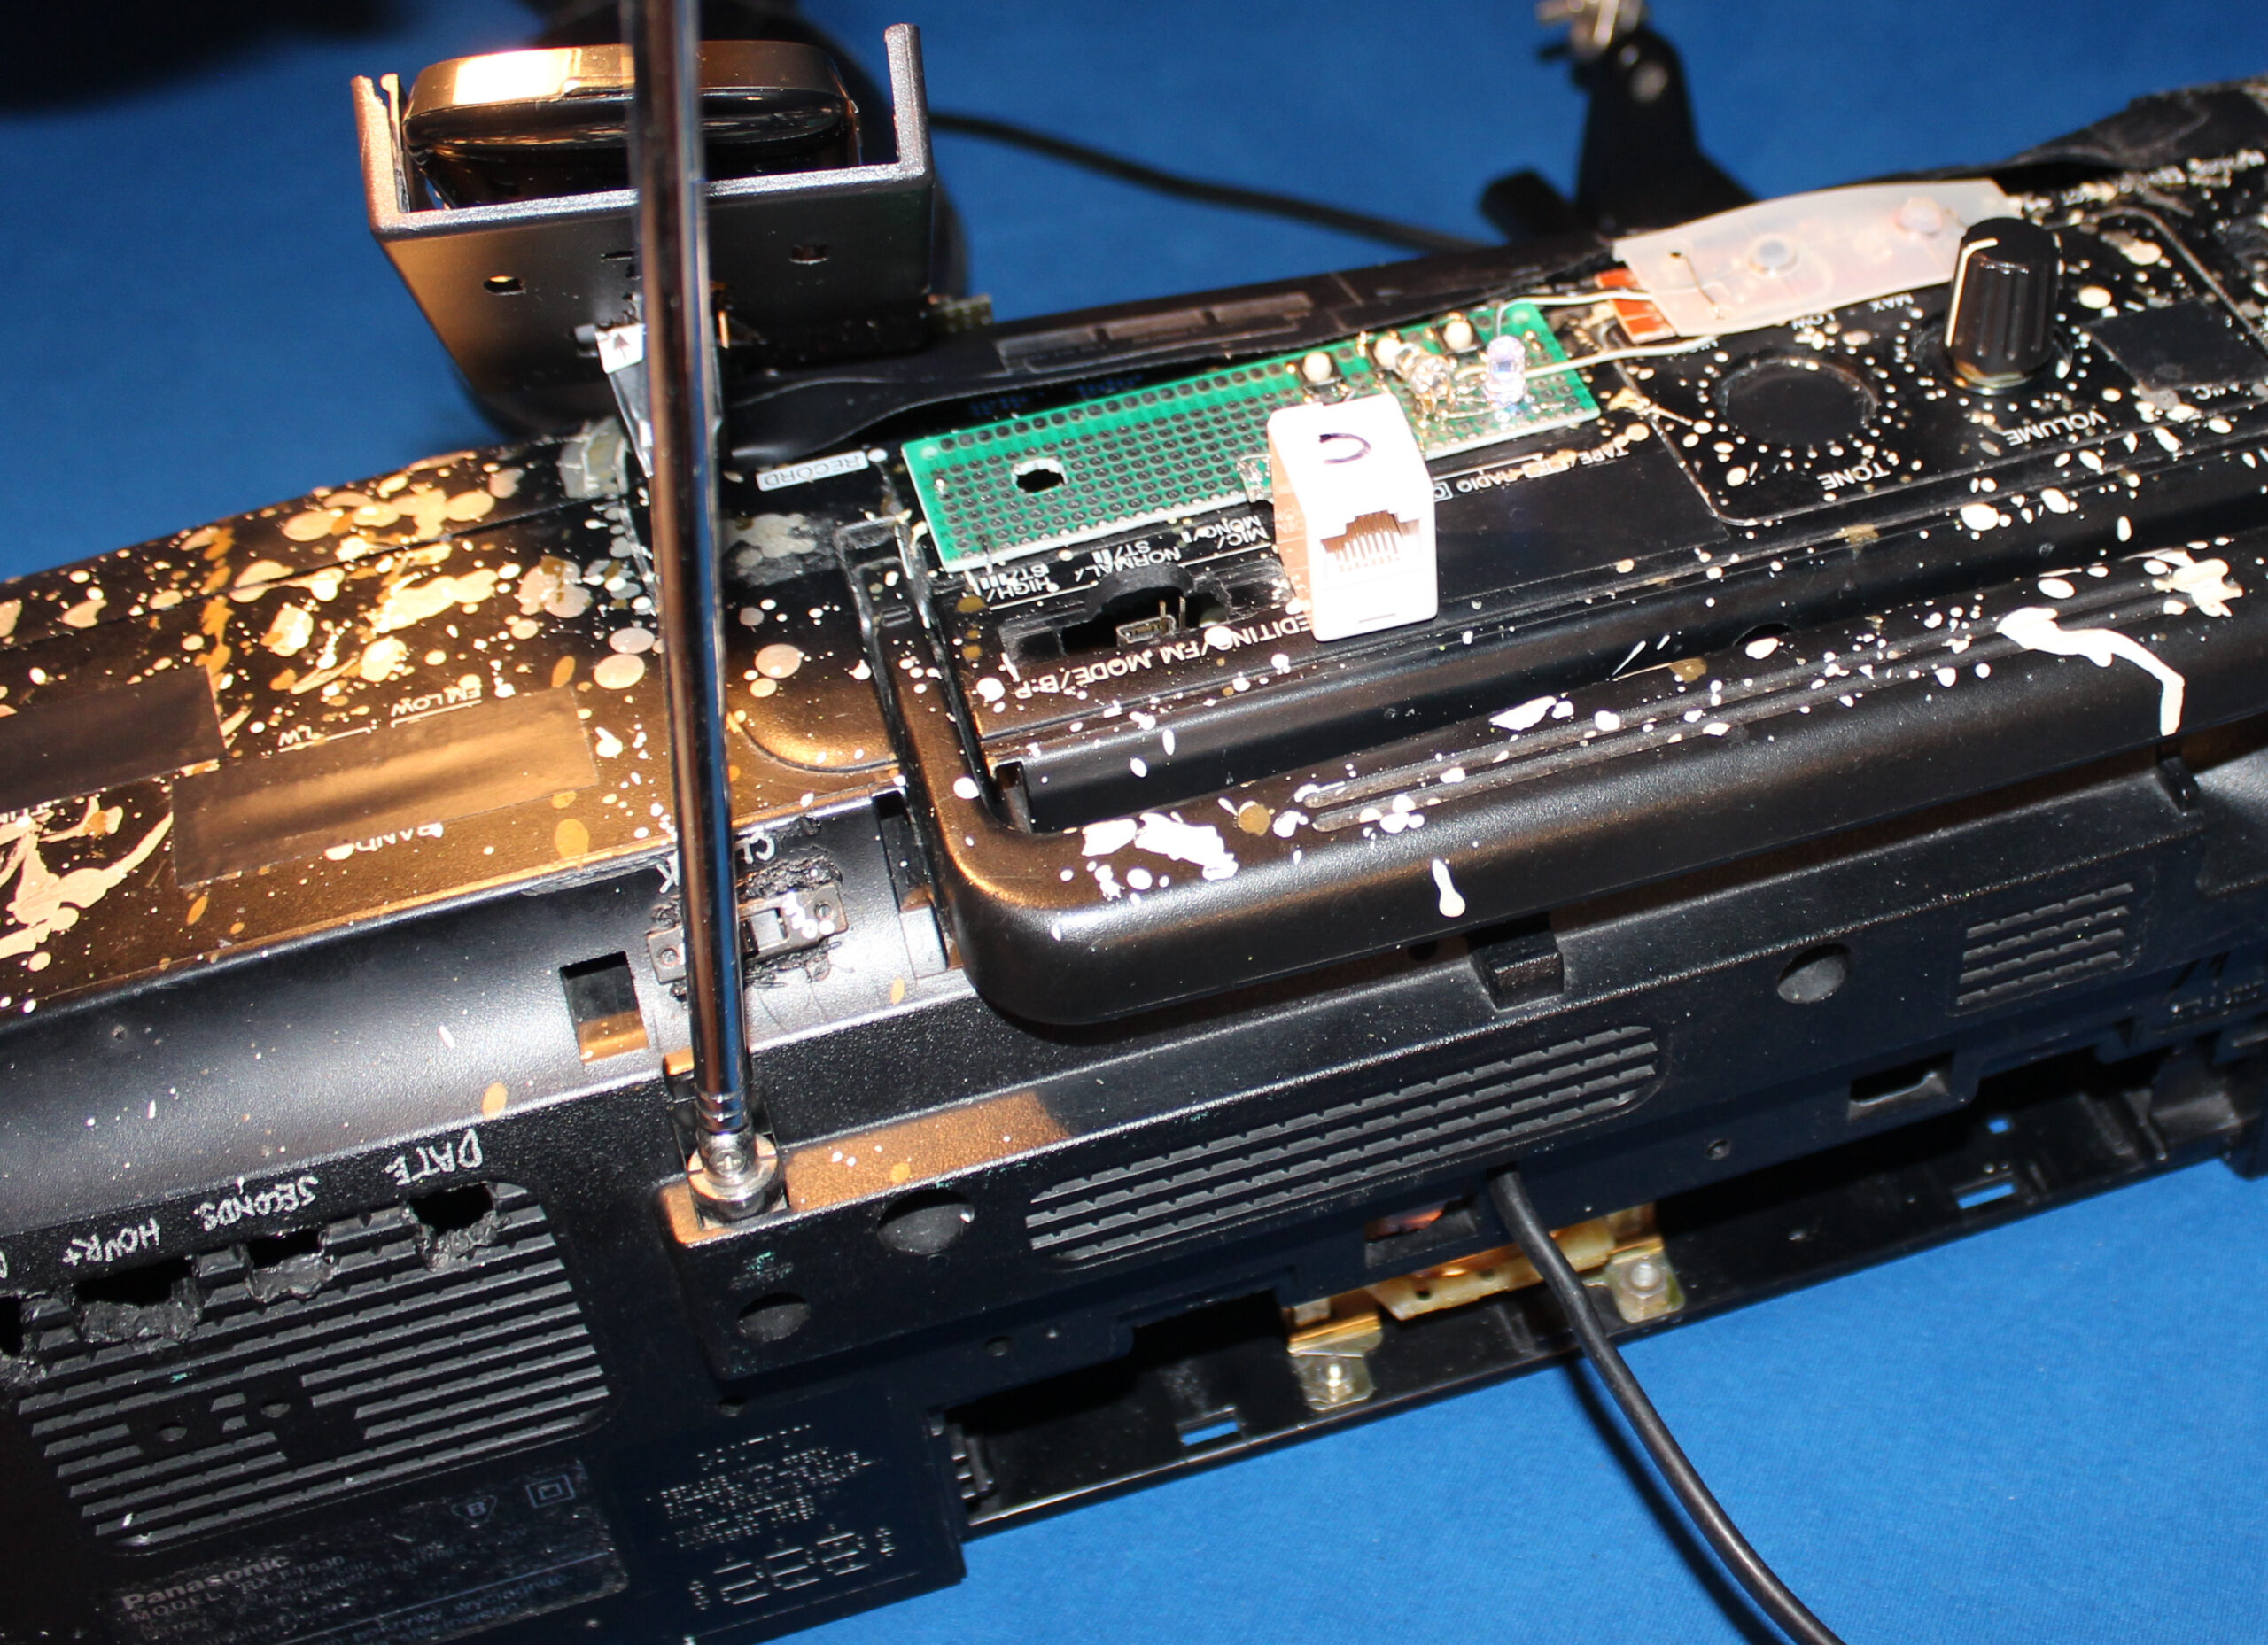
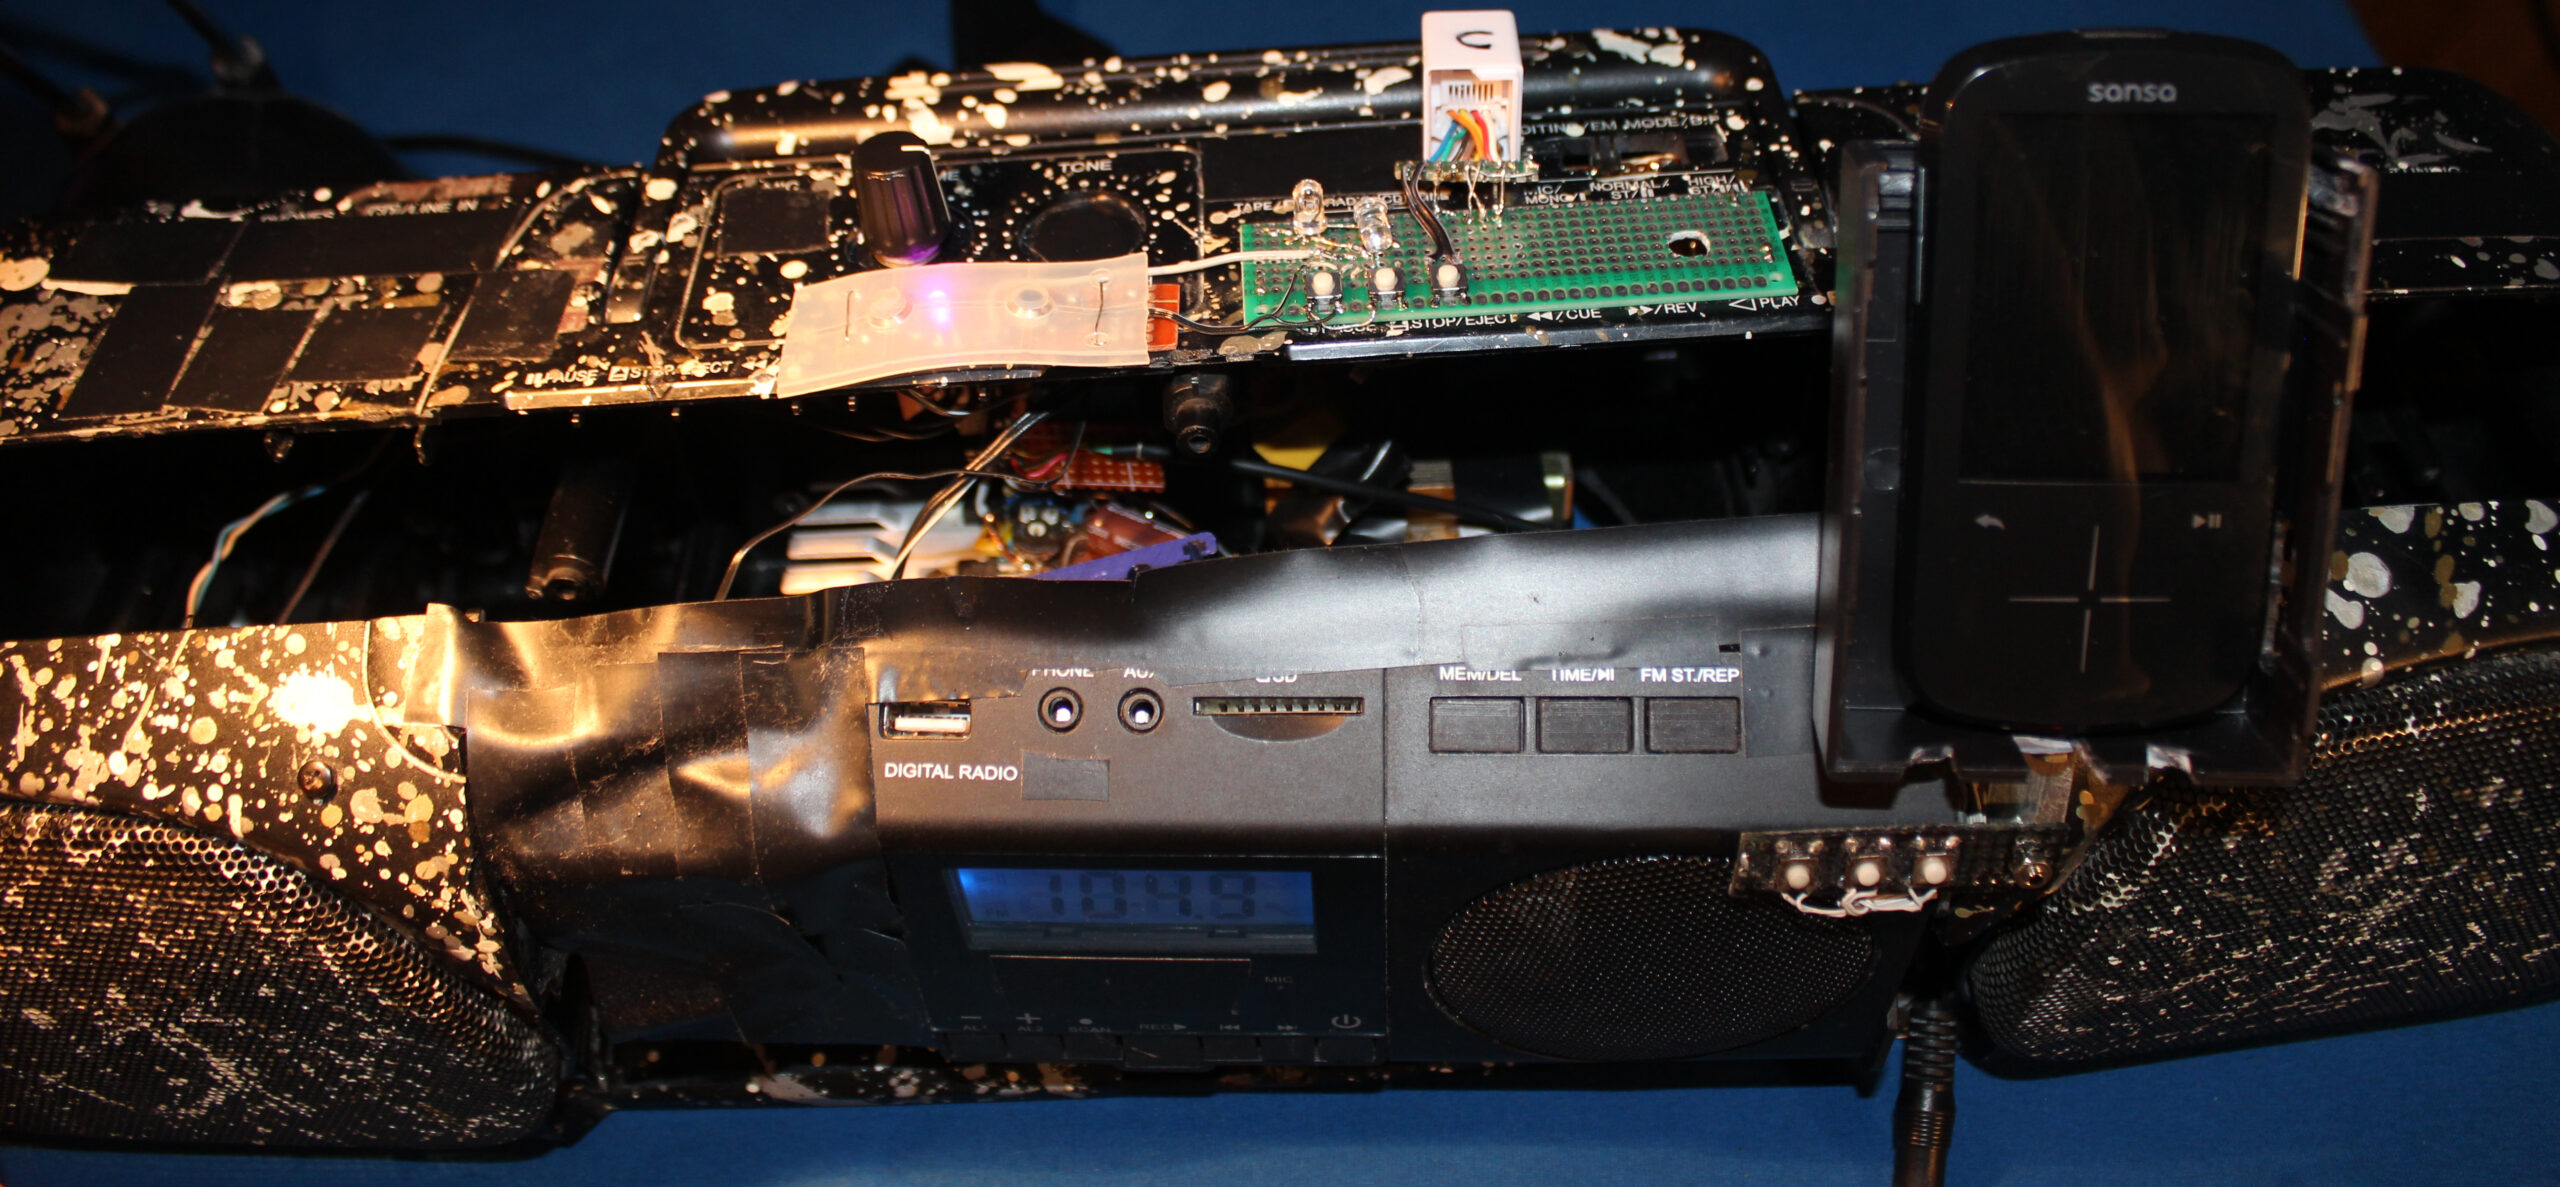
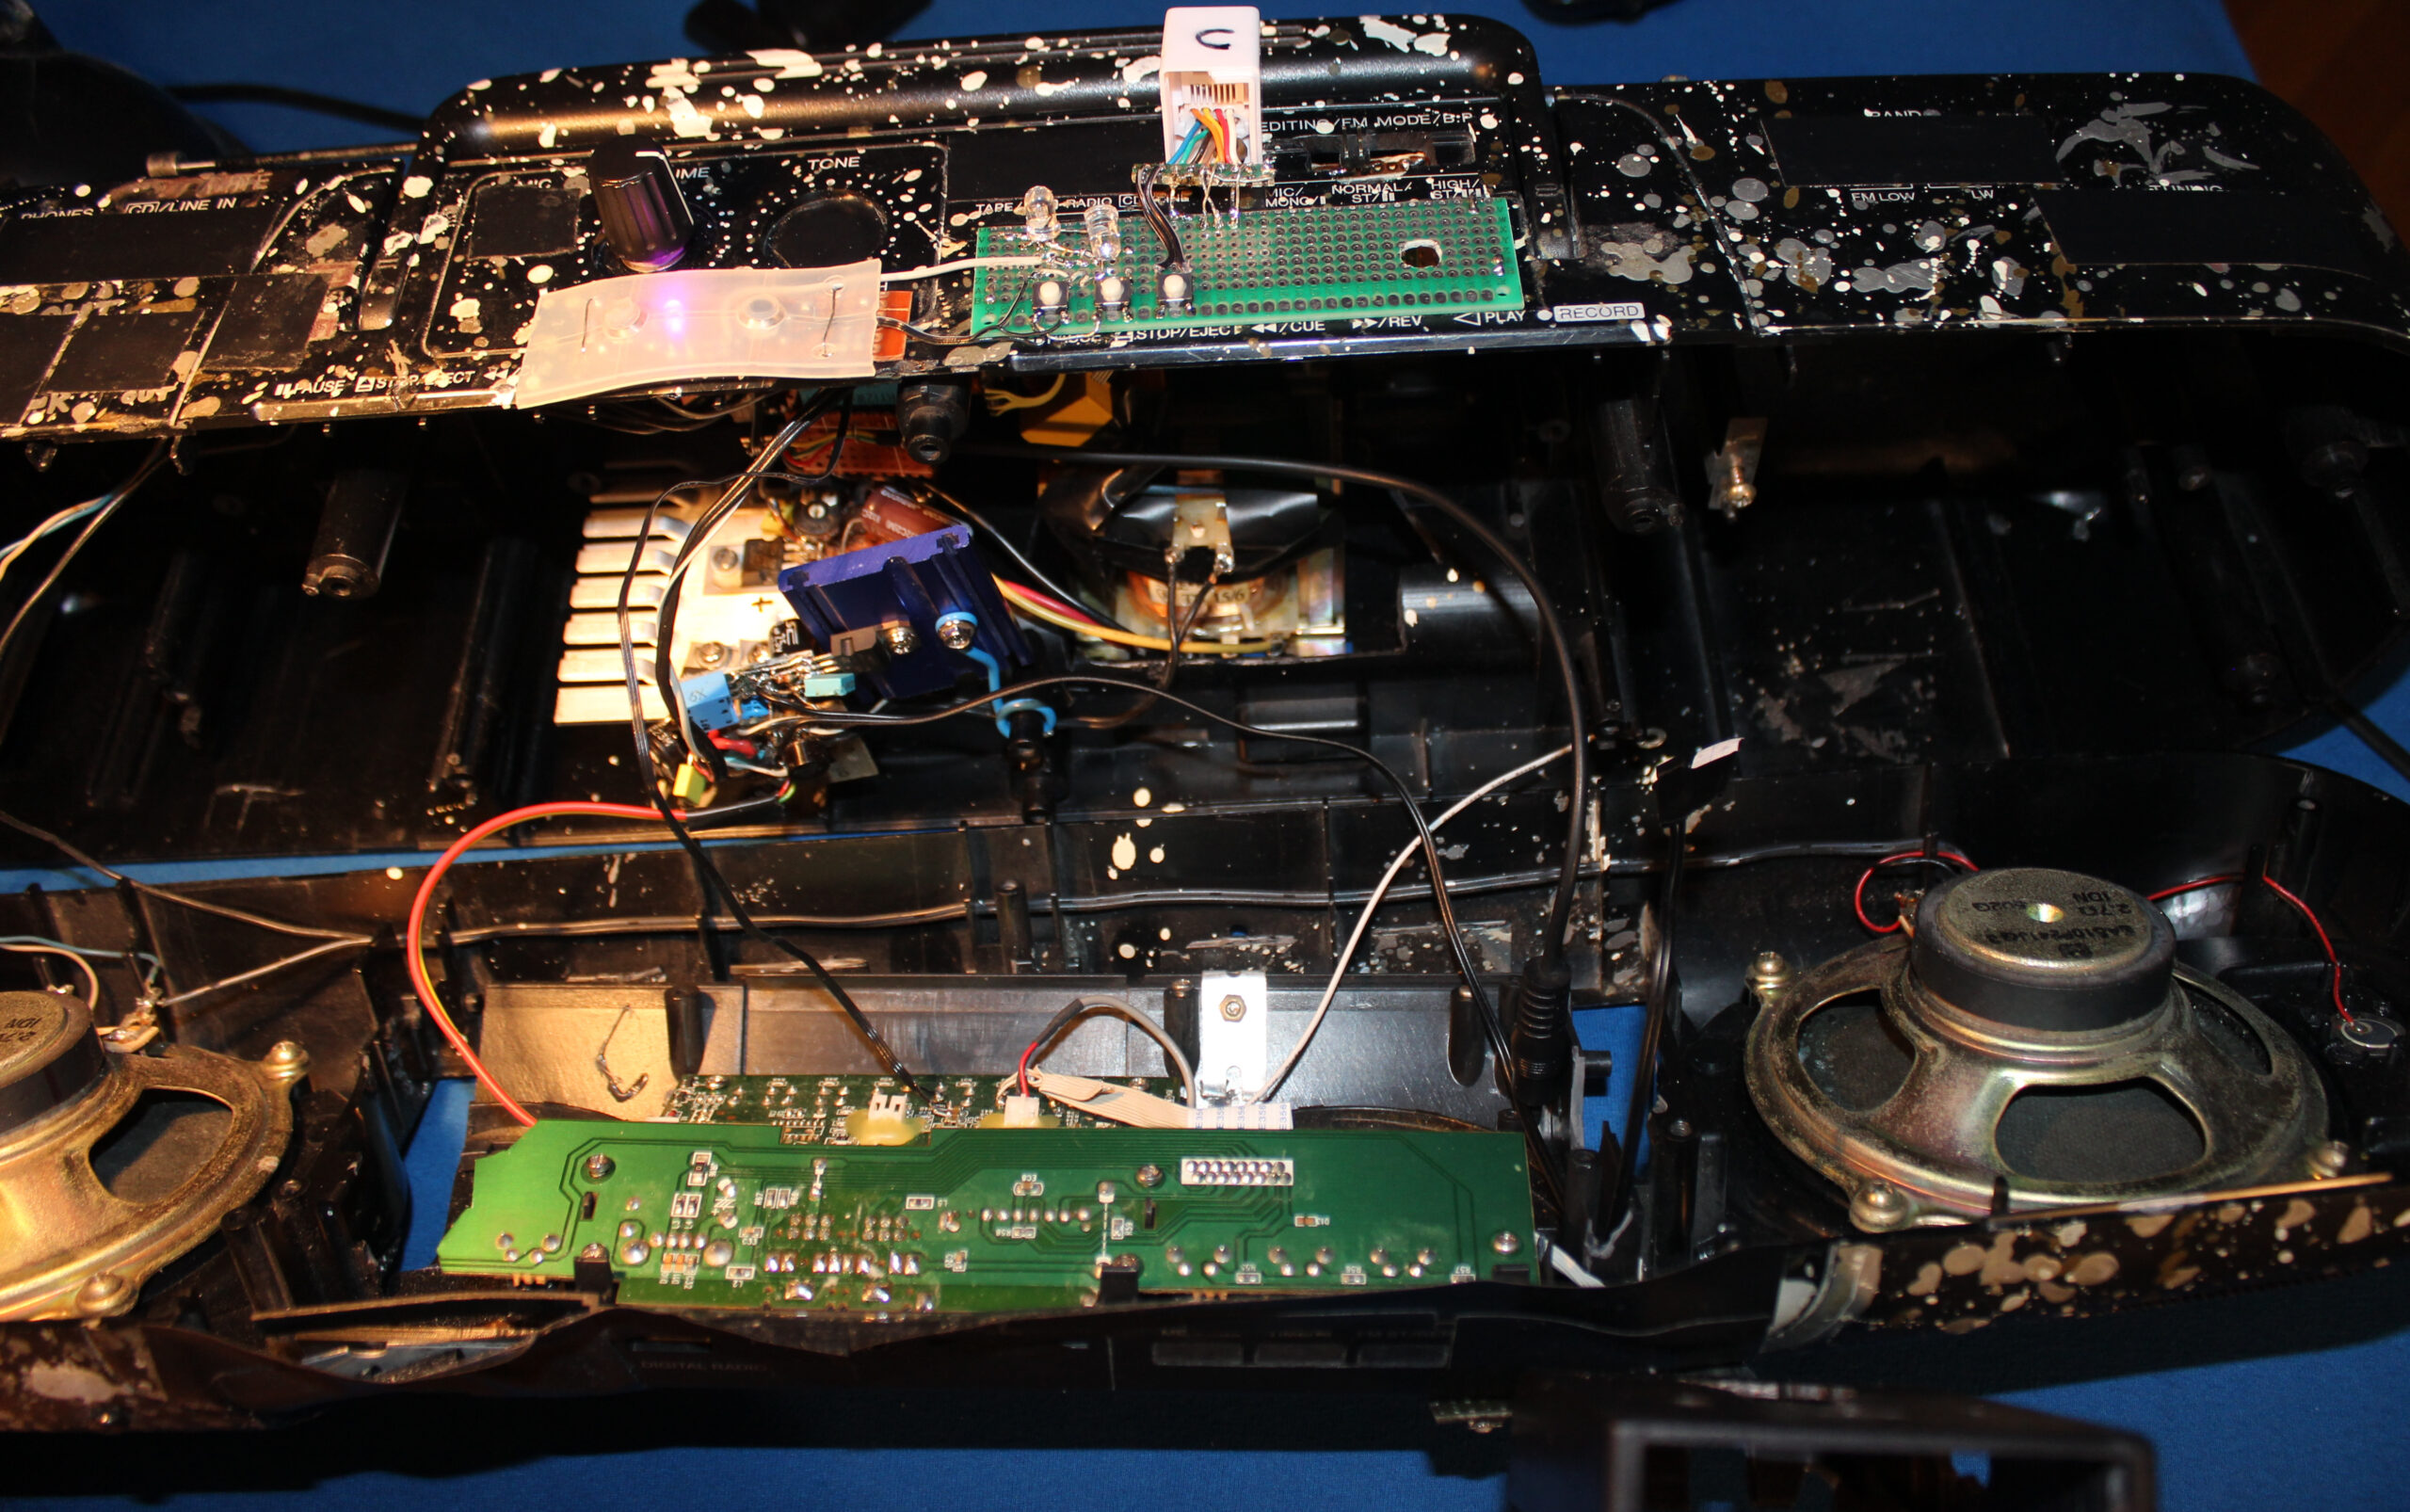
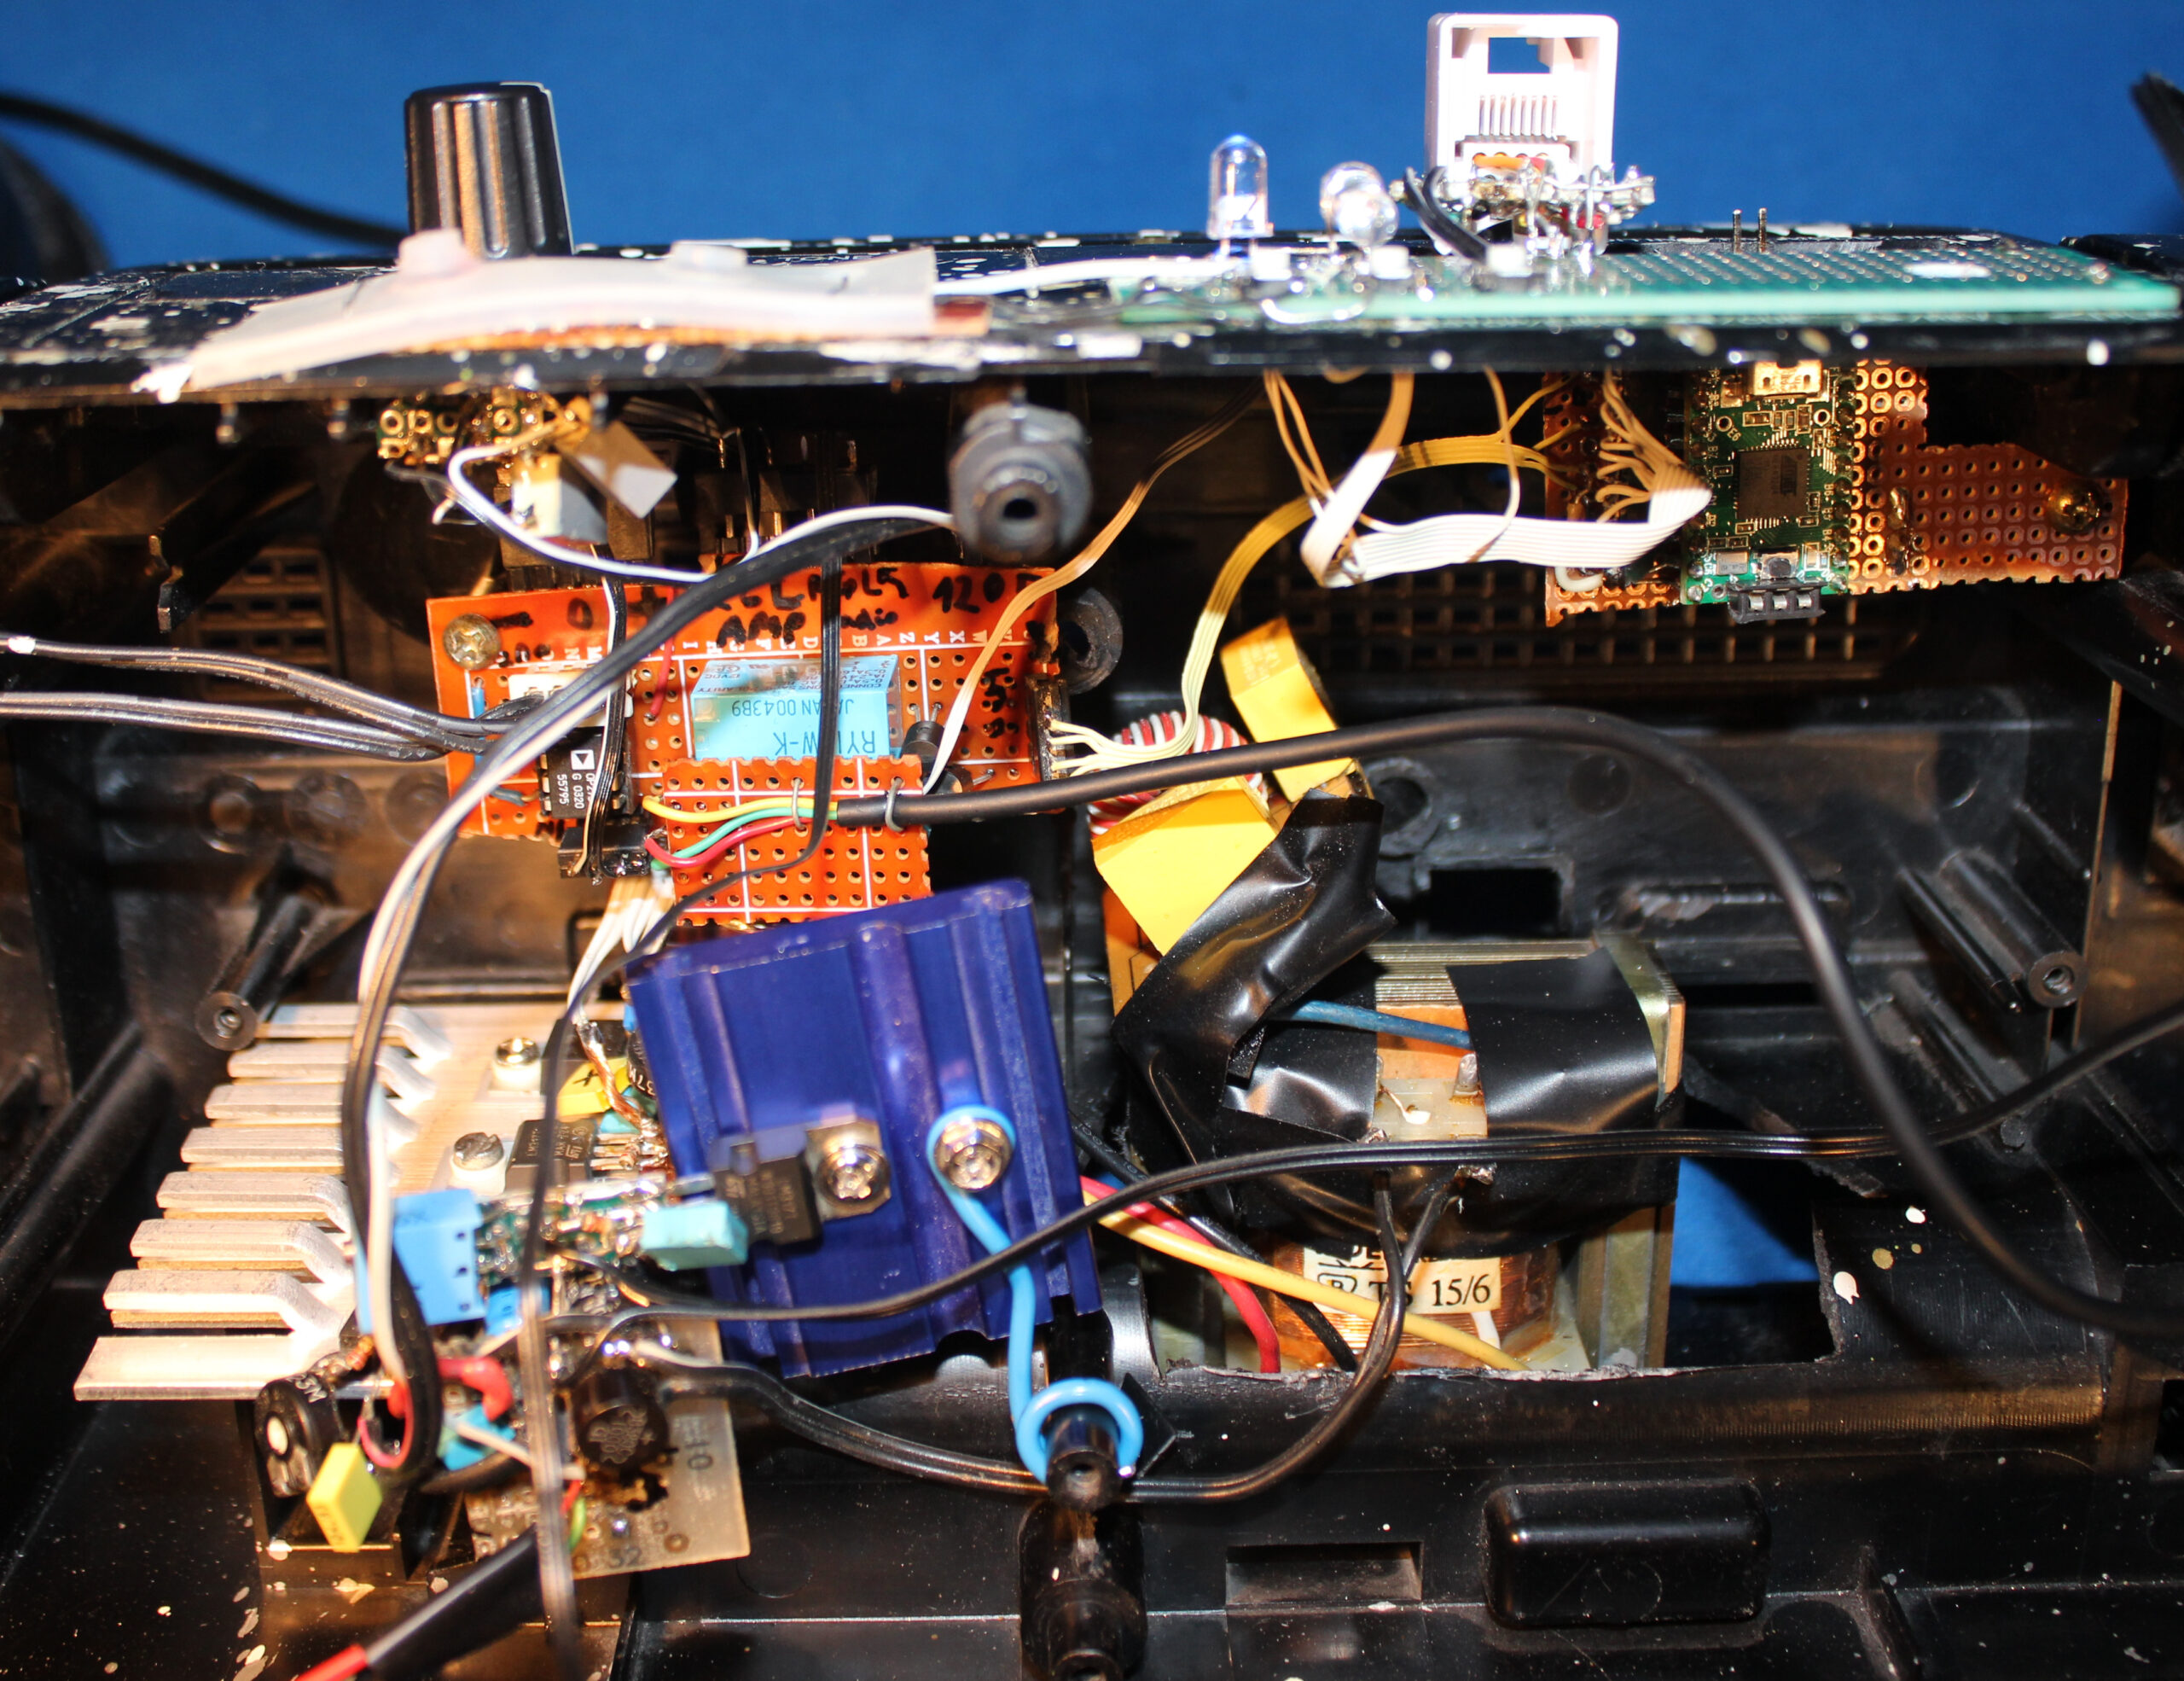
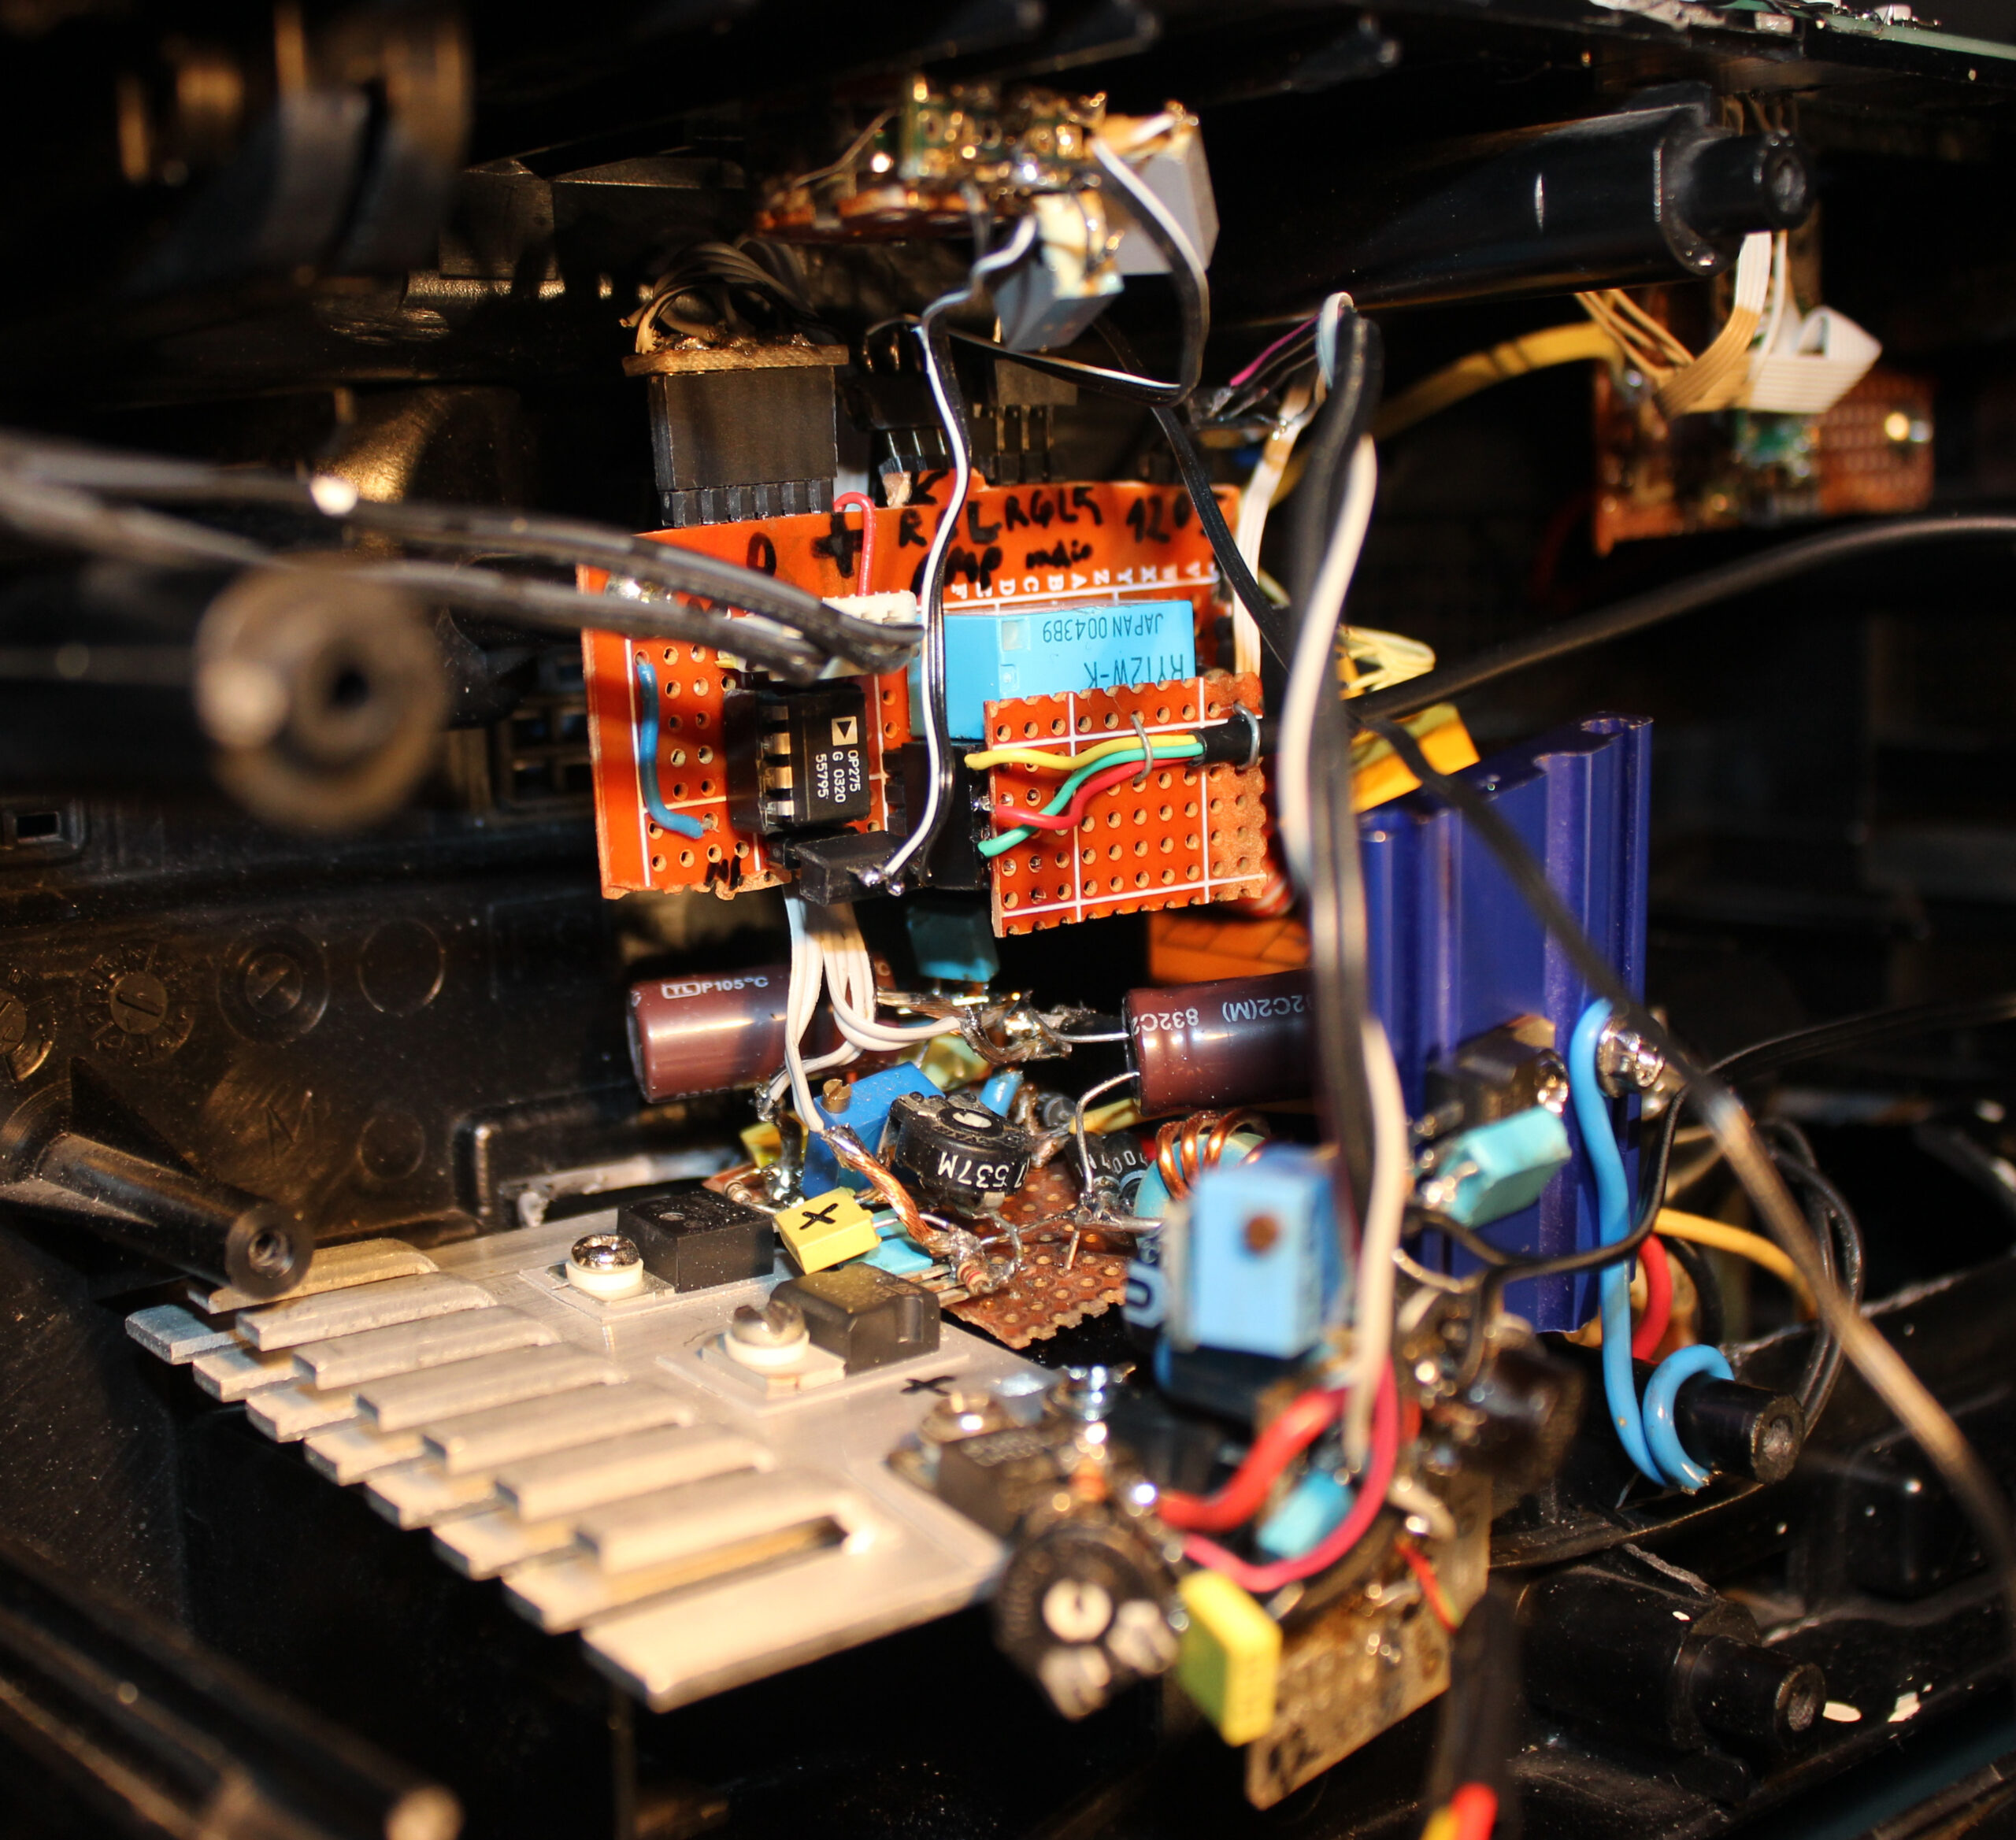
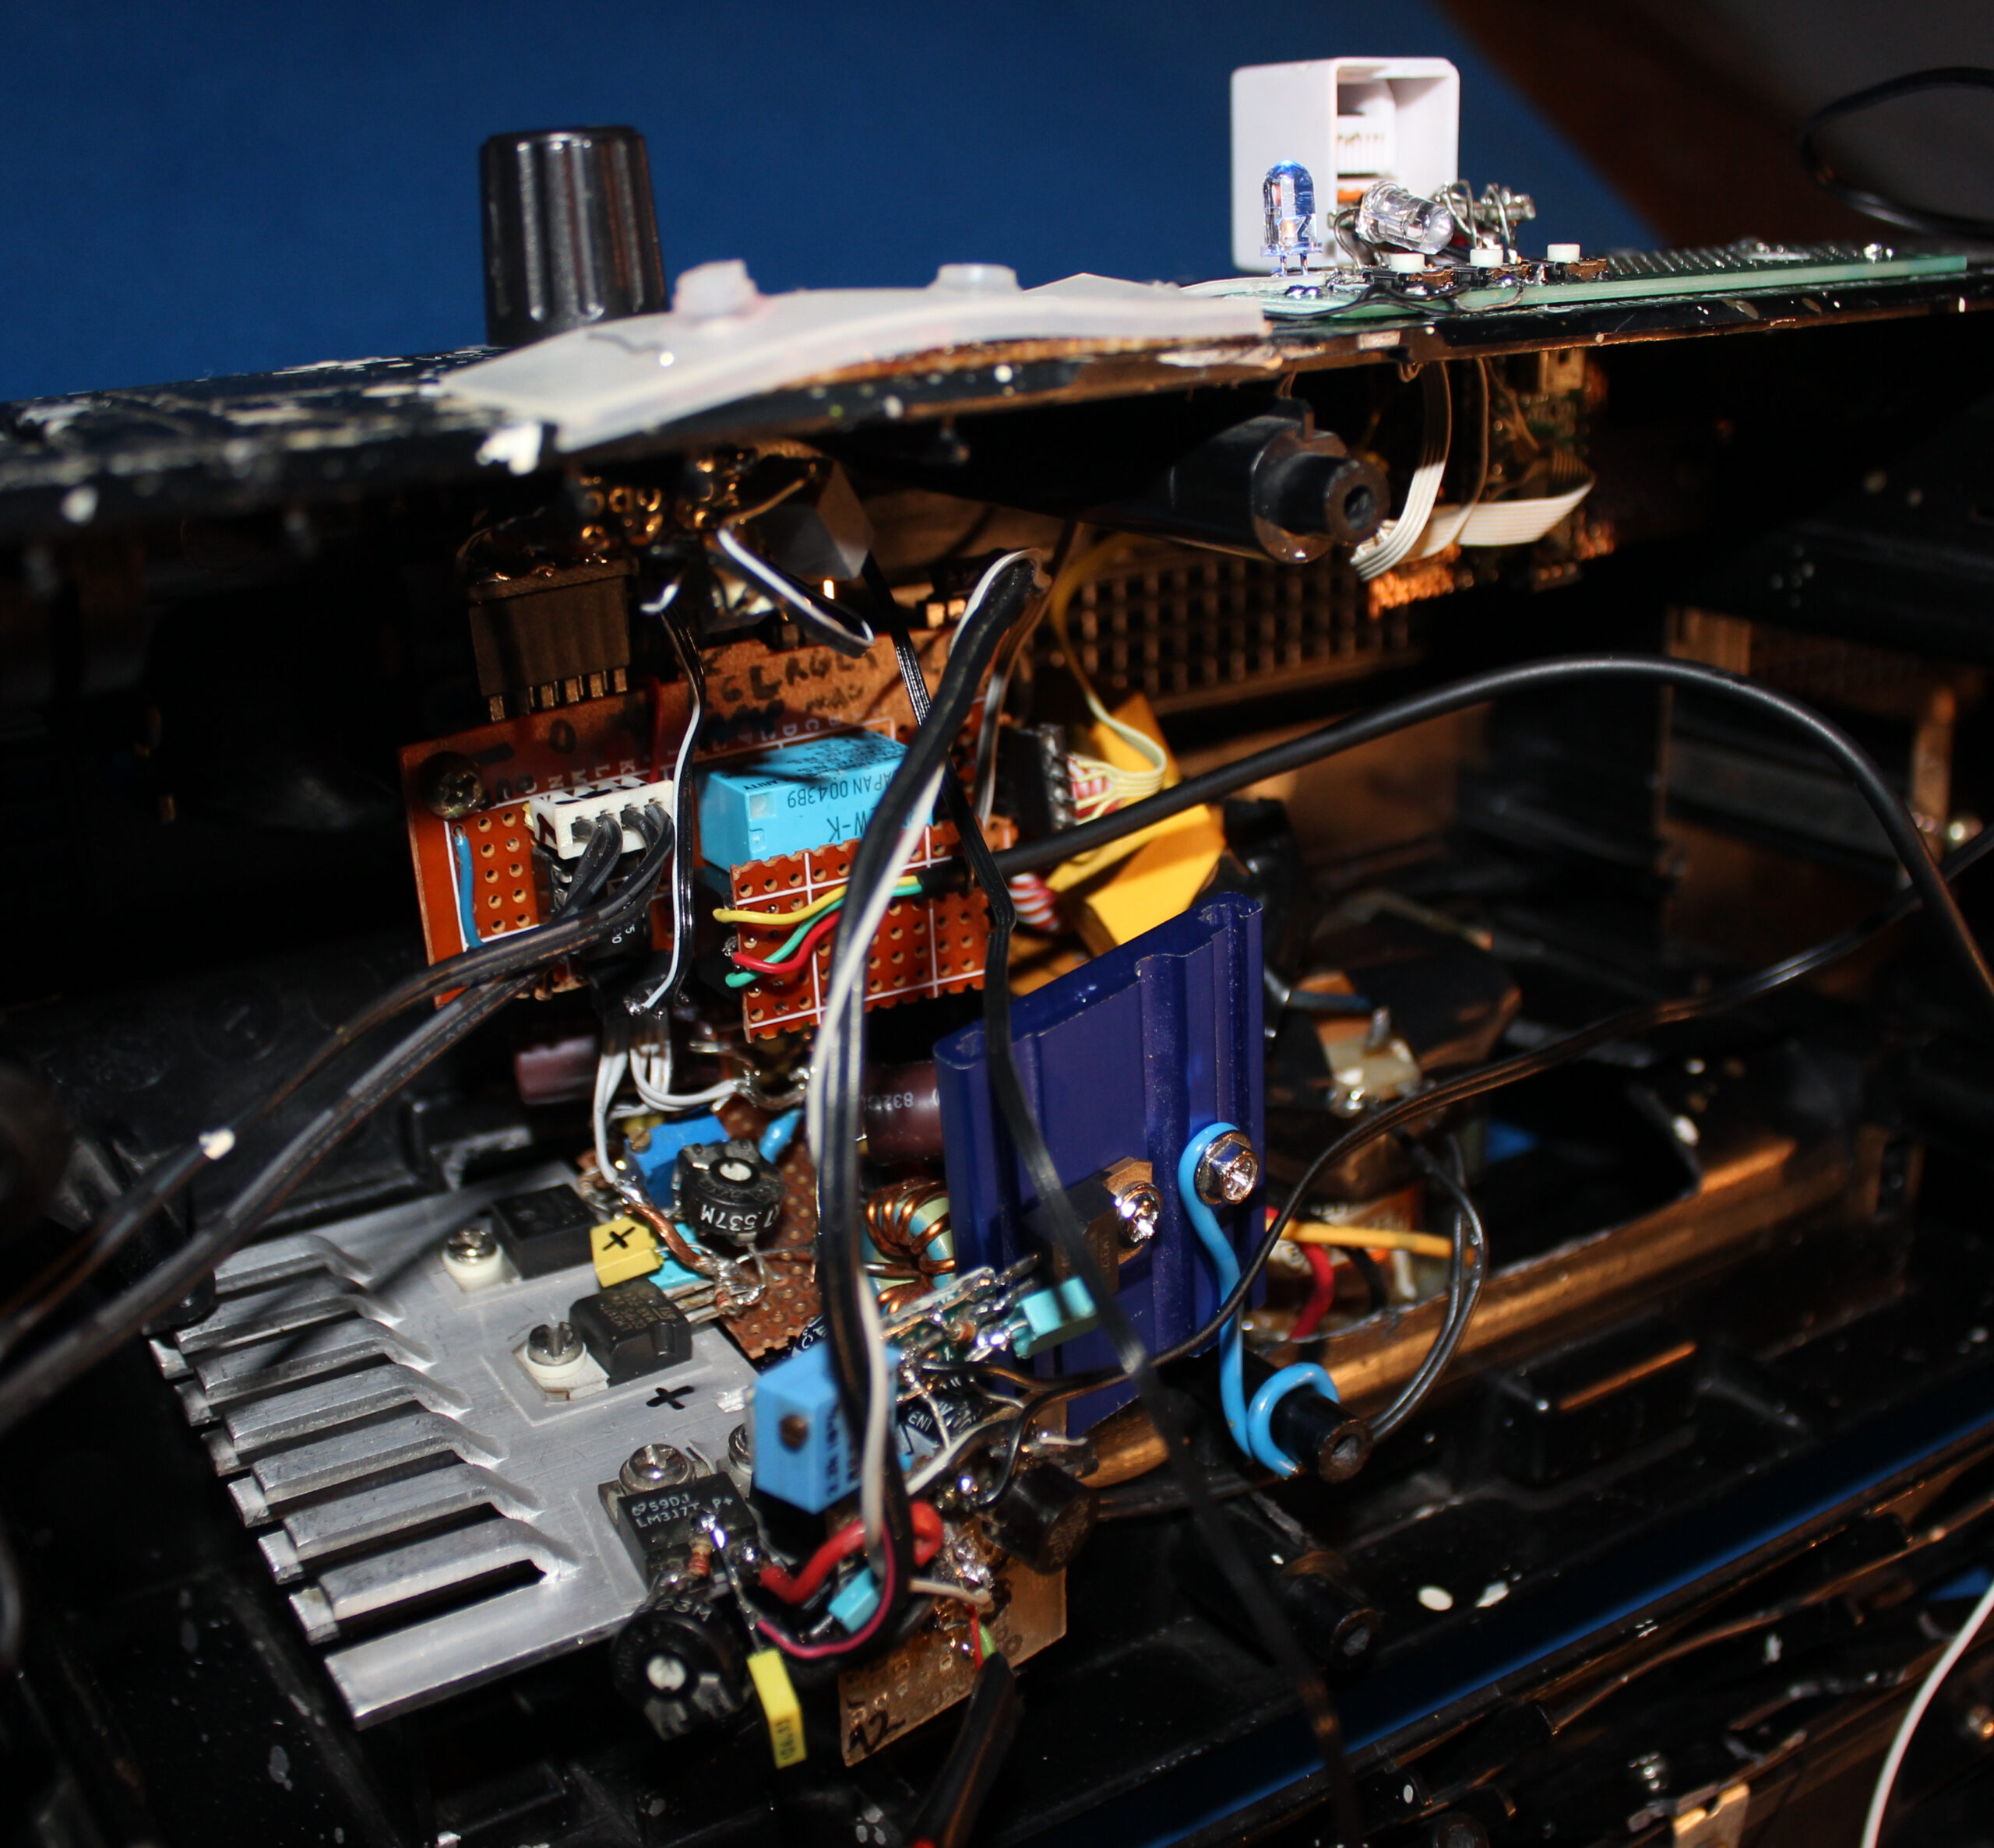
📷Gallery
Starting with good whole PC pictures, some close ups on blocks (CPU and GPU), then DIY water tank/box with pump and last 2 screens show the old air only cooling.
Yeah, surely the floor is old and ugly, has been since decades.


