Category: Open Source

  • 2026 MC1 Mouse keys🖱️

    2026 MC1 Mouse keys🖱️

    ⏱️Overview

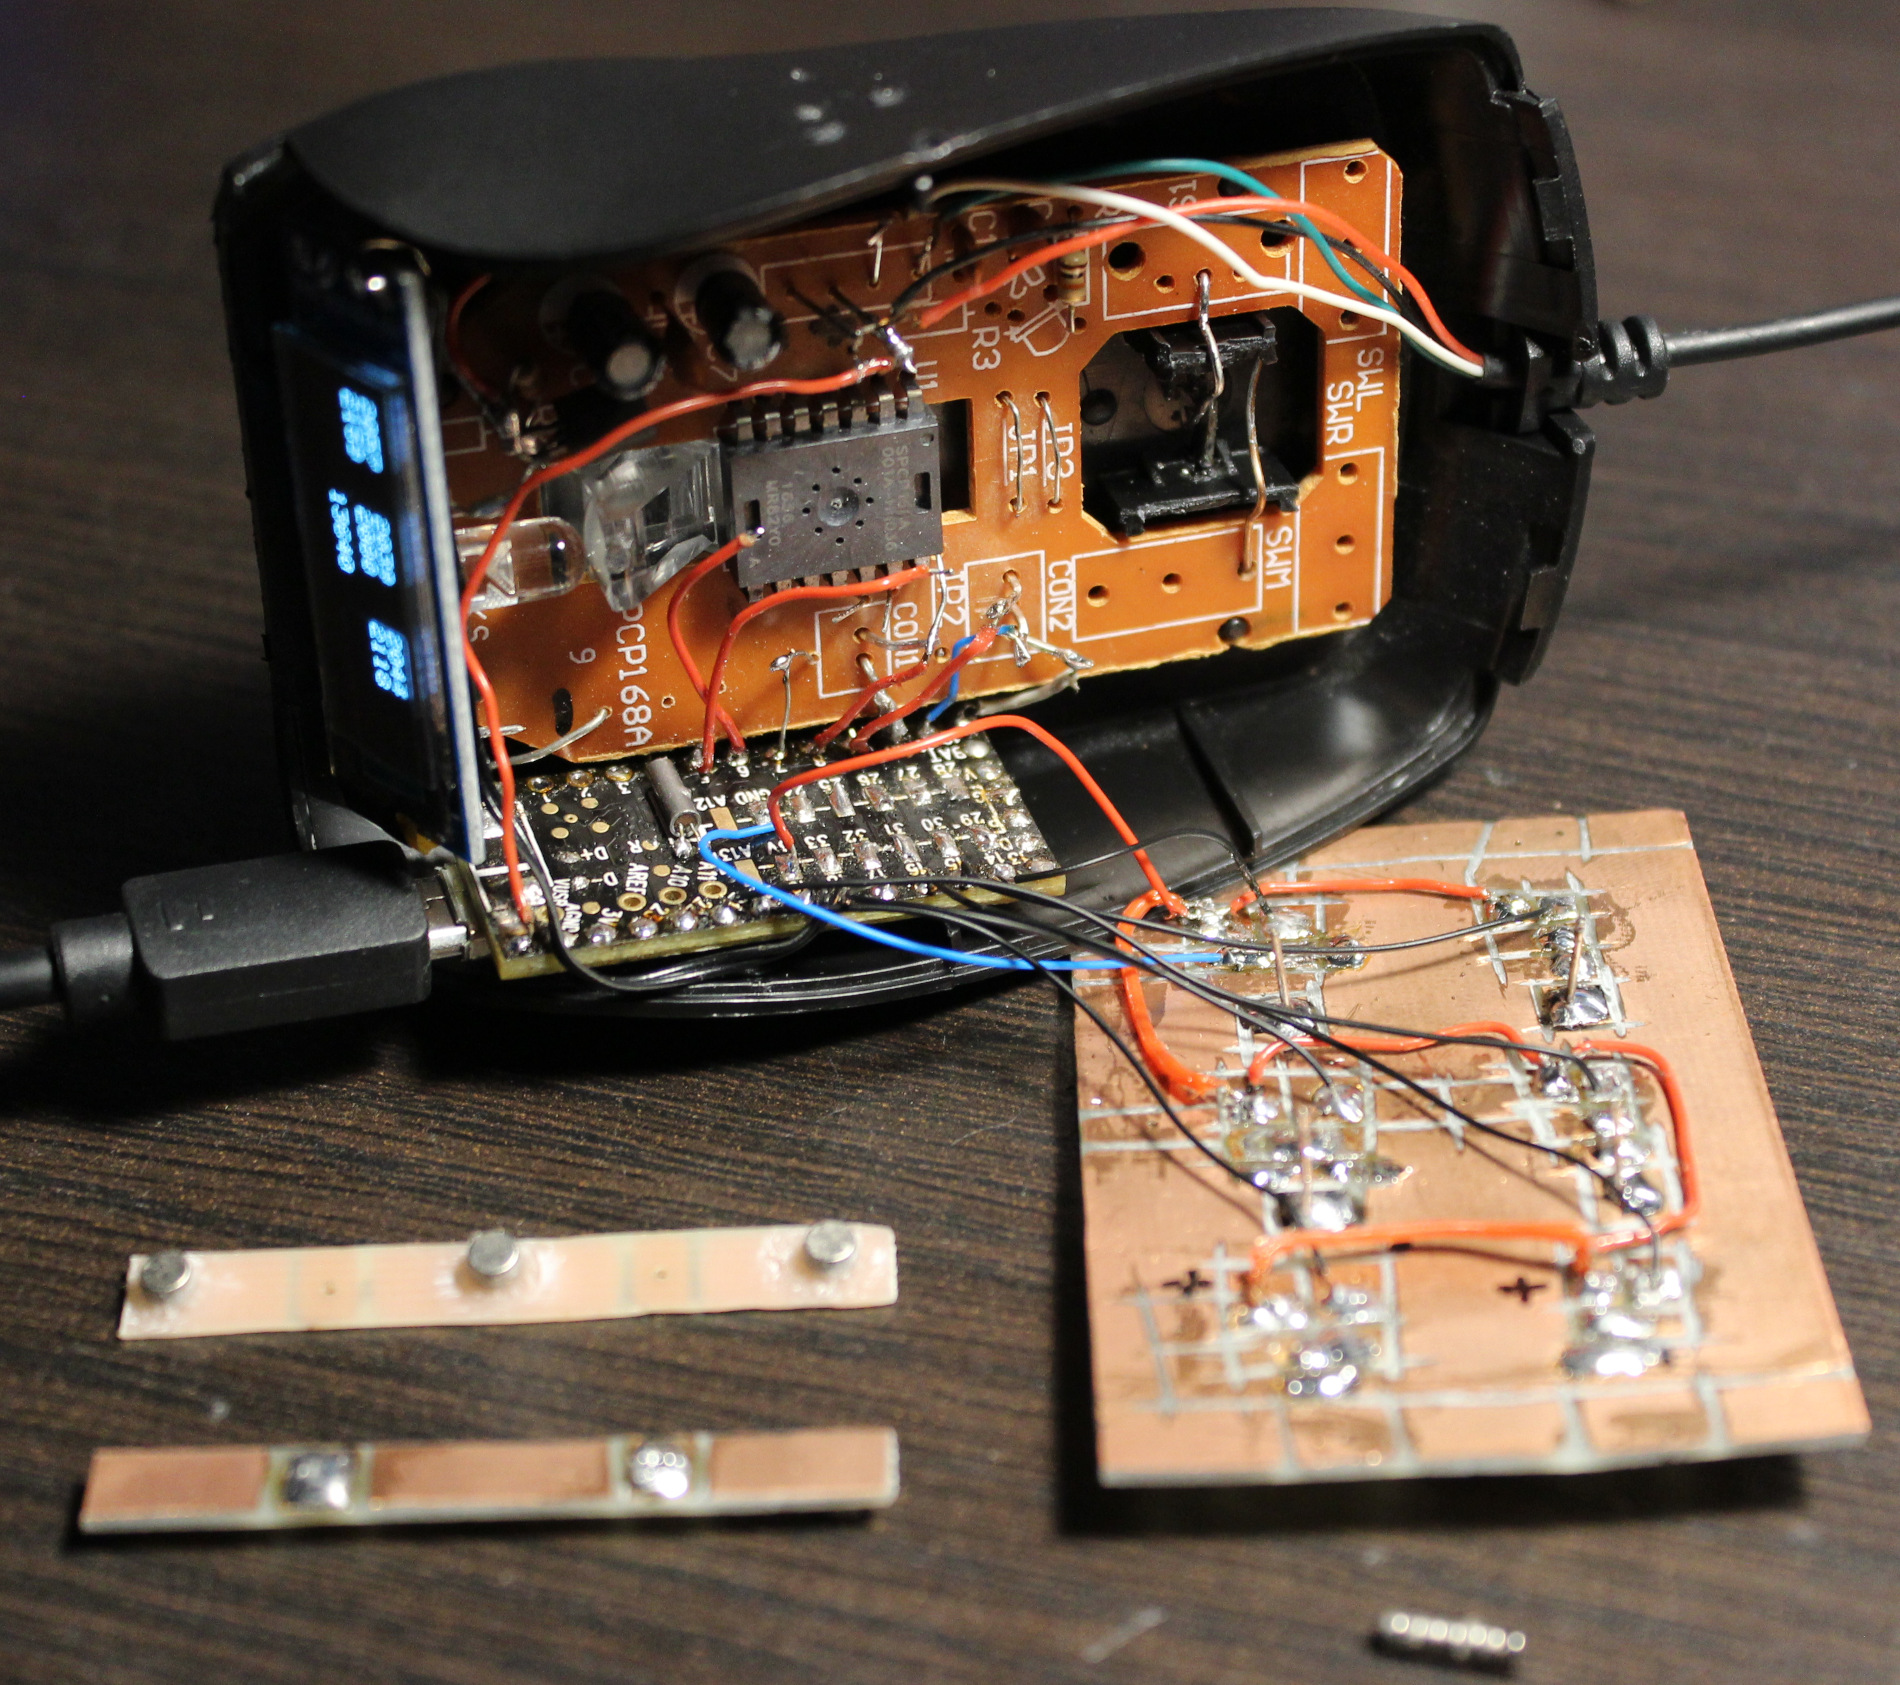
    This project is a PC mouse modification with very light press keys, using mini magnets.

    📝Motivation

    I have been using my keyboards with modified keys since 2004. They have been nice and a joy to use, less tiring too, since I cut off the rubber domes to reduce force. Still there are limits from the foil beneath.
    They are better also from medical reasons, less force means: less fatigue, less likely injuries, etc.
    It’d be good if the freaking old industry didn’t sell old crap for 50 years. As with keyboards now just with added RGB lights or even big display under, or small for for each key, etc. To maximize cost and profits and cash on the stupidity and looks instead of functionality, ergonomics, productivity. Yeah whatever, that’s why I do it myself (DIY).

    Since years I’ve been using my latest keyboard (has a display and my own firmware) with Layer 2 having keys for mouse buttons, mouse move and mouse wheel with acceleration. It is much better to use (than those real from a mouse) because these are now light press keys (about 20 gram).

    It’s been way too many years (over 20) of me using the default PC mouse with those ancient old microswitches. It’s just retarded for me nowadays. They usually need like 75 gram force (gf or cN) to press, have that old click sound. And the button under mouse wheel needs even more, like 100 gram.
    At least that’s what my previous (20 year old) mouse Logitech G5 has: OMRON D2FC-F-7N (10M) which says 0.74N (N to gram convert), cool websites with that switch here or here, video here, images.

    ▶️Video

    Video here. Shows inside, weights testing, and at end blowing air to press.

    🔍Details

    Here I write (a lot) more detail of my approach for keys, with comments.

    Keys

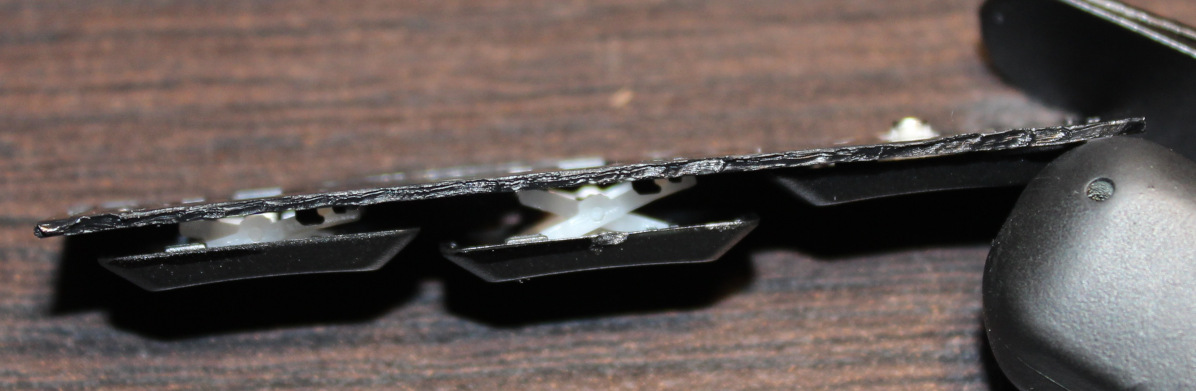
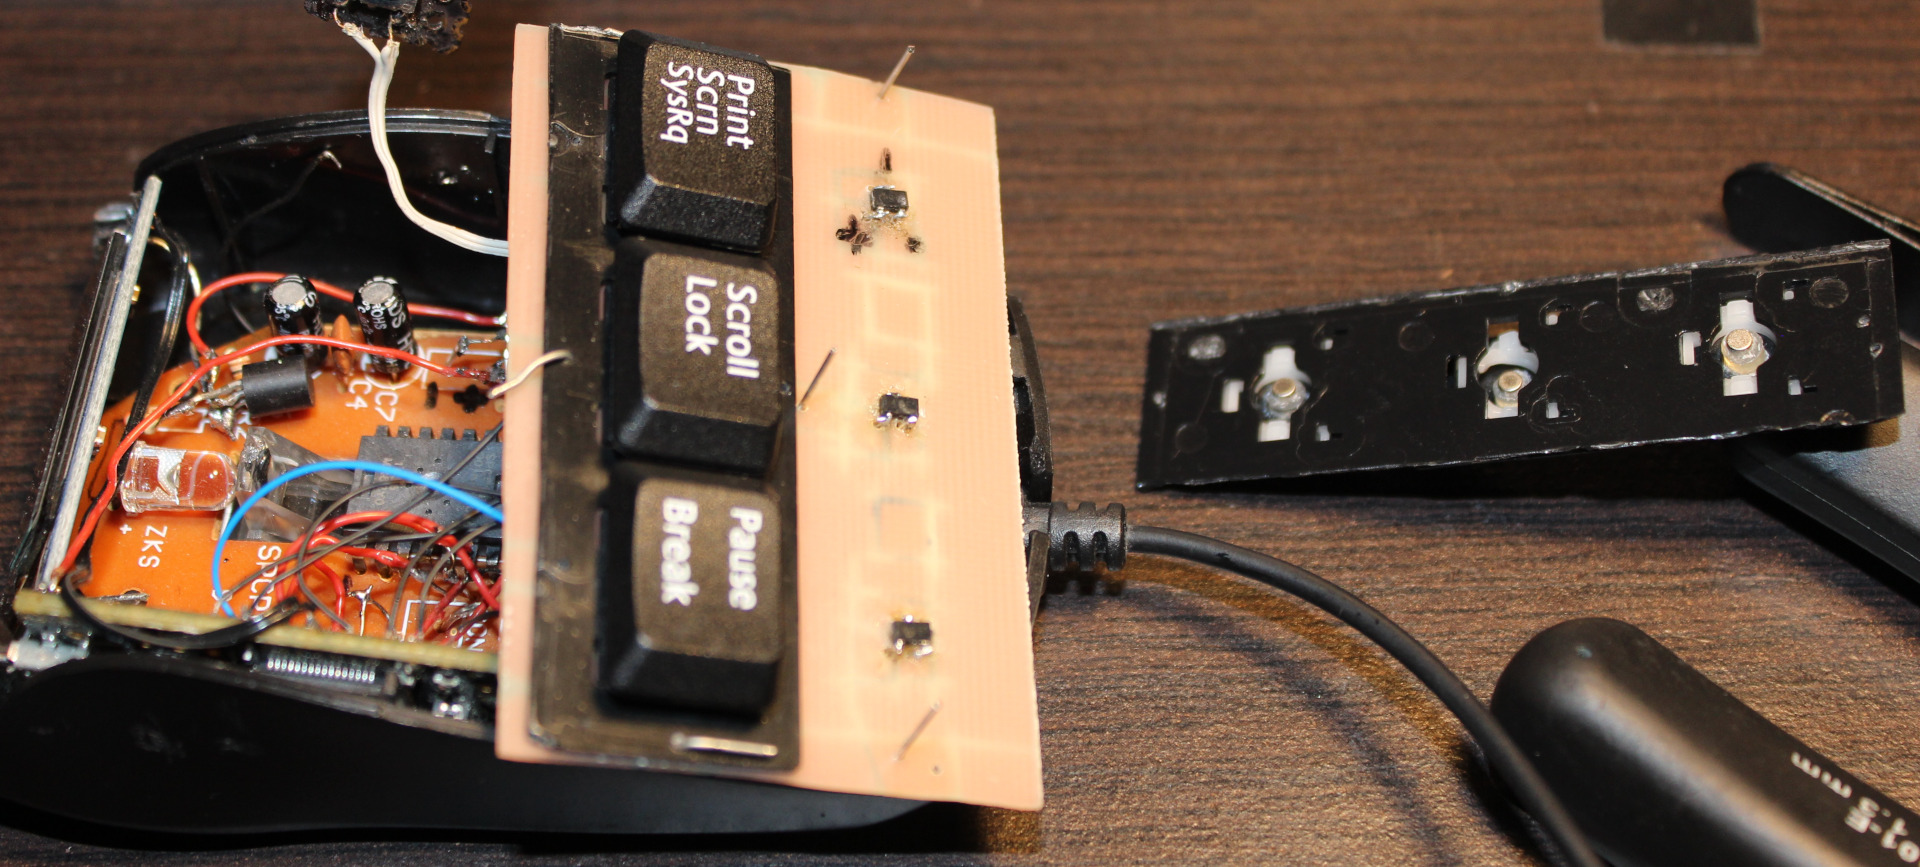
    Keys are from keyboard (scissor switches), those narrow (like F12).
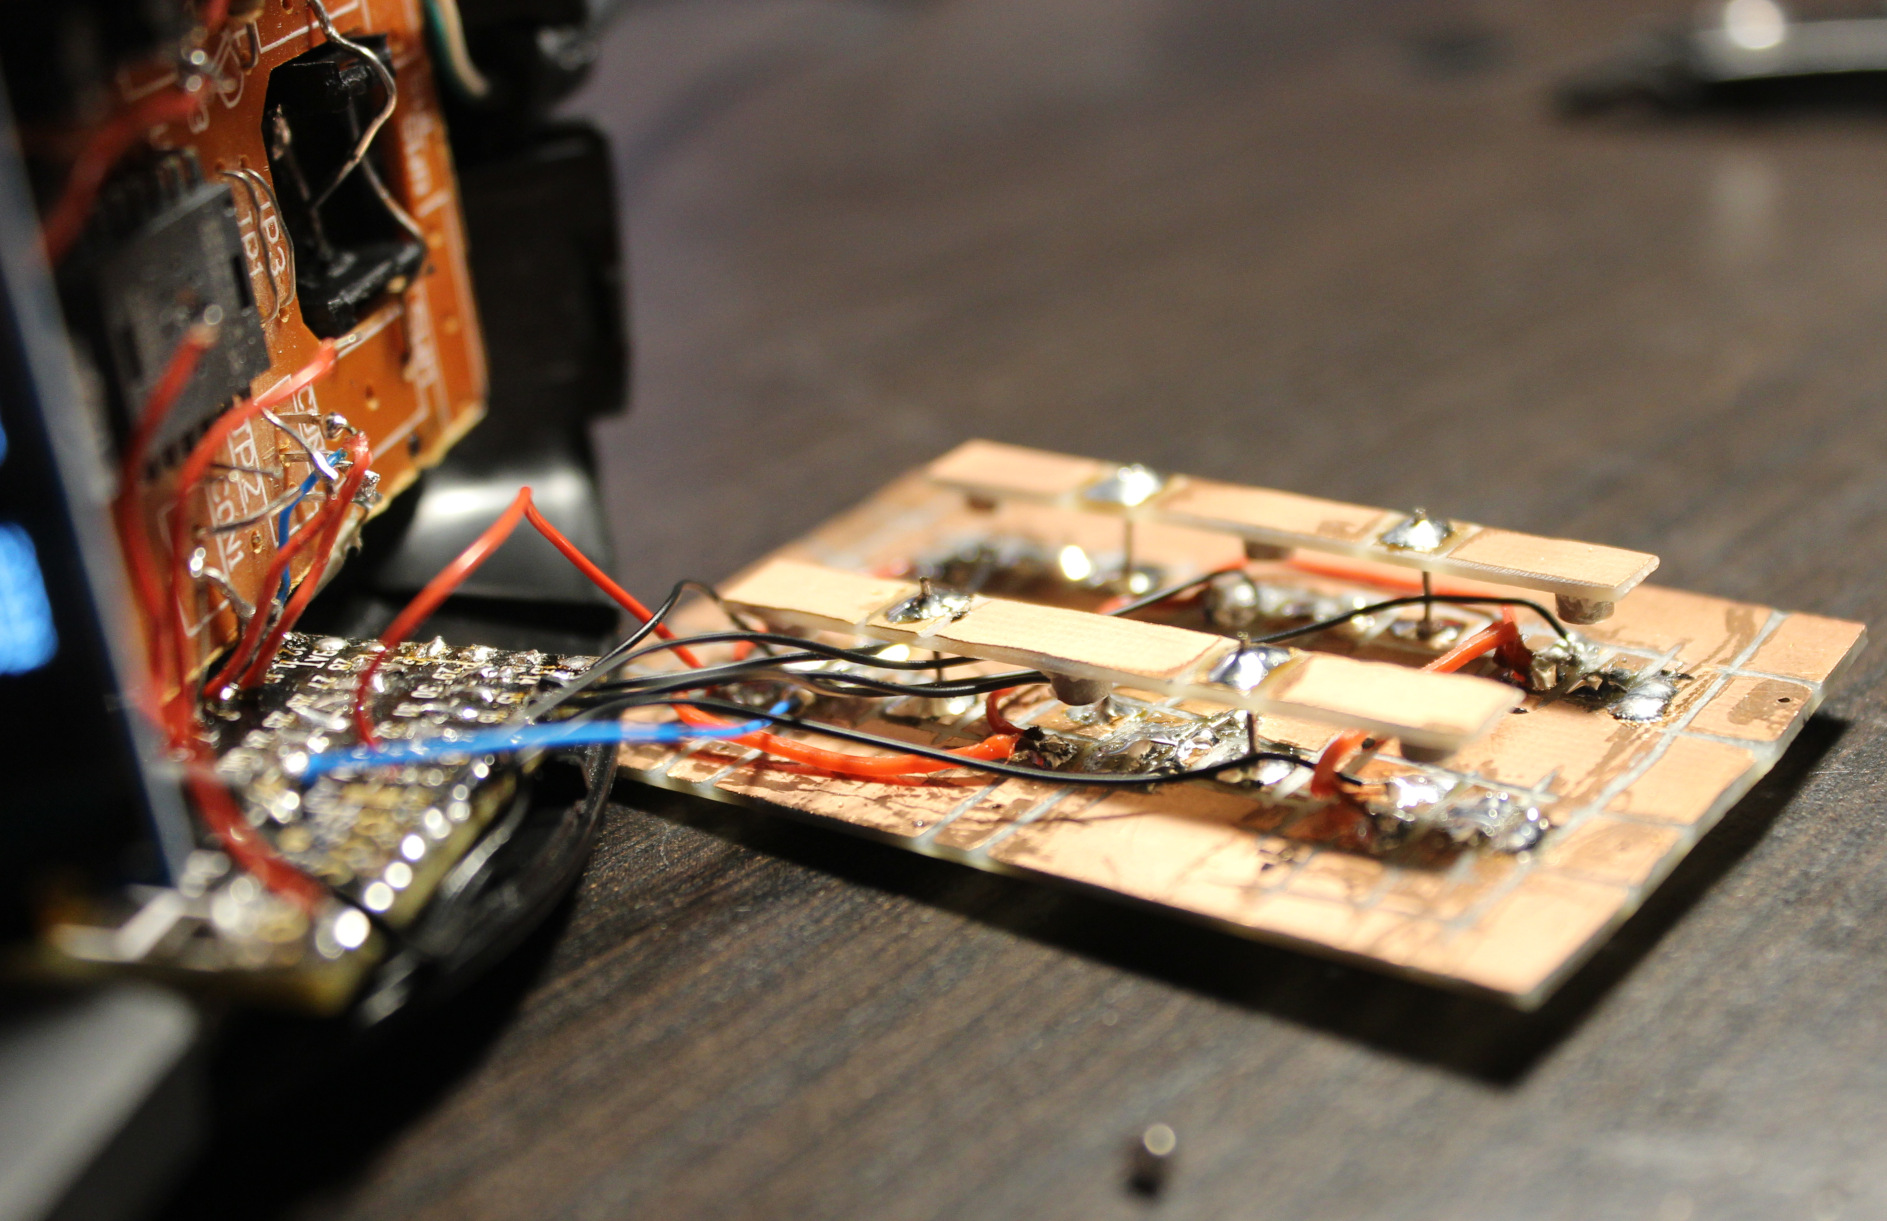
    But now for each key I use a Hall sensor (CS49E, SMD) and 2 tiny magnets.
    Thus so called mag-lev (levitation), since these magnets push each other out.
    There is no spring, no rubber just small magnetic force, making it much lighter and IMO say more reliable.

    I saw earlier this page with video of another such way. And also there are a few keyboards already produced with such design. It’s just that they still have long travel and way too high press force, some still non linear press too. Obviously a nope for me.

    Result

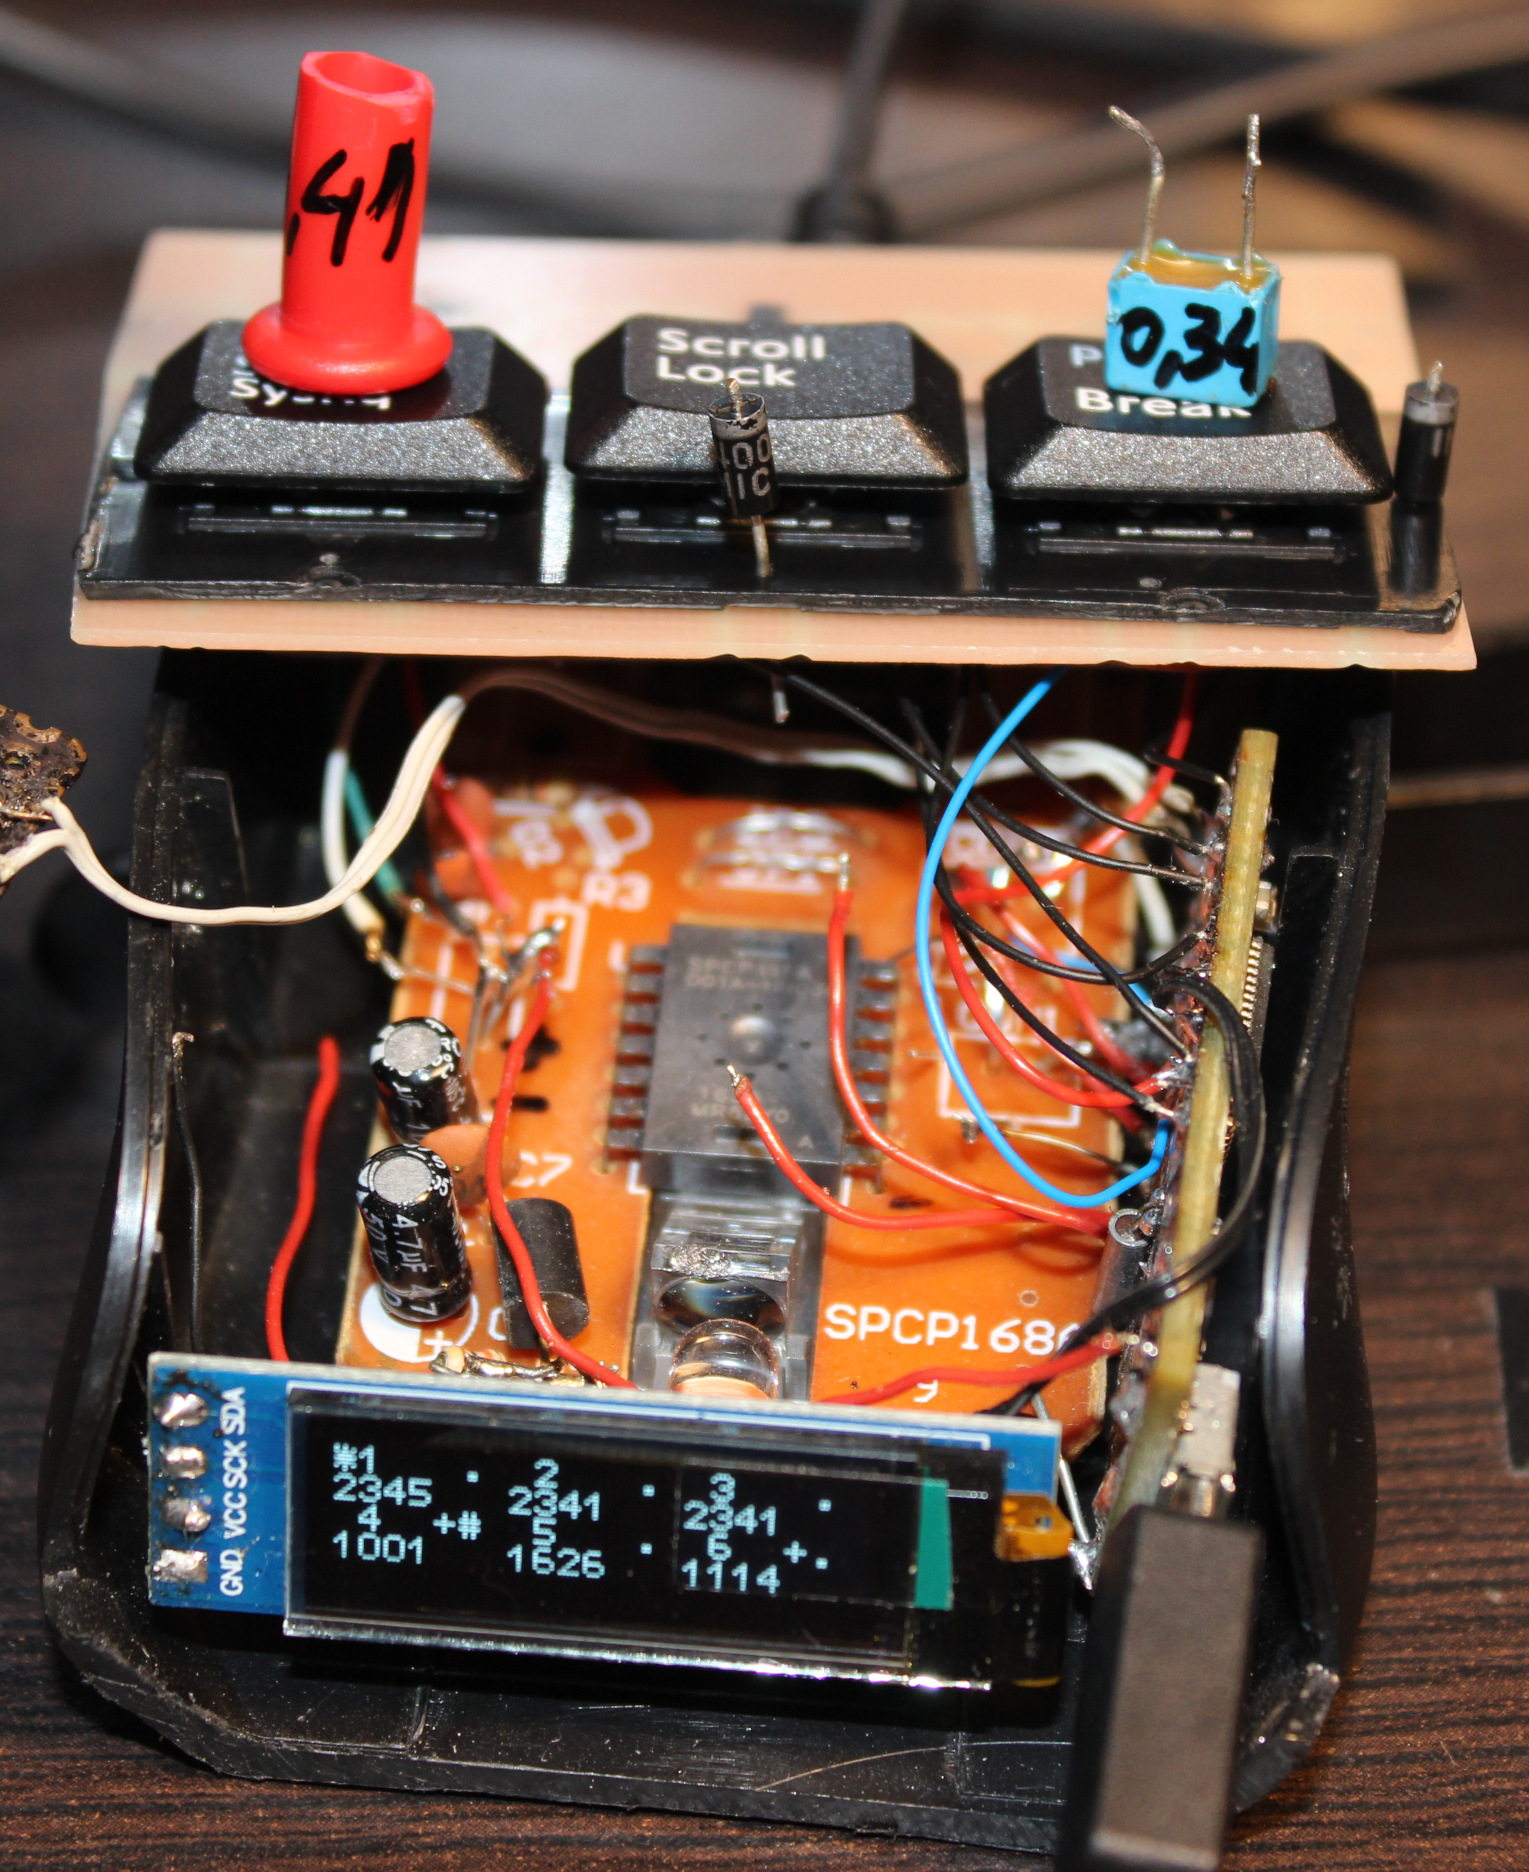
    The resulting press force is way lower. I managed to get it even to 0.34 gram. It’s incredibly low, you can just put a tiny M3 screw on key to press. Or even blowing air to press works🌬️.
    I set it later to around 0.7 or 1 gram force.
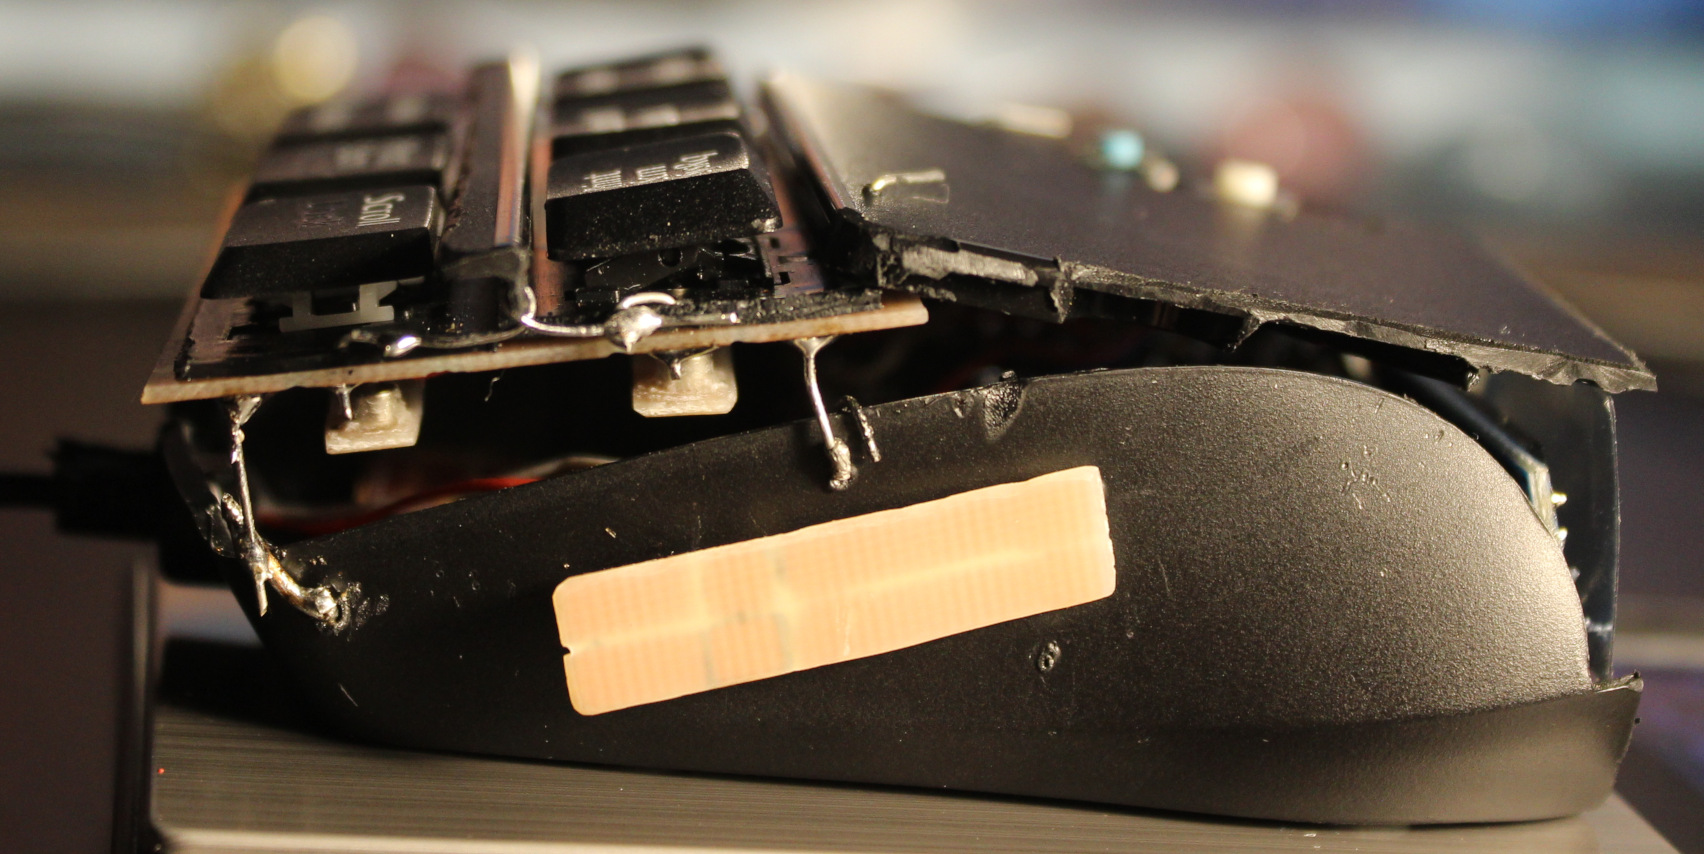
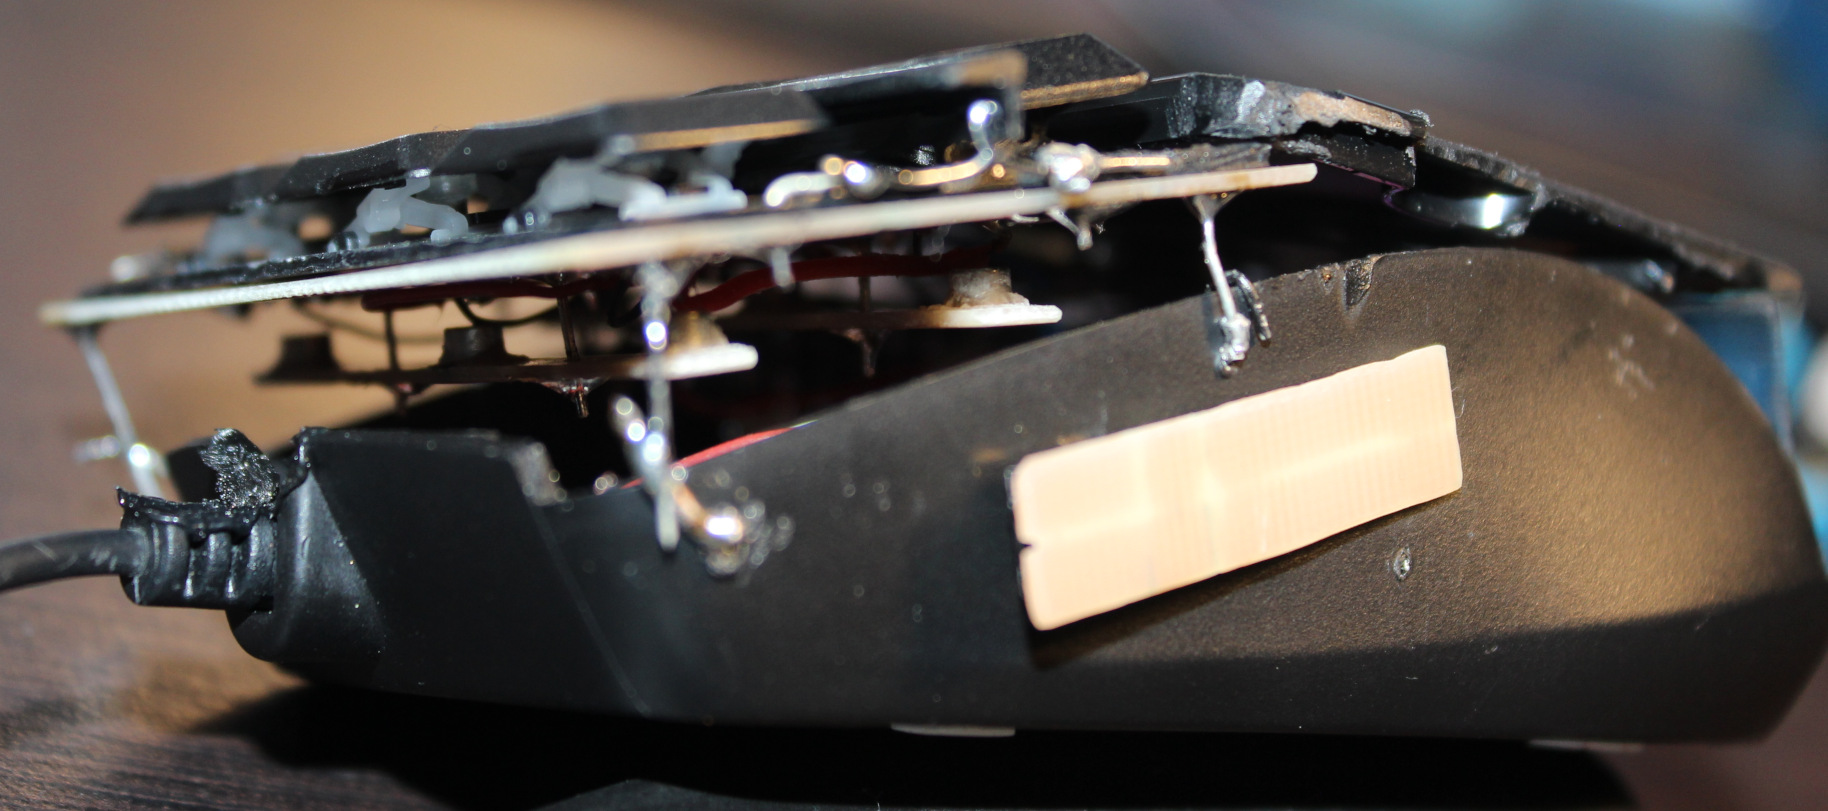
    Of course this creates another problem, that you can’t rest your fingers on keys now. That’s why I put this plastic bar between keys for fingers to rest.

    Silicone cylinder🛢️

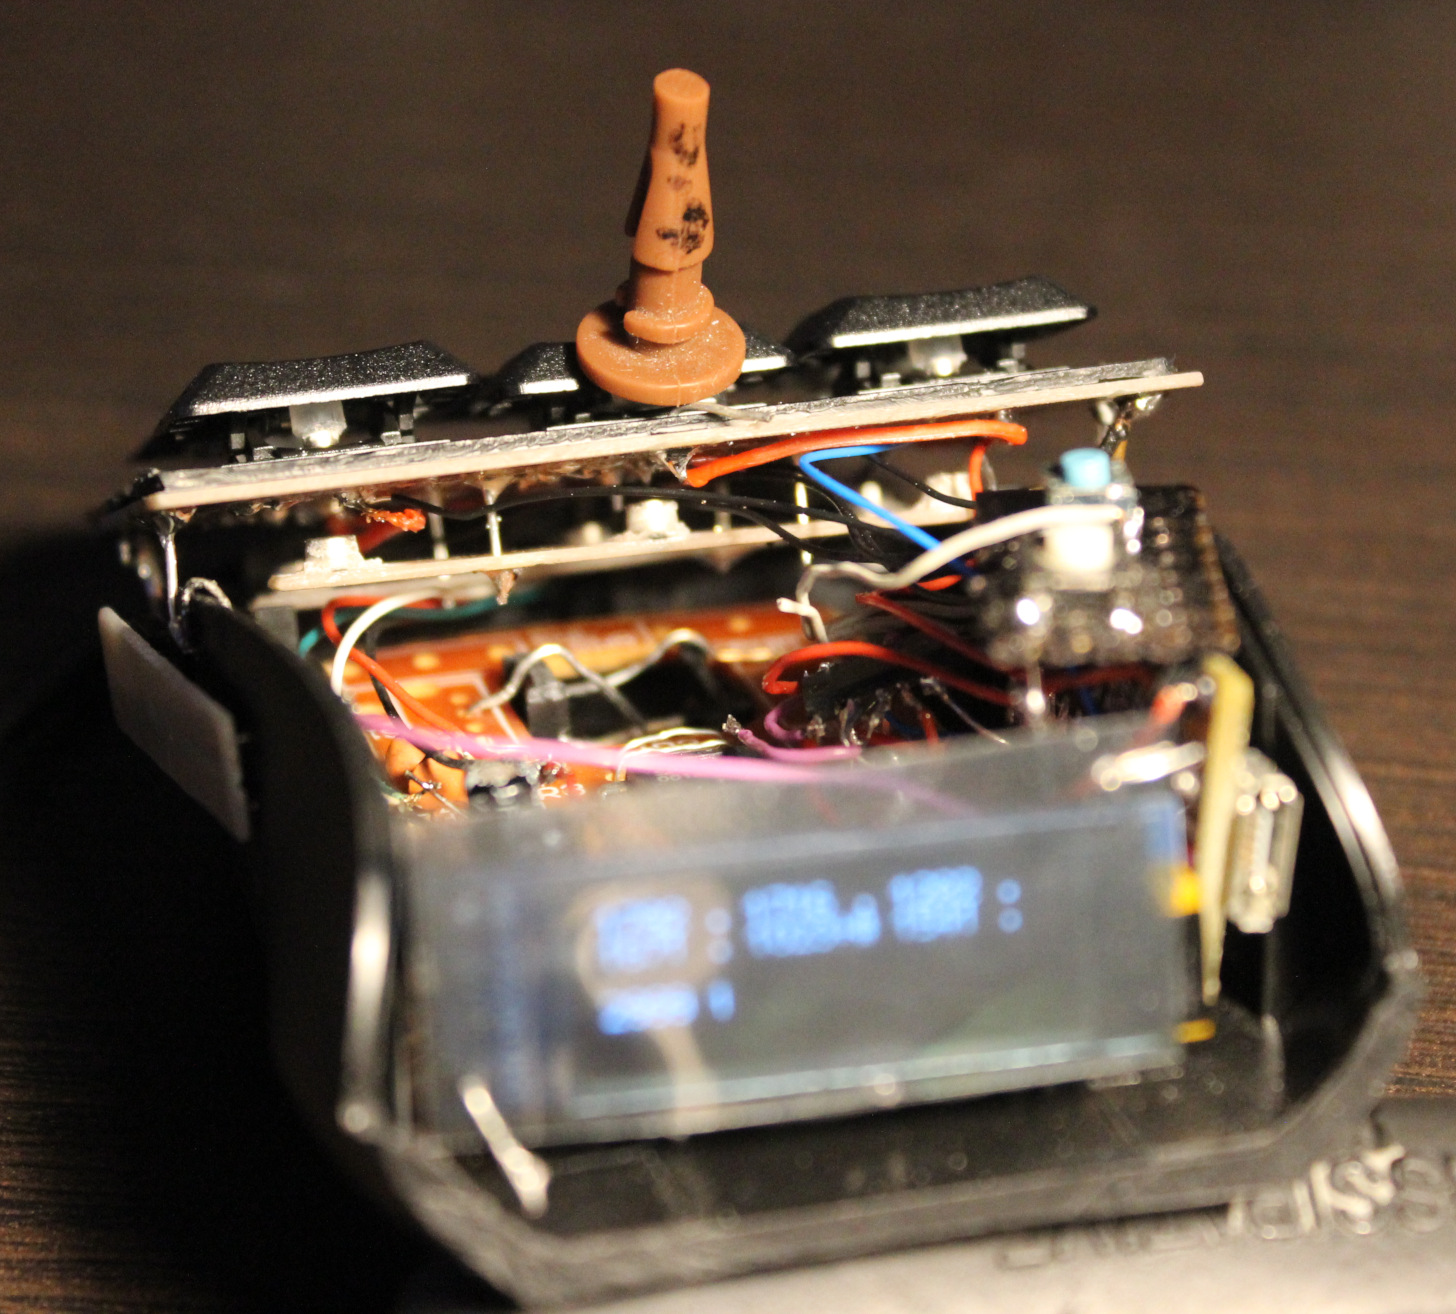
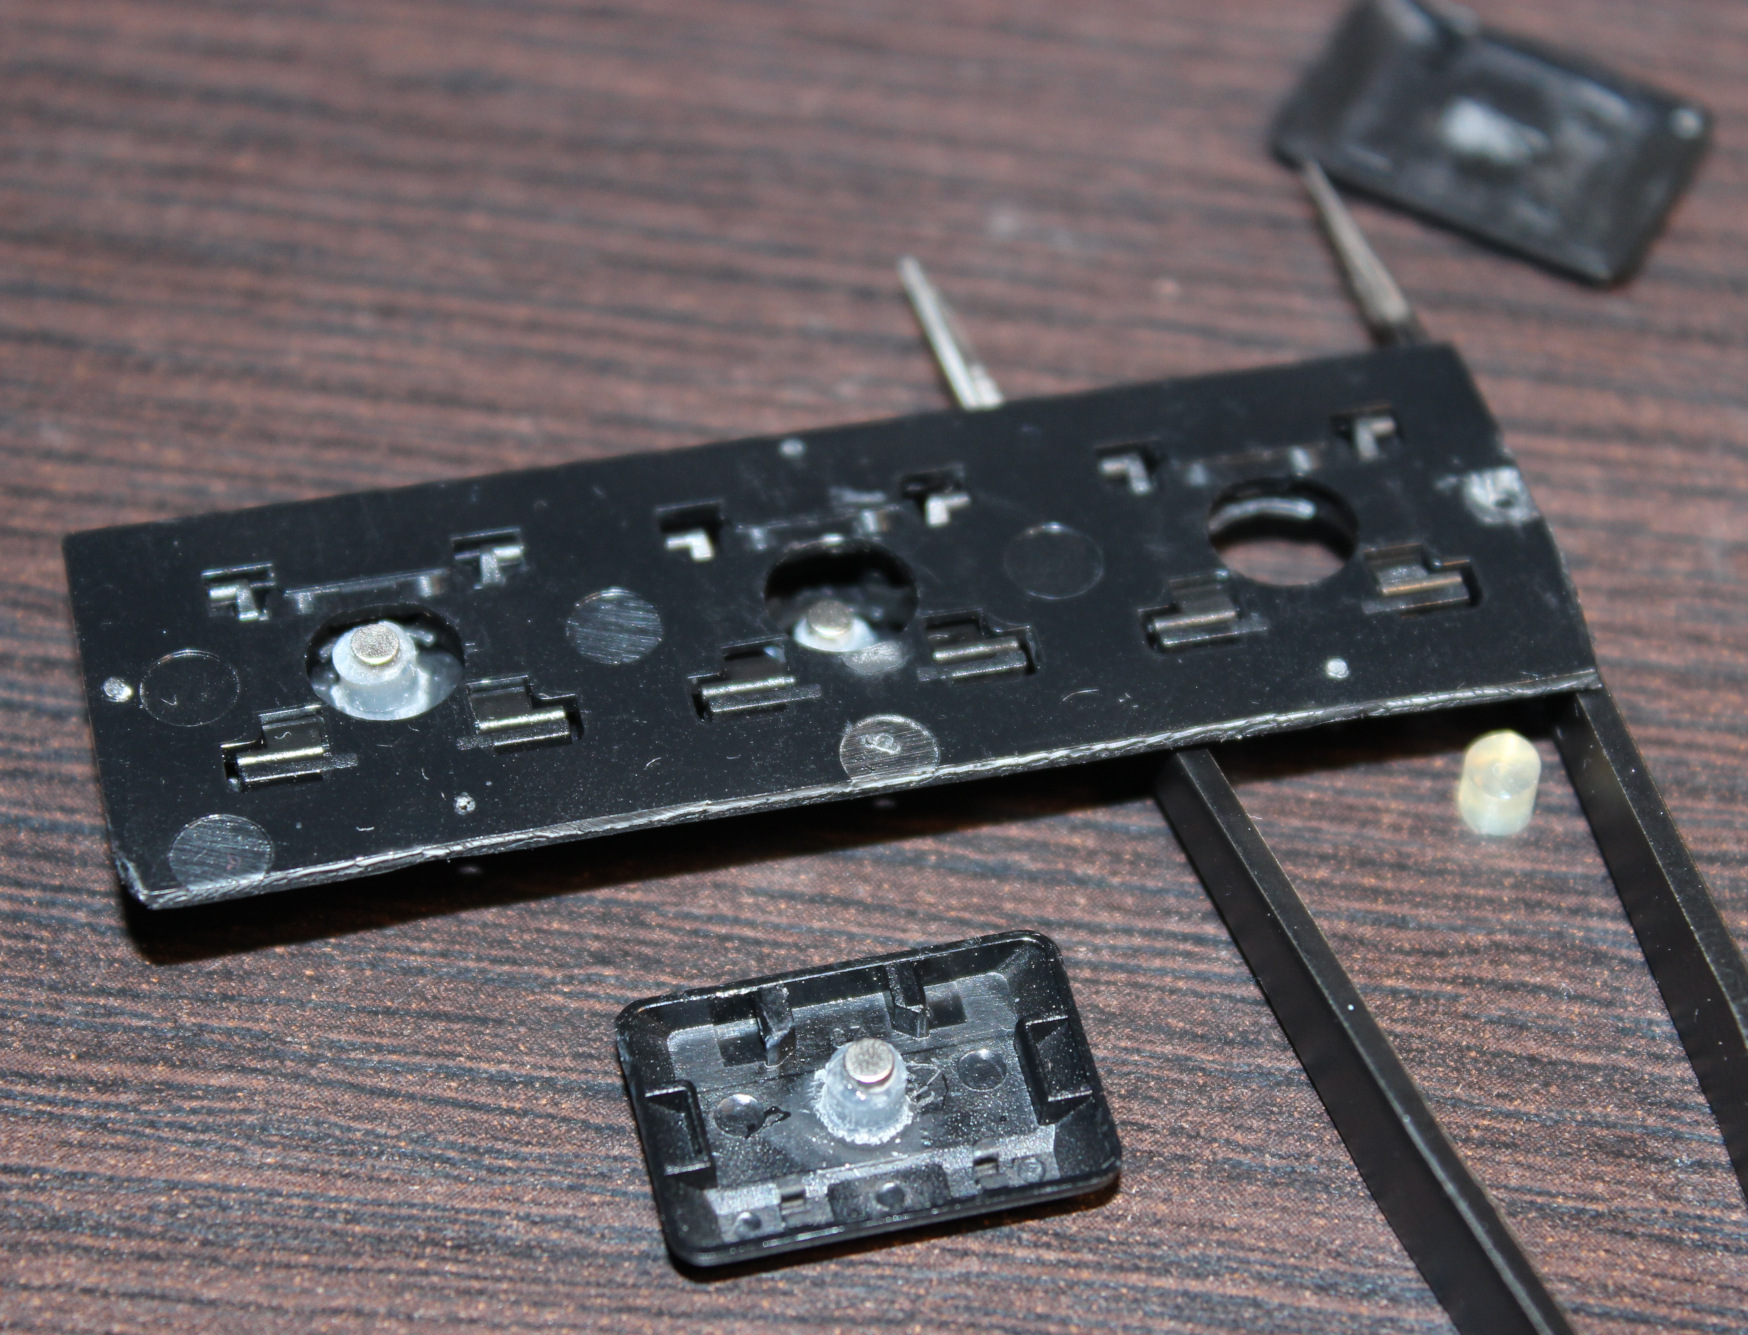
    The top of key has beneath a (super) glued silicone pad (3mm diameter cylinder (I bought silicone rope and cut it), *height about 2.5 to 3.1 mm).
    Then on top of it glued the first mini magnet 2×1 mm (diameter x height). I think the default N42 neodymium🧲. This magnet when pressed touches the CS49E SMD Hall sensor which is on PCB.
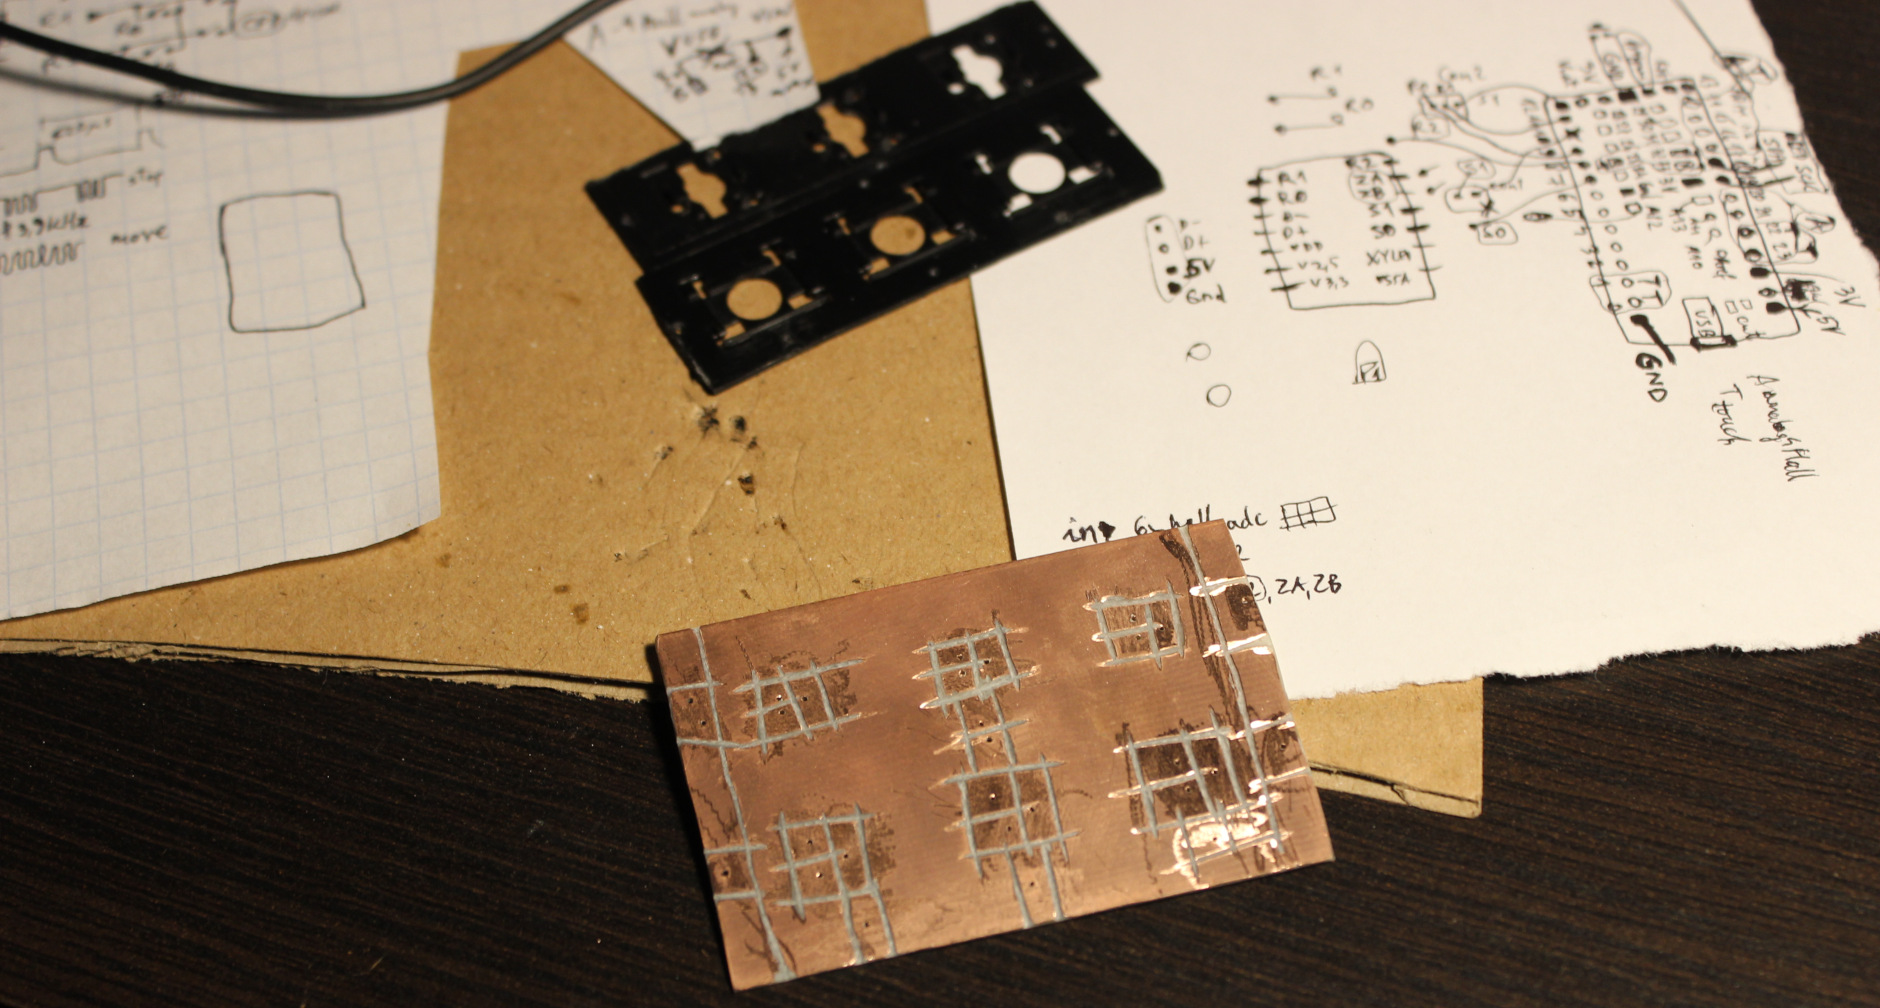
    It could be a 2 layer PCB, but since I got 1 layer, this SMD chip is glued onto it, in right place (middle of plastic circle hole), then through drilled holes, tiny wires are soldered to sensor chip’s 3 leads.

    Travel

    Travel distance can be changed, but needs cutting *height of that cylinder and glueing magnet again. Or just scraping cylinder and doing a new one with other height. It’s not that precise even if measured, there can be some tolerances in scissor keys etc. So getting exactly 0.5 or 1 mm travel would be hard. It is also possible to add just small tape pad⚫ (from e.g. black isolation tape) for a thin layer on top of sensor. It would decrease travel and also sound less when hit with magnet (2×1) from key. Less sound is also the reason why cylinder is from silicone.

    Sensitivity👈

    Also the less travel the less sensitivity and value change from Hall sensor.
    So MCU’s ADC is 12 bit, meaning it could get values from 0 to 4095. But it won’t since CS49E has 3.3V supply and its output has limits, doesn’t go below 1V or higher than 3.3V – 1V. Doesn’t really matter.

    So I get about 1000 when pressed (magnet closest) and about 1500 for lightest (0.35 g) setup if done right. But it can be tricky if there is friction in scissor key, I had to slightly cut off a bit. If I didn’t do it you can get 1100 or so, sometimes if key gets stuck (while otherwise it’d go much higher) and that’s a problem (it’s unusable).

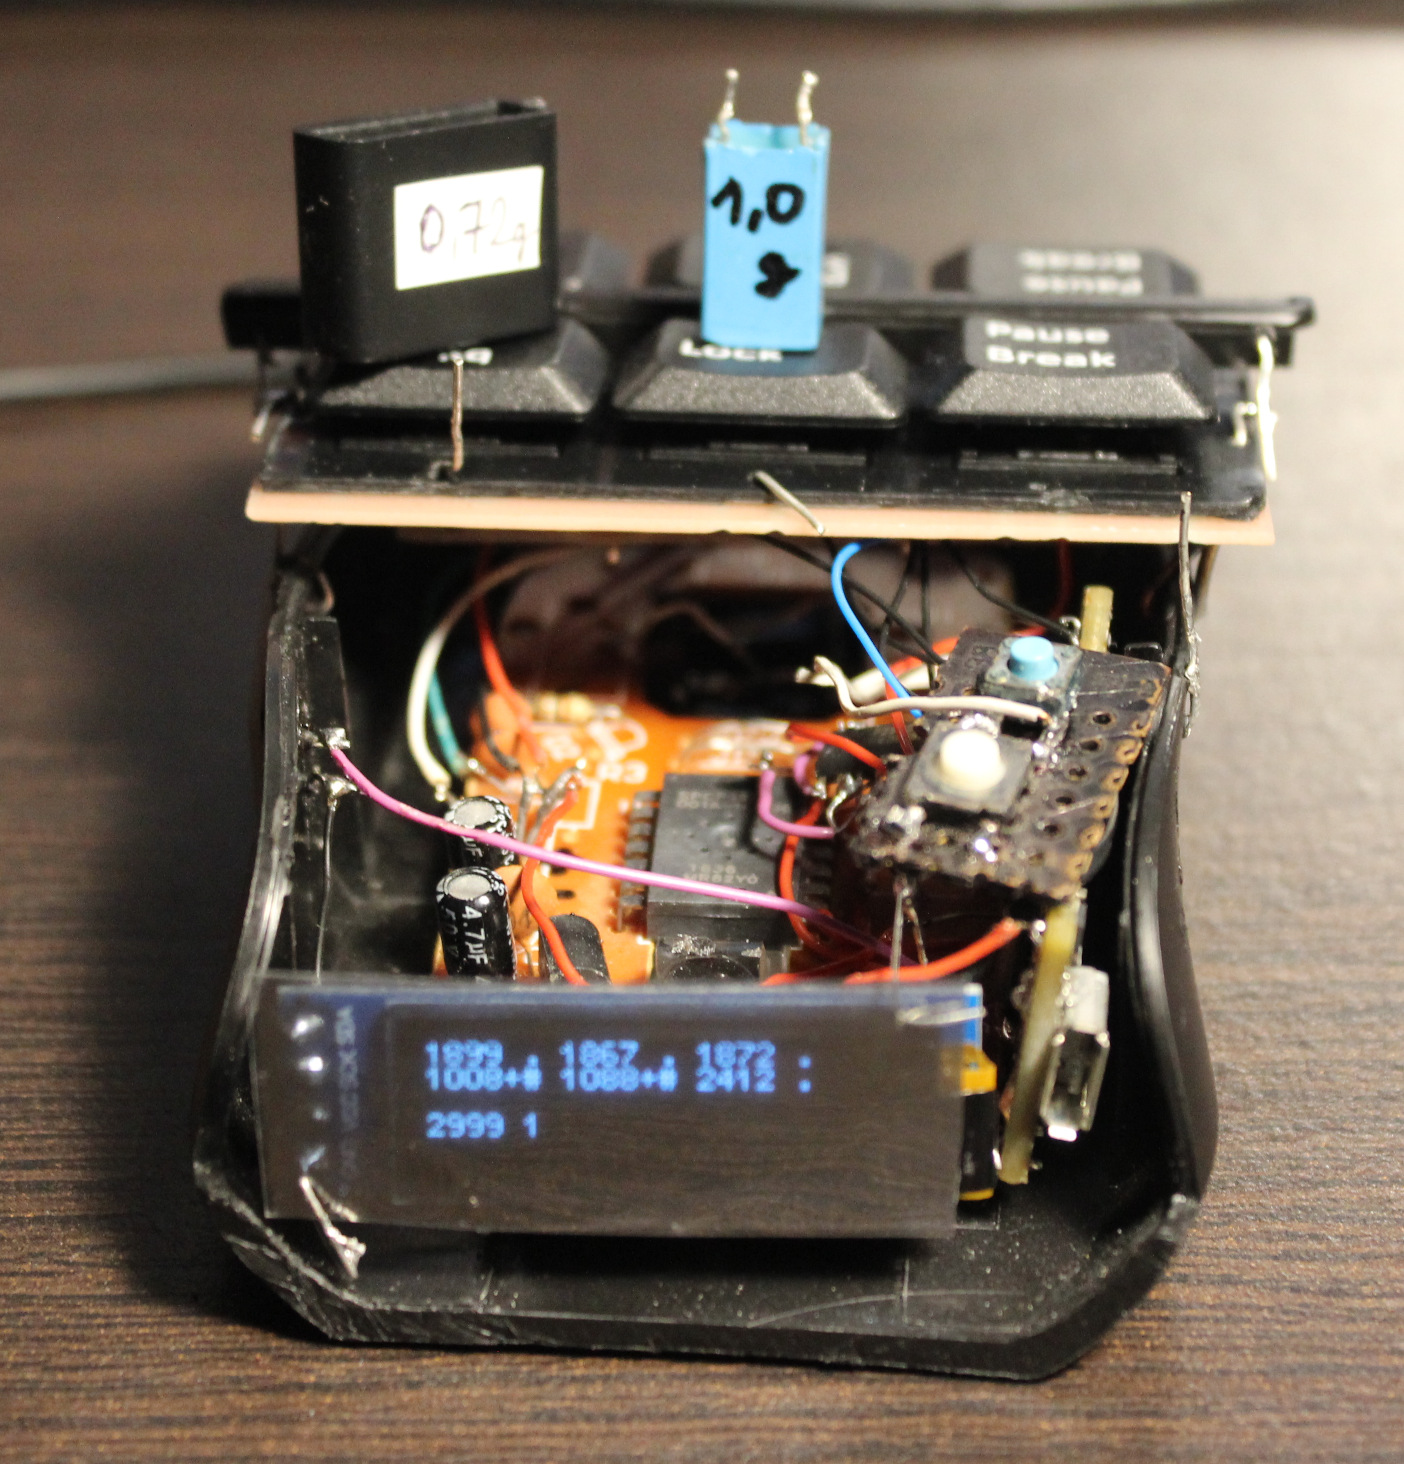
    As for the regular keys there is no issue: 1742 for 0.72 g, 2146 for 1 g, 2416 for 2.23 g. This is plenty difference from about 1000. Each keys/sensor will have some minor difference too. Not required but could be set up with some calibration for each key in practice.

    Magnets🧲

    The two magnets distance affects mainly actuation force and sensitivity (max value). The closer they are the more force one needs to press and higher value if not pressed.
    There was a “interactive 2D magnetic field lines simulation applet” I used before to test best location of sensor and 2 pushing magnets (1 stronger), but I can’t find the website anymore (e.g. this).

    In general the first magnet (2×1 on key) needs to be closer to sensor, and get closest when pressed, and the second (3×2) should be far. This way I get most sensitivity. The second magnet when far should not affect the value from first (too much). It’s just there to levitate the key after all.

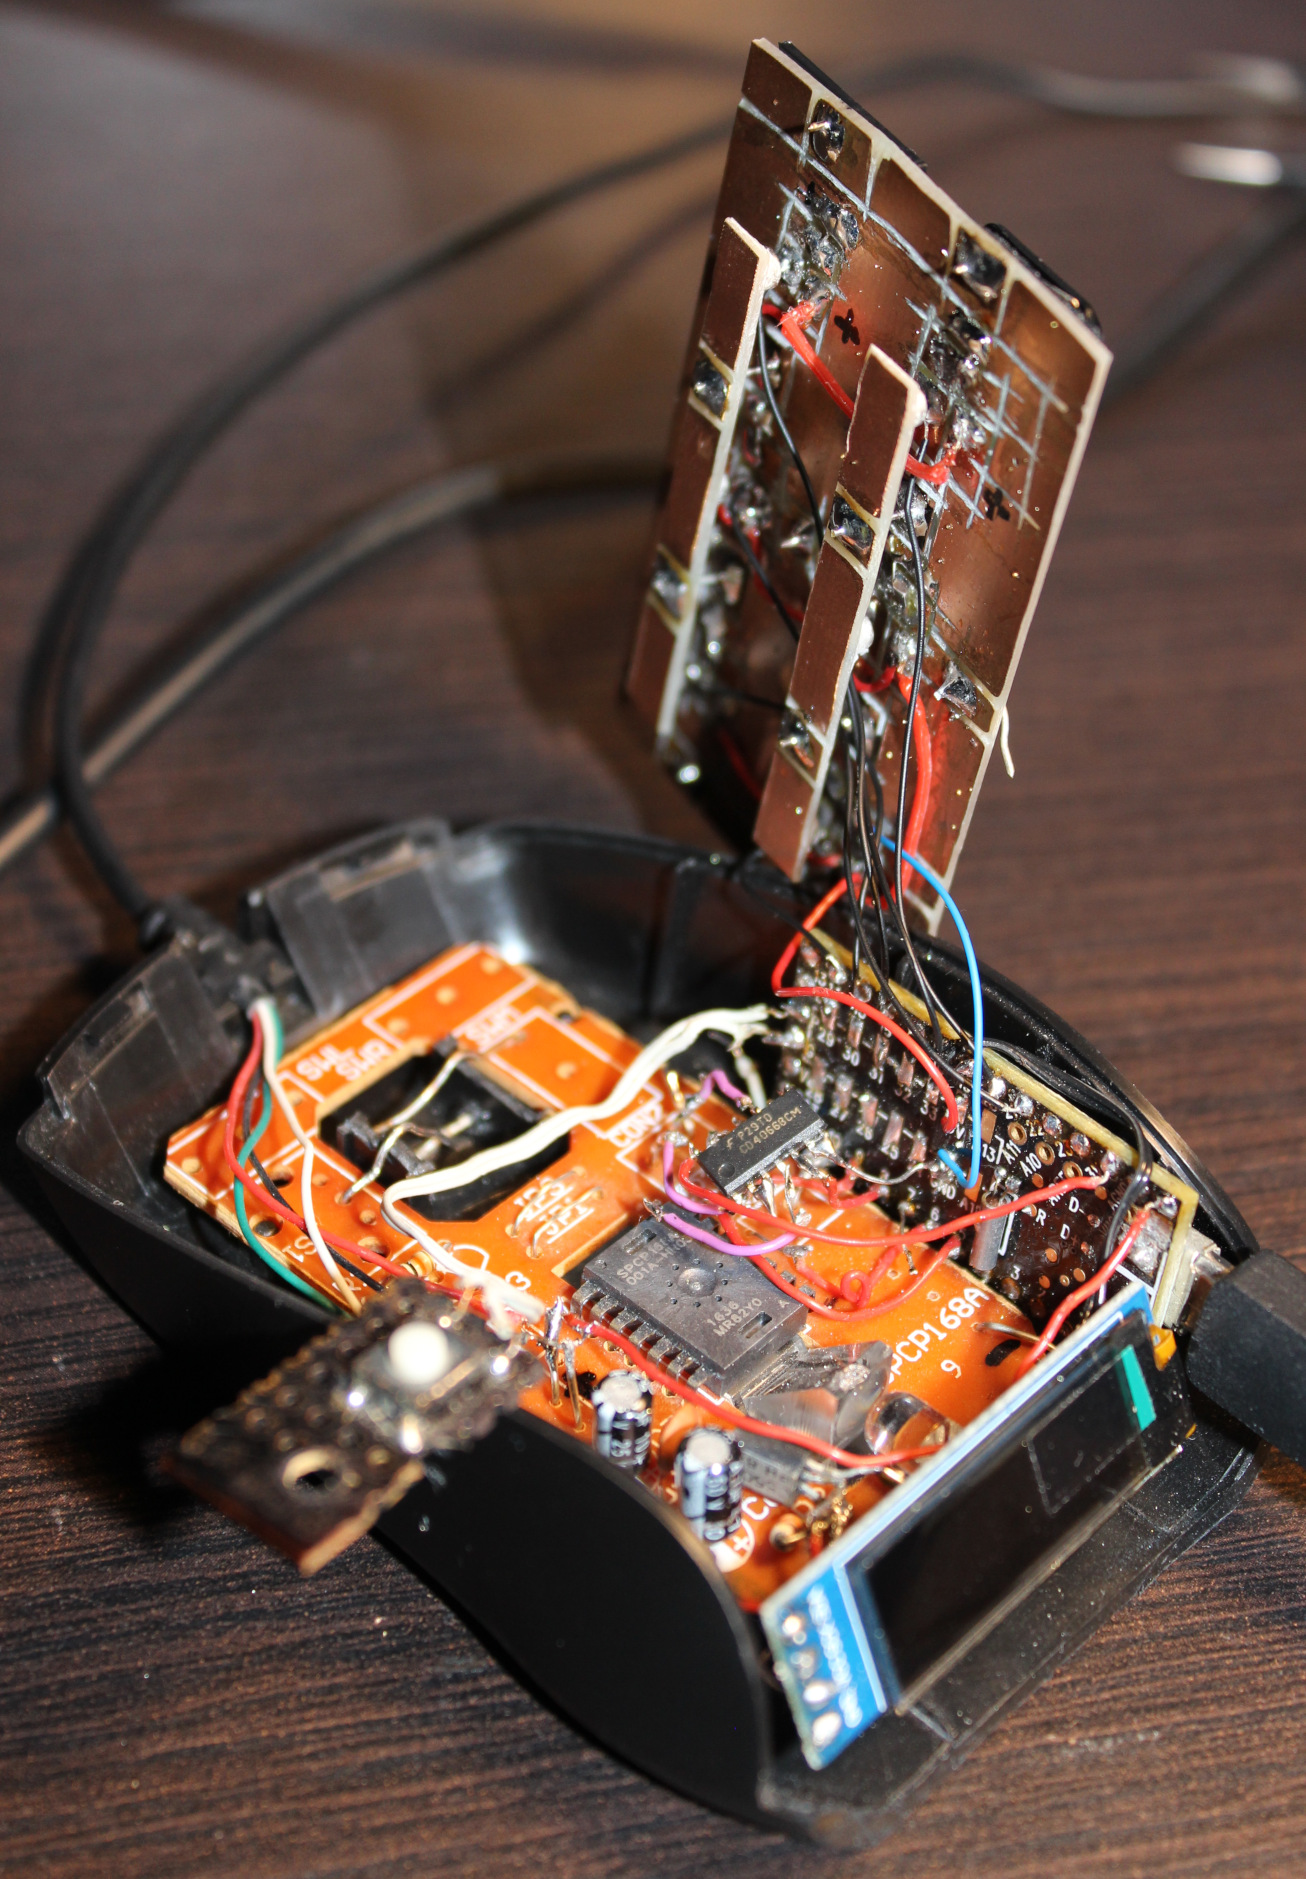
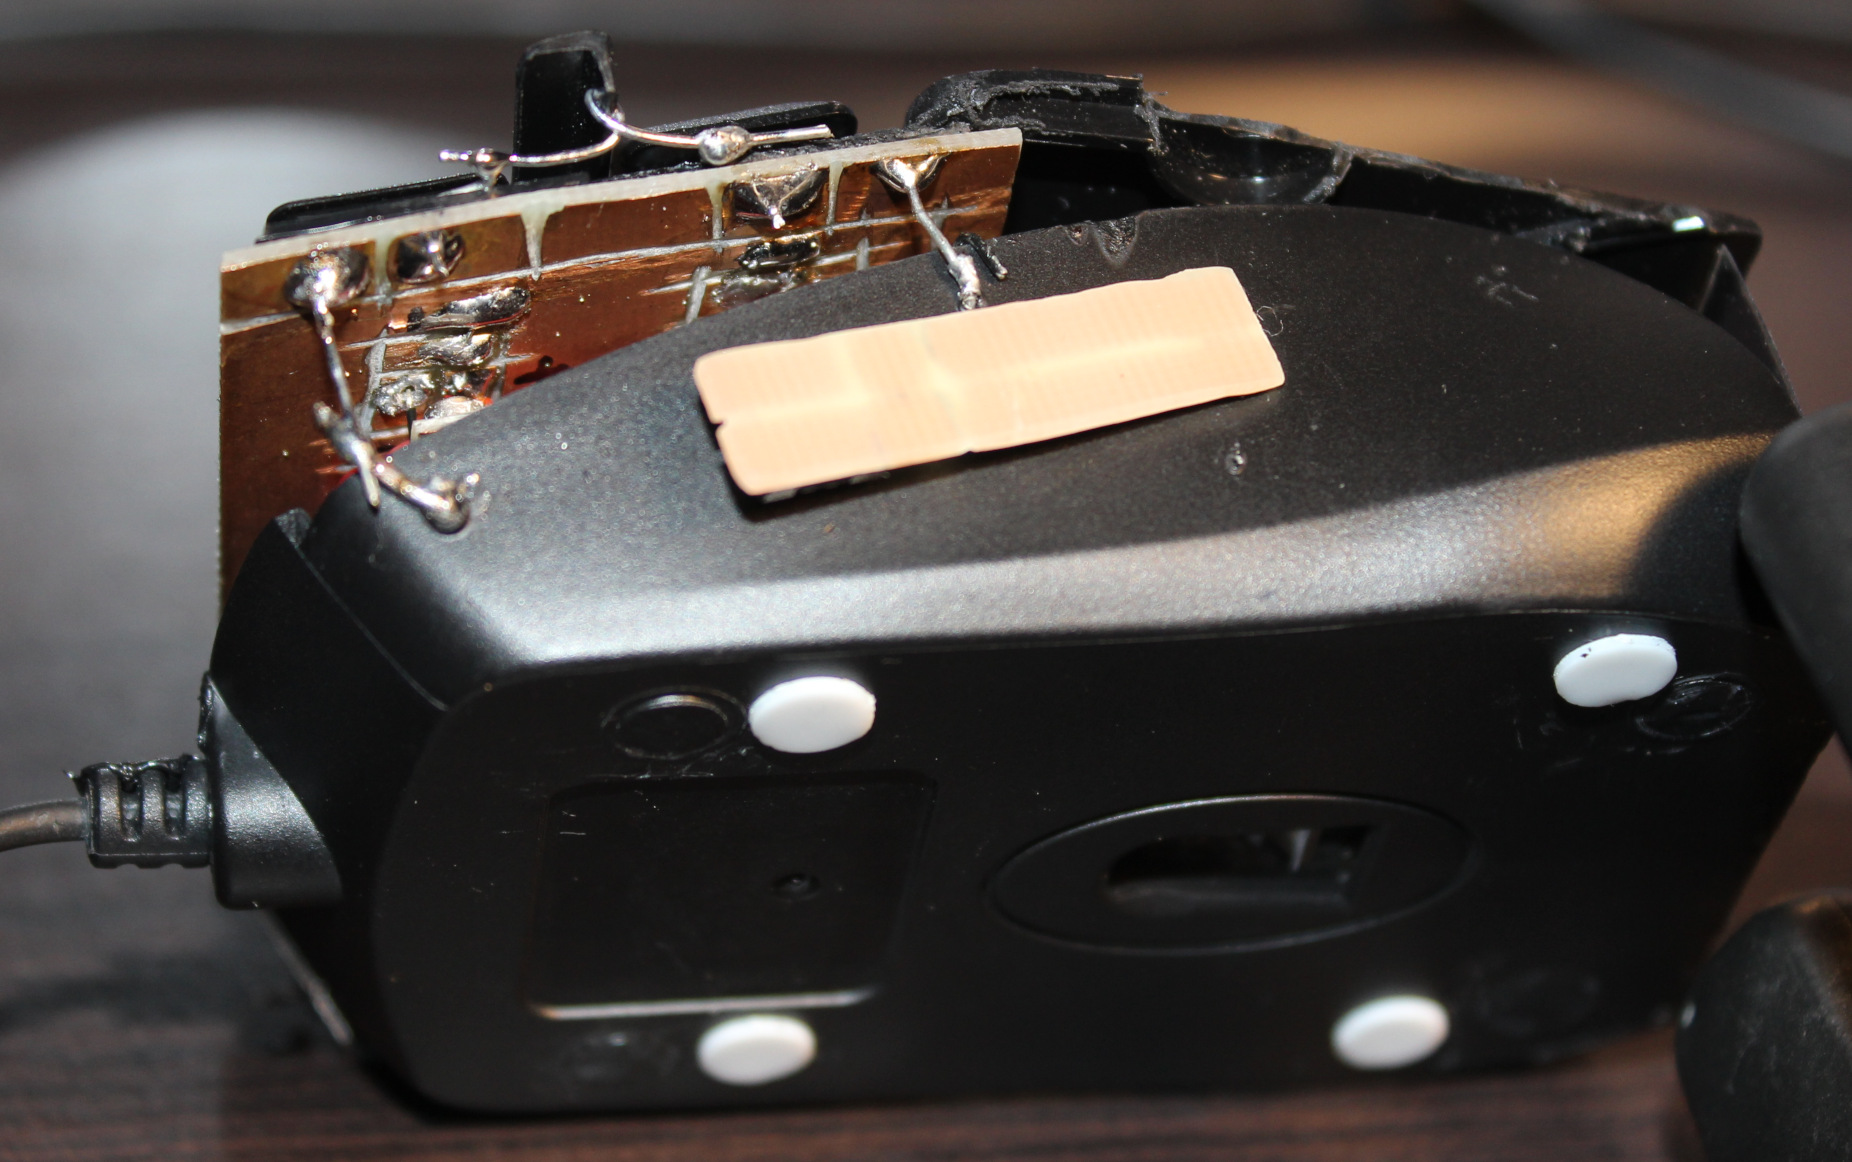
    I glued second magnet (in row for 3 keys) to a narrow PCB, which is held by solder and small wires, above the PCB with sensors. This way I can adjust distance of second magnets and so the force for keys. The key resting values (1742 for 0.72 g, 2146 for 1 g, 2416 for 2.23 g) are increasing, because I did shorter distance of narrow PCB on right (last key value) for Right mouse button and did longer distance (on left) and thus lighter press for the (most commonly used) Left mouse button (first key value).

    Customizable🔩

    As explained above, the actuation (pressing) force is customizable. Not too easy, but easier than travel. One way is resoldering that narrow board closer (more force) or further away (less).

    It’s also possible other way, by adding more magnets (3×2) to the one already there. Makes magnetic push force stronger and so needed actuation force higher. It’s a worse idea since magnets aren’t cheap and one is enough. But it’s surely easier and quicker to adjust this way. So more user friendly.

    Mouse

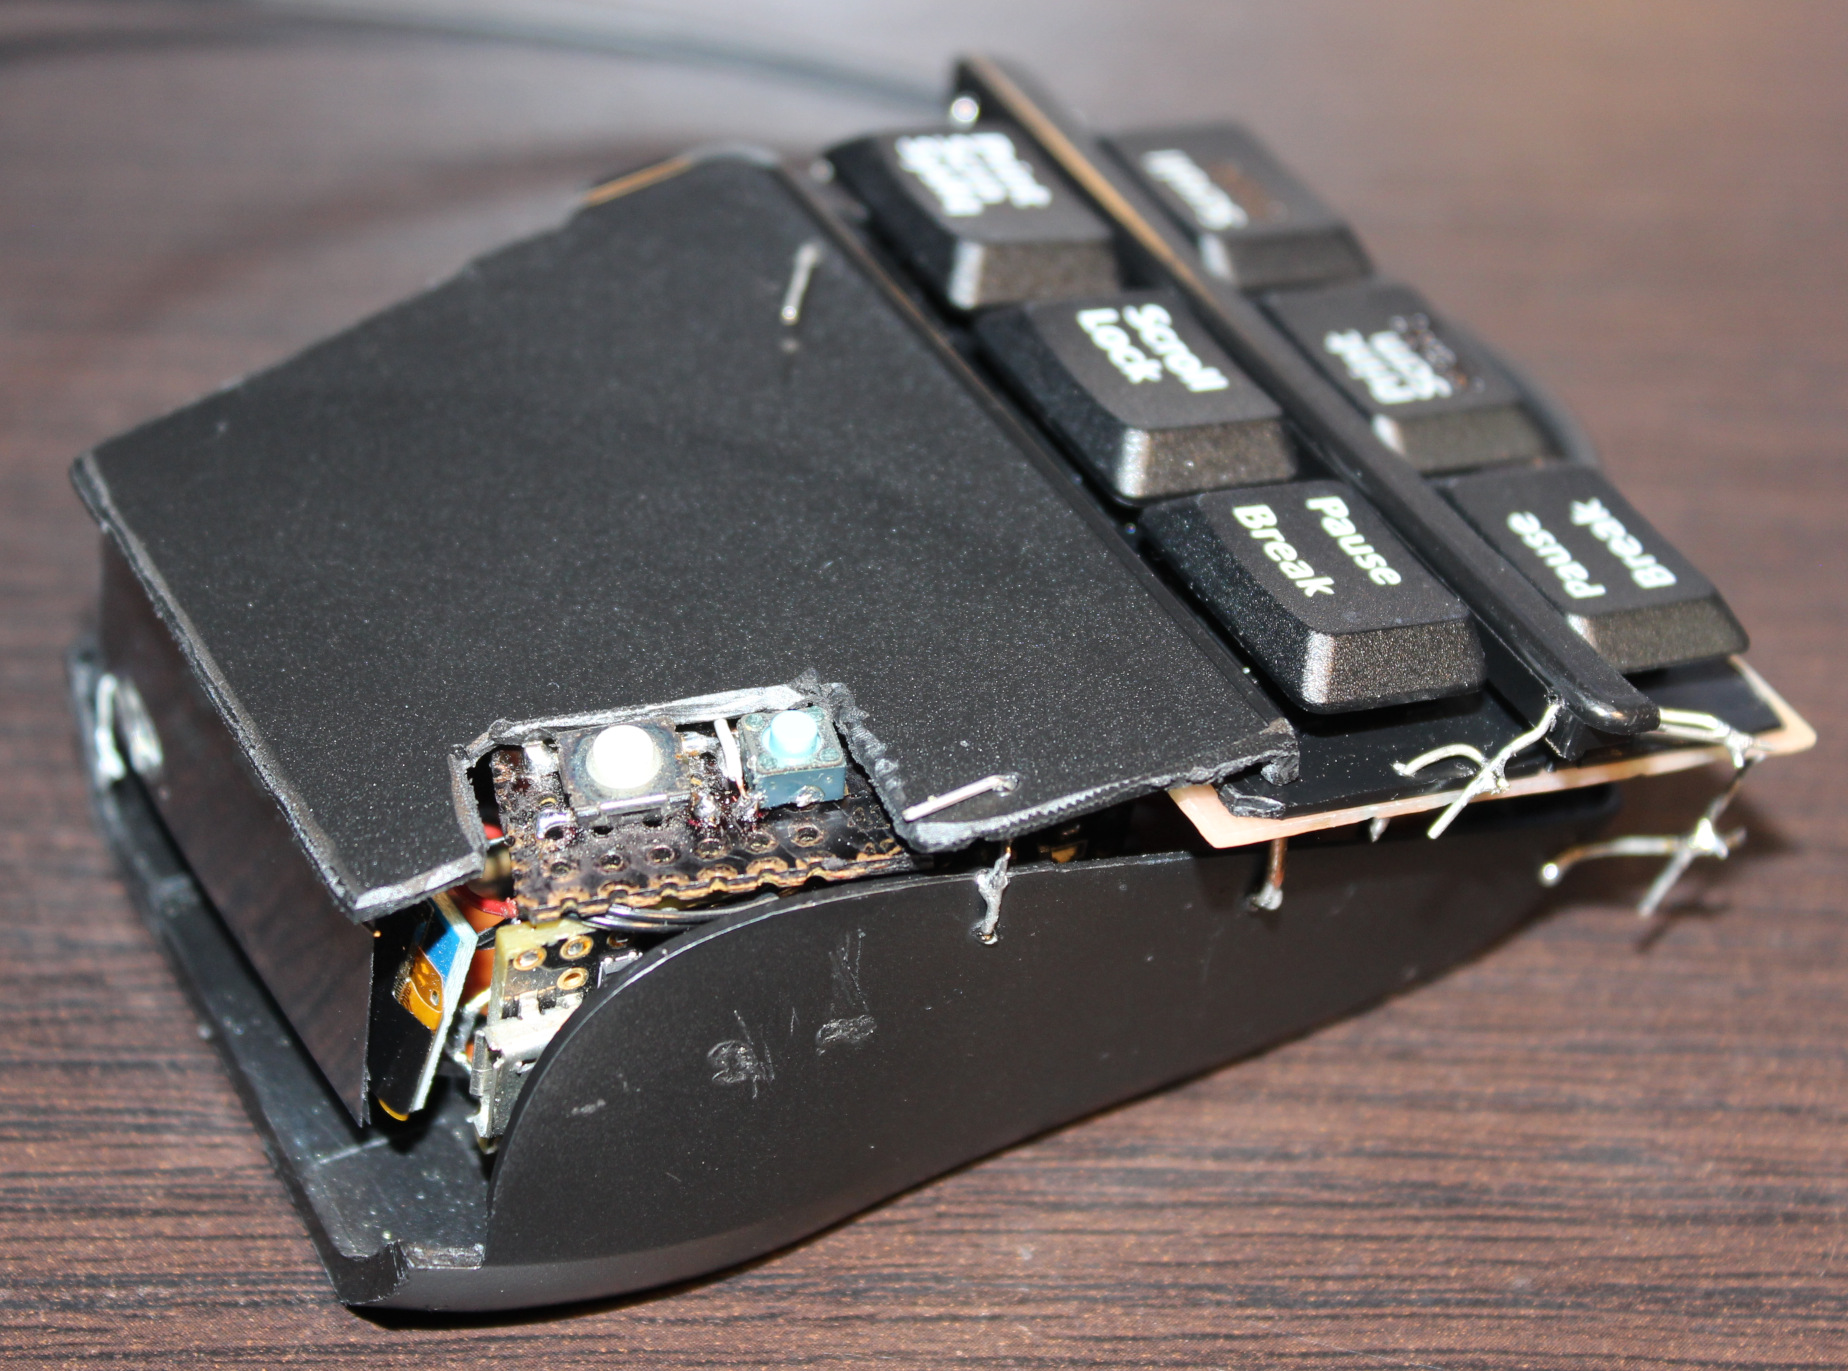
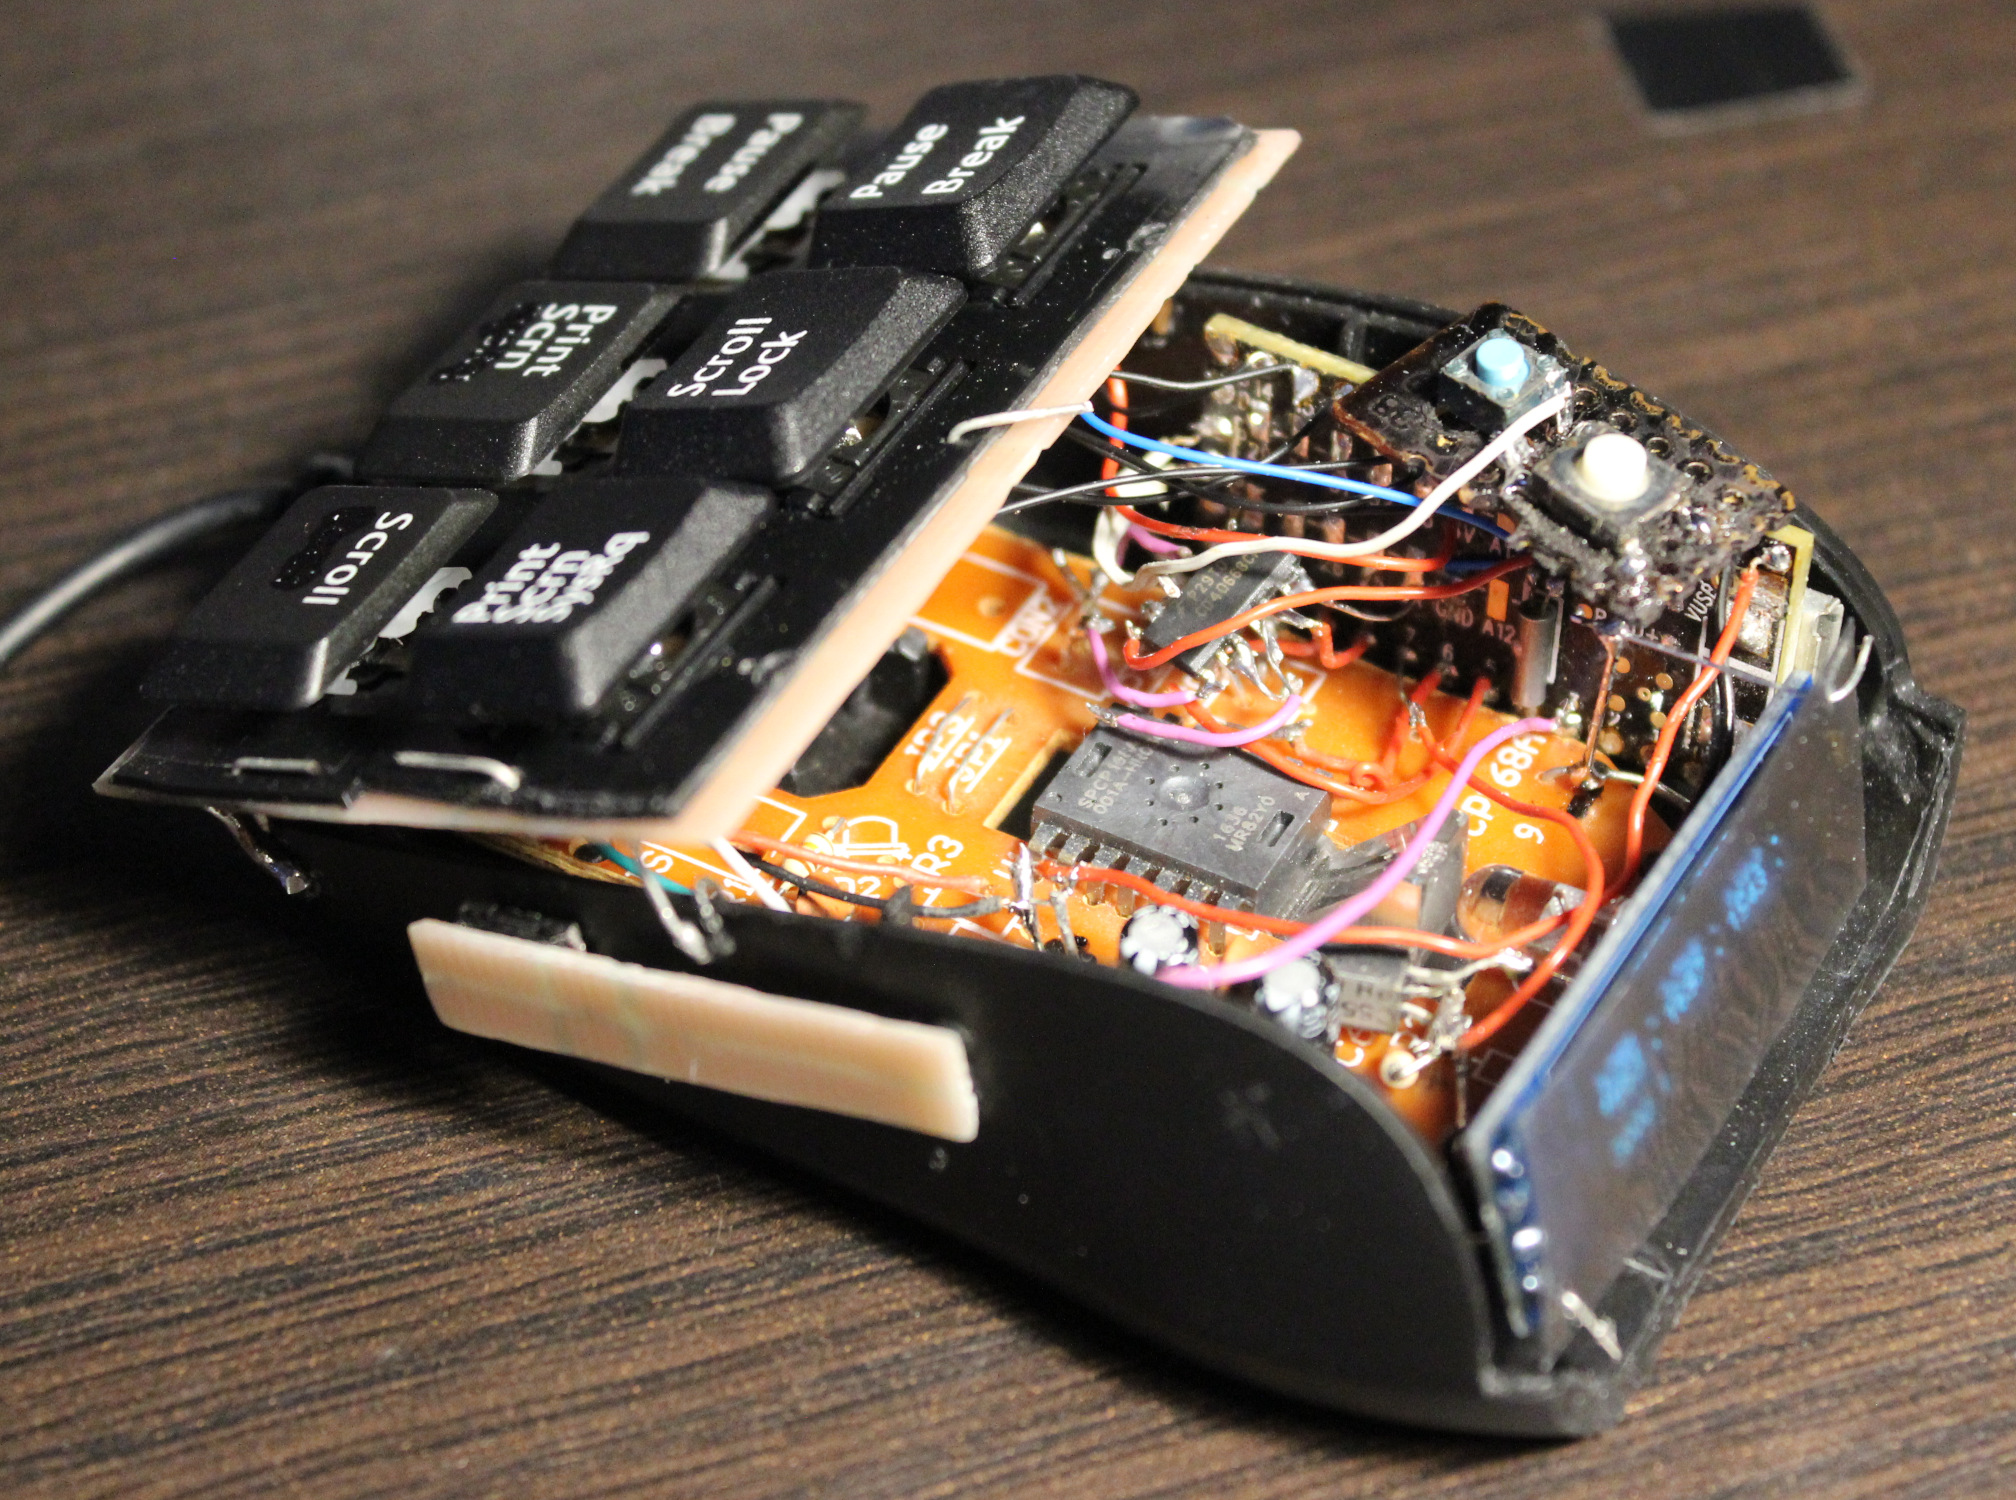
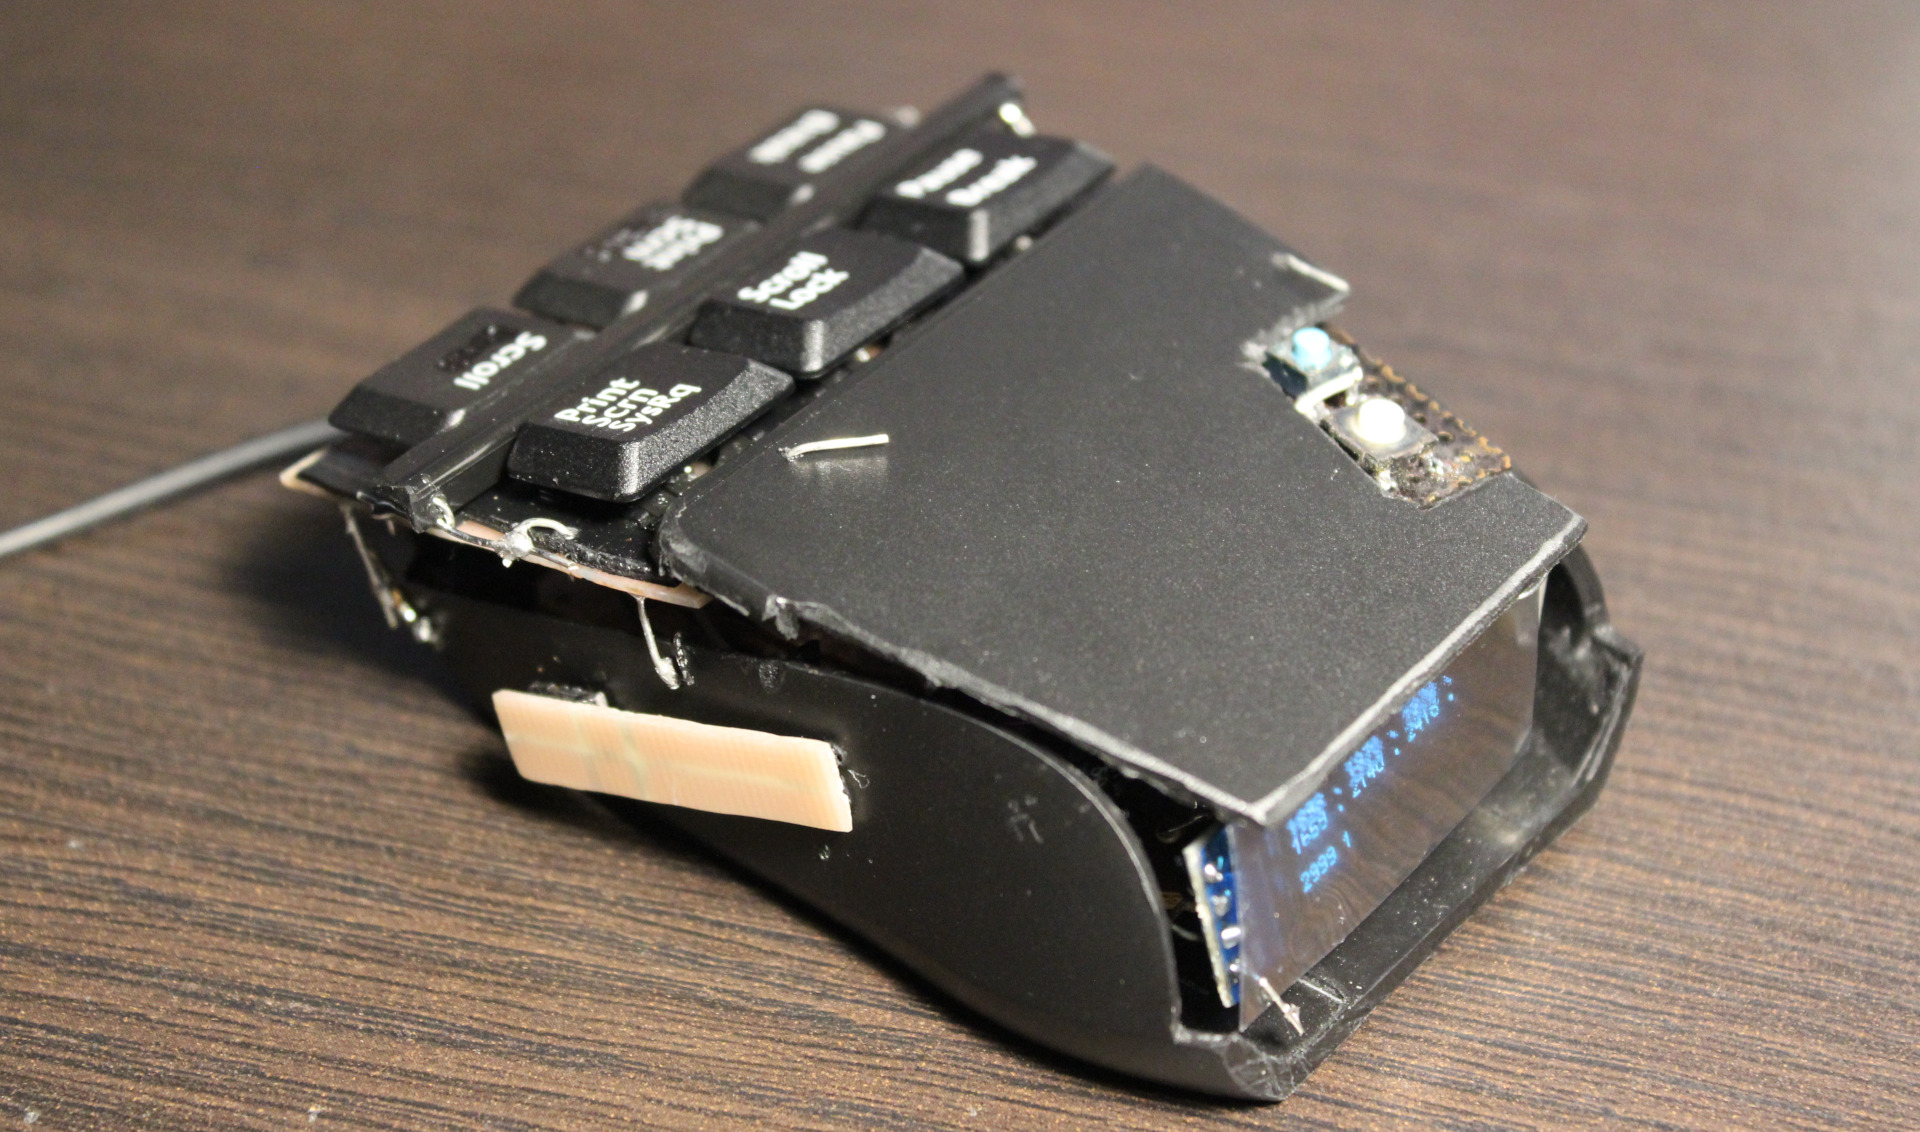
    Mouse is an old Gembird model, it is small. Not very recognizable anymore after modifying.
    It has a SPCP168A optical mouse chip. It’s old (from 2010), so not very high dpi. Neither fast pooling, I even saw that L,M,R buttons are checked (by S0 signal) at about 370 Hz only (could mean a 2.7ms delay).

    MCU

    For MCU I used an old Teensy 3.1 I had from my old keyboards. Surely an ESP32-C3 could be a cheaper and better choice. And likely most MCU could do the job here: just read analog value from ADC from 6 hall sensors.
    Next I use a CD4066 (SMD, Quad Bilateral Switch). Iits 3 analog switches are used instead of old mouse buttons microswitches. Triggered from MCU which reads hall sensors values with some of my code.

    📊Features

    So the mouse now has a few extra things:

    • 🎹Hall sensor keys, 3 x 2, so total 6. These are used for:
      – Left, Middle, Right mouse buttons – bottom row,
      – Double left click, mouse Wheel down and up – top row.
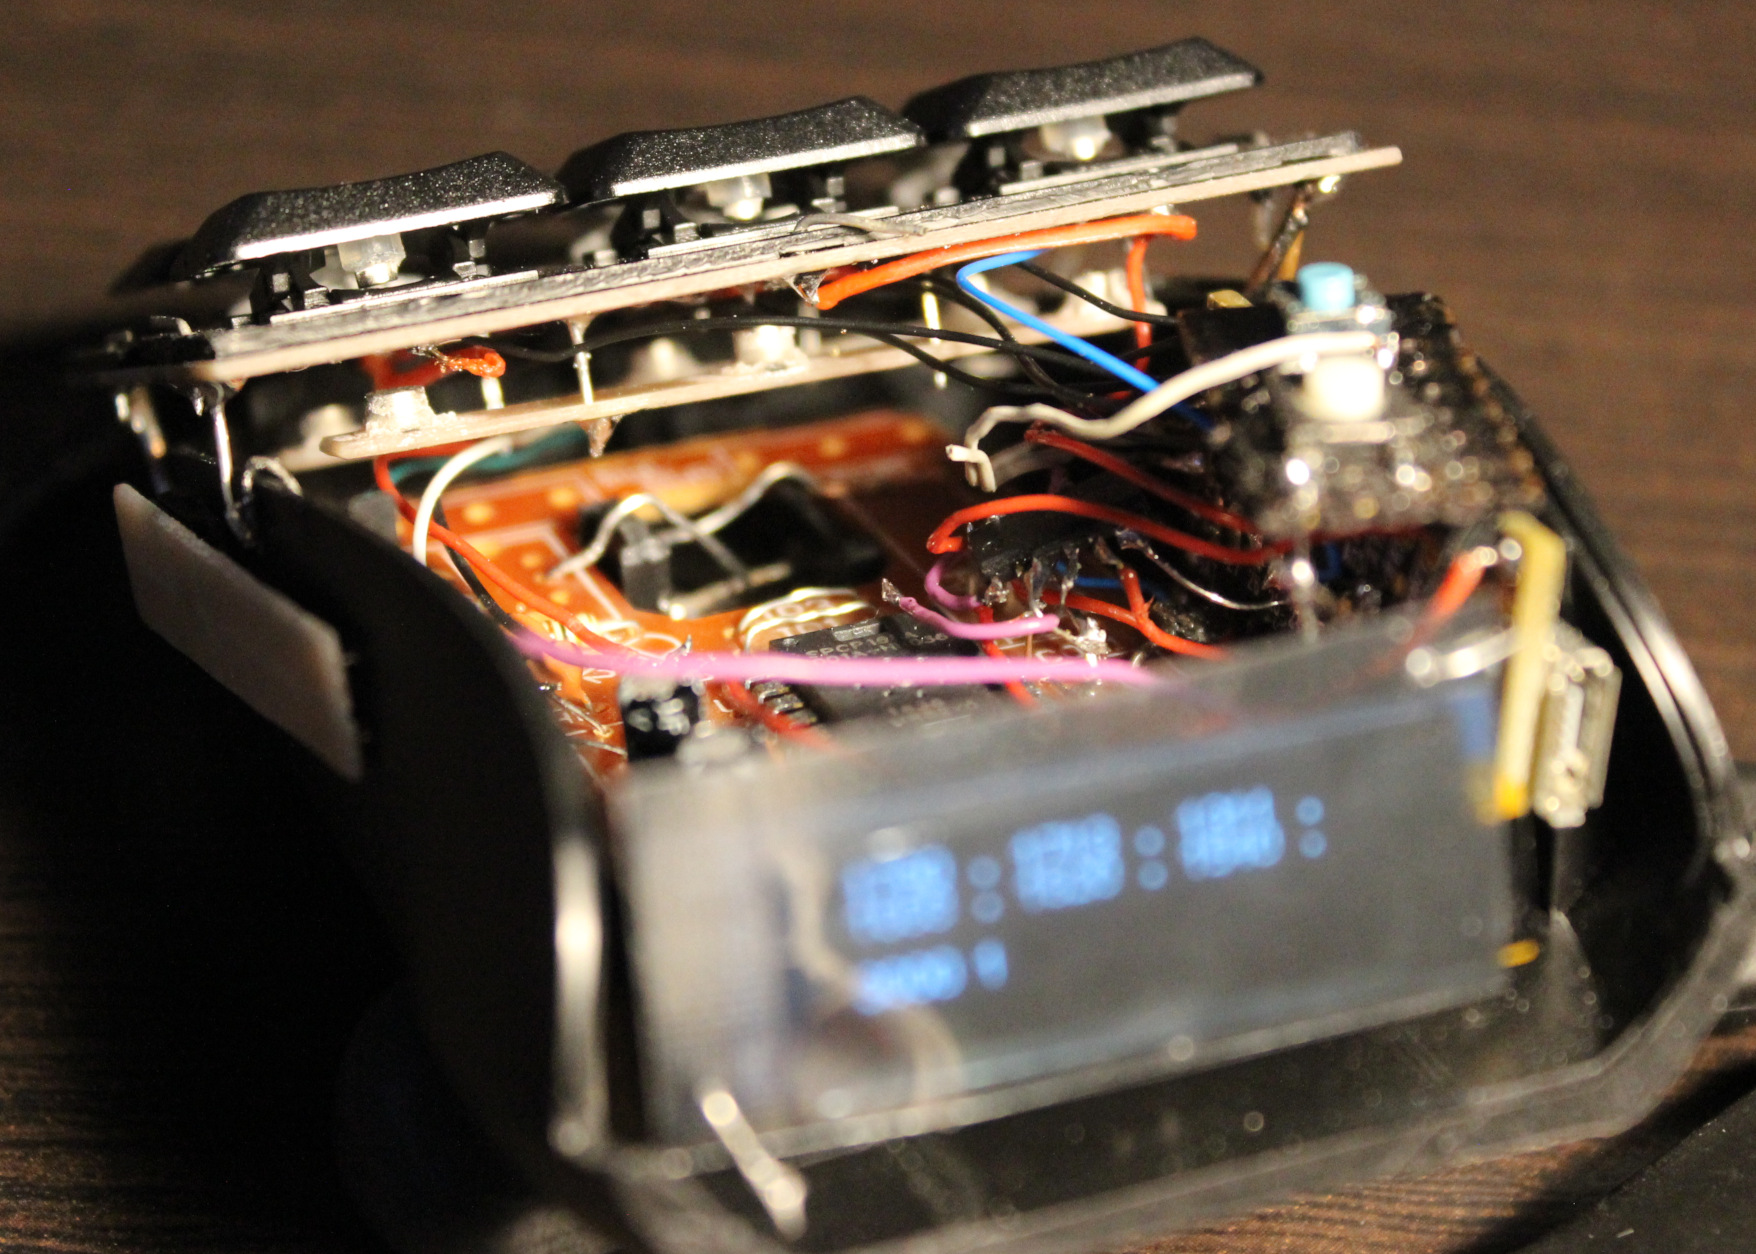
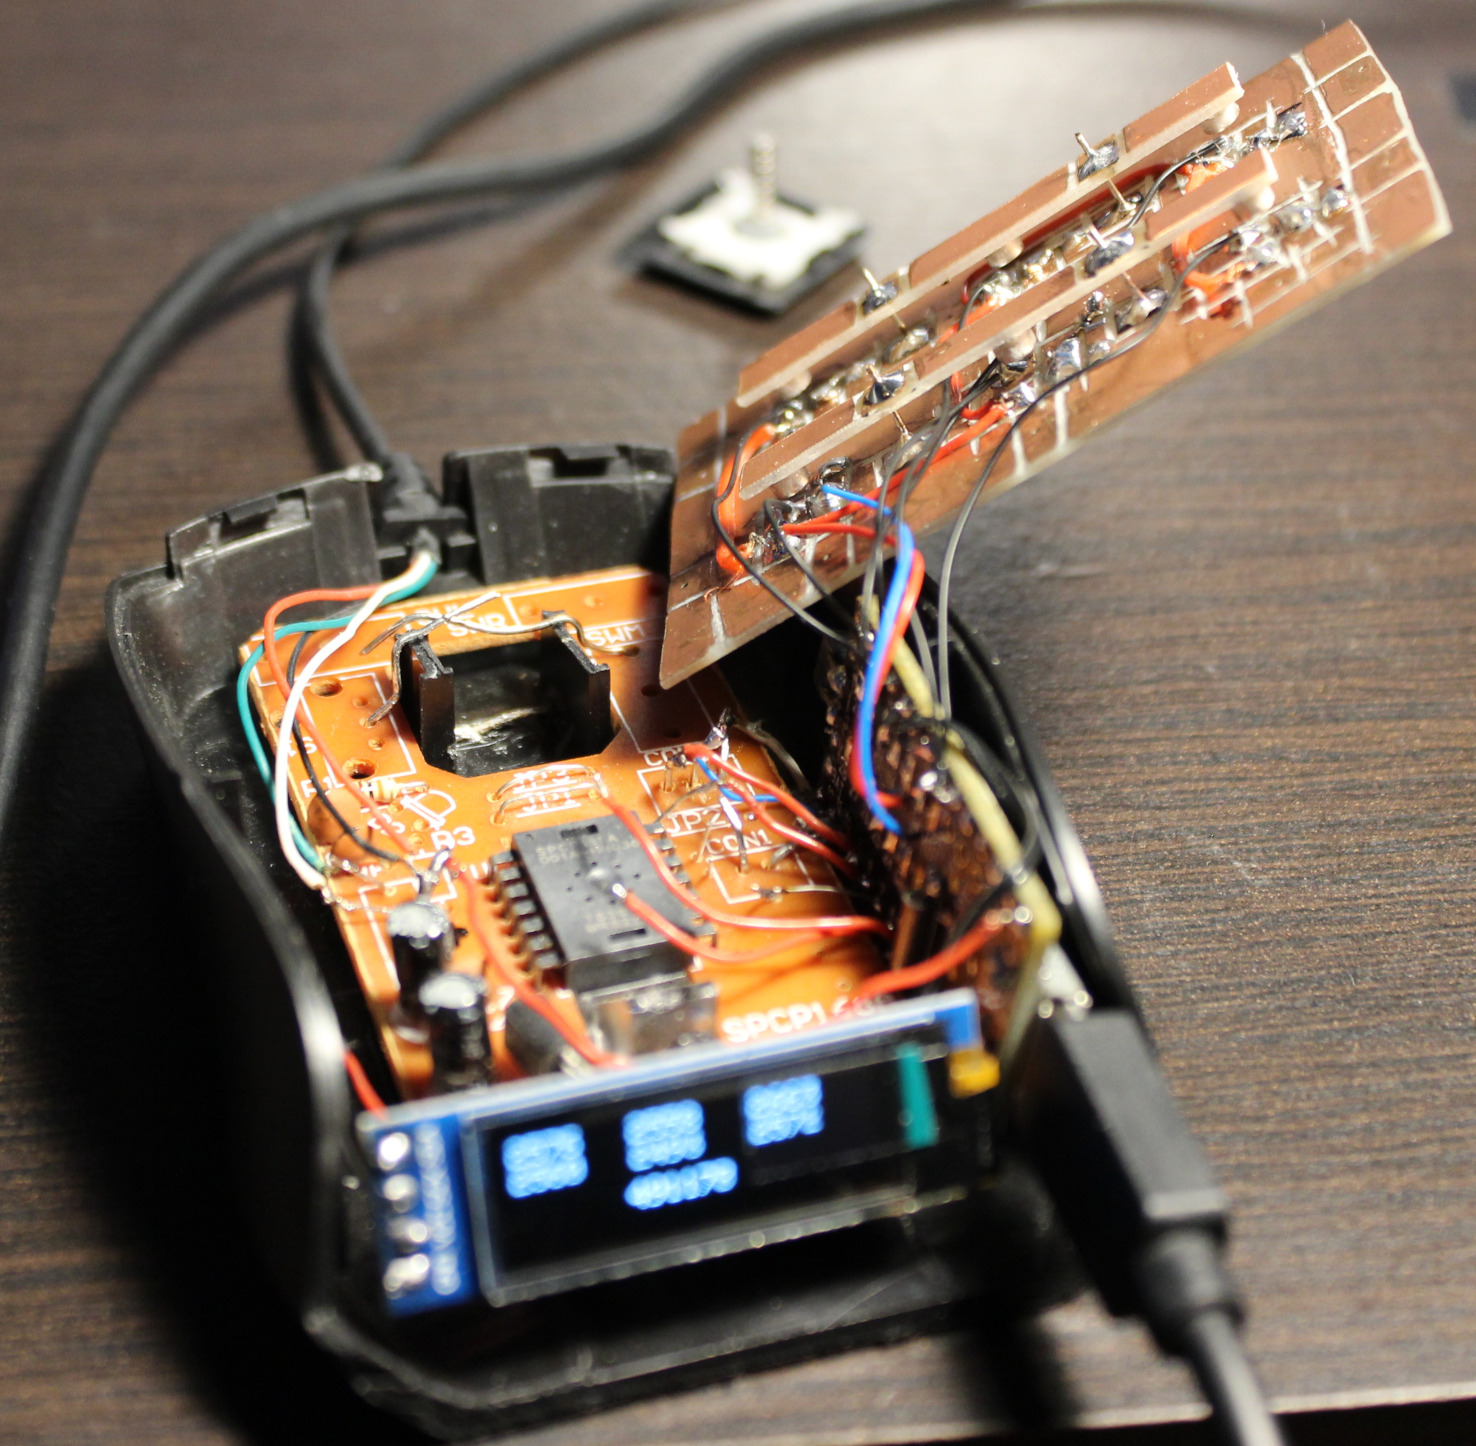
    • 🪟A small OLED display, 128 x 32 (SSD1306), mono (1 color only).
      Only has 1 dim option, it’s always way too bright. I covered it with some foil. It’s usually off anyway.
      It is used to show hall sensor values for testing, and for future Gui with settings.
      It’s optional. It could surely work without it.
    • 🖱️”Lift off” key.
      That narrow PCB on left side with has tactile switch (SMD, 0,5N force). When held it disables move movement (on PC) and any mouse keys.
      It is easier to press it than lifting a mouse. I mean seriously and it’s not common in mice yet.
    • 👇2 extra tactile switches:
      – 1st for toggling display / Gui on/off
      – 2nd tiny blue for programming new code.
      There is also a micro USB socket for Teensy 3, needs to be there to upload new code.

    📂Sources

    Code for this “firmware” is here.
    Shematic image here.
    I called it MC1, from mouse controller, even if it’s not really one. Just code for those keys

    📷Gallery

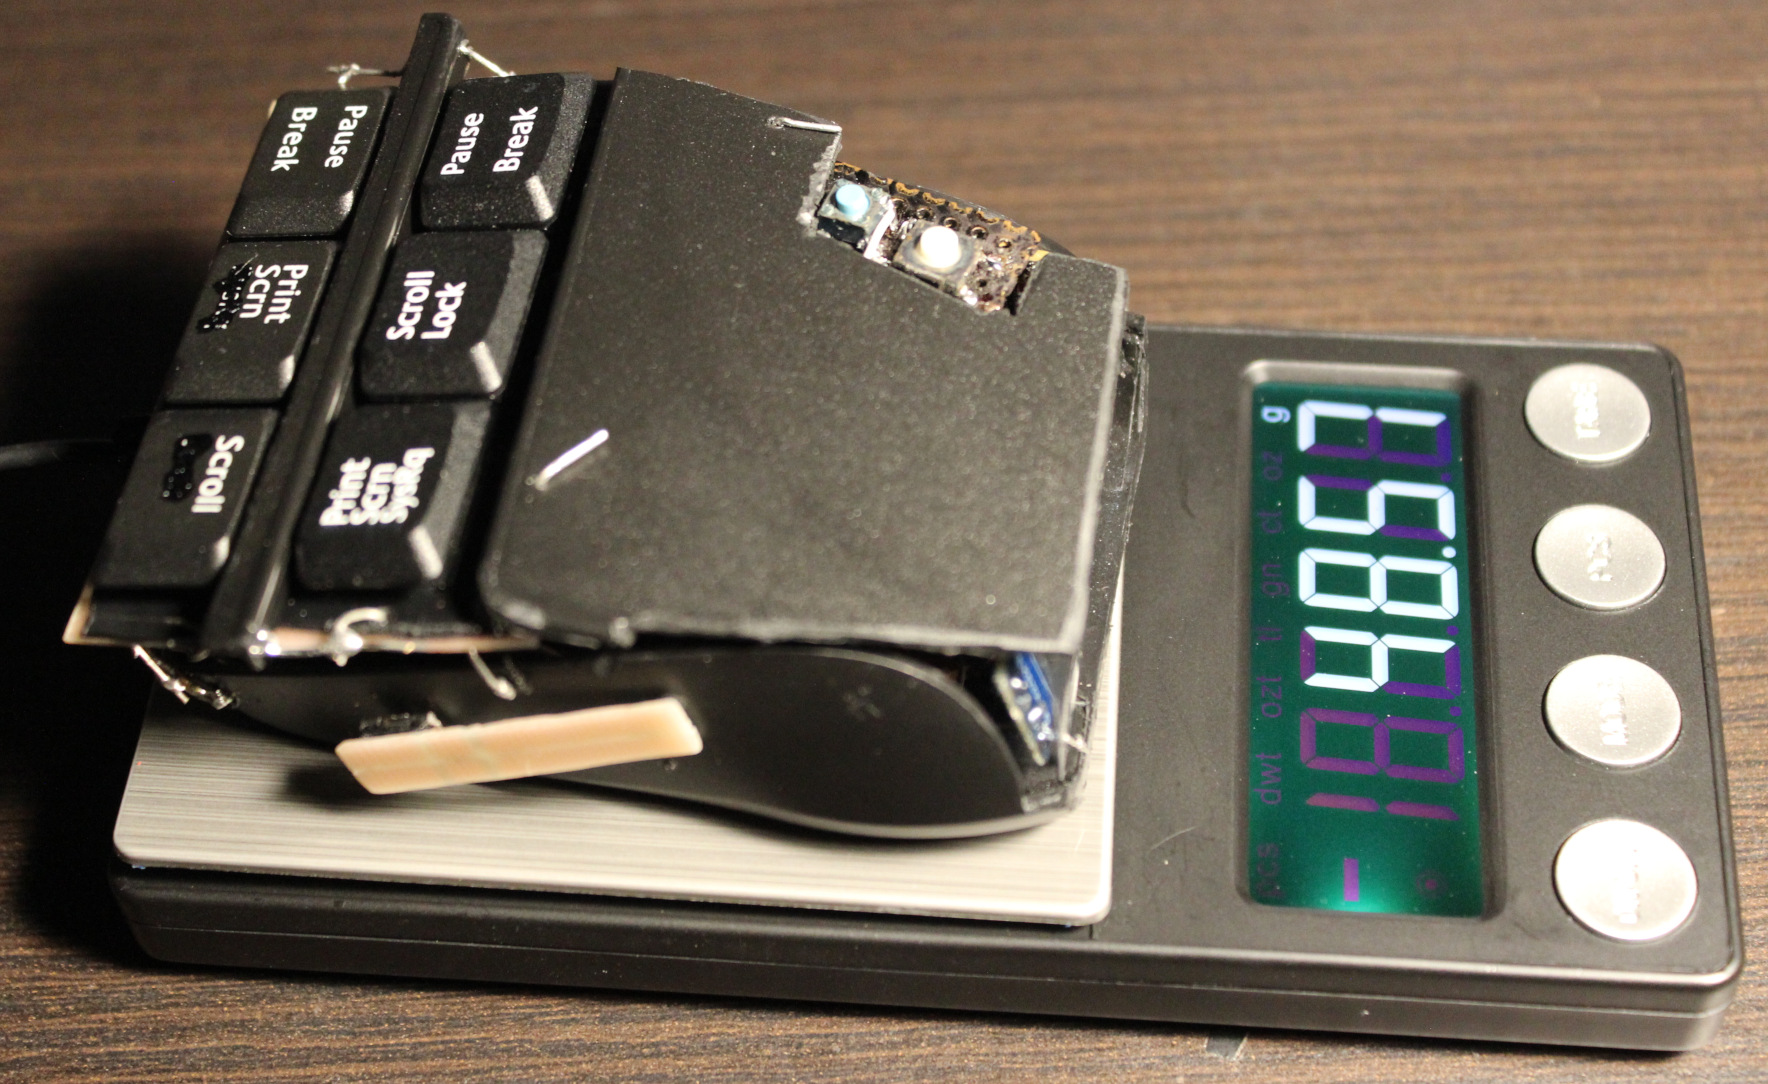
    Pictures: outside, then inside, weights, keys. Later pictures show earlier versions, work in progress.
    Video here.
    ⌛Conclusions

    Well, it surely is hard to get used to using it. I mean e.g. moving my hand from keyboard to mouse I can’t touch it or place fingers on these new keys, because that would already press them. That’s why this black plastic bar in middle and plastic cover are crucial, it’s the best first place to touch and rest fingers on it.
    So it will take a while. But I don’t want to use my old mouse already. It was nearby for a day and then vanished.

    It was a good project for me. It also took me a longer while to figure it out and finish.
    I also wanted it done first before going after making a whole PC keyboard (100 not 6 keys) with such sensors. Probably my other design though, PCB made keys not this commercial scissor key crap.

    I’m pretty sure anyone using just a default keyboard and mouse (with stupid 50 gram switches or even mechanical ones, that don’t go below 30 g I think), would likely go nuts with this mouse.

    Would I recommend it? No. Unless you know for sure you’re after the lowest actuation force in keys. And that could be the case if you have an injury that makes it hurt to press the default (and so stupid) keys. As for me, I want to avoid injuries and fatigue (from using way too old, ancient switches and keys continued just for profits). That’s why I use it.

    It is a joy to use even if tricky (you can’t touch this🎵) and a relief, less tiring when repeatedly. It was way to many times of me pressing the freaking mouse wheel (instead of an extra button) or even tedious scrolling. Instead I got a touch-key (for middle mouse), same like all other 6 now. Also keys to touch and hold, when I want to scroll mouse, not turn wheel repeatedly like a knob or something. I can even touch the Left button on mouse nearby with my smallest finger if needed. Lastly the “lift off” button on side is honestly like a must for each mouse. I just need to move it closer for thumb.

    The mouse weighs about 48 gram now, less than my previous half of old Logitech G5 which was 62 gram (after cutting off, visible on right of picture here), so it’s also better for me.
    I have plans for G5 to also rework it same way. I already removed lots and checked that 25 gram is the minimum working stuff, that’d need my keys and other stuff.

    There is also one thing I didn’t do: making it more ergonomic, e.g. having tilted keys at some angle. Well that’s for future project or update.

    DIY

    Lastly, and obviously this thing ain’t pretty. Was never a goal for me.
    It rather screams DIY. And it’s IMHO the only solution, not anything commercial. With DIY I got parts reused, I can fix, adjust or modify it later, etc. I set the budget (or price).
    It gives freedom and low cost. It promotes learning, not addiction to buying (consumerism).
    And most importantly for me: it makes it possible to have stuff that isn’t commercially available, and probably won’t. Crucial everyday useful things and software.
    I recently found this channel (mainly DIY RC toys) very inspiring and enlightening. There are plenty of DIY projects now e.g. on hackaday.

    The project doesn’t require 3D printing or company making PCBs. Surely it could.
    But for me a 3D printer seems nowadays like a too popular, way too expensive tool, or toy even. And so many projects (e.g. here) just looking like a commercial for 3D printing. But yeah other times like a quick way of sharing your design with others.

    I did PCBs just with my small drill, used with a dremel diamond cutting disc. I use it for cutting PCBs and for removing/trimming copper.
    This way was cheapest, I didn’t need to pay any company, and I had all stuff already at home. Of course if I had to do 3 or more mice like this, I’d go the alternative way.
  • 2025 Esp32 Clock🕑

    2025 Esp32 Clock🕑

    ⏱️Overview

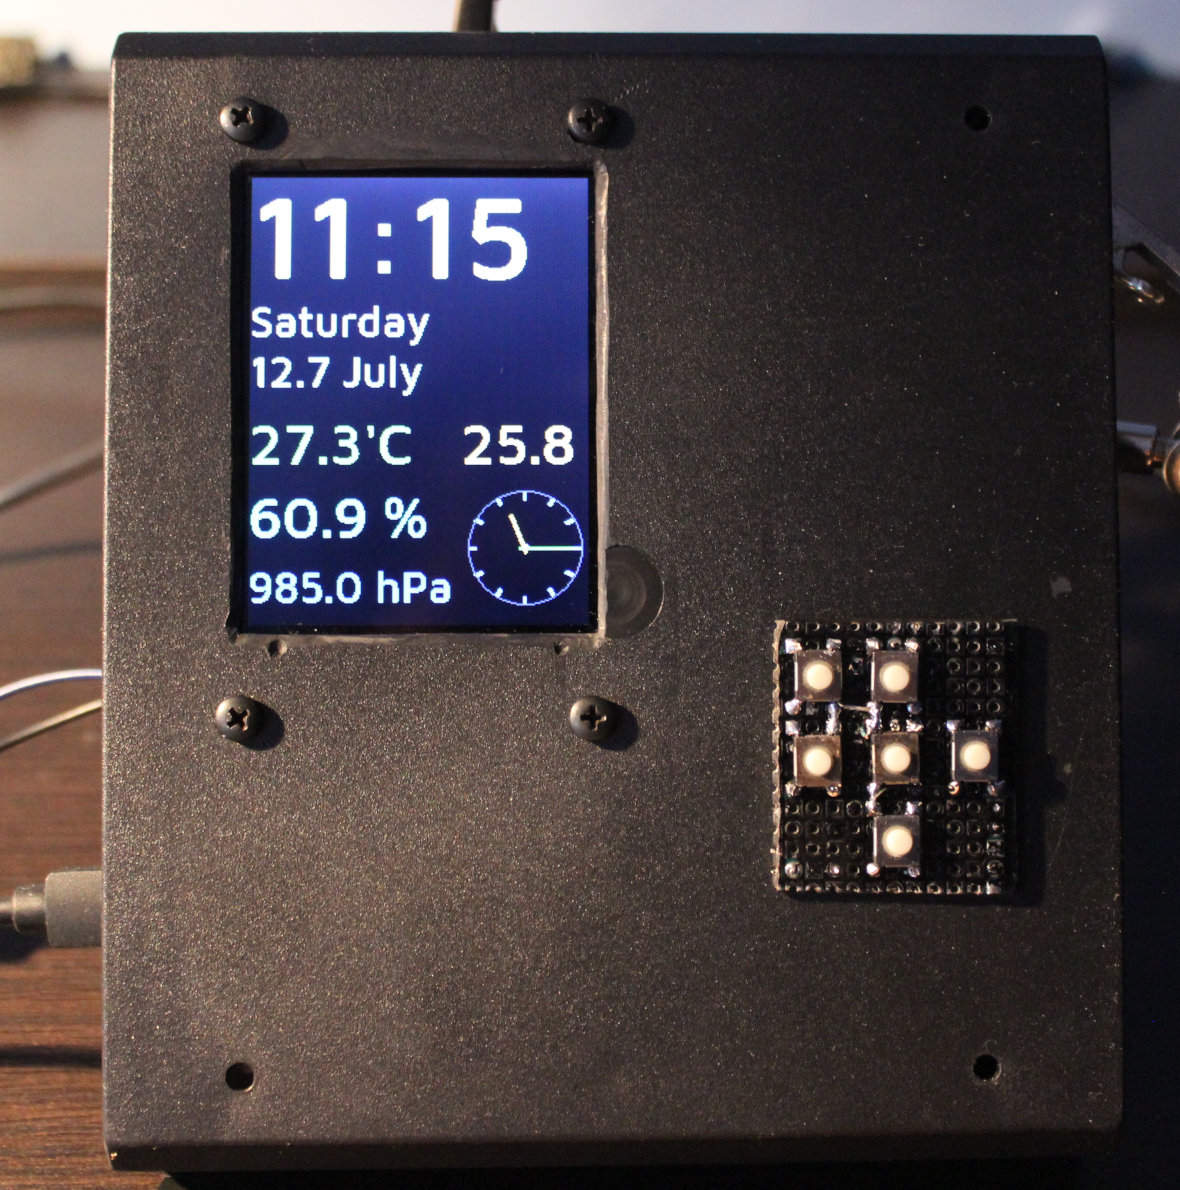
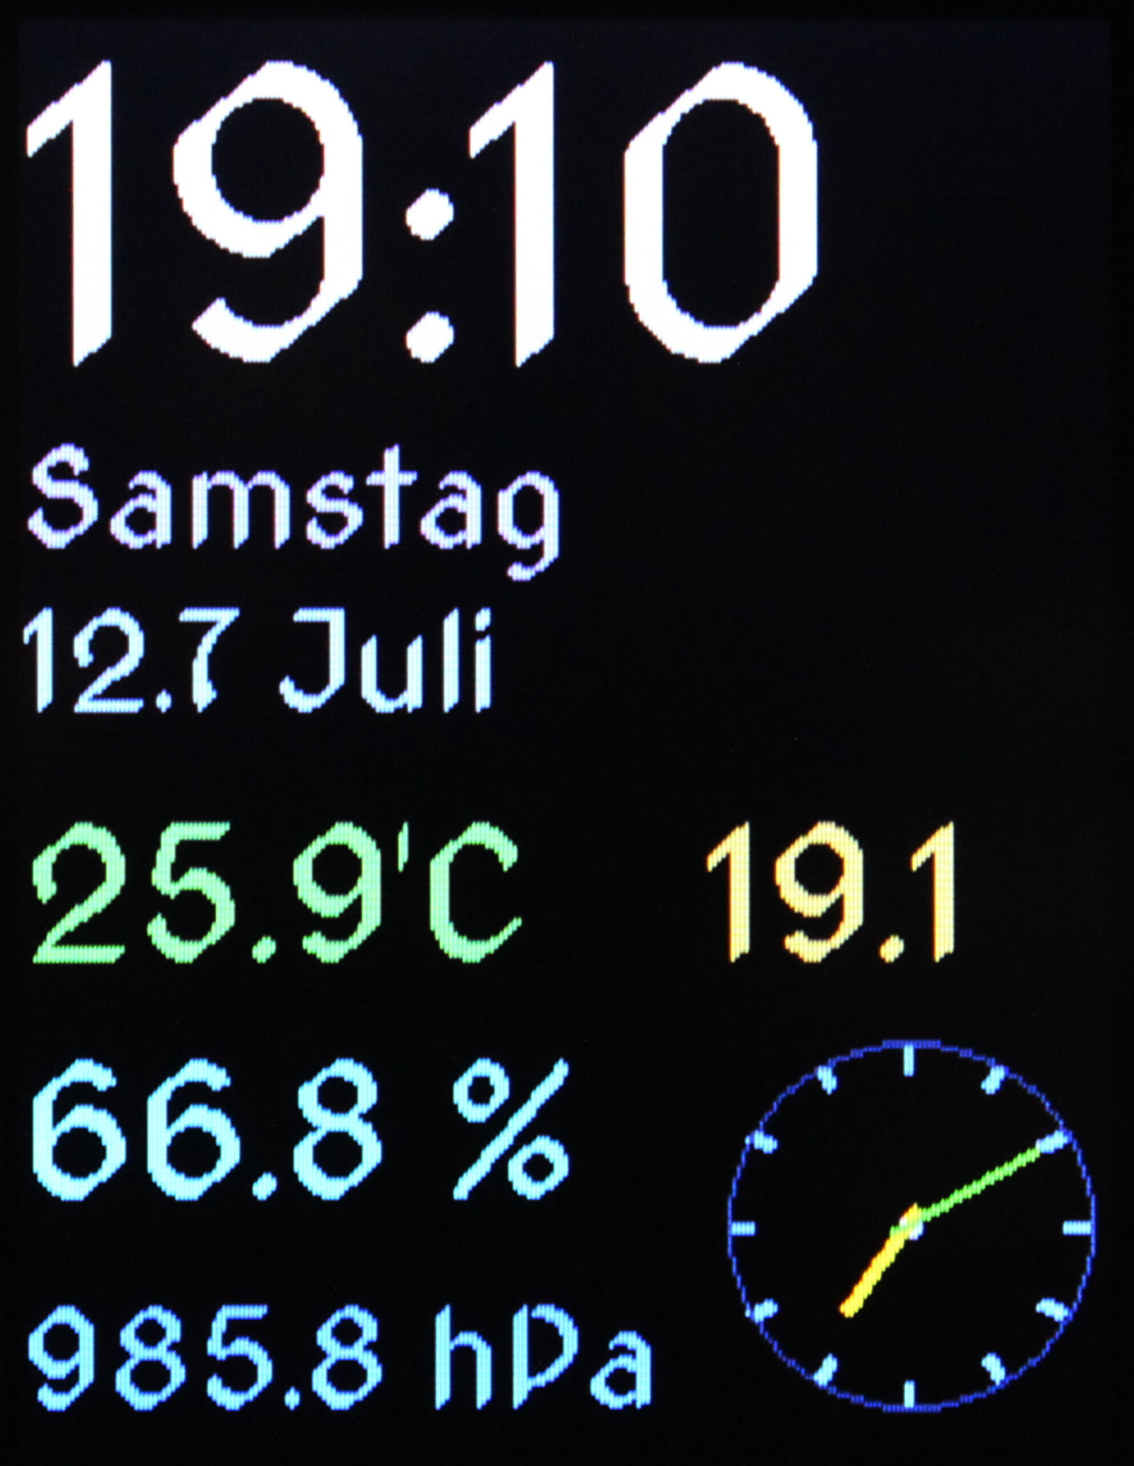
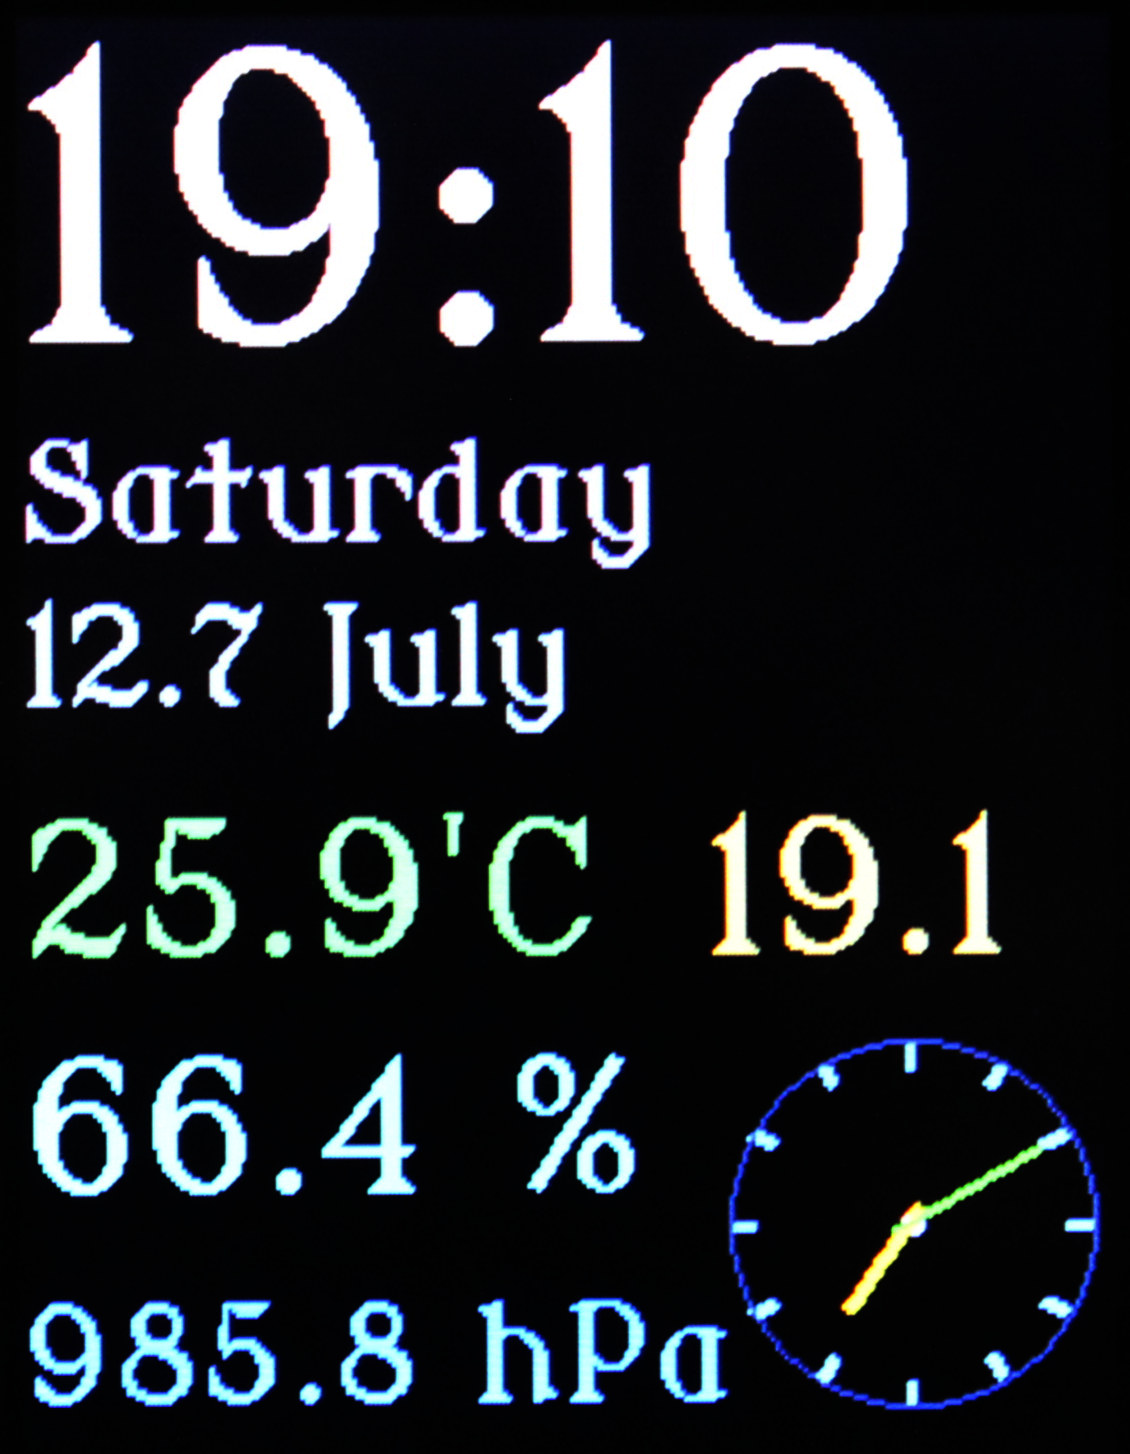
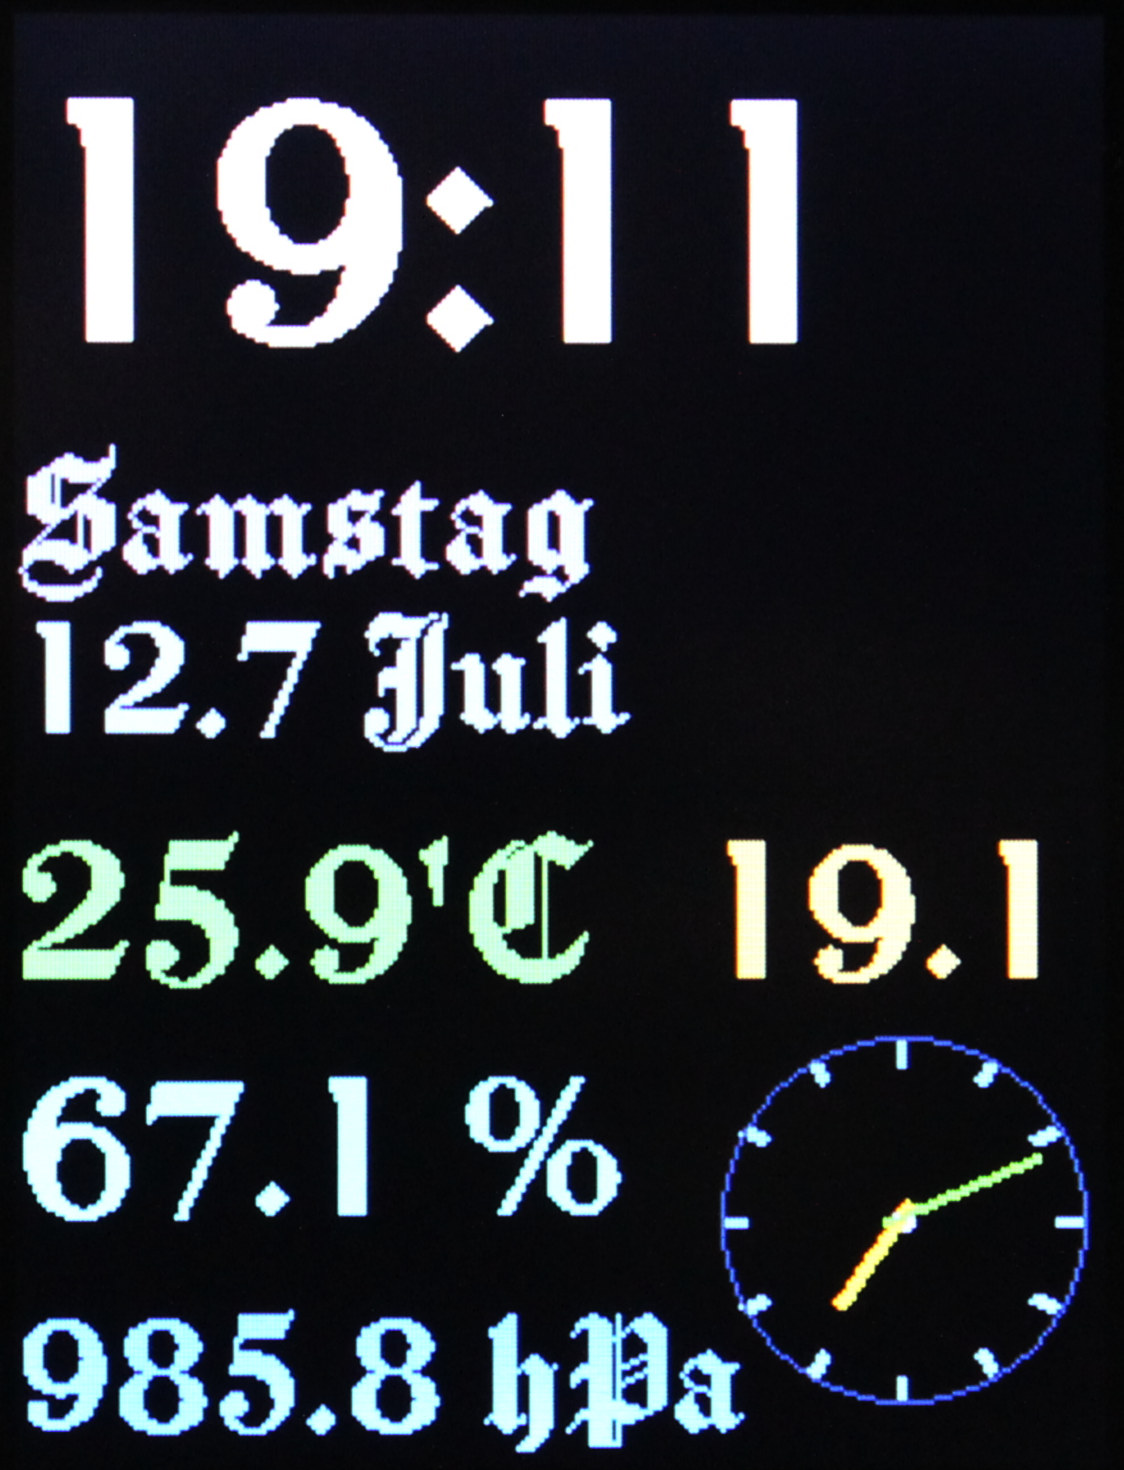
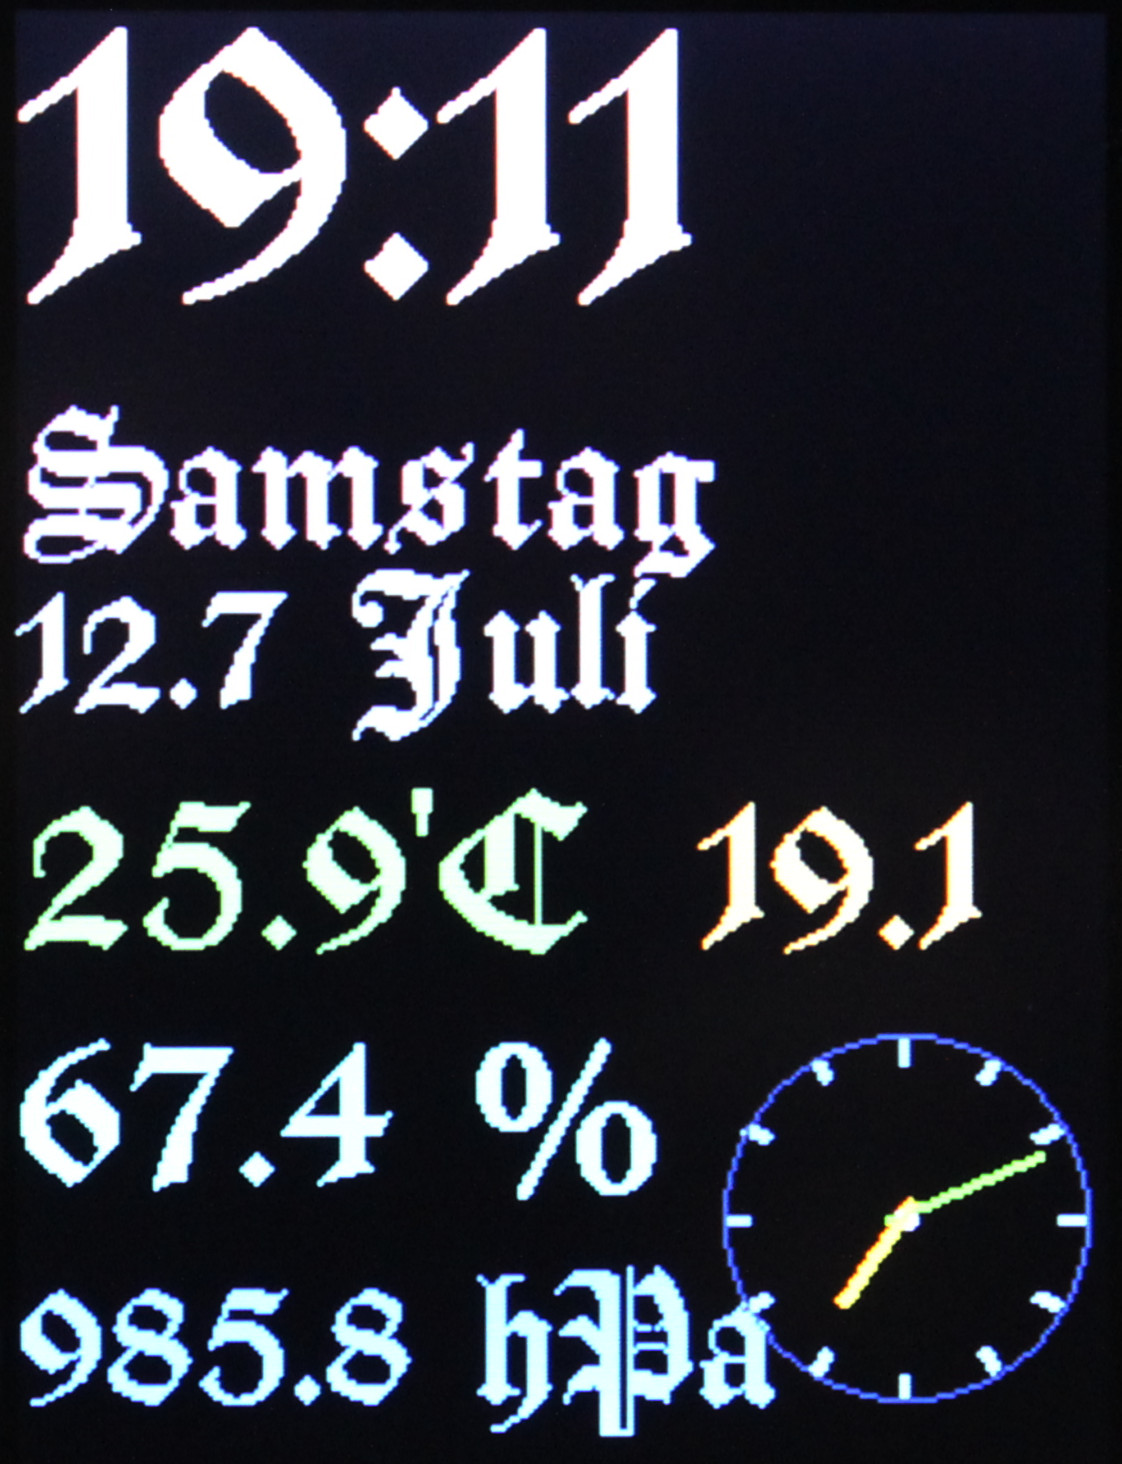
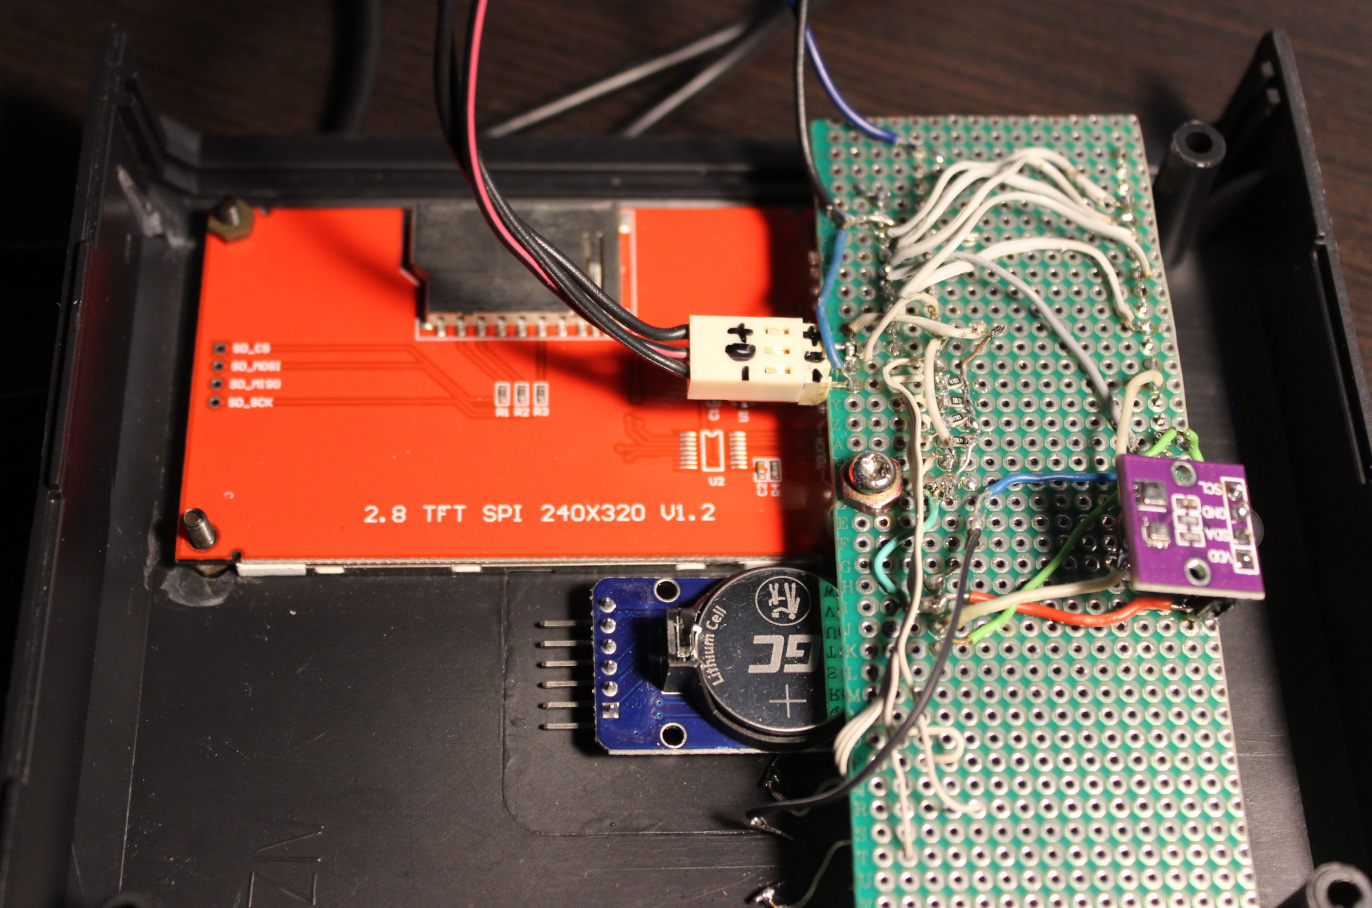
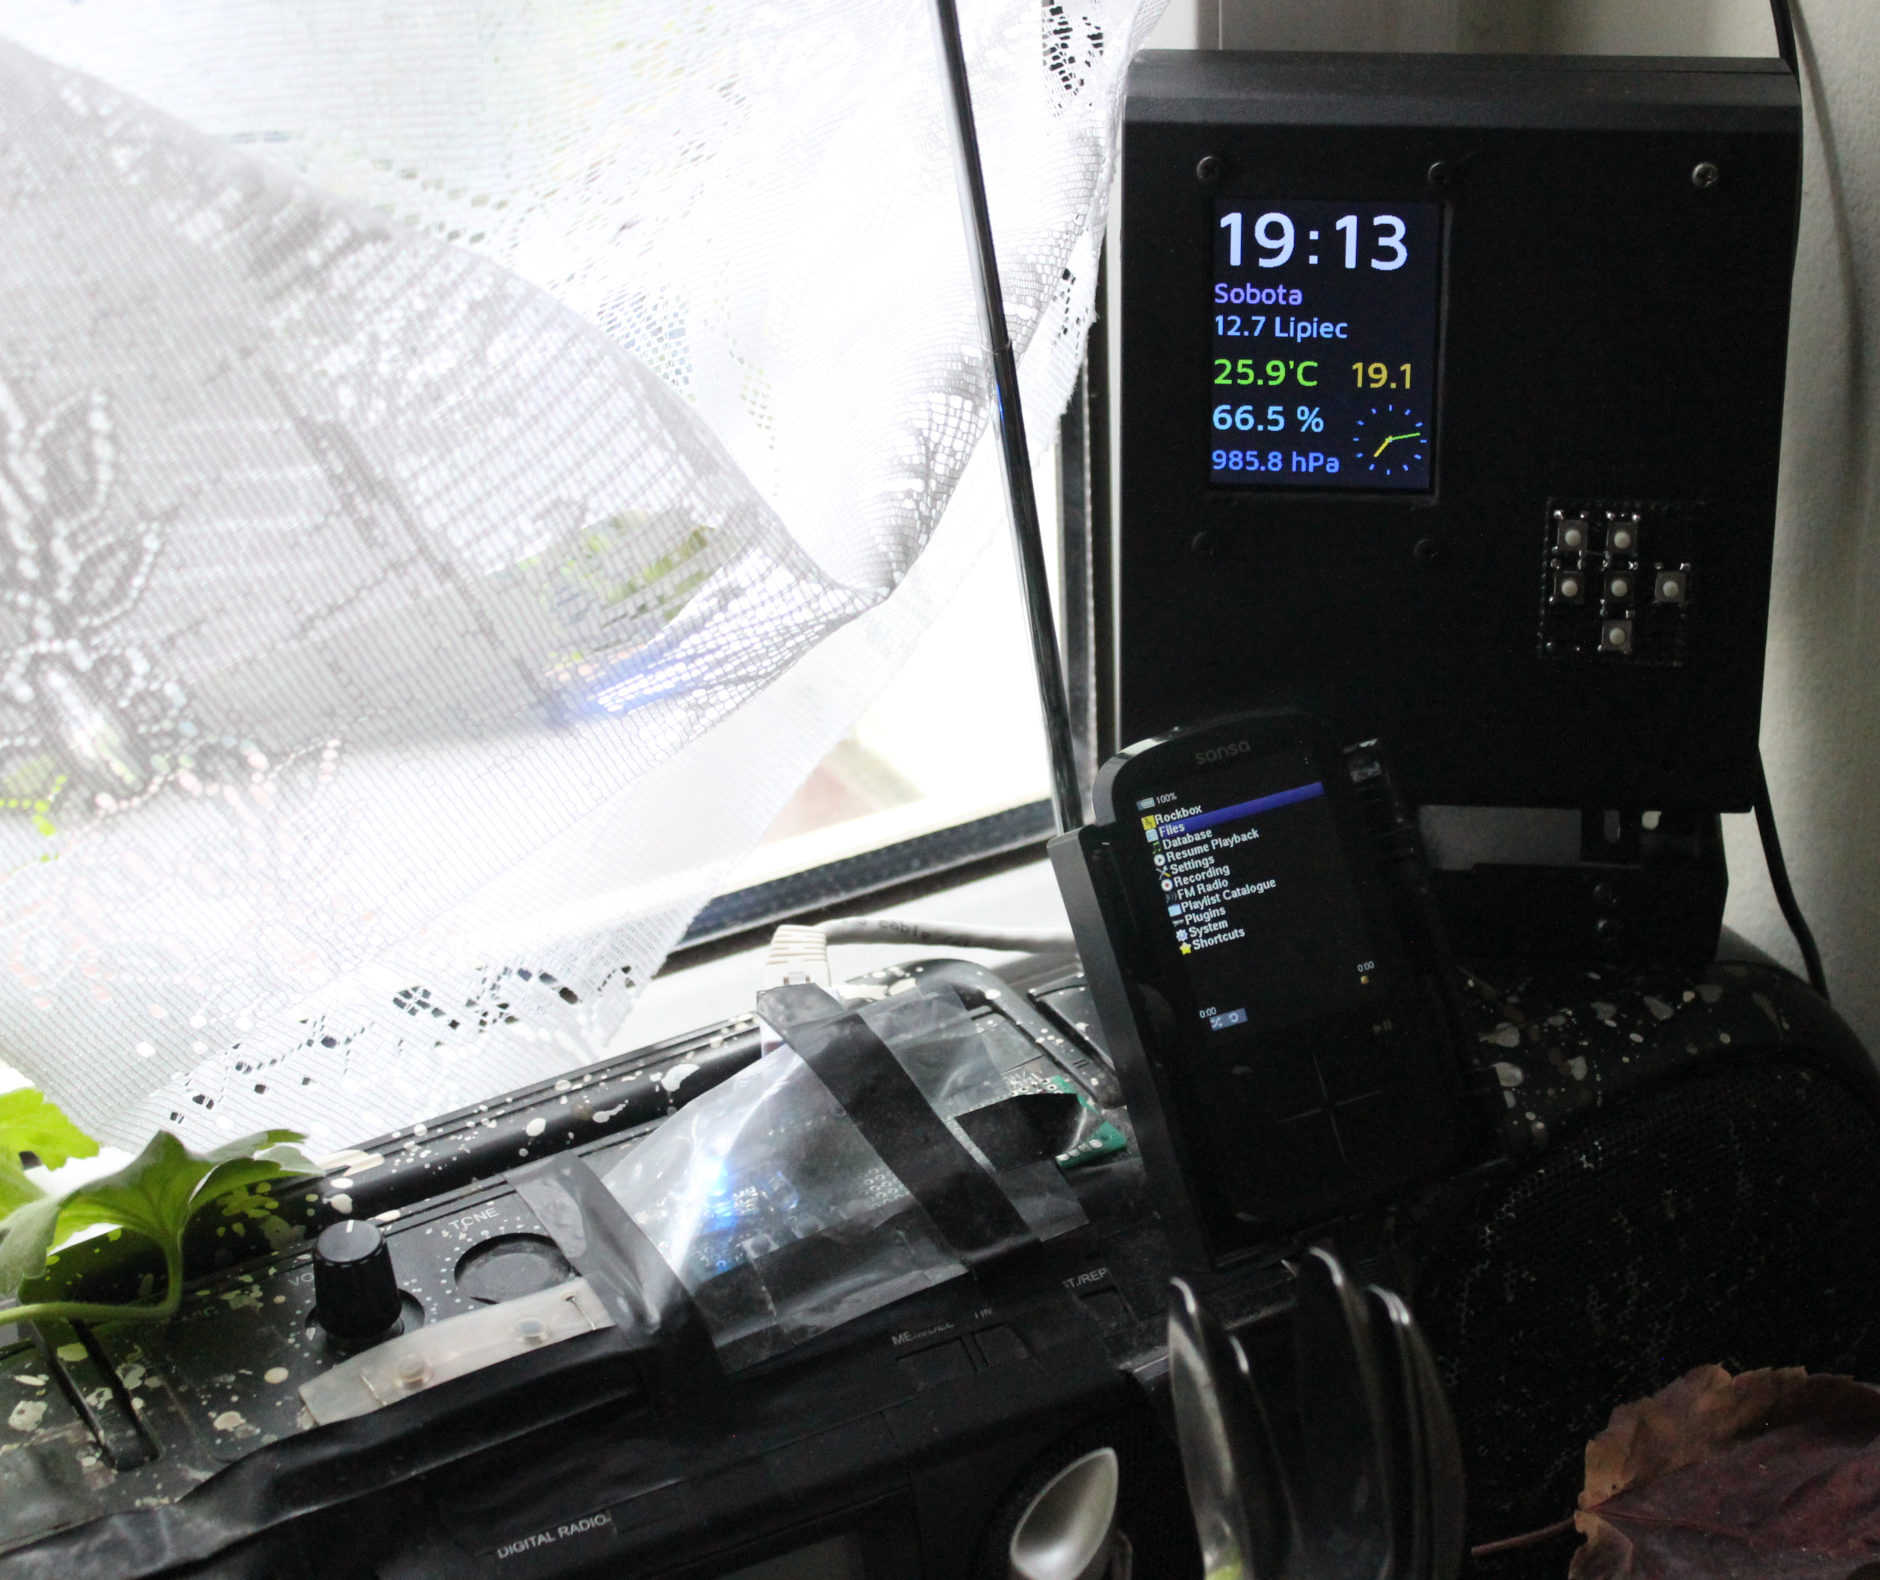
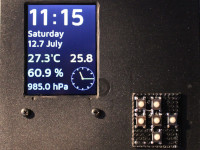
    This is a clock / weather station. It was a small project, that took about 1.5 weeks. It uses Esp32 board with LCD display, RTC module, and has few sensors.

    ✍️Motivation

    I needed a well made clock, just to show time, date, temperatures inside and outside and humidity in our kitchen. Naturally I had to make it myself as no such thing existed. Every commercial product has something annoying or done poorly, which you can’t really change.
    I already had a few Esp32 boards waiting, and I wanted to do something useful with them too.

    Until now we had:

    • A small, battery powered, old type LCD (black & white) clock for time, date, temperature and humidity. Was okay, but is now in other room.
      Even if digits are bigger, they are less visible, since there is not back light and its viewing angles are low, also depending on coming light direction.
    • As for temperature outside, I just put a separate, odd thing hanging on window. Was from a PC case and just using a thermocouple (which even didn’t detect below -8°C, but sadly due to climate change it’s less likely to see such temperatures here).
    • A timer with big digits on old b&w LCD. Have to press e.g. 30 times for 30 minutes, also it beeps on ever key press, which is seriously annoying. We still use it on fridge. But I intend to replace it with my own creation someday too.
    • An almost good weather station. Still old b&w LCD, big but not really that visible. It measured pressure too, strangely odd low values, IDK why. But all that drained way too much power. OFC producers want you to get addicted to buying freaking batteries (yeah.. cannot stop the battery and without vocals🎶). So the first thing I did was giving it a new 3V power supply, from nearest source our old kitchen HiFi .
      It was supposed to get the current time from that DCF radio signal, and I remember it had worked at first. But since years it didn’t and it always p!ssed me off when there was no power and I had to input time and date manually with stupid buttons.
    • Last thing I’ll mention here is that each device should have and remember its settings after power off (or battery removed). E.g. our freaking microwave oven forgets its custom programs.

    Thus doing things yourself (DIY) is key here. It fixes all of the above issues and leaves room for future ideas or improvements.
    For such small electronic devices it has become very easy (and cheap) in recent years. I’ve seen plenty of websites with countless projects, some have a complete guide (like for kids even) with image for wires to connect, full sources with explanation, etc.

    🌎Websites with Esp32 projects:
    esp32io here (great tutorial), educ8s here (with video playlist) and another playlist.

    I think the key for my project with such LCD was finding a library (FabGL) that sends using SPI and DMA. First I found a video showing it works well, then sources here, and a good reference on how and what it can draw. It was the same story as with my keyboard which has the same LCD. It is most important to draw as fast as possible. Those aren’t tiny projects with small OLED displays on I2C which could use those Adafruit libraries.

    There can also be numerous ideas for new features for future. E.g. since Esp32 has WiFi, it could read weather forecast from internet (if I had WiFi set up at home).

    ⚙️IDEs

    I was pressed on time, since I wanted a new clock, not spending long time on setting up proper IDE to develop. So I just used that abomination of an IDE called Arduino “IDE” 2 (1 was even way worse) for build & upload and edited sources in VSCodium with my theme and setup.

    There are definitely few alternatives for Arduino IDE (which is easiest to set up and get working, but nothing else):

    • PlatformIO, sadly only for VSCode (Im not okay with being MS slave). There seems to be a way for VSCodium here, I didn’t try it.
    • Sloeber, is based on Eclipse IDE. E.g. video of it. (I dislike Java and Eclipse too).
      It worked for me, but I’m not sure if all needed libraries are there too, FabGL didn’t find SPI.h for me, probably needs even more time to set up right.
    • ESP IDF, the official way for Espressif MCUs like Esp32, also a video for starting.
      Seems like it needs building from sources on Linux, so I also didn’t try yet.

    📂Sources

    Sources are here.
    I was editing code in VSCodium, then building and uploading using the worst Arduino IDE 2.

    📊Features

    • MCU: ESP32 dev module – older Esp-Wroom-32, has 36 pins (pinout), not really important which
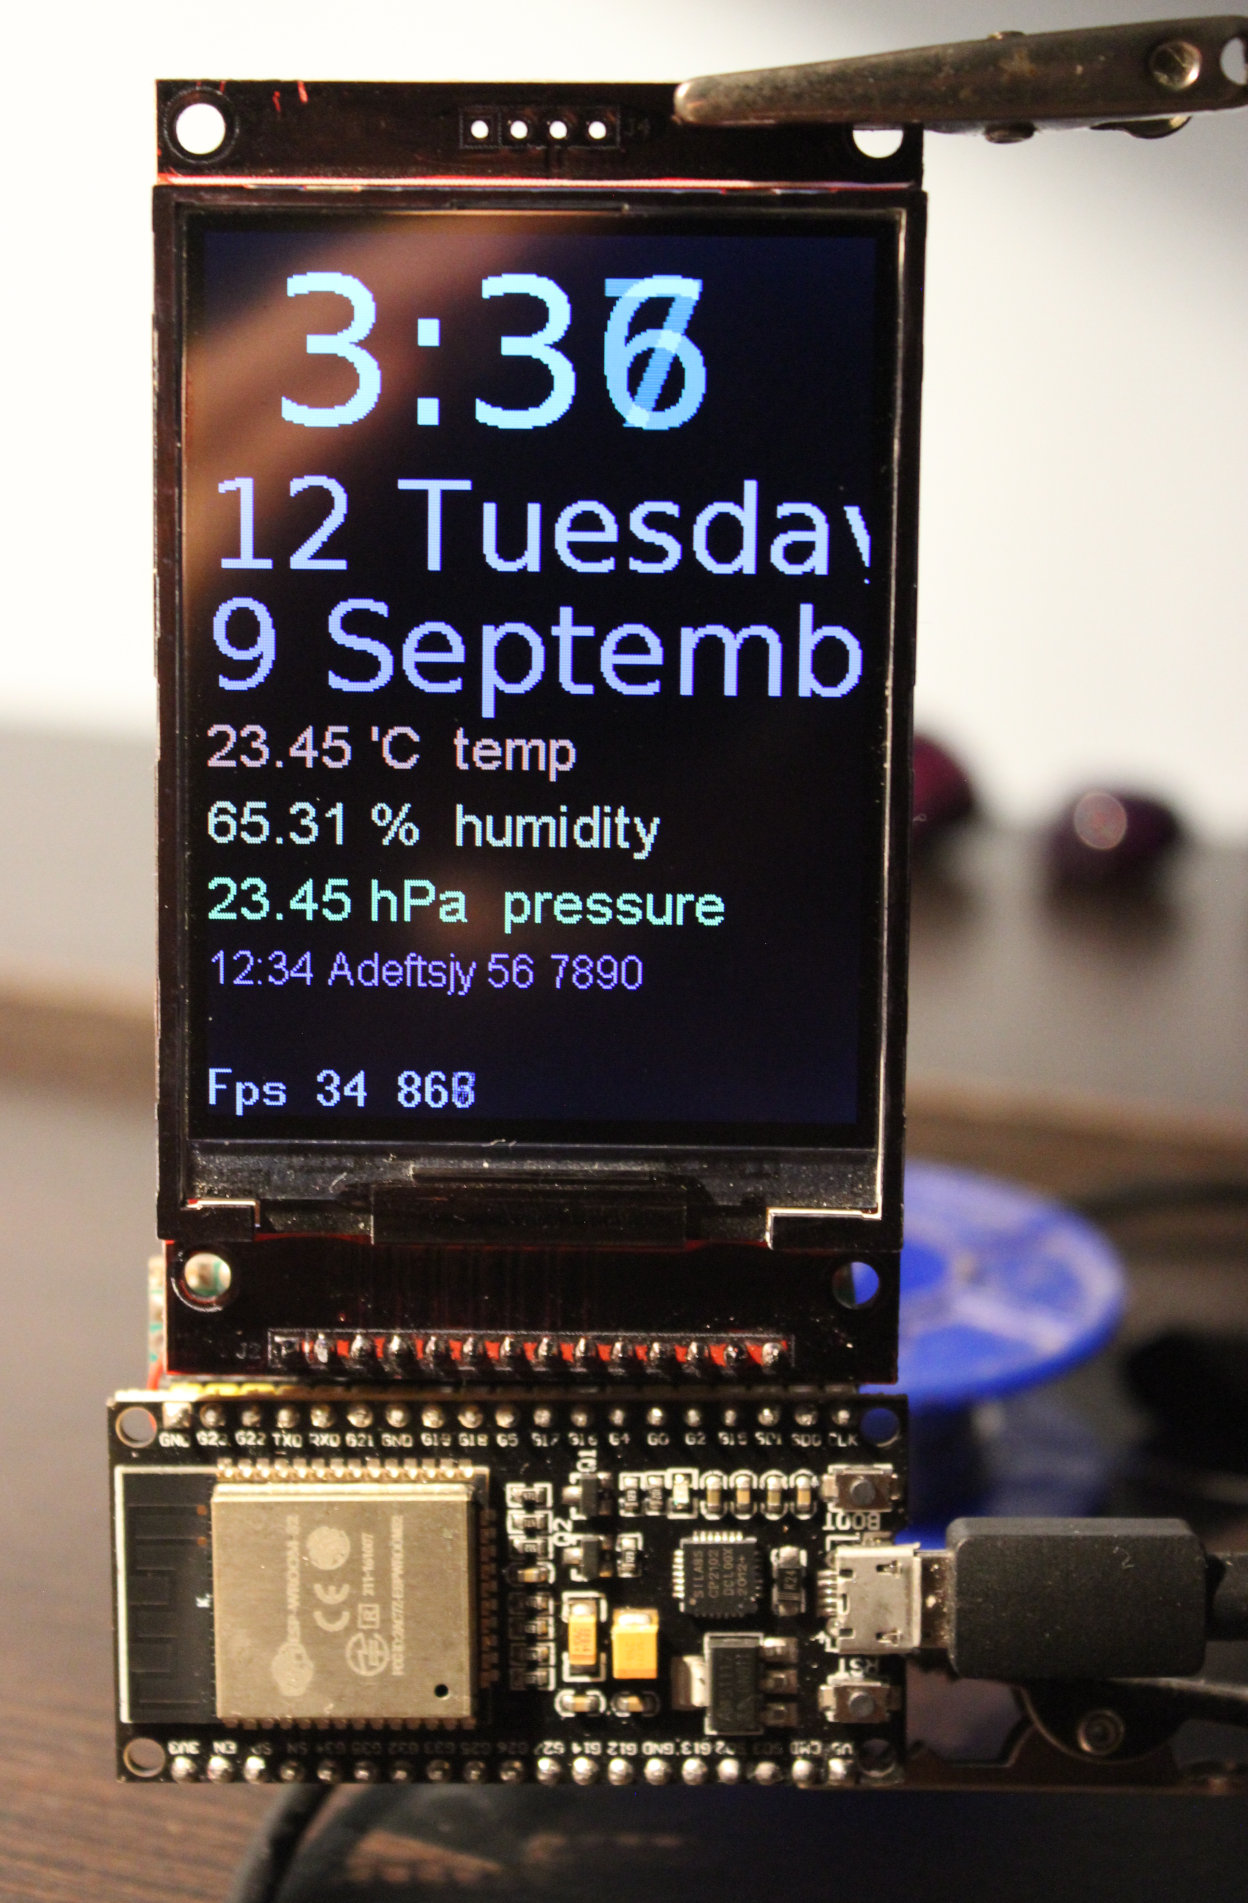
    • Display: LCD TFT ILI9341 – vertical 240 x 320, 1 pin with PWM for brightness LED
    • RTC: DS3231 – for time and date, with CR2032 battery (used when power goes out)
    • Sensors: AHT20 – temperature and humidity, DS18B20 – external temperature, BMP280 – pressure
    • Keyboard with 6 keys: up, down, left/dec-, right/inc+, enter, back
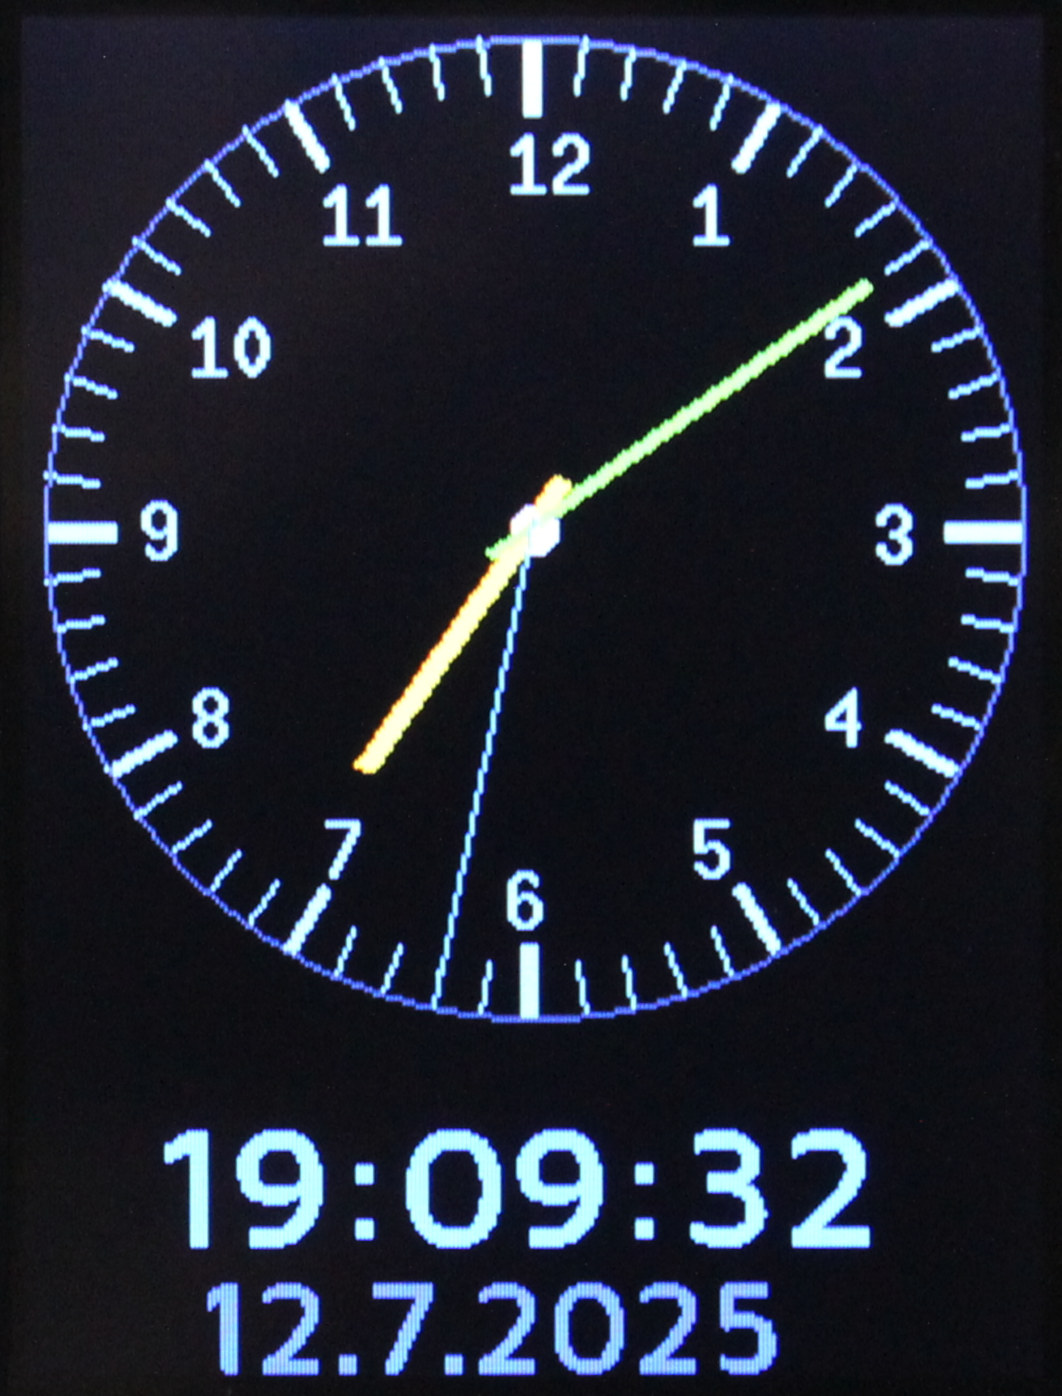
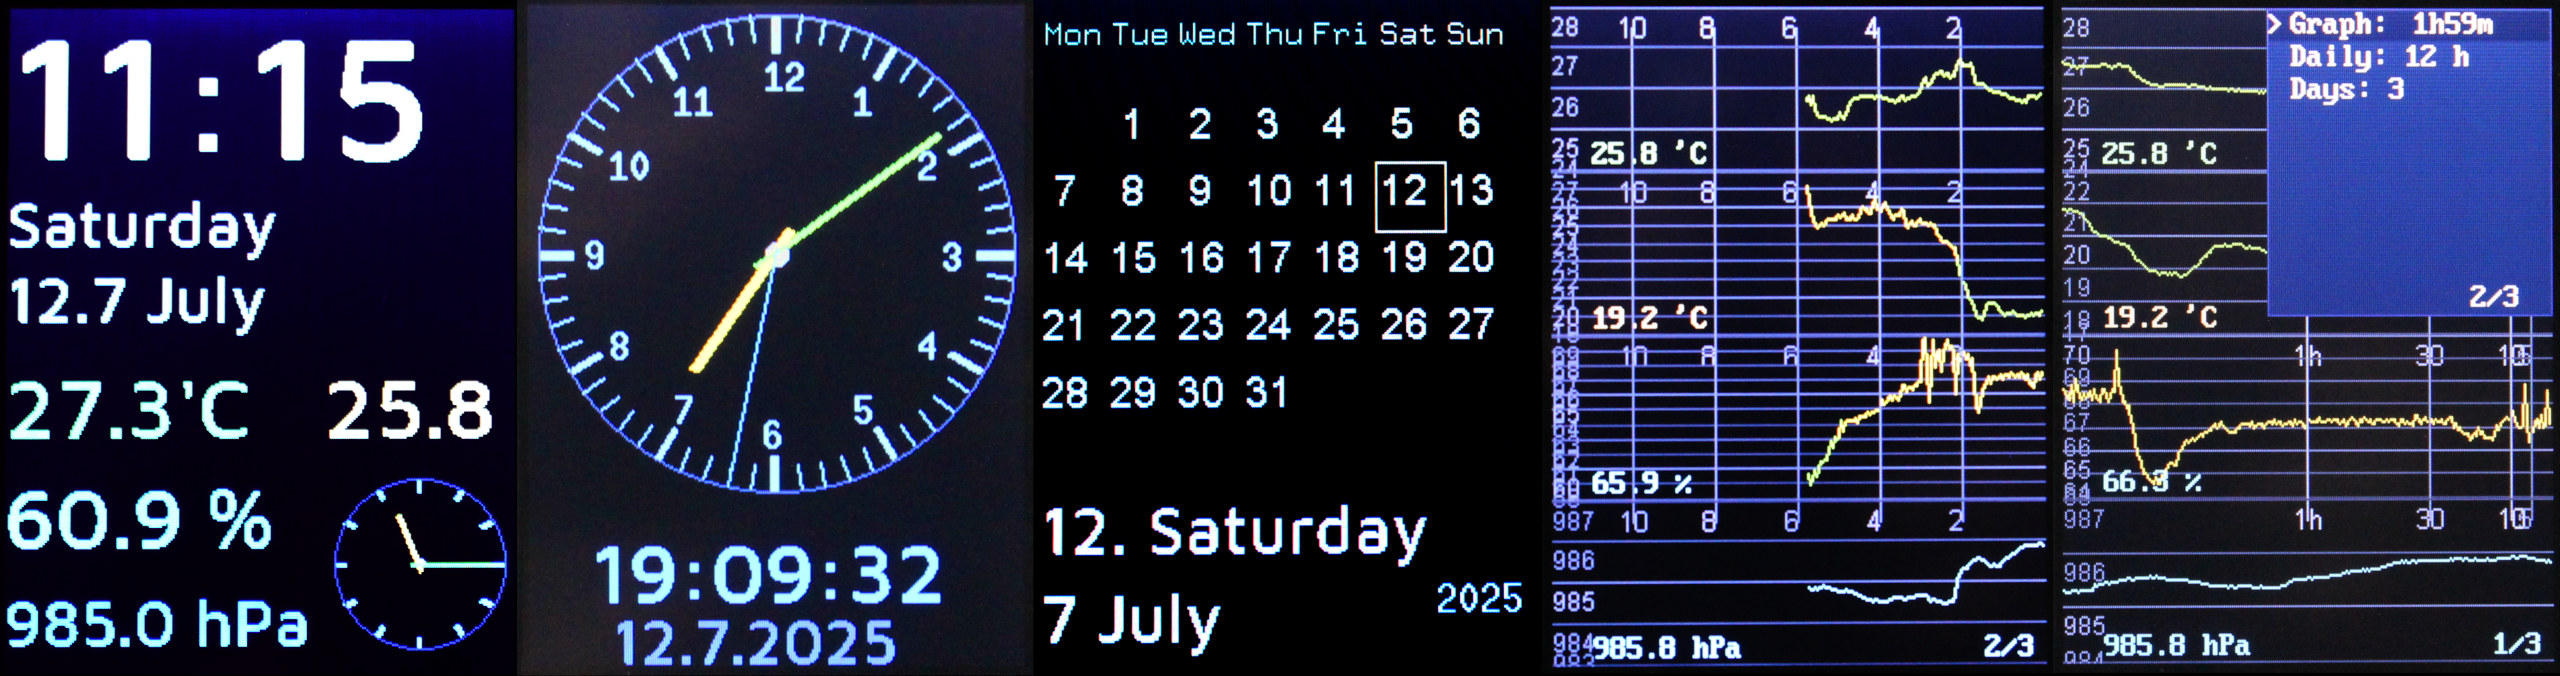
    • 4 View pages showin:
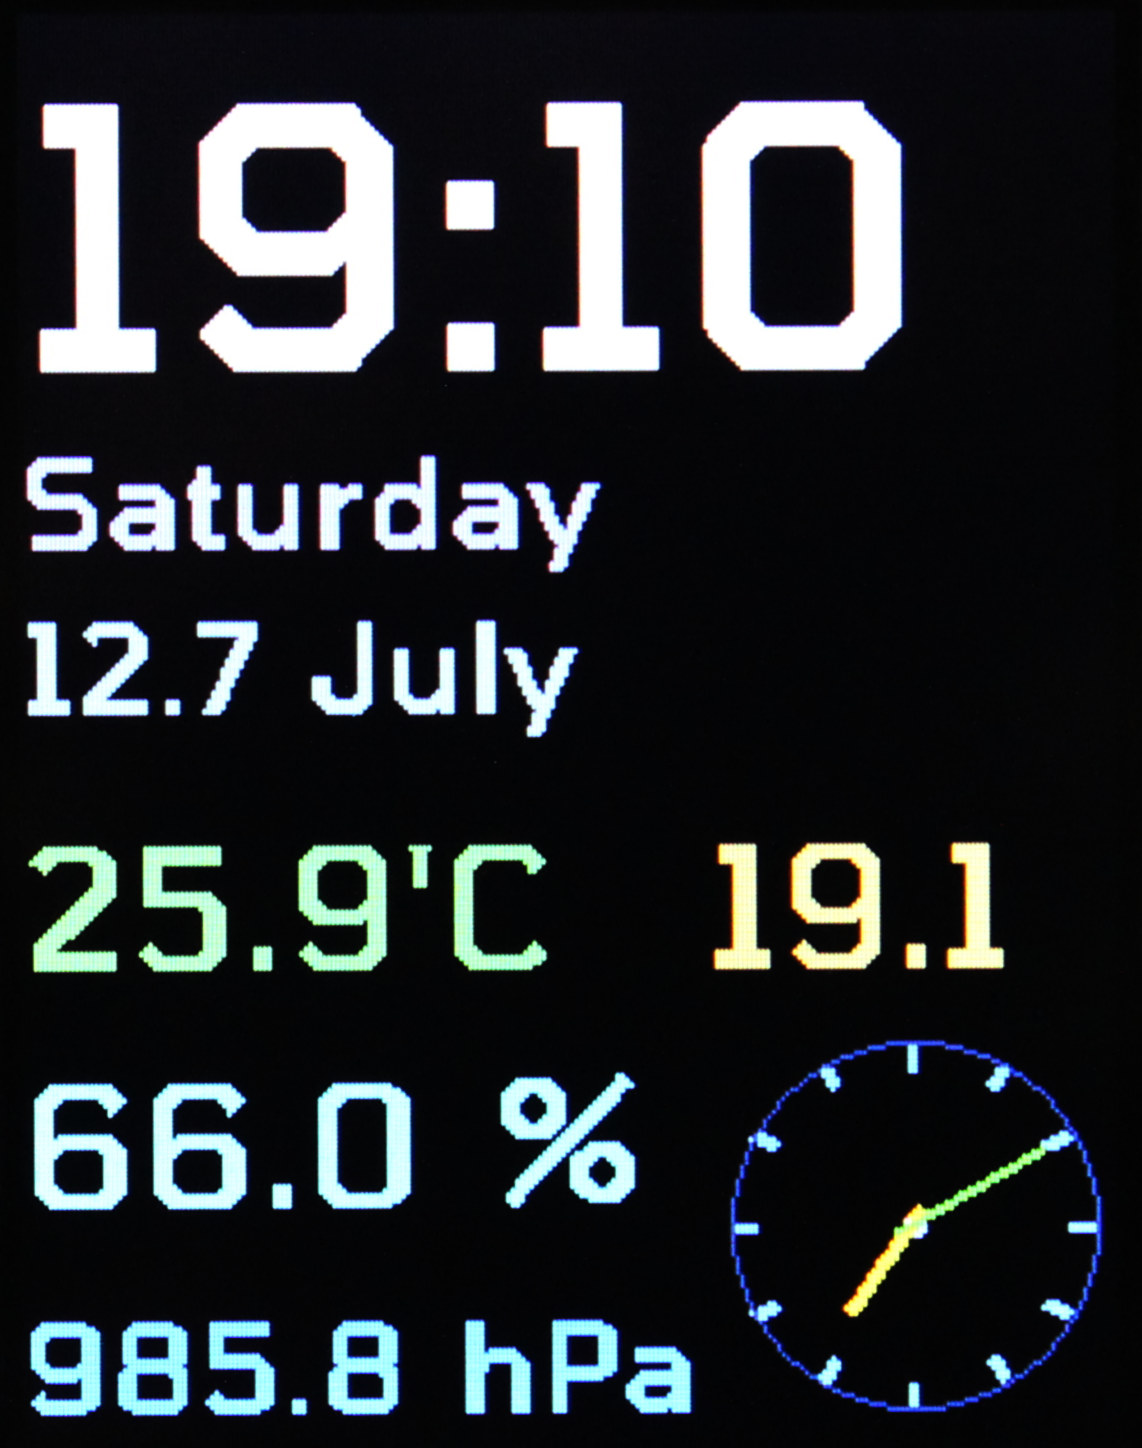
      • digital clock with date and 4 sensor values:
        temperature inside °C, outside °C, humidity %, pressure hPa
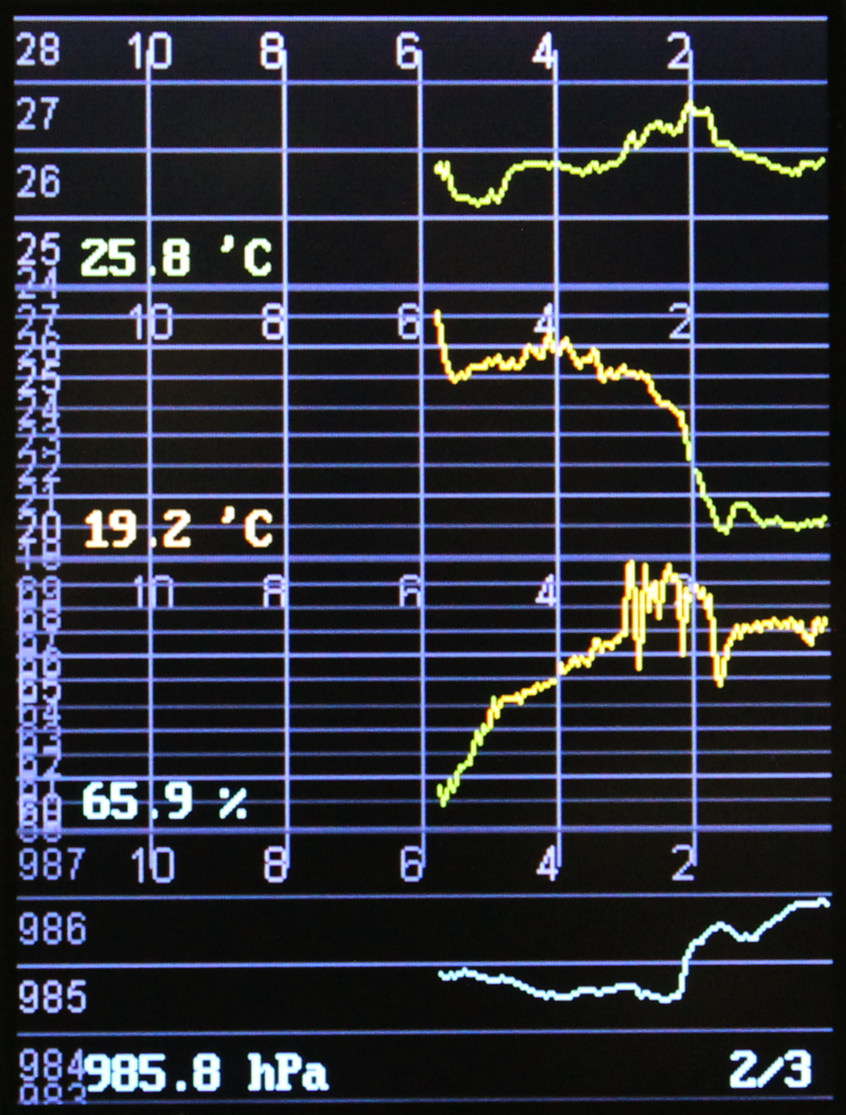
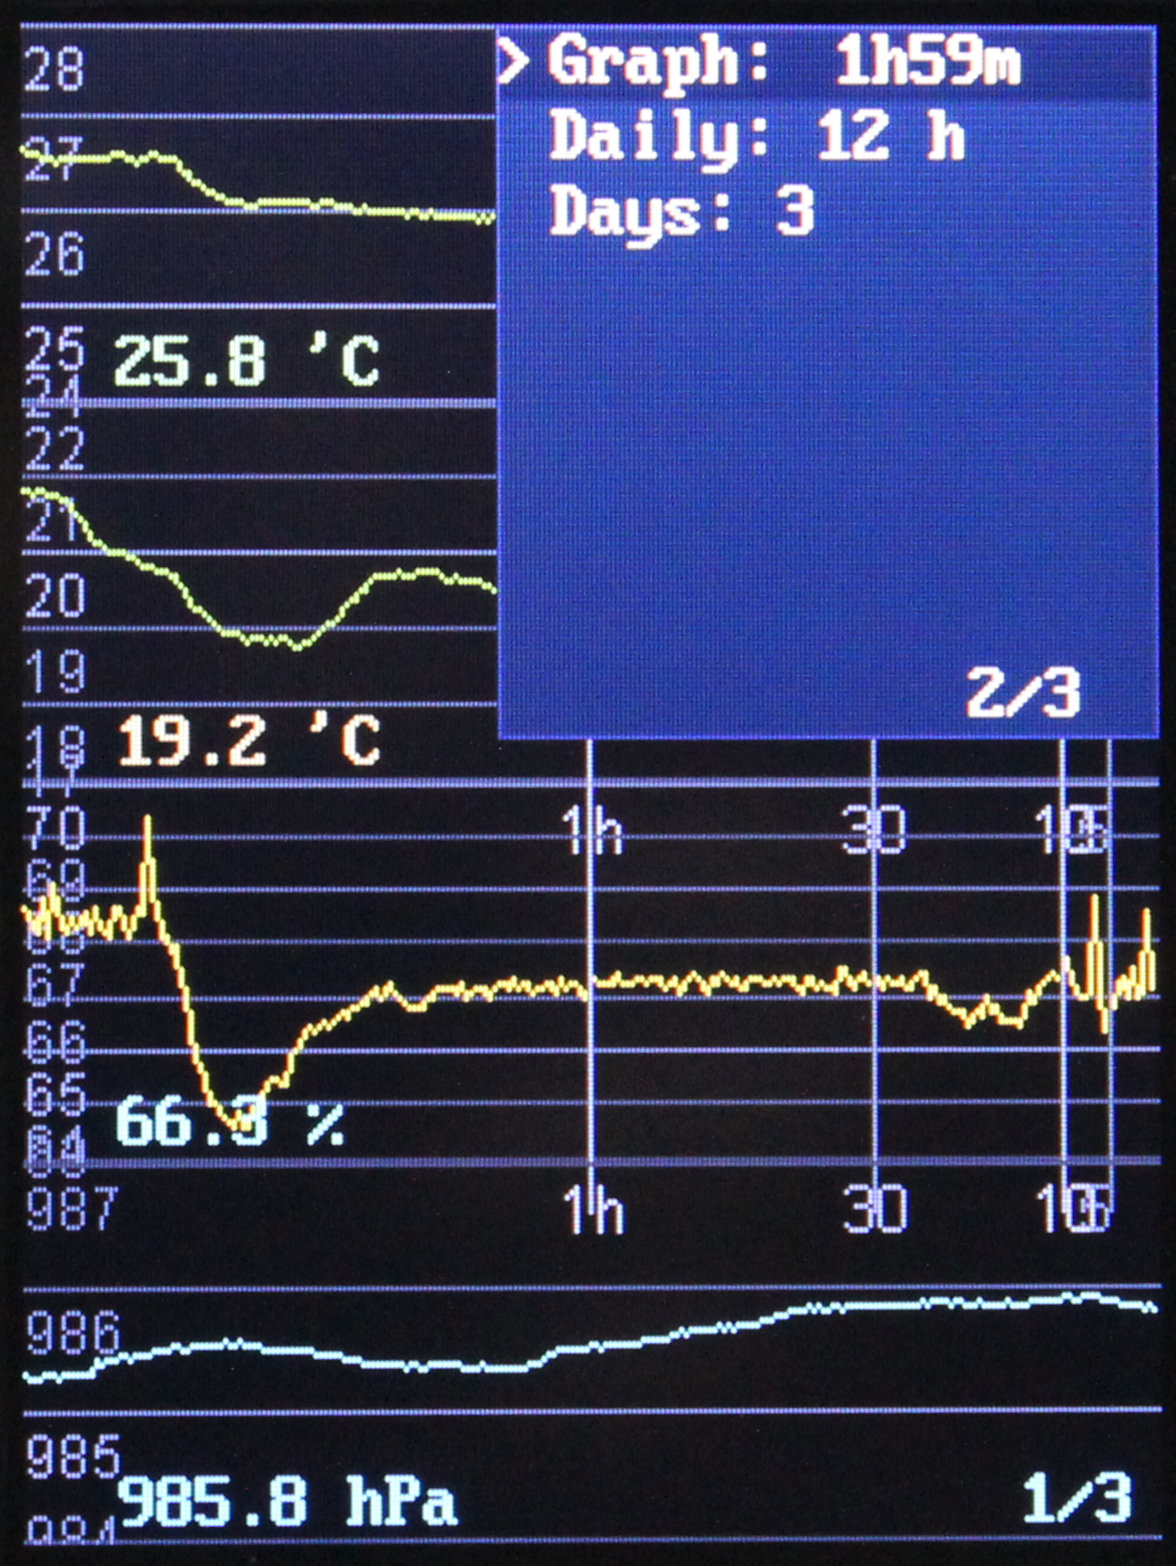
      • 📉 4 sensor graphs:
        in one of 3 views: hourly, daily, days (time lengths for these are in options)
      • 🕑 analog clock with date
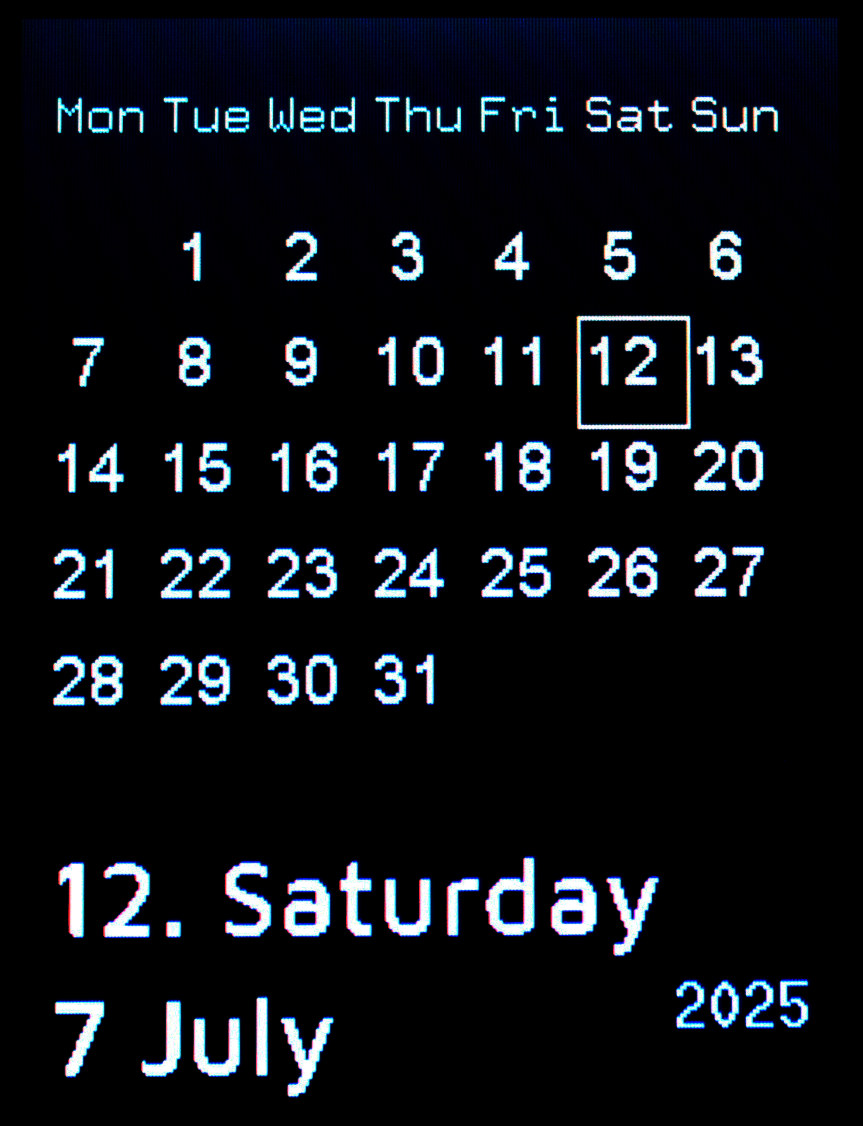
      • 📅 calendar month view
    • 7 different fonts (styles), 3 sizes
      searched for OFL licensed fonts on this website. Then used FabGL’s tool to generate .h file from font for each needed size. Lastly wrote a helper .py script that does this for all .ttf I have (I also put them in repo)
    • simple Gui with options (on 3 pages), config is stored using EEPROM

    ➡️Conclusions

    So far it seems great. I don’t see much I’d change, and when I eventually will need to, I can just unmount it and take to develop its code and change anything really. It’s what’s missing in every commercial project. Only open harware with open software allows this.
    Turns out Esp32 (at 240 MHz) can handle such 320 x 240 display very well. When using SPI at 80 MHz it does draw about 35 (with texts) to 41 Fps (when almost empty). I am already using same display in my keyboard with Teensy 4 which is even faster (600 MHz) but way more expensive, it does always 45 Fps (at 60 MHz SPI, could do 60 Fps at 80 but that failed for me).
    Esp32 for me really is best in terms of performance and cost now. And since I managed to finally do something using it, this will make it easier for future projects also using it.

    🖼️Gallery

  • 2025 M.A.R.S. shooter fork

    2025 M.A.R.S. shooter fork

    ⏱️Overview

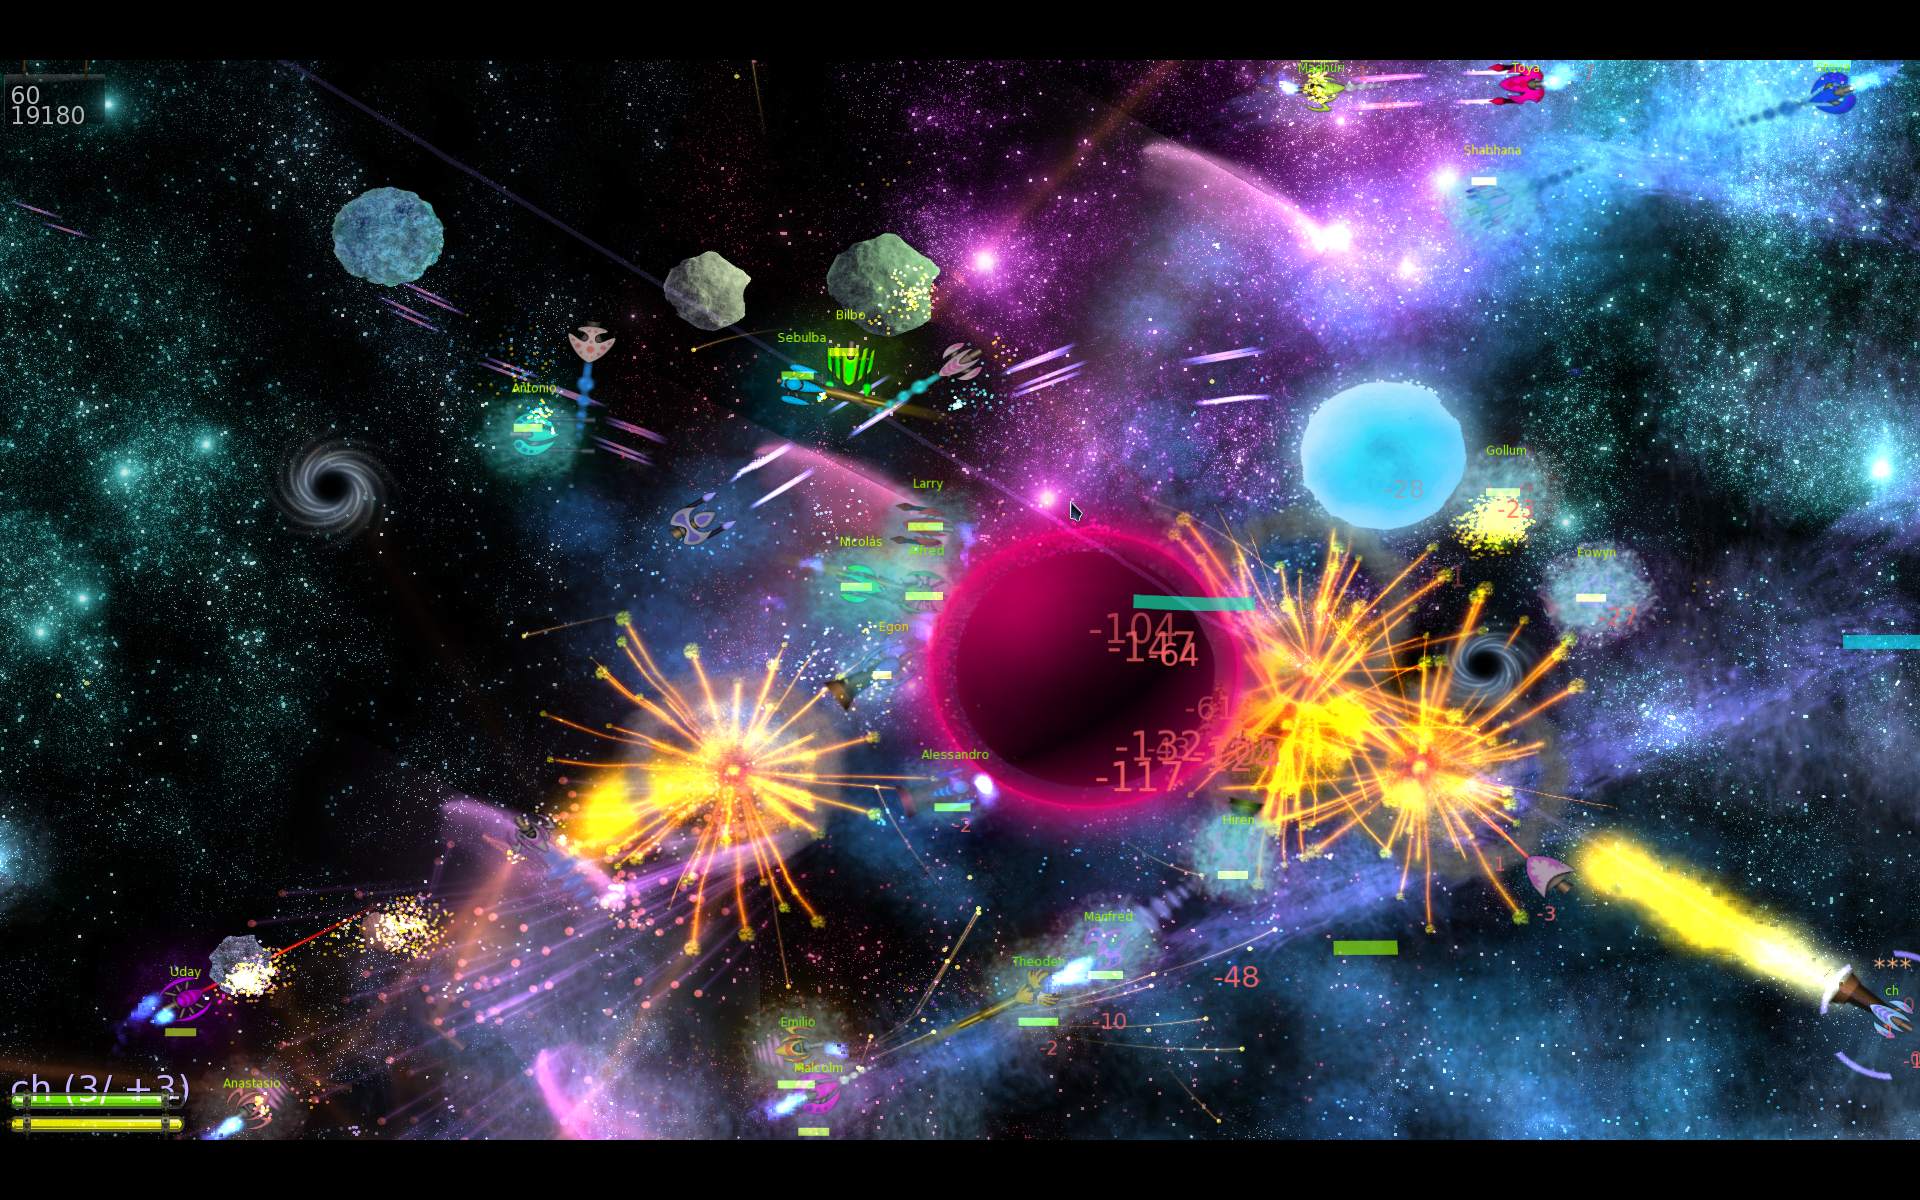
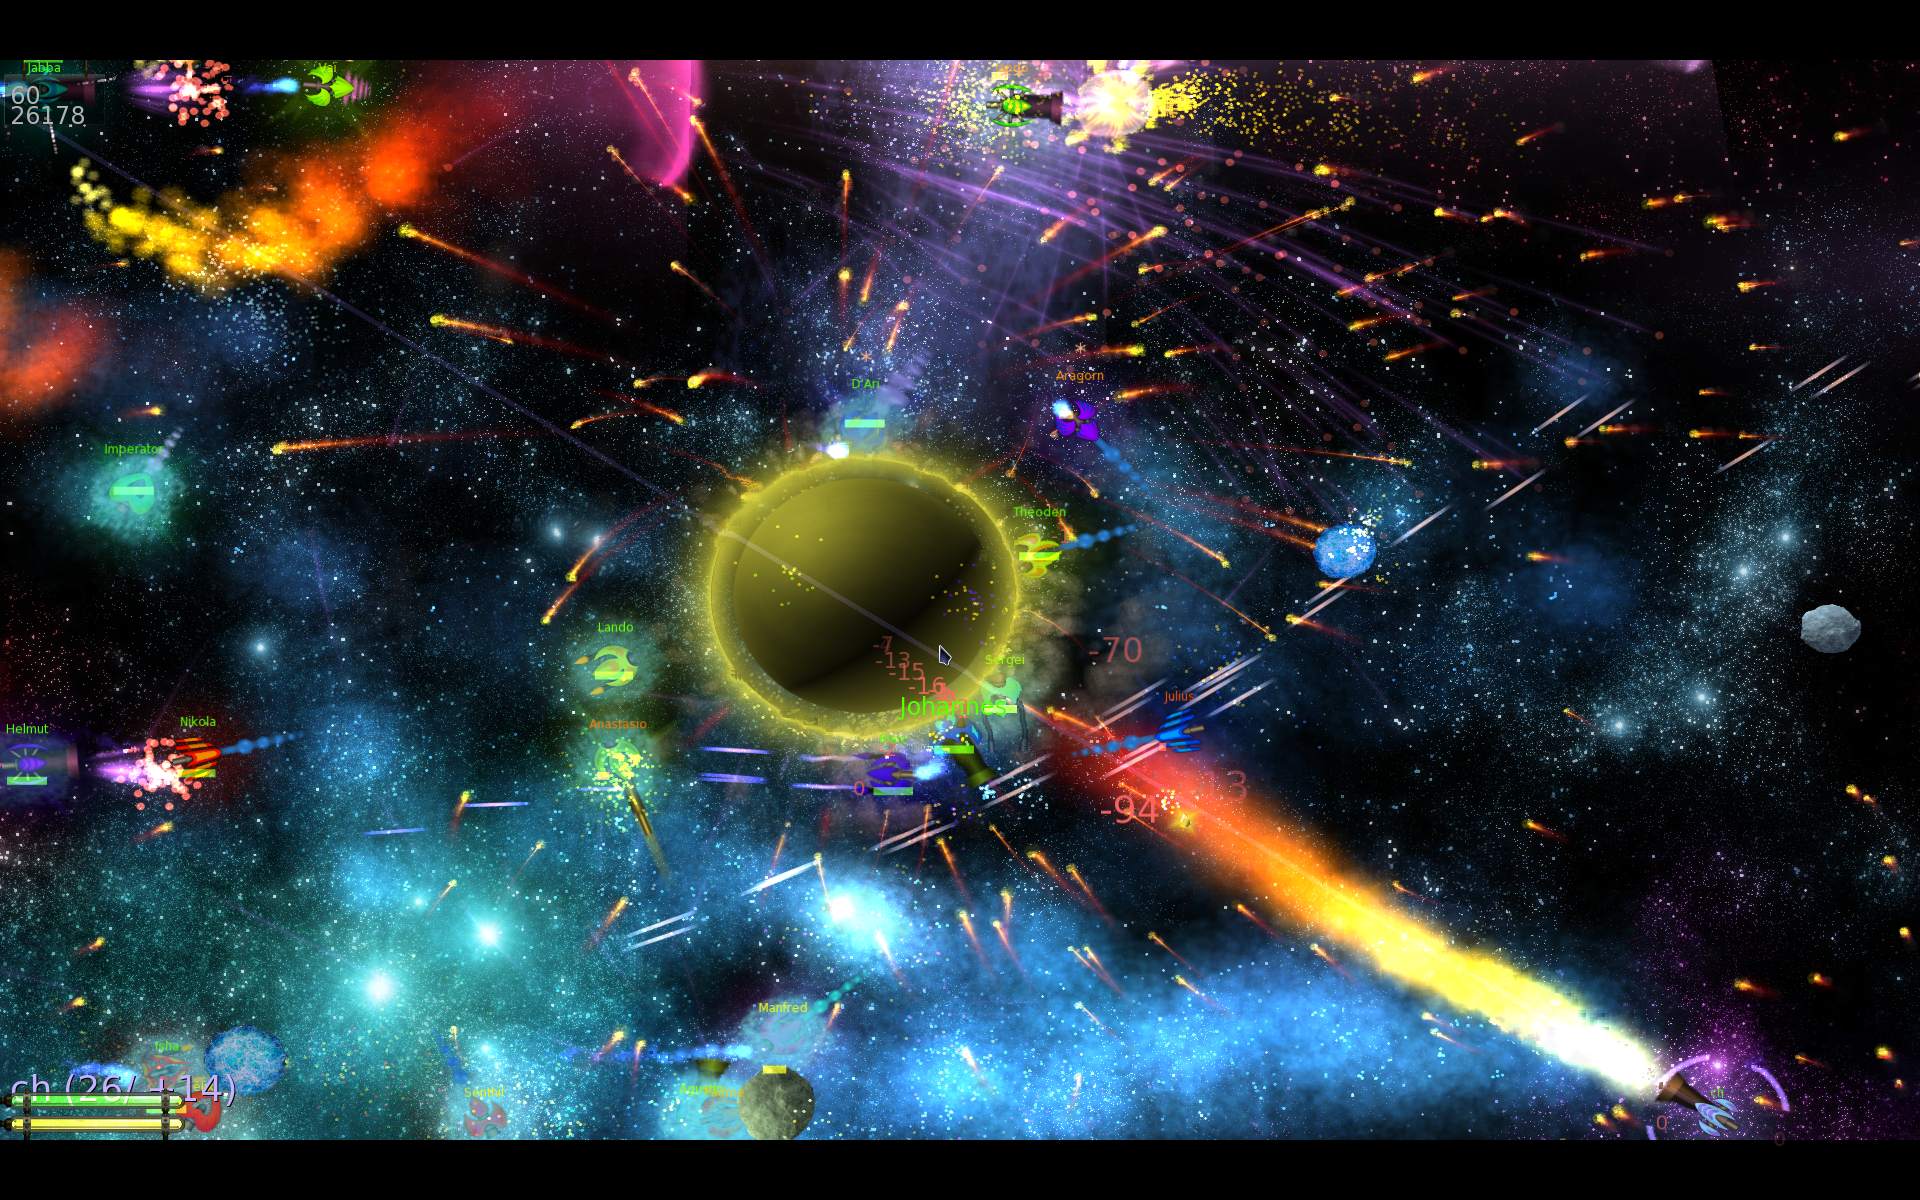
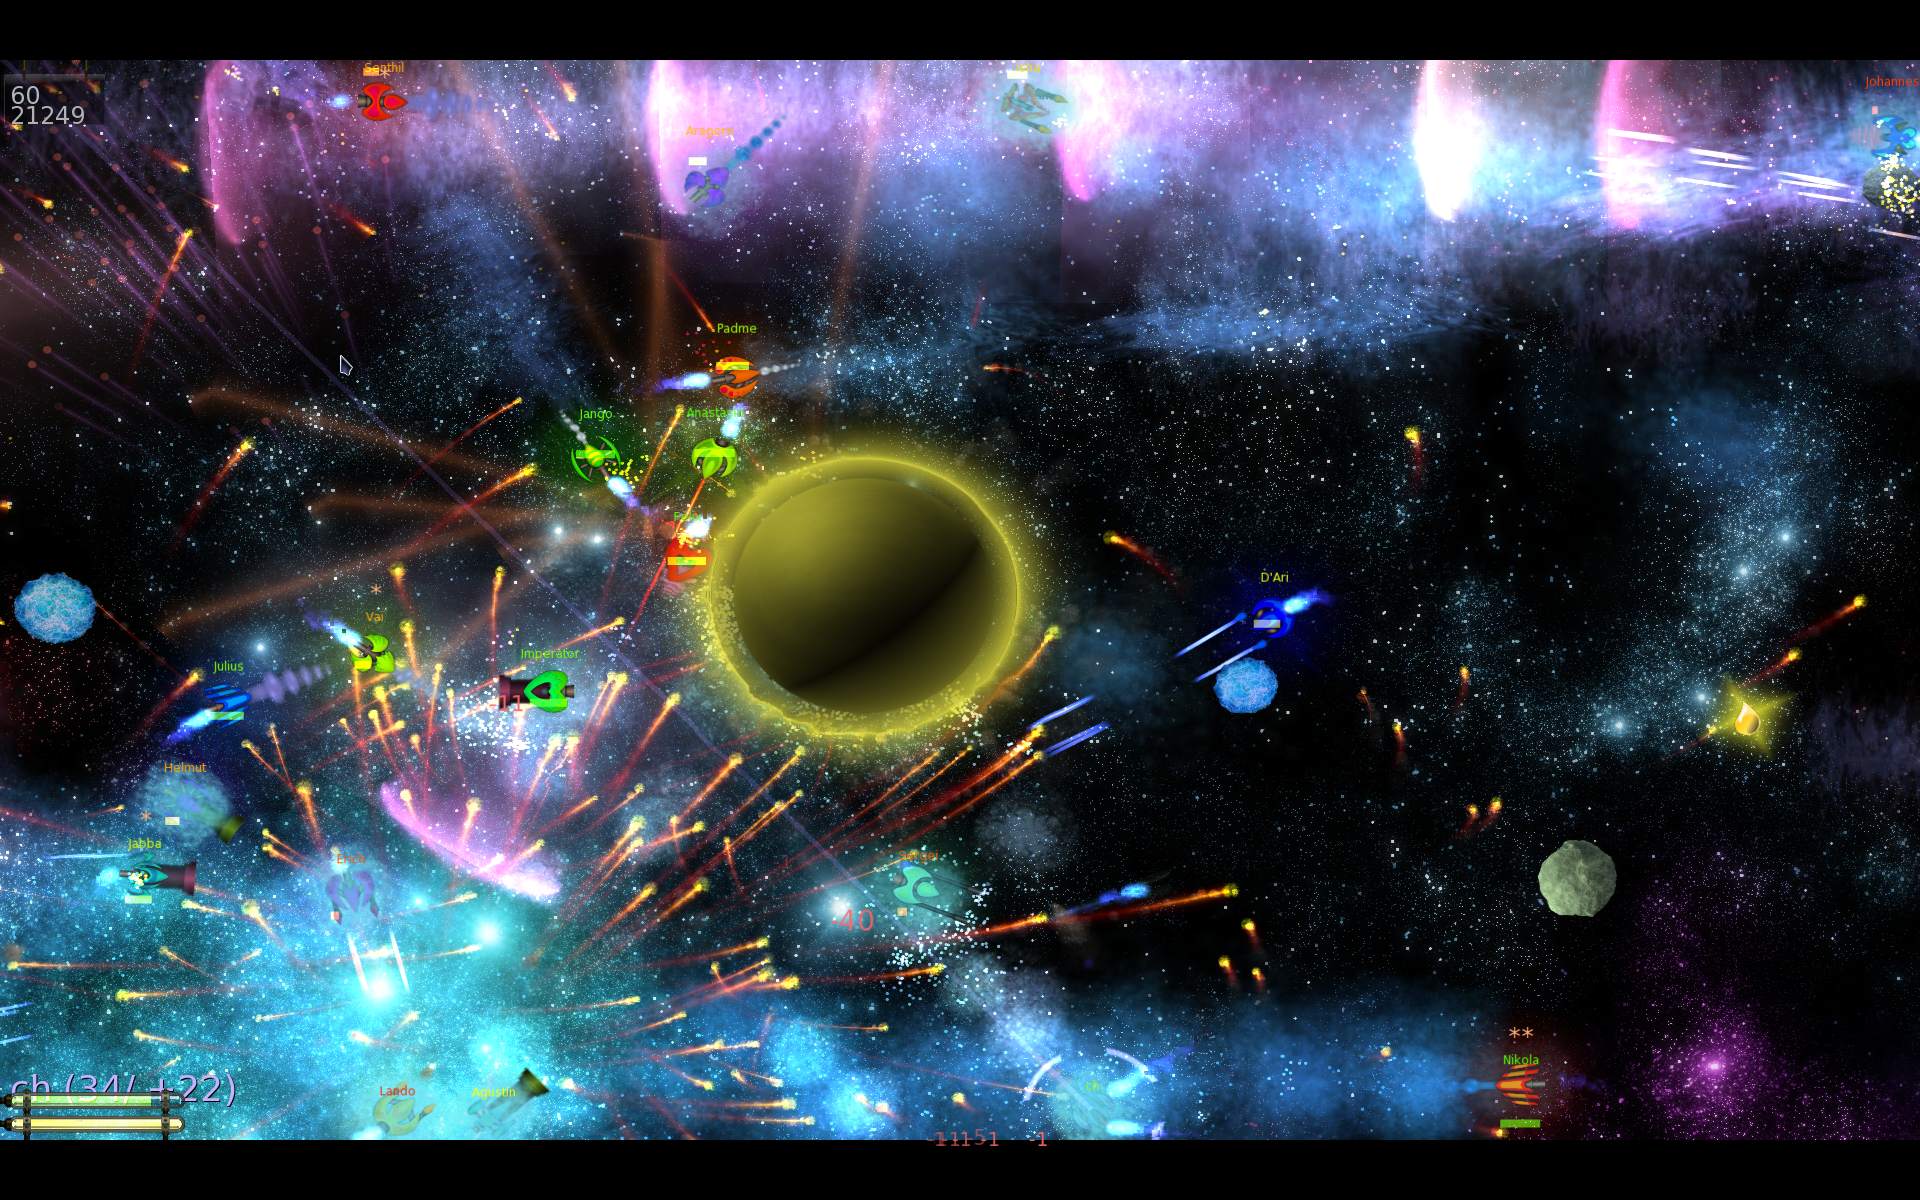
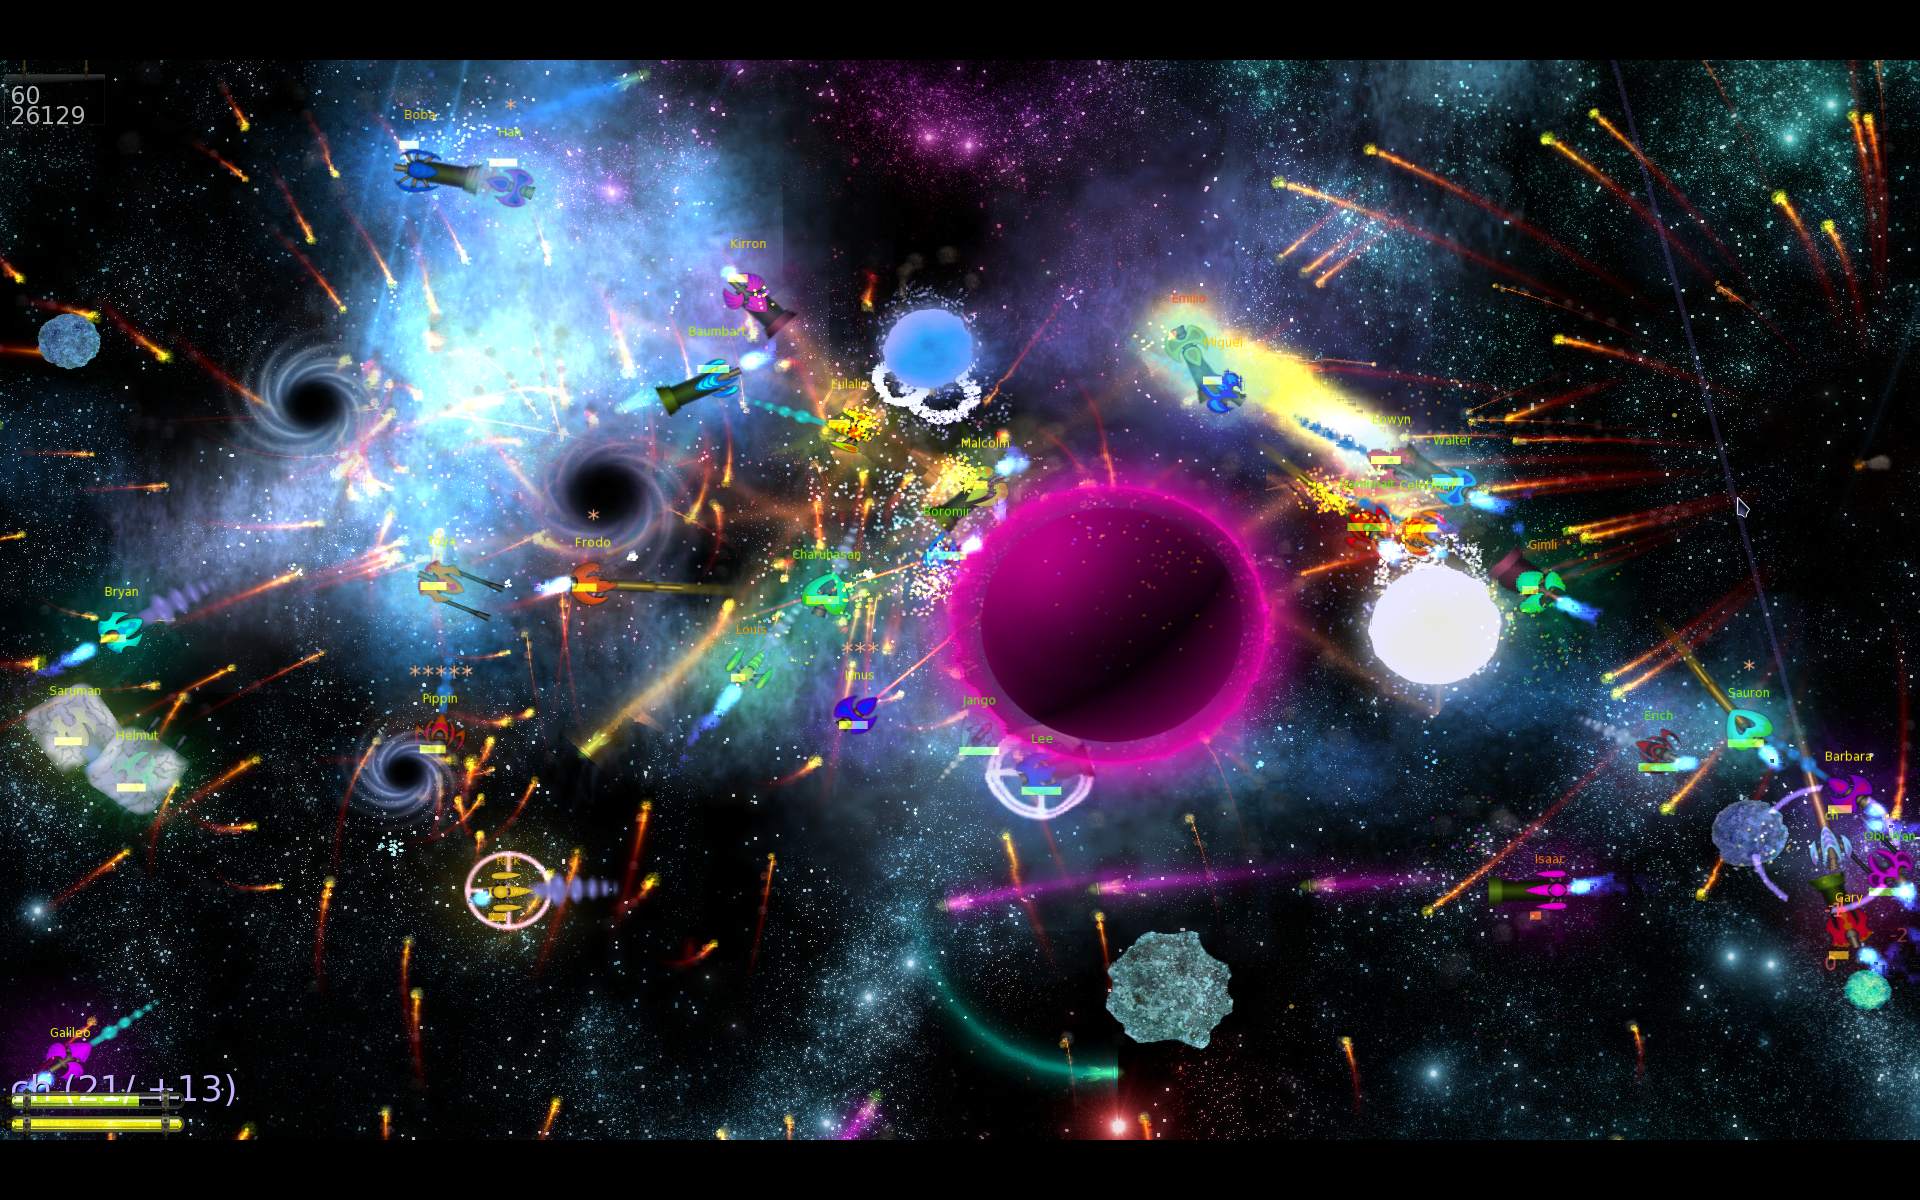
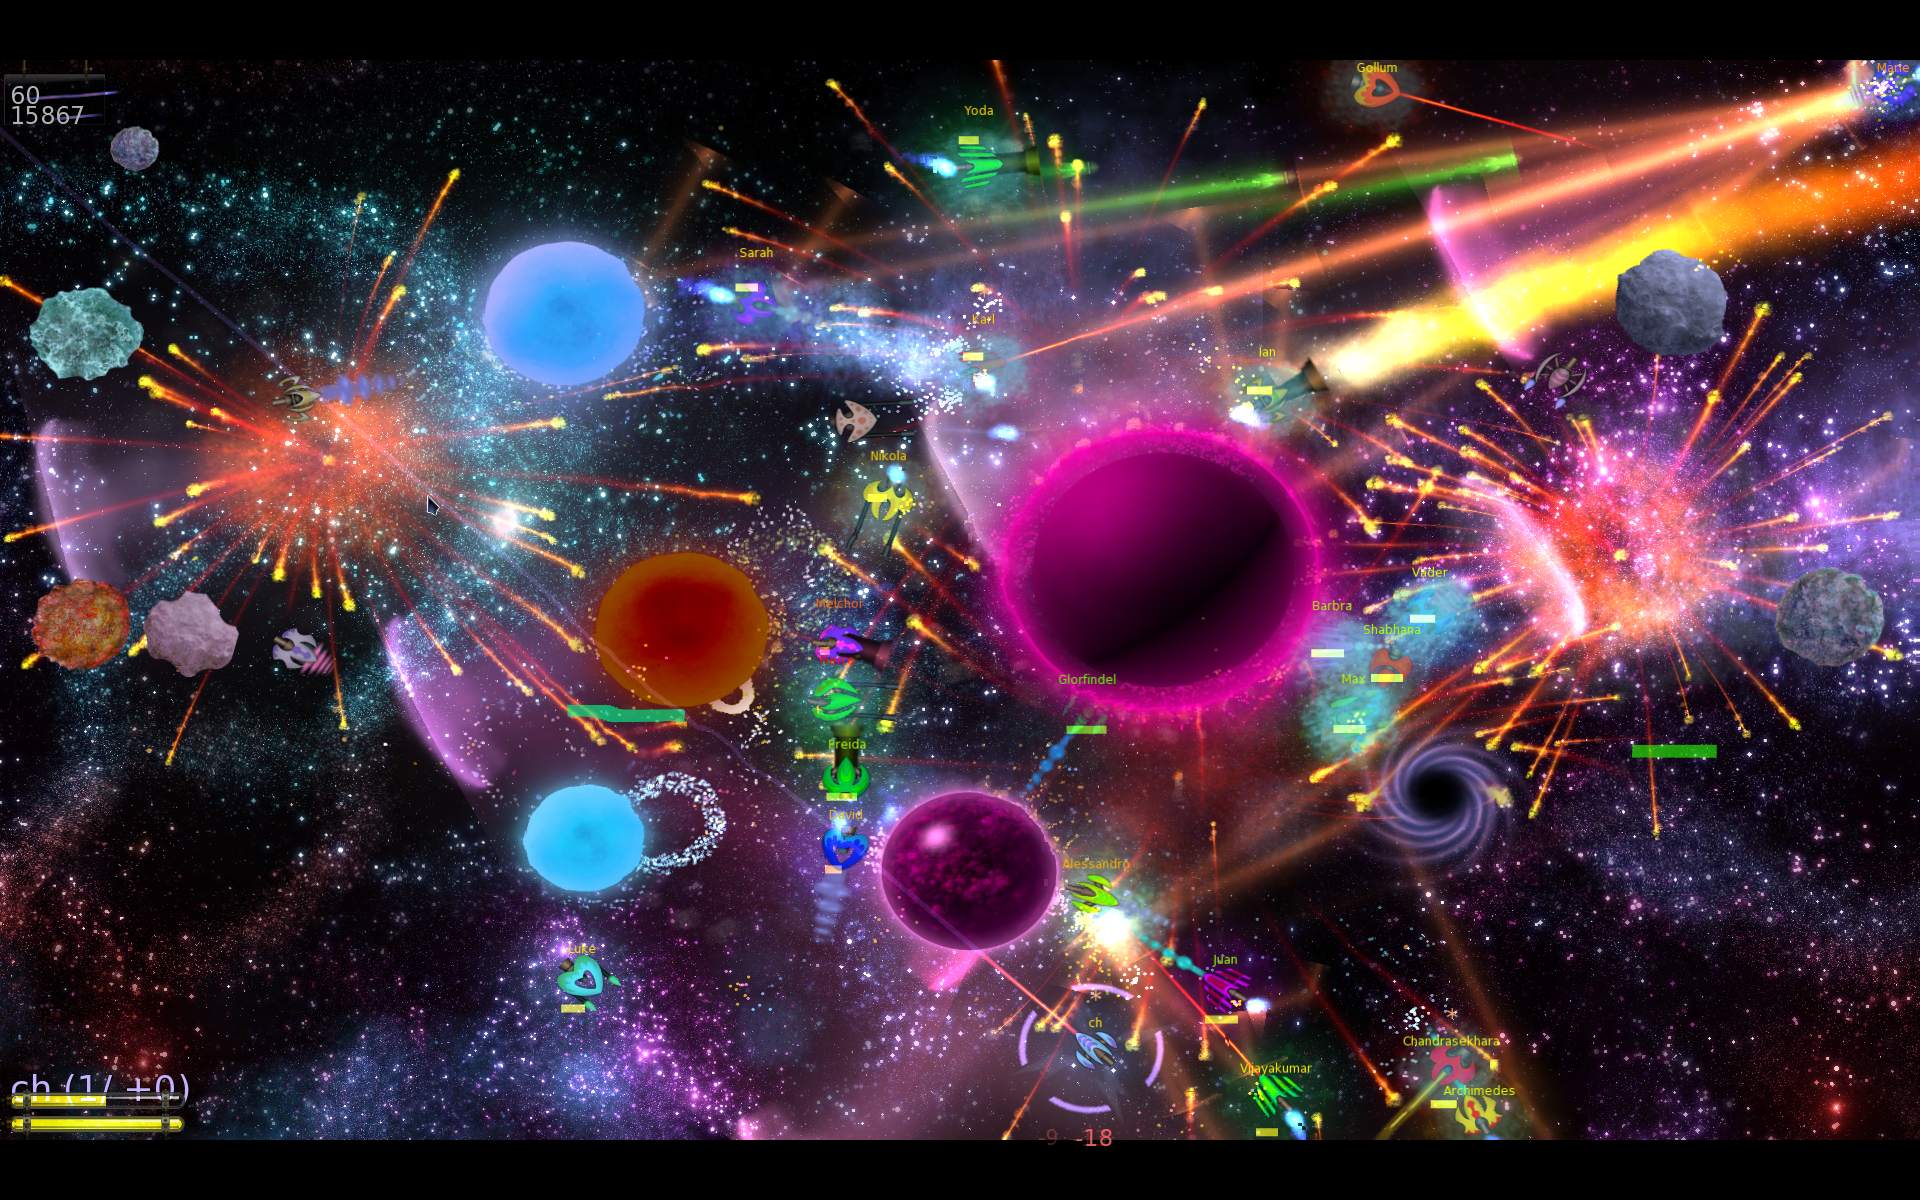
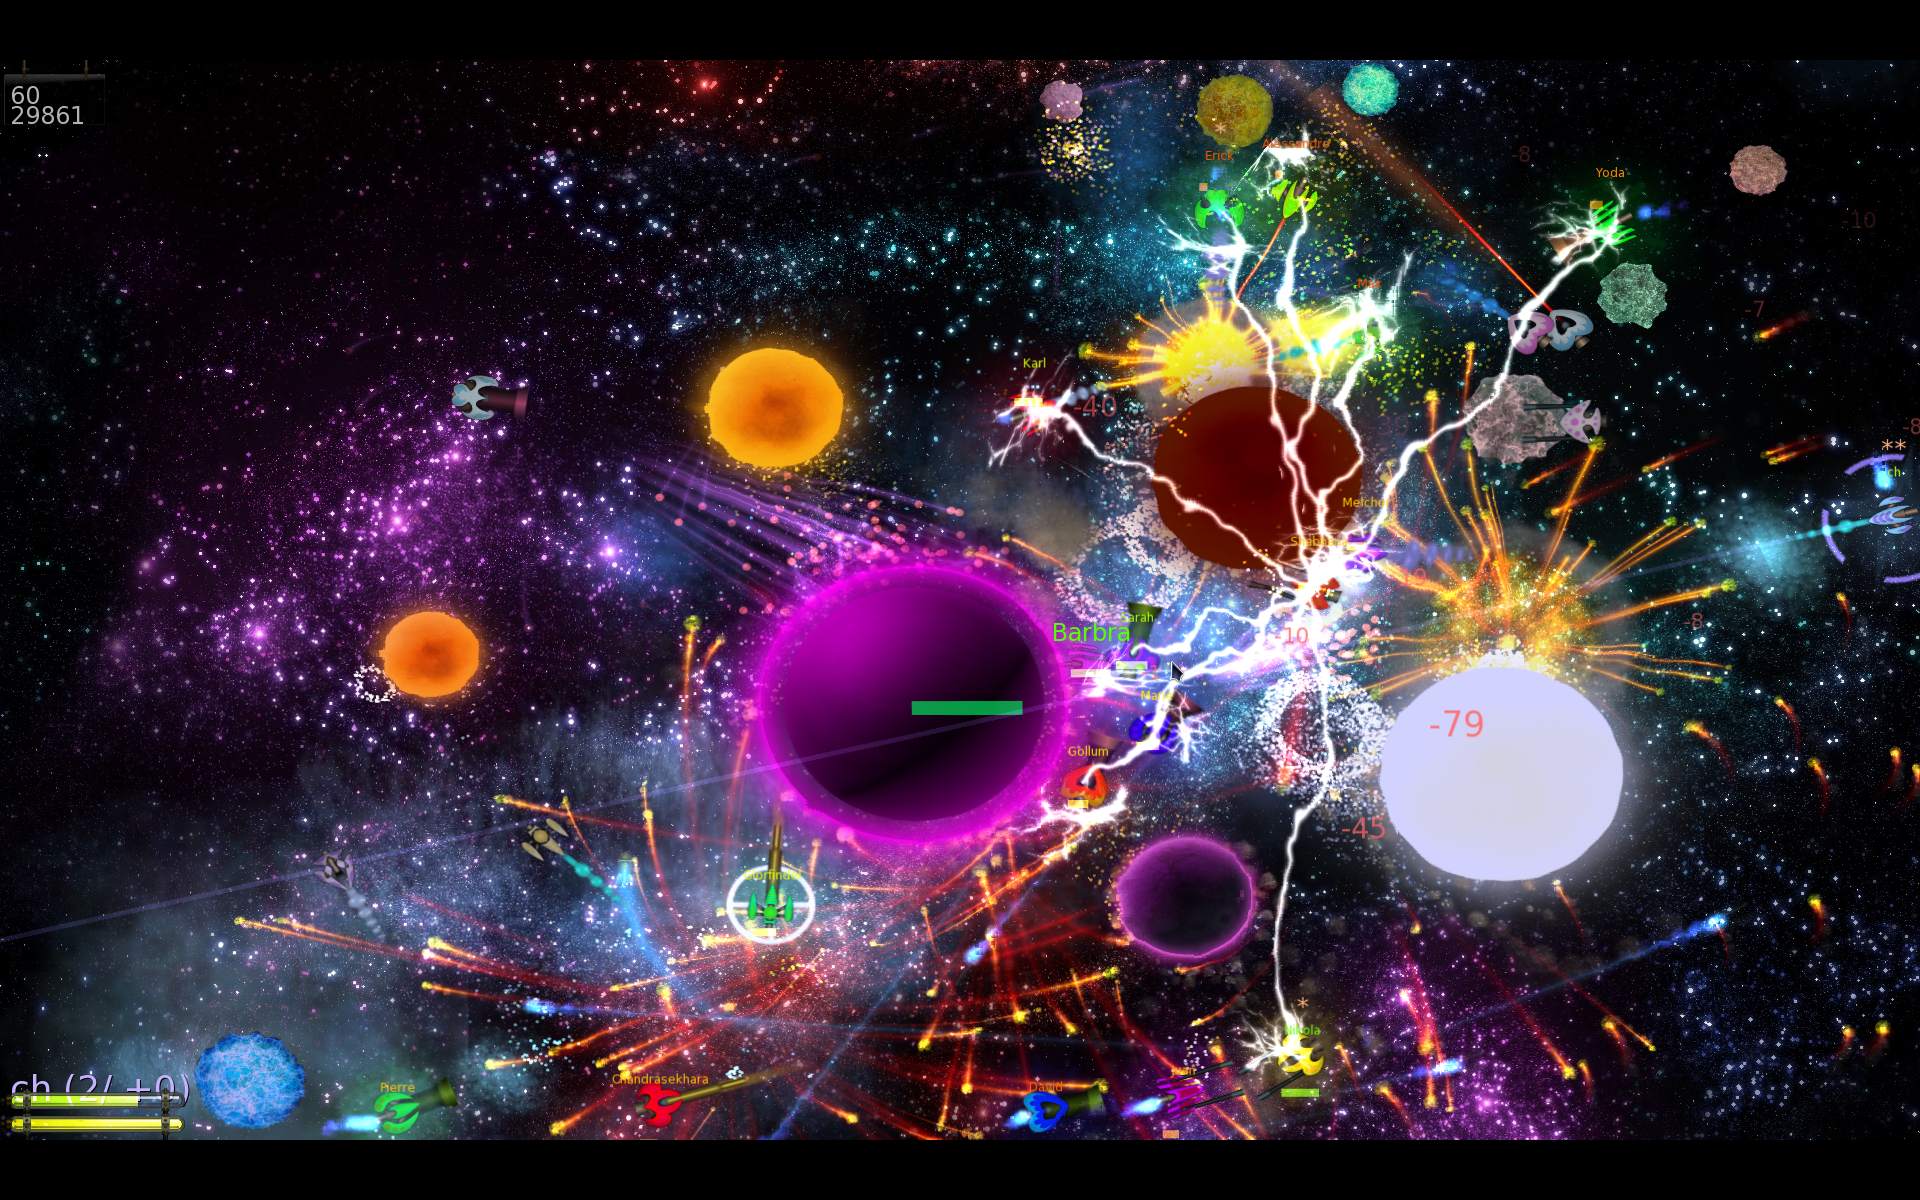
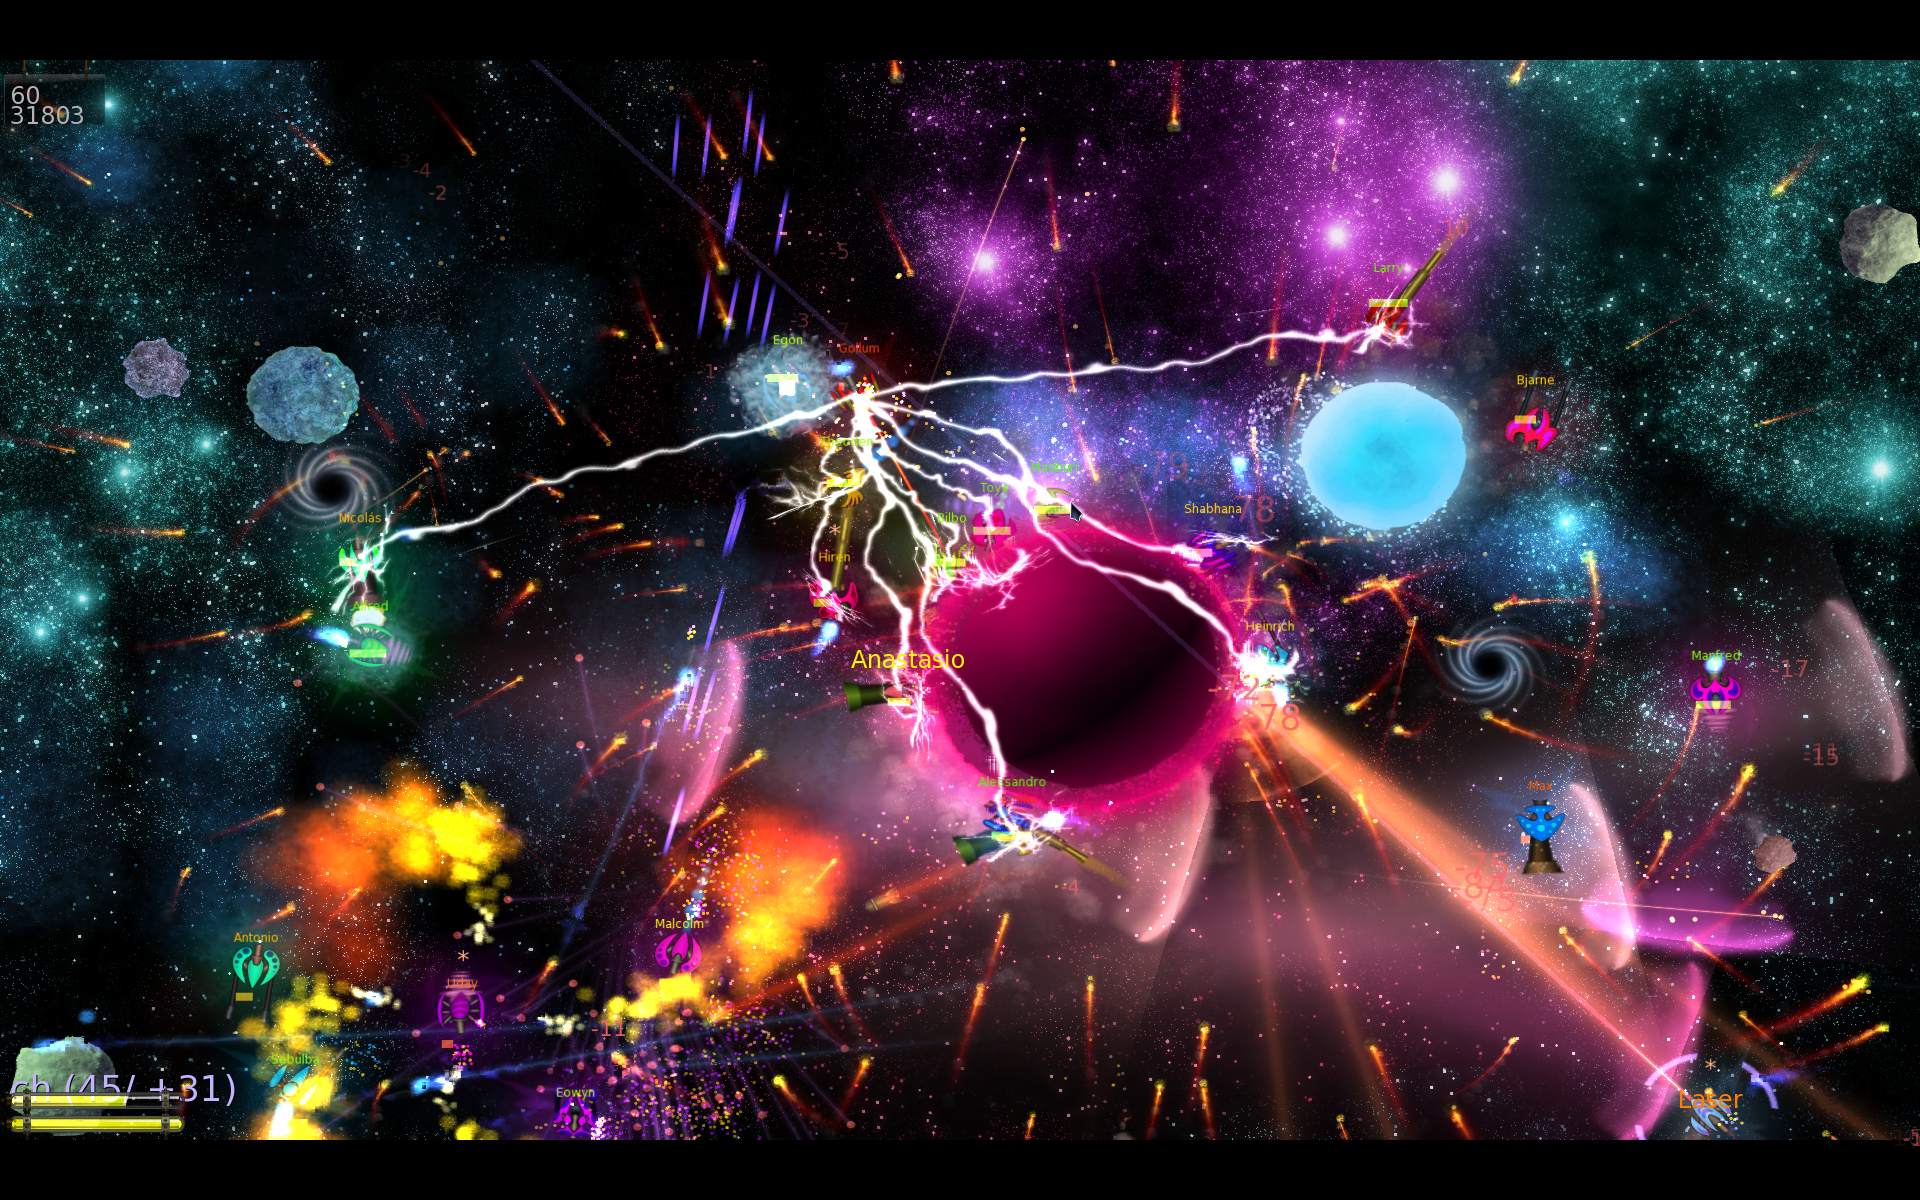
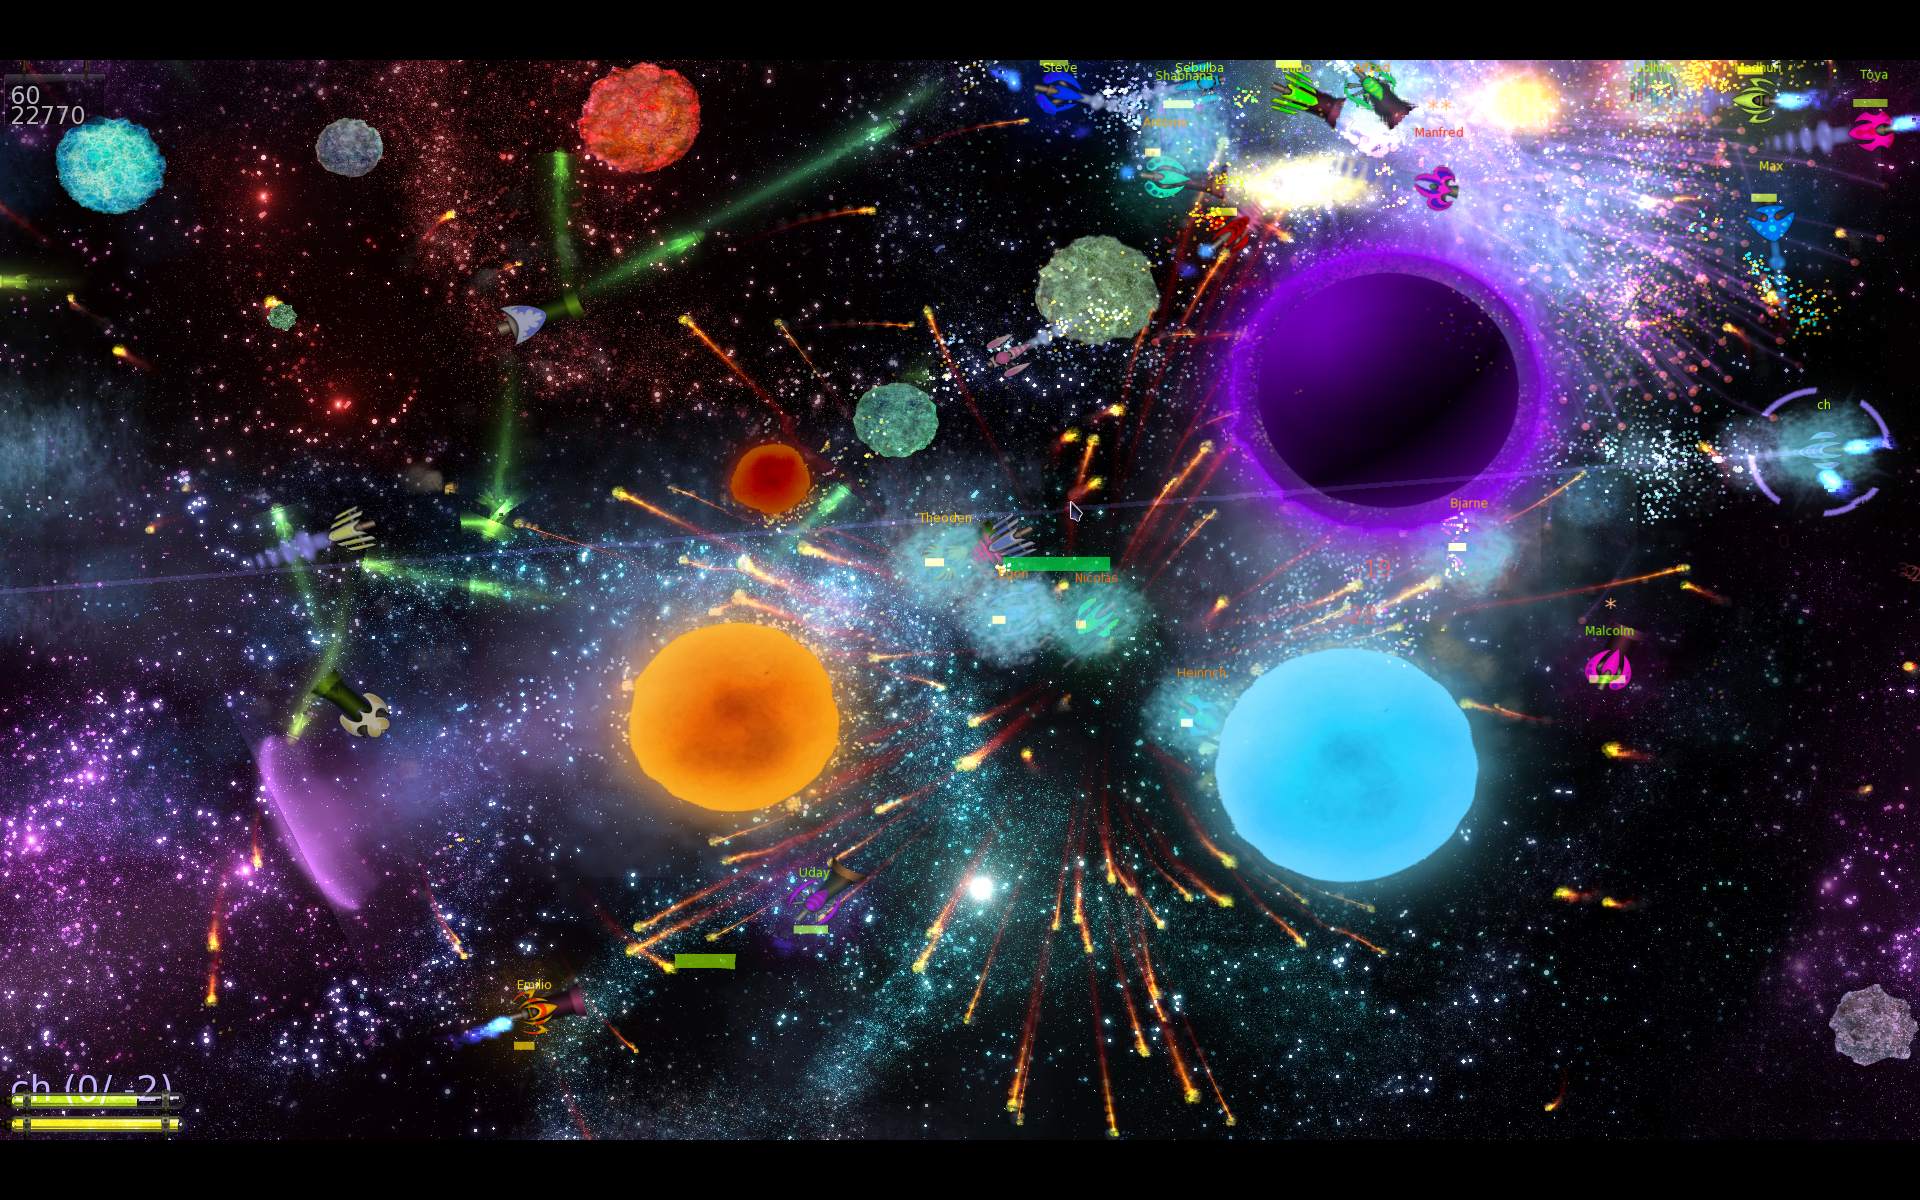
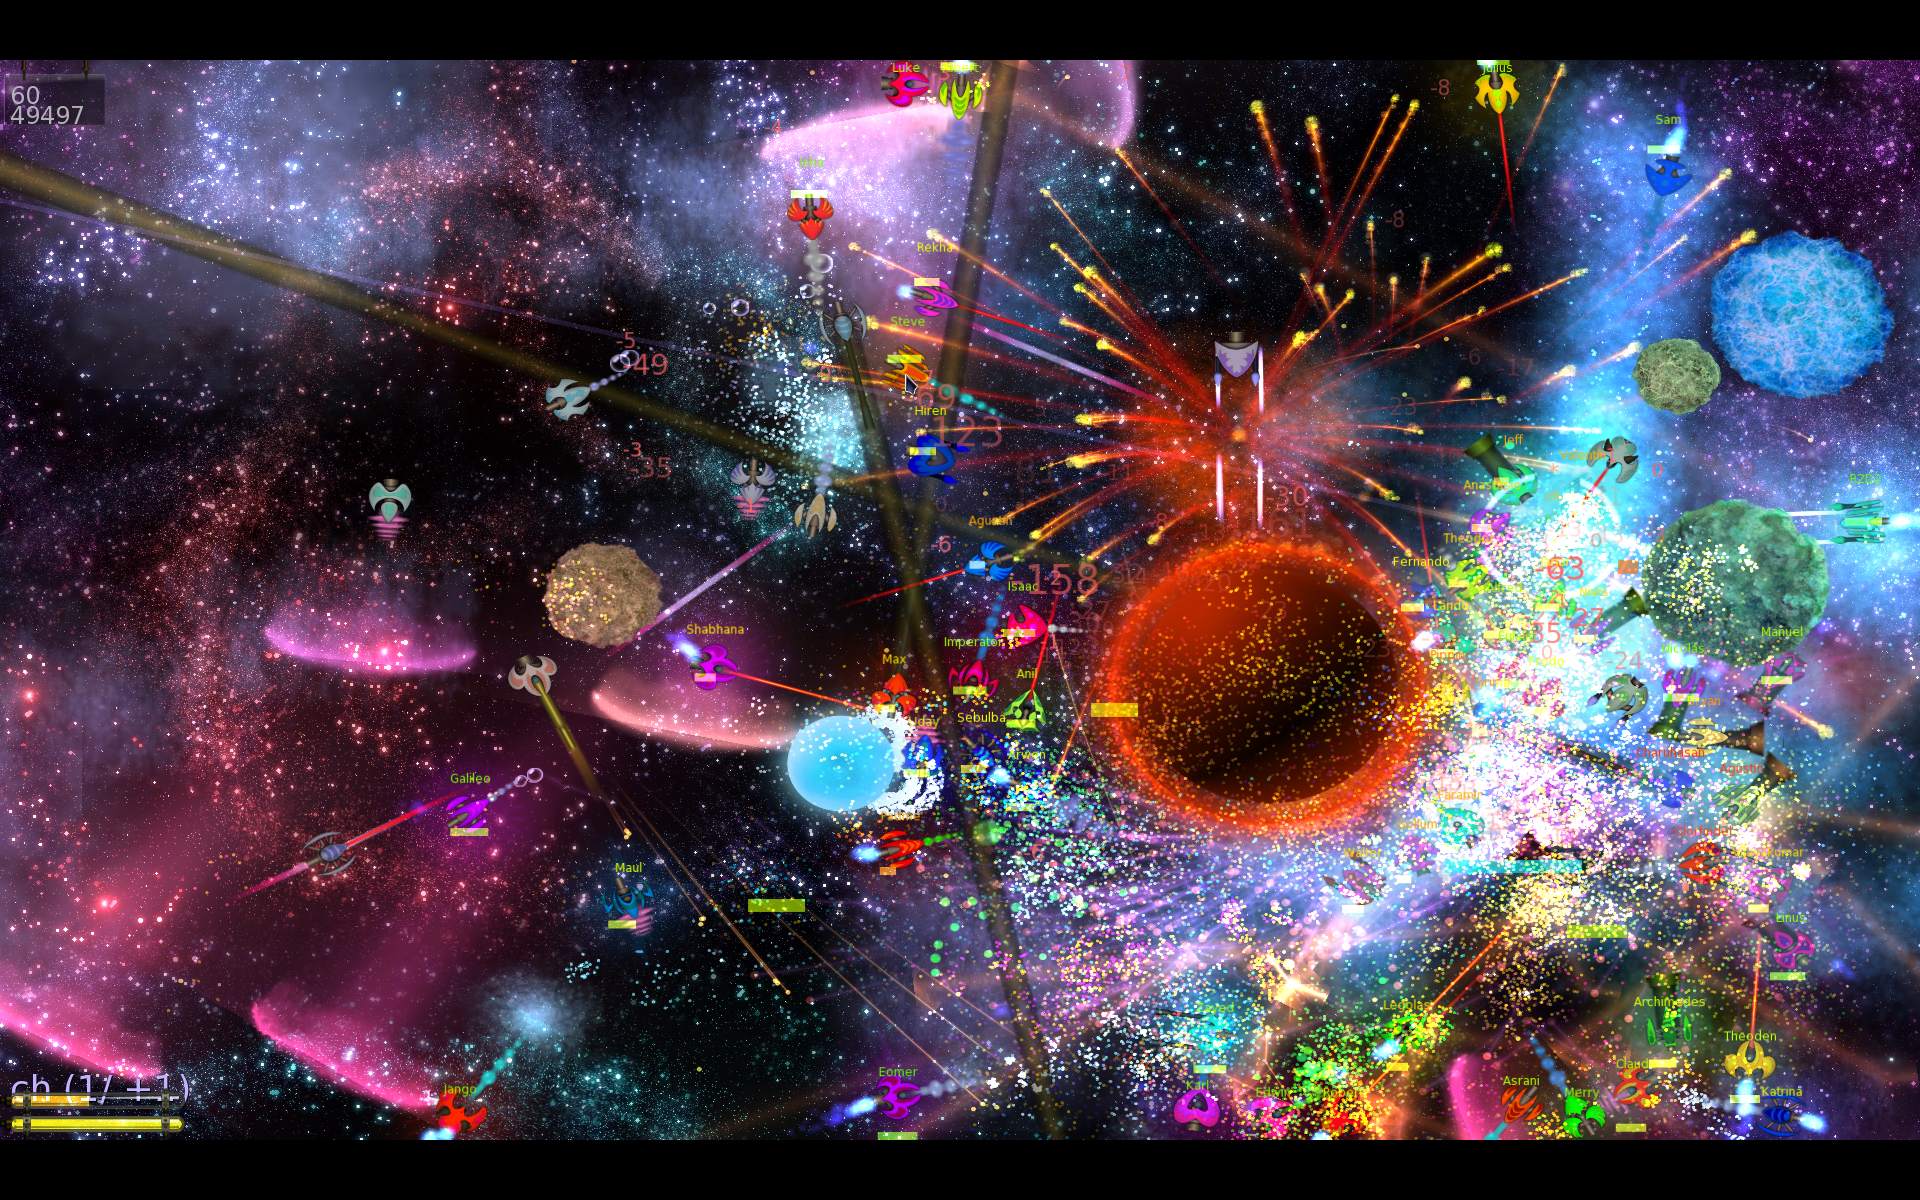
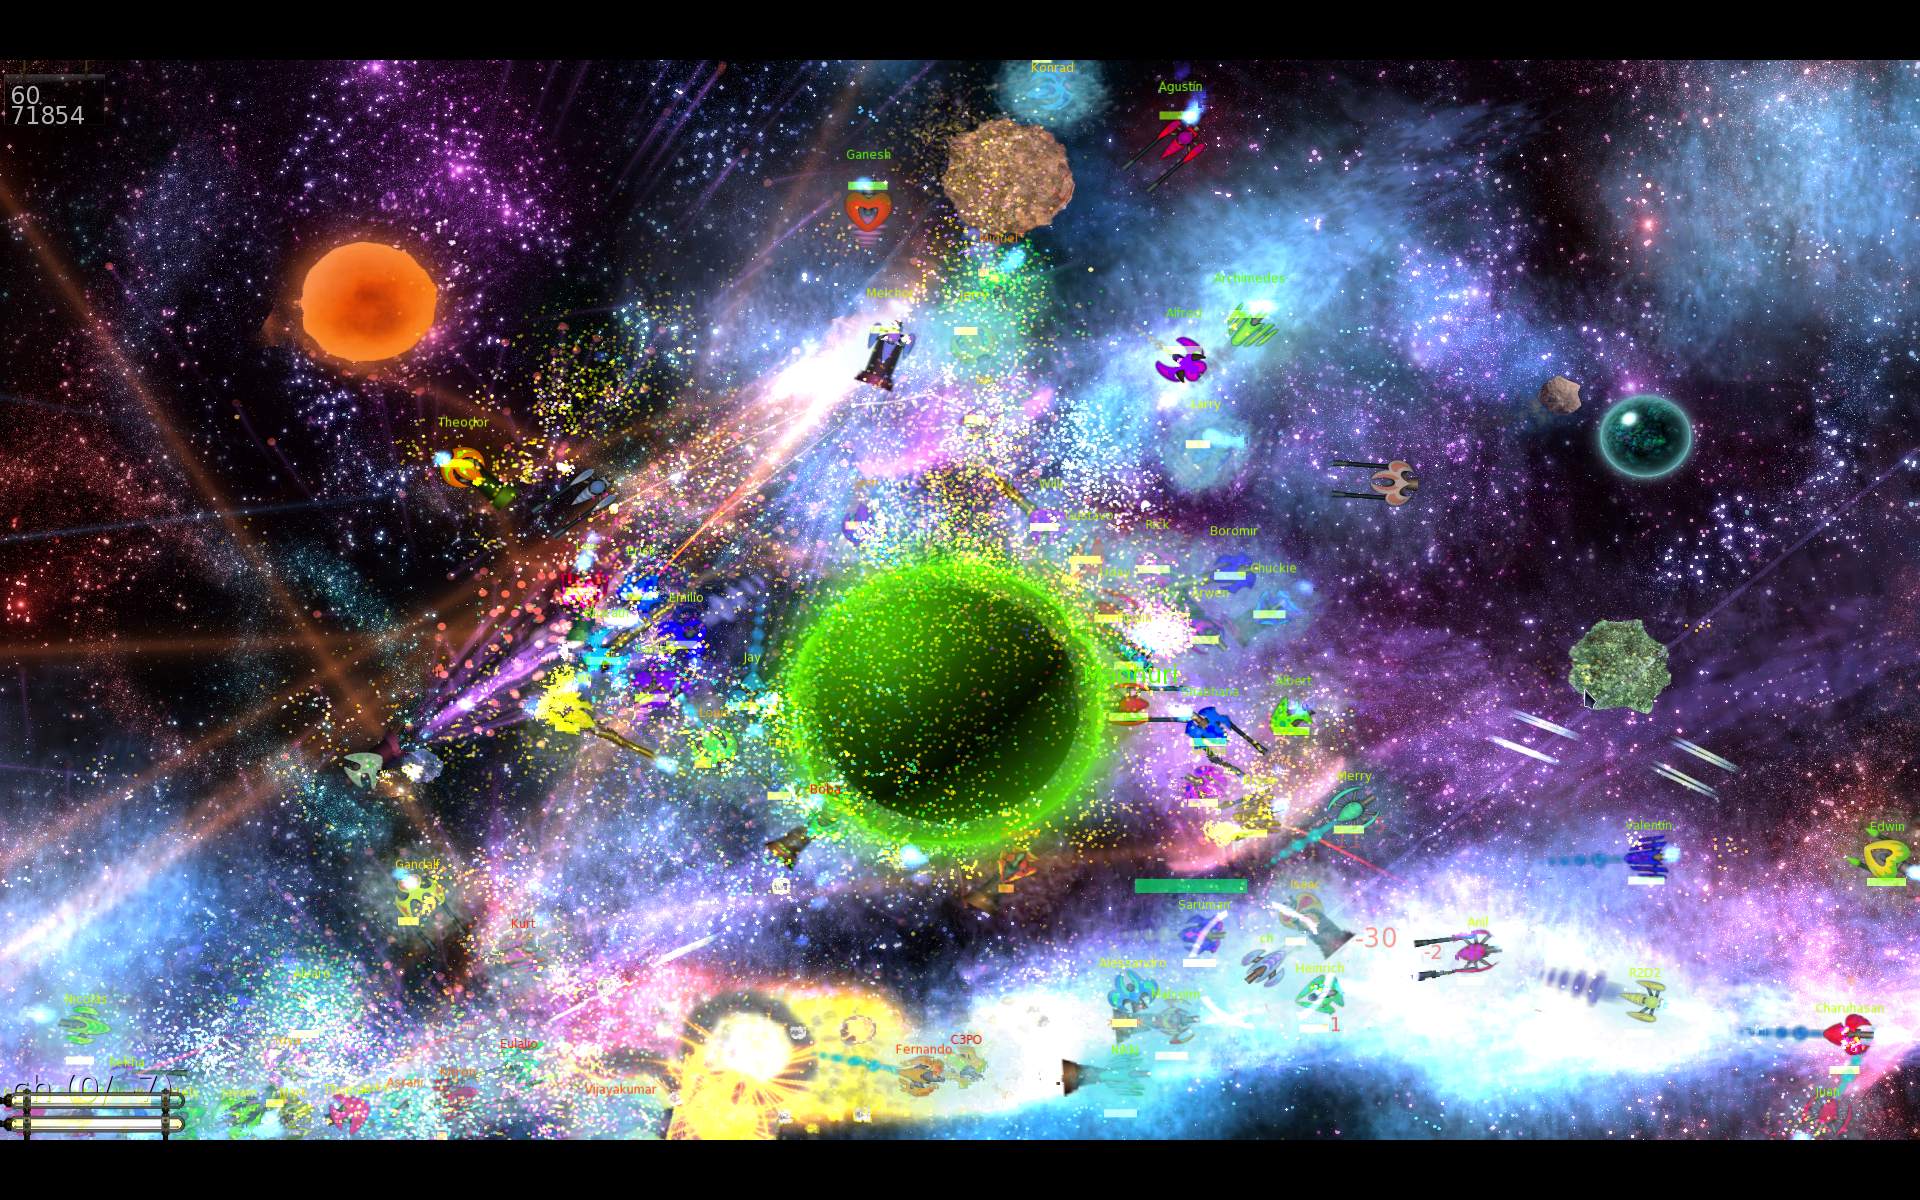
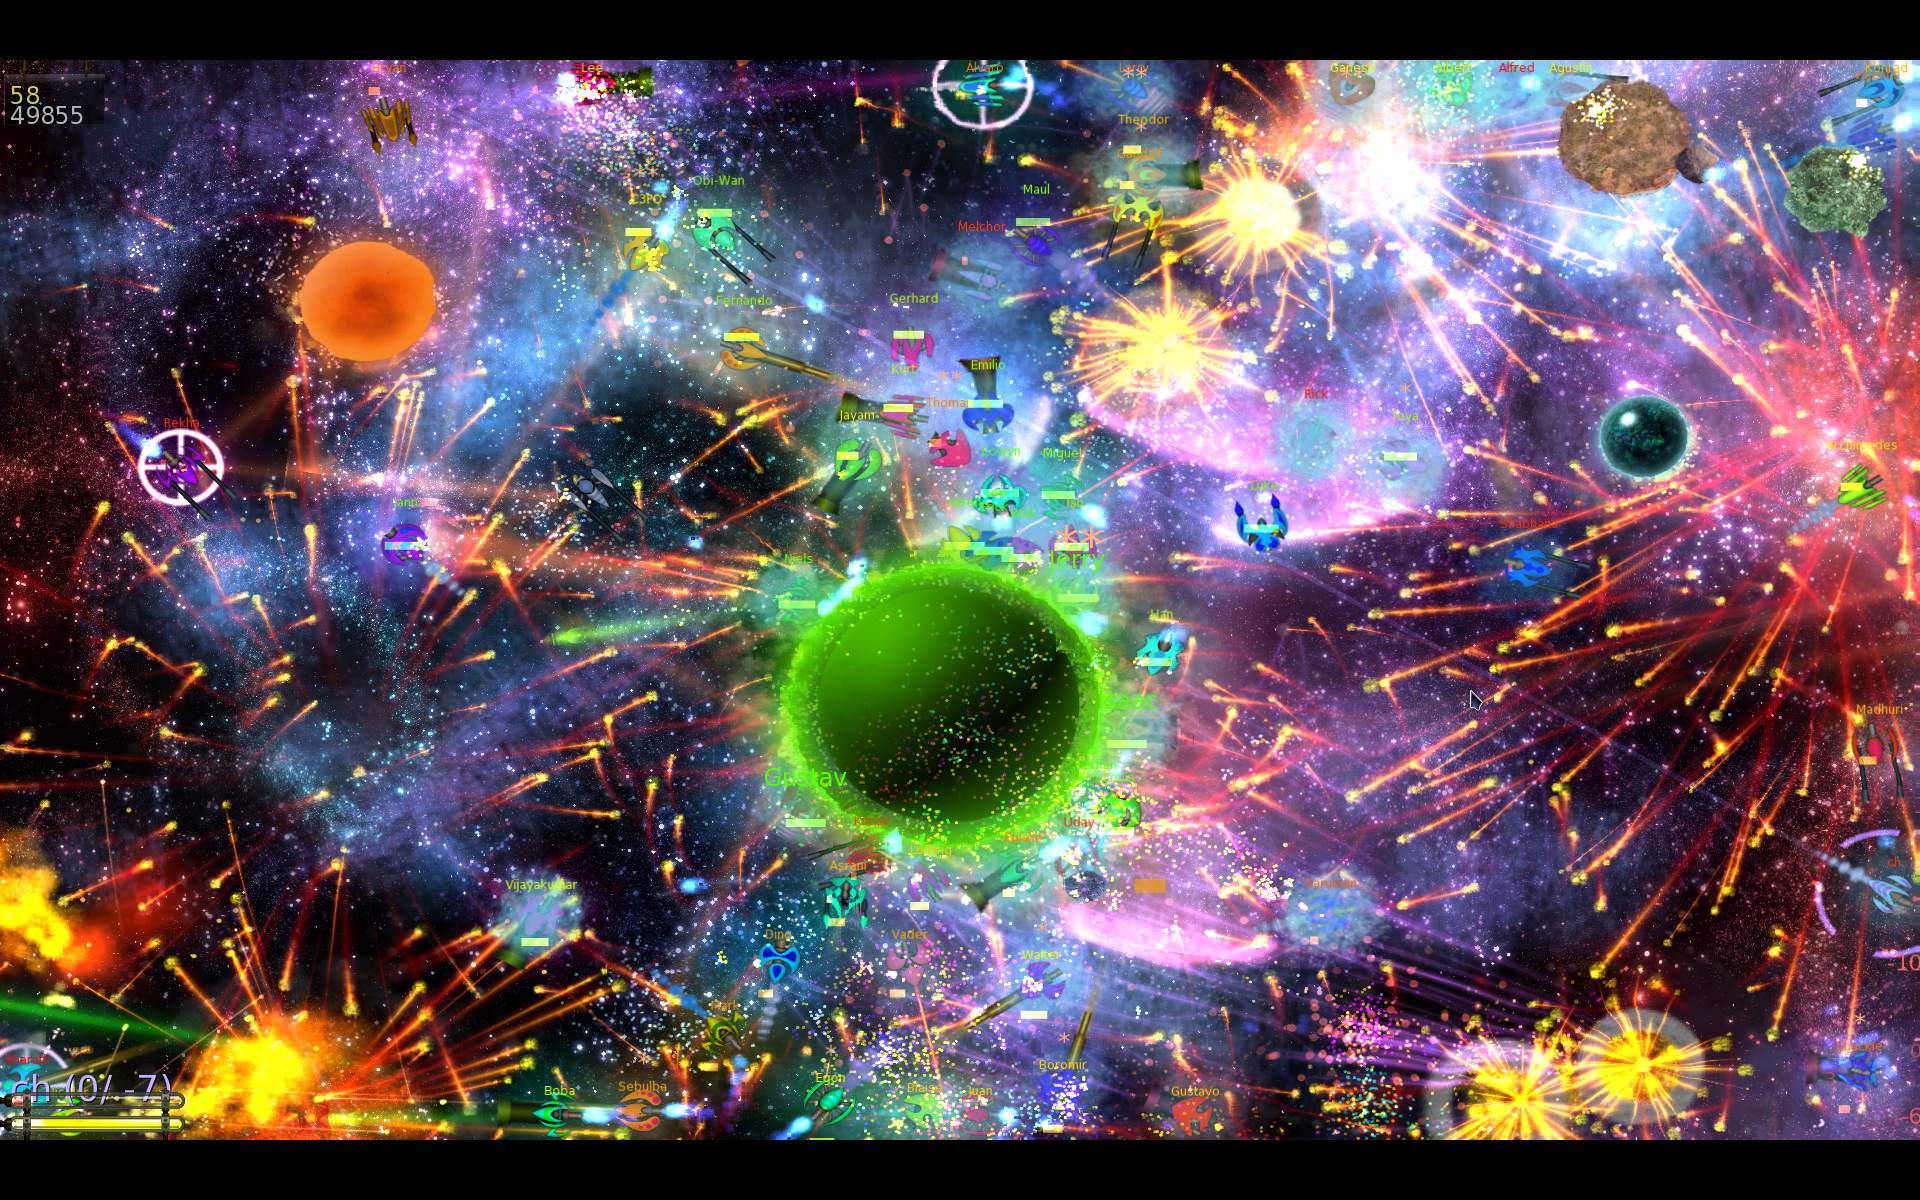
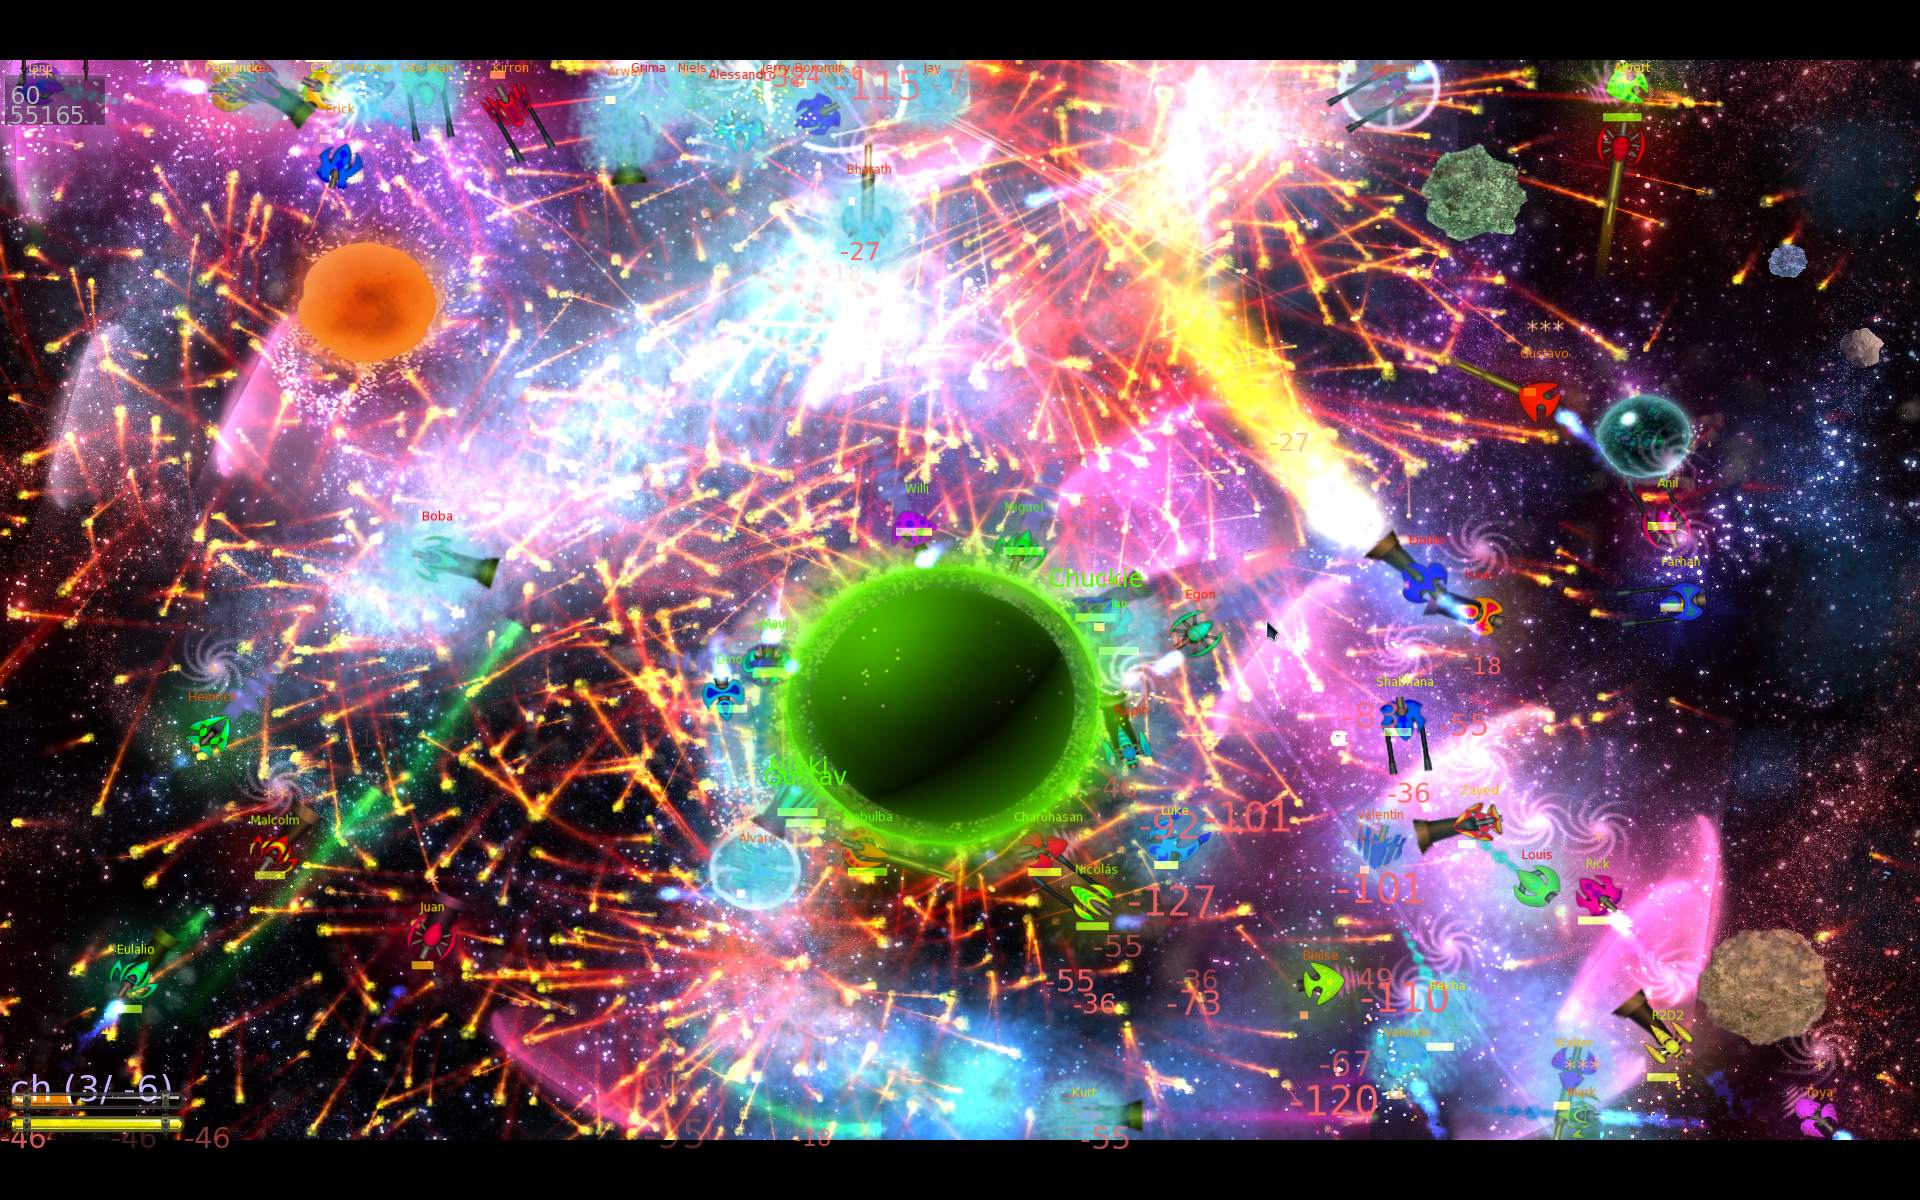
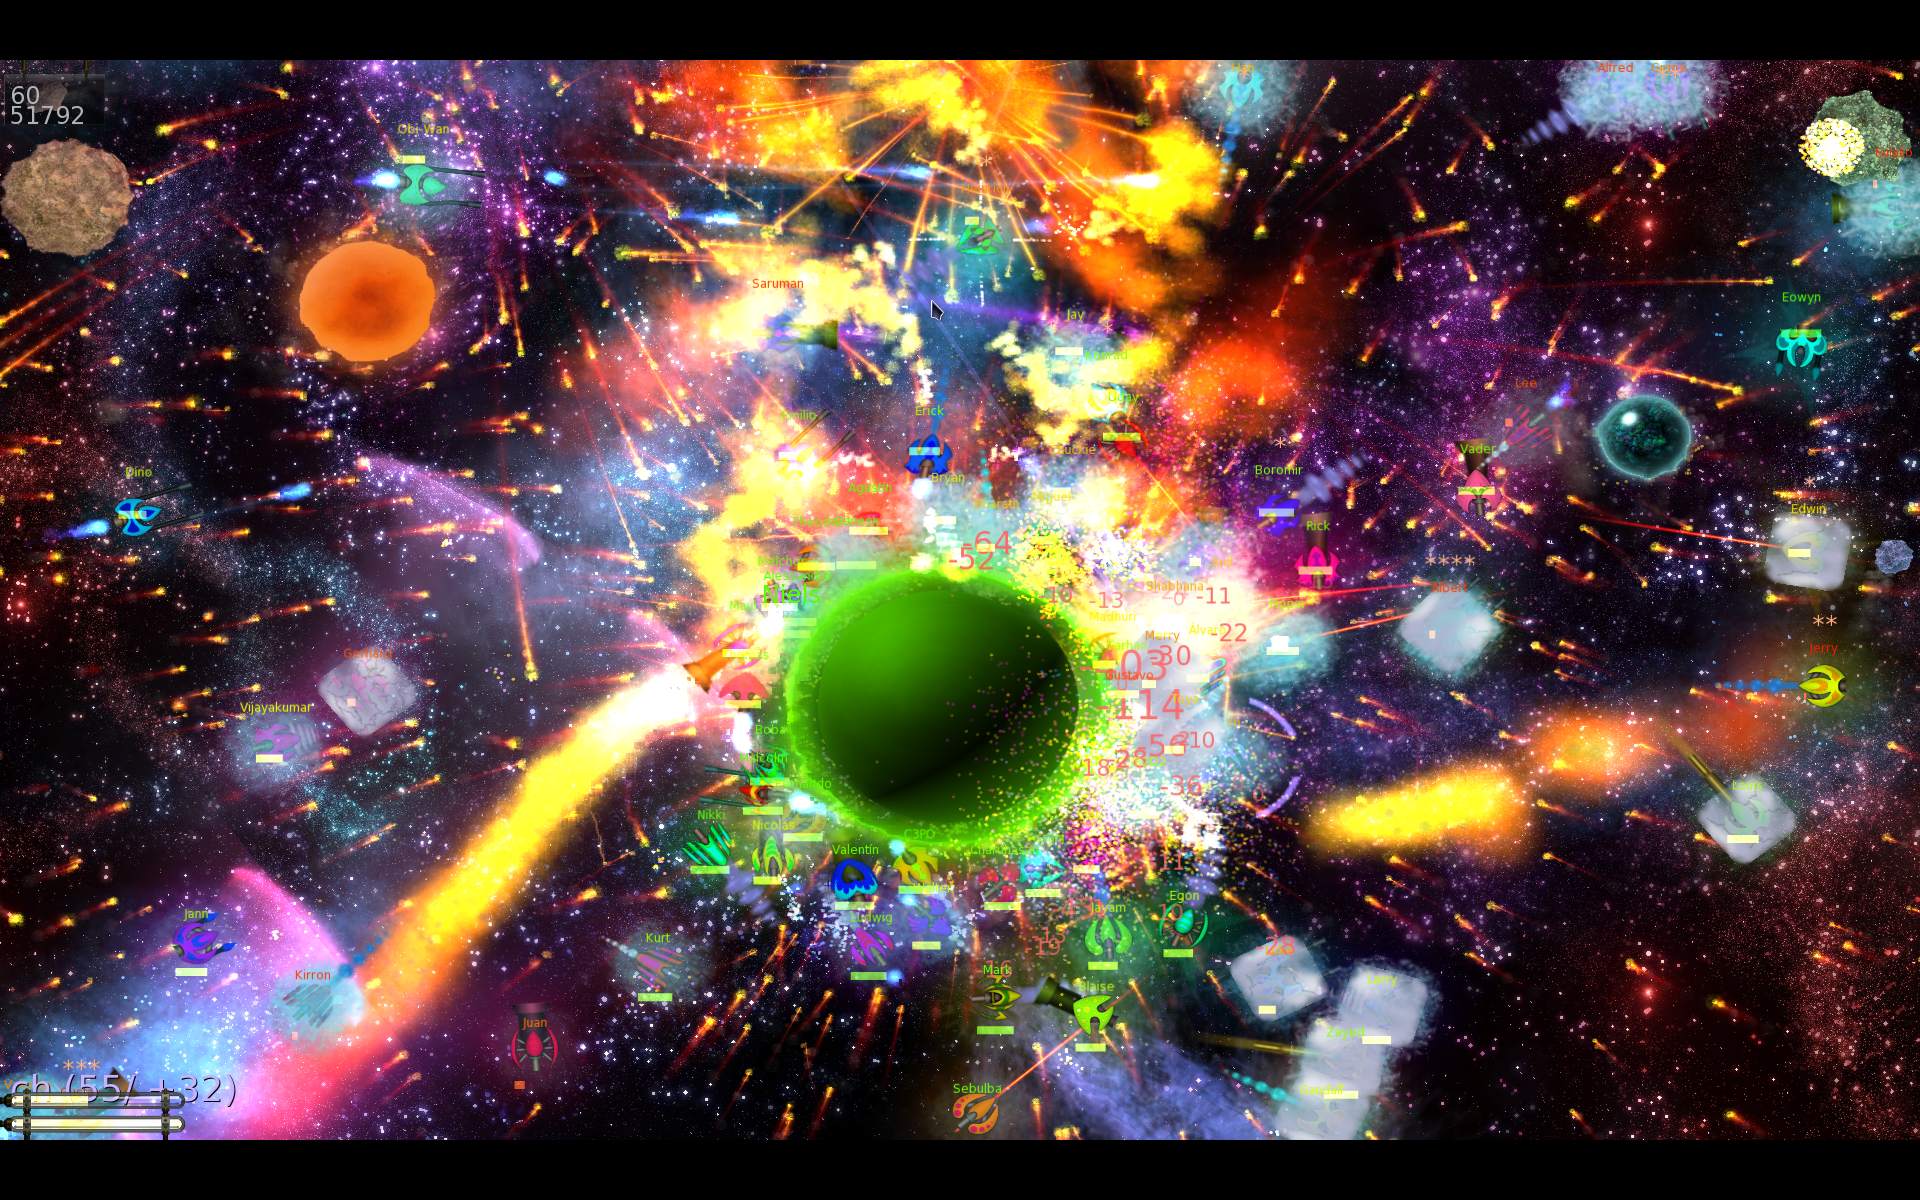
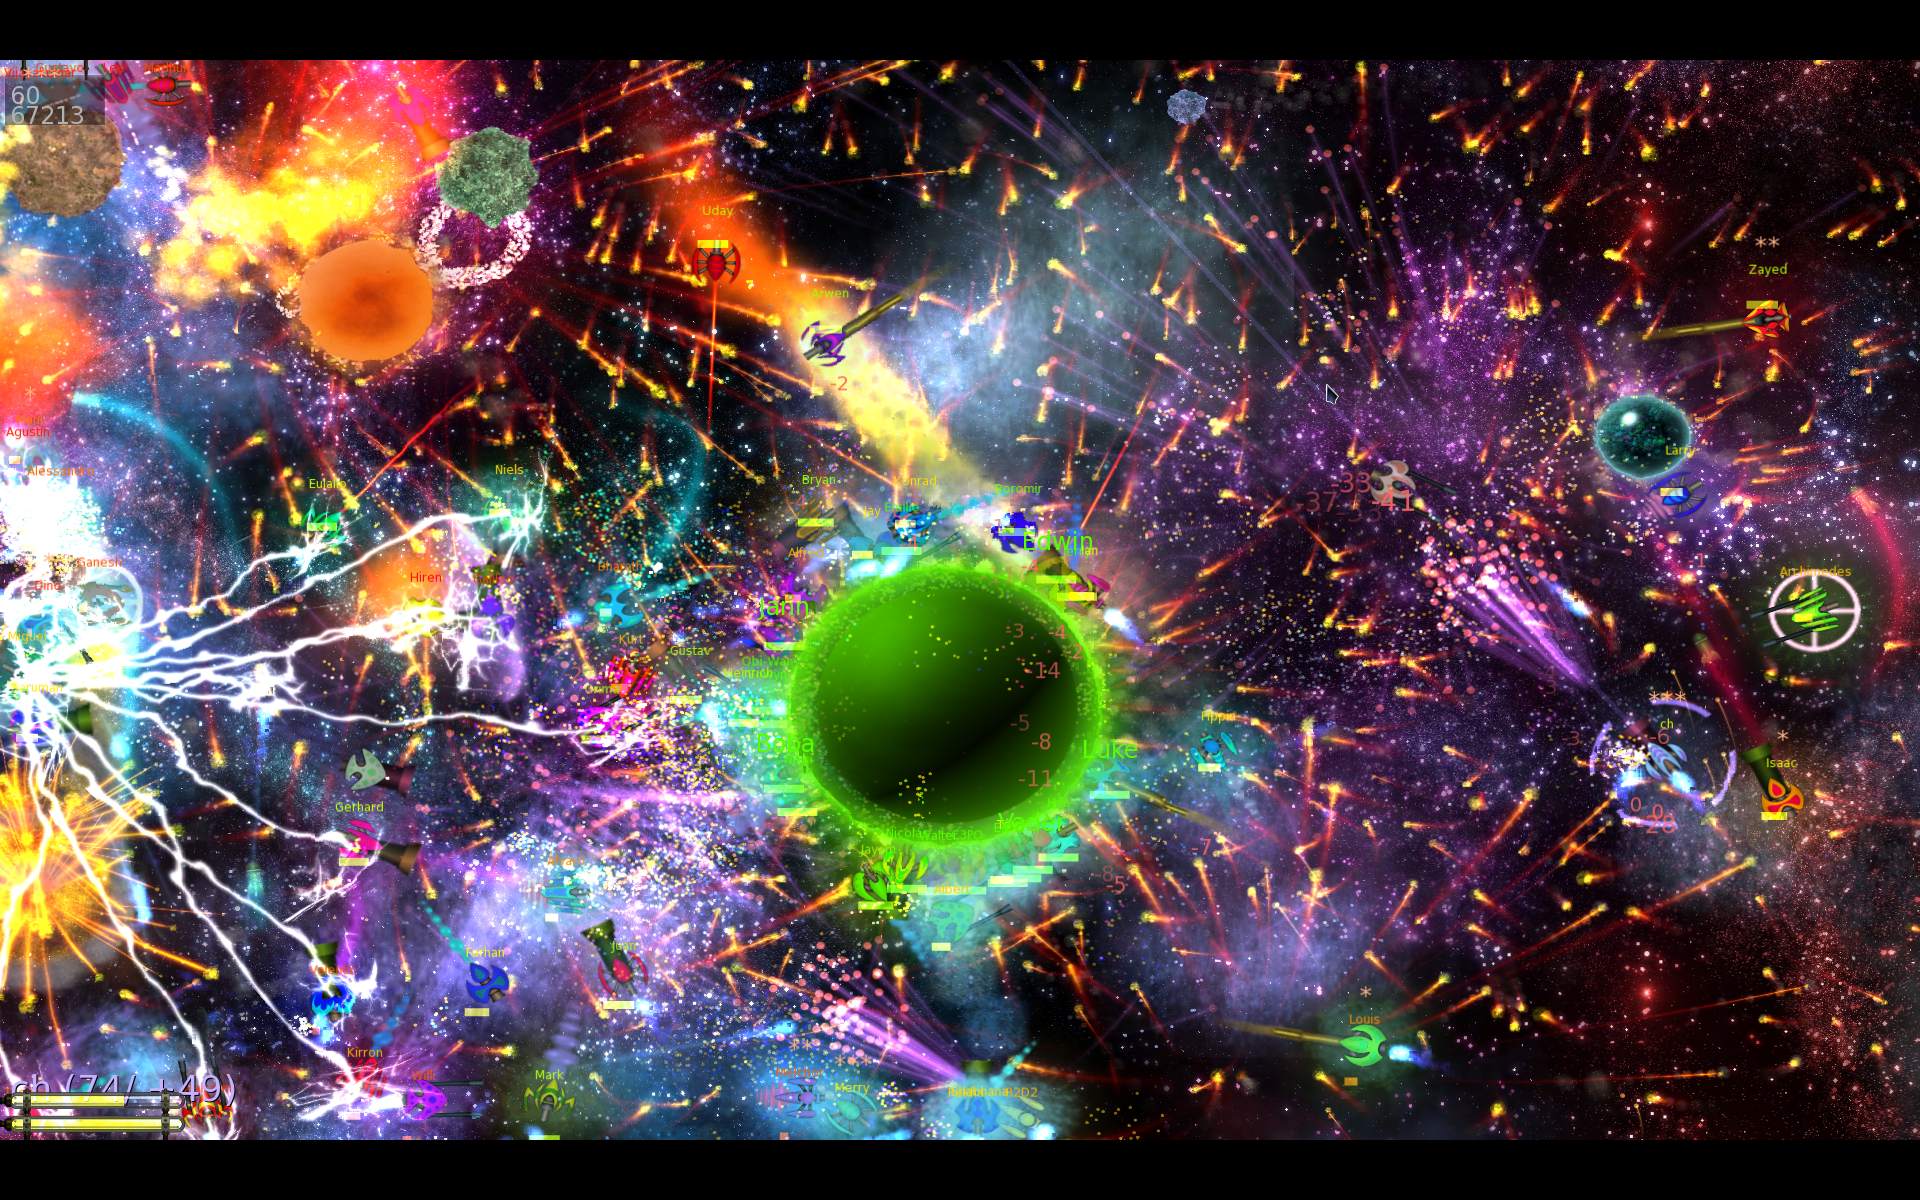
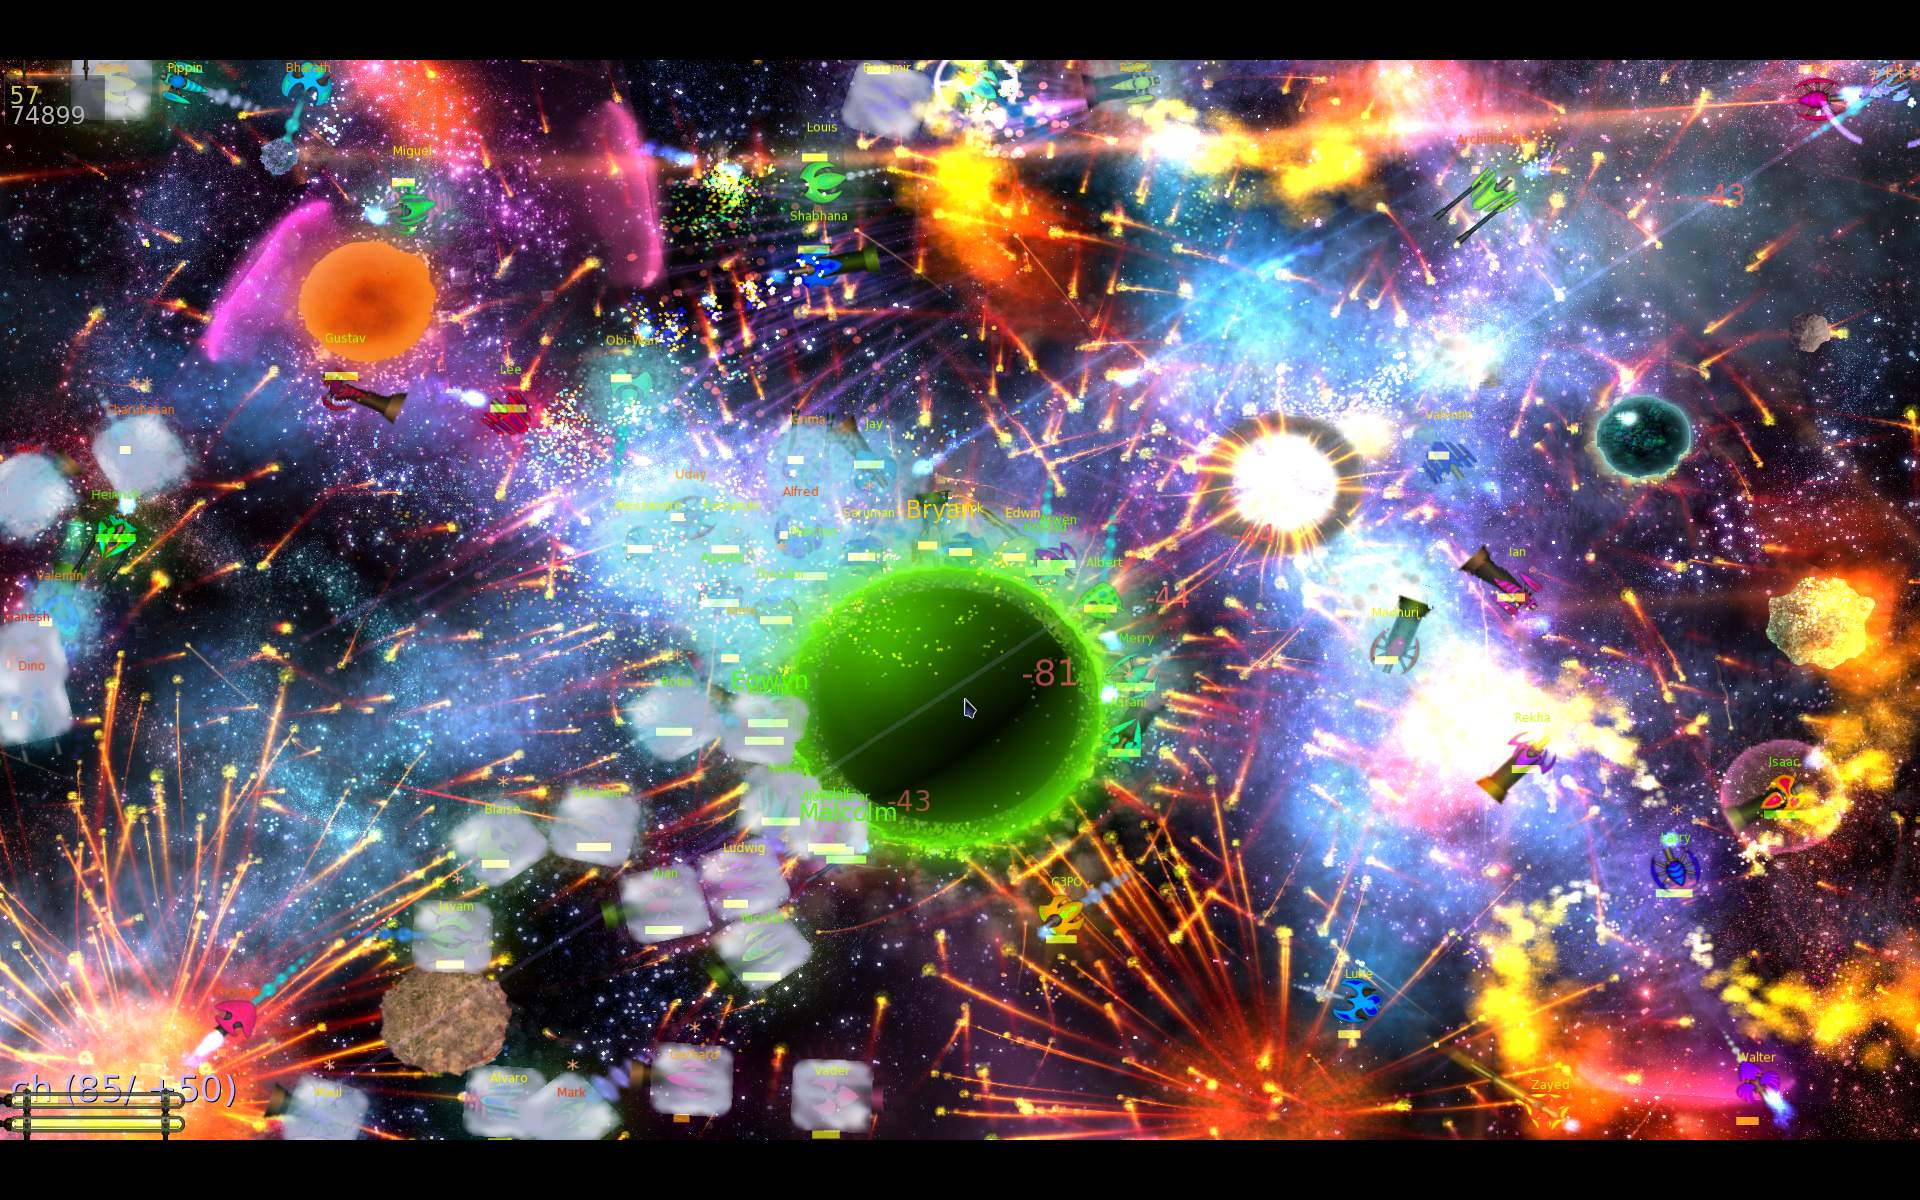
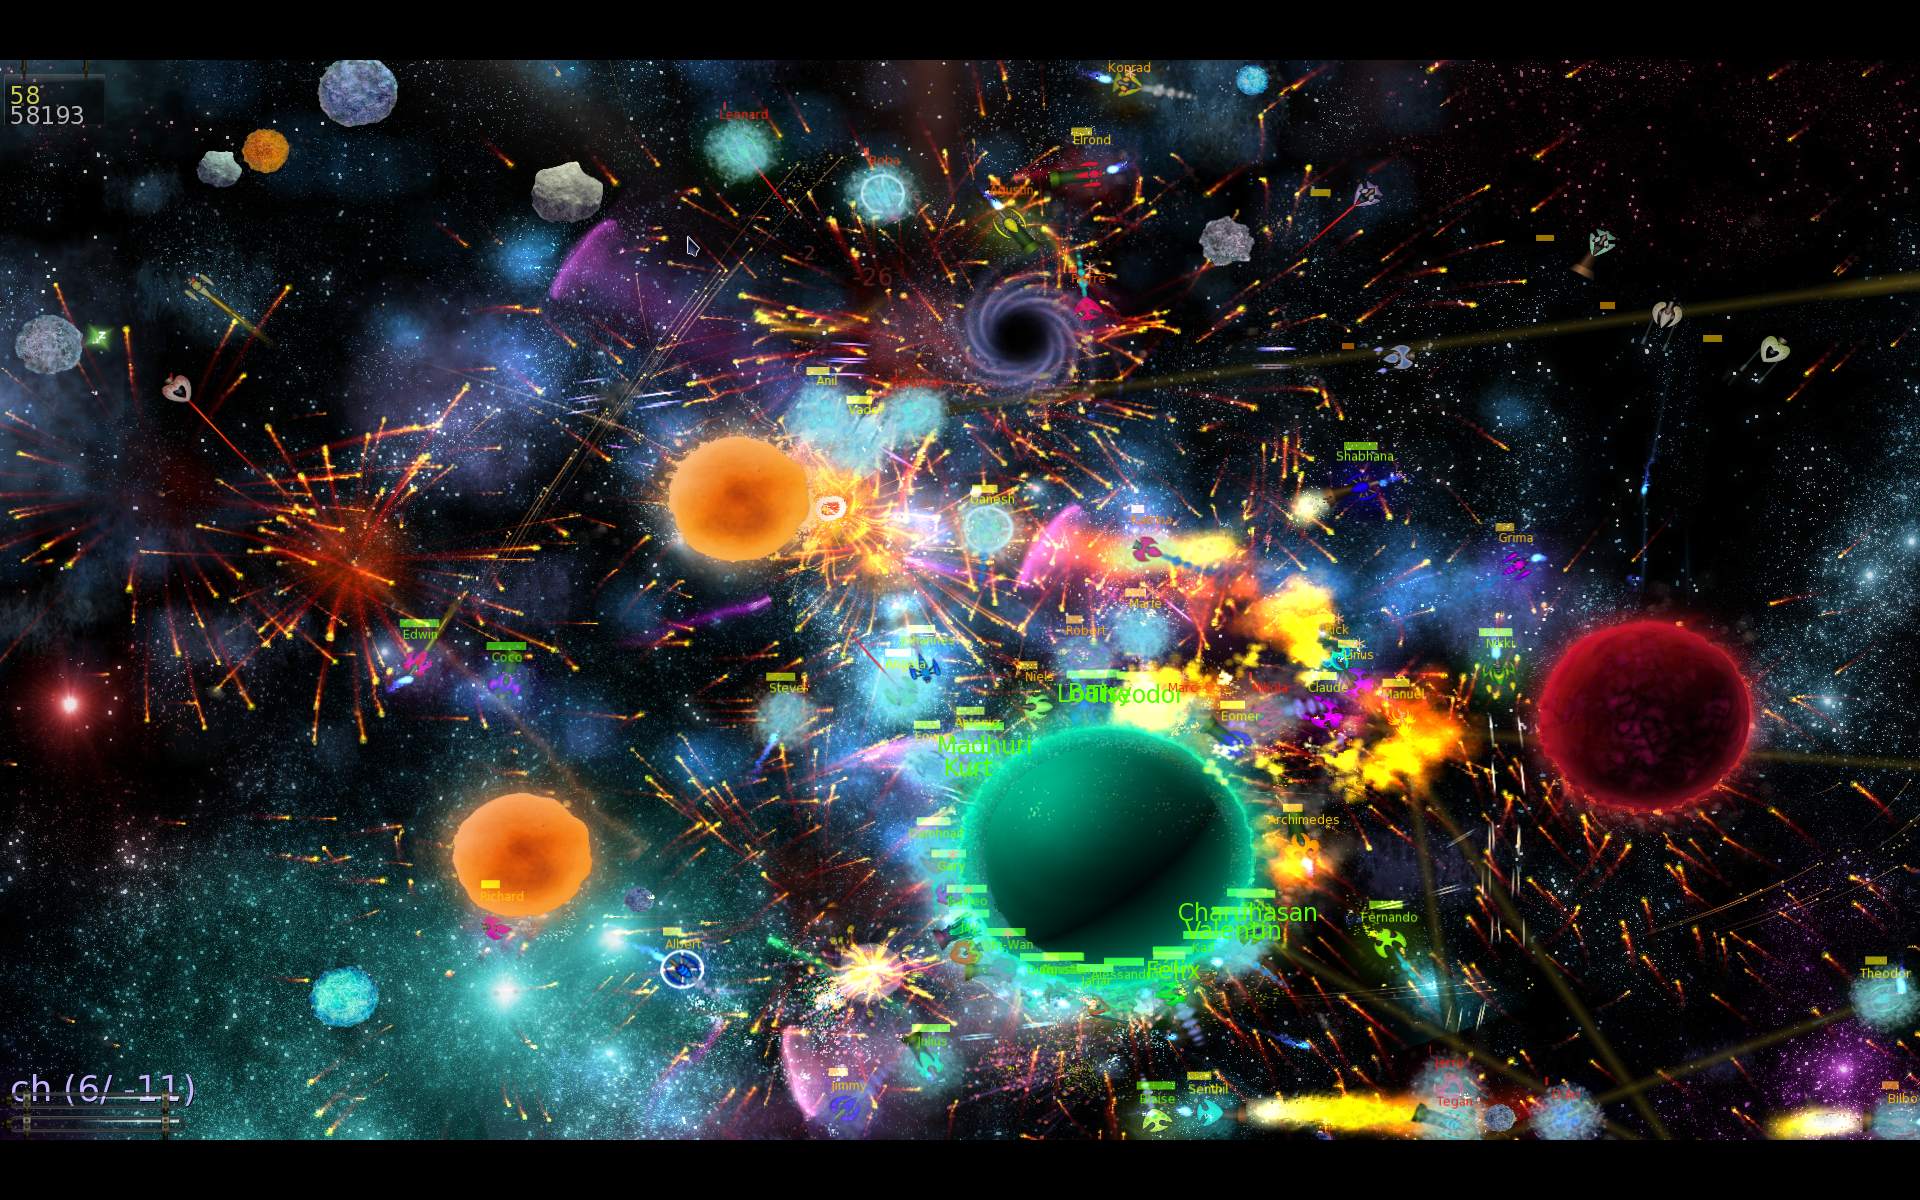
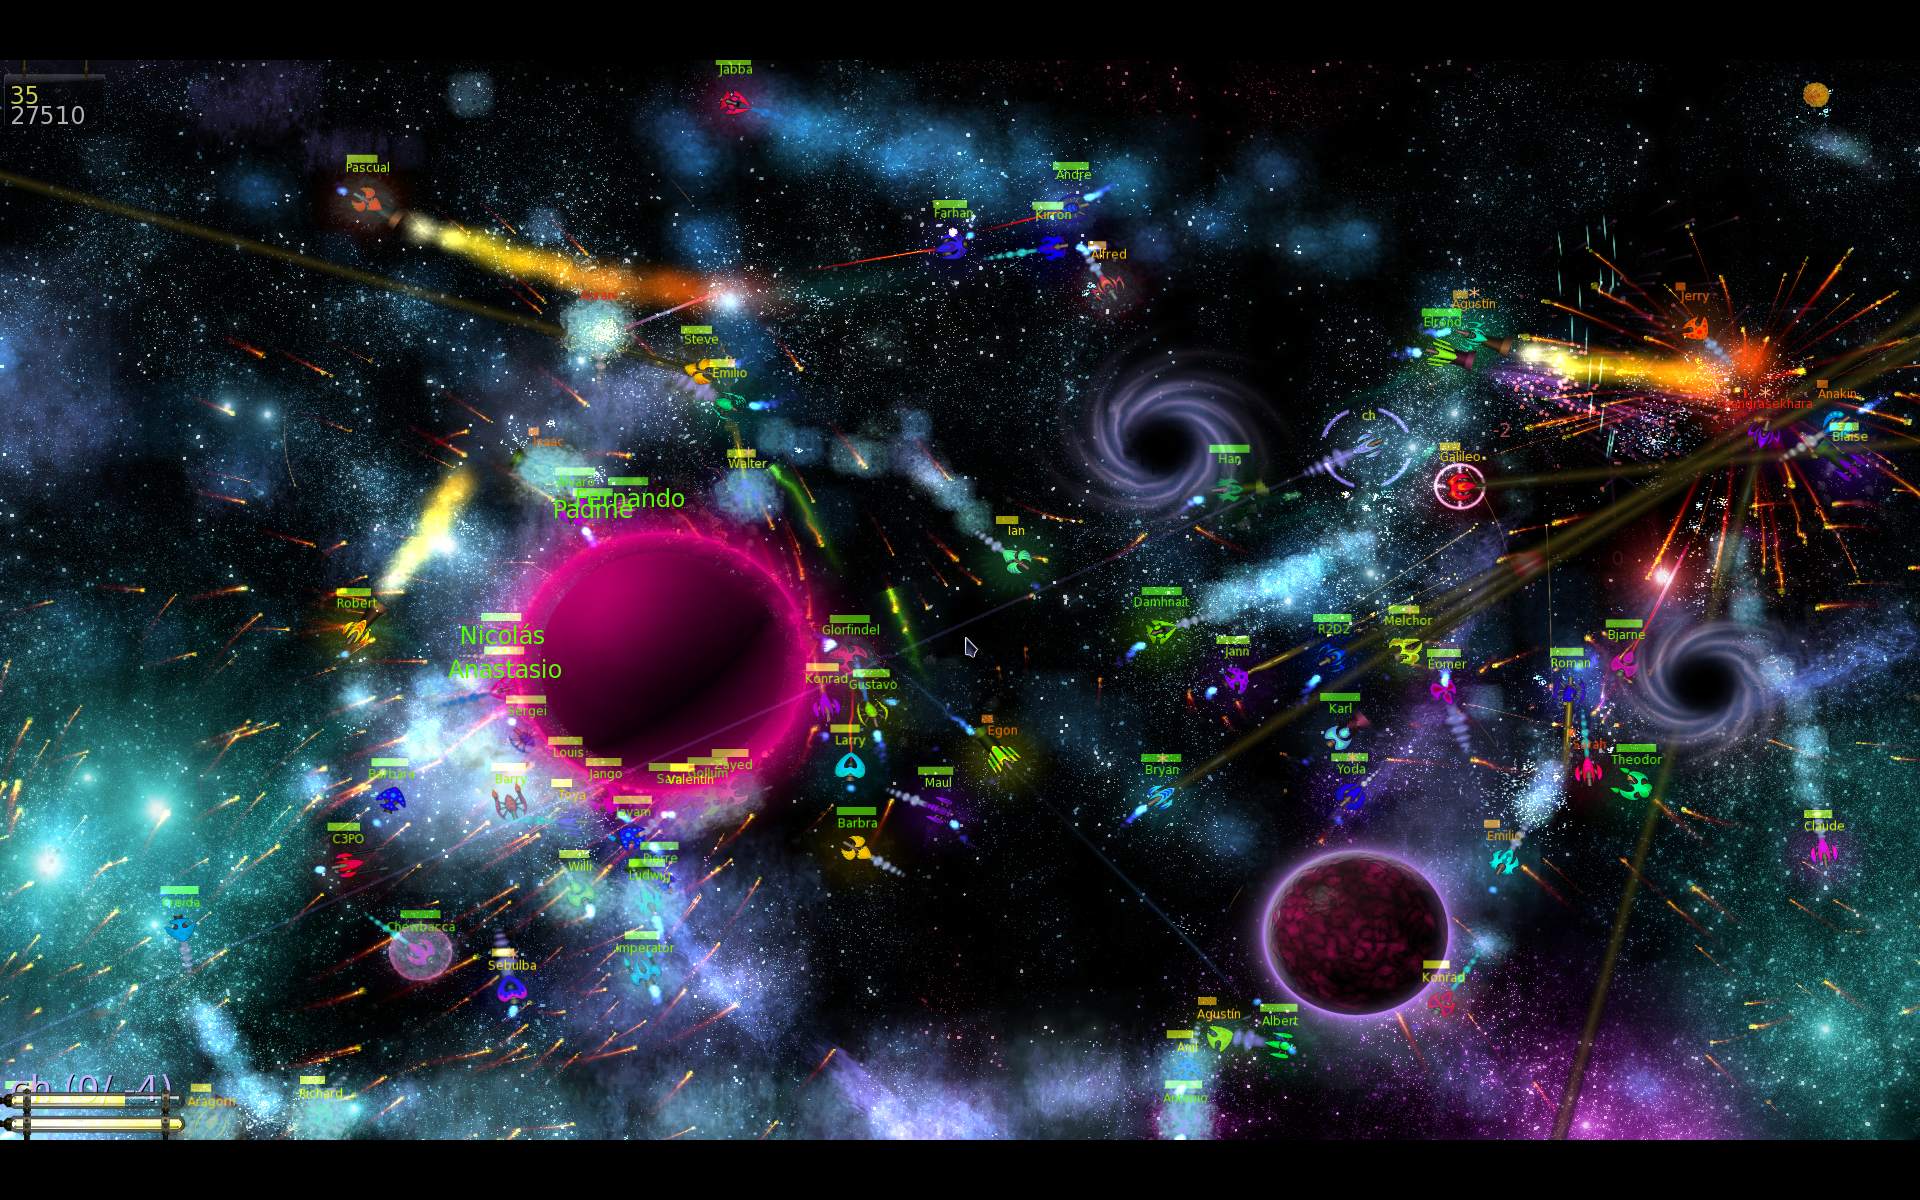
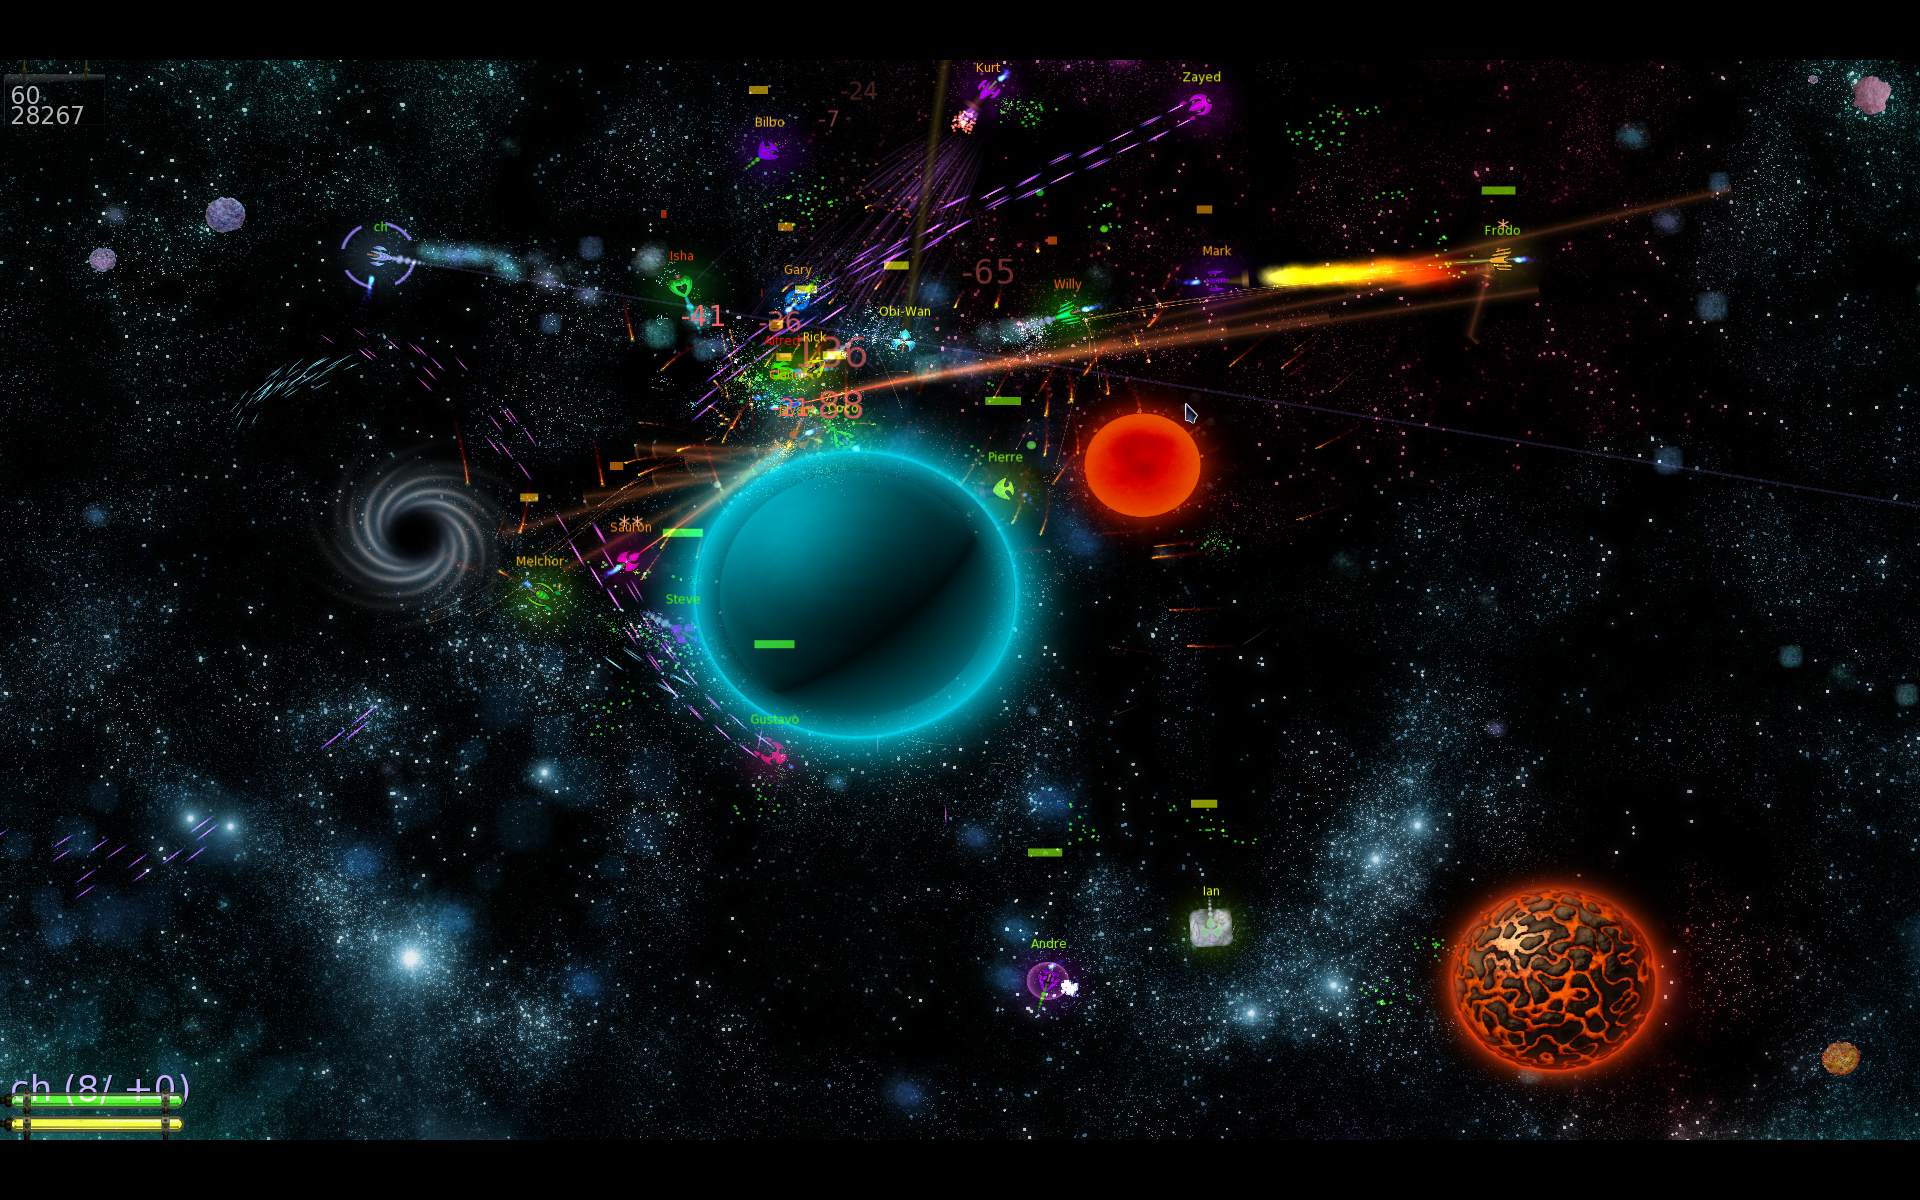
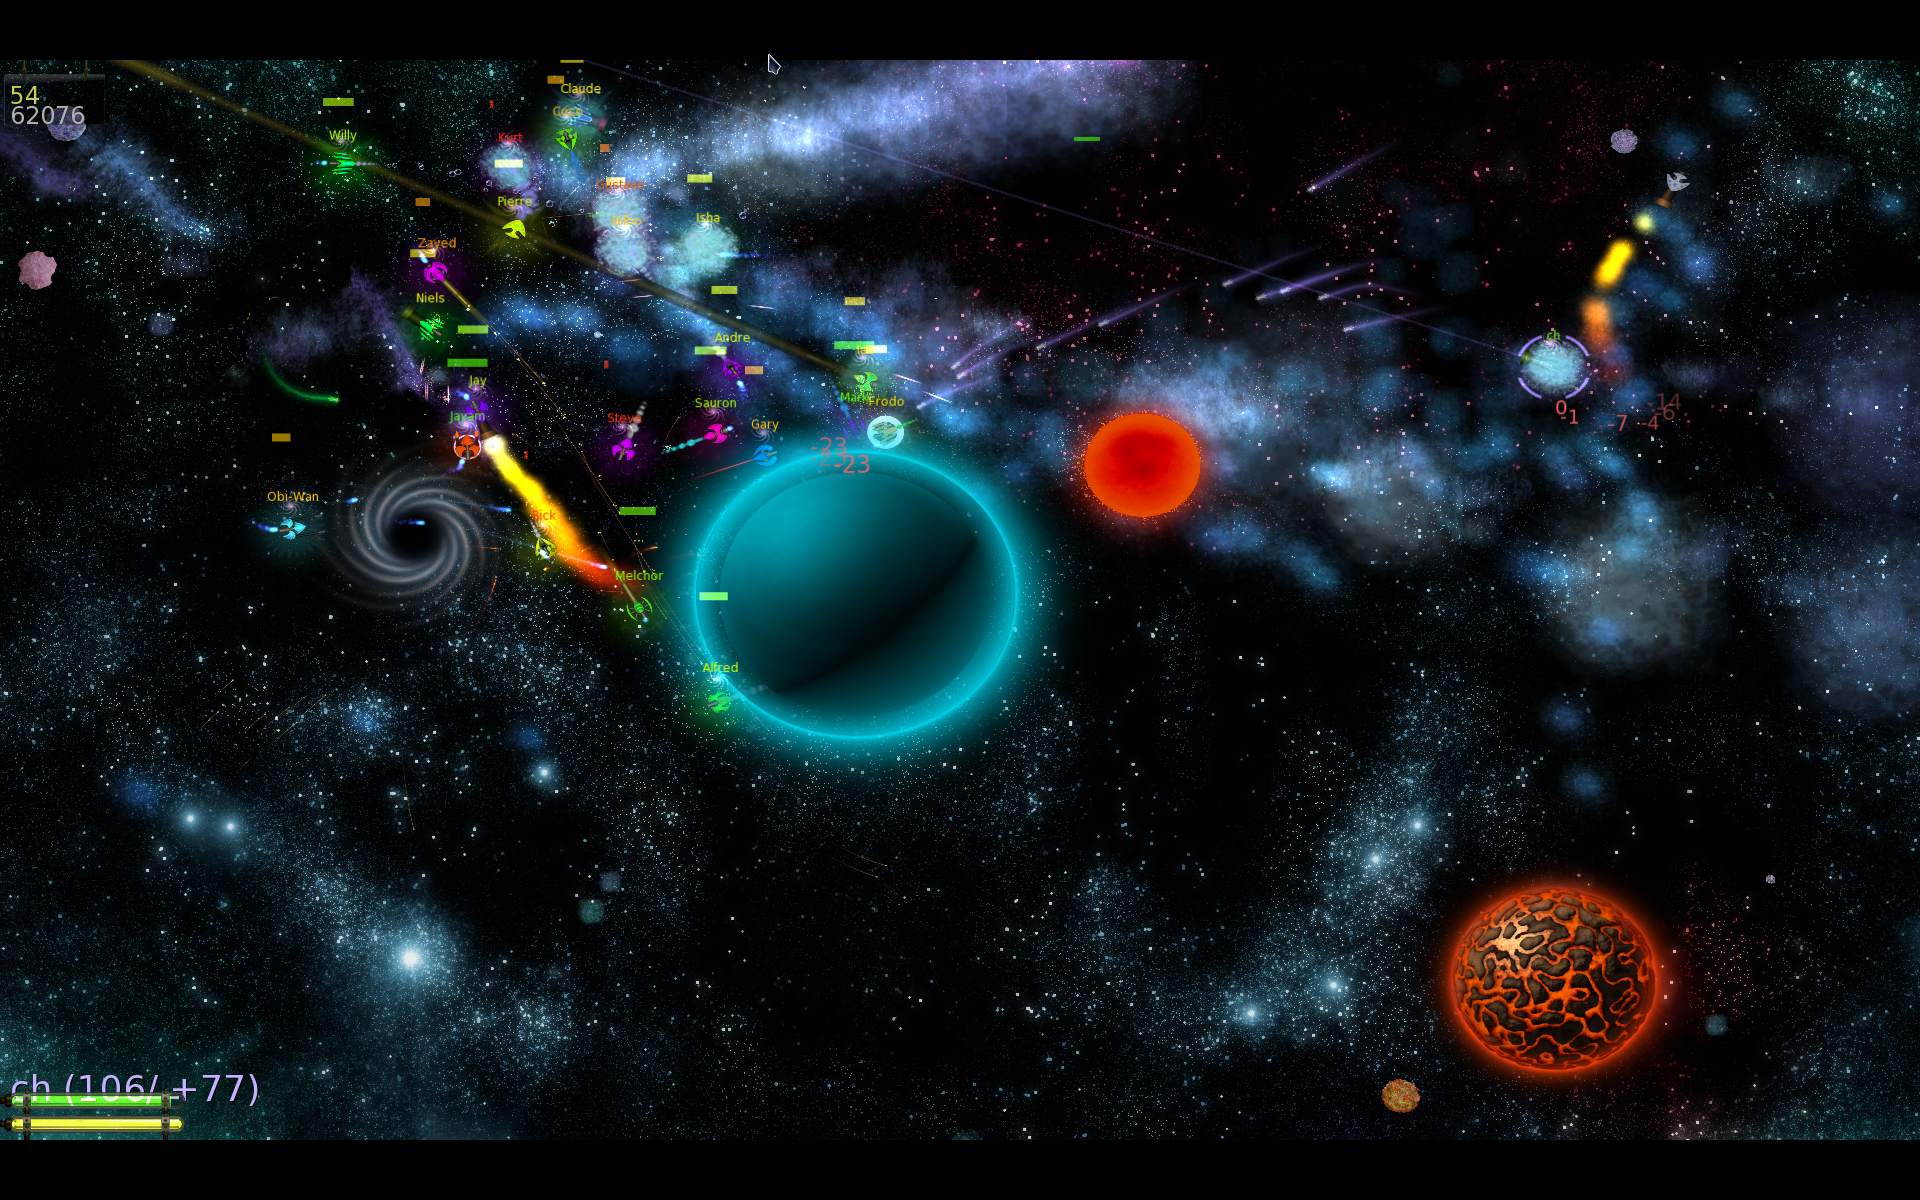
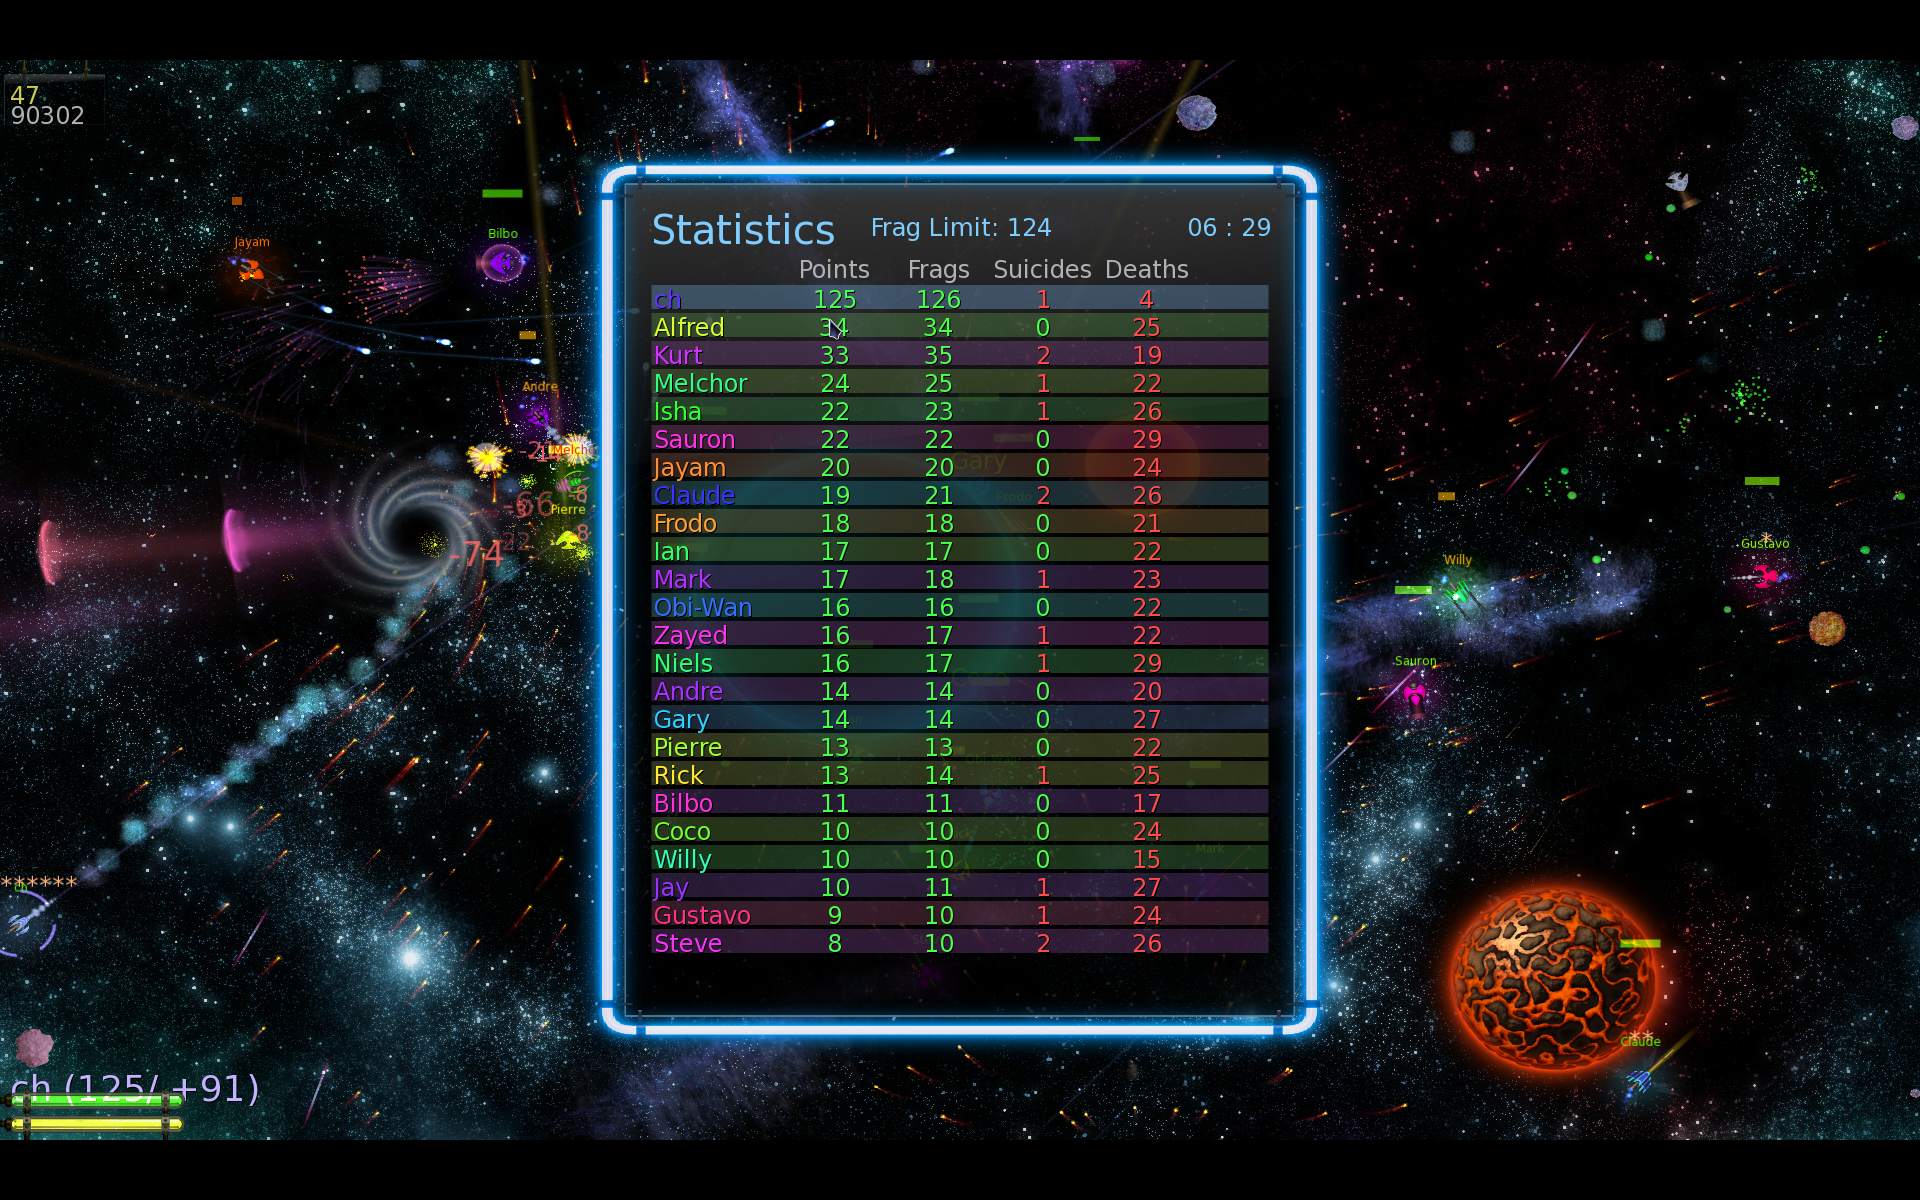
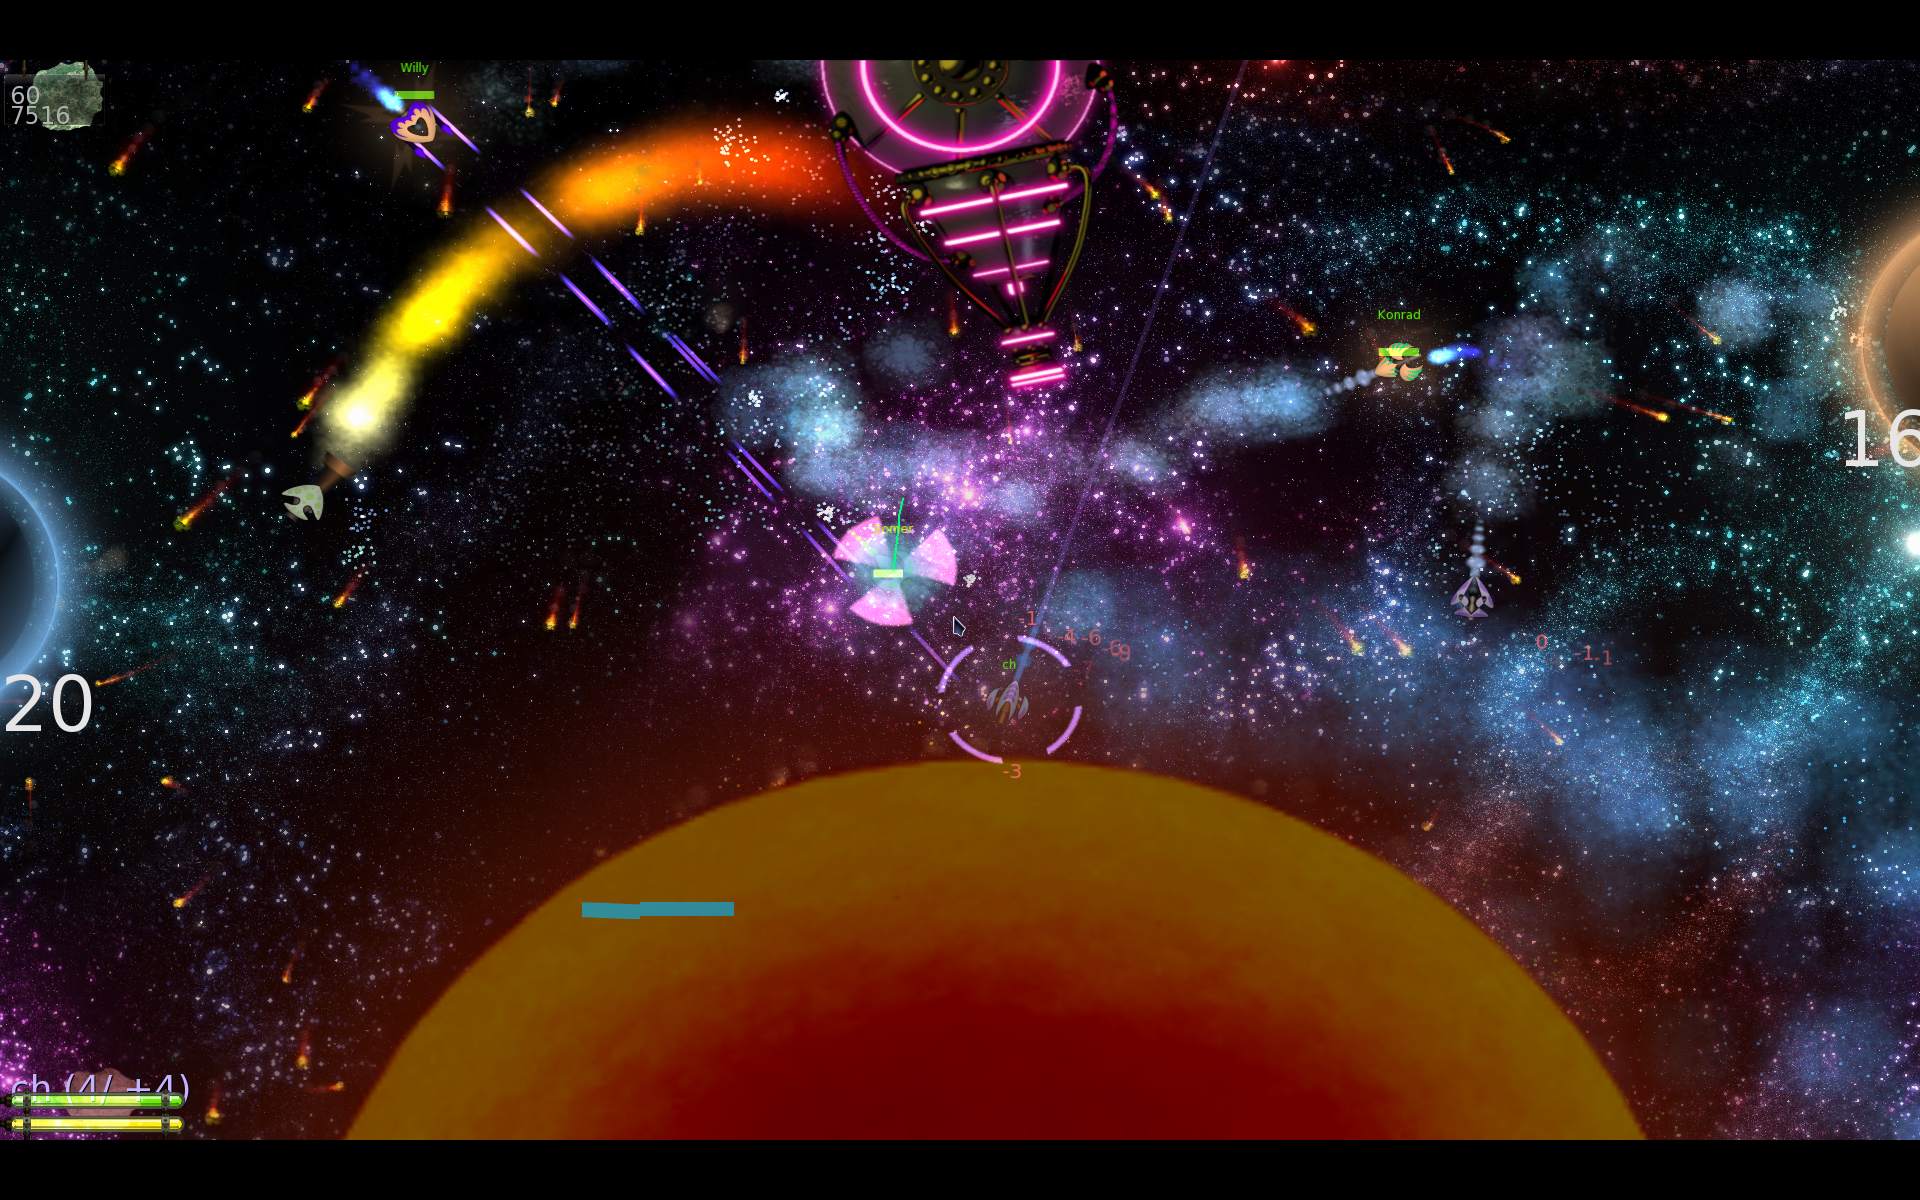
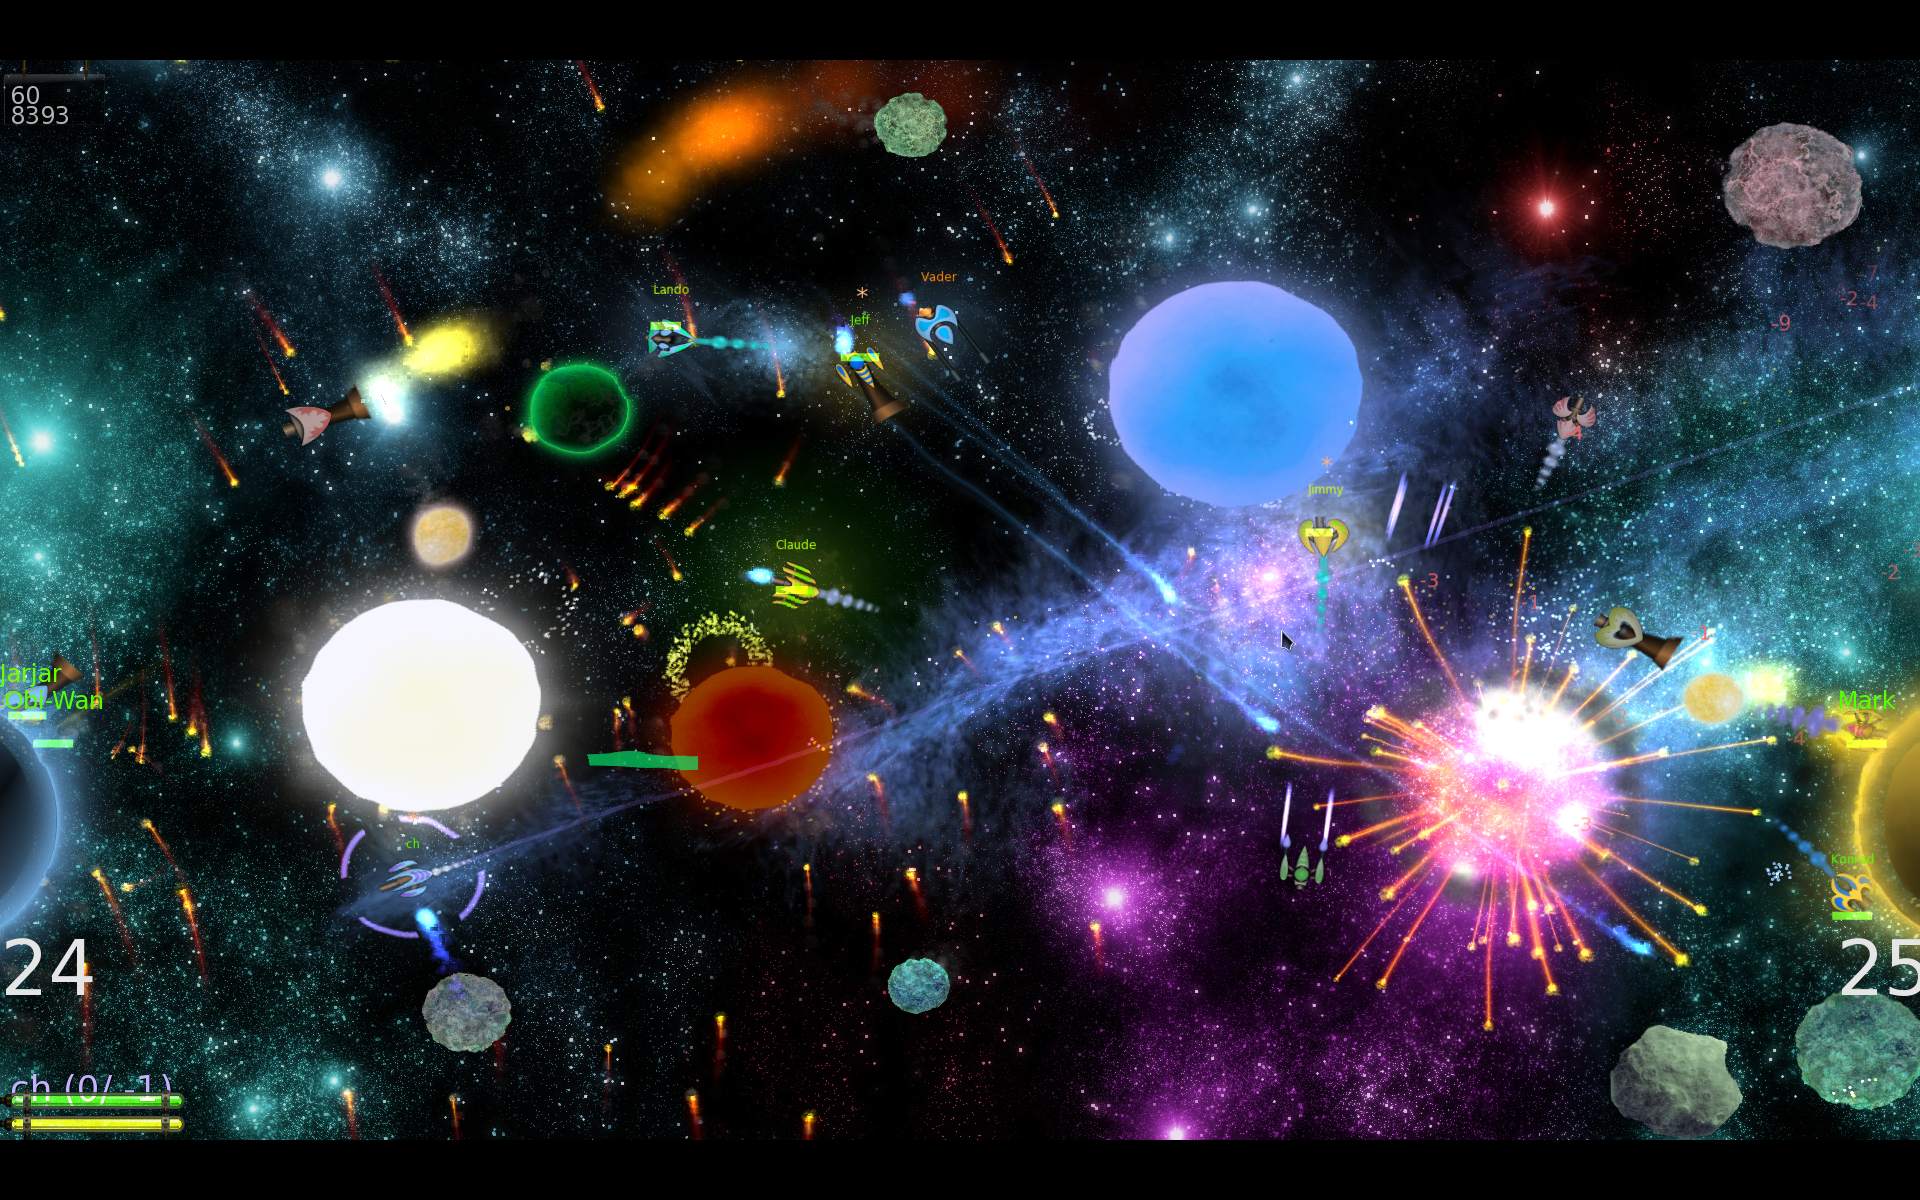
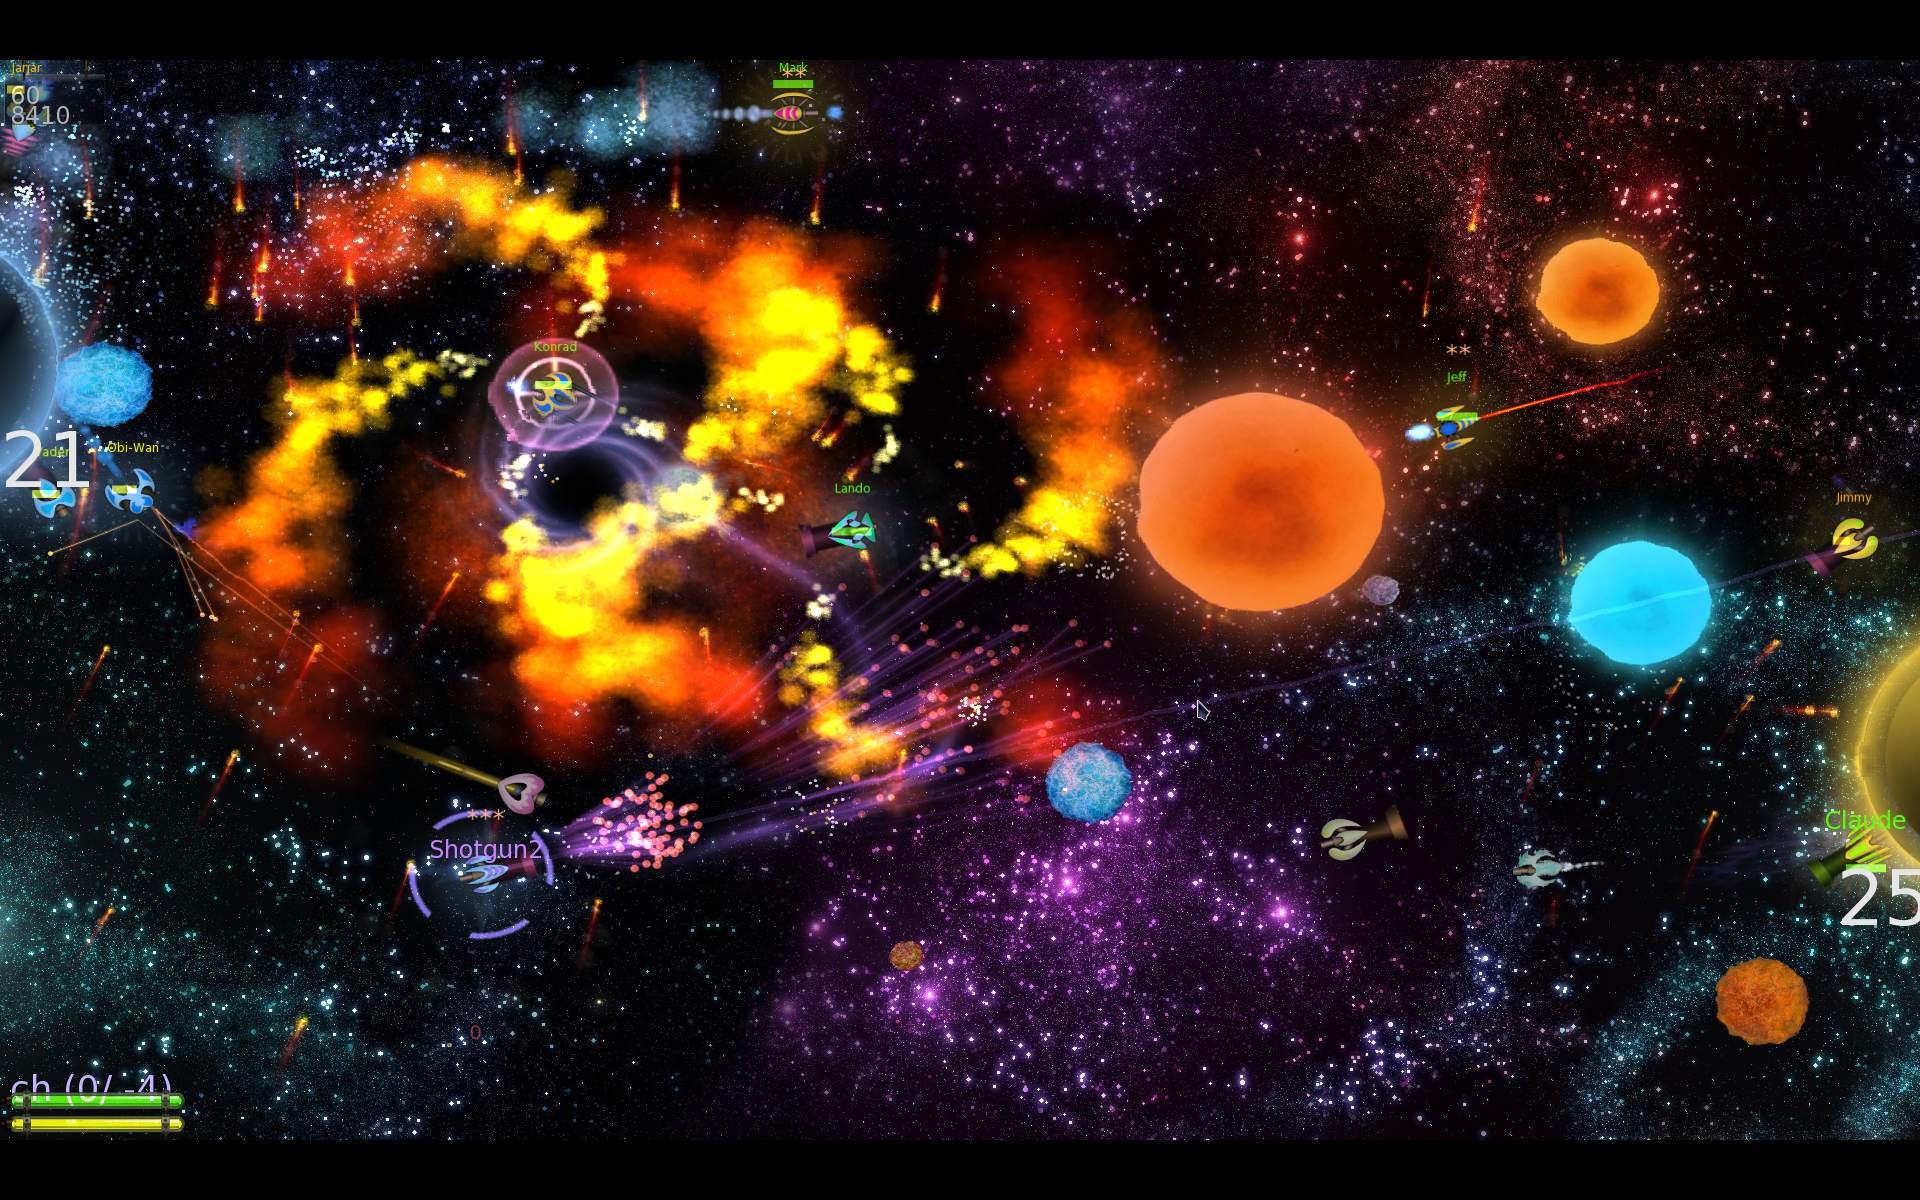
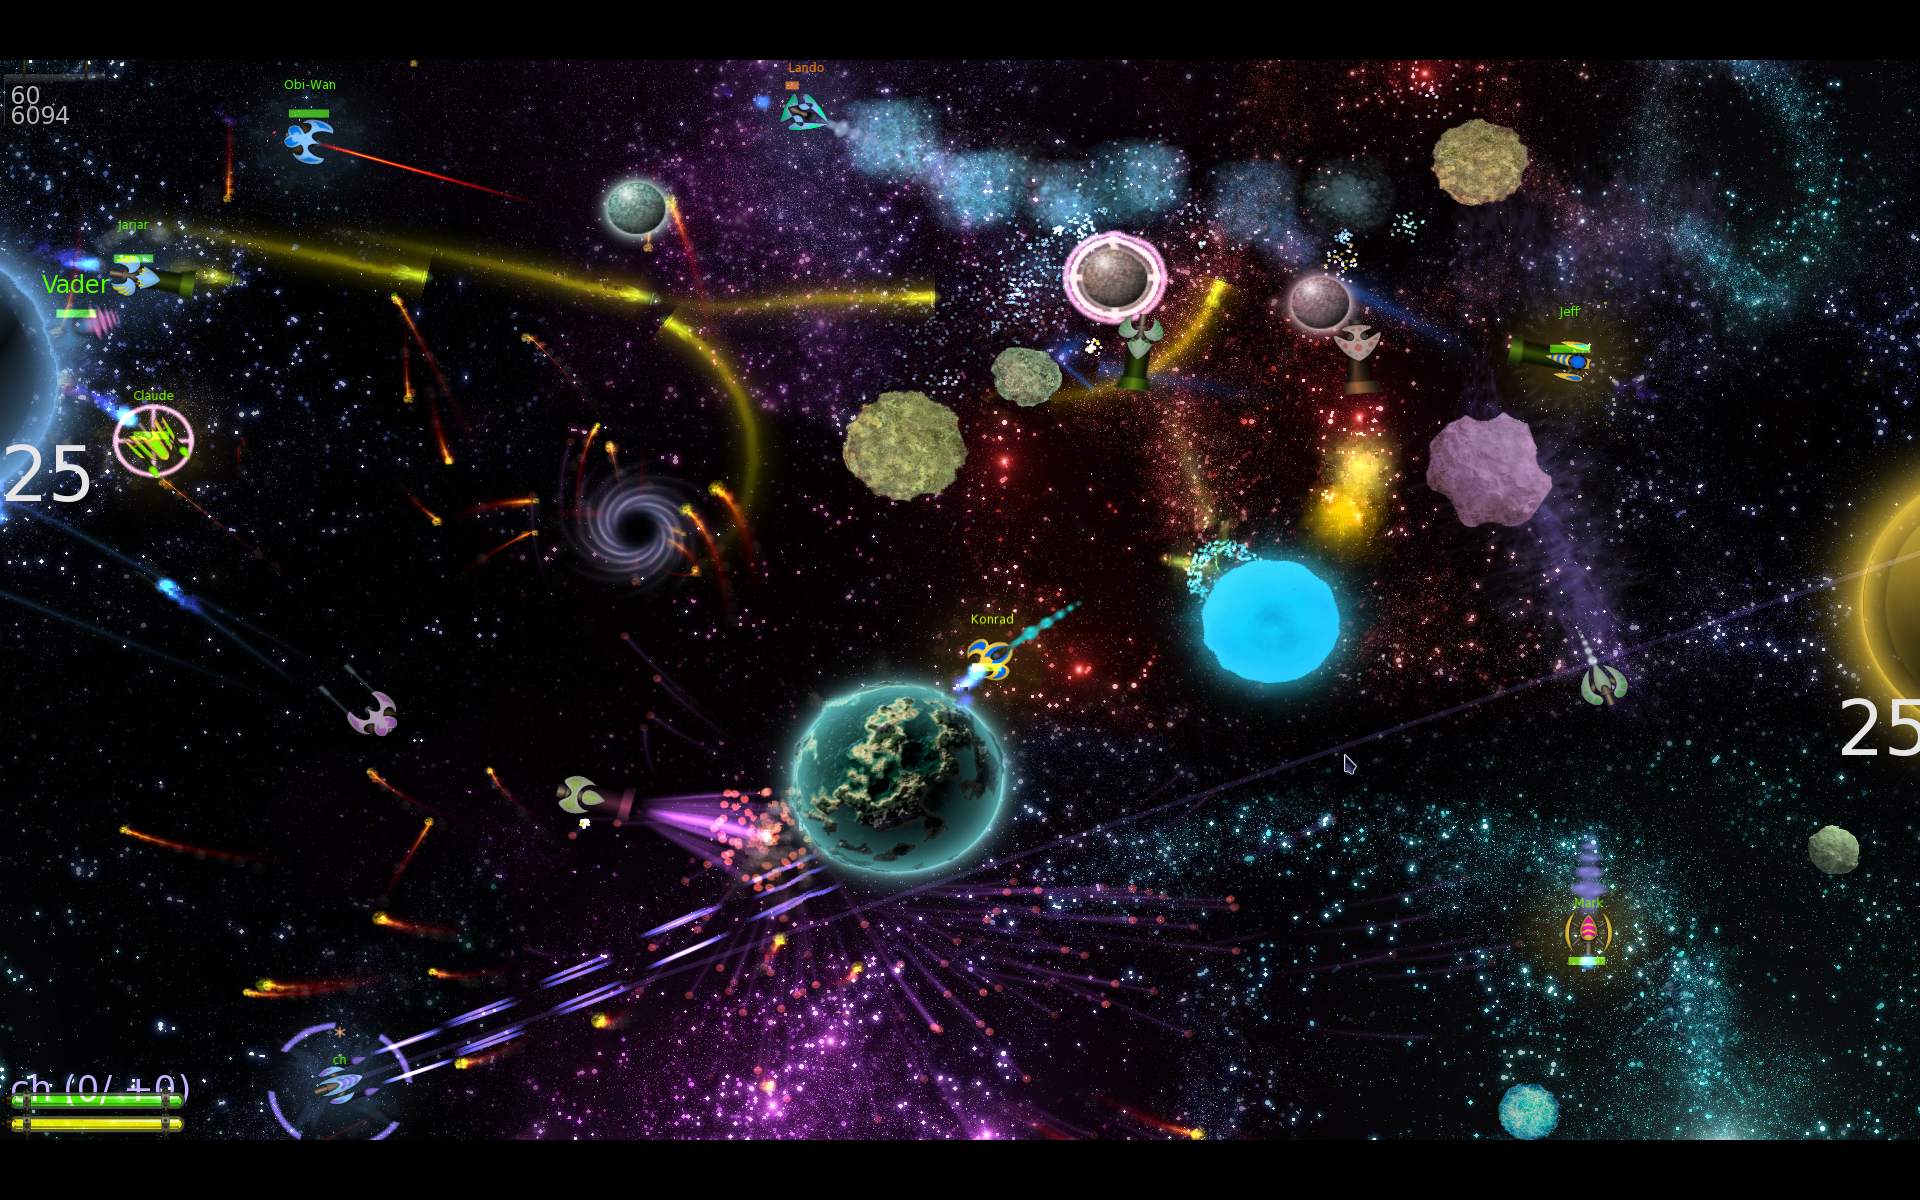
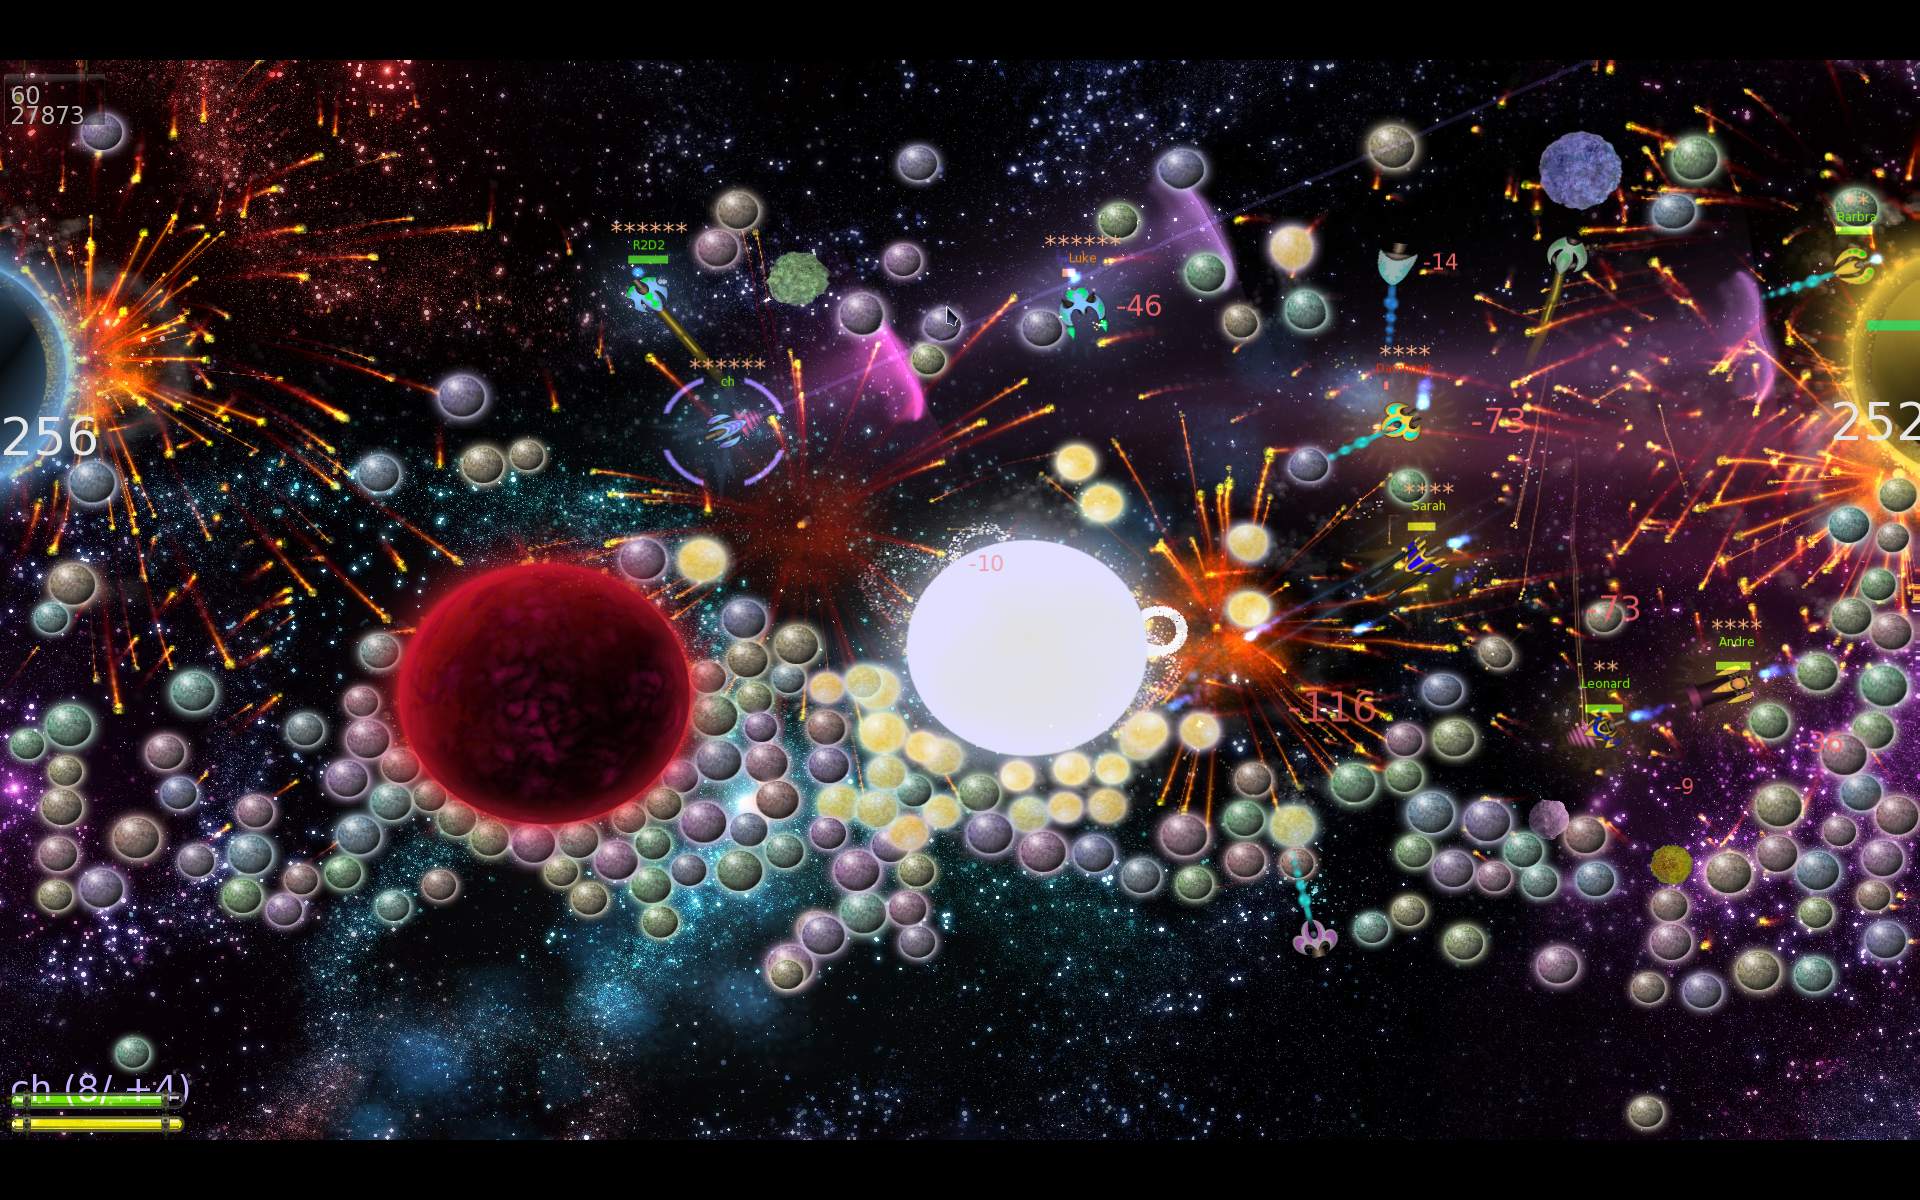
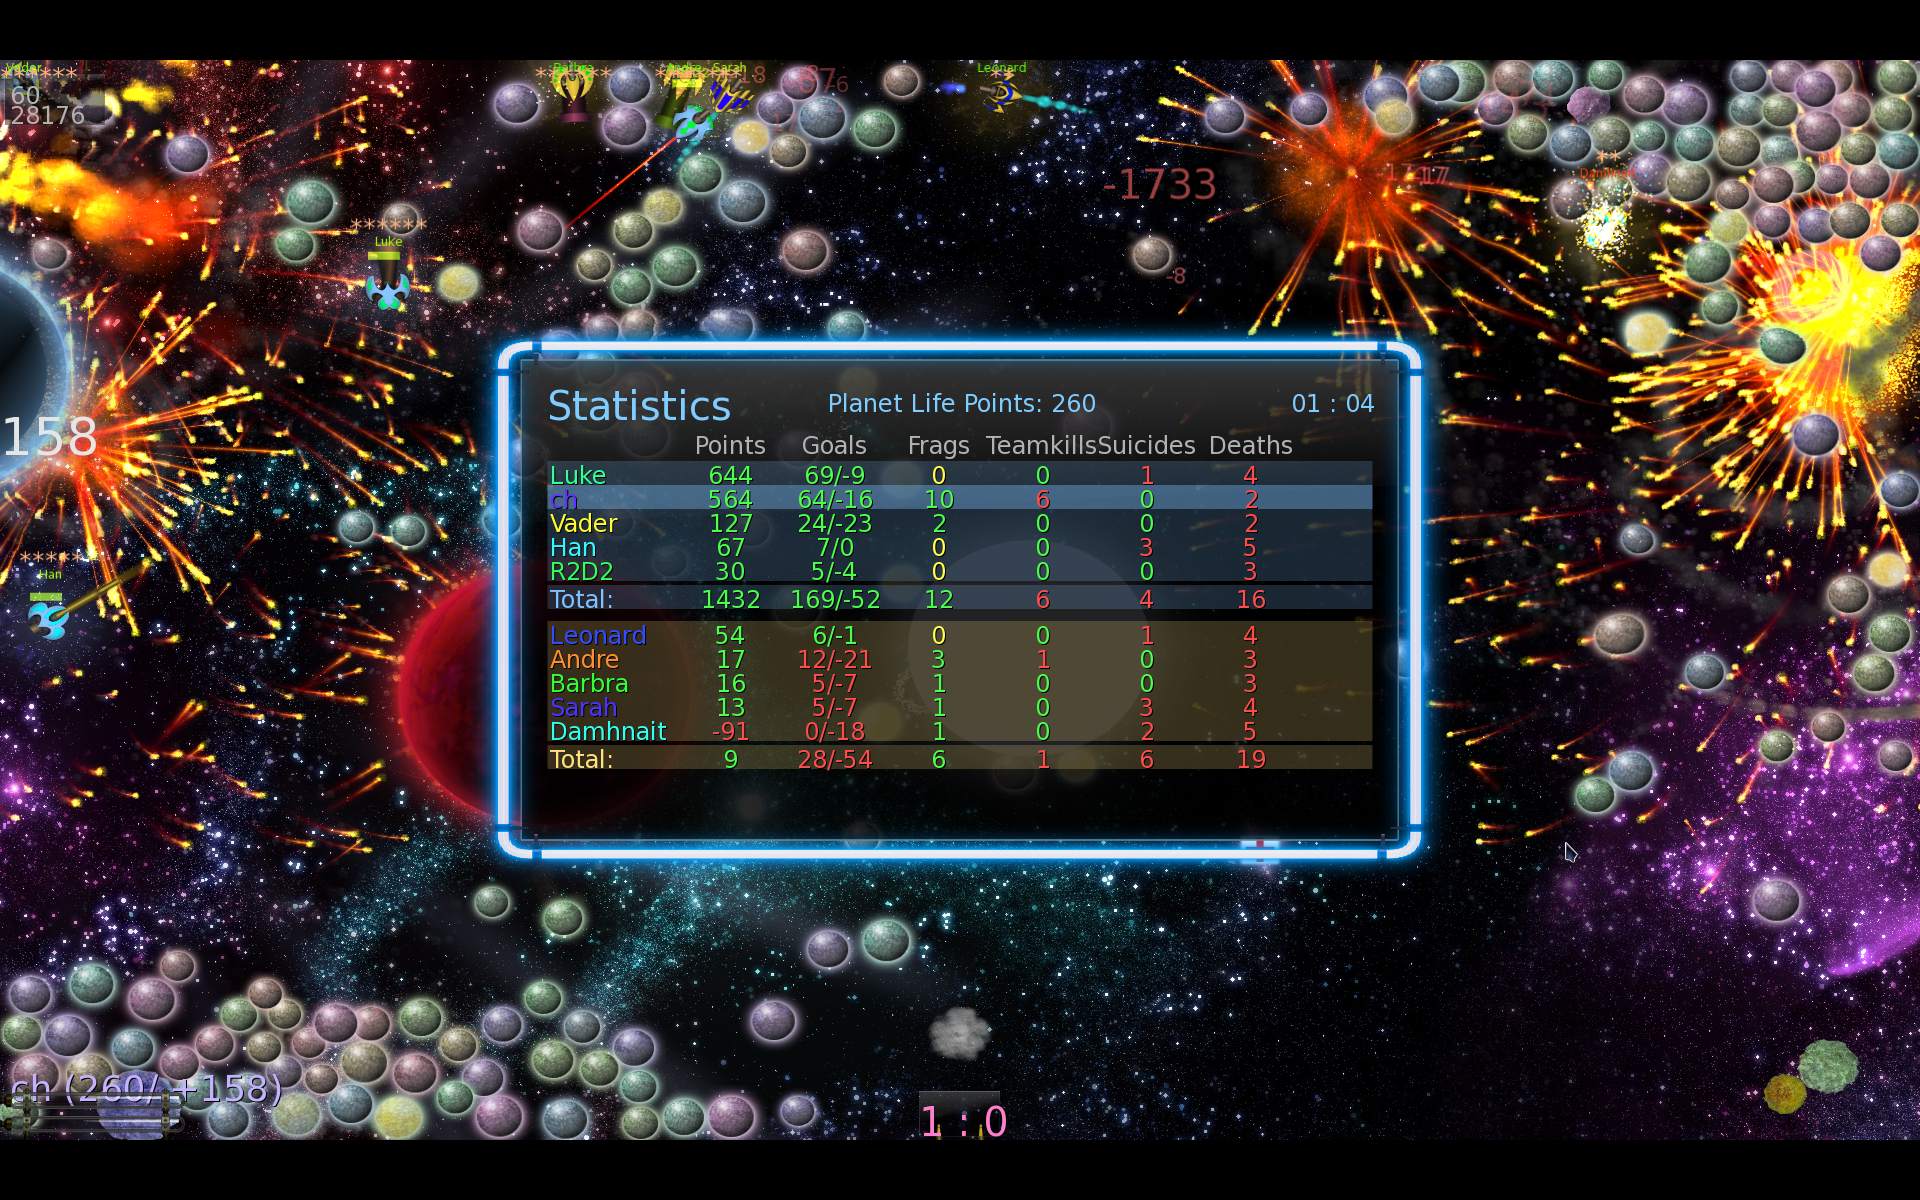
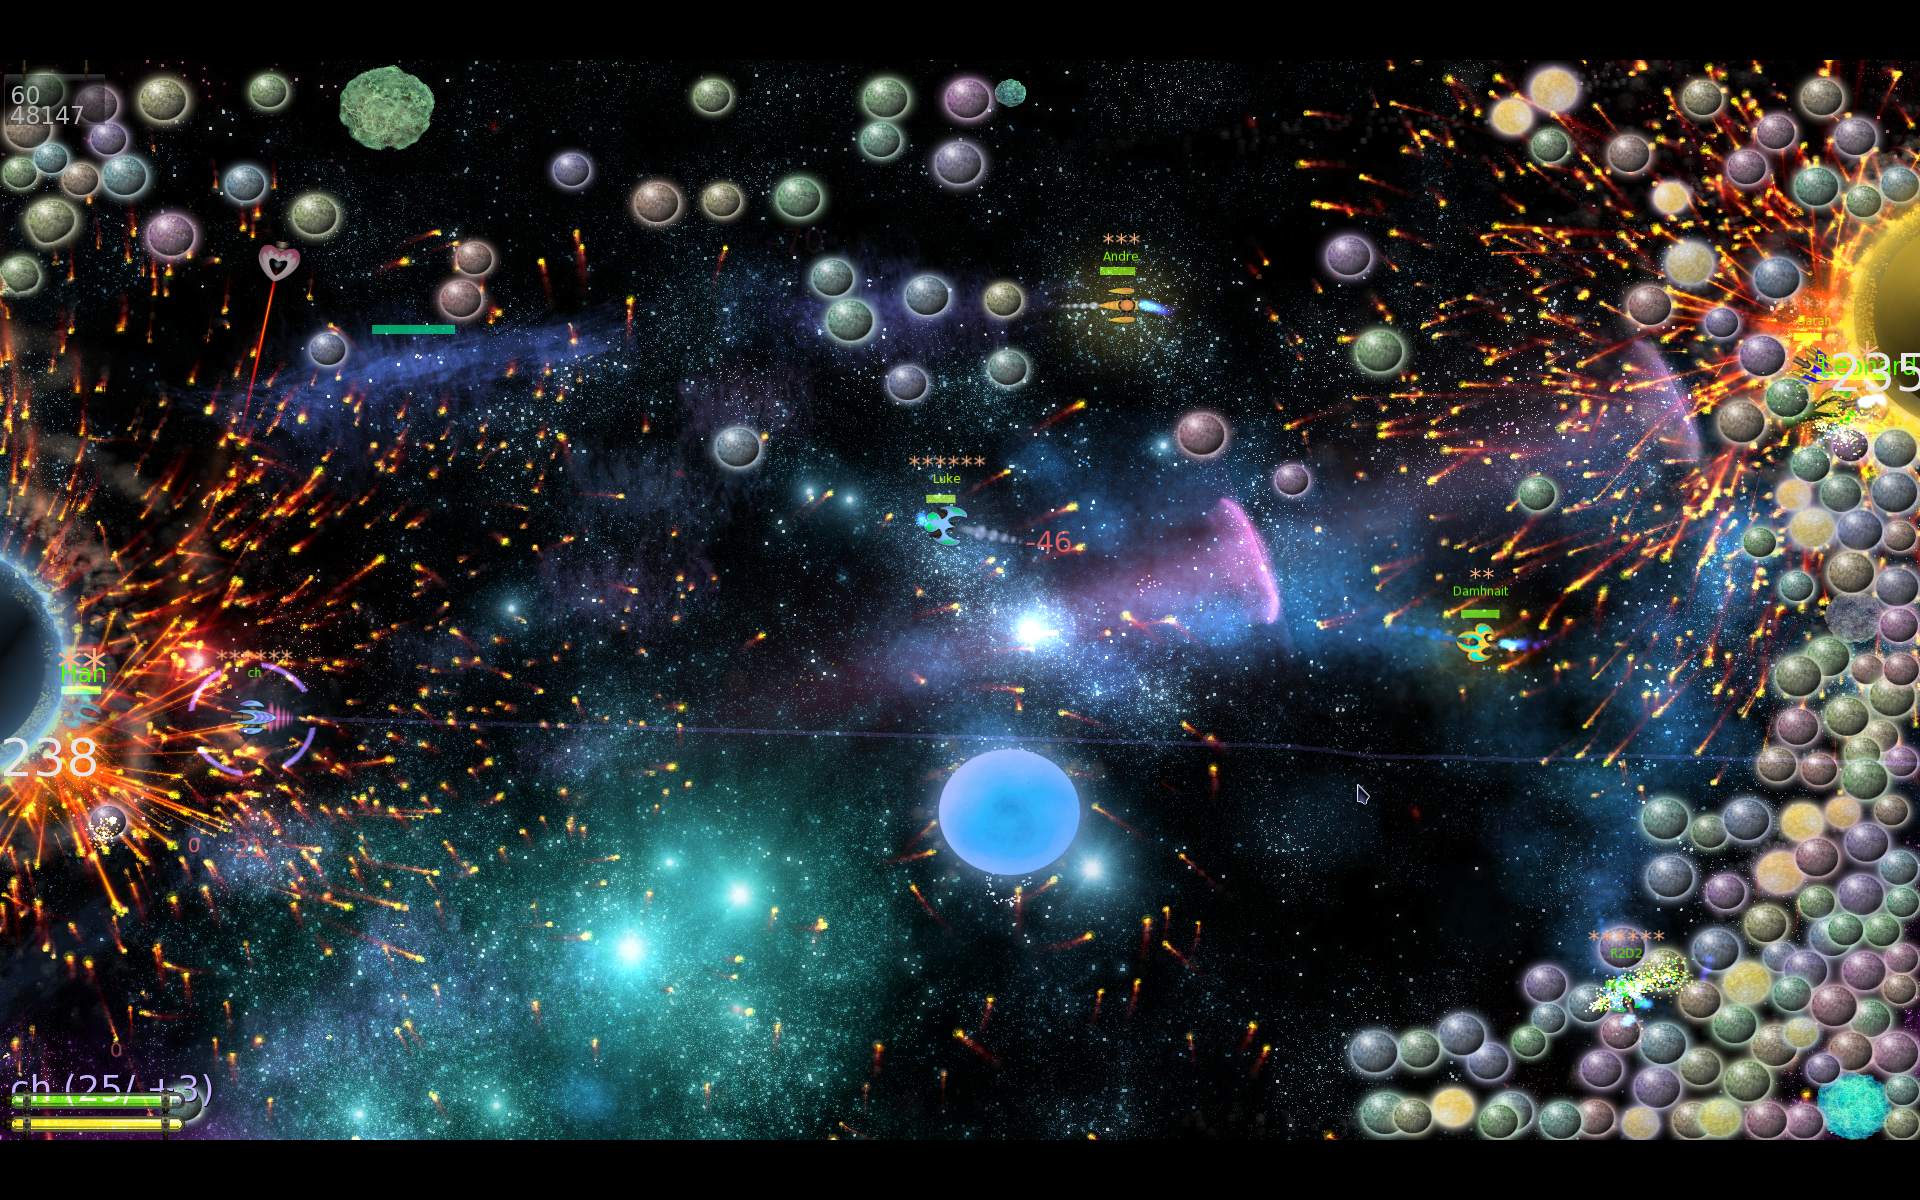
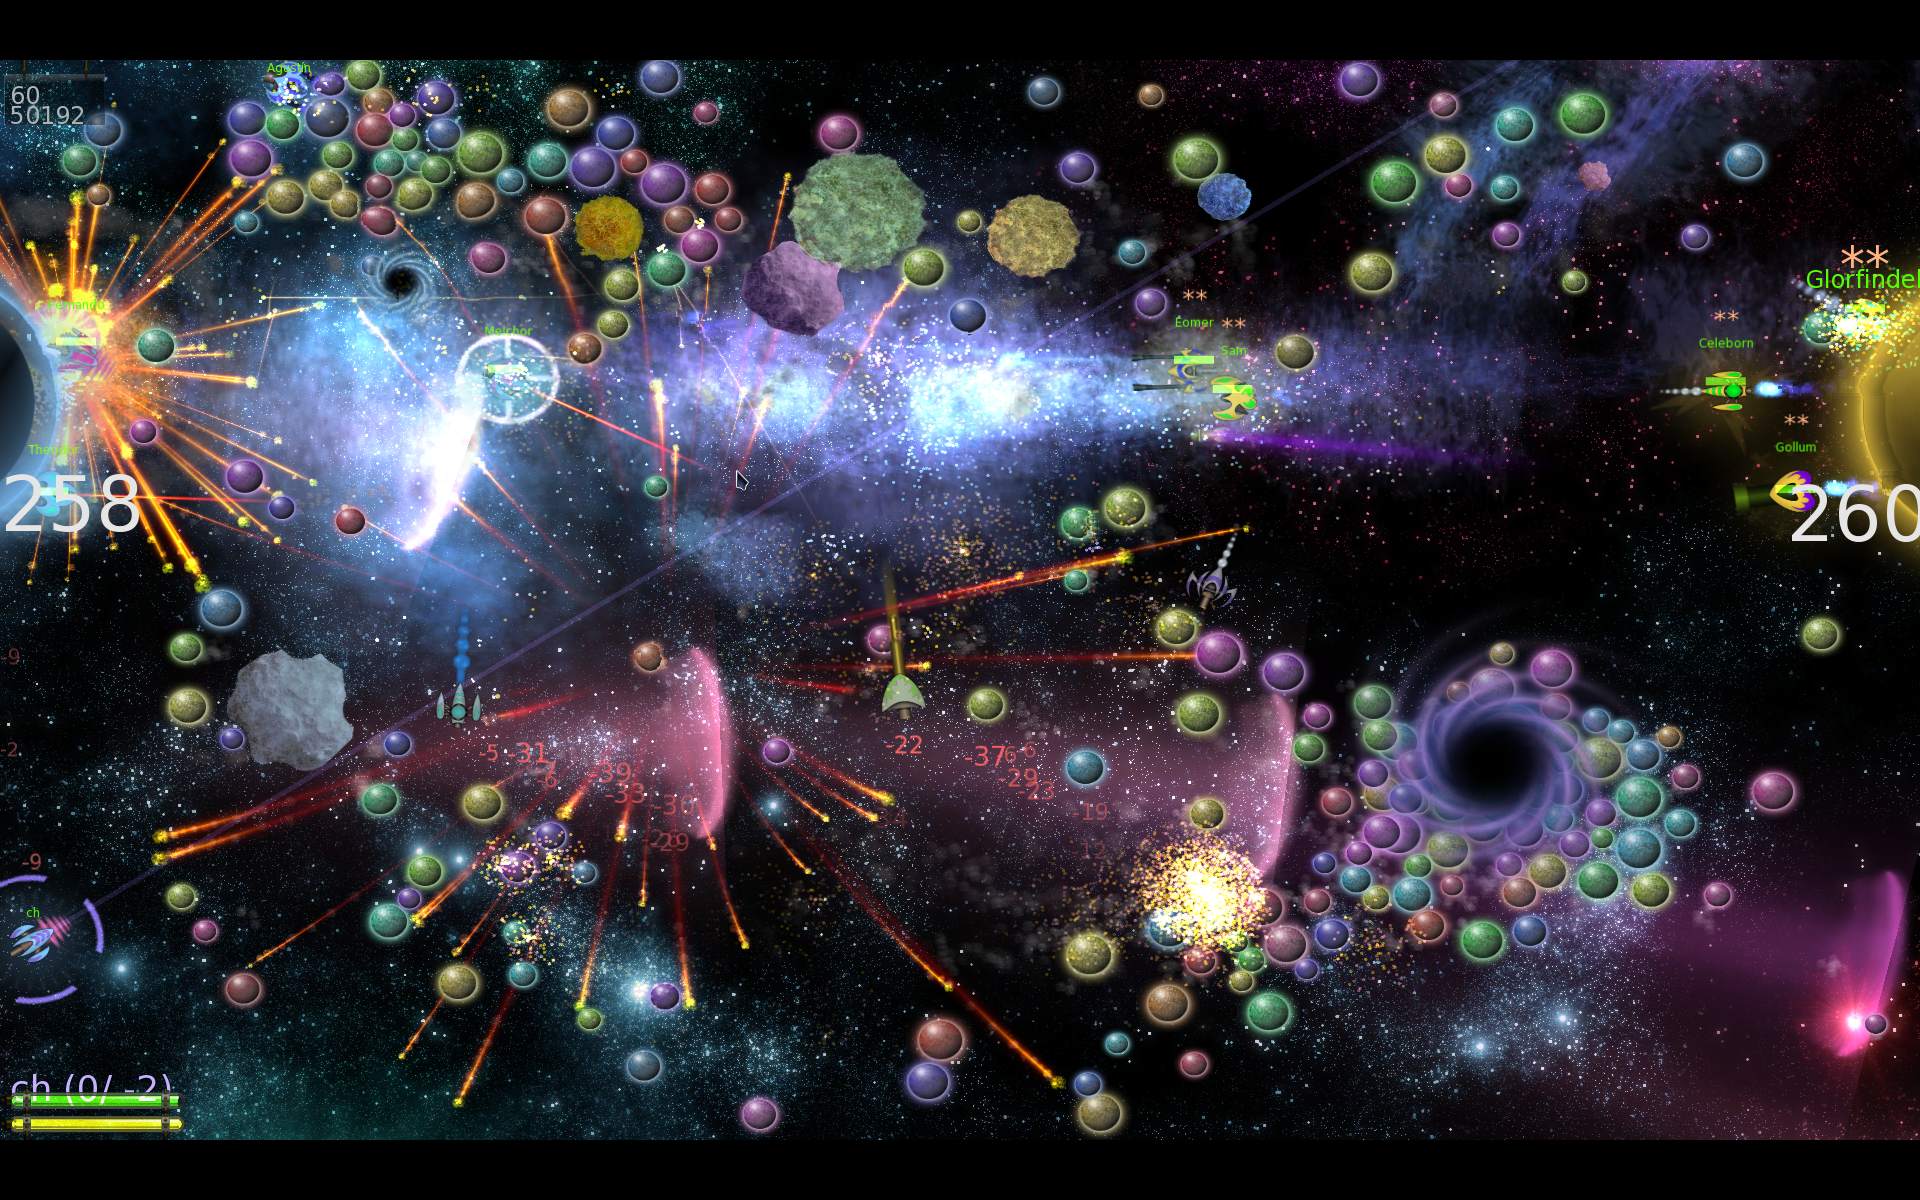
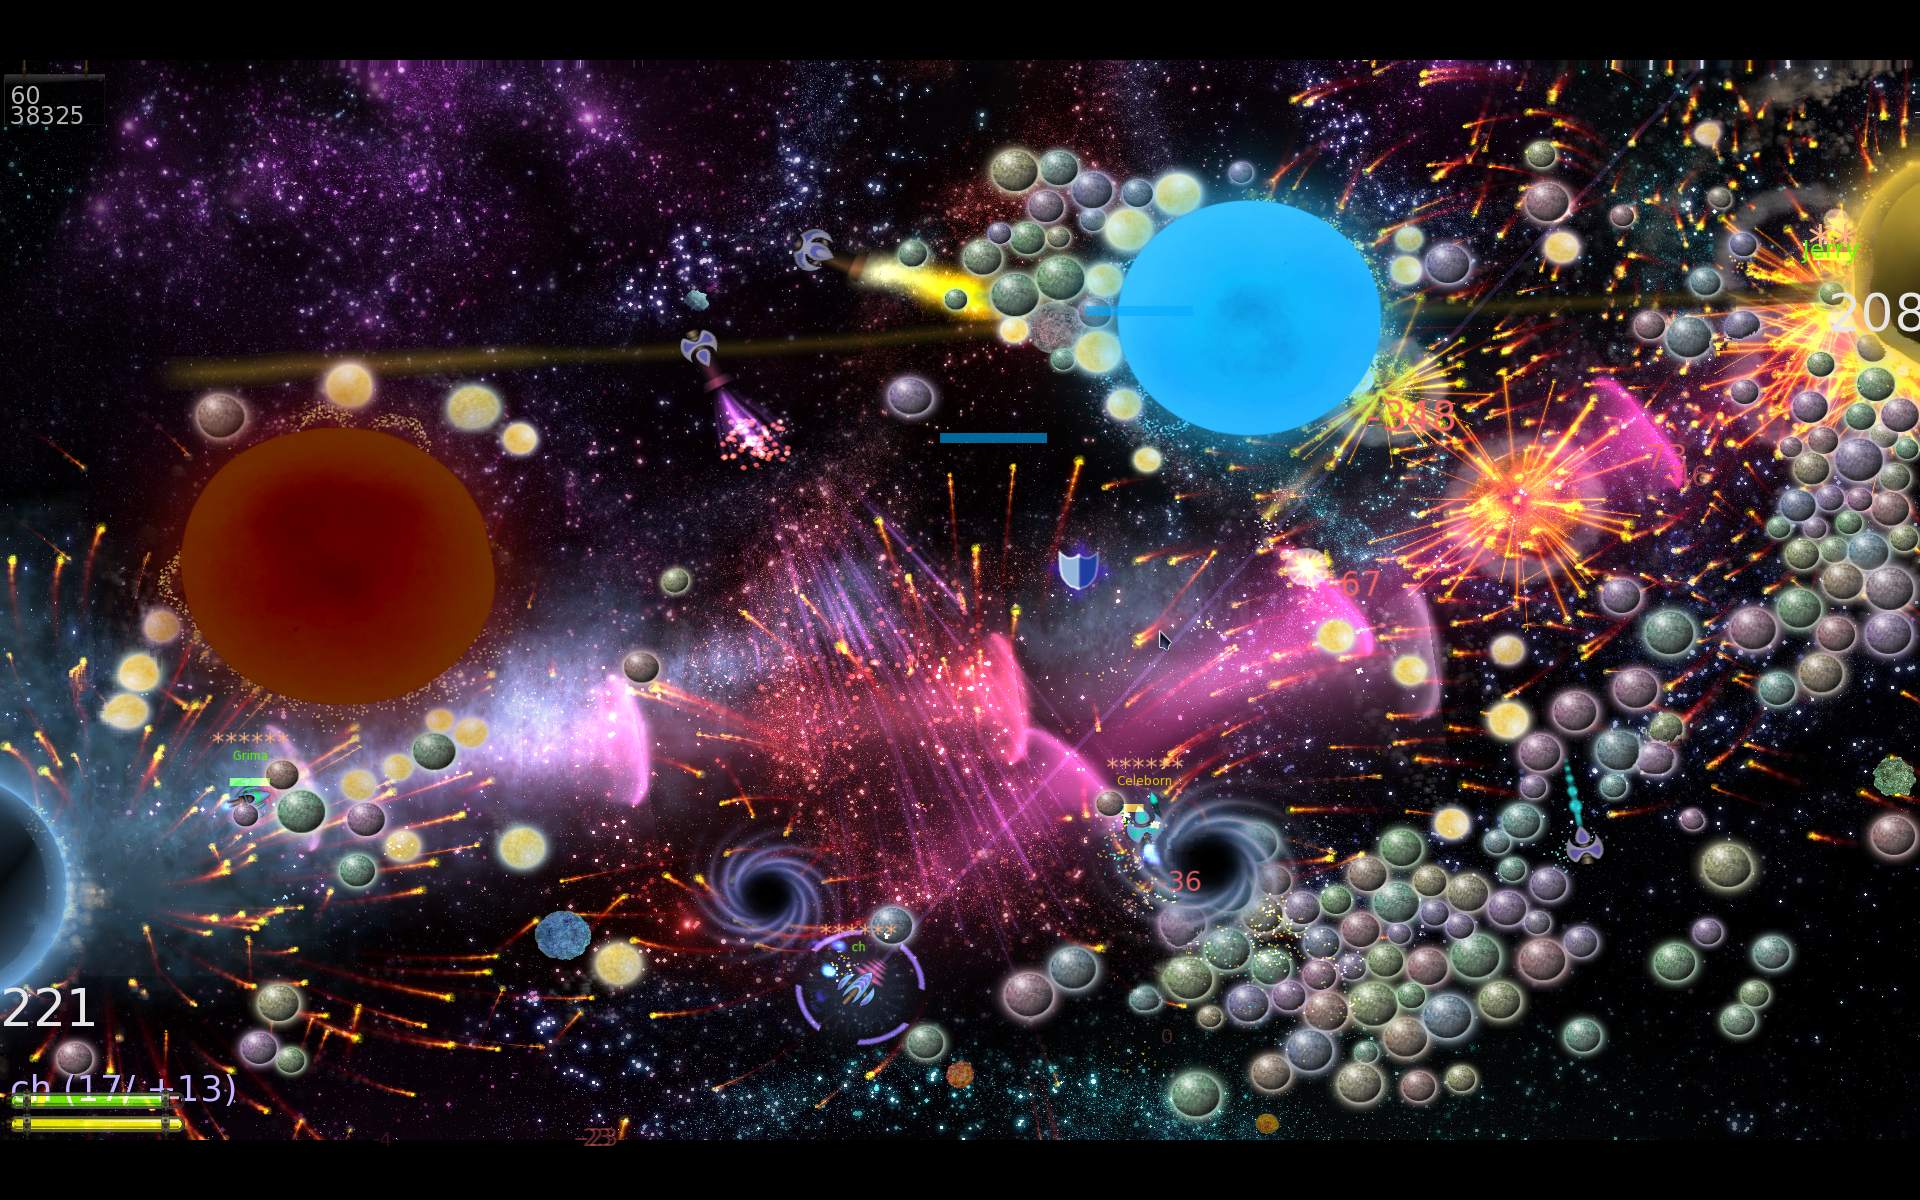
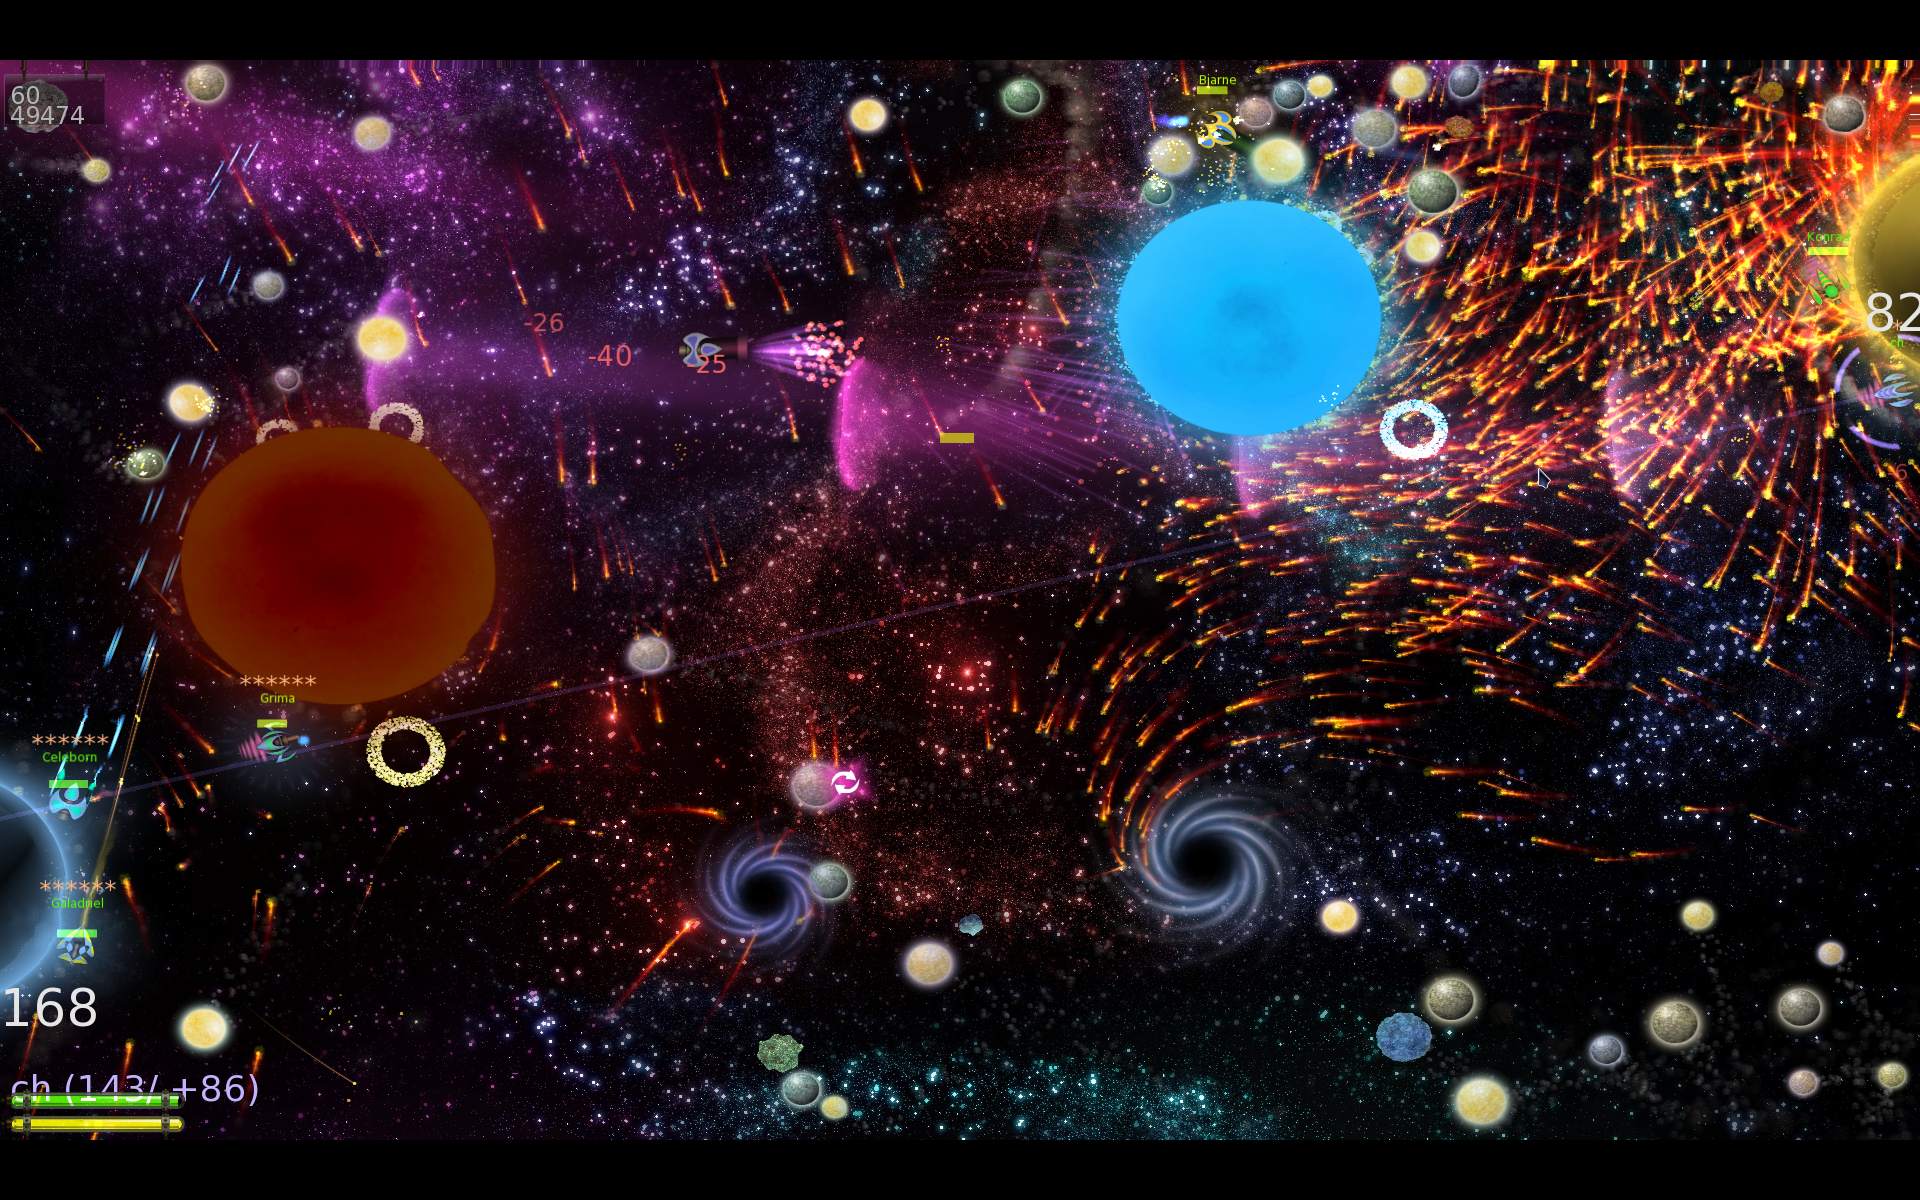
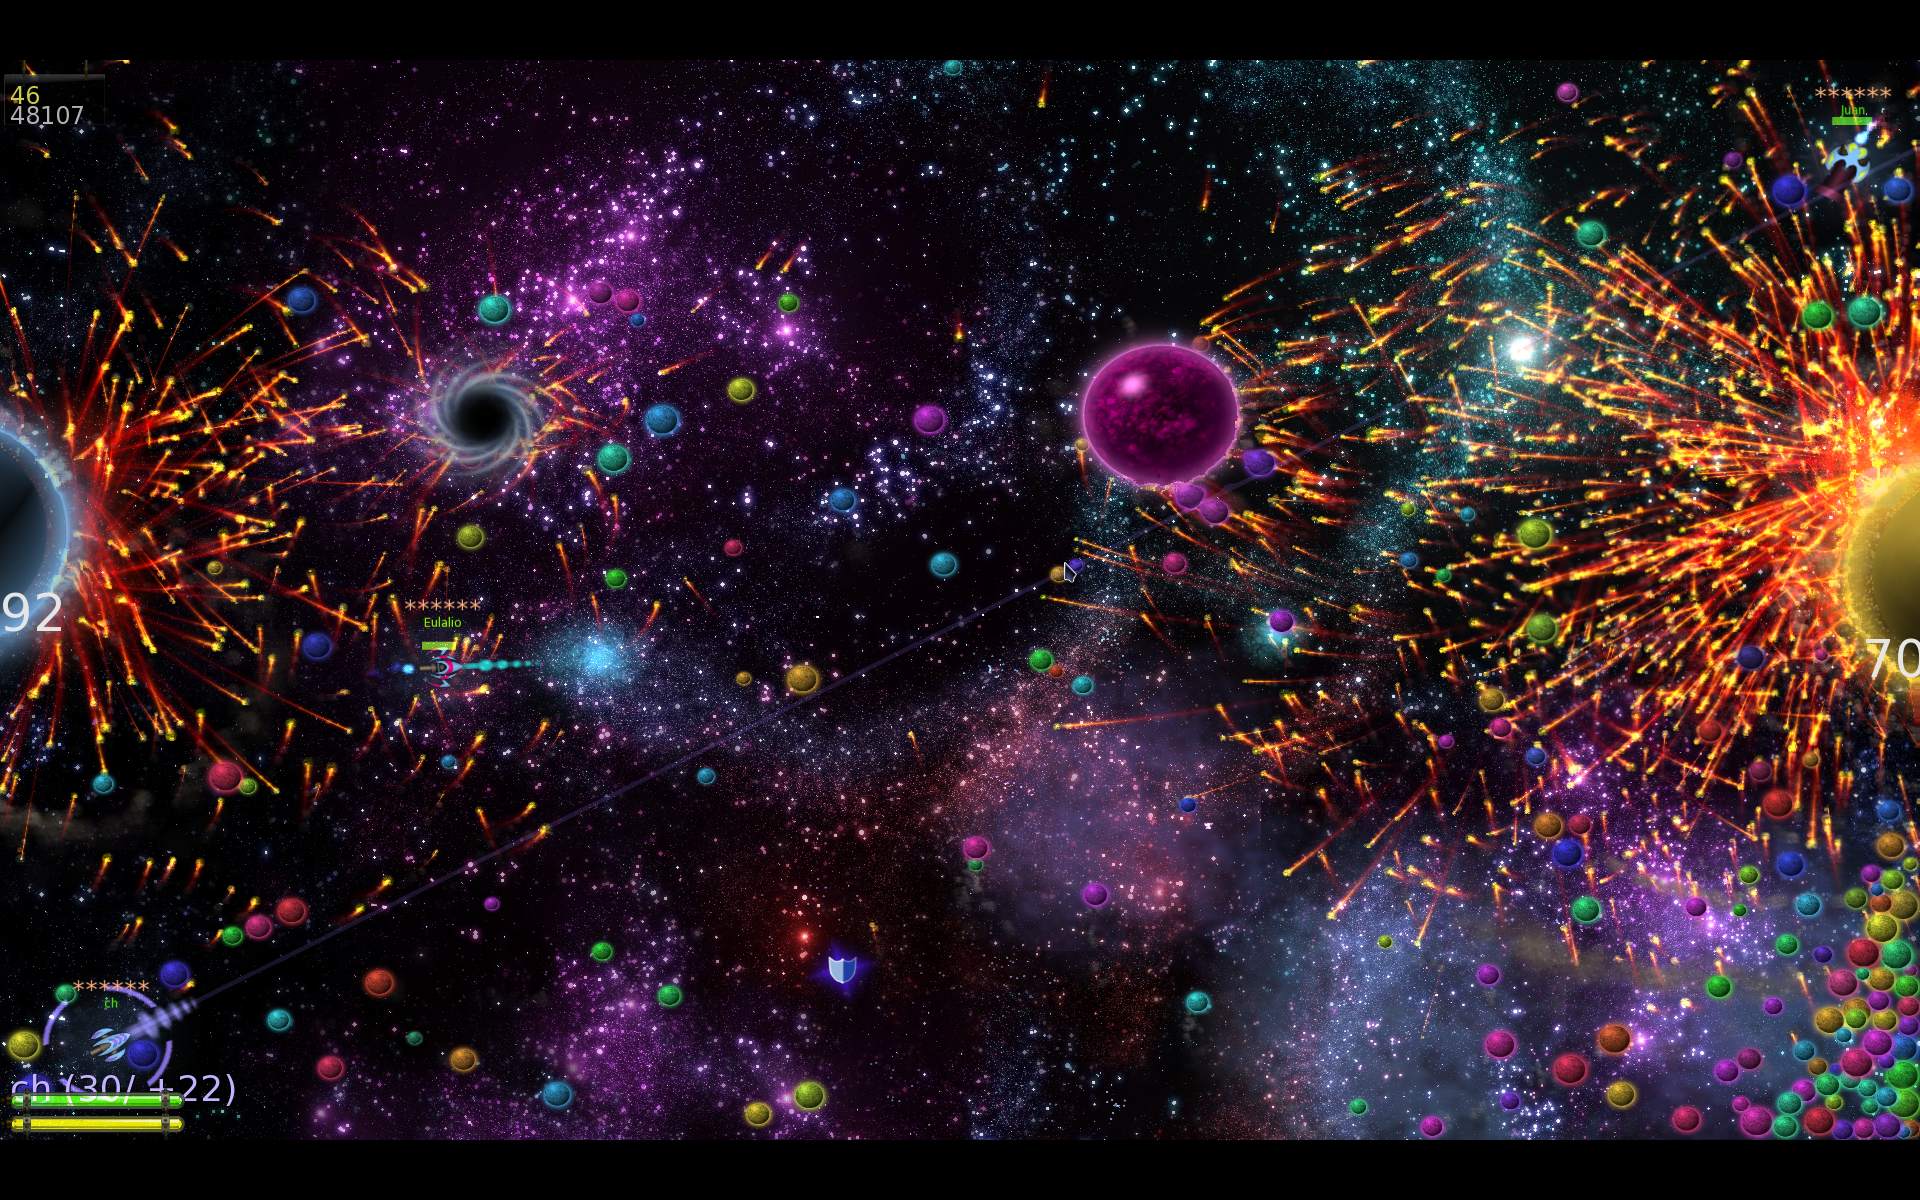
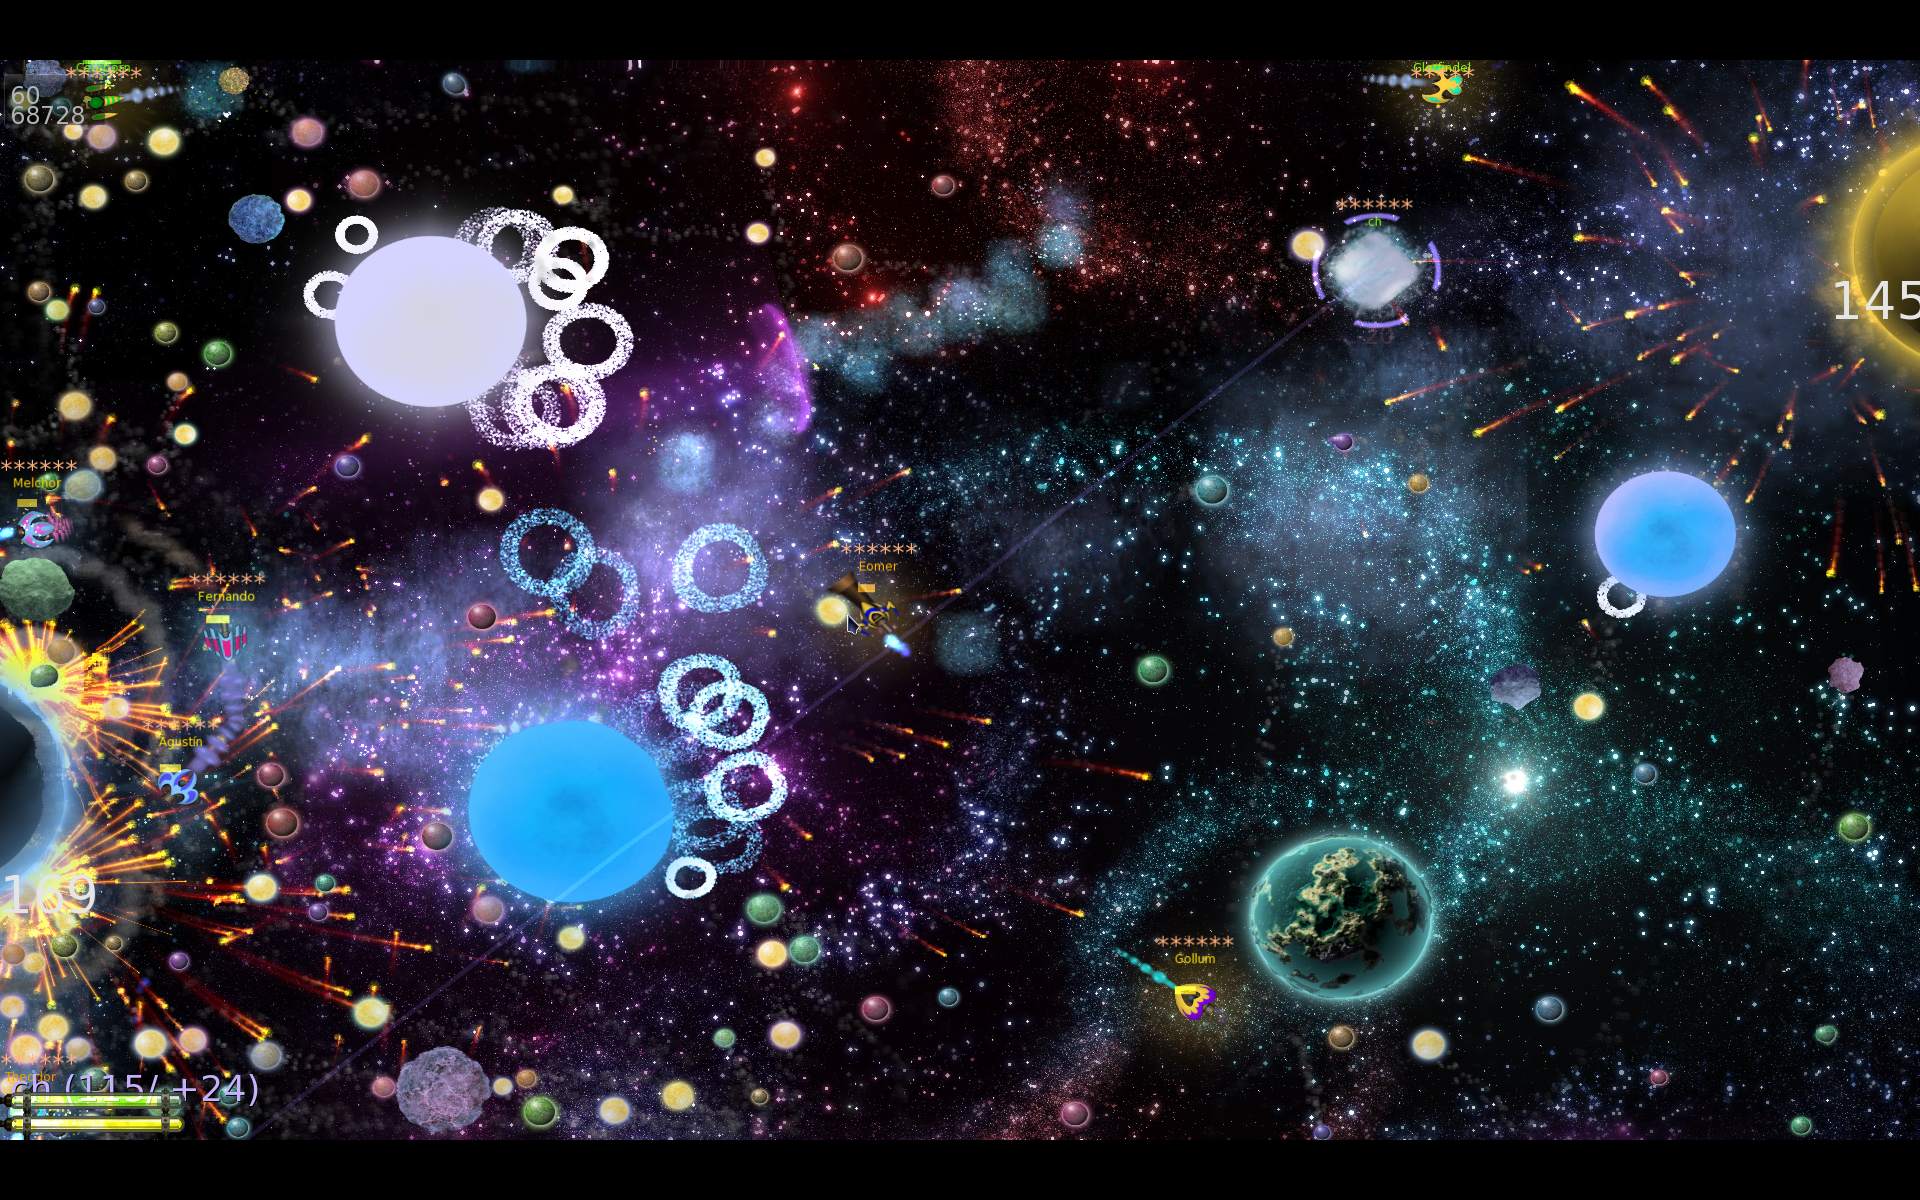
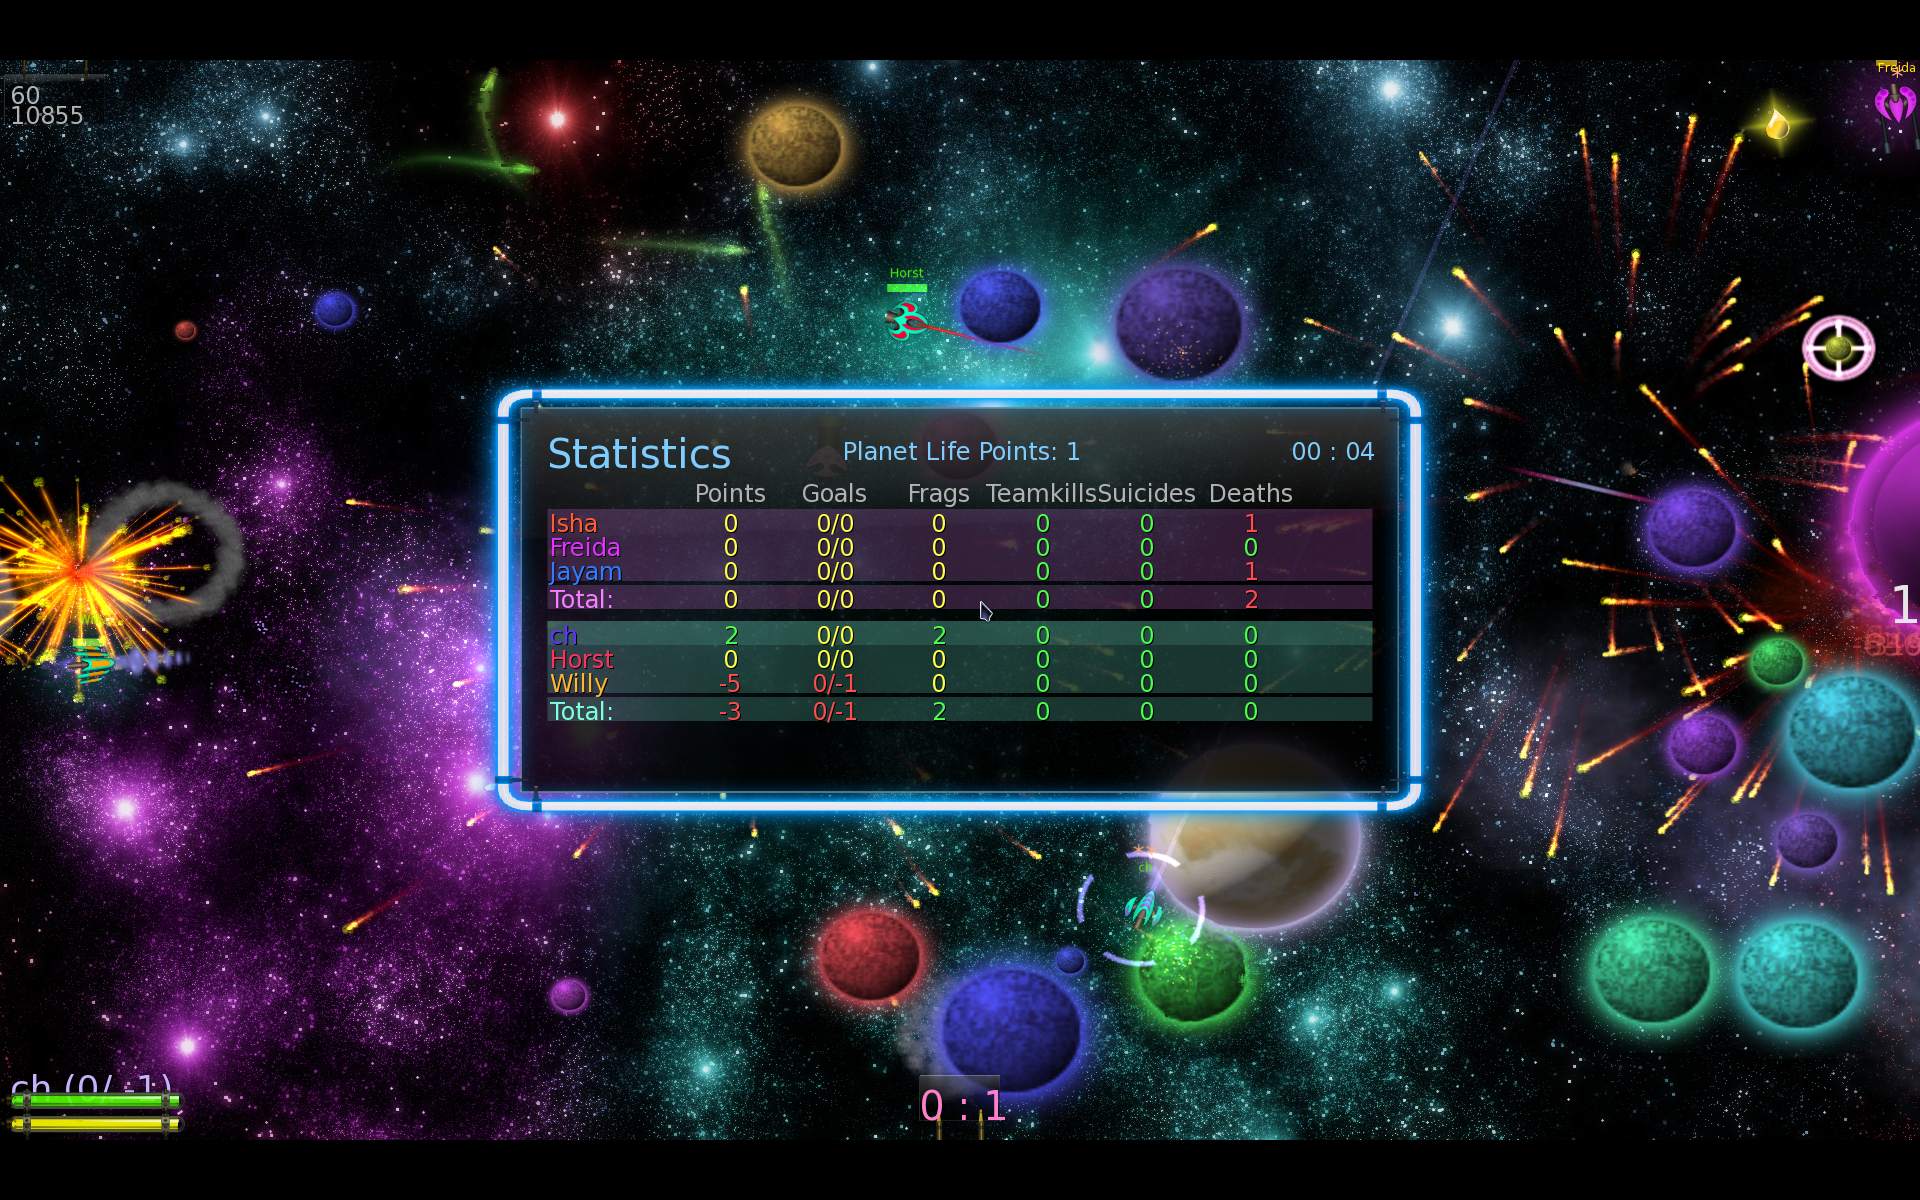
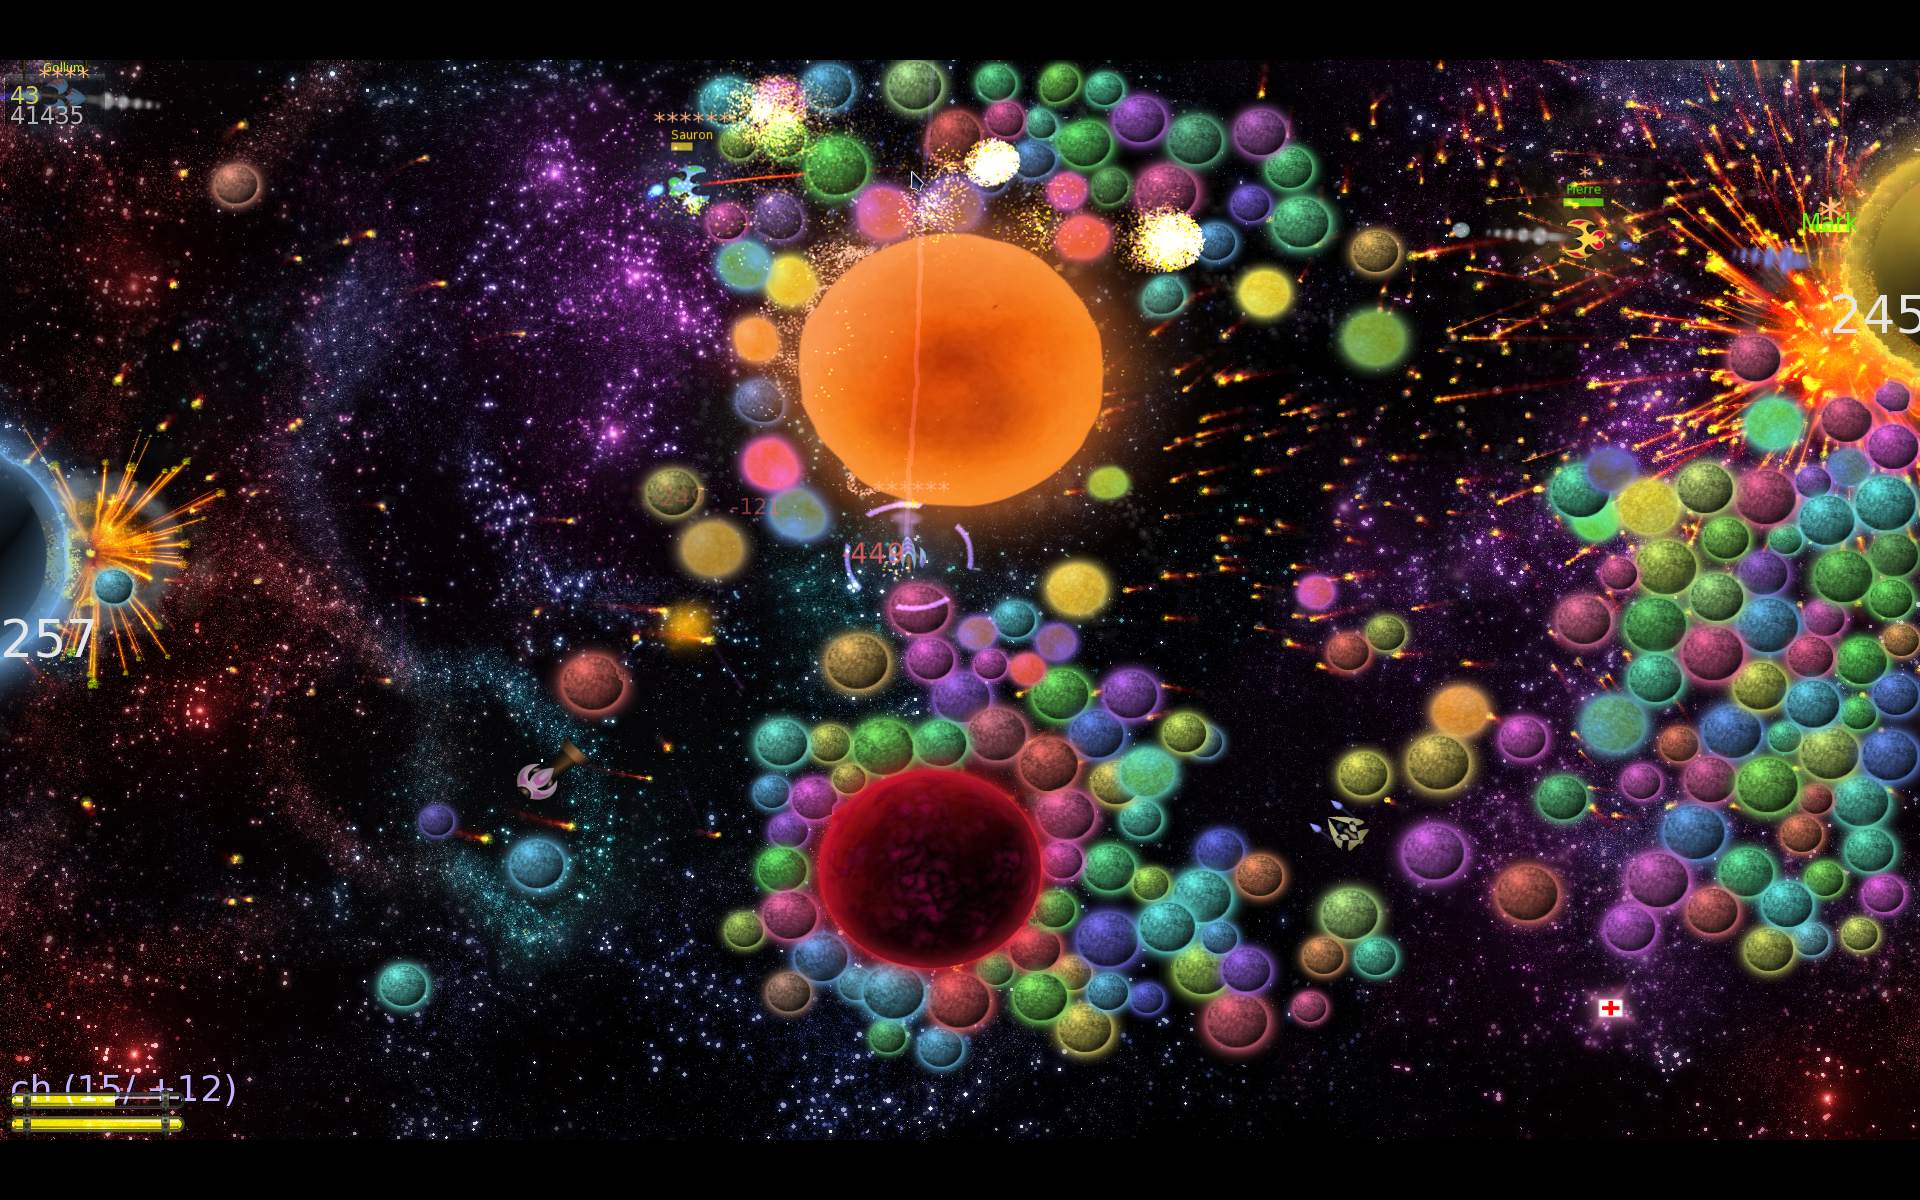
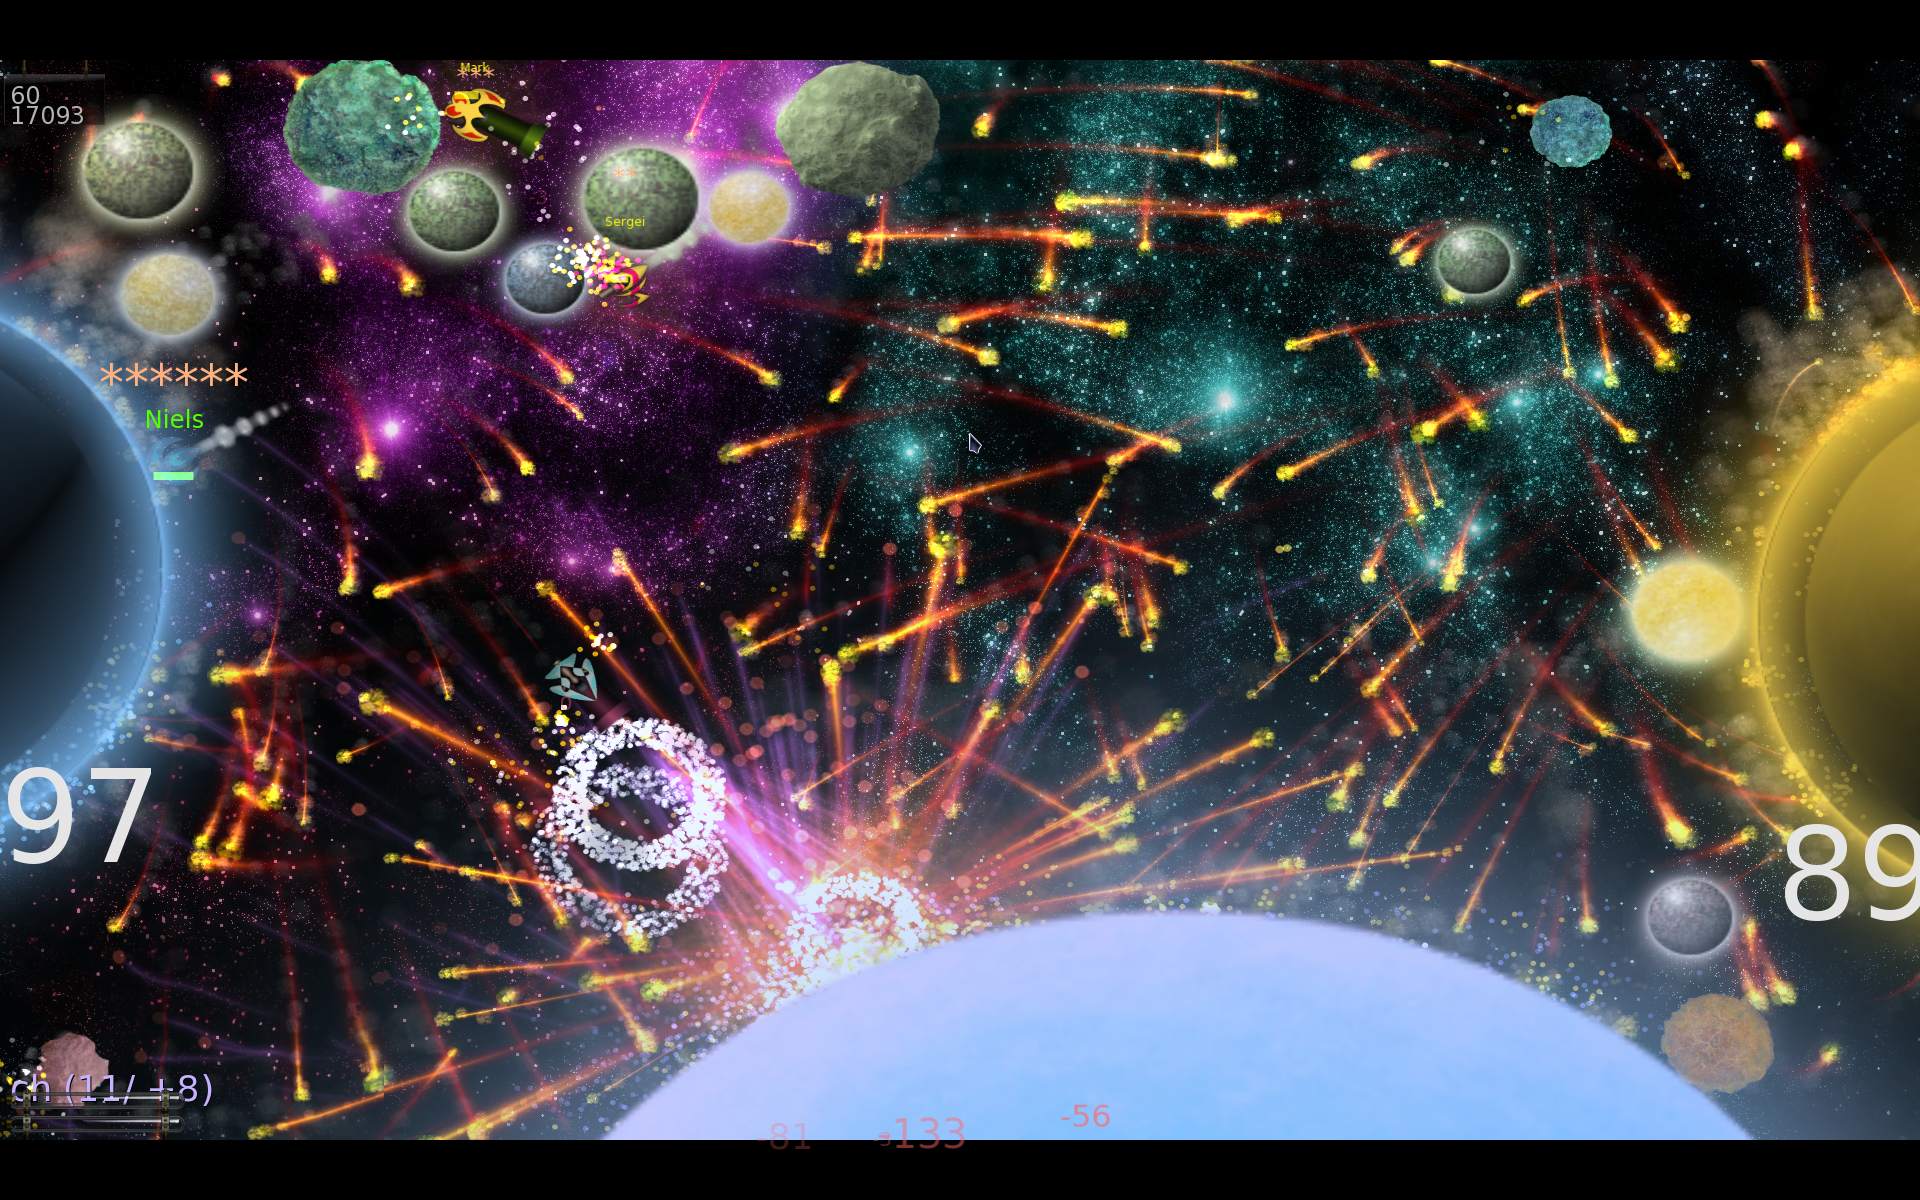
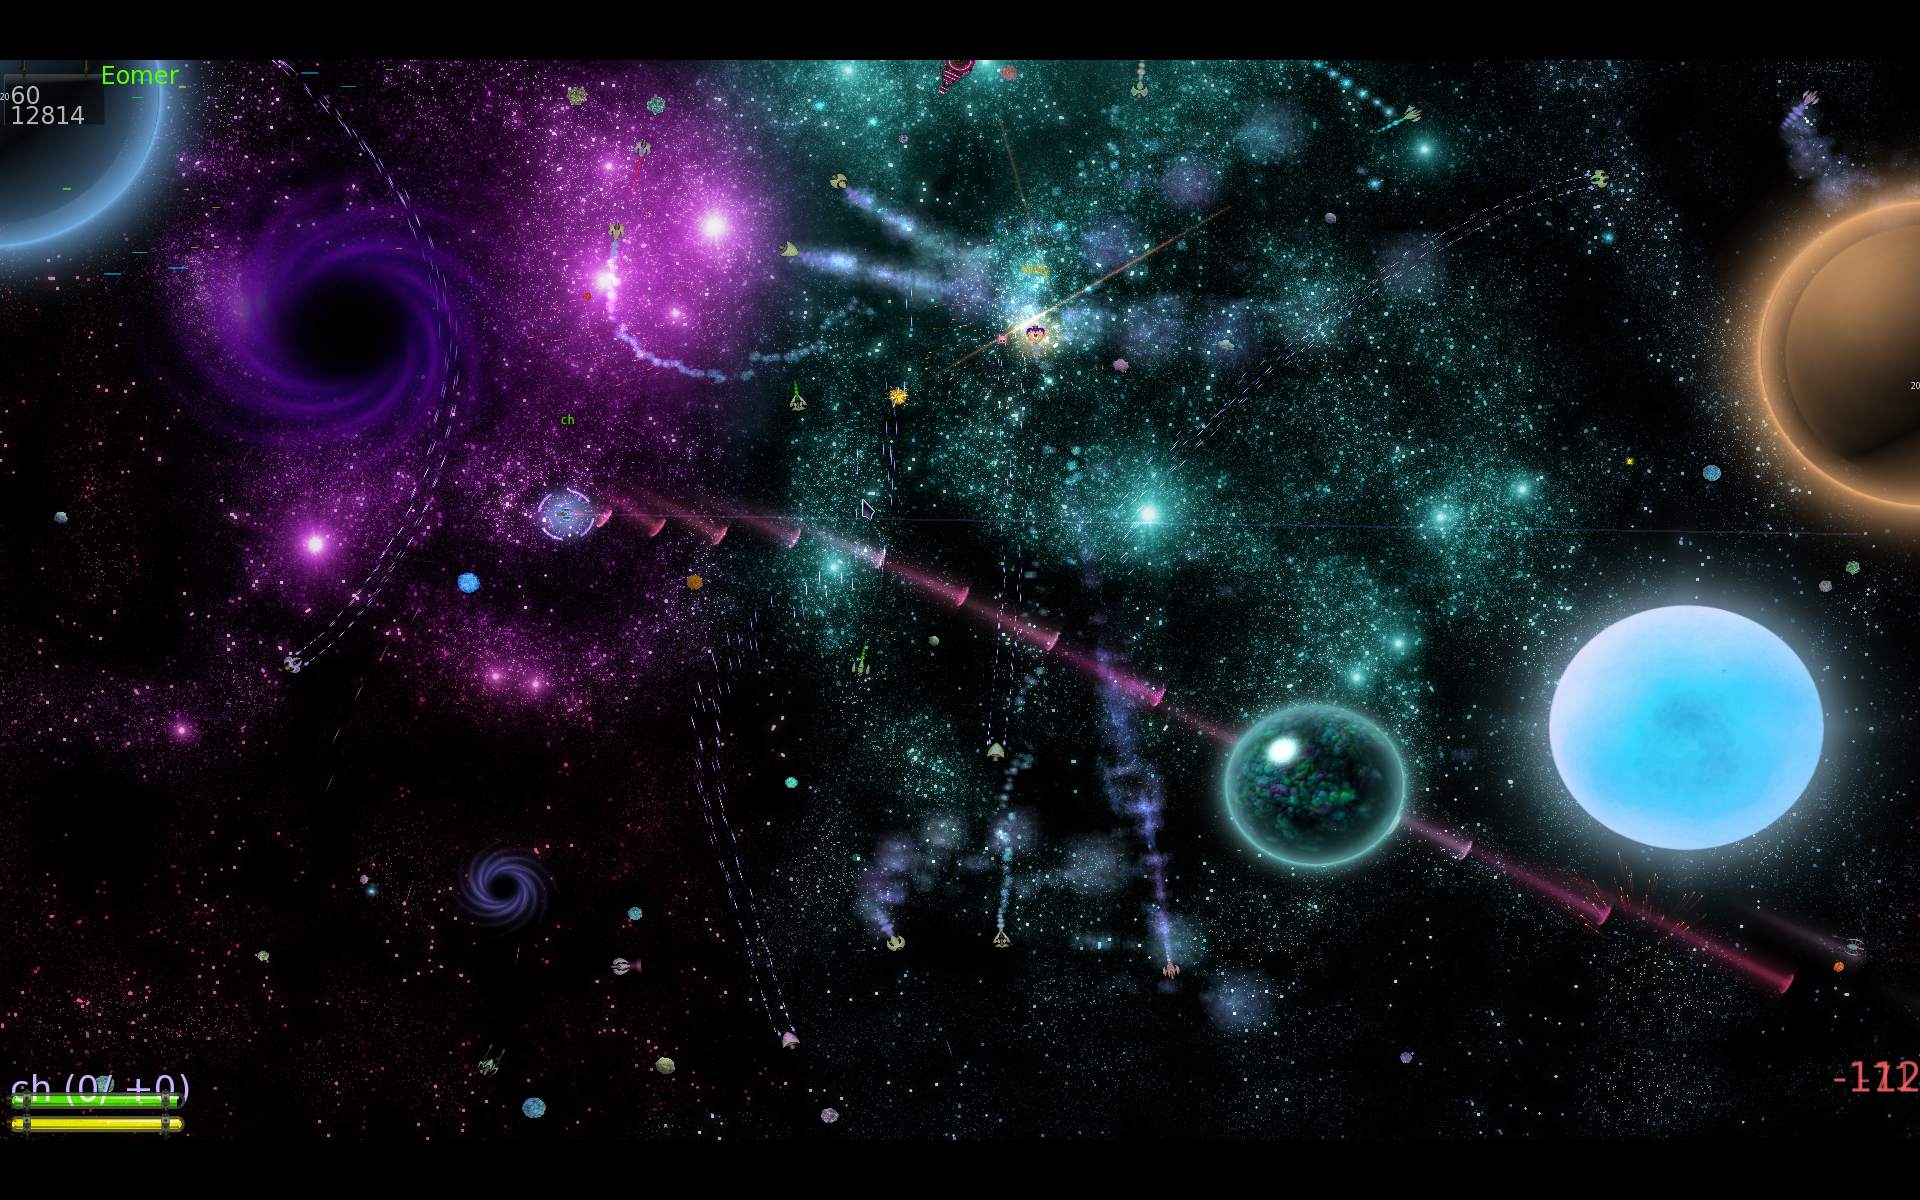
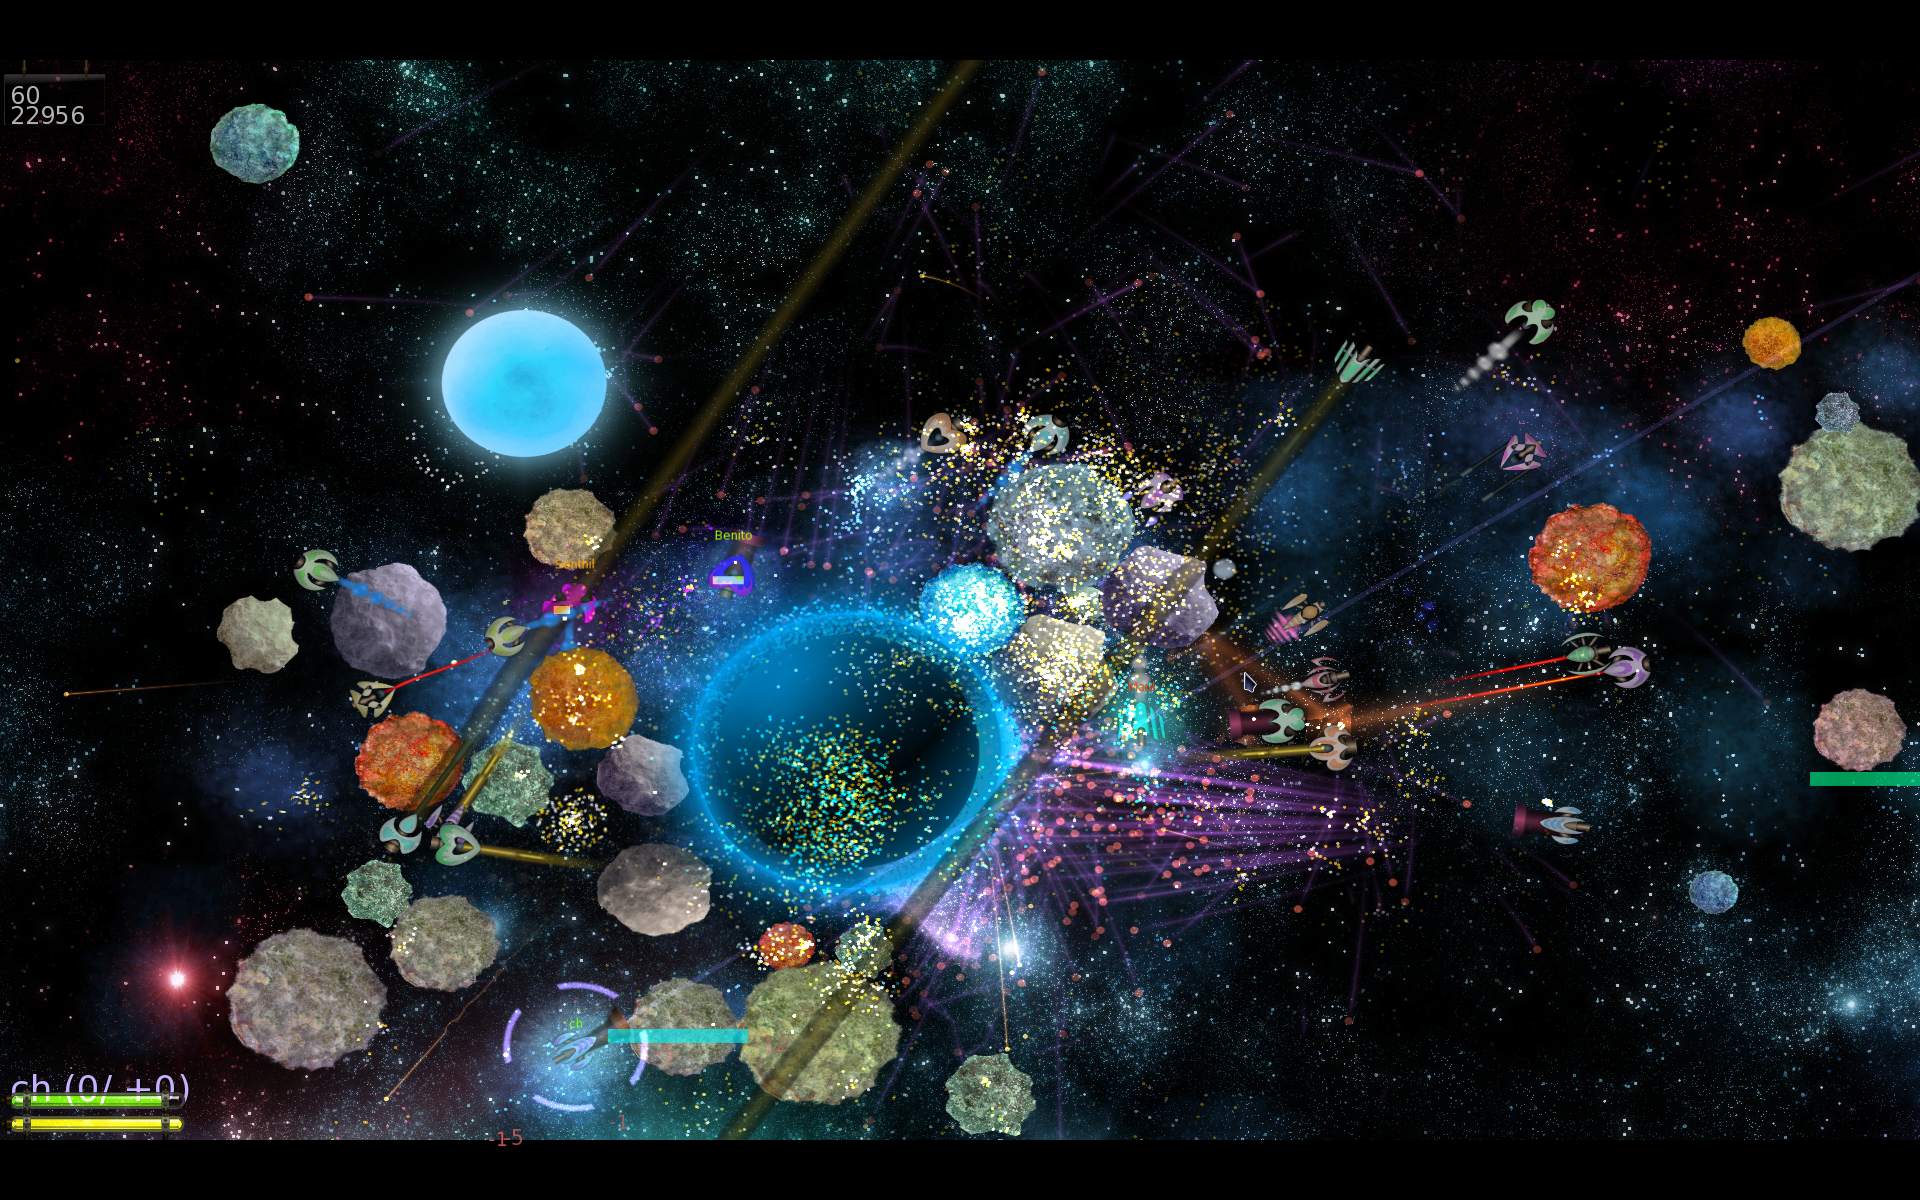
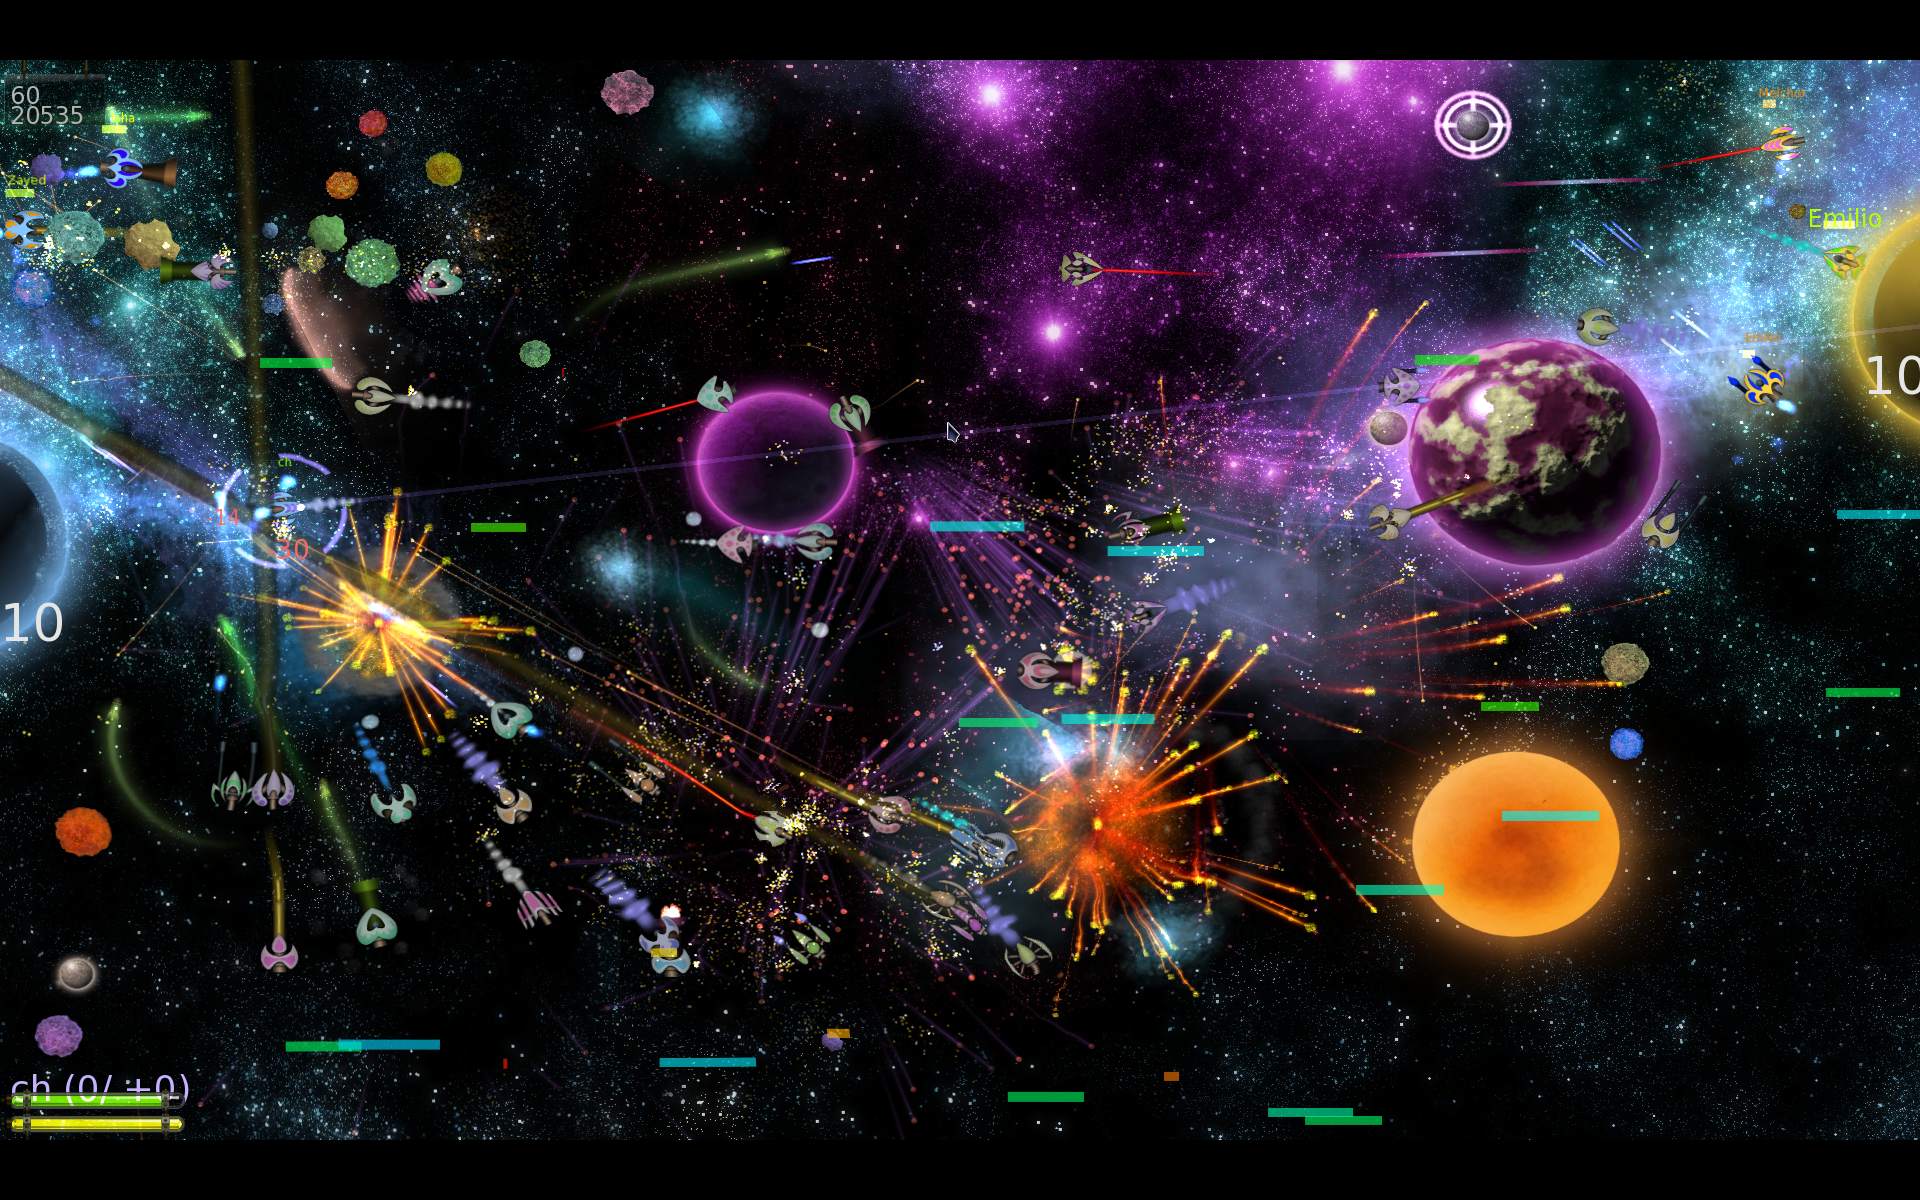
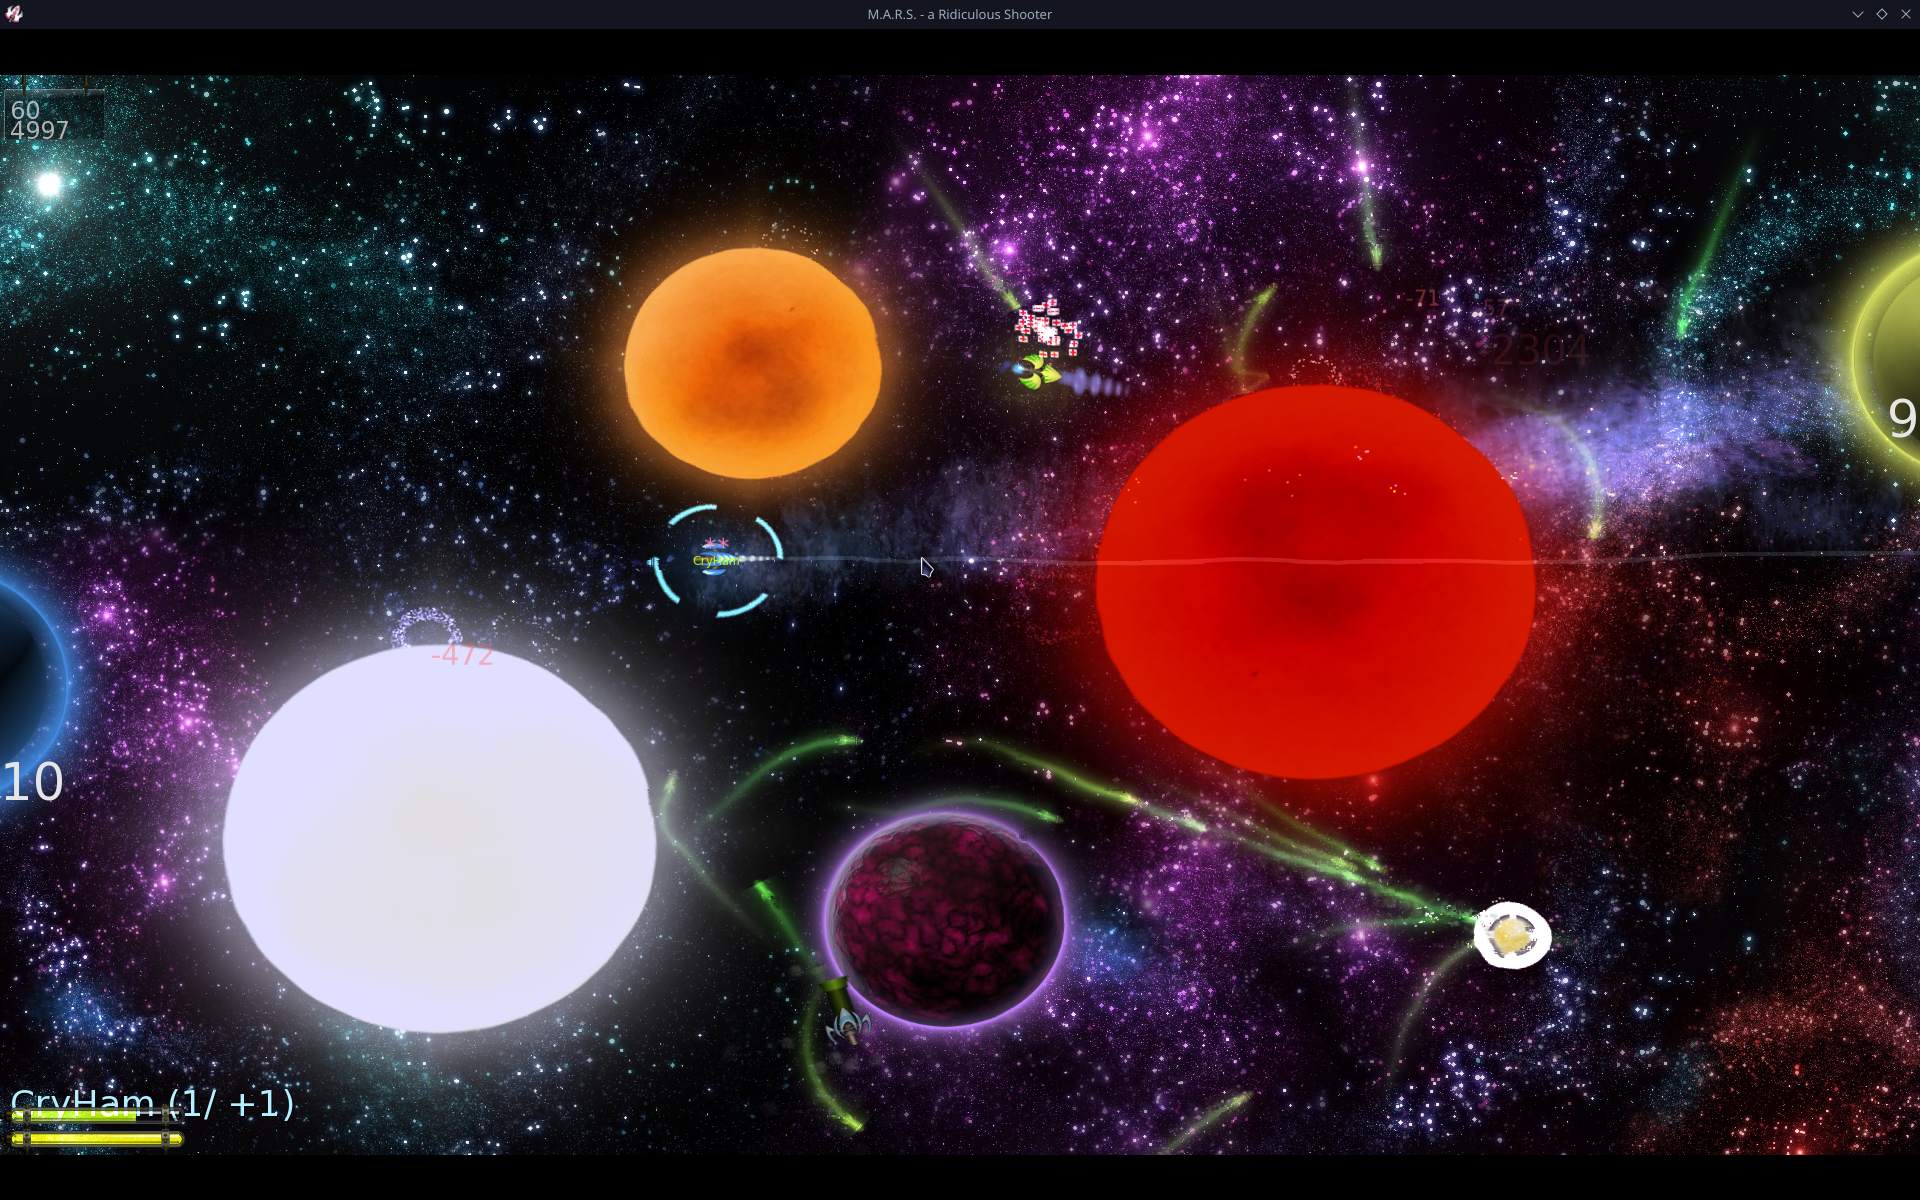
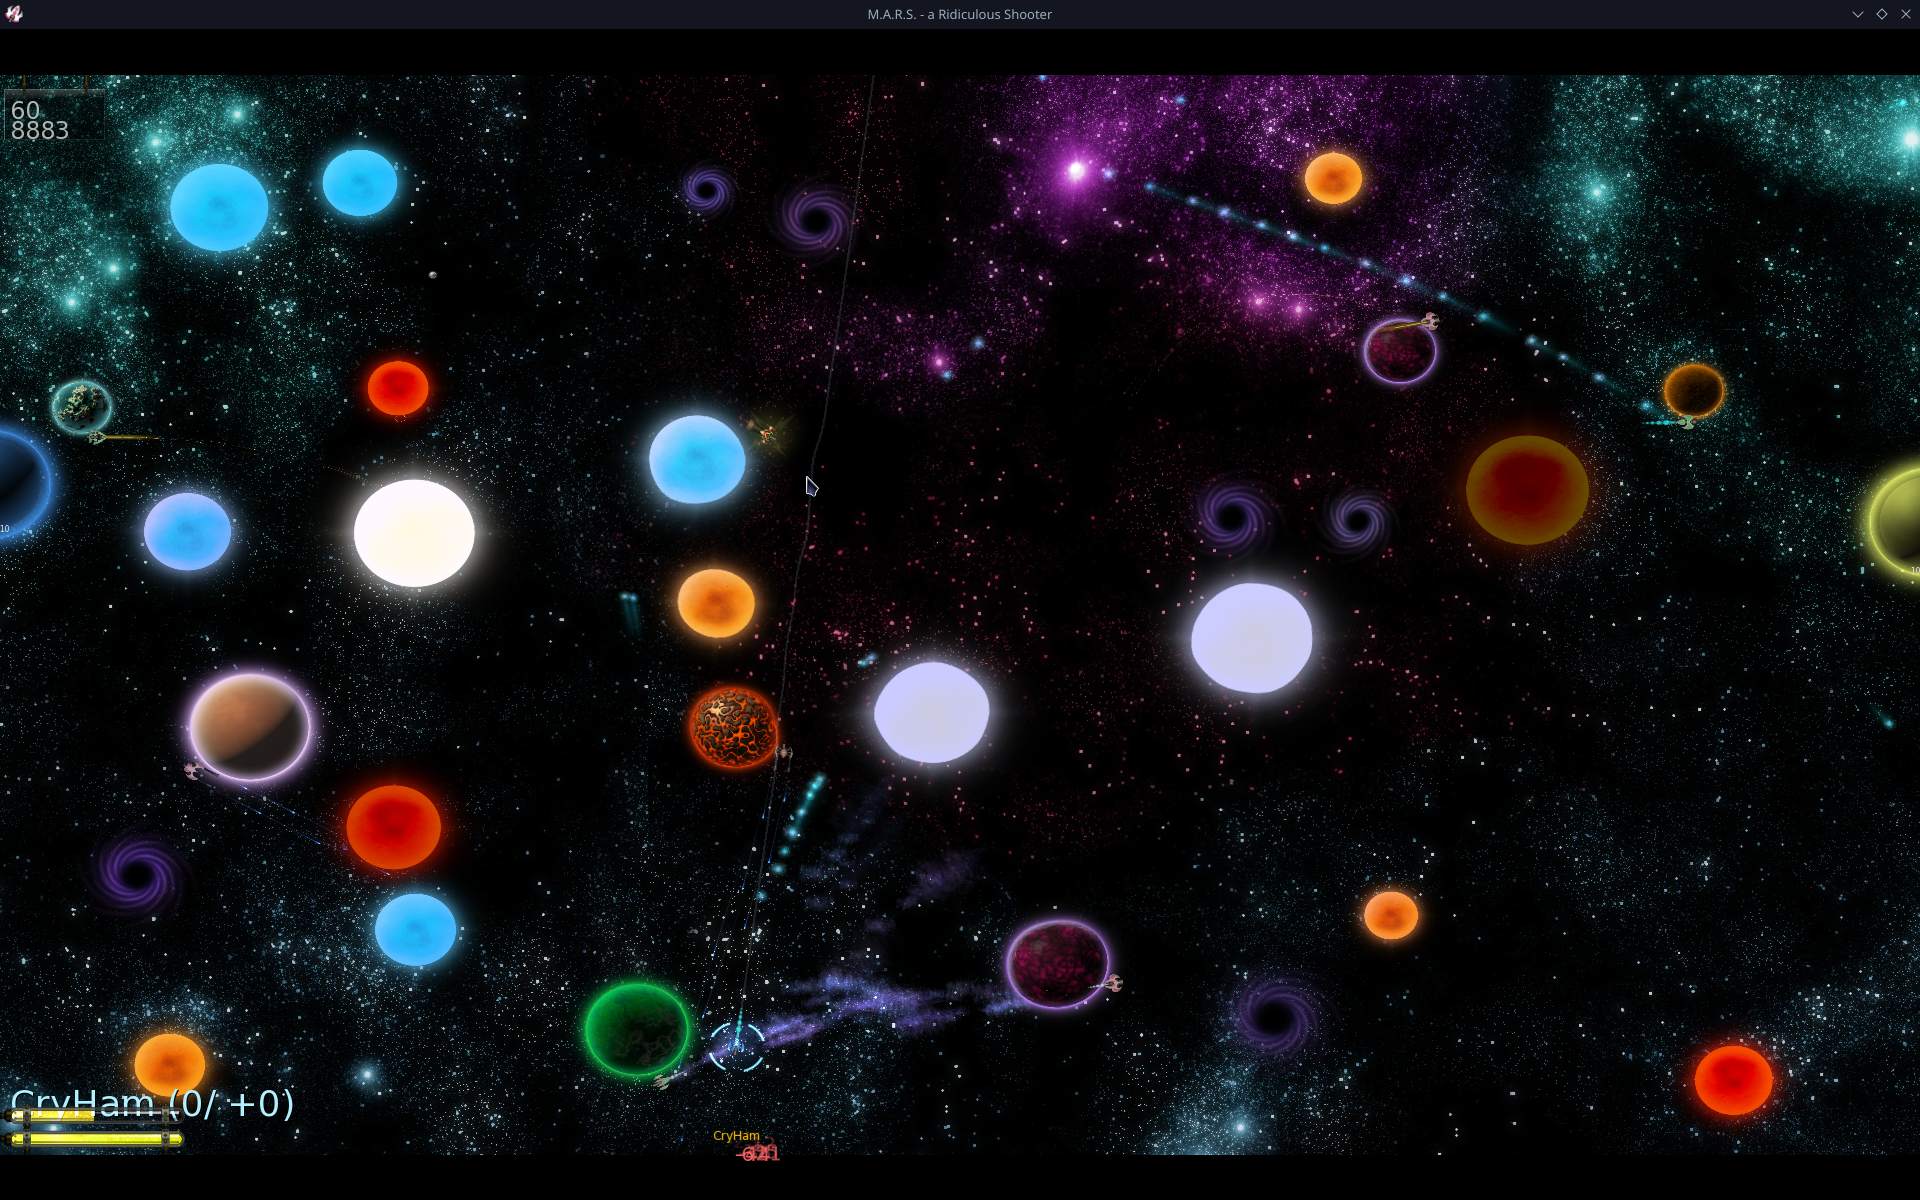
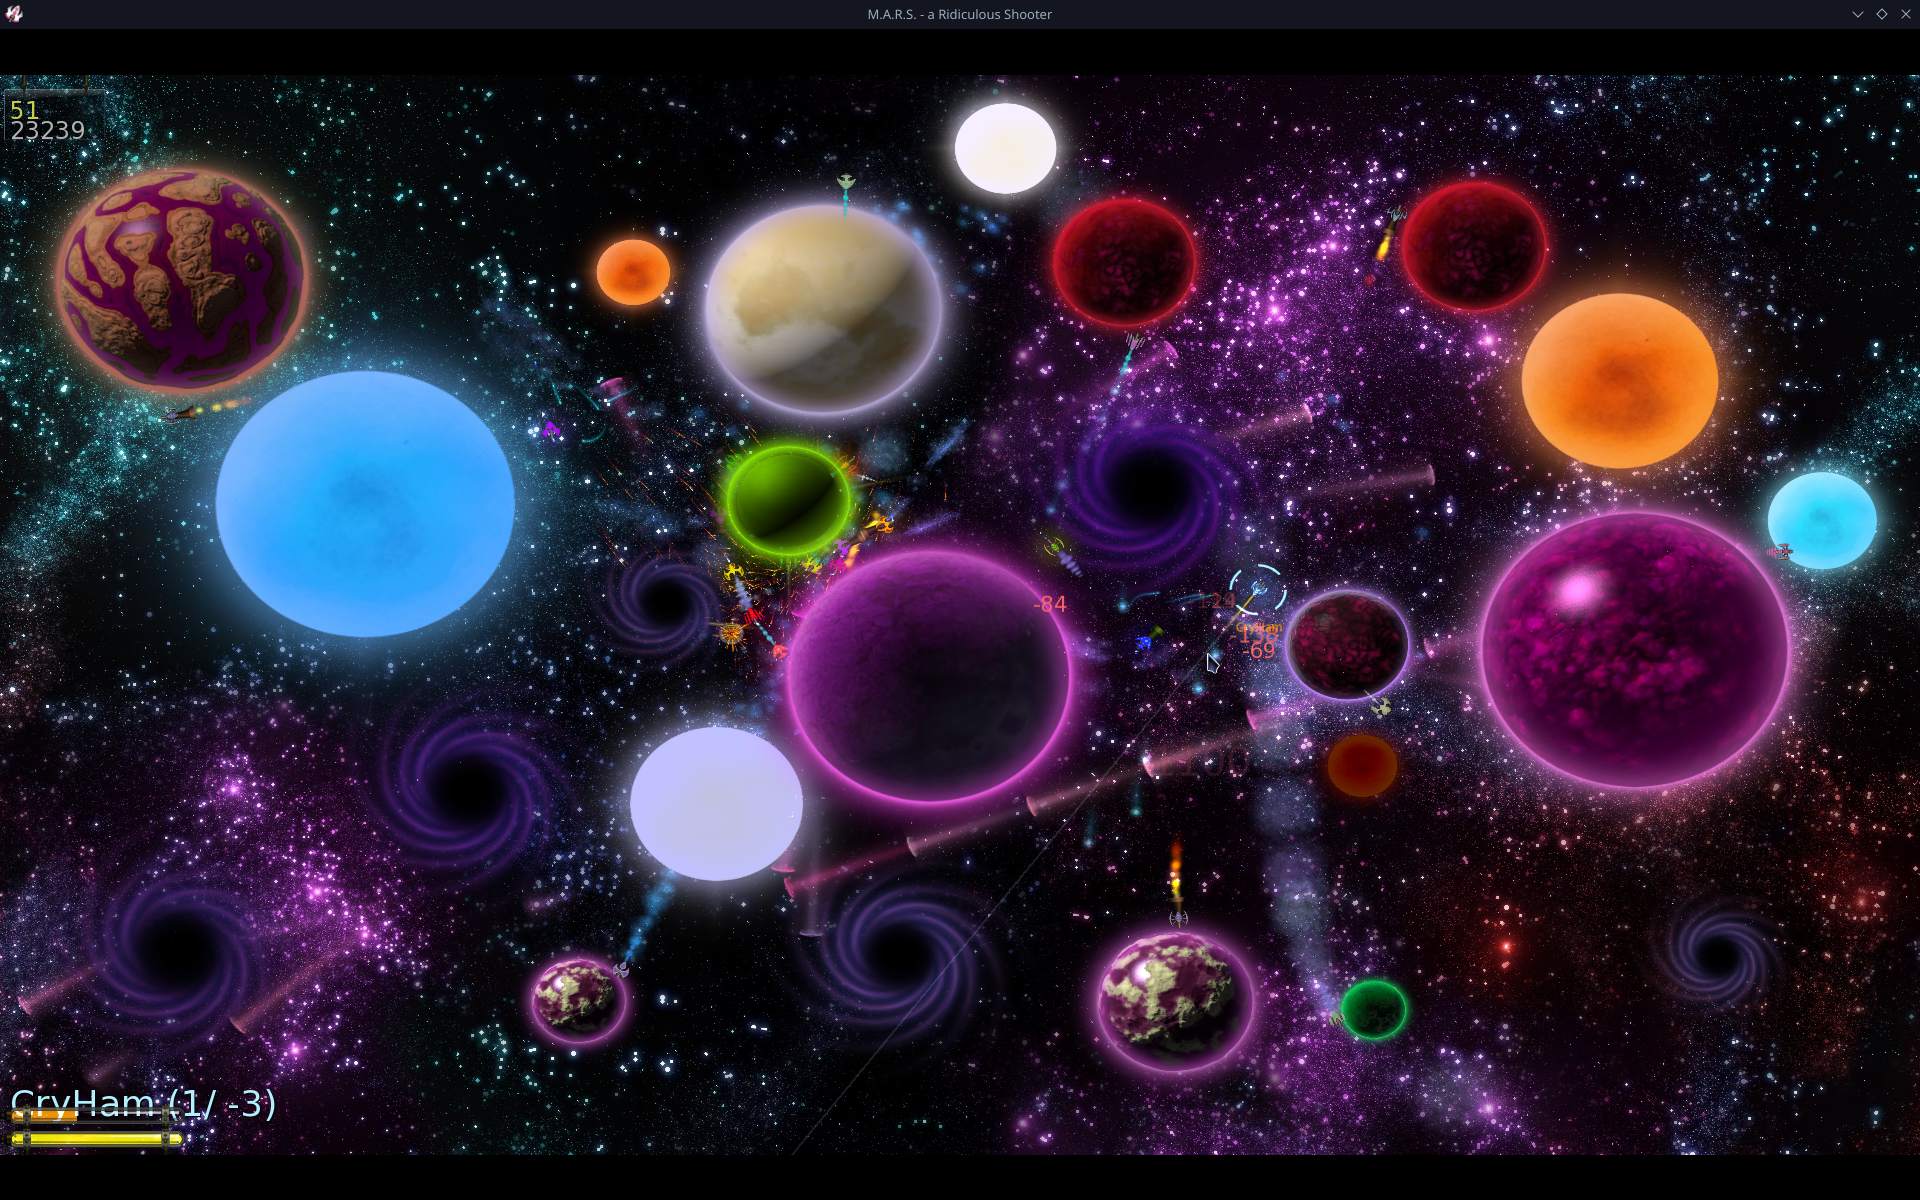
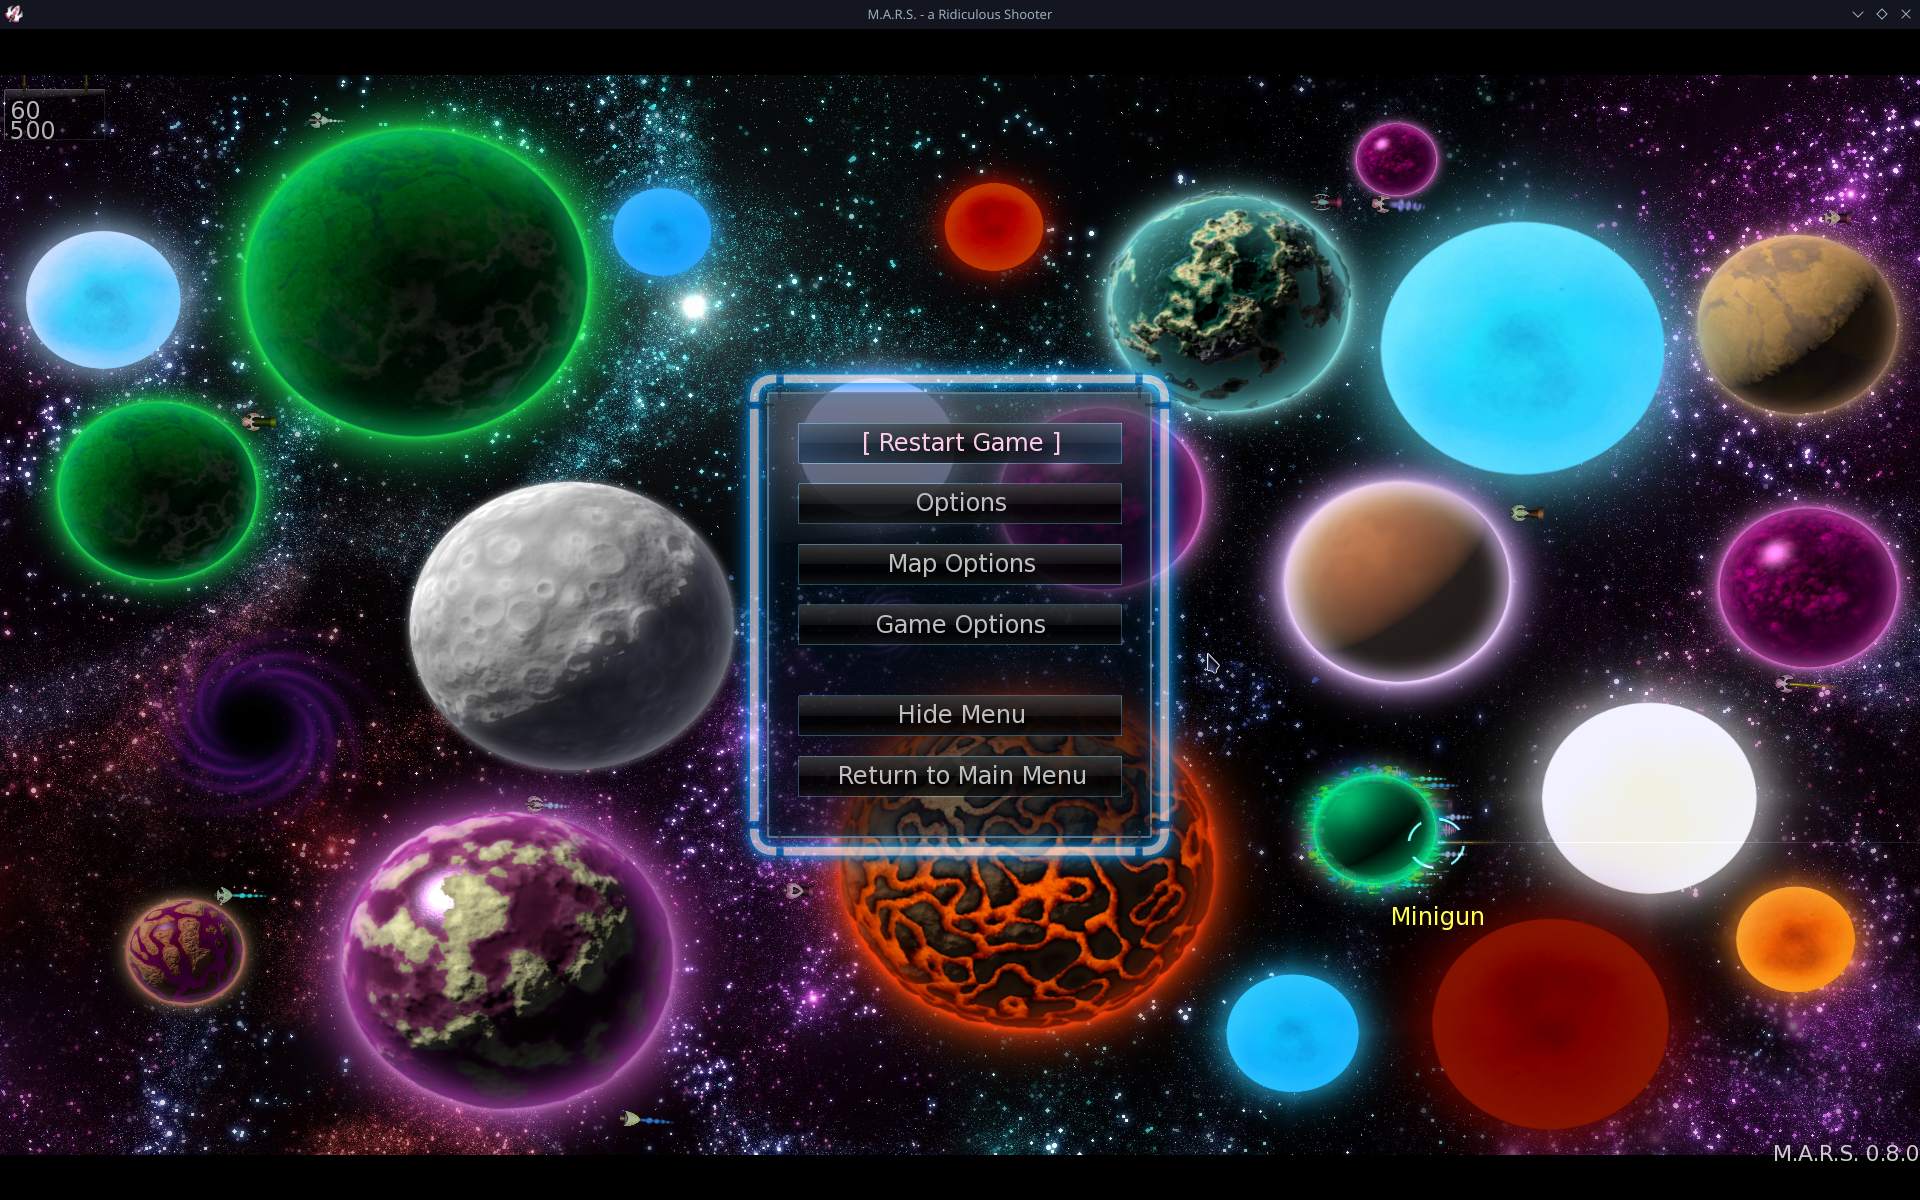
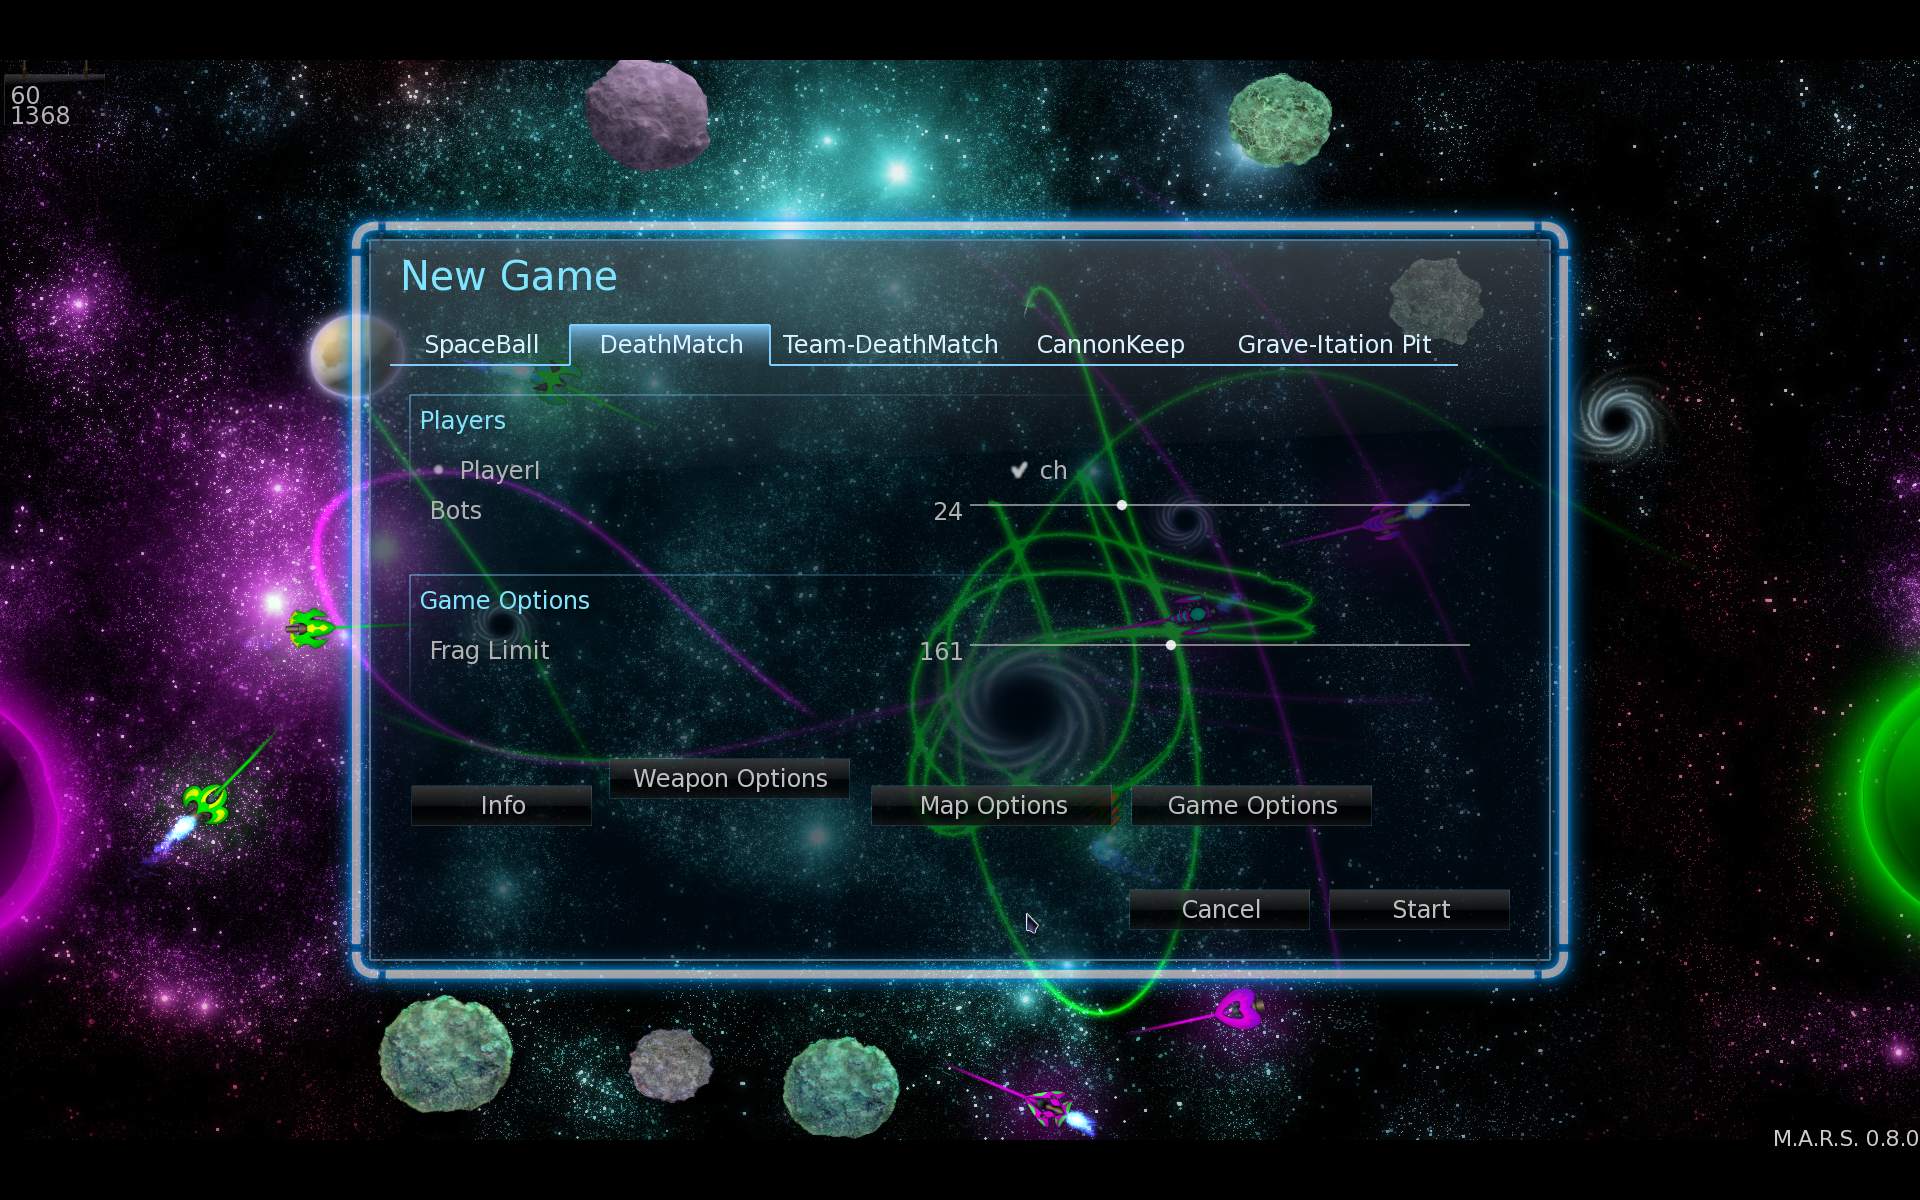
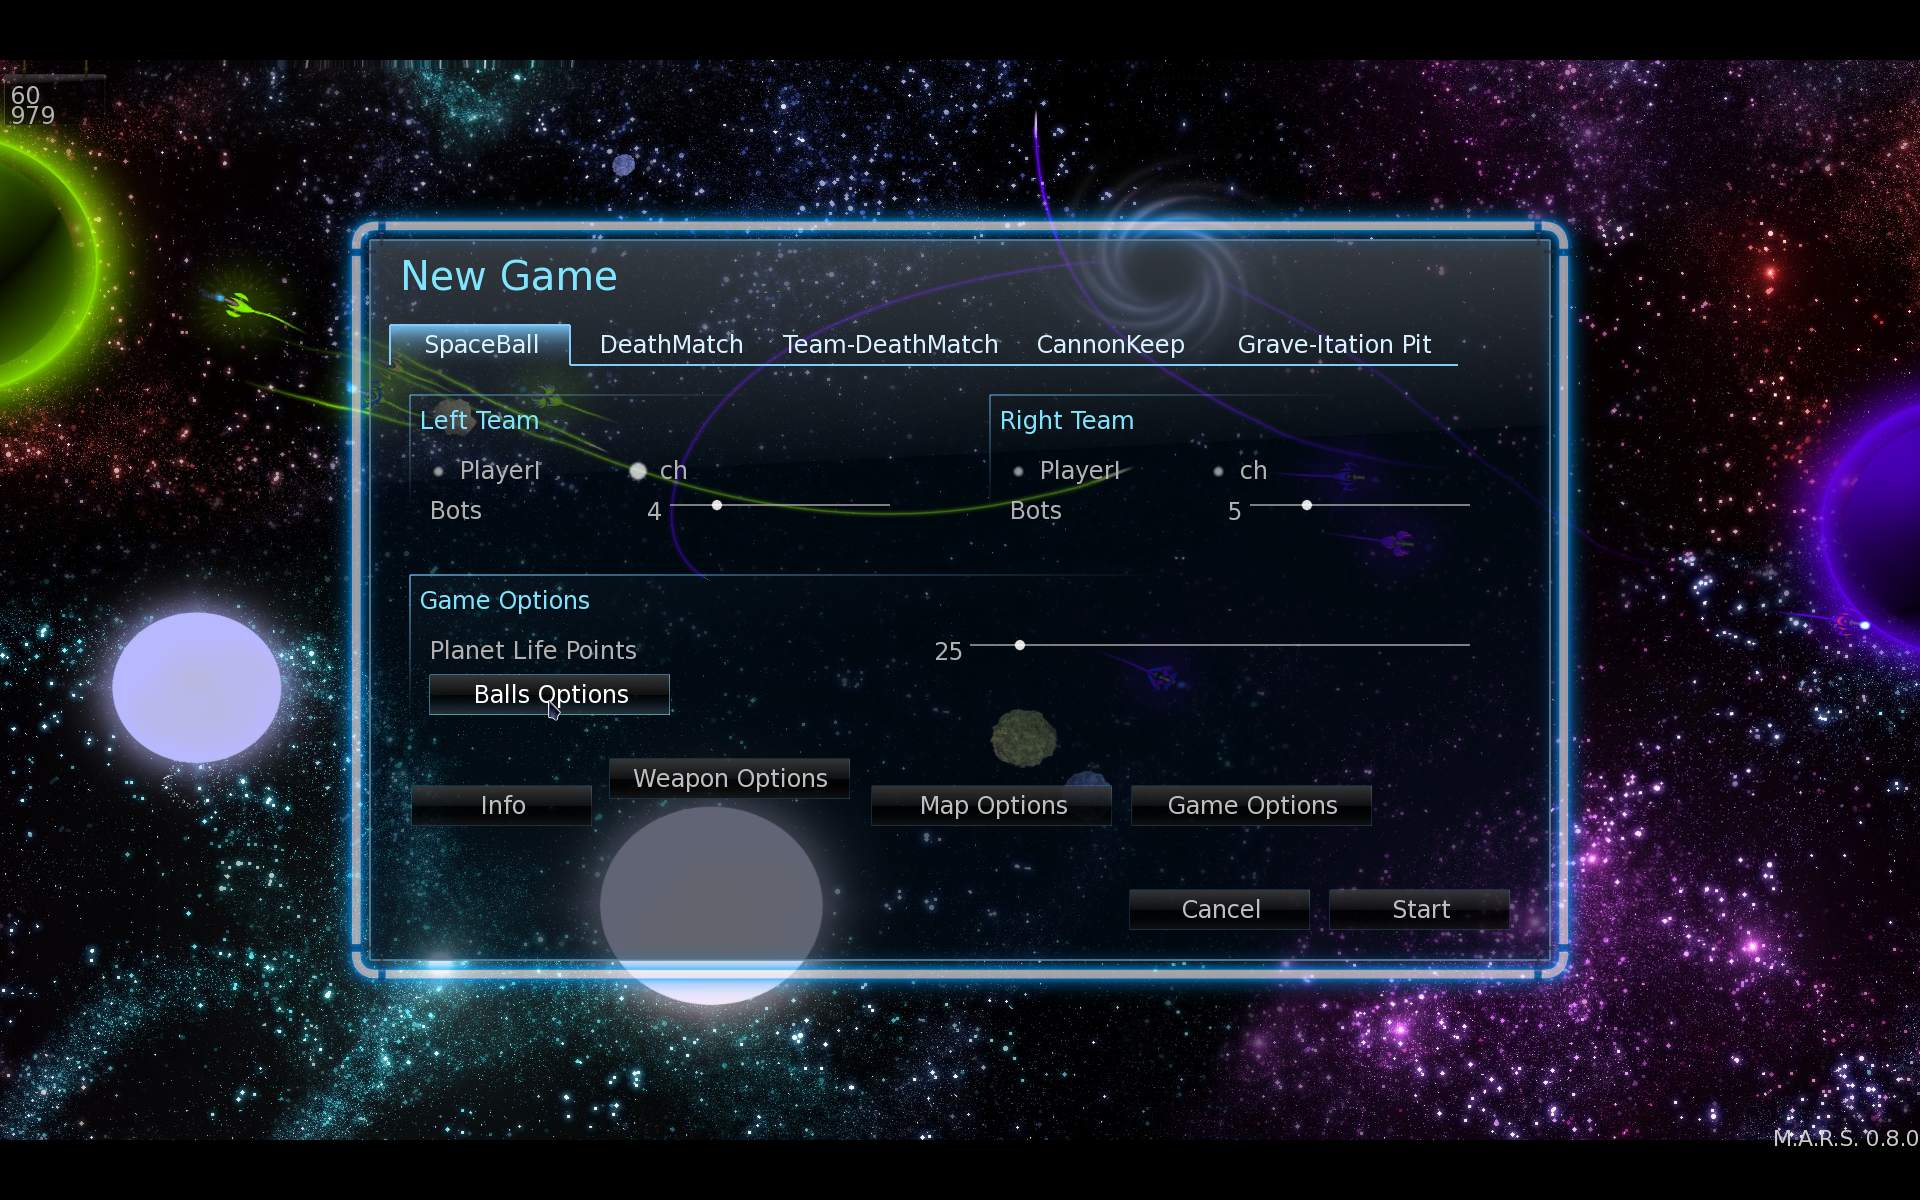
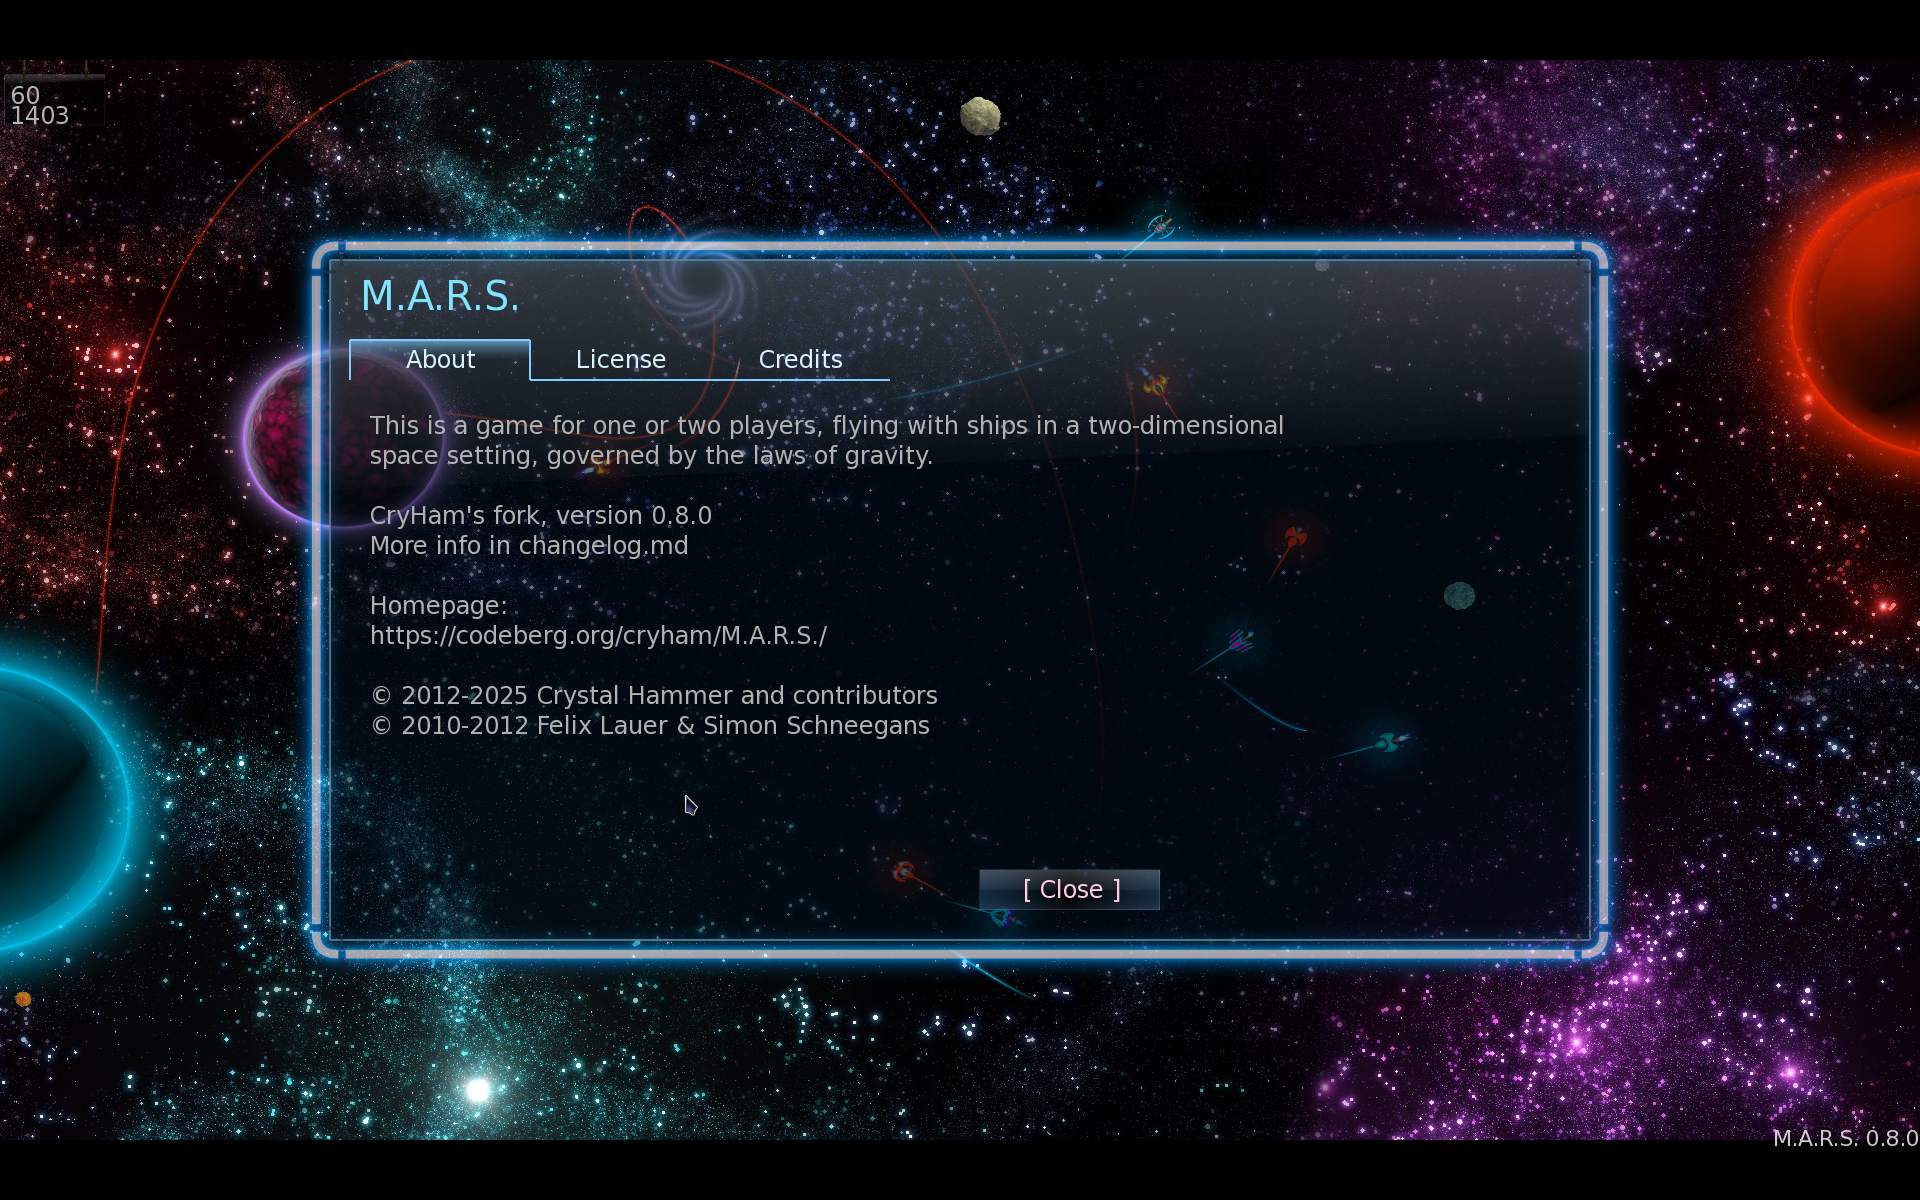
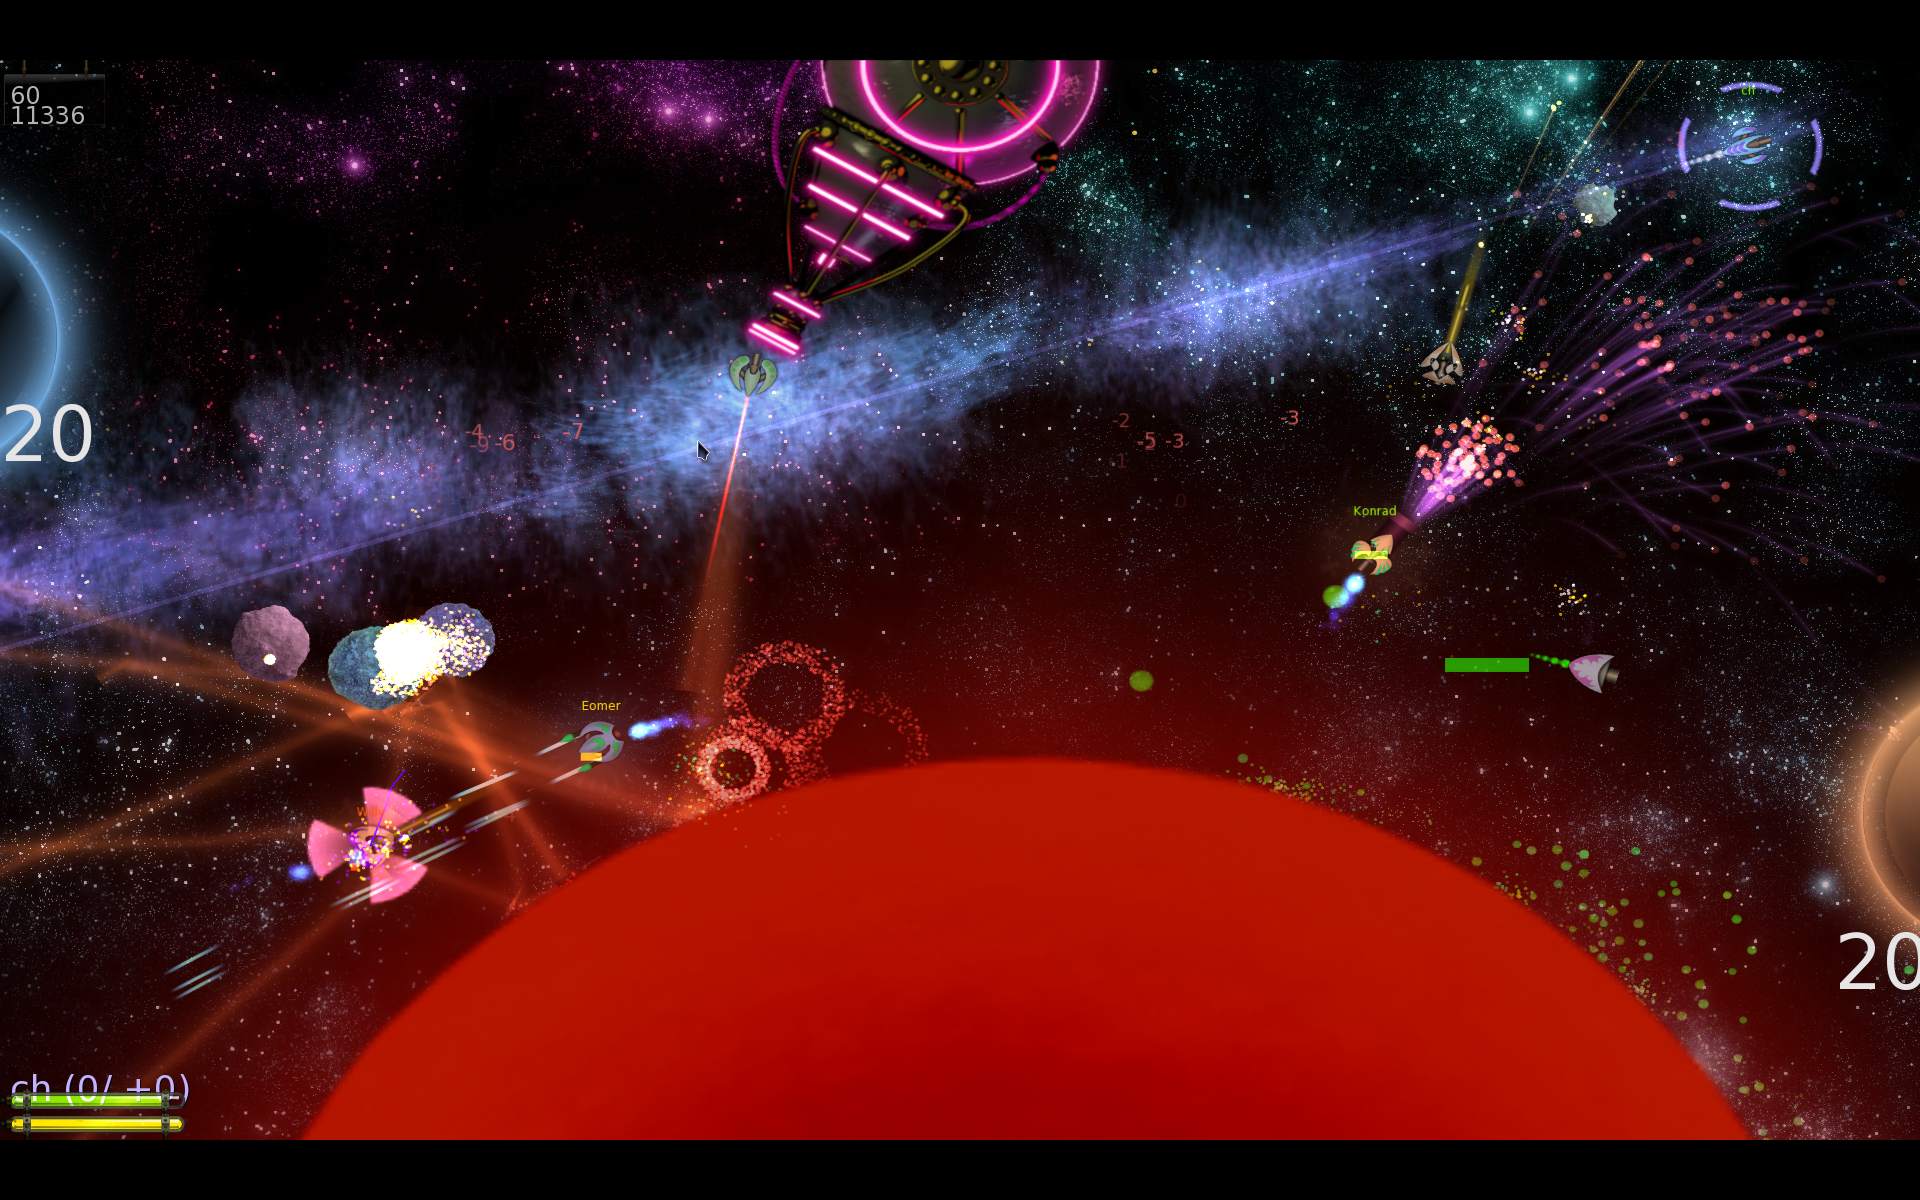
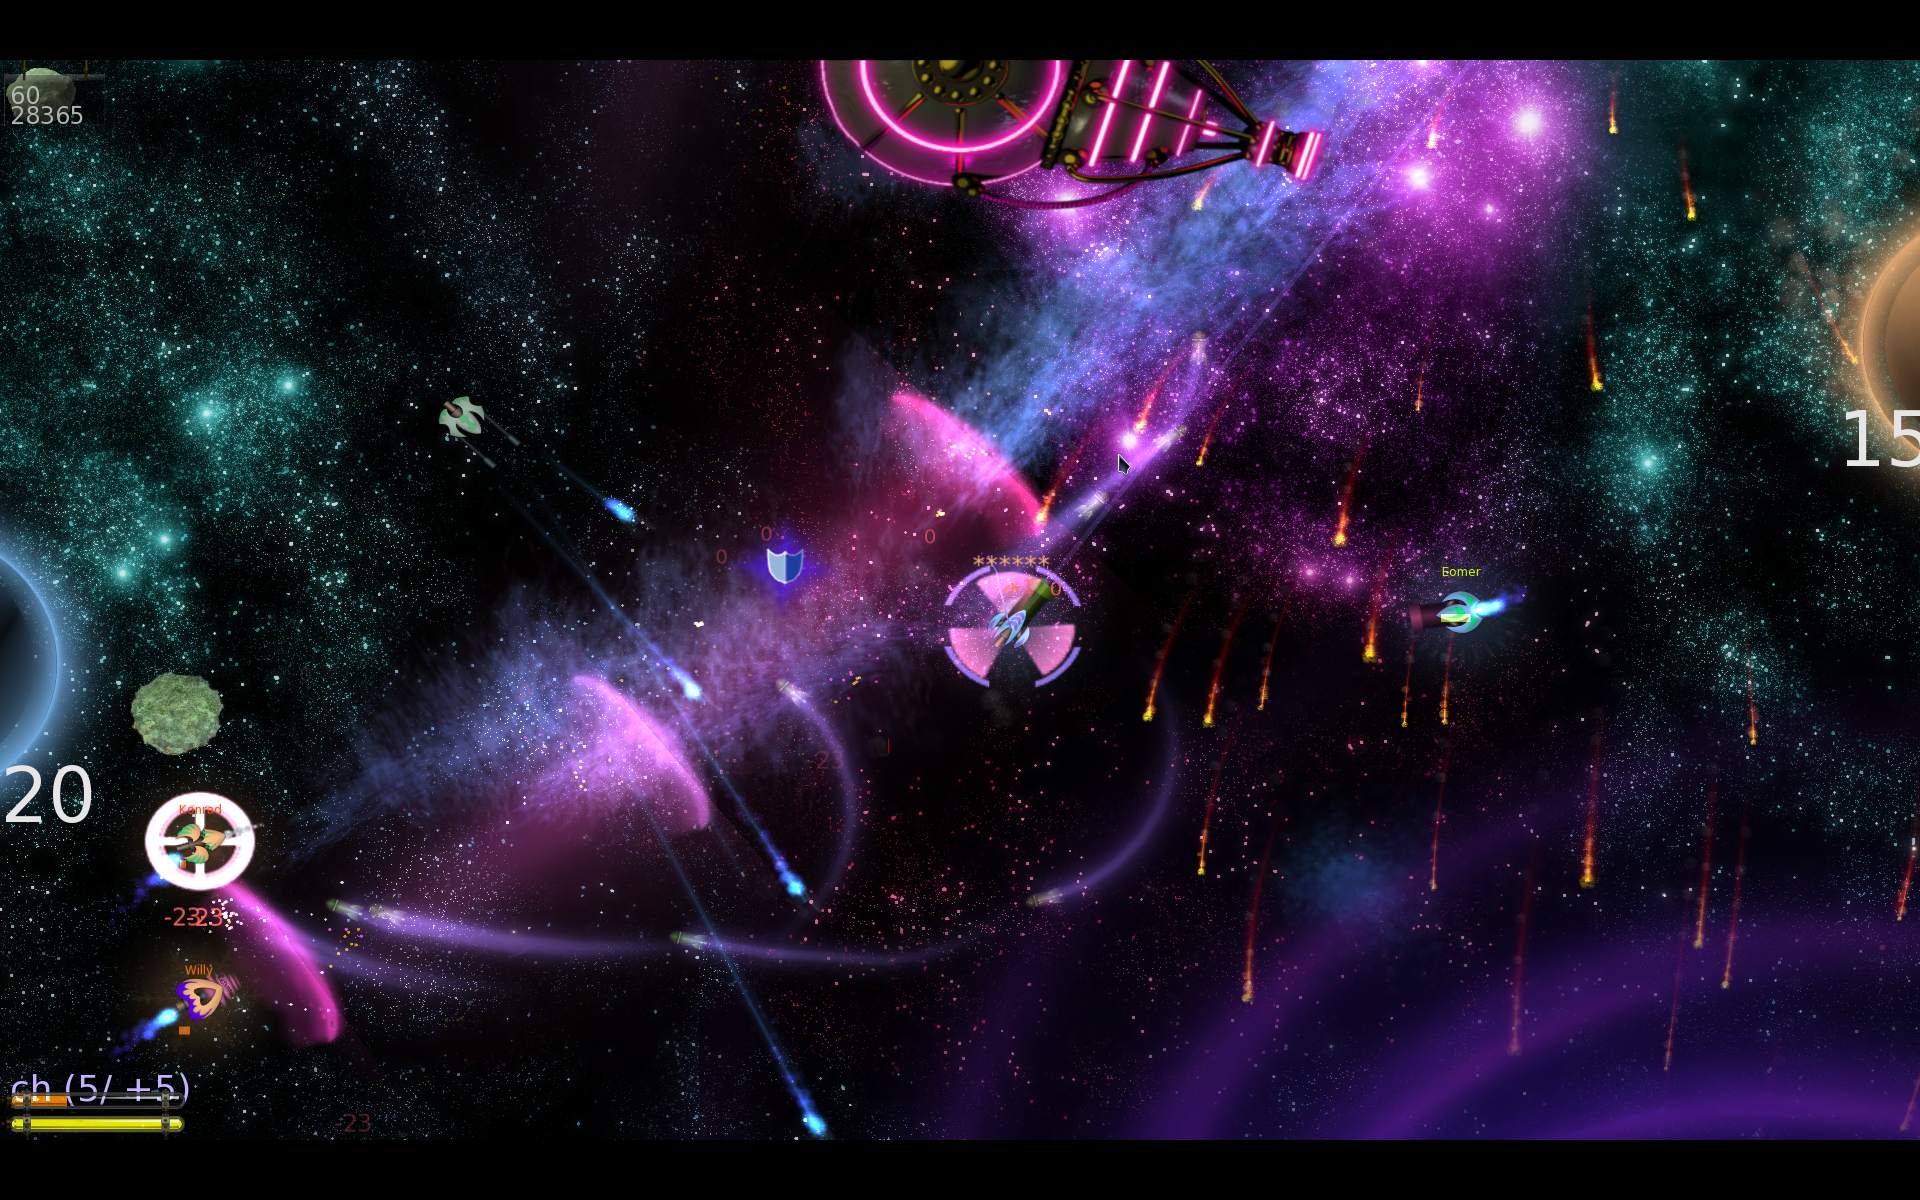
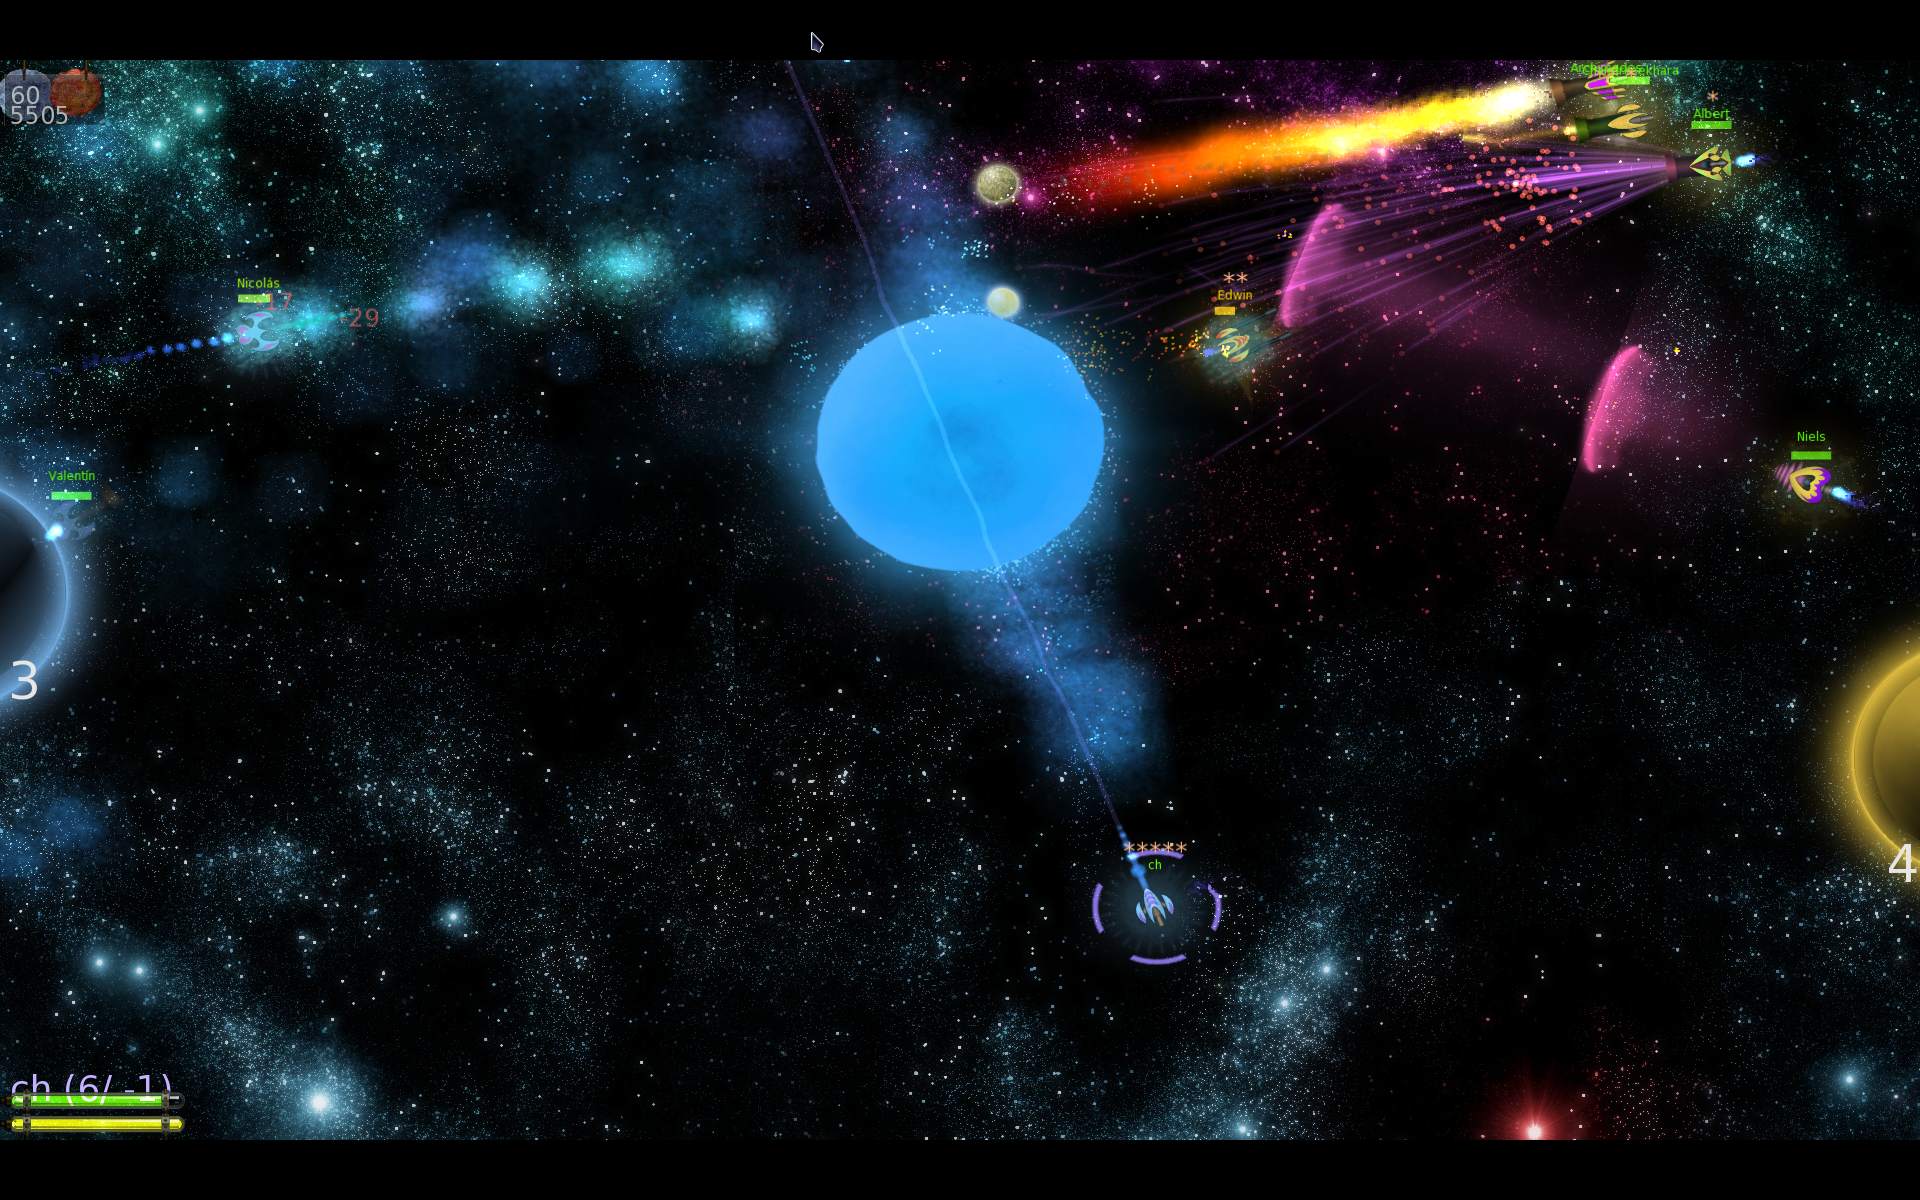
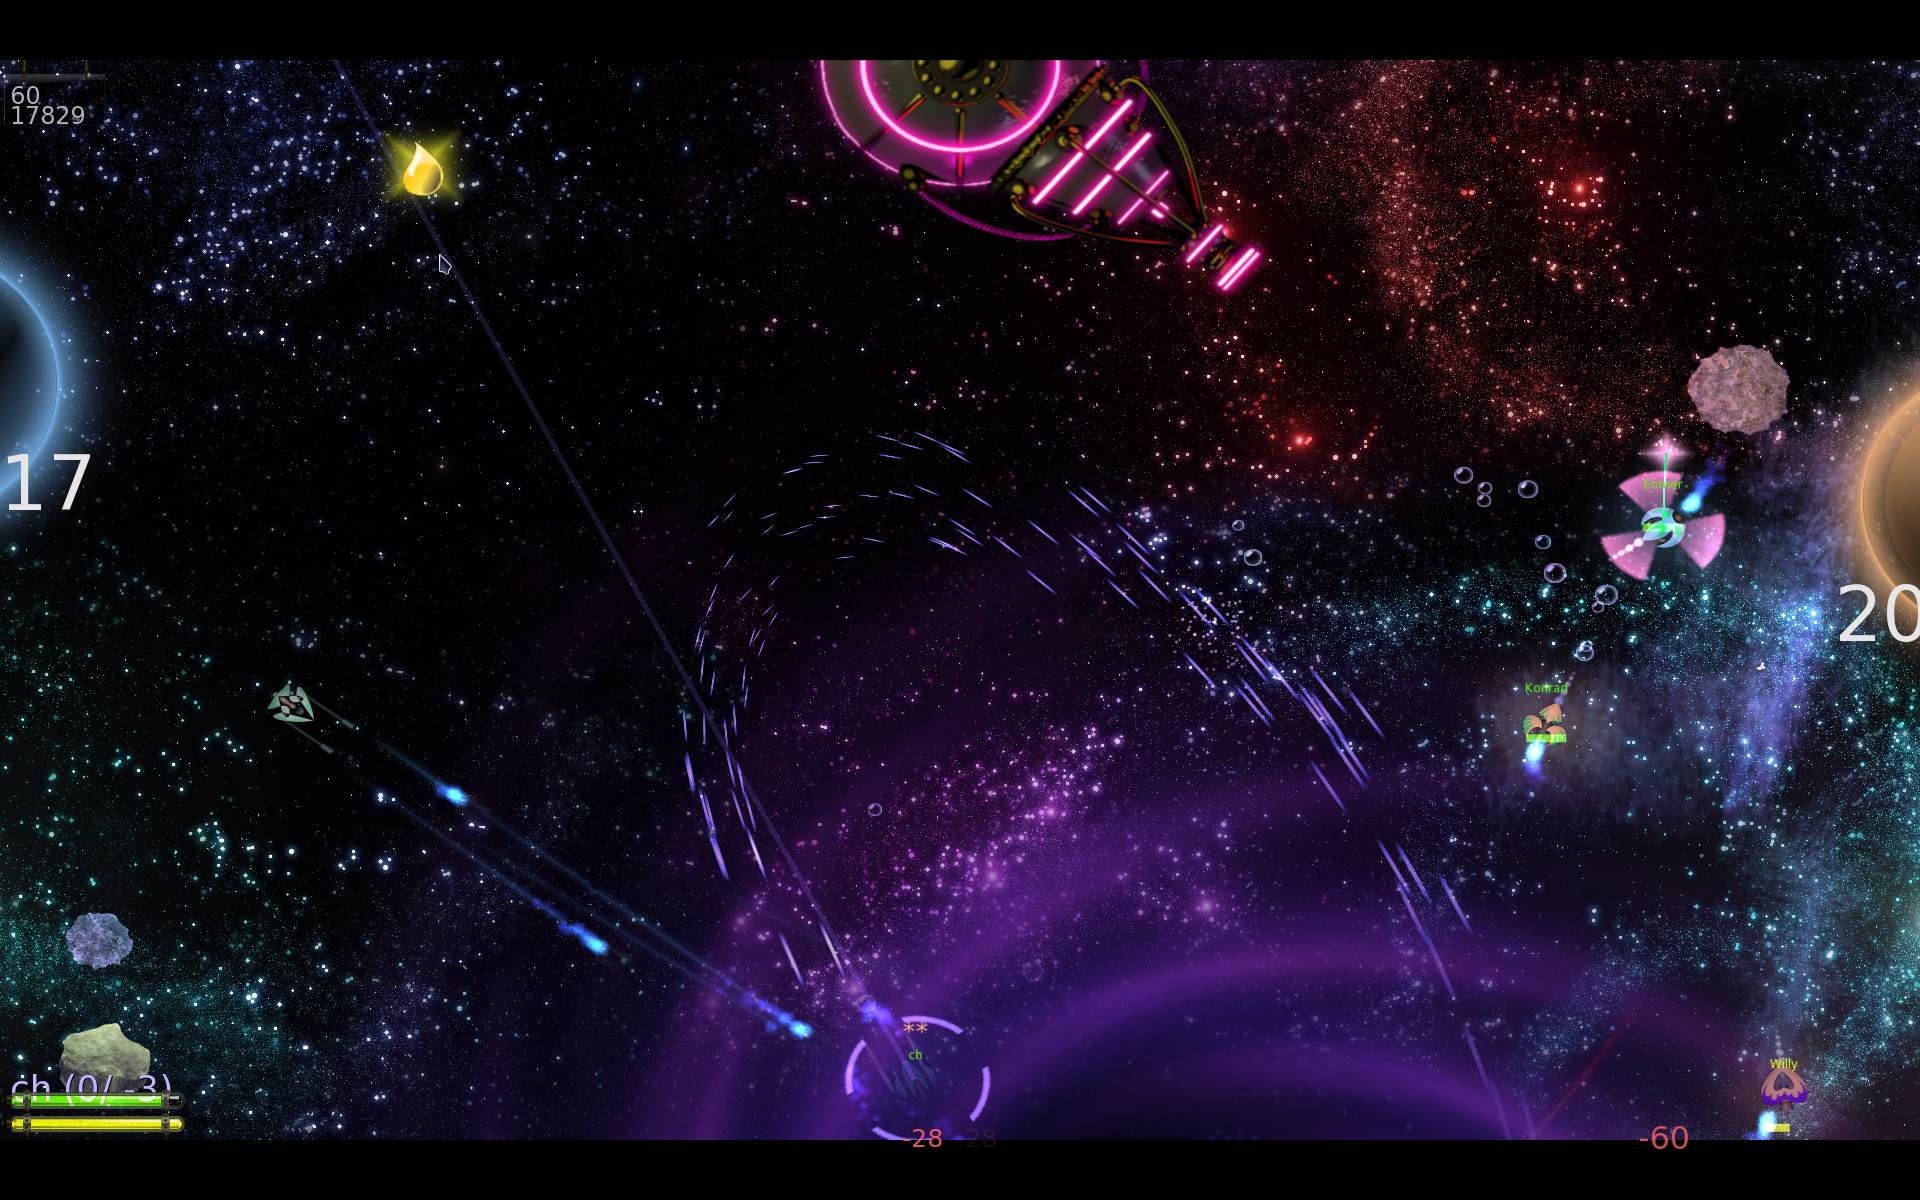
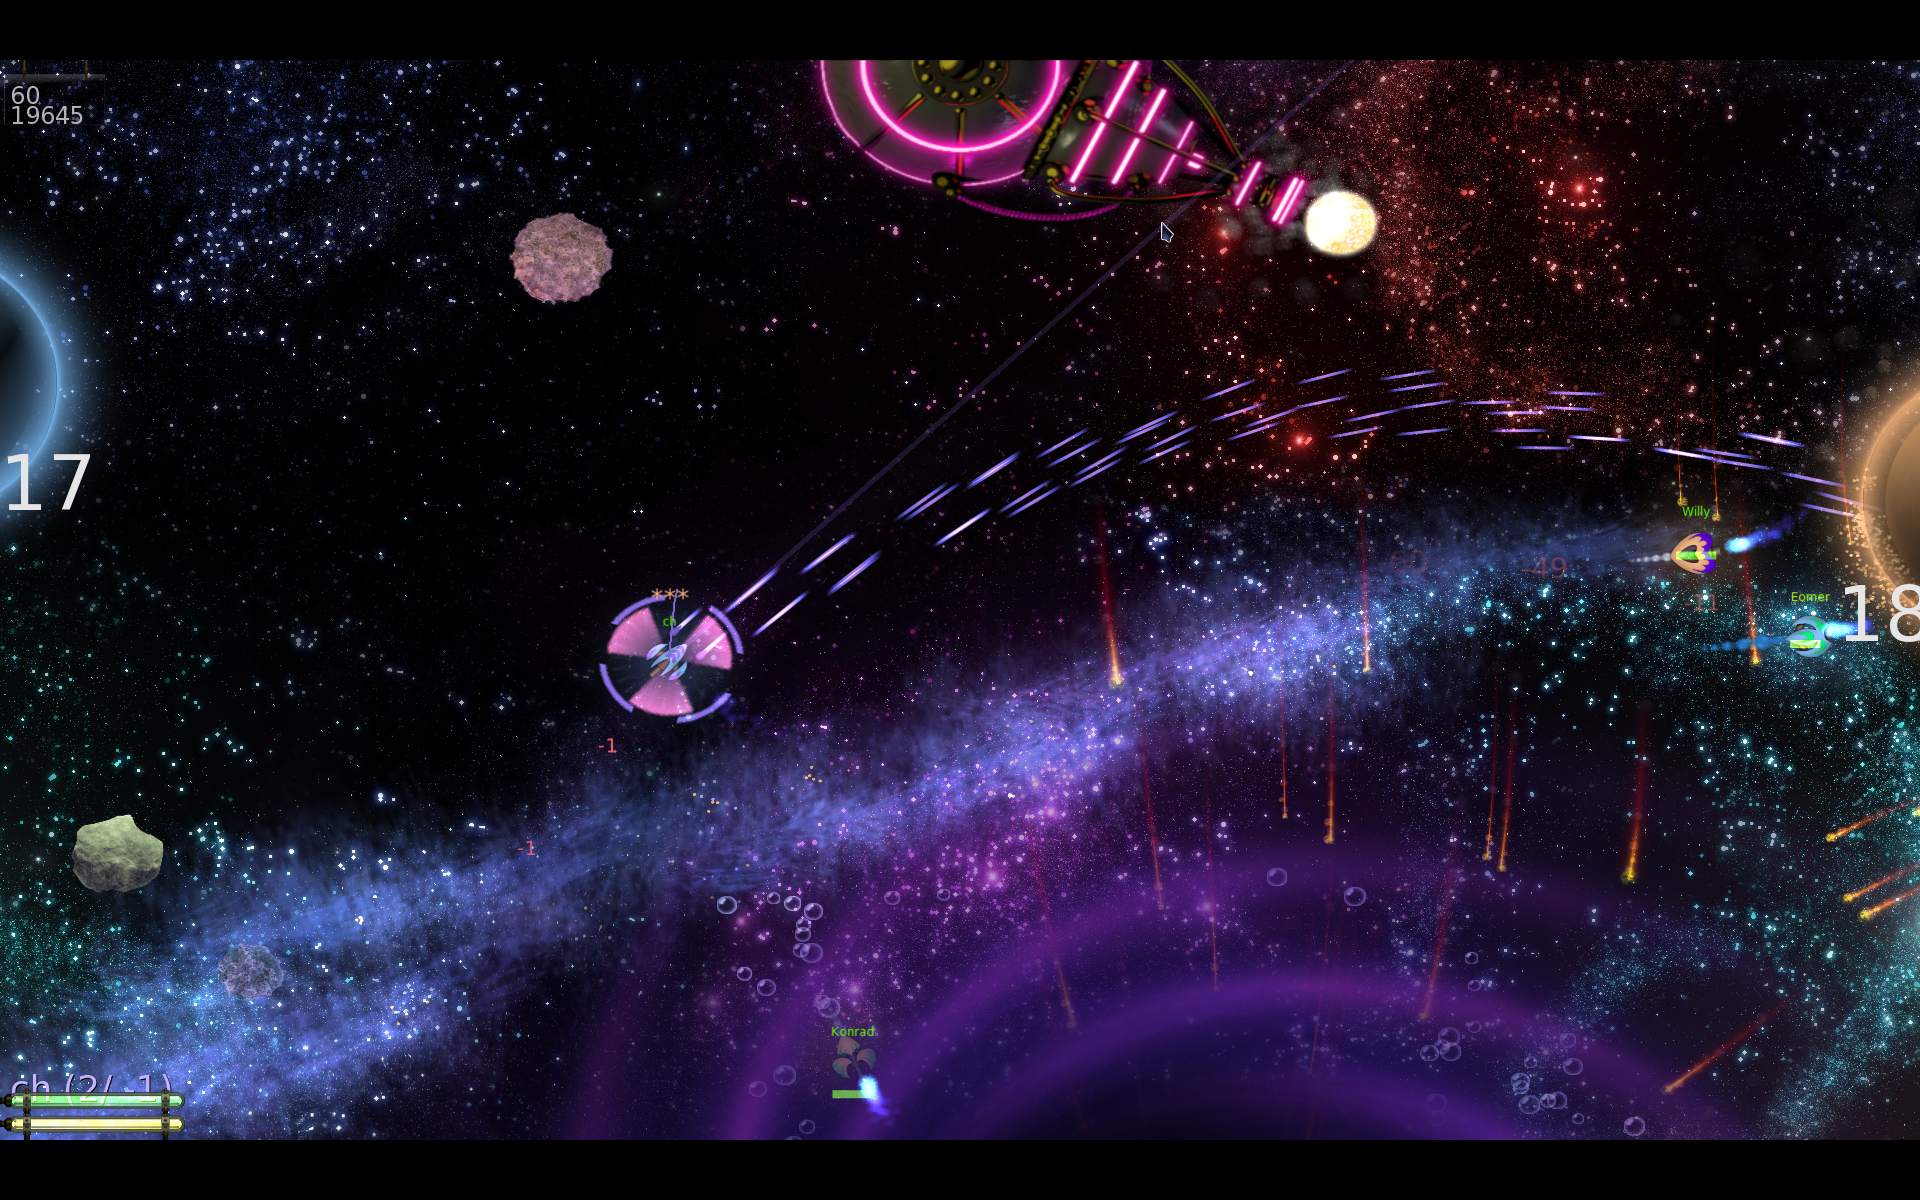
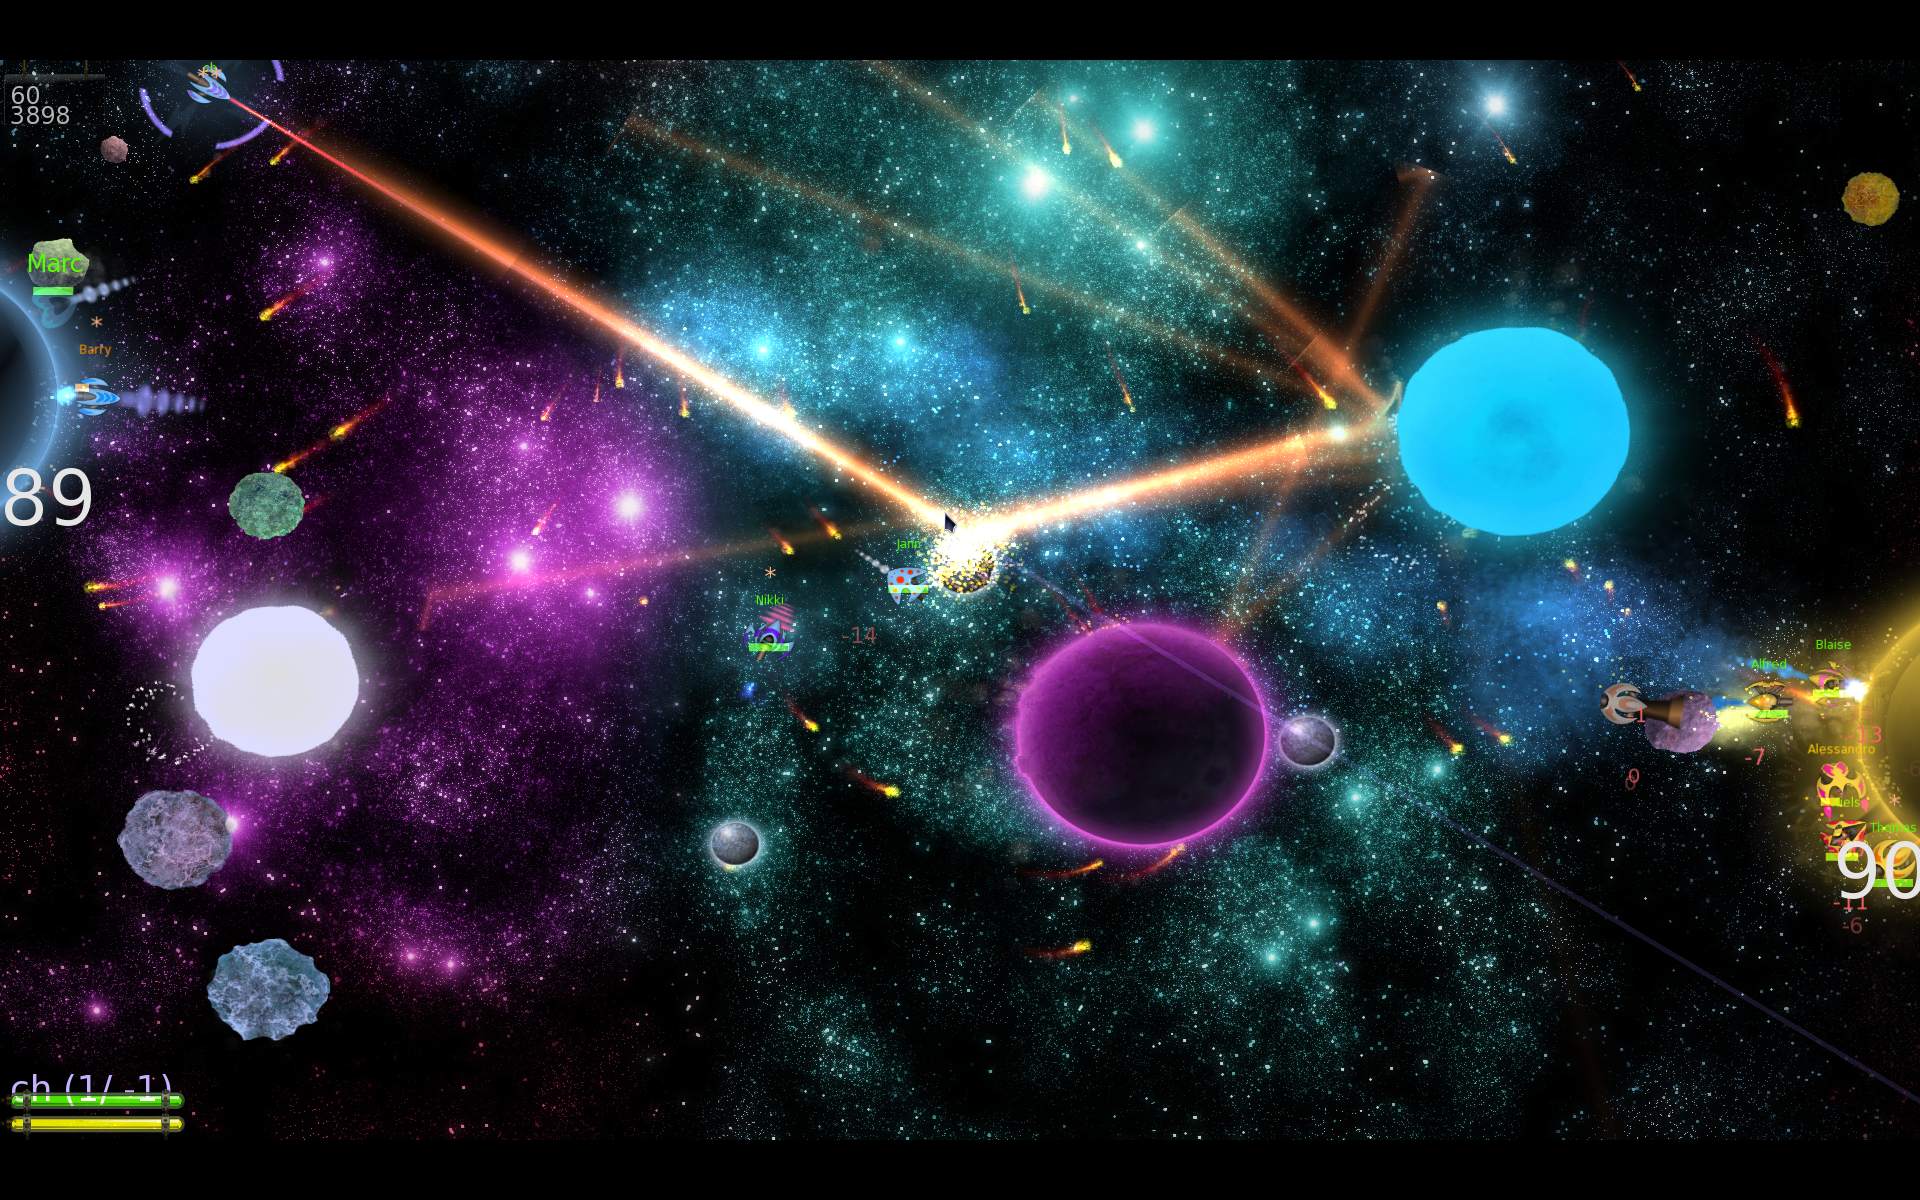
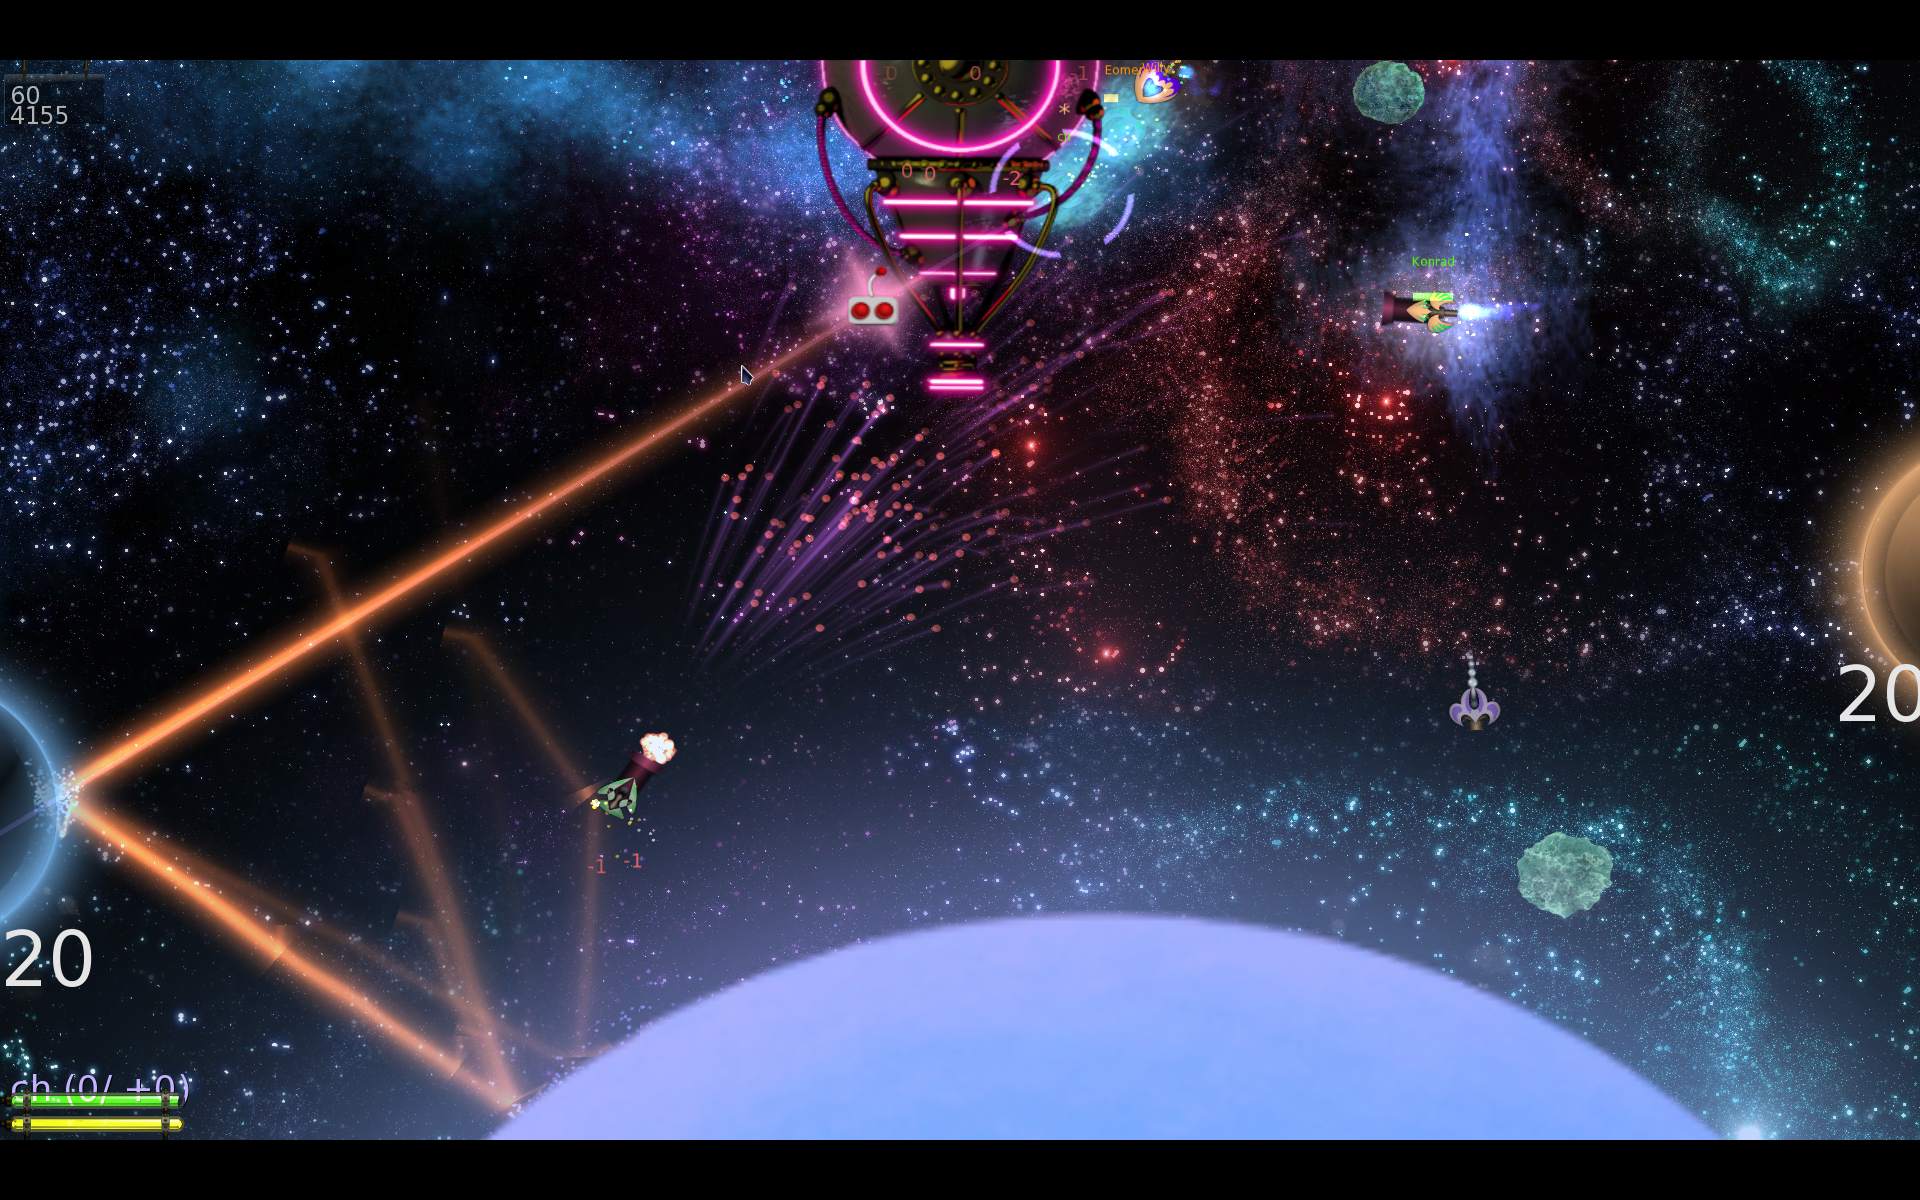
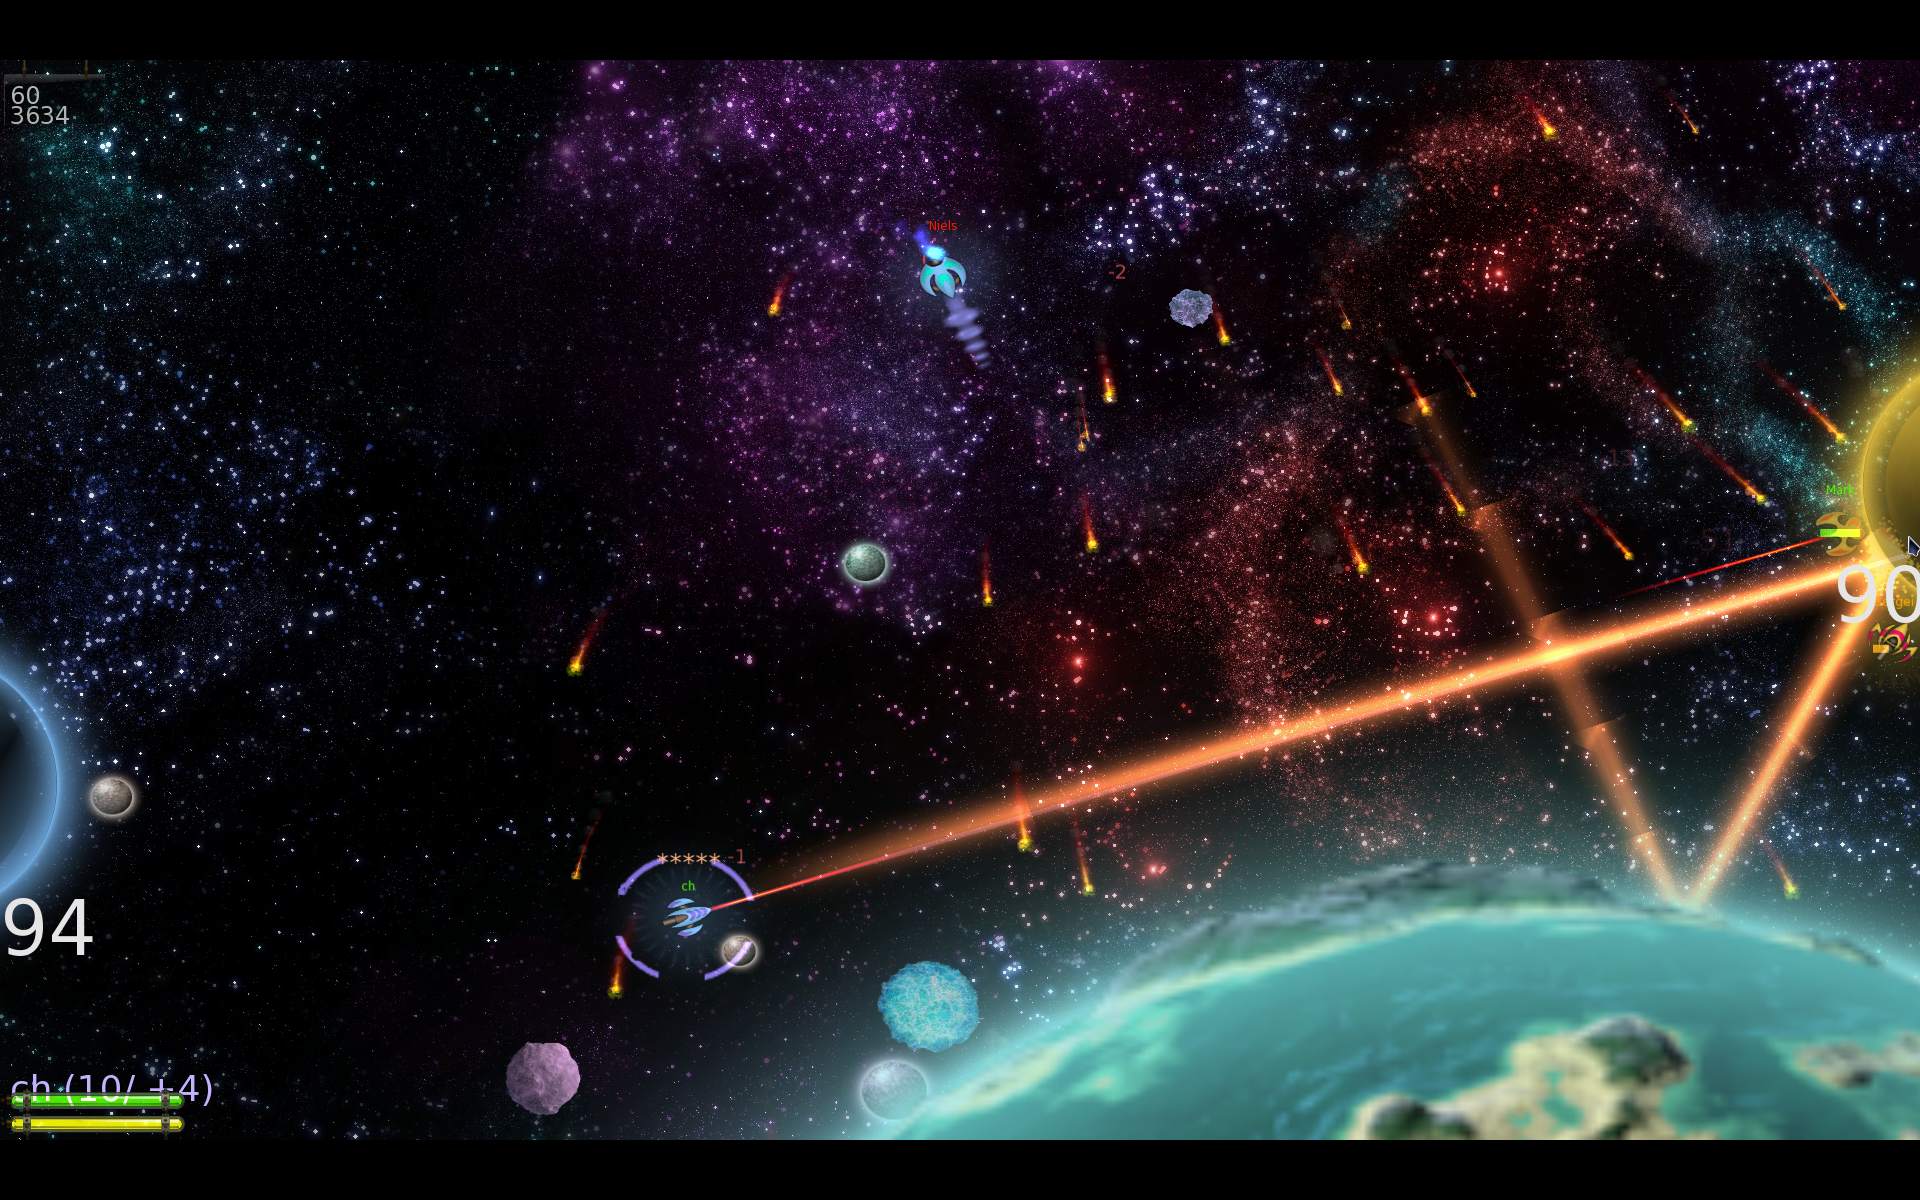
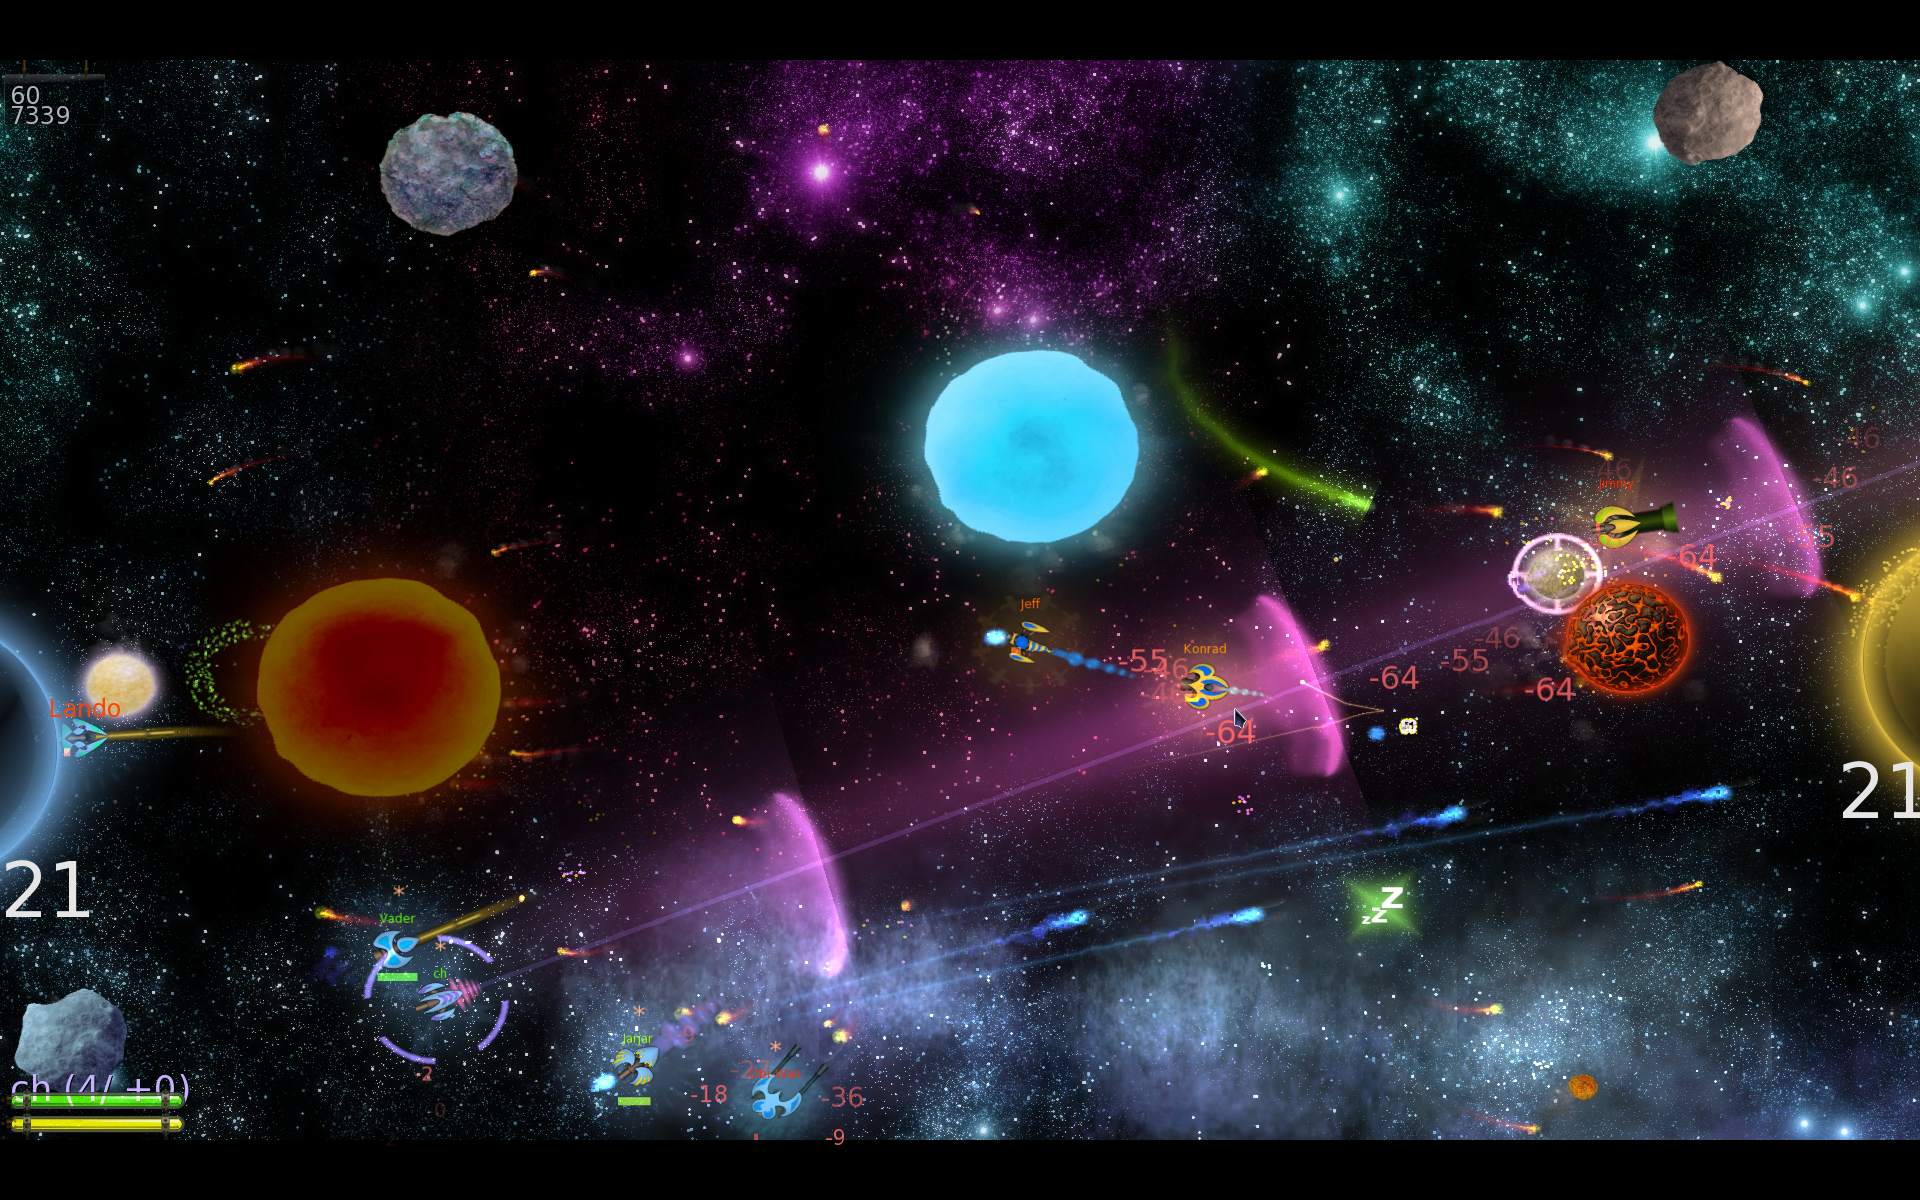
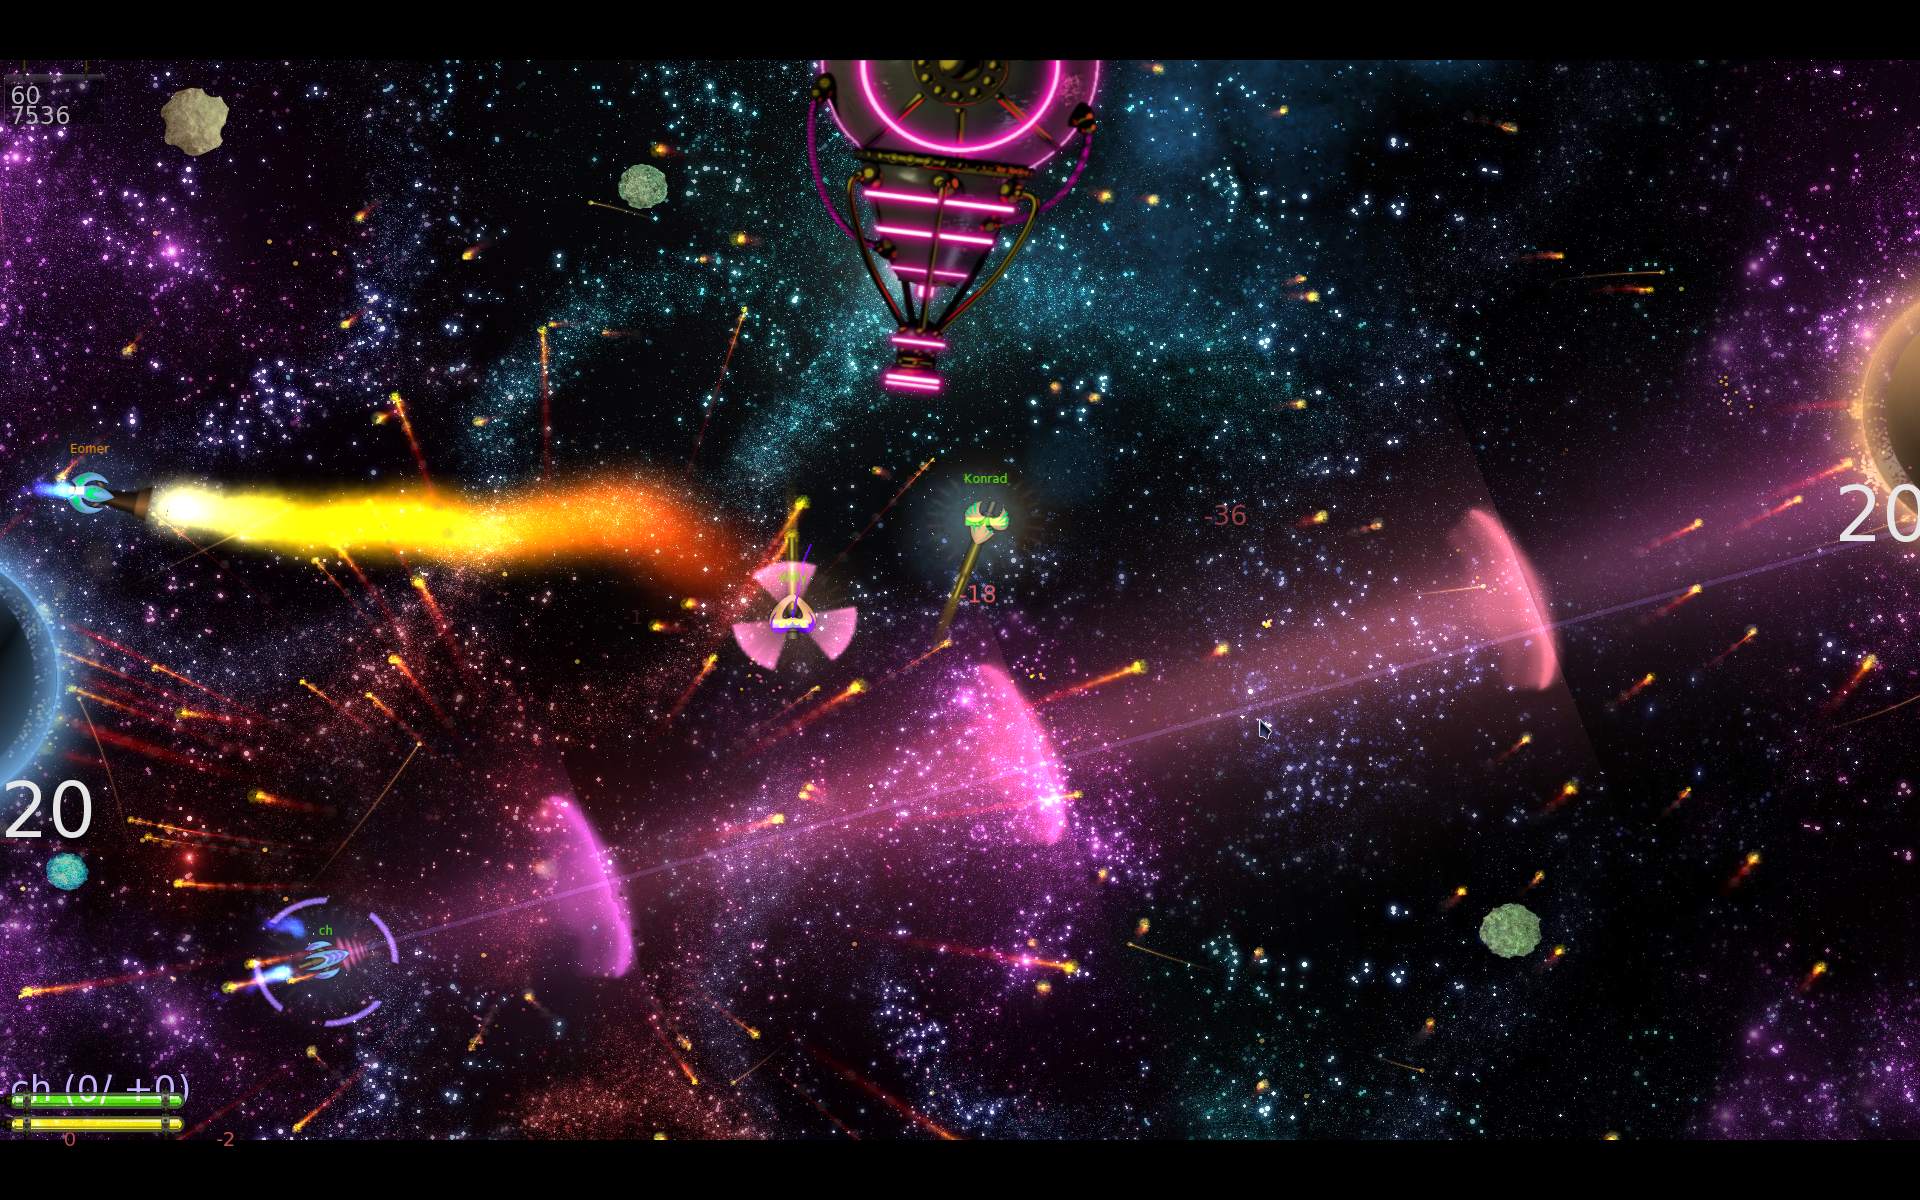
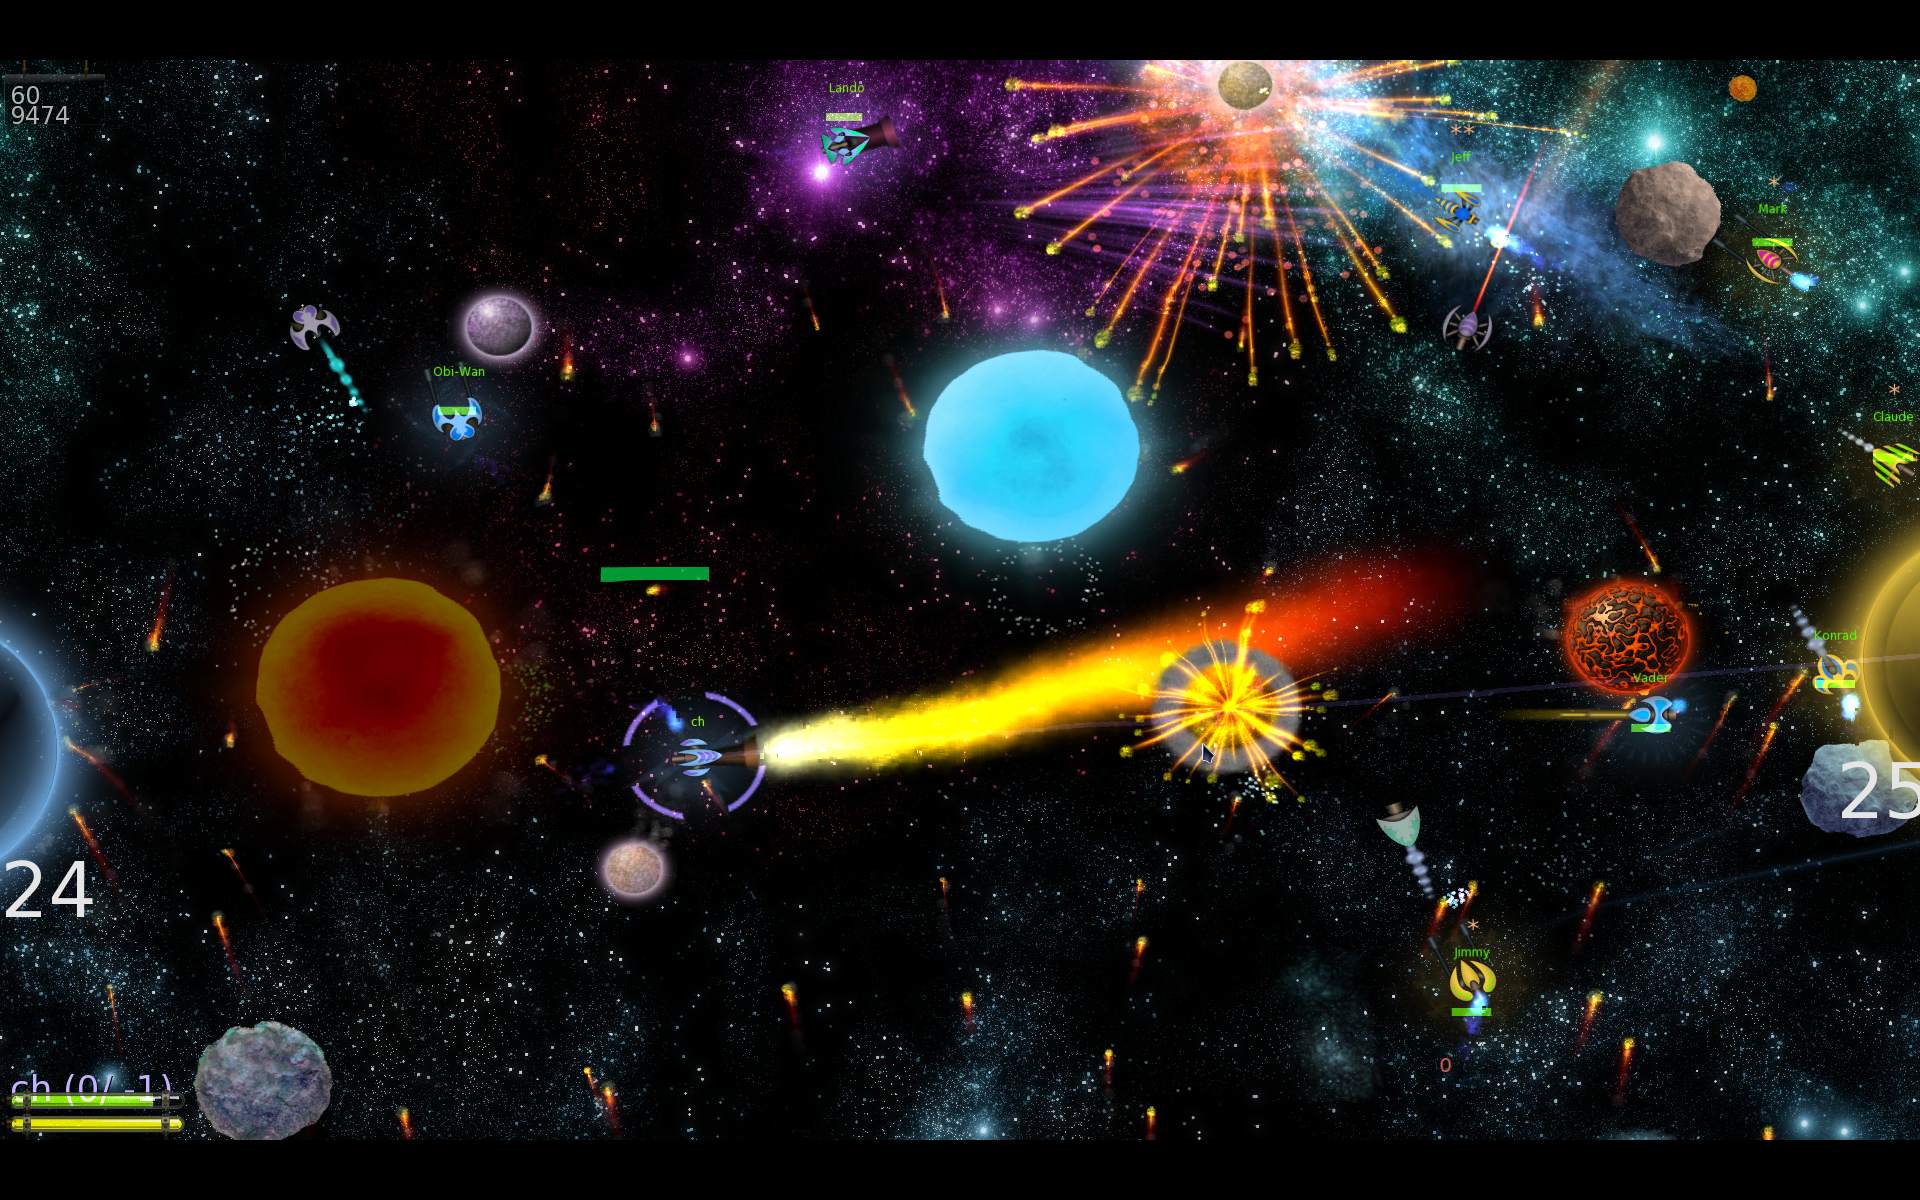
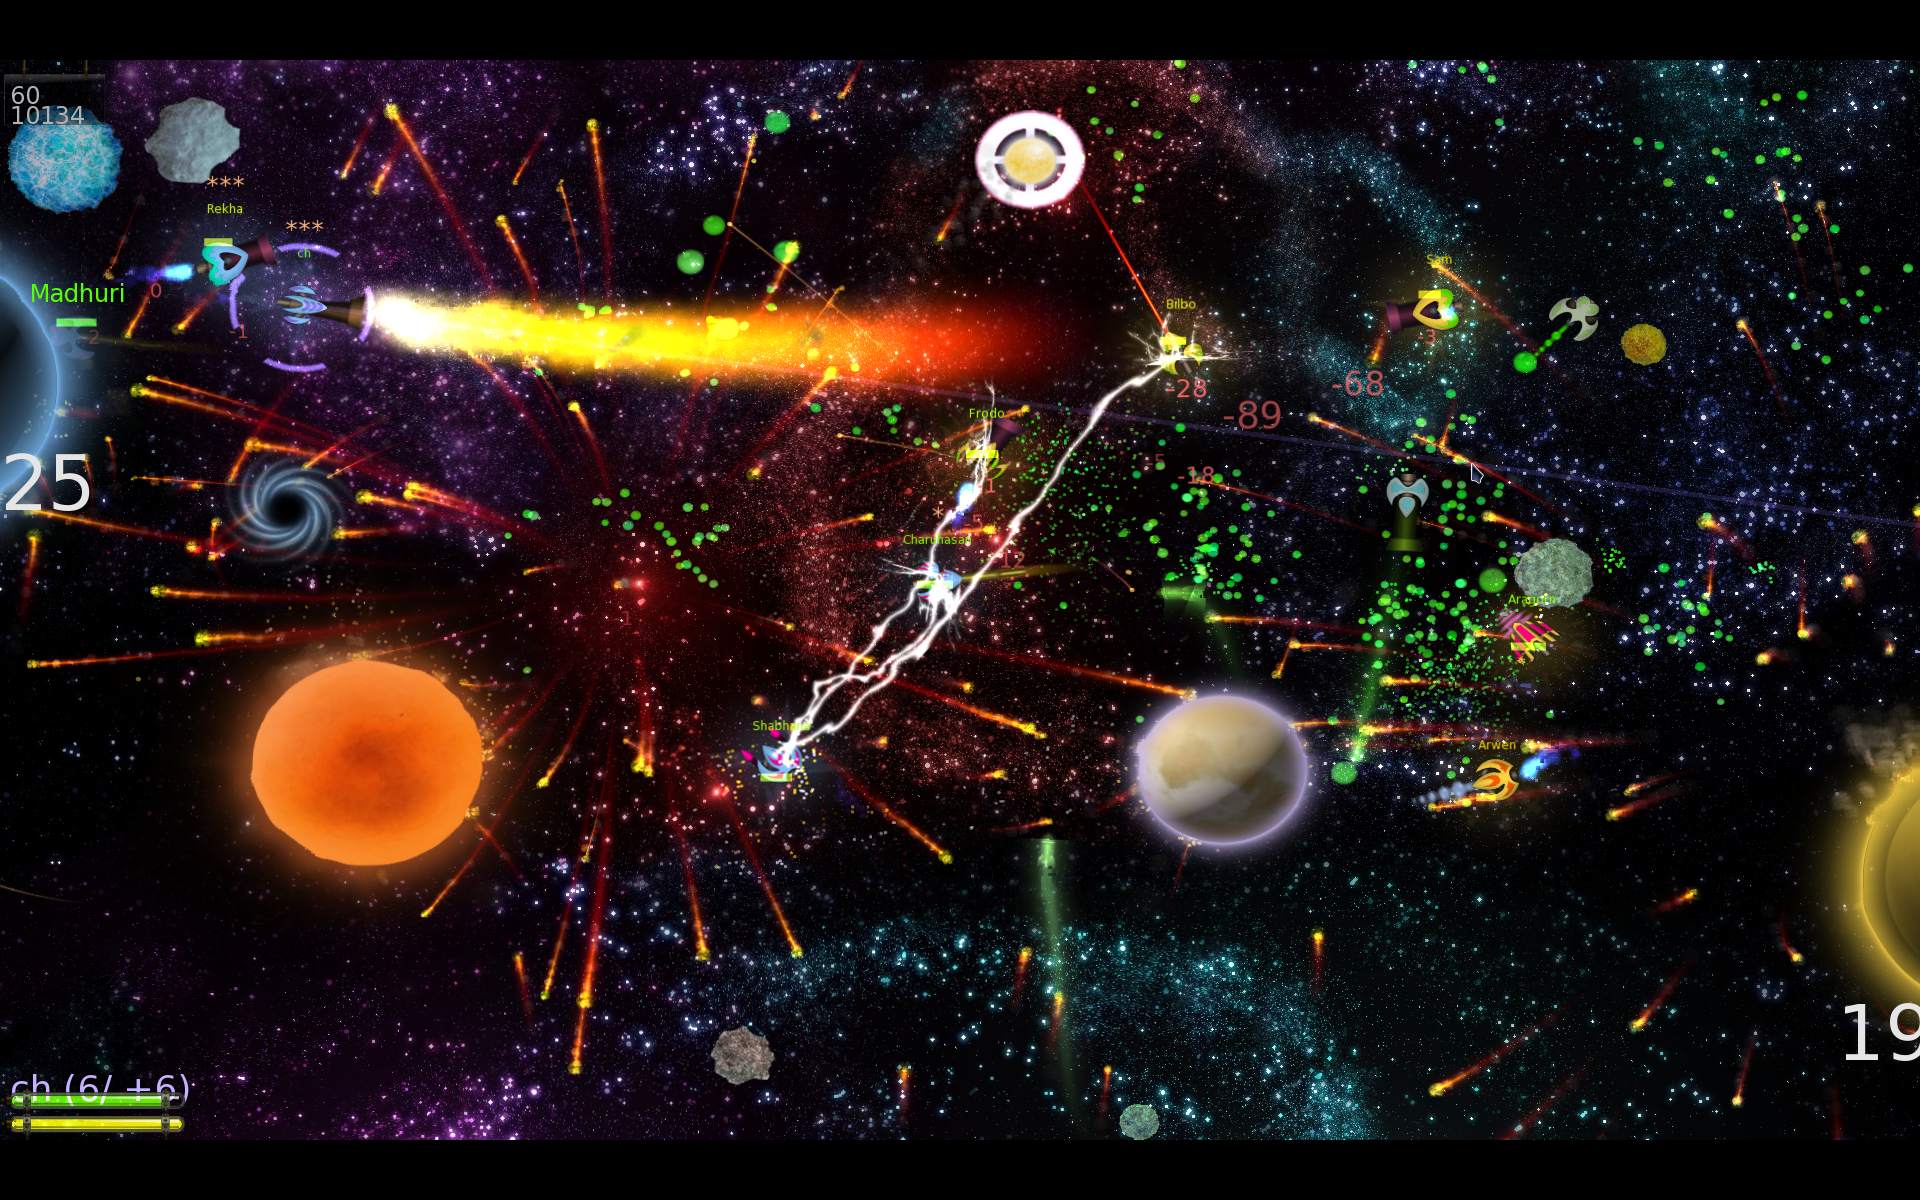
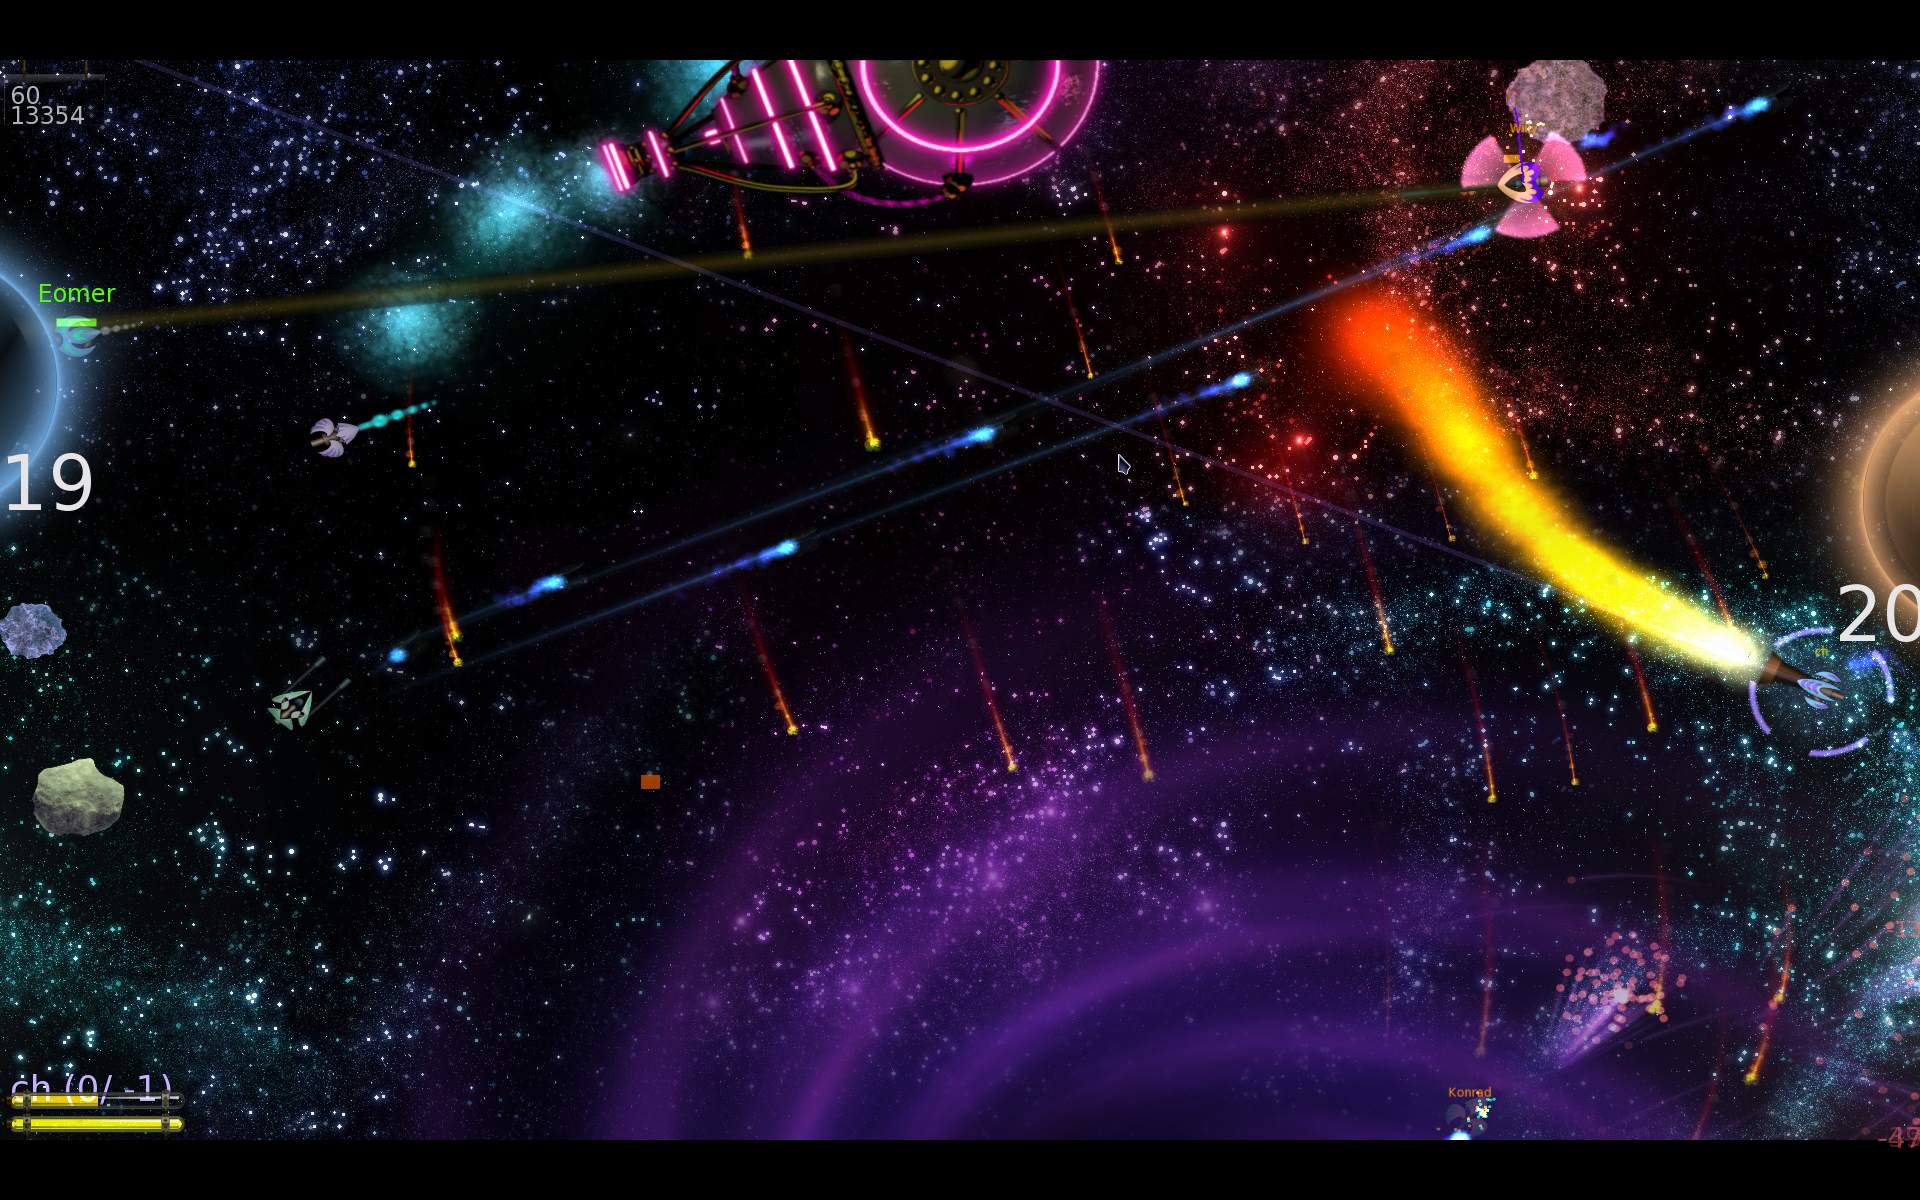
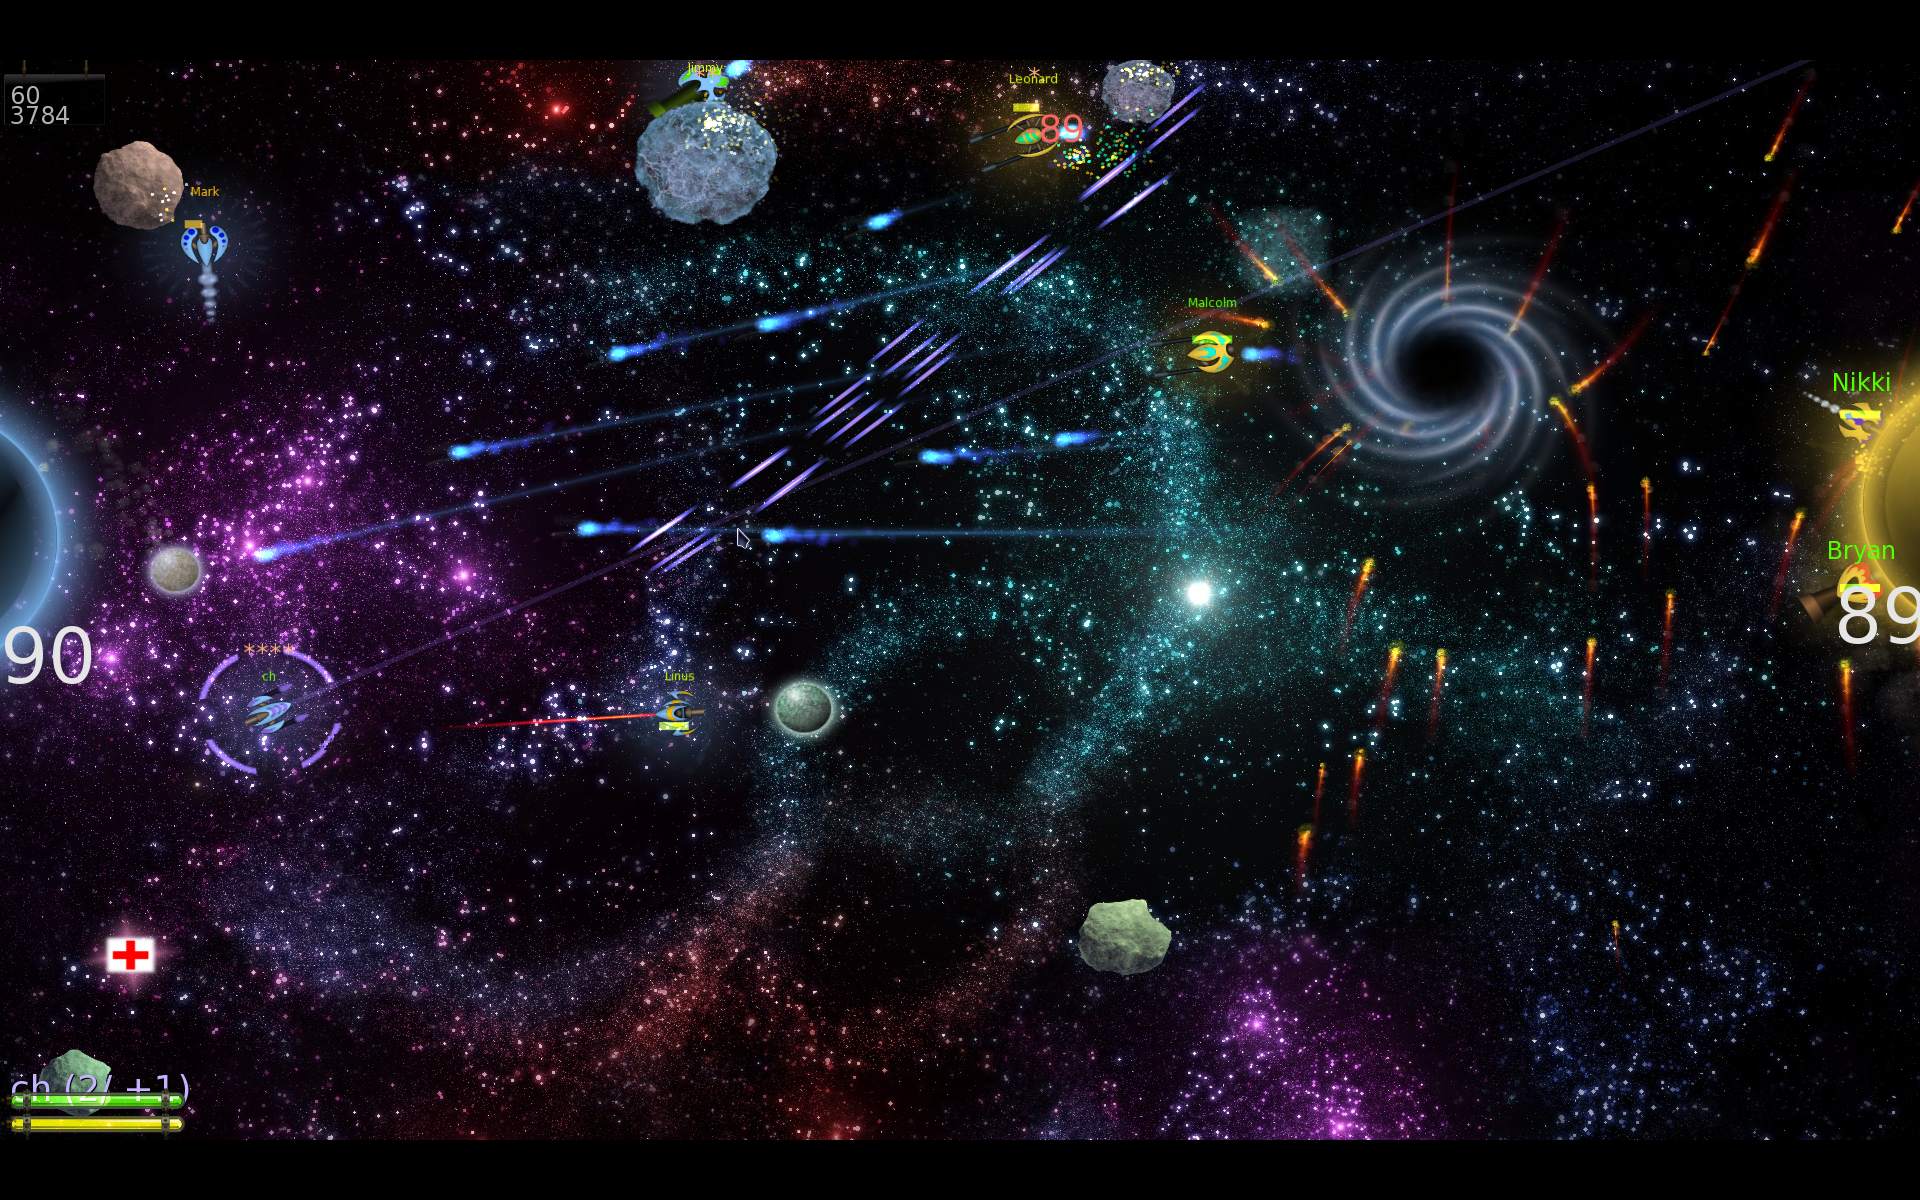
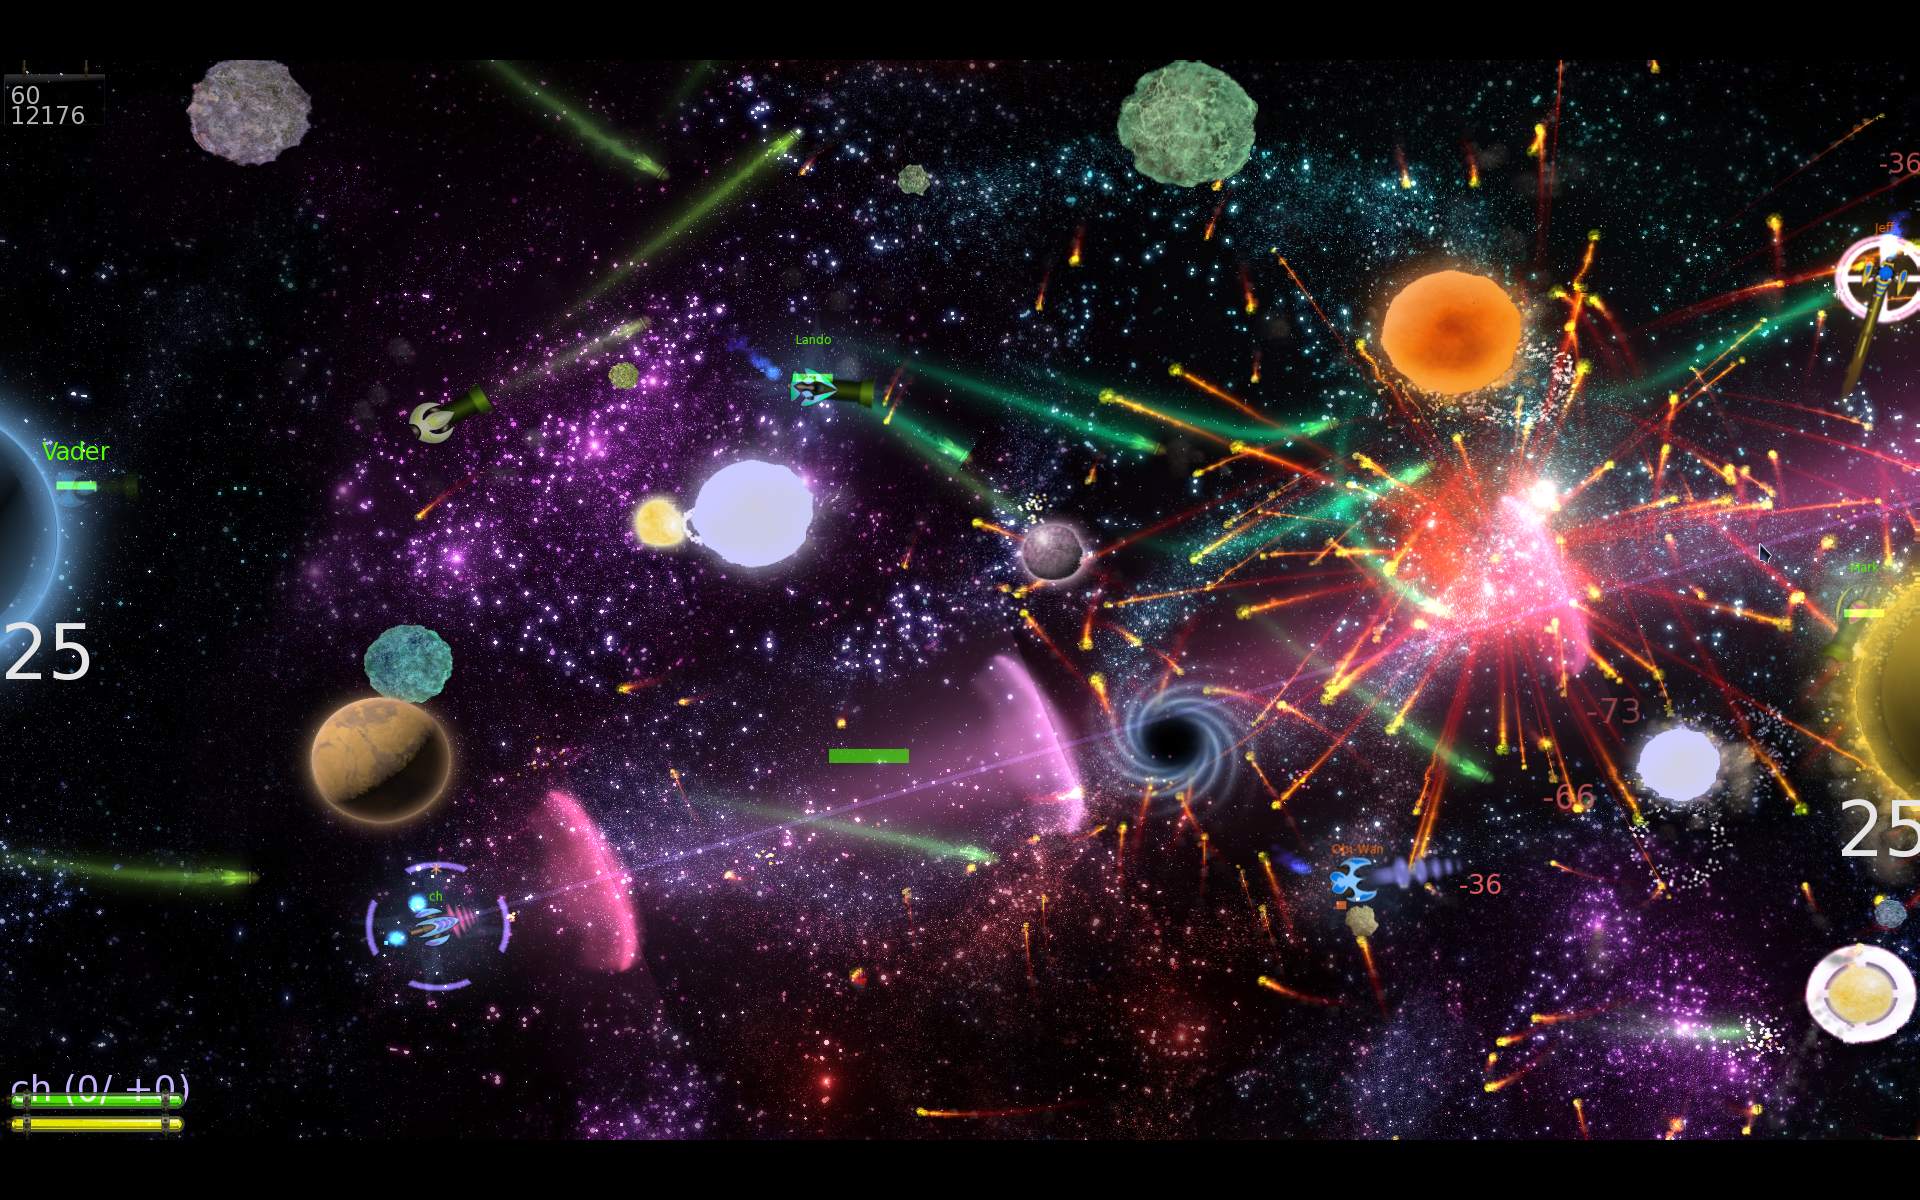
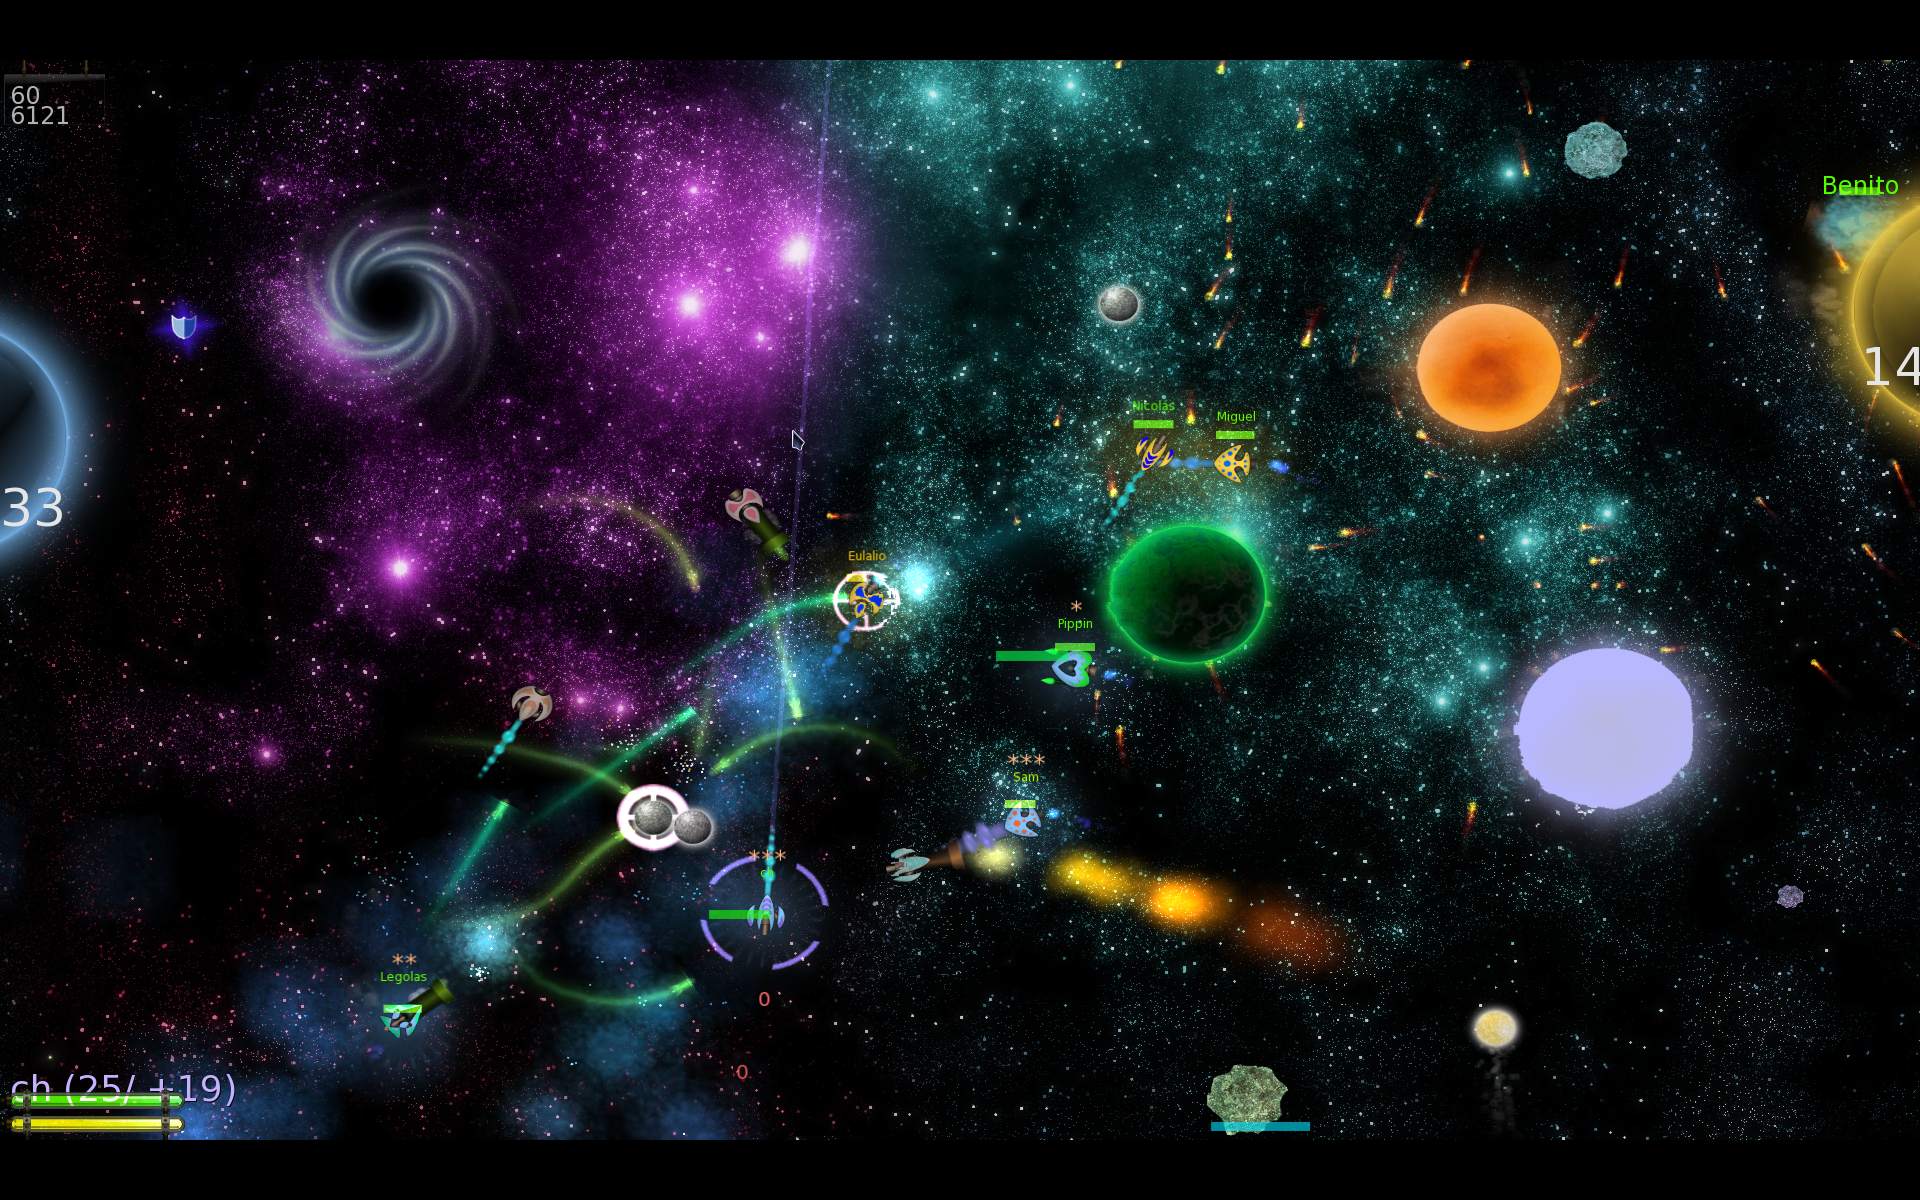
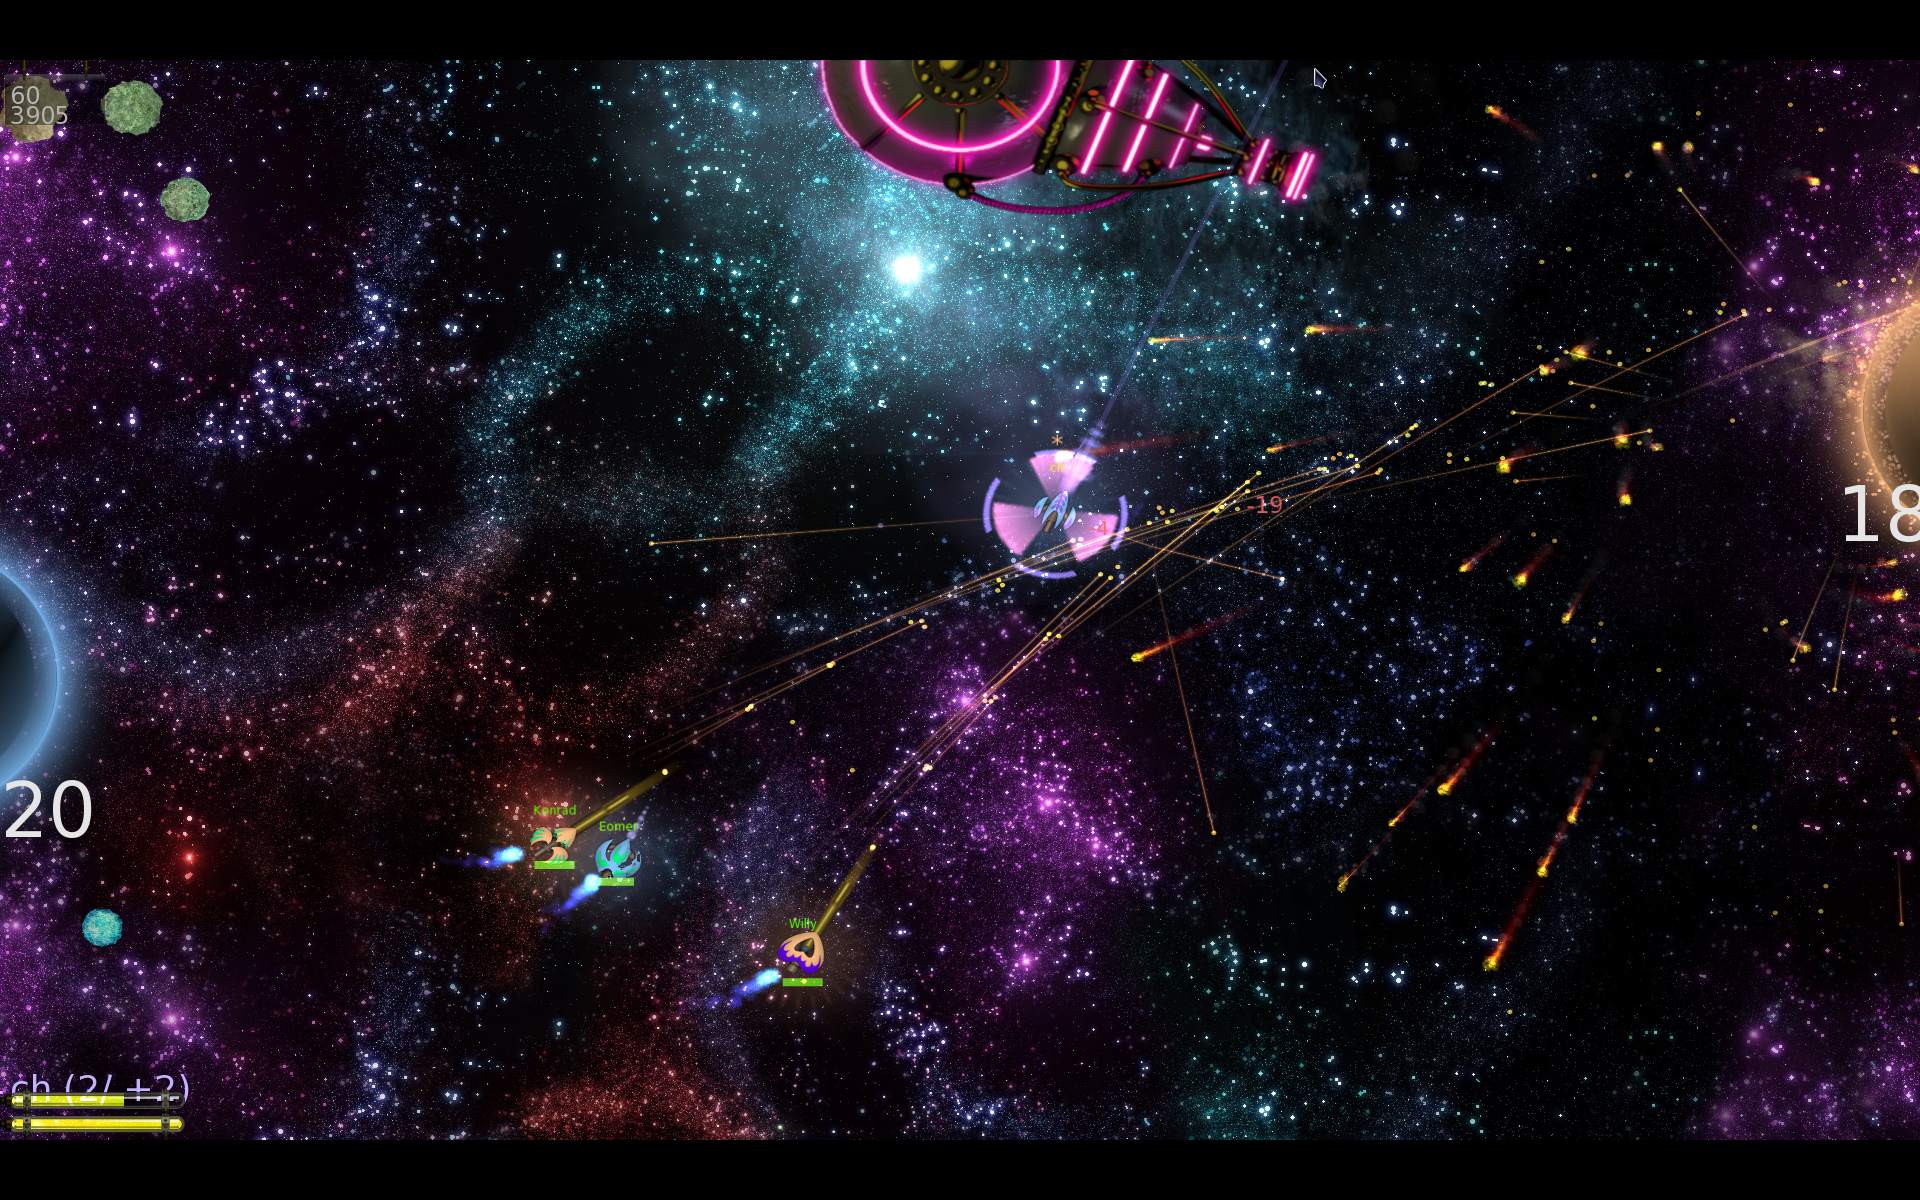
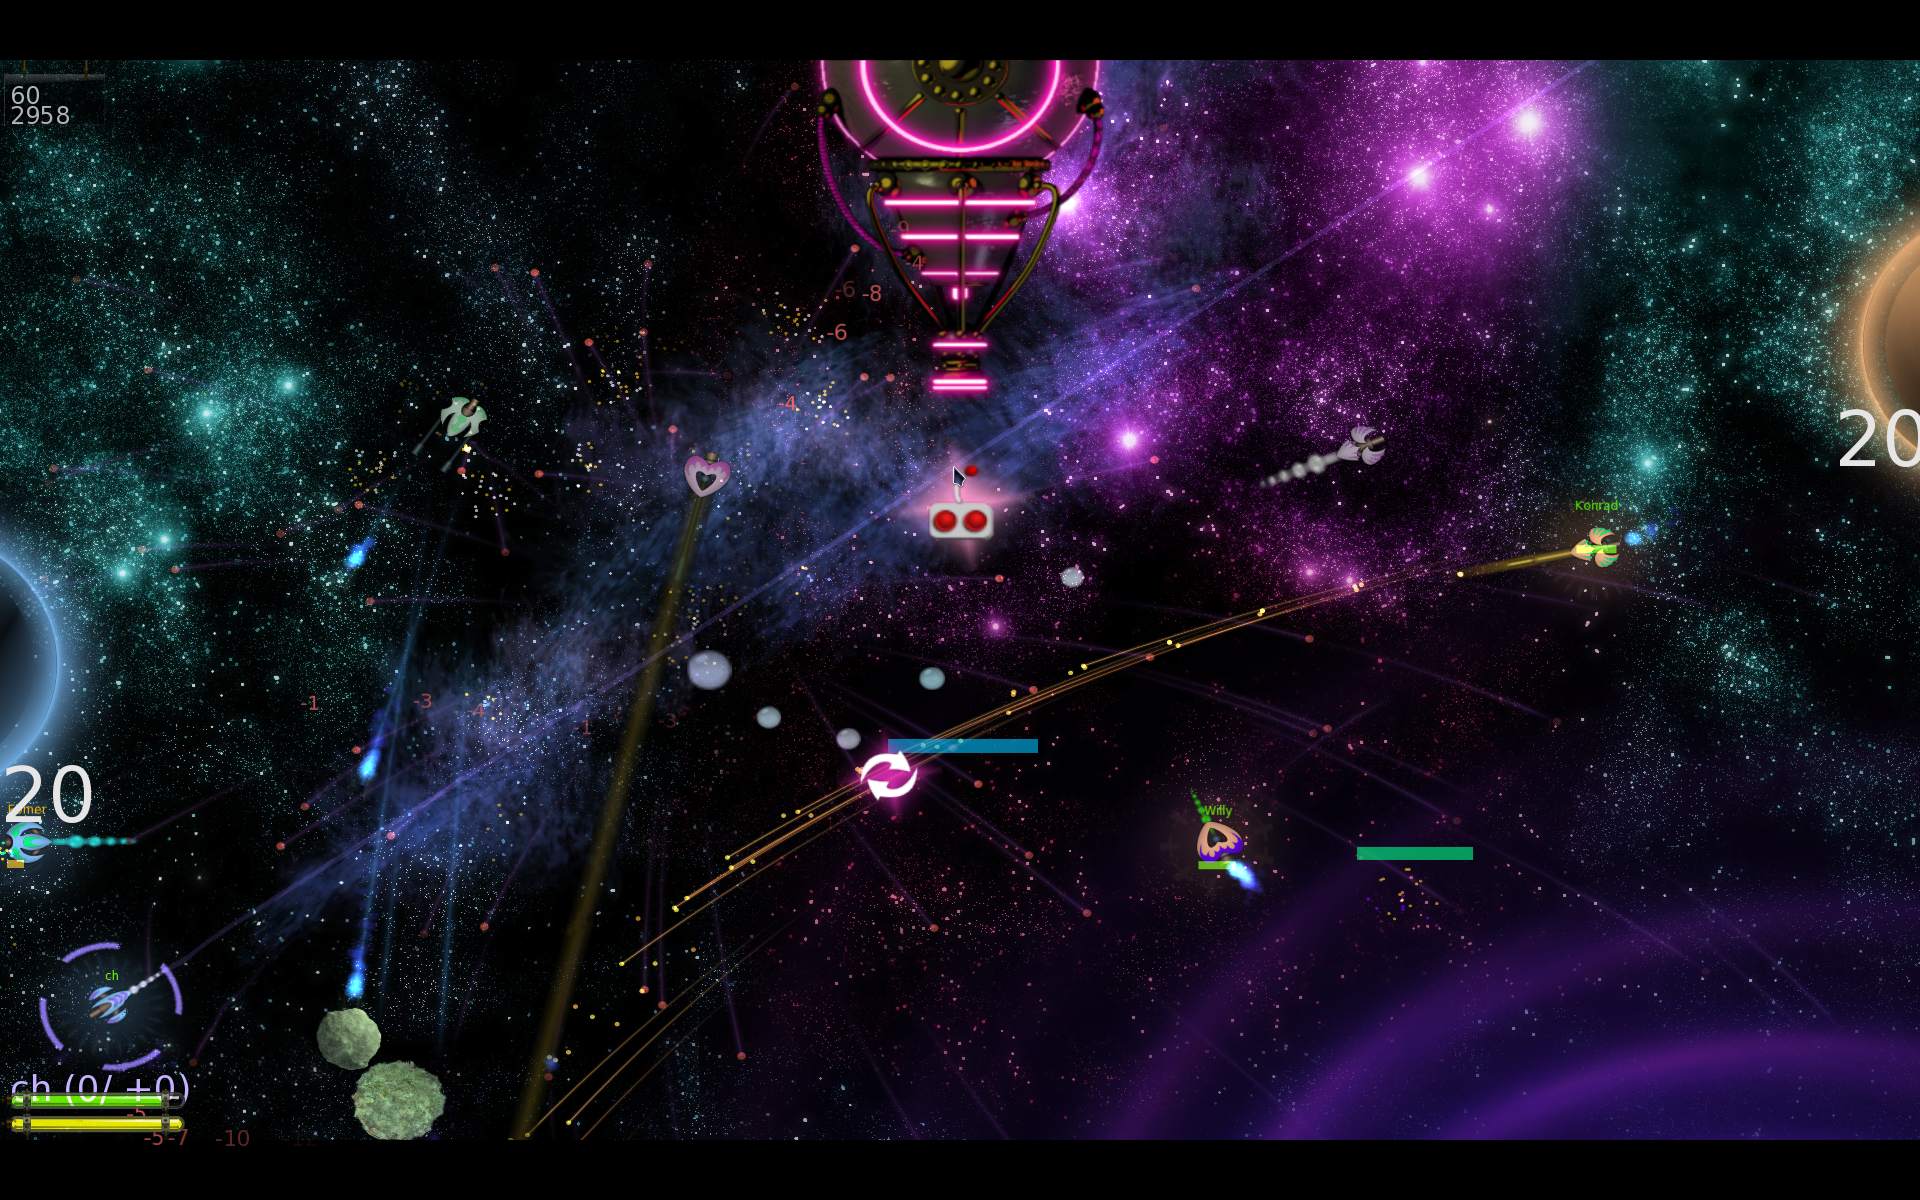
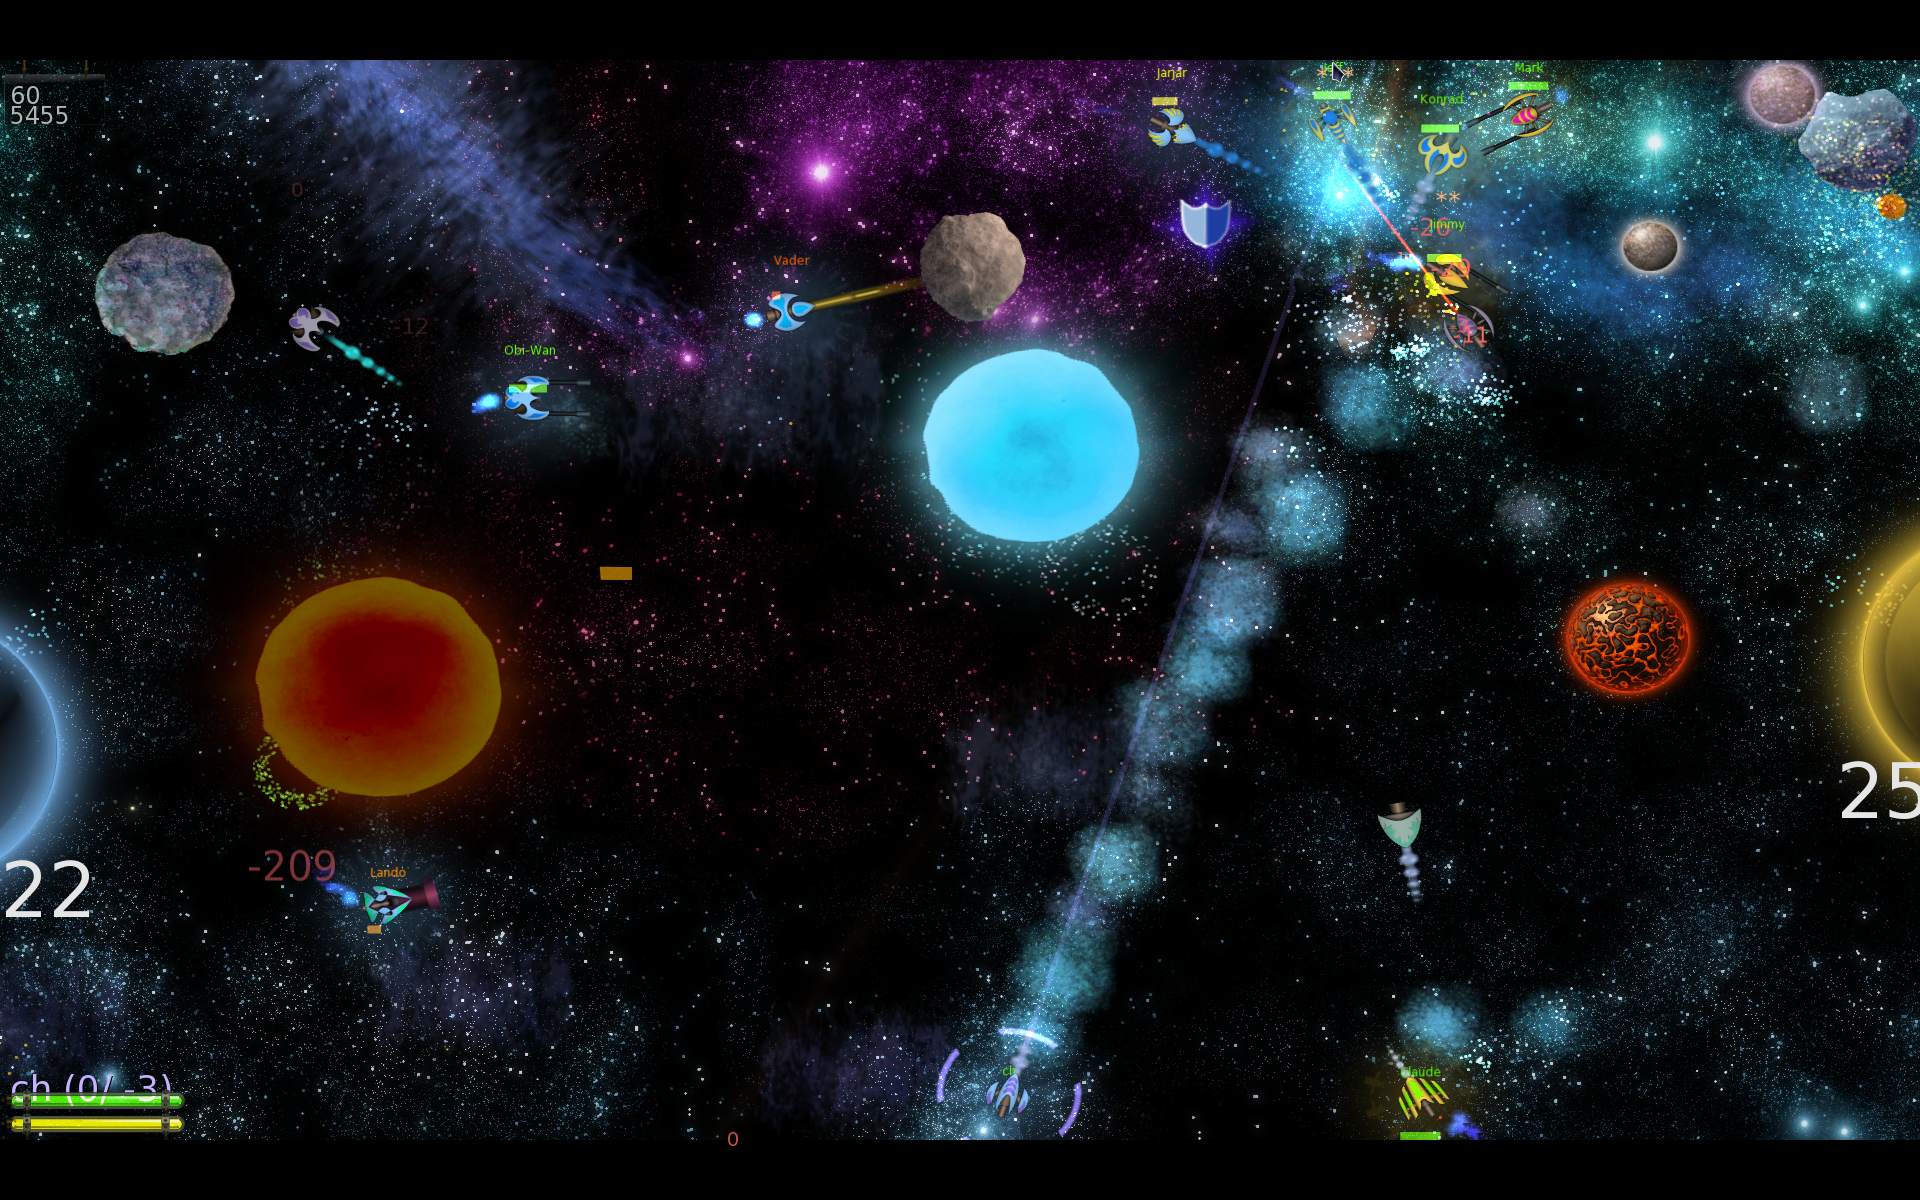
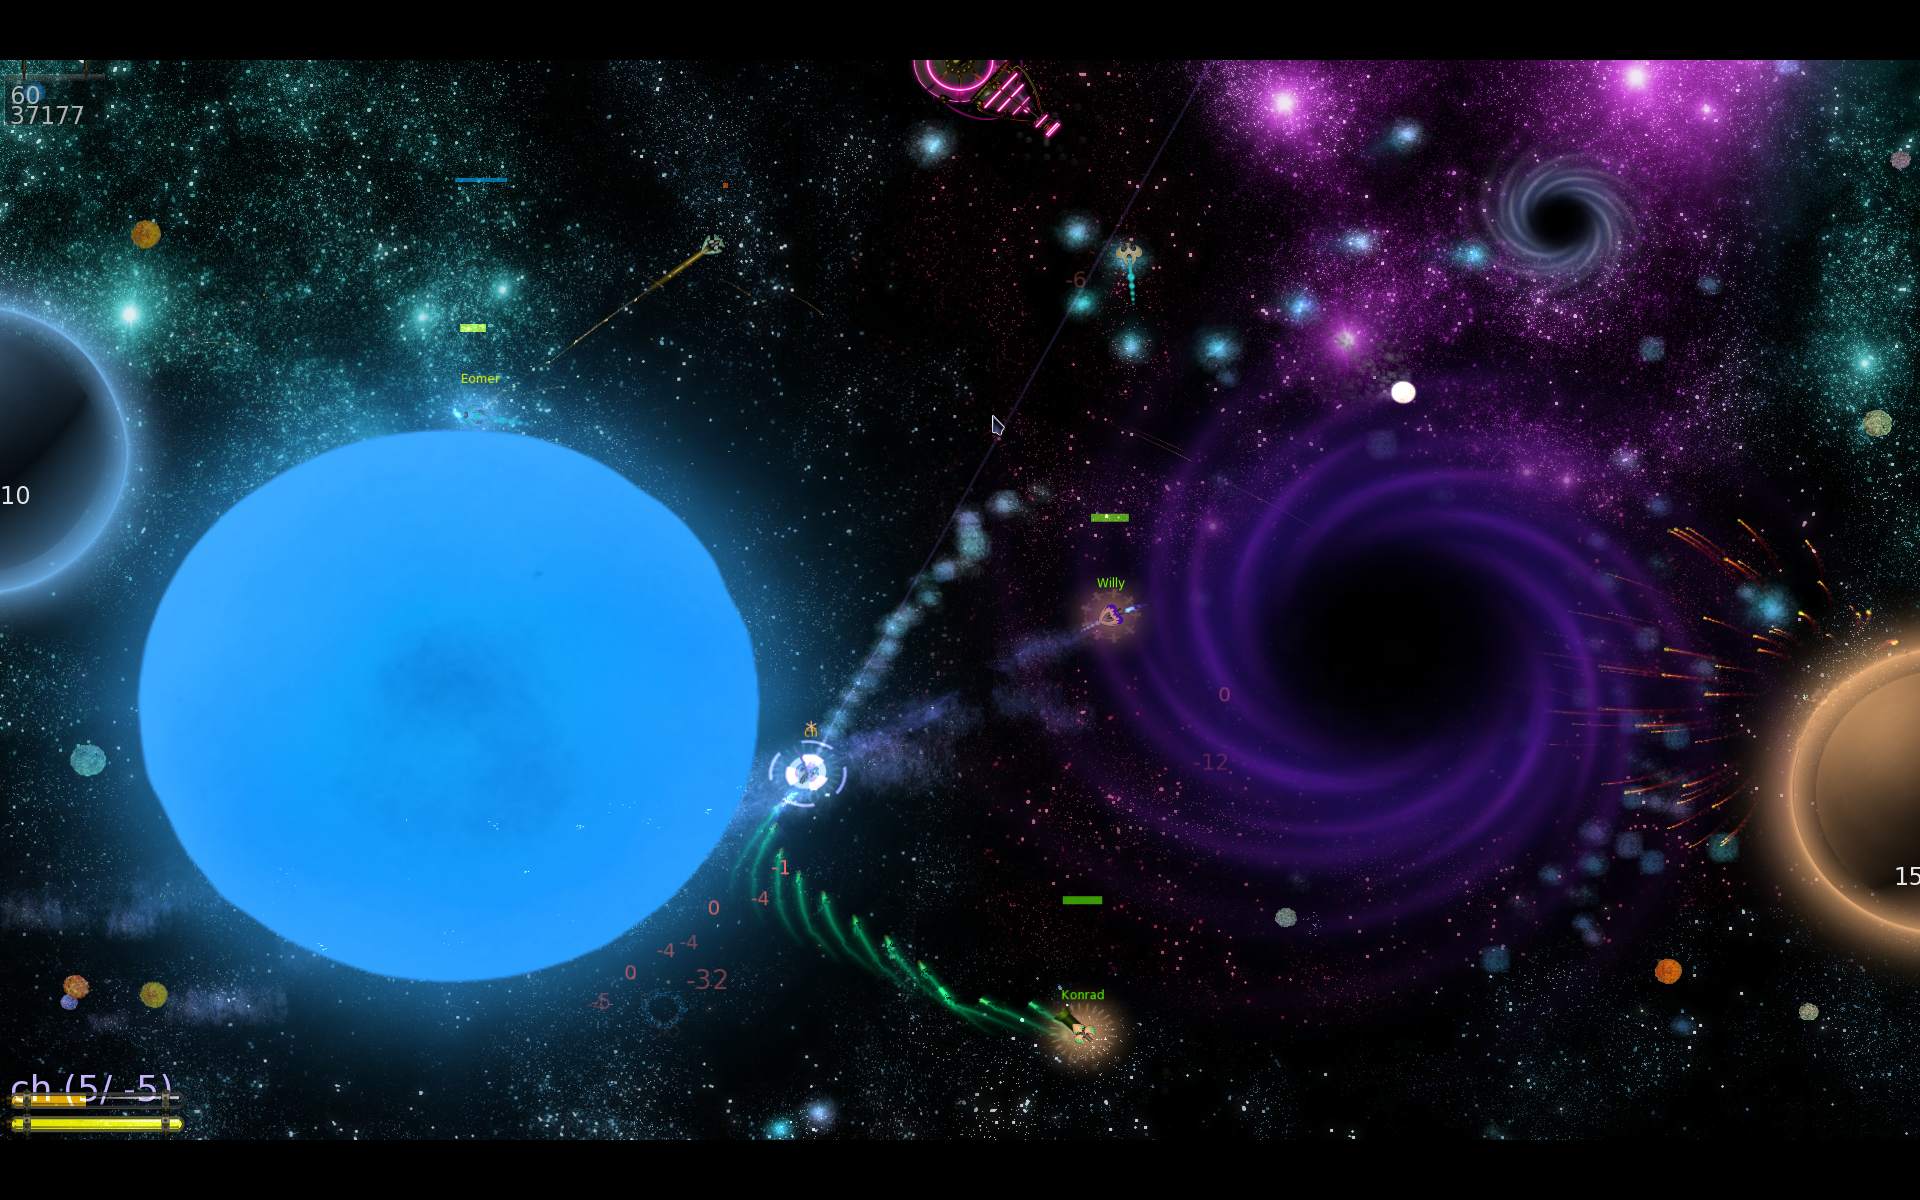
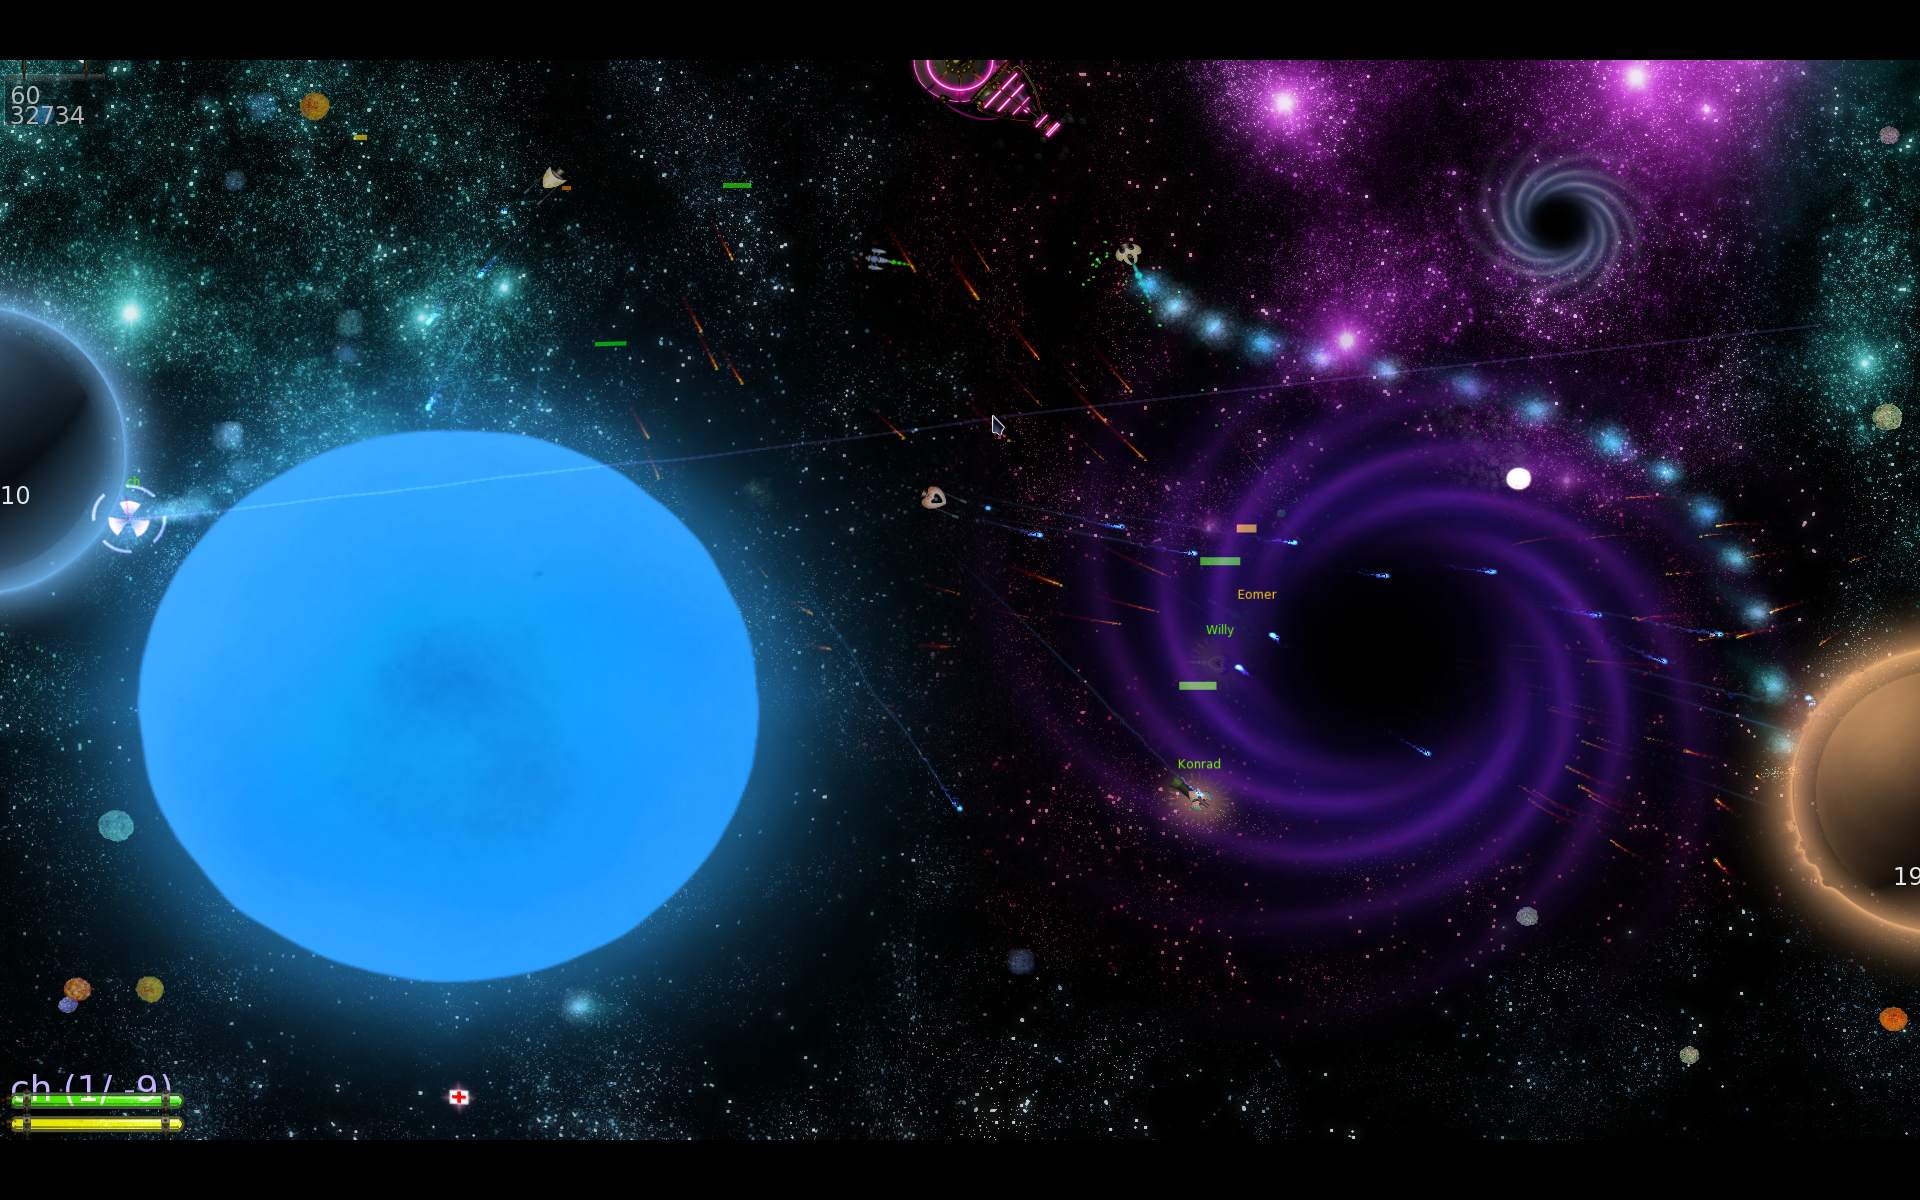
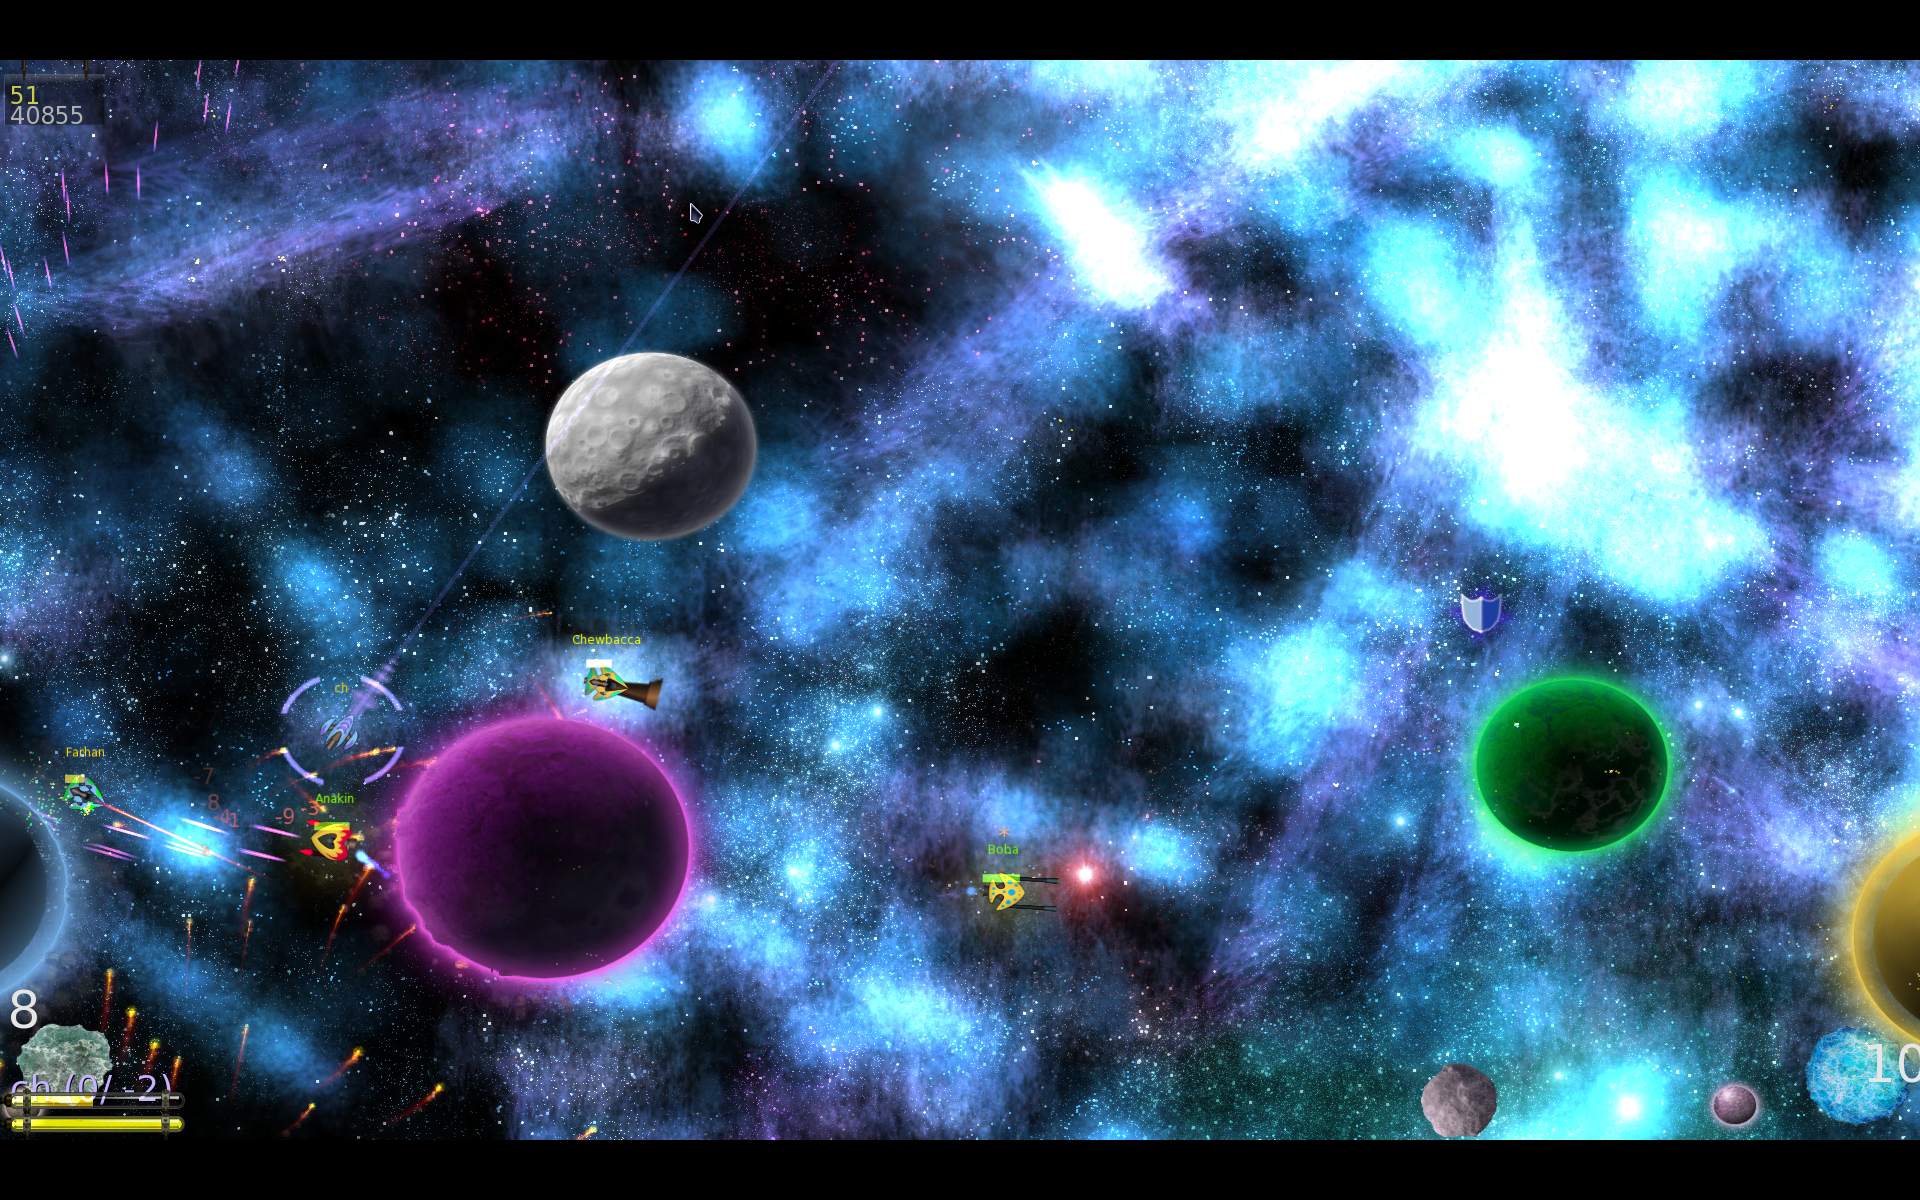
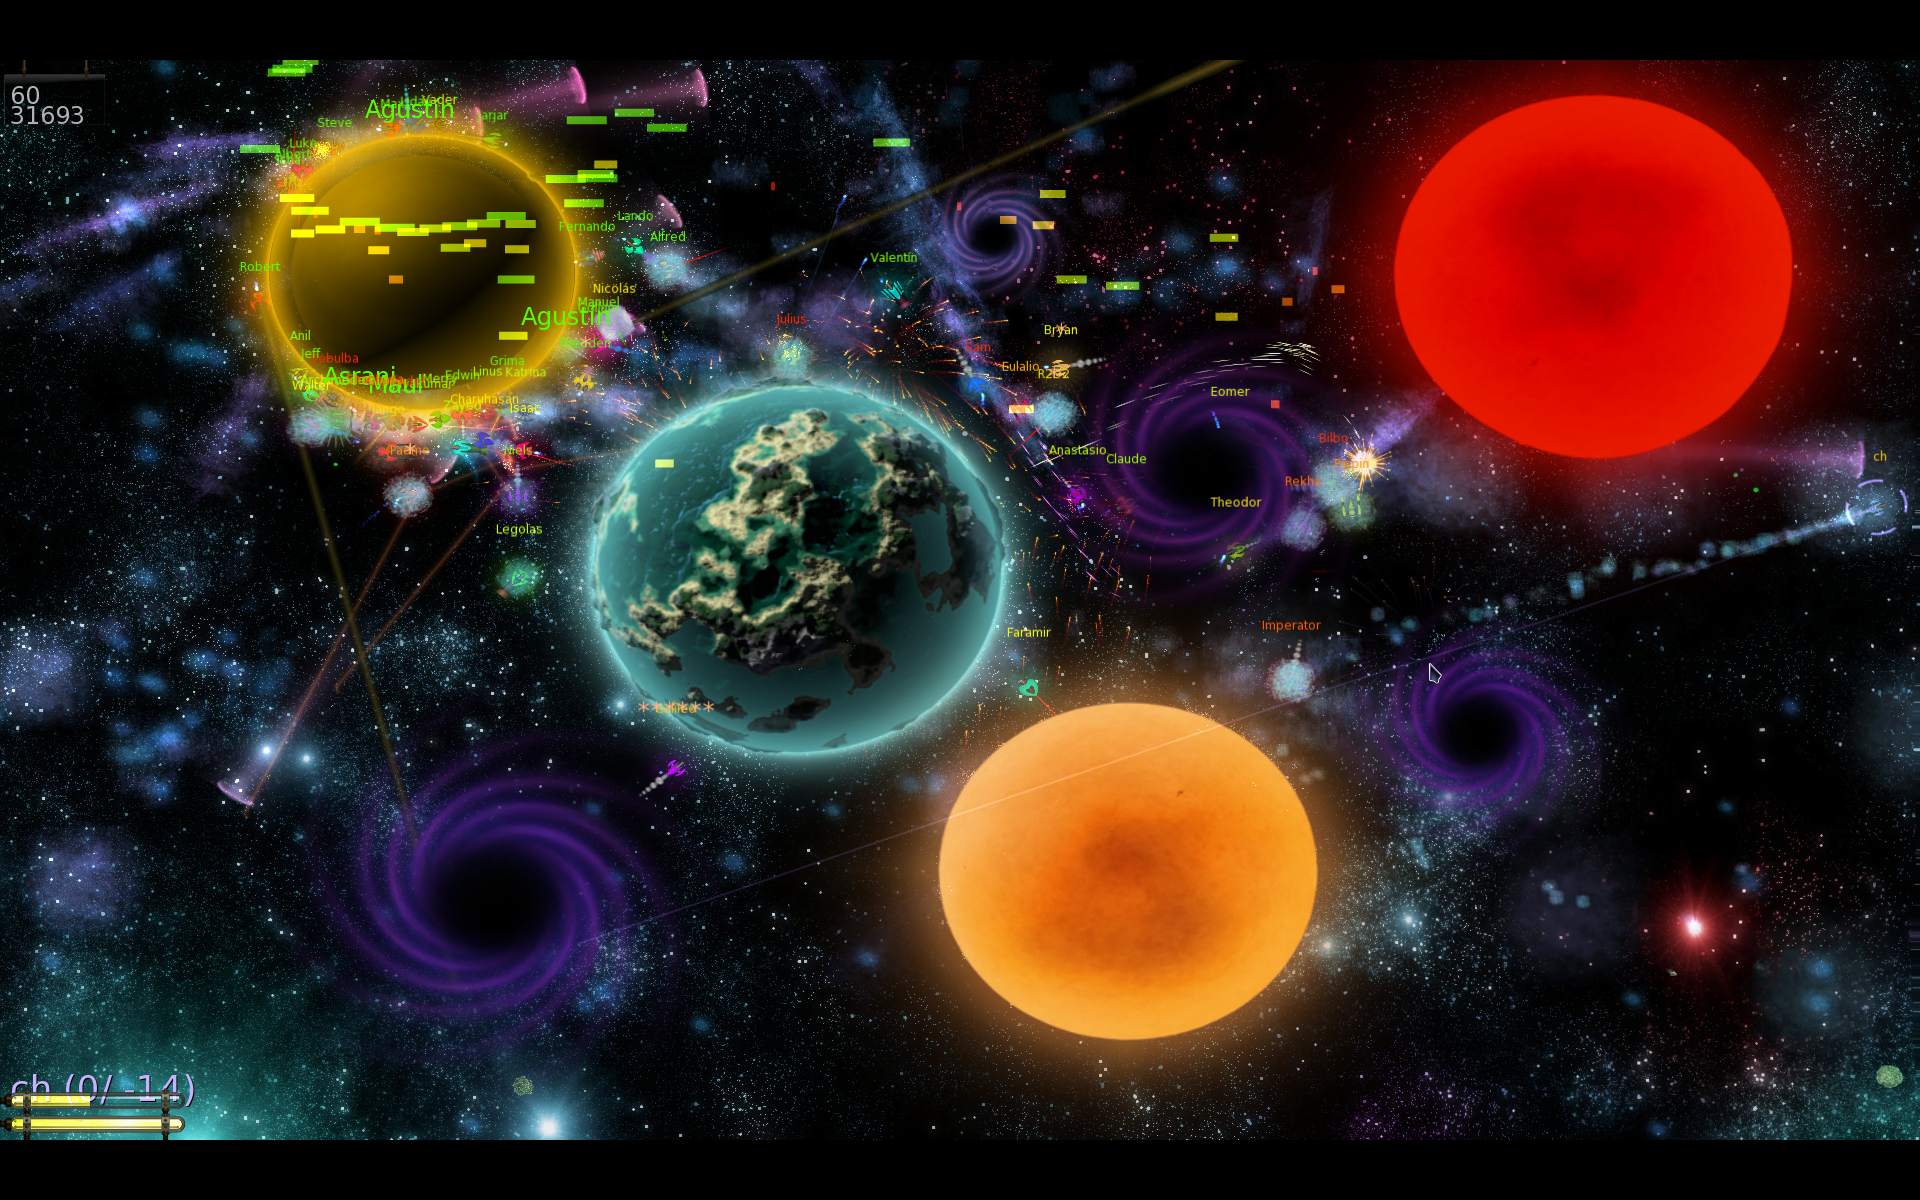
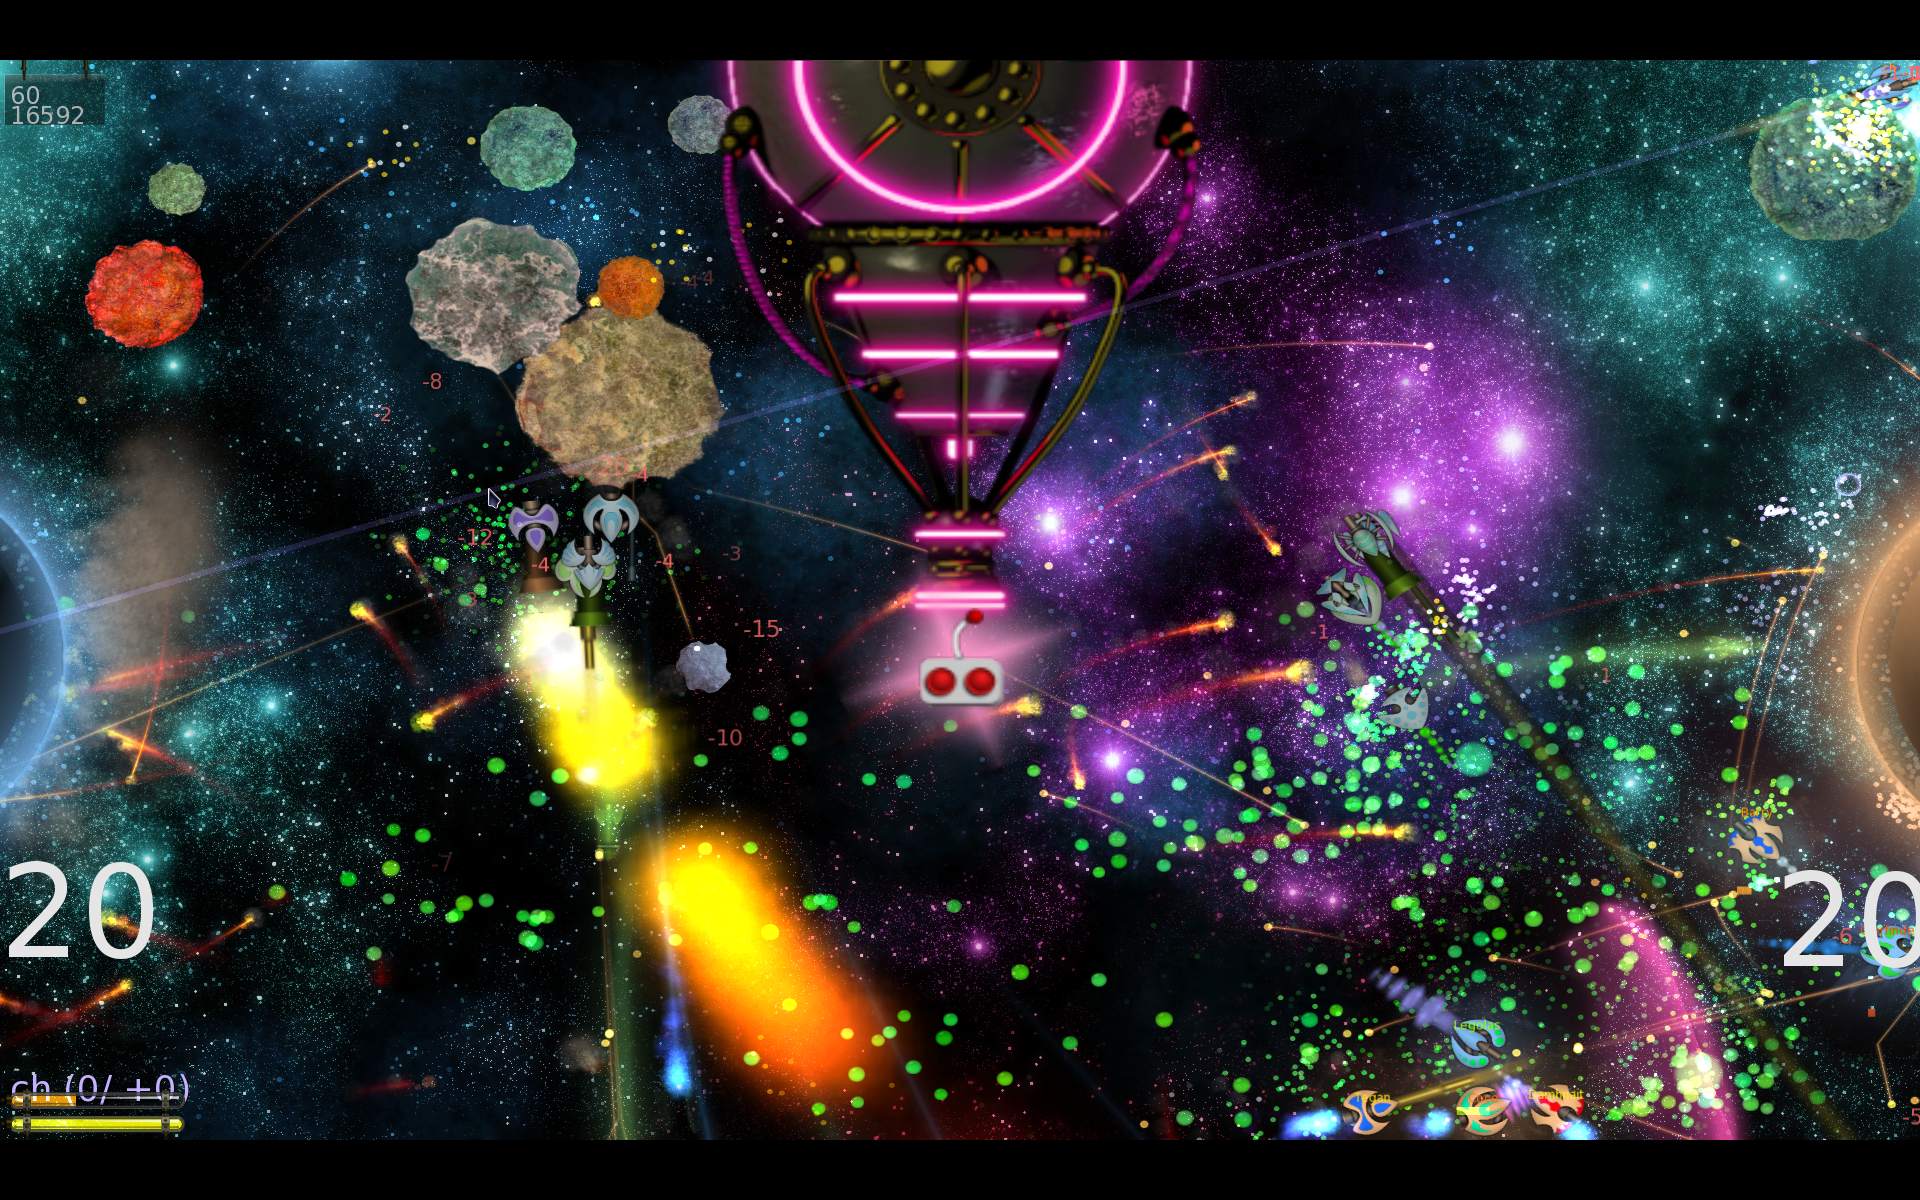
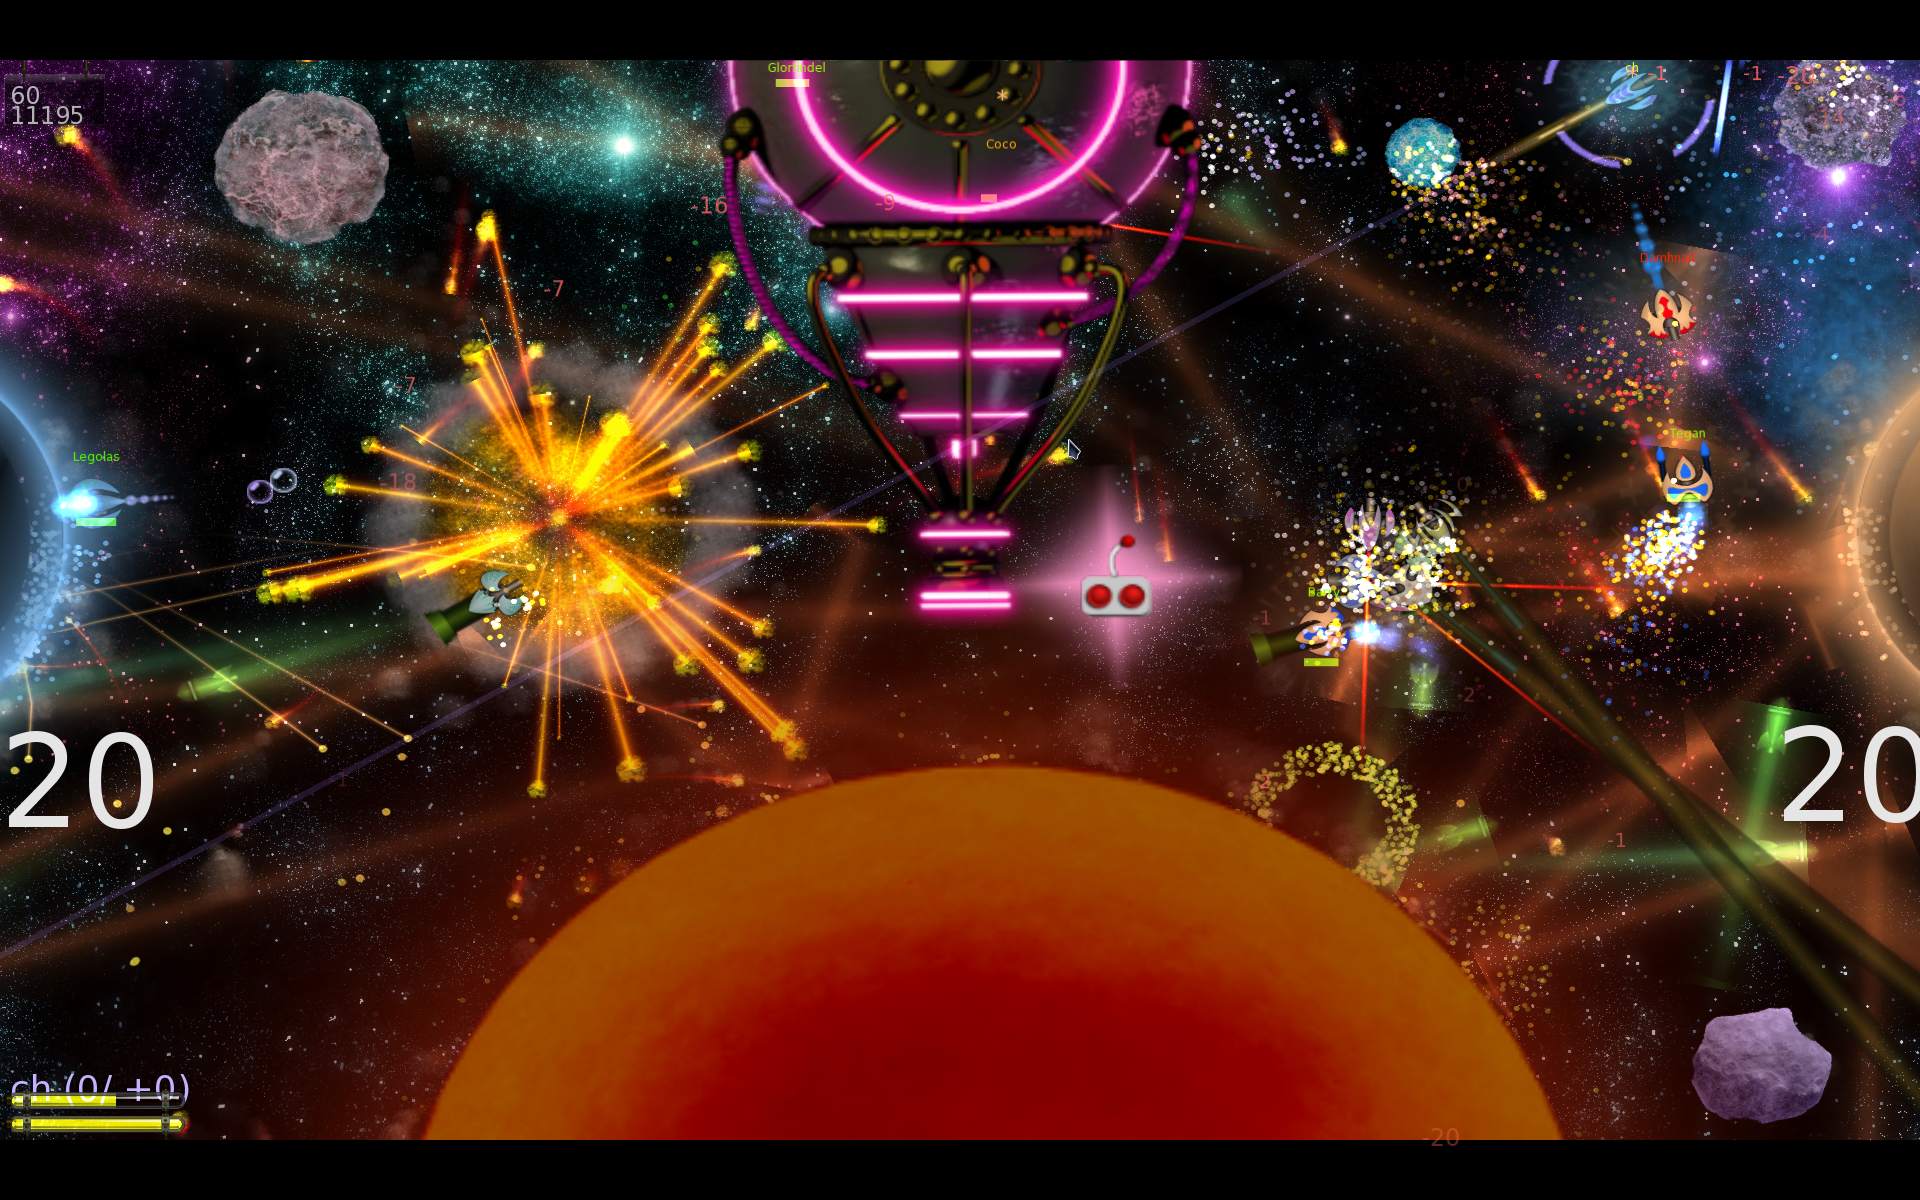
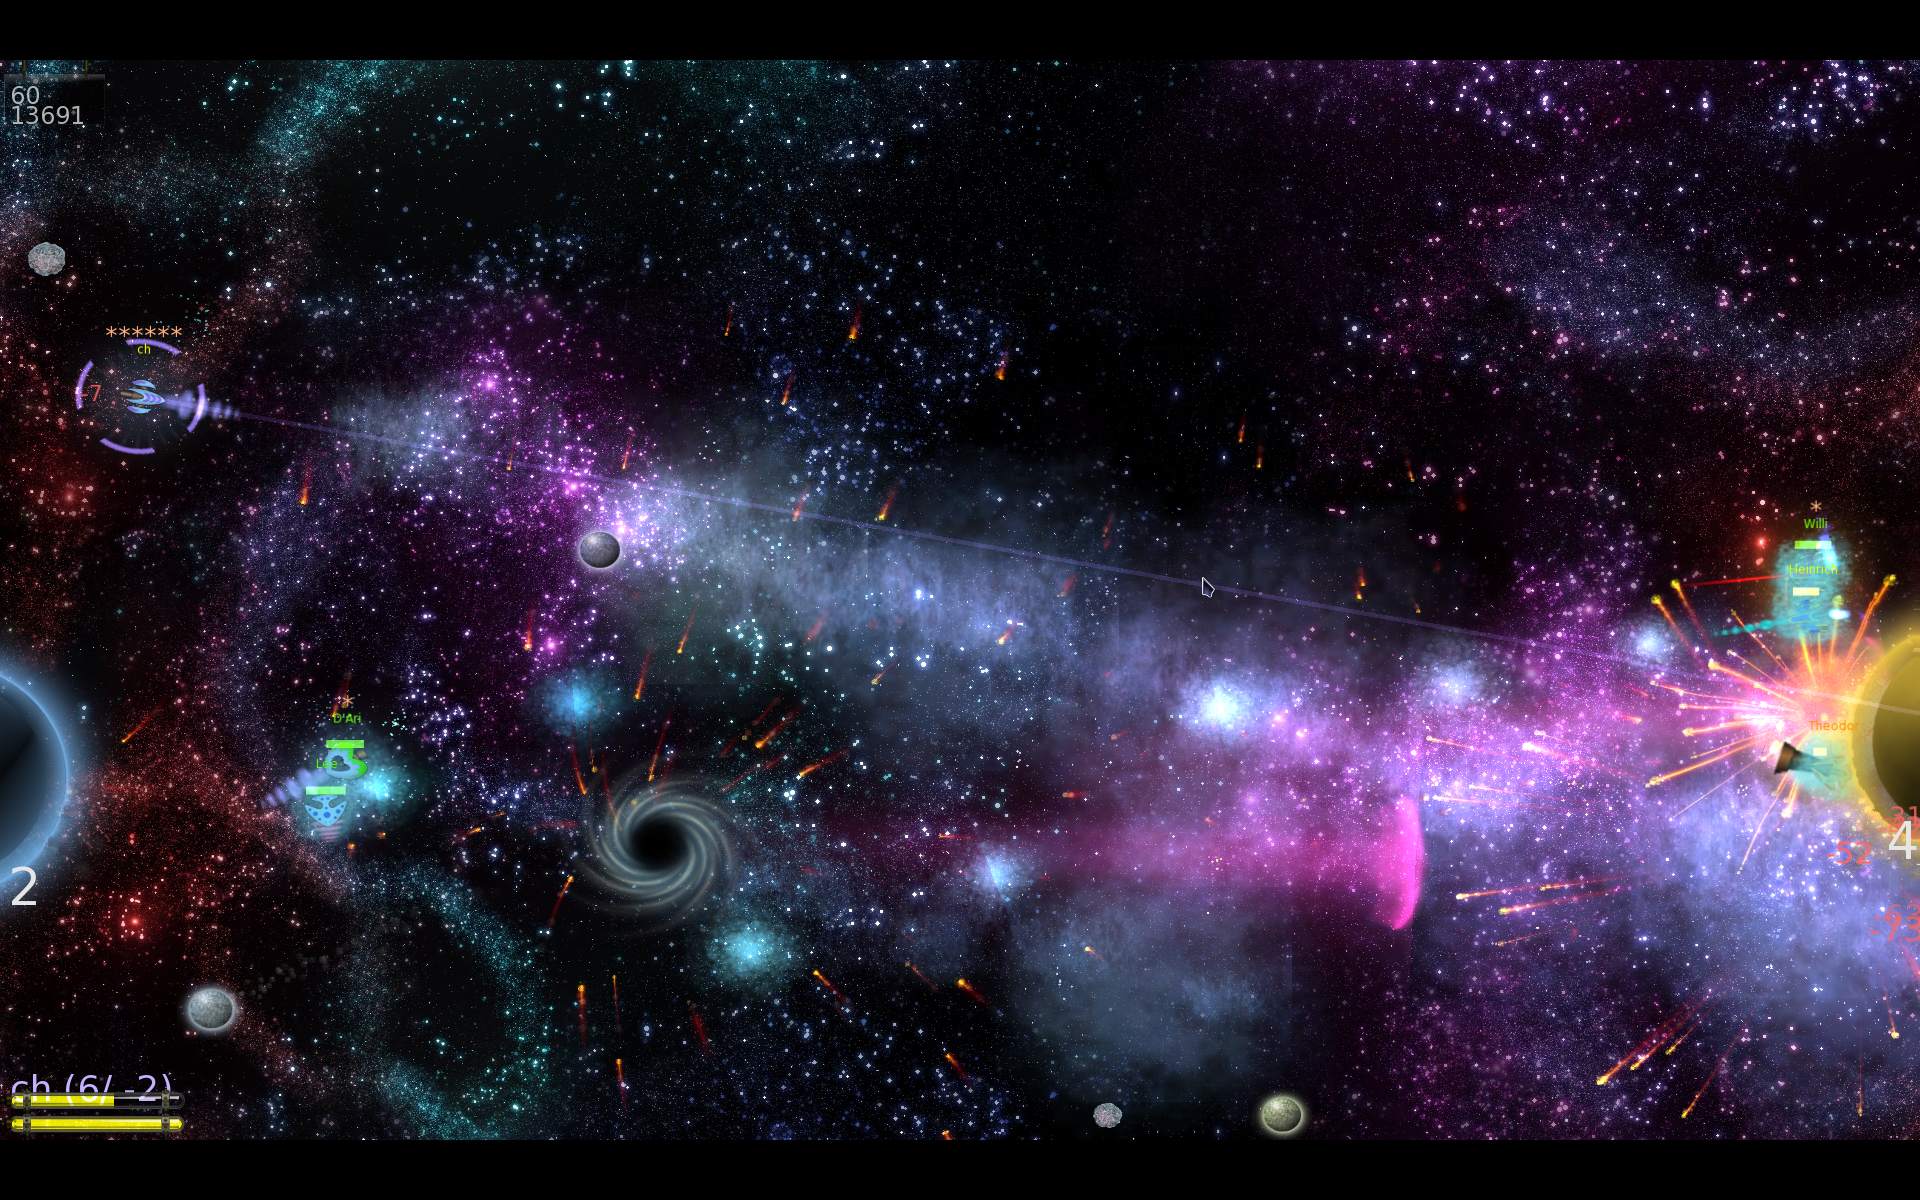
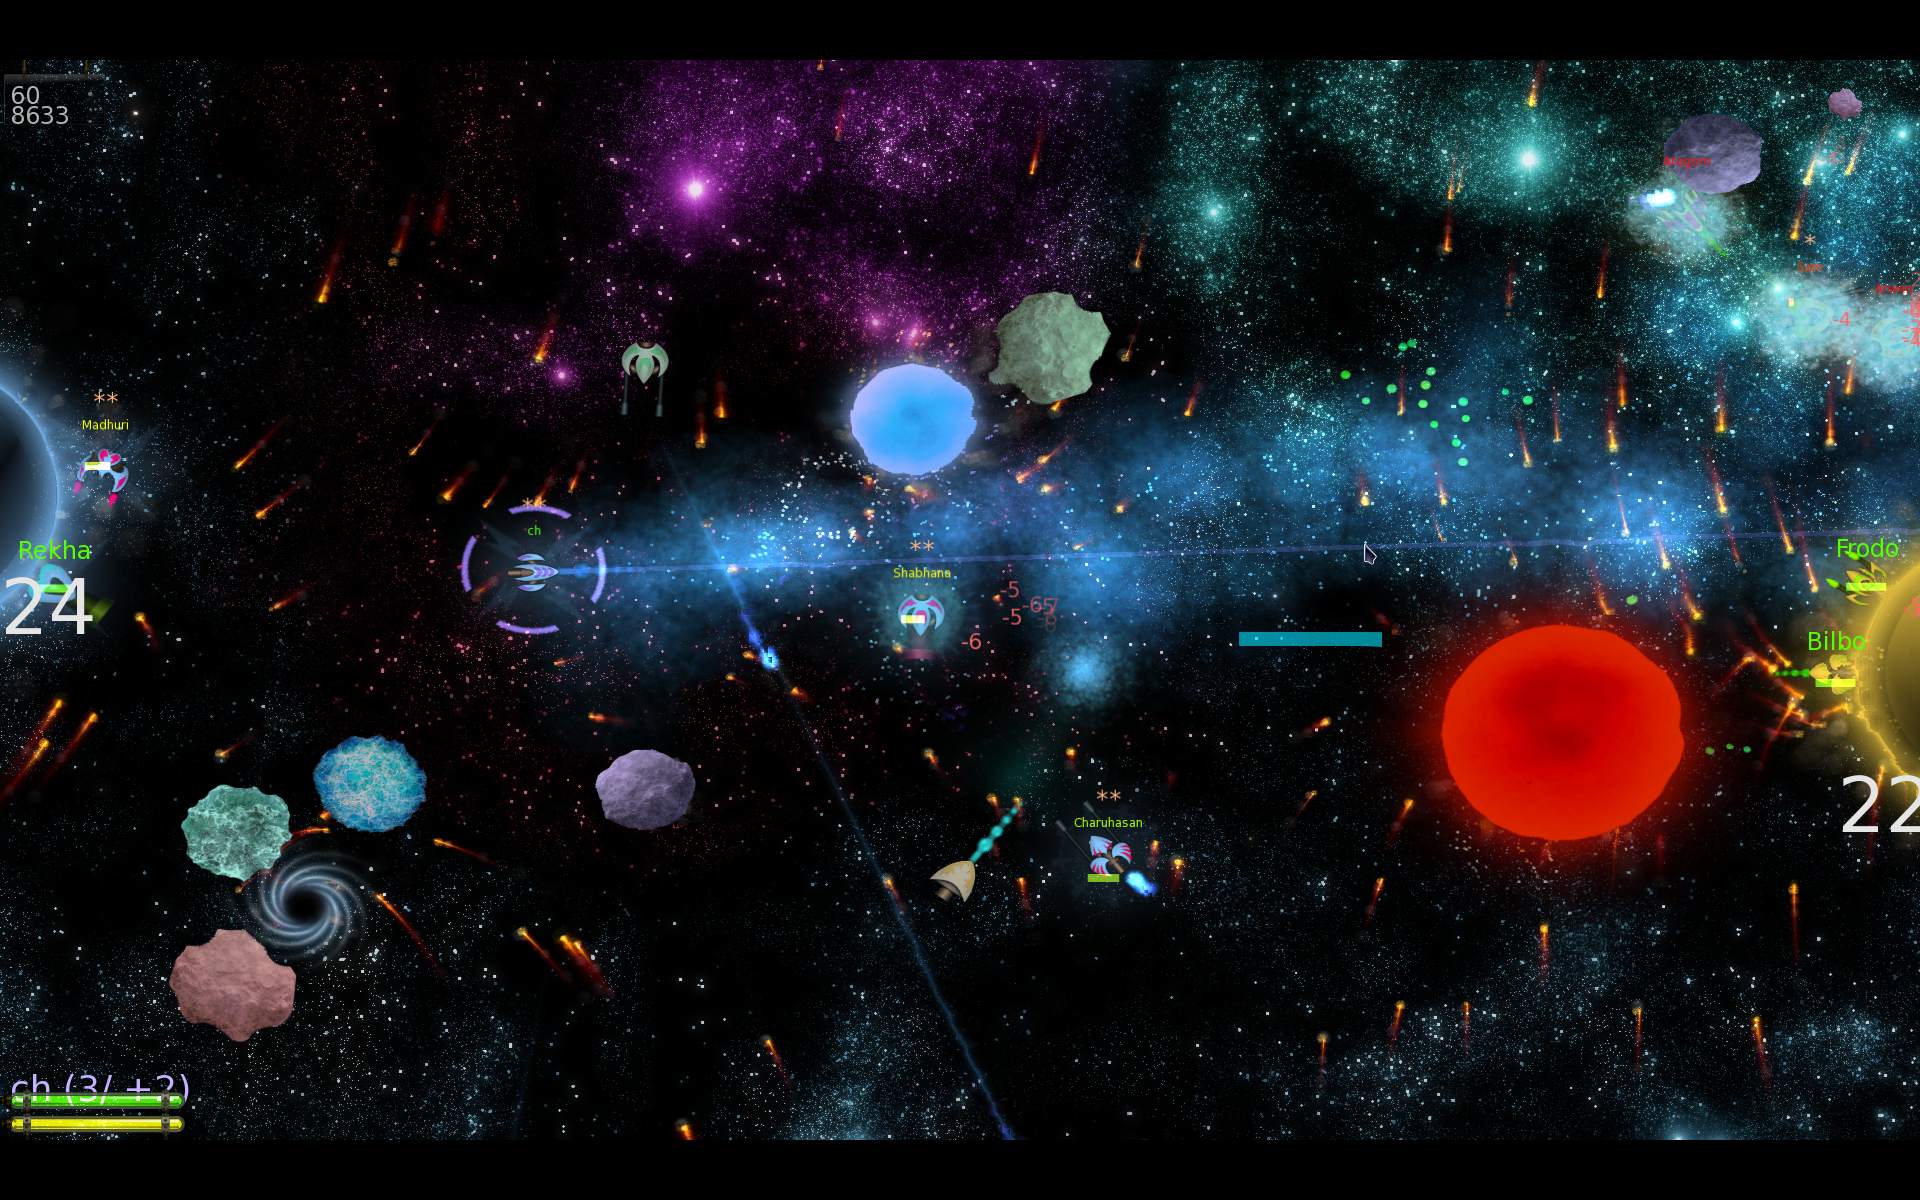
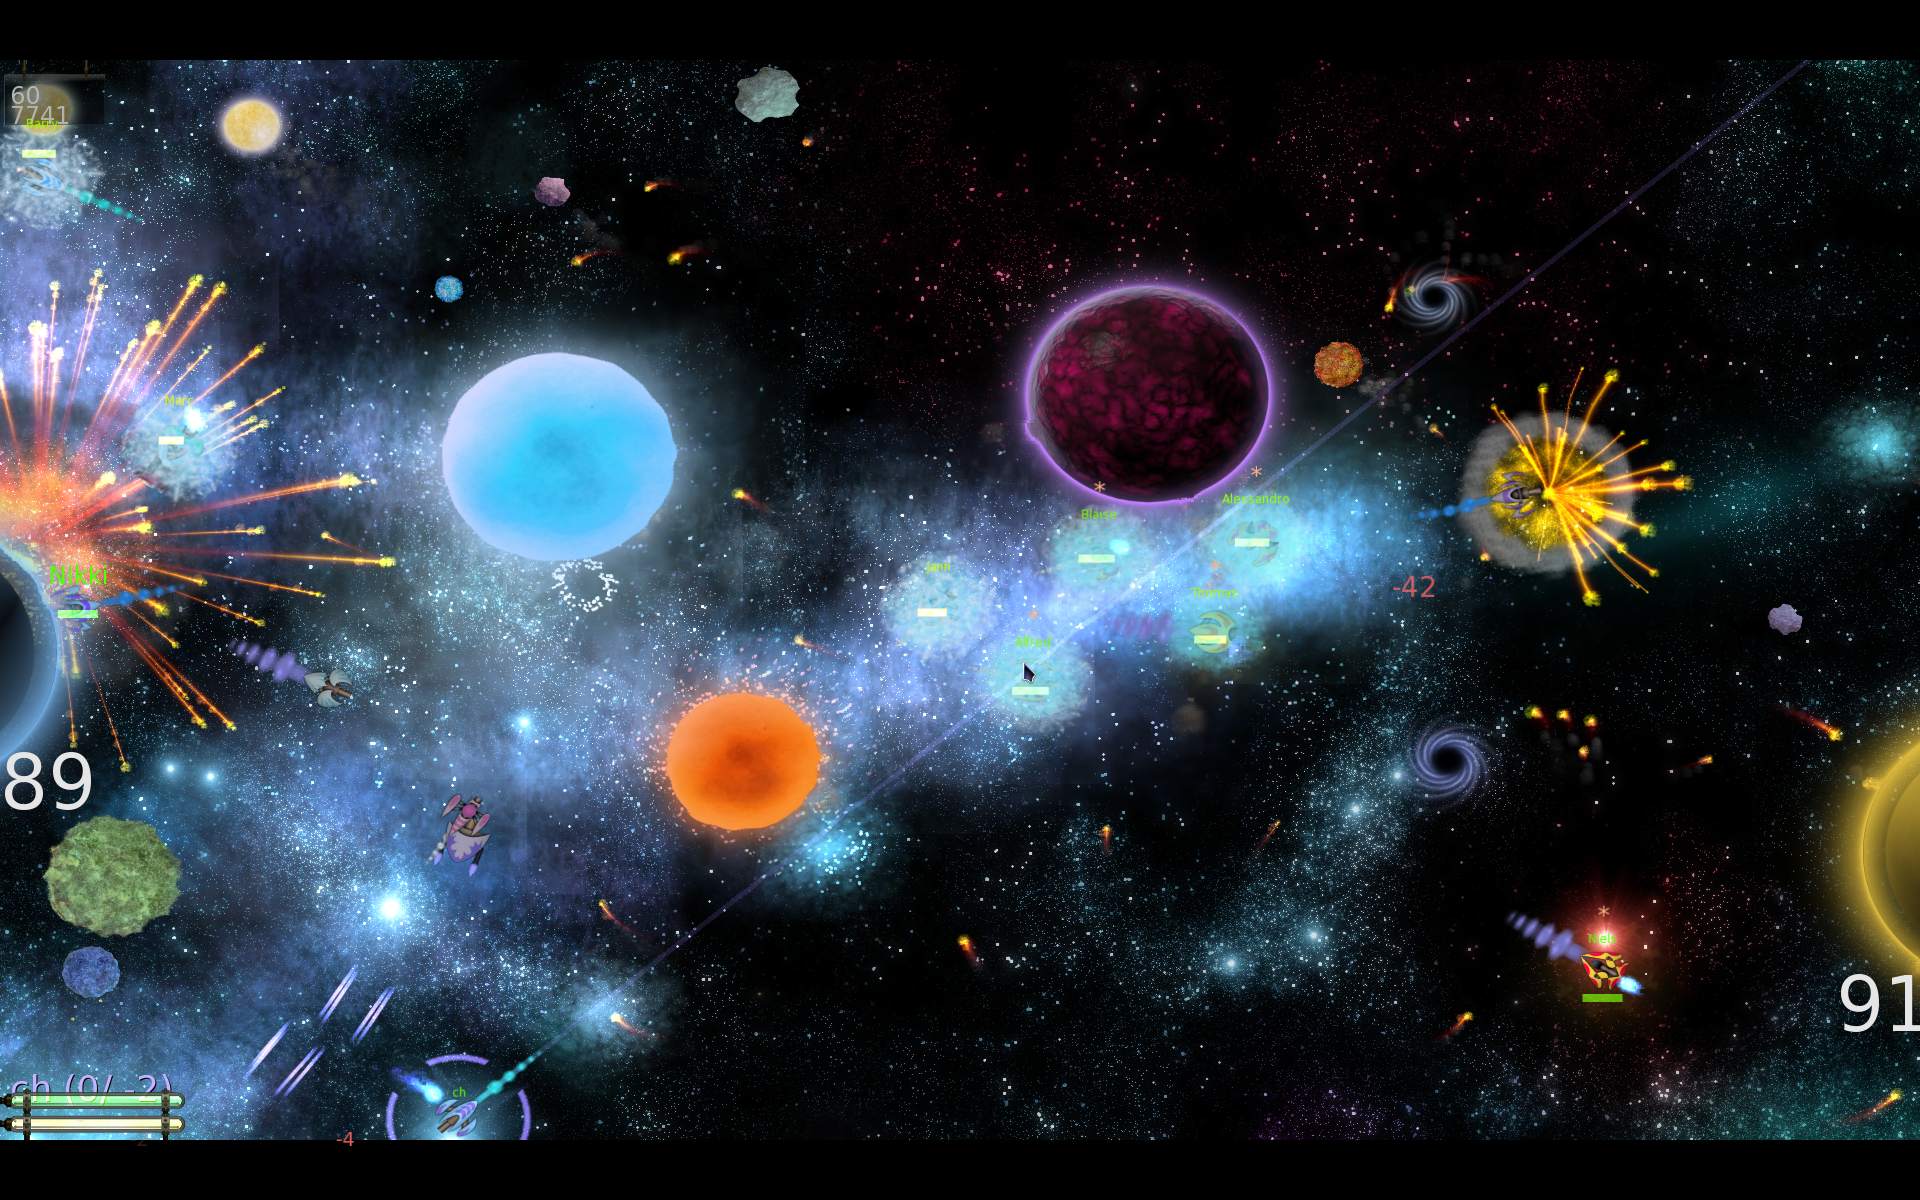
    In 2025 I started my own fork of “M.A.R.S a ridiculous shooter”. A fun packed, 2D spaceship flying game with weapons and bots.
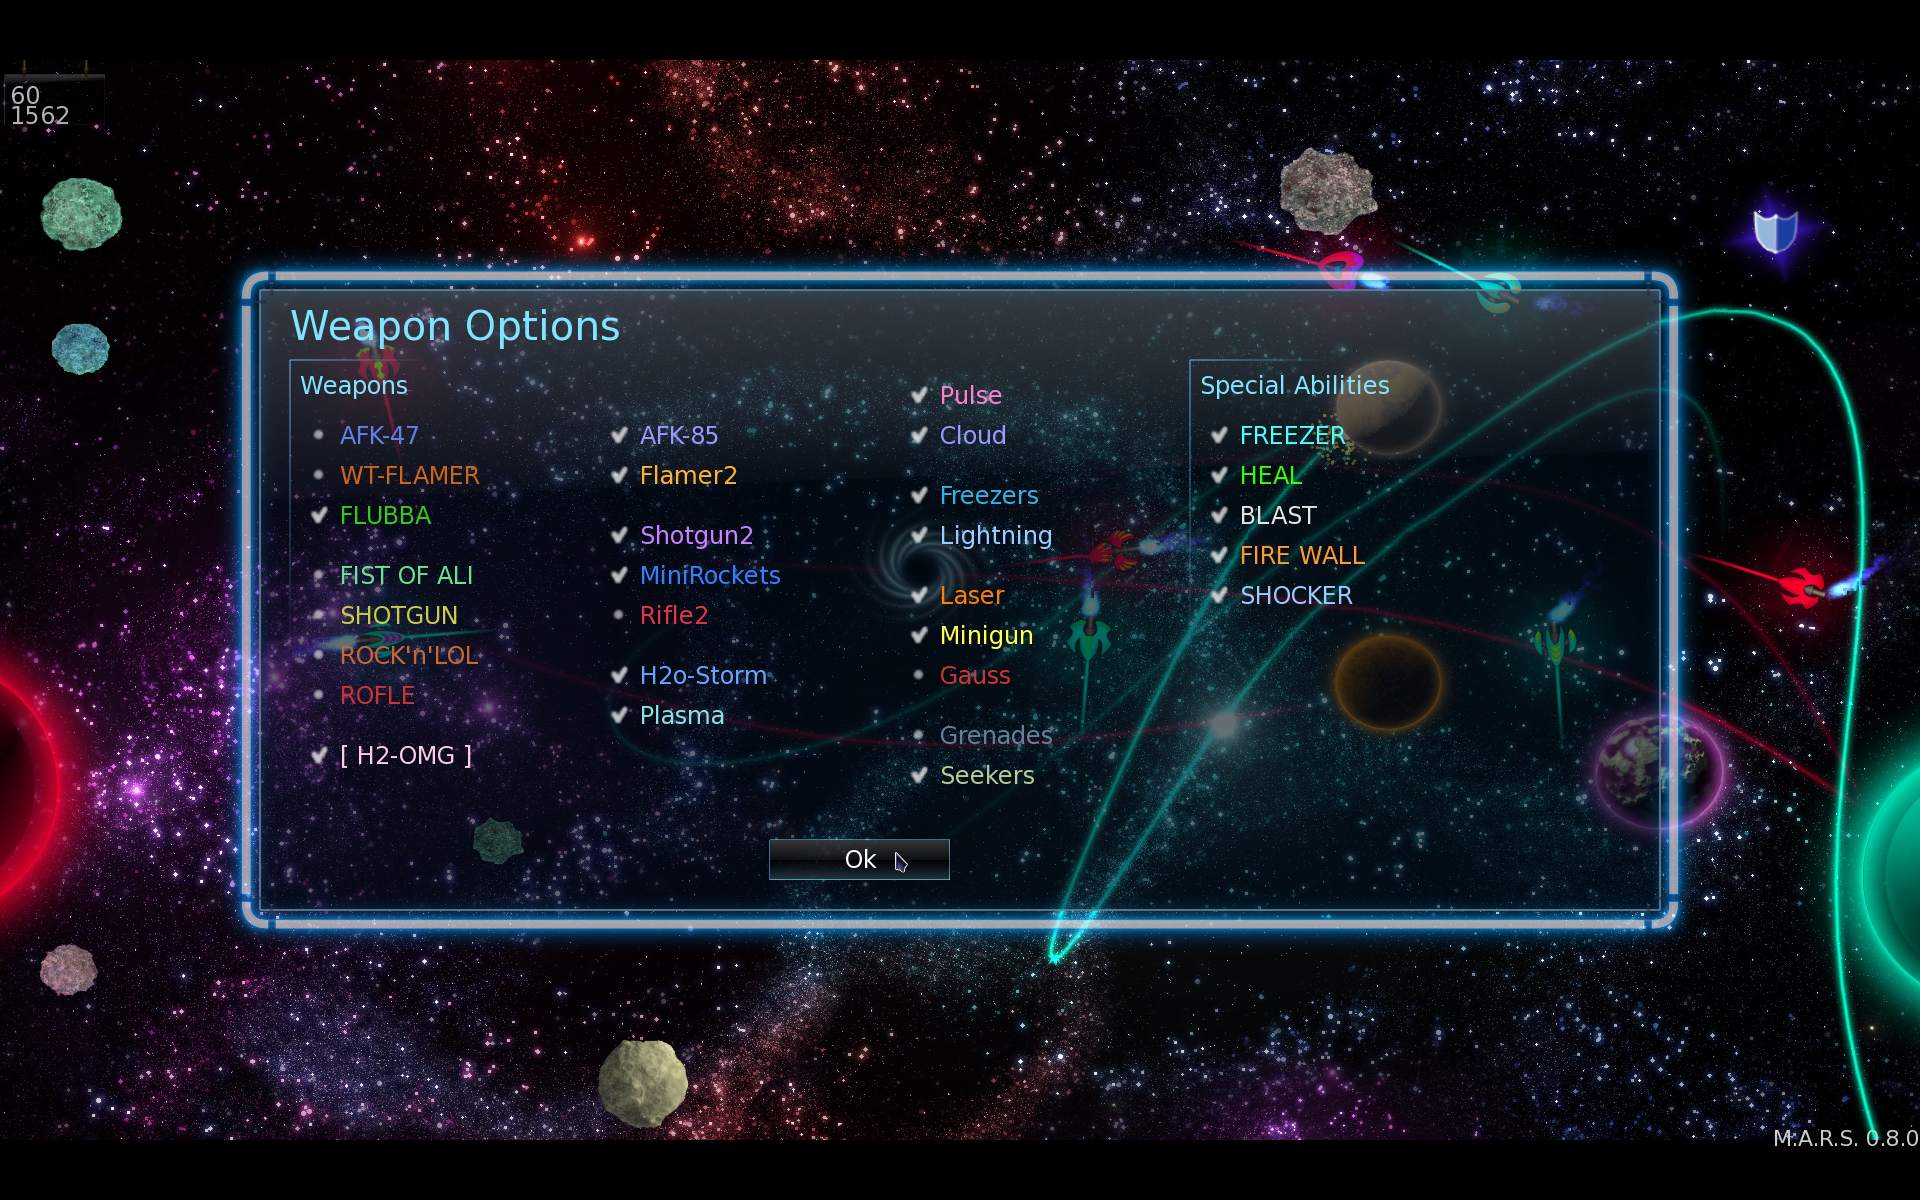
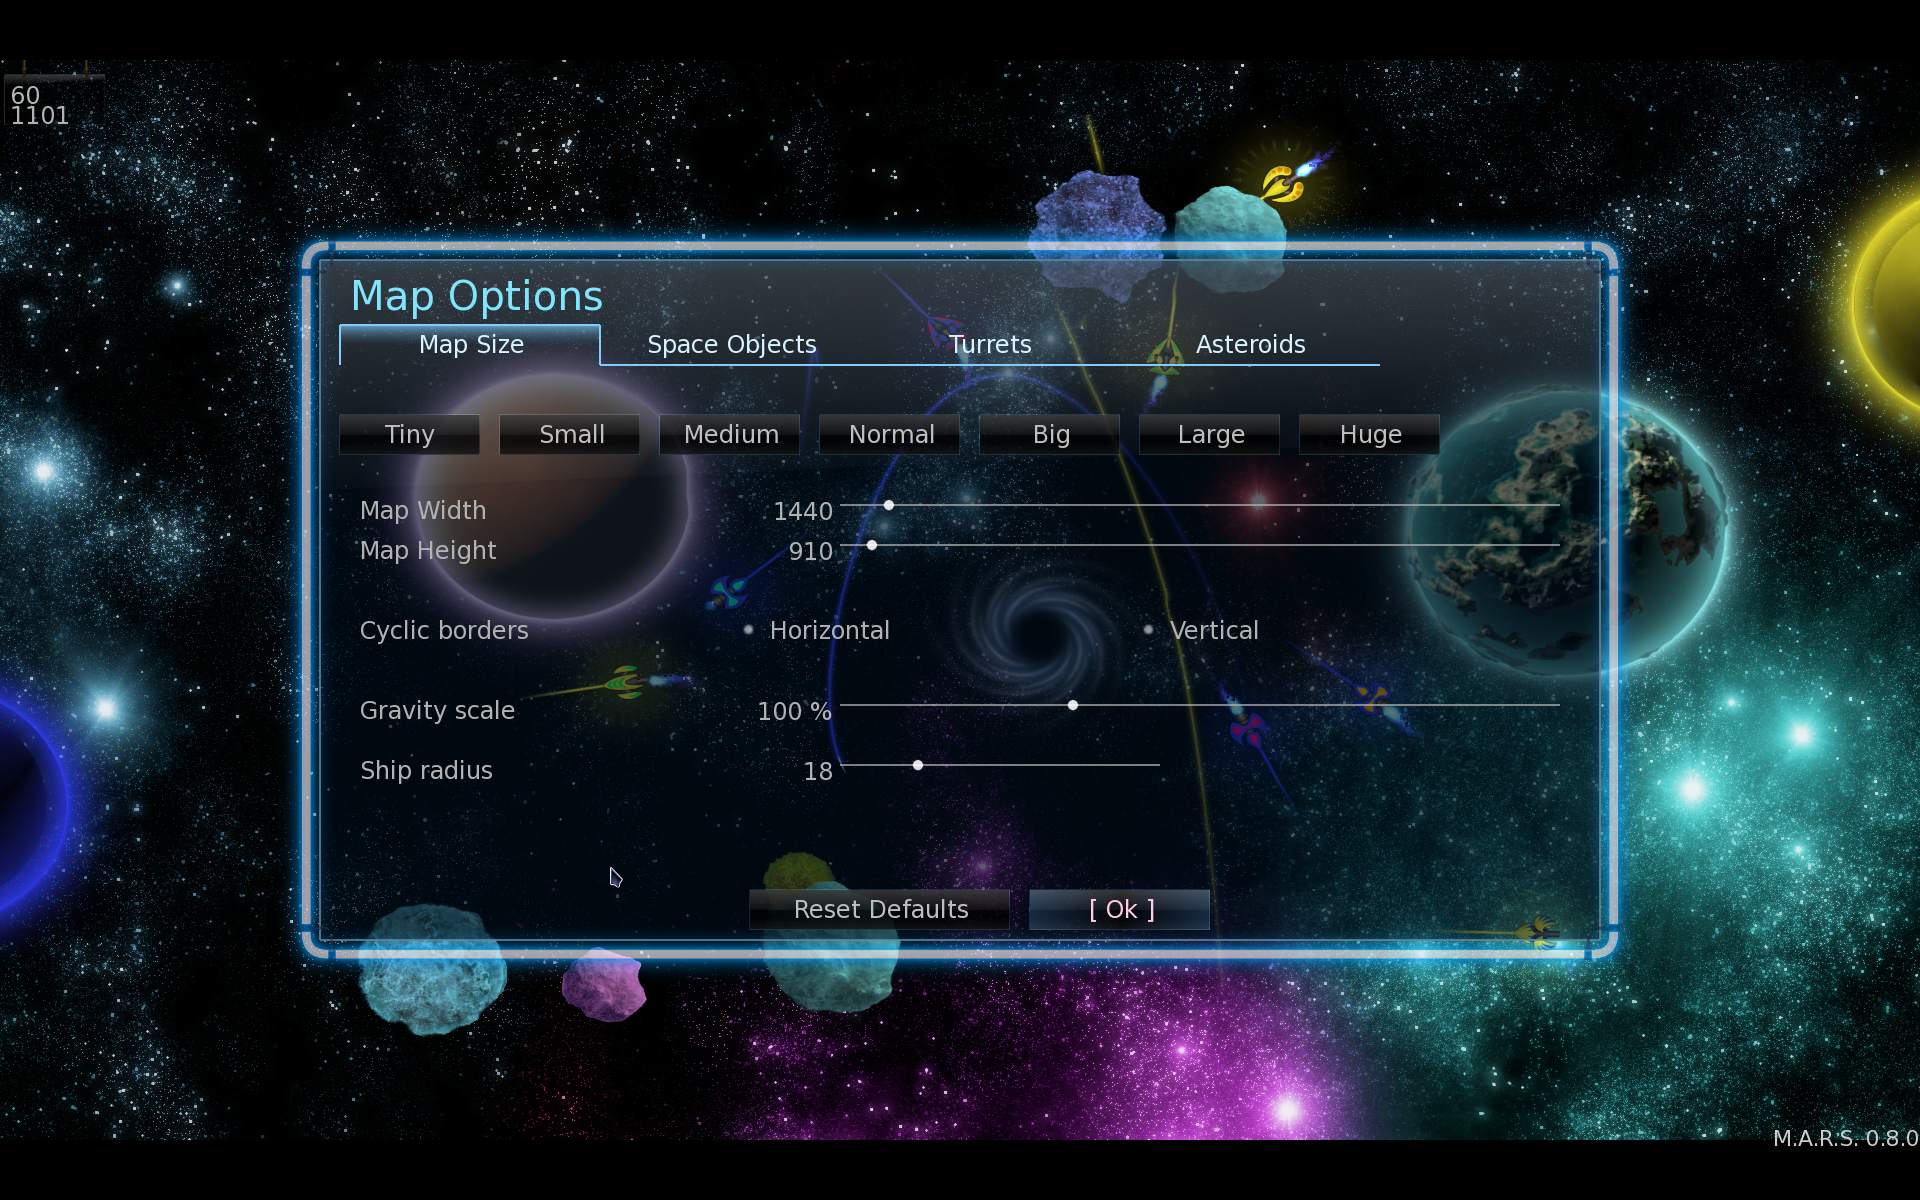
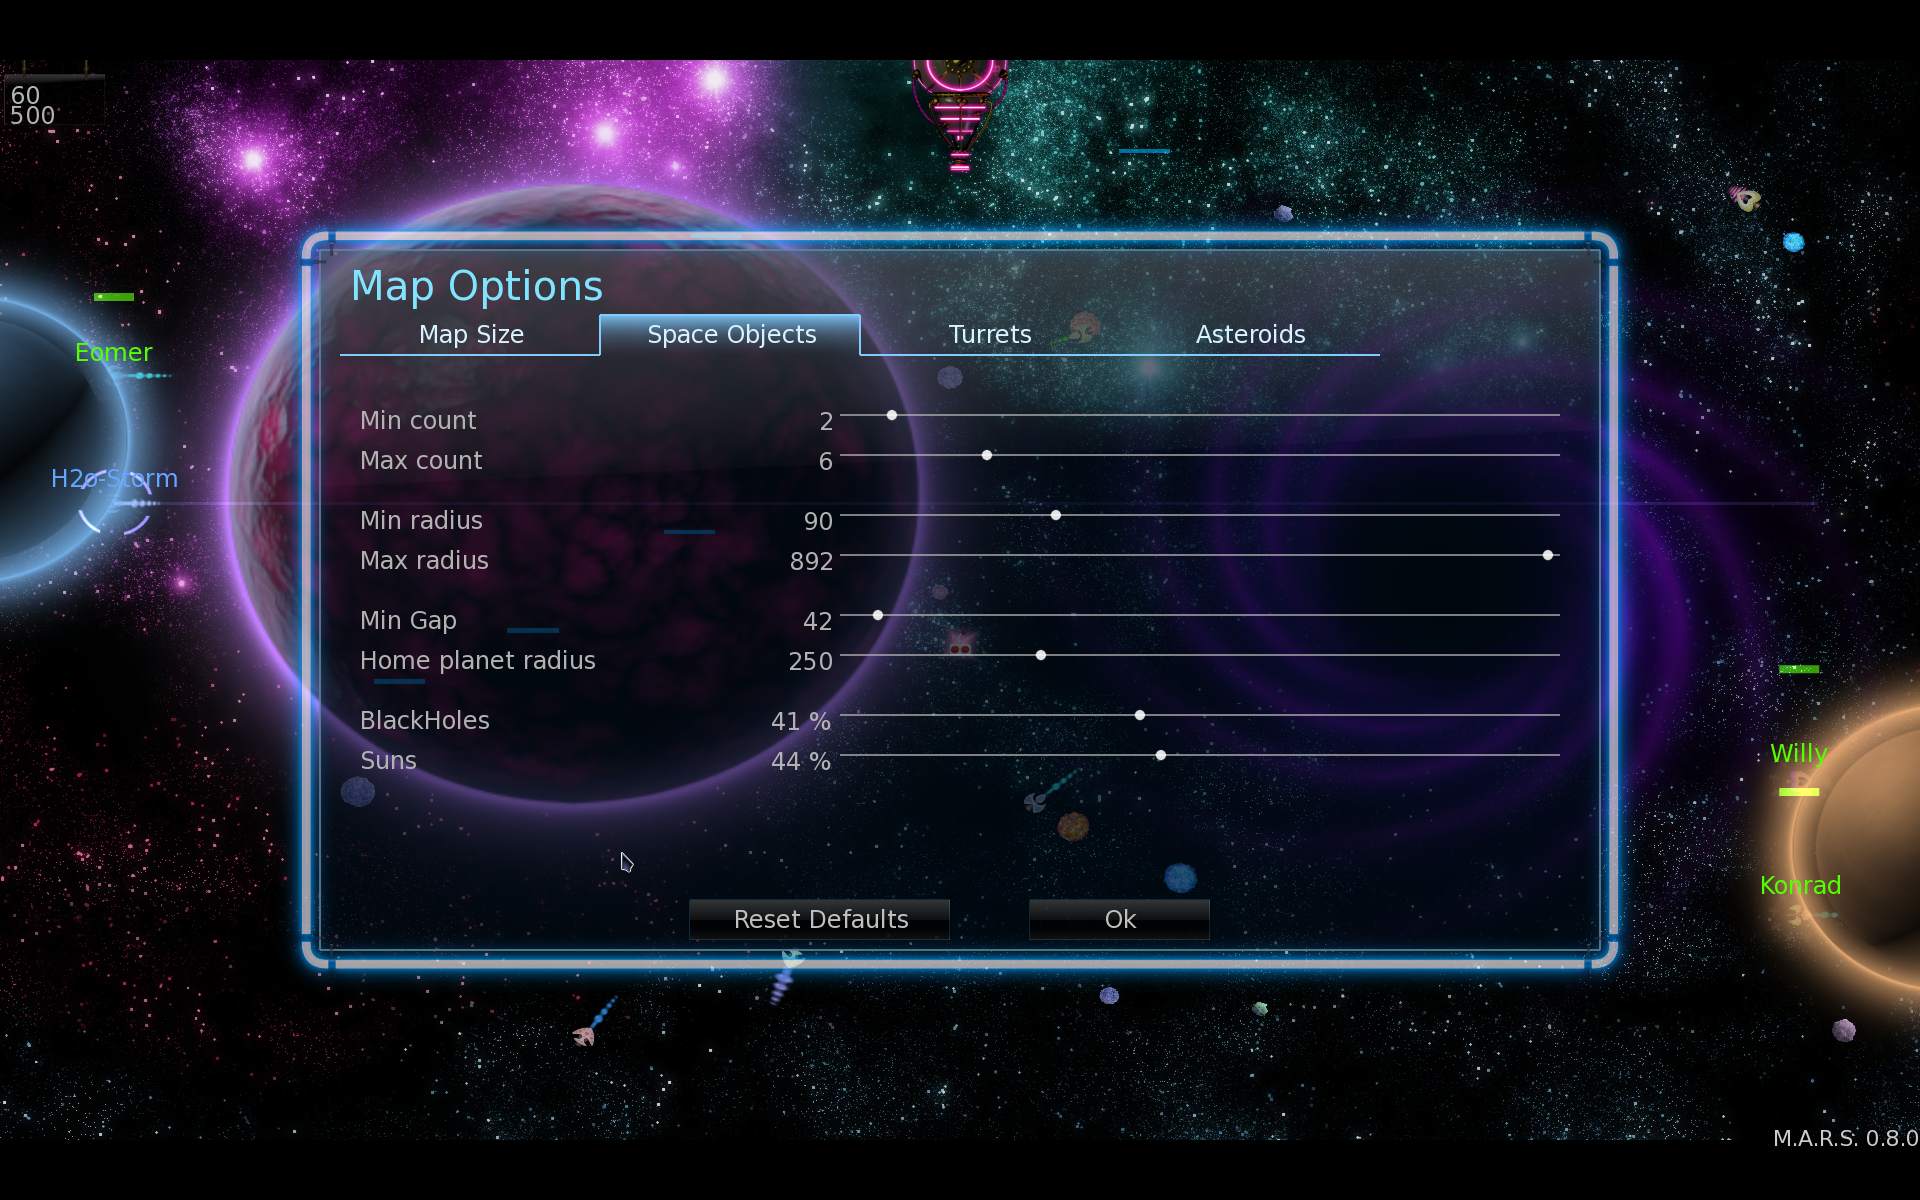
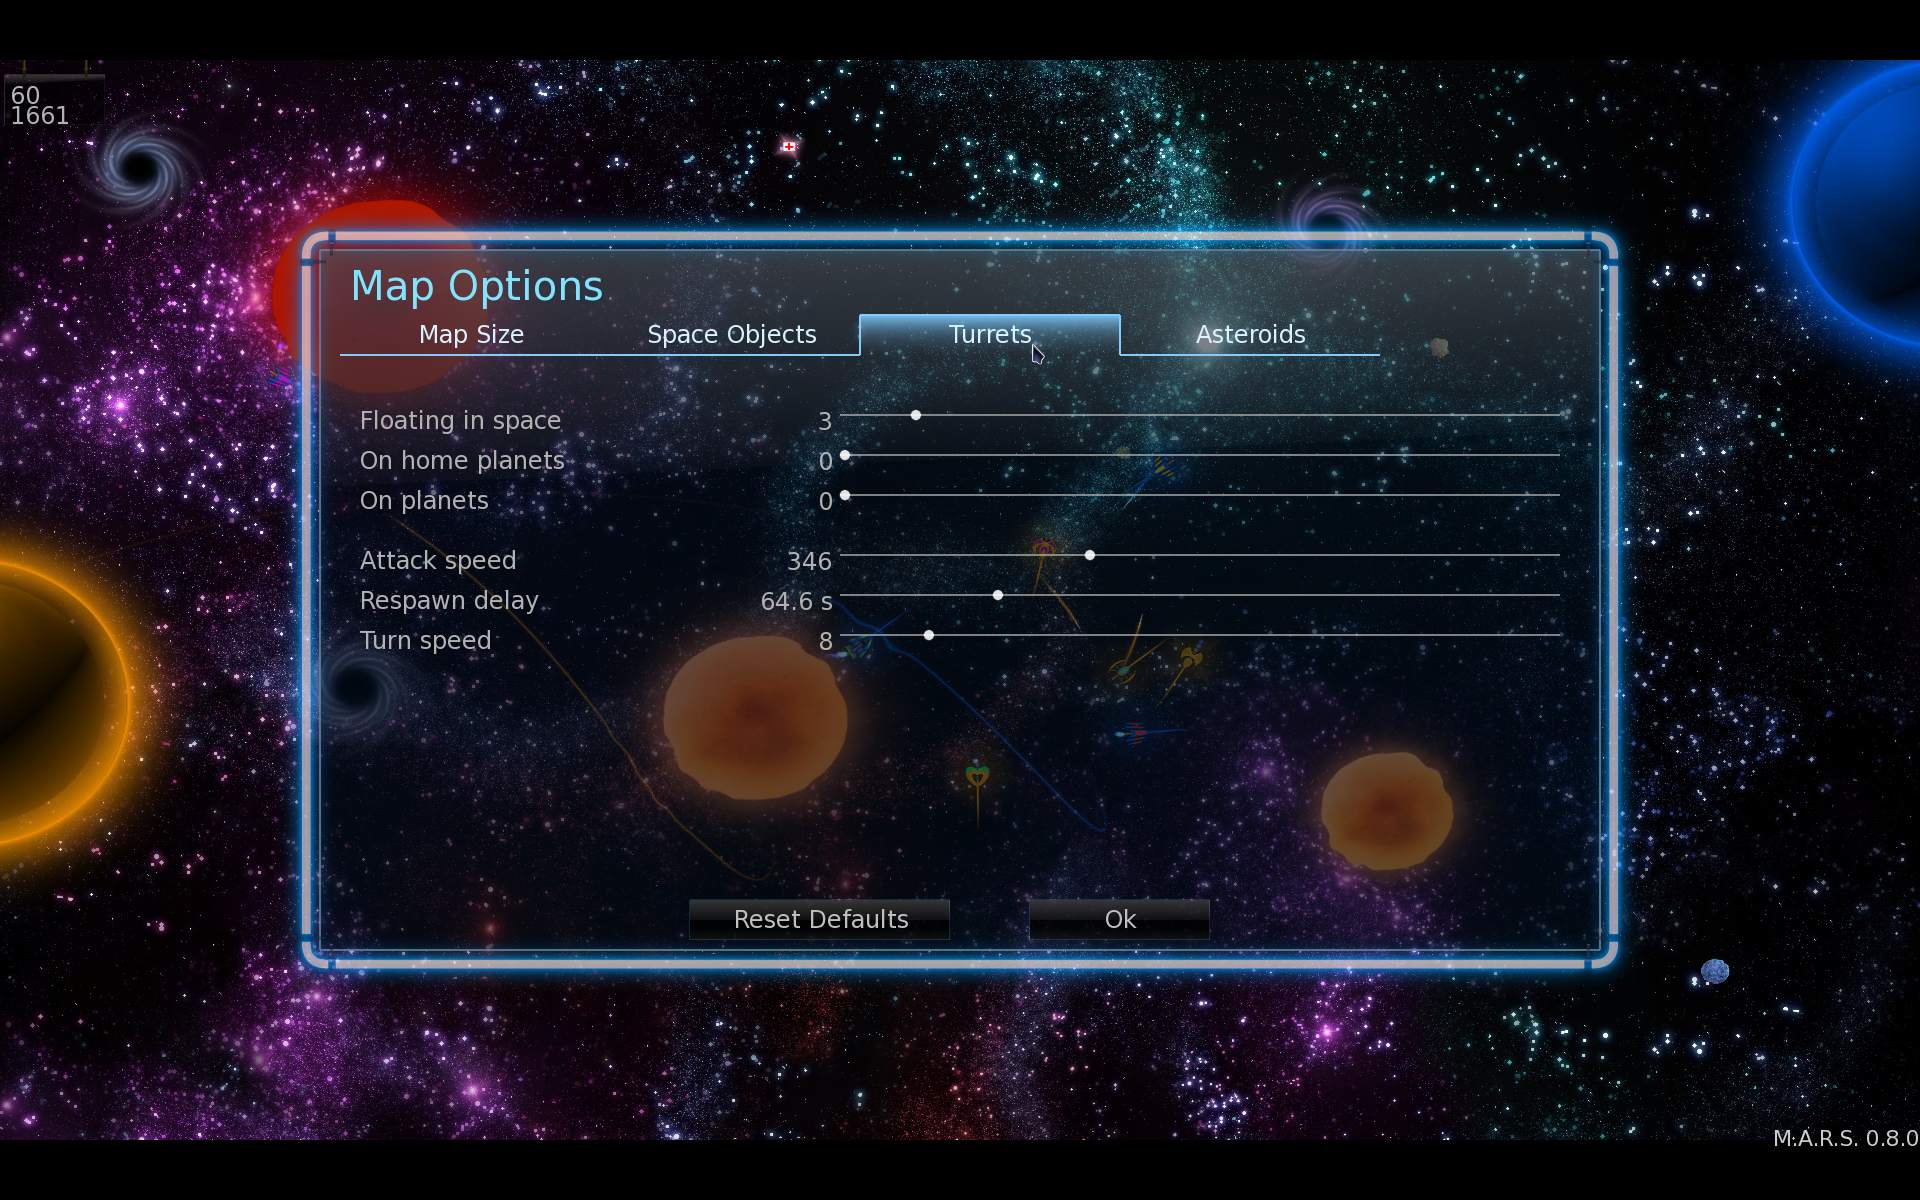
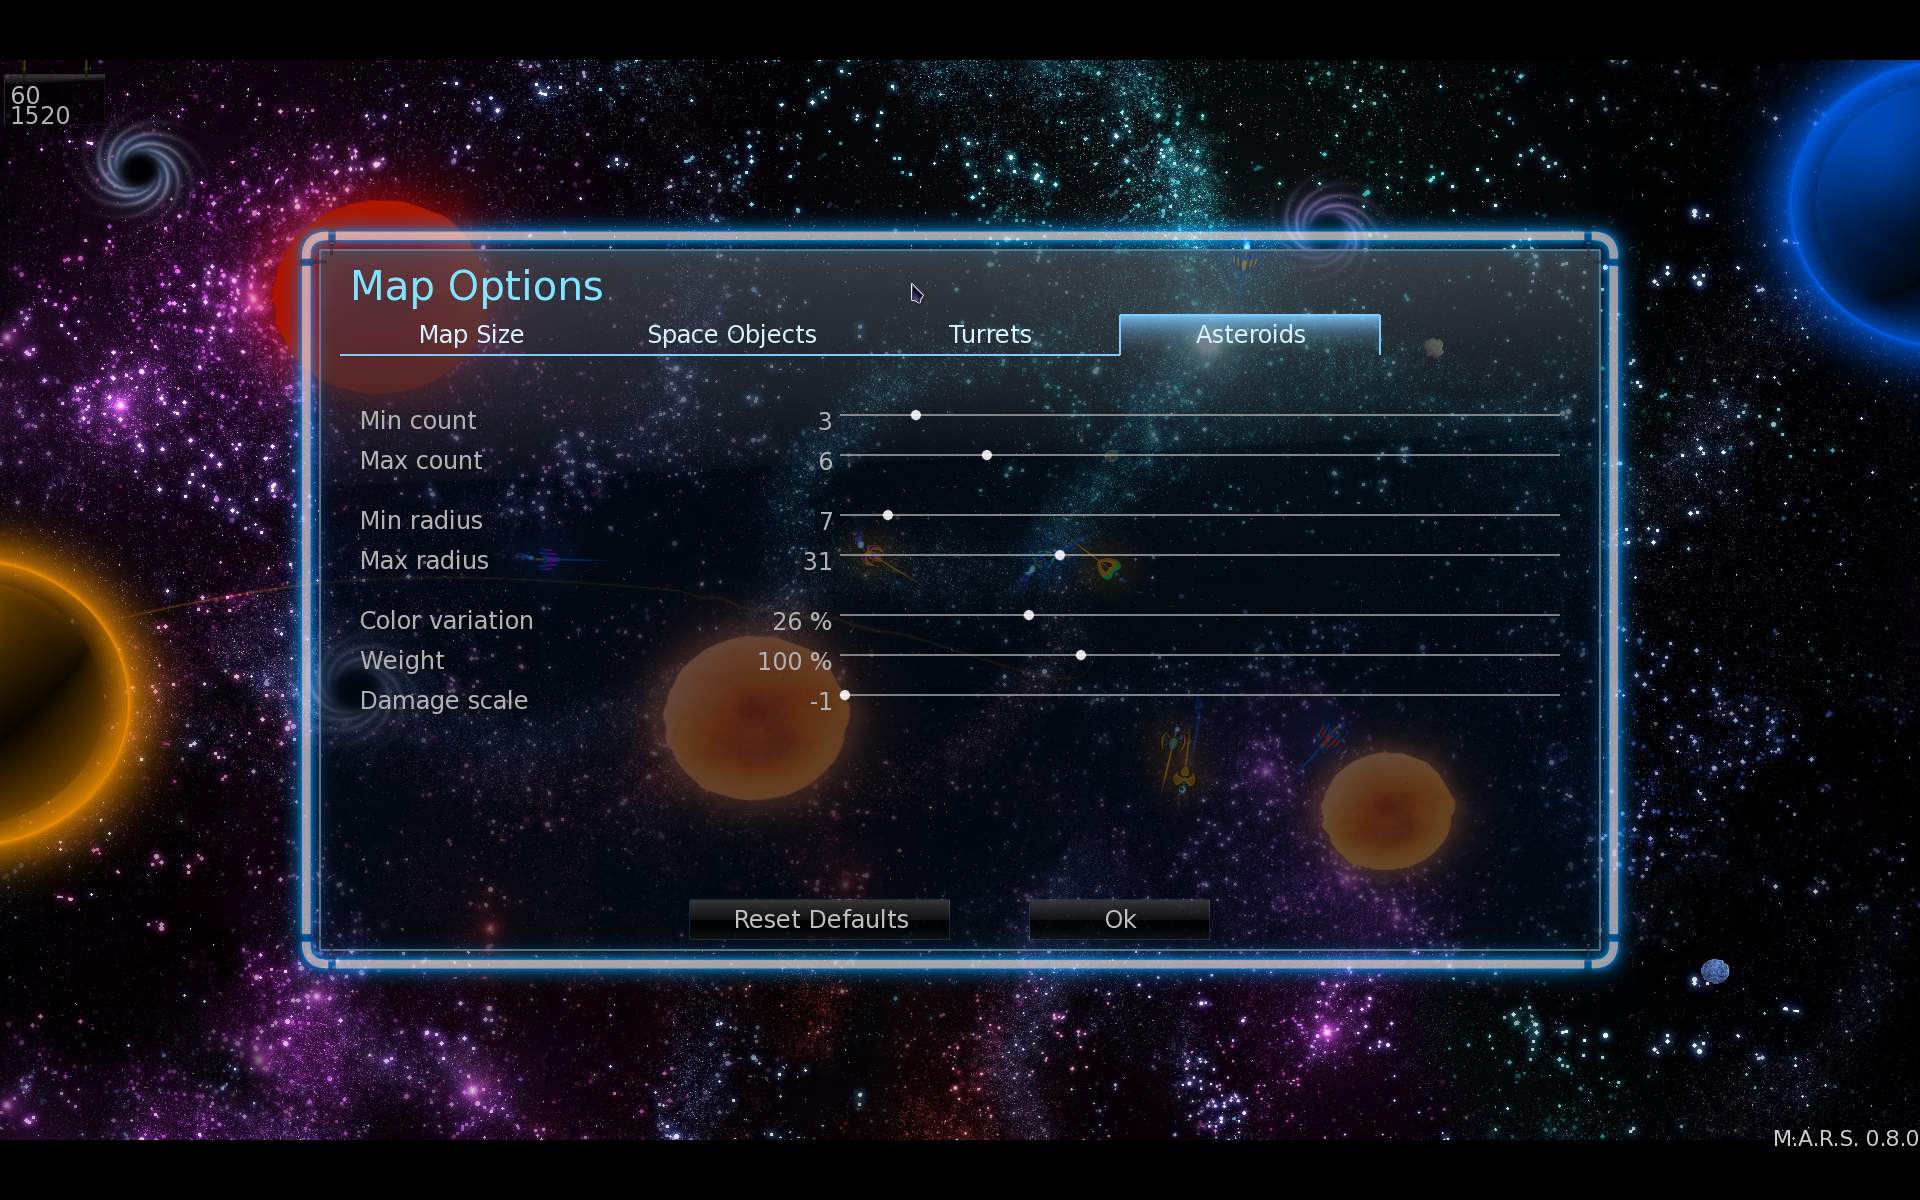
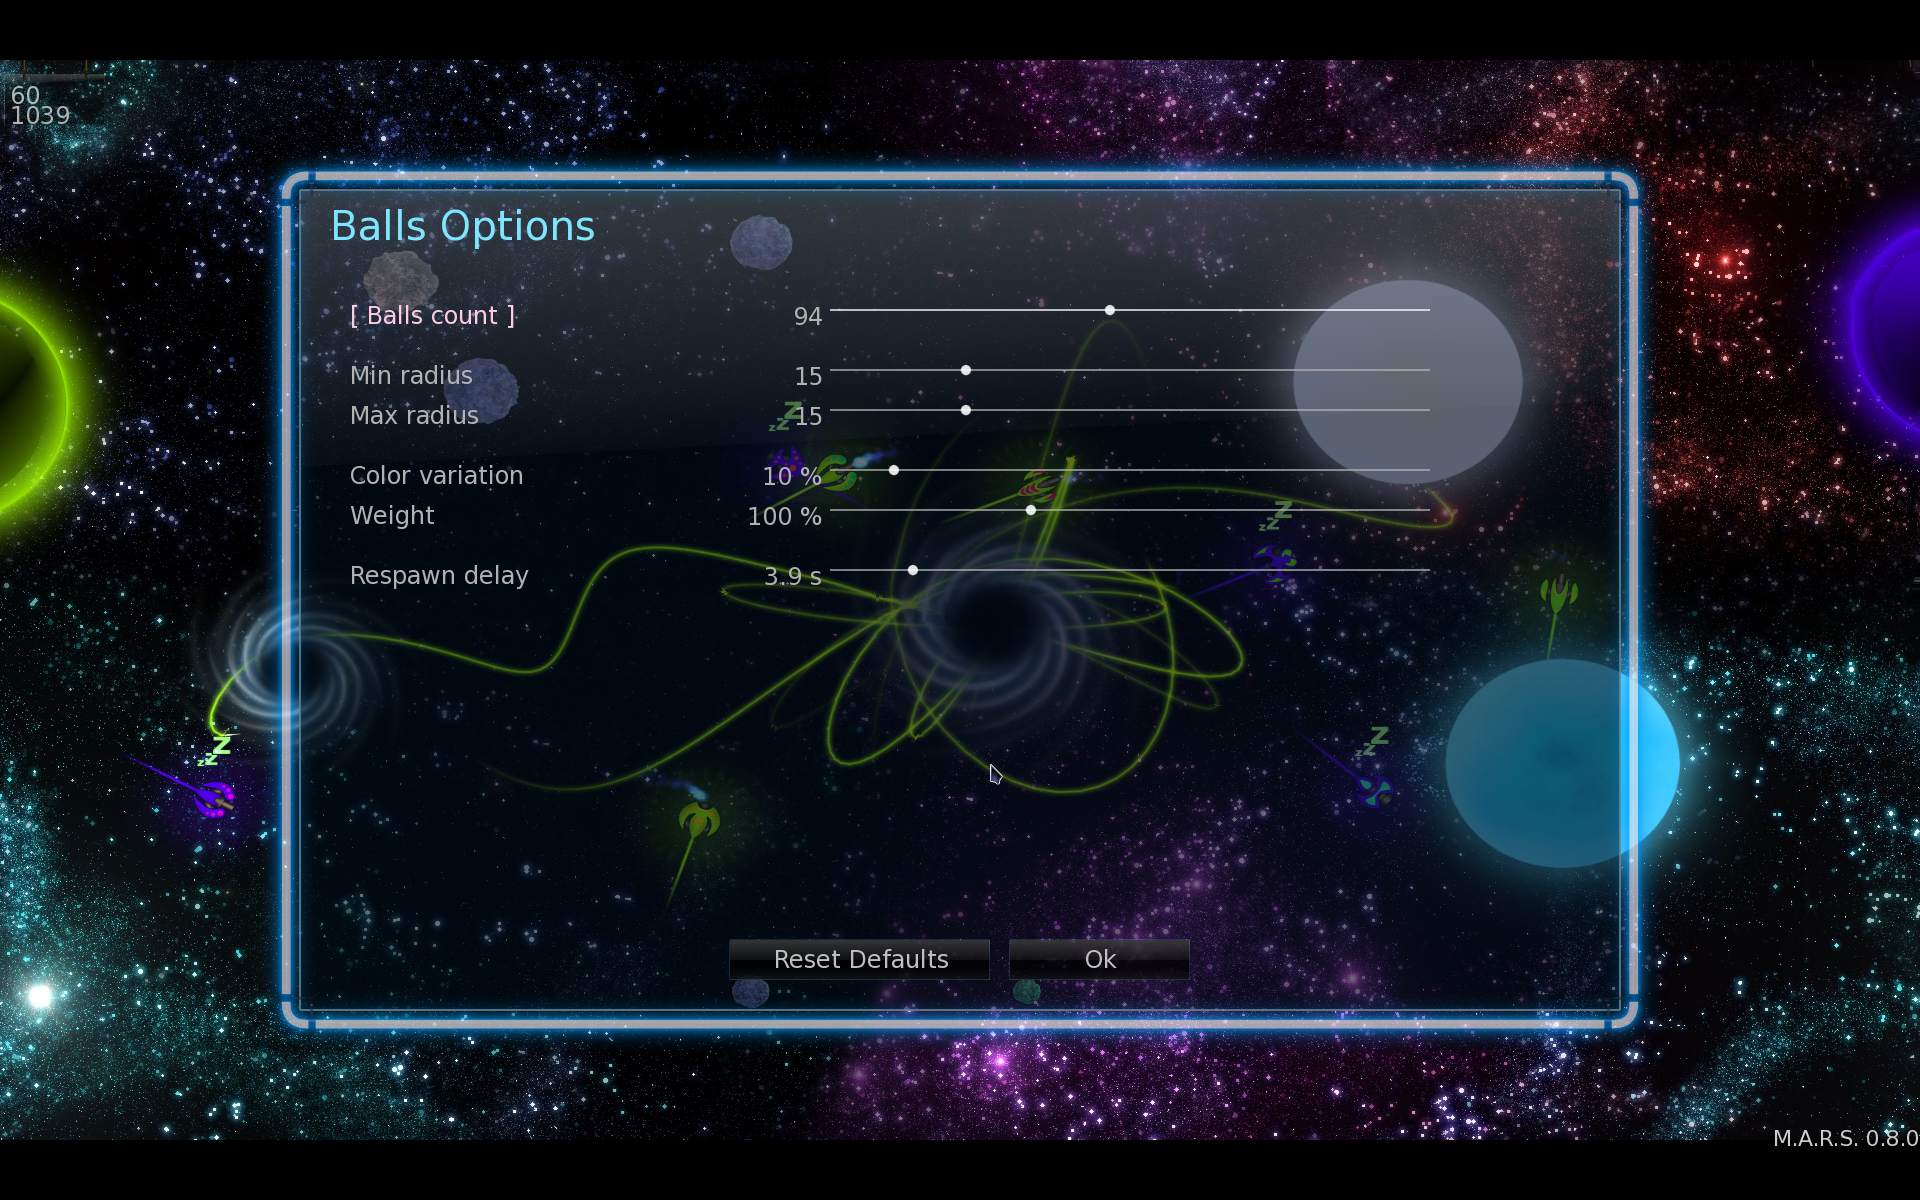
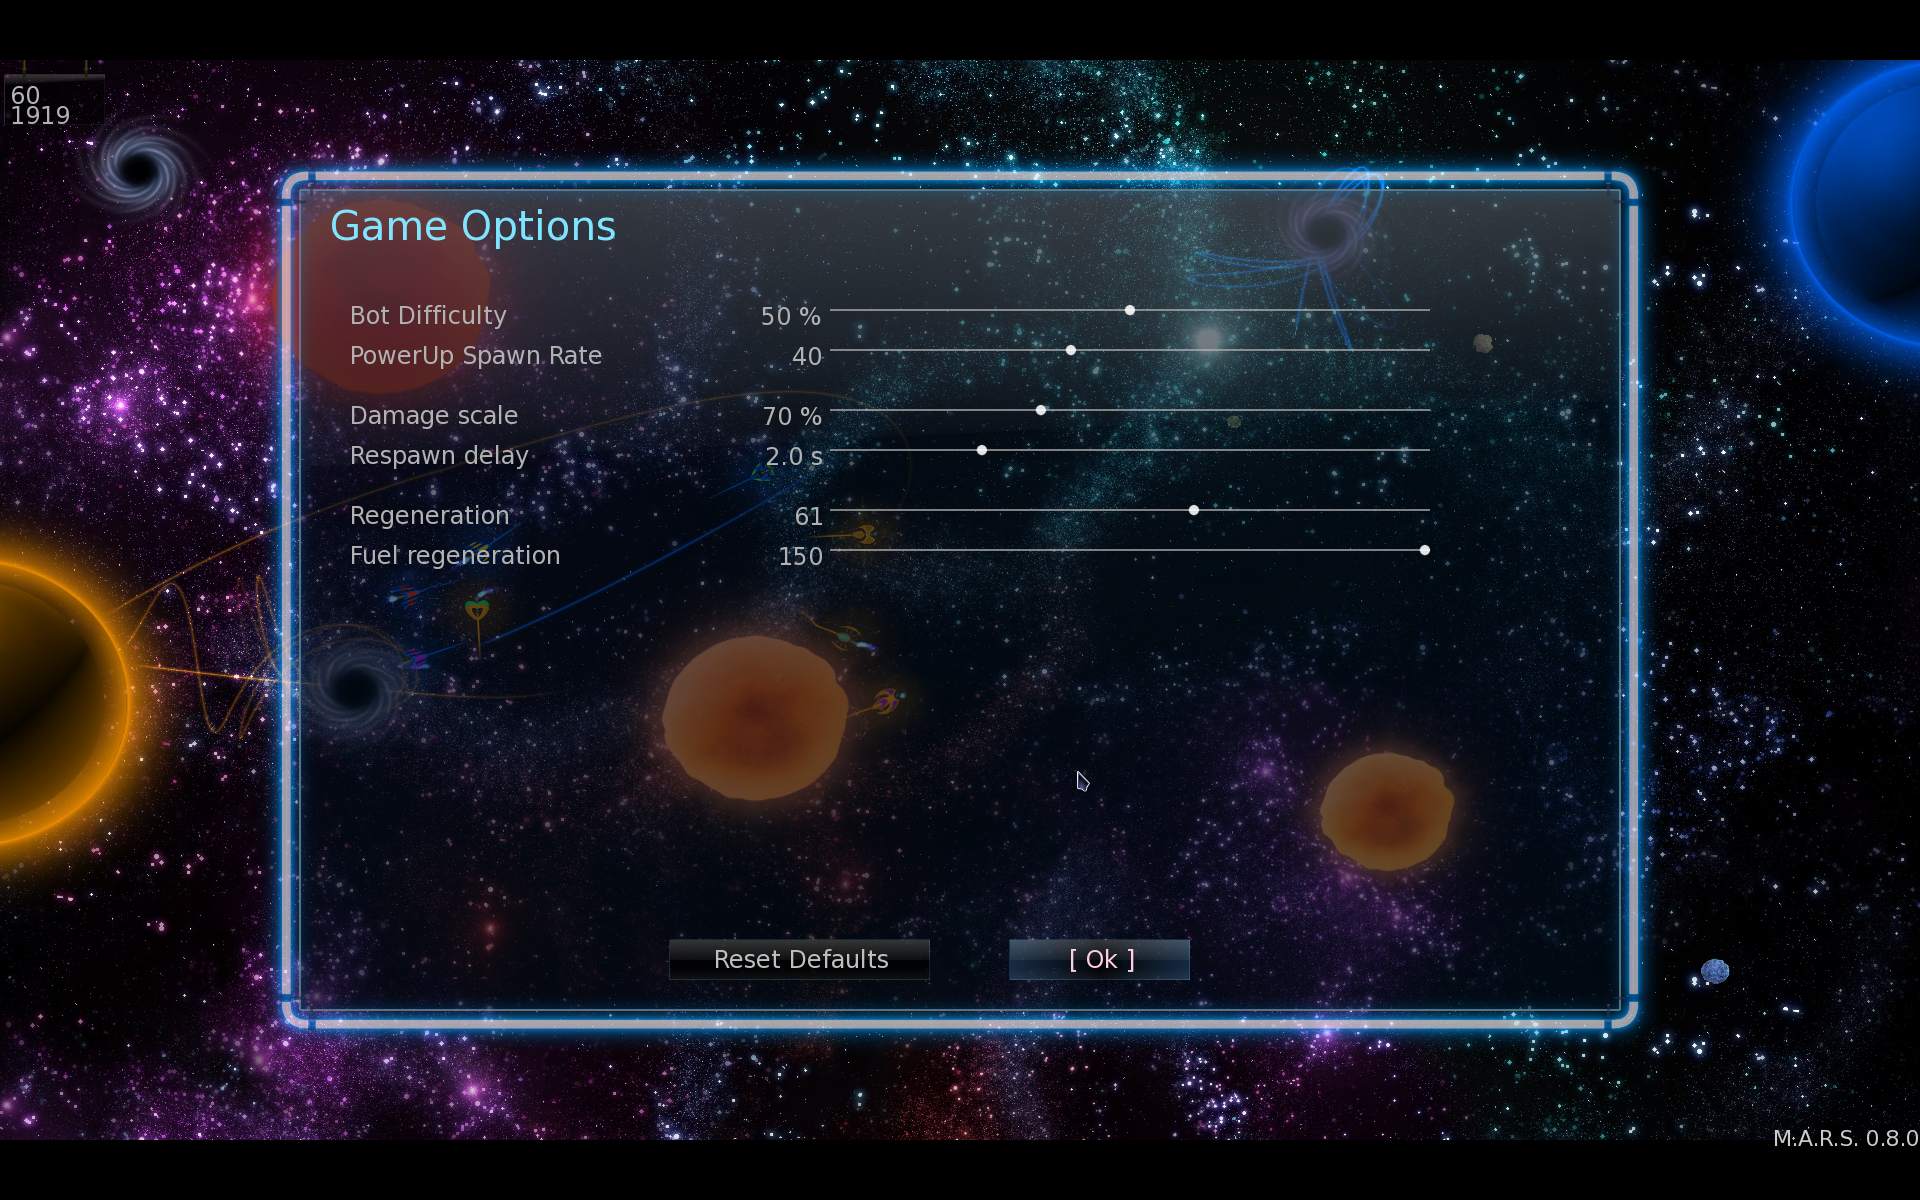
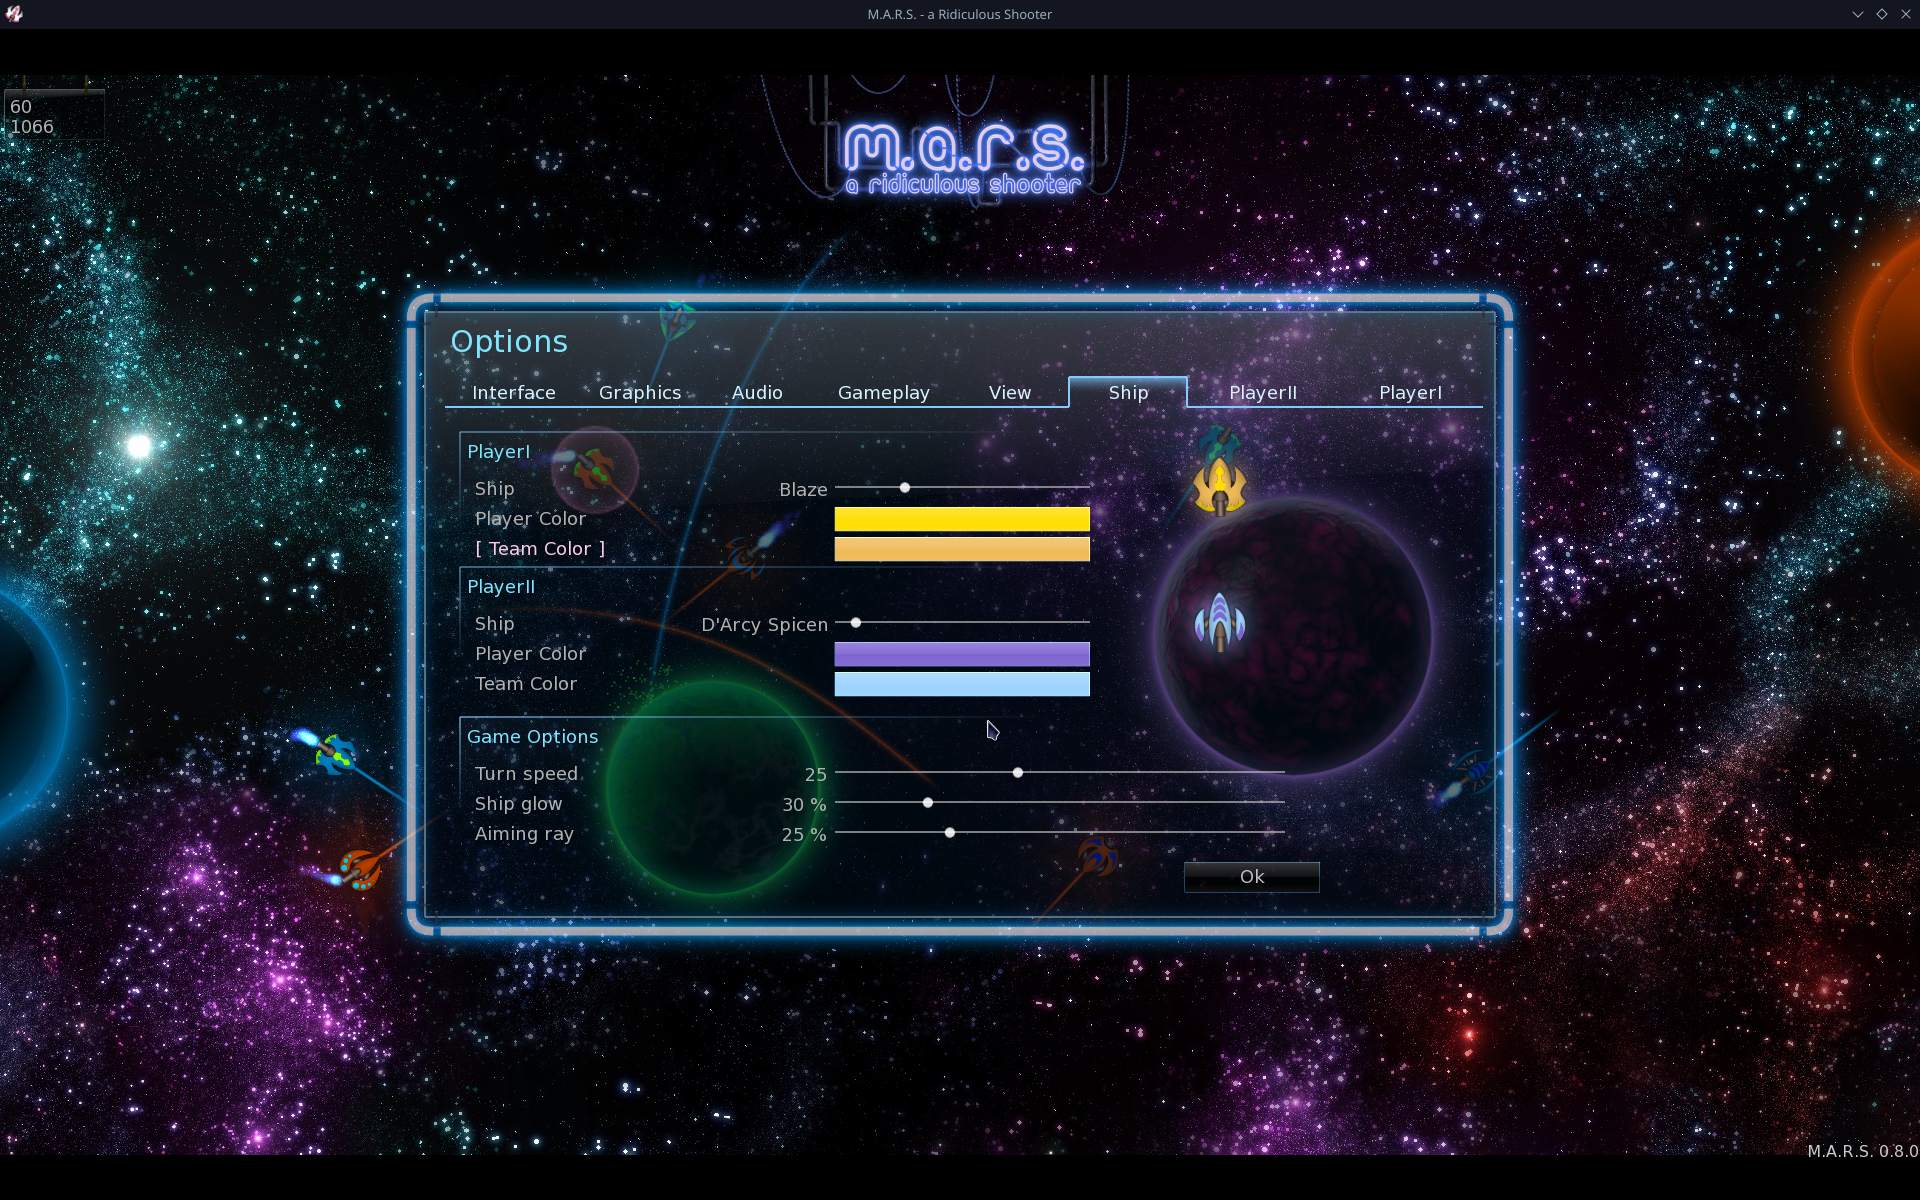
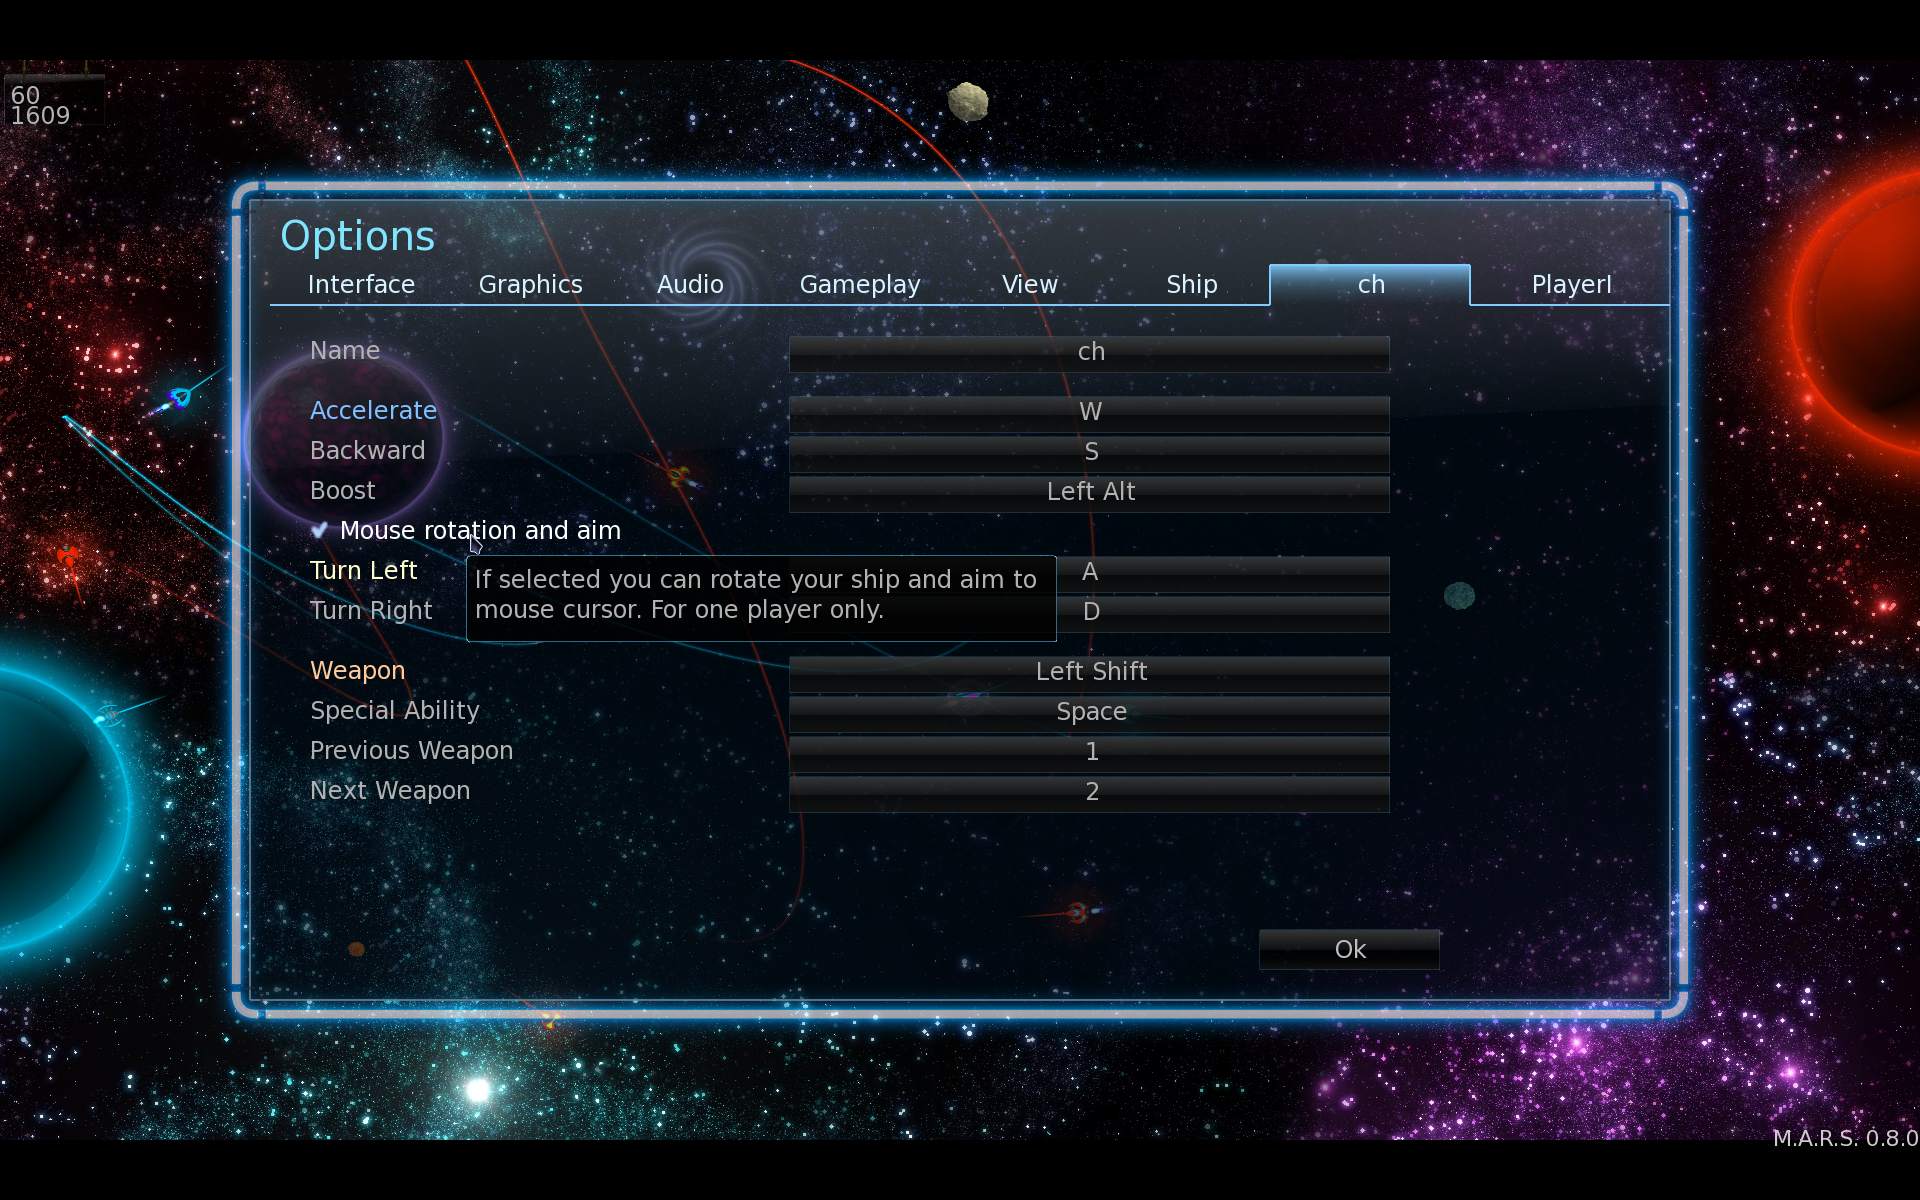
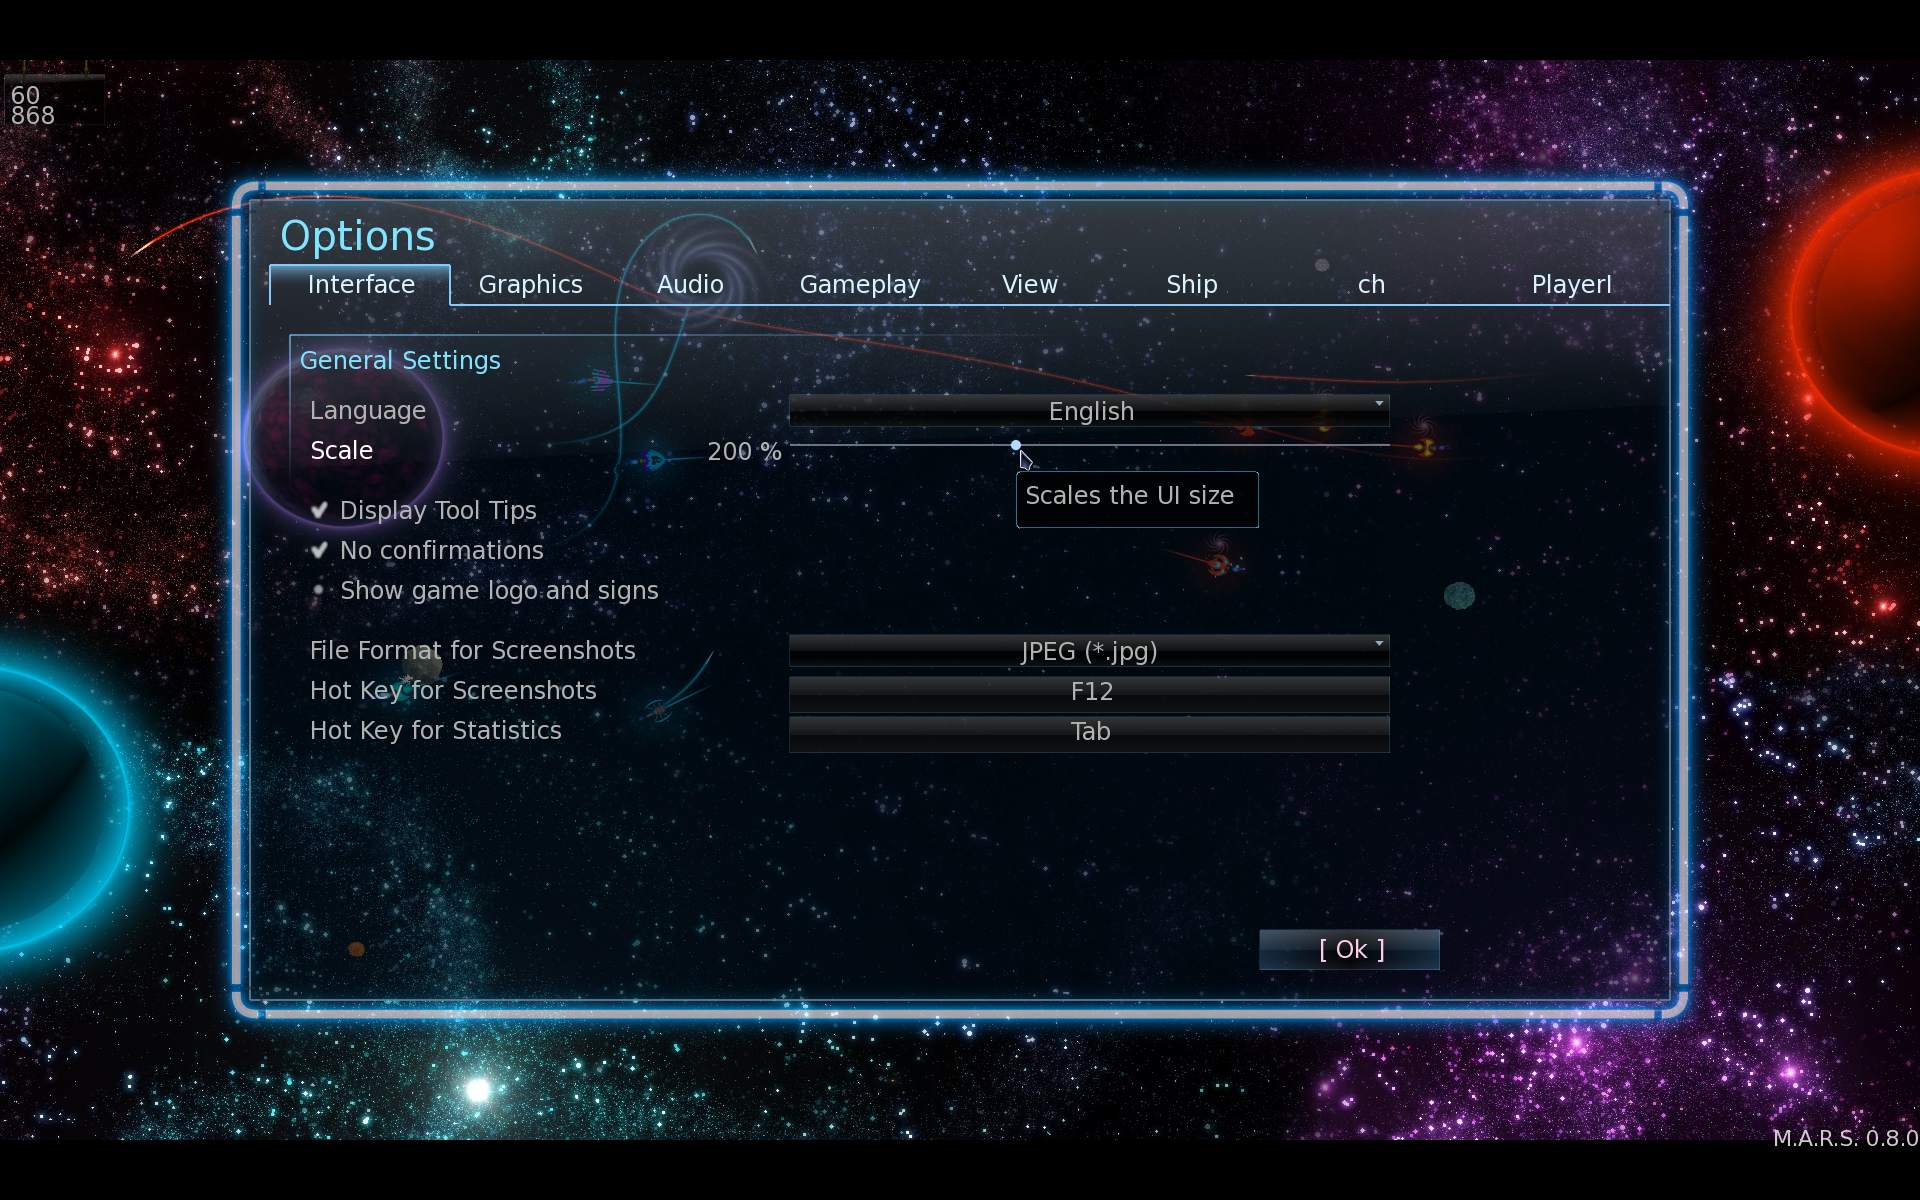
    I added new features including: 16 weapons, asteroids, turrets, few gameplay elements, ship controls, more options and scalable GUI.

    📂Sources

    Located here.
    List of my changes in changelog here.

    📜History

    I played M.A.R.S. when it was still active last, in 2011 (back then we were very busy with Stunt Rally). I liked it instantly, it was a lot of fun and indeed ridiculous, hilarious to play.
    It reminded me of my oldest space games for 2 players, from around 1995 or so. Screens visible on this image on right, top under “2 player space games”, more info about that here. My small games were also ridiculous, first even hard to play. Later were easier and more fun, while still having wrap around (cyclic borders, e.g. you fly out right, you appear on left), something normal for me for 2D space games. Was even present in the earliest game from 1962.
    📝Motivation

    While I was recently developing Cave Express (after I stopped Stunt Rally development), I realized that adding new gameplay elements in it is rather complex, due to its mutiplayer server-client architecture. I then remebered about M.A.R.S., that its code was much easier, and thought I could add some things and change that project too.

    I checked out its sources again, and it got back to me why I didn’t do this years ago. I really didn’t like how the code looked like, but regardless I now developed it. I was asking myself a few times “who writes code like this”, obviously a retorical question, authors are known. Also this is a FOSS project, it’s not for complaining, but about what can you do to improve it. After a while I did also change the code formatting, probably a lot.

    The project was abandoned since about 10 years by original authors. Later it was moved to github. Had a few contributions by others. I have also noticed 2 recent forks. I saw there were also memory issues (leaks) and people fixing that. Not sure if completely, but I did also include some of those fixes in my fork.

    🔍Details

    Nothing was changed in game or gameplay since the original project. I started with that. I had many ideas. The easiest for start was changing weapons and then adding new.
    Since spcaceship was controlled by only 3 keys (turn left, right and accelerate) it made flying funny, but also quite awkward and unprecise. I then added accelerating sideways, backward and boost. Then also turning and aiming by mouse pointer, which IMO improved flying and aiming a lot.

    While learning the source code I also discovered few unfinished things, and realized that maps could have different scale rather easily. Fortunately code was written well, so with my changes, bots (AI players) mostly still play well. By the way of adding scale and different map sizes, I added plenty of other options on GUI sliders, which were easy.

    By the way of developing I was also changing formatting, cleaning the code, making it somewhat easier to extend, in game settings and GUI layouts. I made GUI scalable (and fixed that one issue). It was one of those things that needed changes everywhere in GUI code and much testing after too. All because GUI wasn’t written like that from start.

    Probably the best thing in M.A.R.S. is its particle system, and the fact that each particle can be affected by gravity. It has its limits of course, I think on my PC game slows down (below 60 Fps) with above 60 k particles. It only has sphere collision shapes. Maybe it could be parallelized on CPU. But after seing collison code, I don’t think for GPU, it has to many conditions etc. It would also be difficult to improve, and maybe even not needed. It looks good and detailed already. Still, a recent, well made GPU particles system can handle million(s) of particles. I’m almost sure using Box2D library for collisions would give much worse performance (on CPU), but it would make it easy to have different collision shapes.

    ➡️Conclusions

    M.A.R.S. is a small but very fun driven game. But I guess it’s likely old and not popular. I think I made it even more fun, by adding new game features and more options for maps etc, making it playable for longer. Surely I have more things for it in my ToDo, which I may even not start implementing, well it’s called “to do” for a reason.

    I also recomend M.A.R.S. as a cool C++ project, rather small and not too difficult. It should be okay for beginners, to tinker, change, learn and practice while having fun. In my fork with my changes IMO code looks more readable and recent now. After all M.A.R.S. was originally made in 2010-11, and C++ syntax has improved a lot since then. Well at least it was and still is for me a great way of learning programming, in (FOSS) games. Of course learning from tutorials, books is more efficient and doing own projects. But at some point everyone has to learn from code written by others and be able to deal with that.

    🖼️Gallery

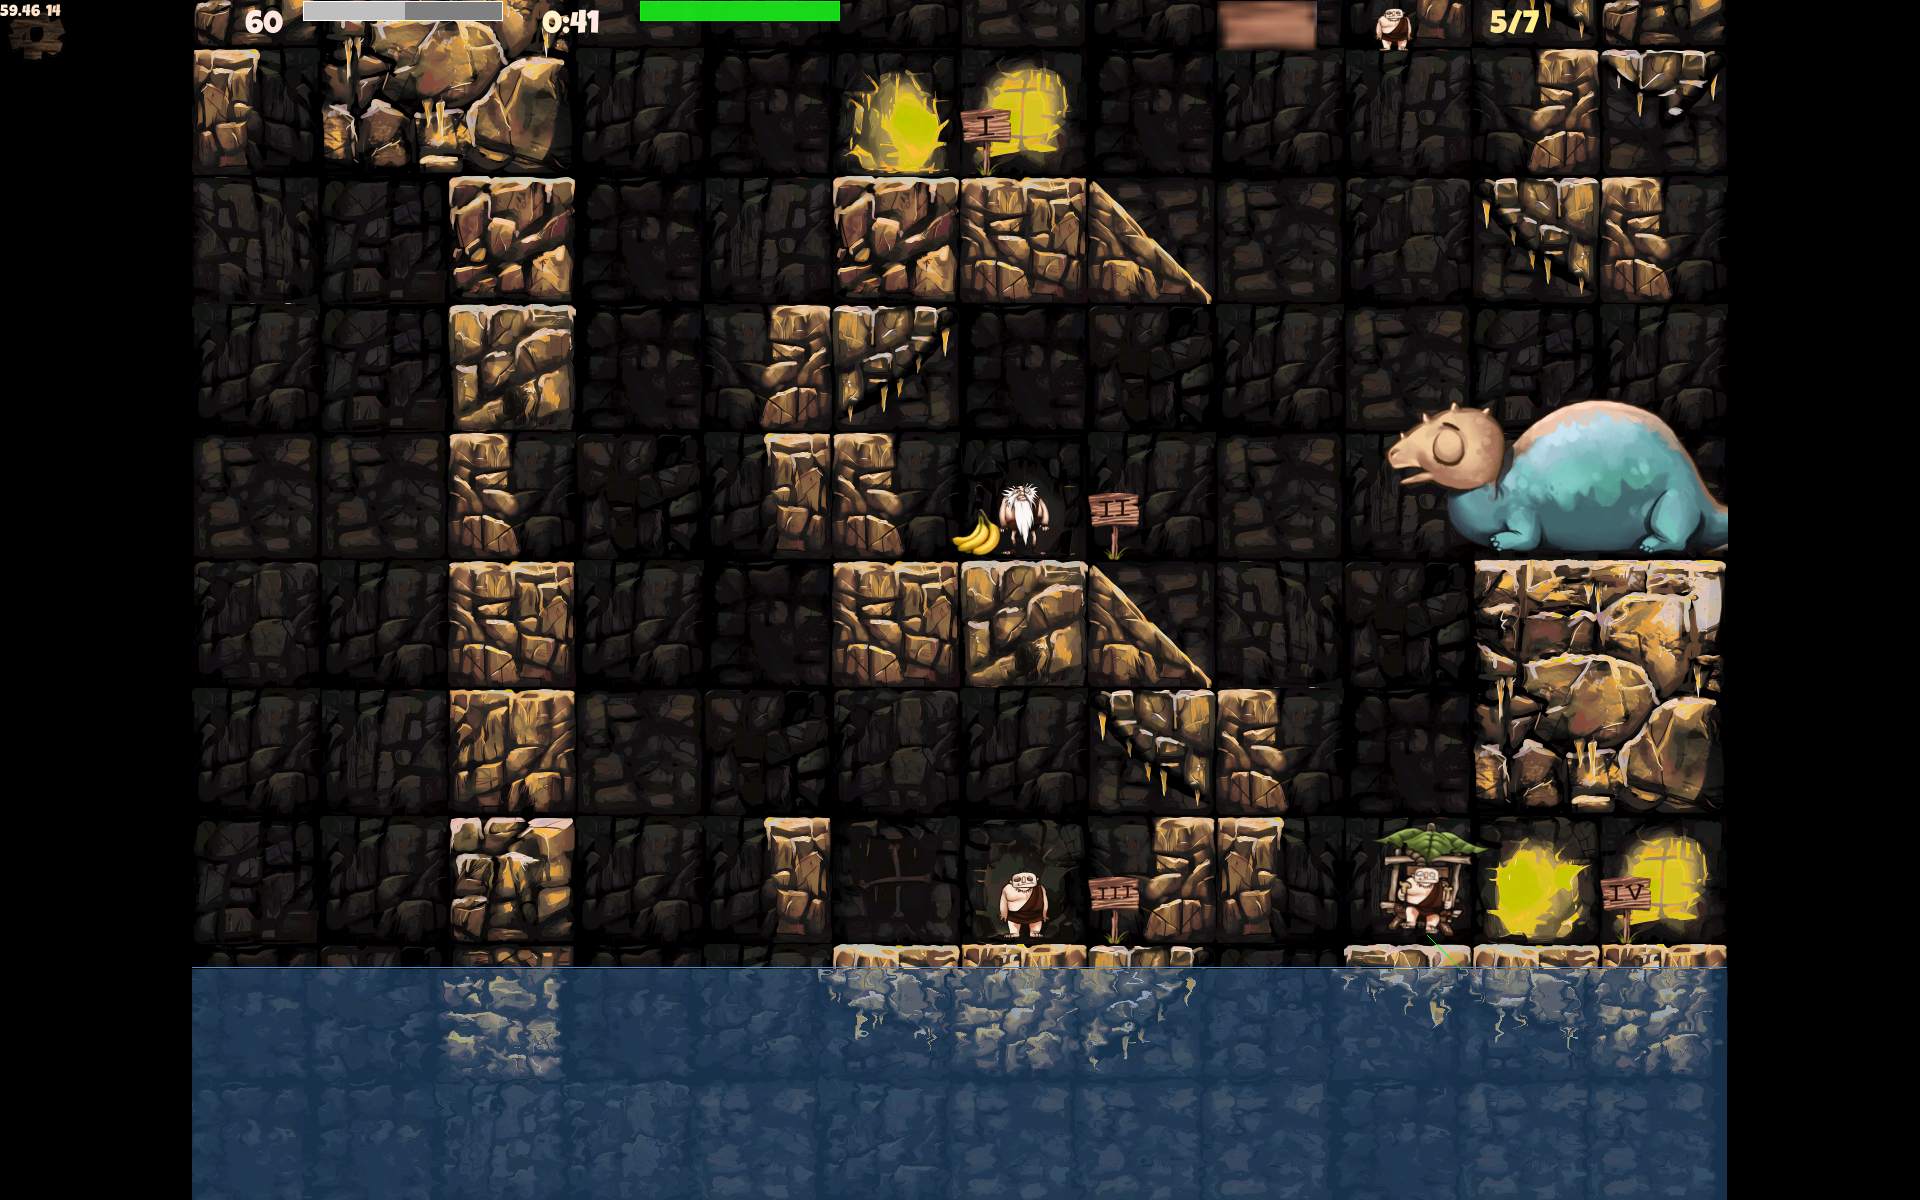
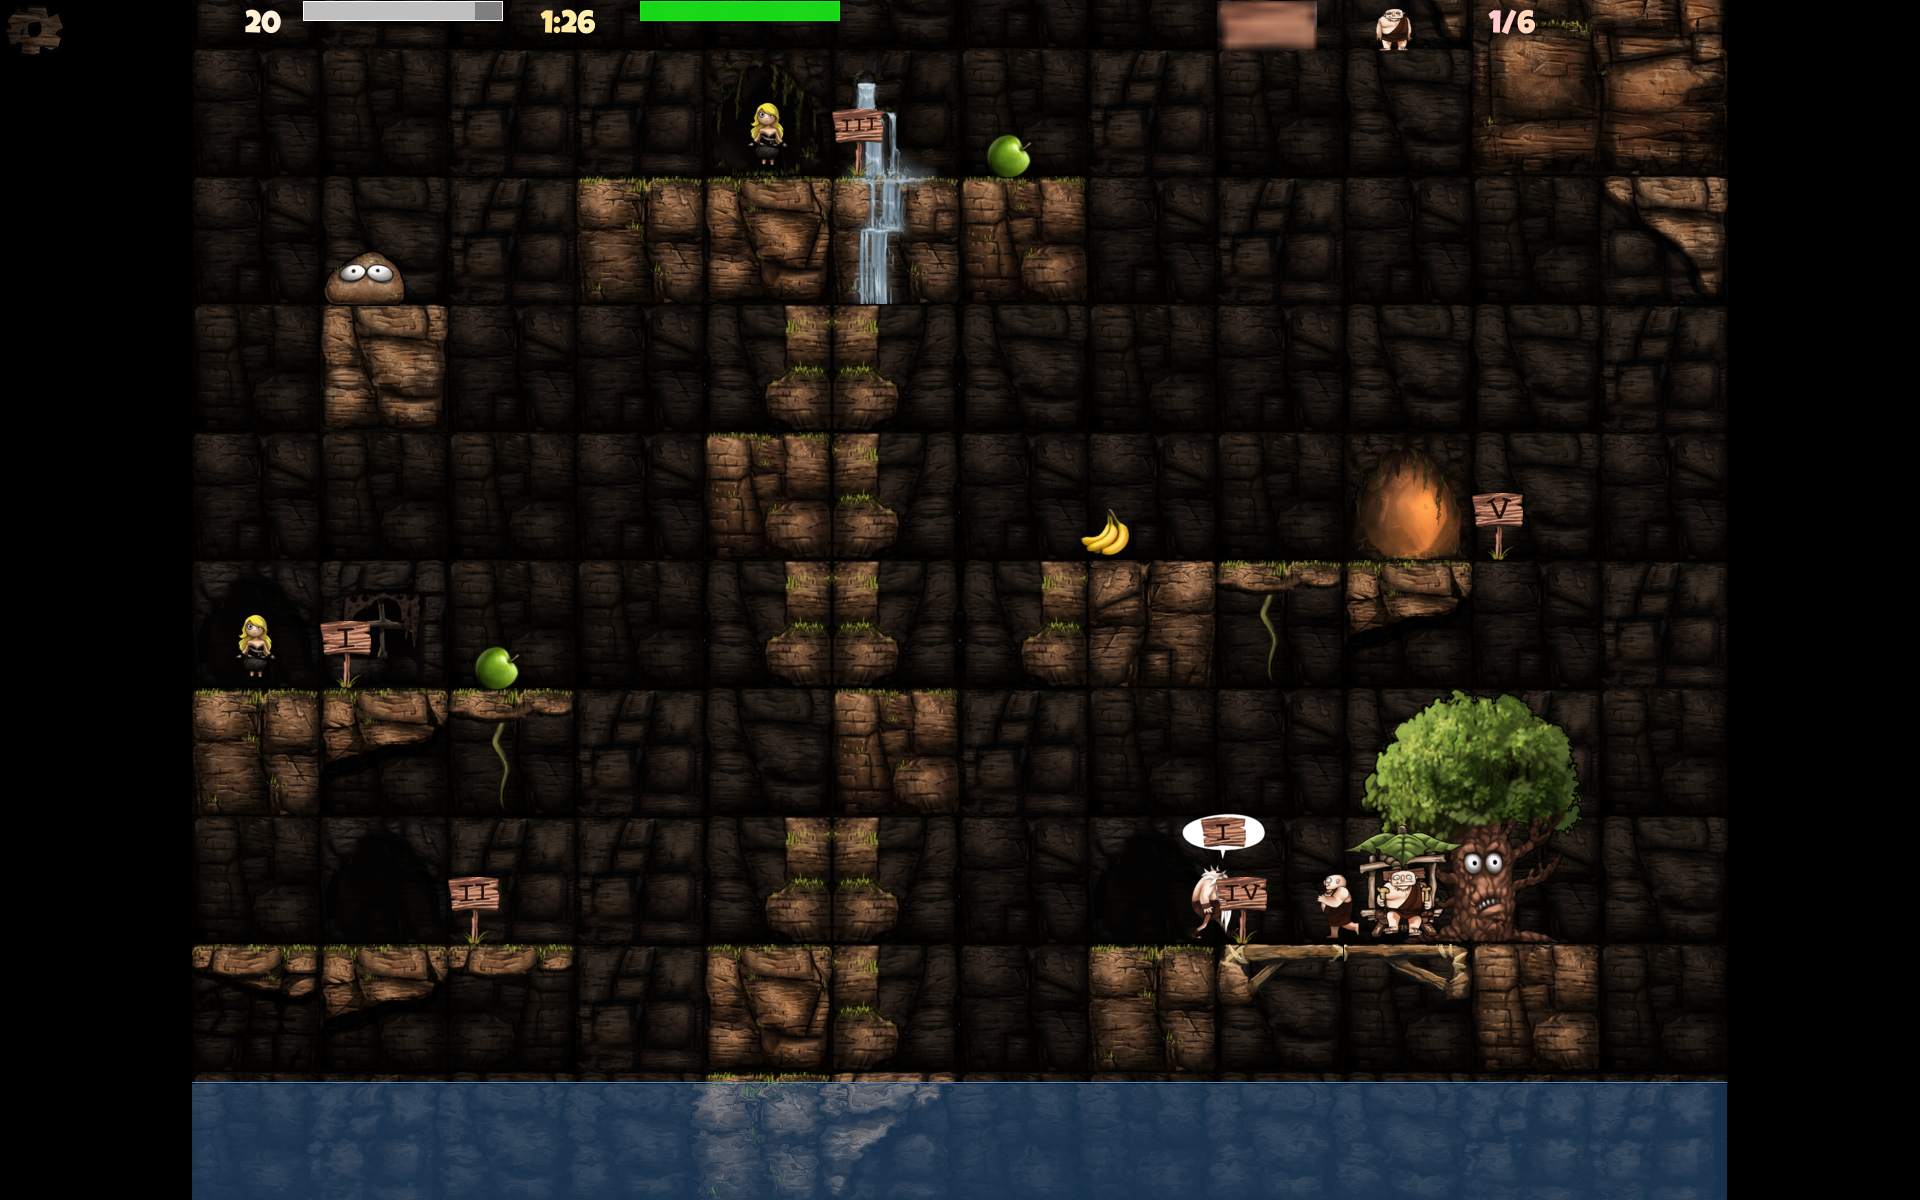
    Screenshots from game, grouped with some info in filenames:

  • 2025 CaveExpress fork

    2025 CaveExpress fork

    ⏱️Overview

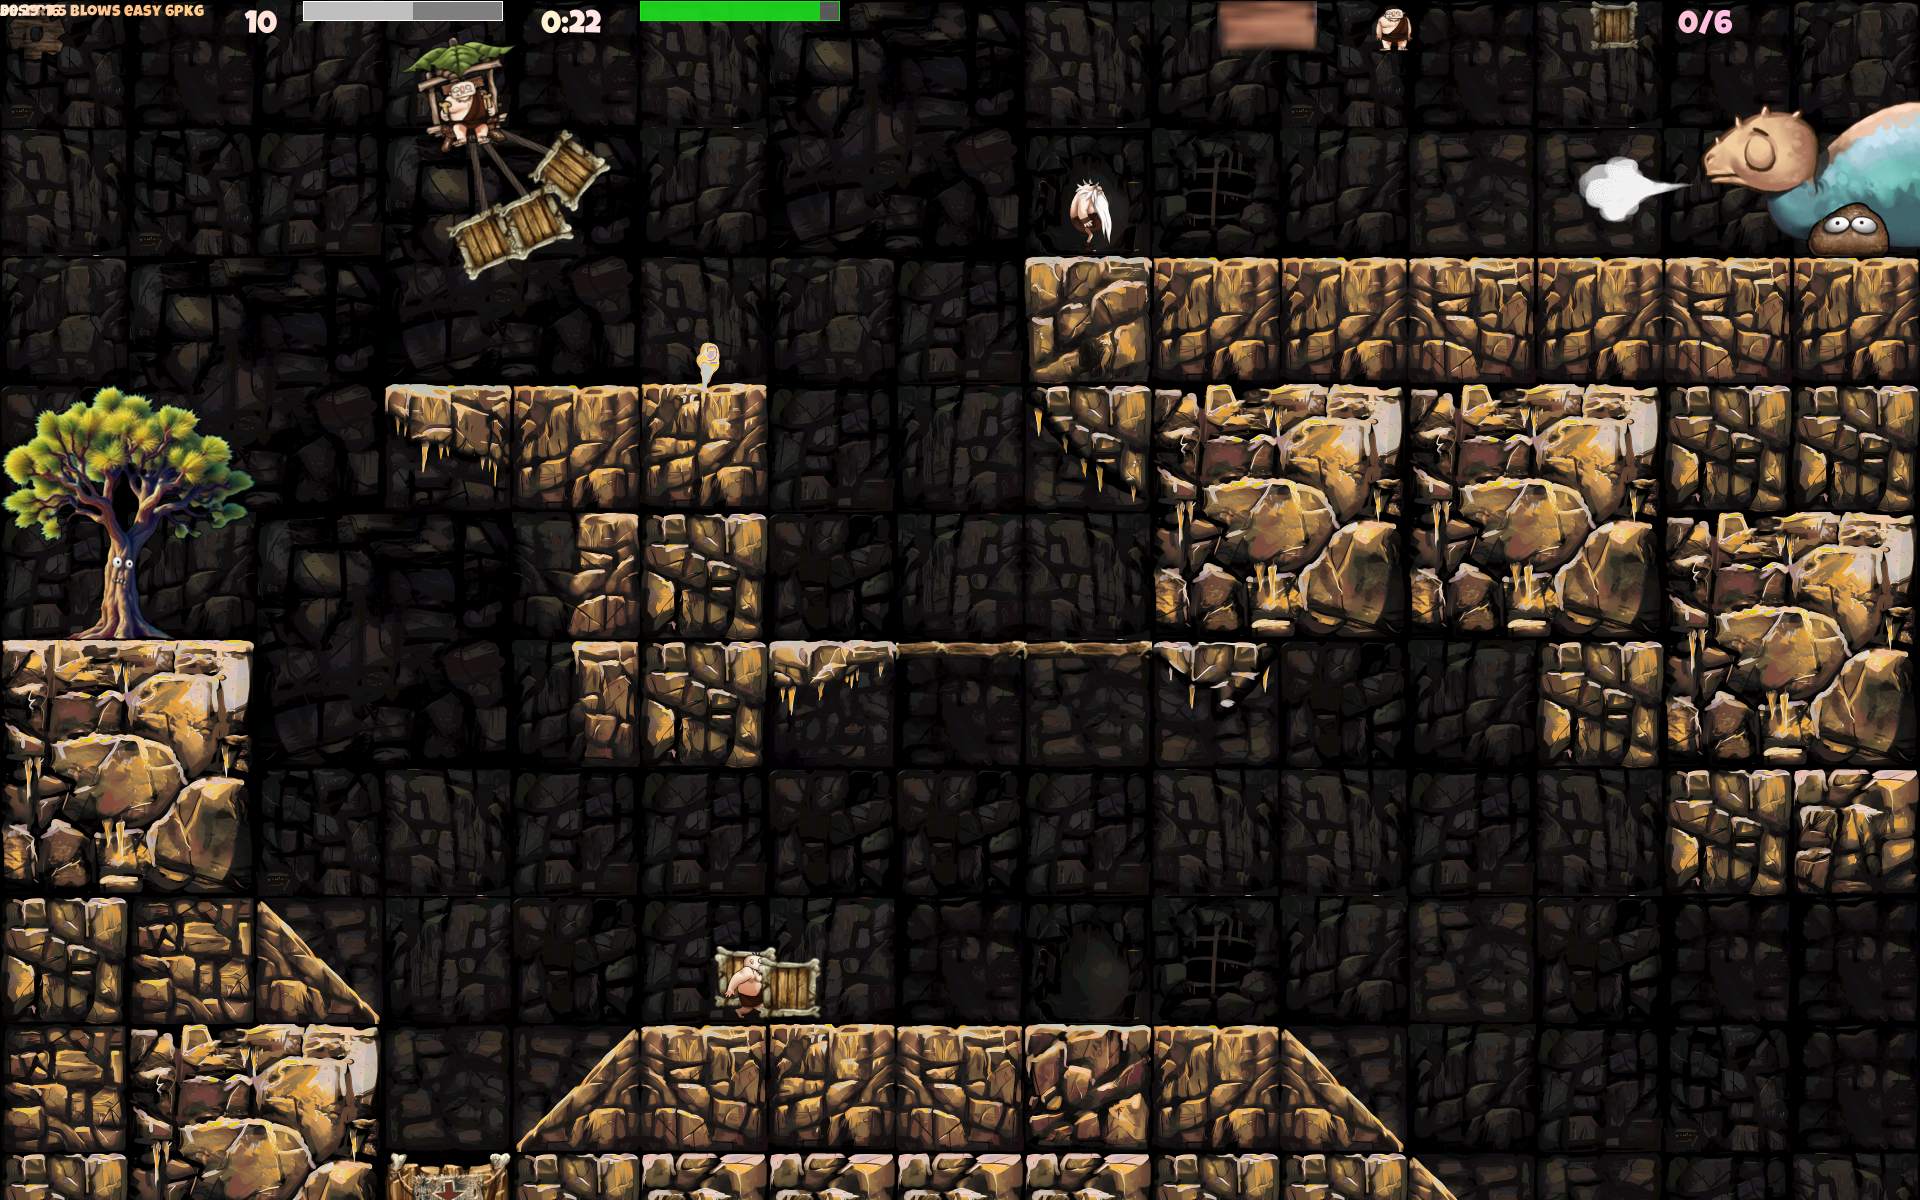
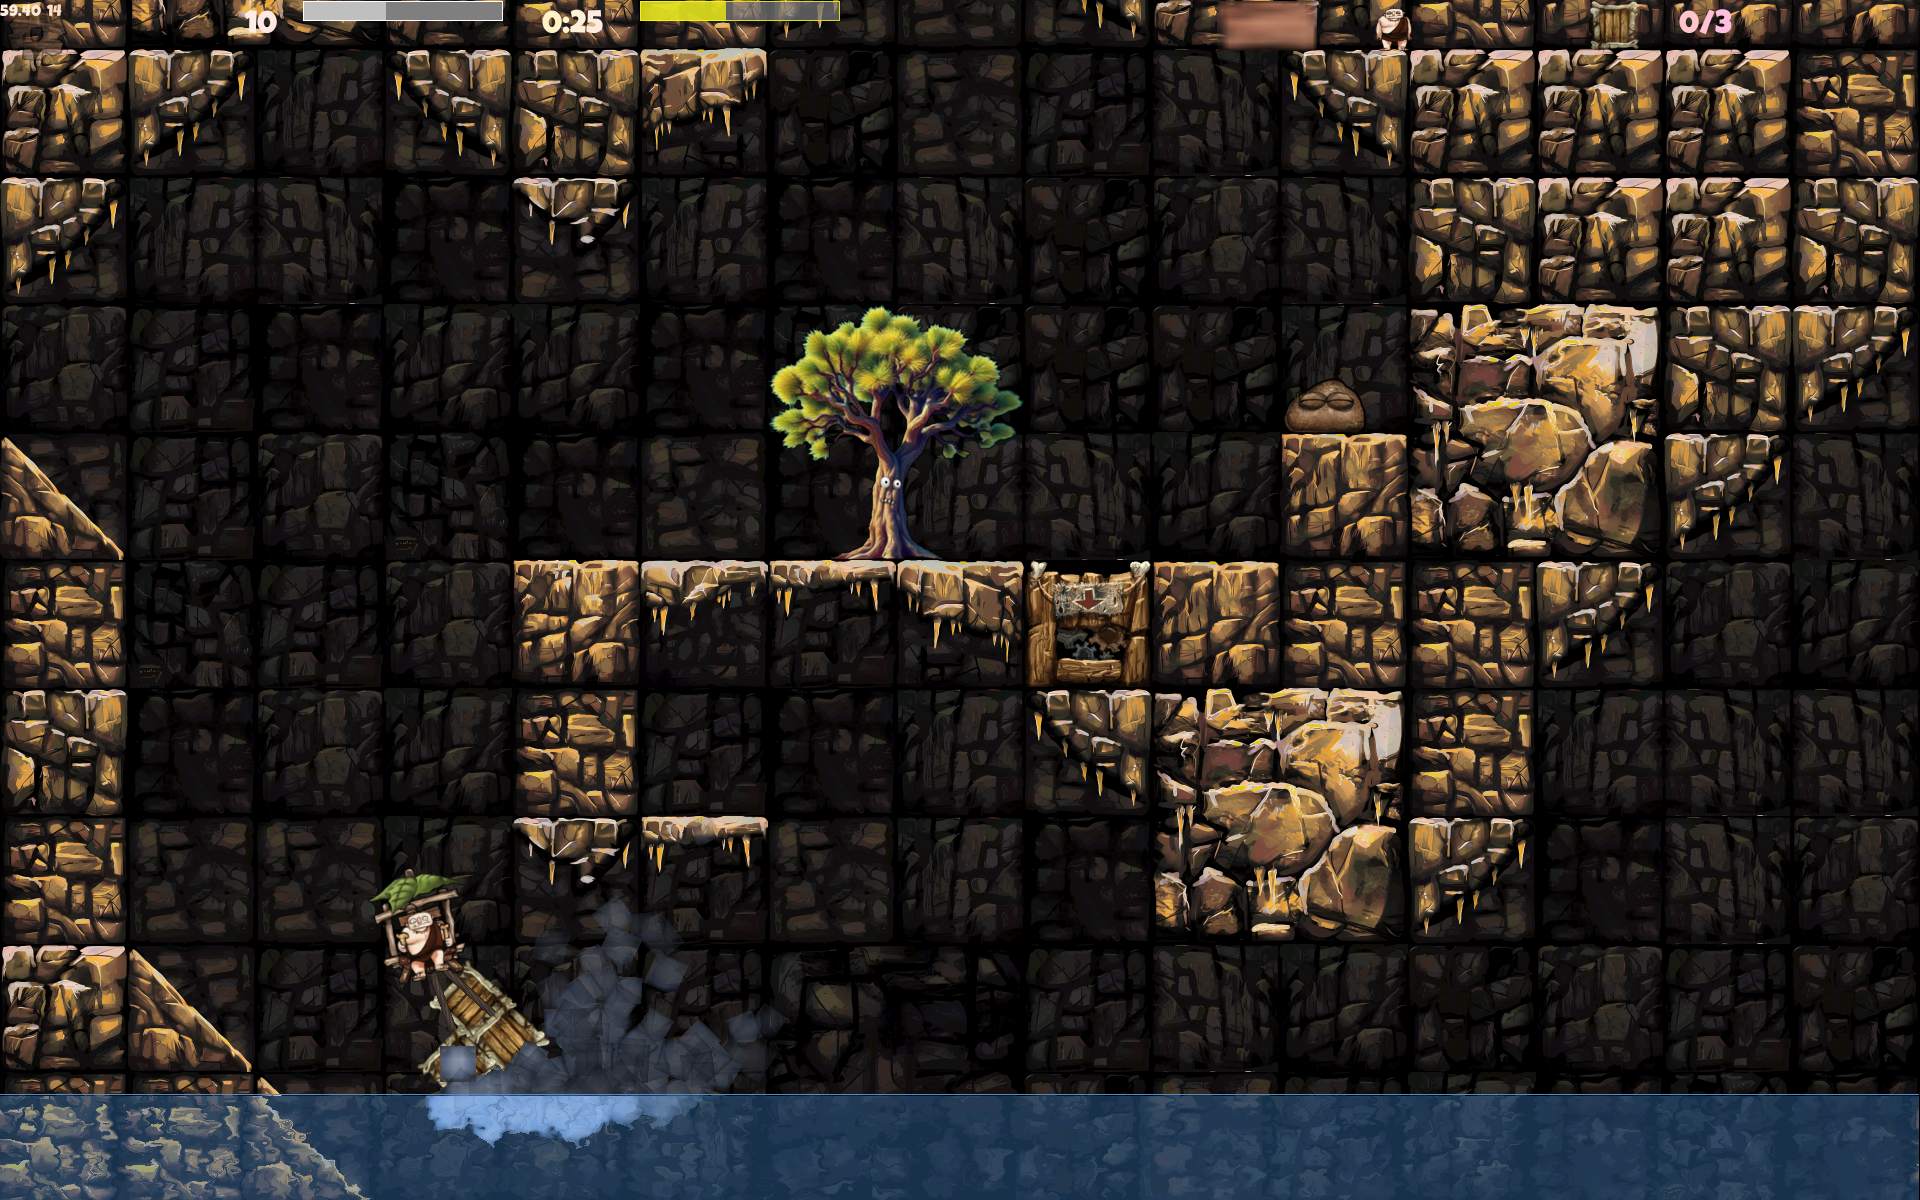
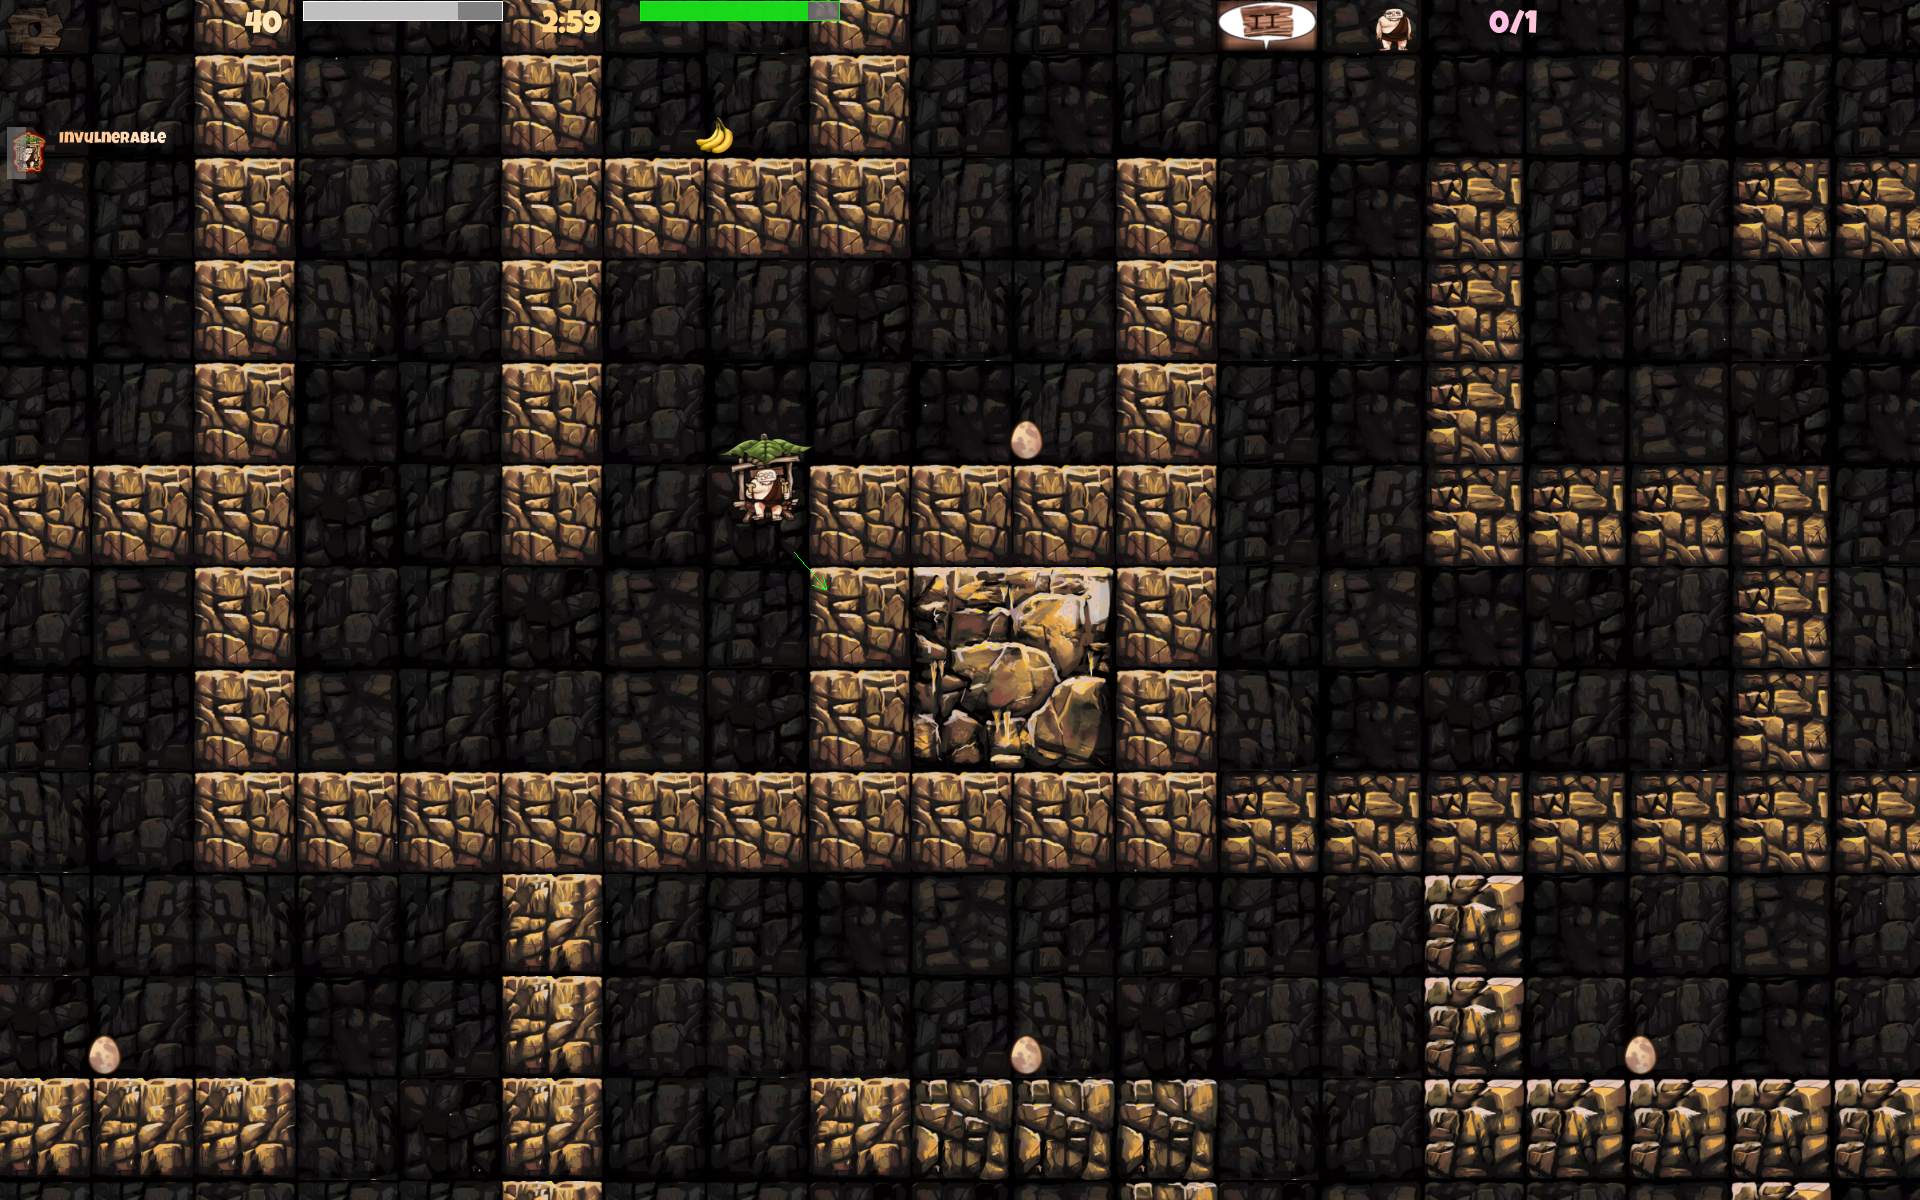
    In 2025 I did contribute to CaveExpress. A nice 2D flying game.
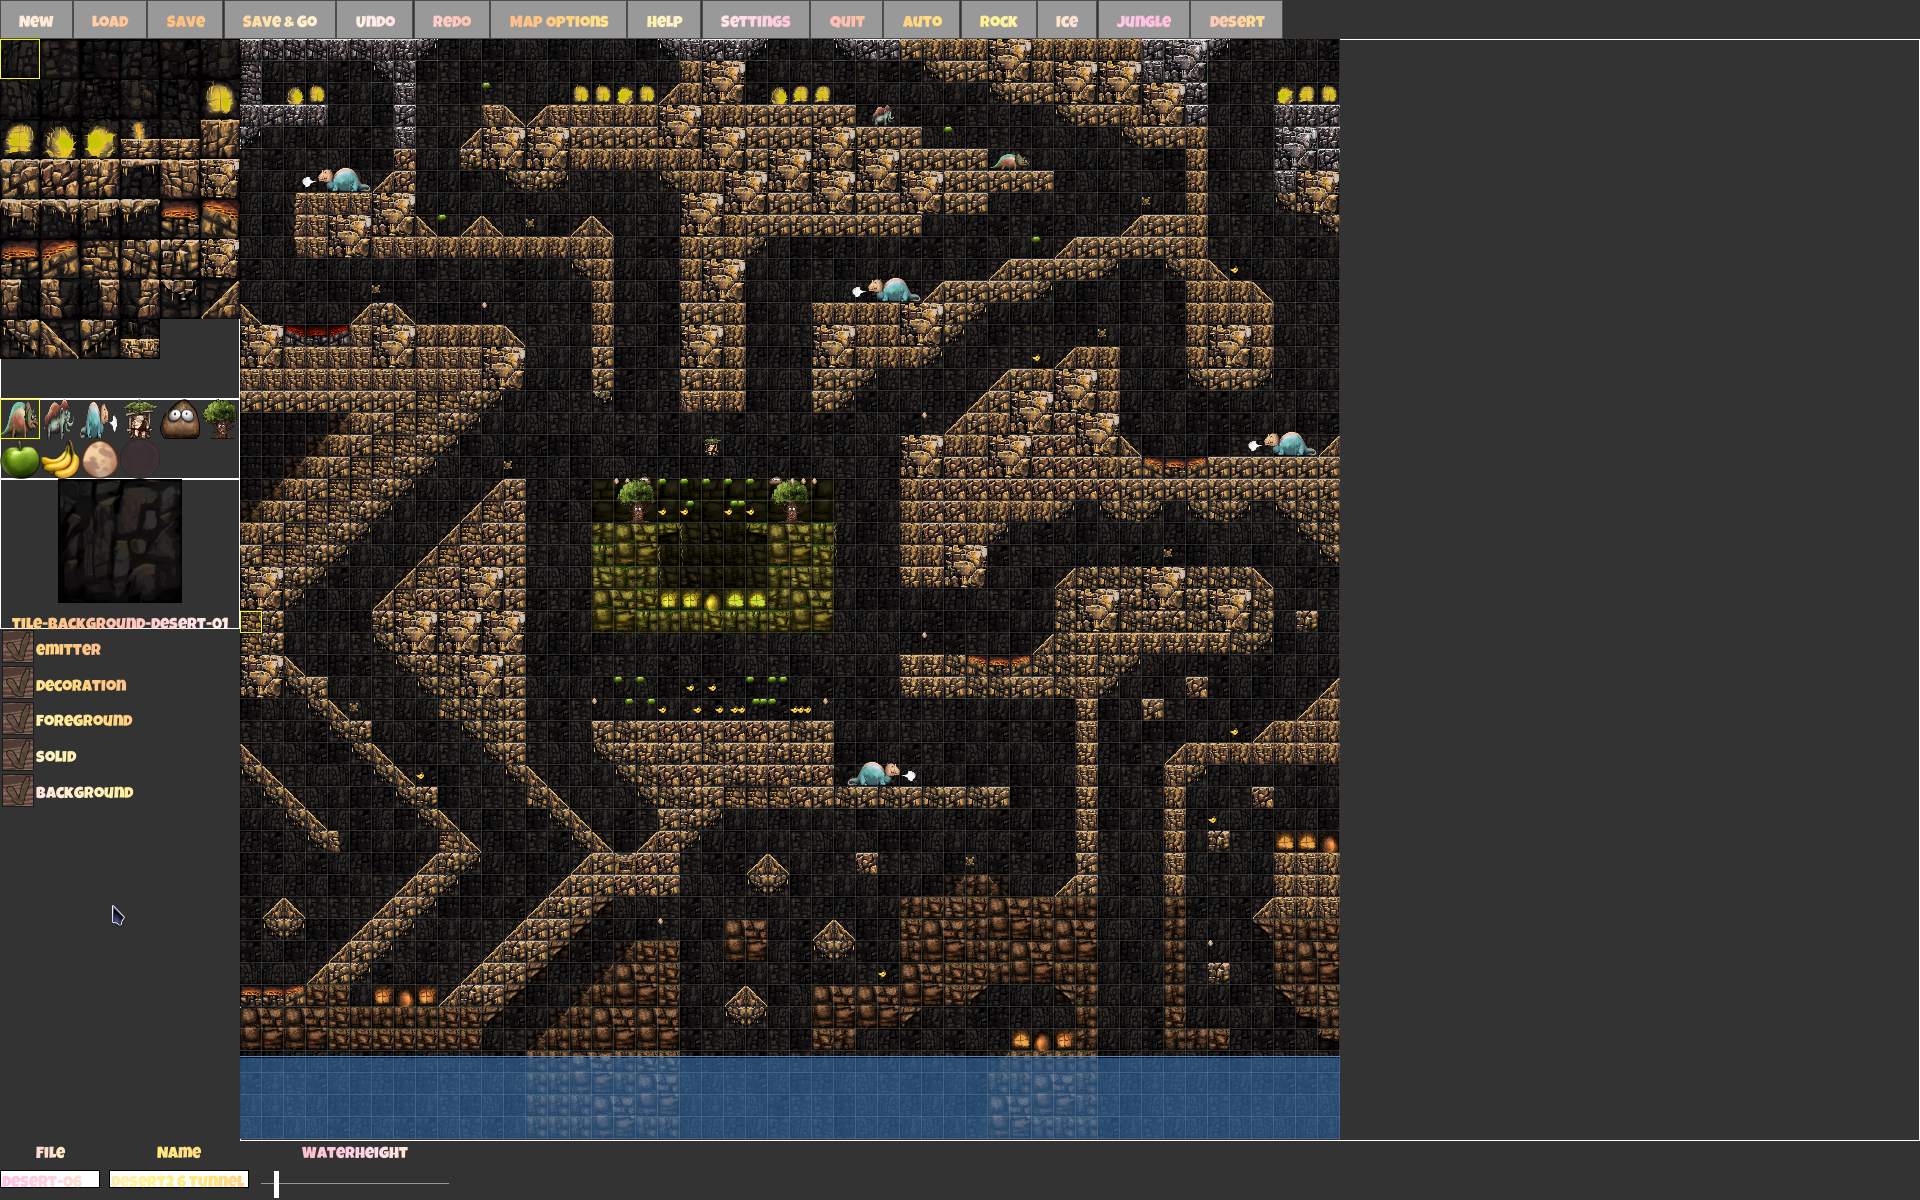
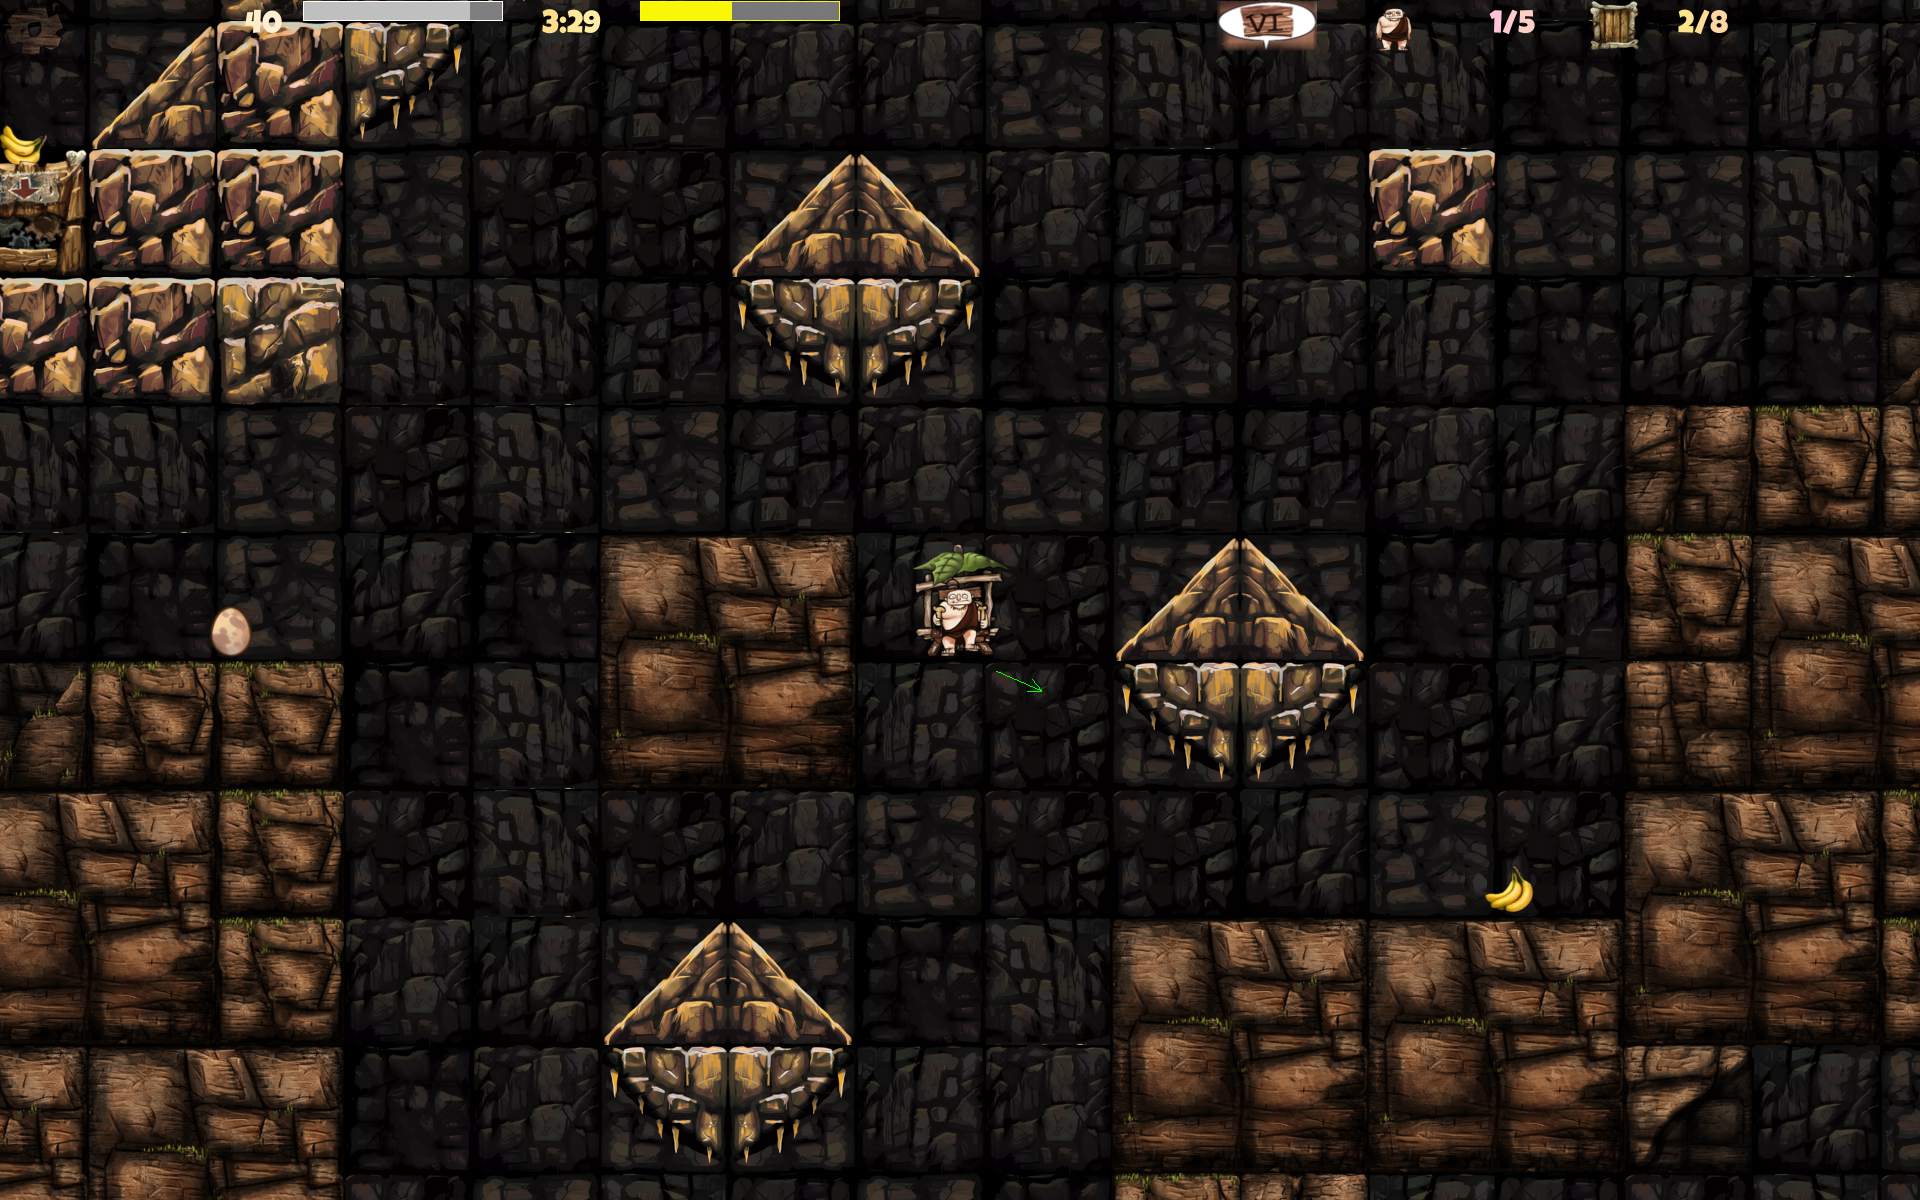
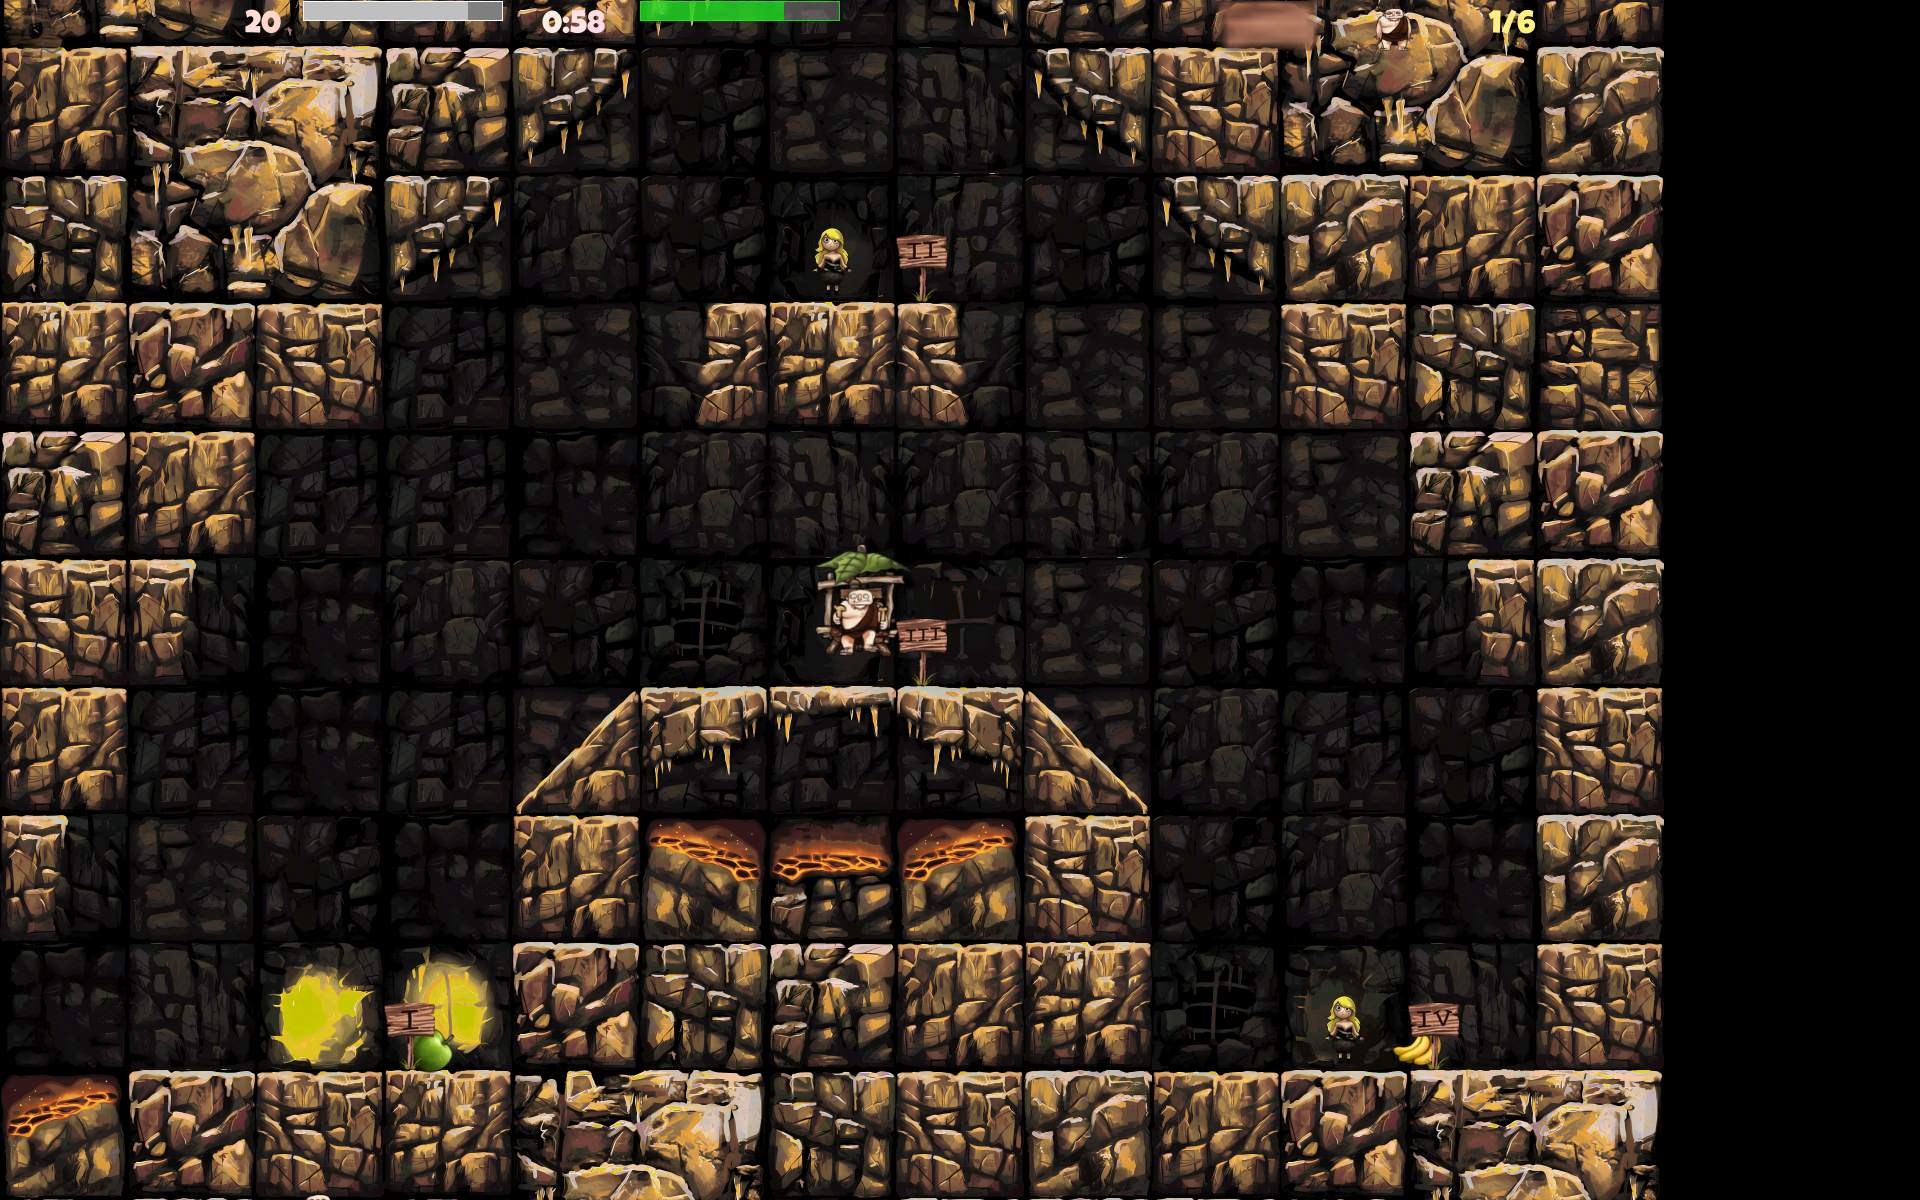
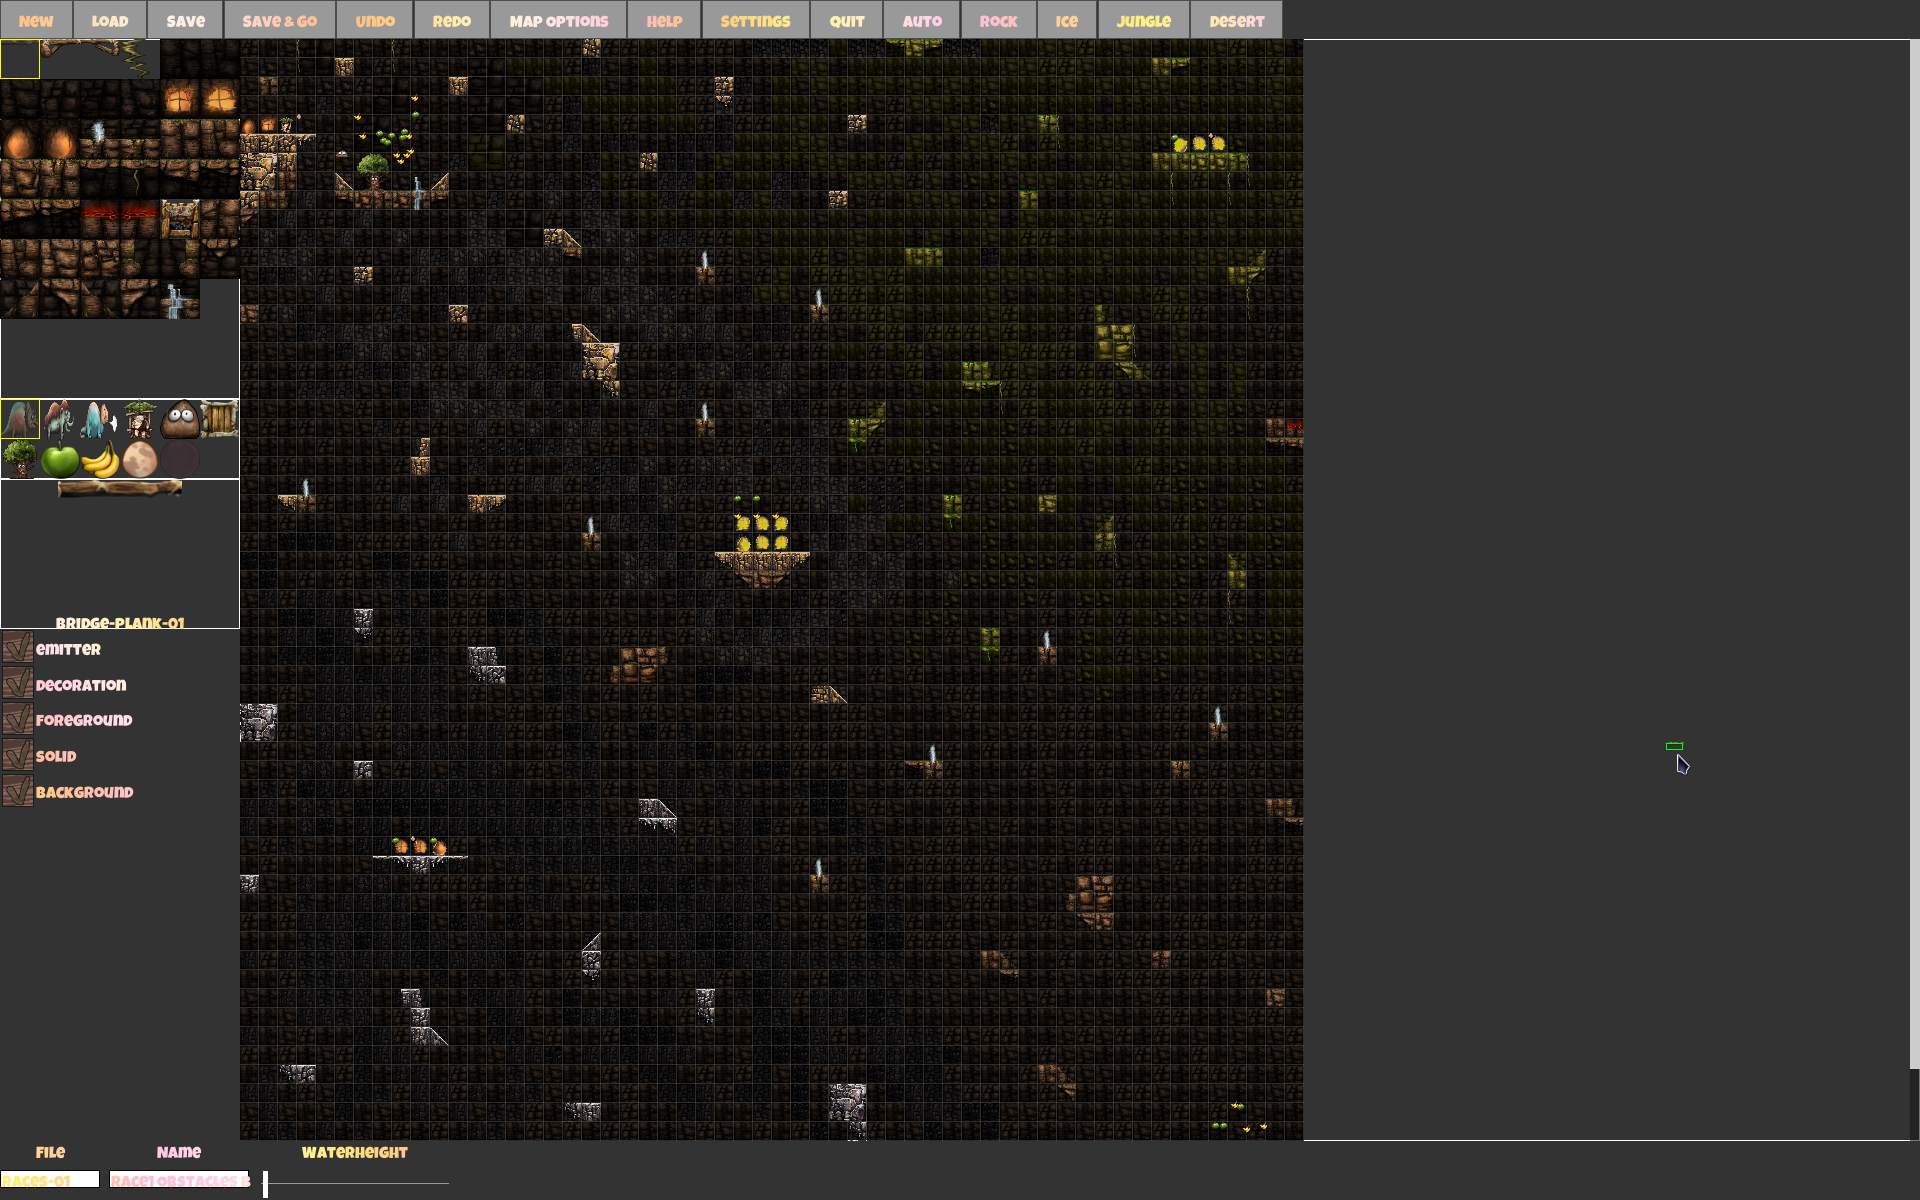
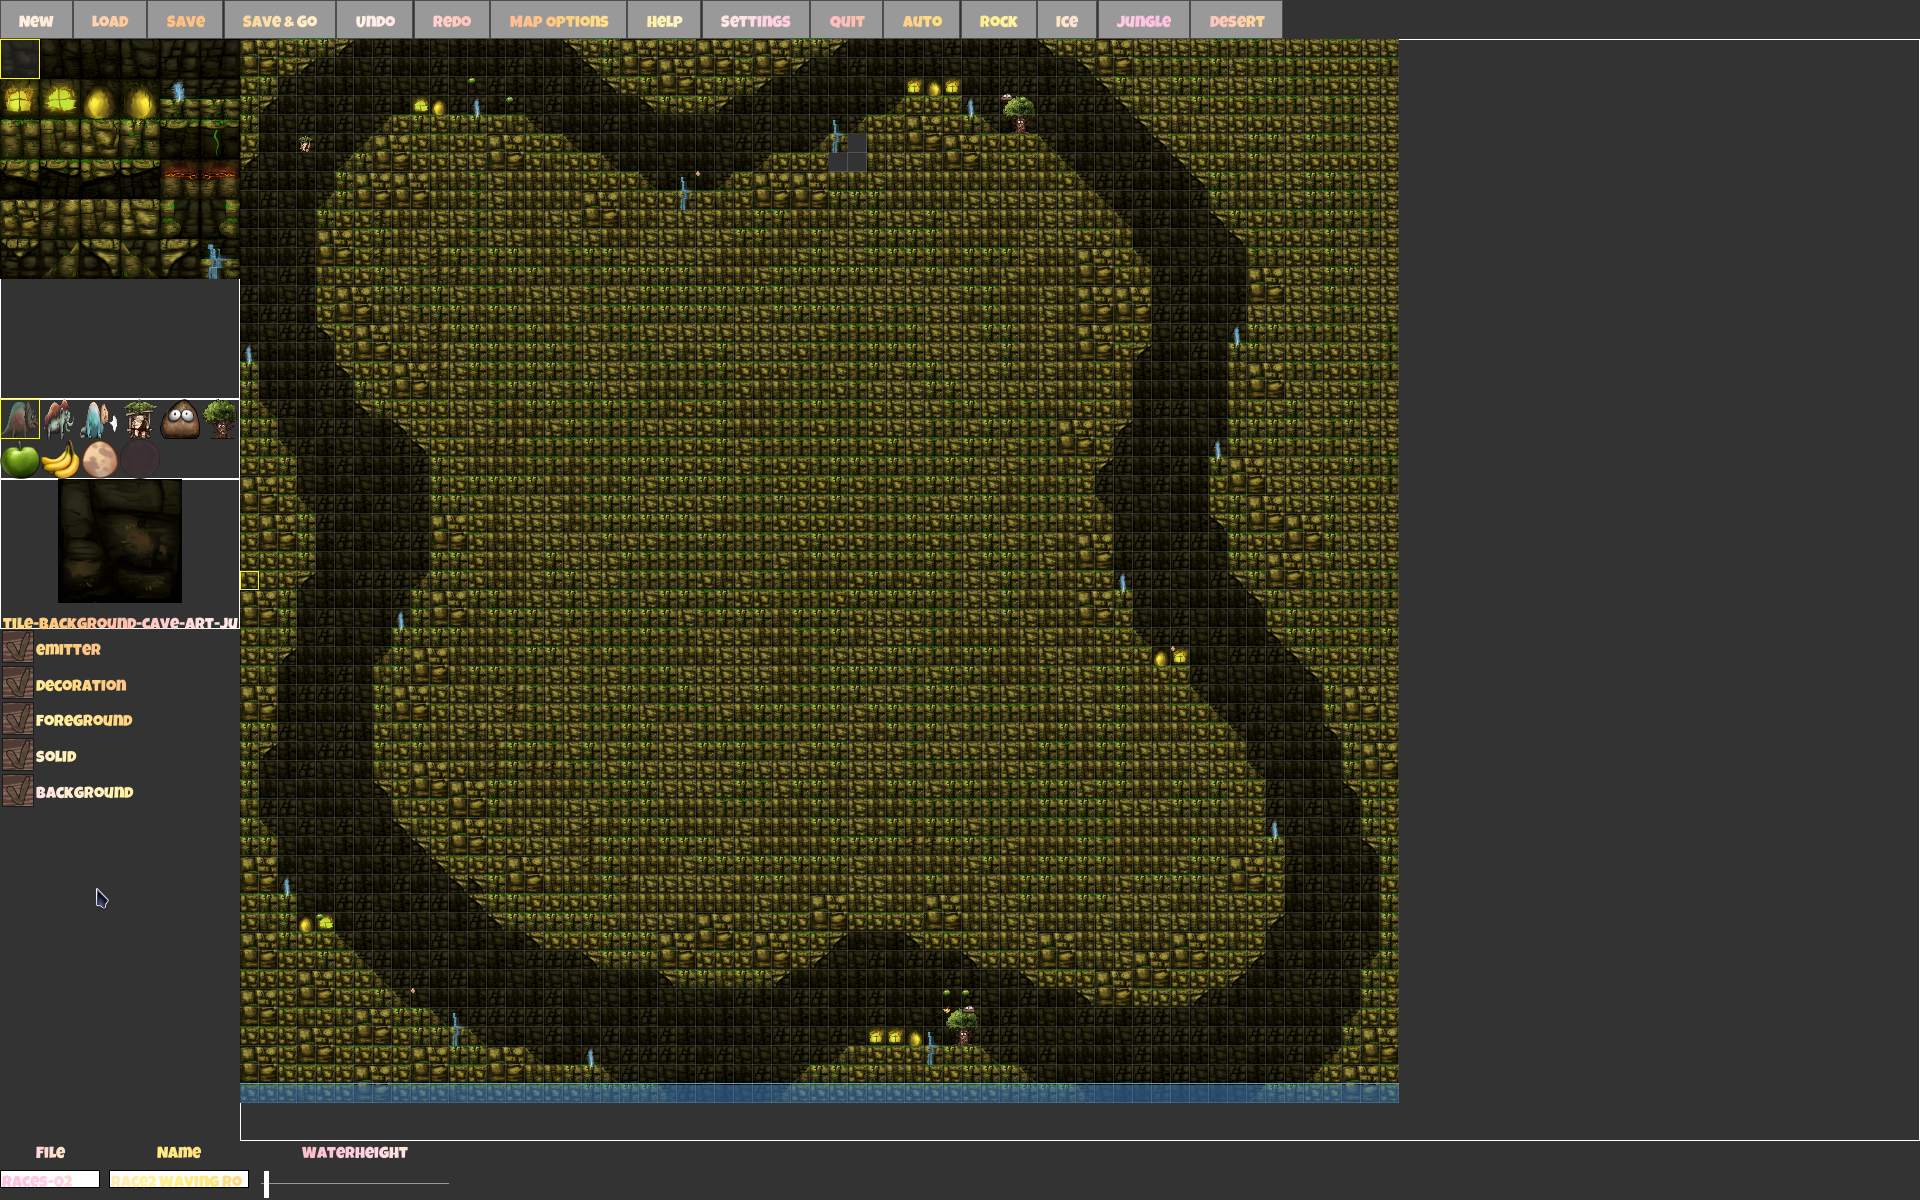
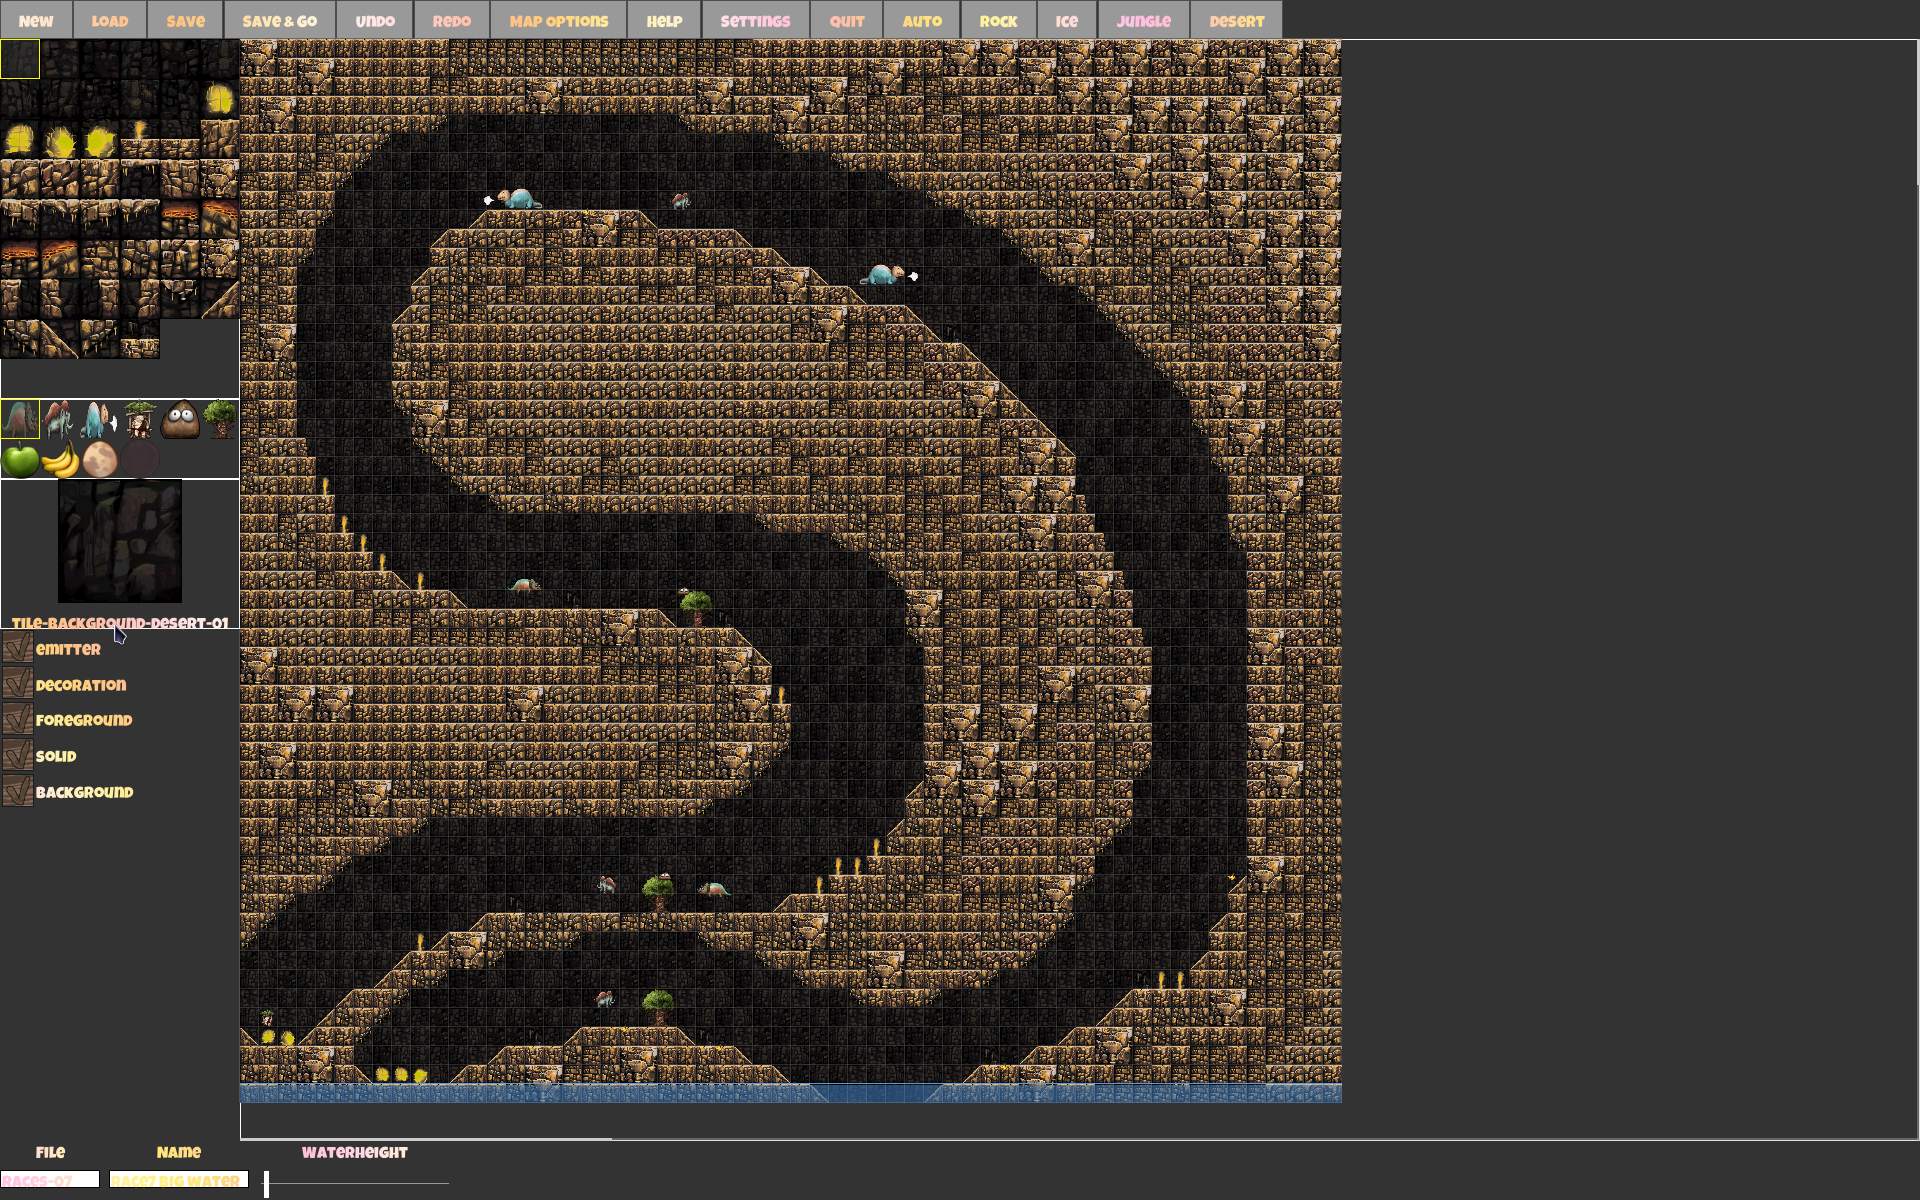
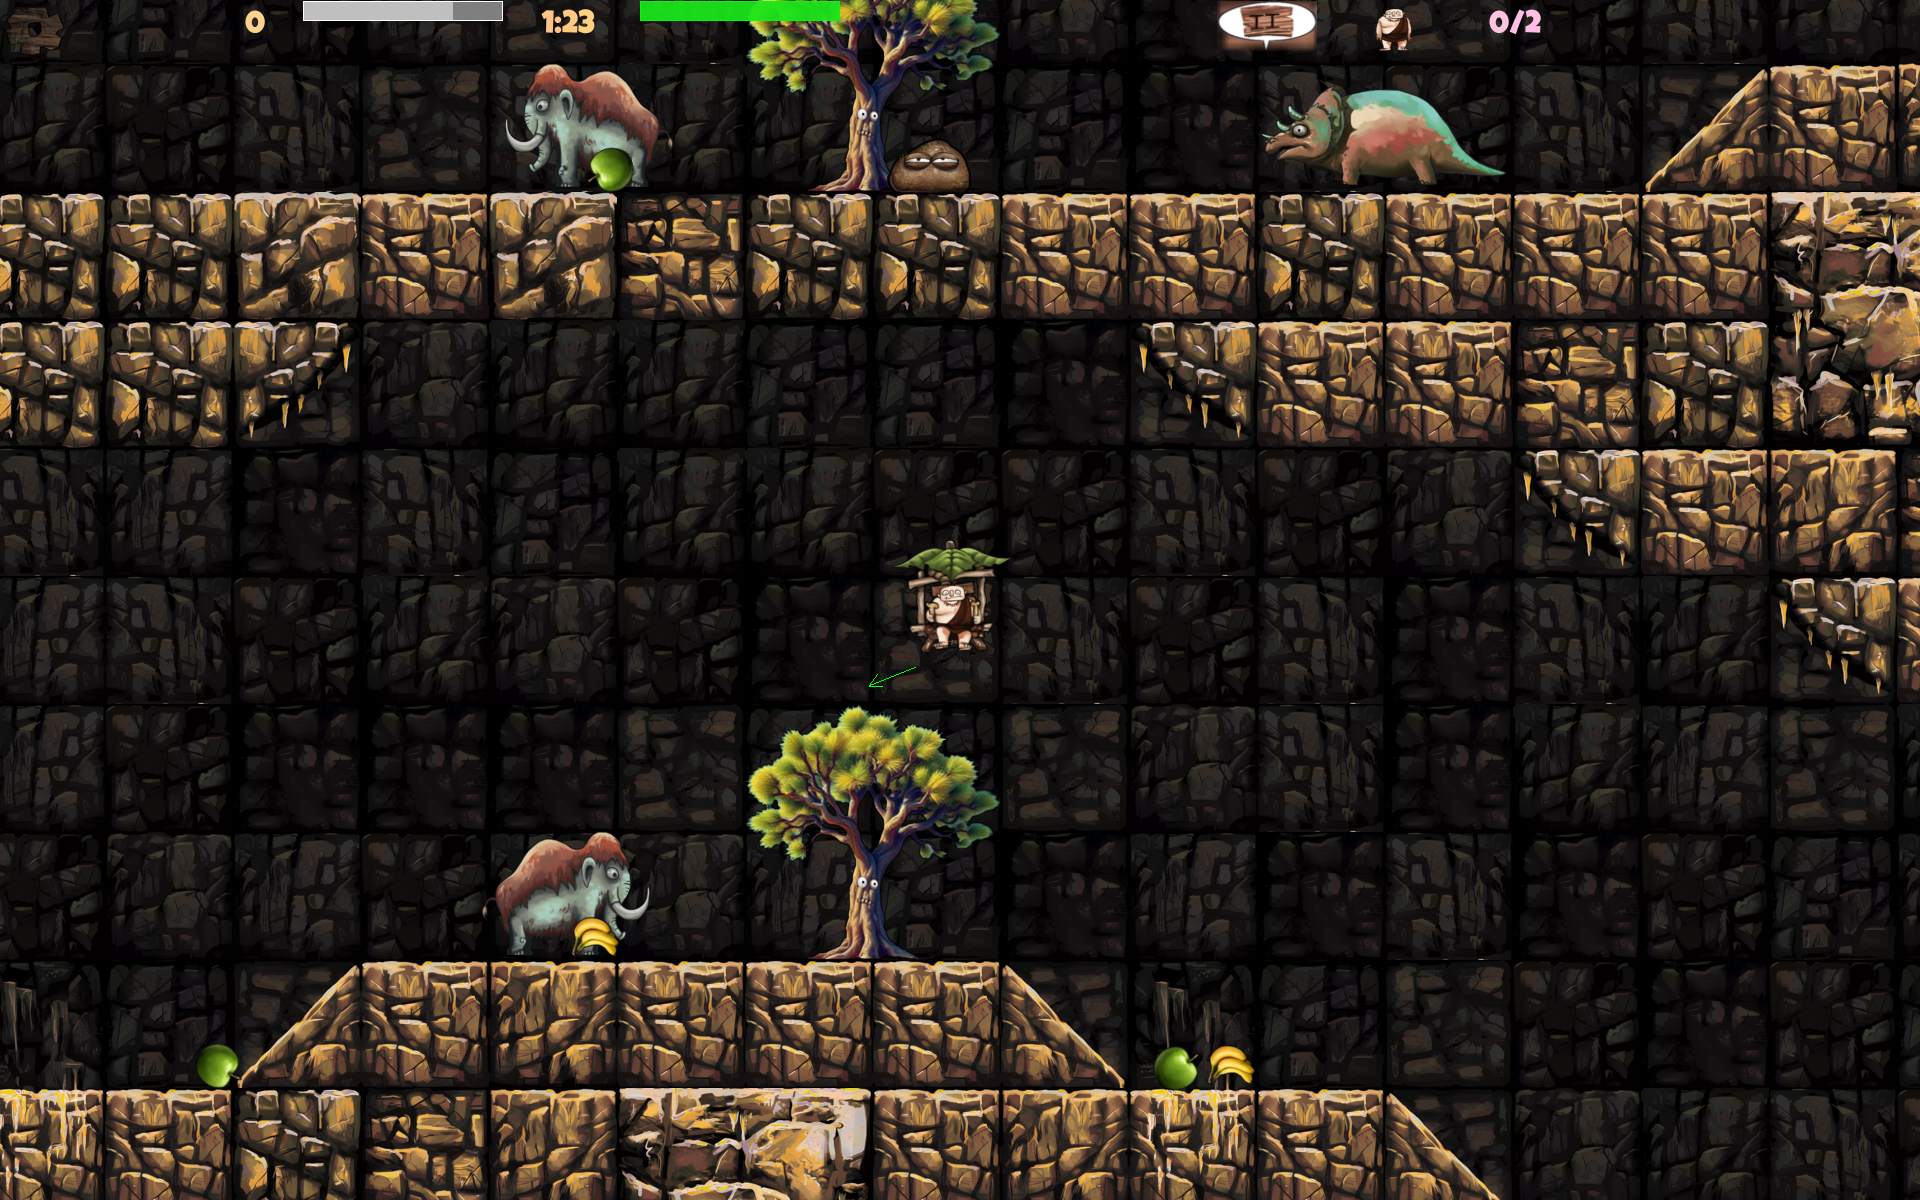
    I made over 60 maps and many changes including gameplay and particles.

    📂Sources

    Located here.
    Changelog with mostly my changes for 2.6 here.

    📜History

    Long ago in the 90s, as a kid I did play the DOS game Ugh! untill end and I liked it.

    Still in the 90s I did program a simple box flying game with a sinus wave below, for 2 players. Hitting each other for score. It’s even visible here on 1st screen under VGA 320 x 200.
    I even did start programming something similar to Ugh, it was called by me: Fly&Ants (also on screen here, far right side, middle row). It was meant to be Ugh style, of flying in 2D, but with a fly🪰 (looked more like a cow), that would transport ants🐜 between huts on trees. Yeah, it didn’t last long, but was a very nice demo. It featured a couple of new gameplay ideas: a cloud with rain🌧️ that pushed down, it had a thunder with lightning🌩️ sometimes, that could hit player. You could dive under that tree. And there was a new fountain⛲ with many particles. Including a type that was auto aiming at player. It did push away and you could float when directly over it. Also made scenery wet.

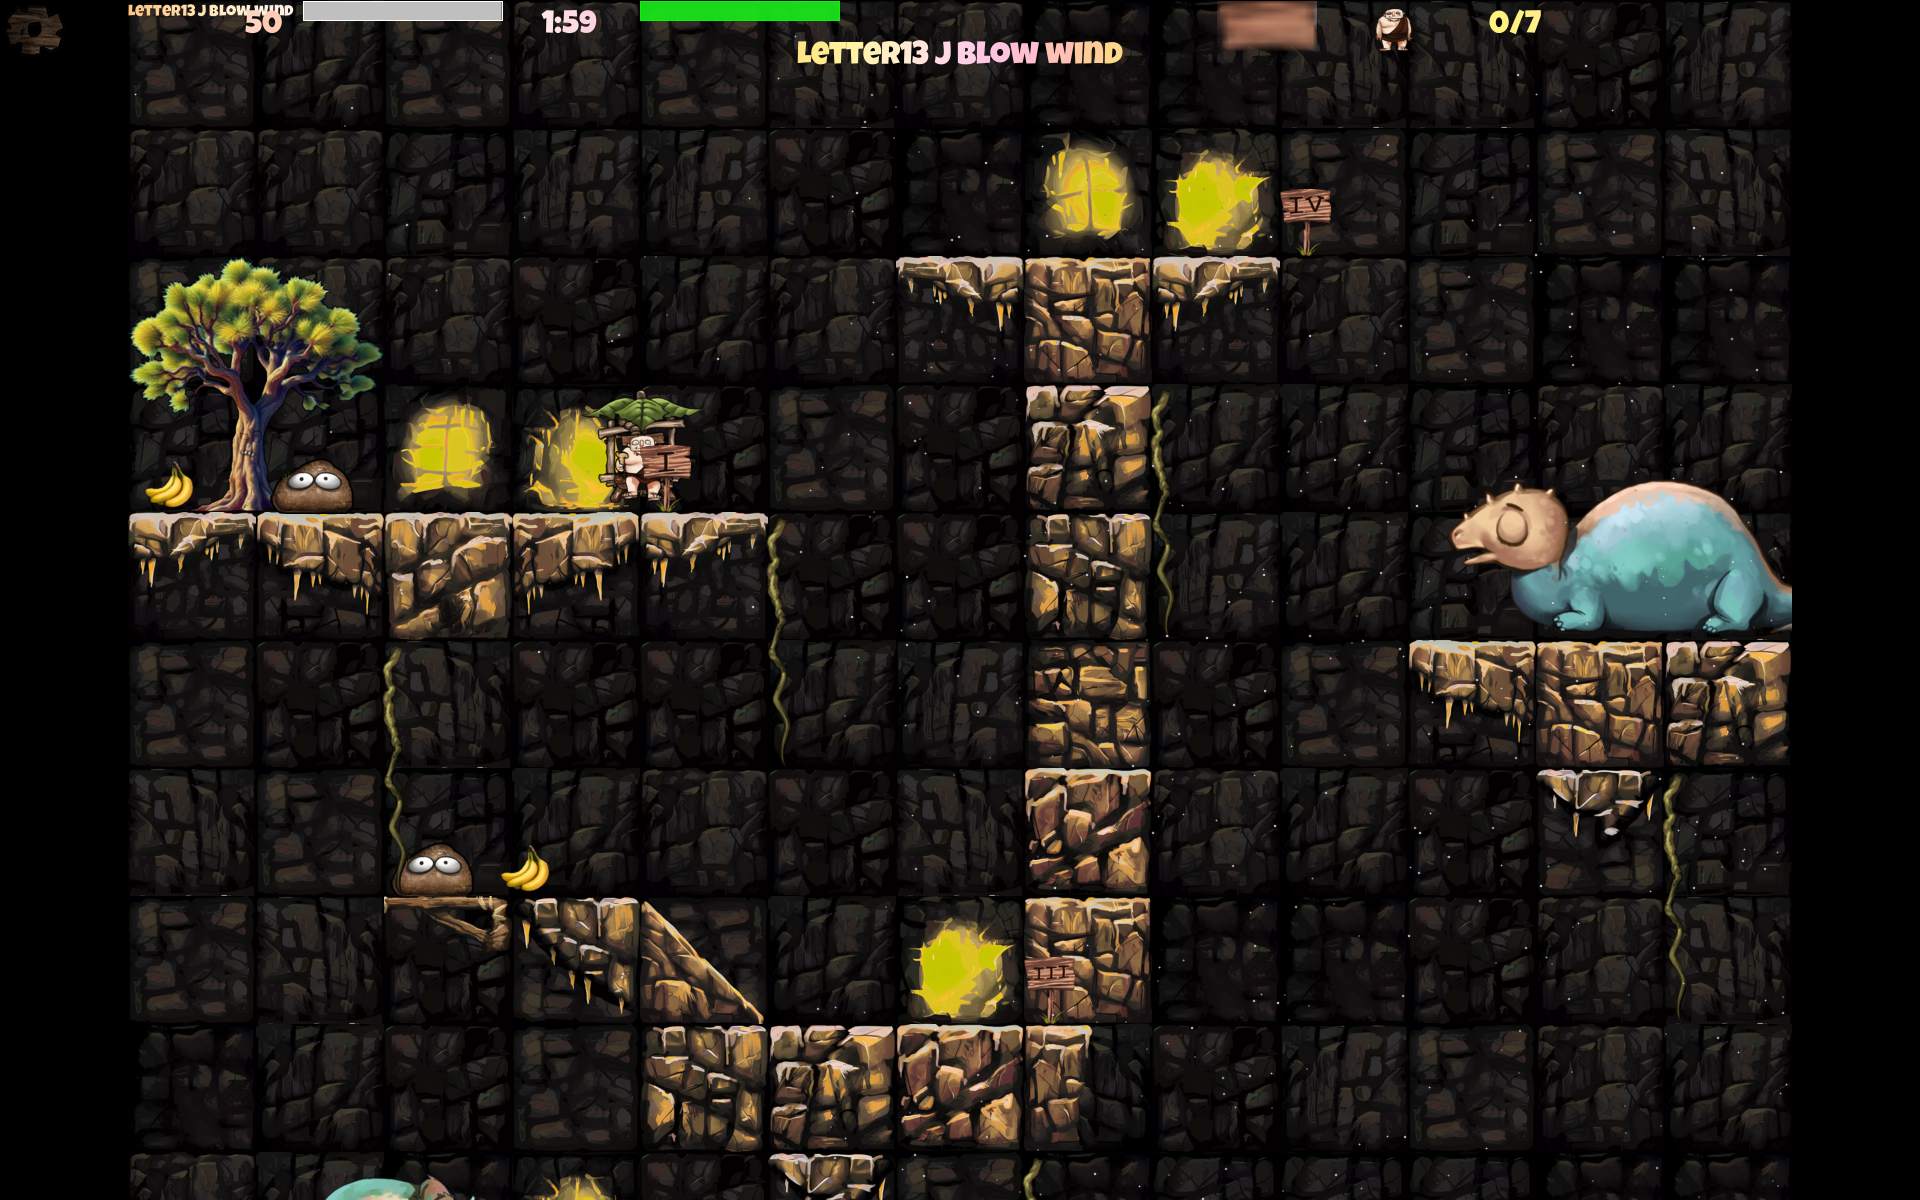
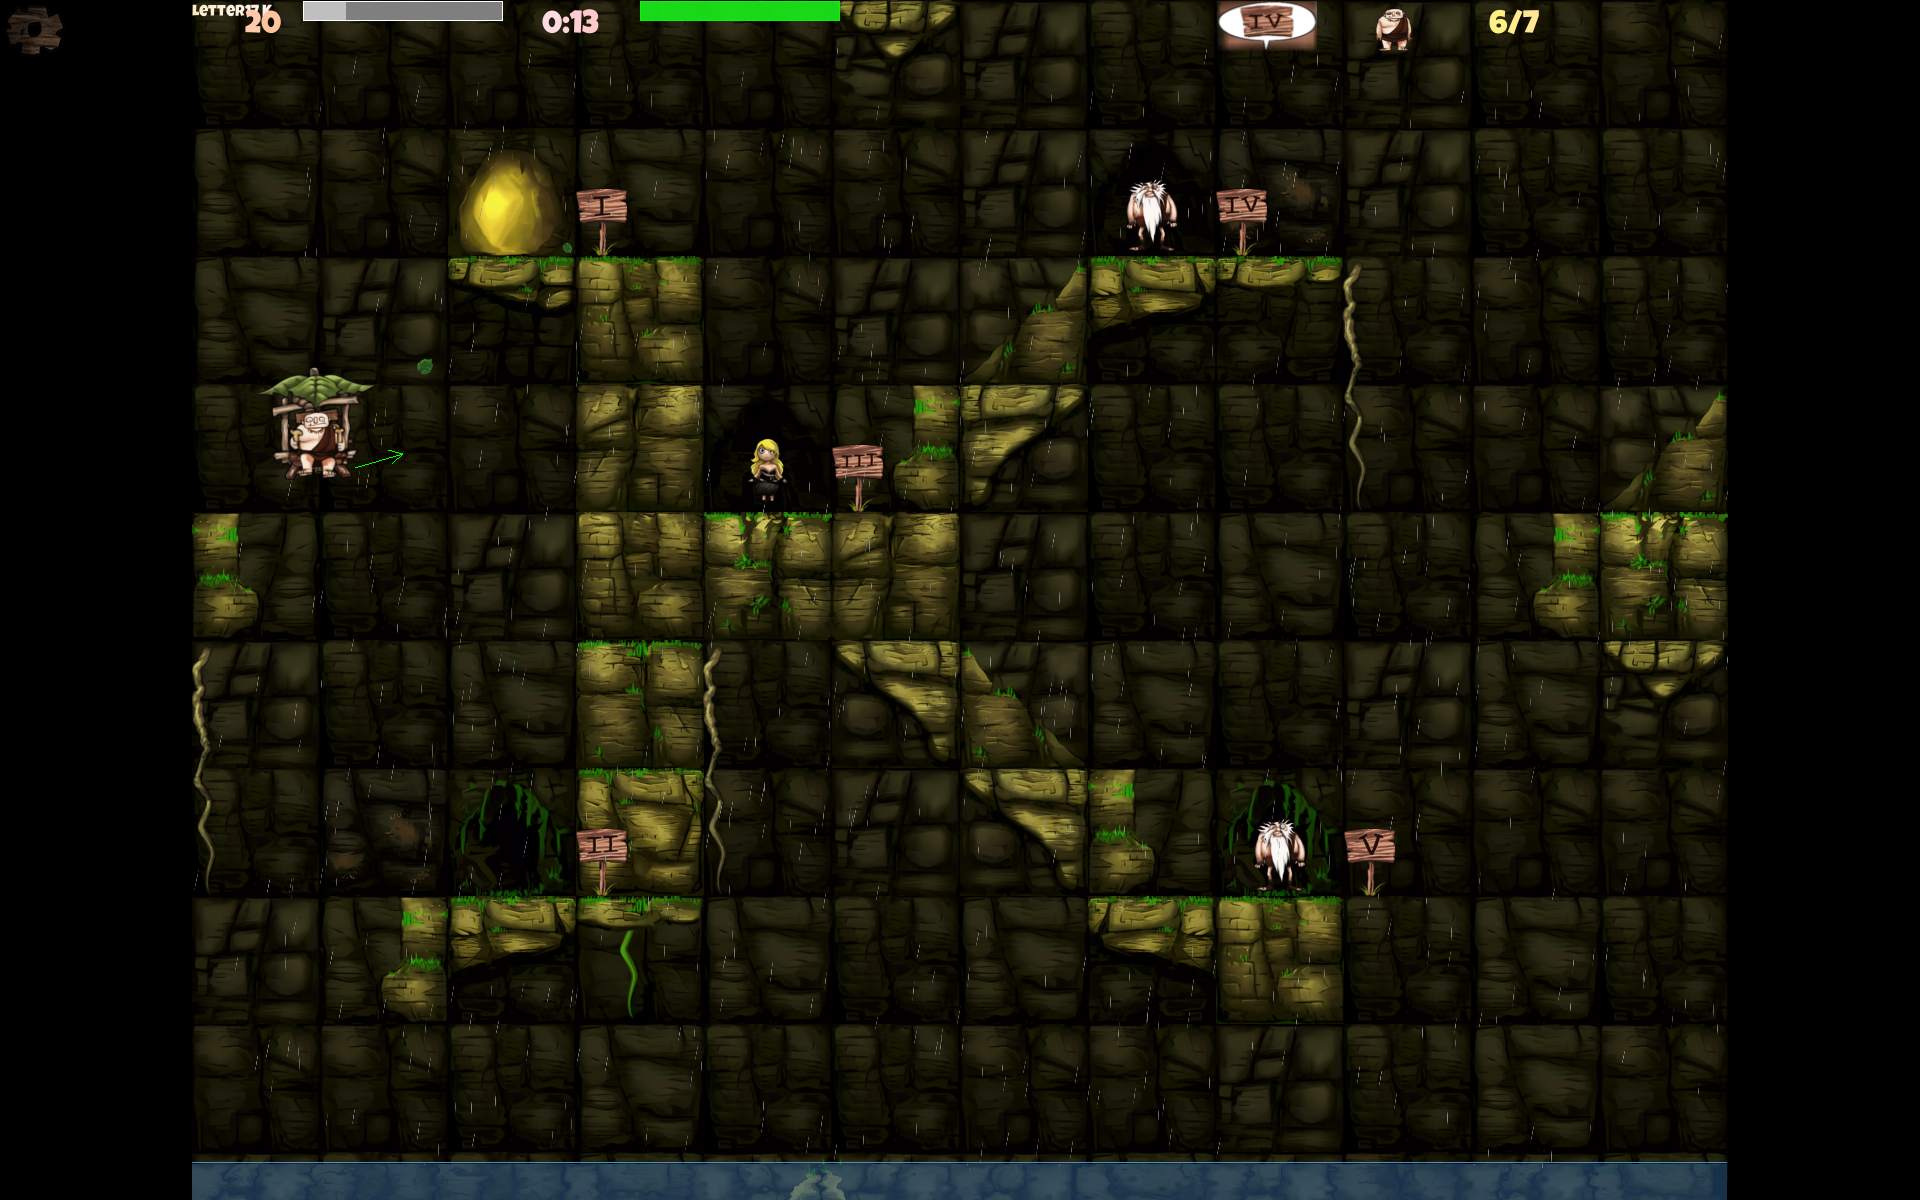
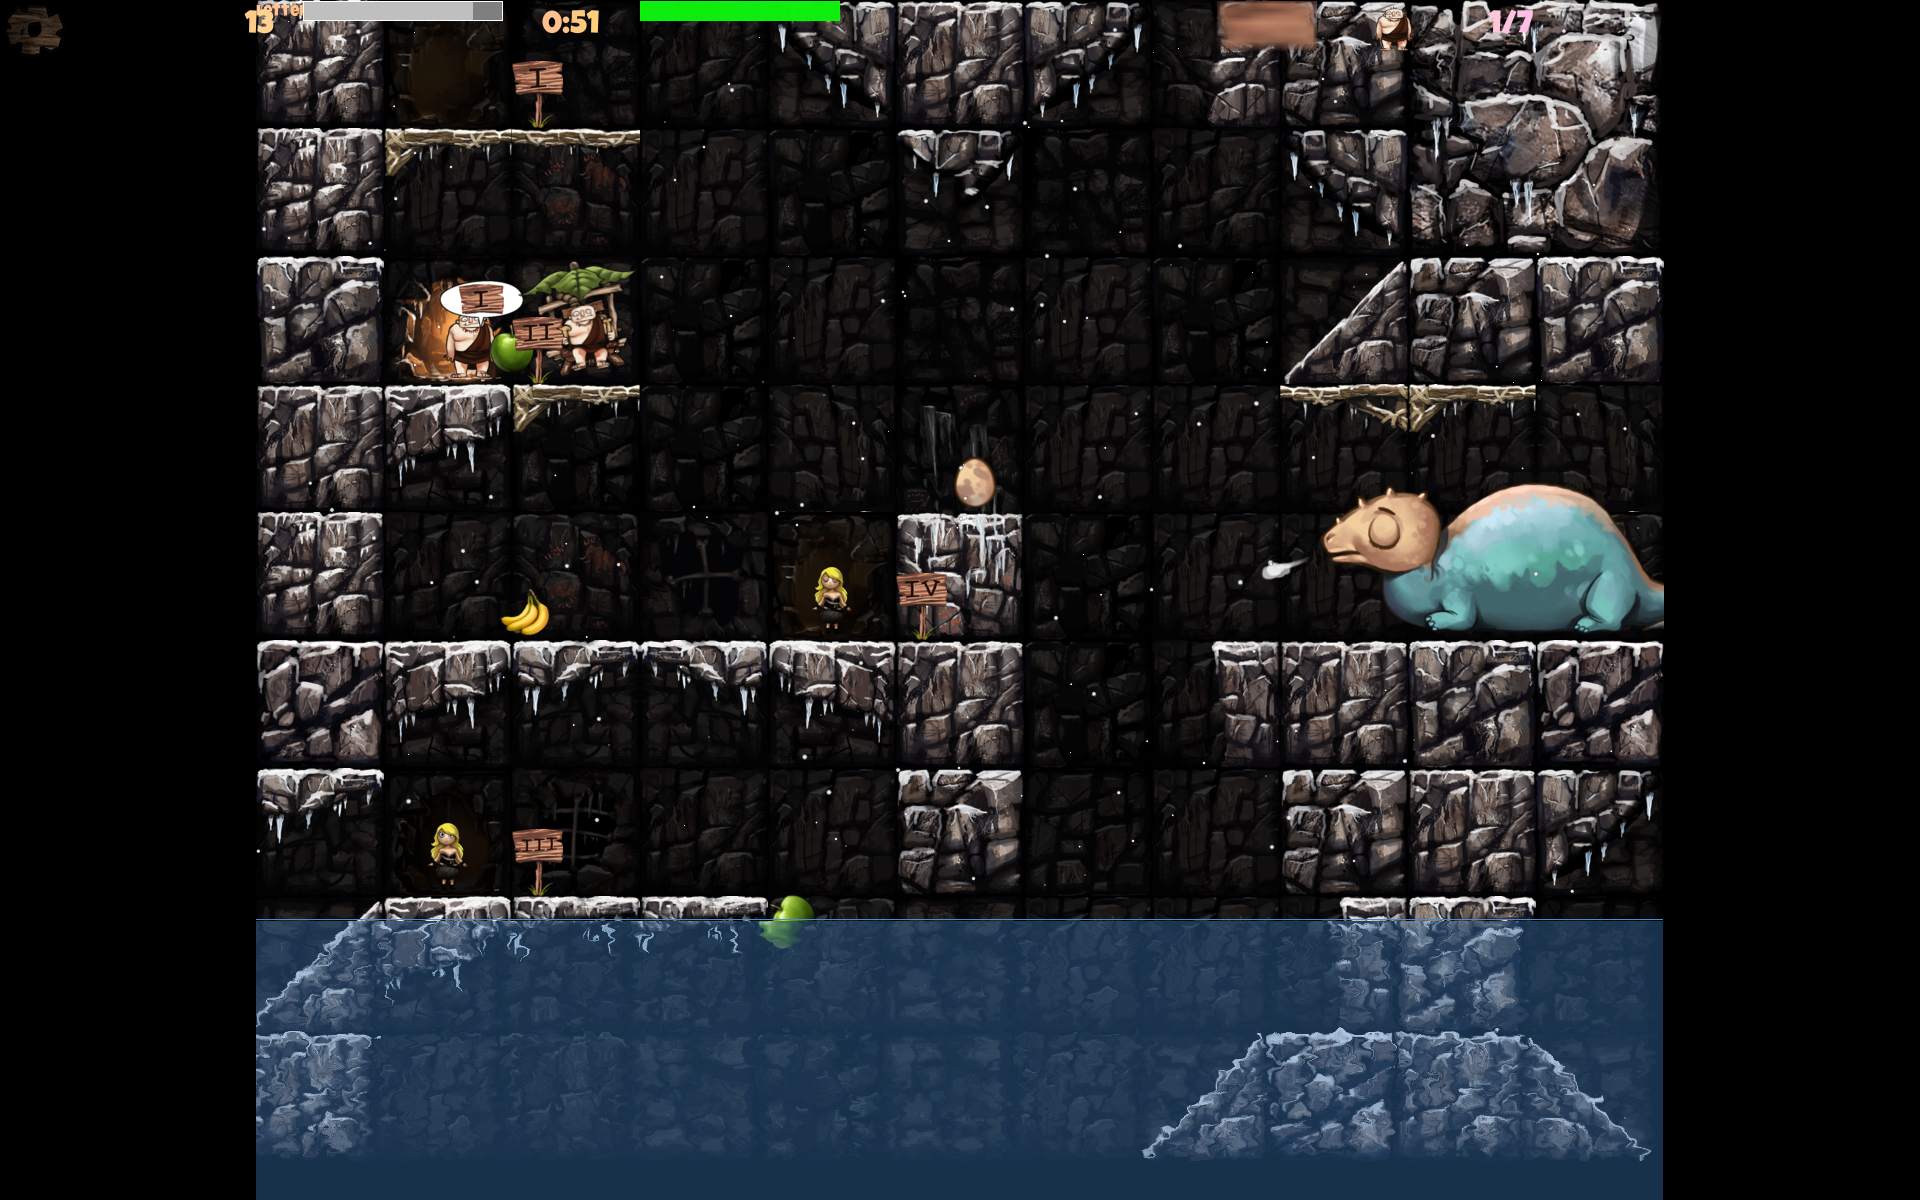
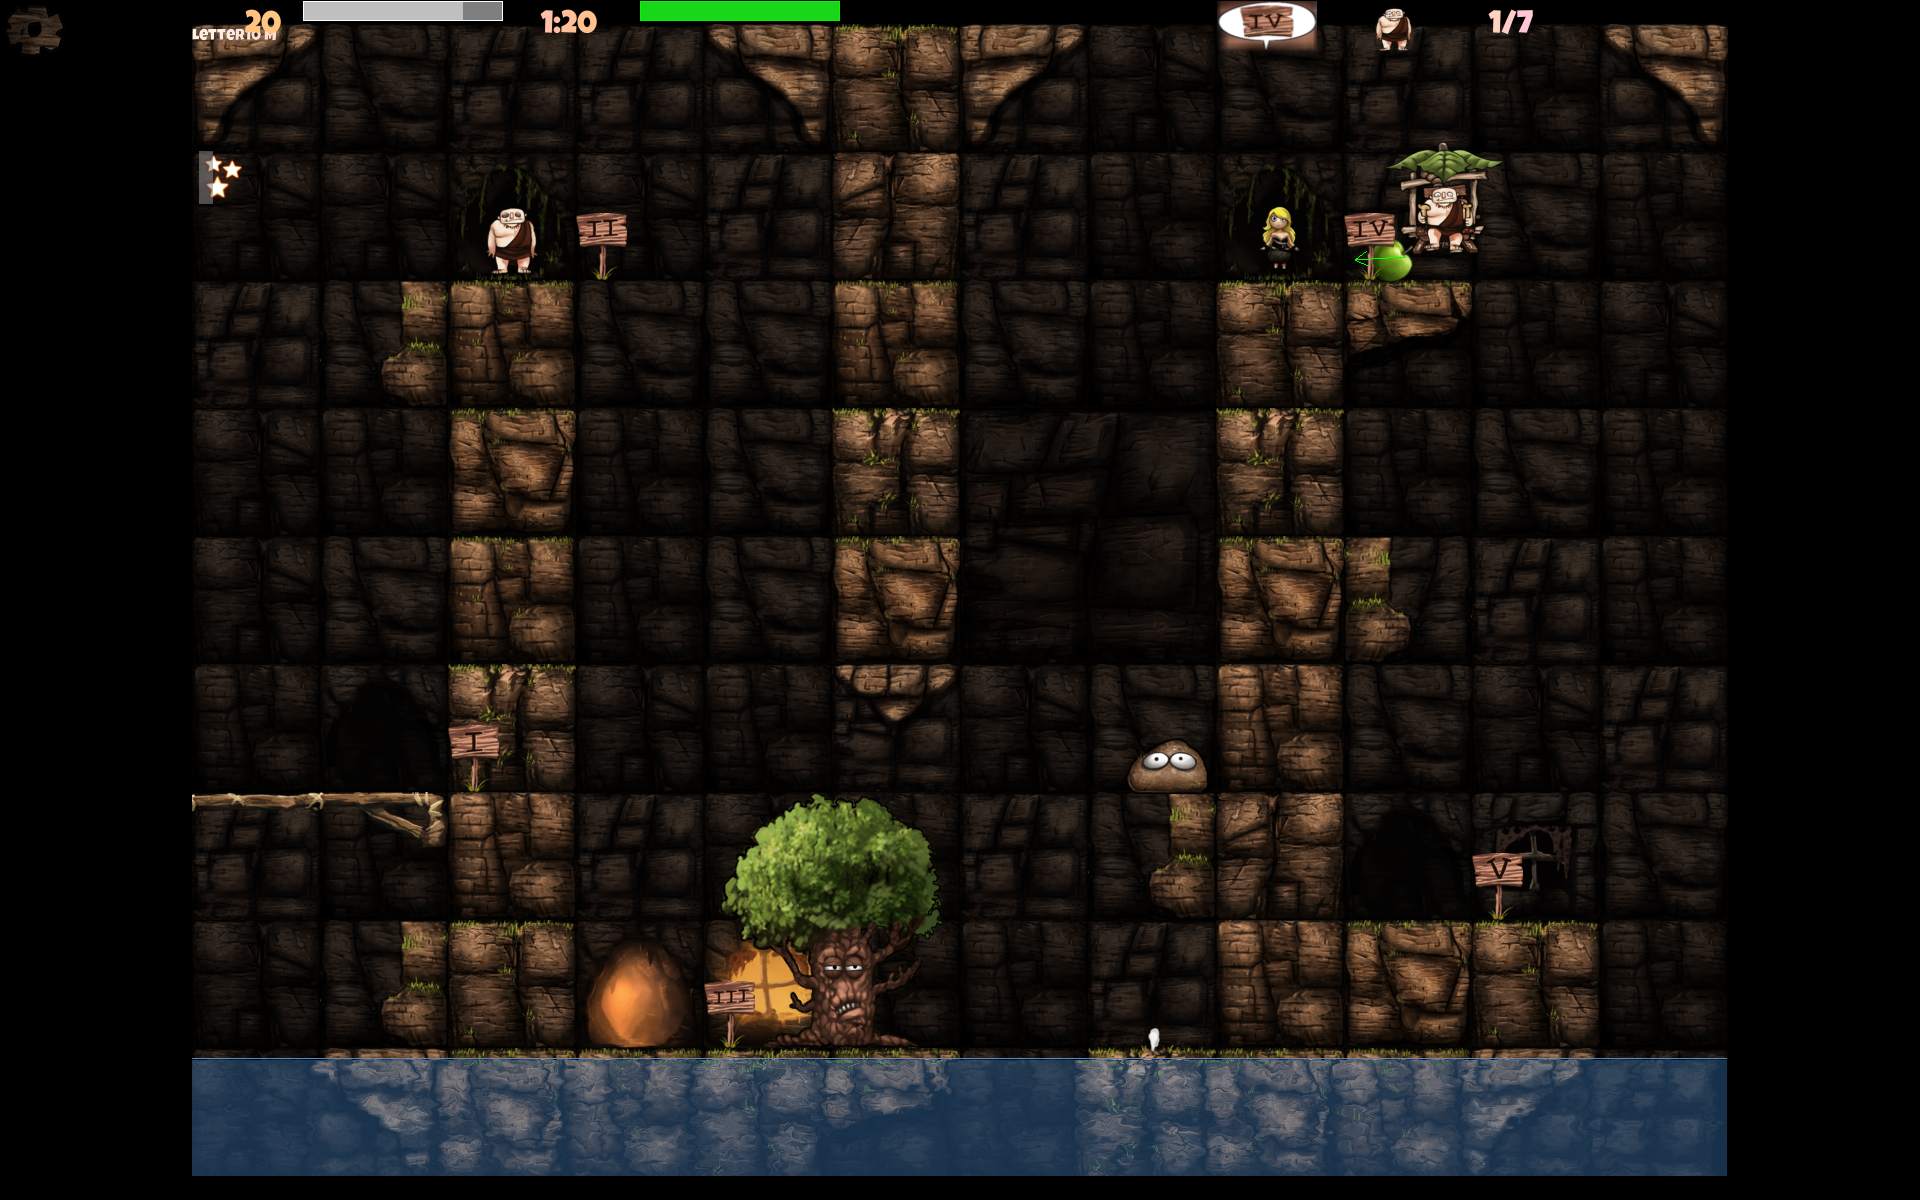
    📝Motivation

    In 2015 I played CaveExpress, probably not long after it was made. I liked it, but I missed more of the style of Ugh gameplay, and flying was slower too.

    In 2025, after years of being busy developing Stunt Rally and making a break from it, I played CaveExpress again, it felt a bit short. And I realized I can improve many gameplay things.
    The game is available on smartphones and in web browsers. Thus I think it was easier and slower for playing on smartphones with touch. IDK, didn’t try, I don’t need or own any😁. This felt less playable for me on PC, and also when compared to old Ugh.
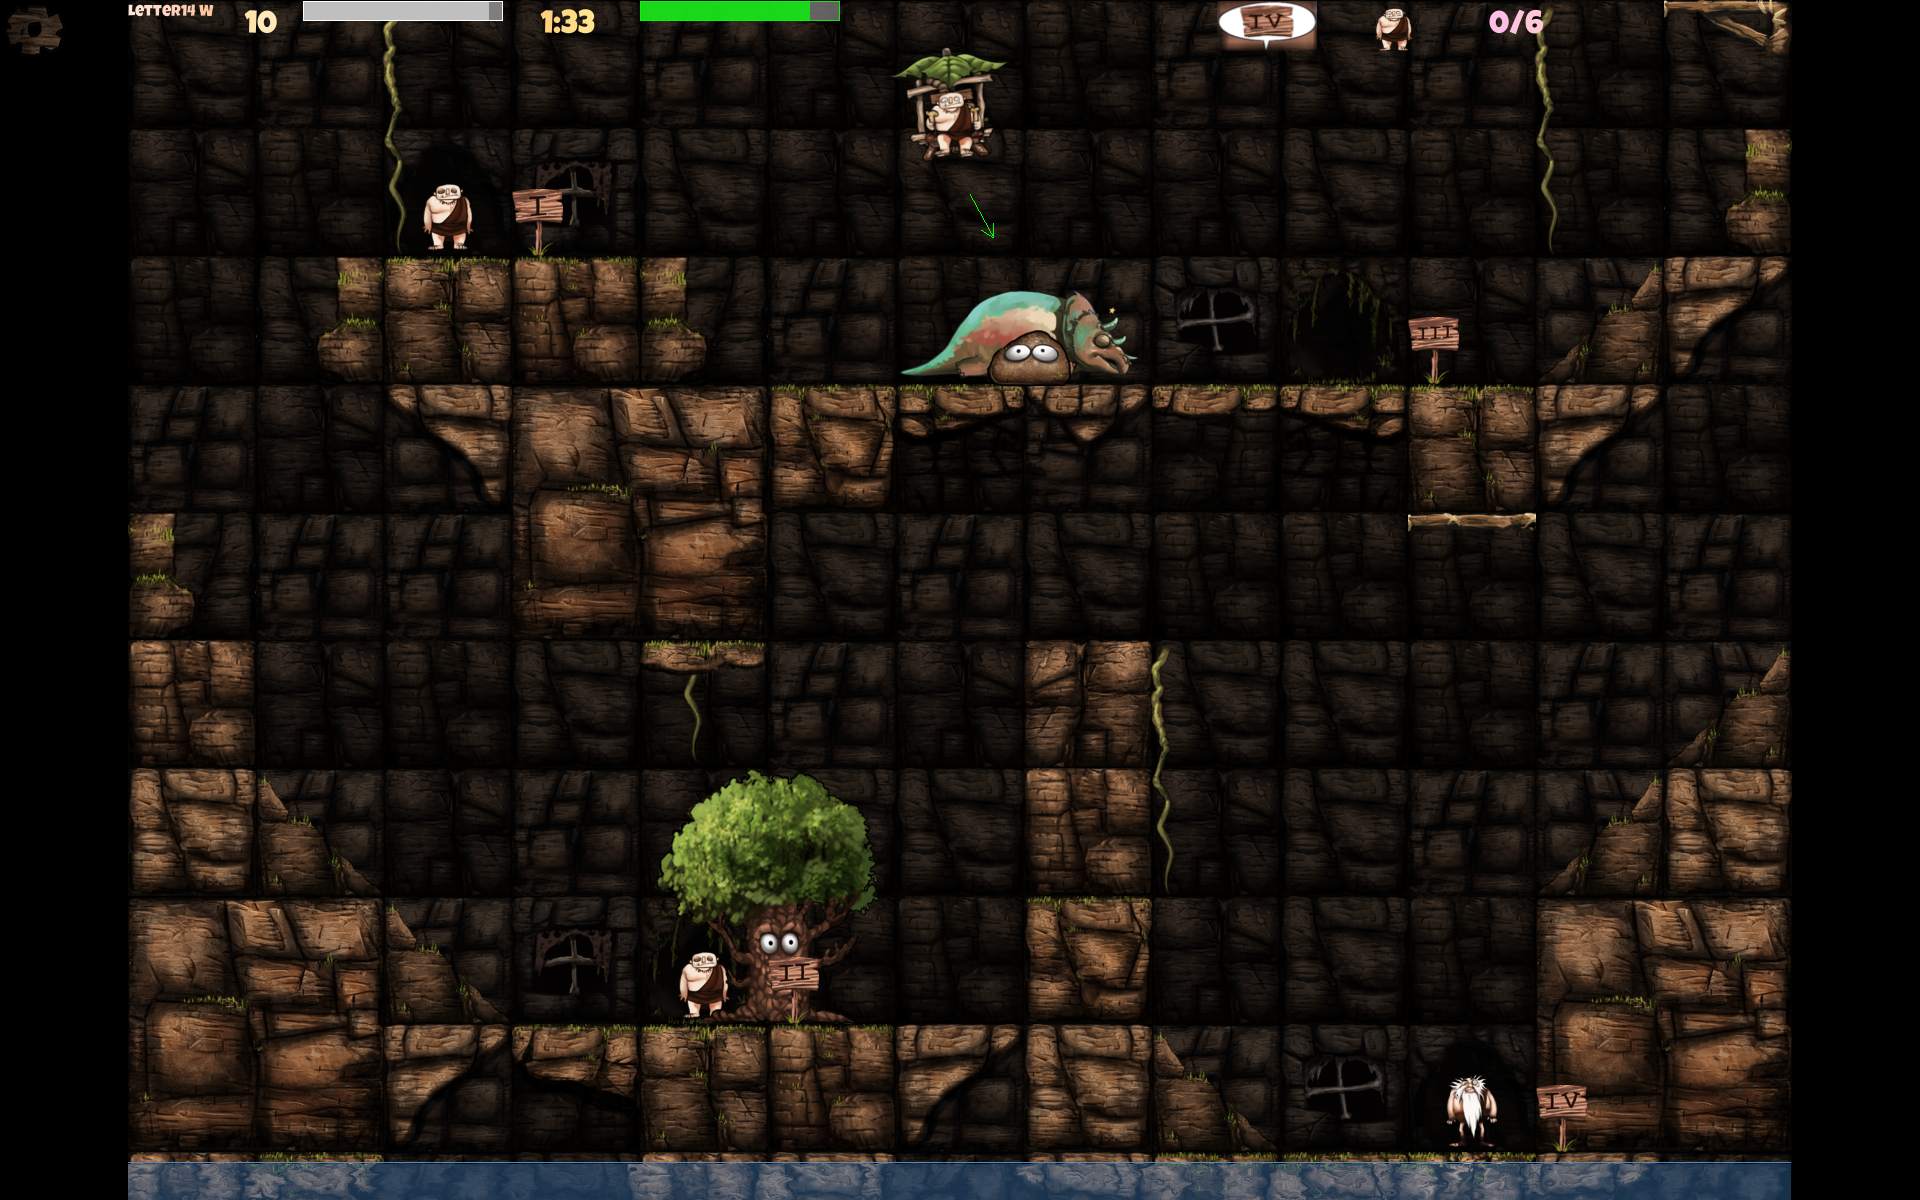
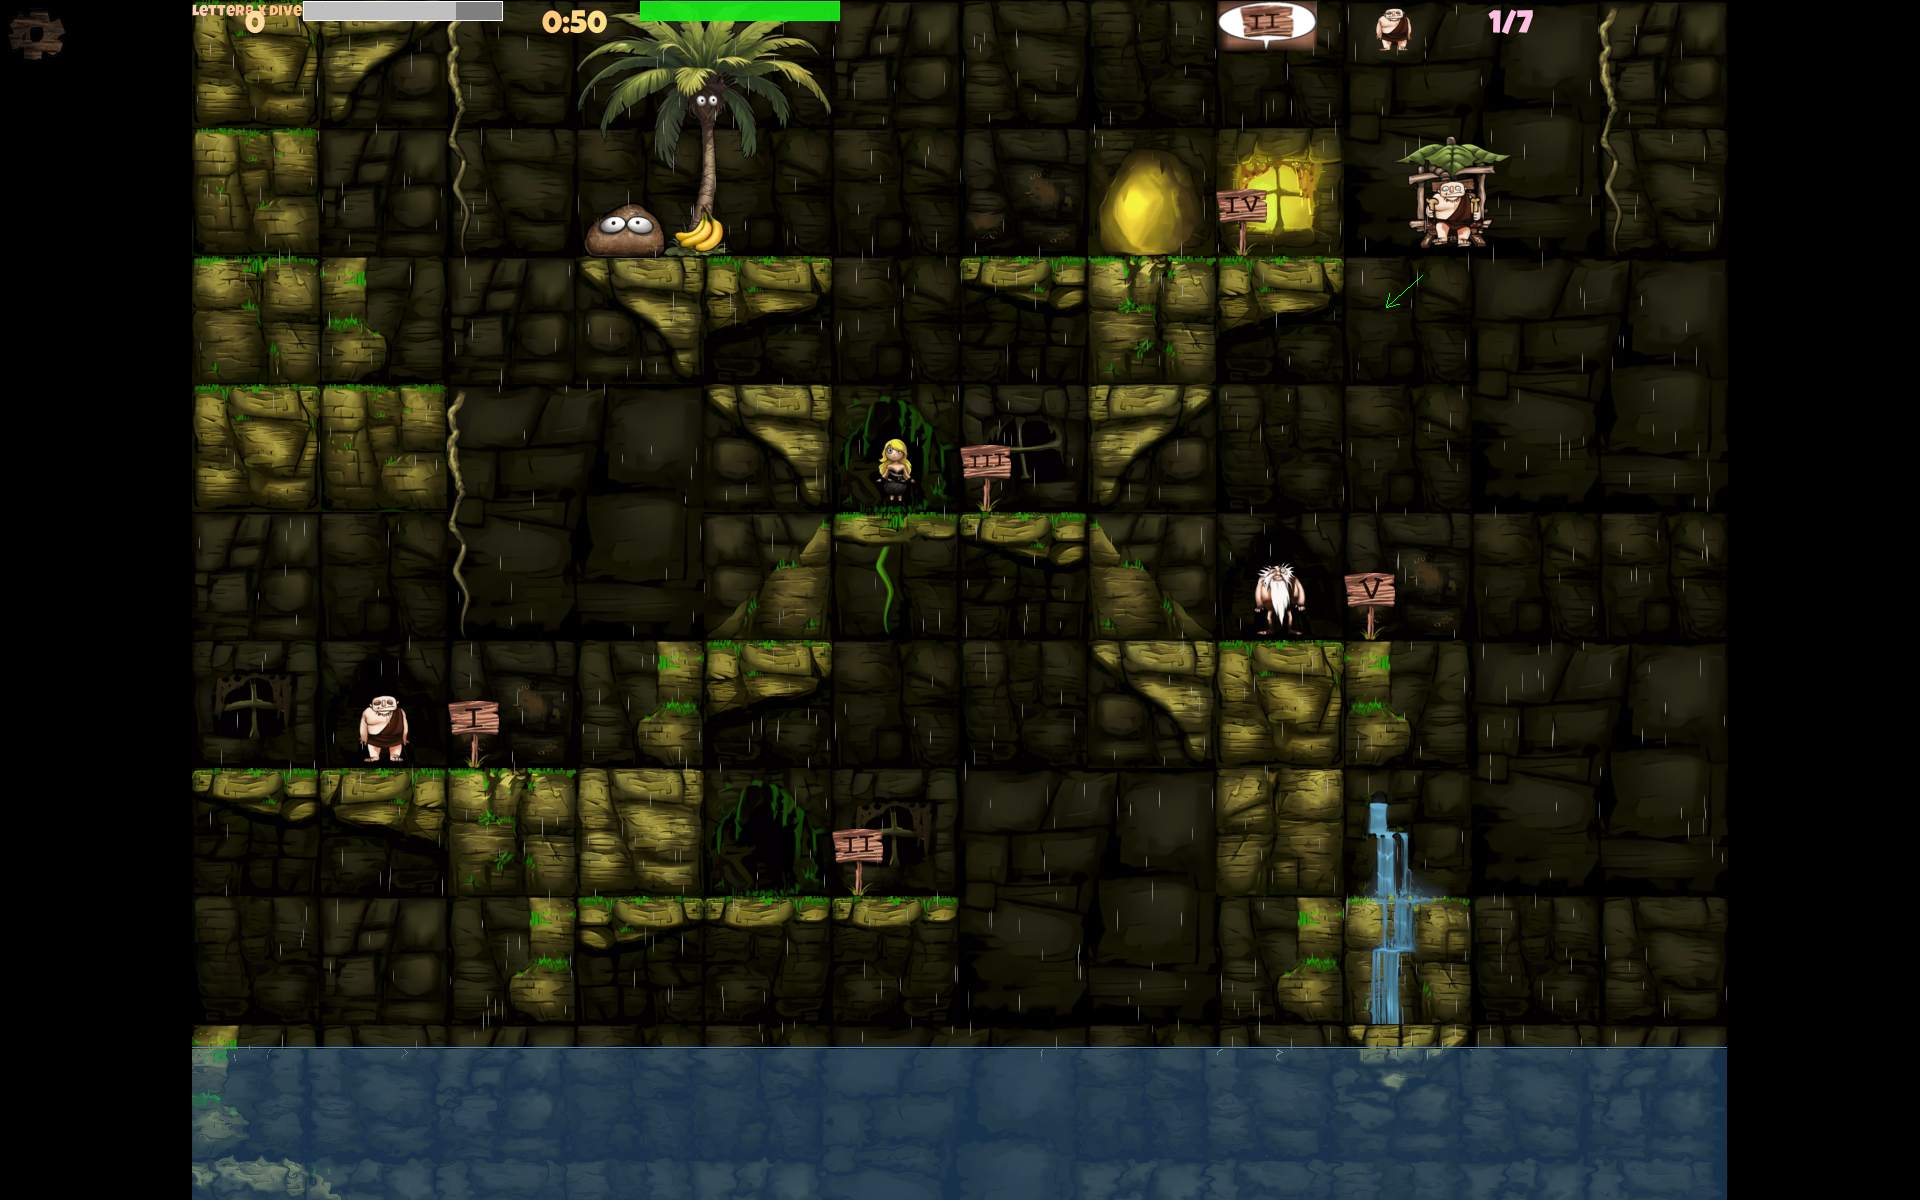
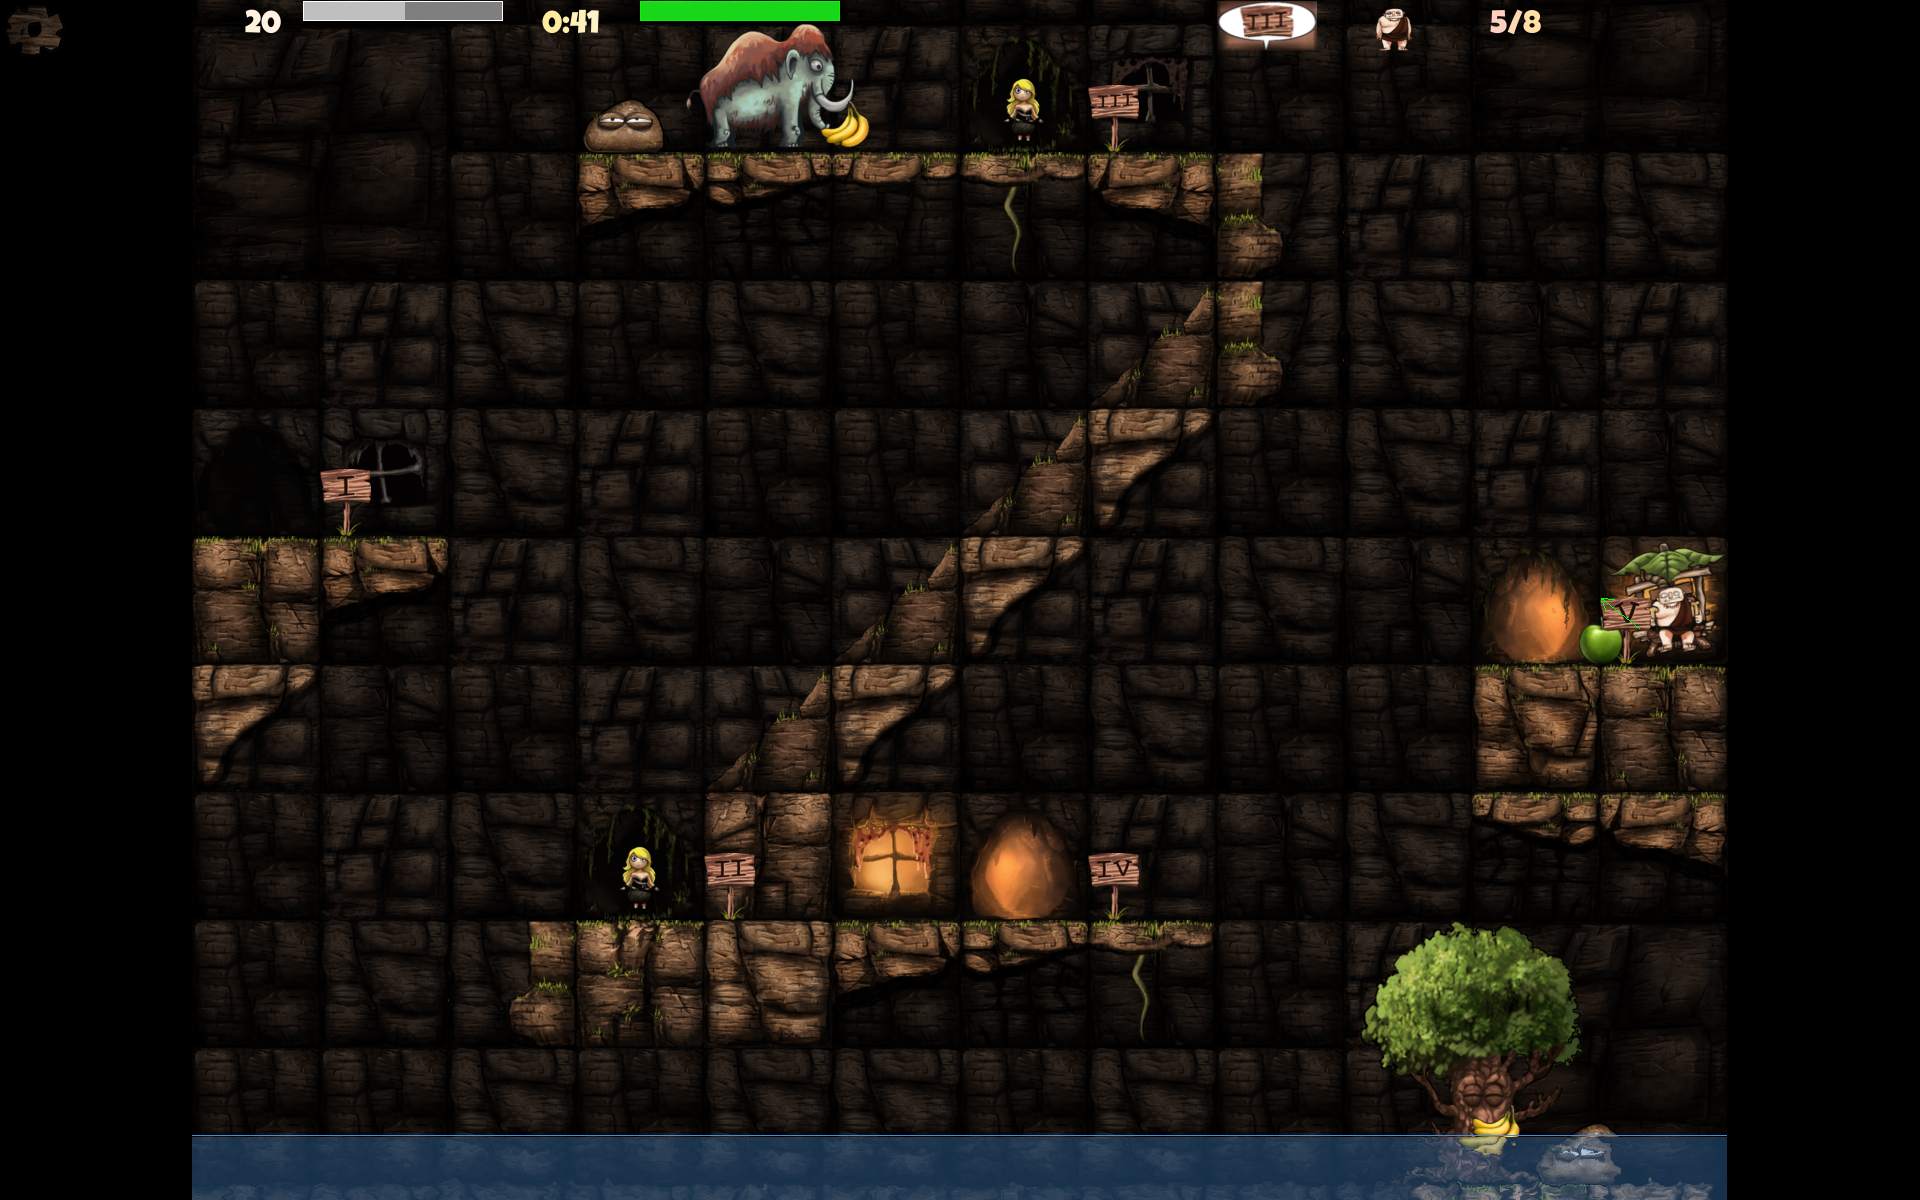
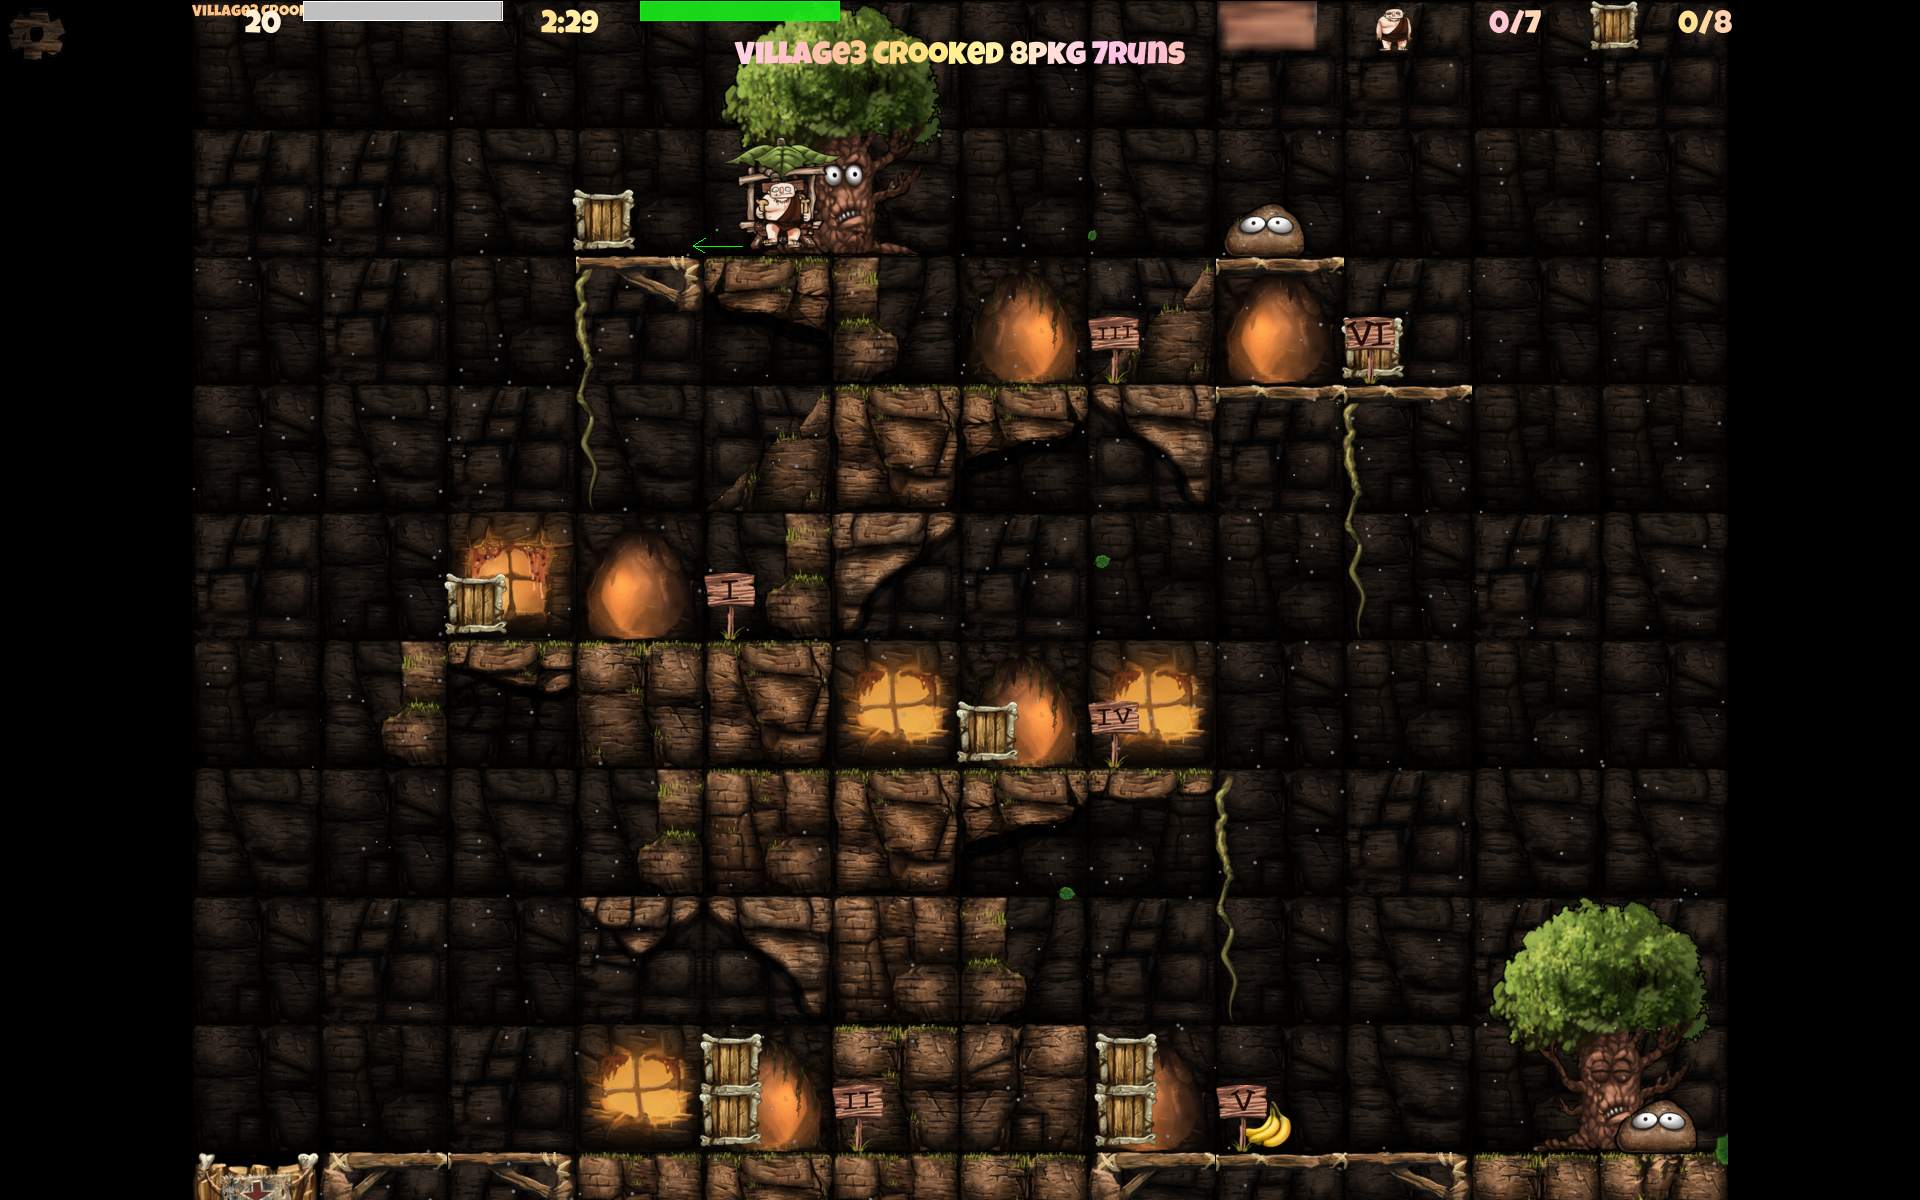
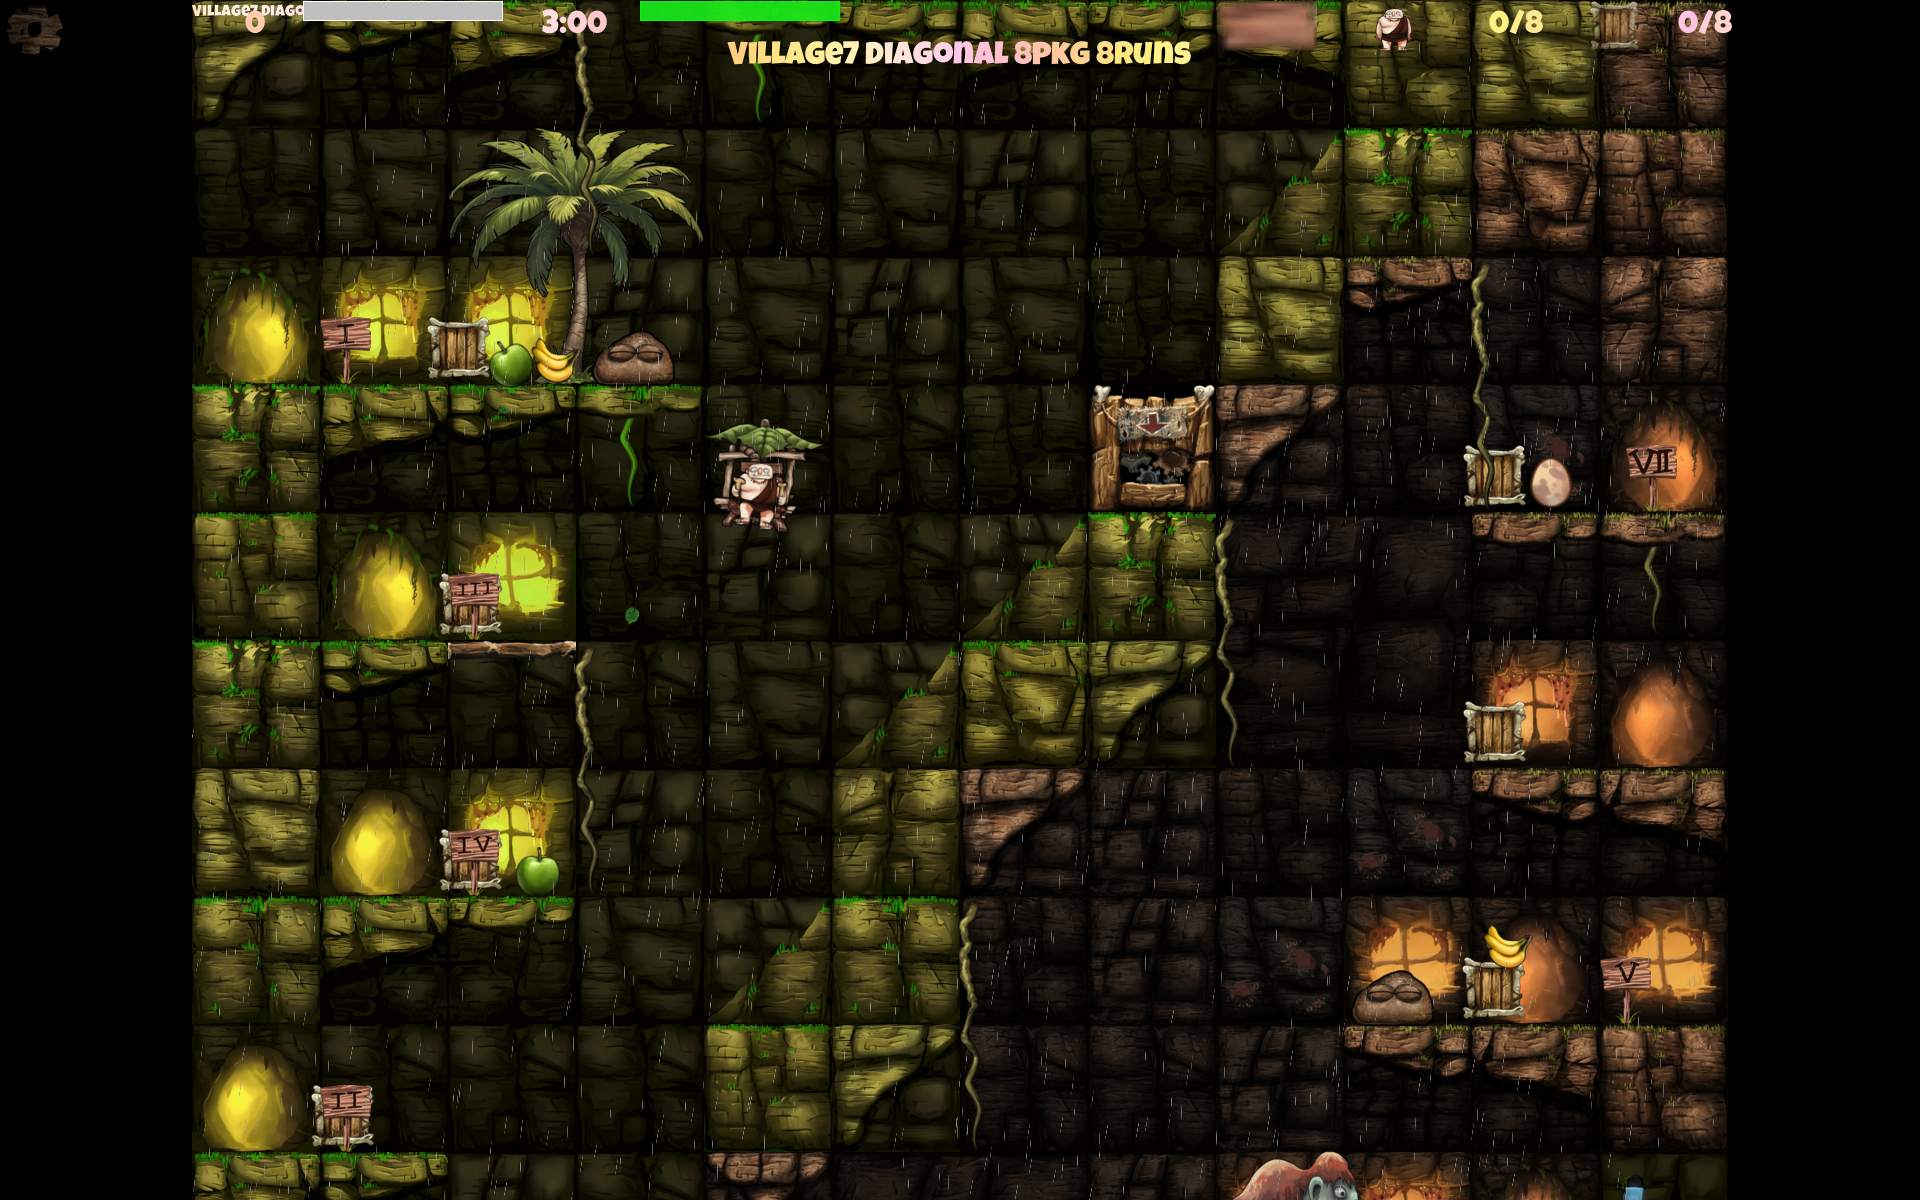
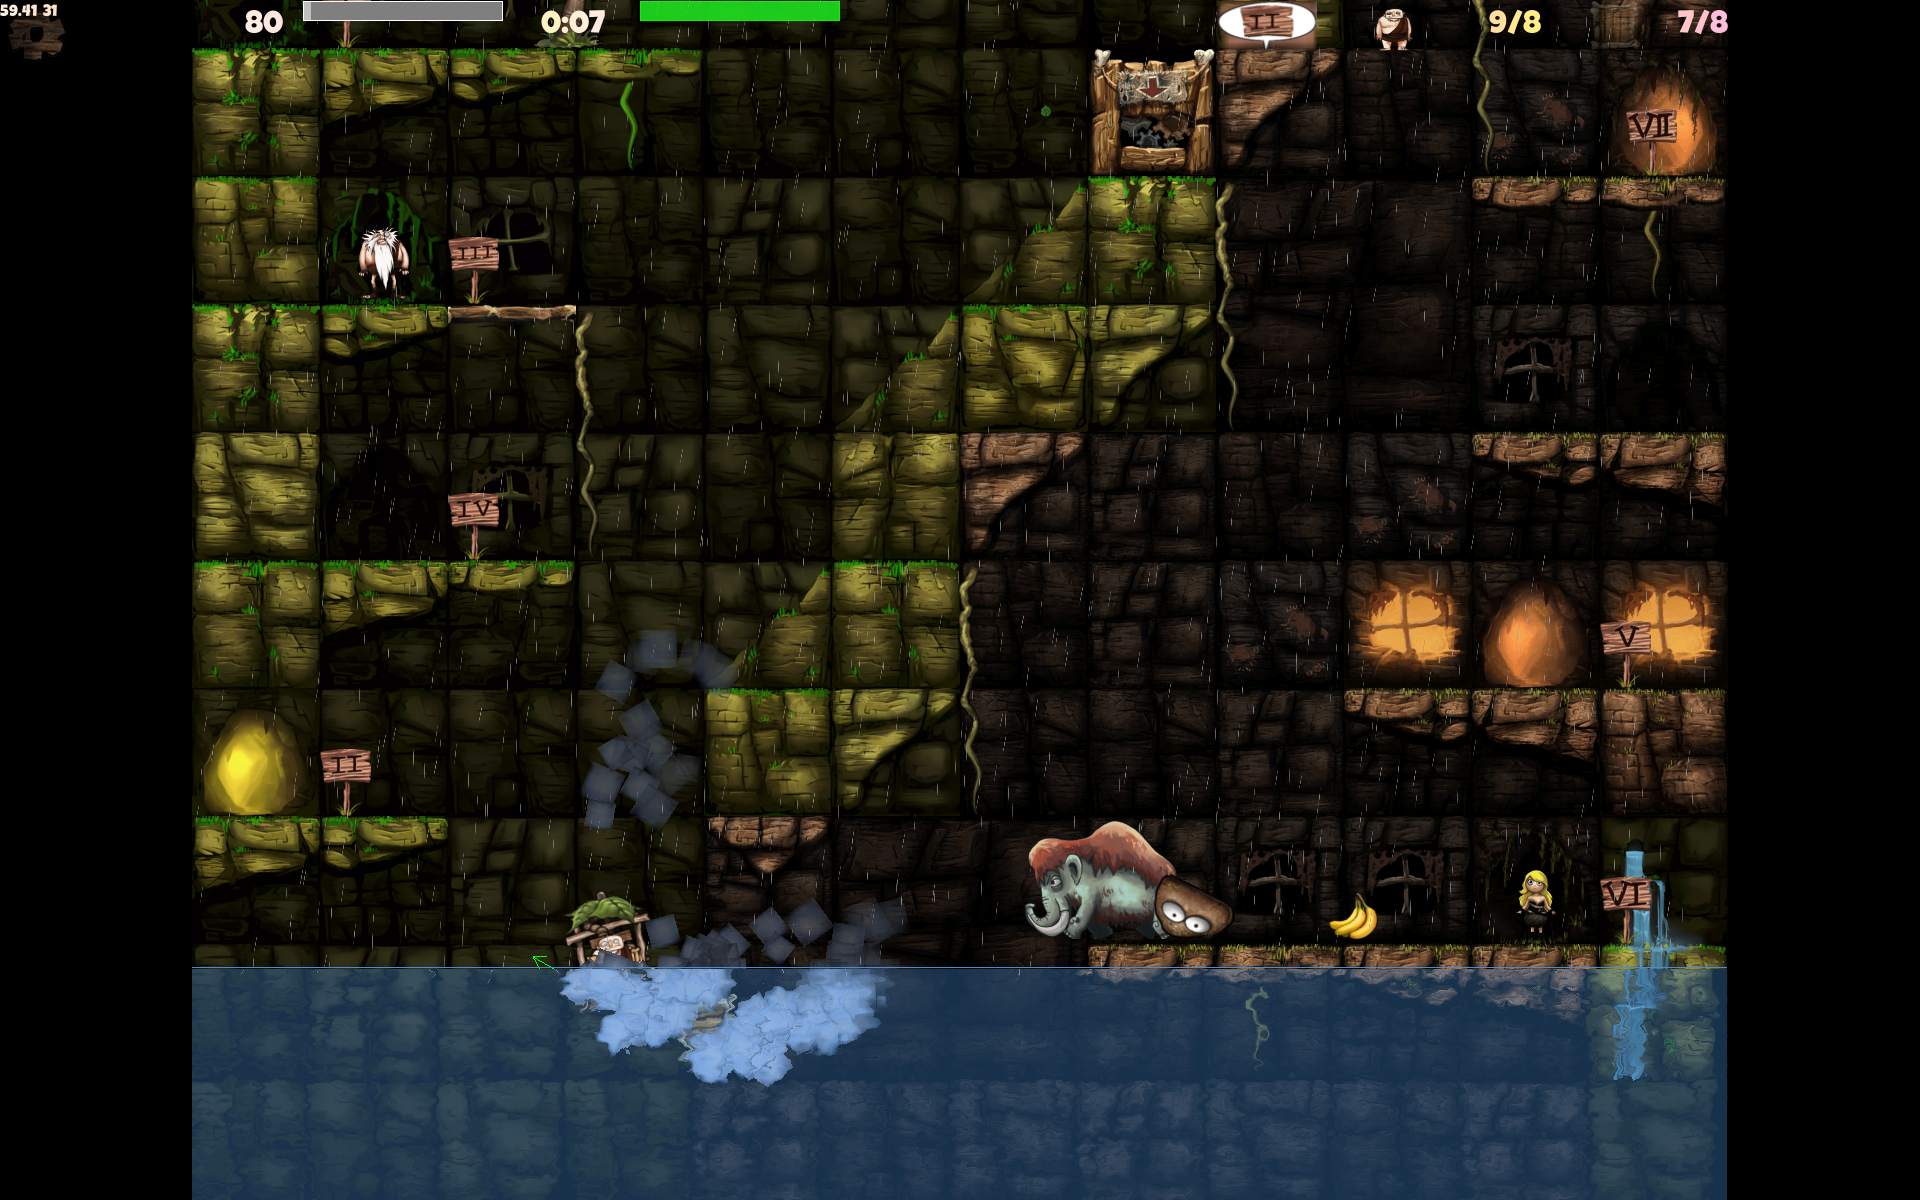
    CaveExpress also features this new gameplay with box packages, to fly them to crusher (target). It has about 90 levels with this type. But had just a few with the Ugh type of transporting people between platforms (called Taxi here).

    🔍Details

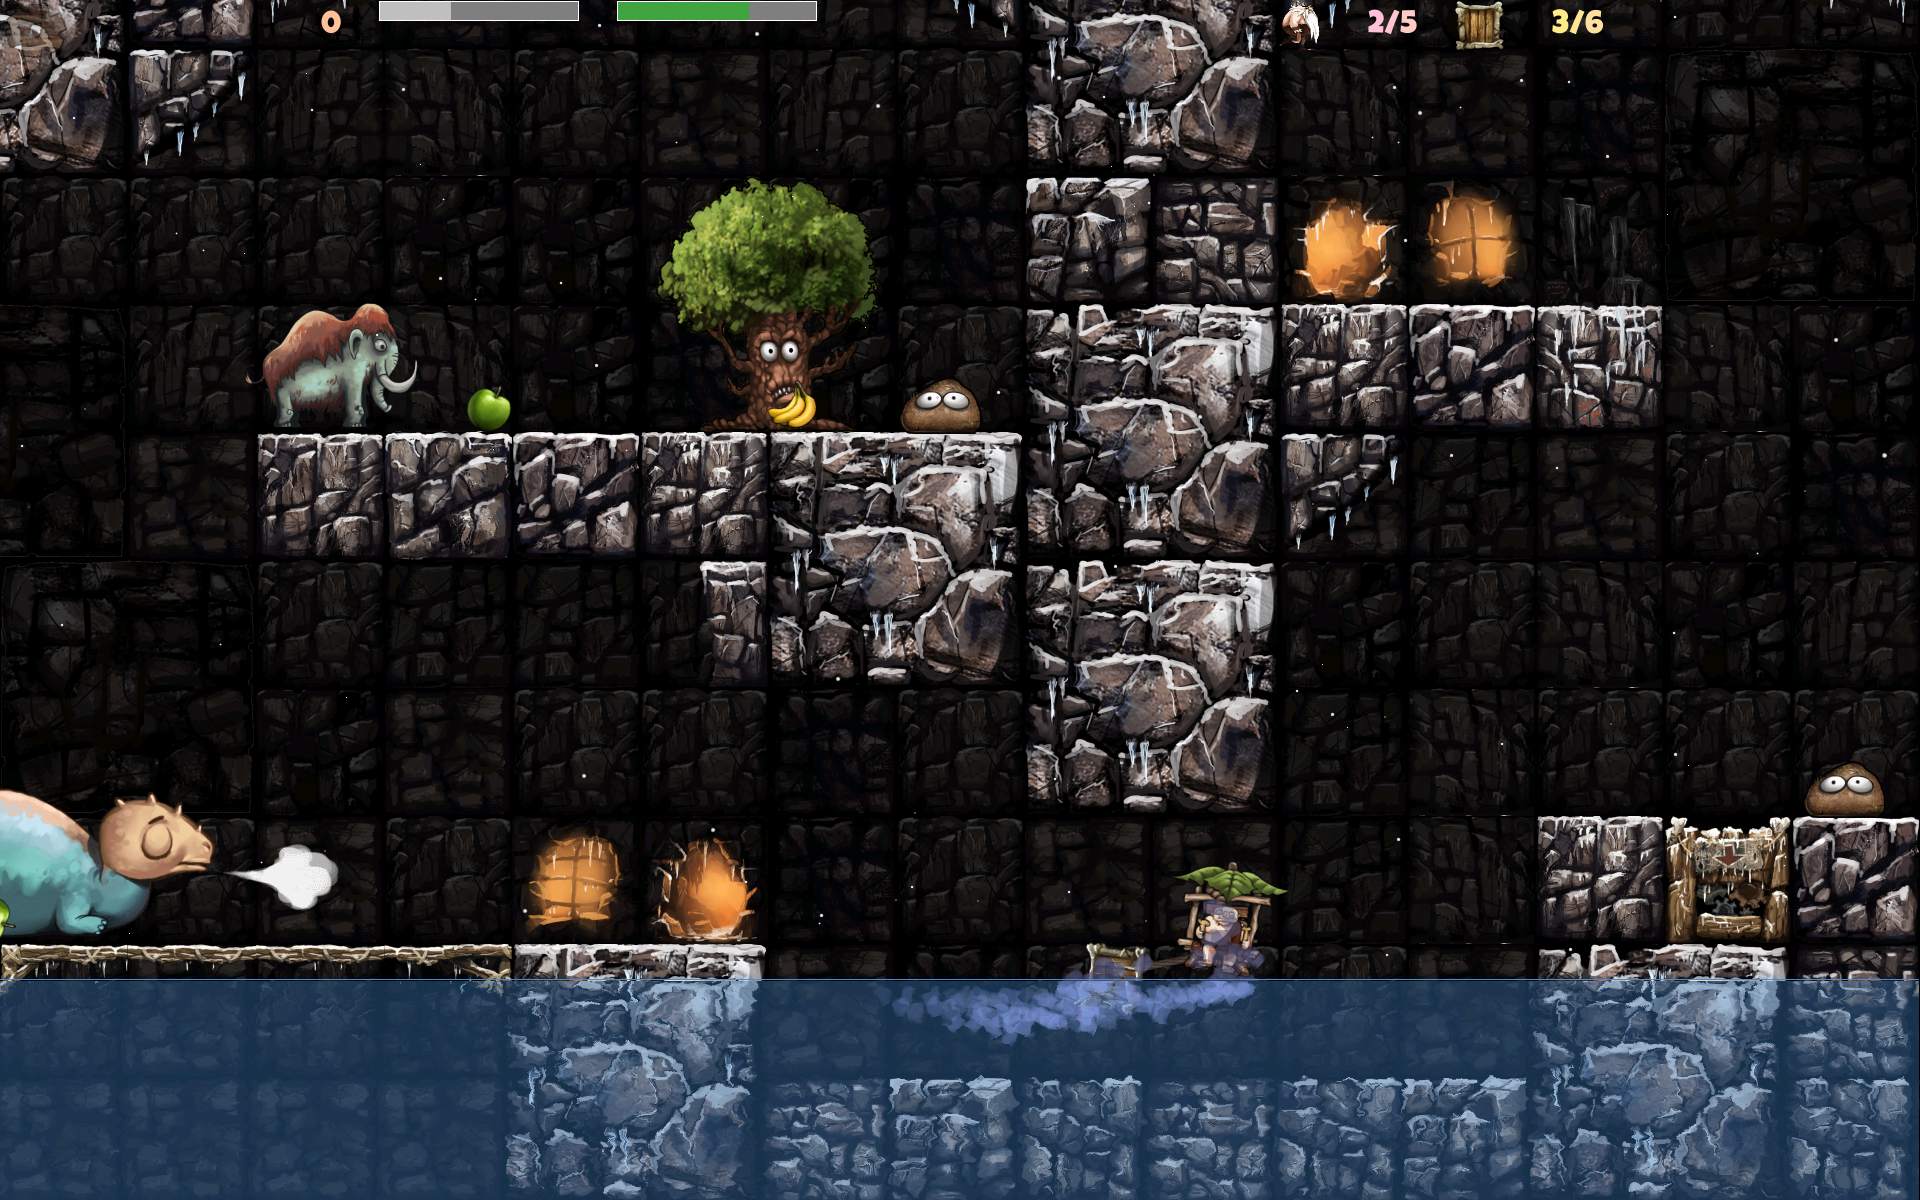
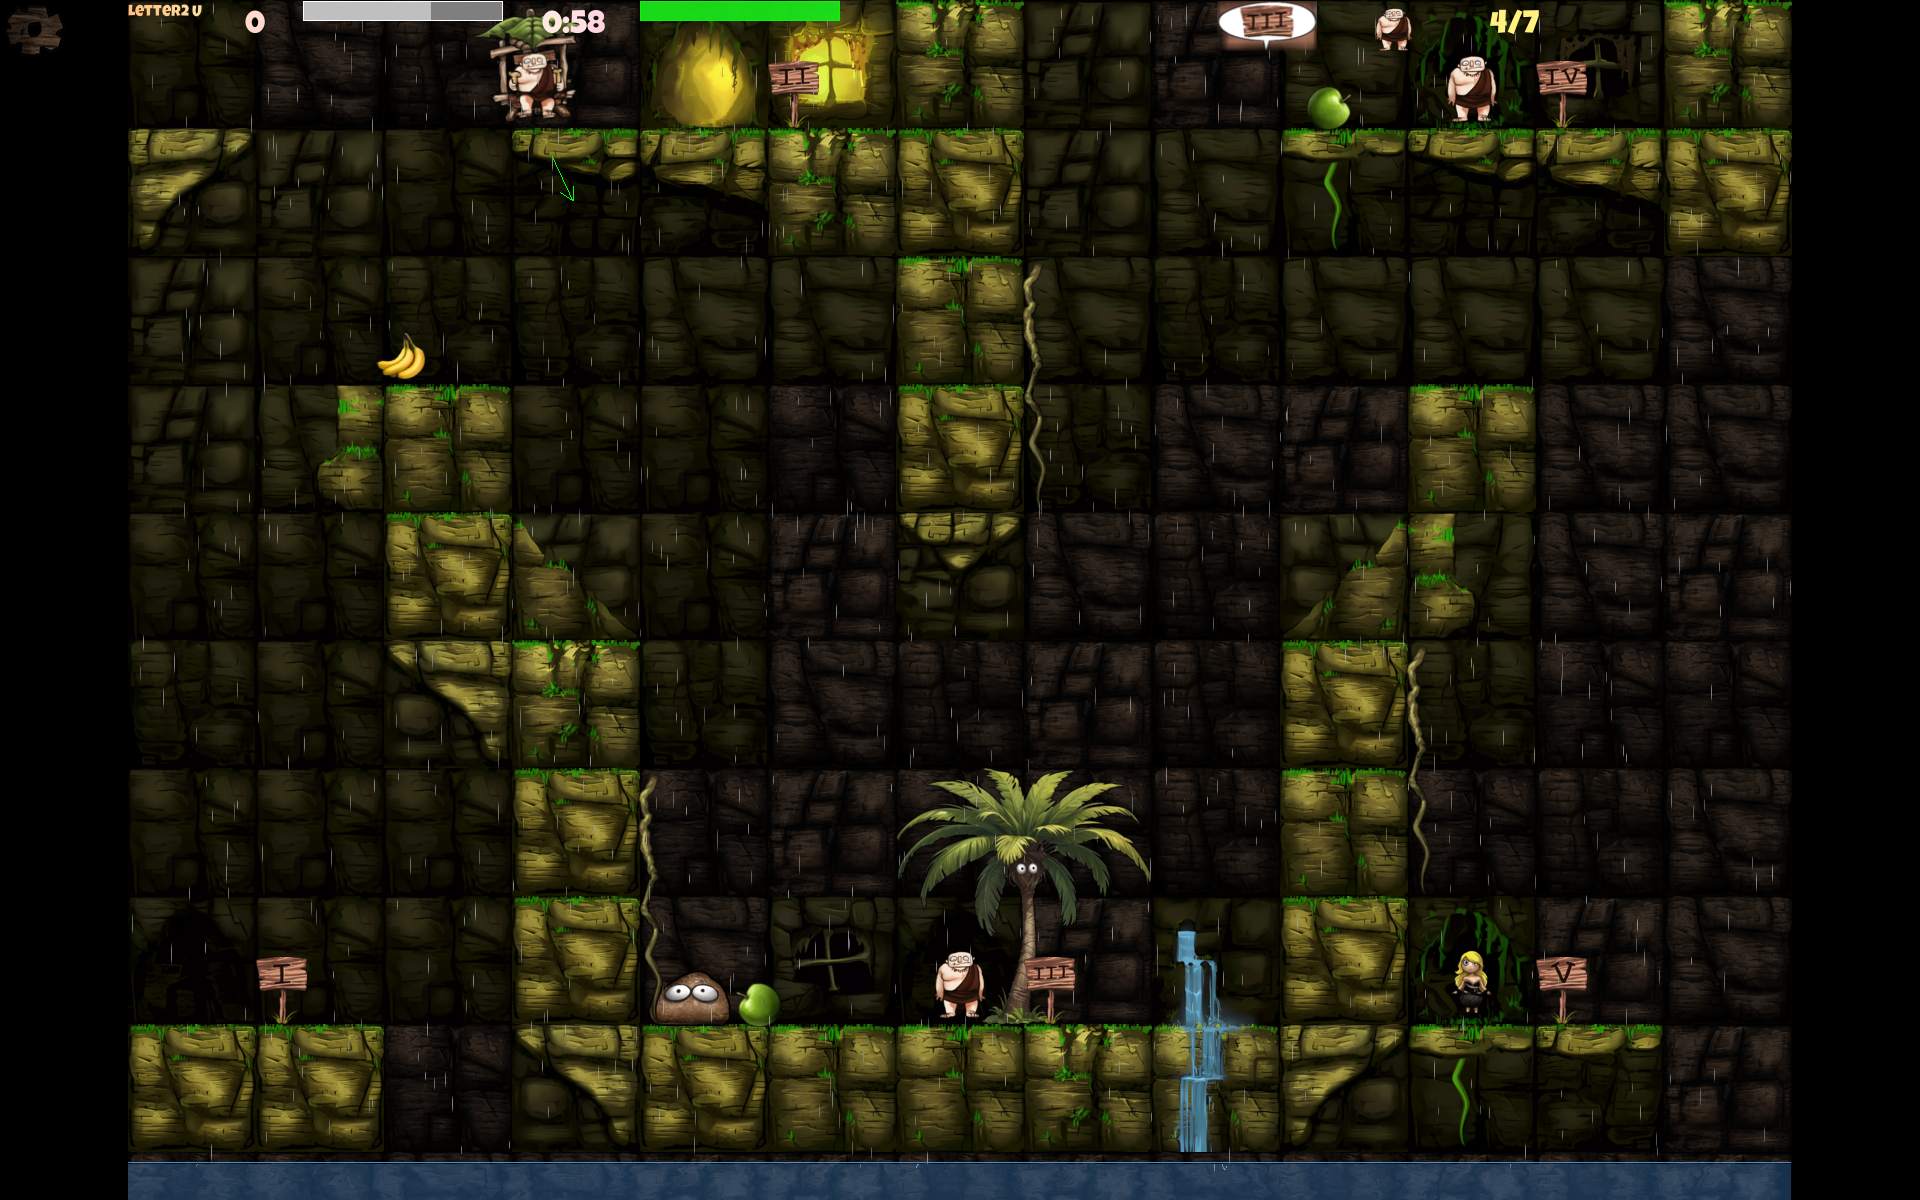
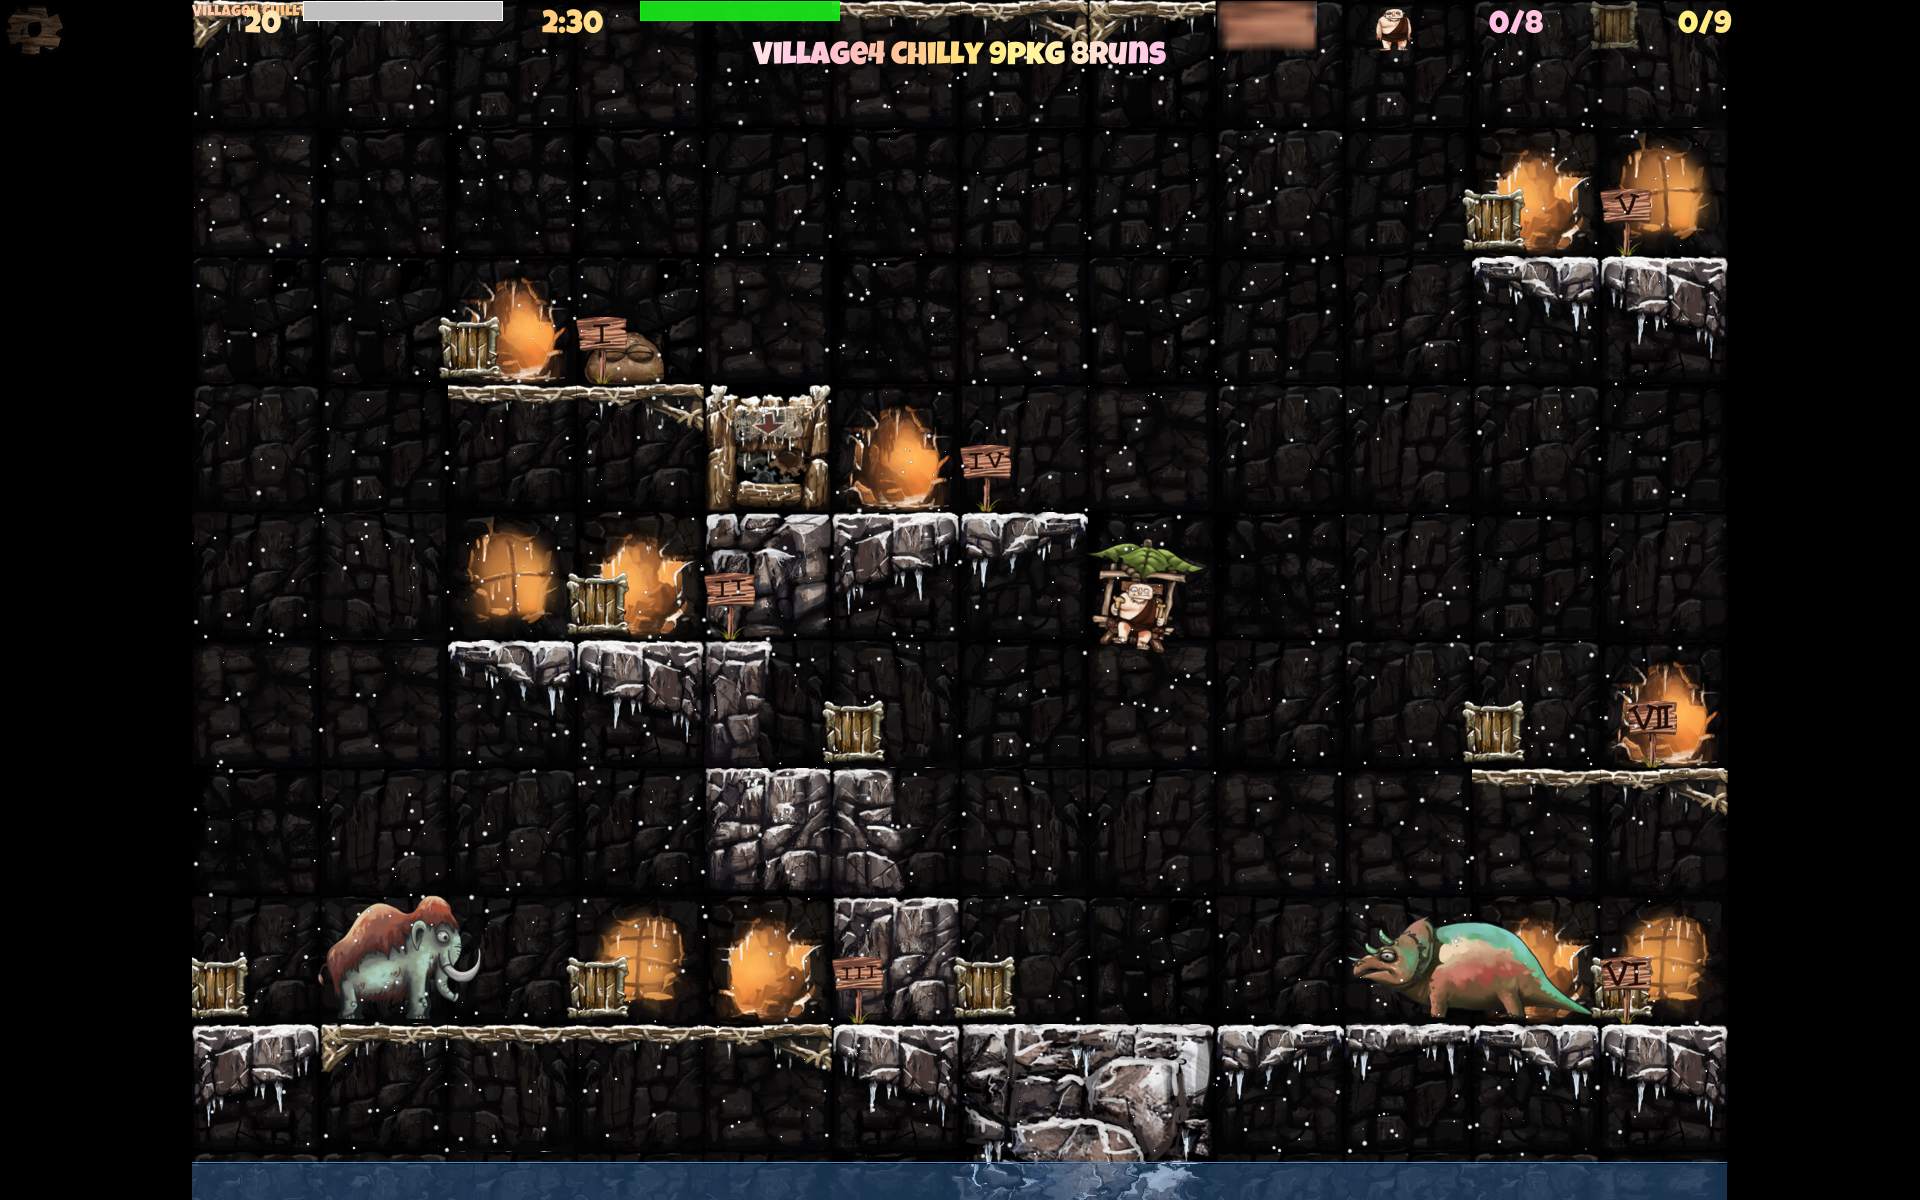
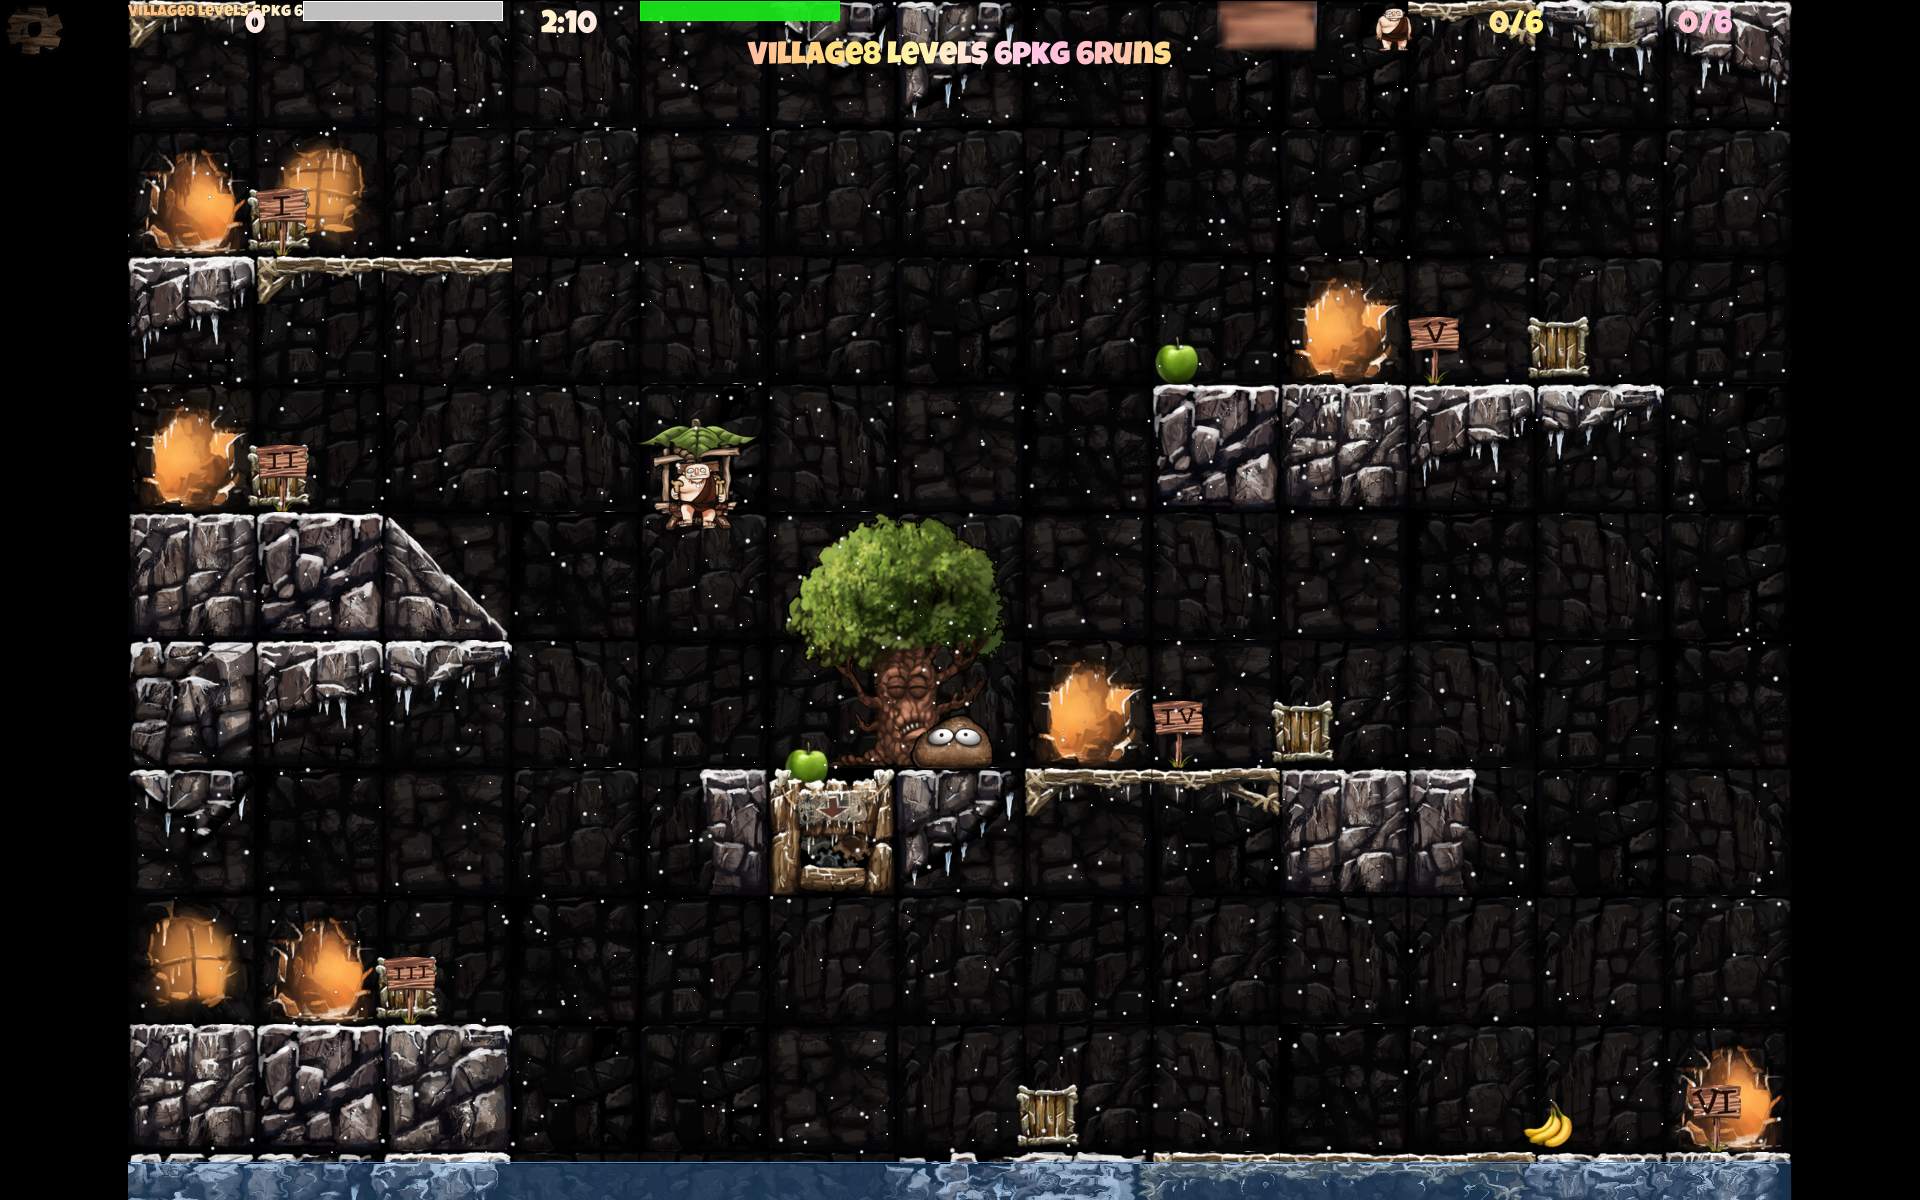
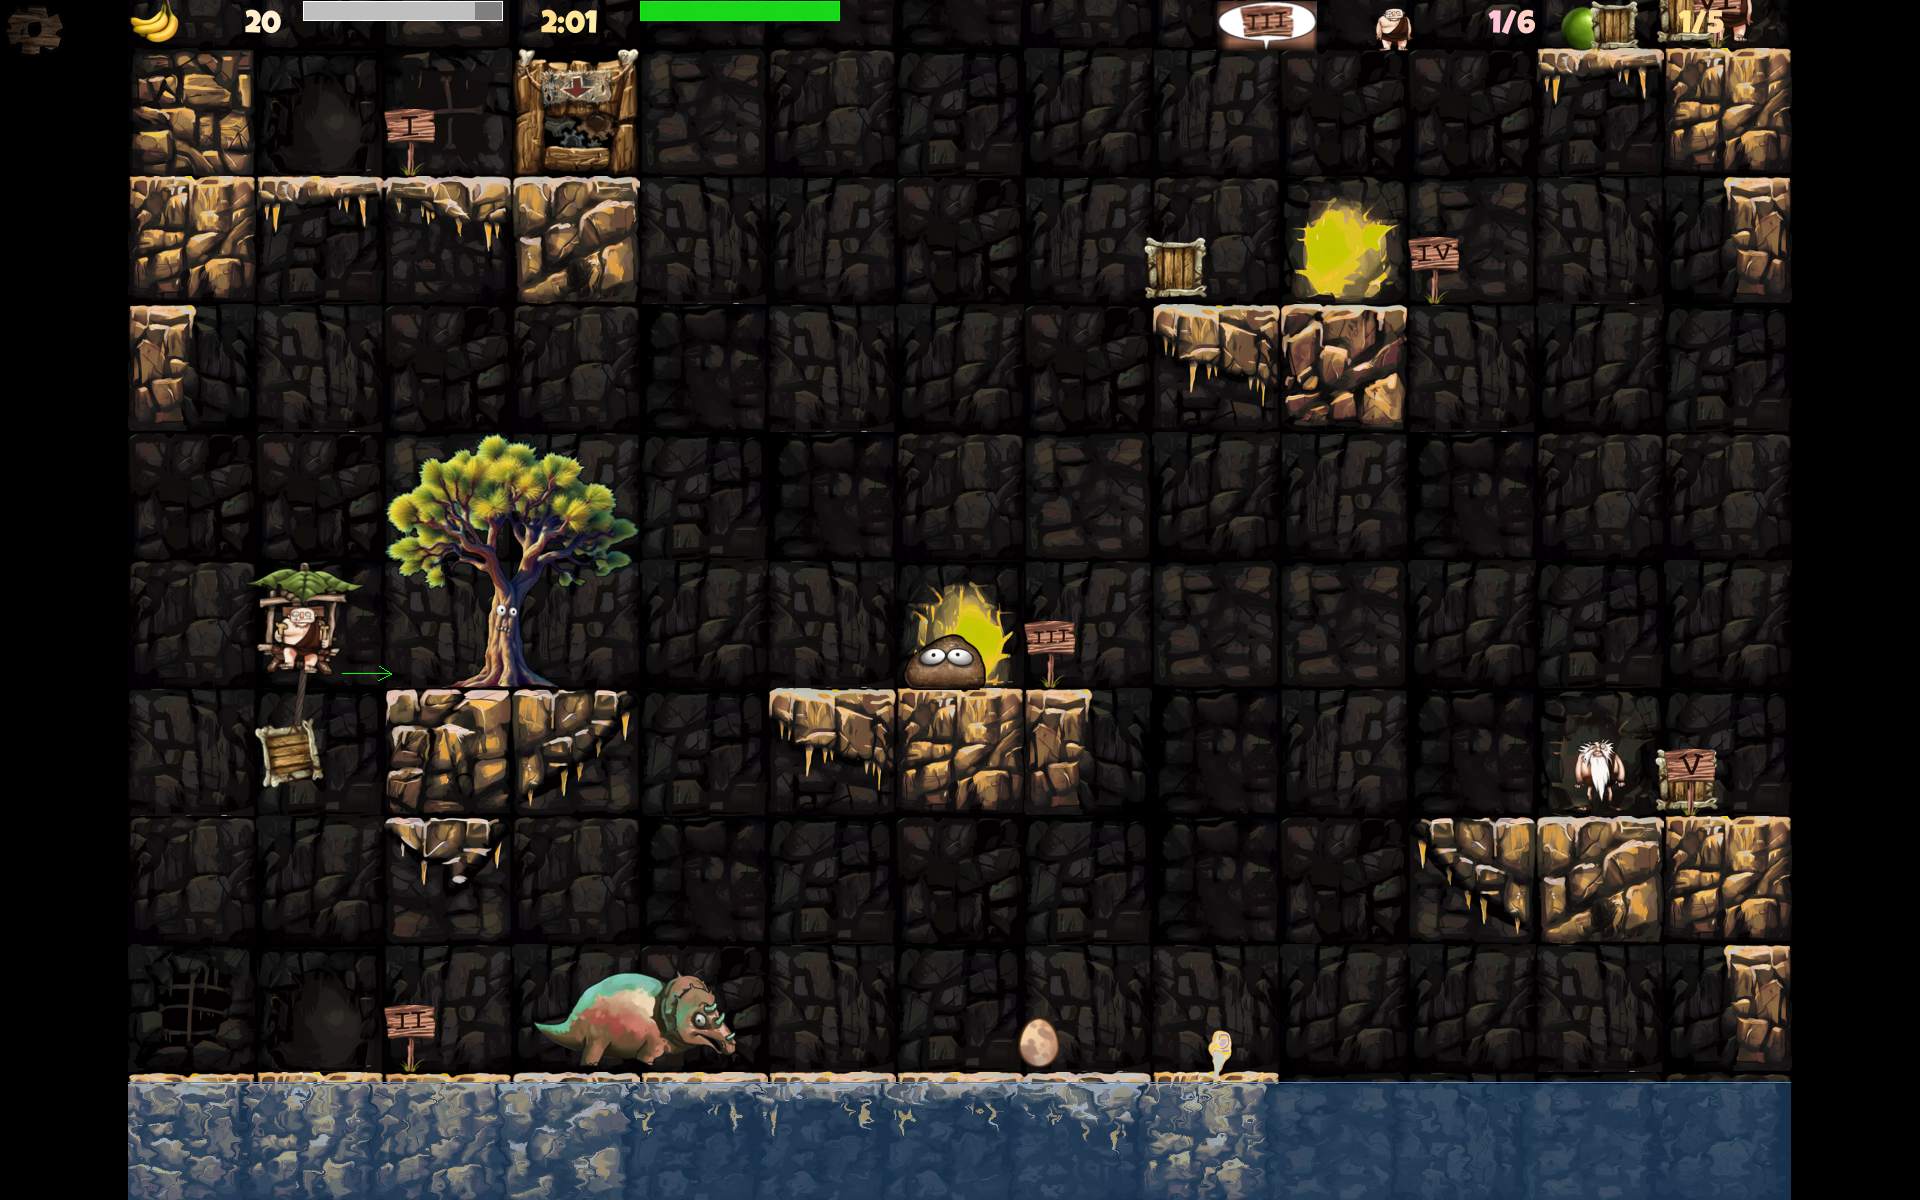
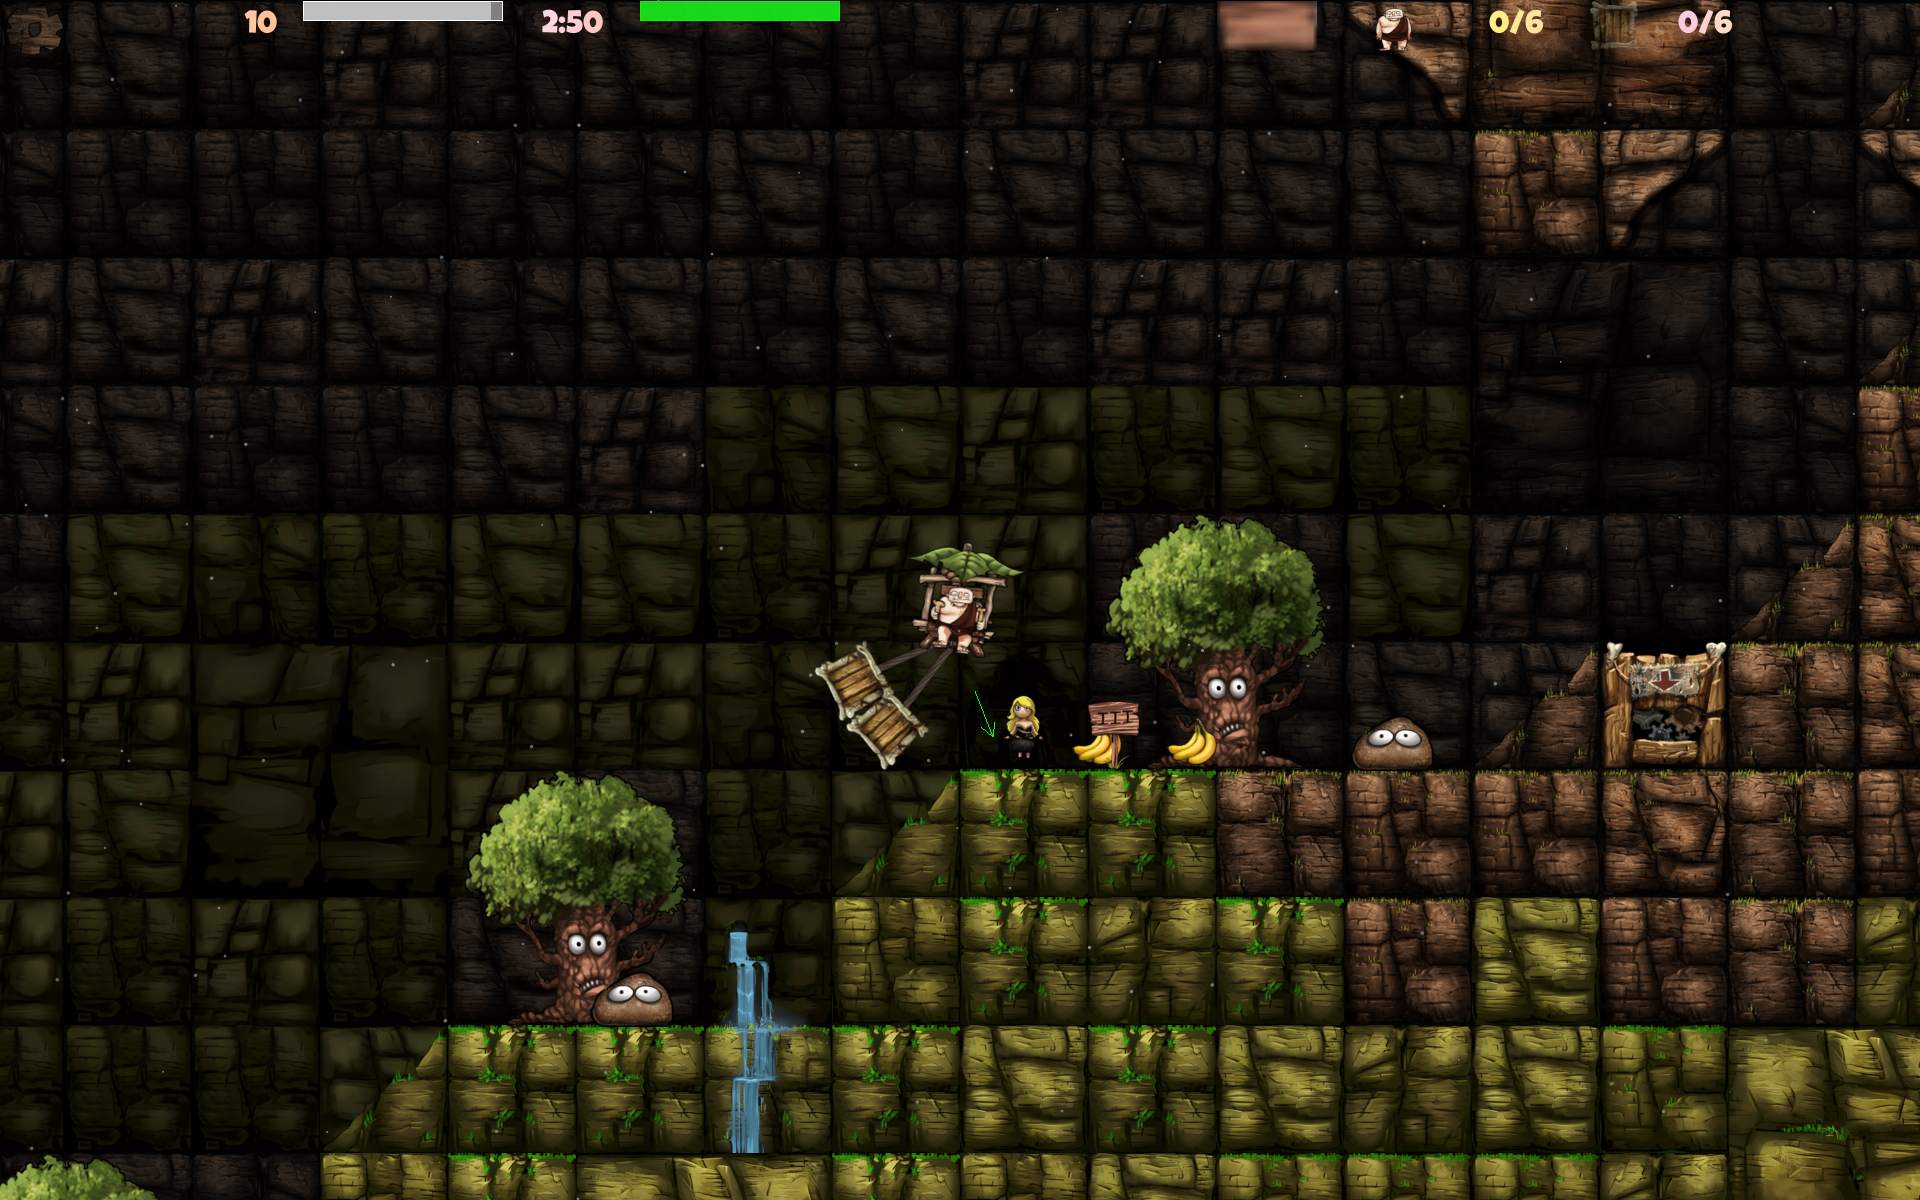
    I first started by recoloring the existing Rock and Ice themes. IMO those were a bit dull and lacking color. I used Krita with many color or Hue curves. I didn’t know if it will be enough. But I did so turn brown Rock into green Jungle and gray-white Ice into orange Desert.

    I looked around source code, to change gameplay to faster, and started commiting a lot of changes into my fork. I think I did make first PR with those 2 new sceneries. I saw some commits still, but didn’t know if after 10 years the original author will be still available or willing to change anything in the game. Yet it turned out great, even better than I expected. We quickly got into discussion and I did finish many changes this way, which went into original project repo. I also did a few bug fixes.

    Details are in changelog at end, almost all (for 2.6) are my changes.
    I did make some smaller and nicer particles for snow weather, rain, wind, etc. I think less particles were meant for smartphones, but on PC having way more is not a problem and looks better.

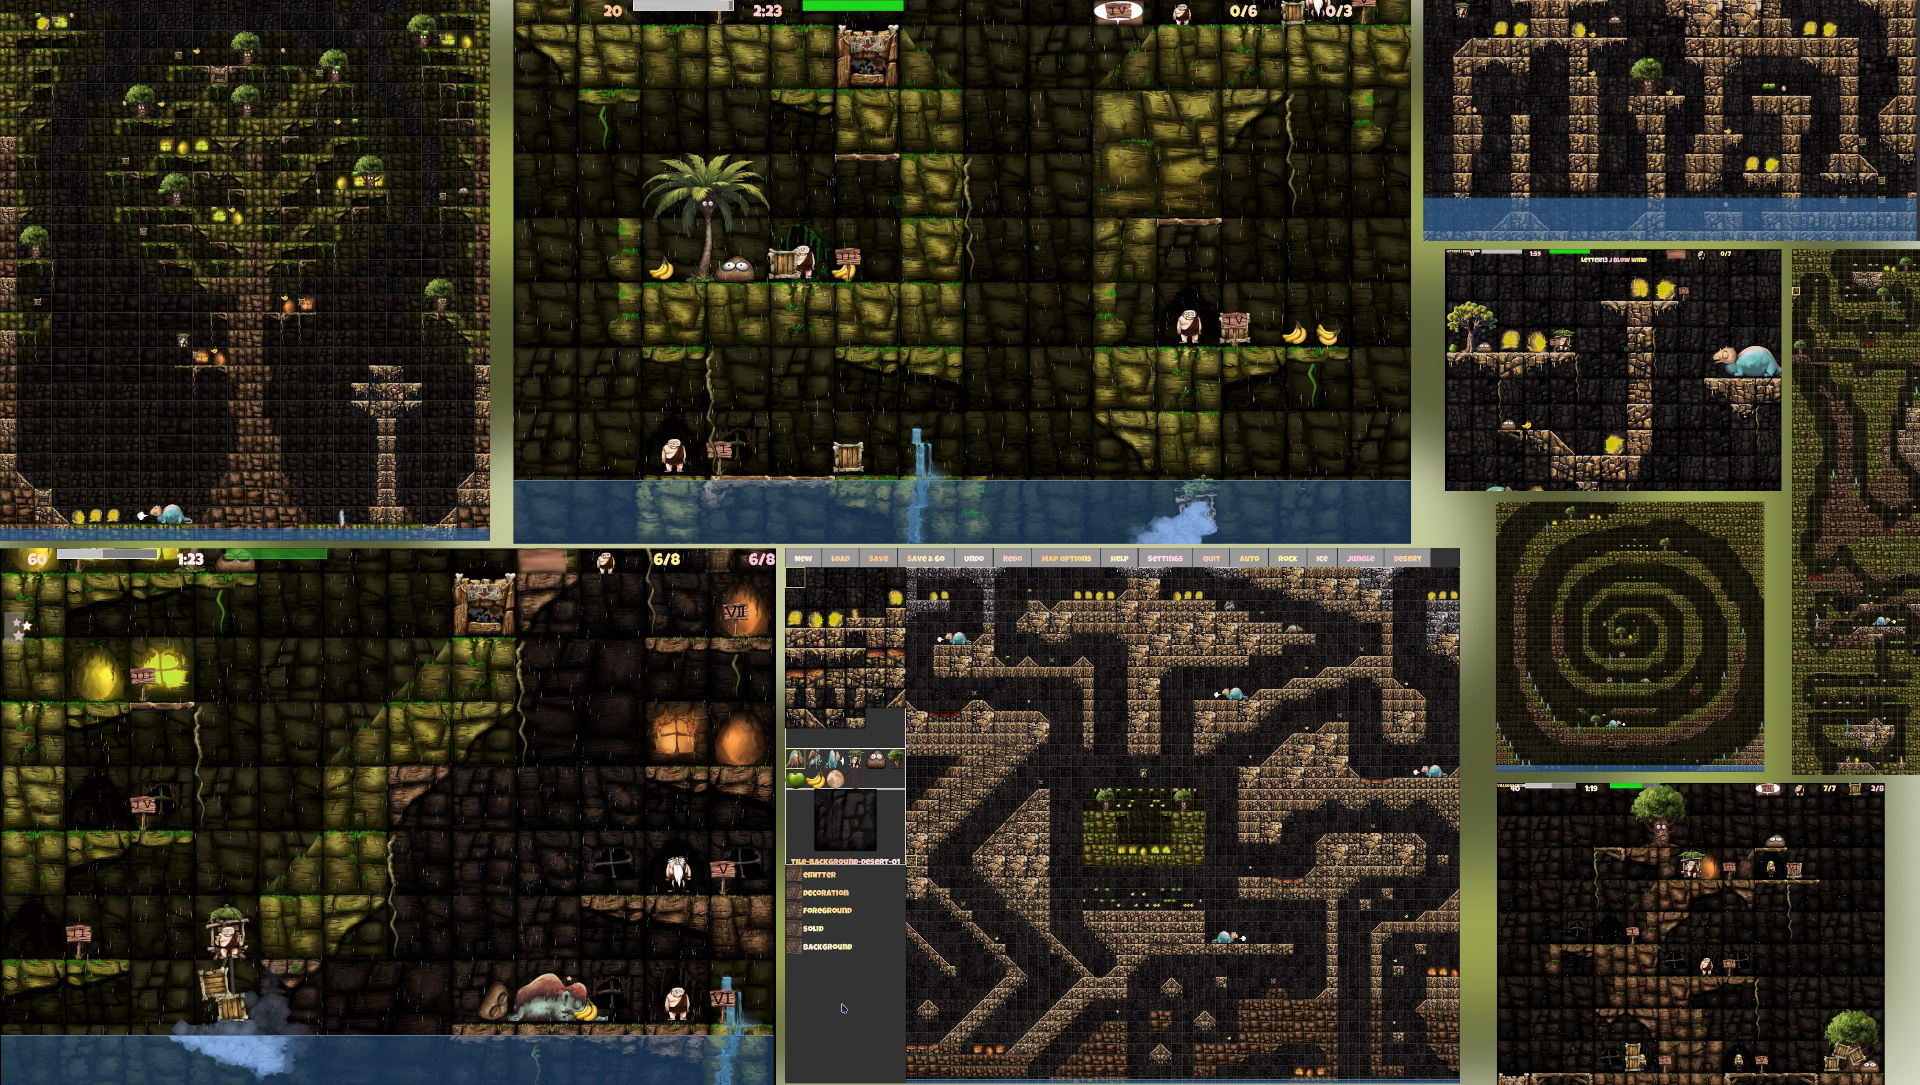
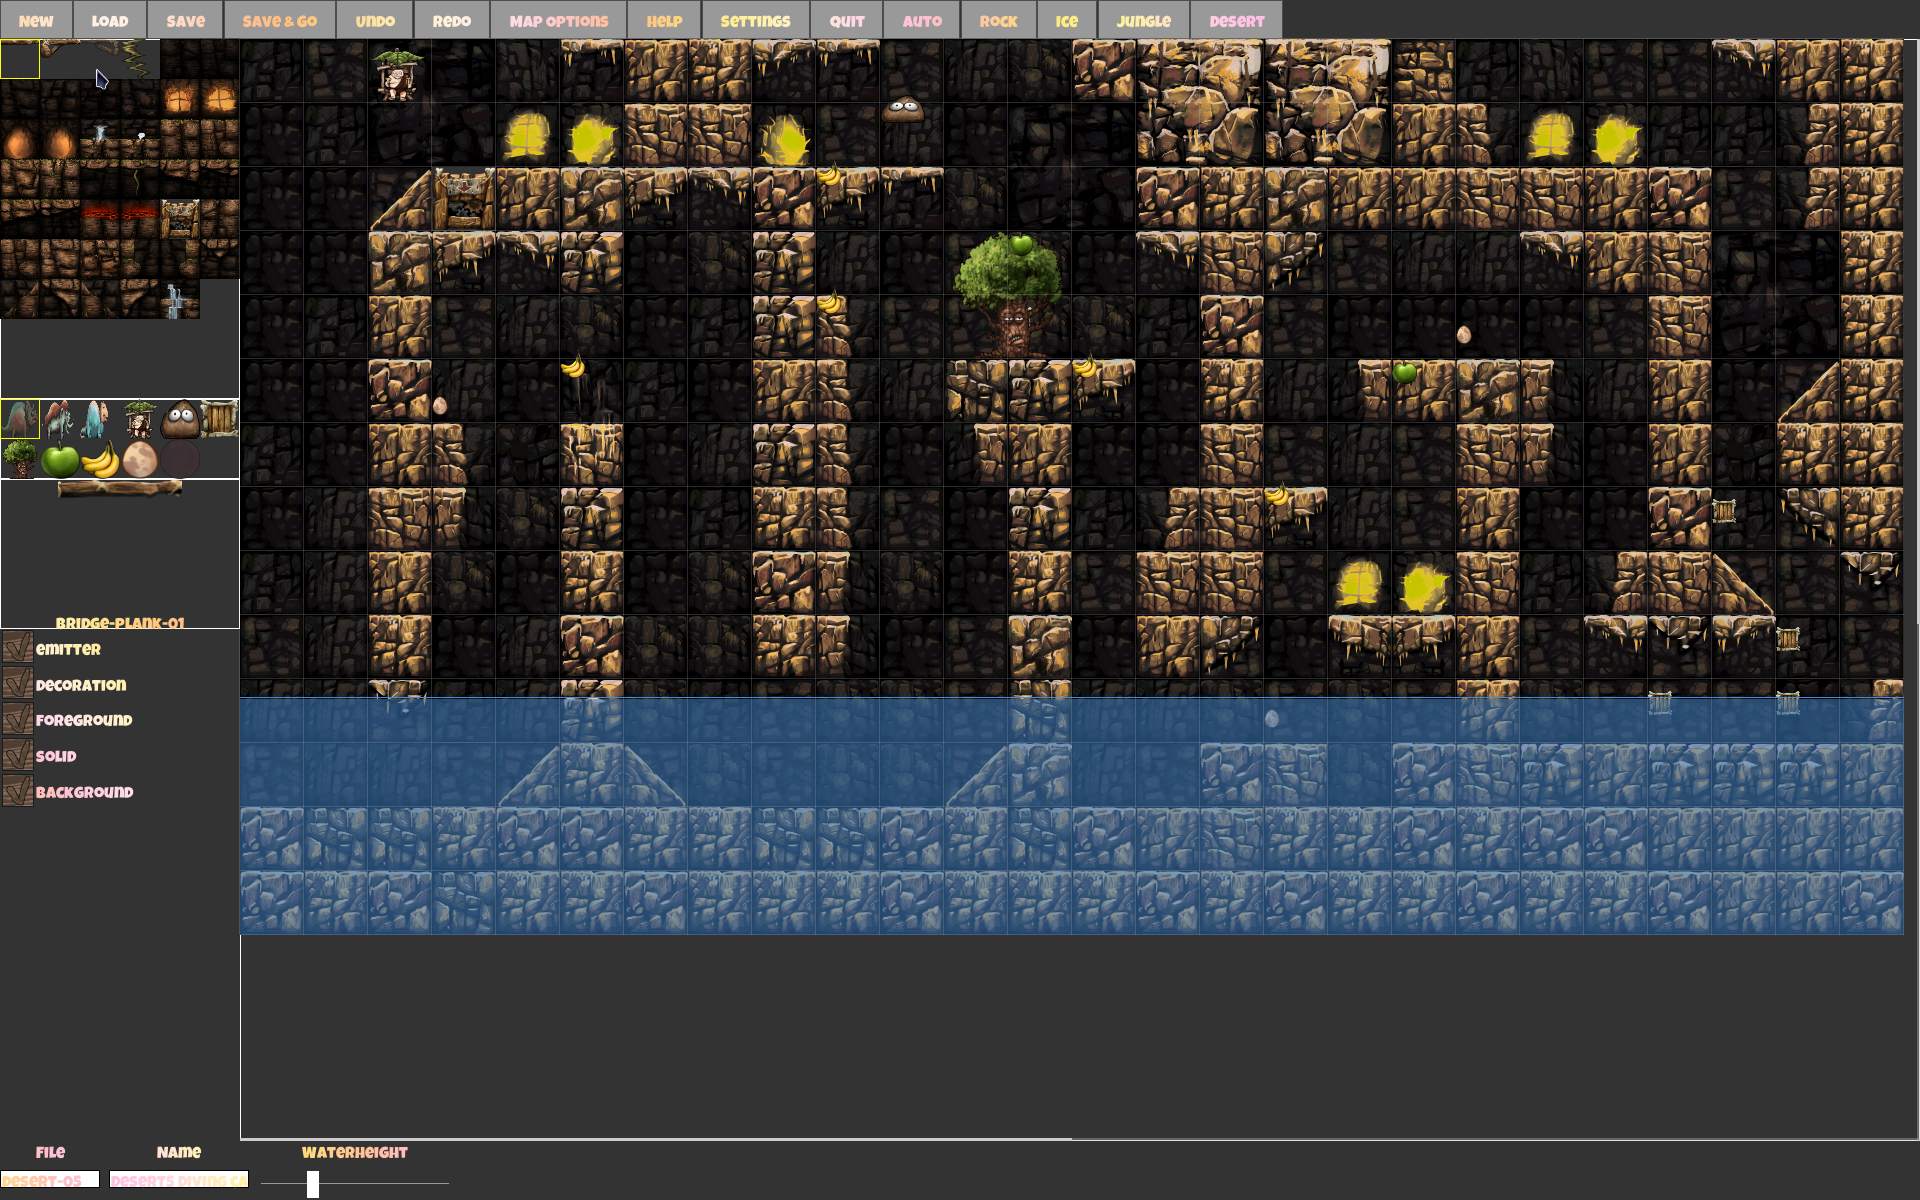
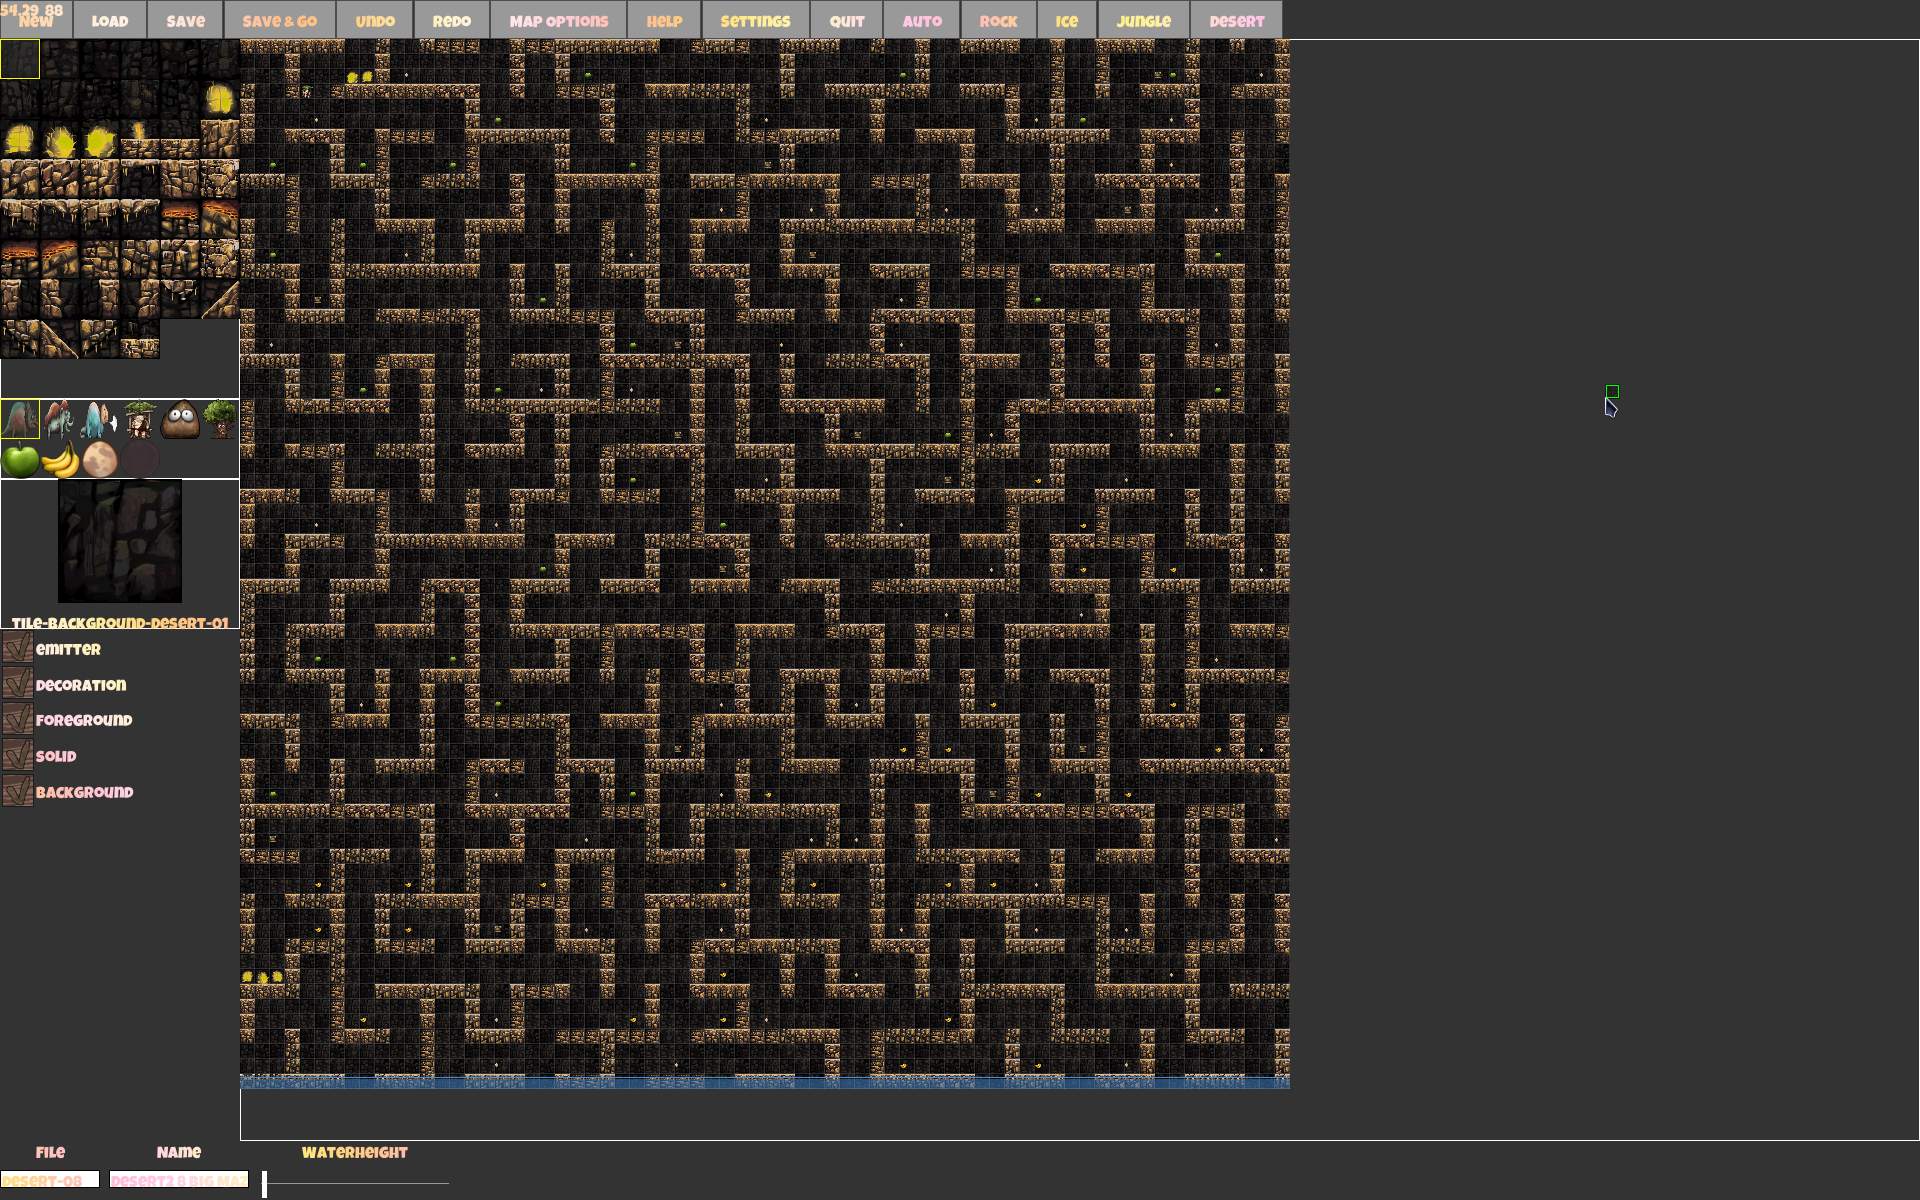
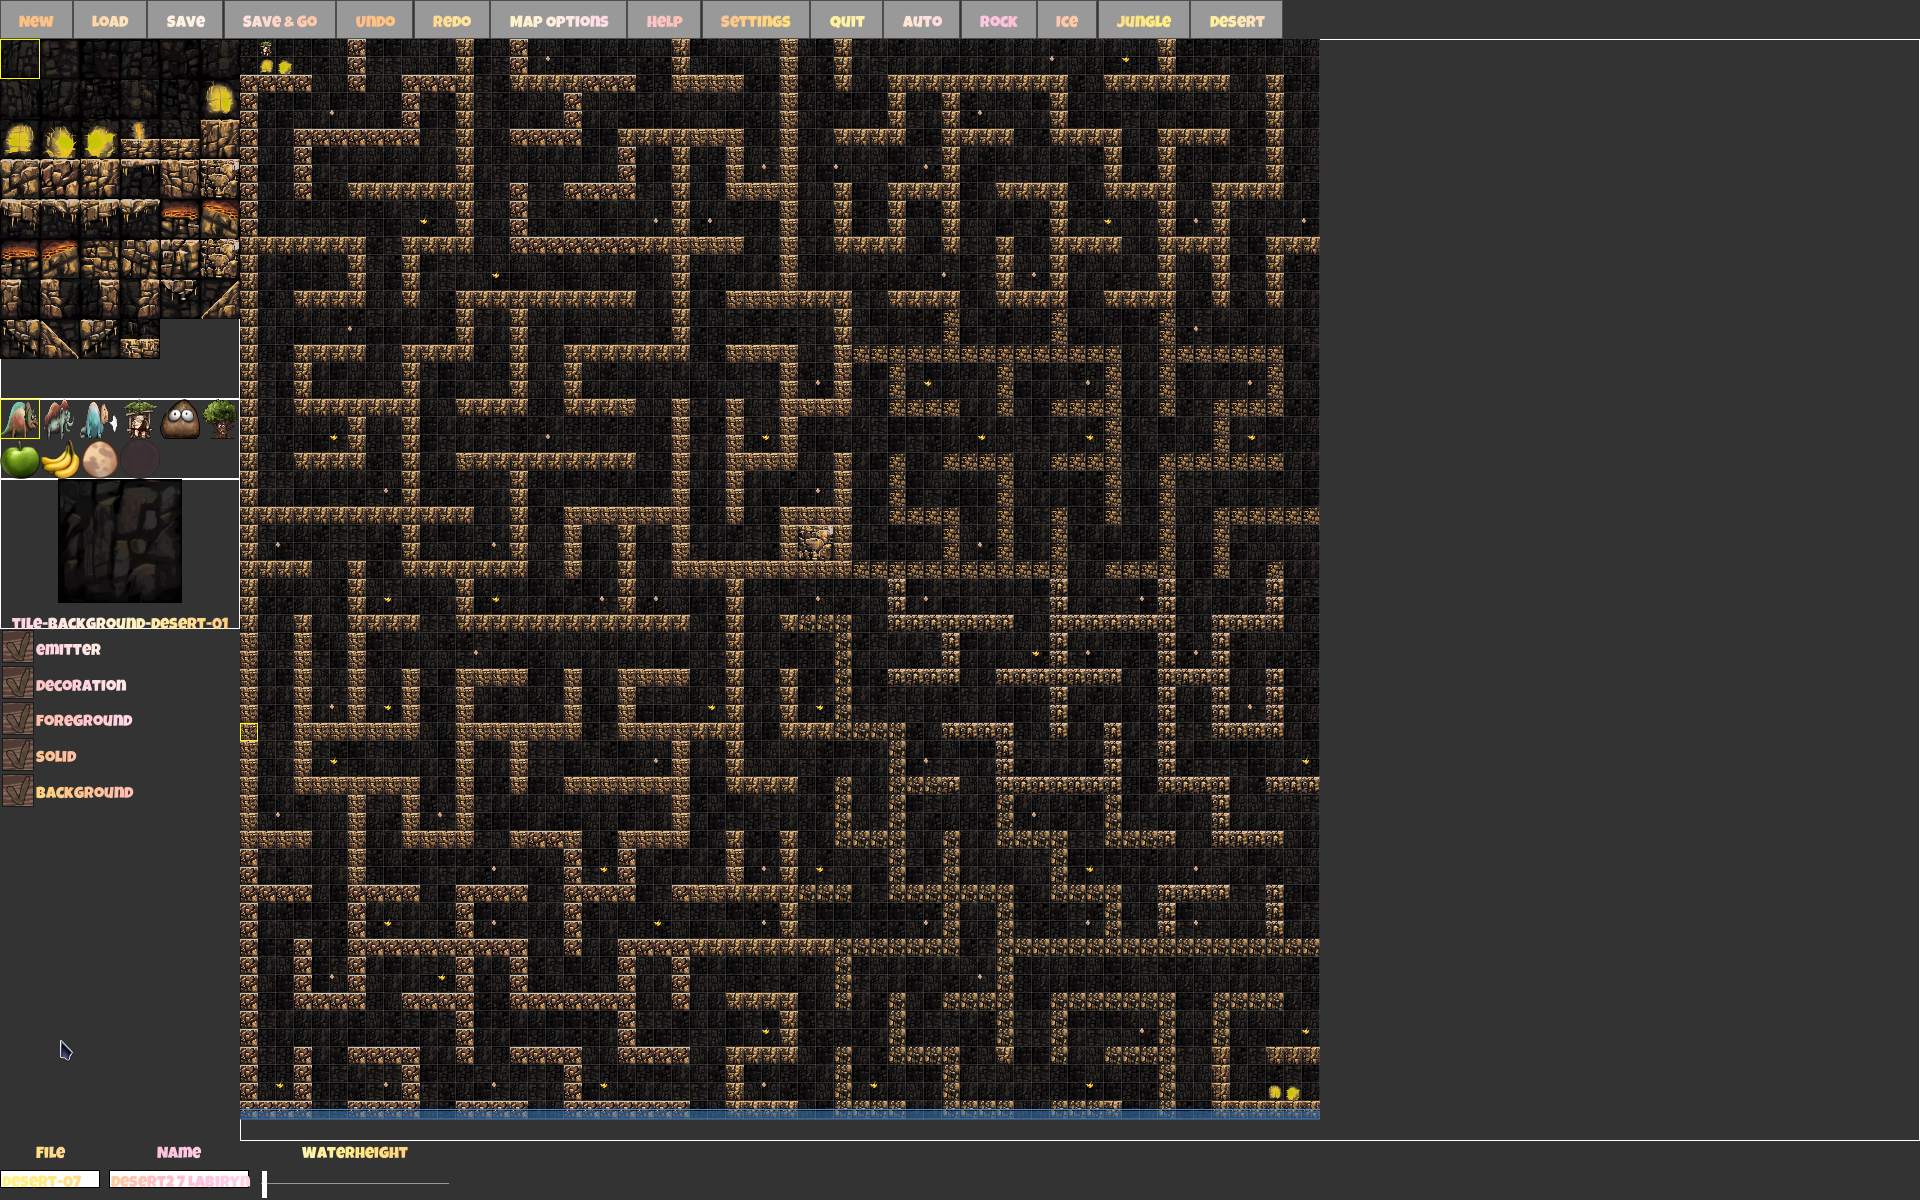
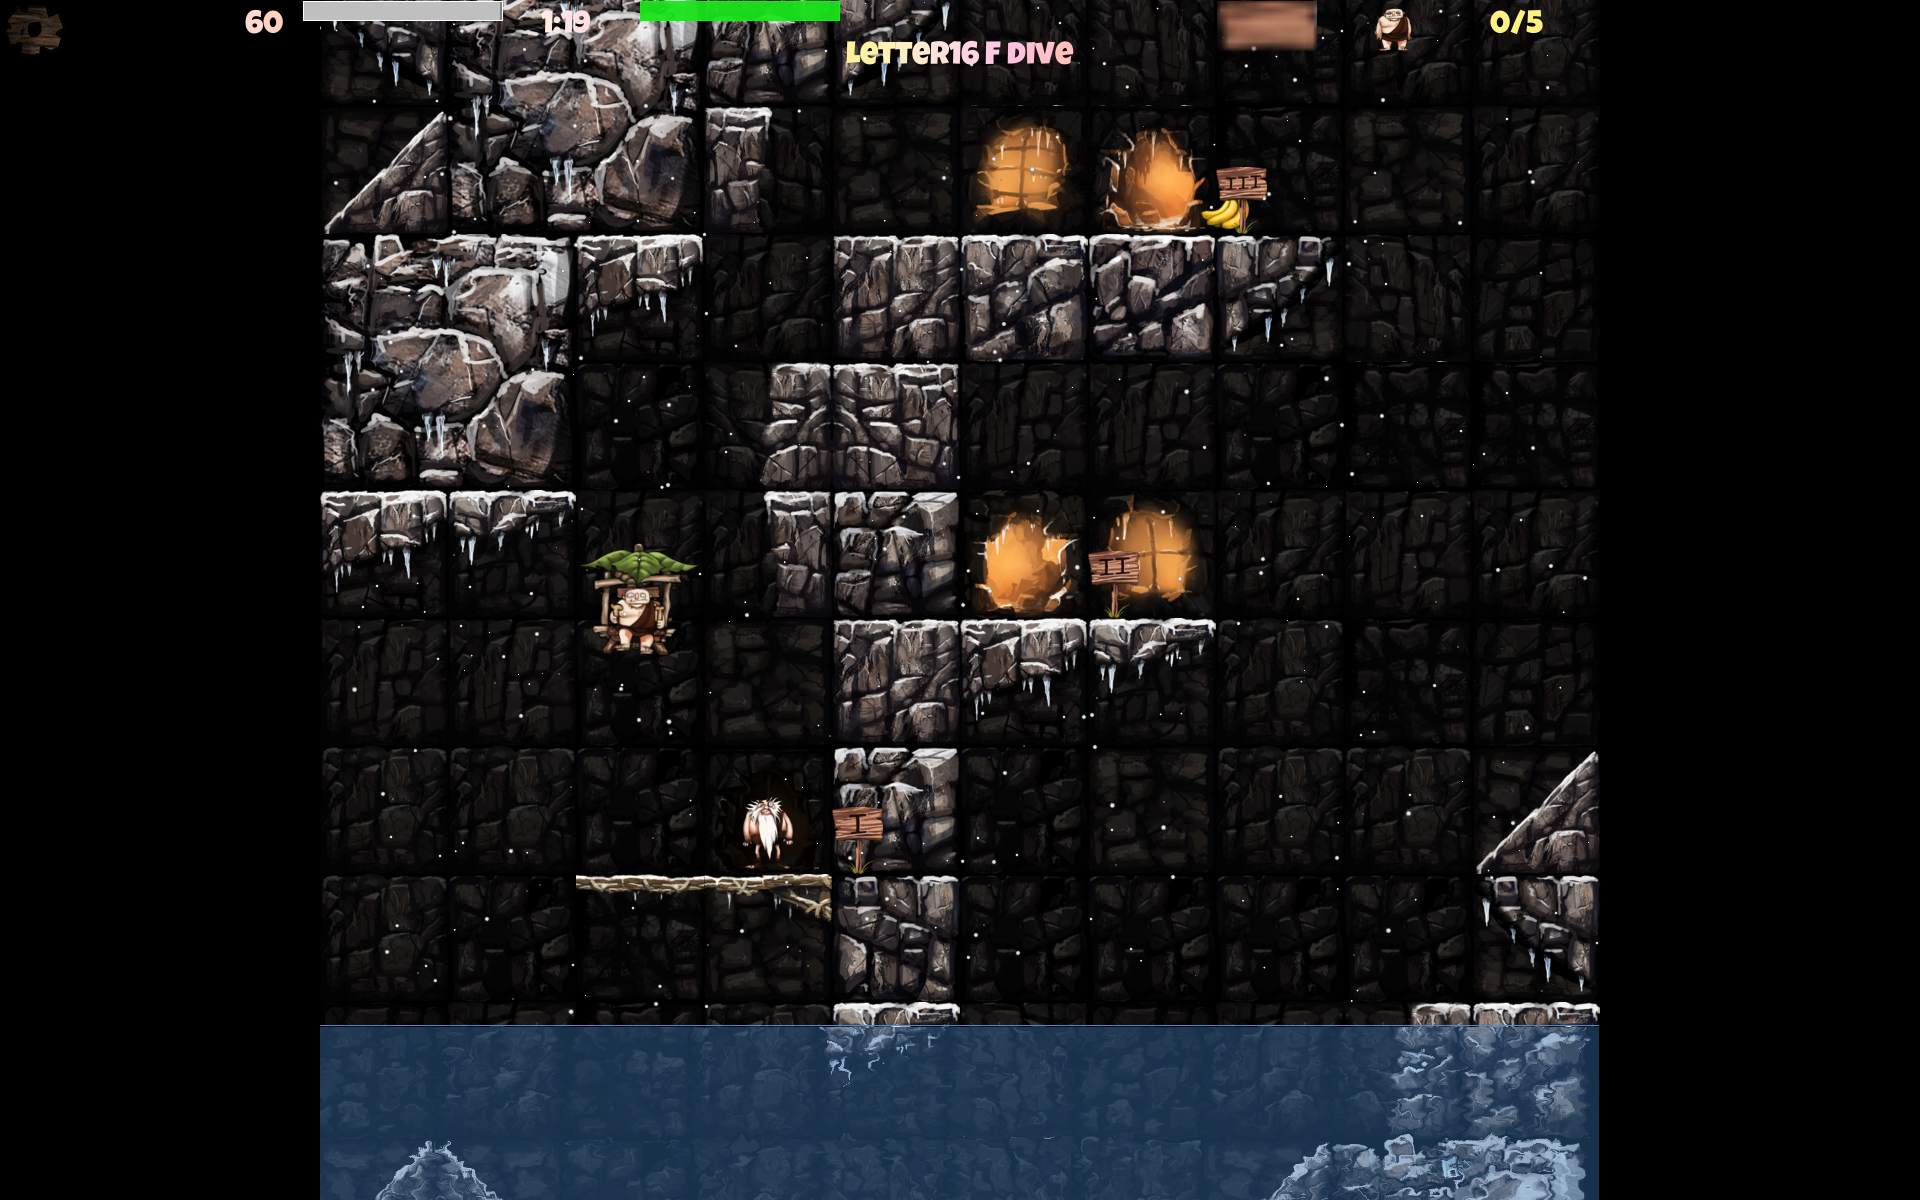
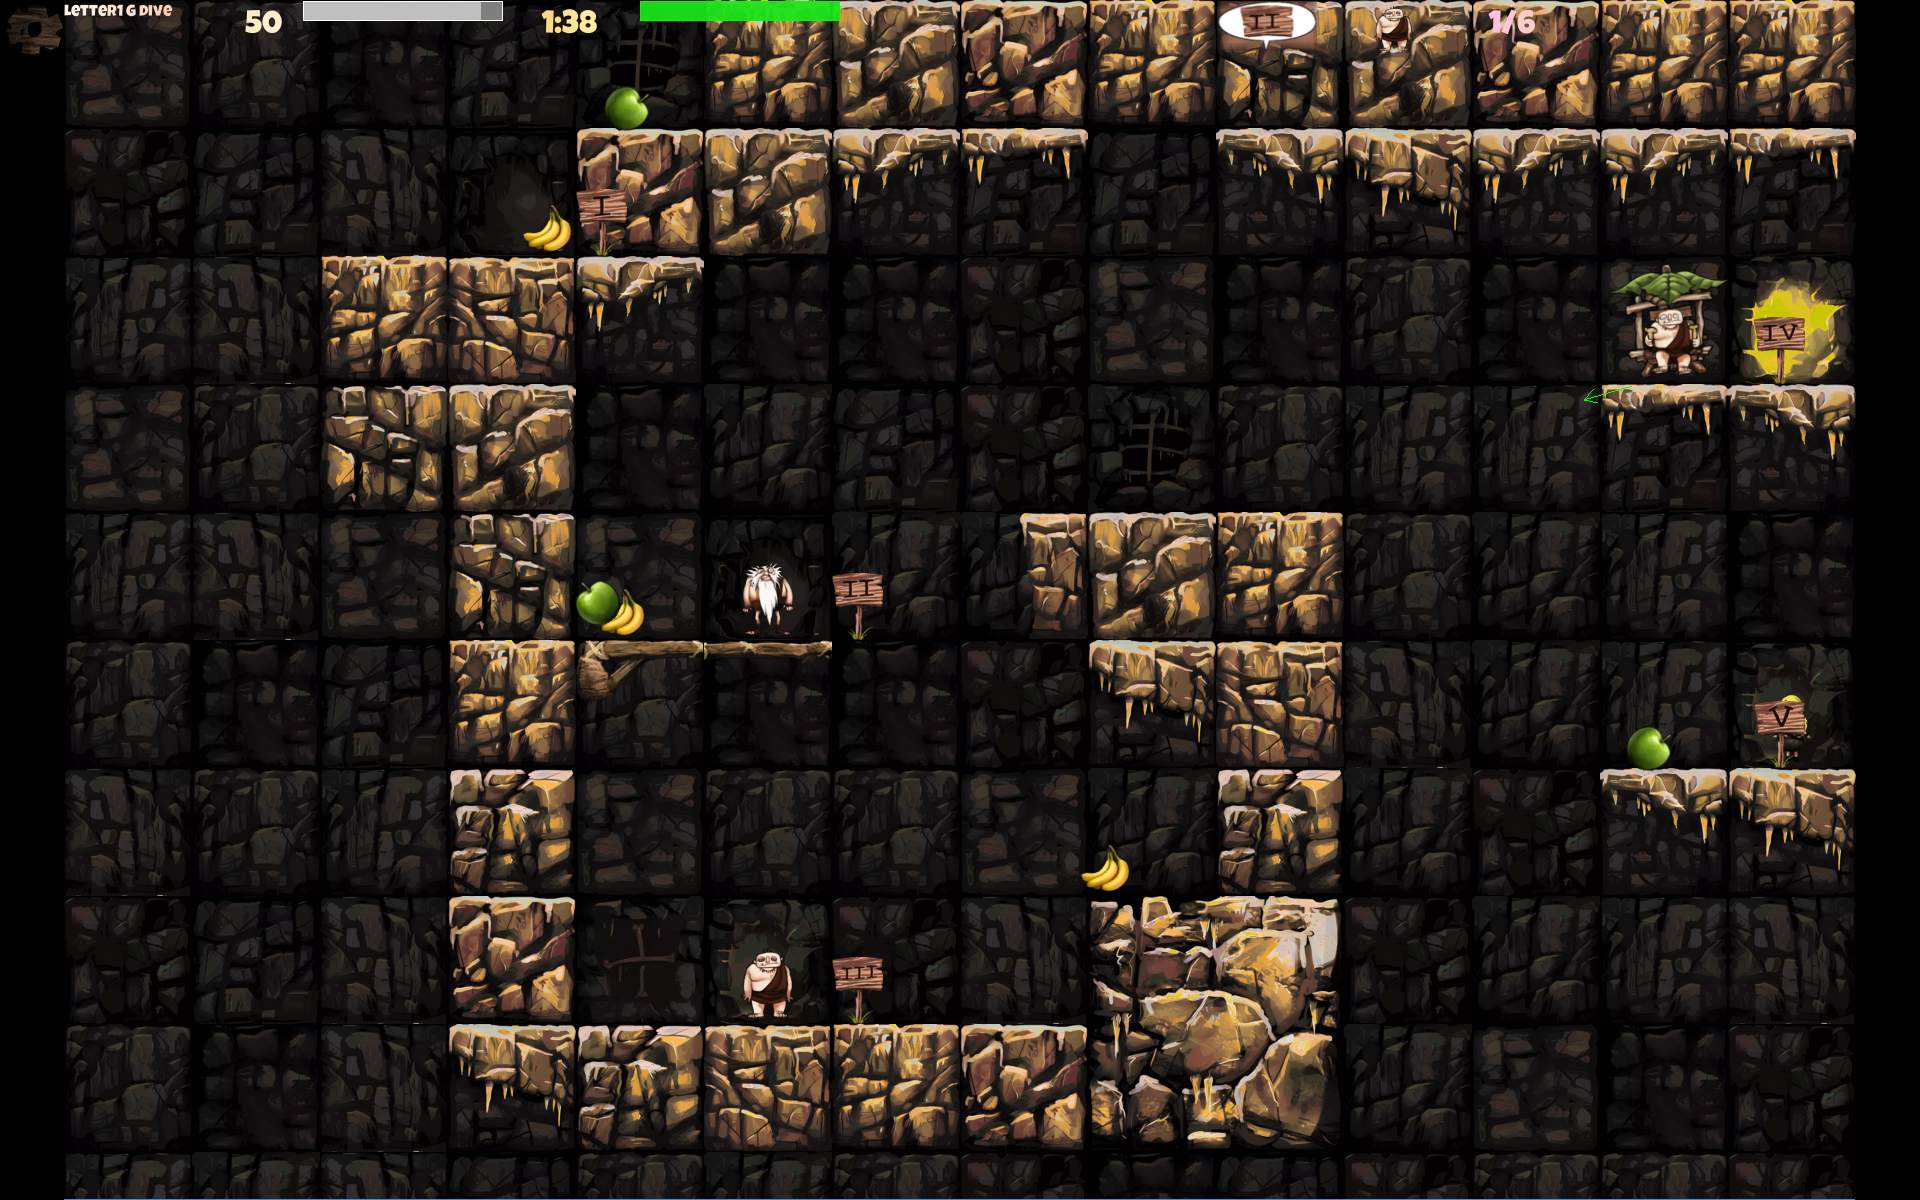
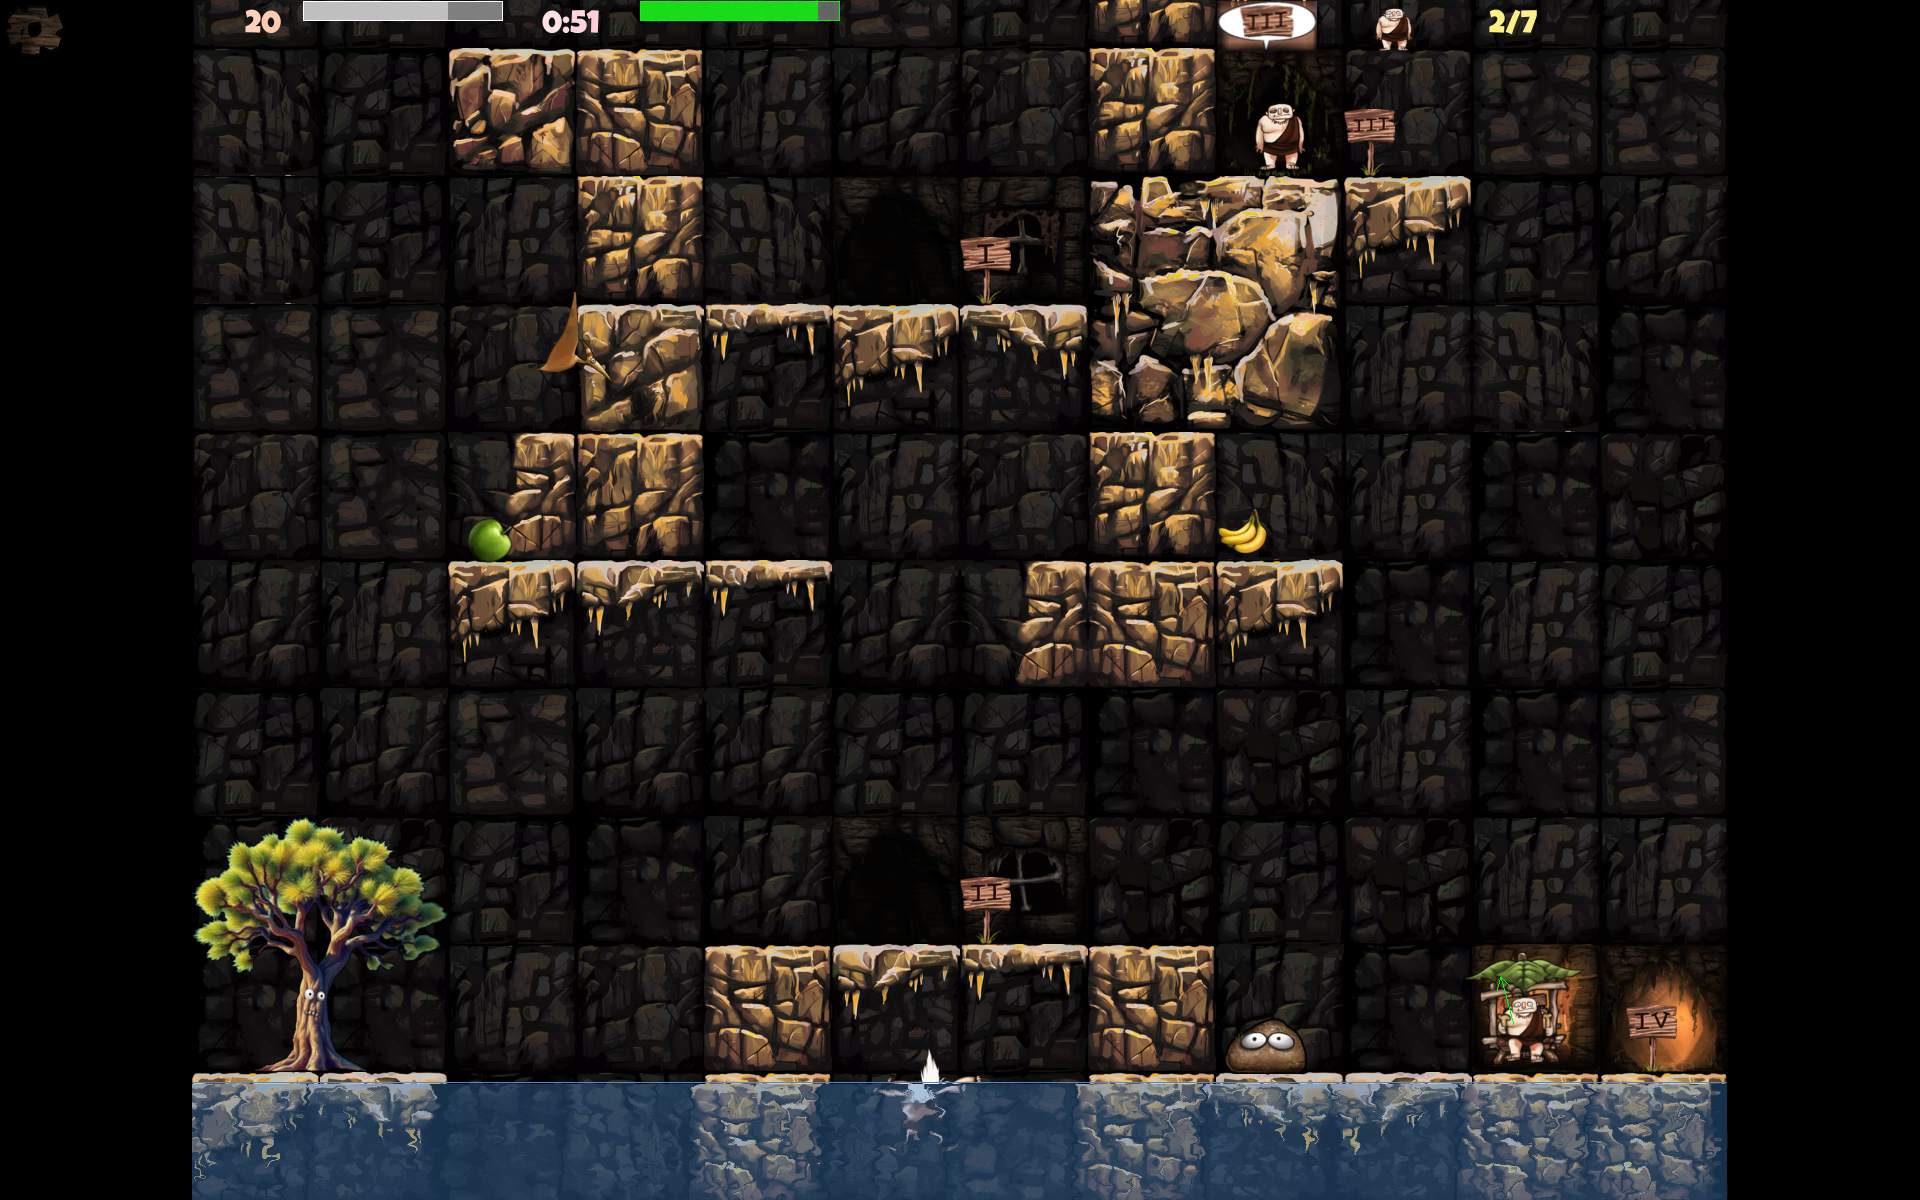
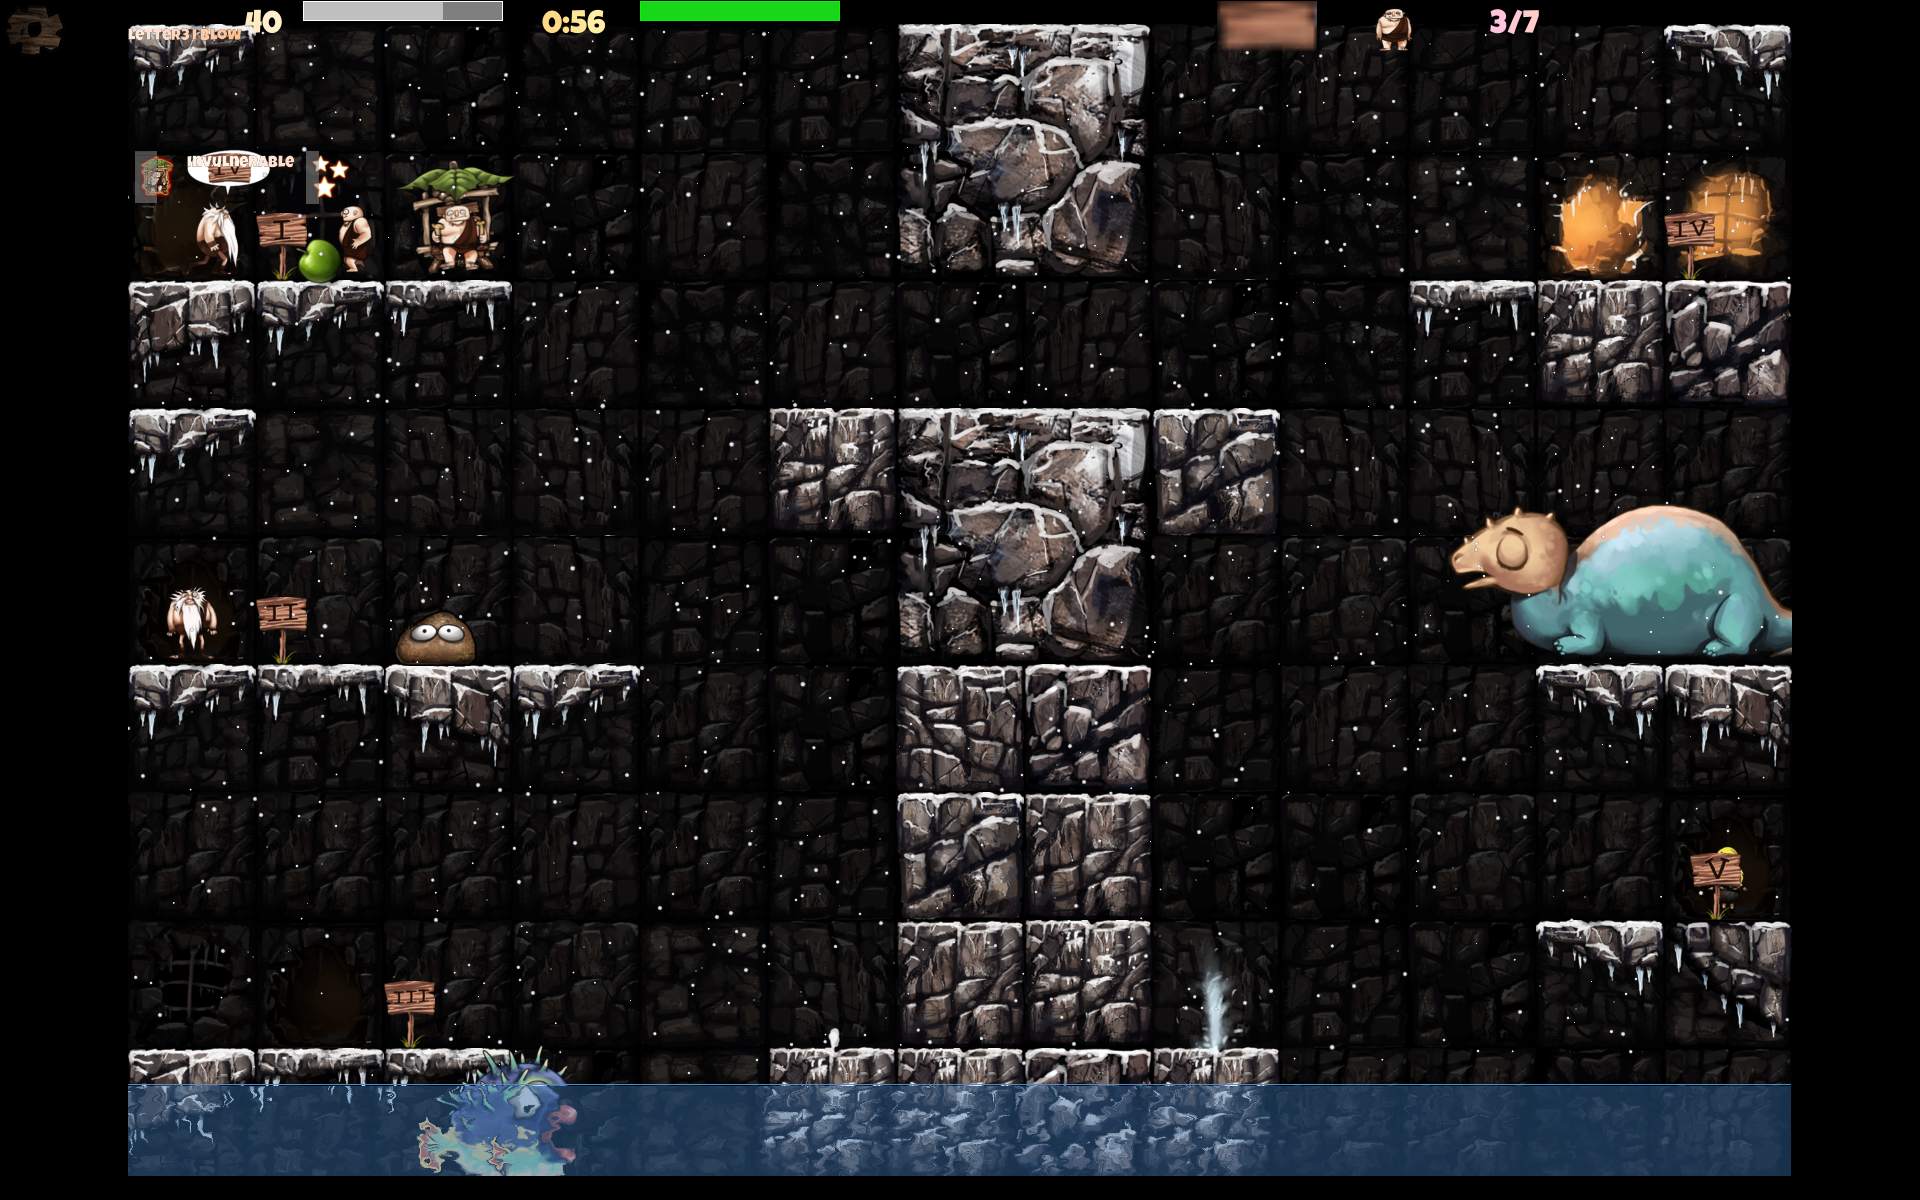
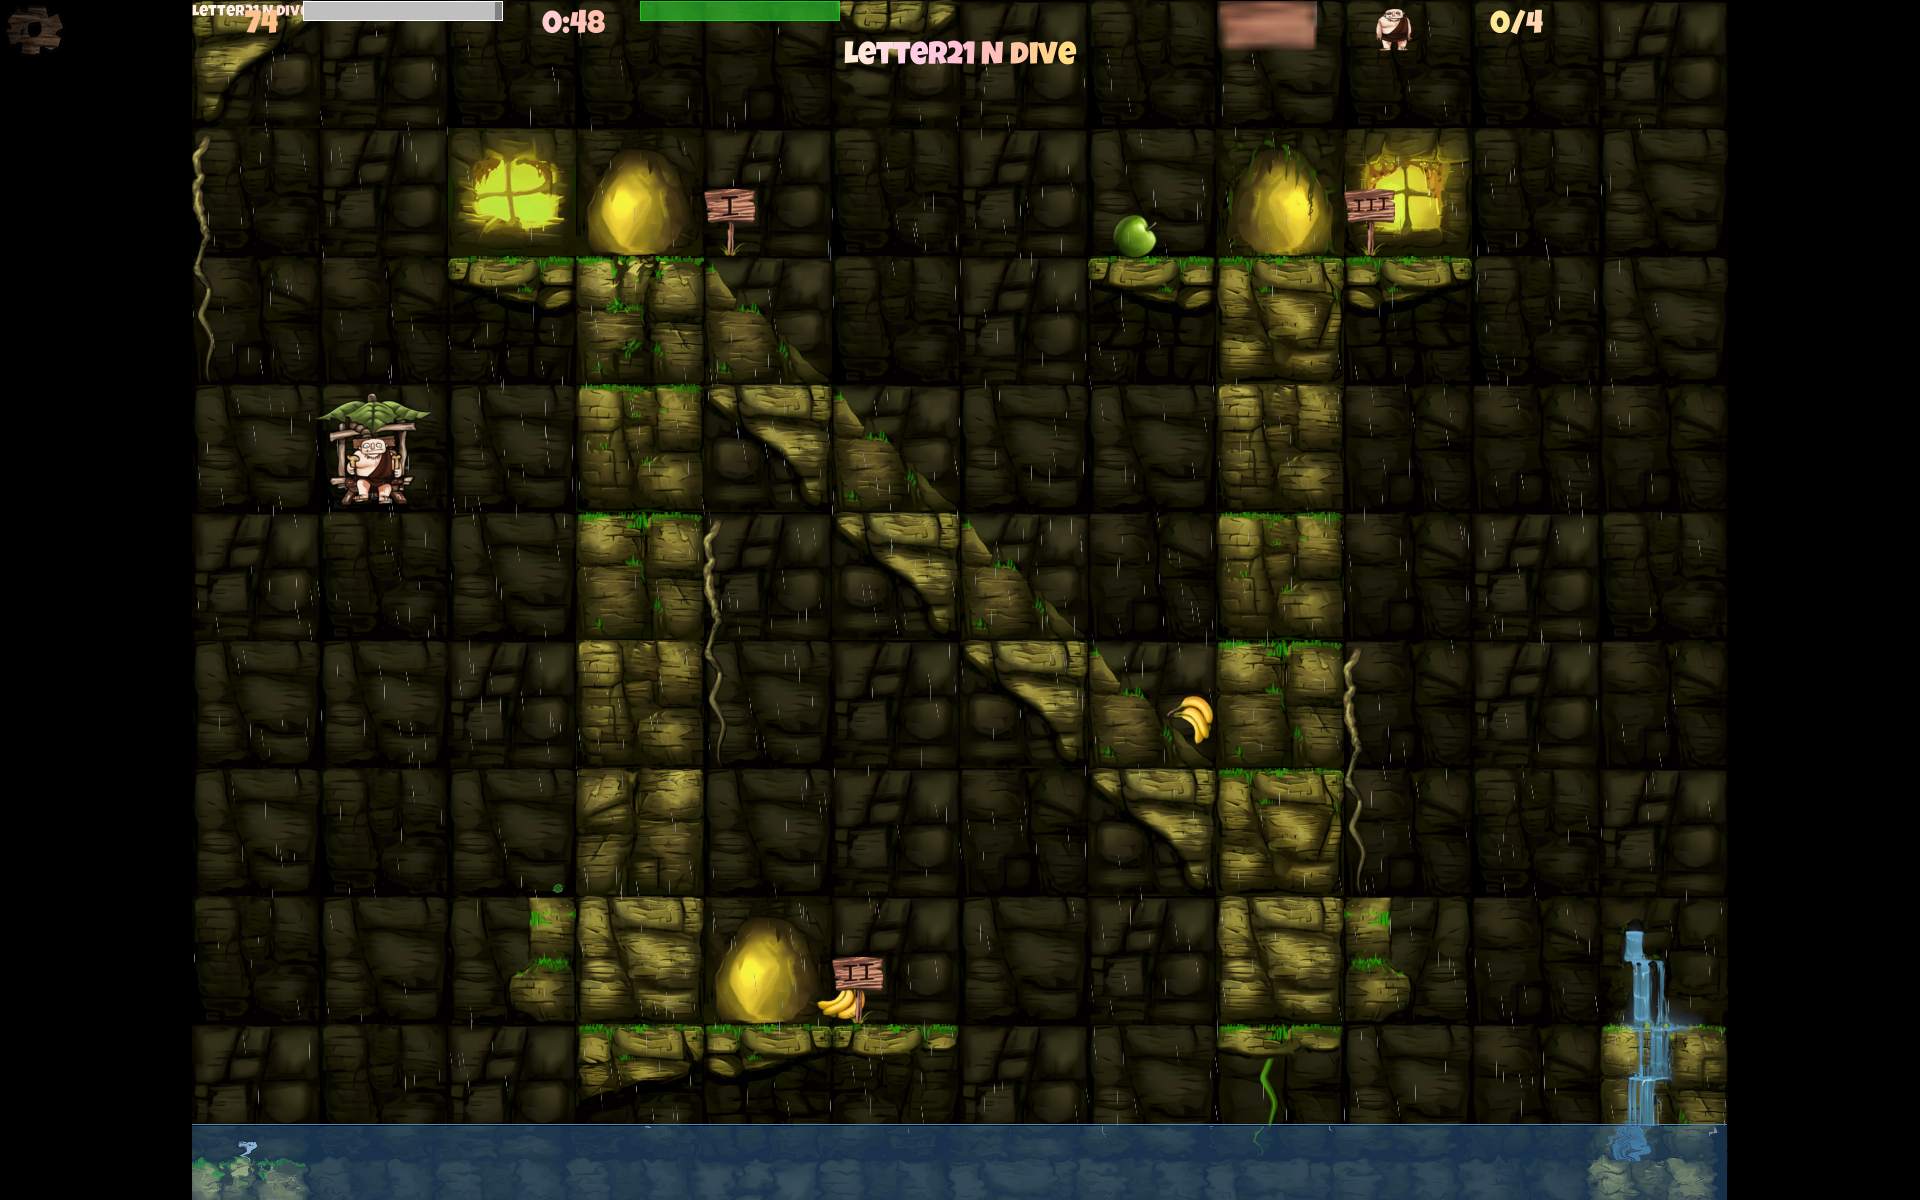
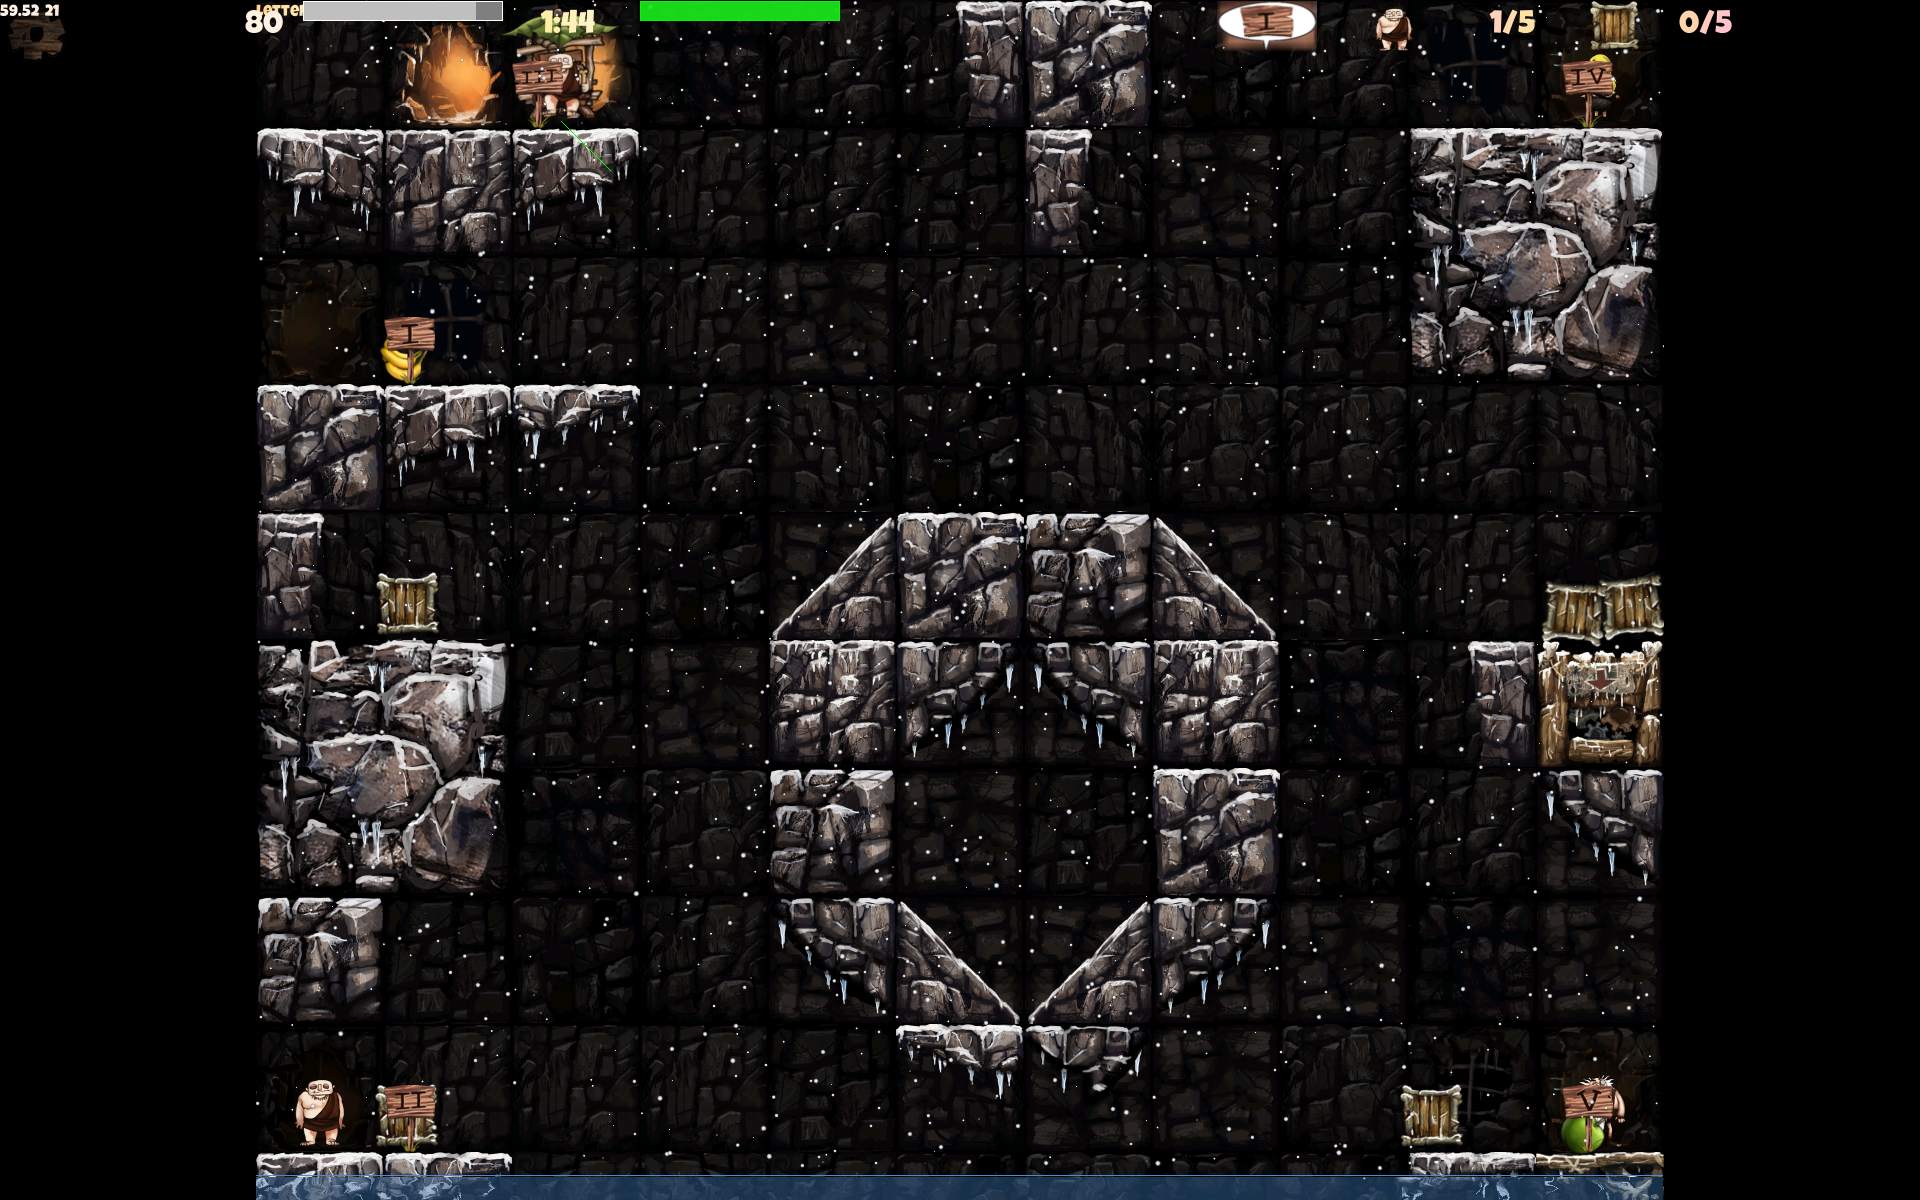
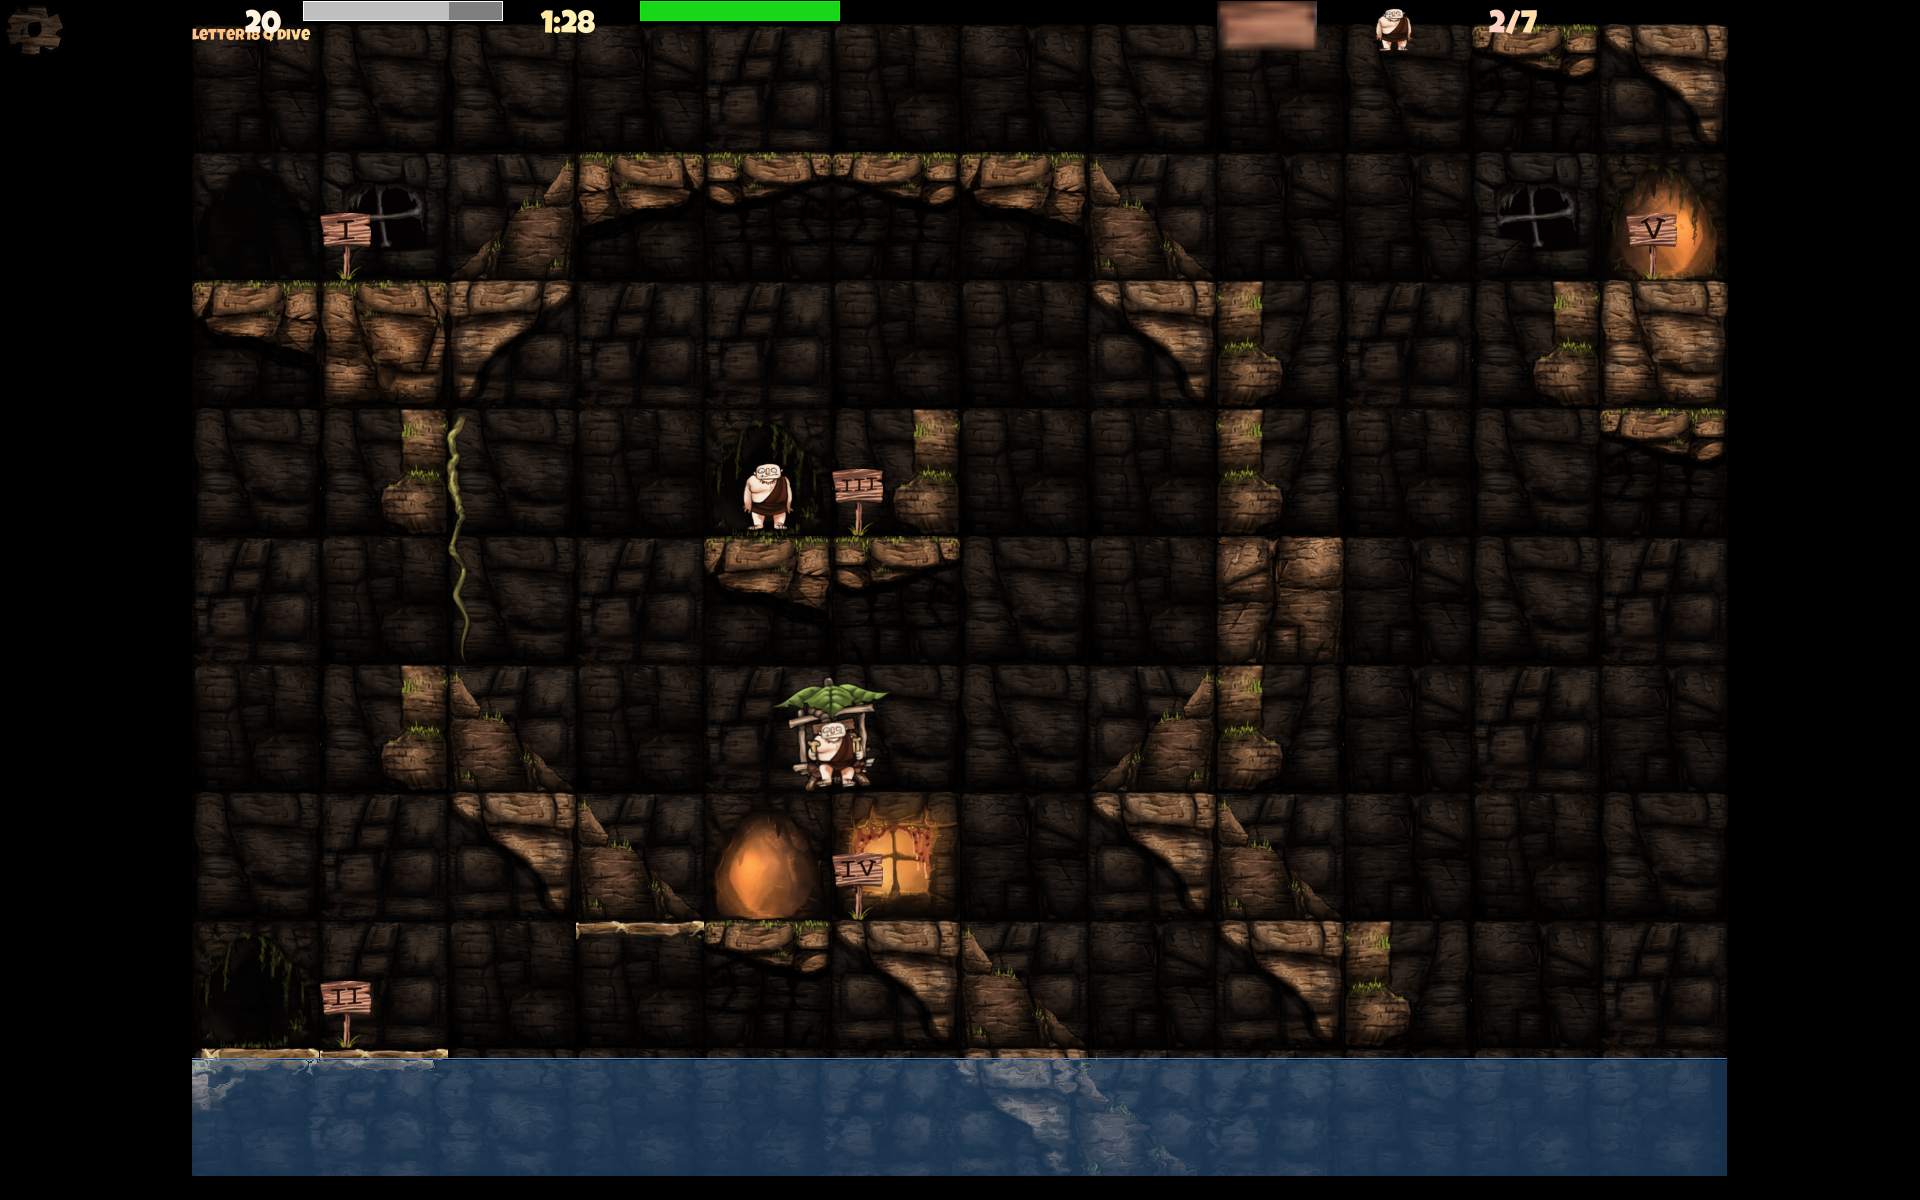
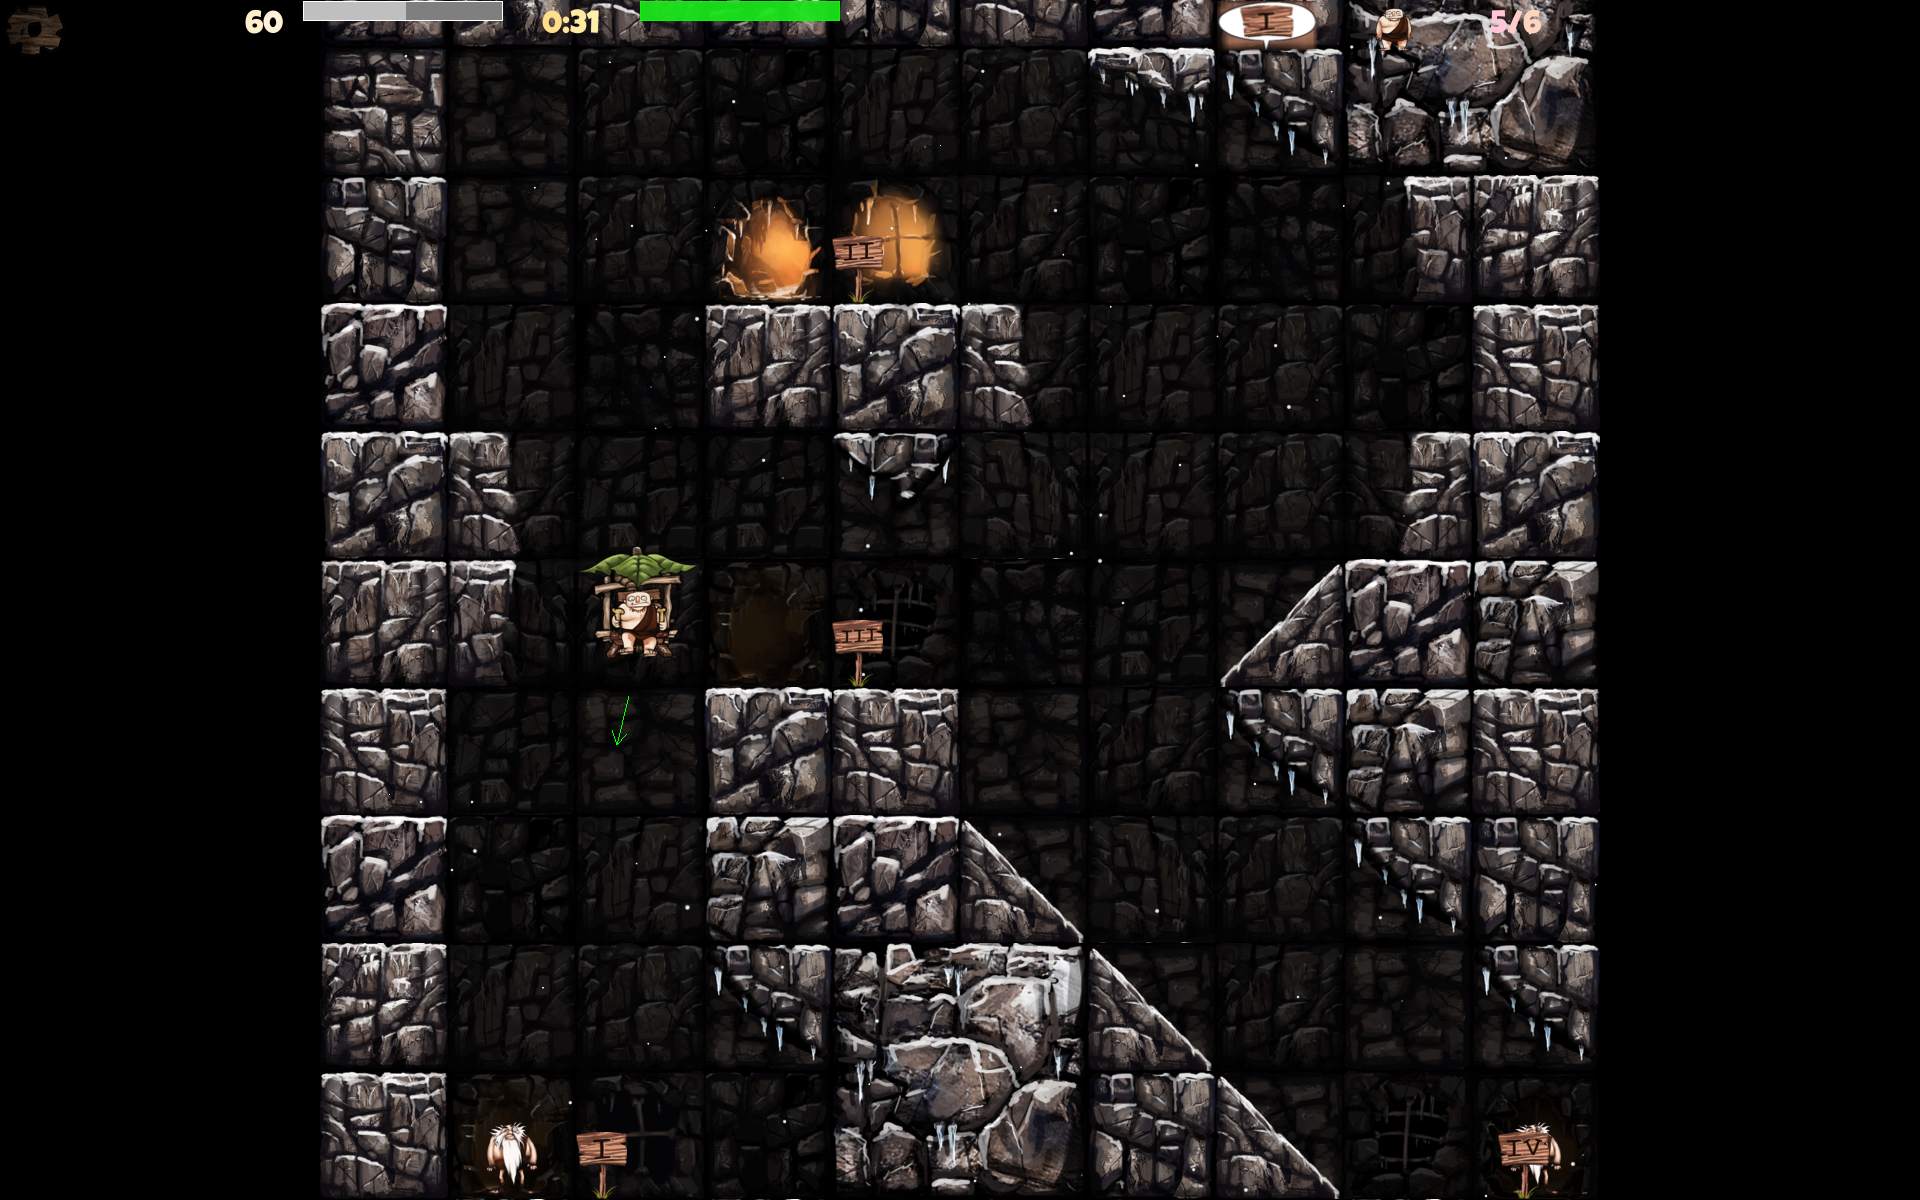
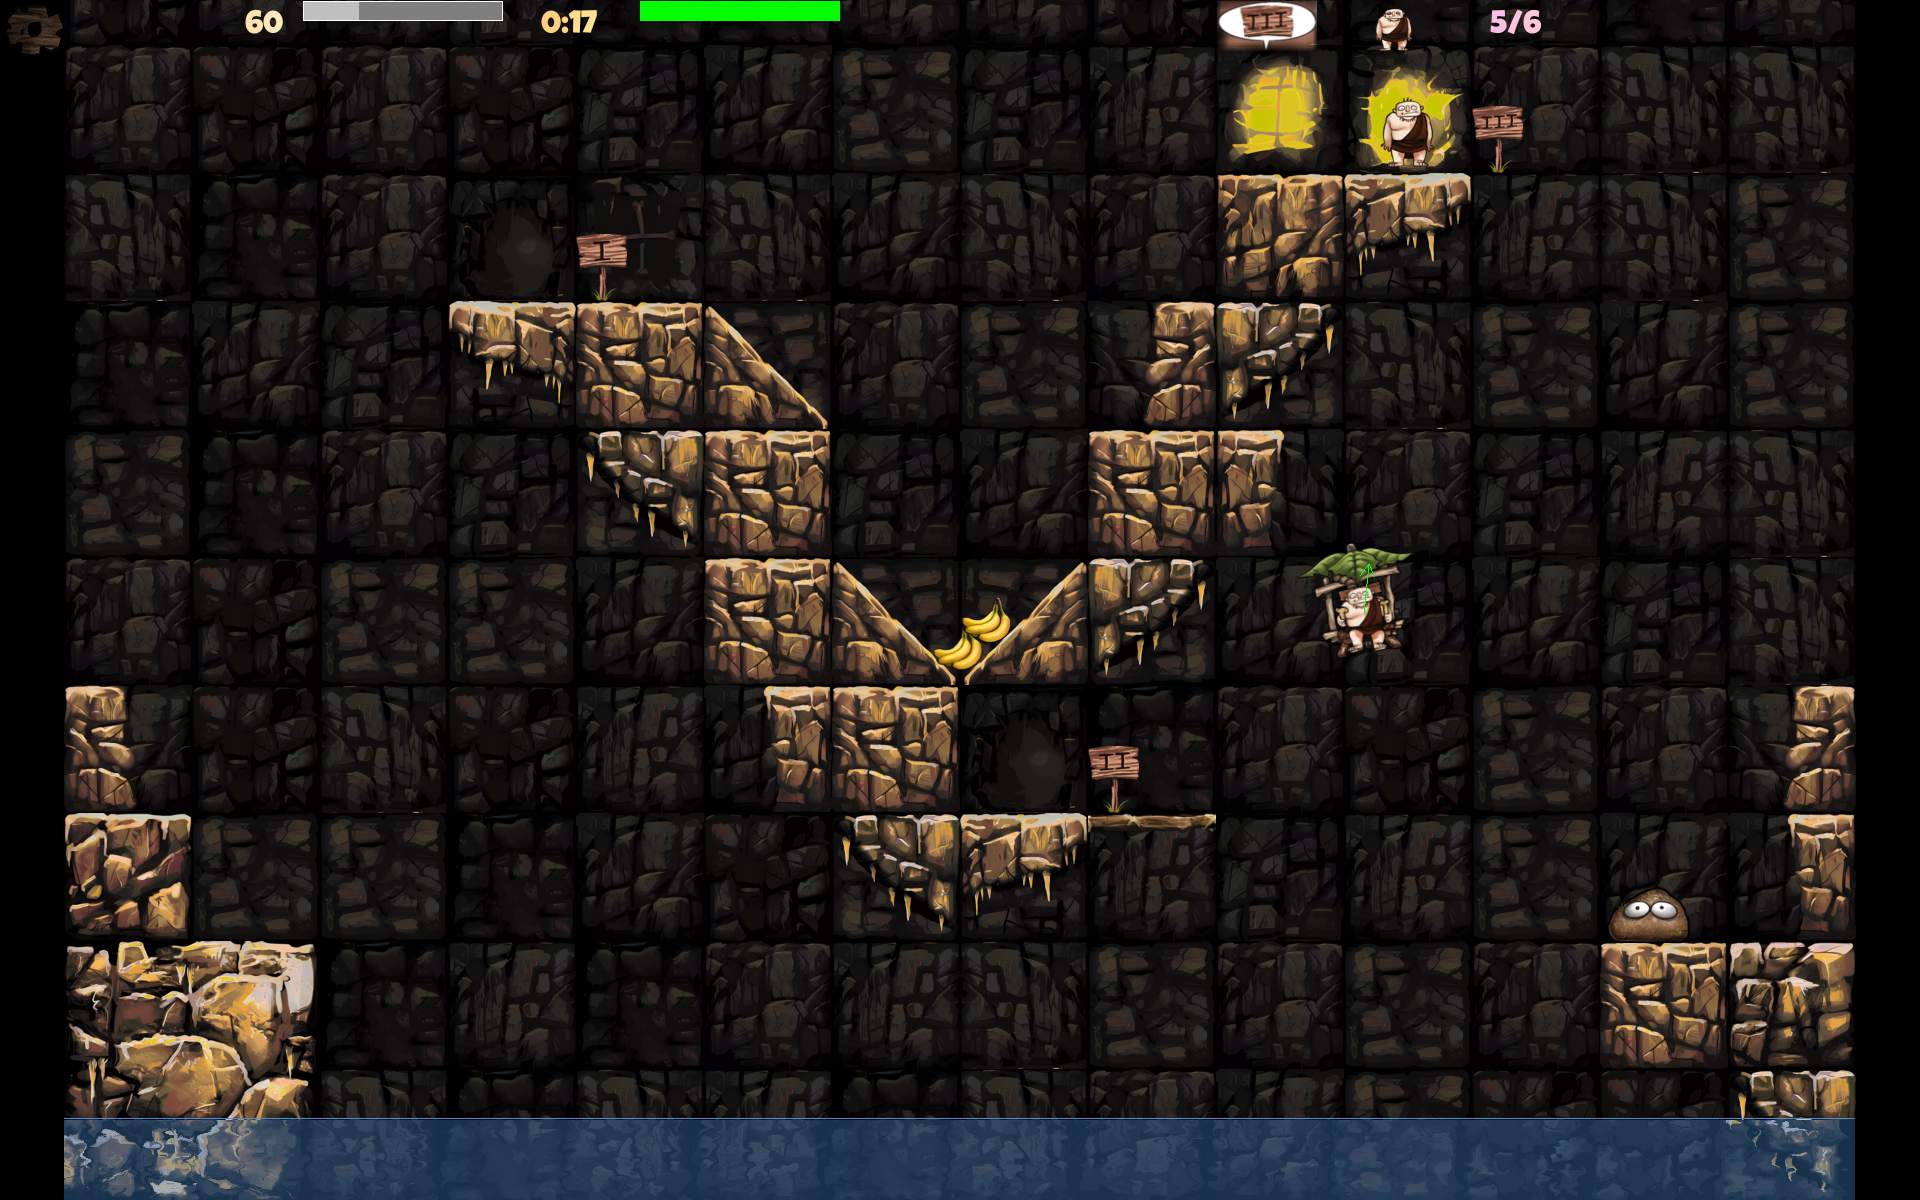
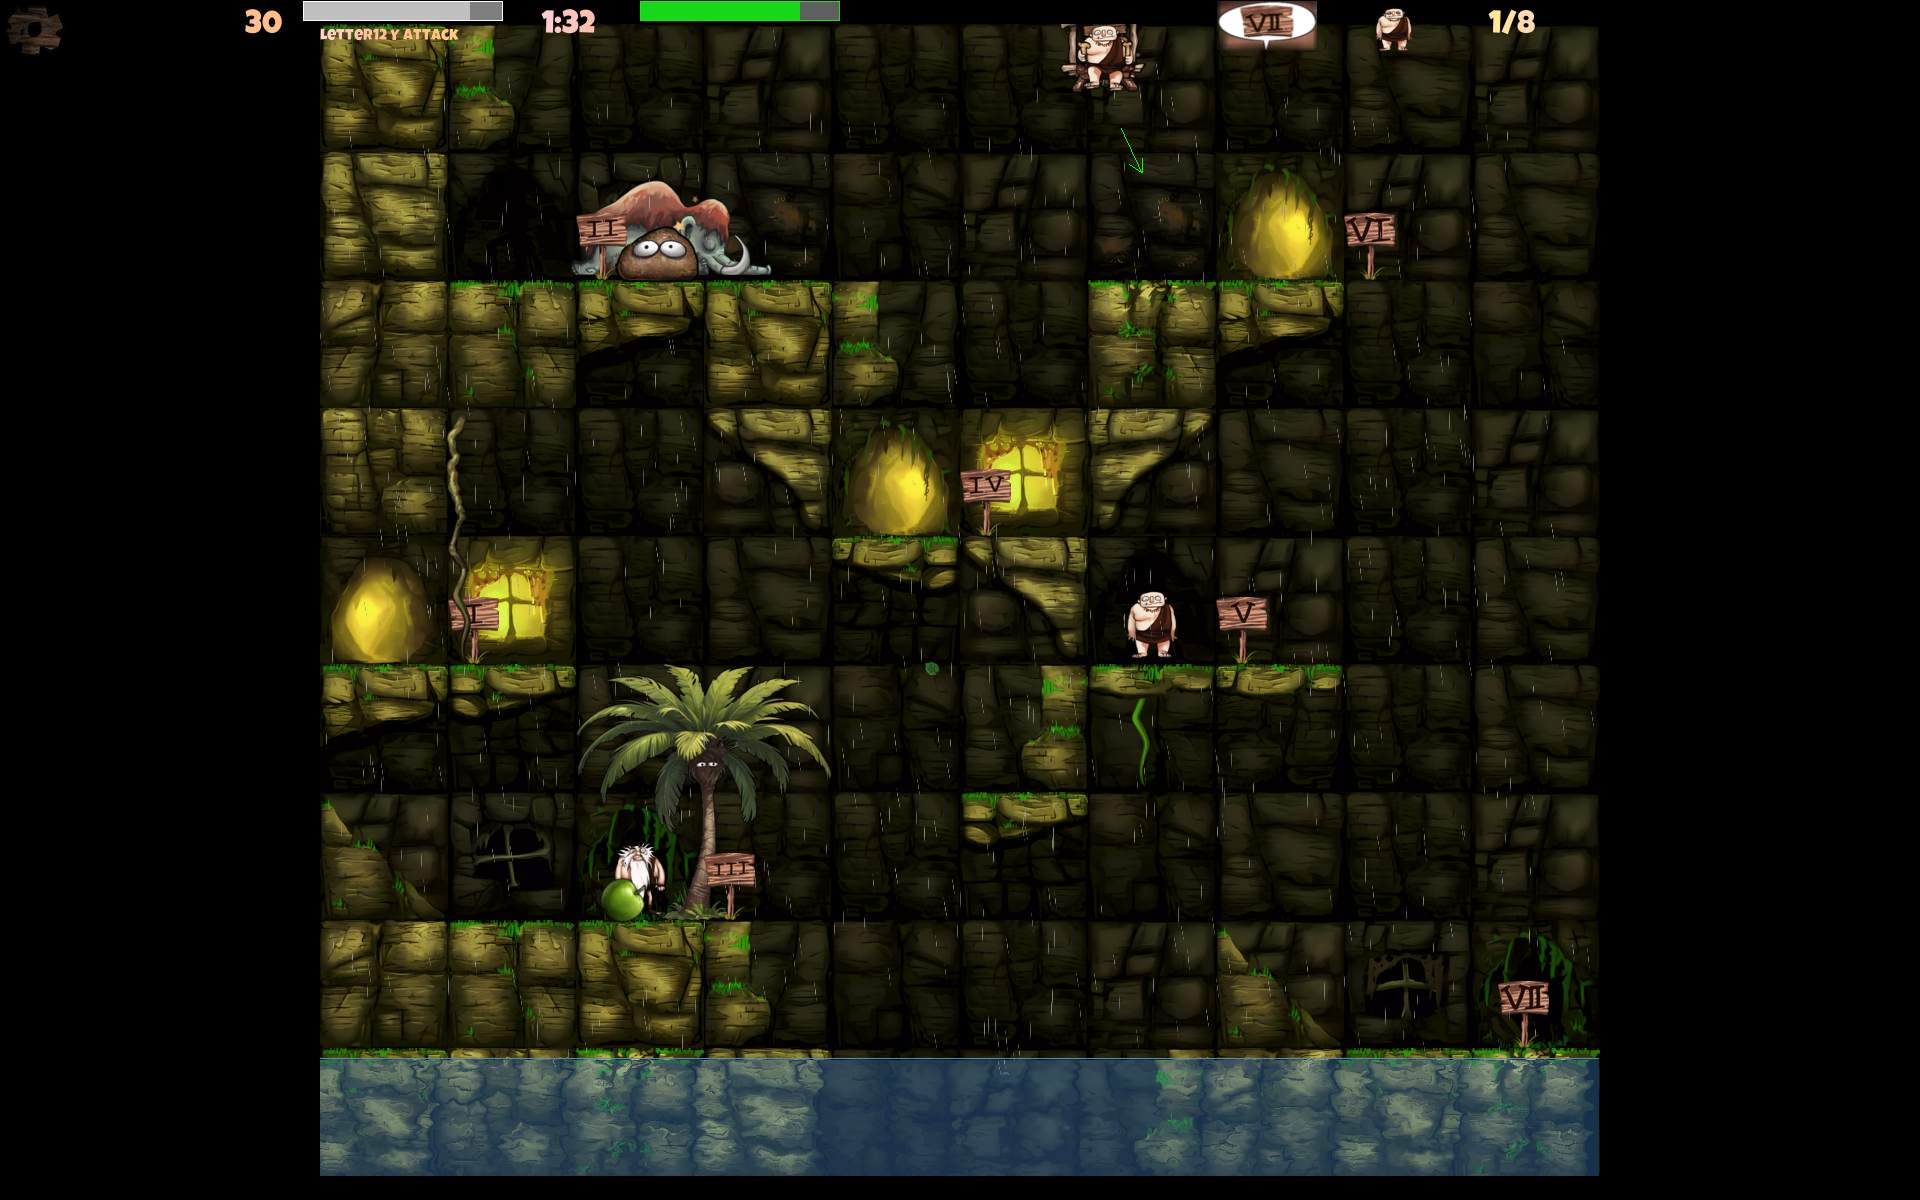
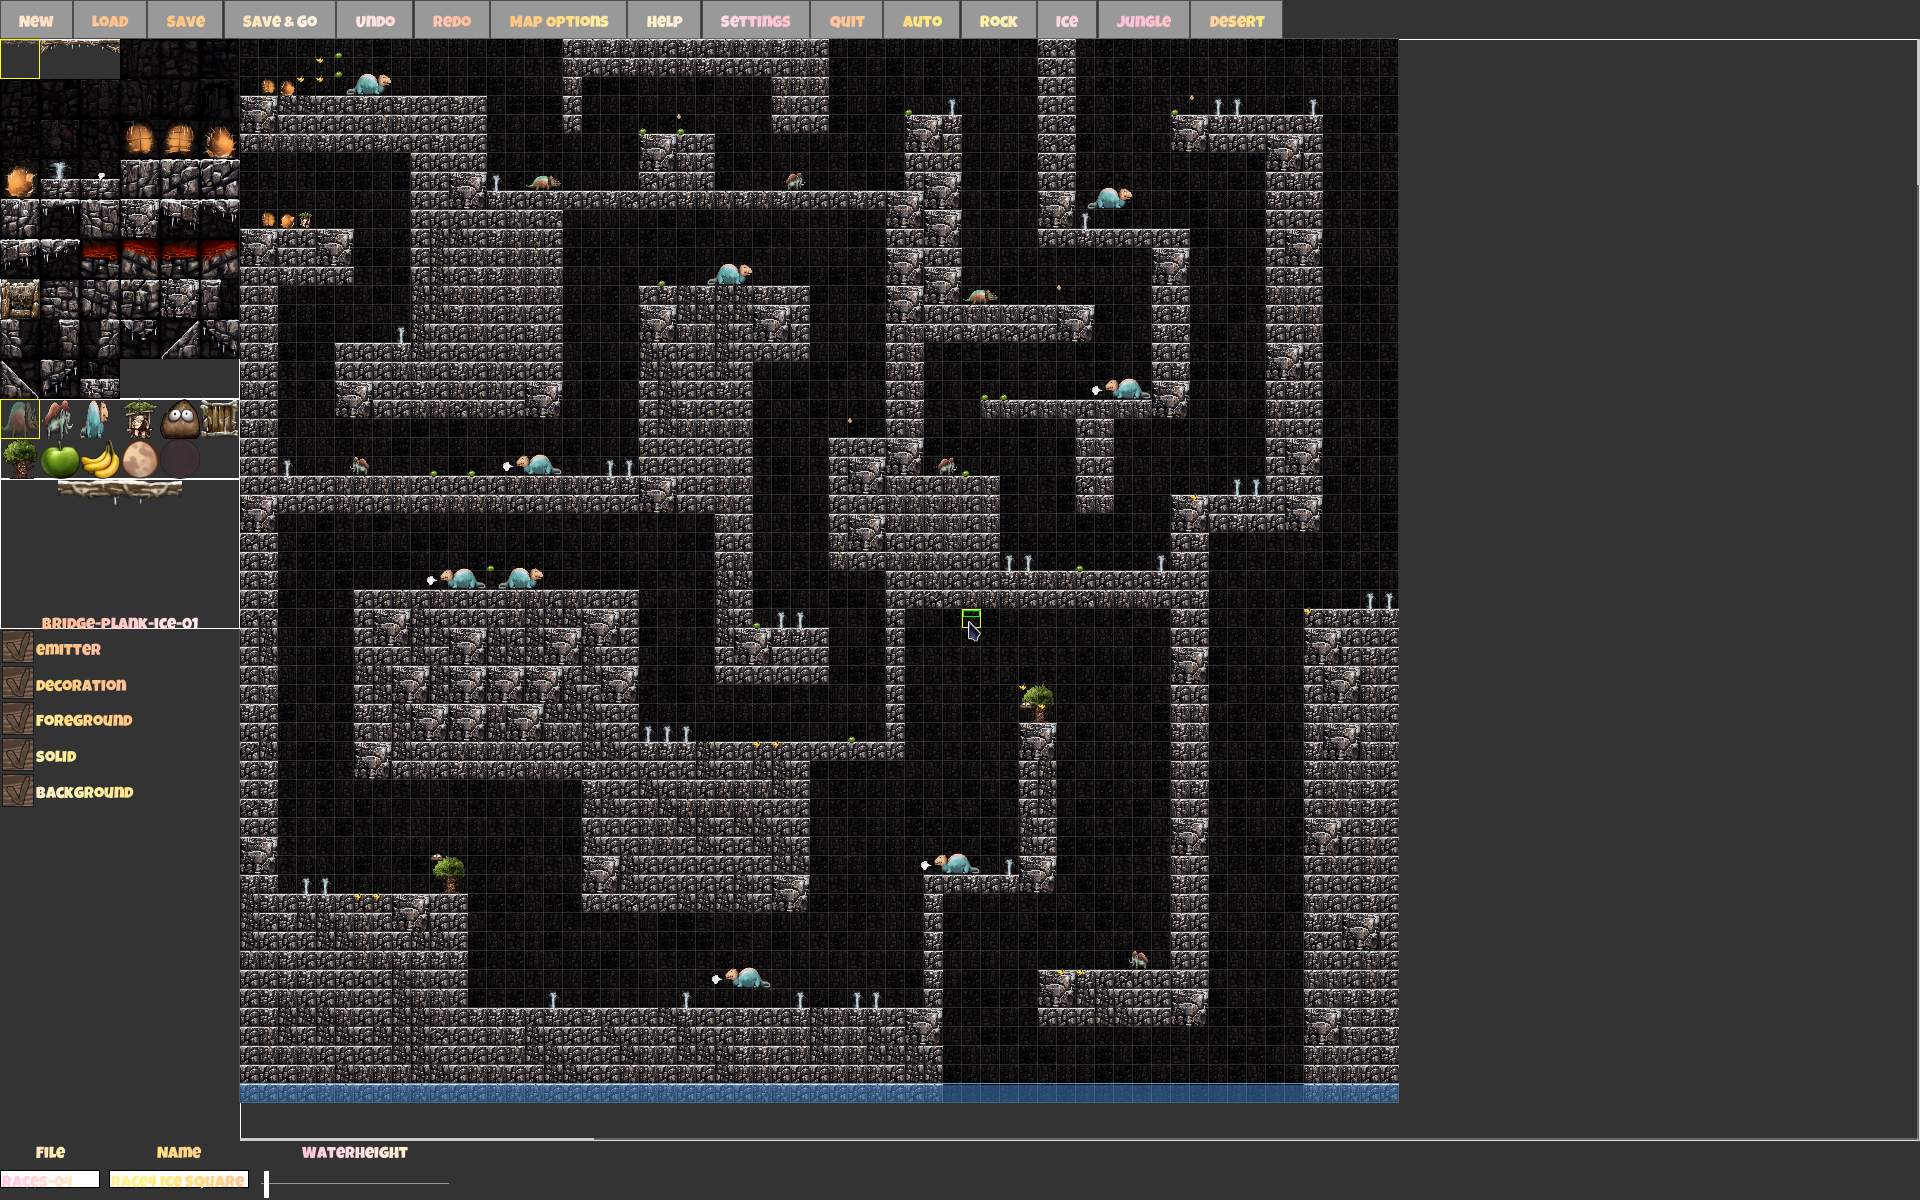
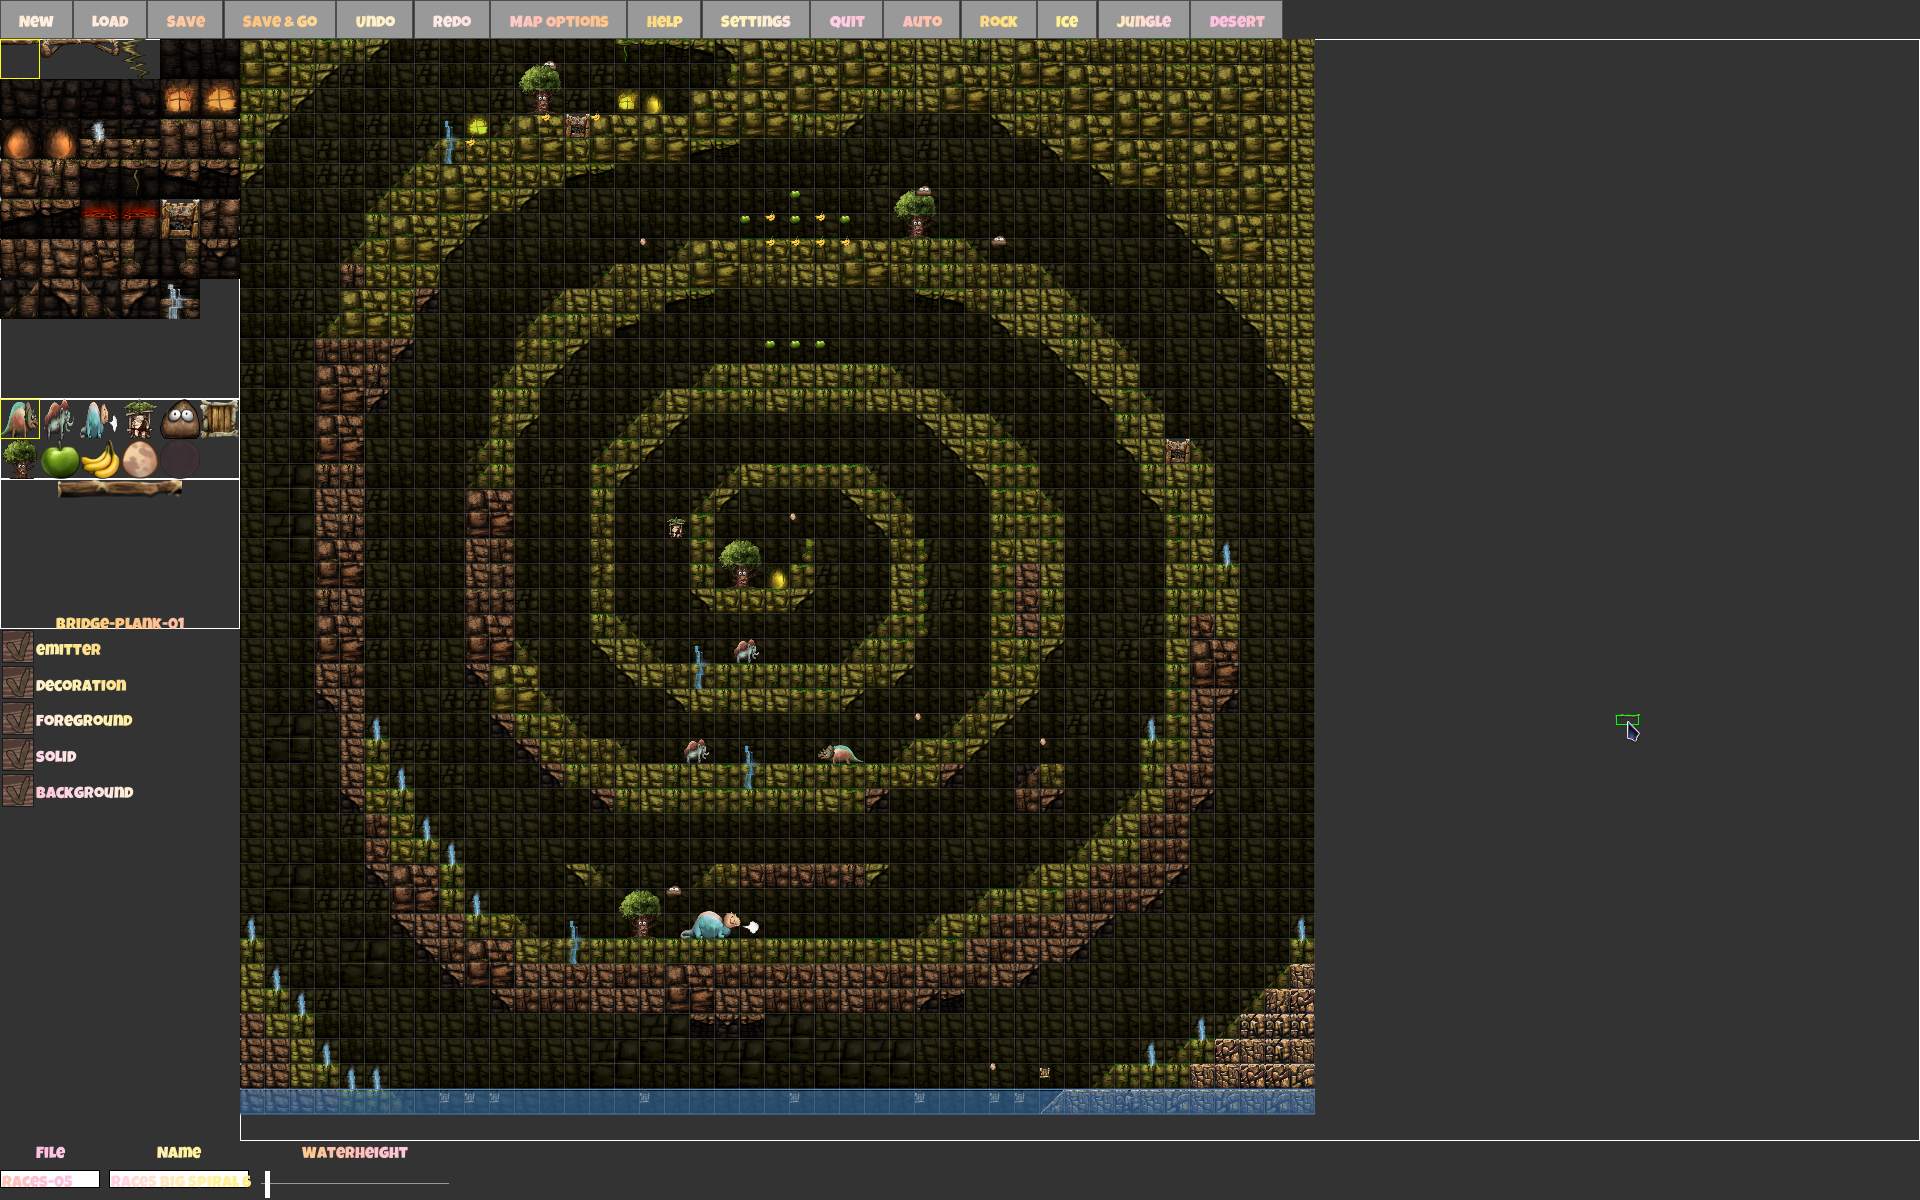
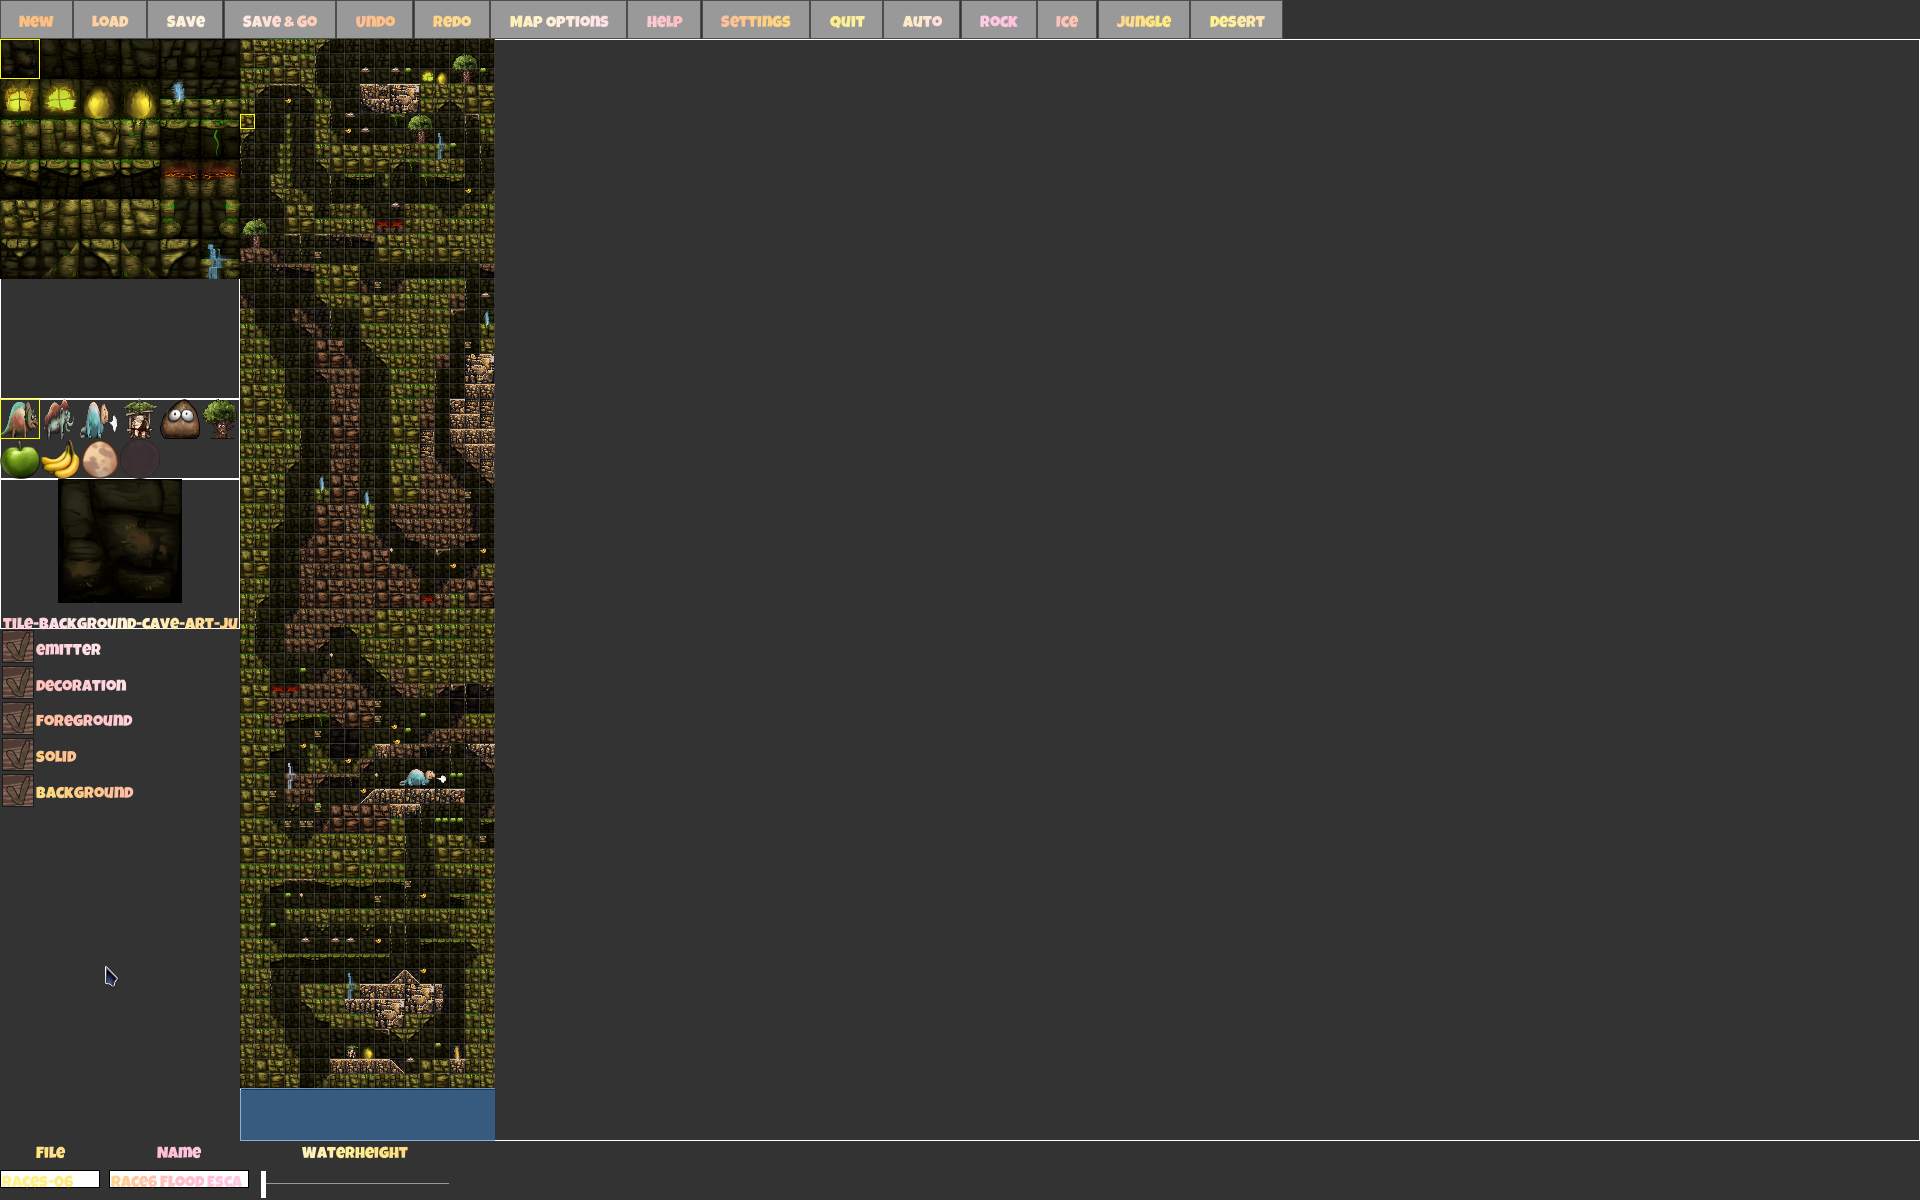
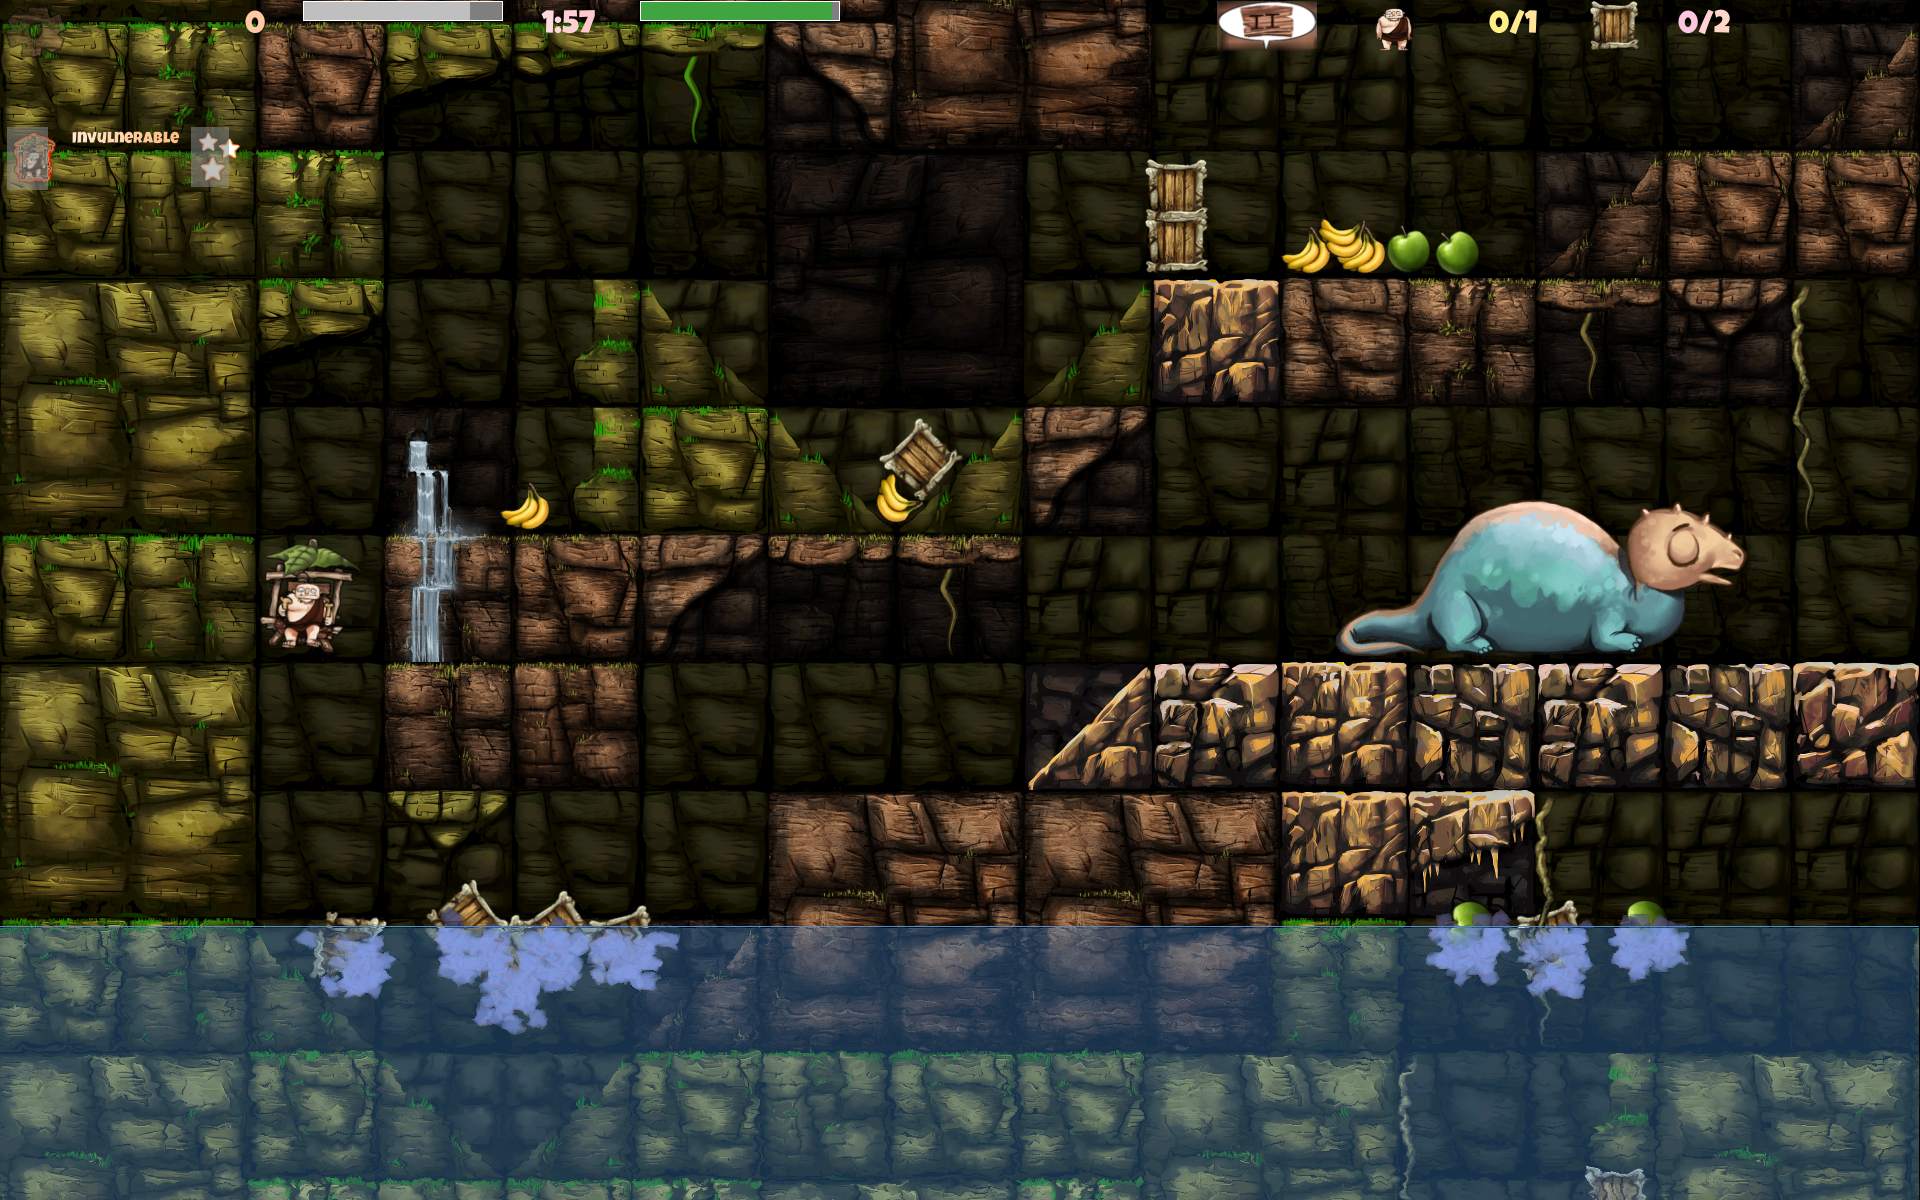
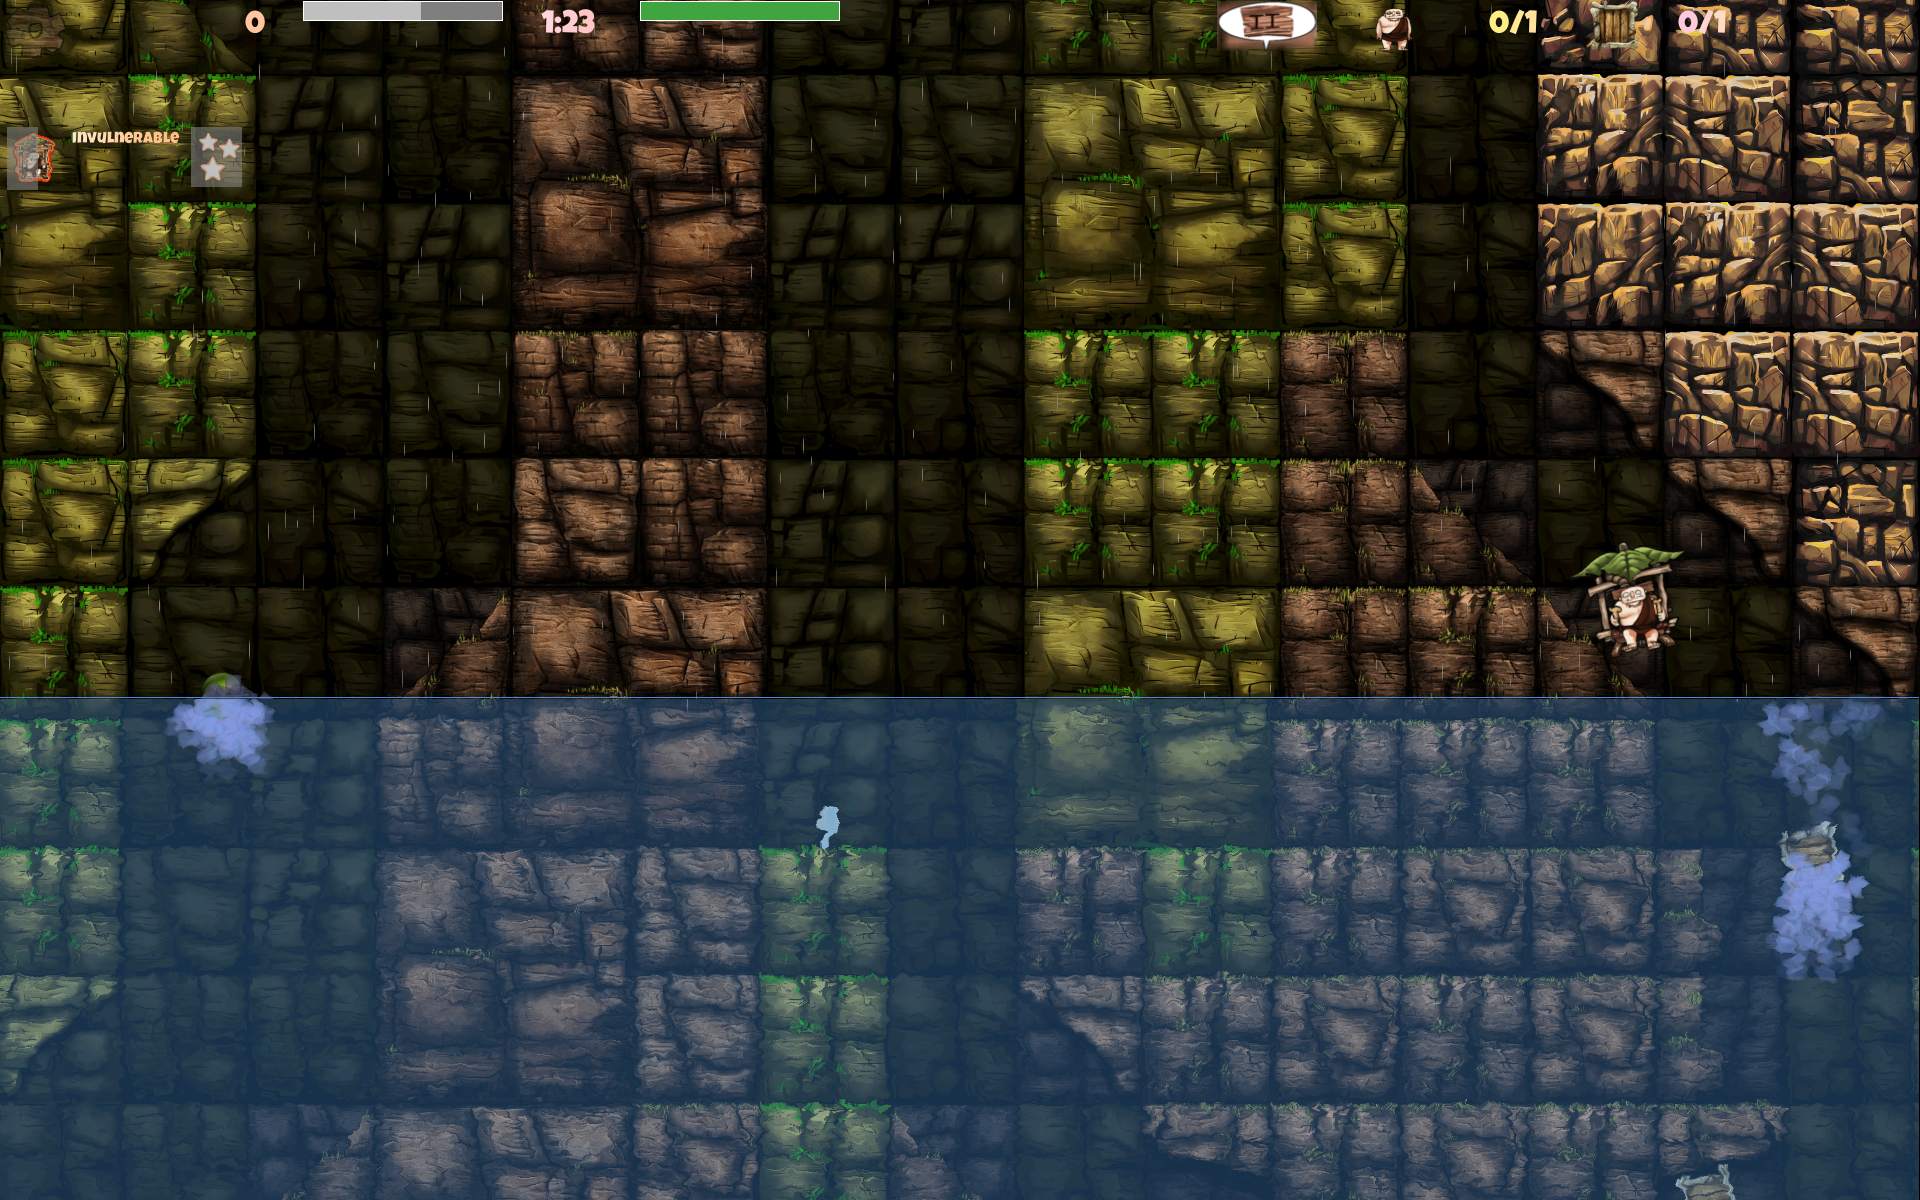
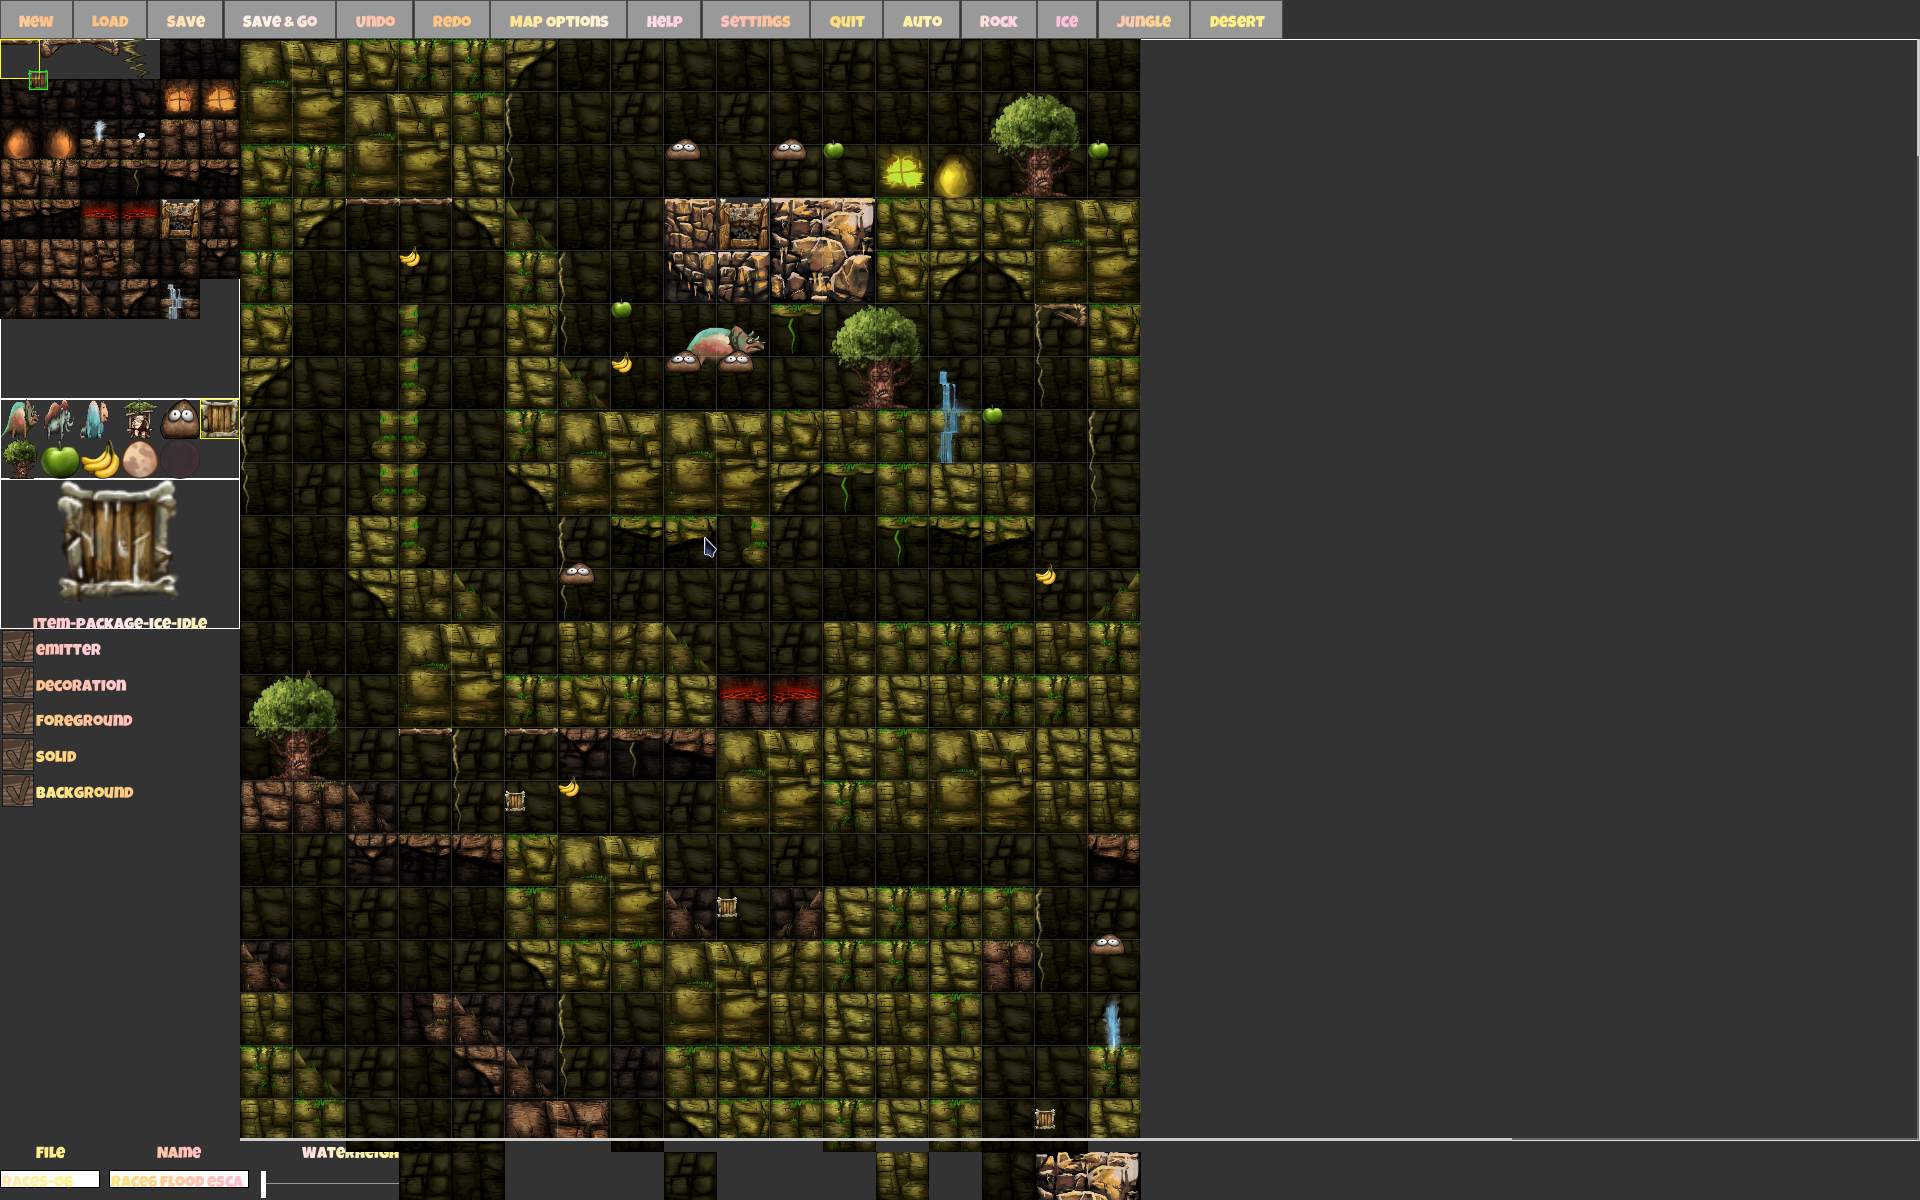
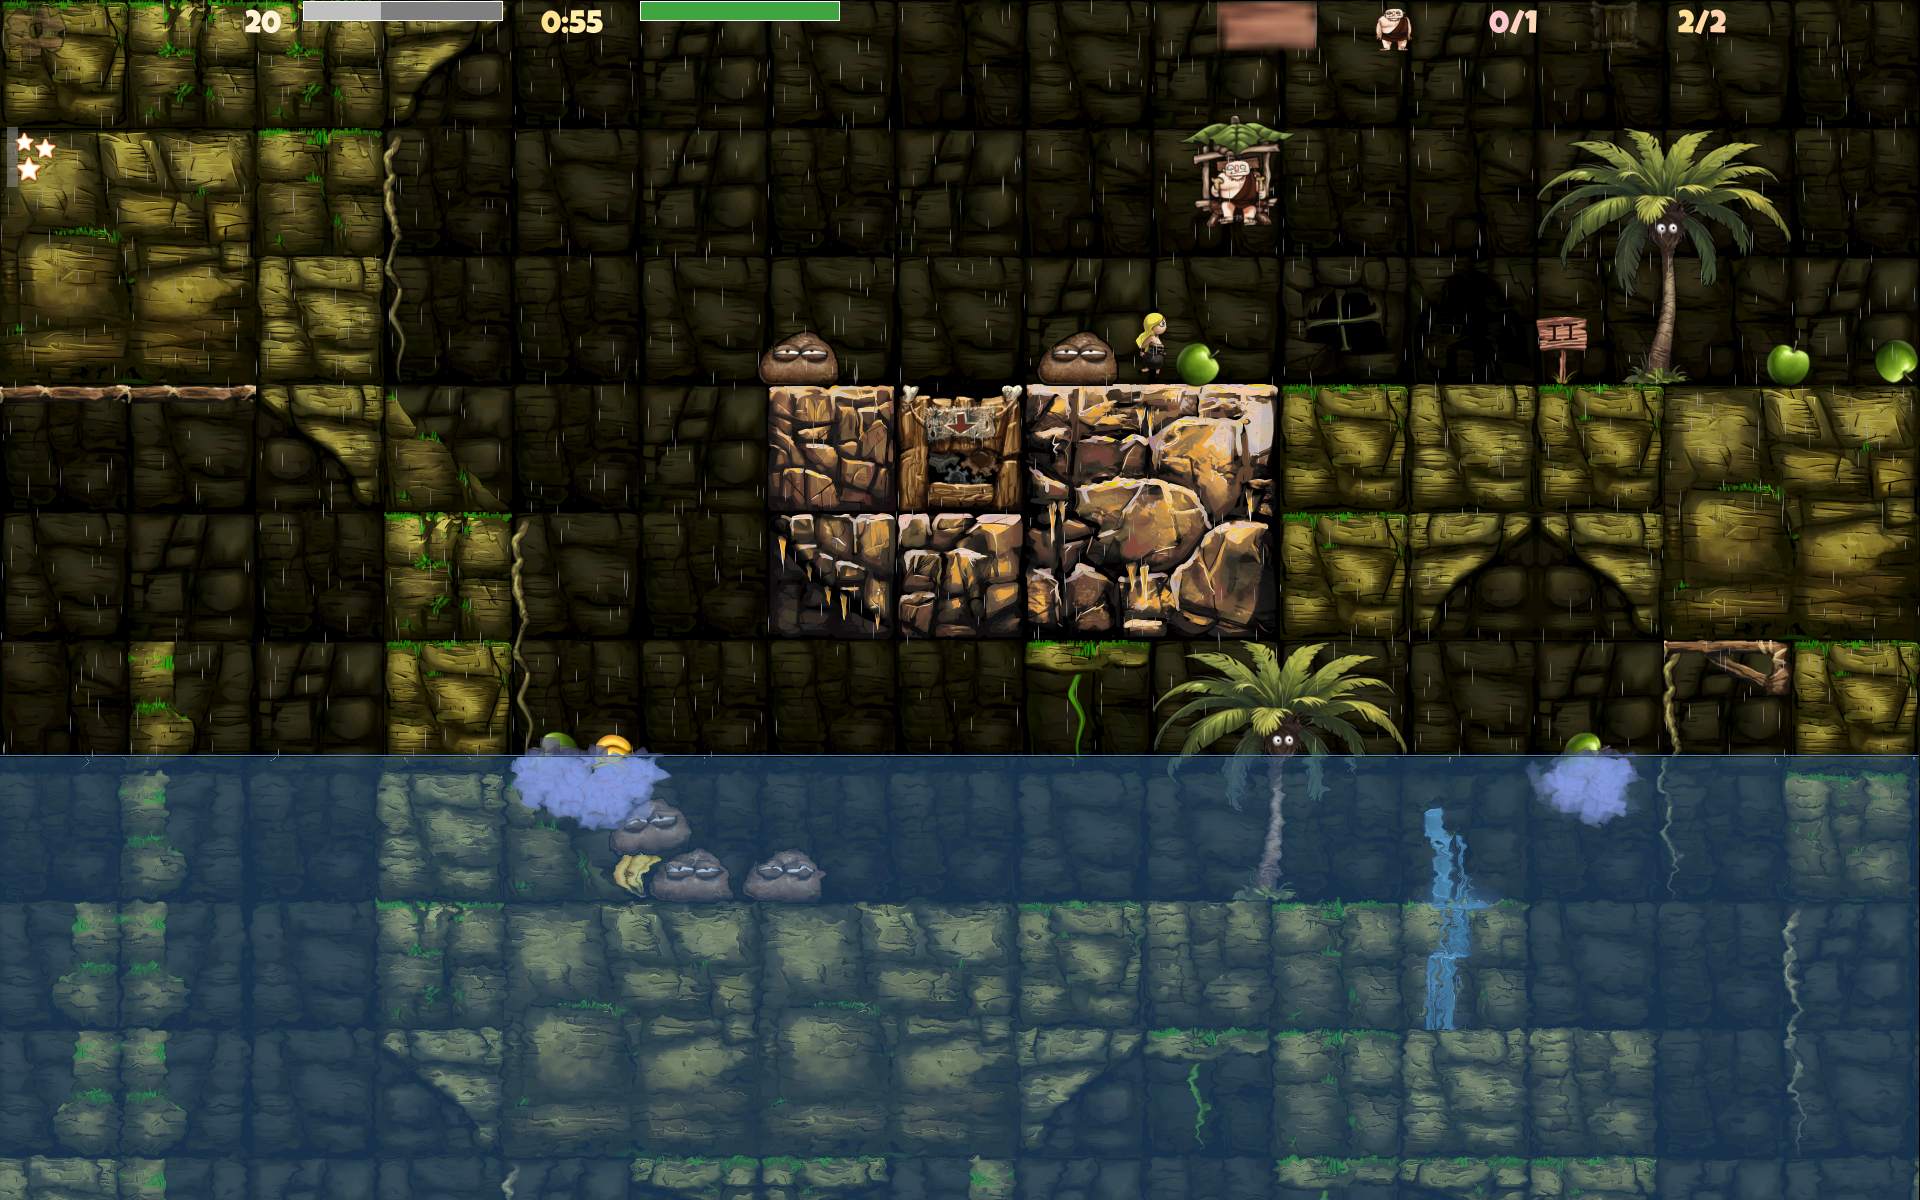
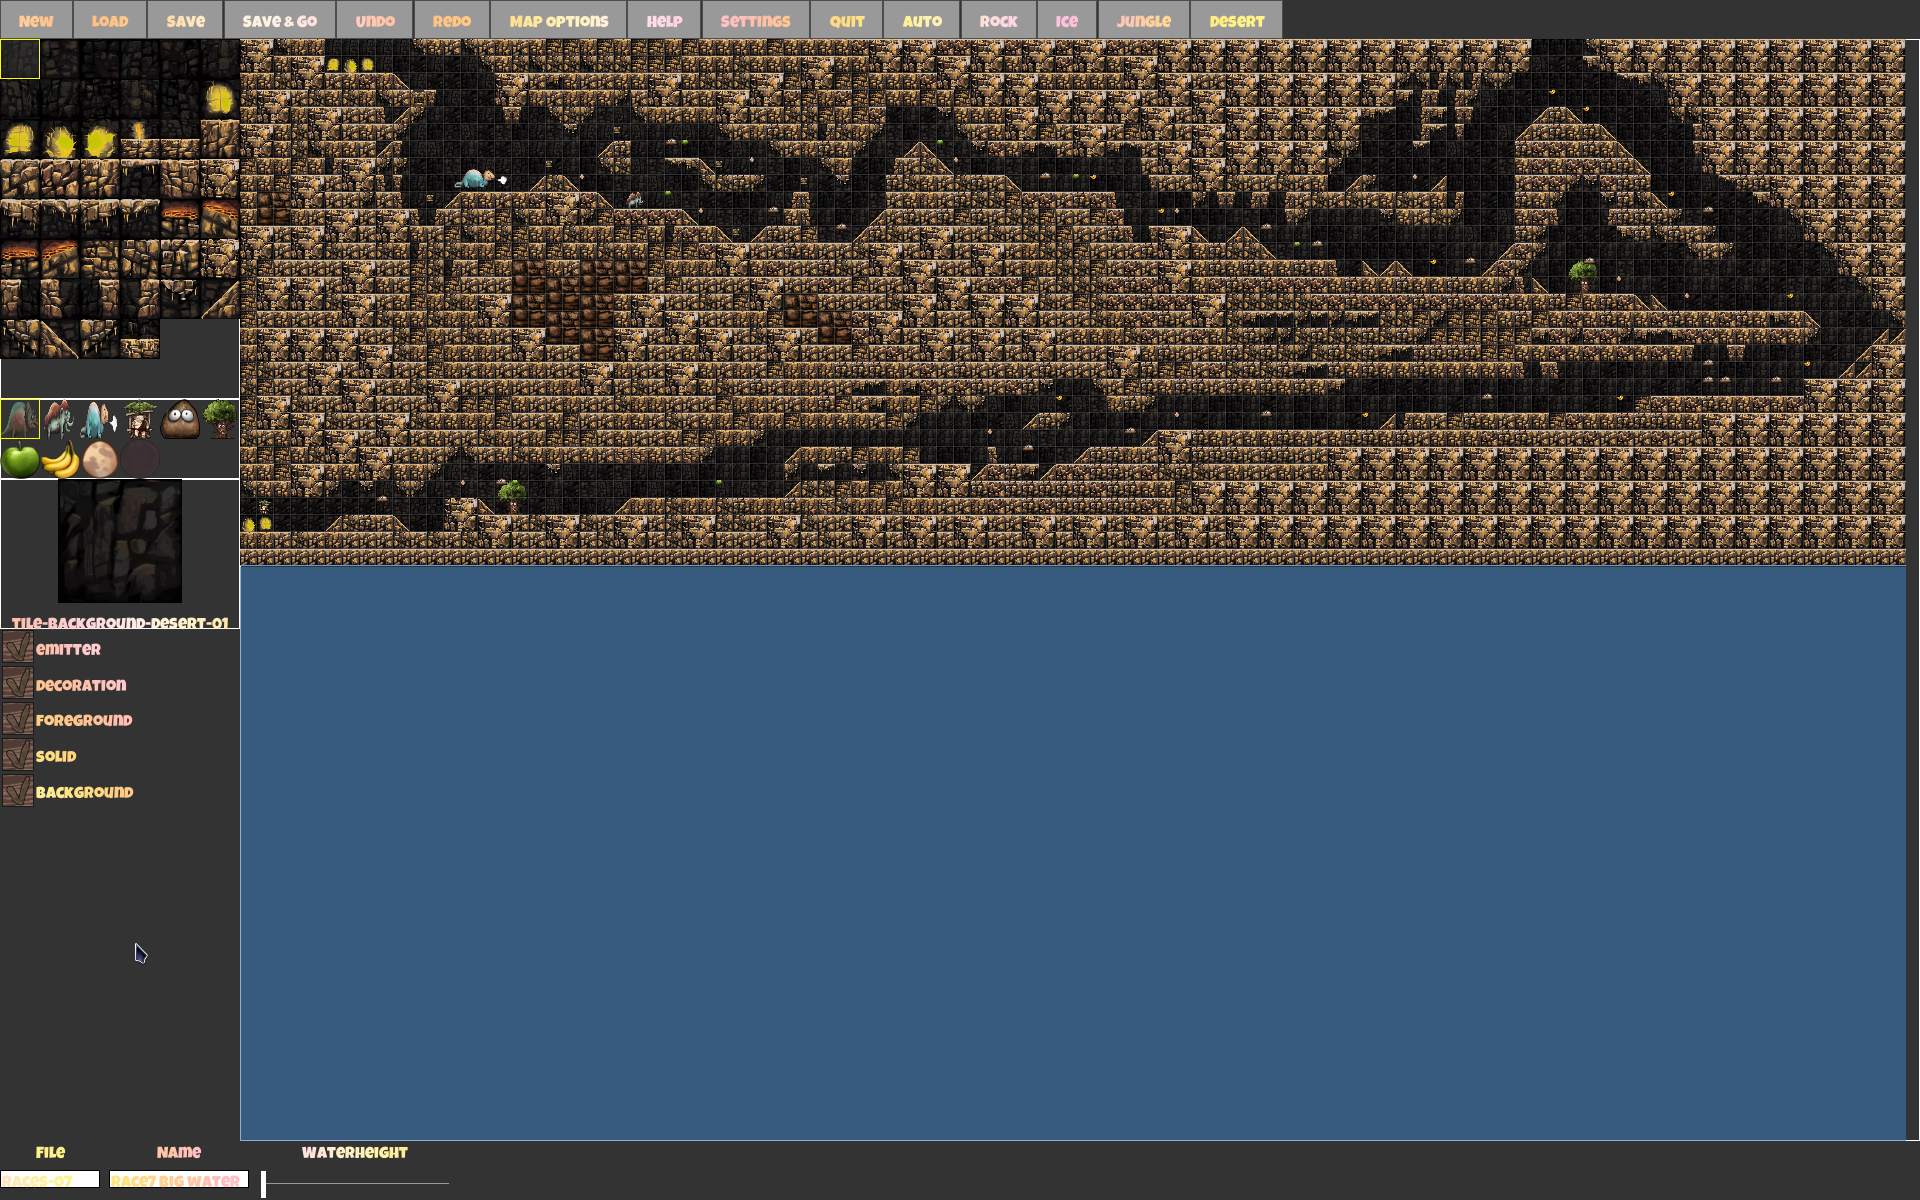
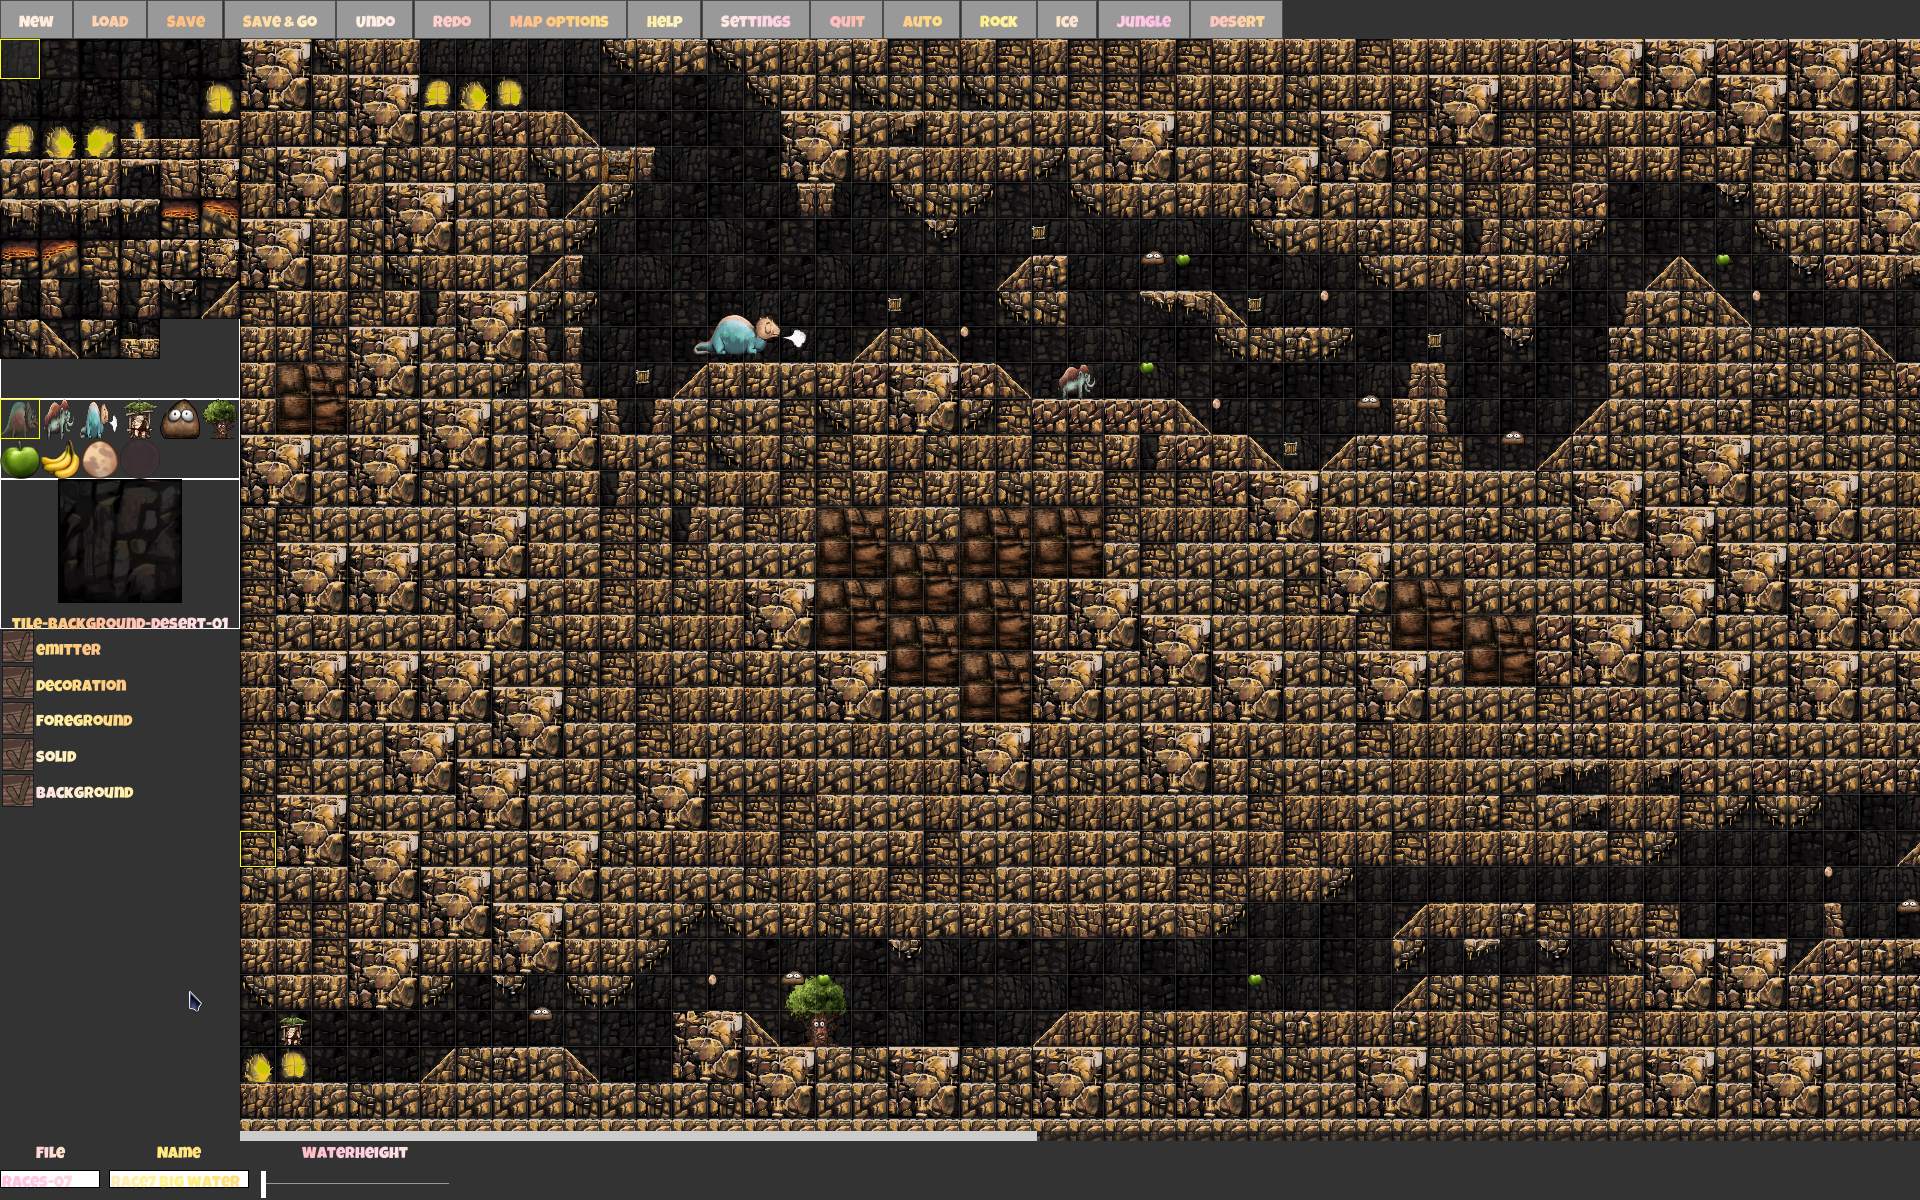
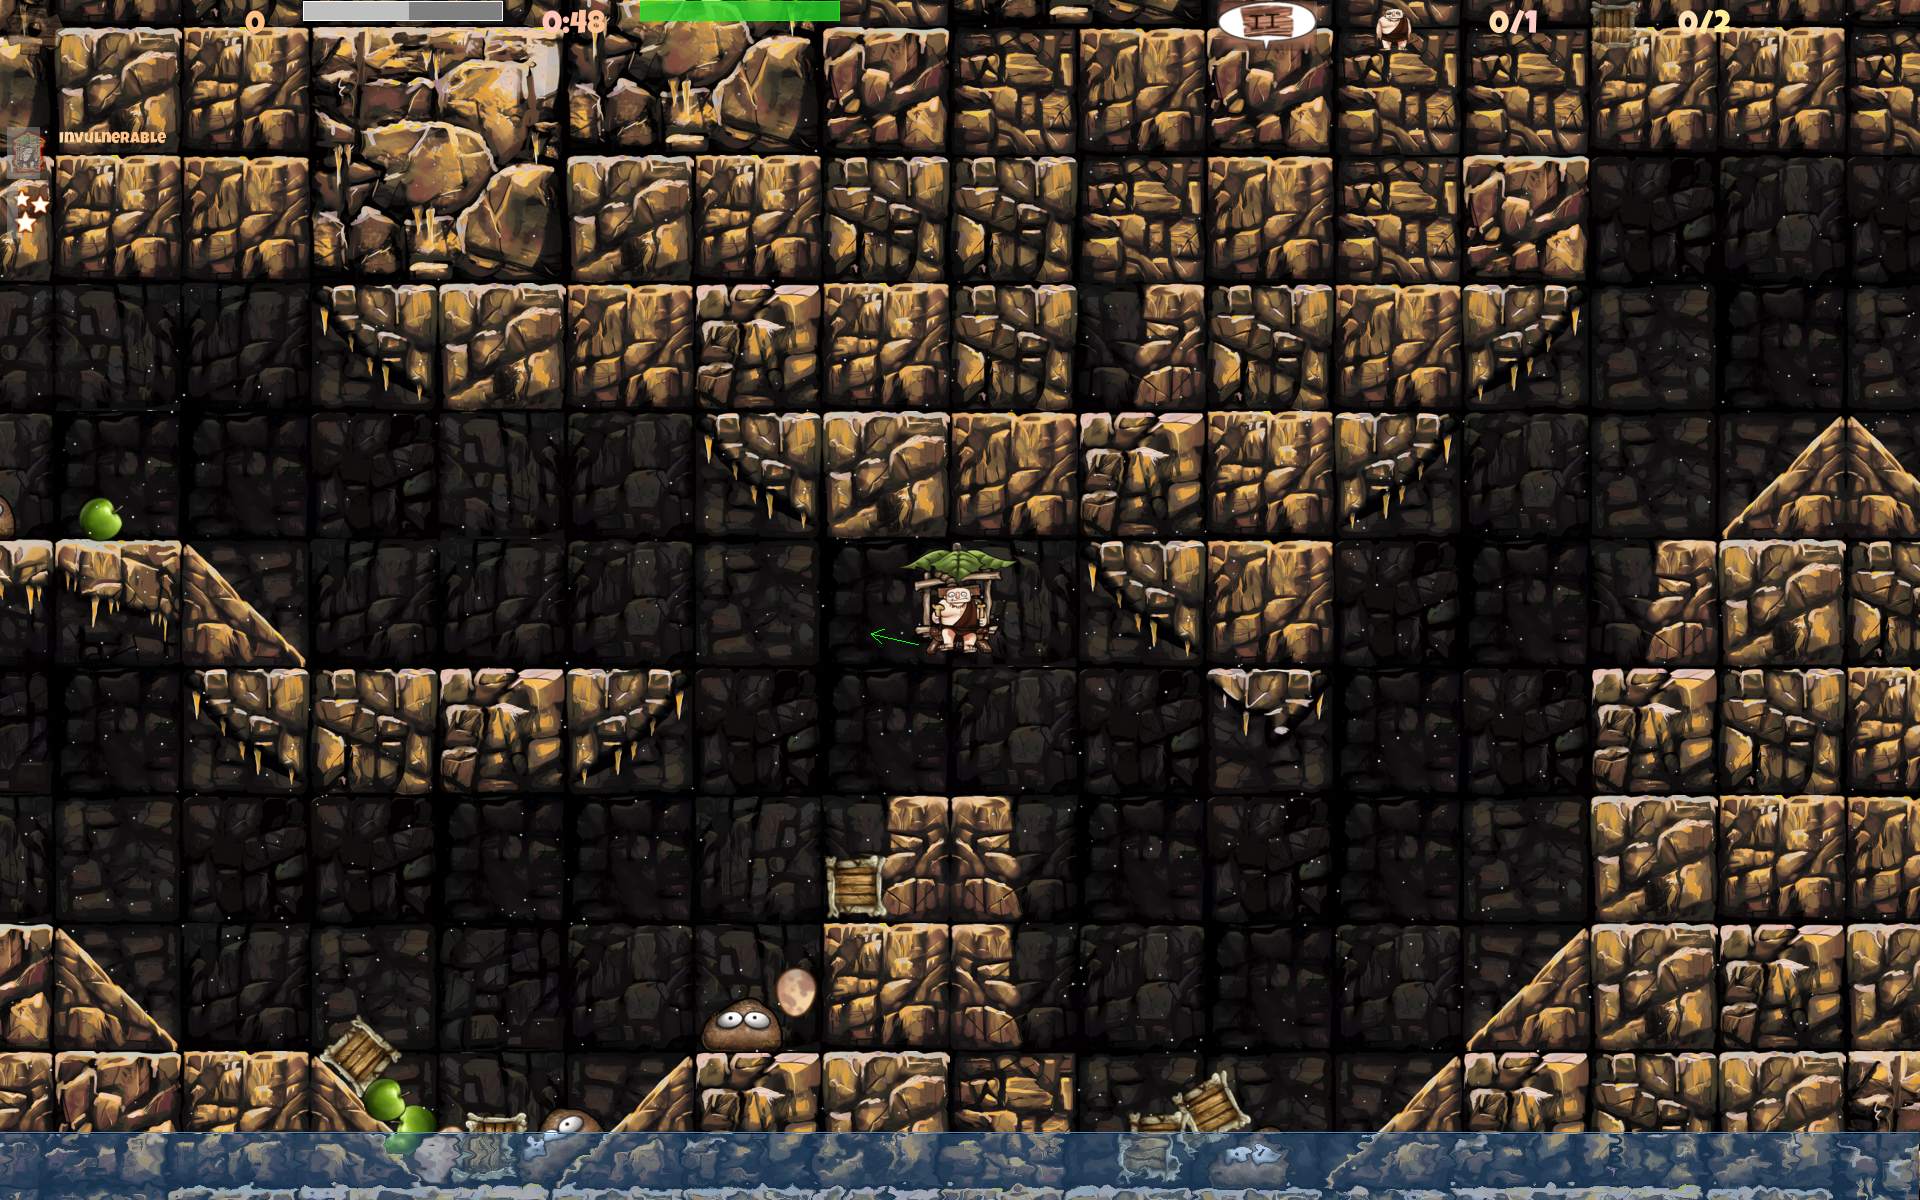
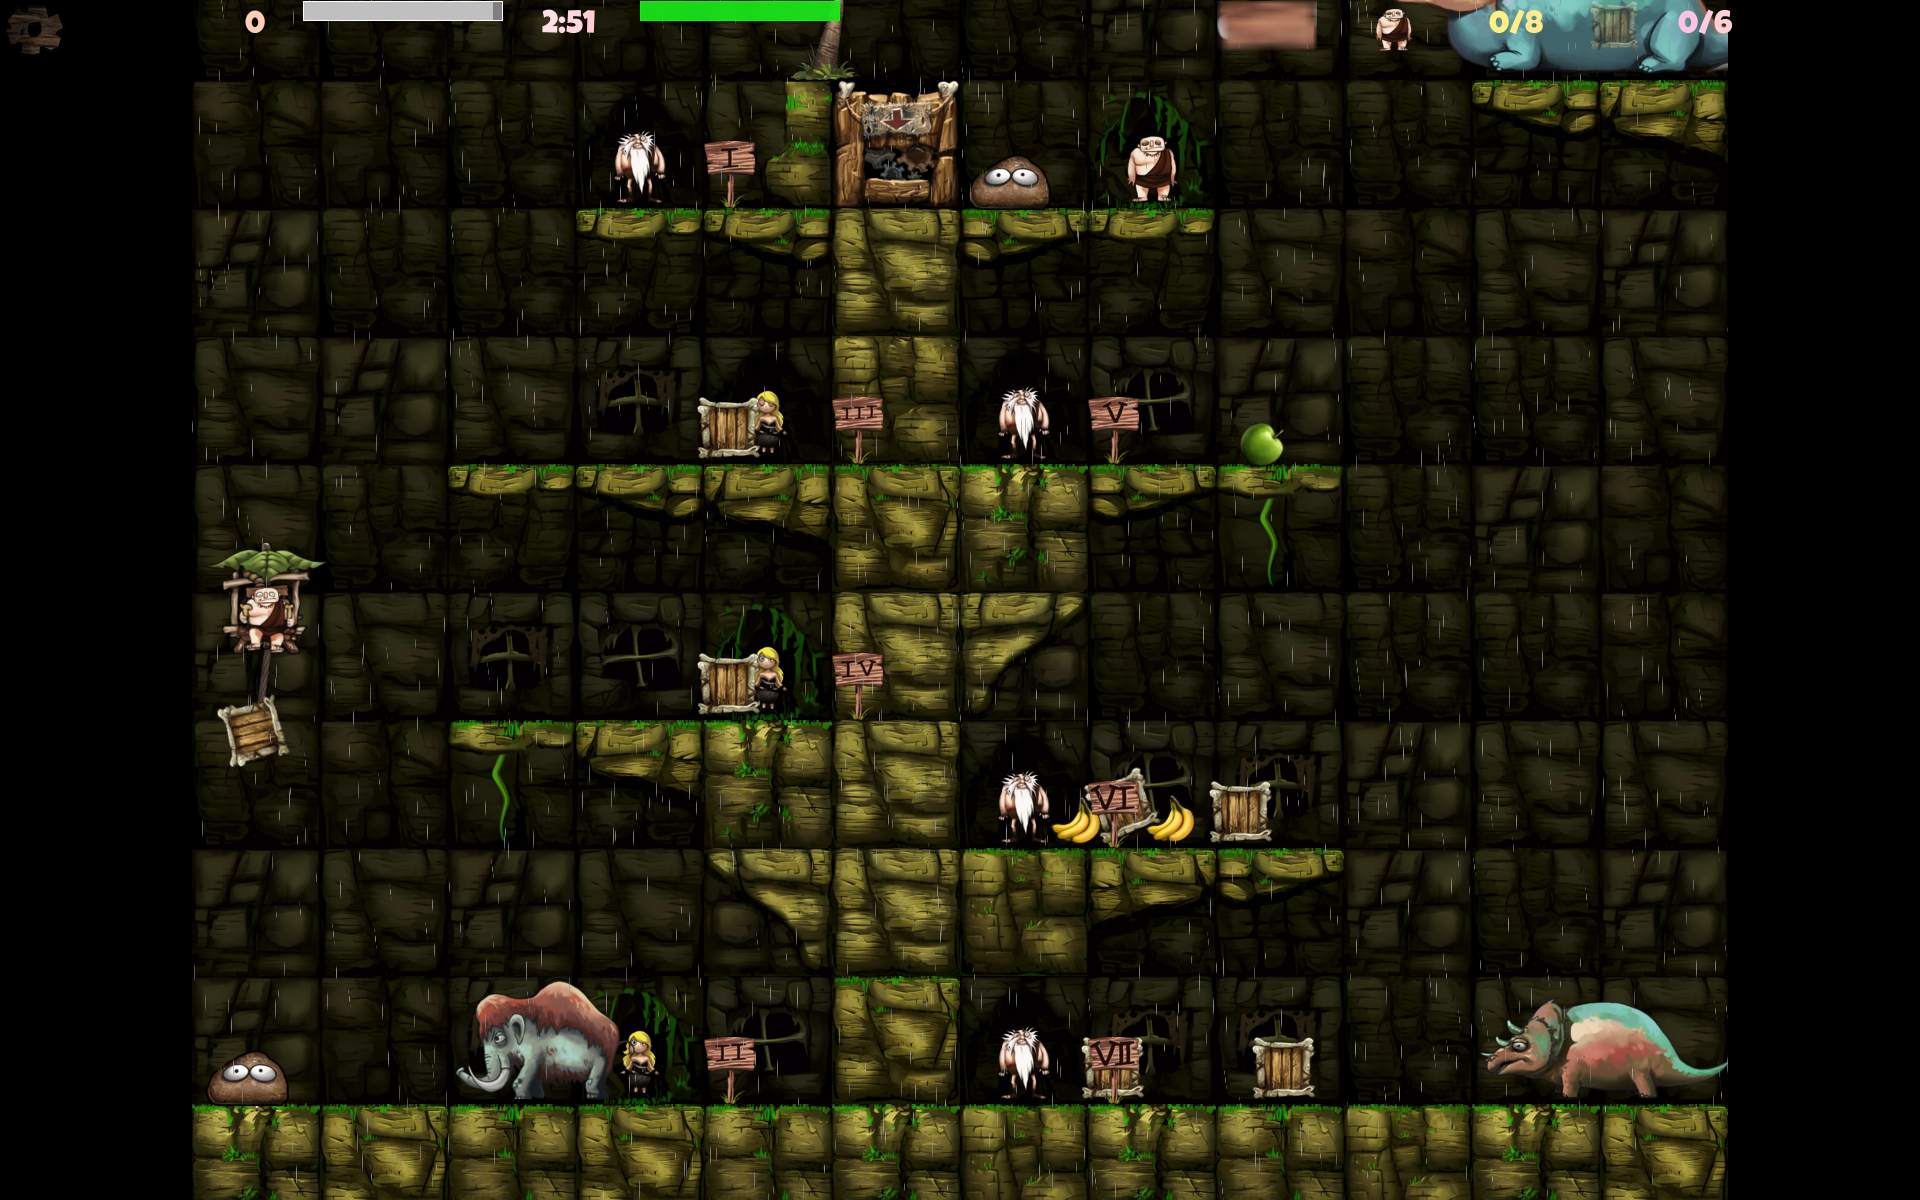
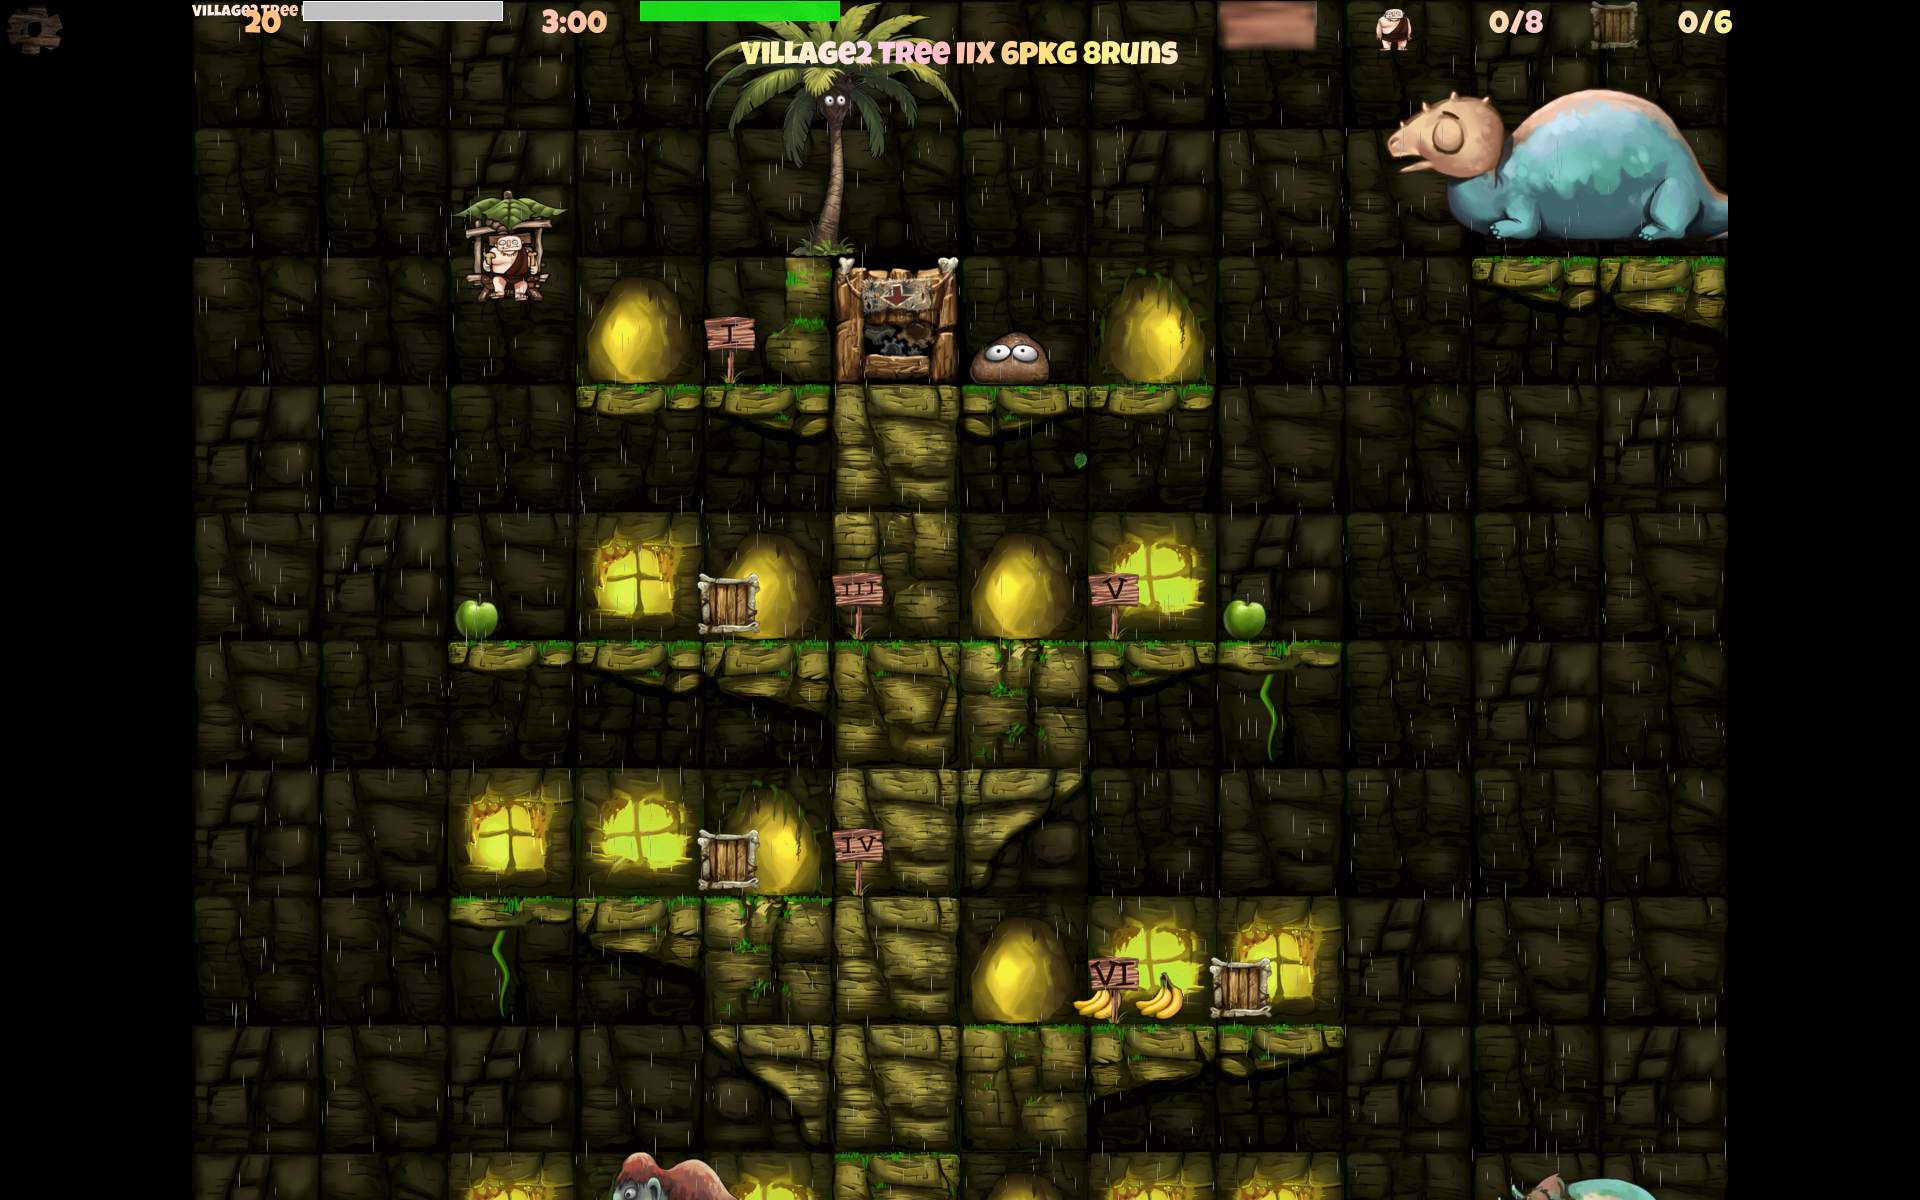
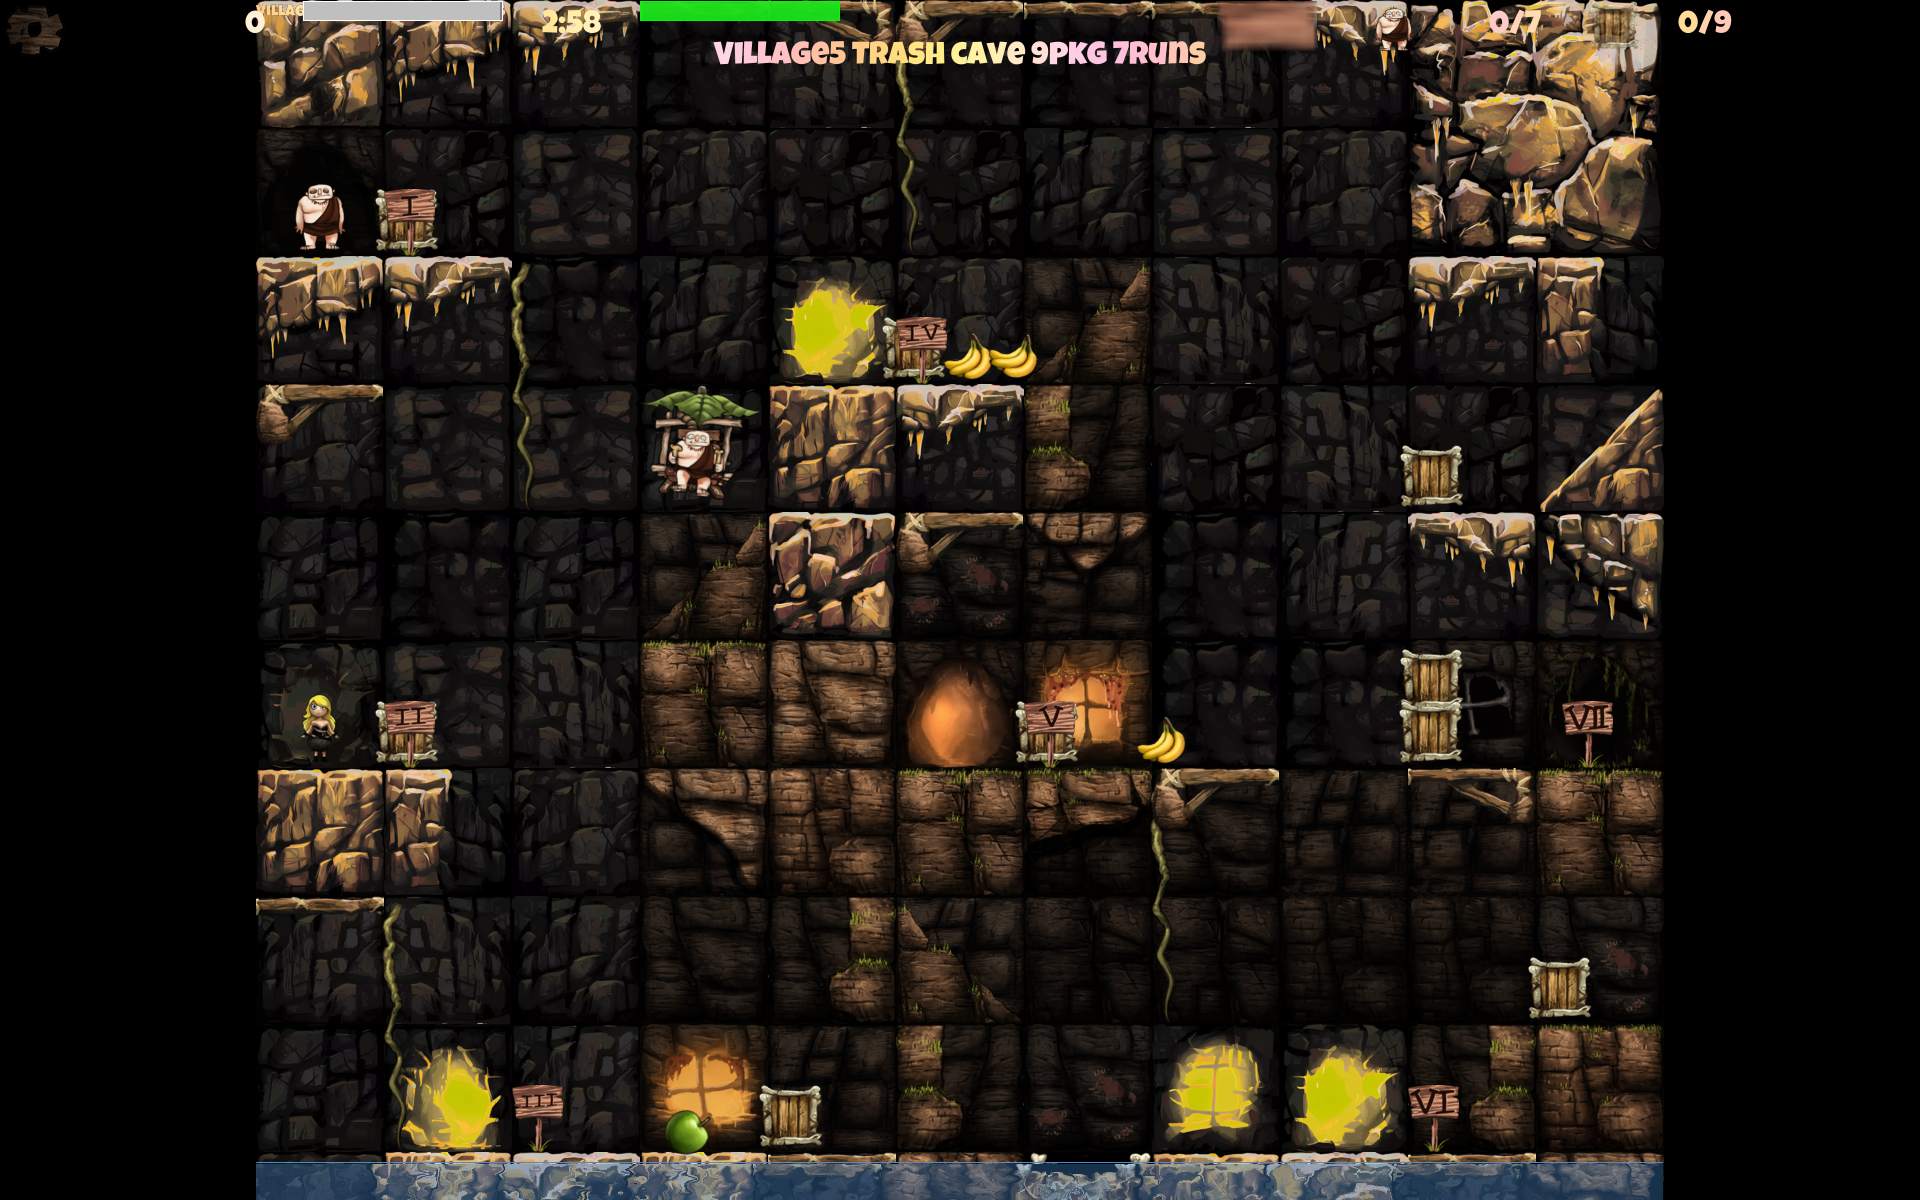
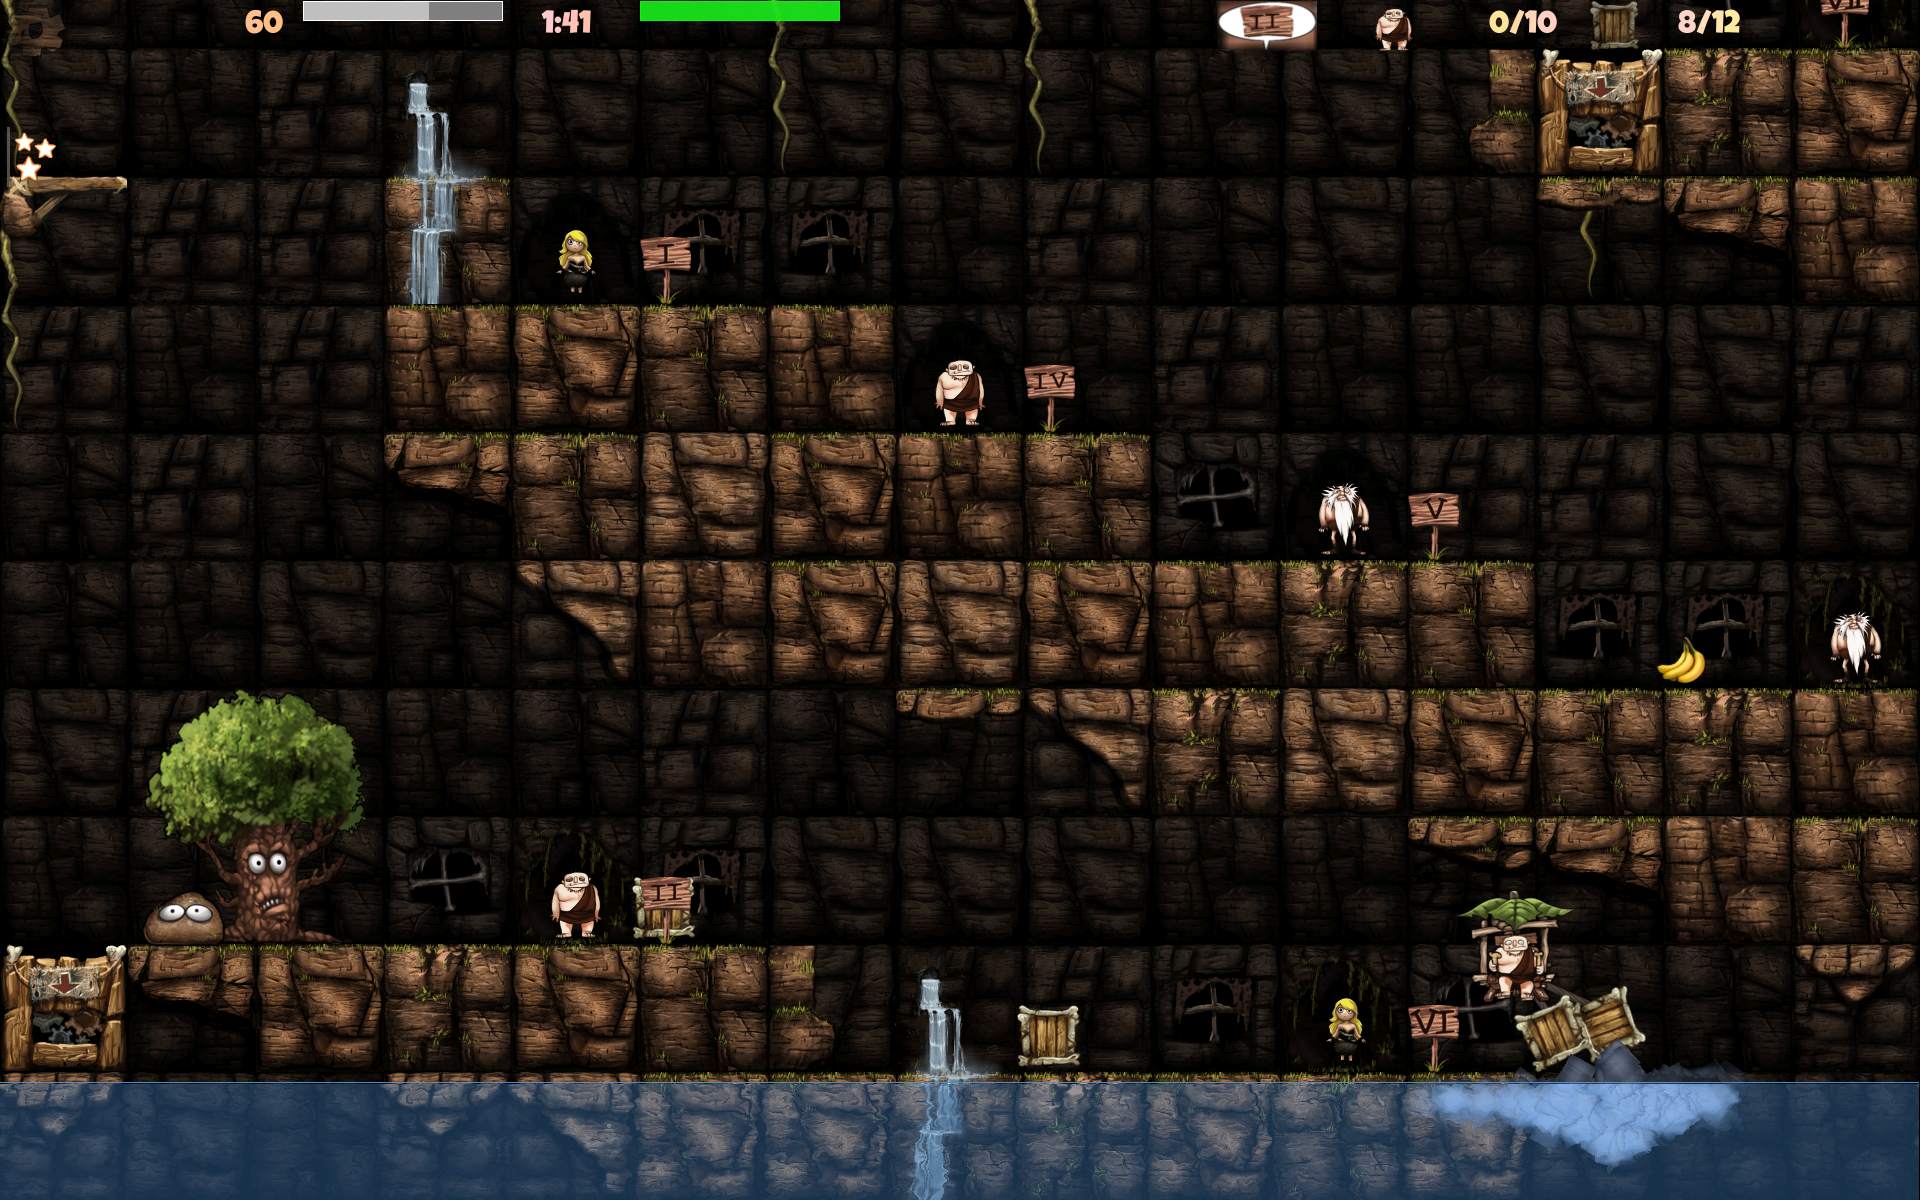
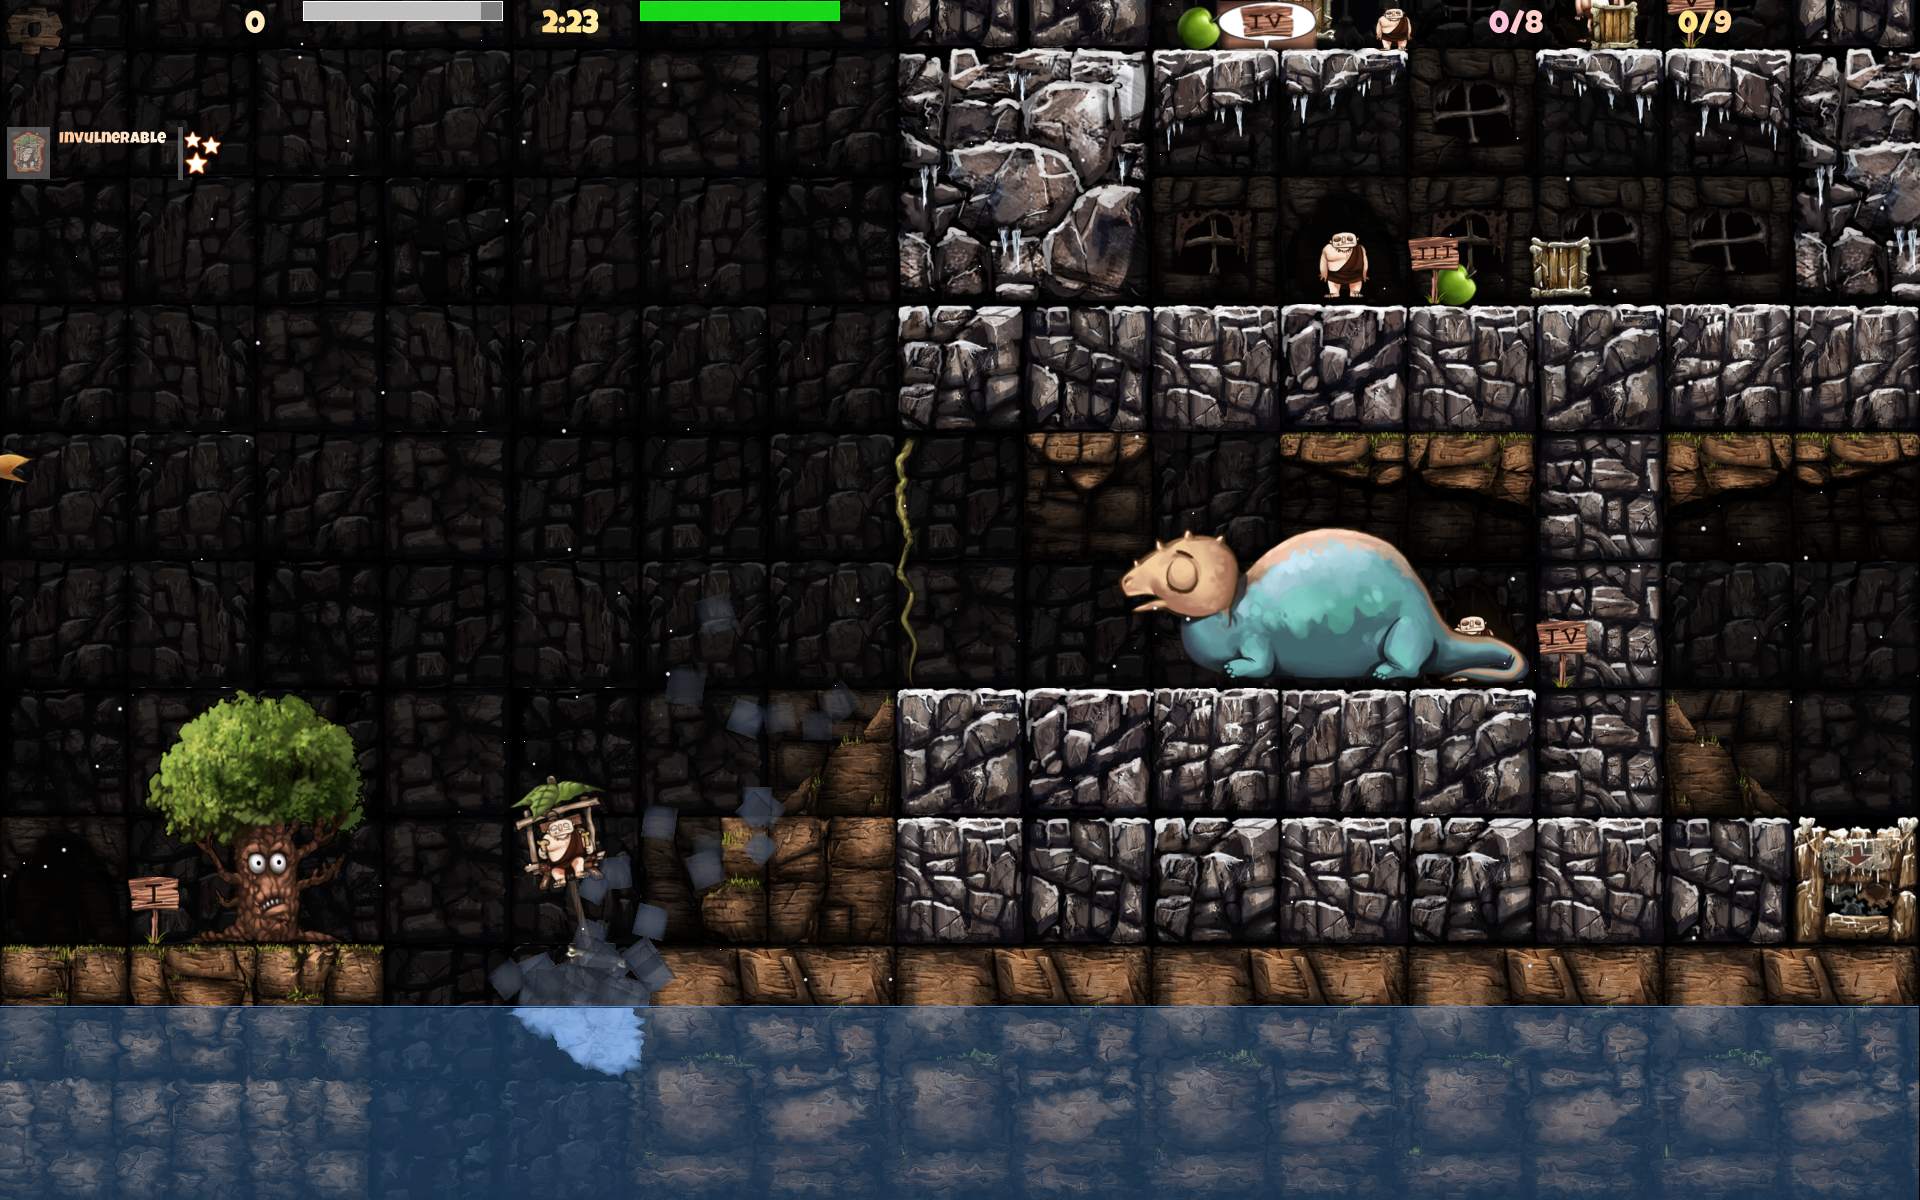
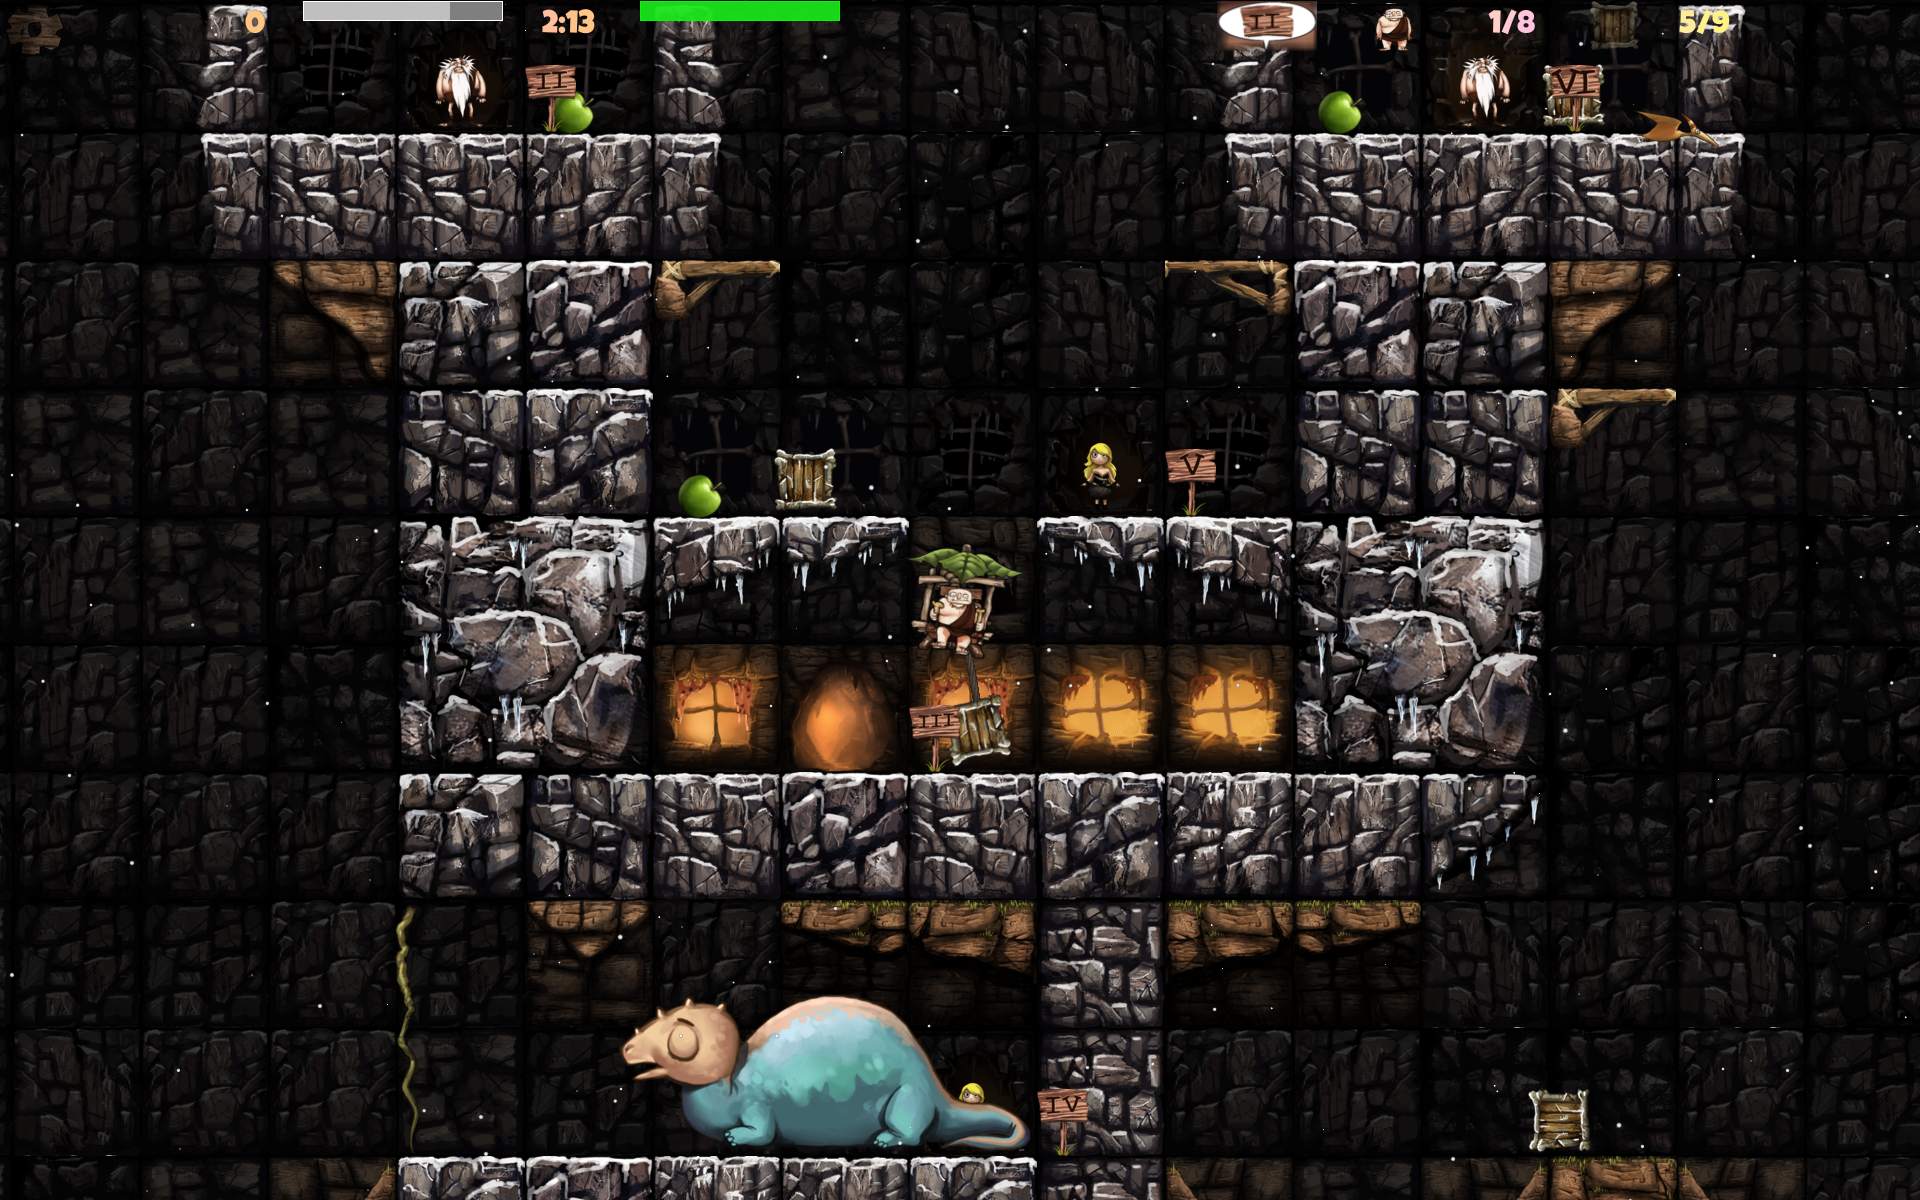
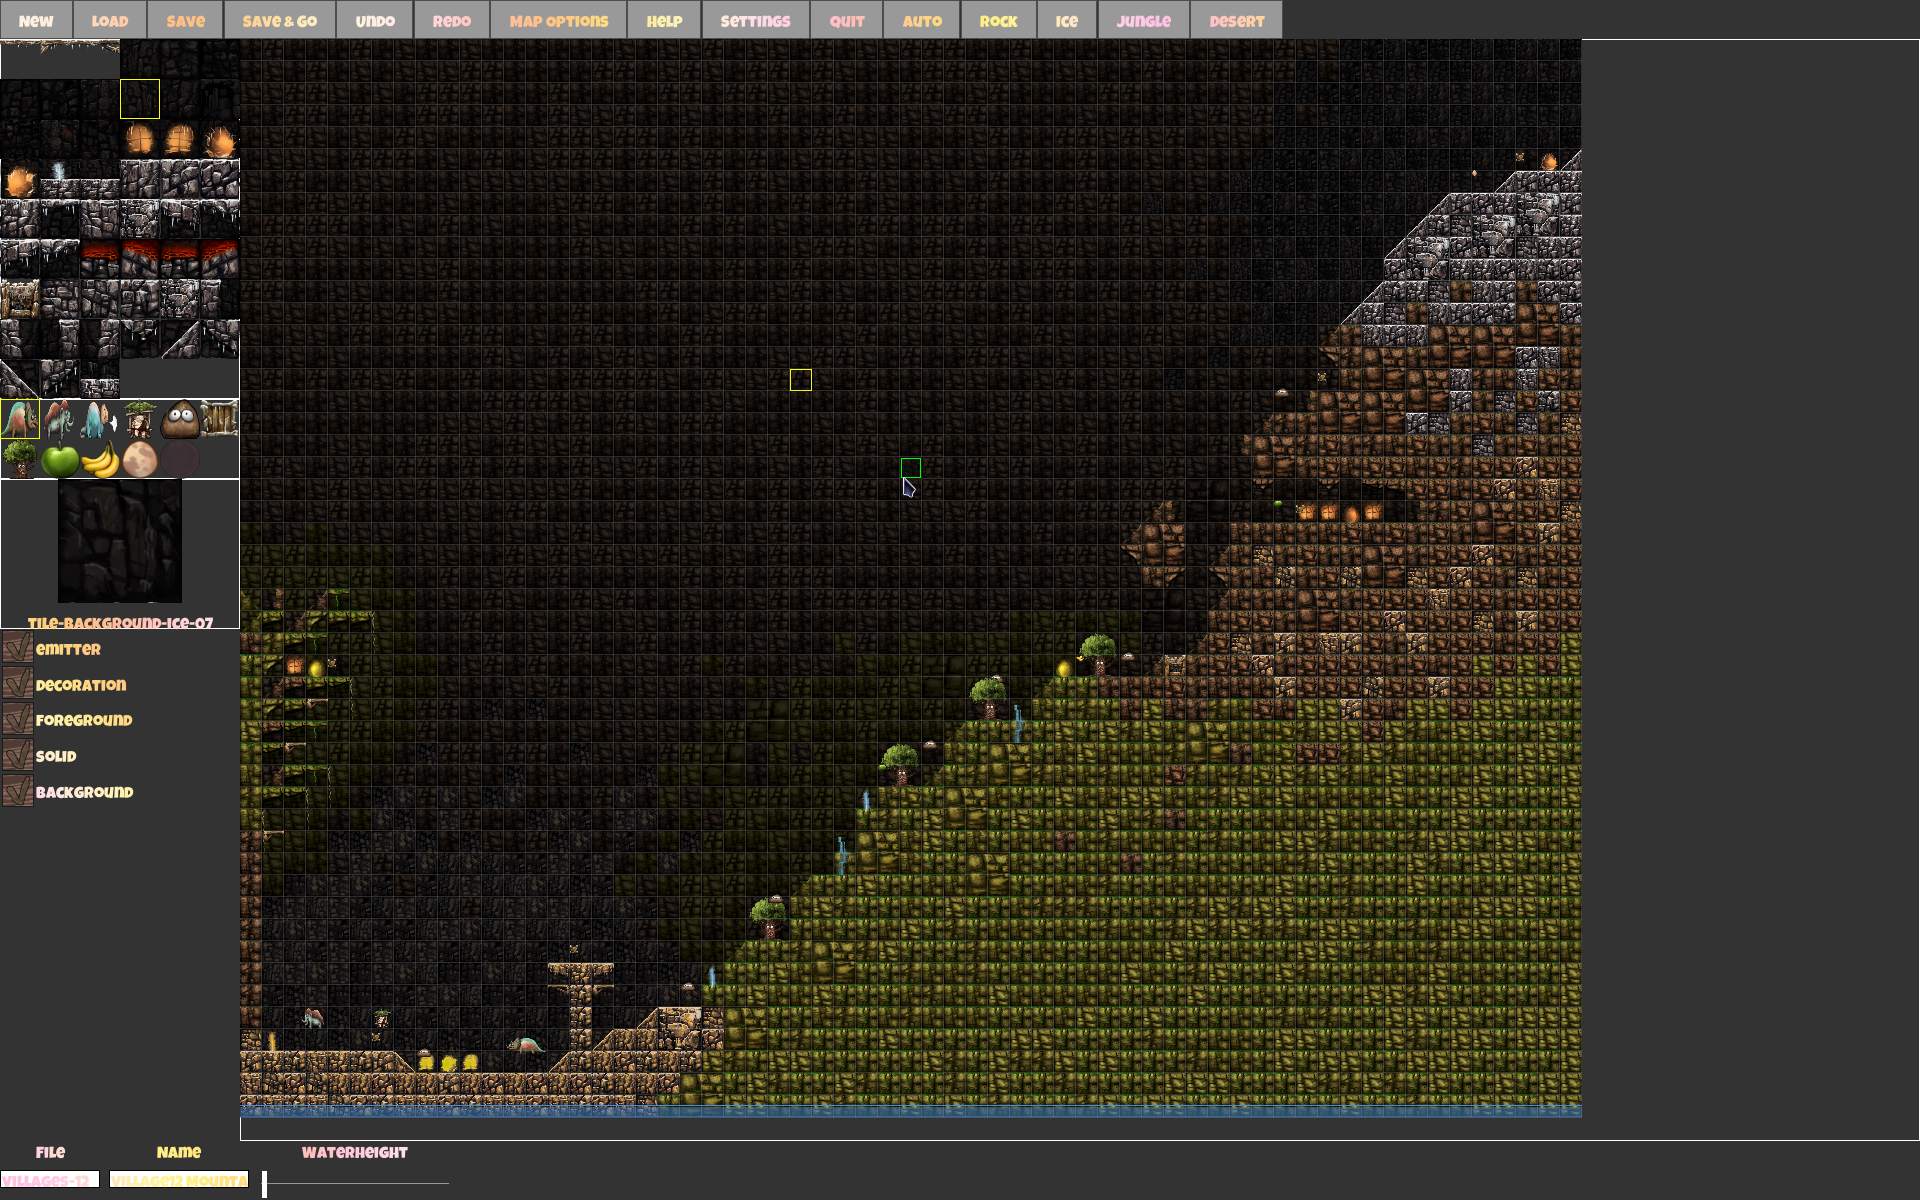
    New sceneries also inspired me to create many (64) new maps. Some were based on Ugh levels (all Taxi type), others my original ideas. Now with 4 themes total, mixing them in one map, also made some maps more interesting. I also made a separate series of 24 letters (a few were already in Ugh), an original Desert series with pyramids and couple of mazes, a series of Races on big maps (including flood escapes) and Villages with both taxi and packages at once on map.

    ➡️Observations

    I still have some new gameplay ideas to do, on Issues tab. Will see if I get them implemented.
    One more thing I’ll mention is CaveExpress source code. Many classes and interfaces. The game features multiplayer and this (I think) made the code more difficult (to read, understand and develop). I need to figure out how to implement things the way it requires, by sending messages, or doing things on client versus server side, even if it wouldn’t be needed at all for local play.
    Box2D is used here for physics and collisions. I liked this popular library, and now I finally had a chance to look at code using it.
    So it is definitely a good C++ learning experience. And for contributing too, since I usually just develop my own projects. Lastly a nice break from the demanding, 3D, black hole of a project that Stunt Rally is.

    🖼️Gallery

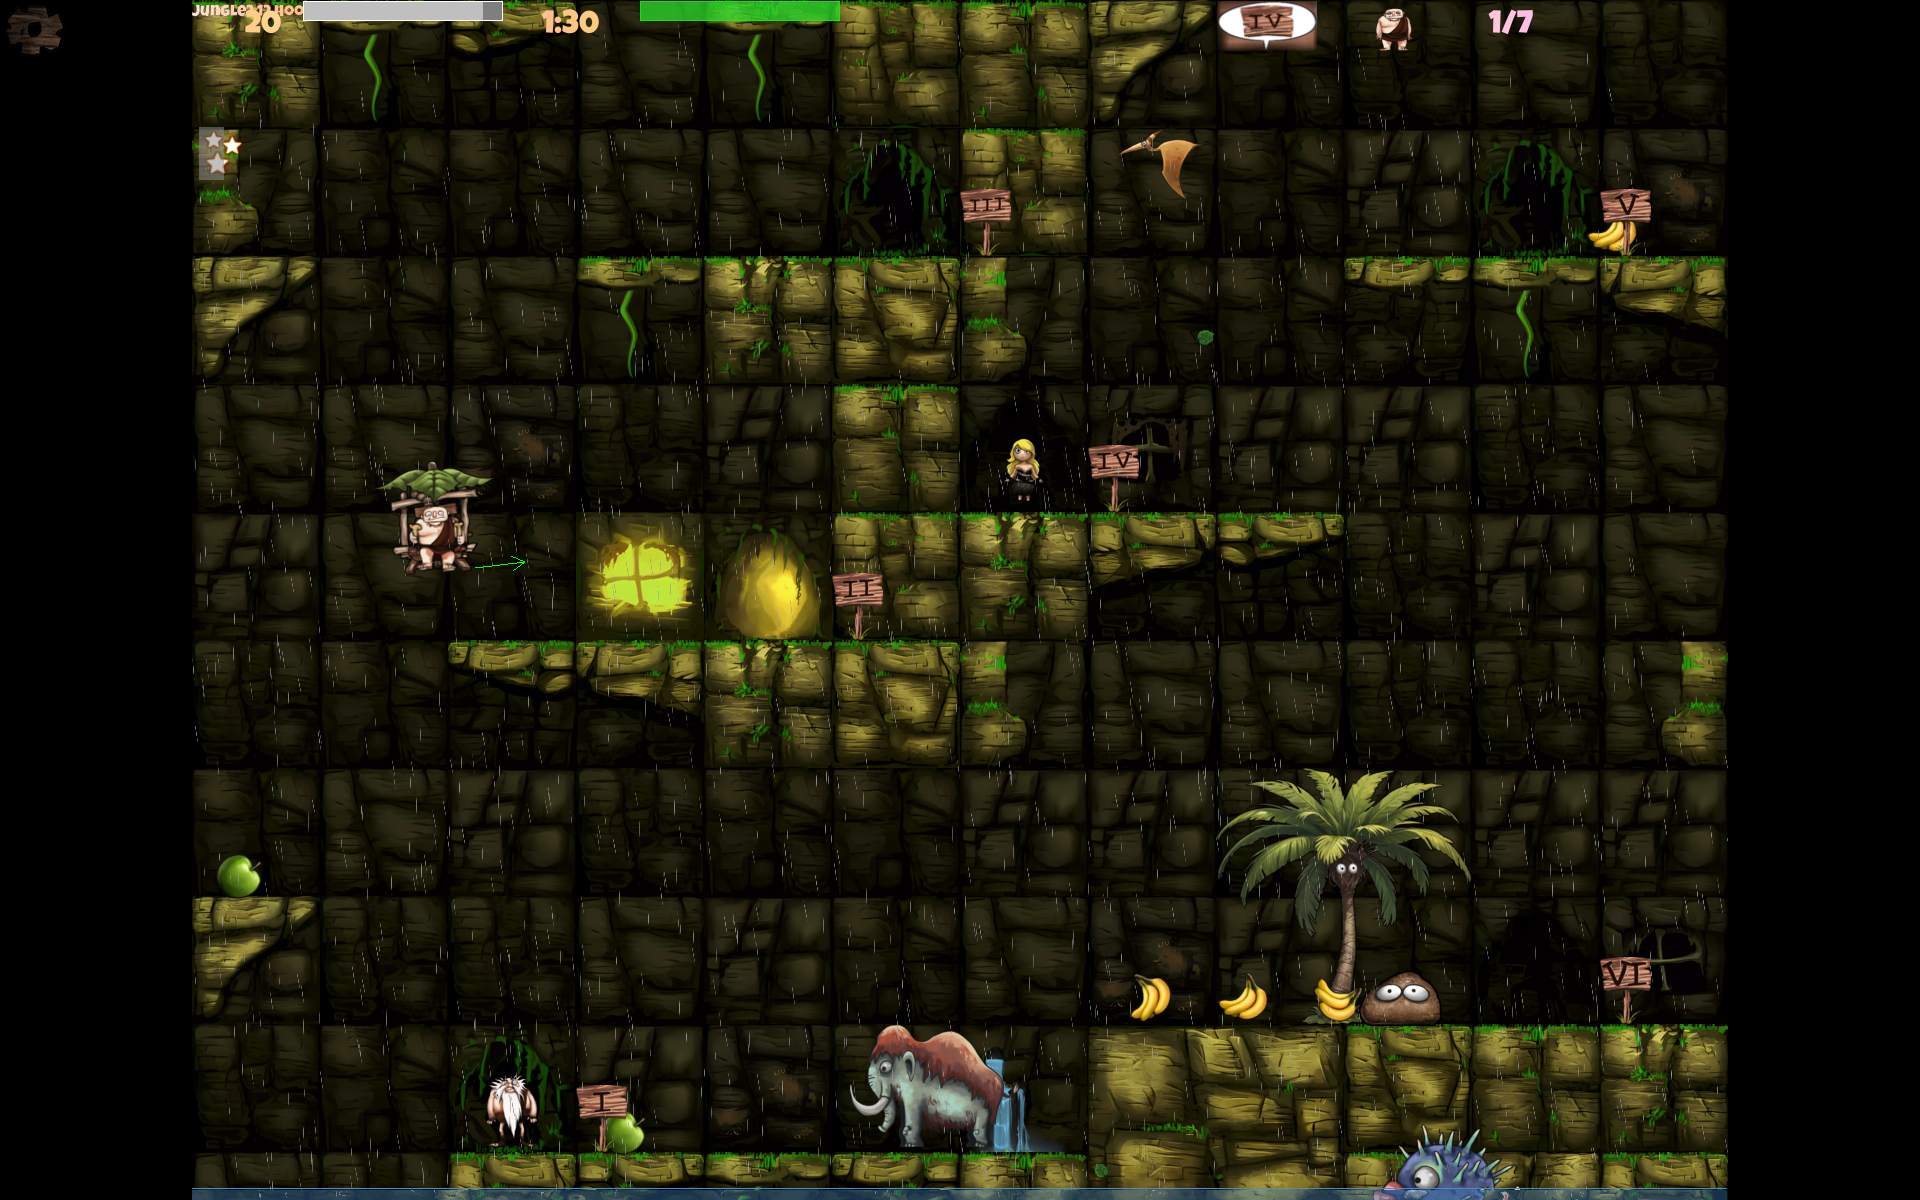
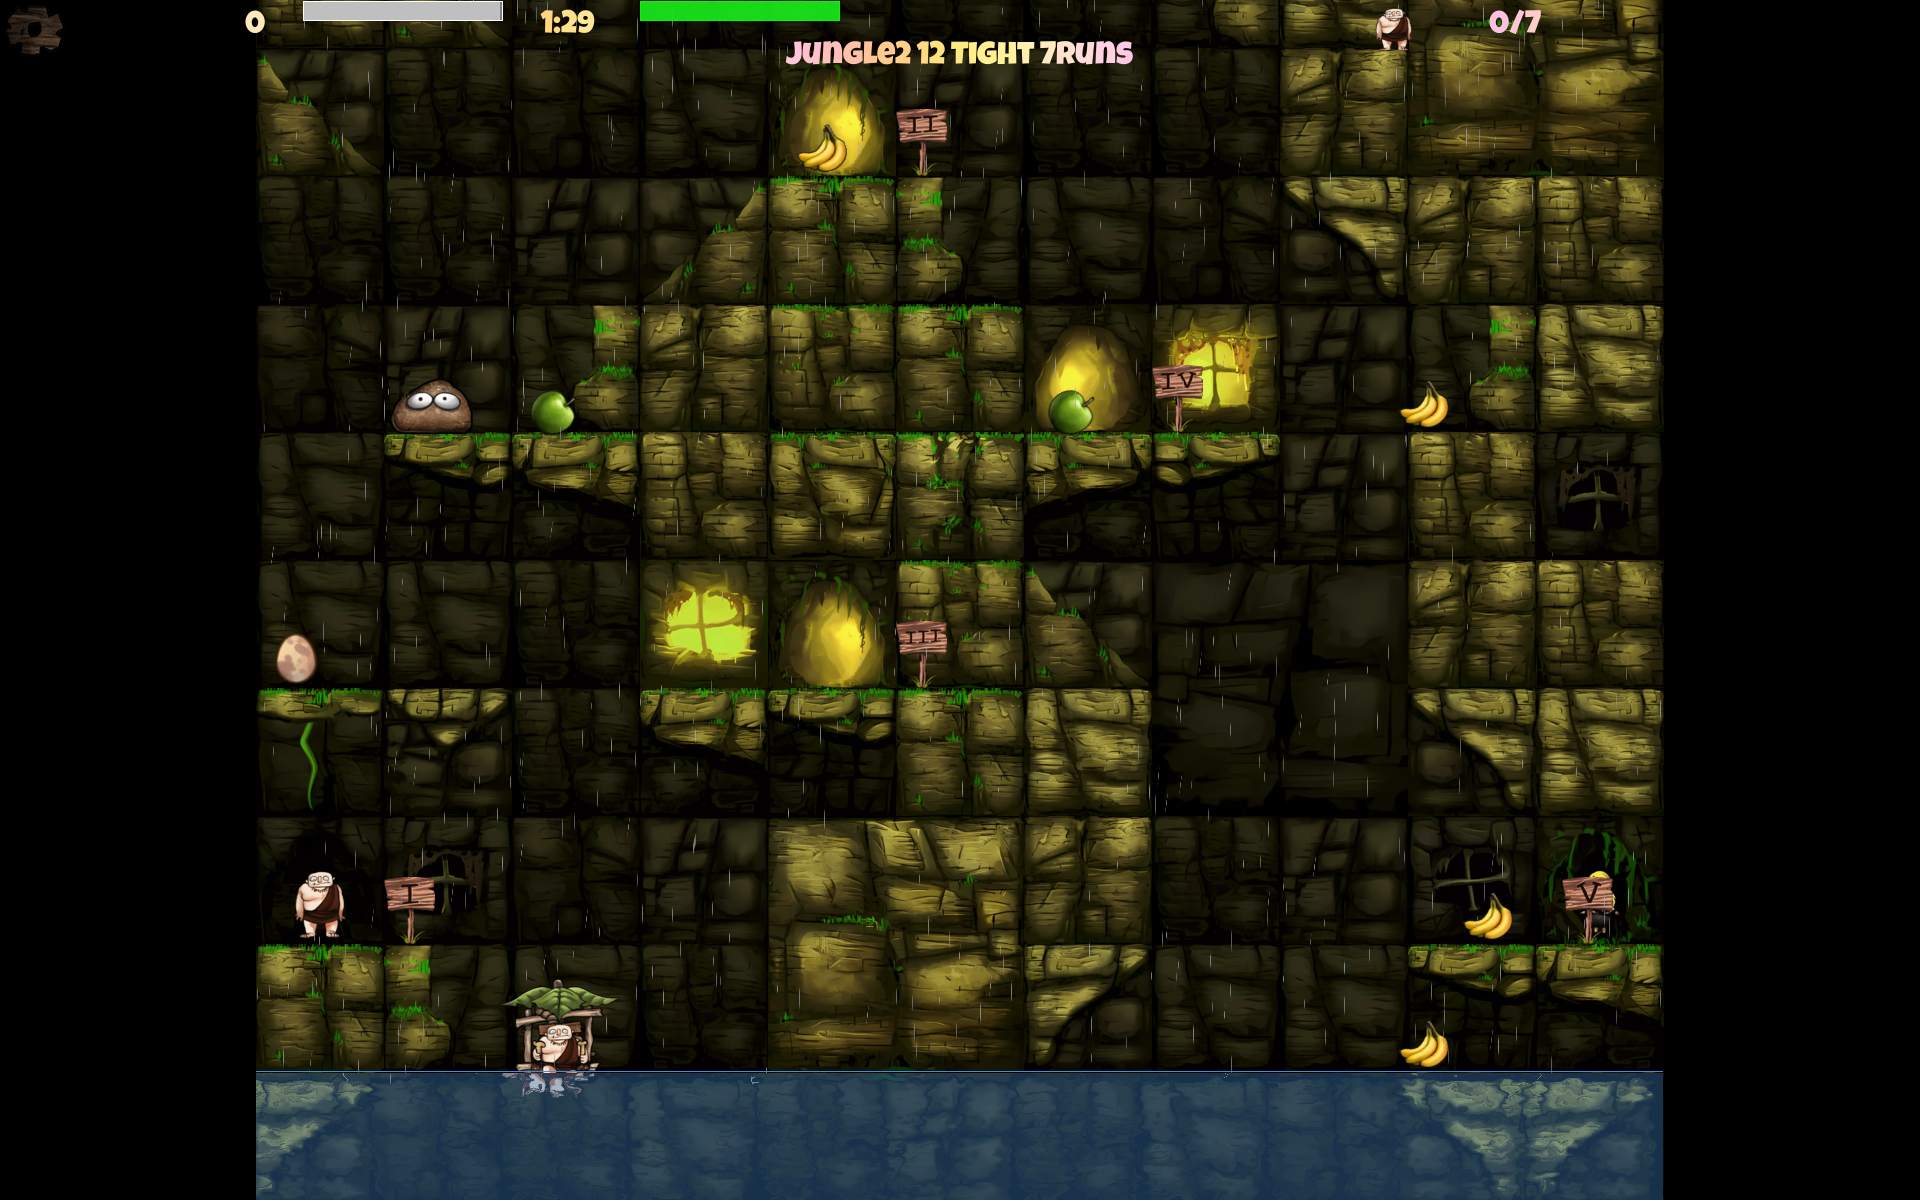
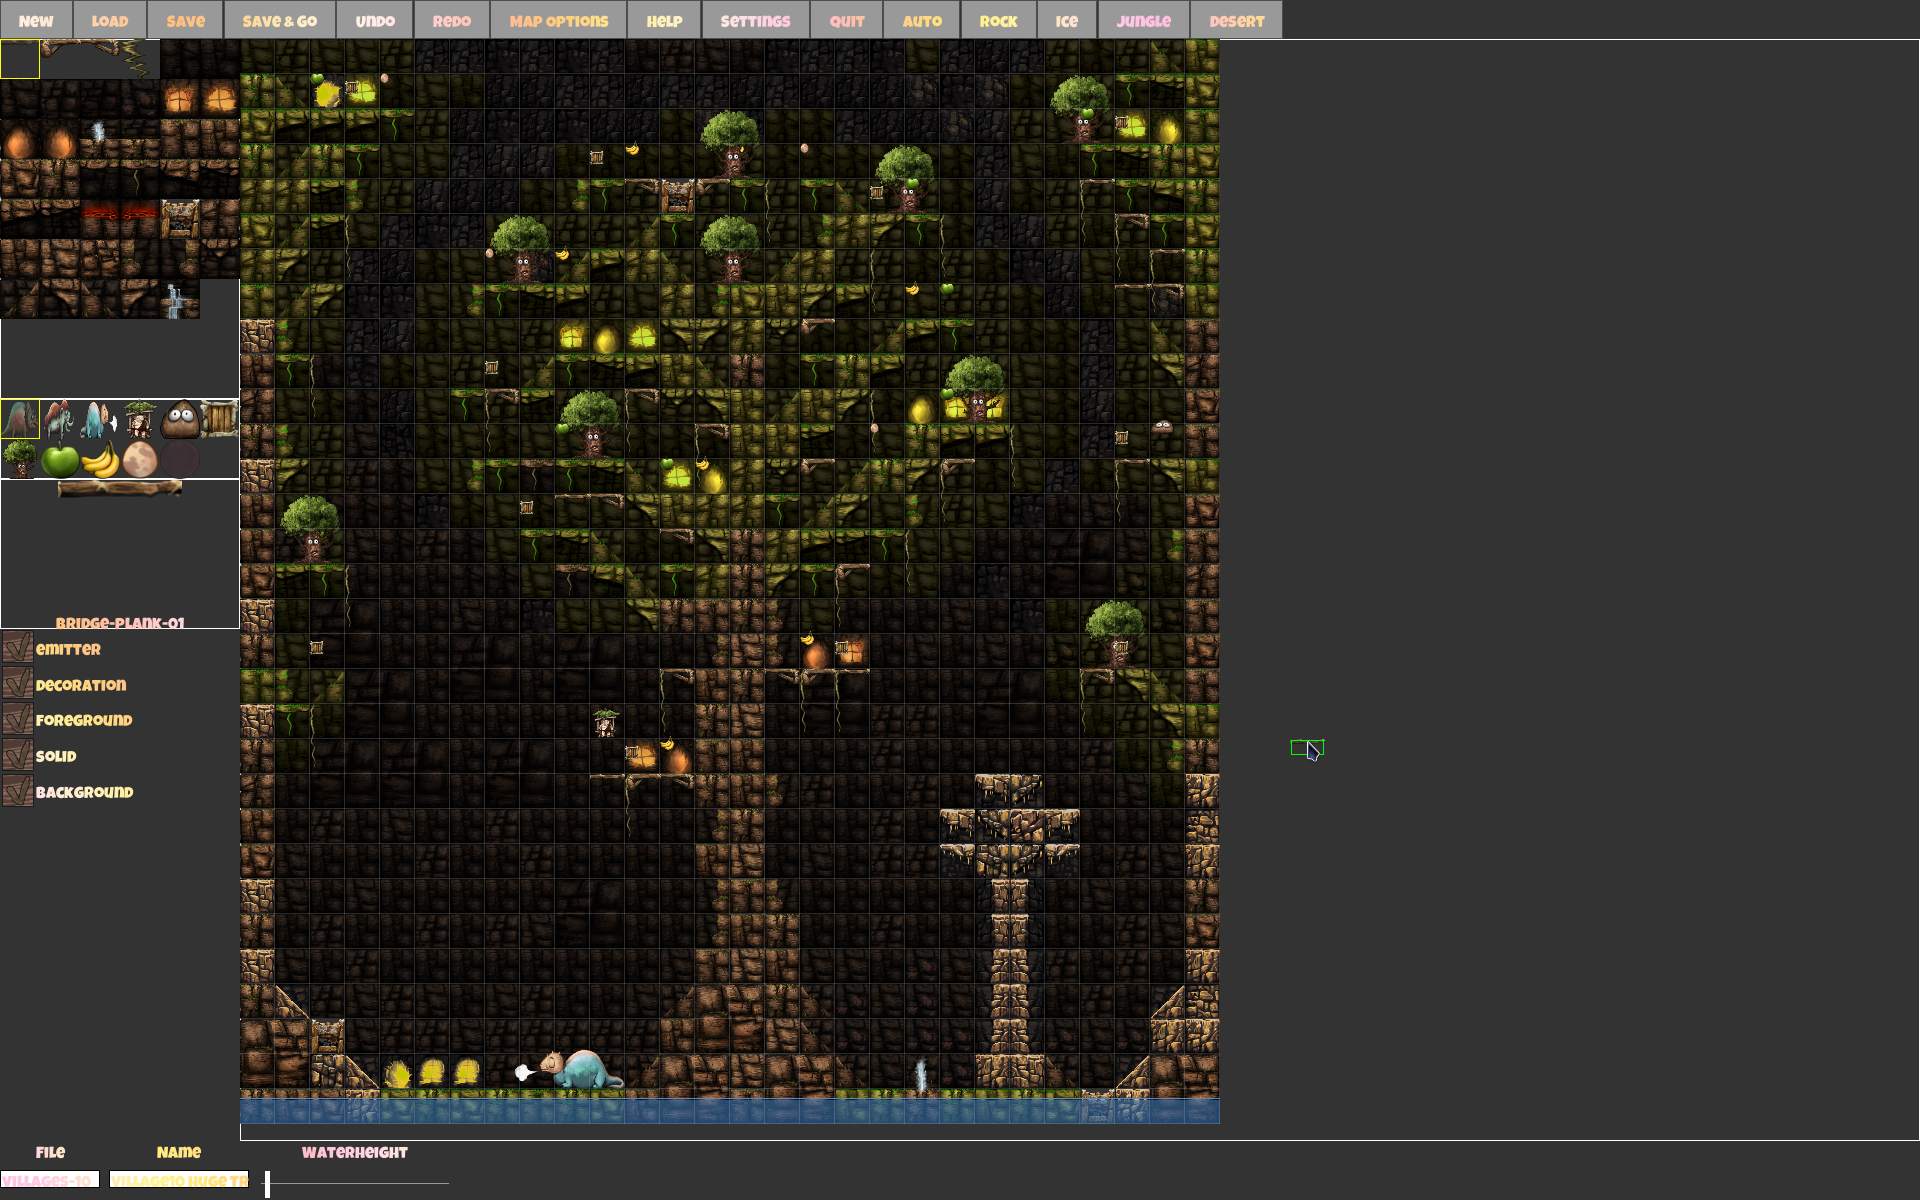
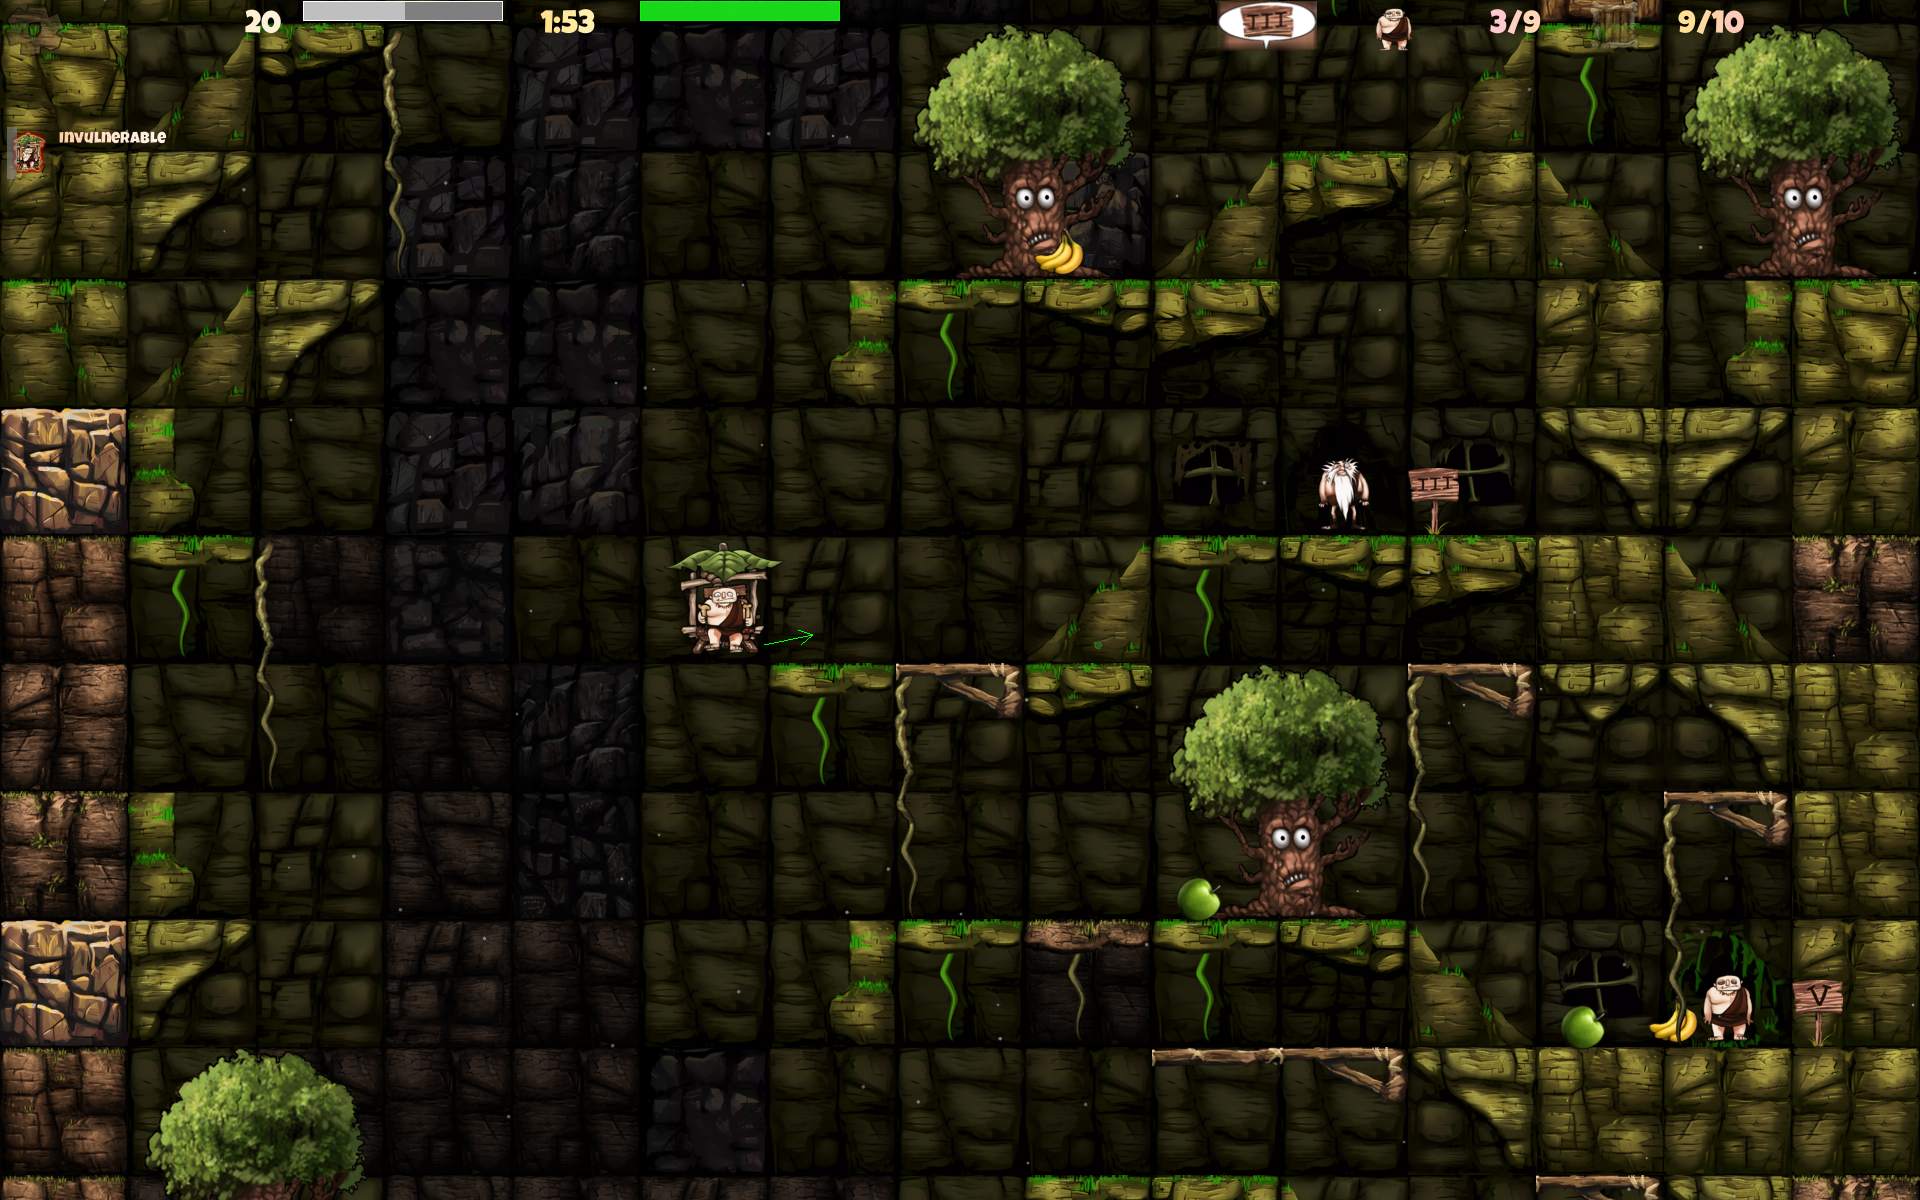
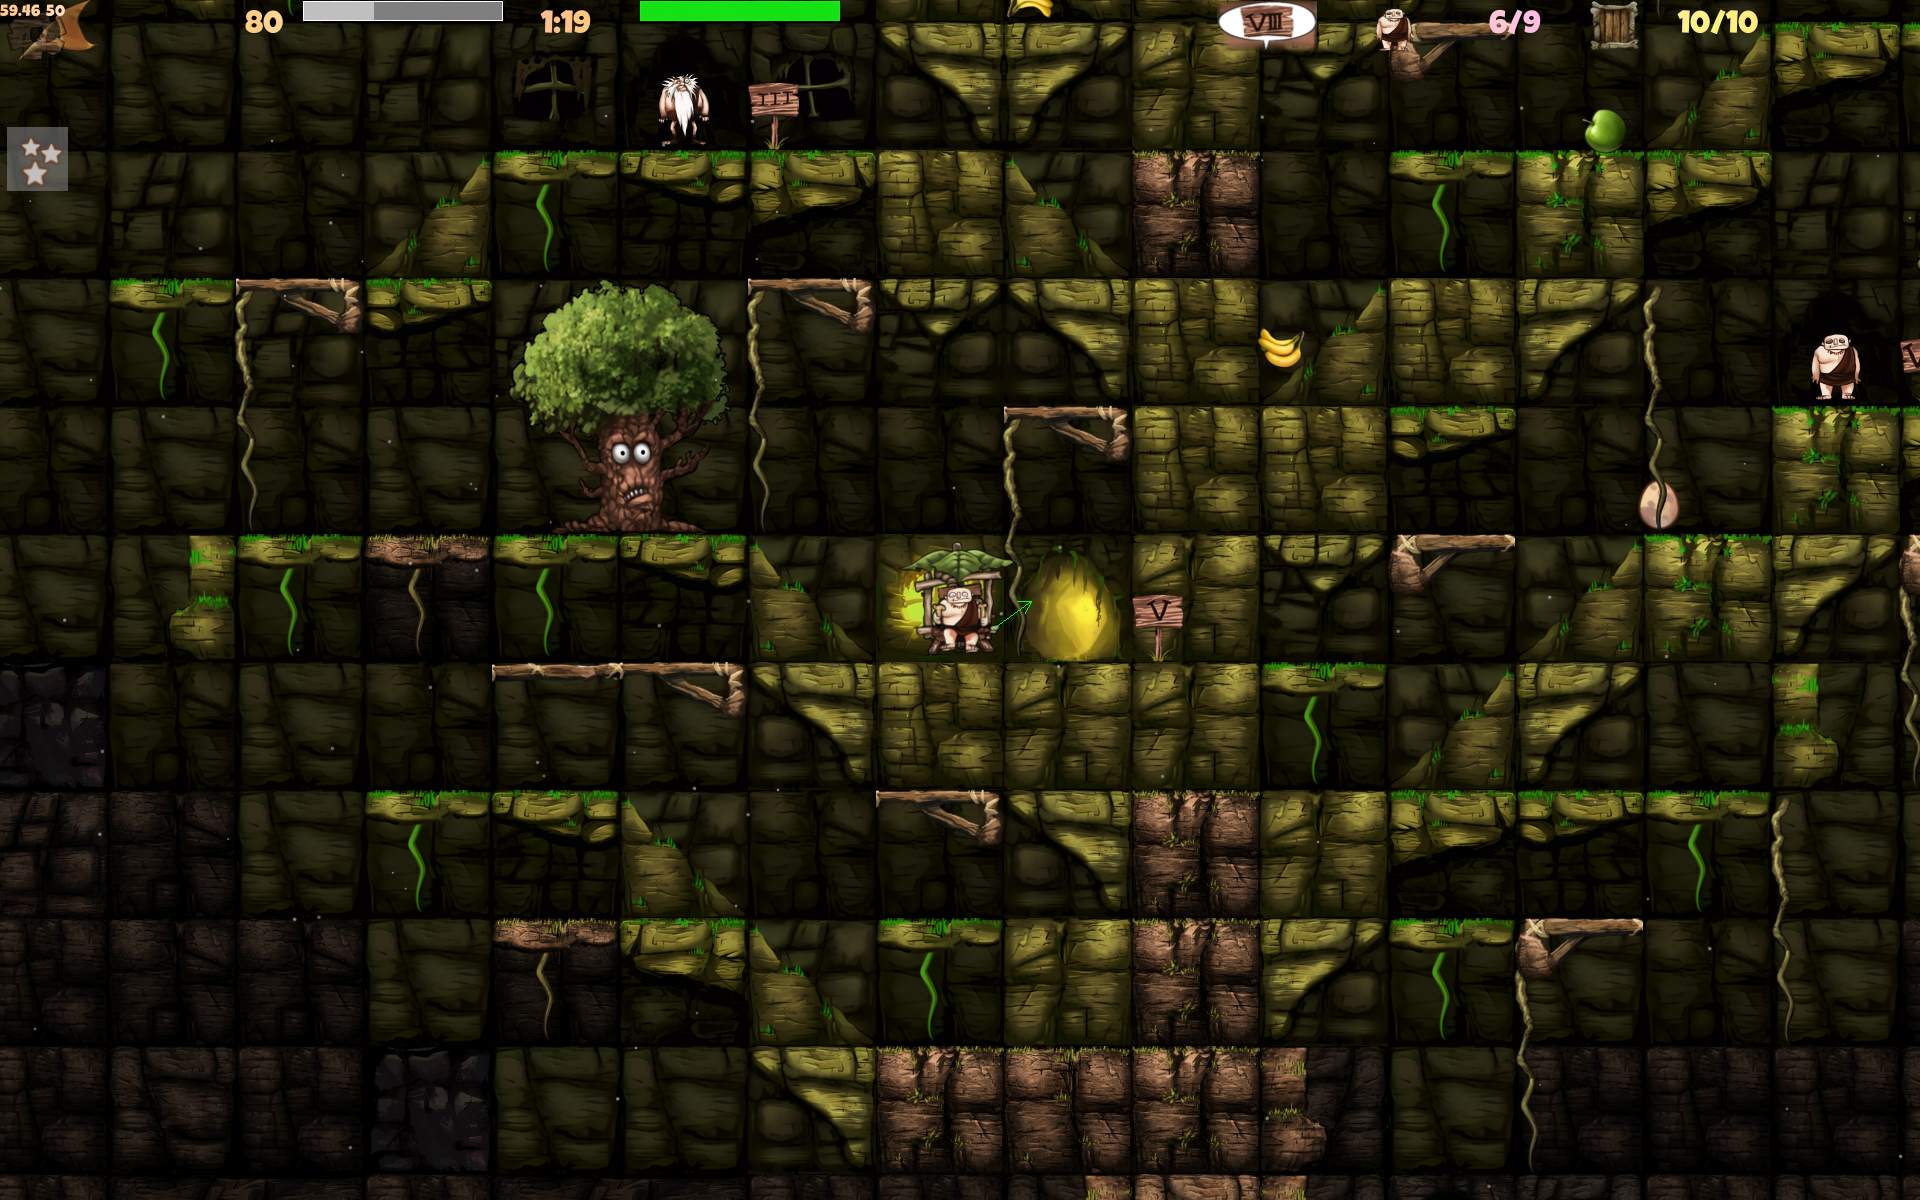
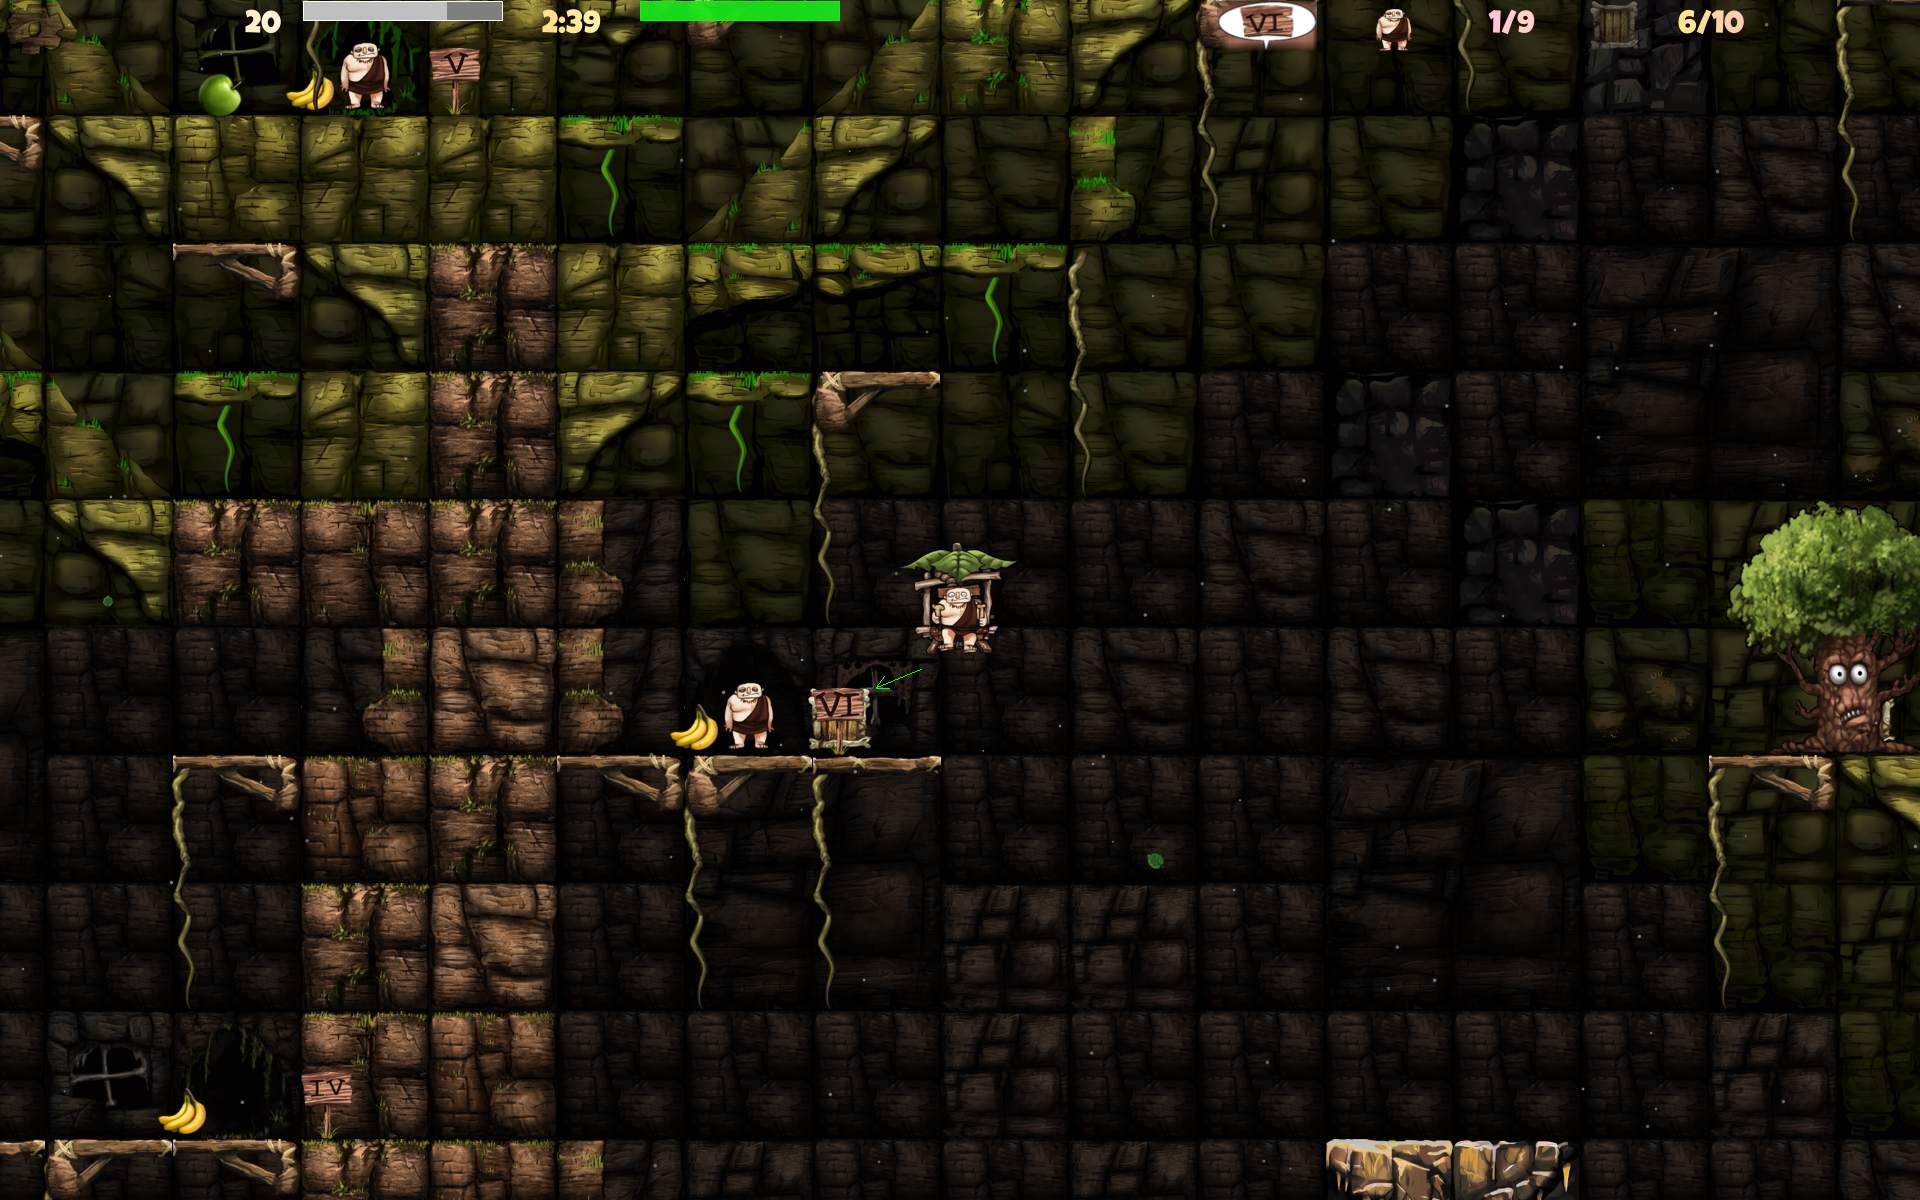
    Screenshots from game, and editor below, usually file name has map name.

    ToDo: video..

  • 2022-24 Stunt Rally 3 🏁

    2022-24 Stunt Rally 3 🏁

    ⏱️Overview

    The continuation of our Stunt Rally game using latest Ogre-Next rendering engine.

    📂Sources

    Available here.

    Forum topic with key progress steps and few screenshots.

    SR website has Videos, Gallery, Download, etc.

    ✍️Motivation and progress

    Intro

    Well it’s probably time I write something about how this goes, it’s been months already.
    I took about 5 years break from old Stunt Rally. I was occasionally playing and enjoying it, but also ignoring any flaws, and thinking hard not to get into developing it again more (well that’s also the way for any commercial software).
    Forum Q&A👥

    In January 2022, I started thinking of checking out the new rendering engine Ogre-Next and posted on Ogre forum my topic with many questions to get more knowledge about it’s state.
    I has been developed (and used) since years (probably 2015 or so) but I haven’t seen few key features like: Gui, fog, old plugin for grass, no demos for particles or water etc. Old Ogre had plenty. Ogre-Next had many, but not the very broad palette of game related components.

    Terrain Demo⛰️

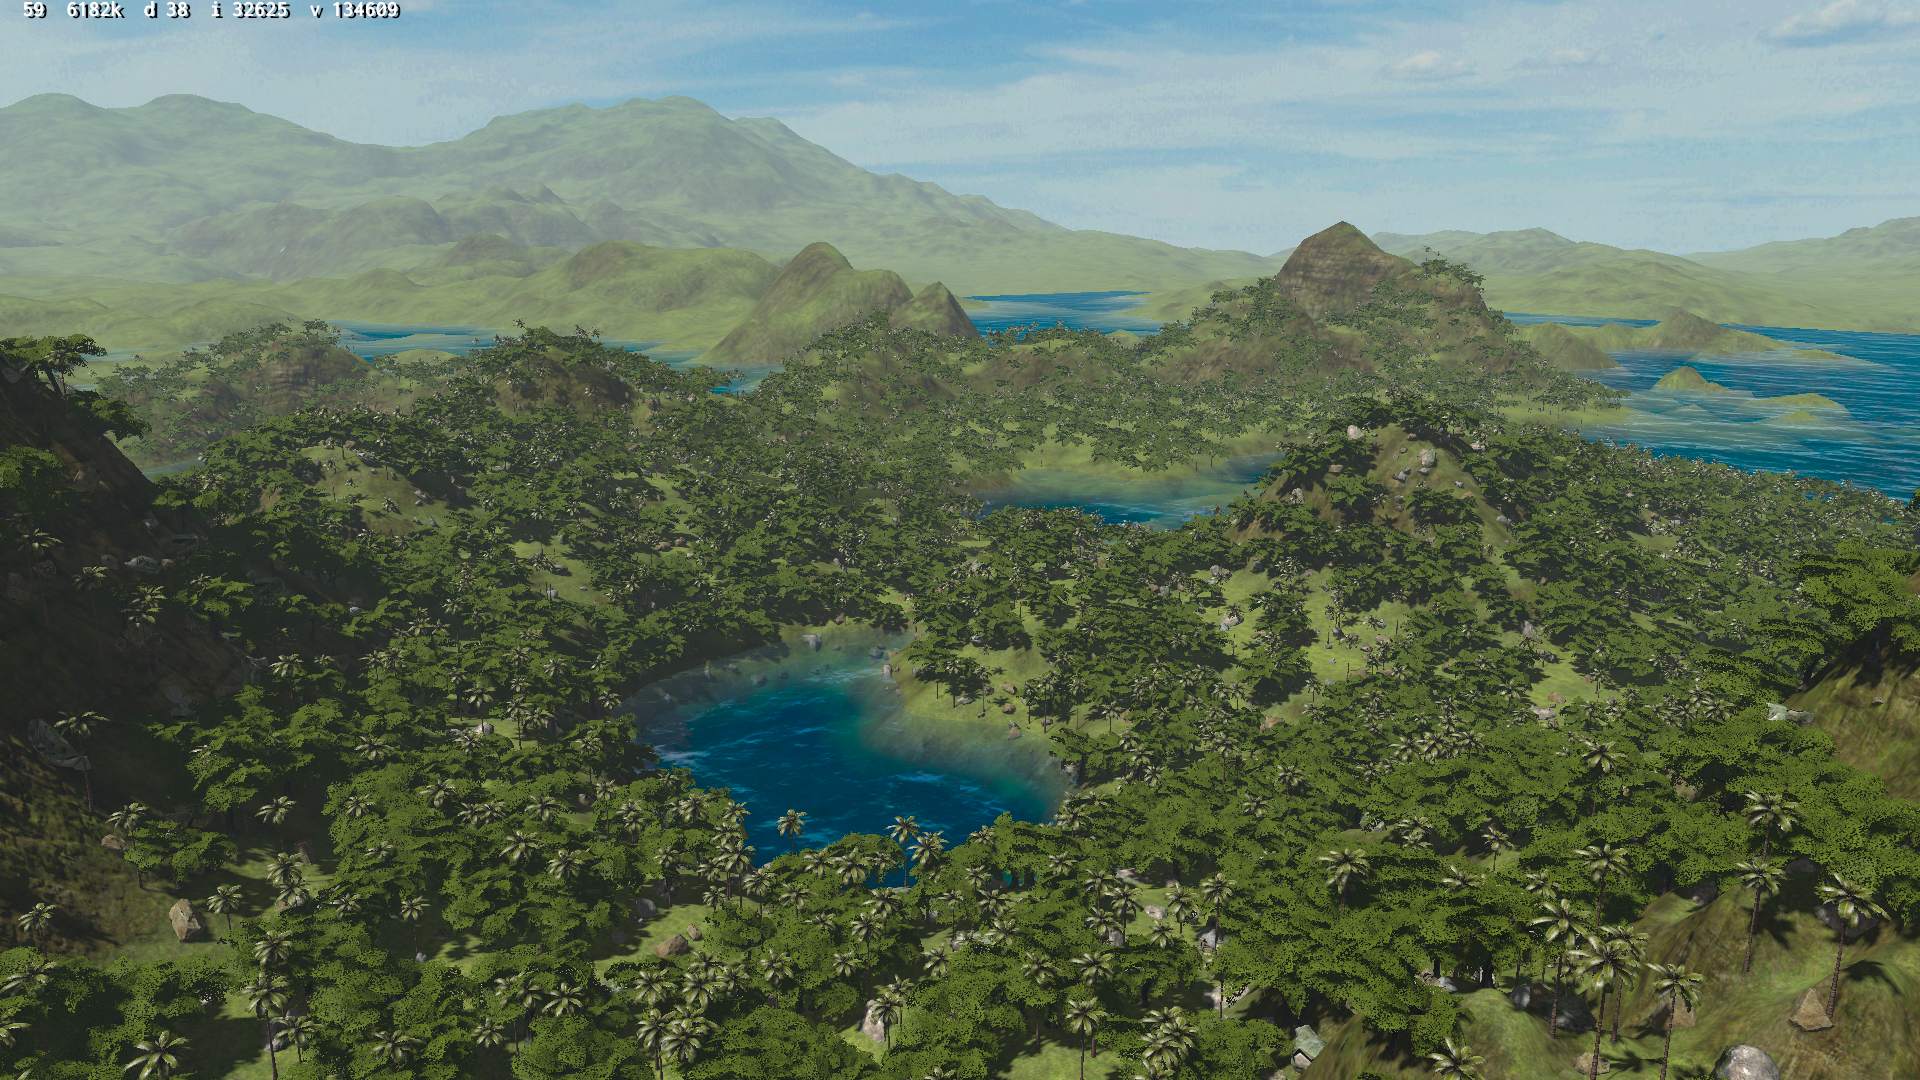
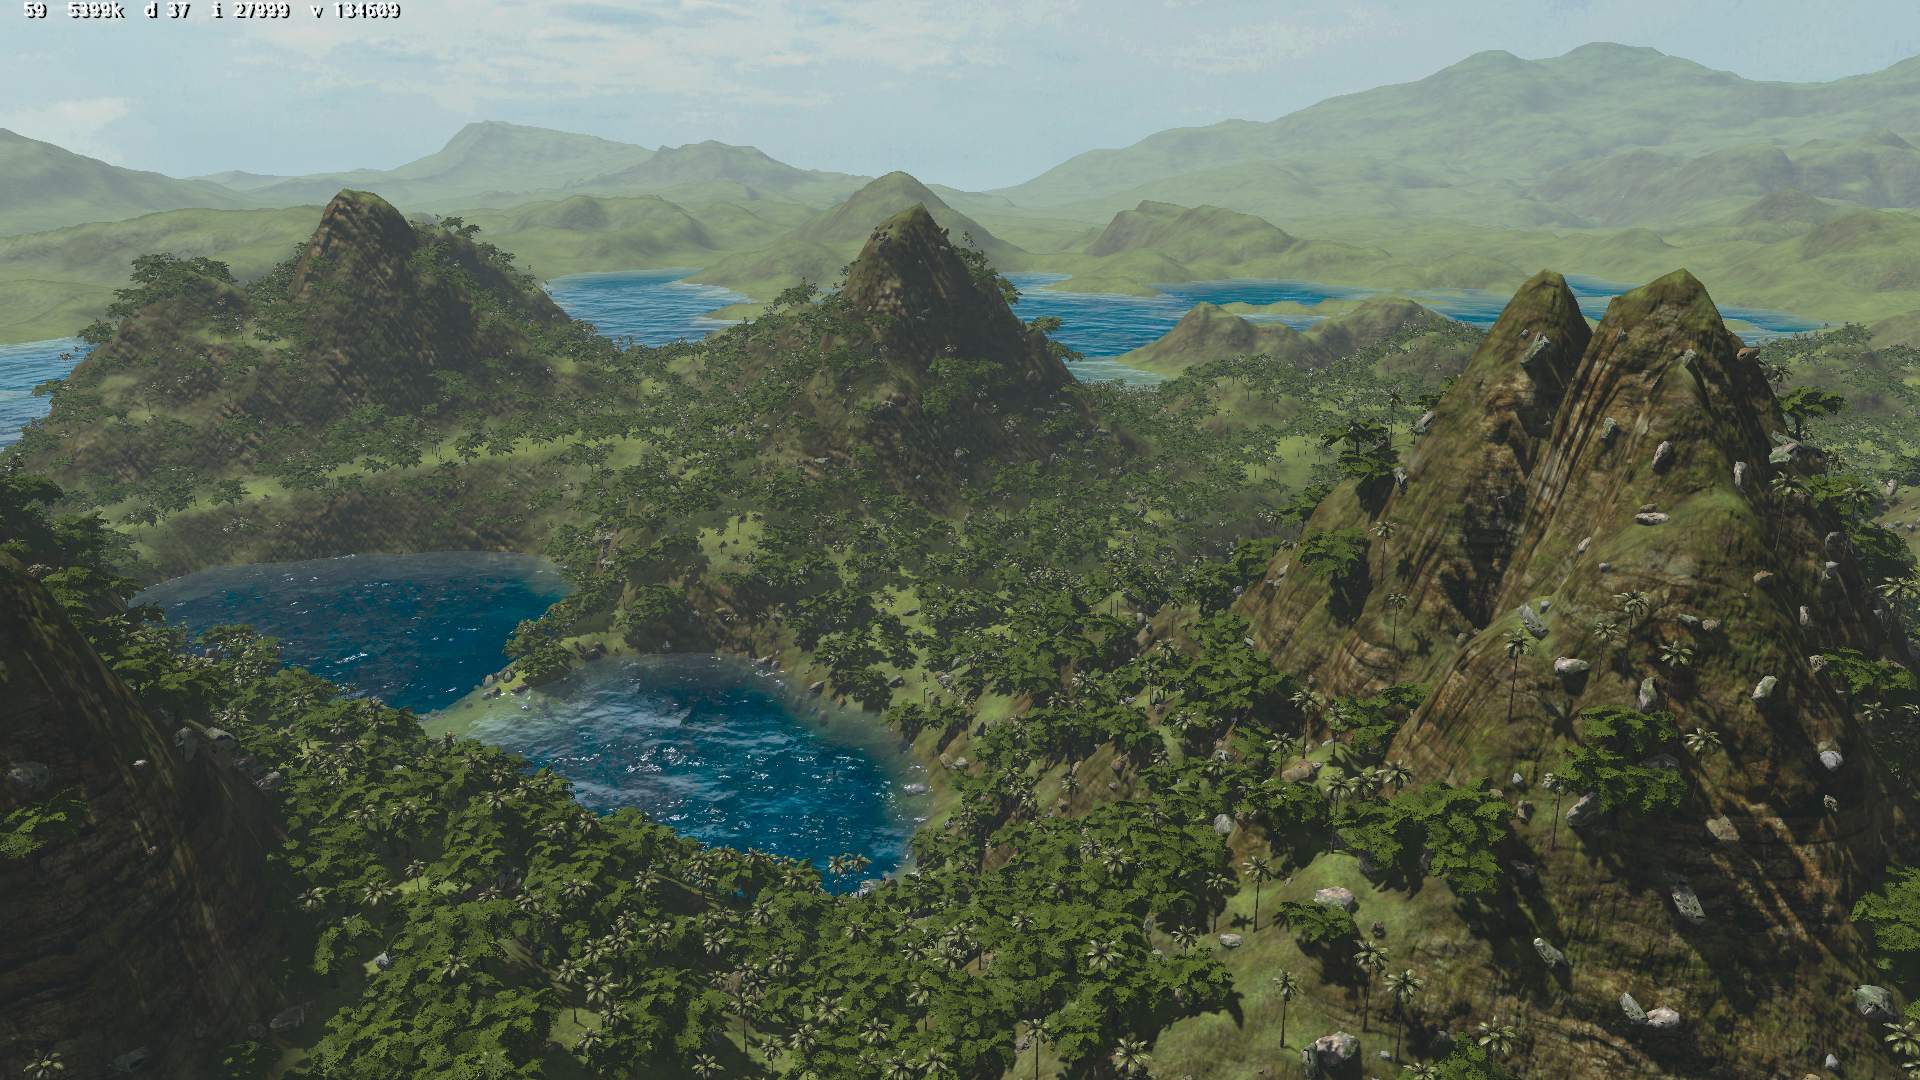
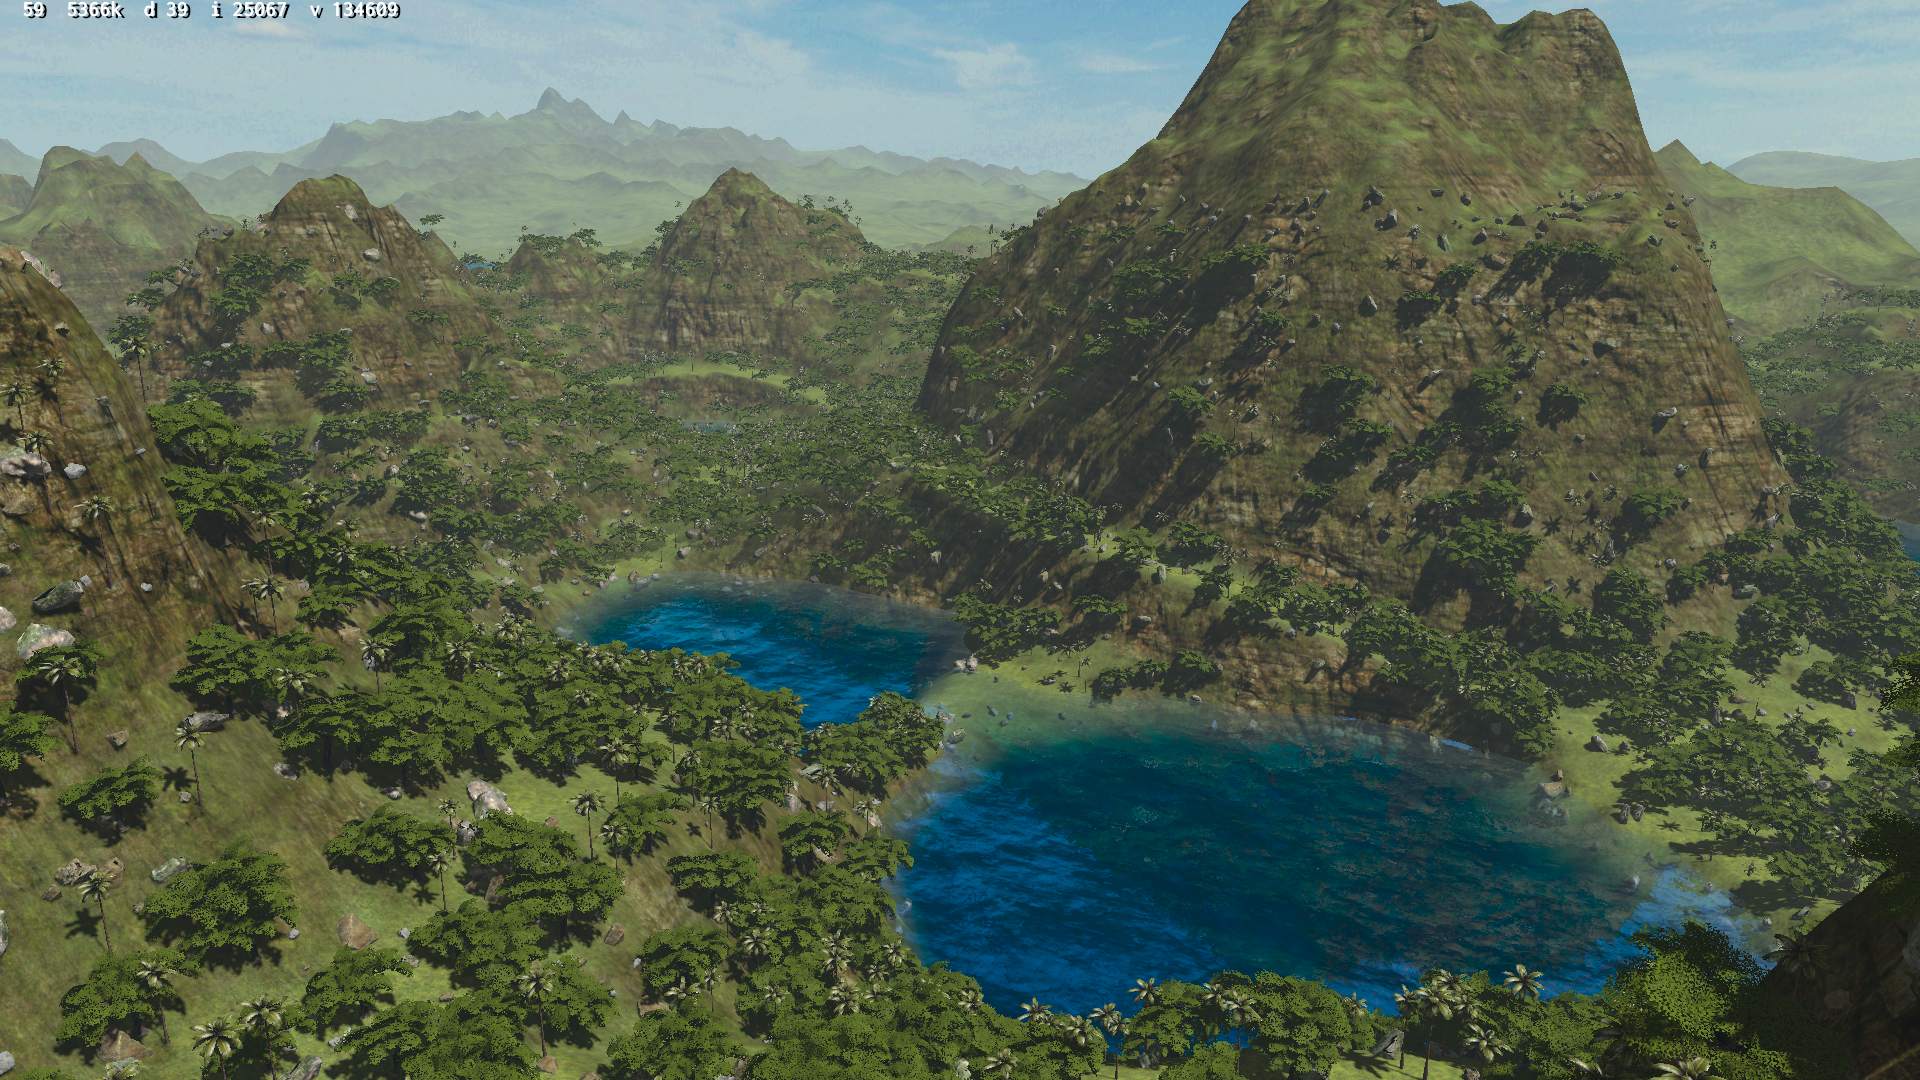
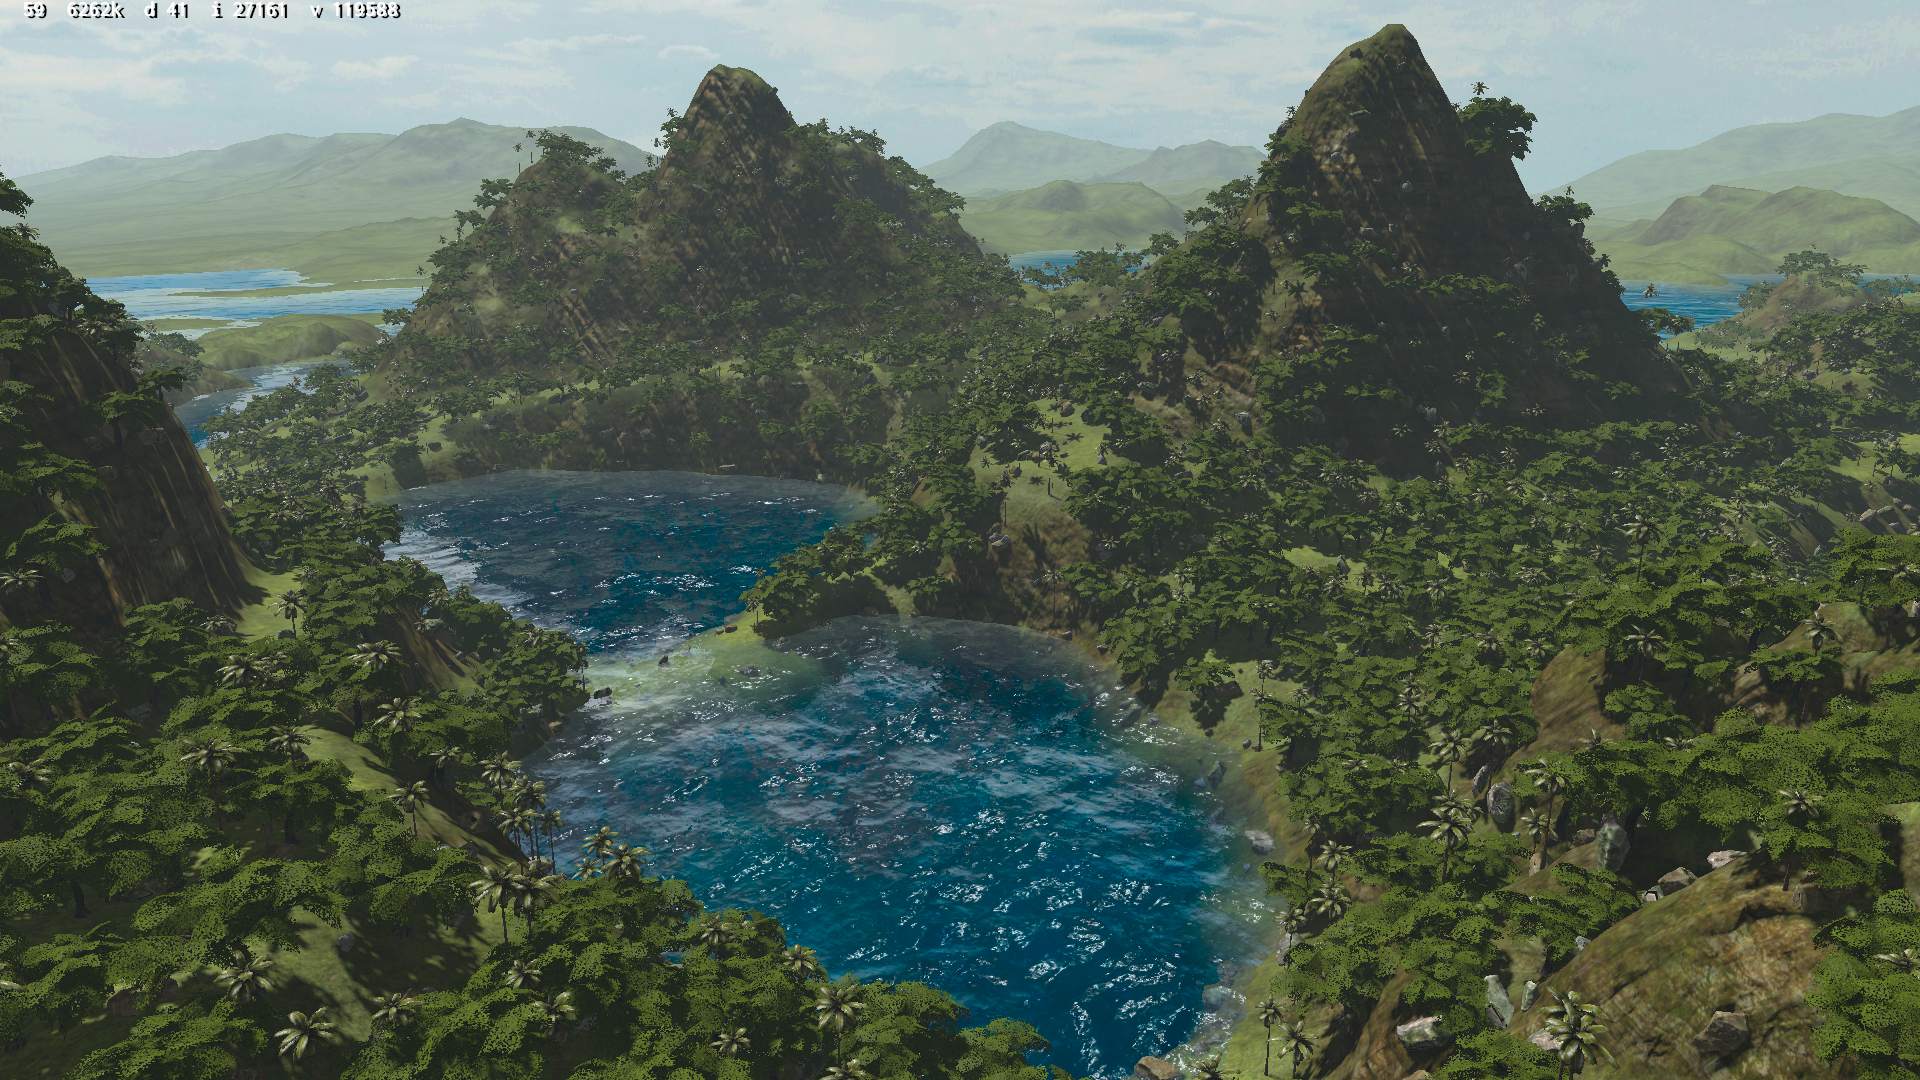
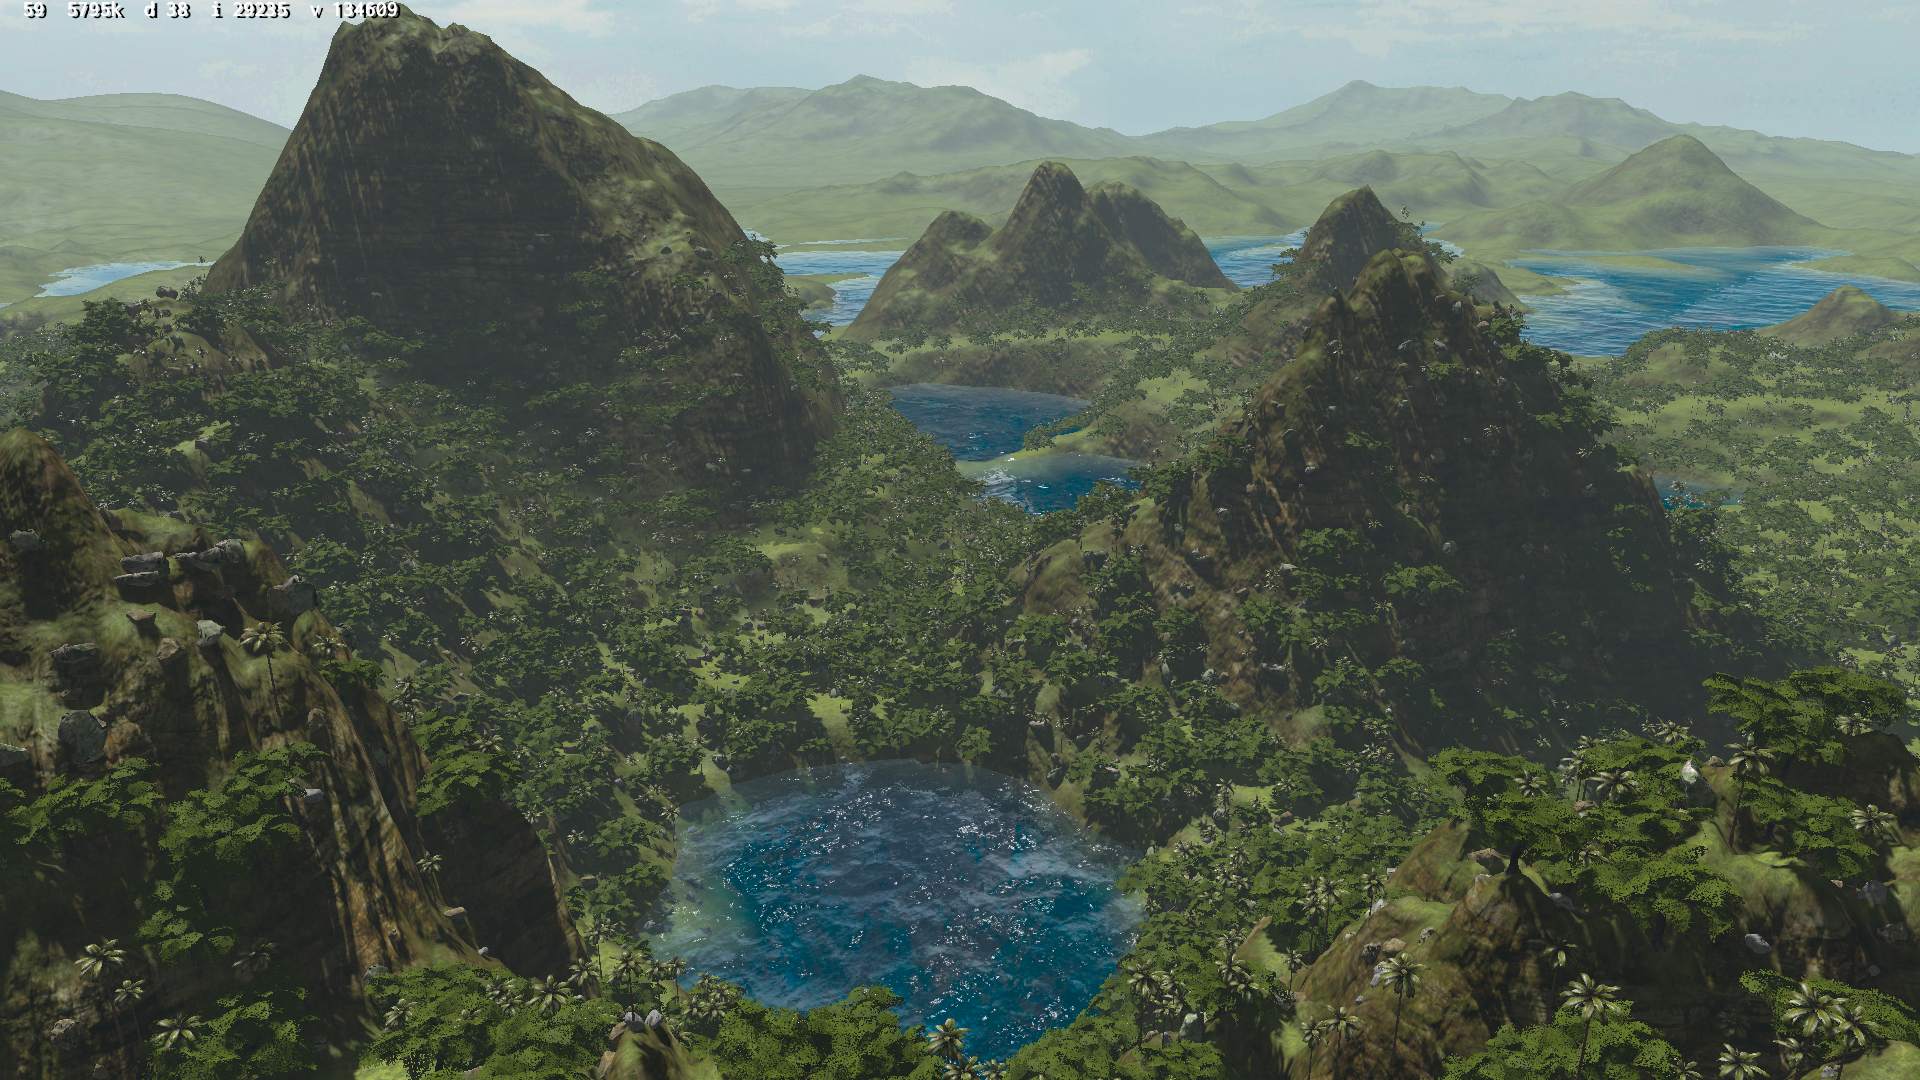
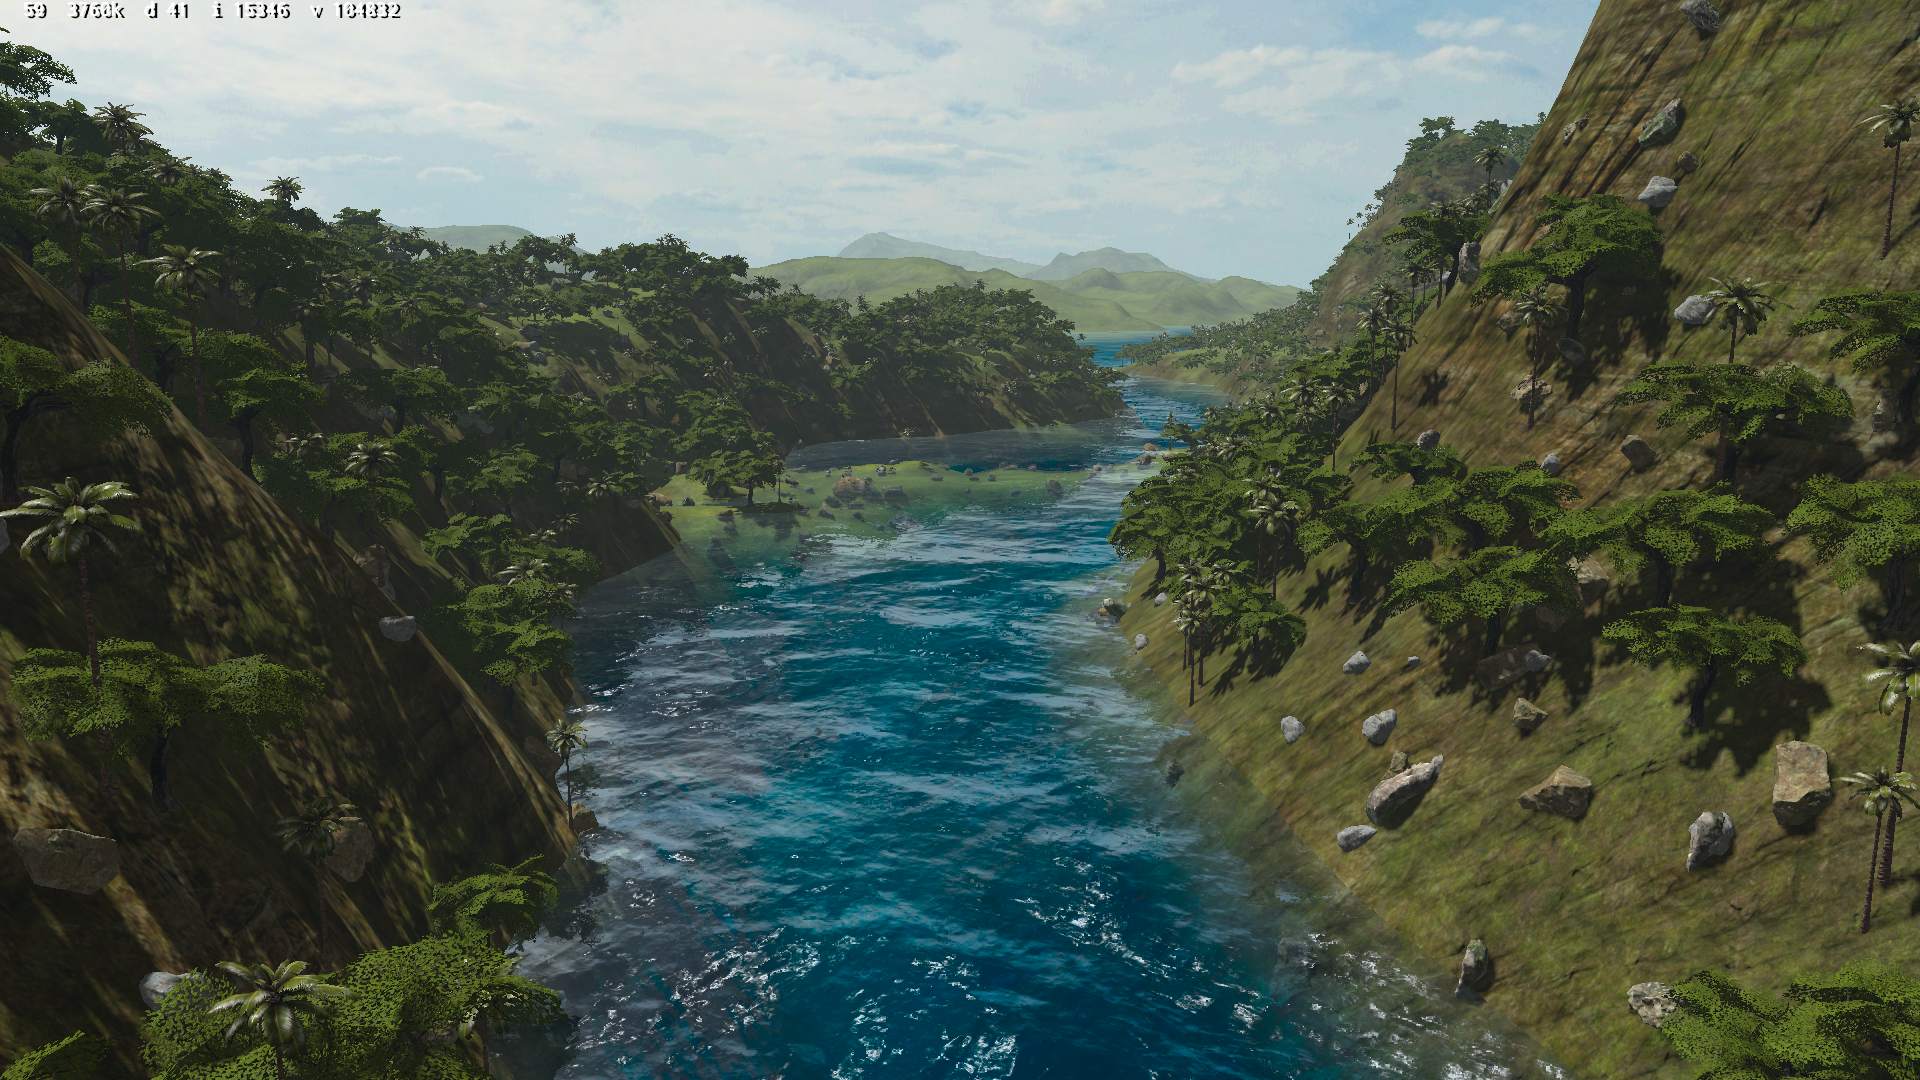
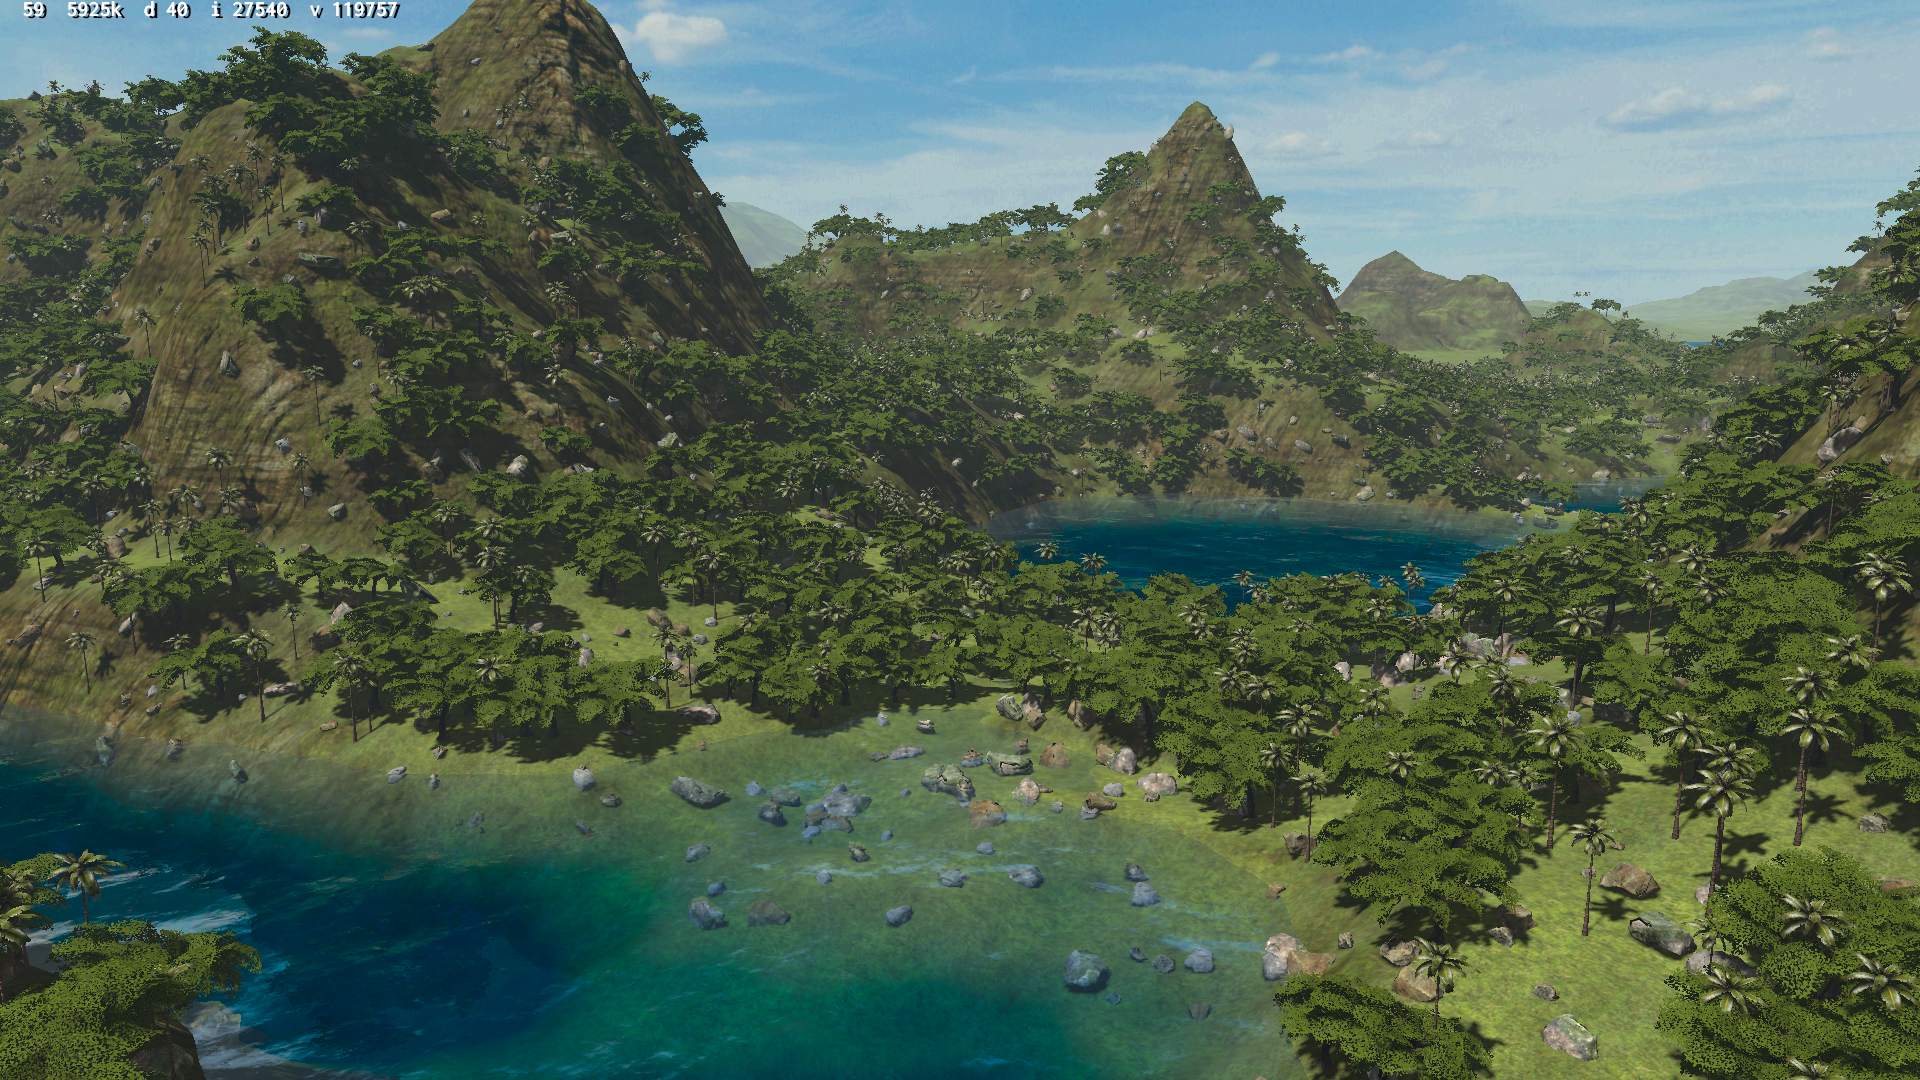
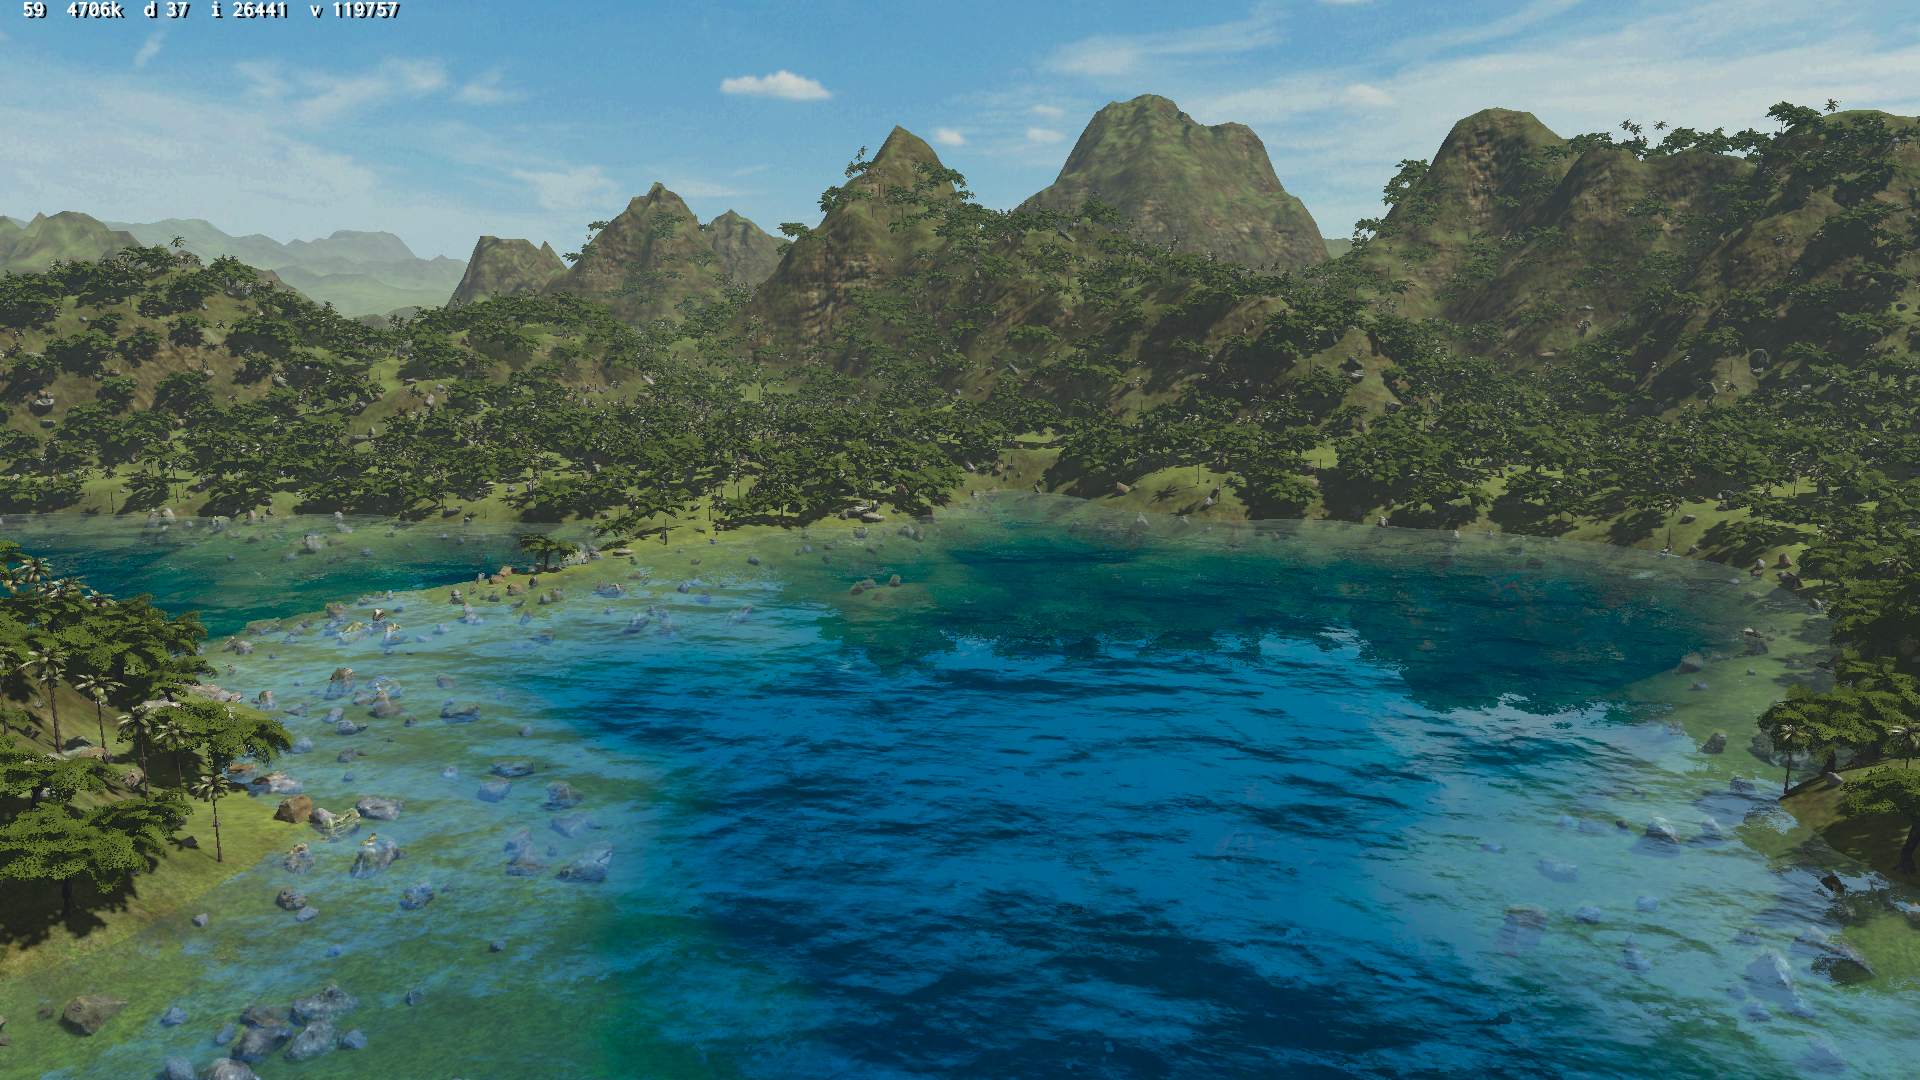
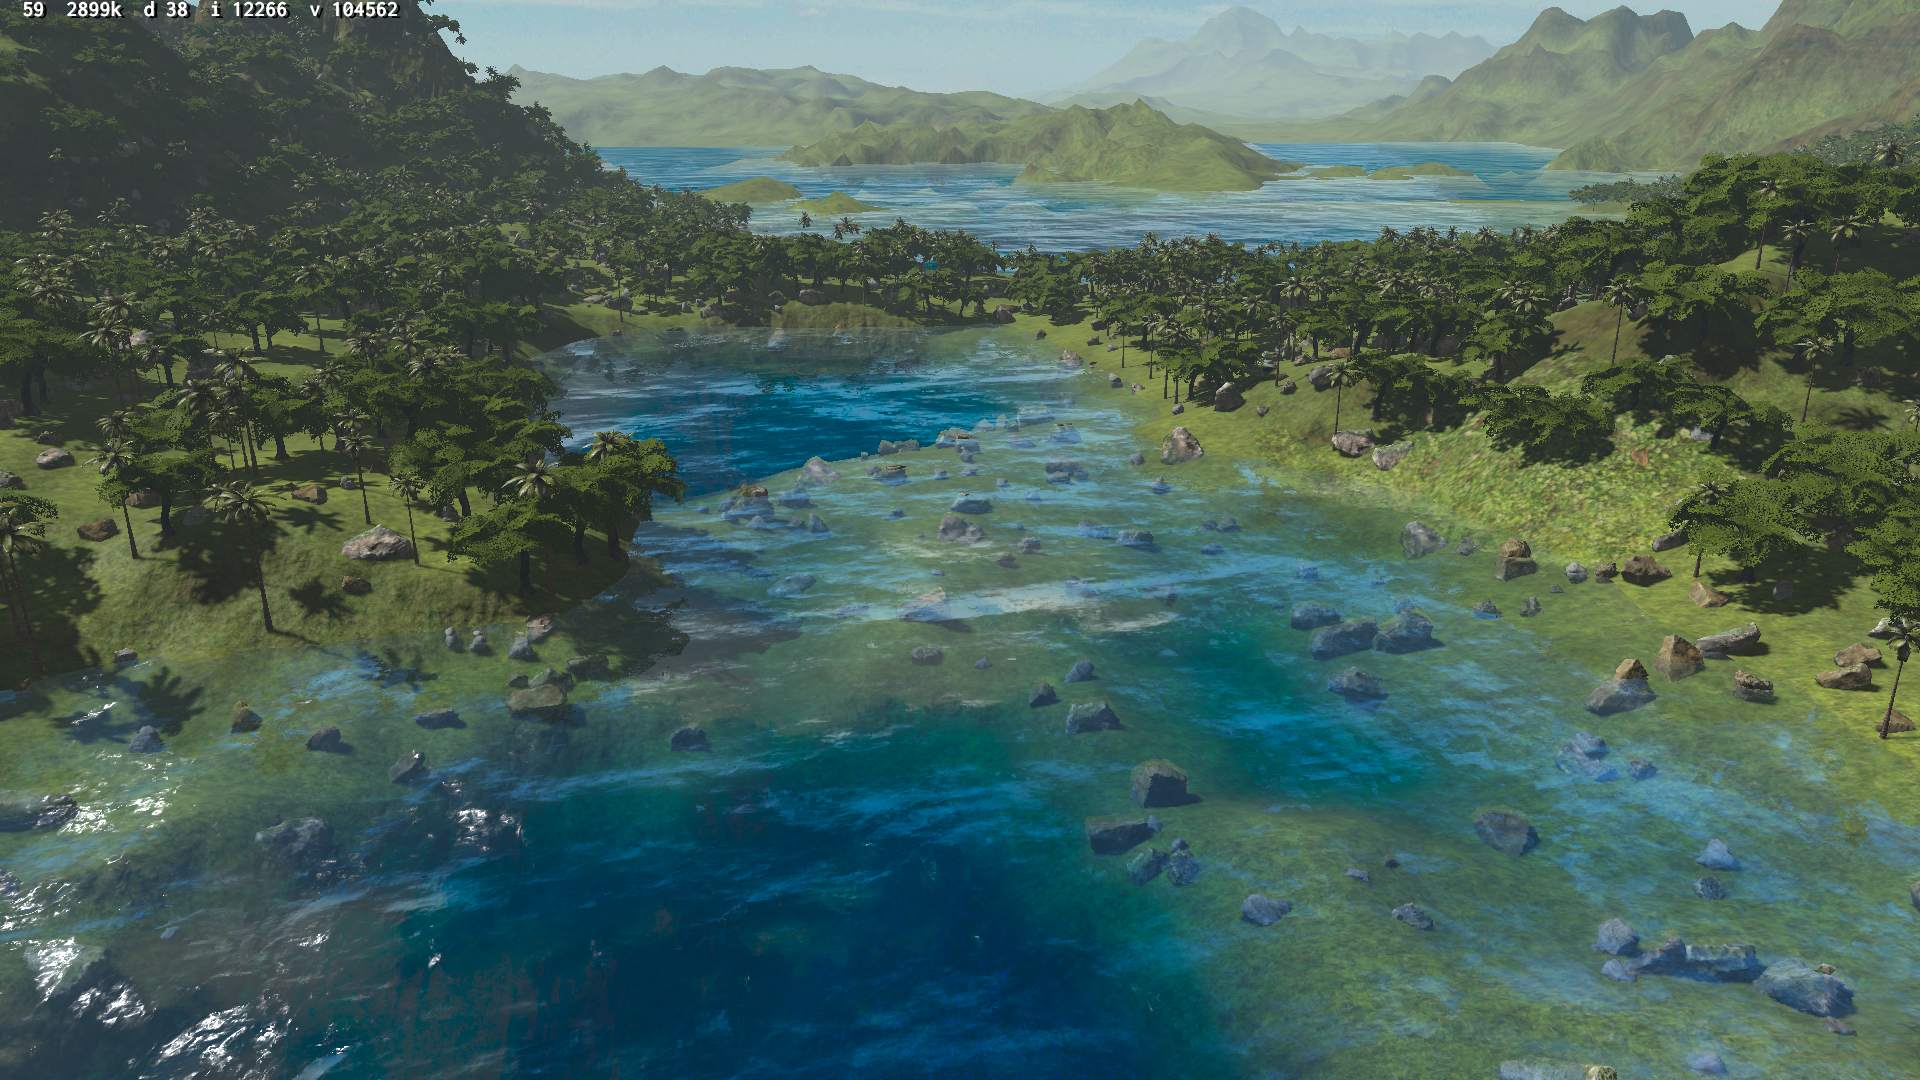
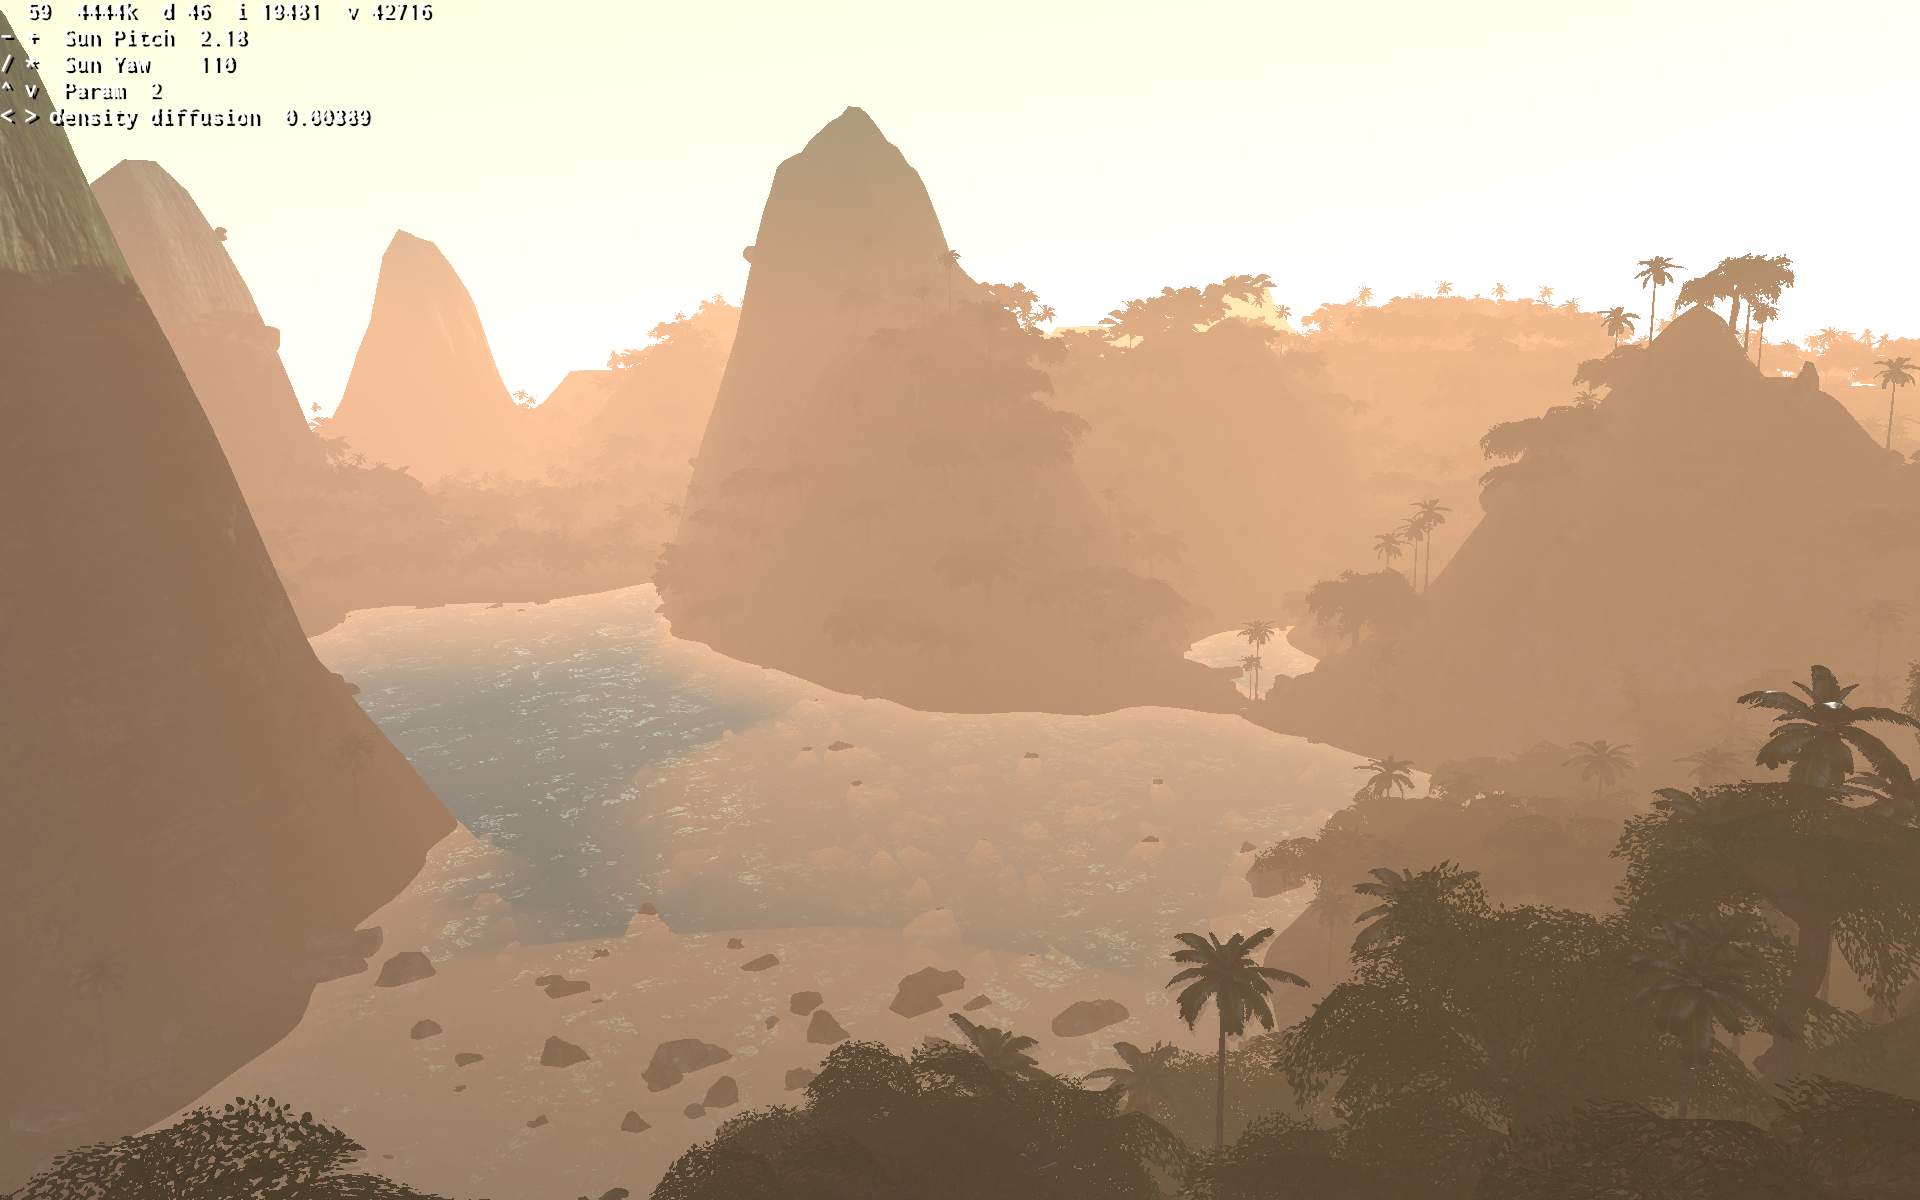
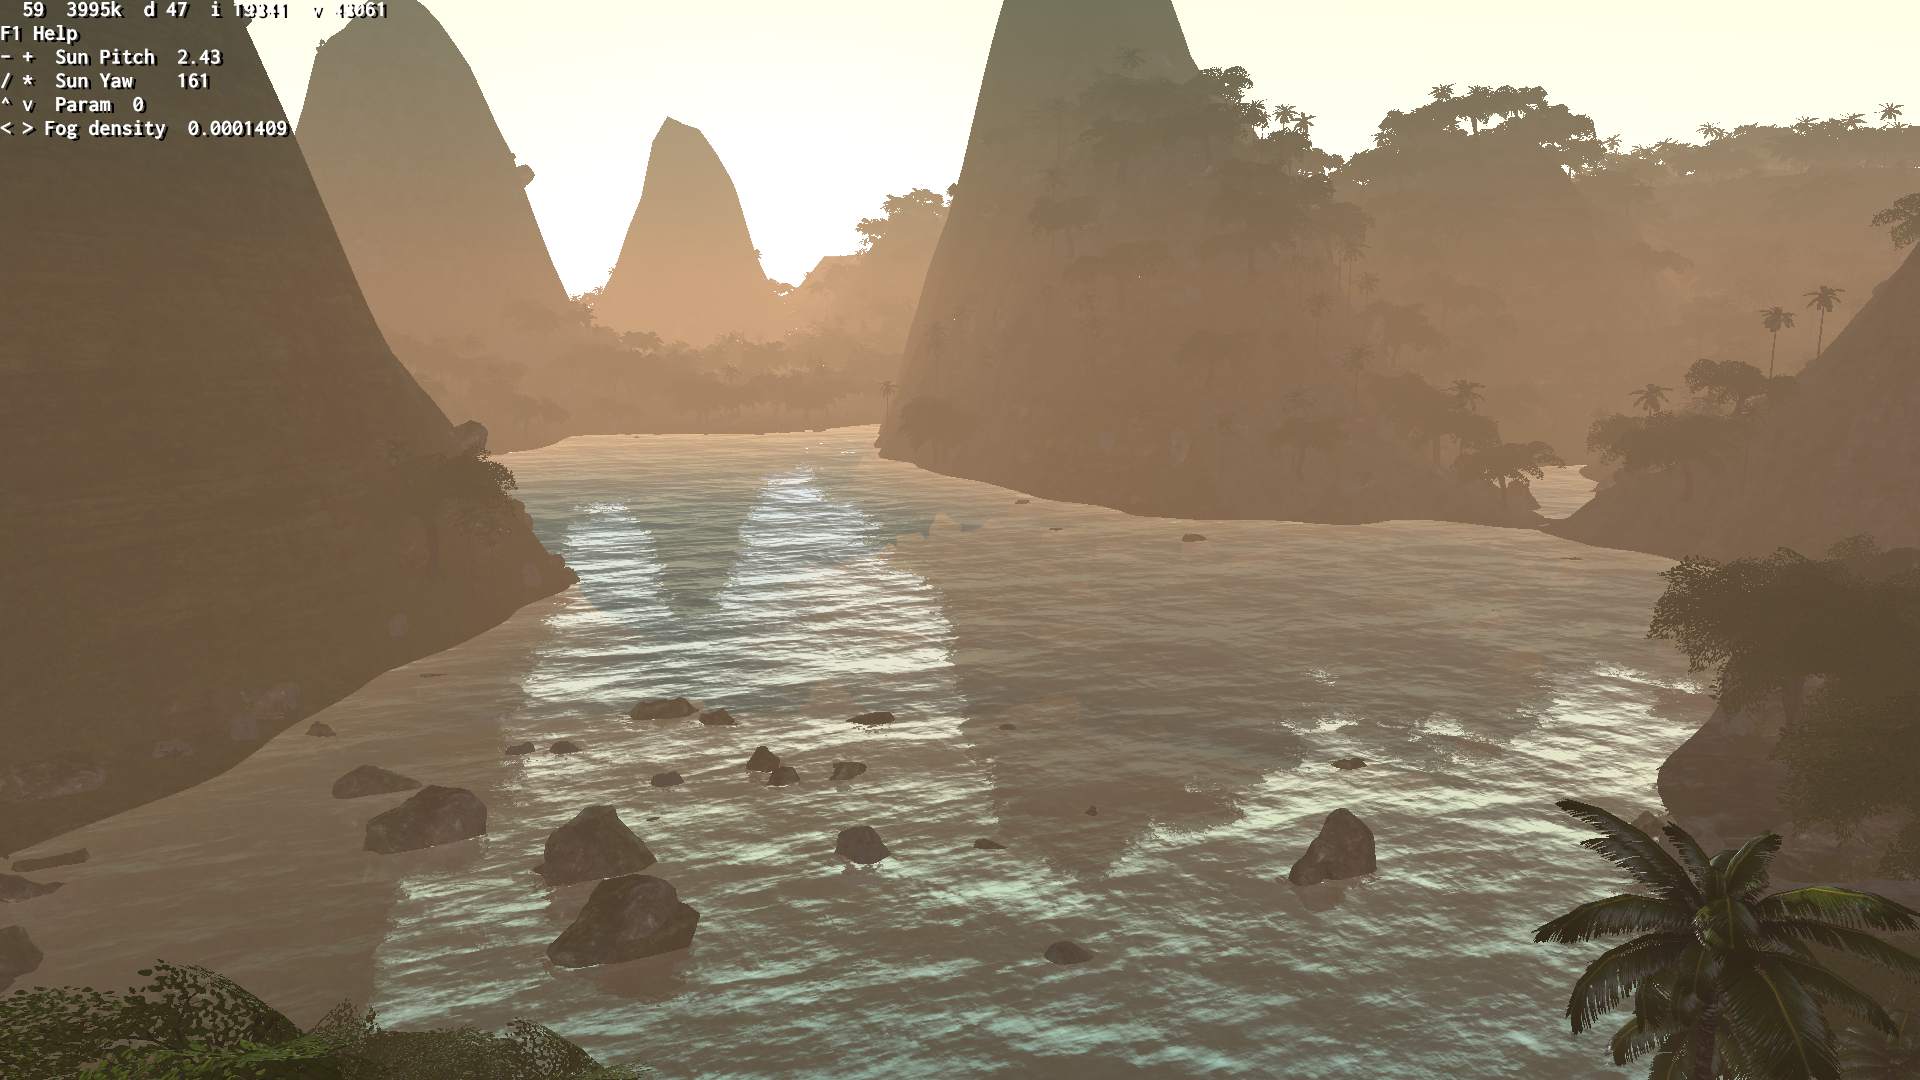
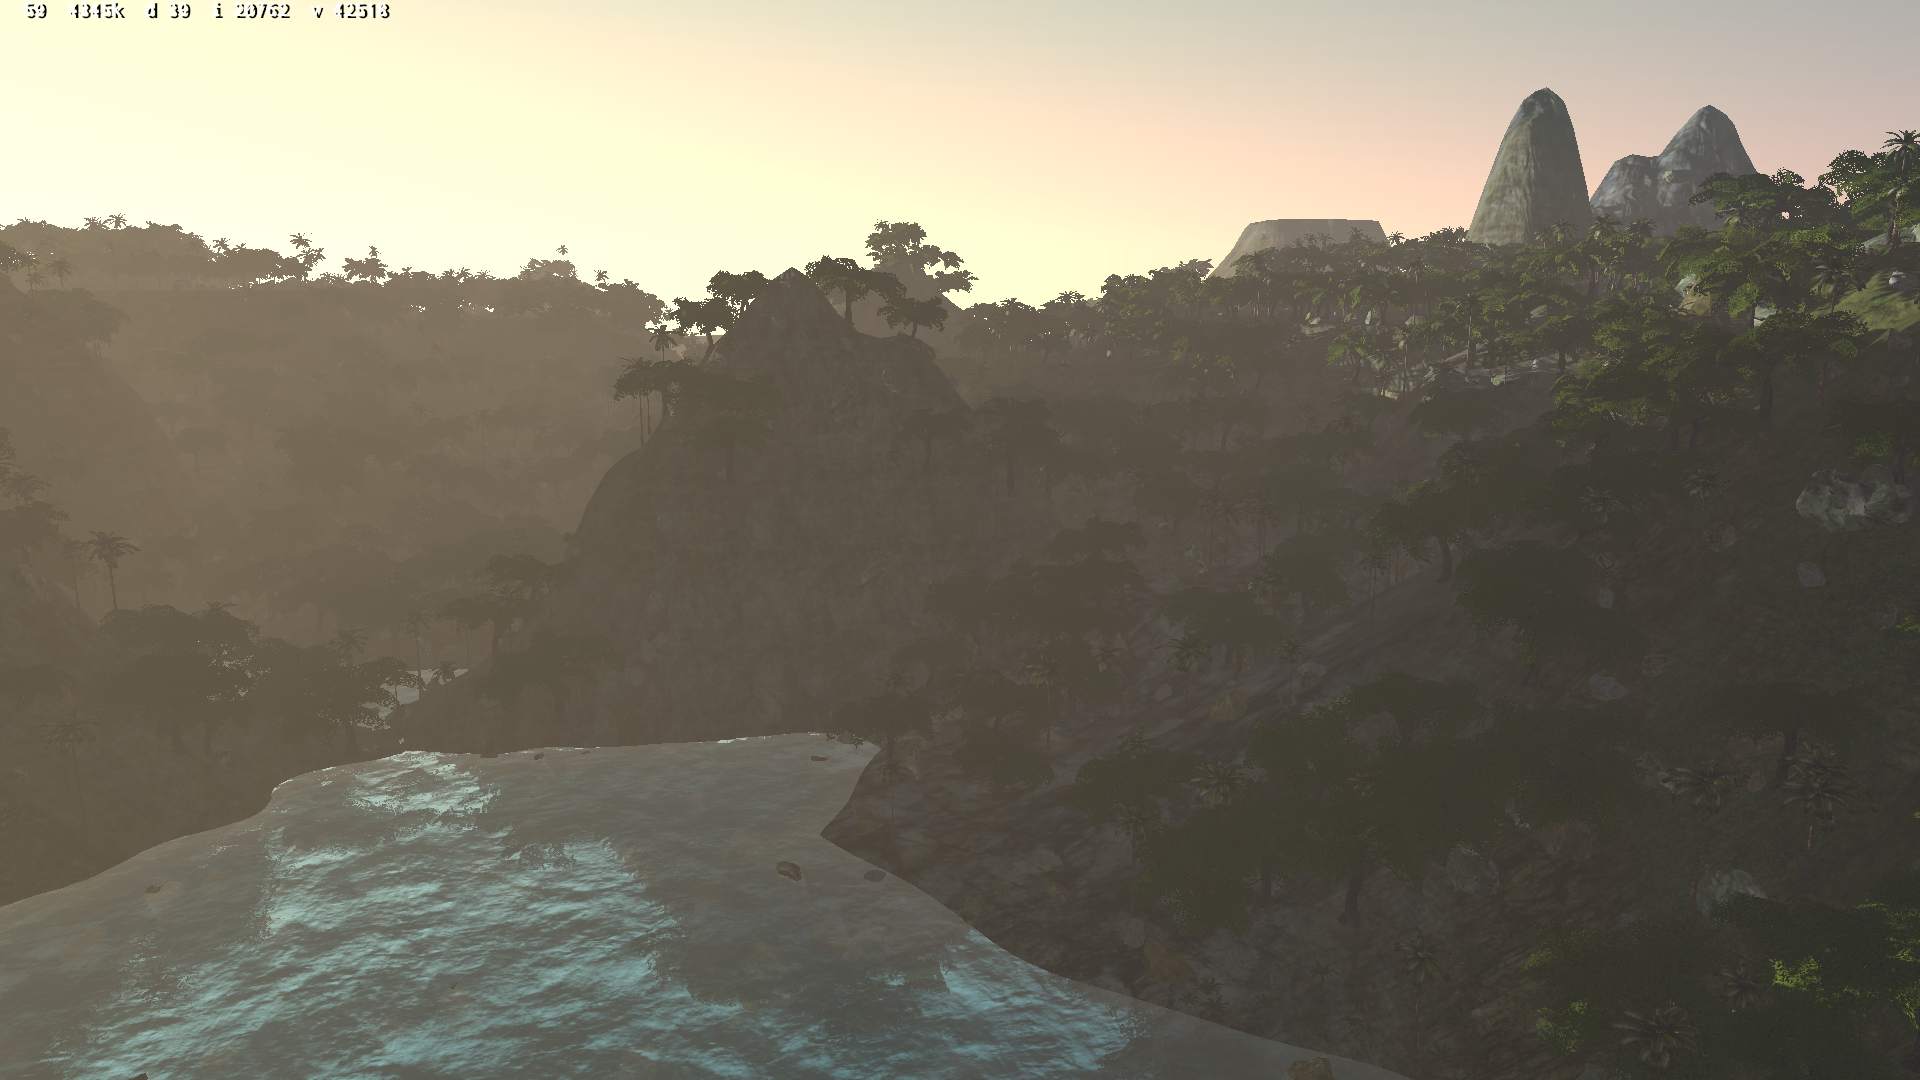
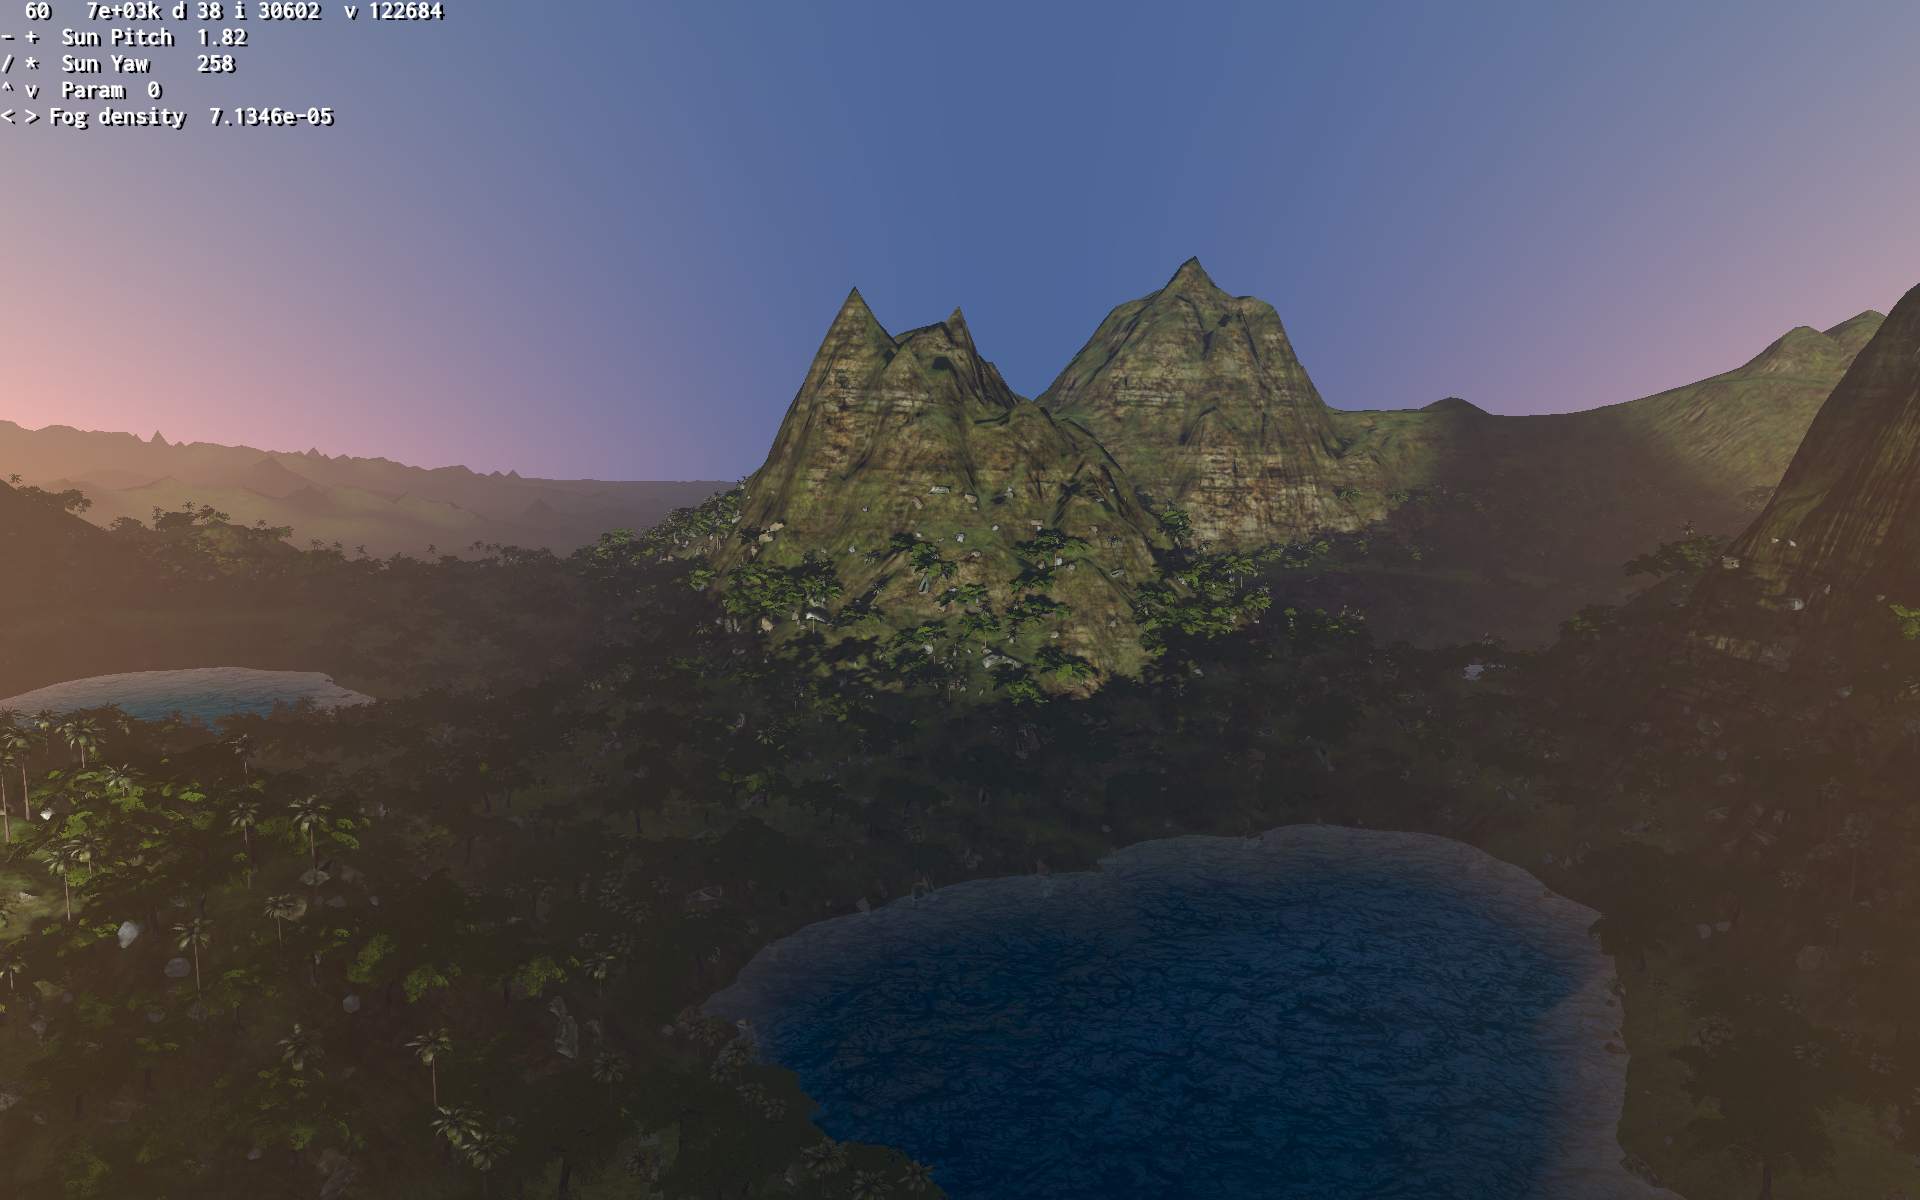
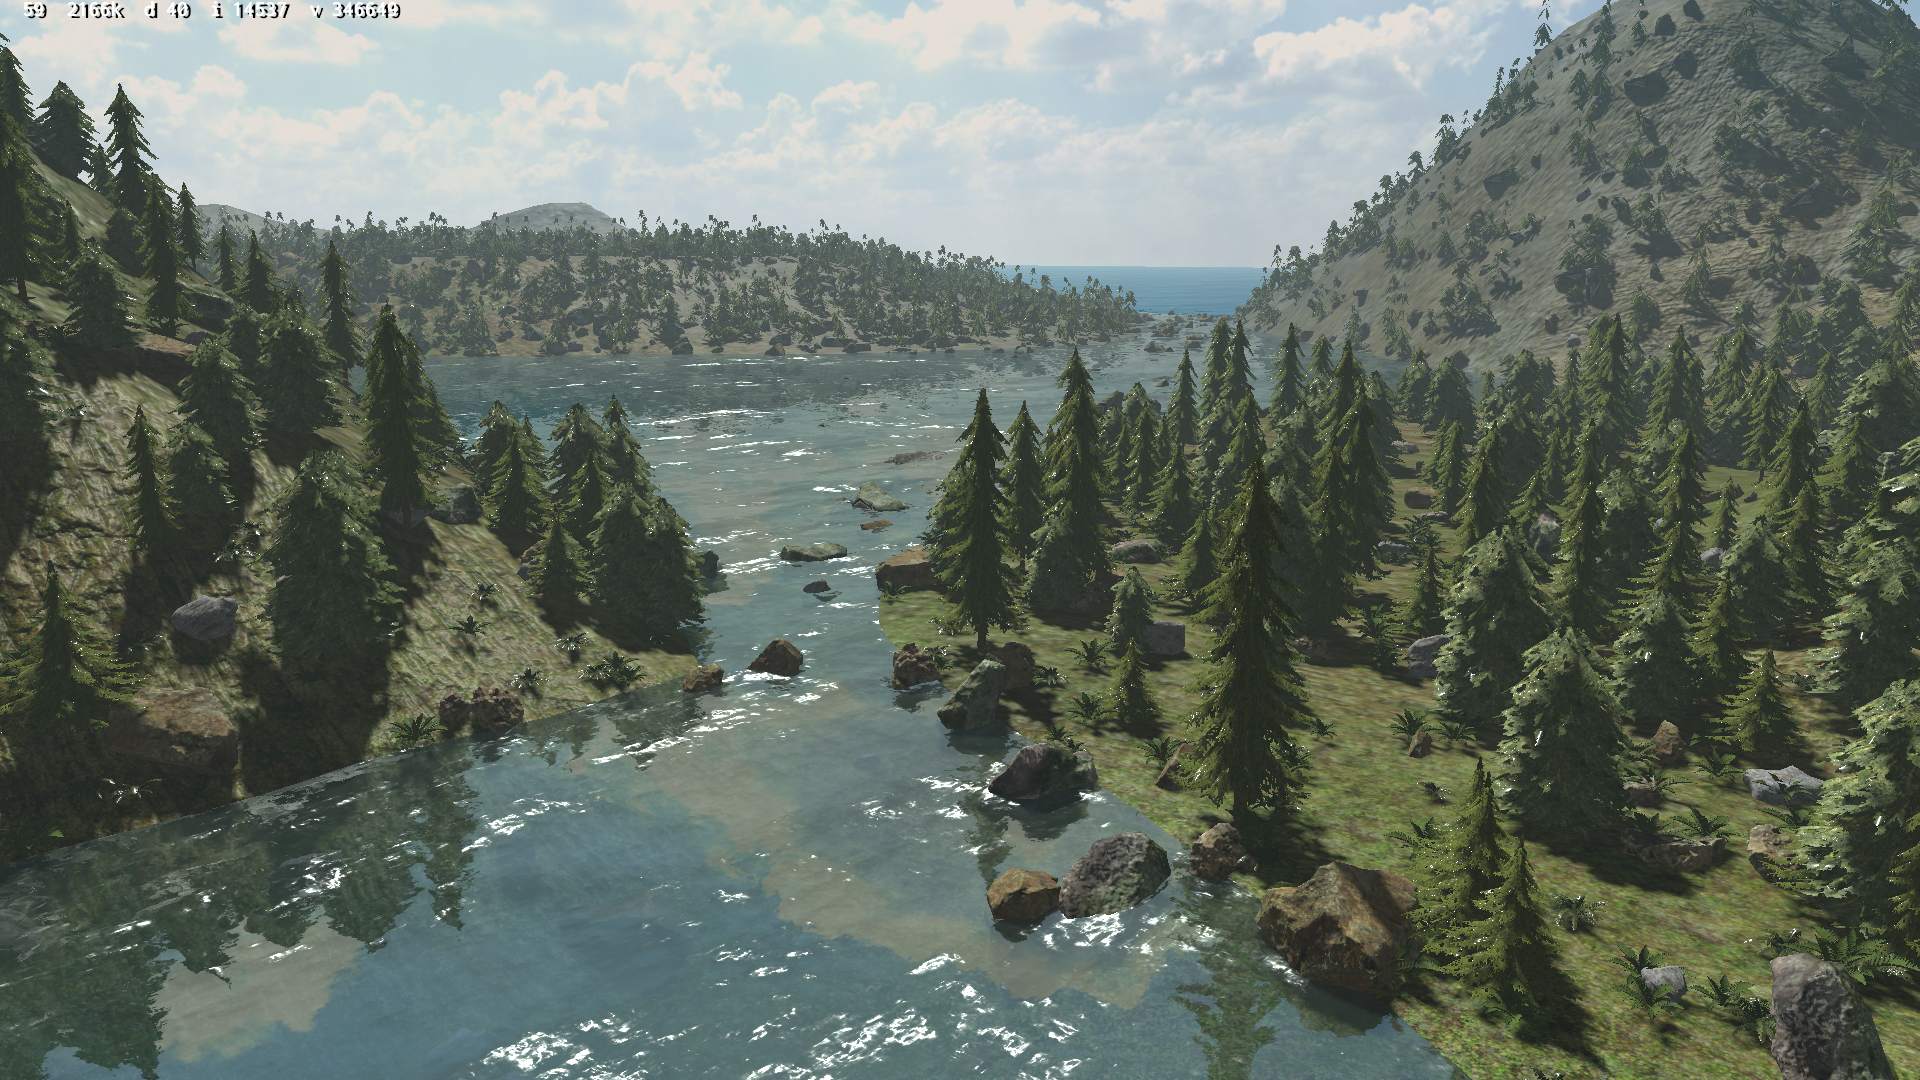
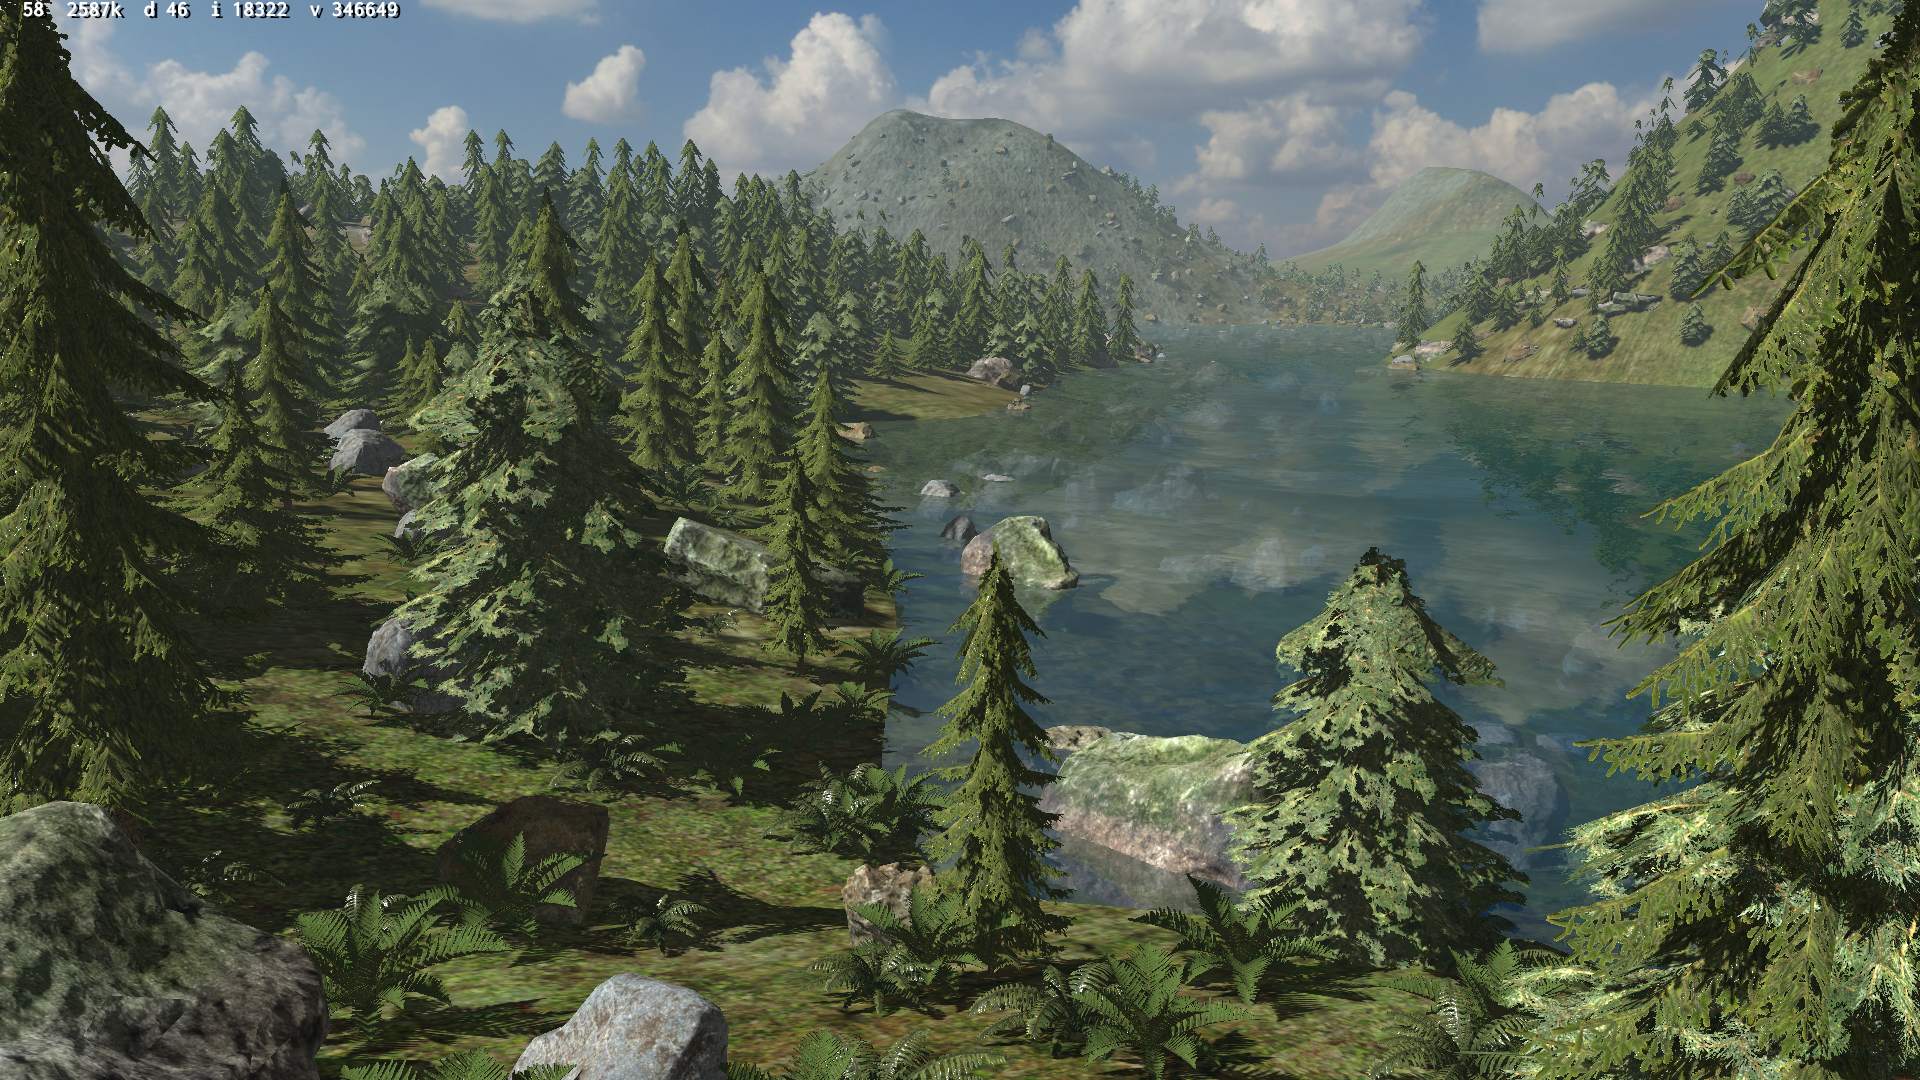
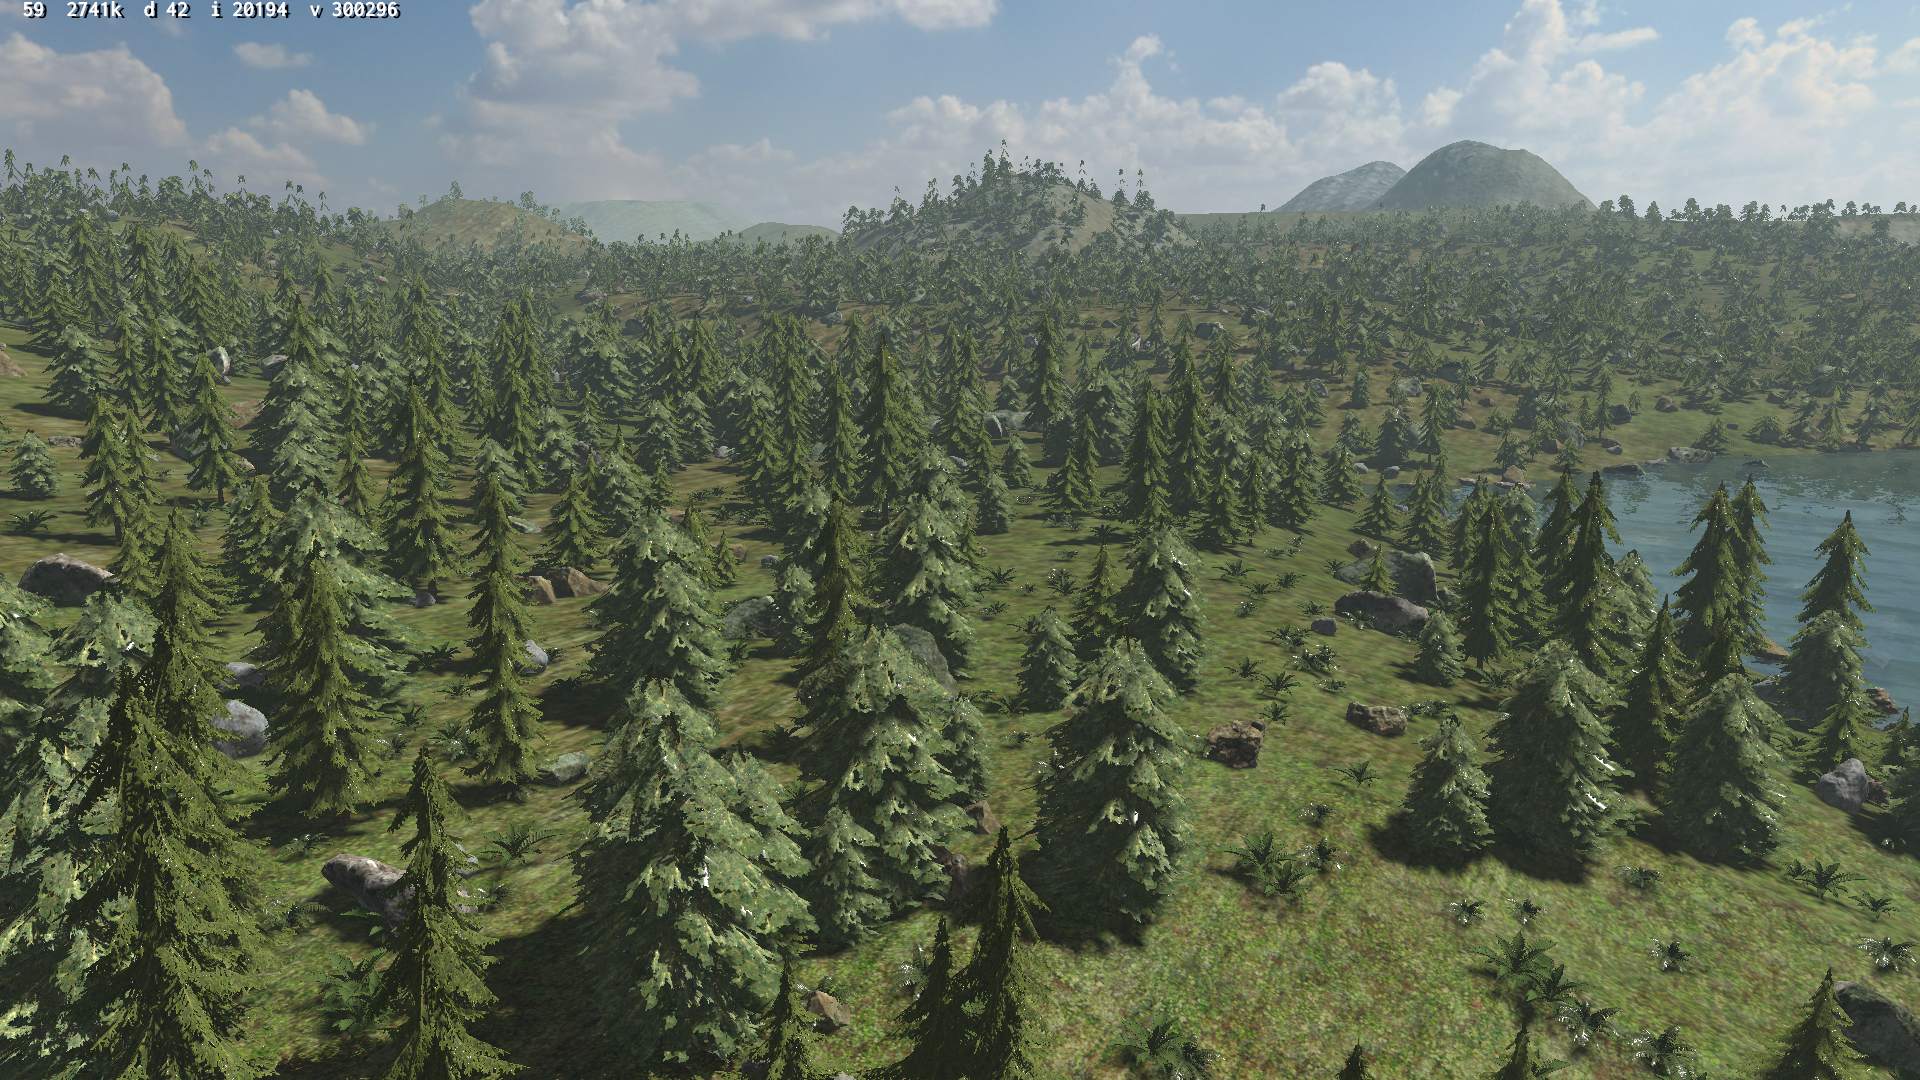
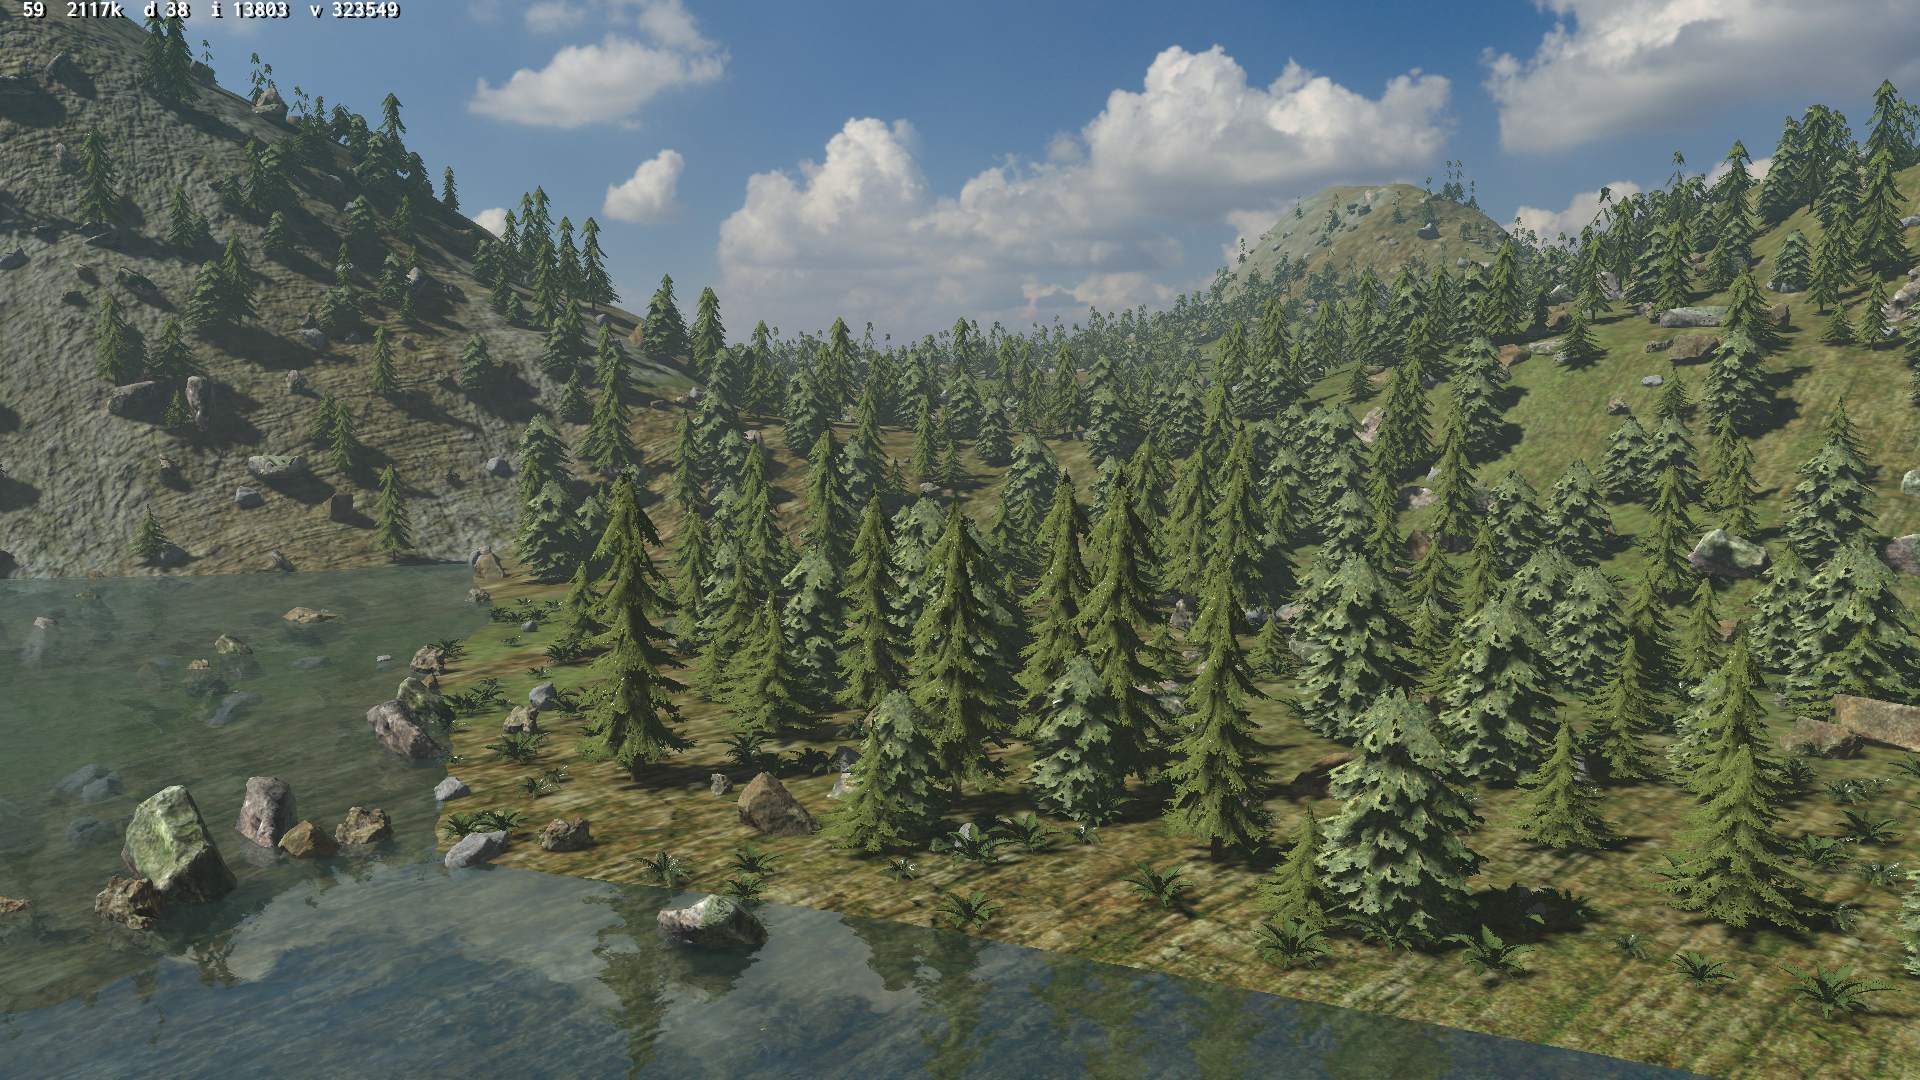
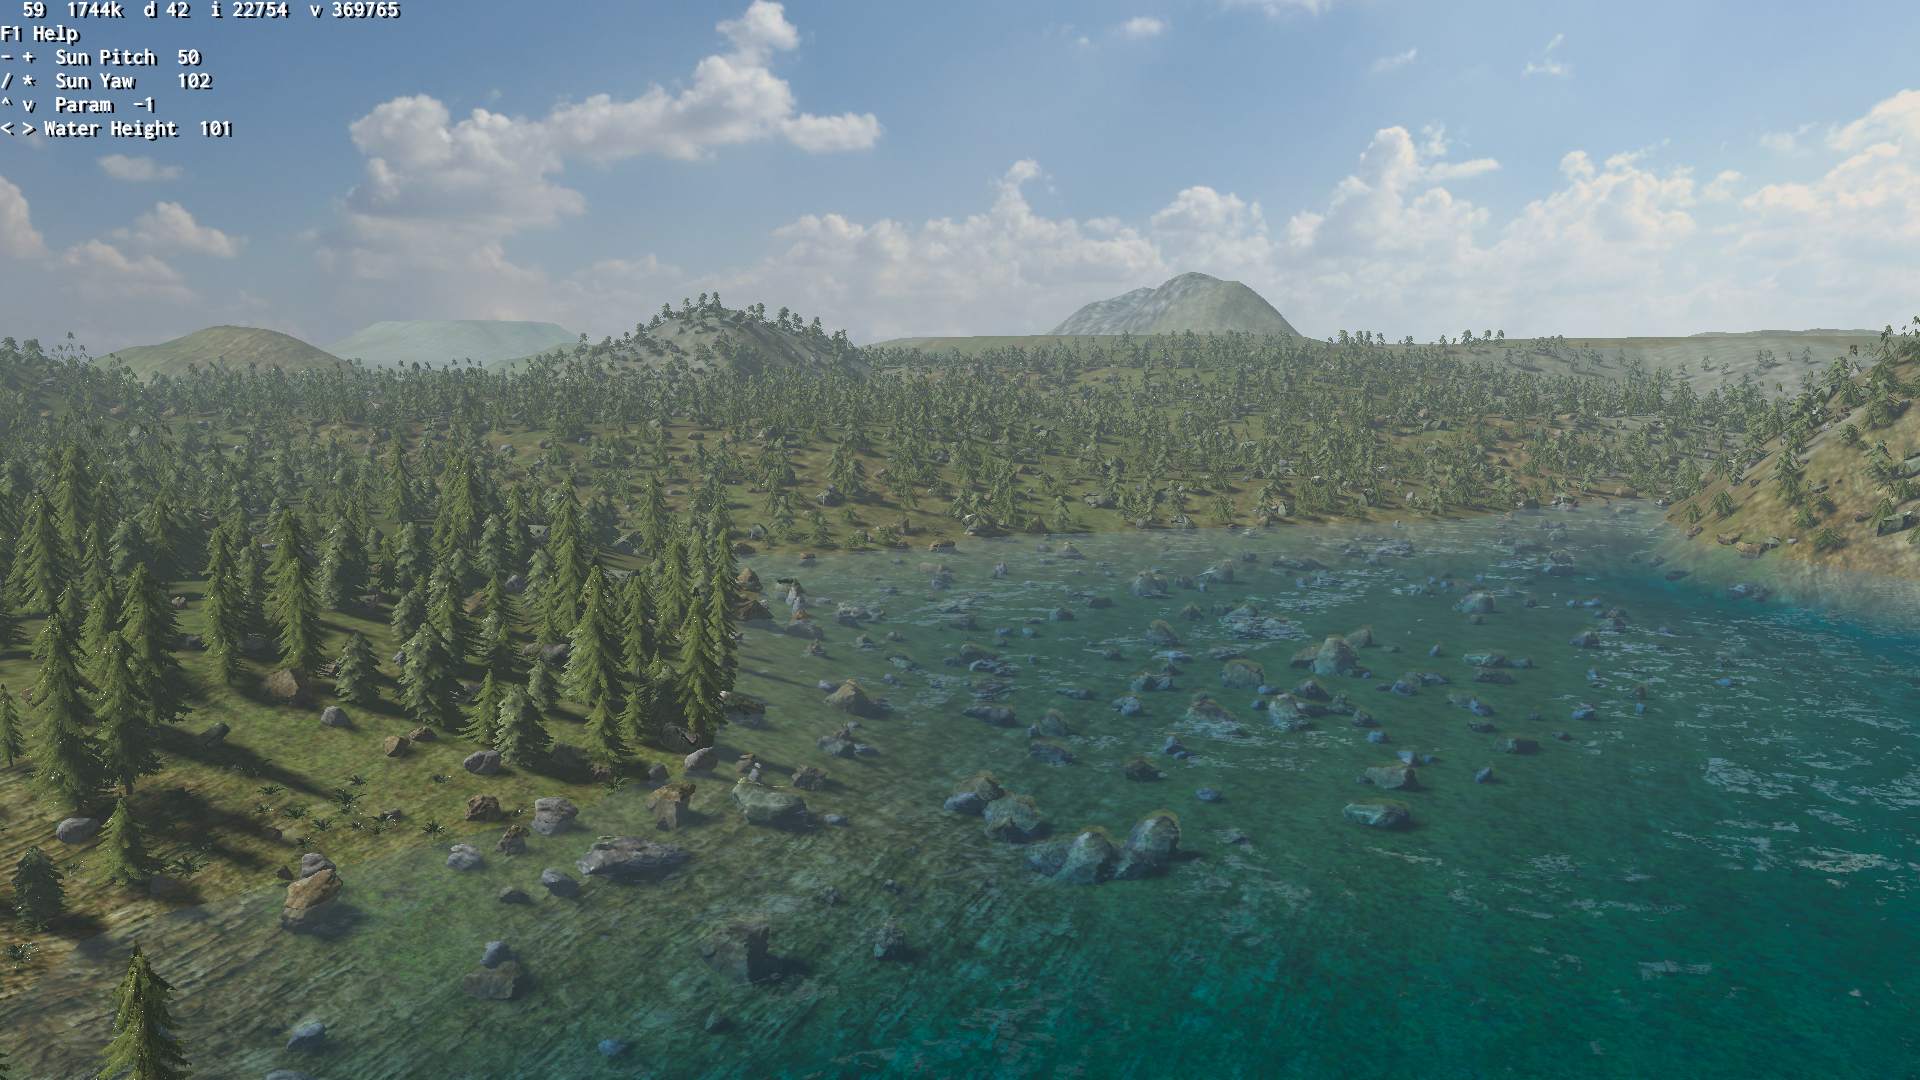
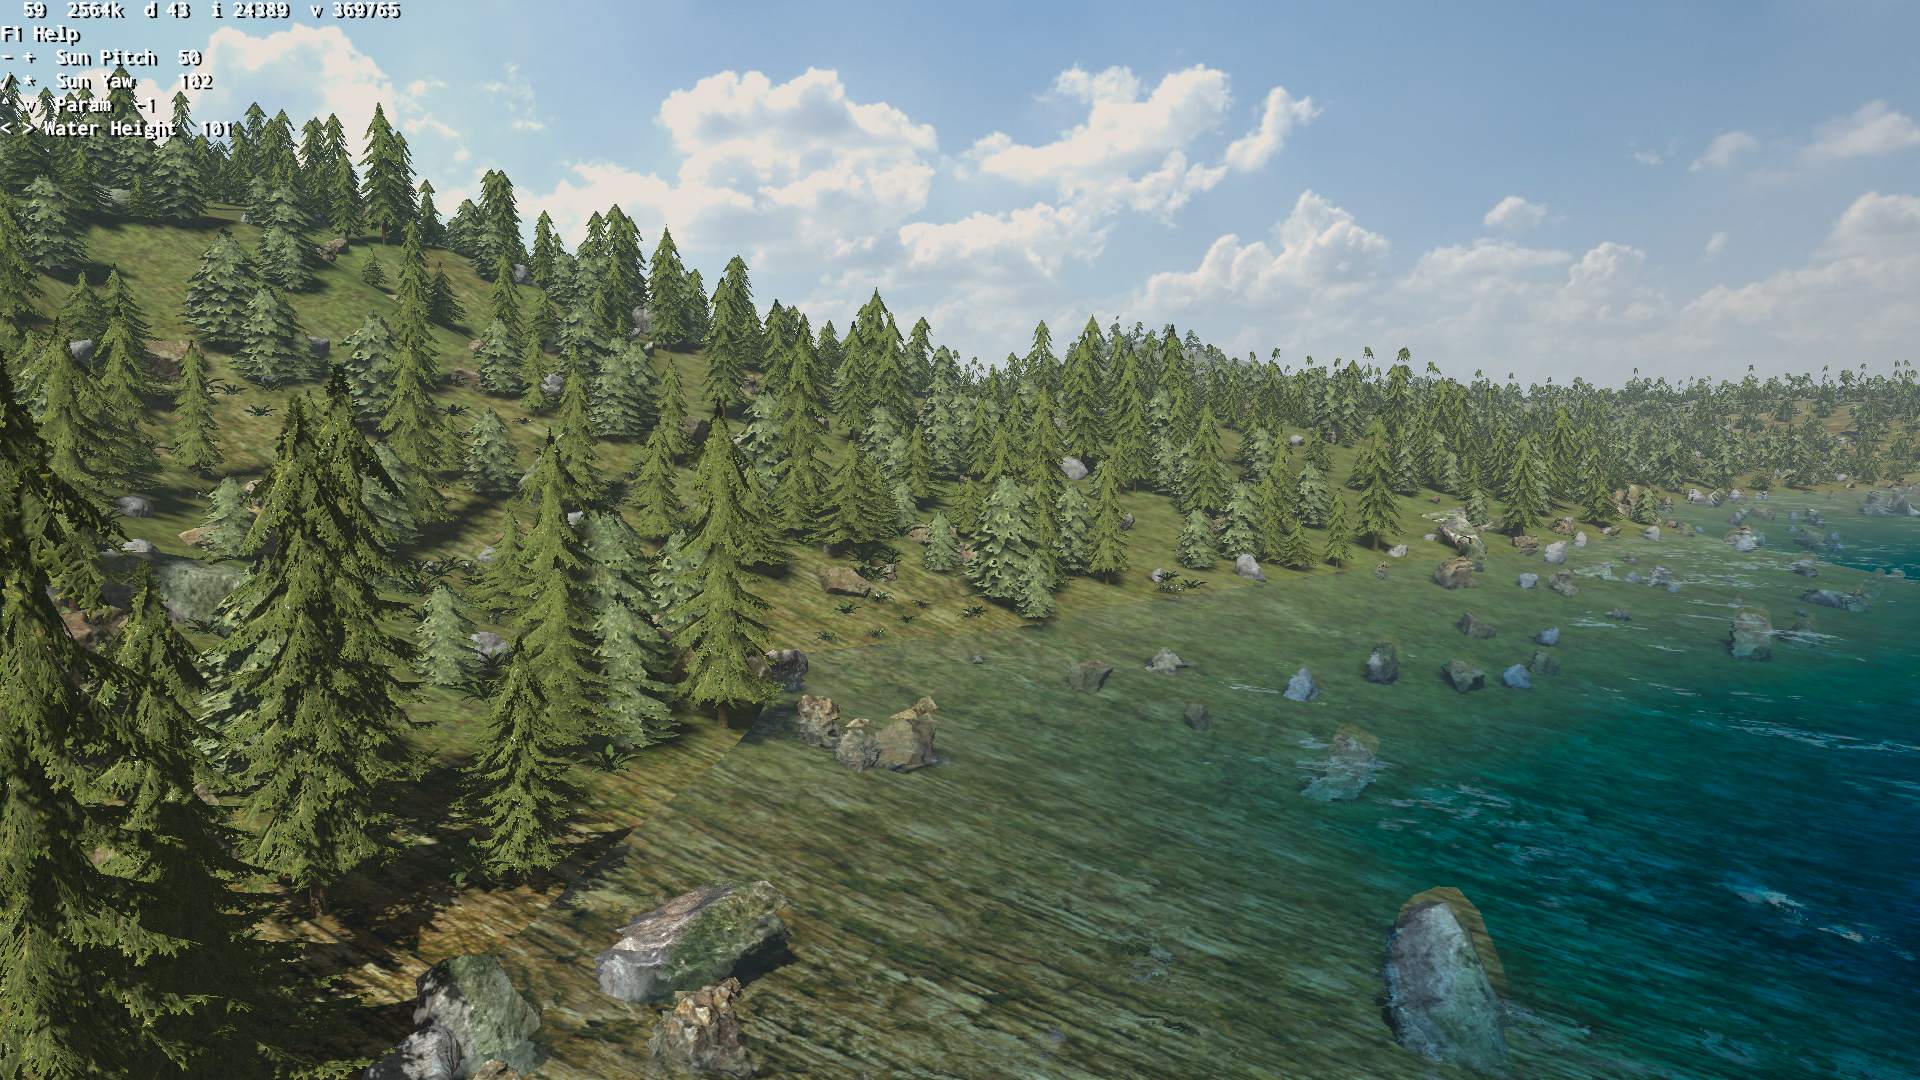
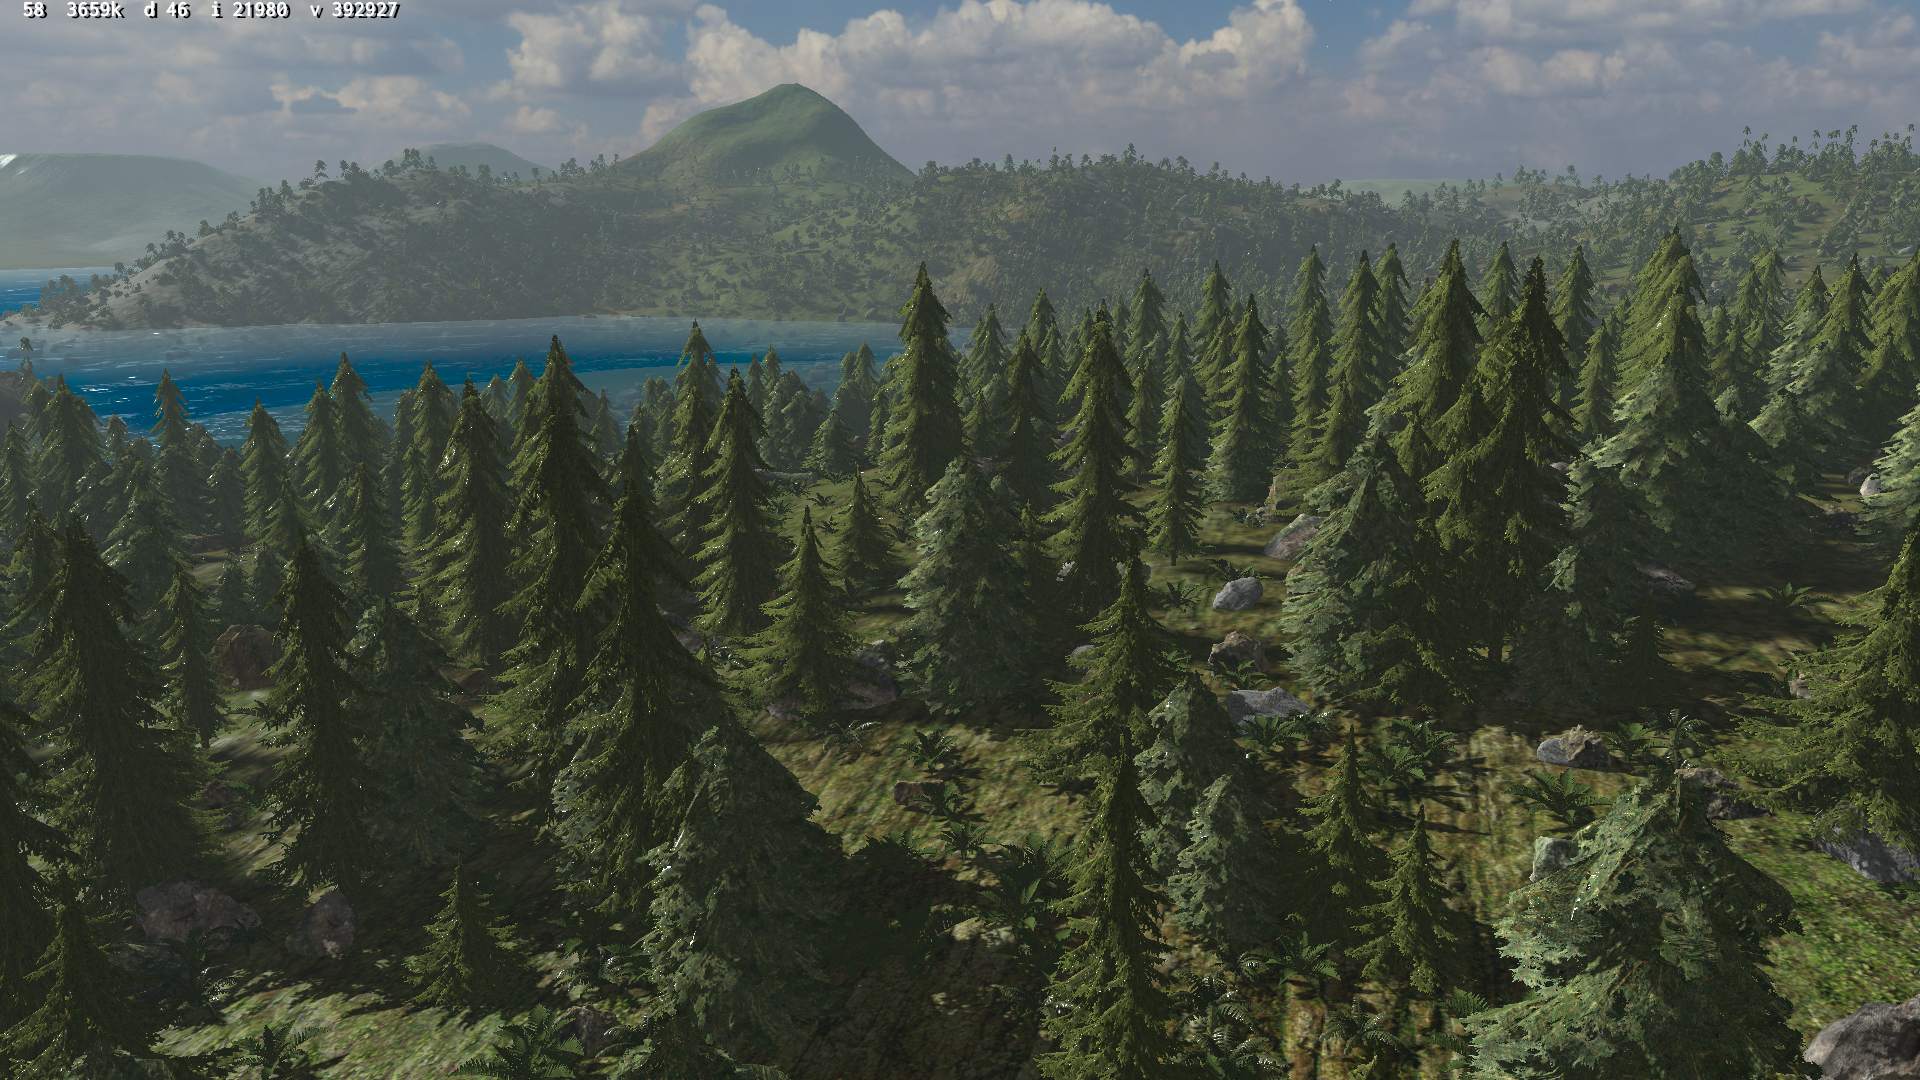
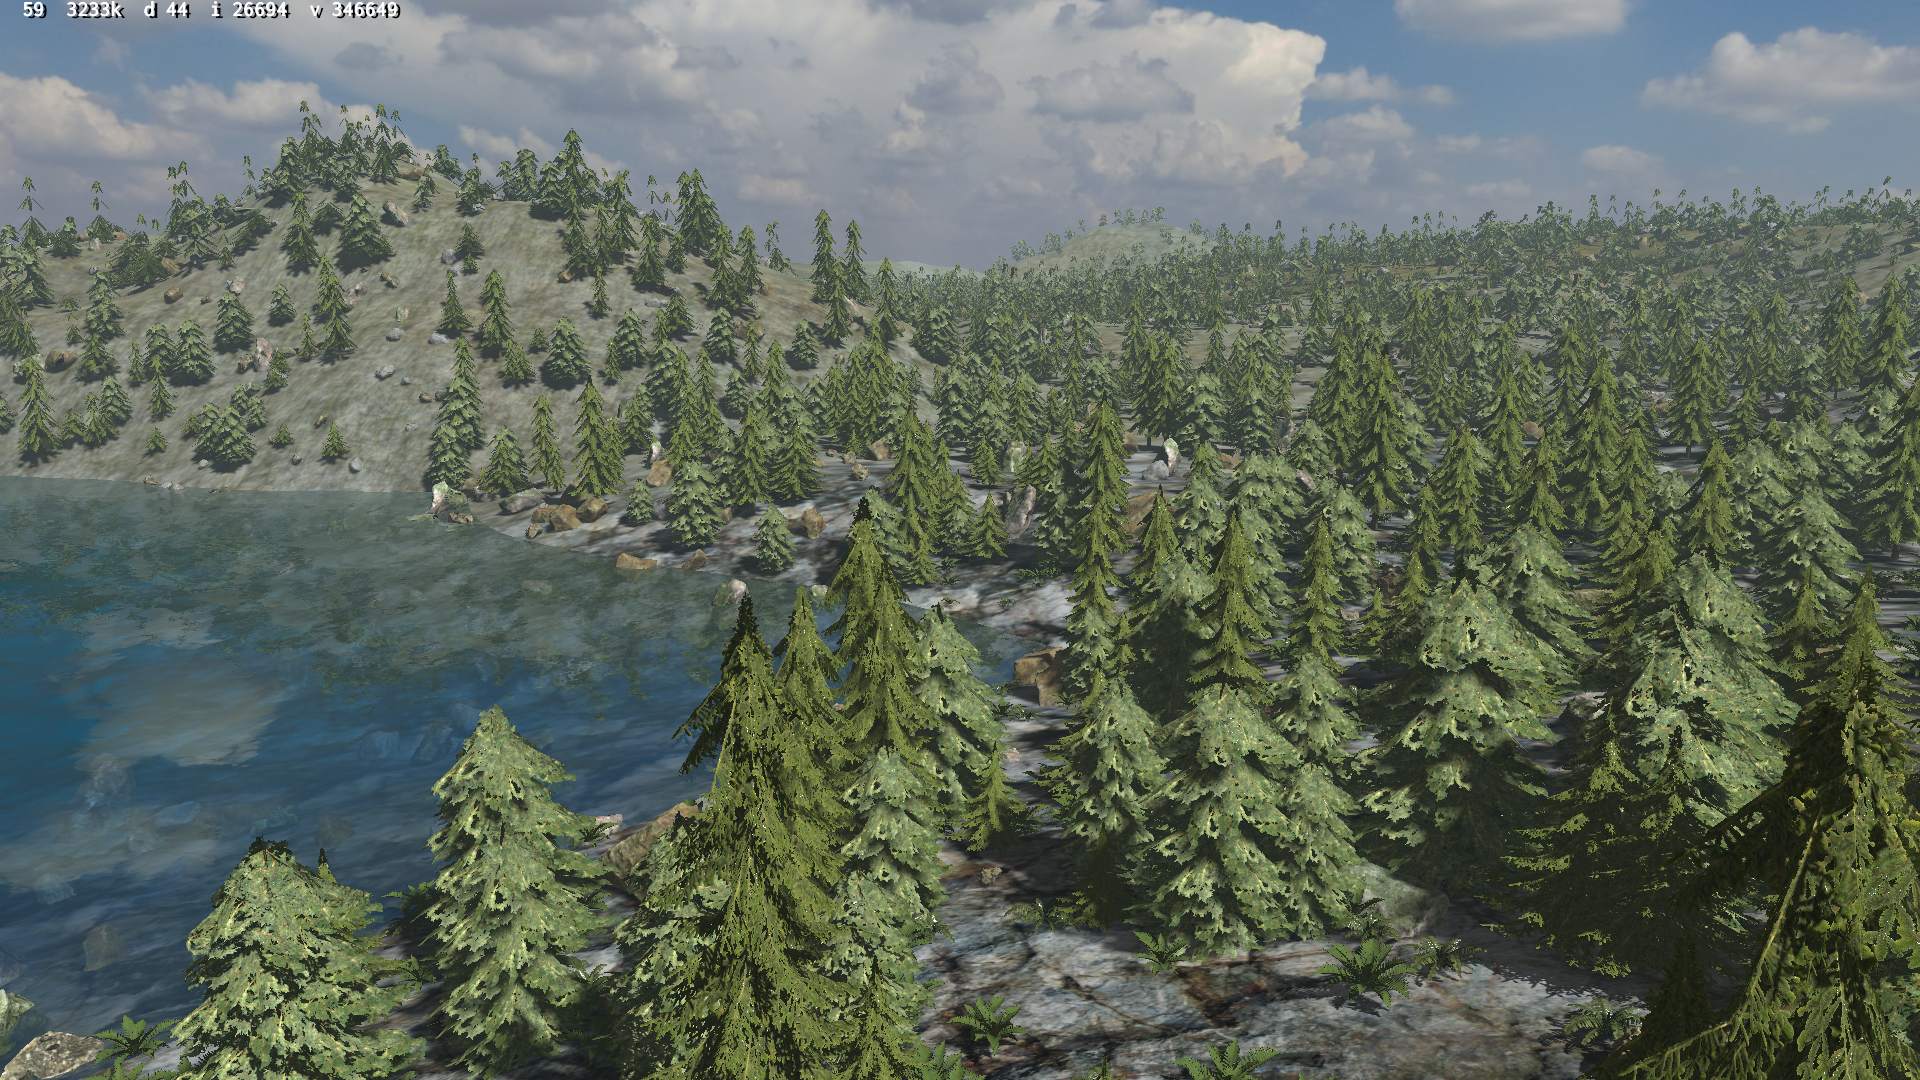
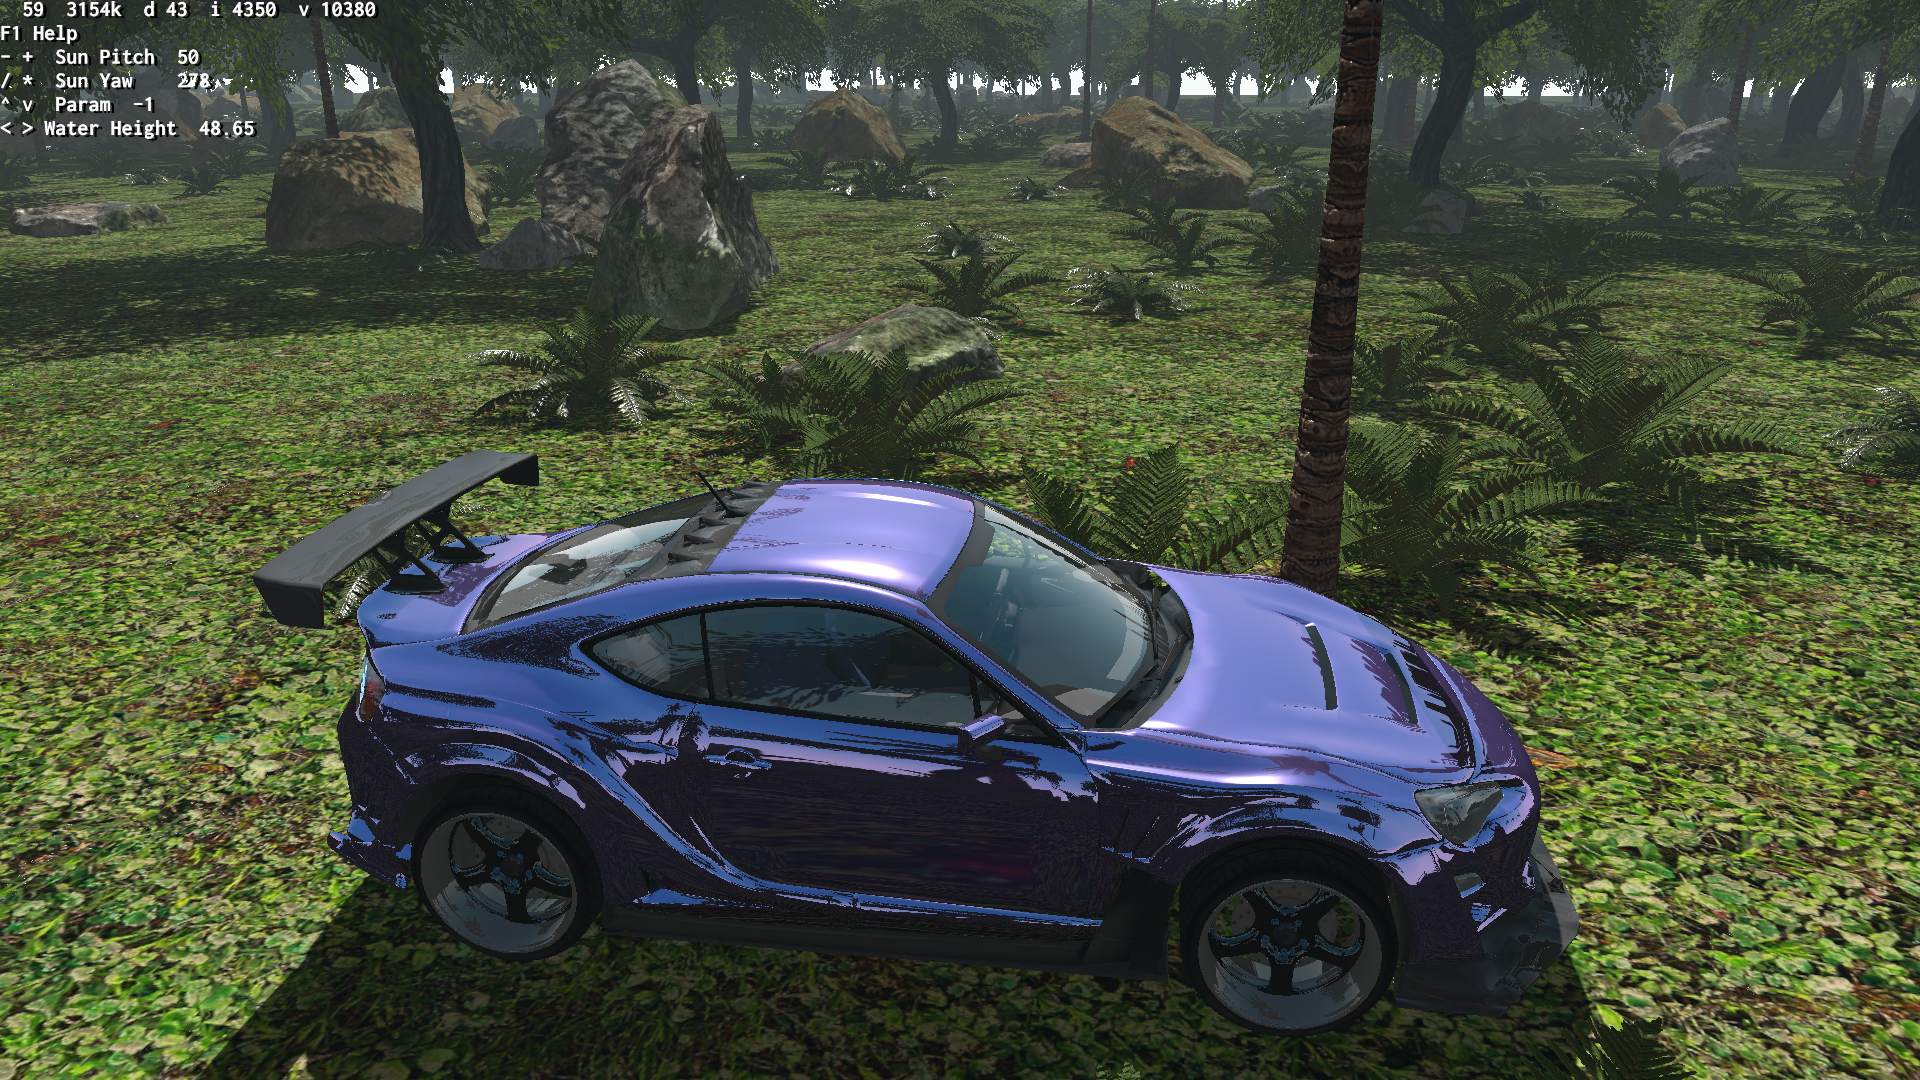
    Shortly after I gave it a try and started a small demo (sources here) with nature scene. I was quite surprised by performance, how high and smooth Fps was with lots of vegetation. Contrary to old vegetation plugin we still use in old SR, which was also the worst thing, causing lags and delays while driving. But back then even fog wasn’t part of engine and had to be added with some knowledge. Luckily new Atmosphere component for fog and sun was made not long after.

    No Gui

    Since there was no working MyGui fork (was earlier) and all else was difficult, I didn’t move much further.
    Even though Ogre-Next is still technically Ogre, about half of everything in code changed. Even using terrain was completely different as the system was new. It was good since it has better performance but it also meant a lot more trouble to use it and later port Stunt Rally stuff into it, and we have an editor for it too and own custom blendmap I made with noise.

    Continued

    Half a year later in October 2022 I got back to my terrain demo, which was based on Ogre-Next terrain sample.
    Sources for it are there and I even made a gallery, it looked cool.

    Gui🪟

    I also managed to build MyGui with Ogre-Next (forum topic) and with some help continued its fork, after some trouble later, it was fixed and started working well. This was likely the key point to start porting SR, while also knowing particles work, and my demo works smooth with better Fps and no lags for vegetation.

    SR3 start🚗

    I then started porting SR still in Oct 2022 and calling it SR3 (3.0 was also latest Ogre-Next version). First by disabling almost everything in old SR code and making it build with Ogre-Next. Then by slowly restoring stuff one at a time and I mean really slowly.

    Restoring stuff🌐

    It took months and literally almost everything was causing trouble or not working at first in Ogre-Next. It’s like normal developing, I mean I code then test and fix it to work (yeah the old way, no unit tests, seriously). On top of that, there were few annoying new bugs due to how Ogre-Next works and needed something extra to fix, what was already working normally in Ogre before.

    Fast forward⏩

    In Feb 2023 MyGui started working and could be used in SR3.
    Worse still, during my endless forum topic we found many bugs in Ogre-Next too. It’s like half of my problems end in one. A bit disappointing TBH, but that’s the way with software nowadays. It’s buggy and needs updates constantly. Which brings me to support aspect. If it was great I wouldn’t mind. And mostly it was, but lately I’m waiting 1-3 weeks for response and have many ongoing issues and unanswered questions. It’s a pity that it’s just (putting all contributors aside) mostly a one man’s project. Kind of like with SR too, especially after that one year when there were more programmers.

    Water🌊, Effects

    Last major features were: water and effects (like SSAO), probably the biggest thing. Worse still, it wasn’t developed by me, but mostly by scrawl (and others) back in 2013 or so. So I had to redo another thing in Ogre-Next by myself now. It was difficult but good learning experience. HLMS shaders, are big, complicated, have lots of code and variations, and yeah it’s much more difficult than just using a shader editor and putting together blocks or just installing a water add-on.
    We still are missing a few essential ones like: soft particles and HDR with bloom, that old SR had around 2013 already.


    📊Other engines

    Well this section might be of use and have some info. Not just SR3 history like above.
    Meanwhile I did think about other engines and shortly looked at 3 of them. There is a big list on wiki too. And I did recently write a tutorial page on CG graphics its Engines section could be better too.

    This is my personal view, and let’s keep in mind that I did look at them after SR was already made (took 5 years) and it has its own track / map editor made by me. It is FOSS too.

    Unity

    Bit older than UE I guess but also a huge hub for commercial stuff. Even the tutorial mini game had paid crap one could buy for it. That’s really the first thing that pops out instantly for me. I do hate commercial stuff. I guess you could find something “free” but its like looking for free money in city, roughly for me. It will only be a free commercial for paid stuff.
    Sure you can find stuff made already like rivers, vegetation and what not but given that this has a price, it’s instantly not for me. And it never has any other license than “you can only use it for Unity”.

    UE5

    This thing certainly got on my nerves. Turns out I don’t even have a PC for it.
    I started by trying to download. Nope, you need to get full sources with deps and then build them on Linux. I tried few times before I realized this needs over 100GB to complete IIRC. Yeah my SDD with OS is still just 128GB and the one new I got has just 512GB and doesn’t really have that much free space.

    Whatever, the next thing was a real killer for me. When it finally started (after building for hours) it showed a tiny logo with a tiny text showing that it needs to build shaders, over 4000 of them. I can’t even. And it did compile them on like 6 CPU cores for 30 minutes. Seriously WTF.. and I don’t even use this term. I don’t know for sure, but it wasn’t just once that it had to do this. I remember few times that “building all shaders” time waste, possibly even on each new project created or so.

    Well then I realized my PC (with 12 year old CPU) isn’t even in same era, UE5 would need you to first spend a lot of money for PC with latest hardware.. to probably still take a long to even start.
    Needless to say it is also a huge hub for commercial add-ons etc.

    If we look at SR which has over 200 tracks already and on average 1 of them is just 5MB, not GB we can see the huge gap. One demo in UE5 was 100GB.

    Godot

    I was pleasantly surprised to find waterways plugin for rivers and also seeing it’s MIT license. Feels like the proper way of doing stuff for FLOSS software and games like SR3. Would be nice to have it in SR for sure, but at least I can learn from it and even use sources if I ever find the time for this.
    Well, getting back to Godot, it’s big, I don’t have much of experience. It has its way of doing things and may be even extended. But let me sum this all up next.

    Common

    So let’s end this quick look around. Each game engine has lots of stuff. And I can’t even judge how long would I need to learn it, to estimate how long it would need, to port SR to it (any engine). And how would loading tracks look in it, or how much more complicated editing them would be. I’m pretty sure it’d be a waste of time and effort.
    As for game simulation, I guess I could build as a DLL or something to run in it, but that just doesn’t feel right at all. I mean what for, so that I could use engine’s features sure, but I’d need to waste a lot of time (in total) for starting it, clicking everywhere, etc. Lastly learning its issues and their solutions. Every big engine has something specific to it and problems with some things for sure.
    Meanwhile I already had a lot of code written to do what and exactly how I wanted it to be, e.g. editor for creating SR tracks.

    🟢Ogre-Next

    ❔Is it good for you?

    Obviously it depends. But shortly: no, not really, unless you’re already using it or Ogre.
    It is a rendering (by rasterization) engine only. So contrary to the game engines listed above, you don’t get anything beside rendering, i.e. no physics (e.g. bullet), no sound (e.g. openal), GUI, scripting, network etc.

    It is for advanced users / programmers.
    This means you need advanced programming skills to use it fully. Right now I also believe it means you need to find bugs in it yourself too. Surely there are some still and the more I use it the more I find. And I’d expect it to have none OFC, sadly that’s not possible.

    There is documentation for it, but I can’t say it is covering all topics you might need. Some features I needed later had solutions that needed to be found in older forum topics. This wasn’t easy since they’re old and I don’t know if it’s still valid and there are also plenty of unneeded texts in posts.
    And support? Yeah it’s nice and great when it happens but otherwise you’re left alone with it (even for months).
    I also can’t say it’s popular. Seems it was much more earlier around 2016 or so and the Ogre 1.x version is still more popular also supports more hardware.

    Good things last, it has few features, modern ones too like few types of GI (yet it doesn’t support terrain so its useless), HLMS shaders, etc. It is low level, meaning it can give you more control and optimization. This also means much more work and coding, not just setting checkboxes etc. I don’t have any practical comparison here, I haven’t used any other just older Ogre. Not counting that commercial fail of an engine UE5.
    Surely there are others, eg. bgfx. There is a good website about engines here.
    Recently I got interested in Wicked game engine, it has way more features, is active, has editor, physics, etc.
    I wrote more on this topic in status page.

    ✅Why I use it

    The main reason was really simple. I/we made SR in Ogre so moving to Ogre-Next sounded like least effort. Surely old Ogre changed and I got myself stuck to shiny material generator which scrawl wrote back in 2013 or so. Meanwhile RTSS shaders got better in Ogre, and lately even got auto instancing.
    I decided to skip all that and make a bigger step, biggest possible for better hardware and that was using latest Ogre-Next. Even with few things or components missing. It also featured auto instancing by itself which I liked most, secondly the new terrain has less batches too (more performance).

  • 2024 Rigs of Rods tracks

    2024 Rigs of Rods tracks

    ⏱️Overview

    This is a notable but short entry, not much of a project, rather a contribution.
    I developed an Exporter code in Stunt Rally 3 Track Editor allowing tracks export for Rigs of Rods (also FOSS game).
    BTW also gathered many (CC licensed) assets from SR for use in RoR.

    📂Media

    Downloads
    for RoR tracks are in this topic. Also require assets from here.

    📷Screenshots
    gallery from many tracks start here on RoR forum topic. Also older WIP here.

    ▶️Video here
    Shows drive in RoR on one SR track and at end (somewhat outdated) Gui for Export in SR3 Track Editor.

    Documentation here.
    Explaining differences and how to use SR3 Export for SR or own made tracks for RoR.

    🔍Details

    I first noticed some interest in this topic. It also has a lot more detail in my posts, screens, and RoR bugs listed too. There wasn’t a lot of interest, so it was actually much more a challenge for me to try. And well it consumed me for like 3 weeks. A lot of C++ coding (76 kB in total) for that Export functionality and even my hands started hurting after (was too much typing late into nights).
    The Export also allows others to create tracks for RoR using our SR3 Track Editor.

    Finally 130 tracks from SR are available in RoR, so about 55% from 229. Is quite significant at once I think. It was also a lot of fun to drive SR tracks in RoR simulation and BTW learn about RoR code and people involved. Of course I got back to developing SR3 after.

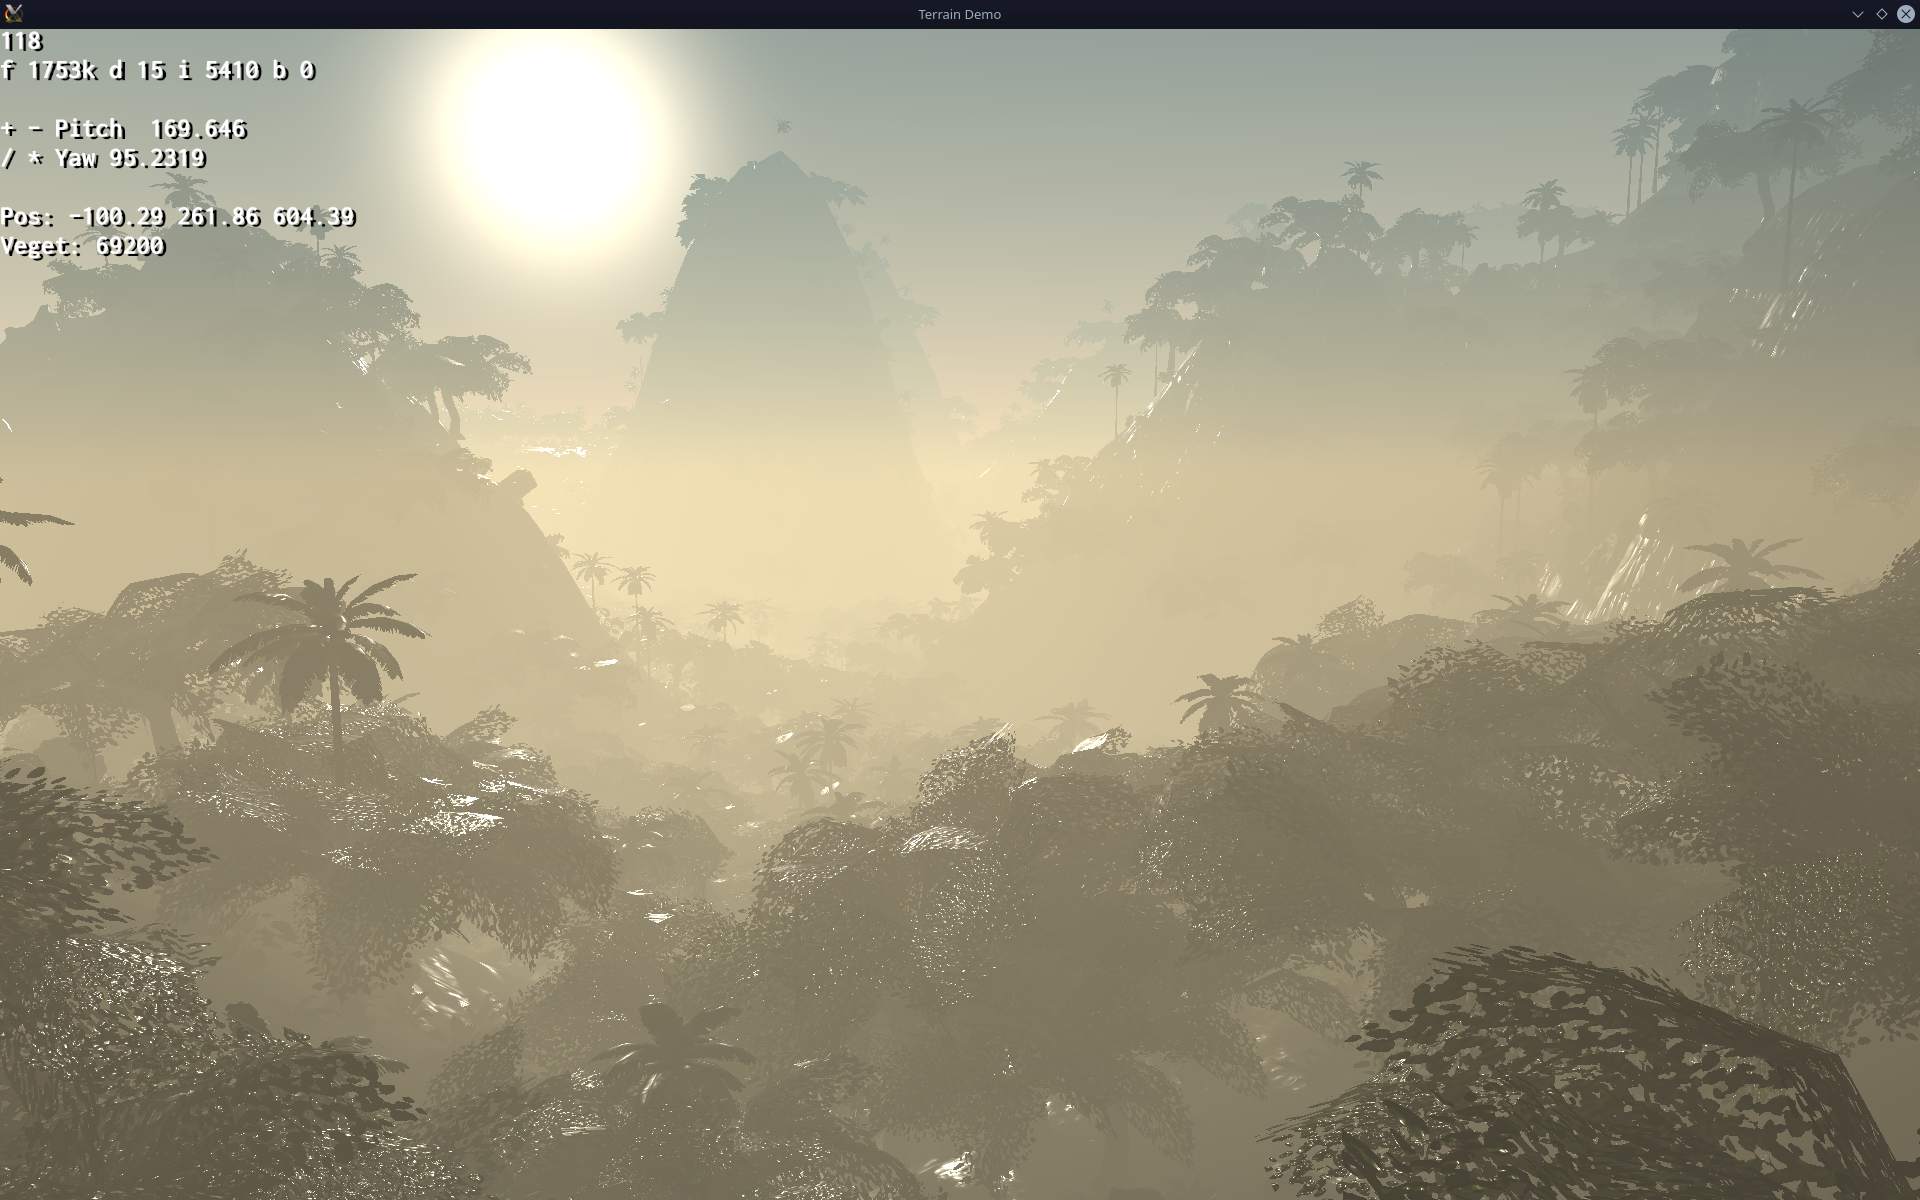
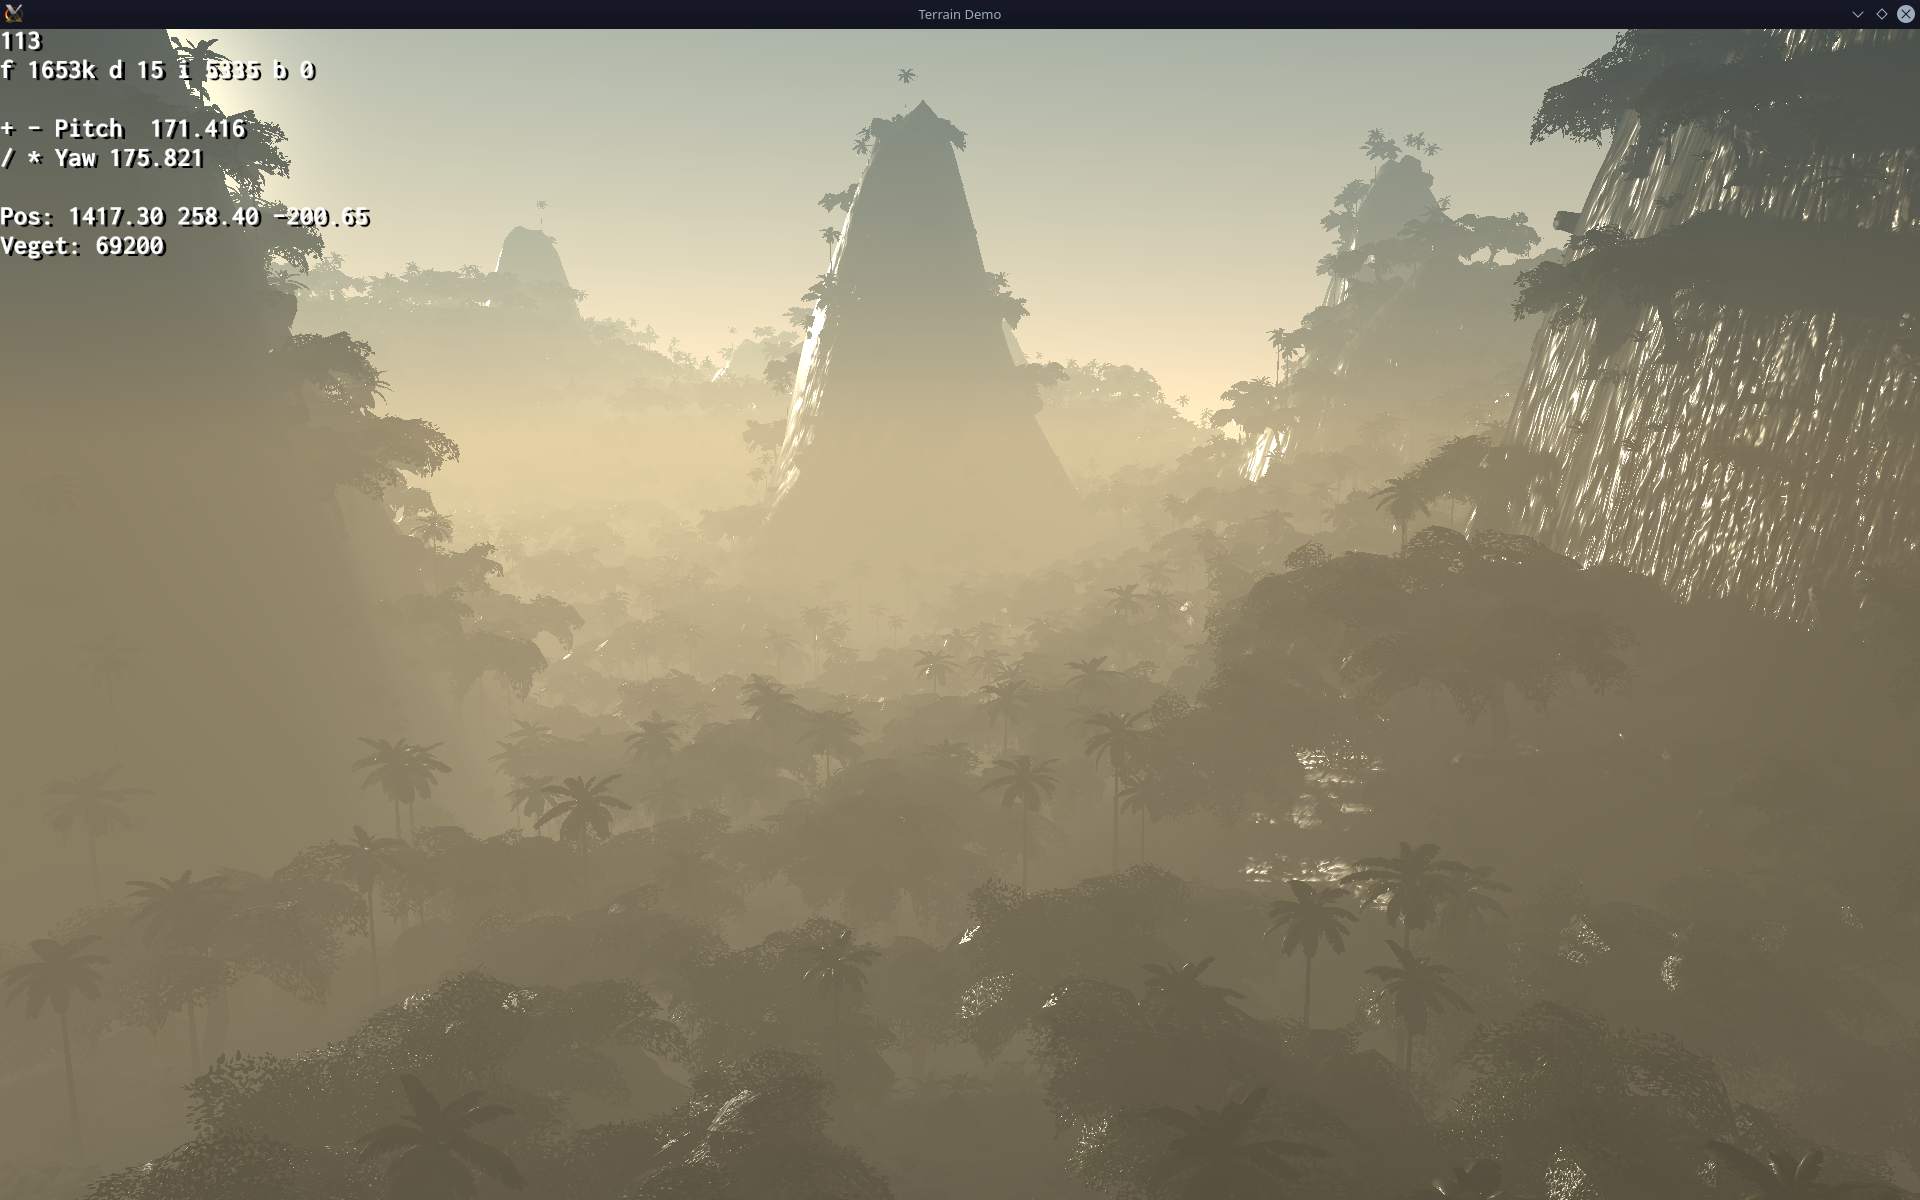
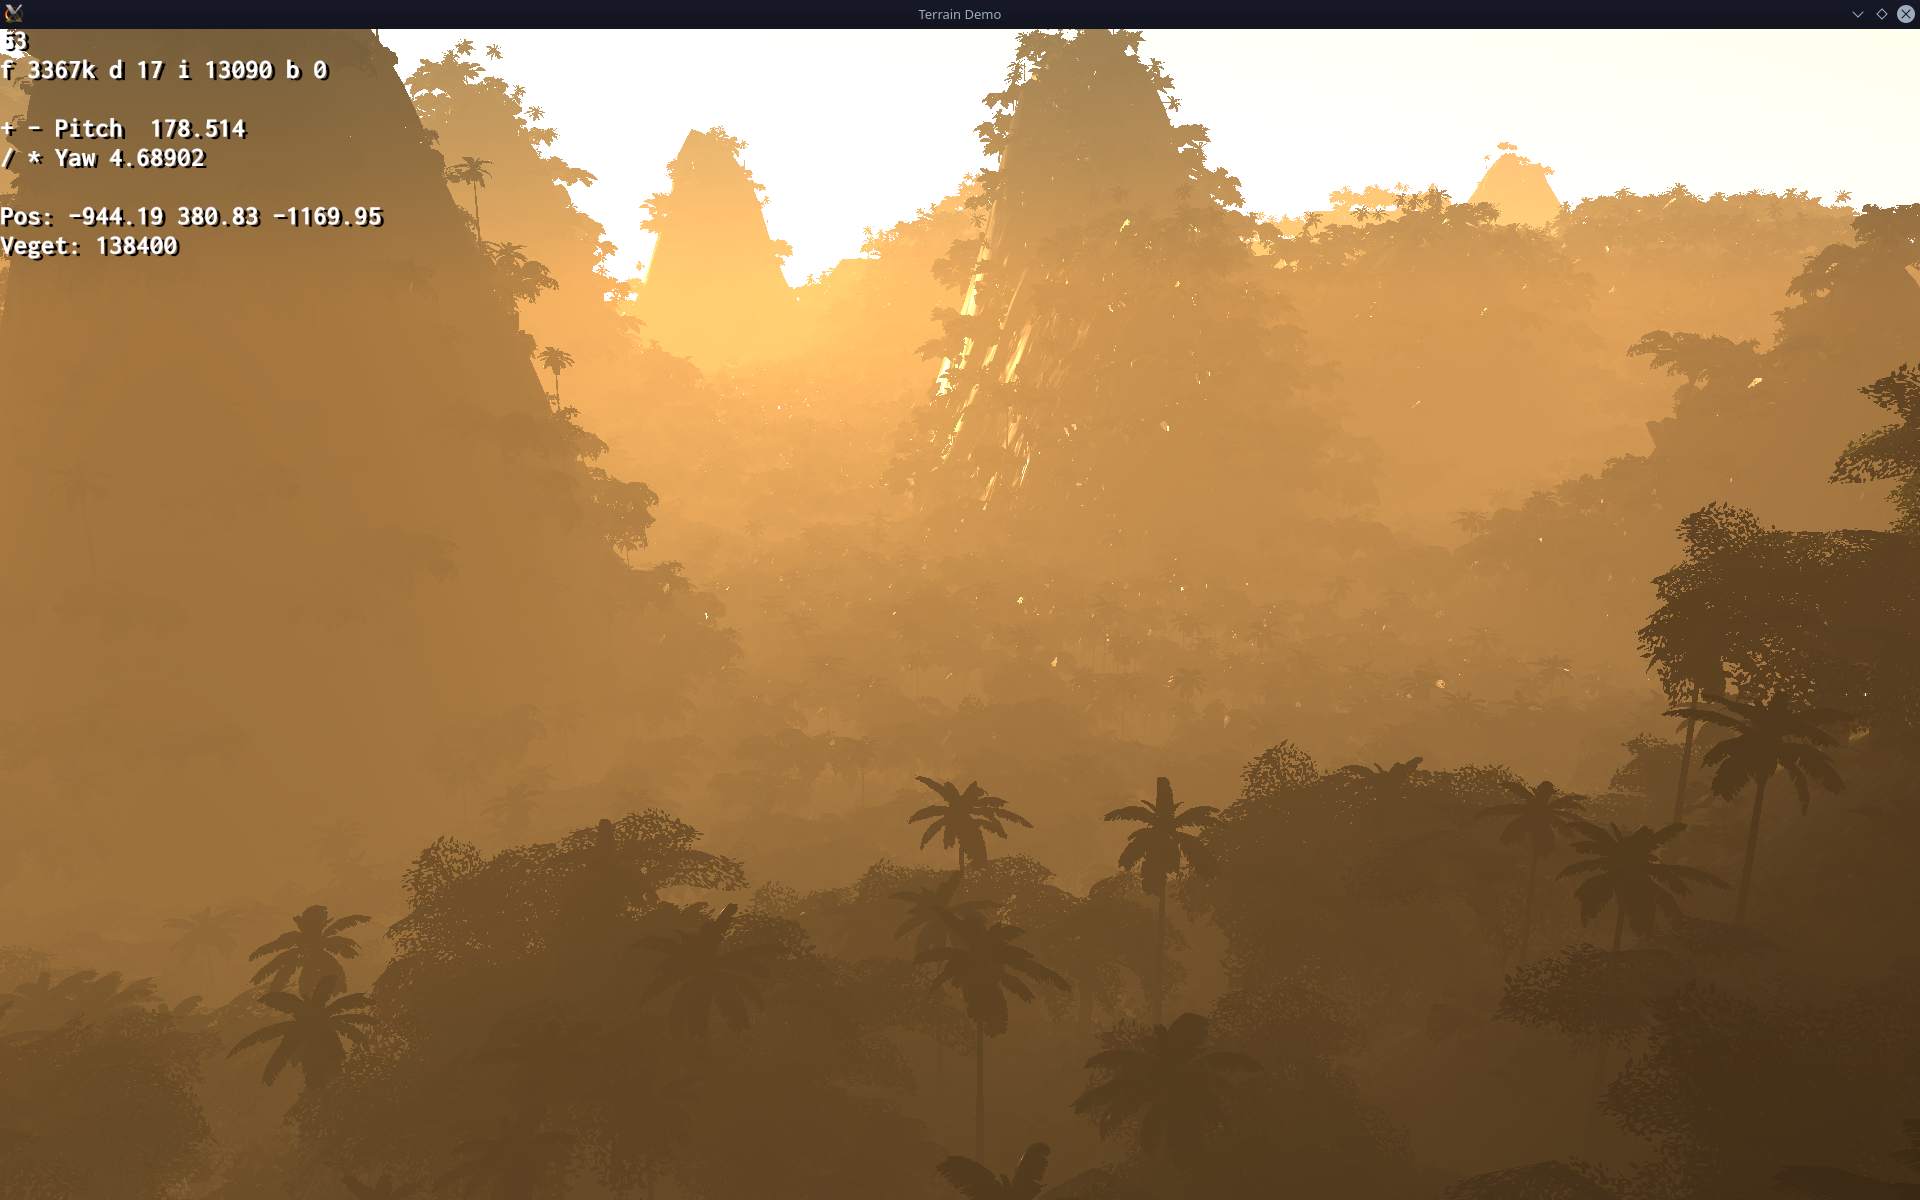
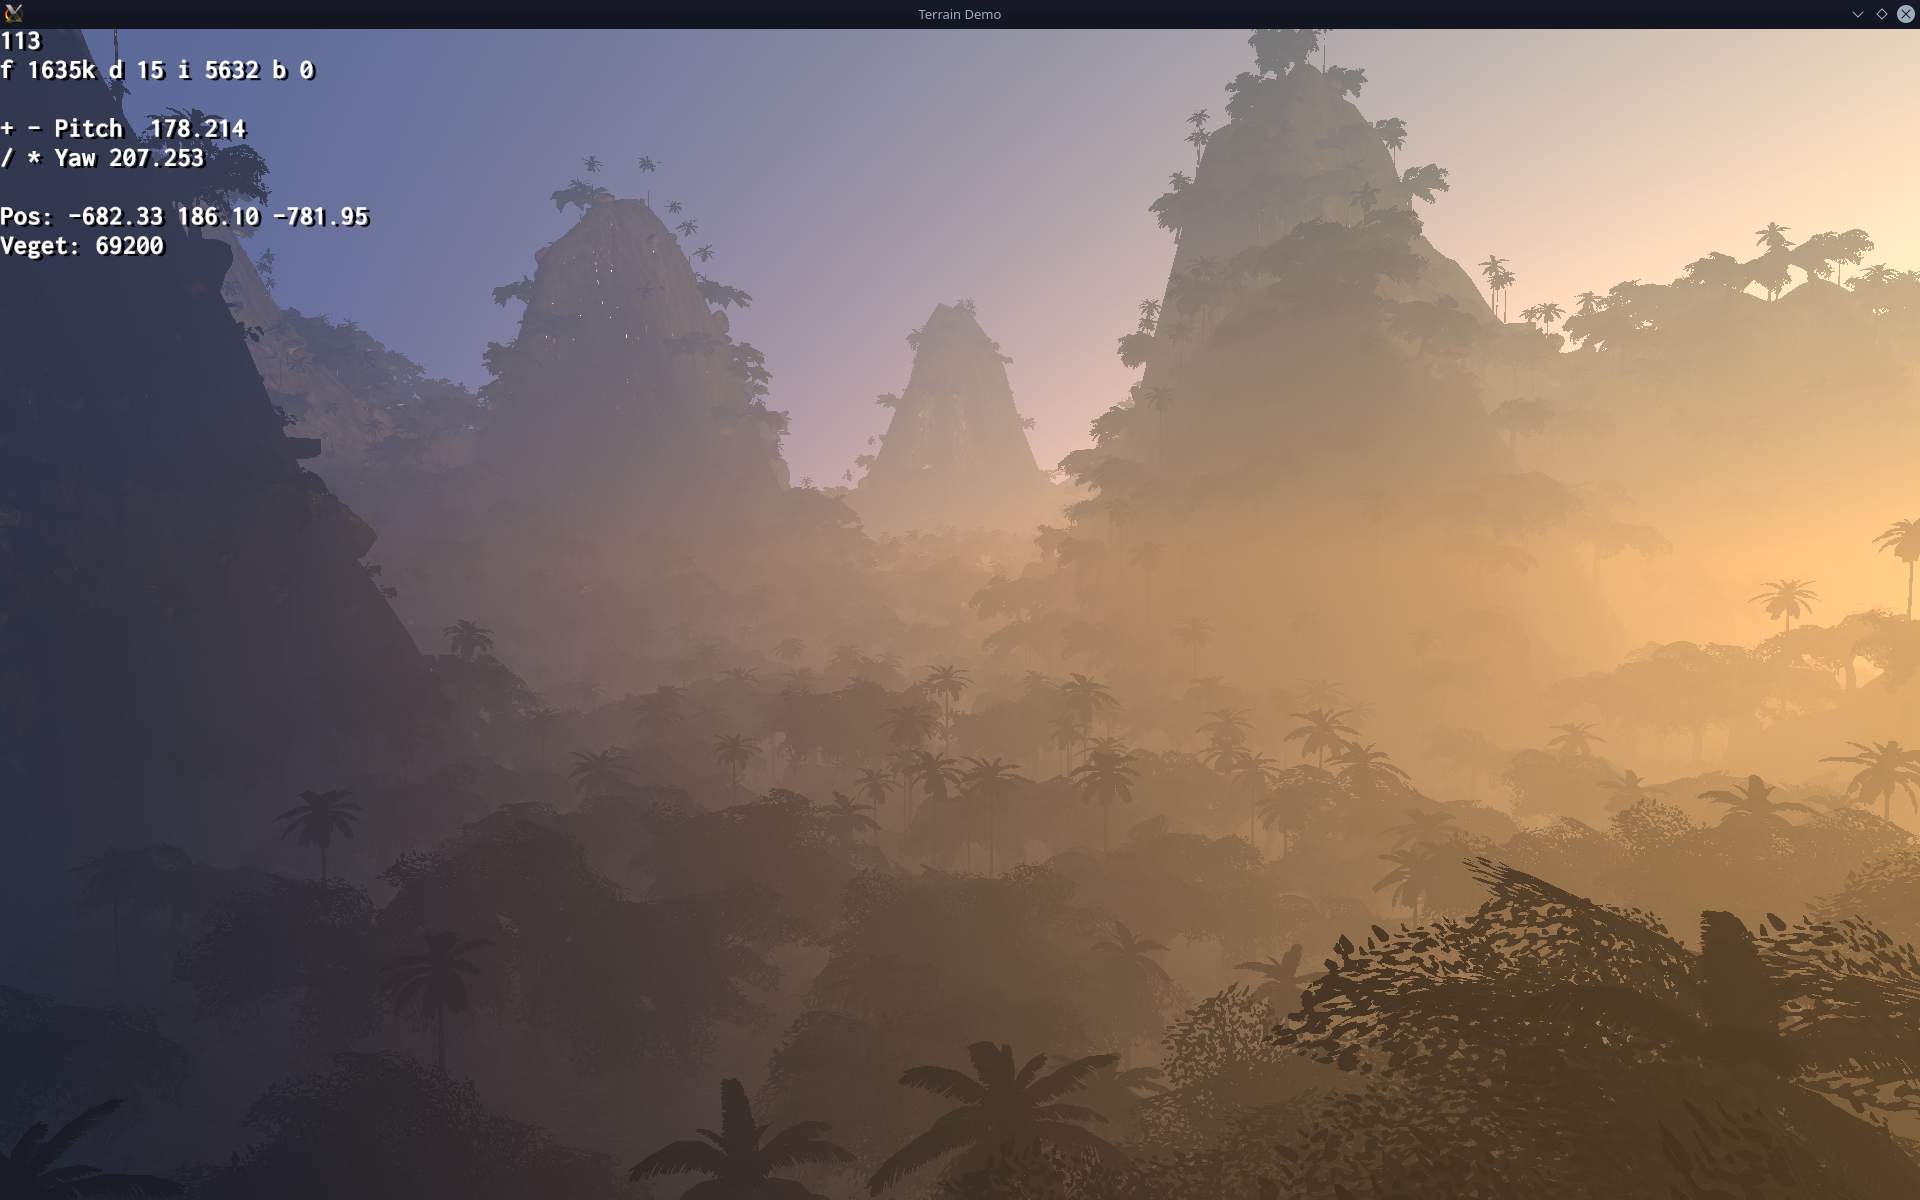
  • 2022-24 Terrain Demo ⛰️

    2022-24 Terrain Demo ⛰️

    ⏱️Overview

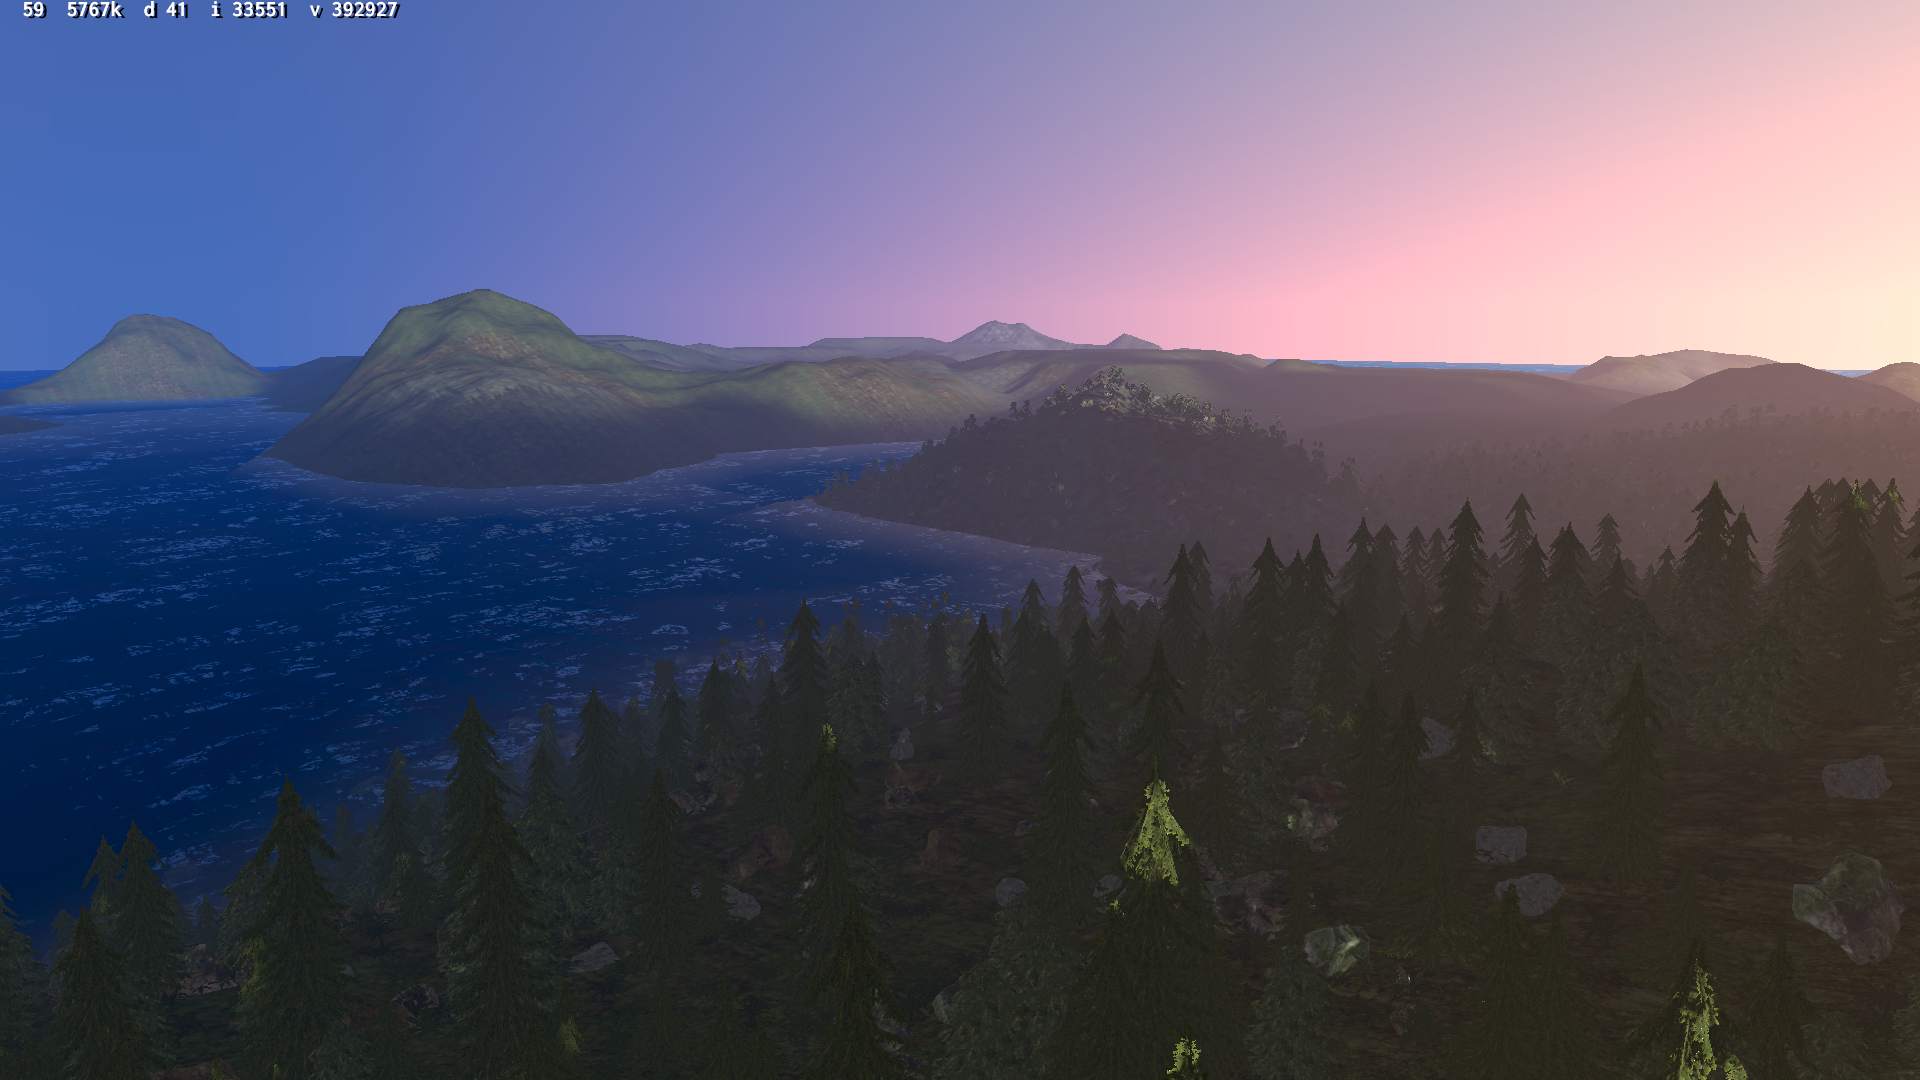
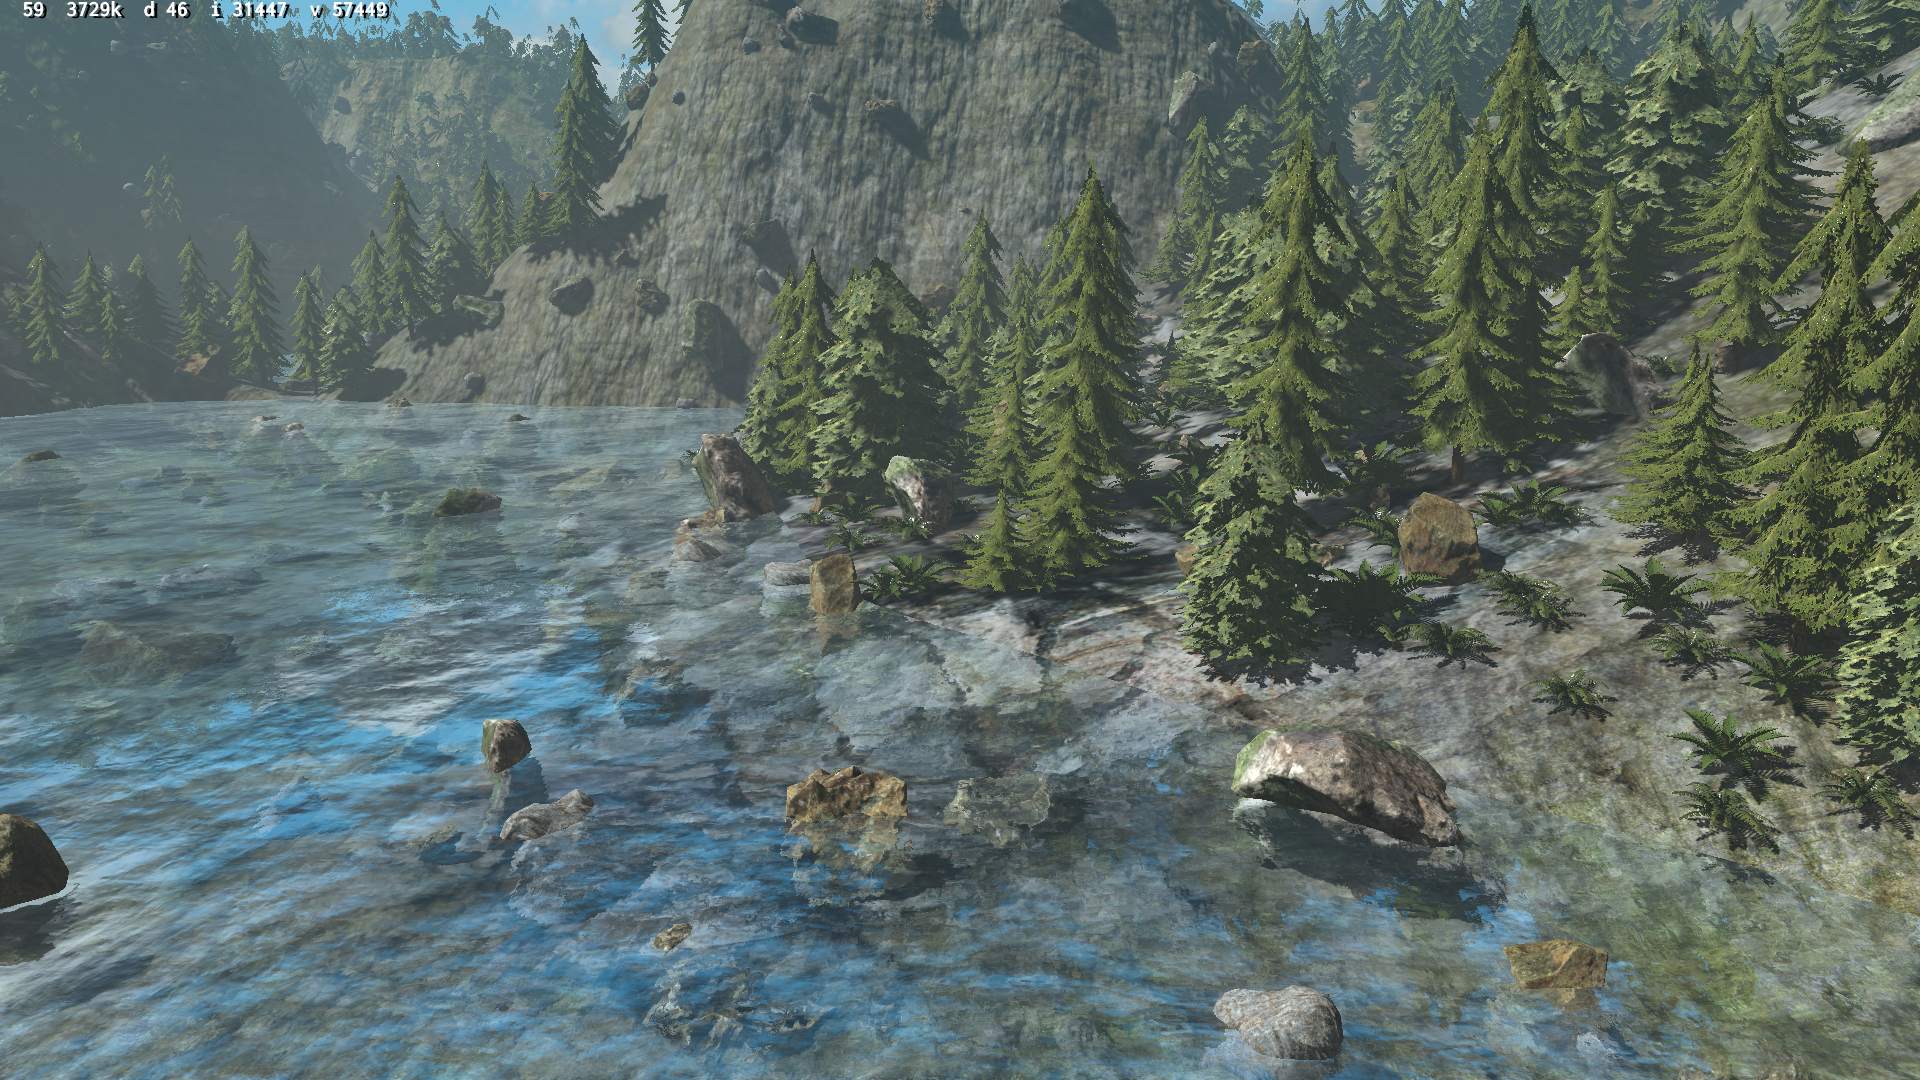
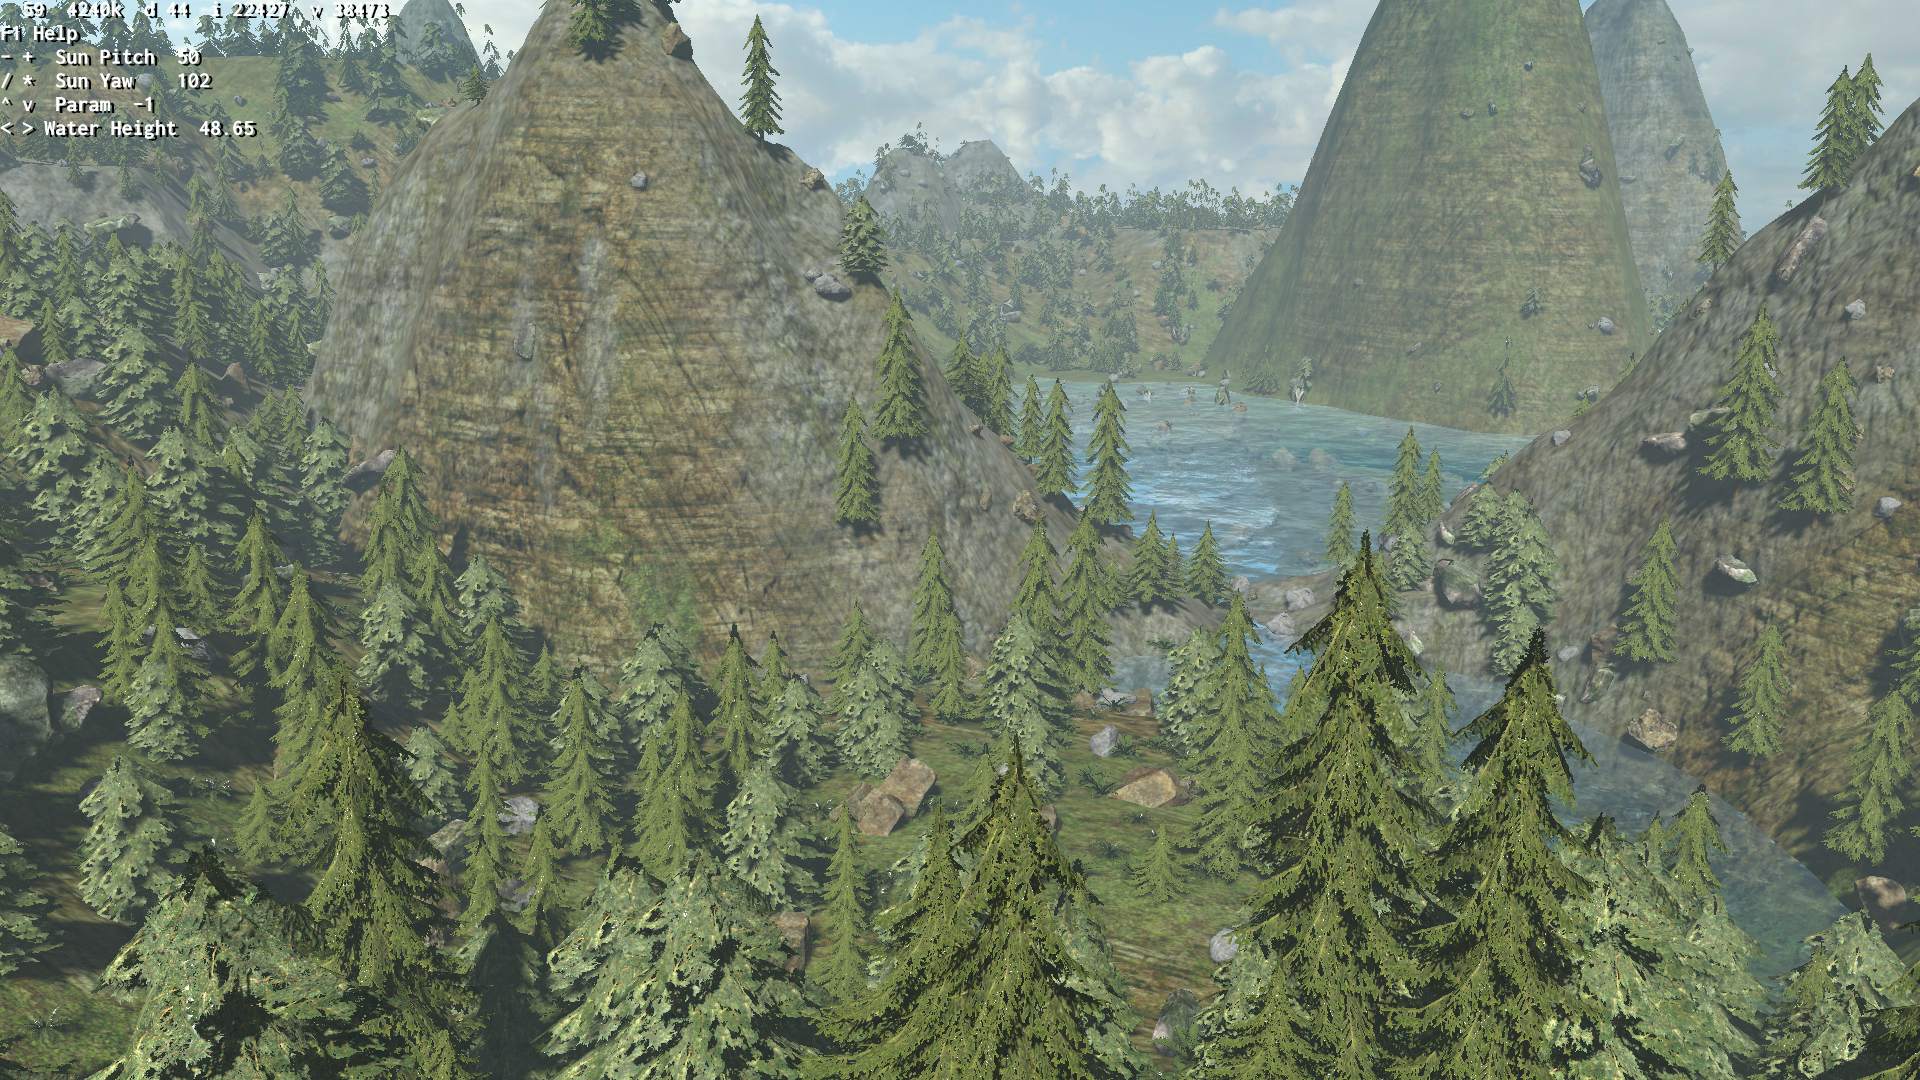
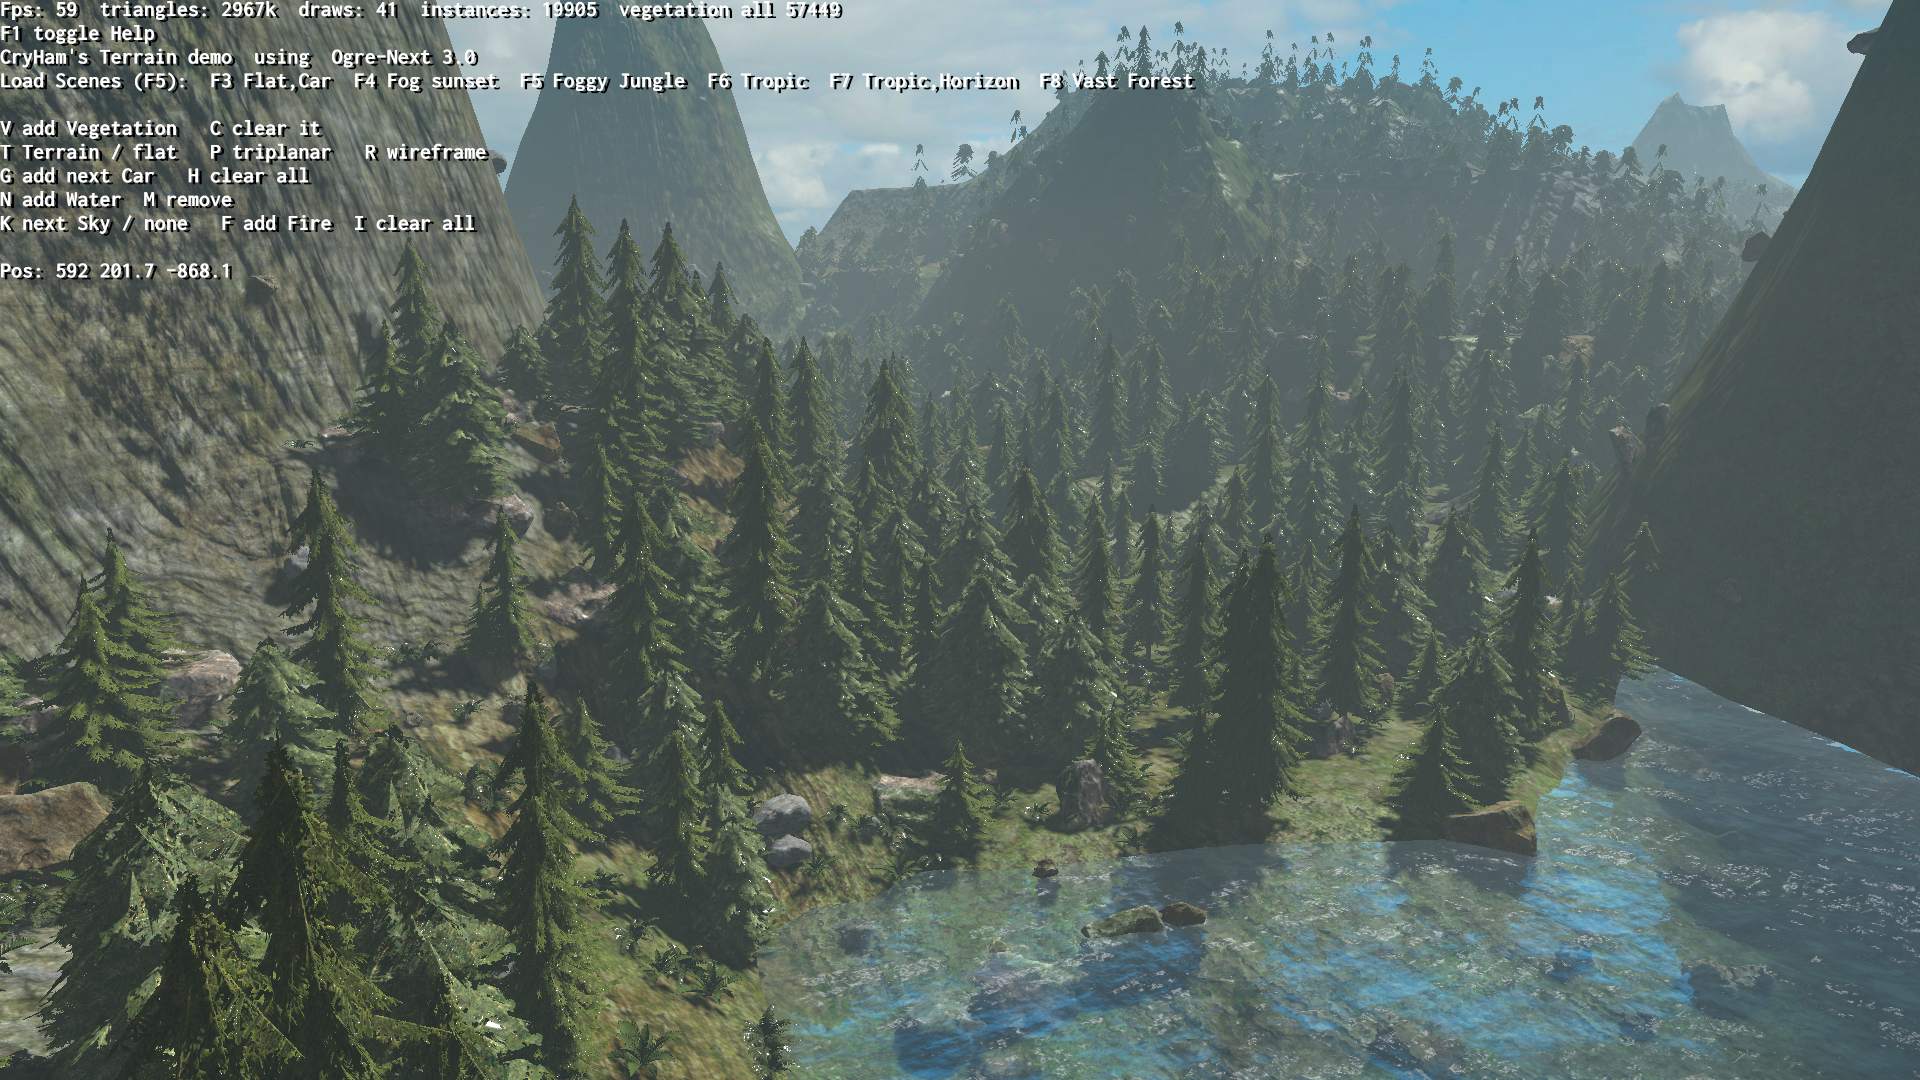
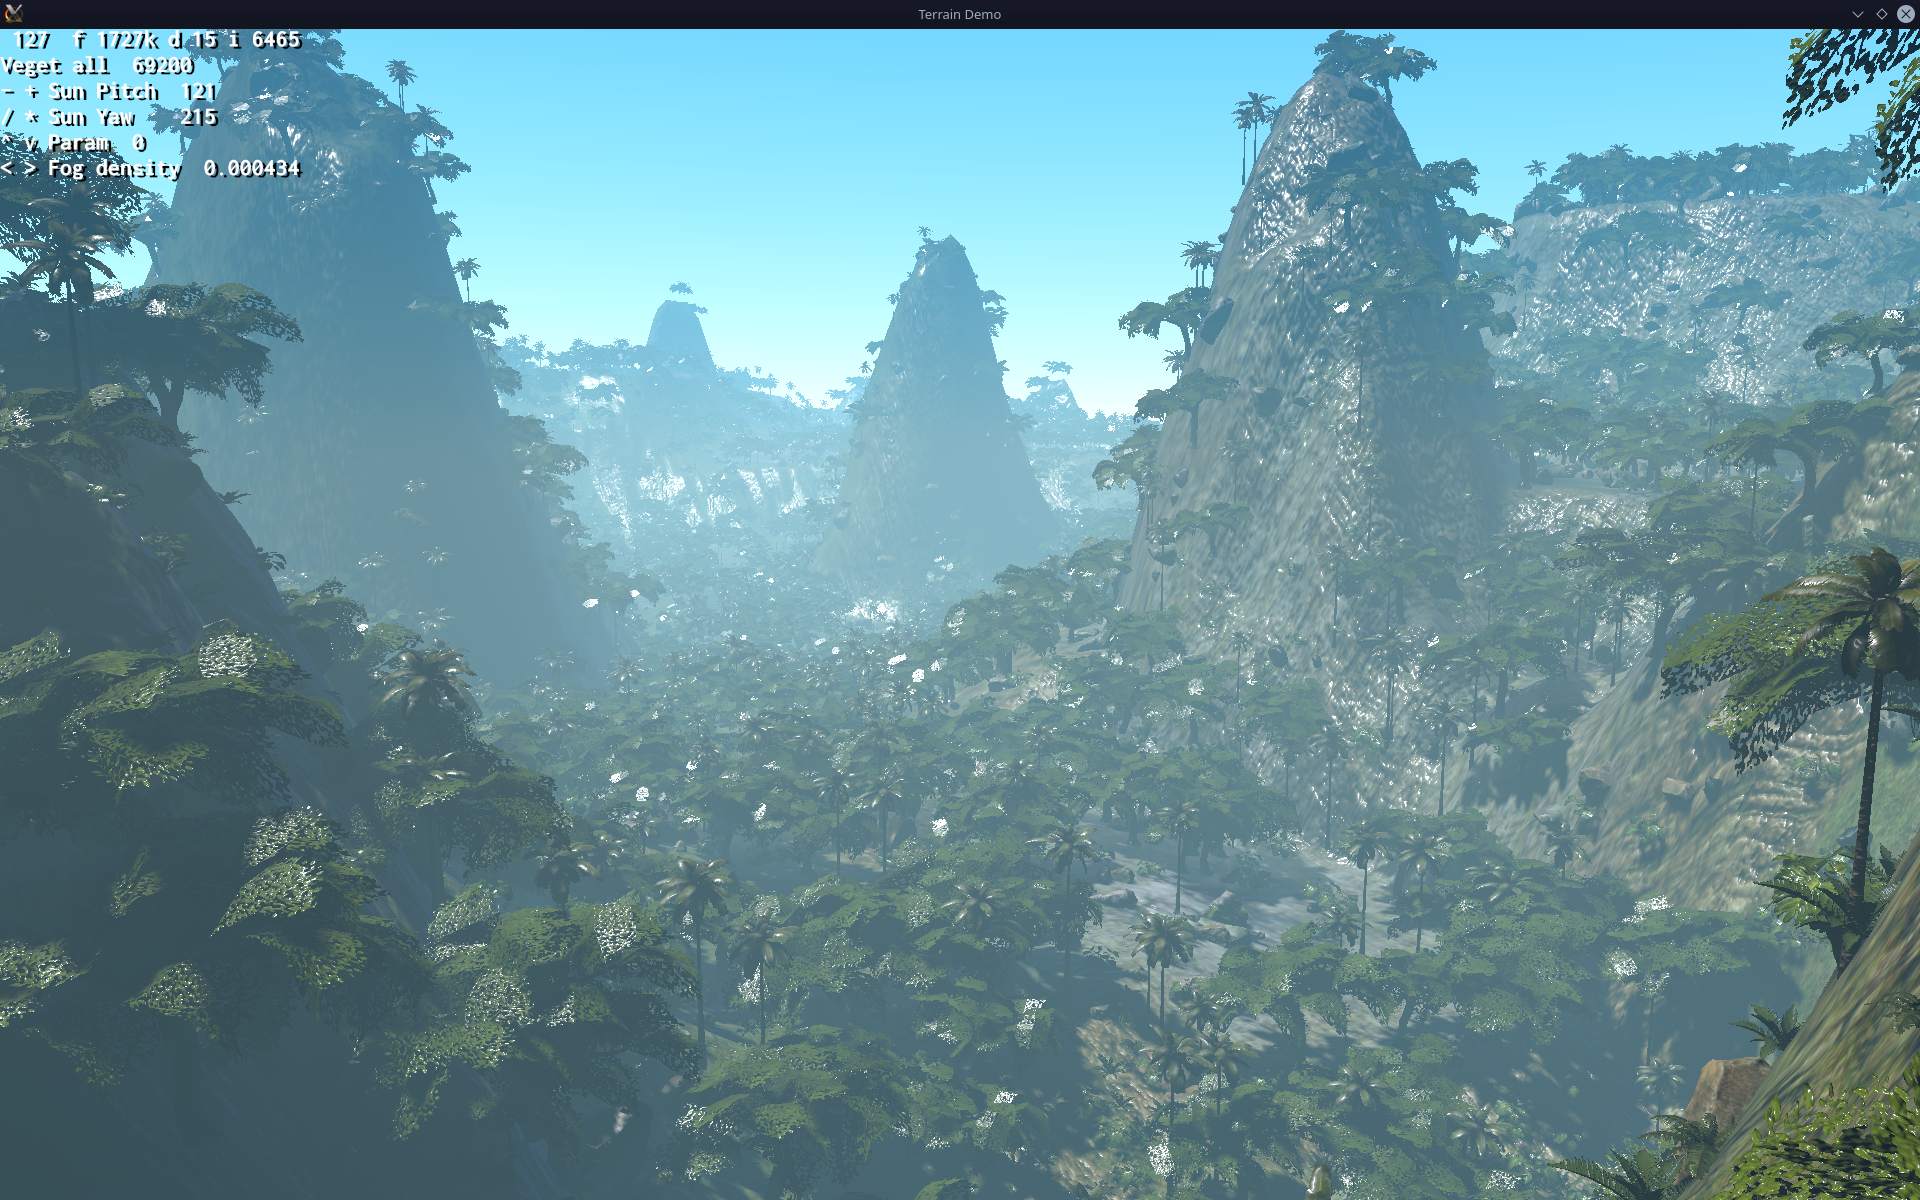
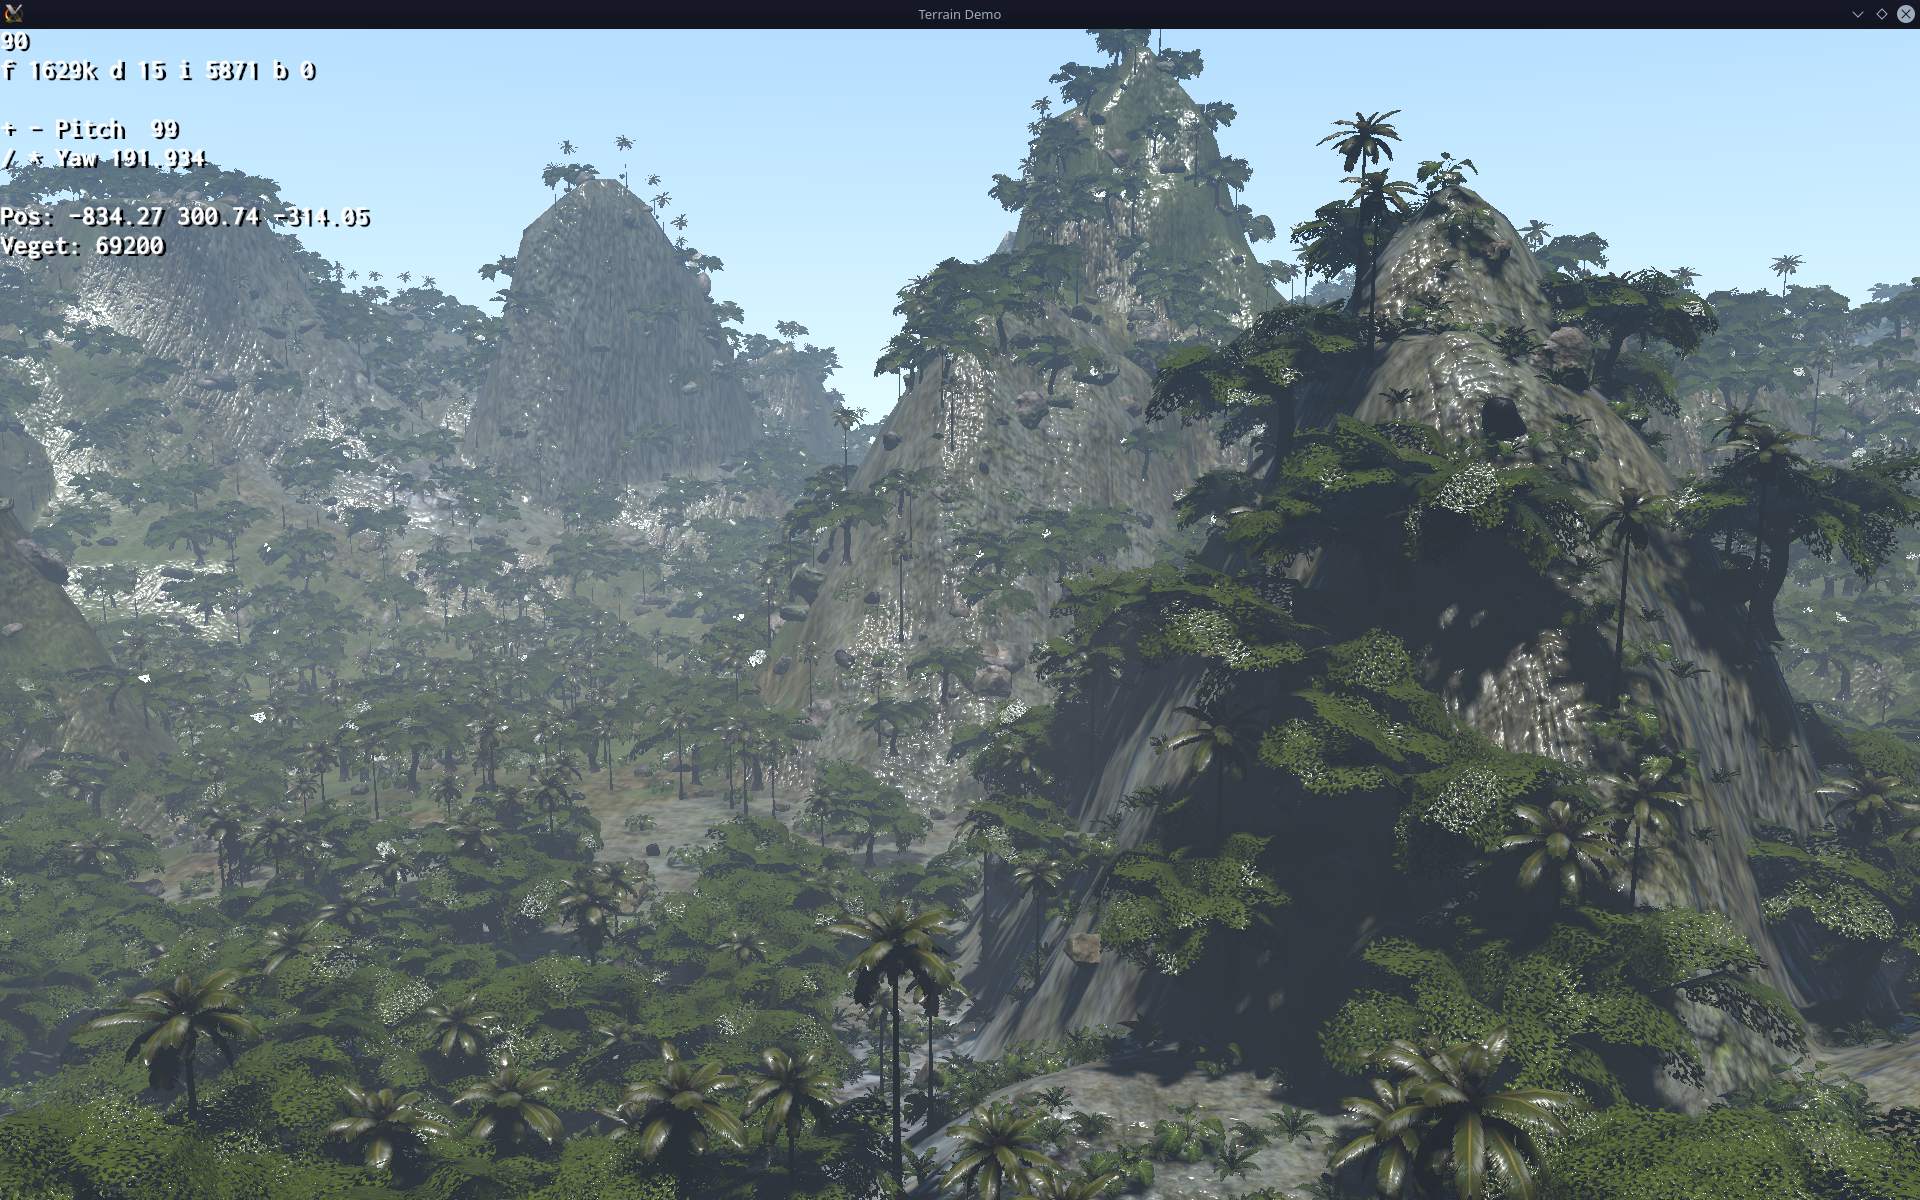
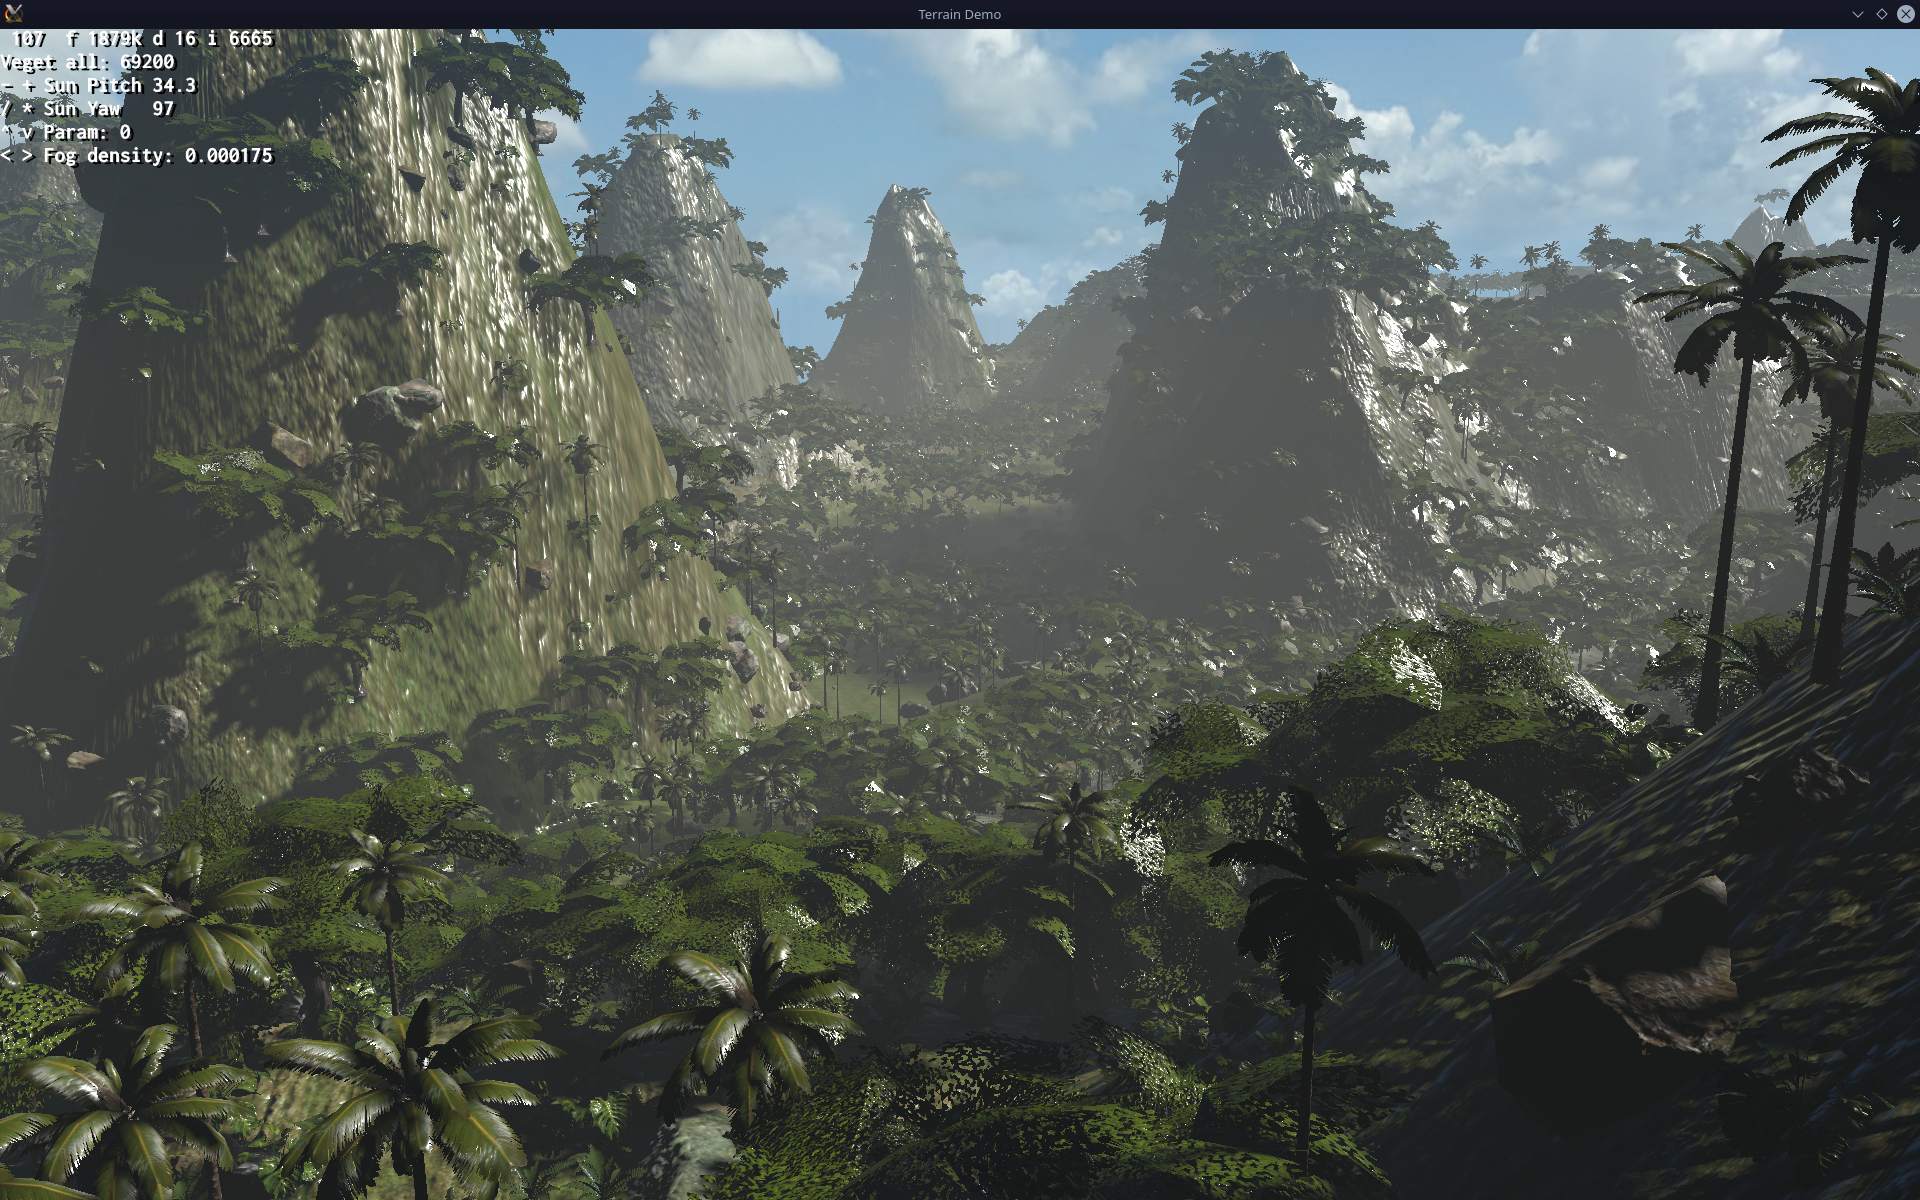
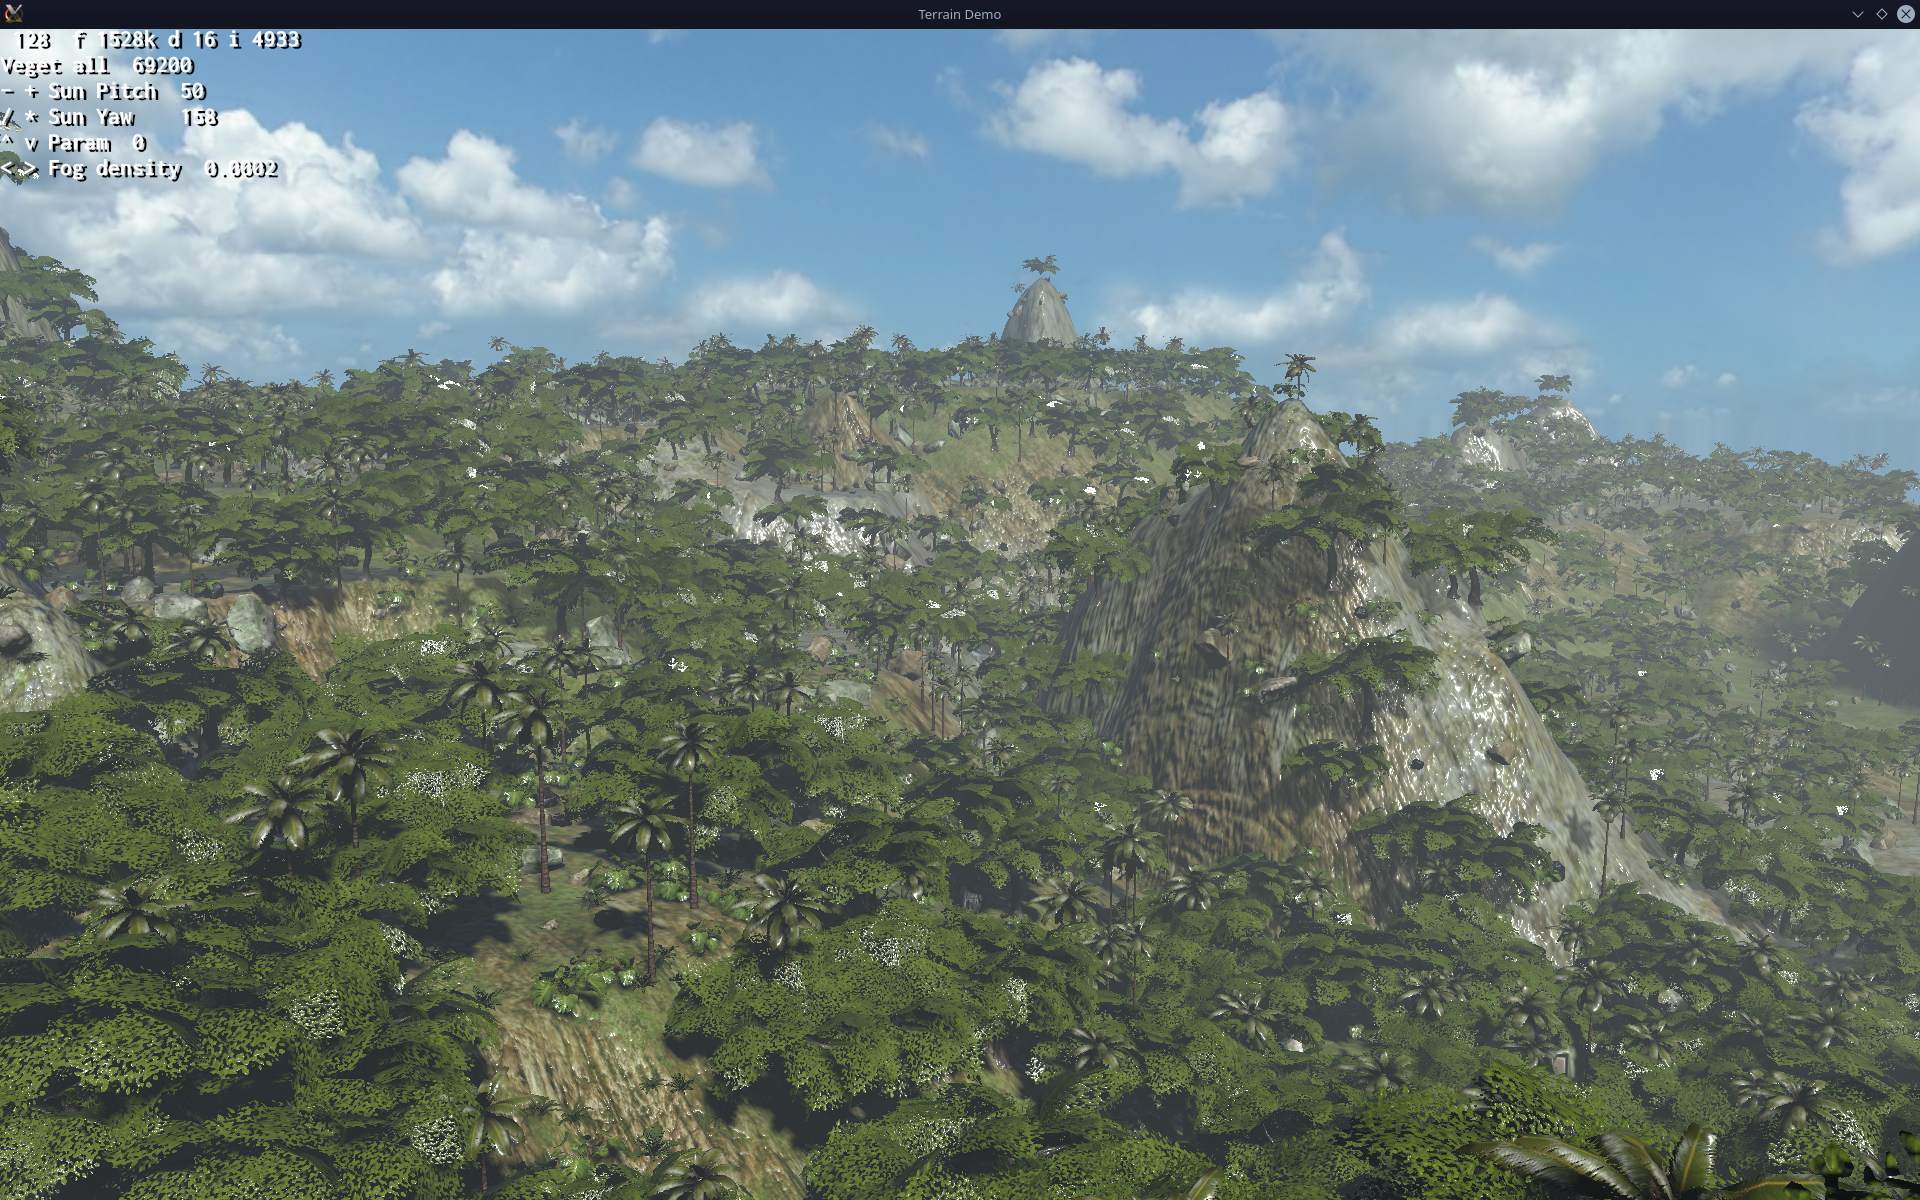
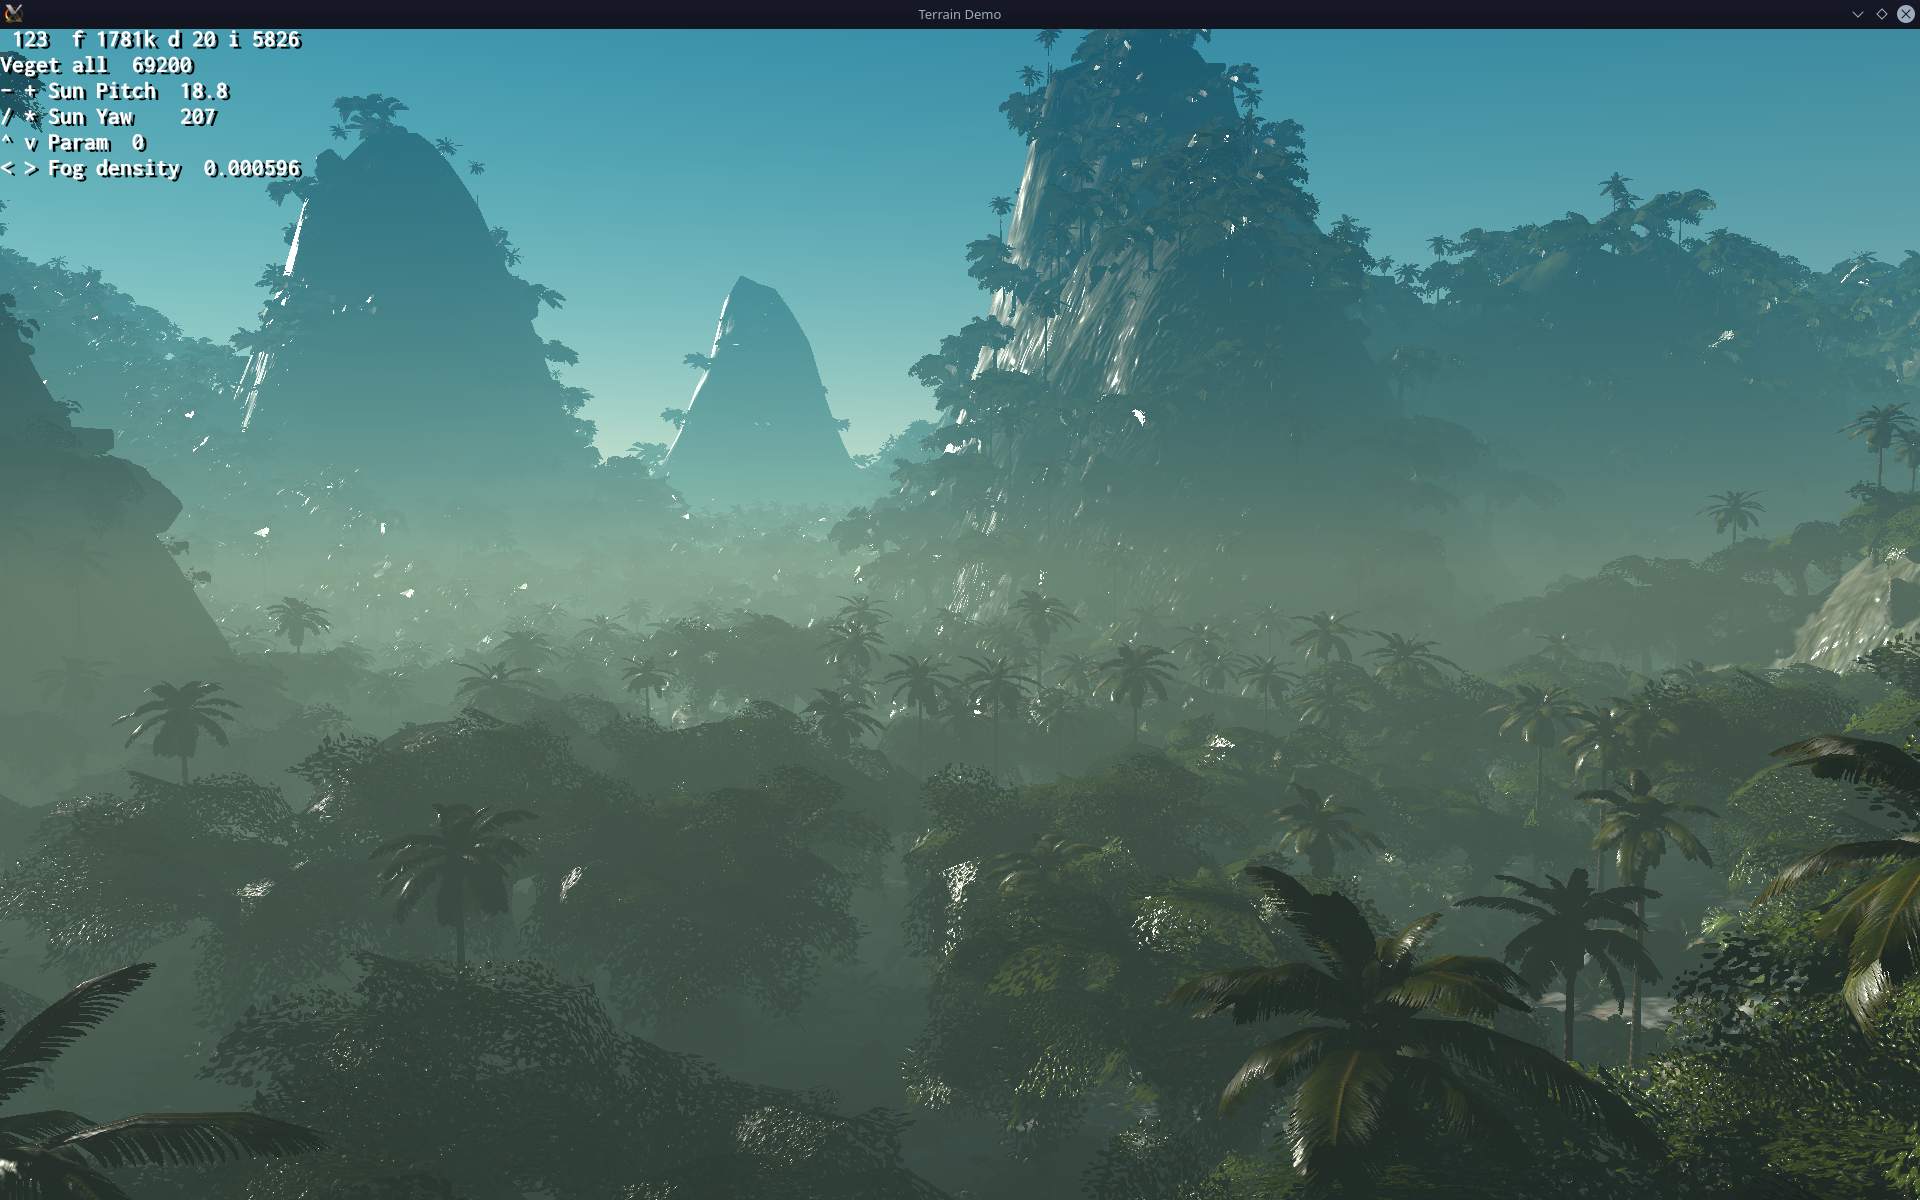
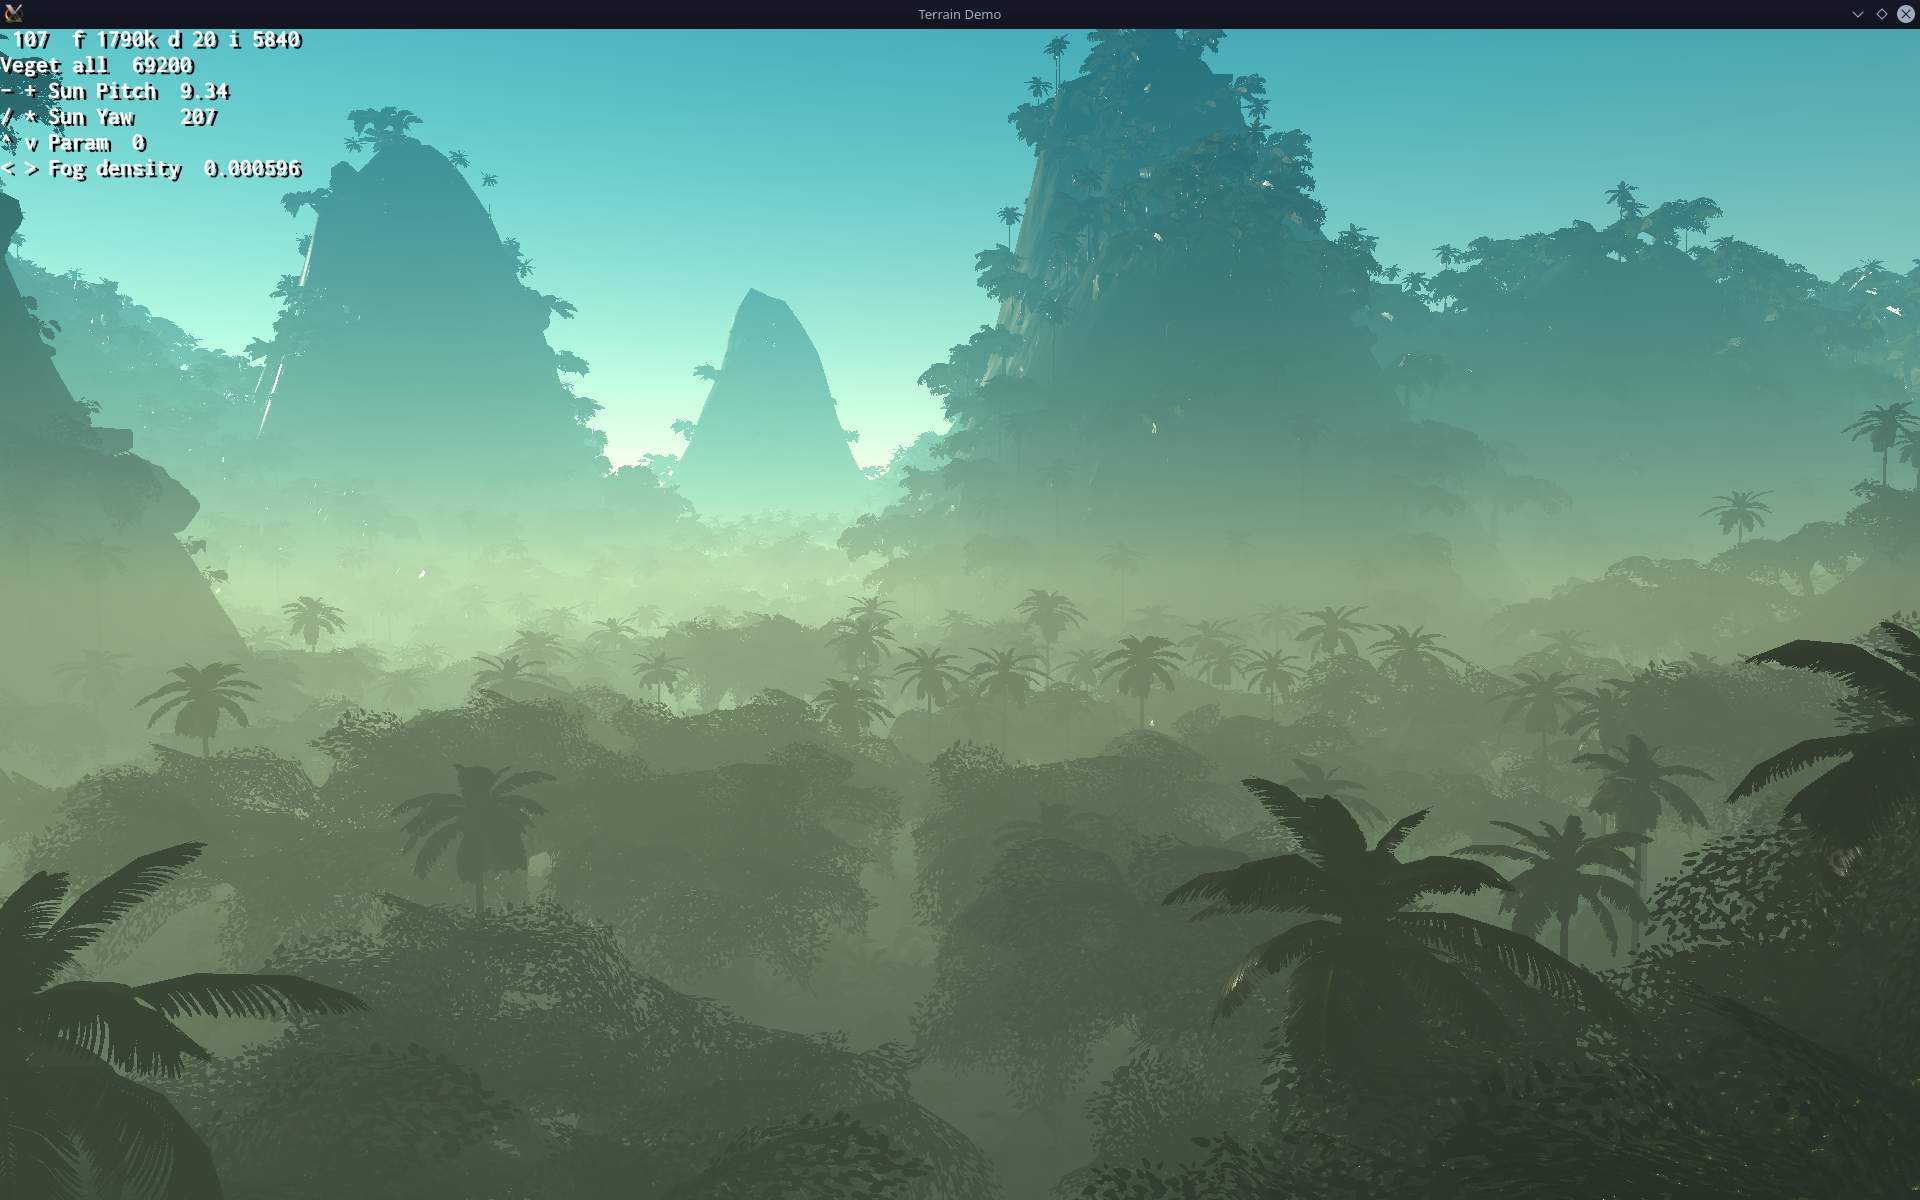
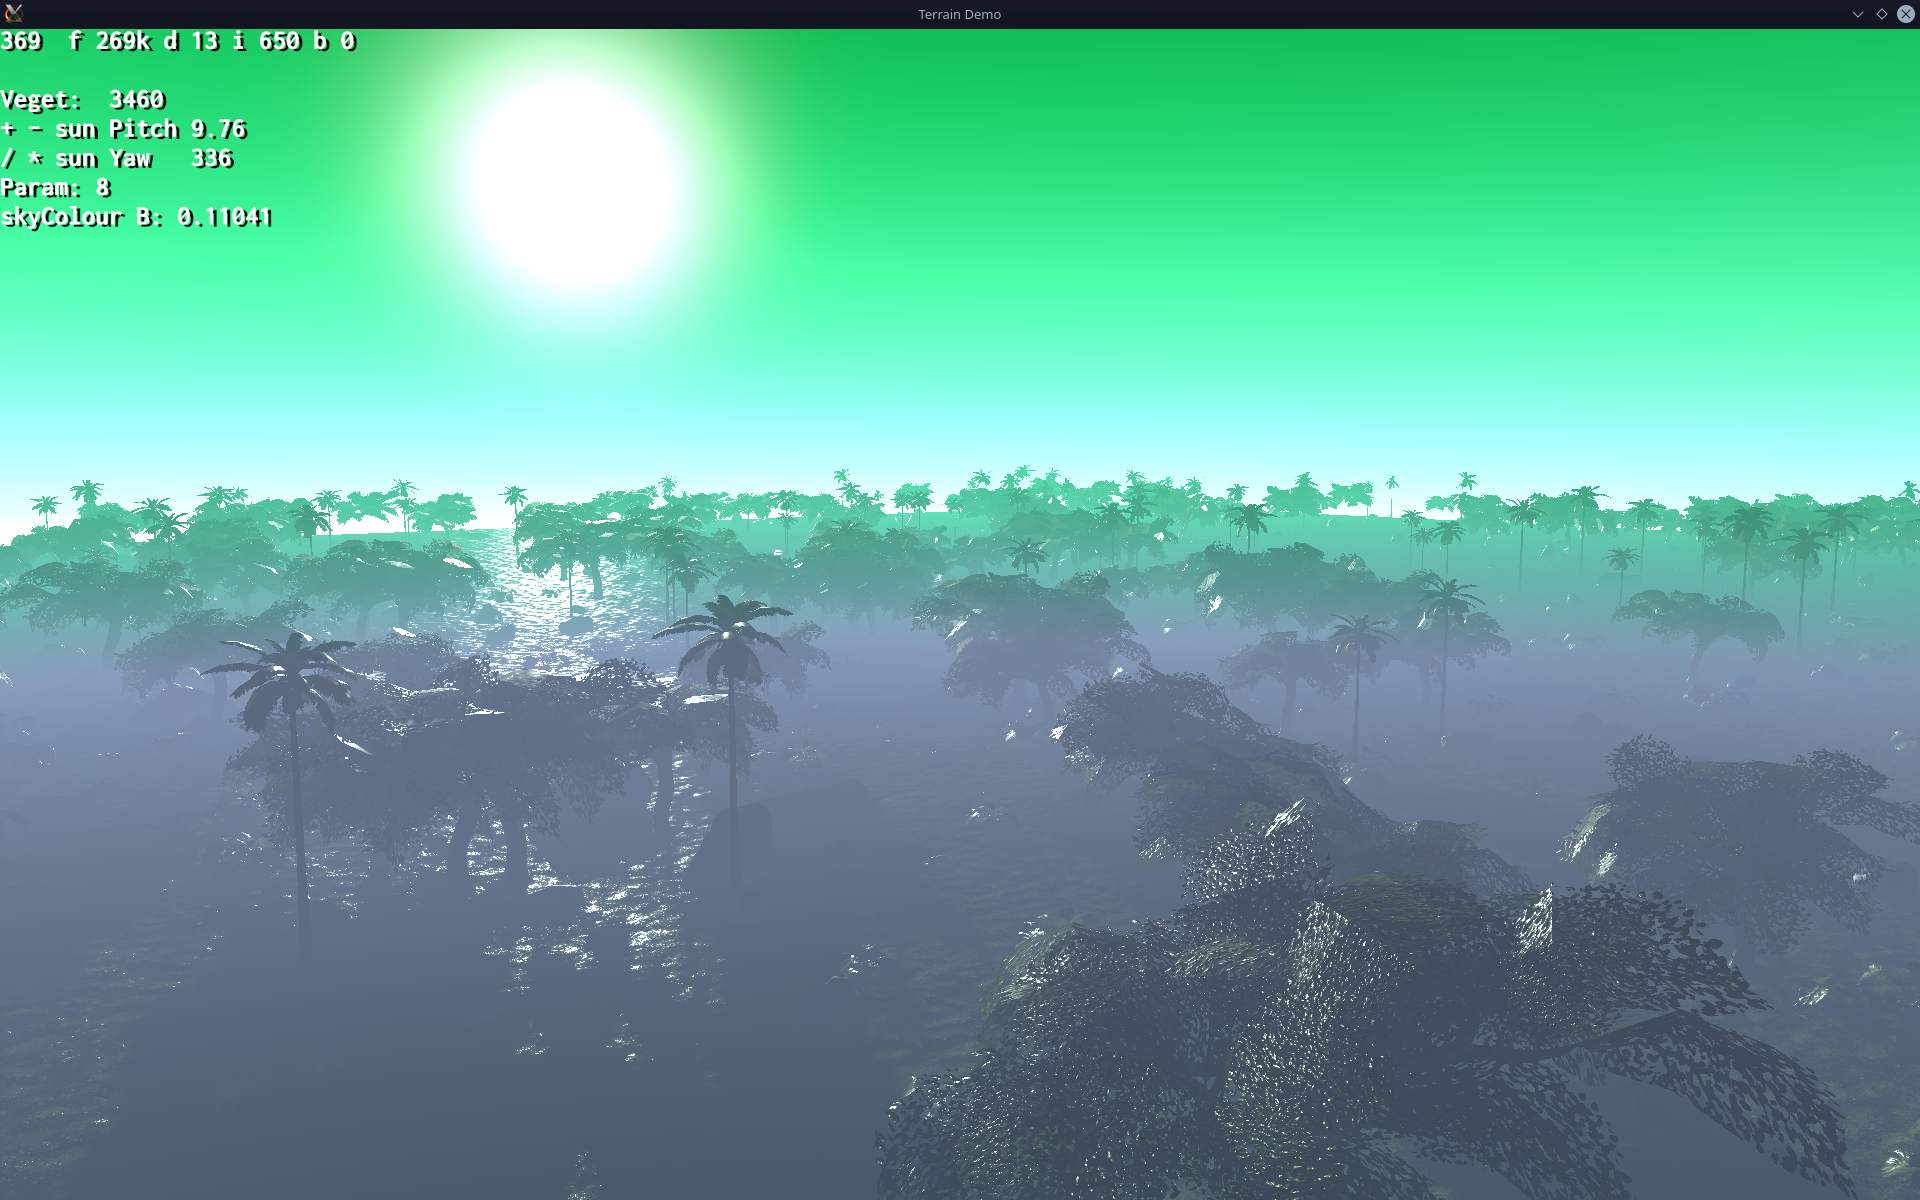
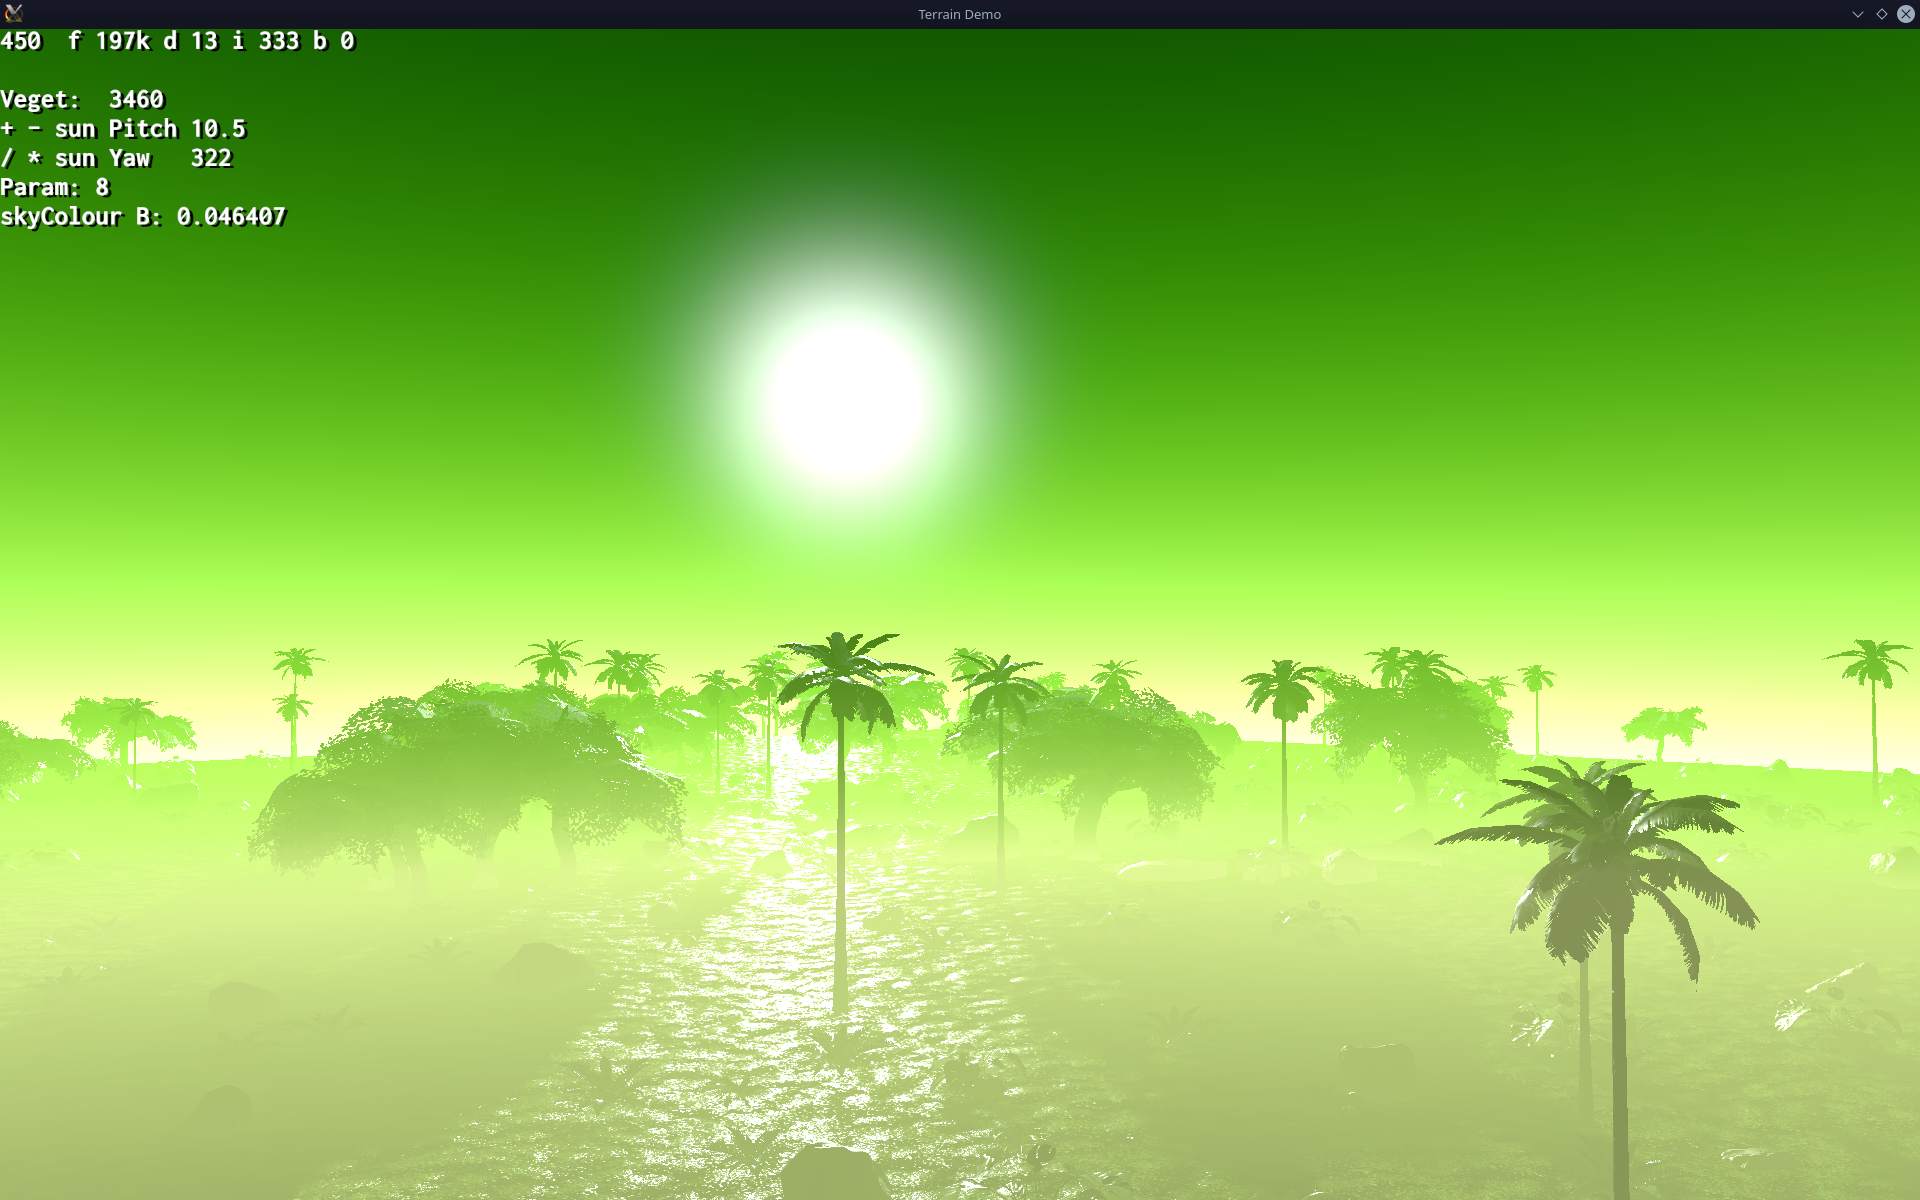
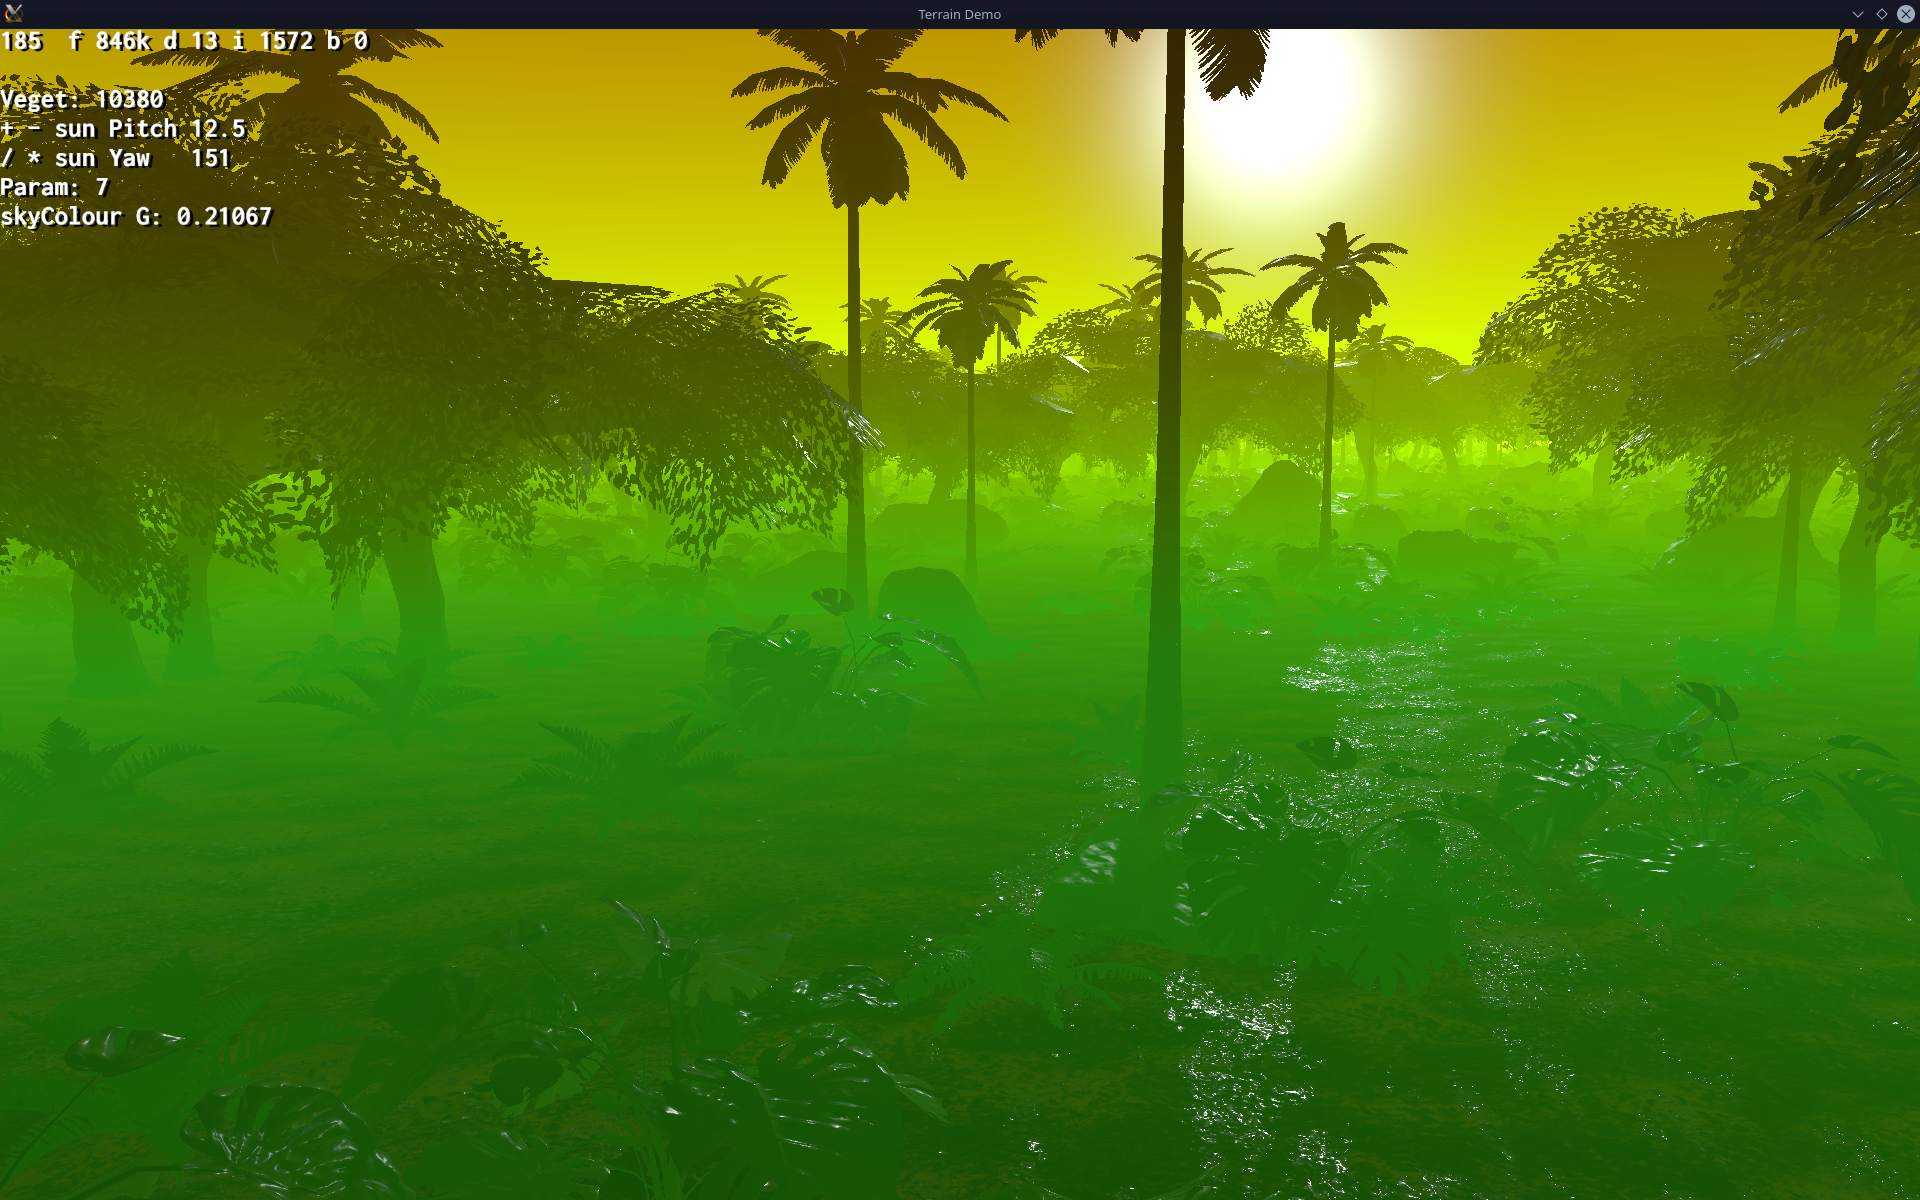
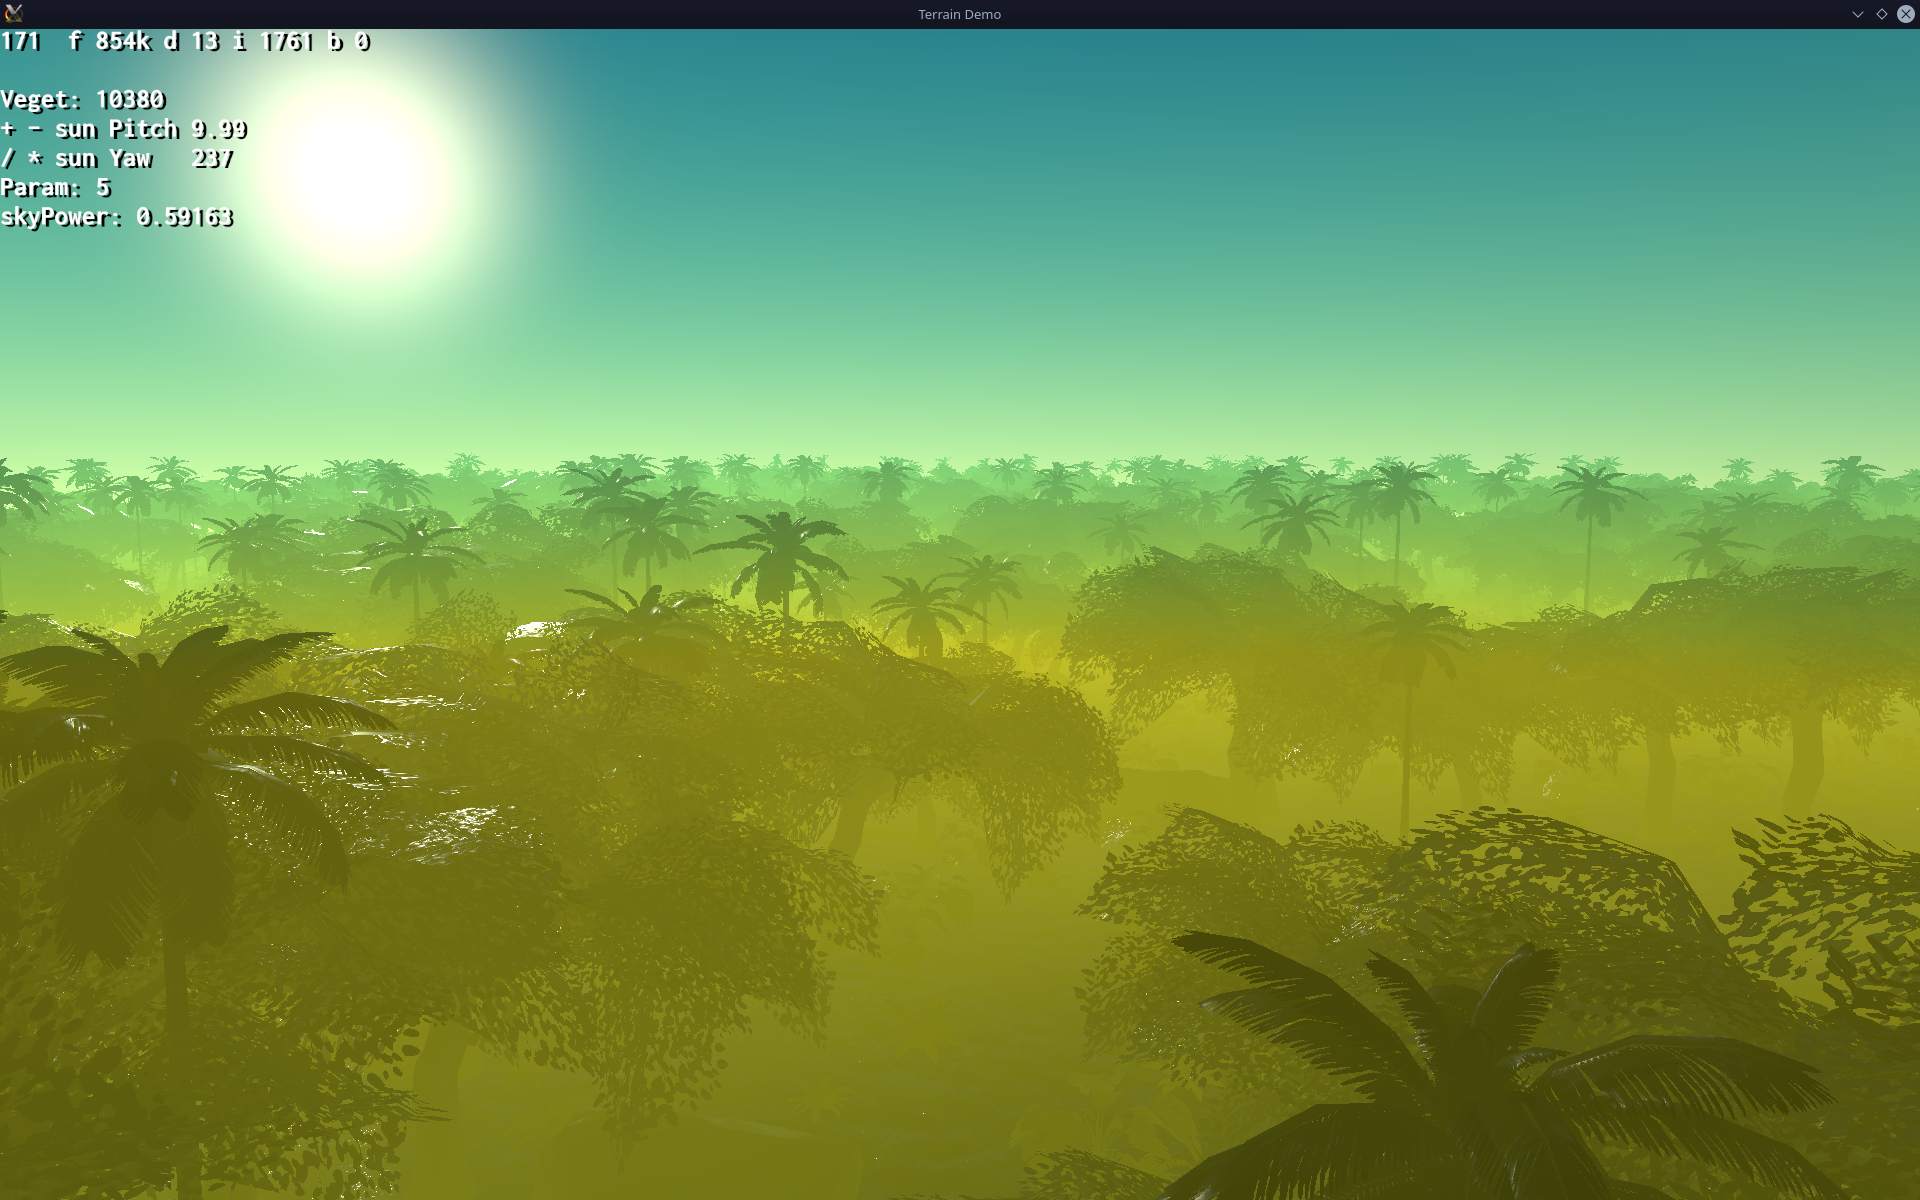
    This is a project I started to learn and test newer version of Ogre rendering engine: Ogre-Next.
    Later I moved Stunt Rally 3 to use the engine too.
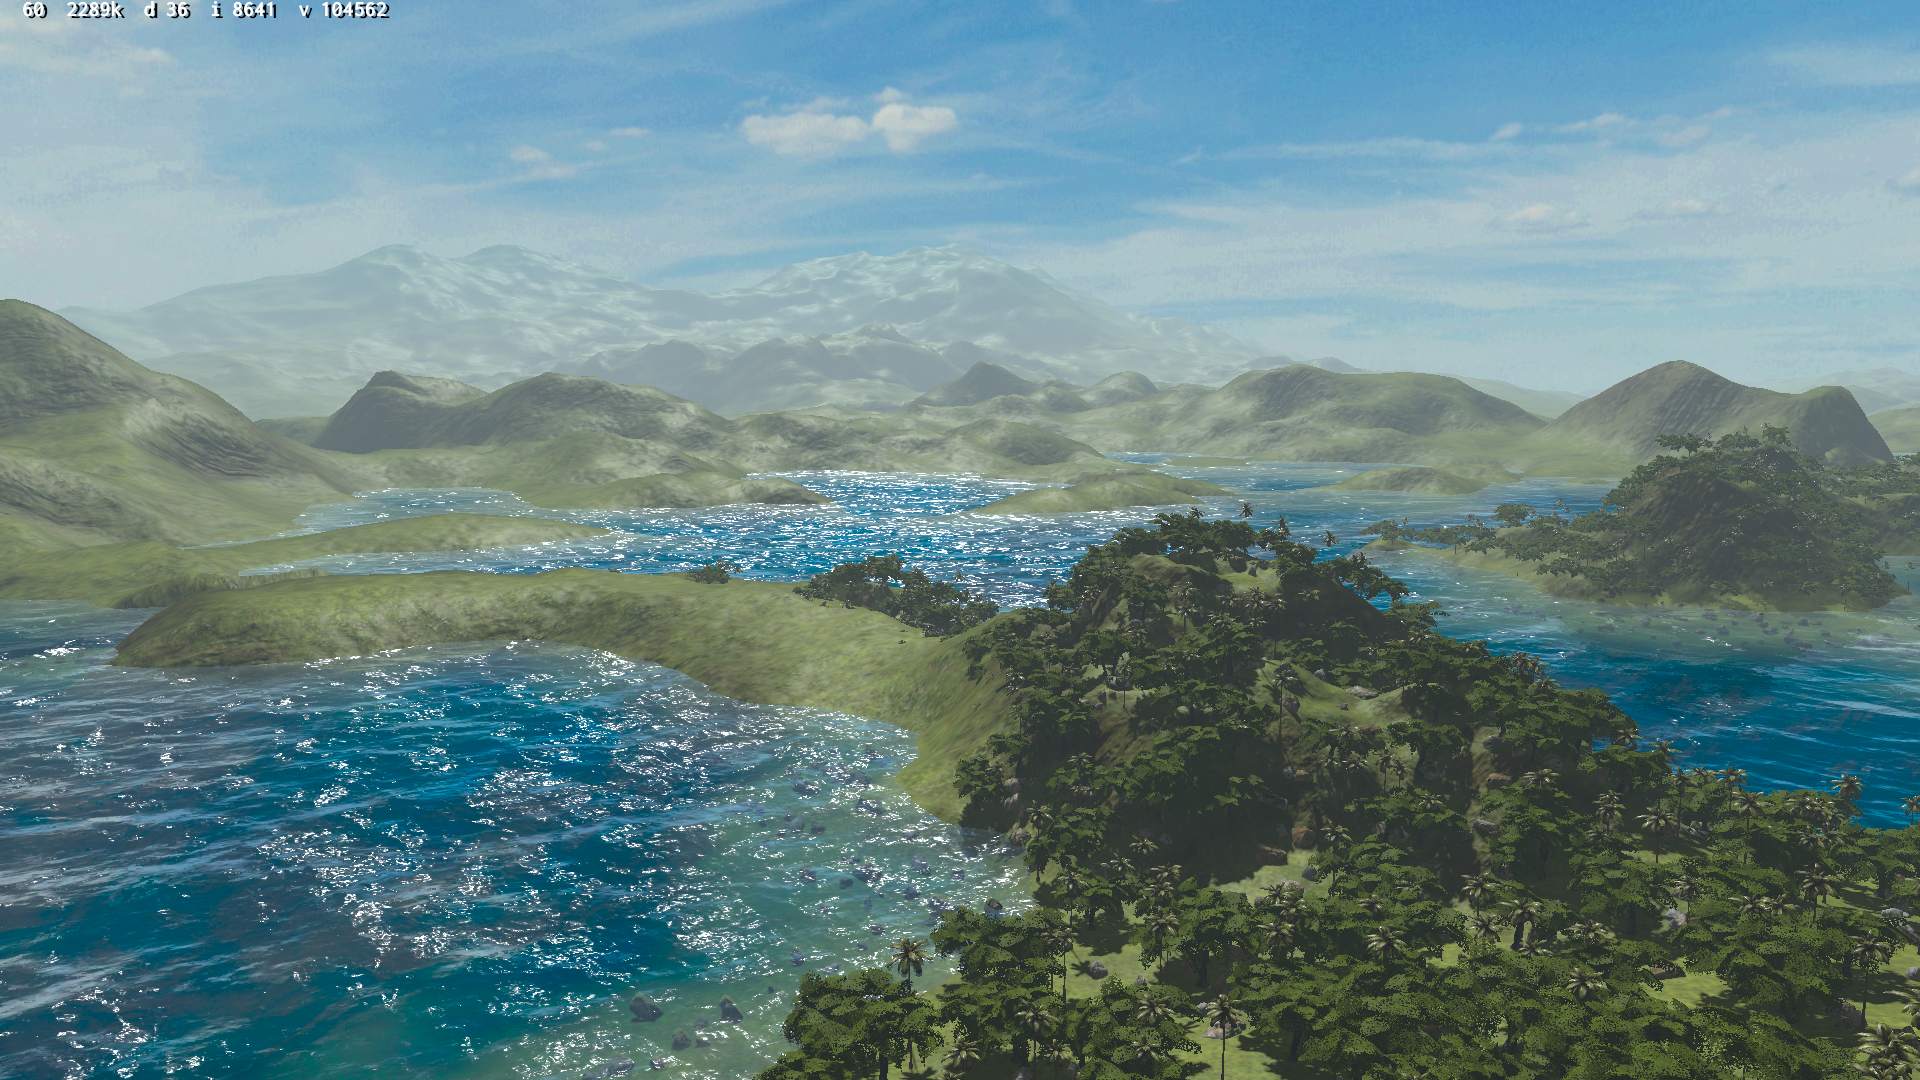
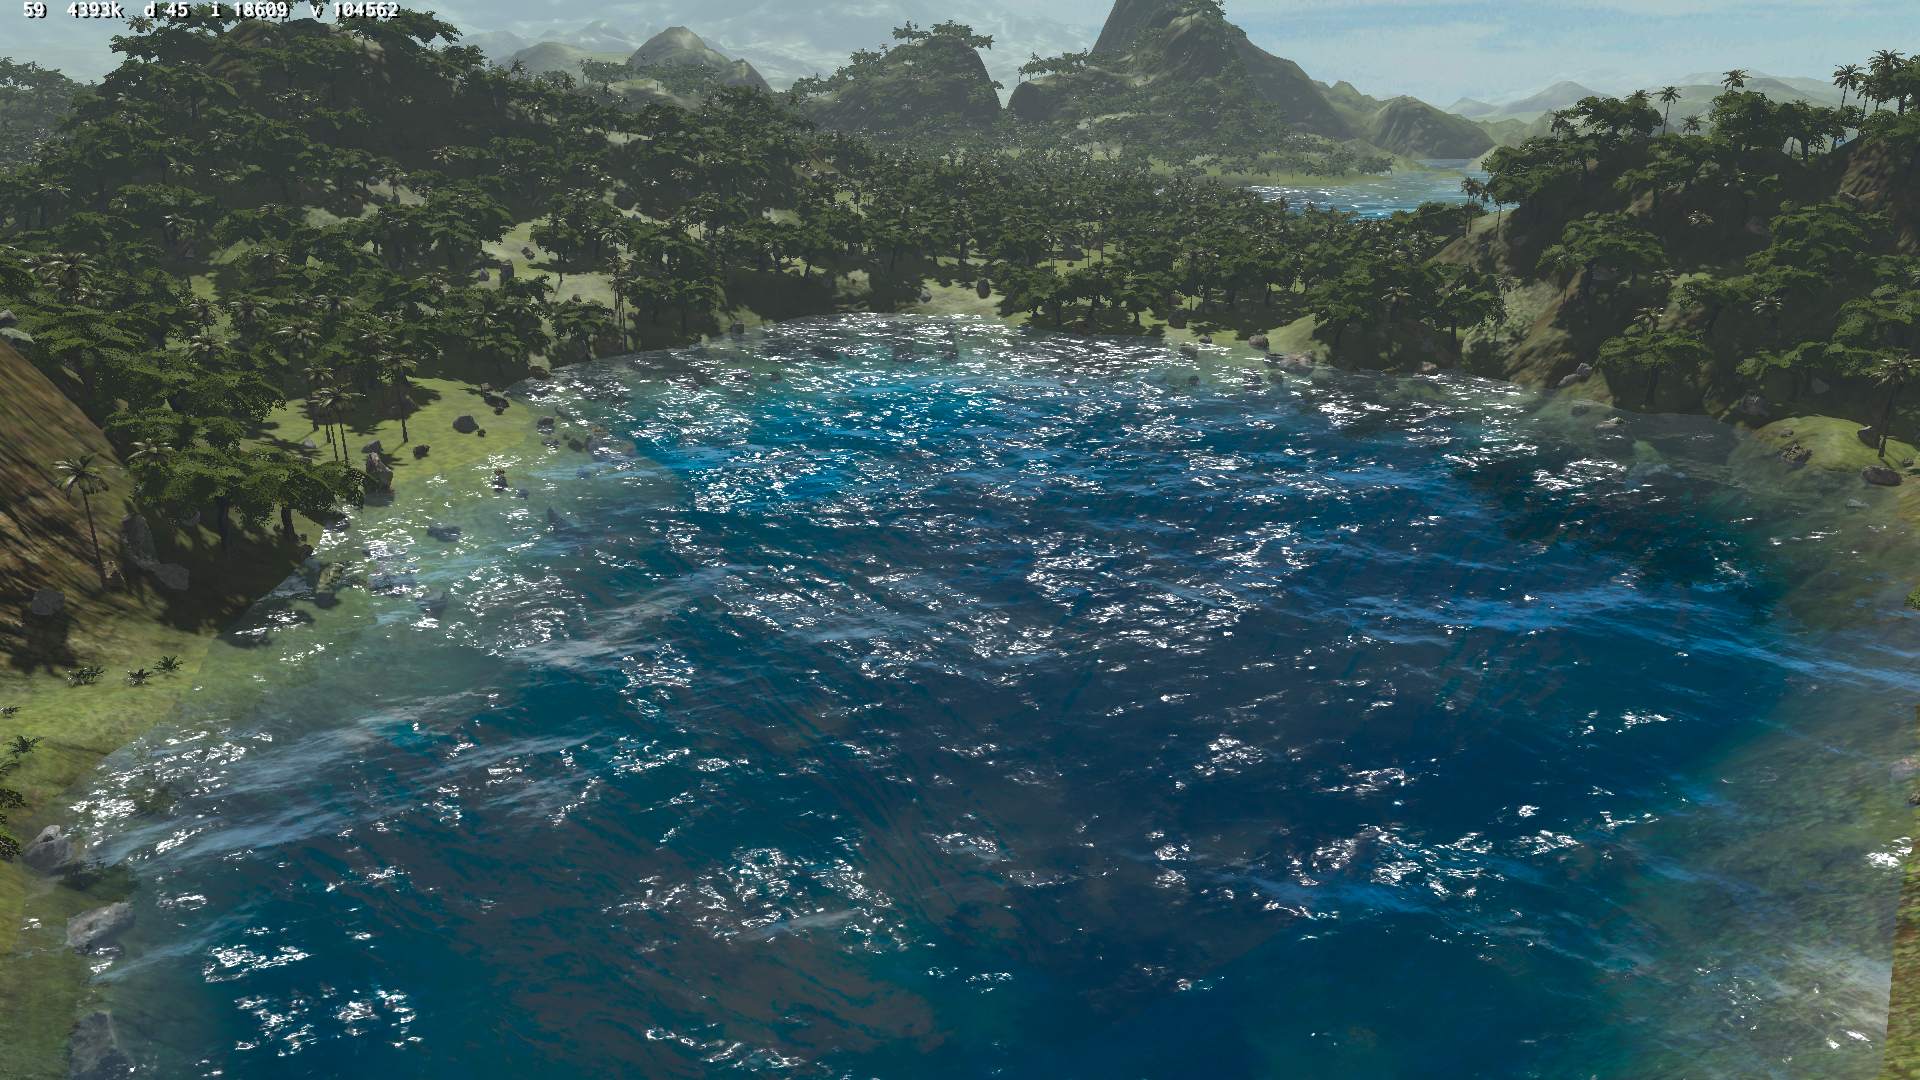
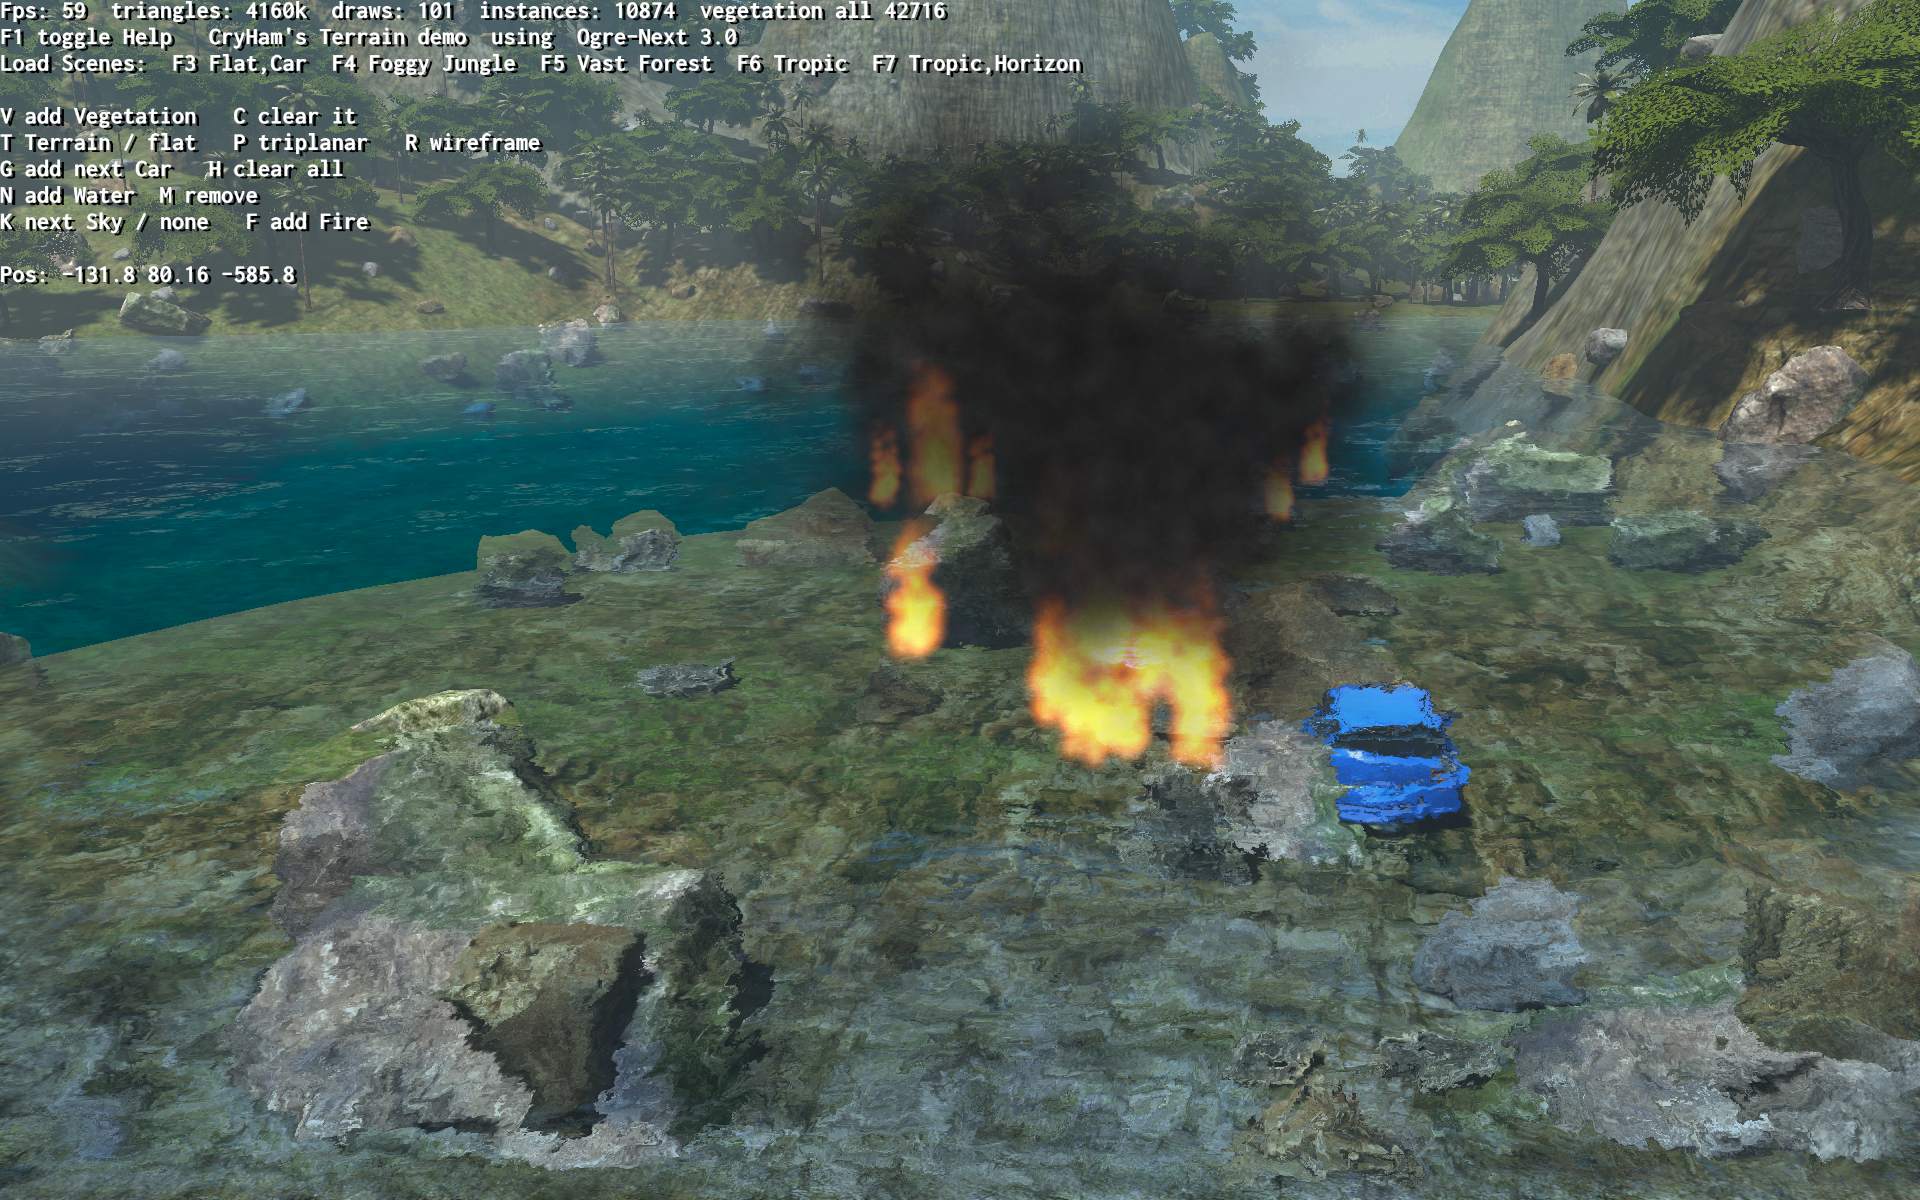
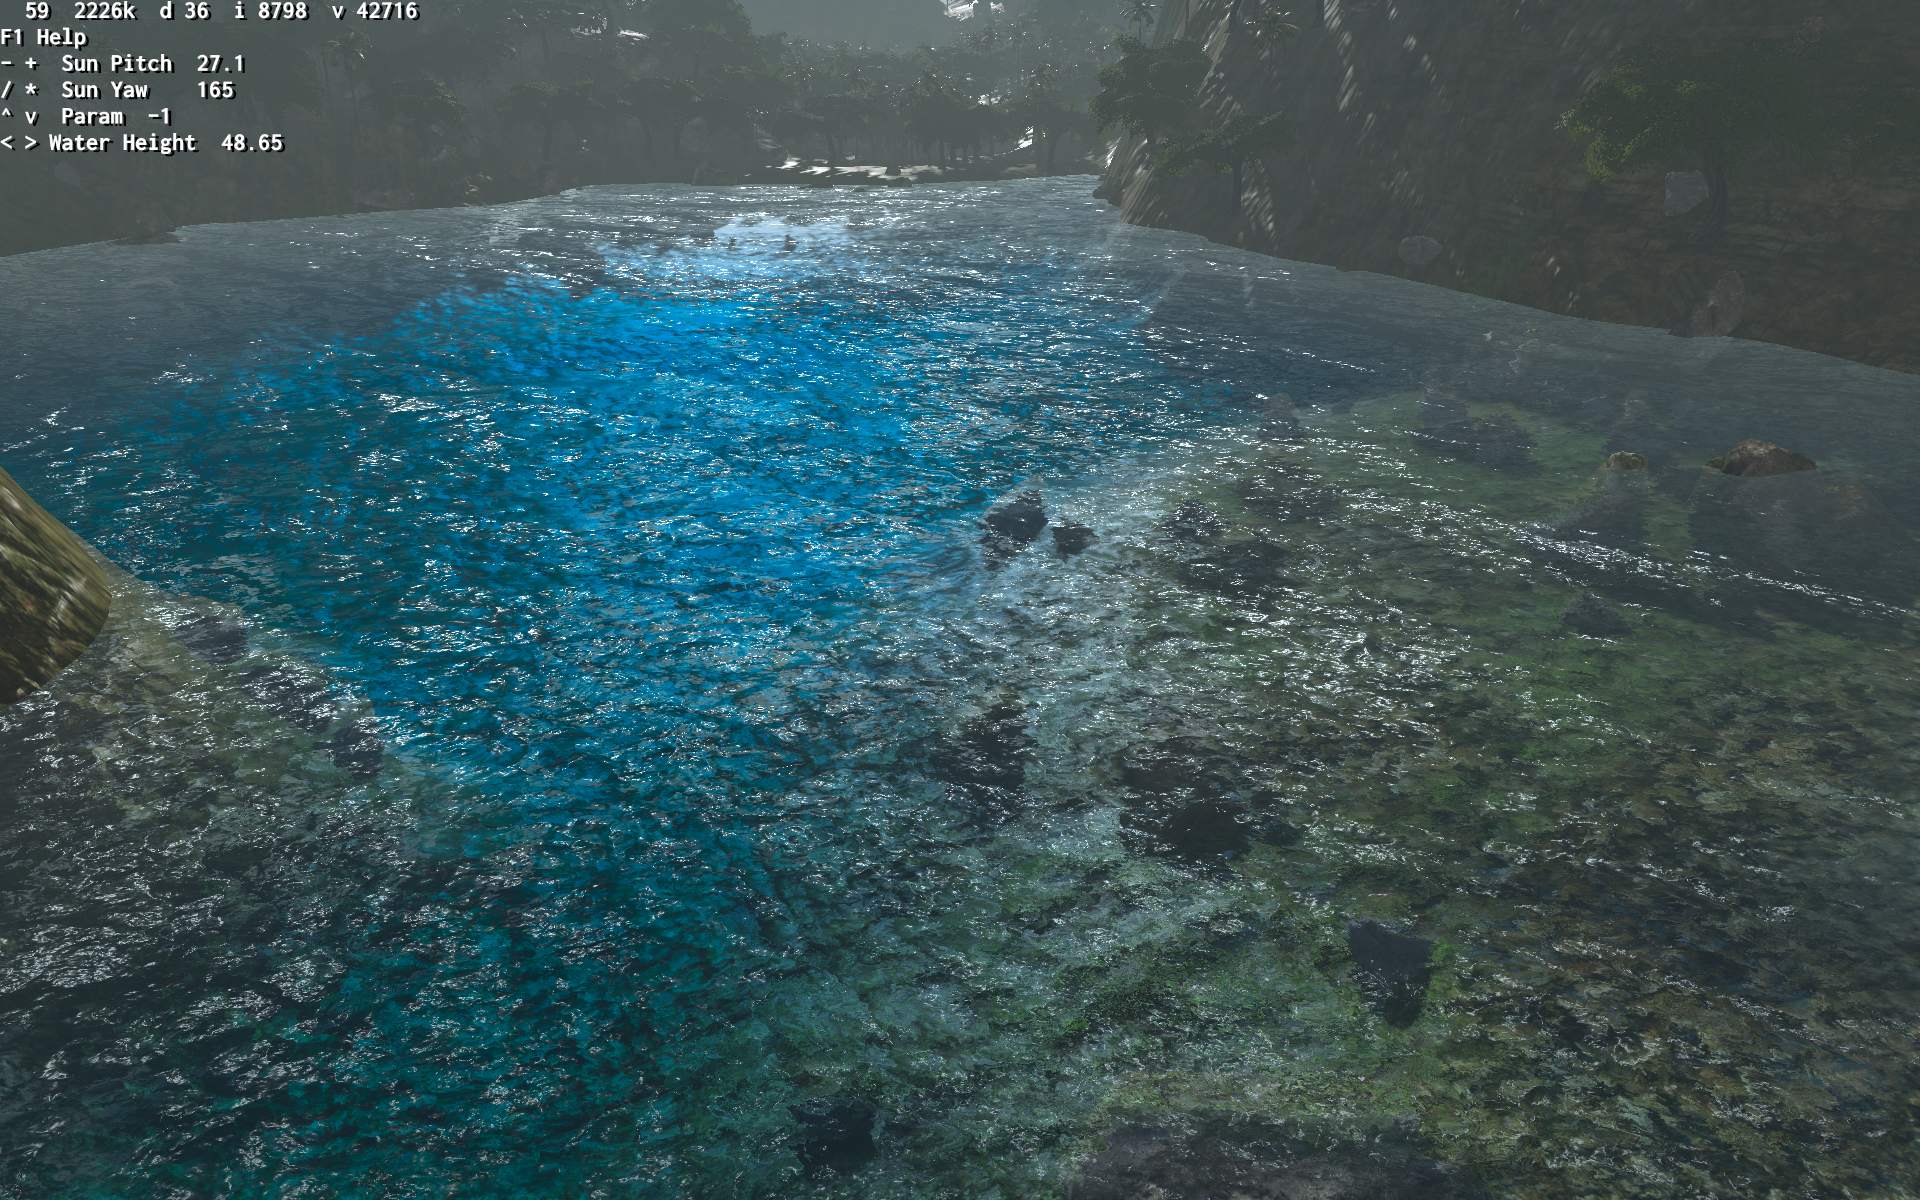
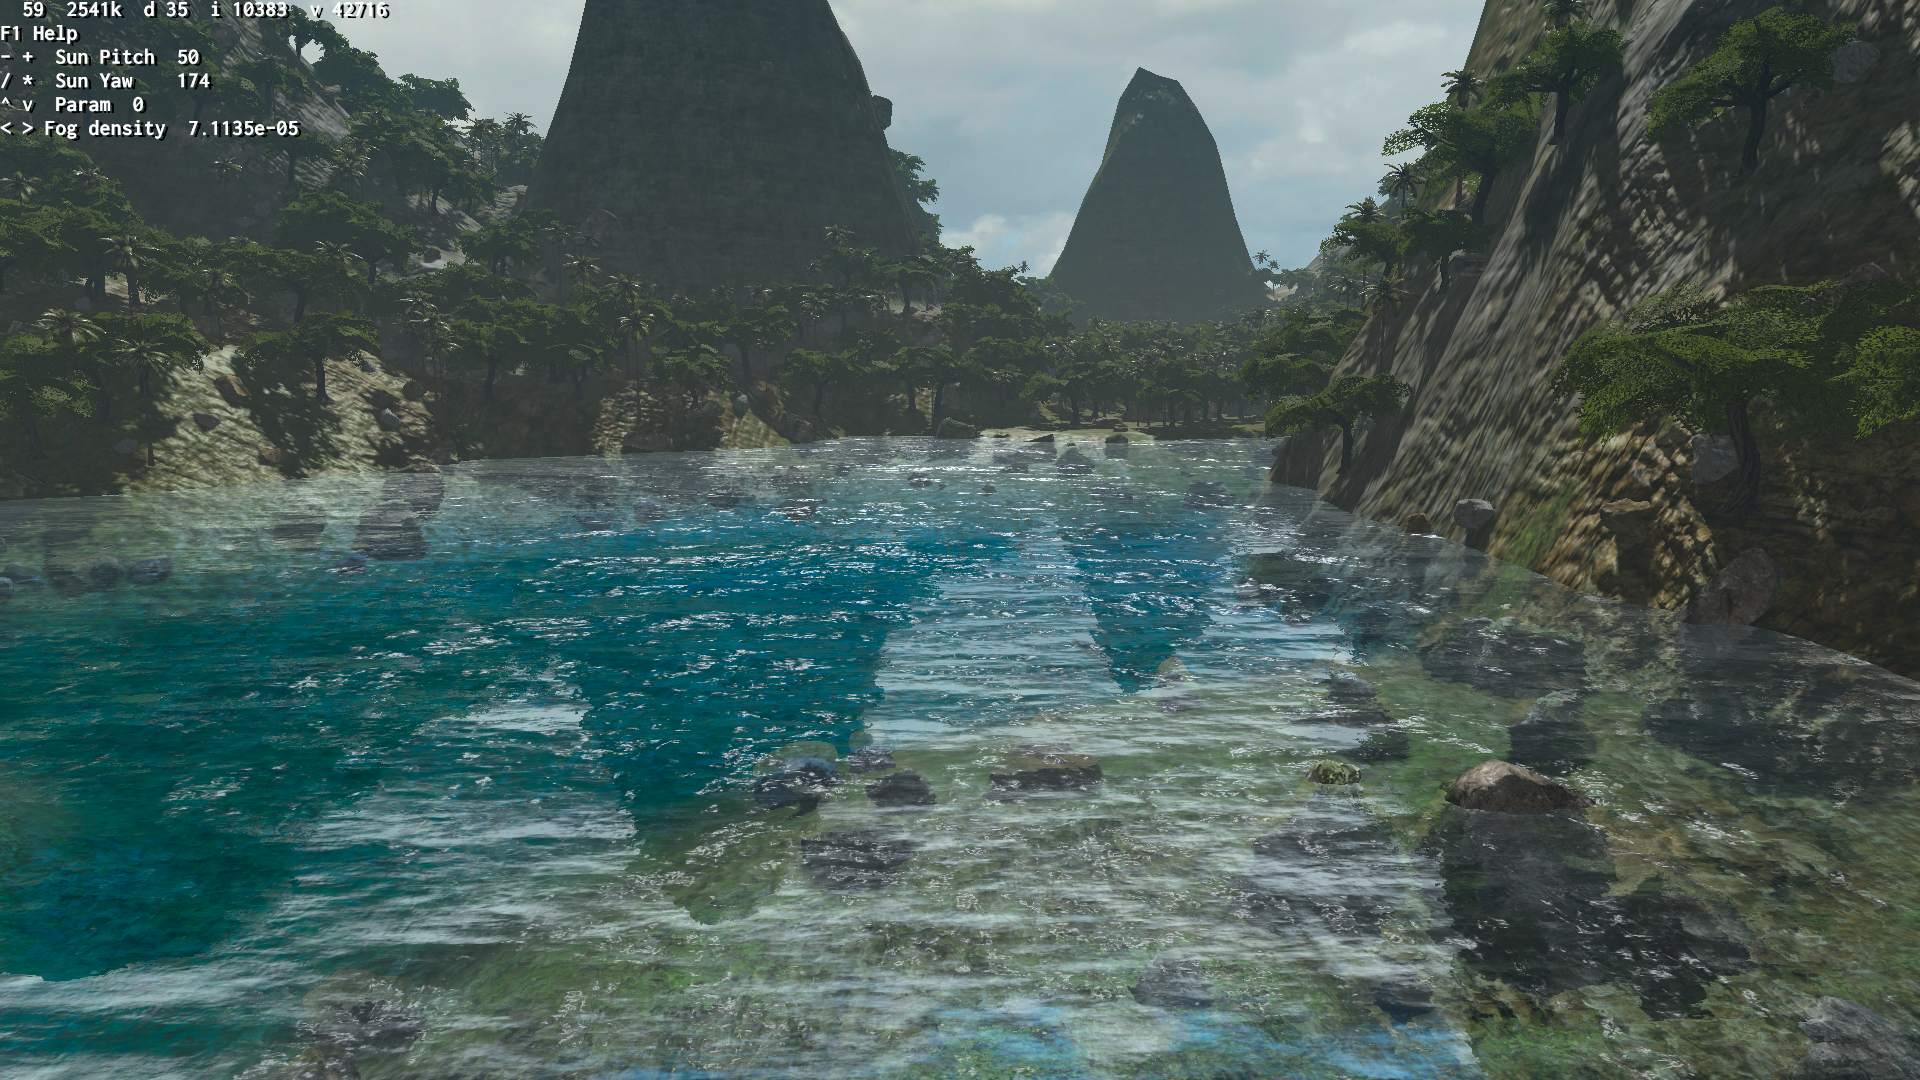
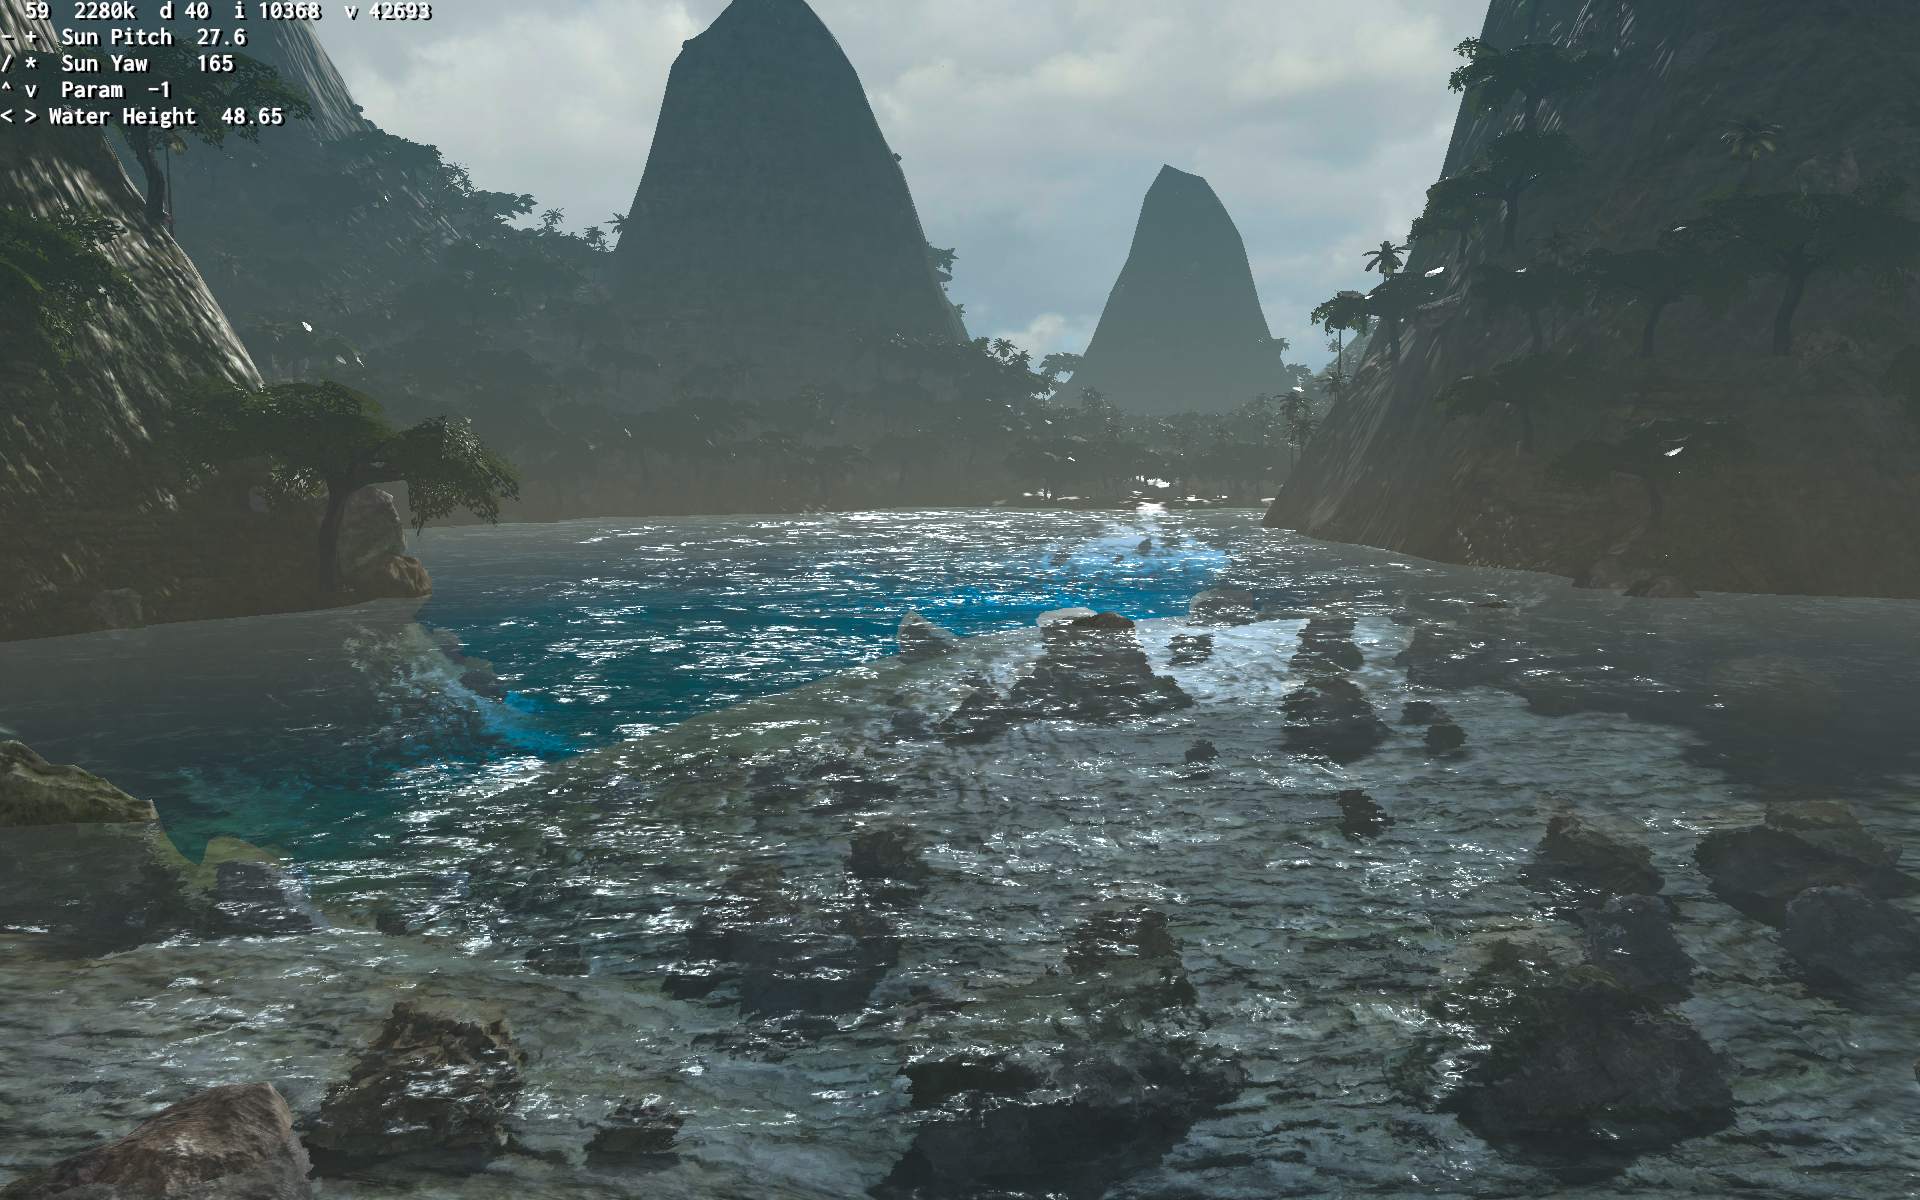
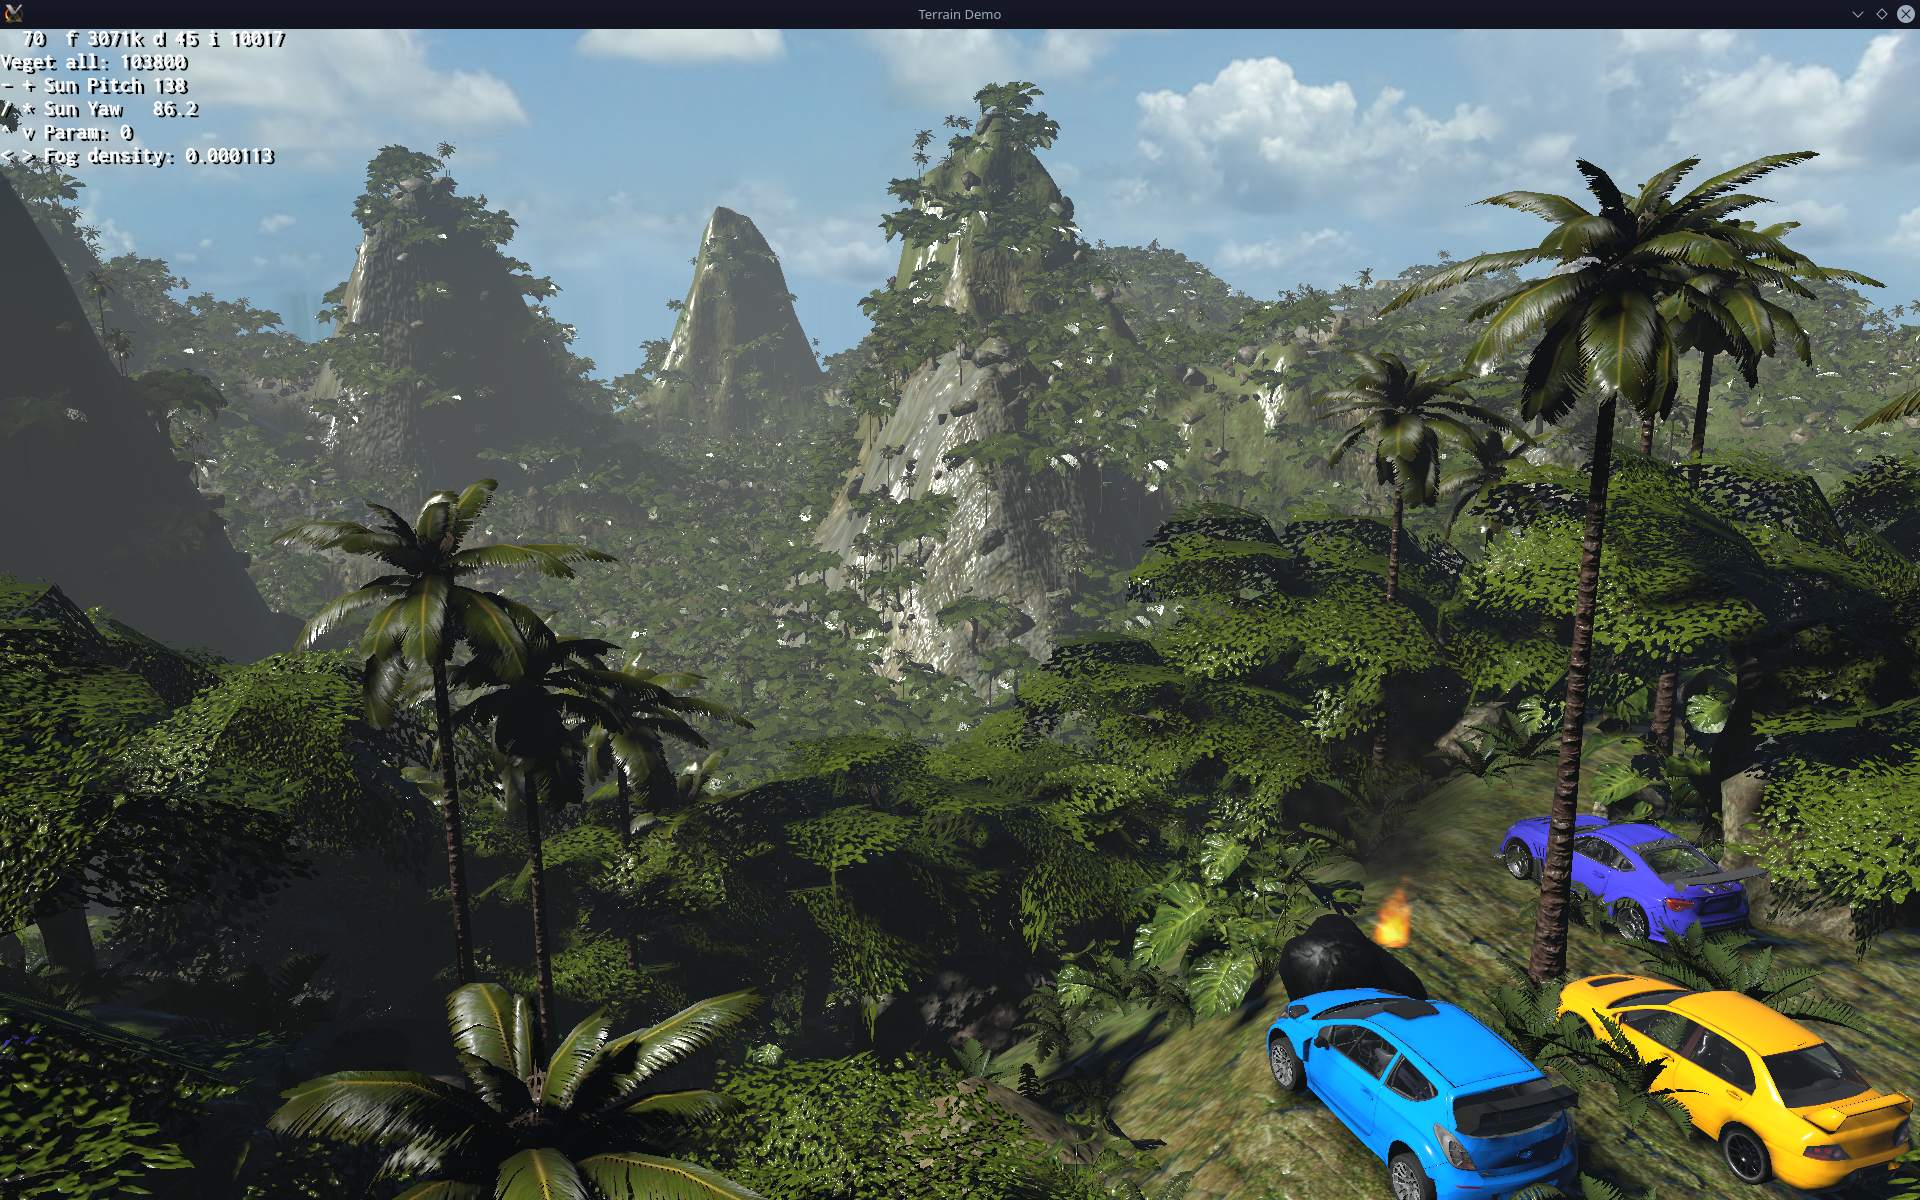
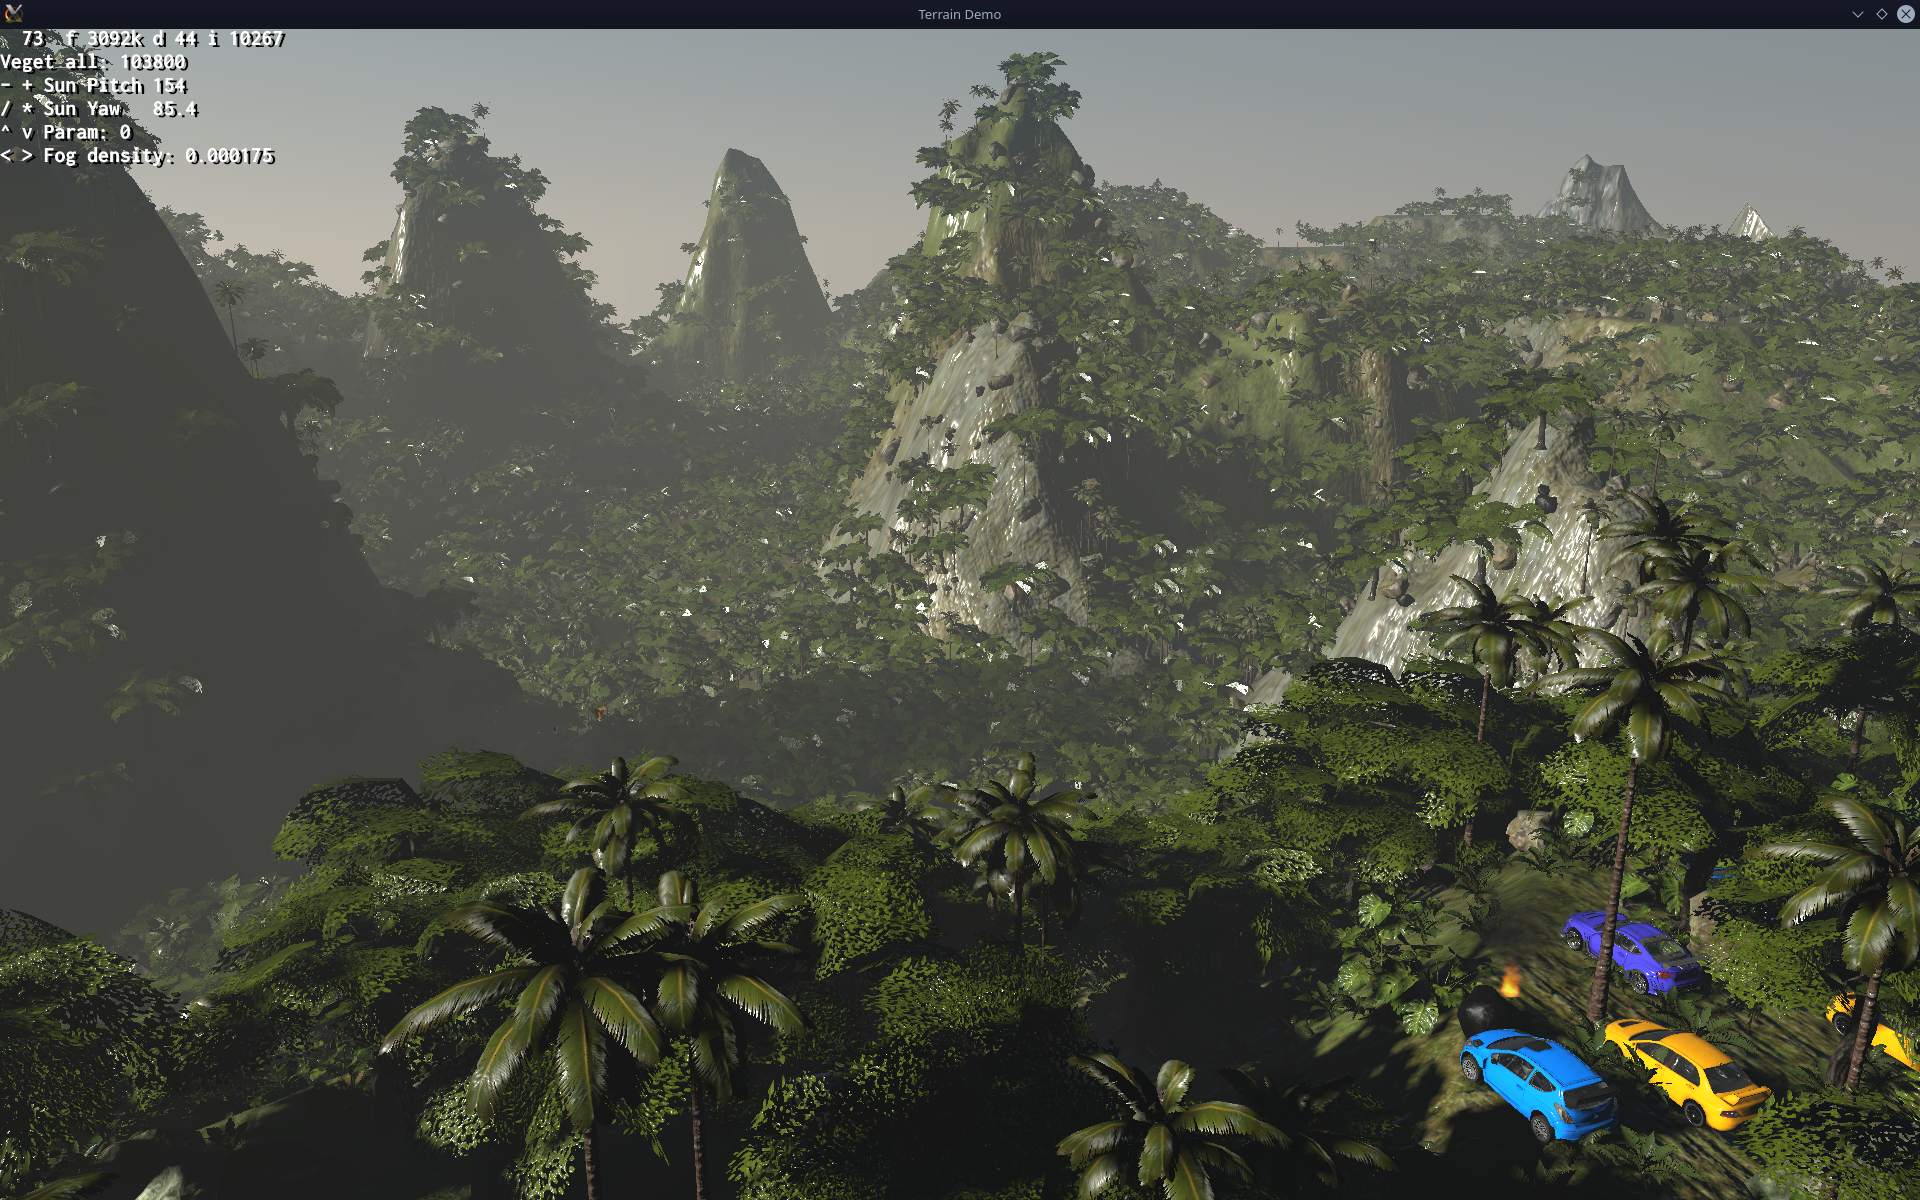
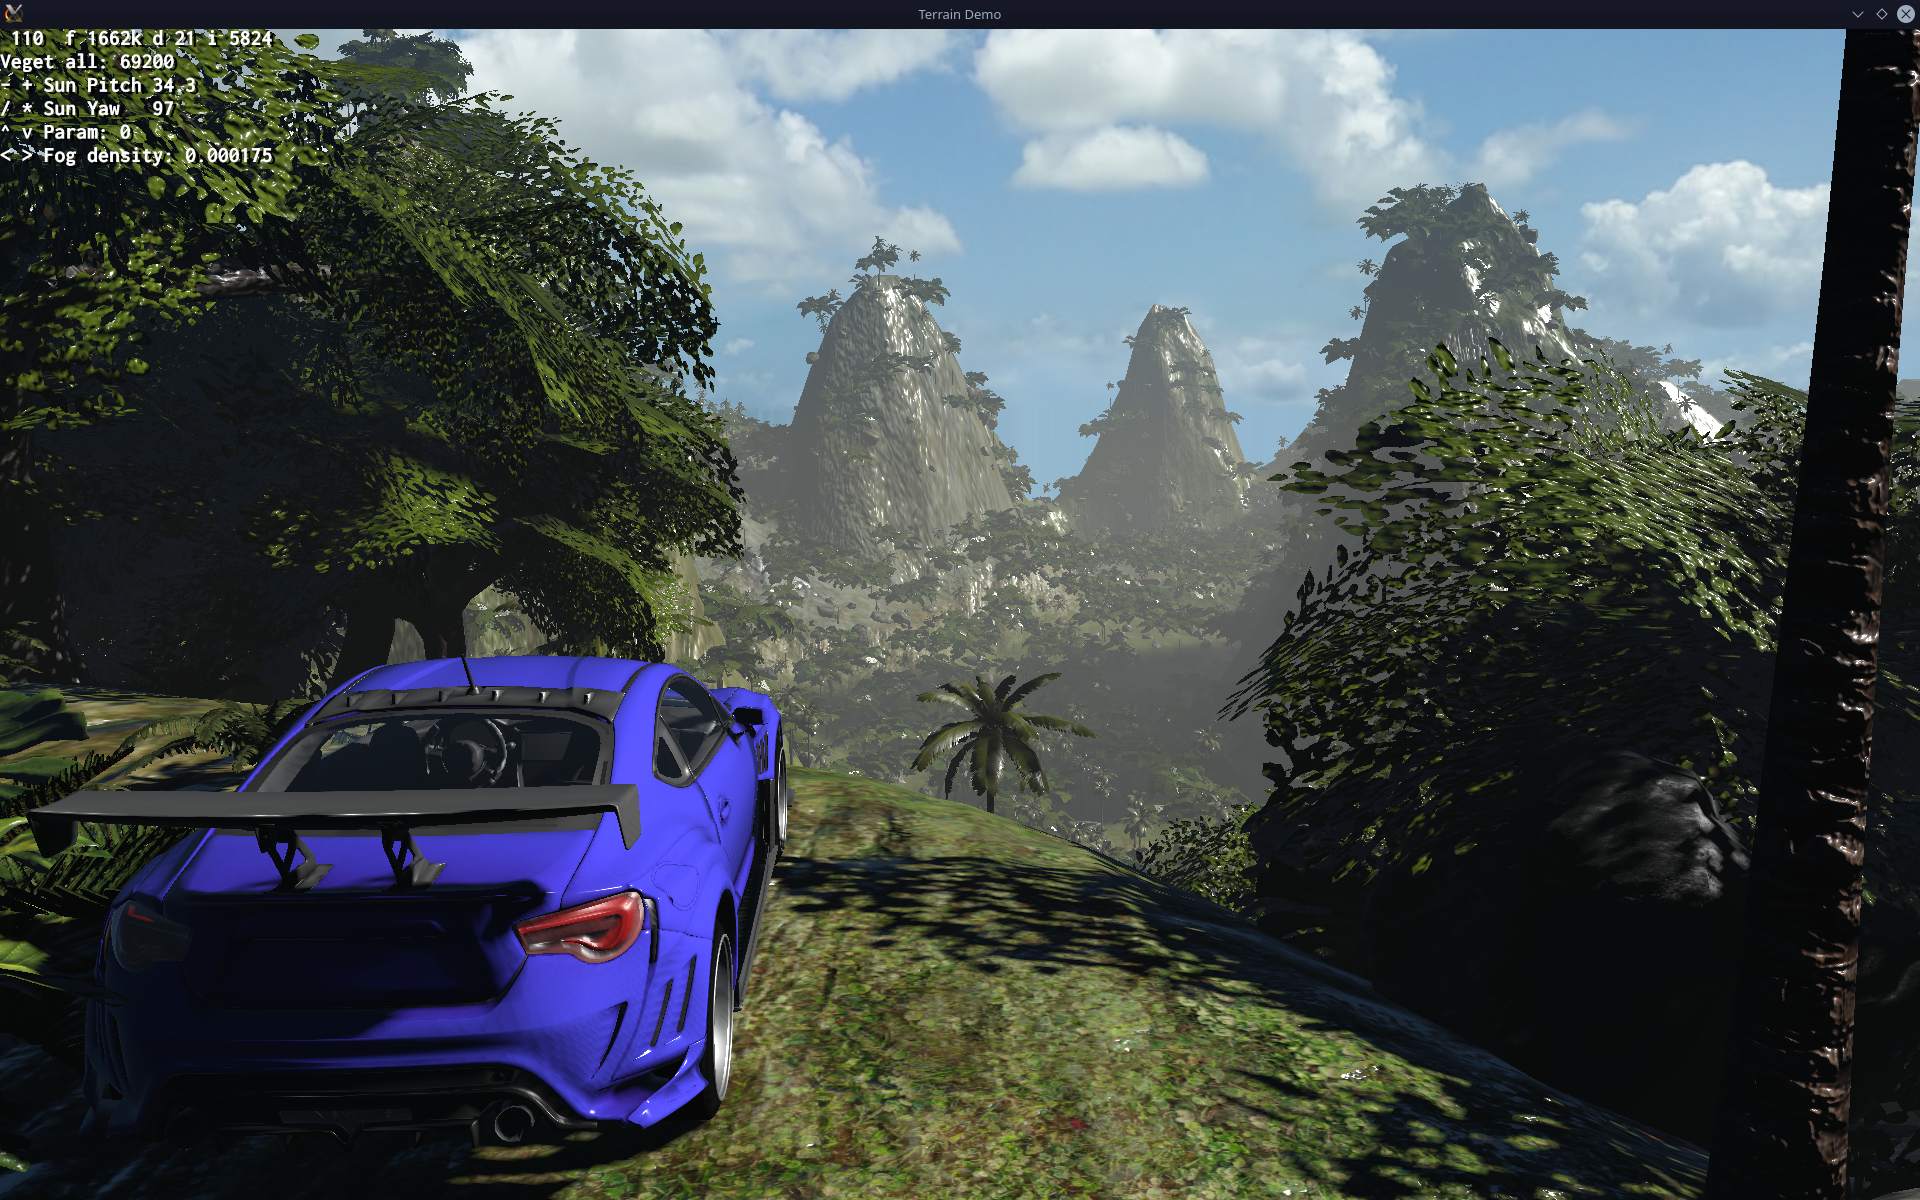
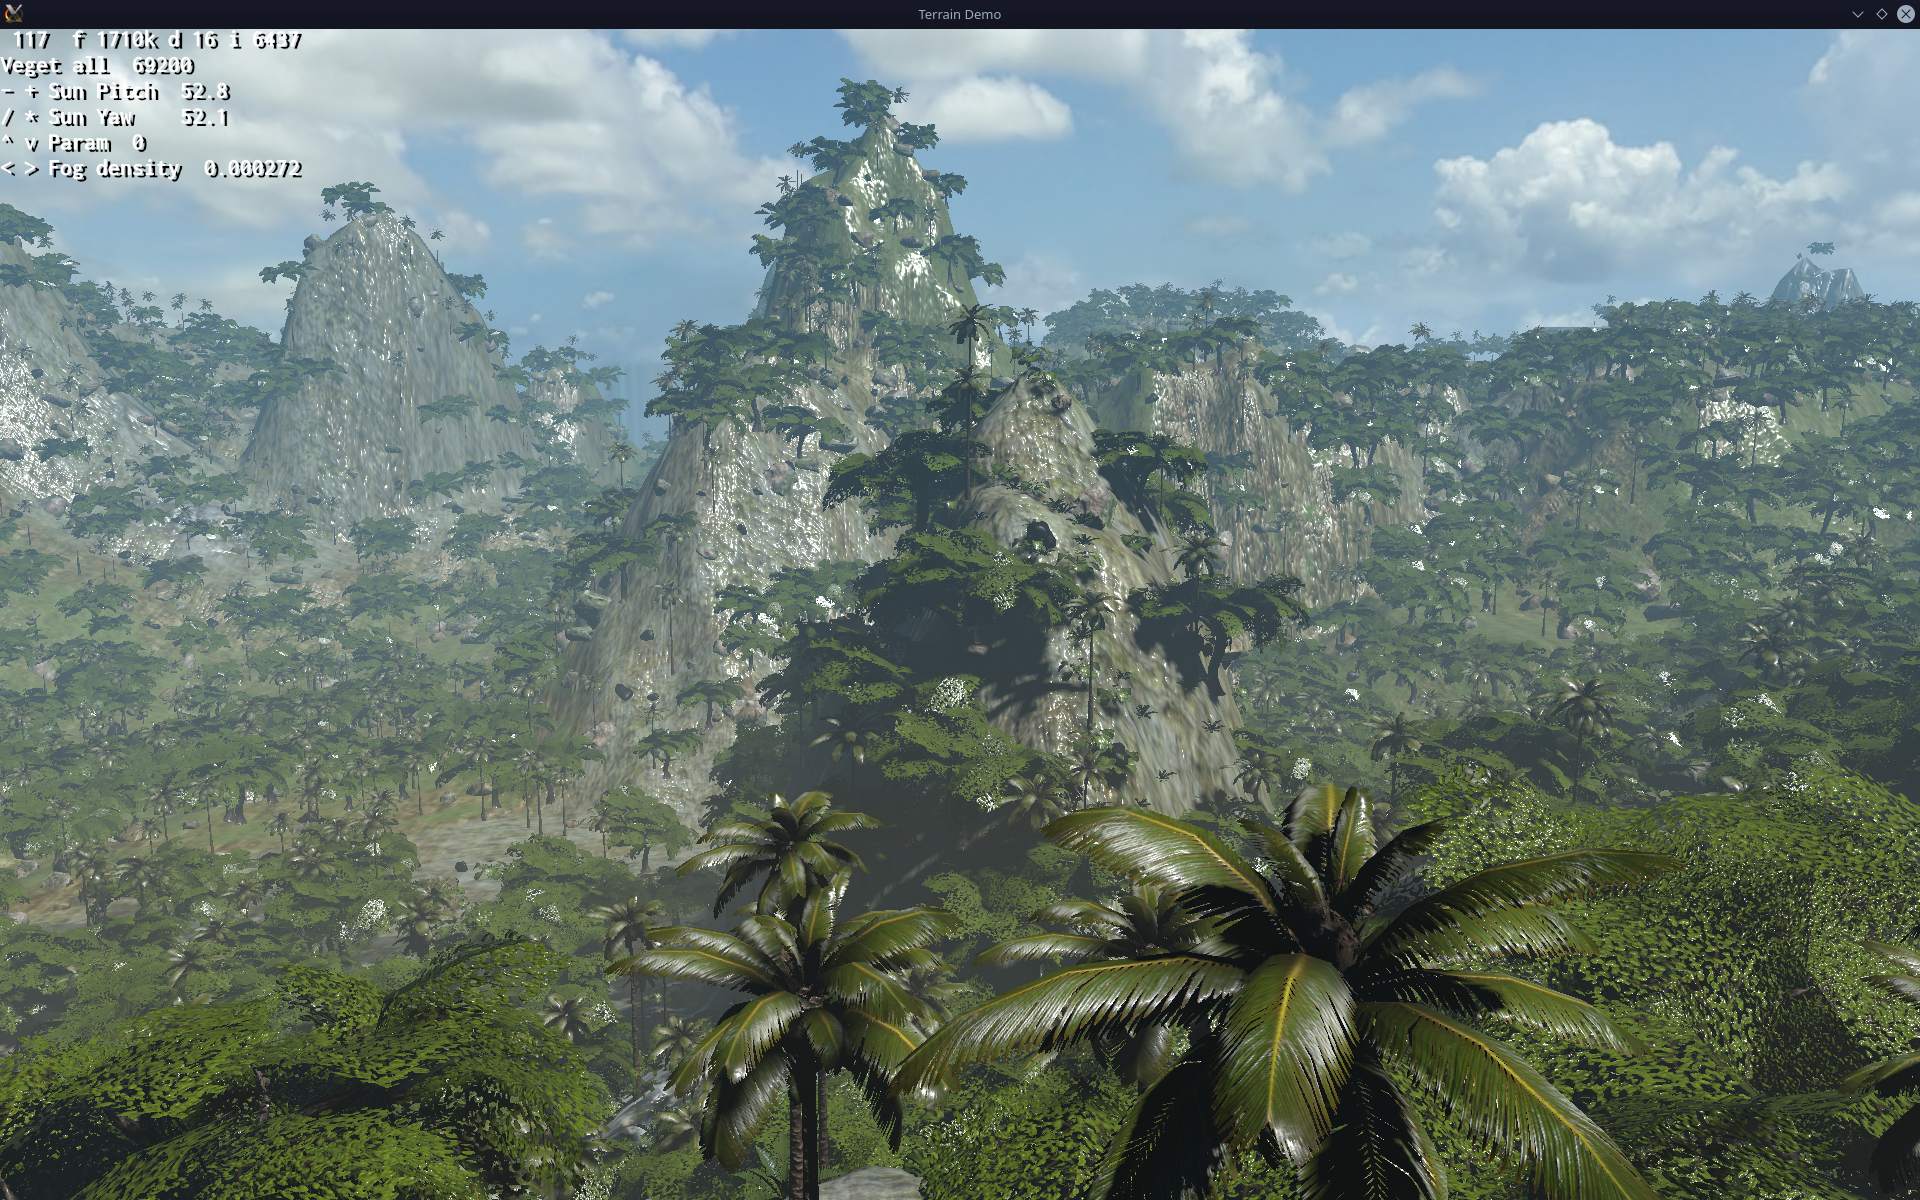
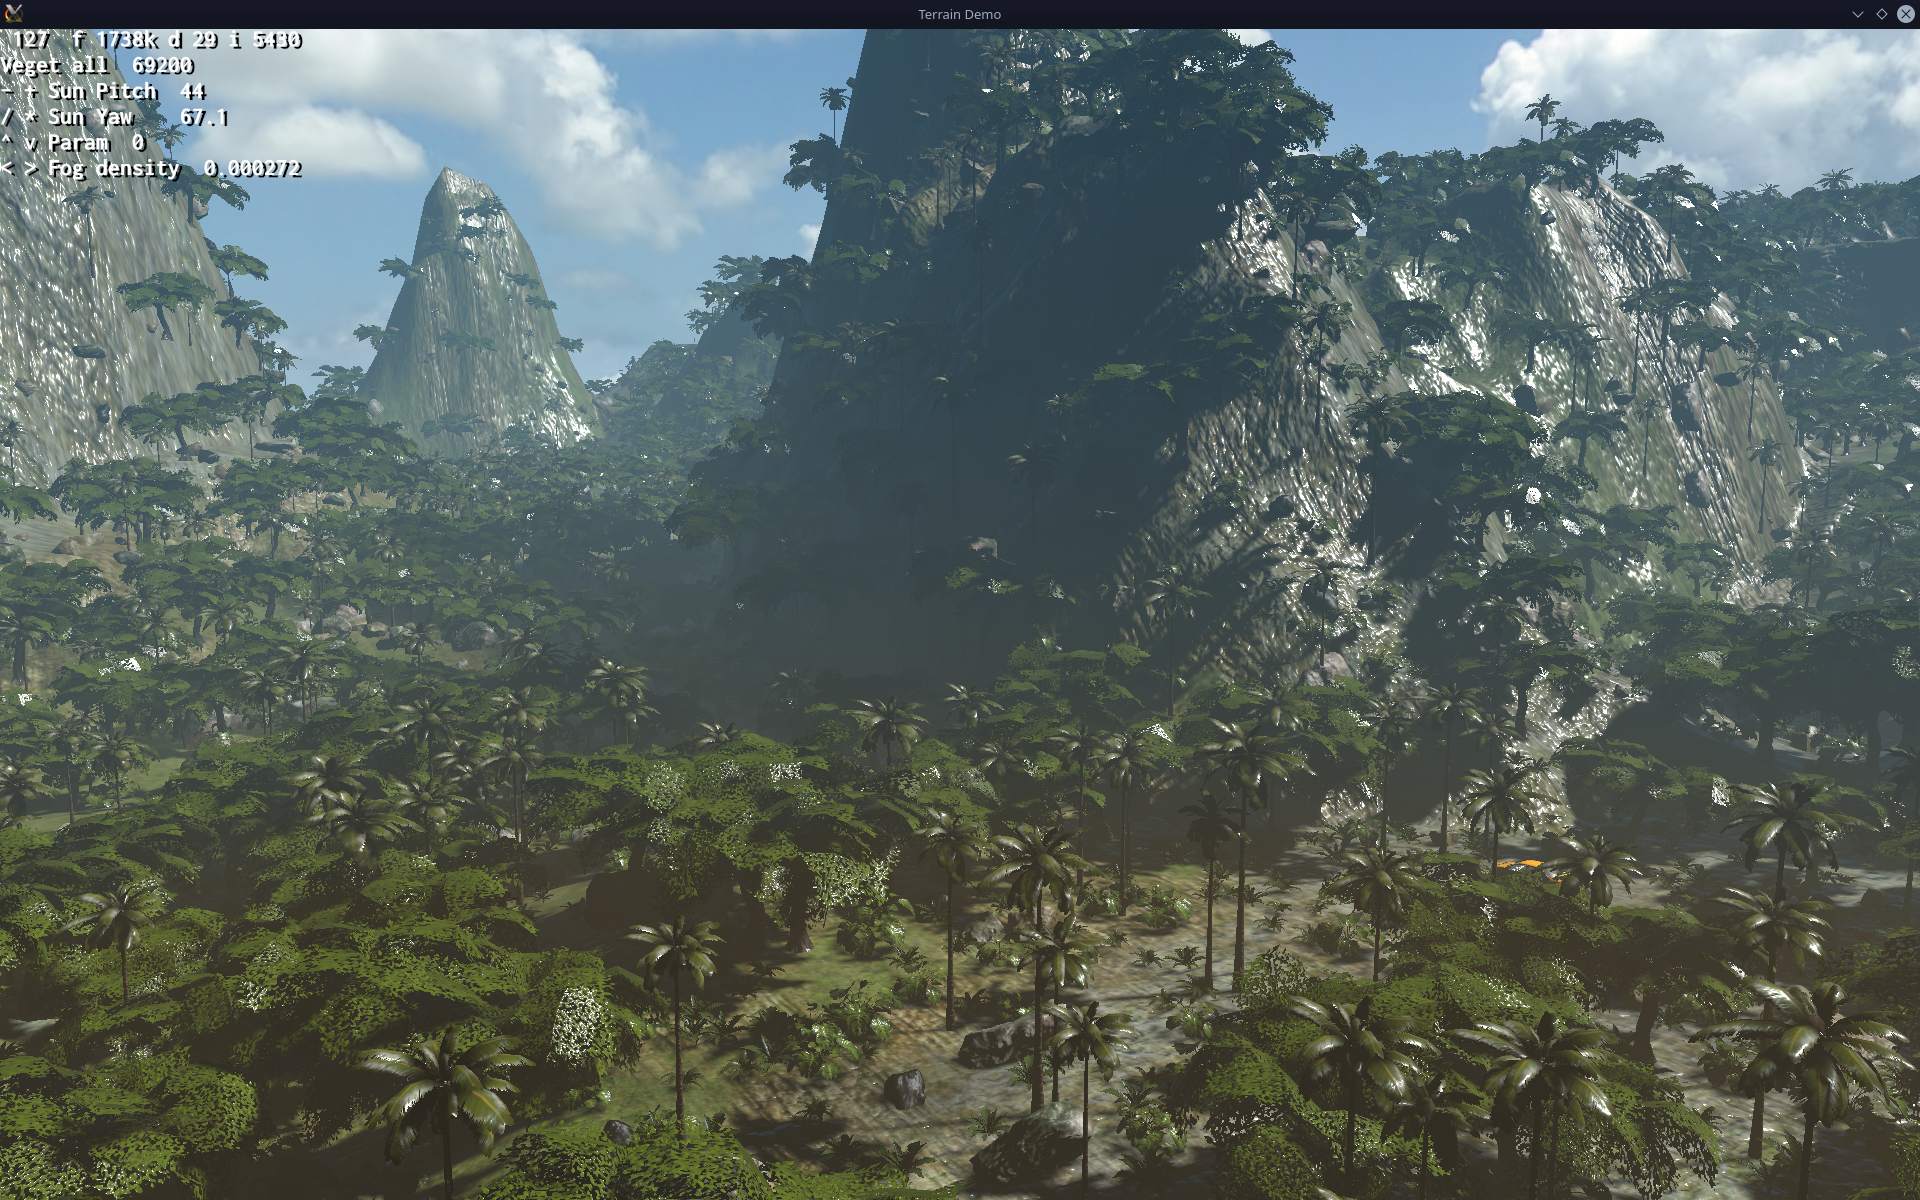
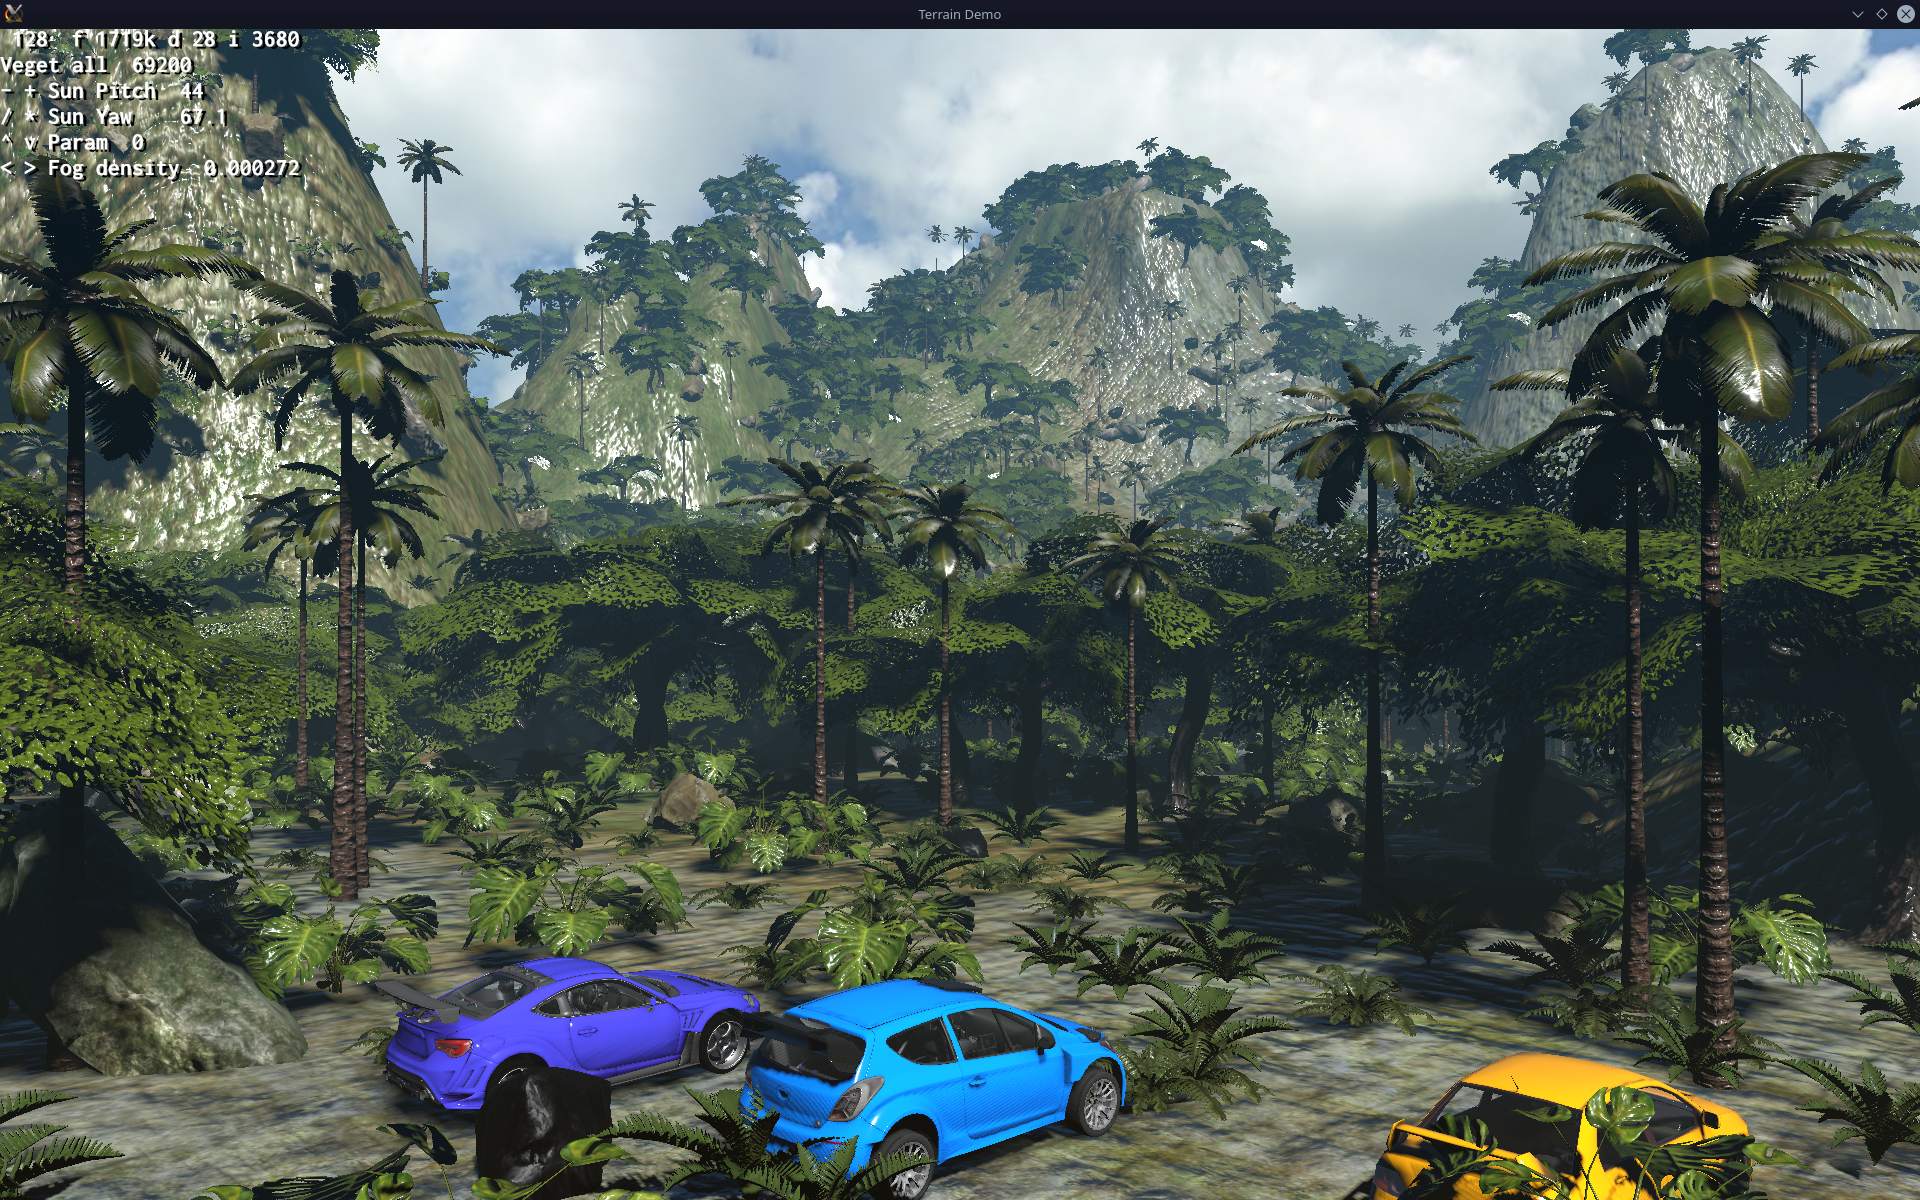
    Now also a showcase for nature scene rendering using the engine.

    ▶️Videos

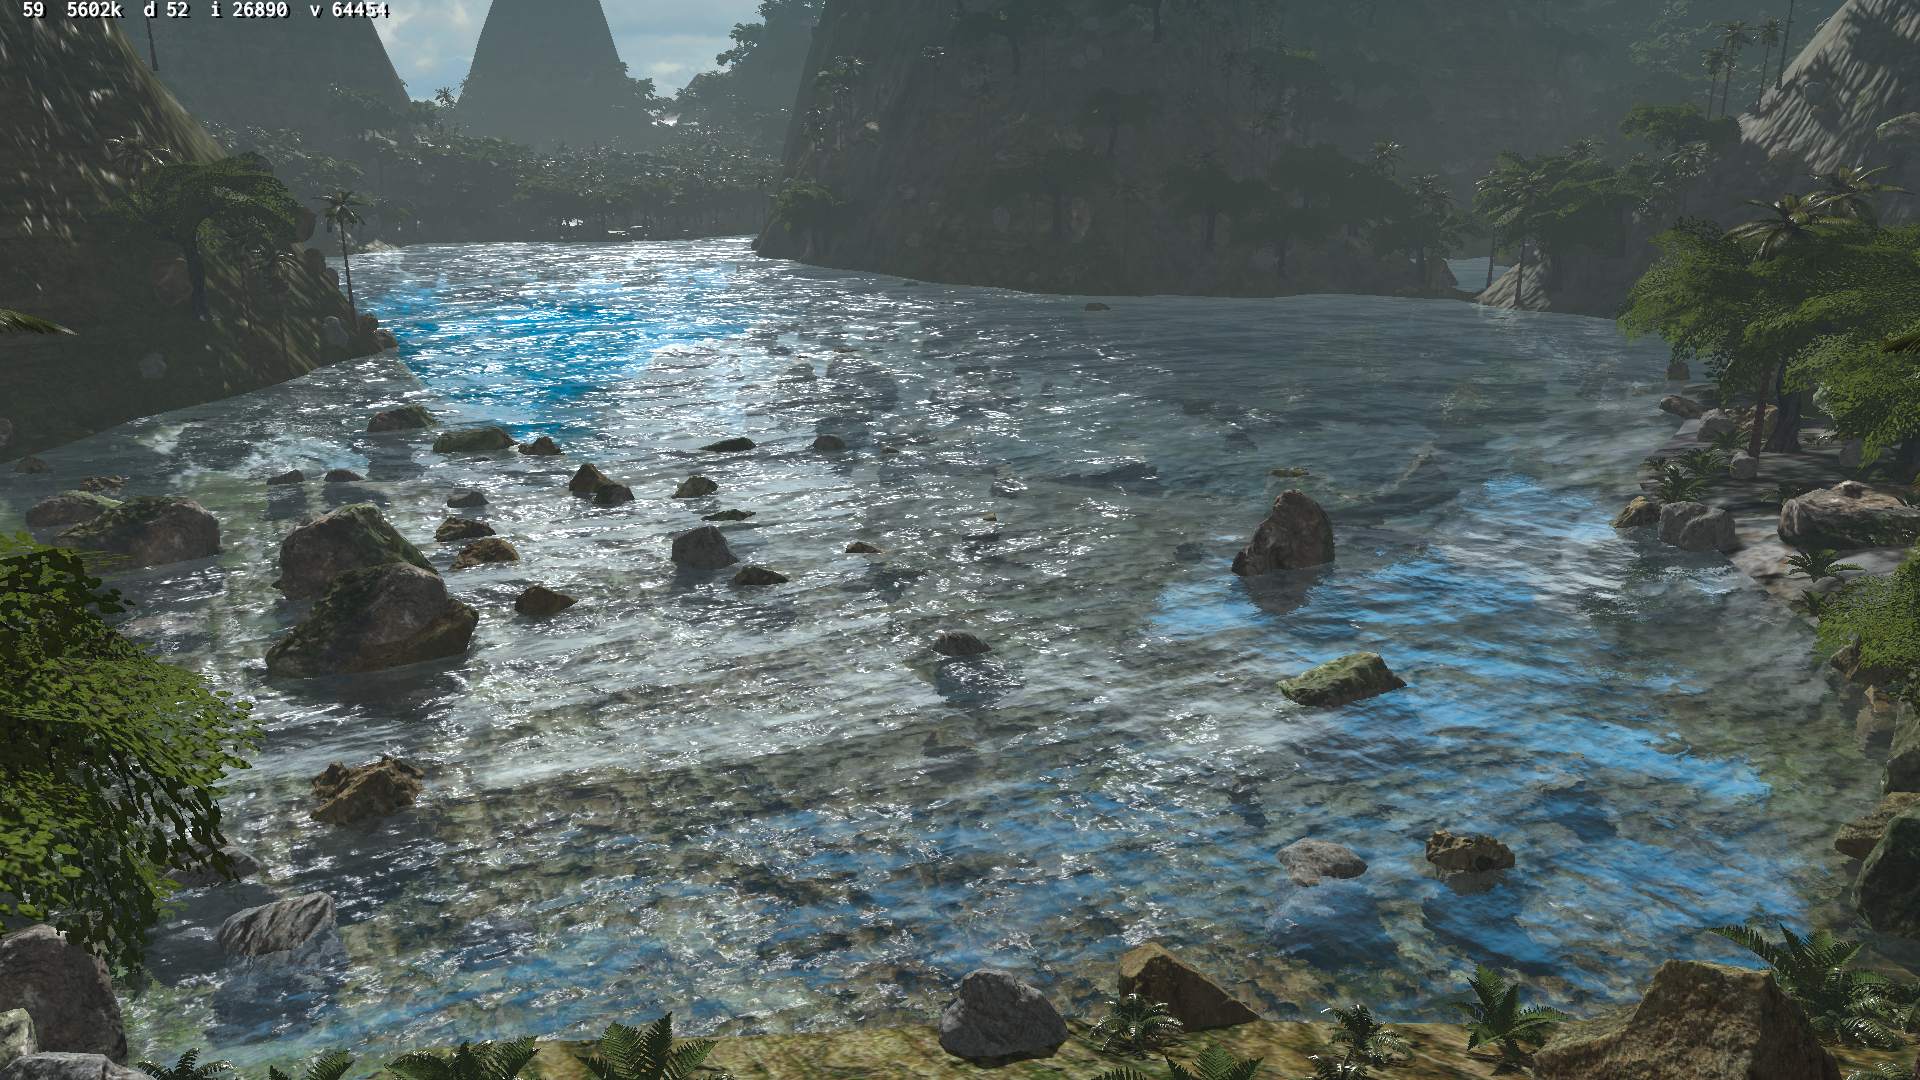
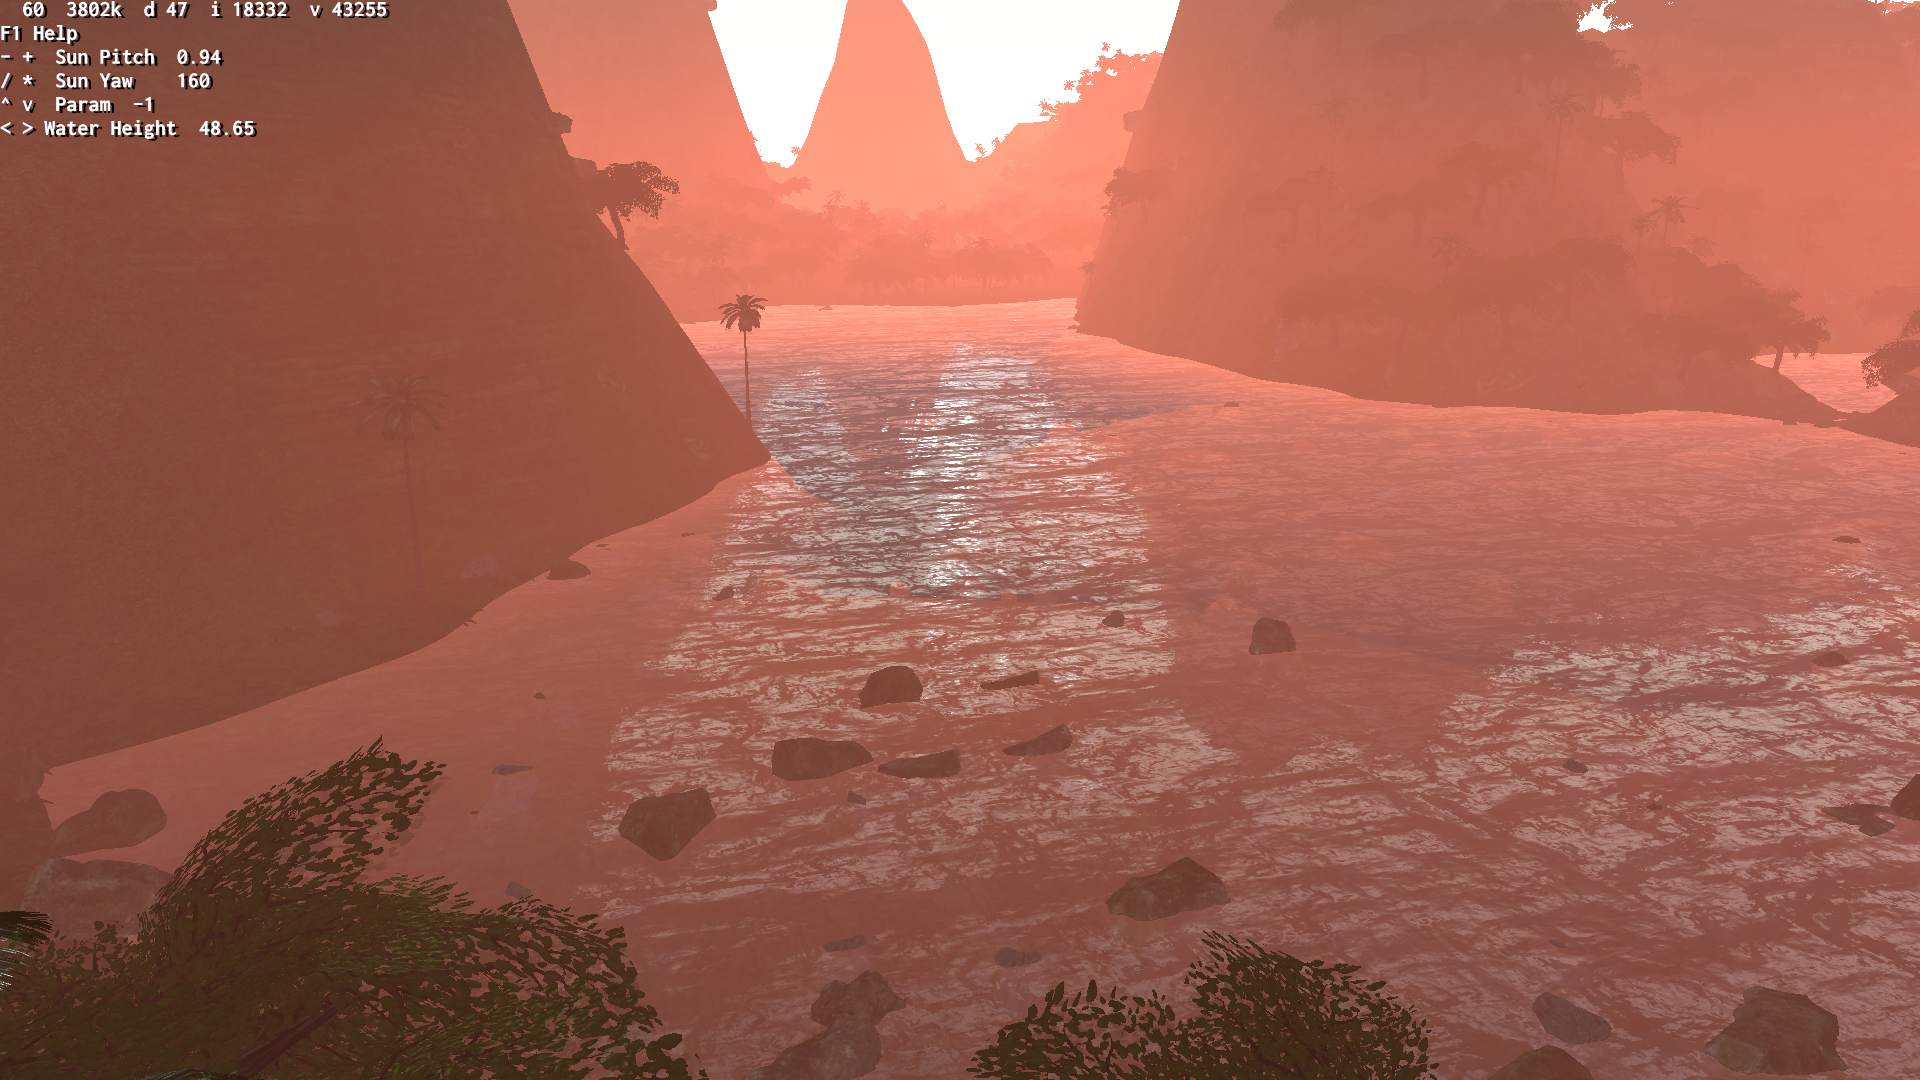
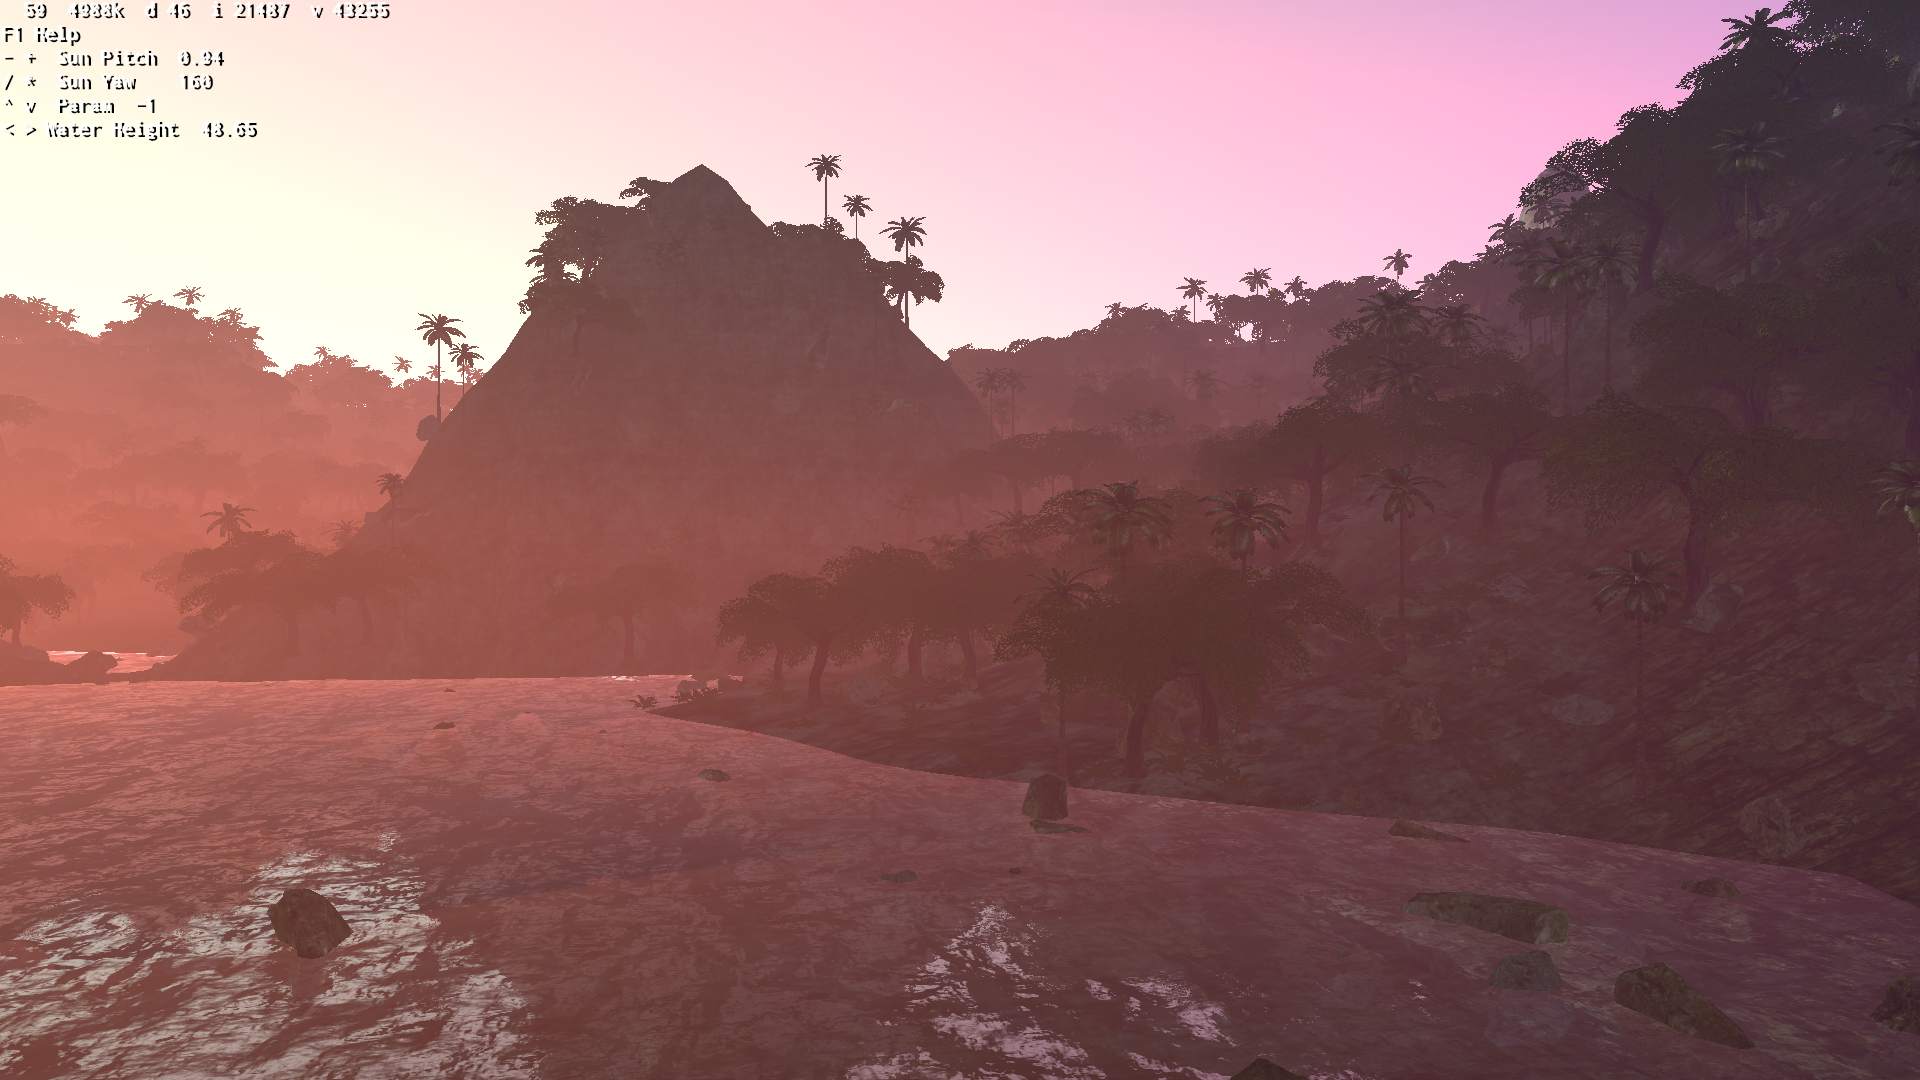
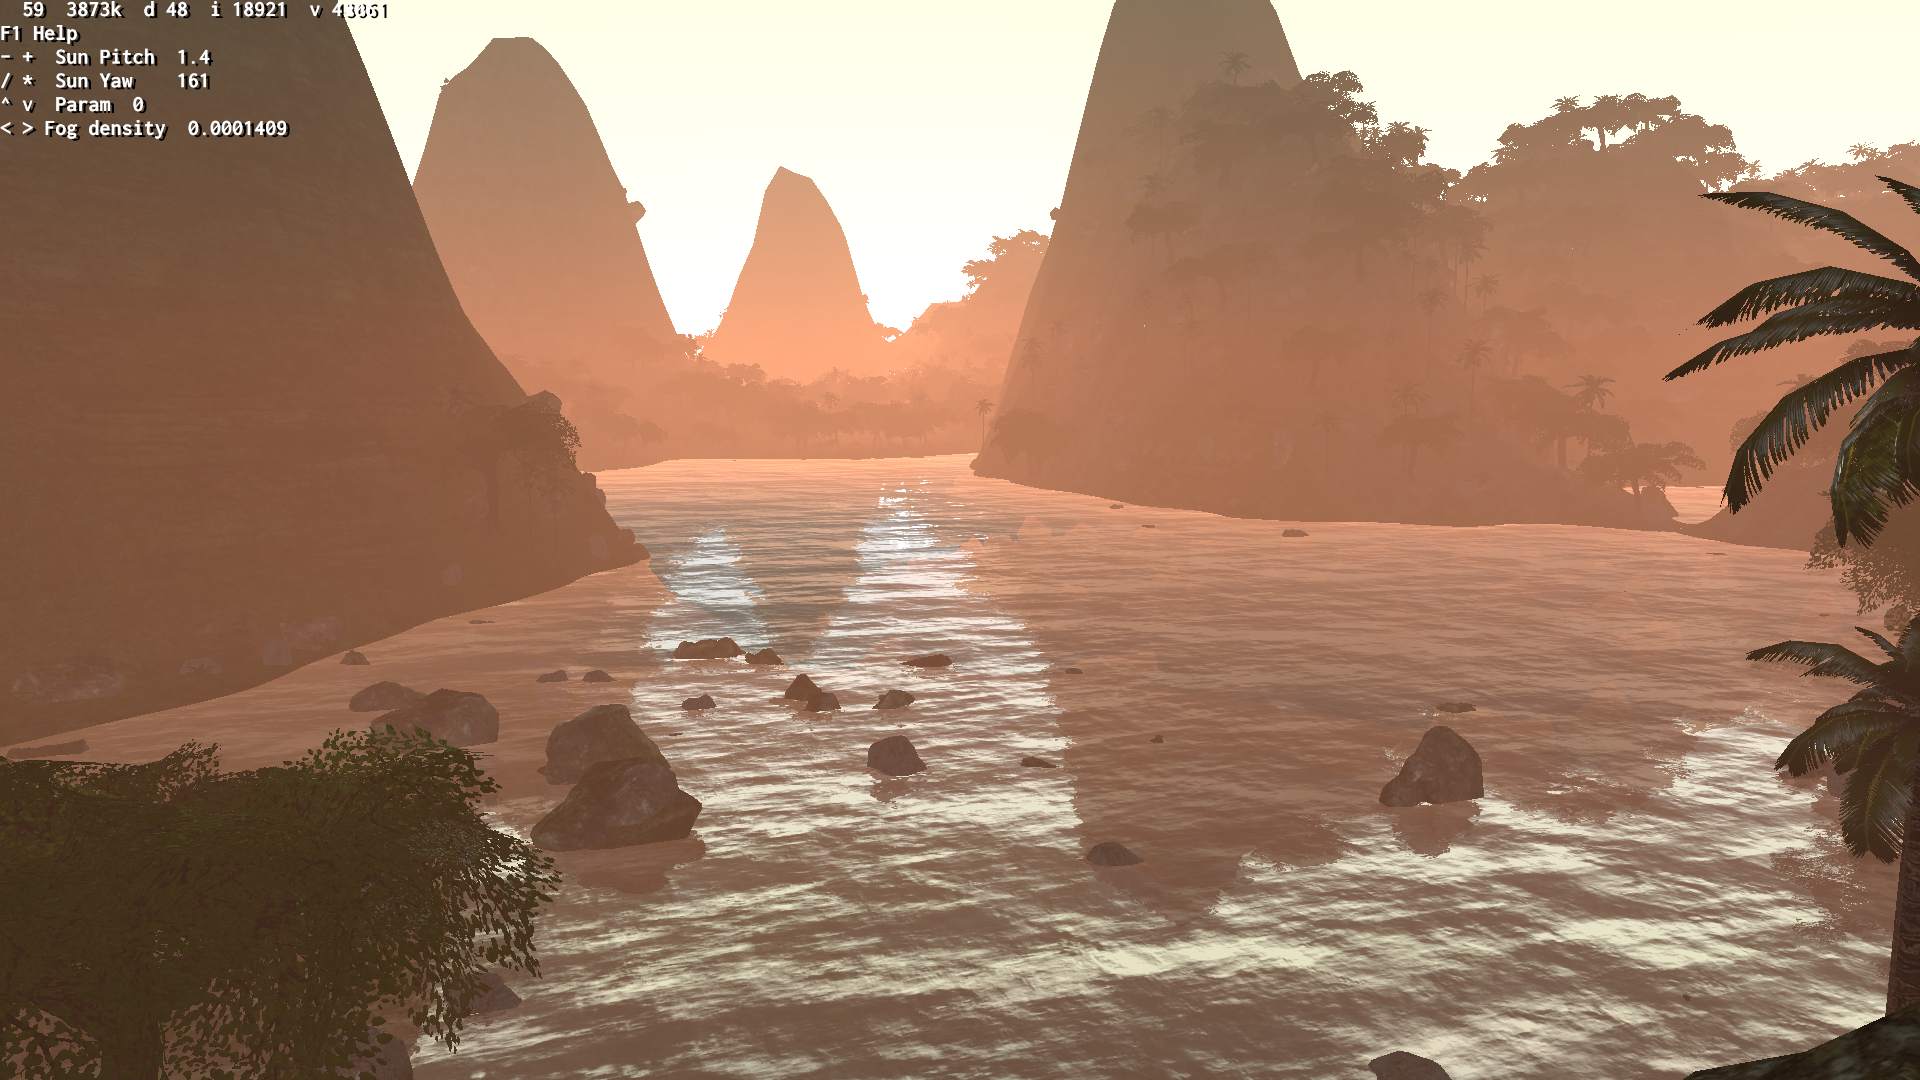
    Are here: new (with water reflection), old (only refractions).

    📂Sources

    Available here. Licensed: MIT.
    Unlike my other projects, where I choose GPLv3 that requires releasing modifications, under same license.

    It has no Gui or other dependencies and should be easy to build.

    🔍Details

    At first it was a project to test Ogre-Next and code needed to get things done in it. Surprisingly half (or more) is done different way than in Ogre. But I am also surprised by better performance and optimizations done by the engine.

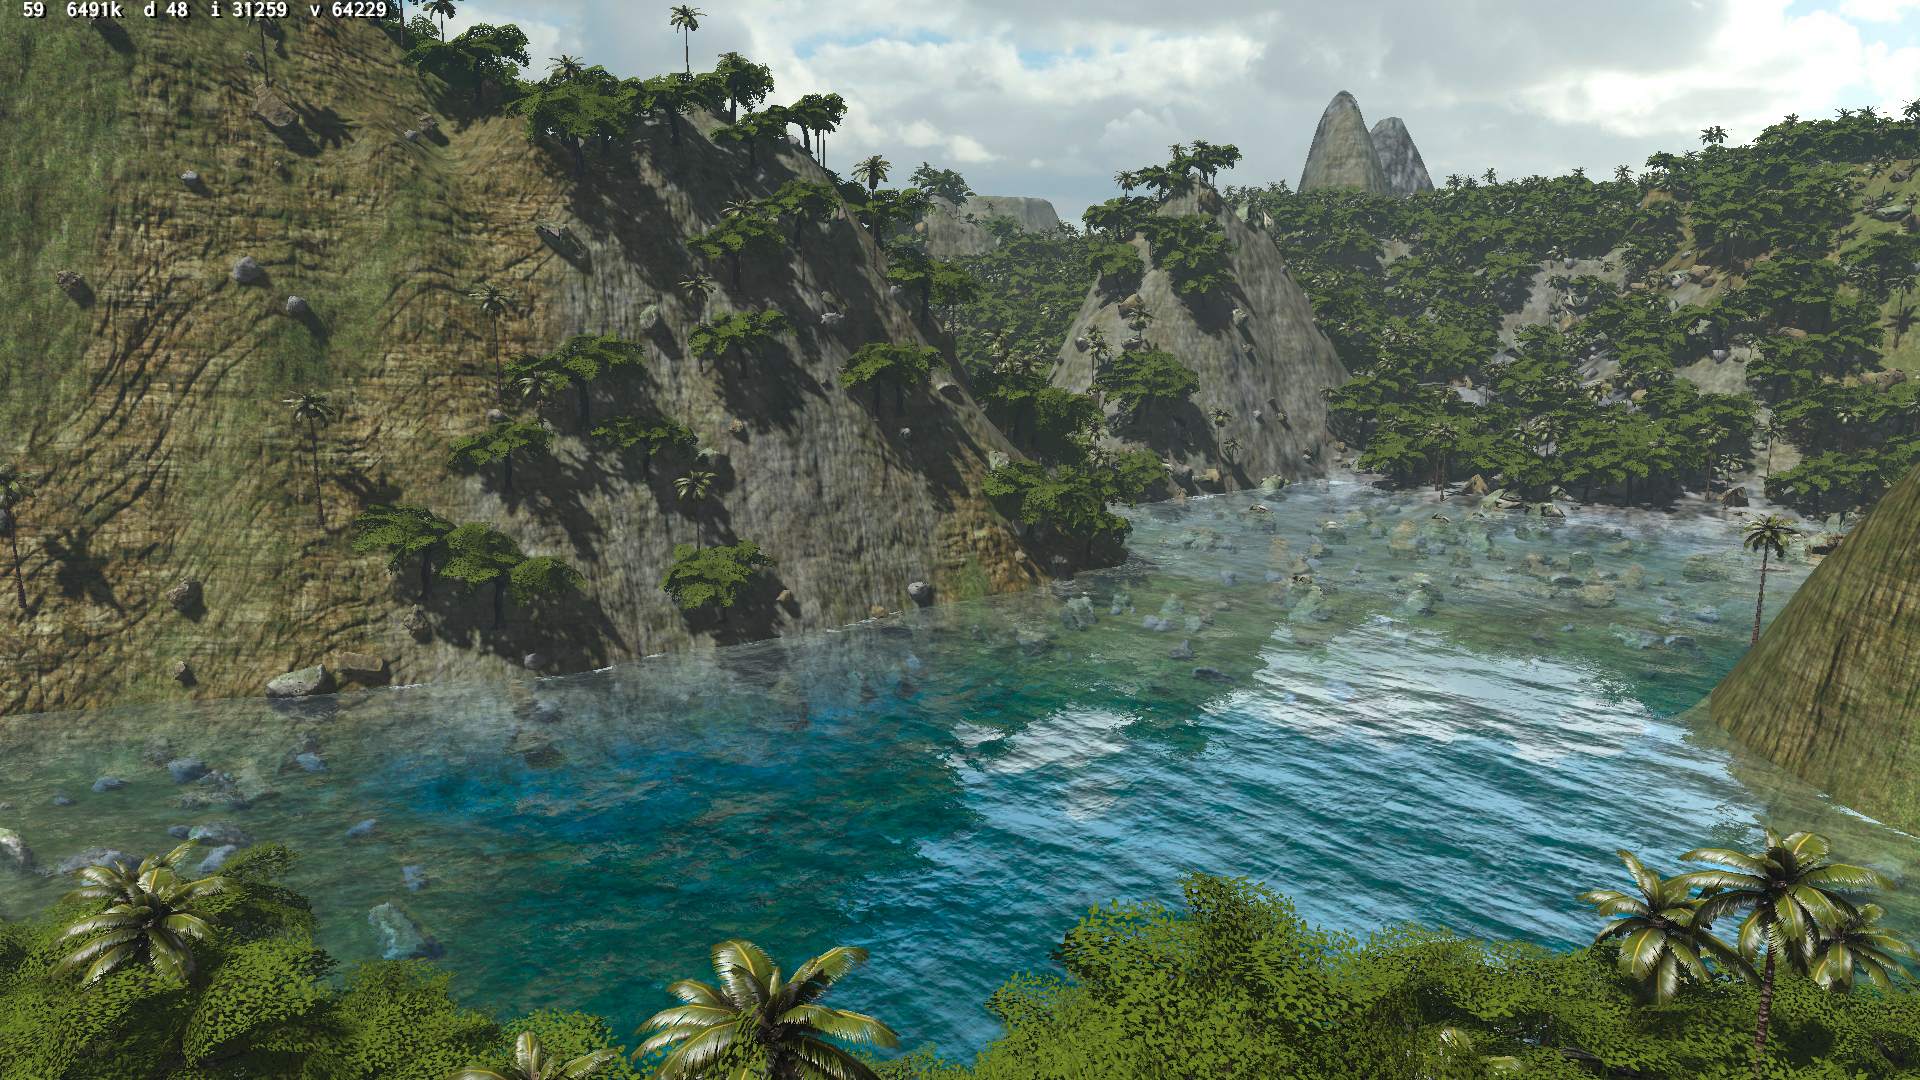
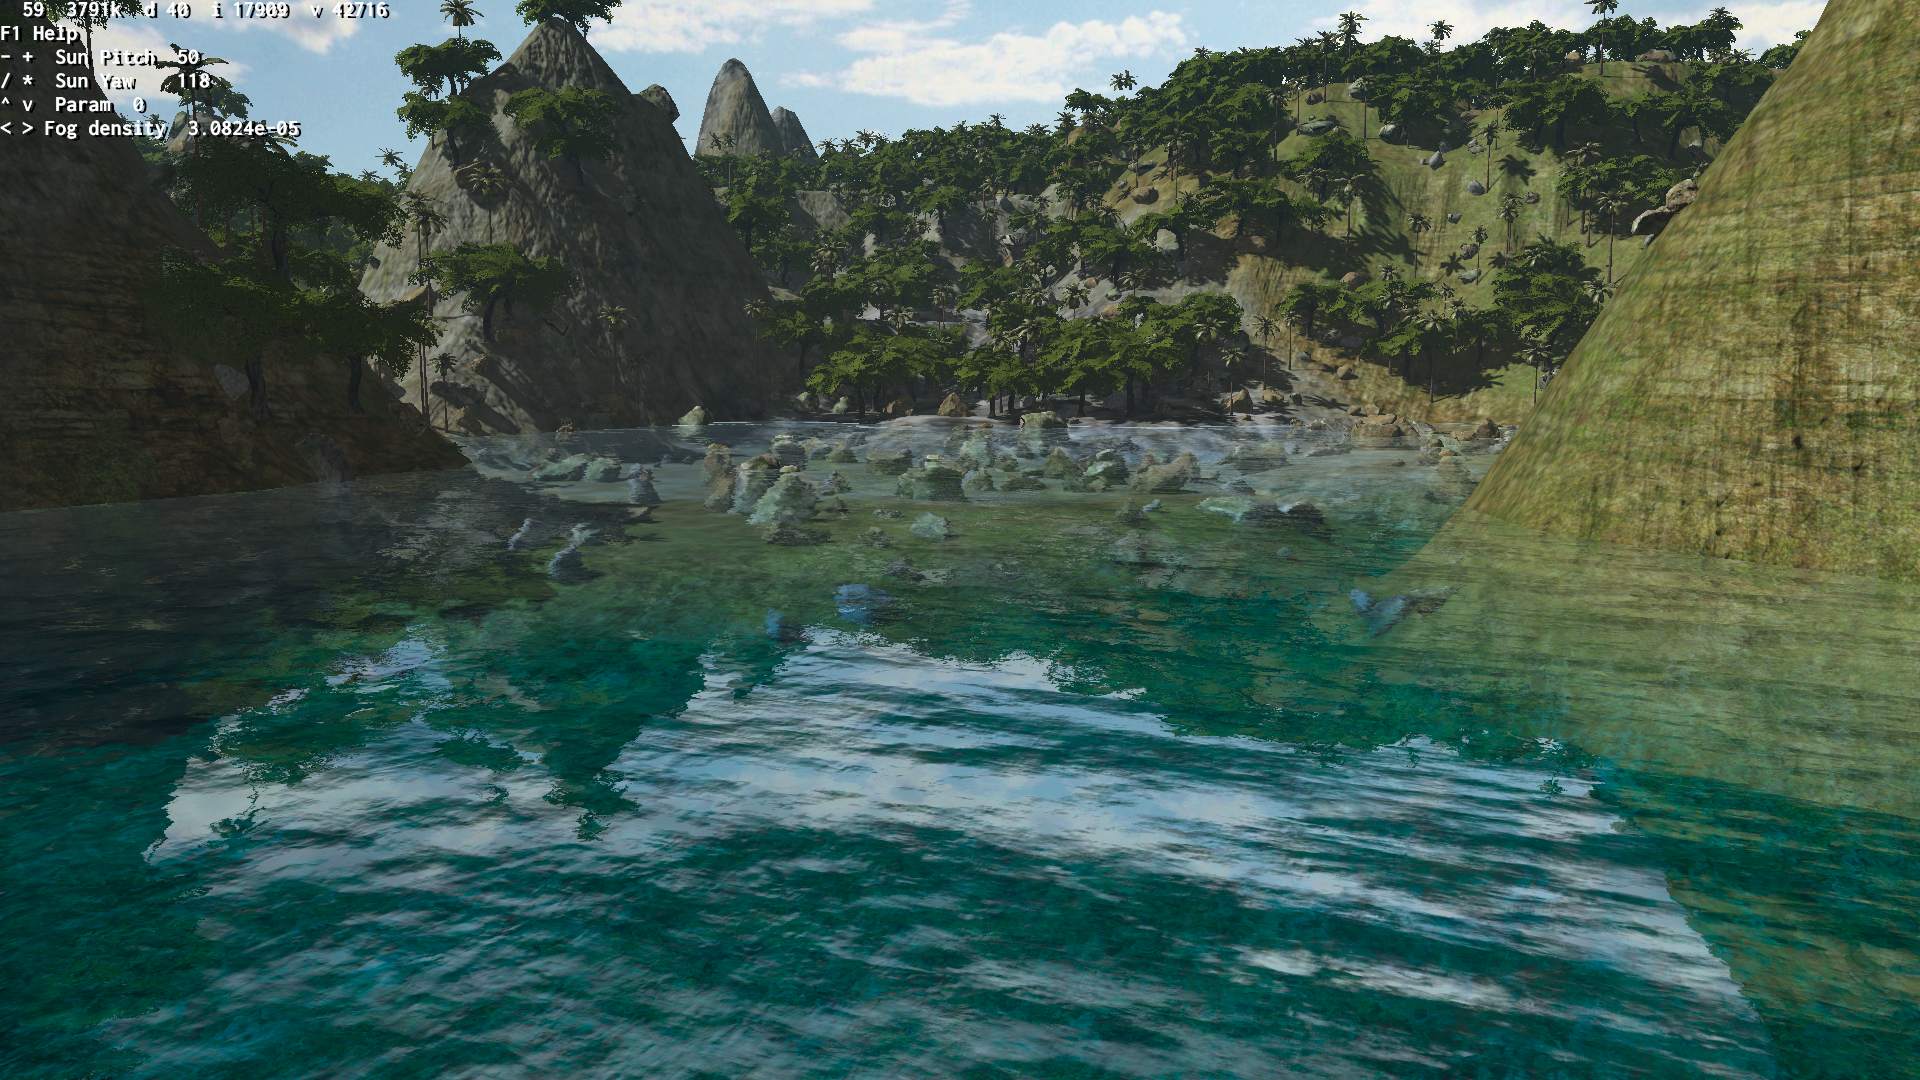
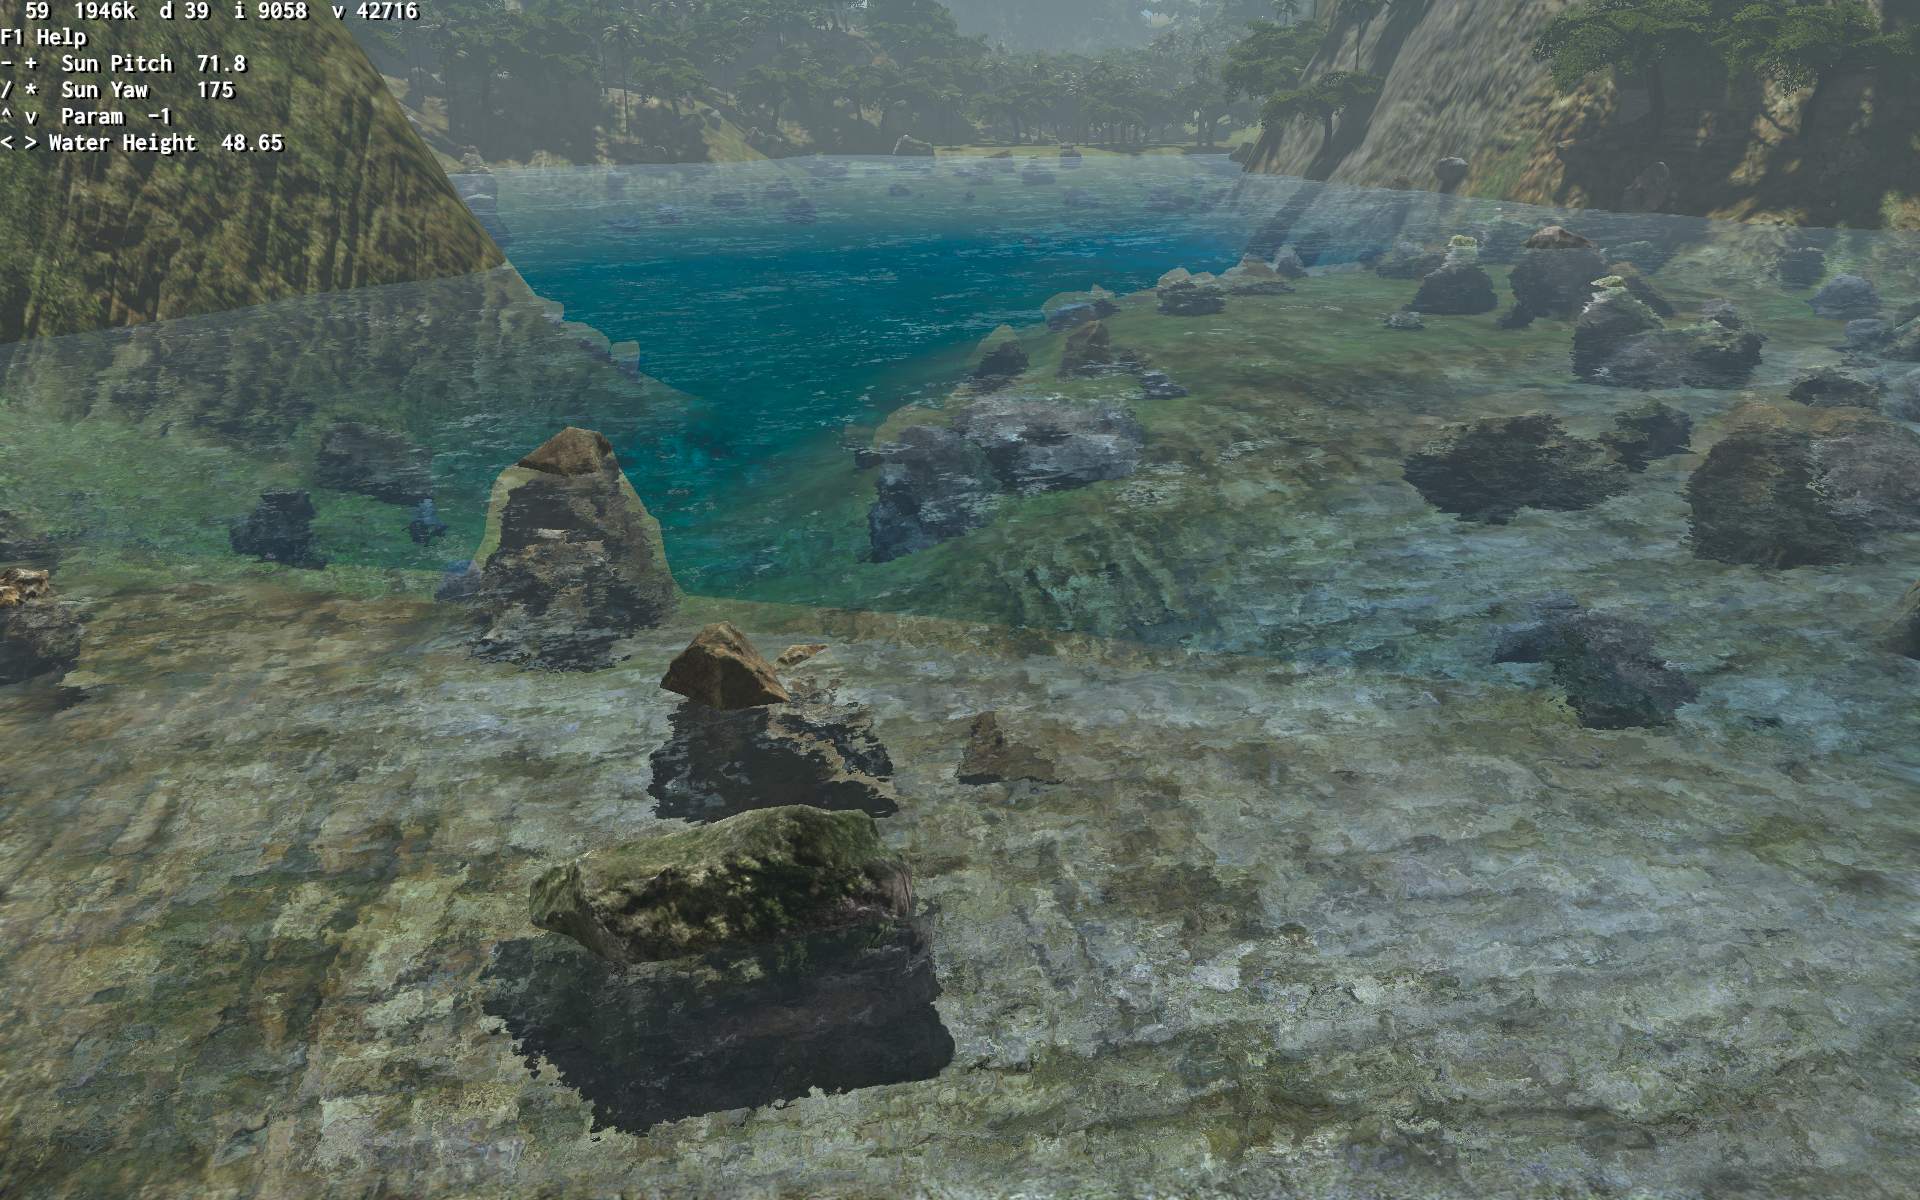
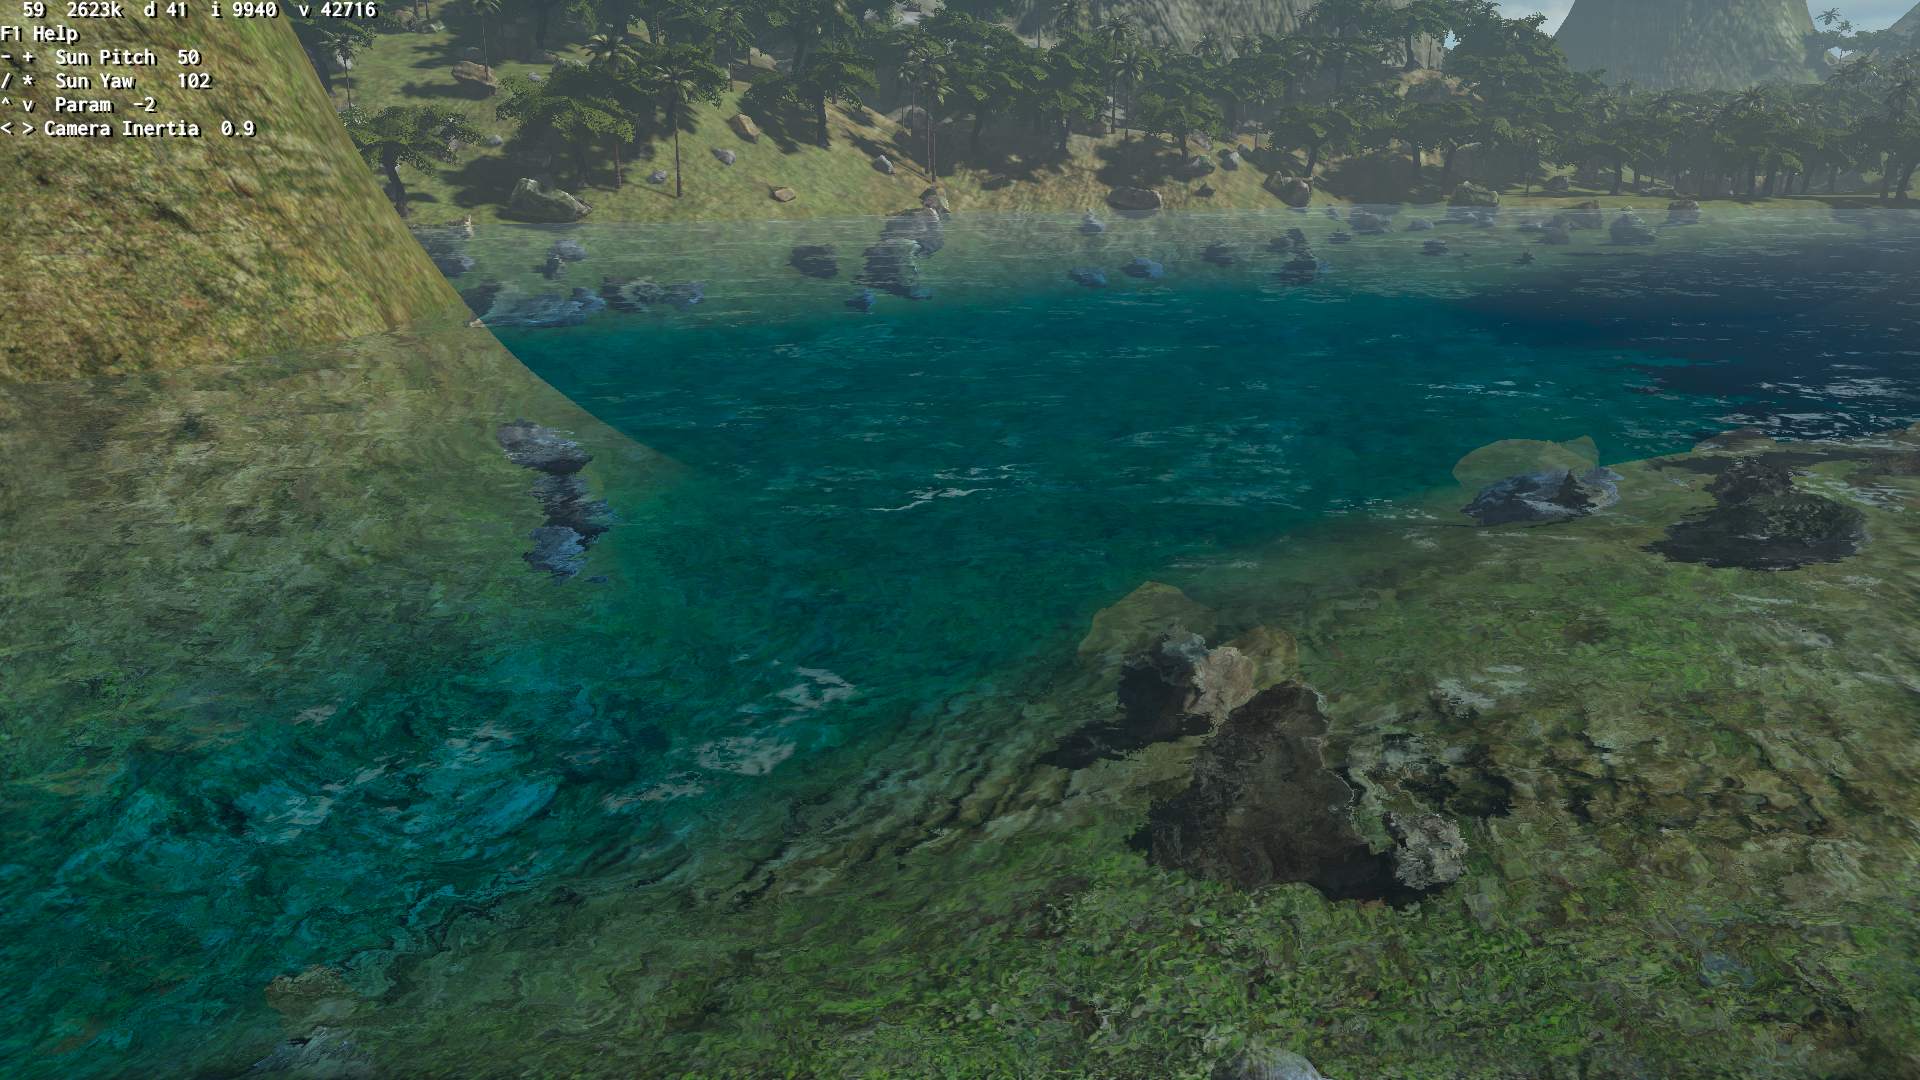
    It is also a good tool to test and fix bugs in Ogre-Next, e.g. many for planar reflections used for water.

    Recently I also updated it with some media from Stunt Rally 3 to make it look better and be a showcase.

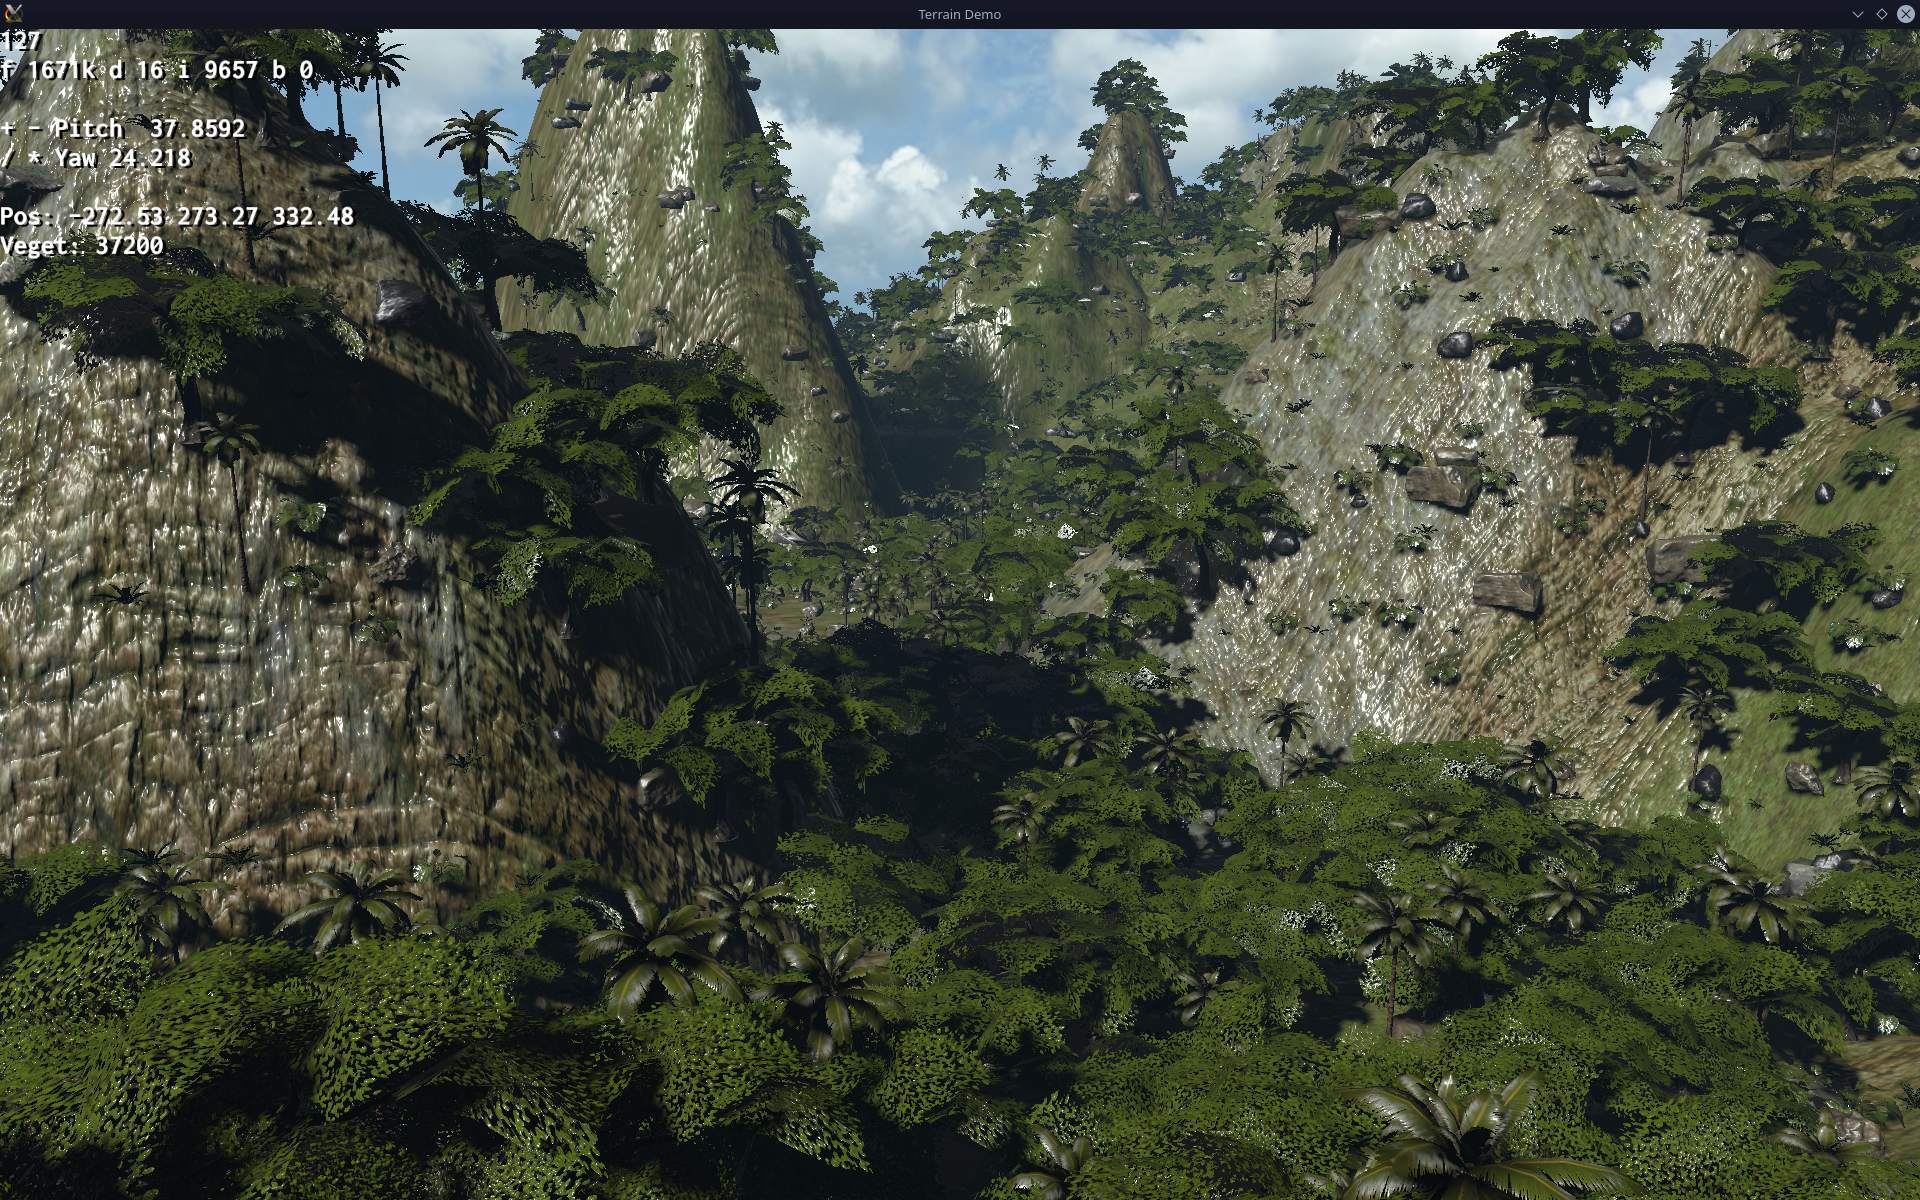
    📷Gallery

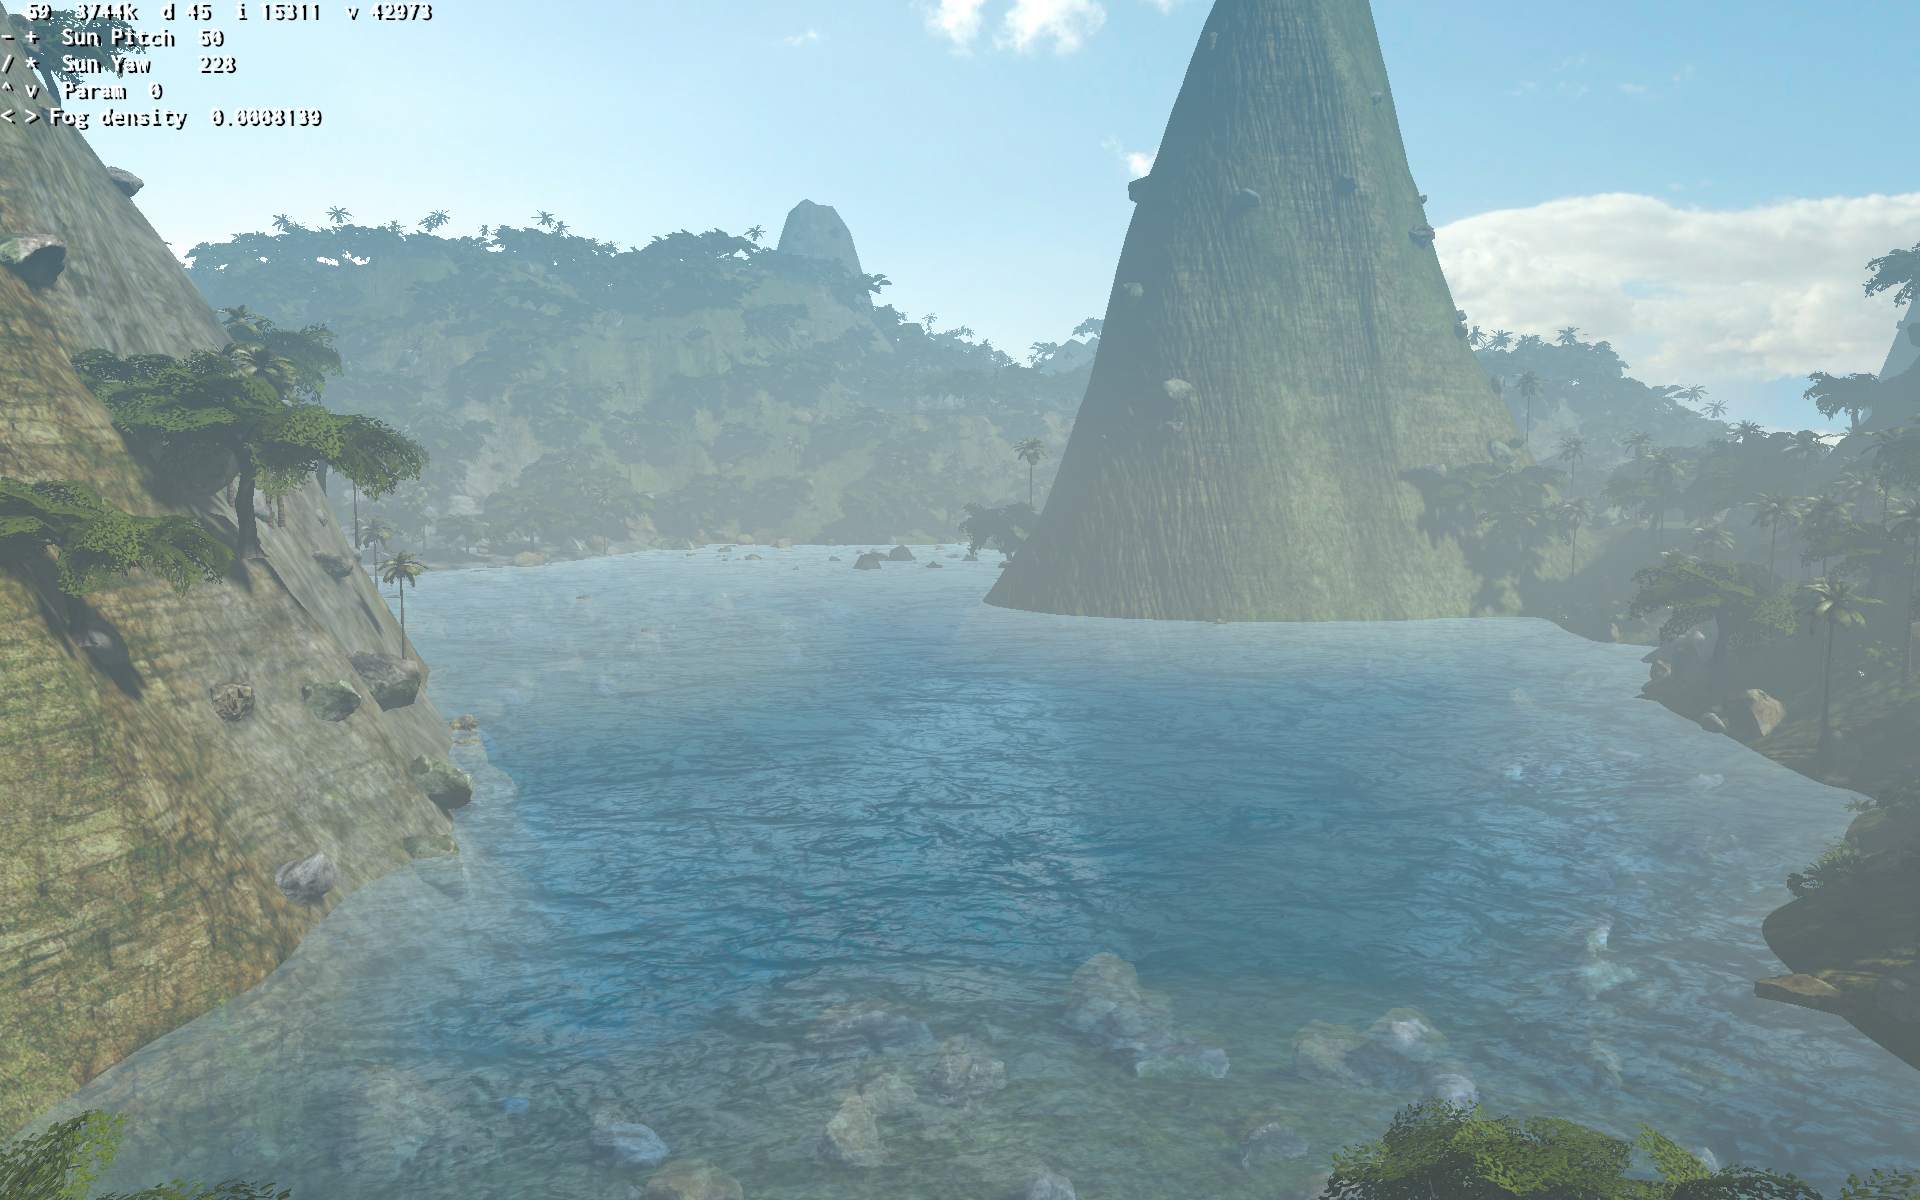
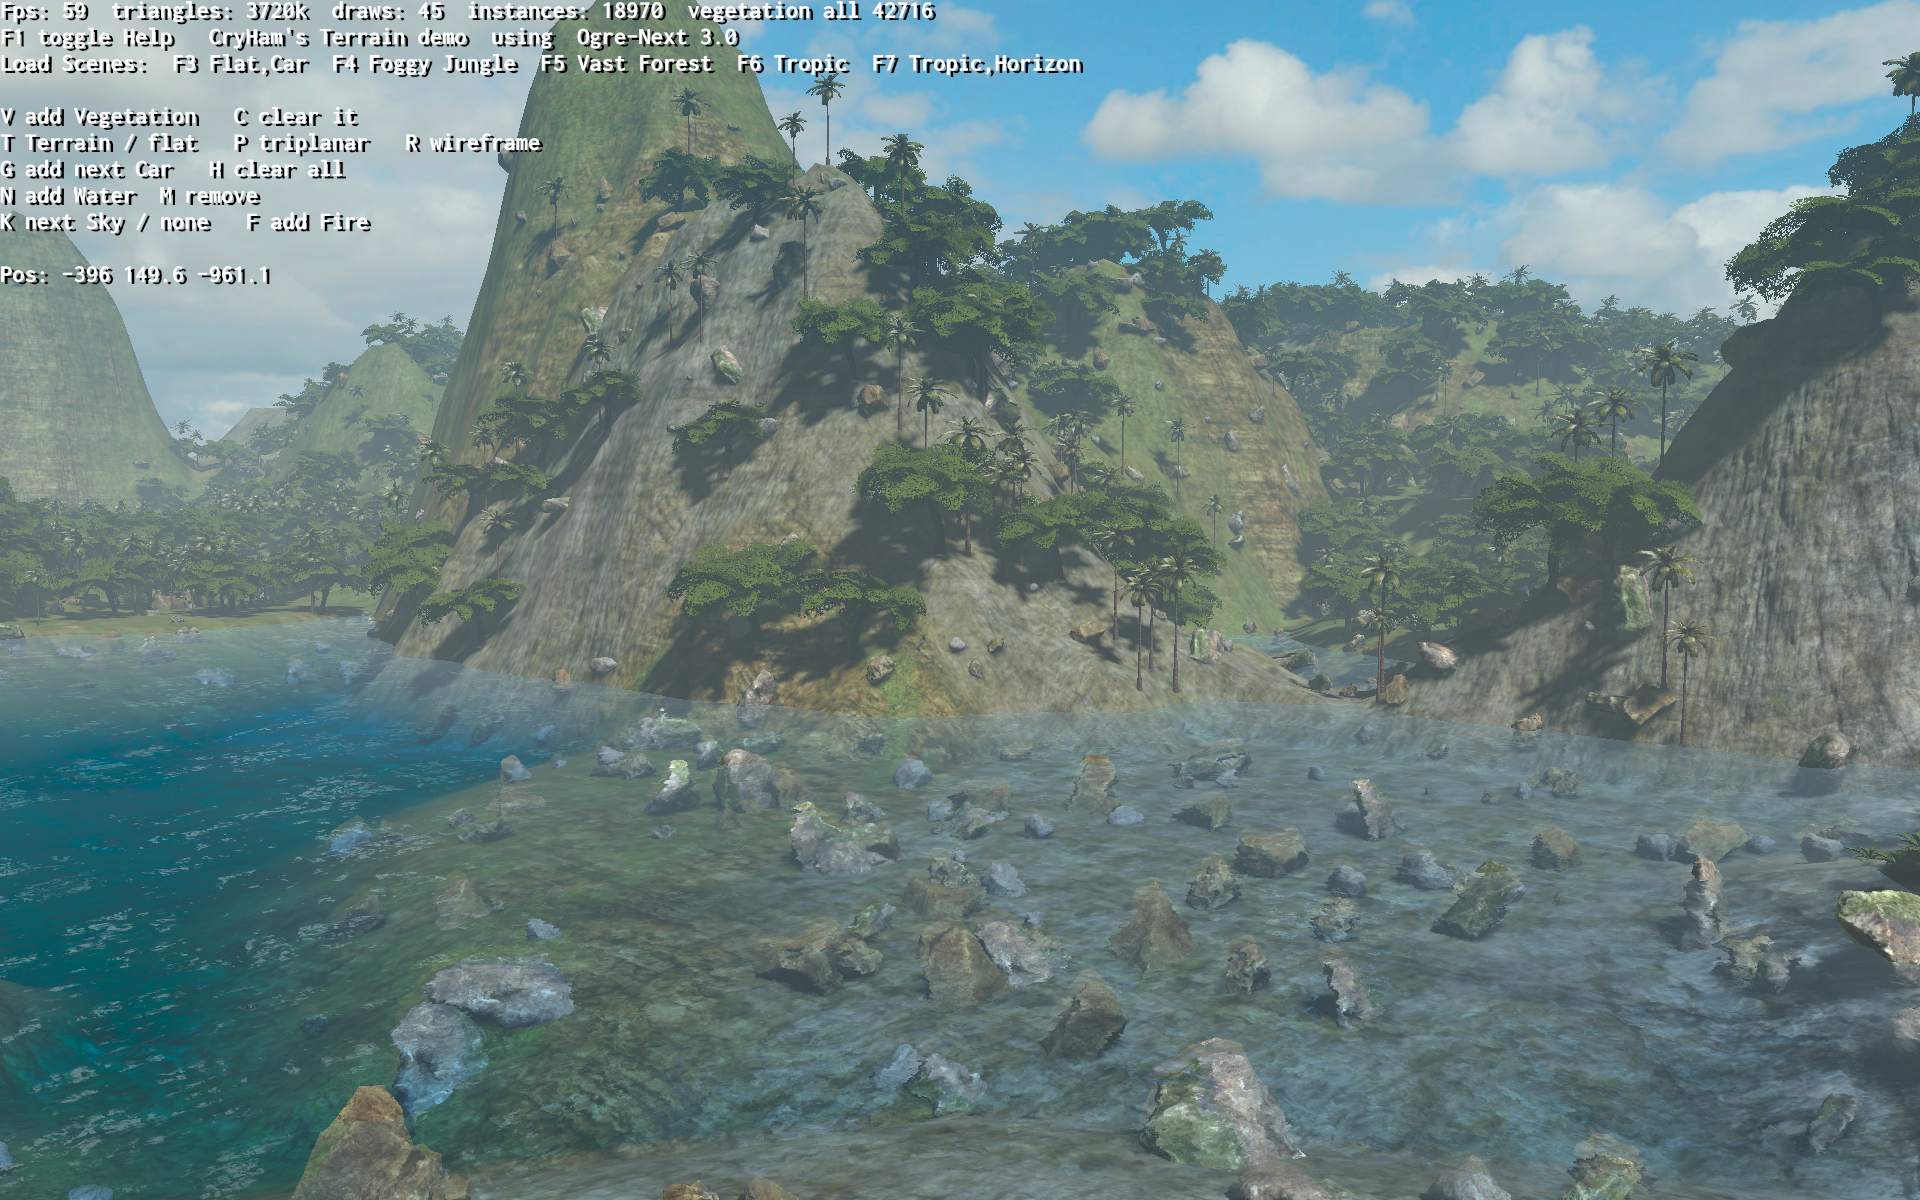
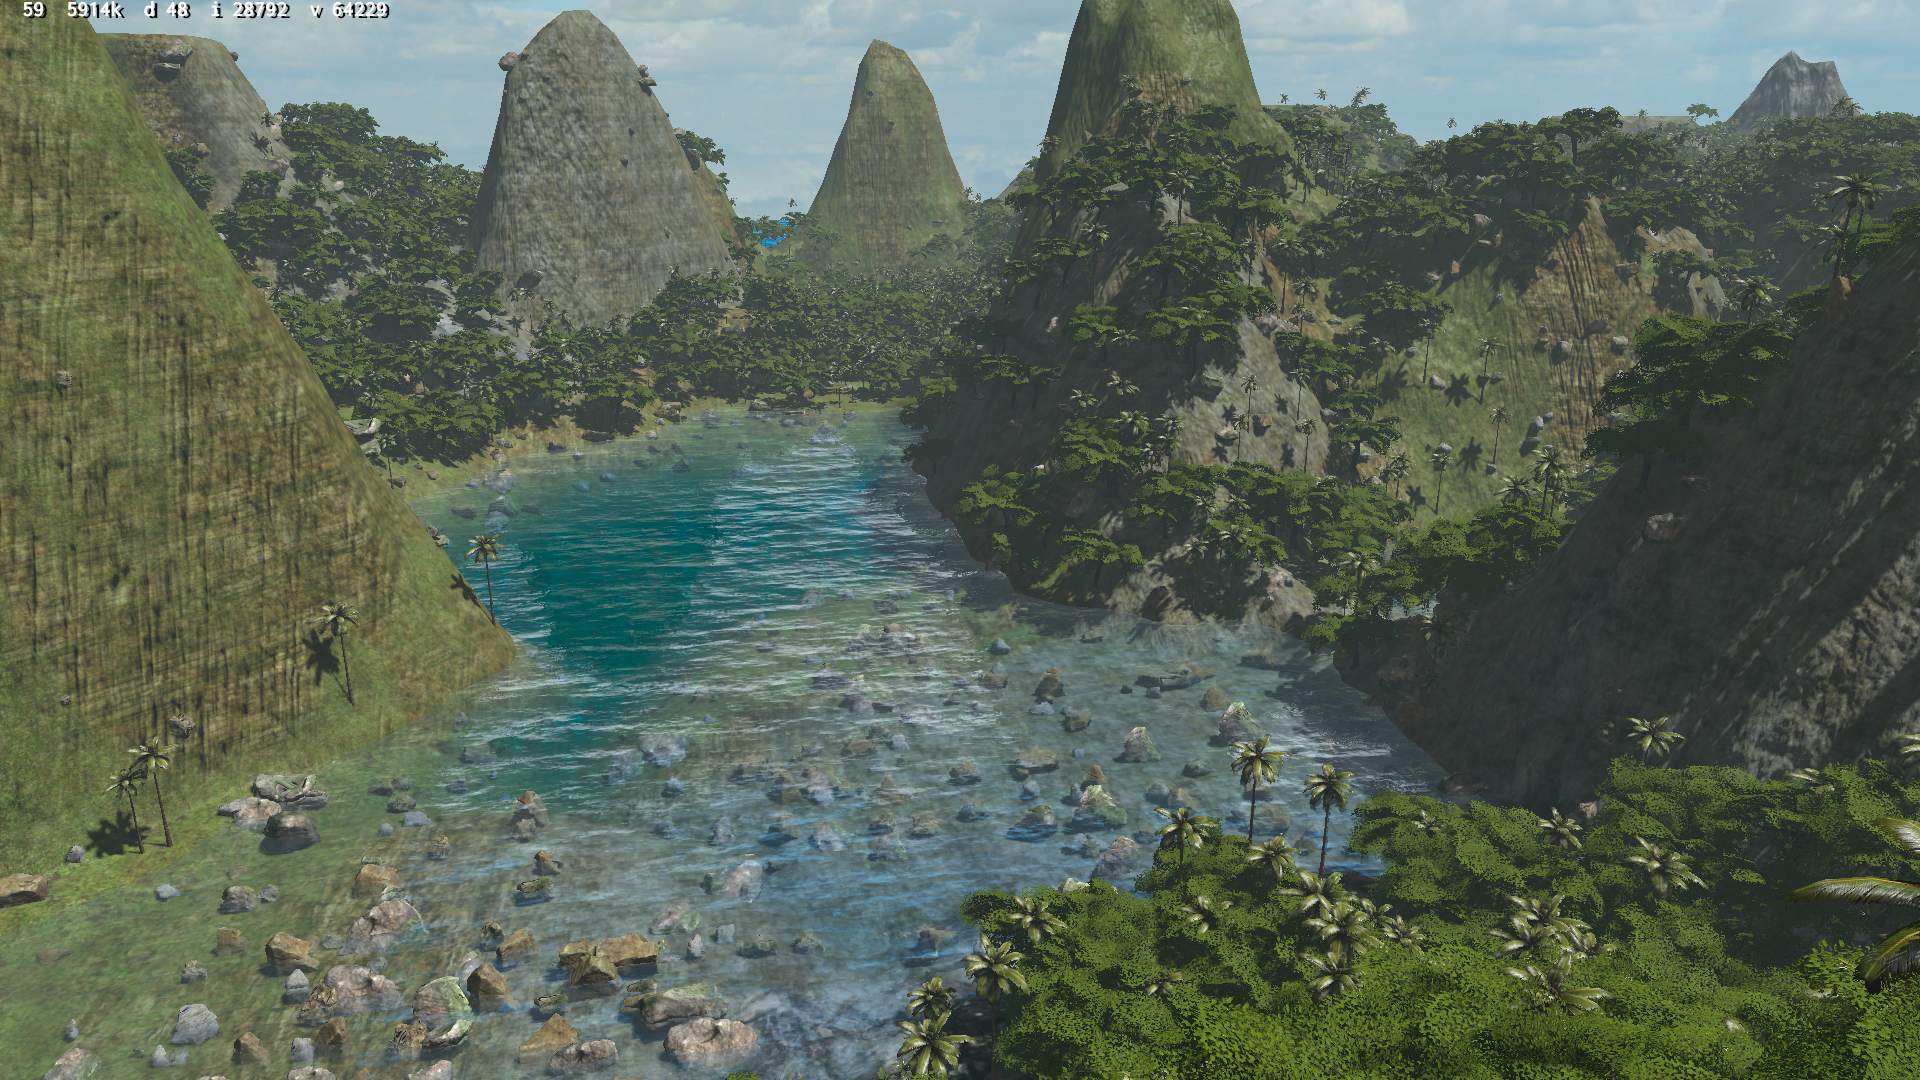
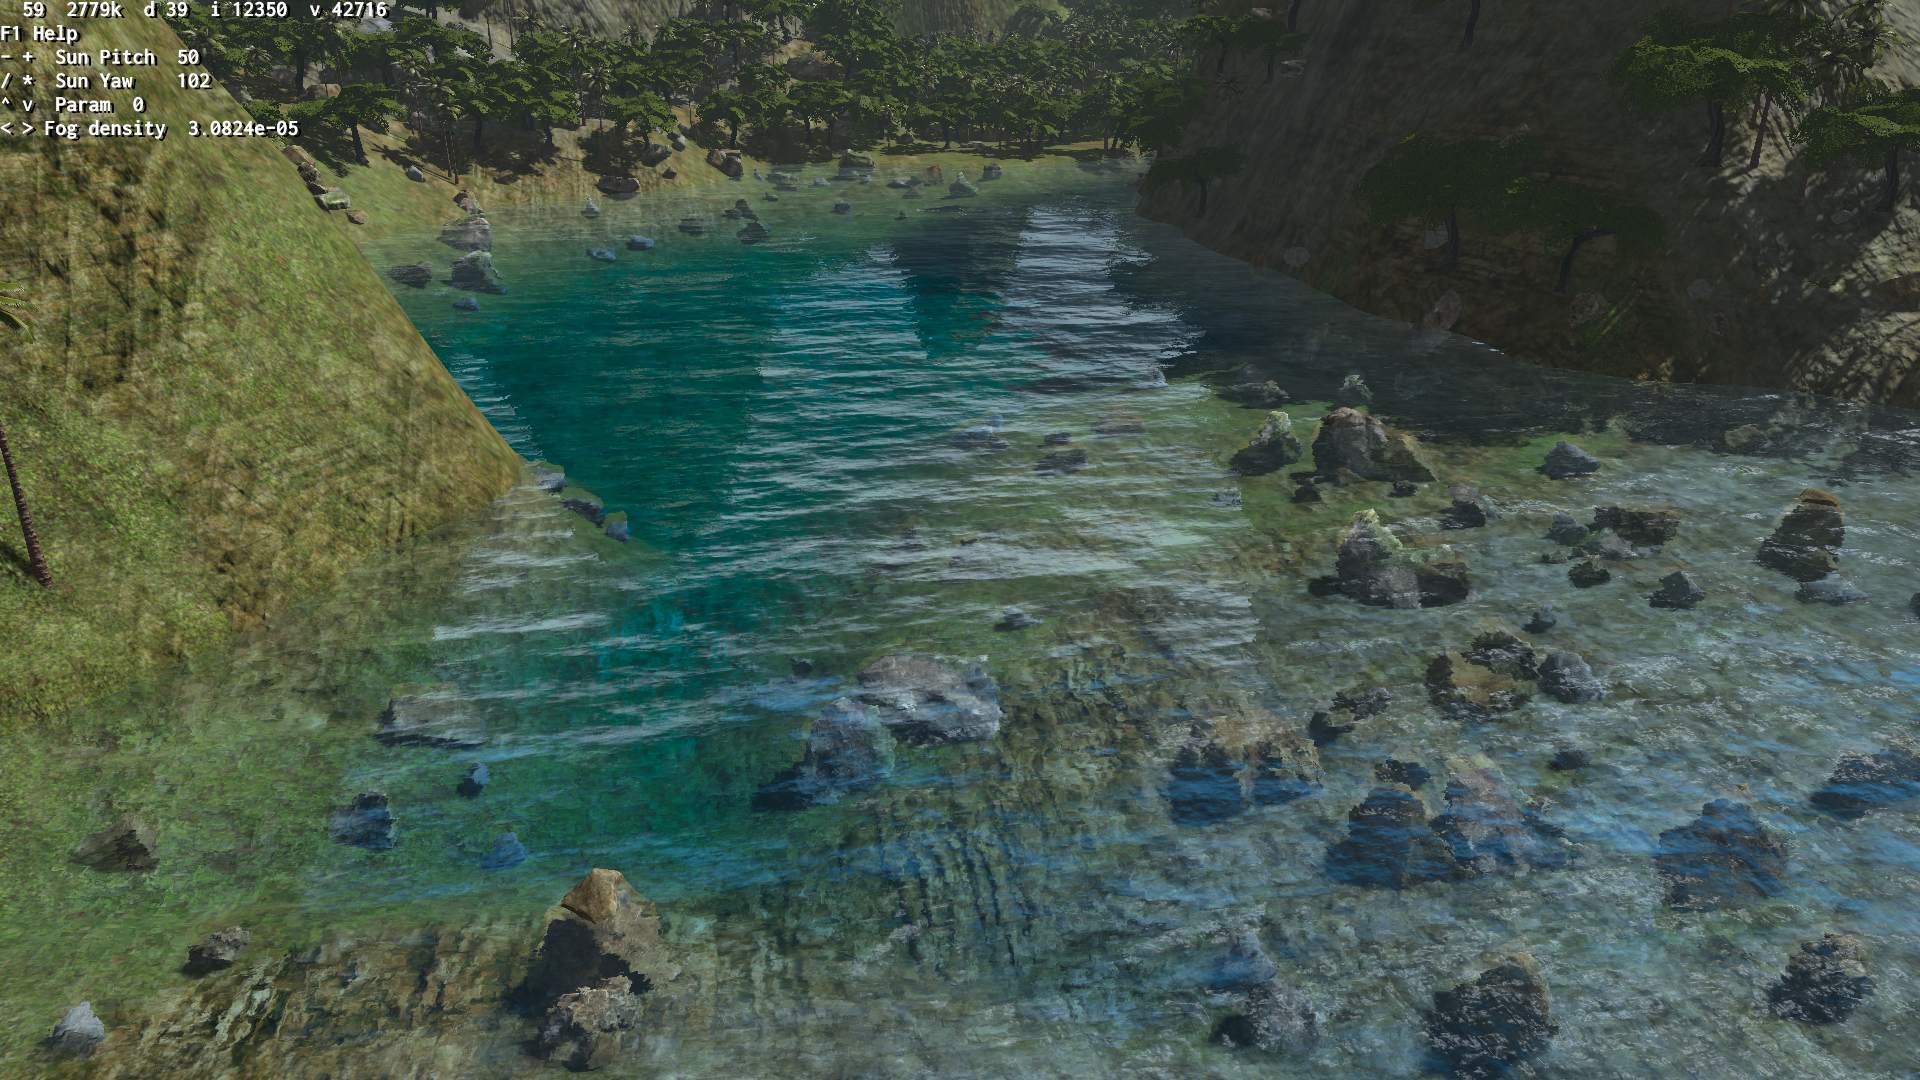
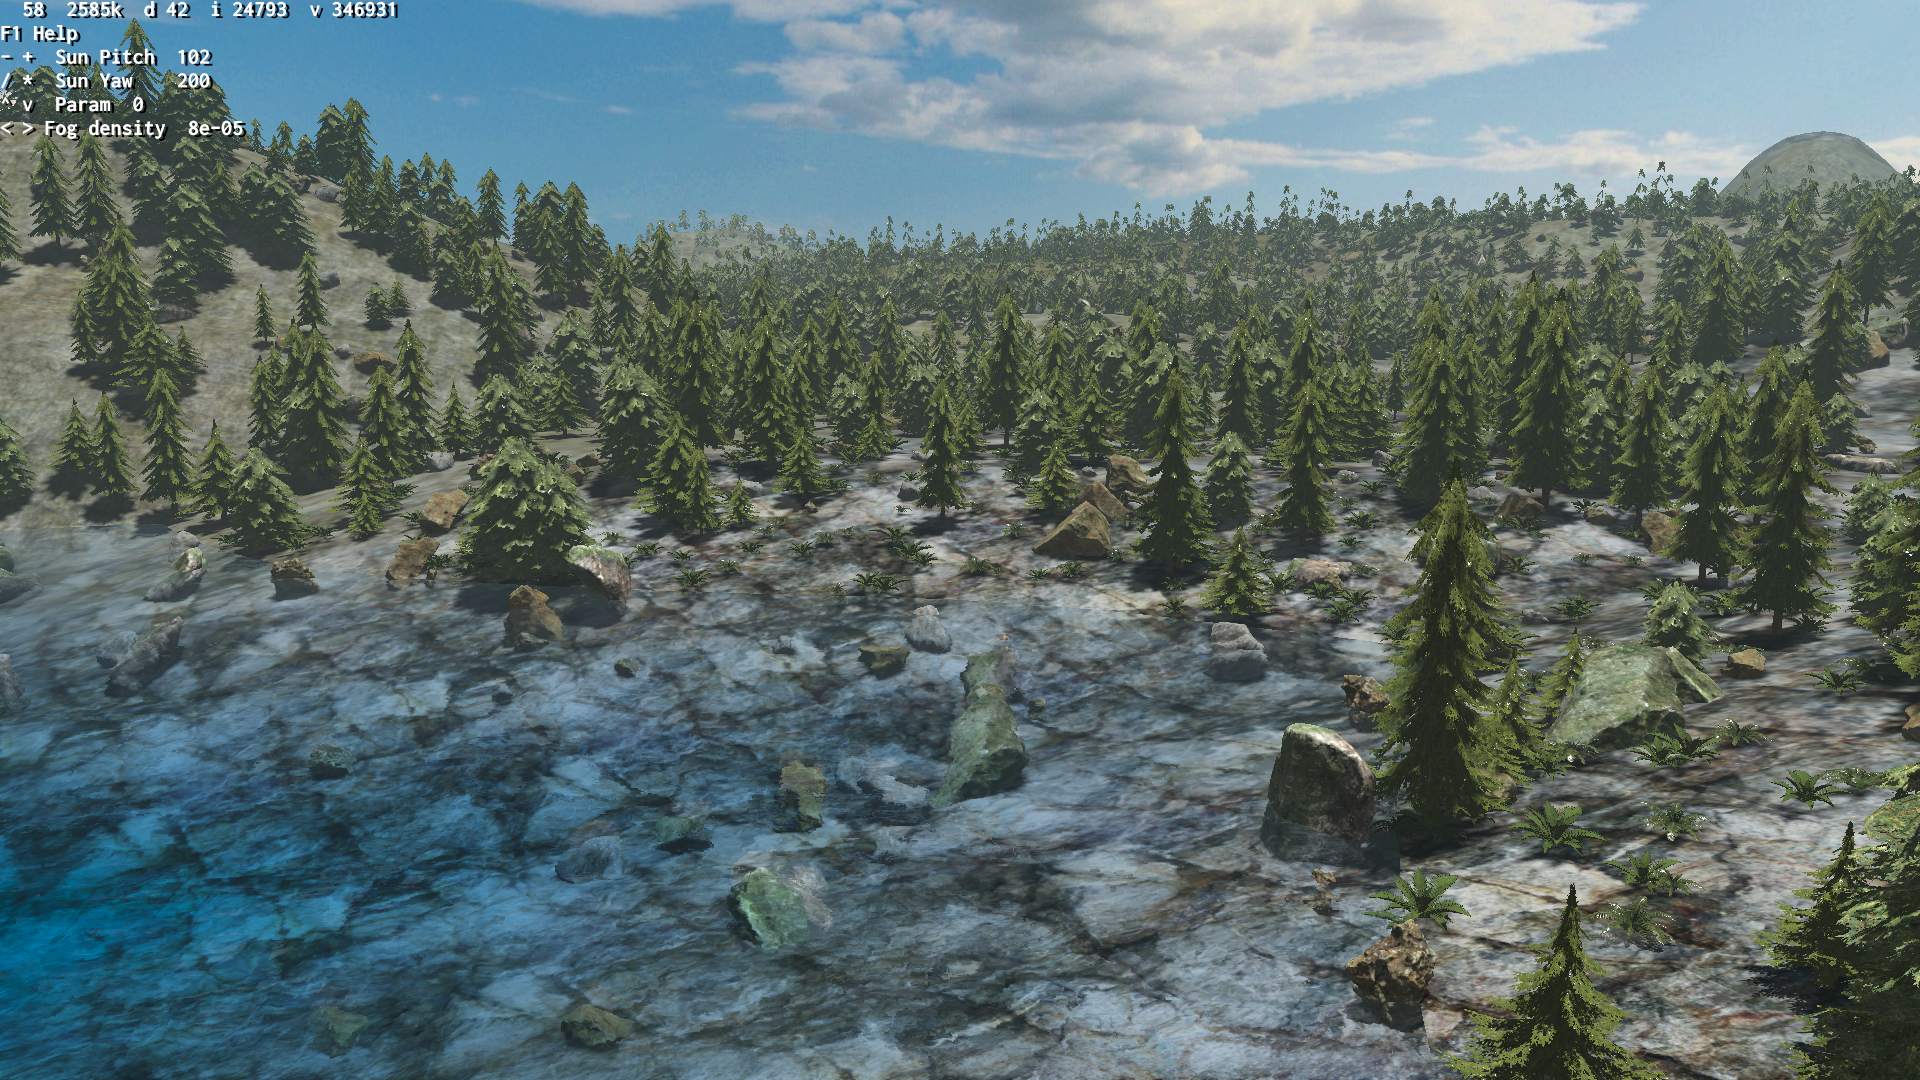
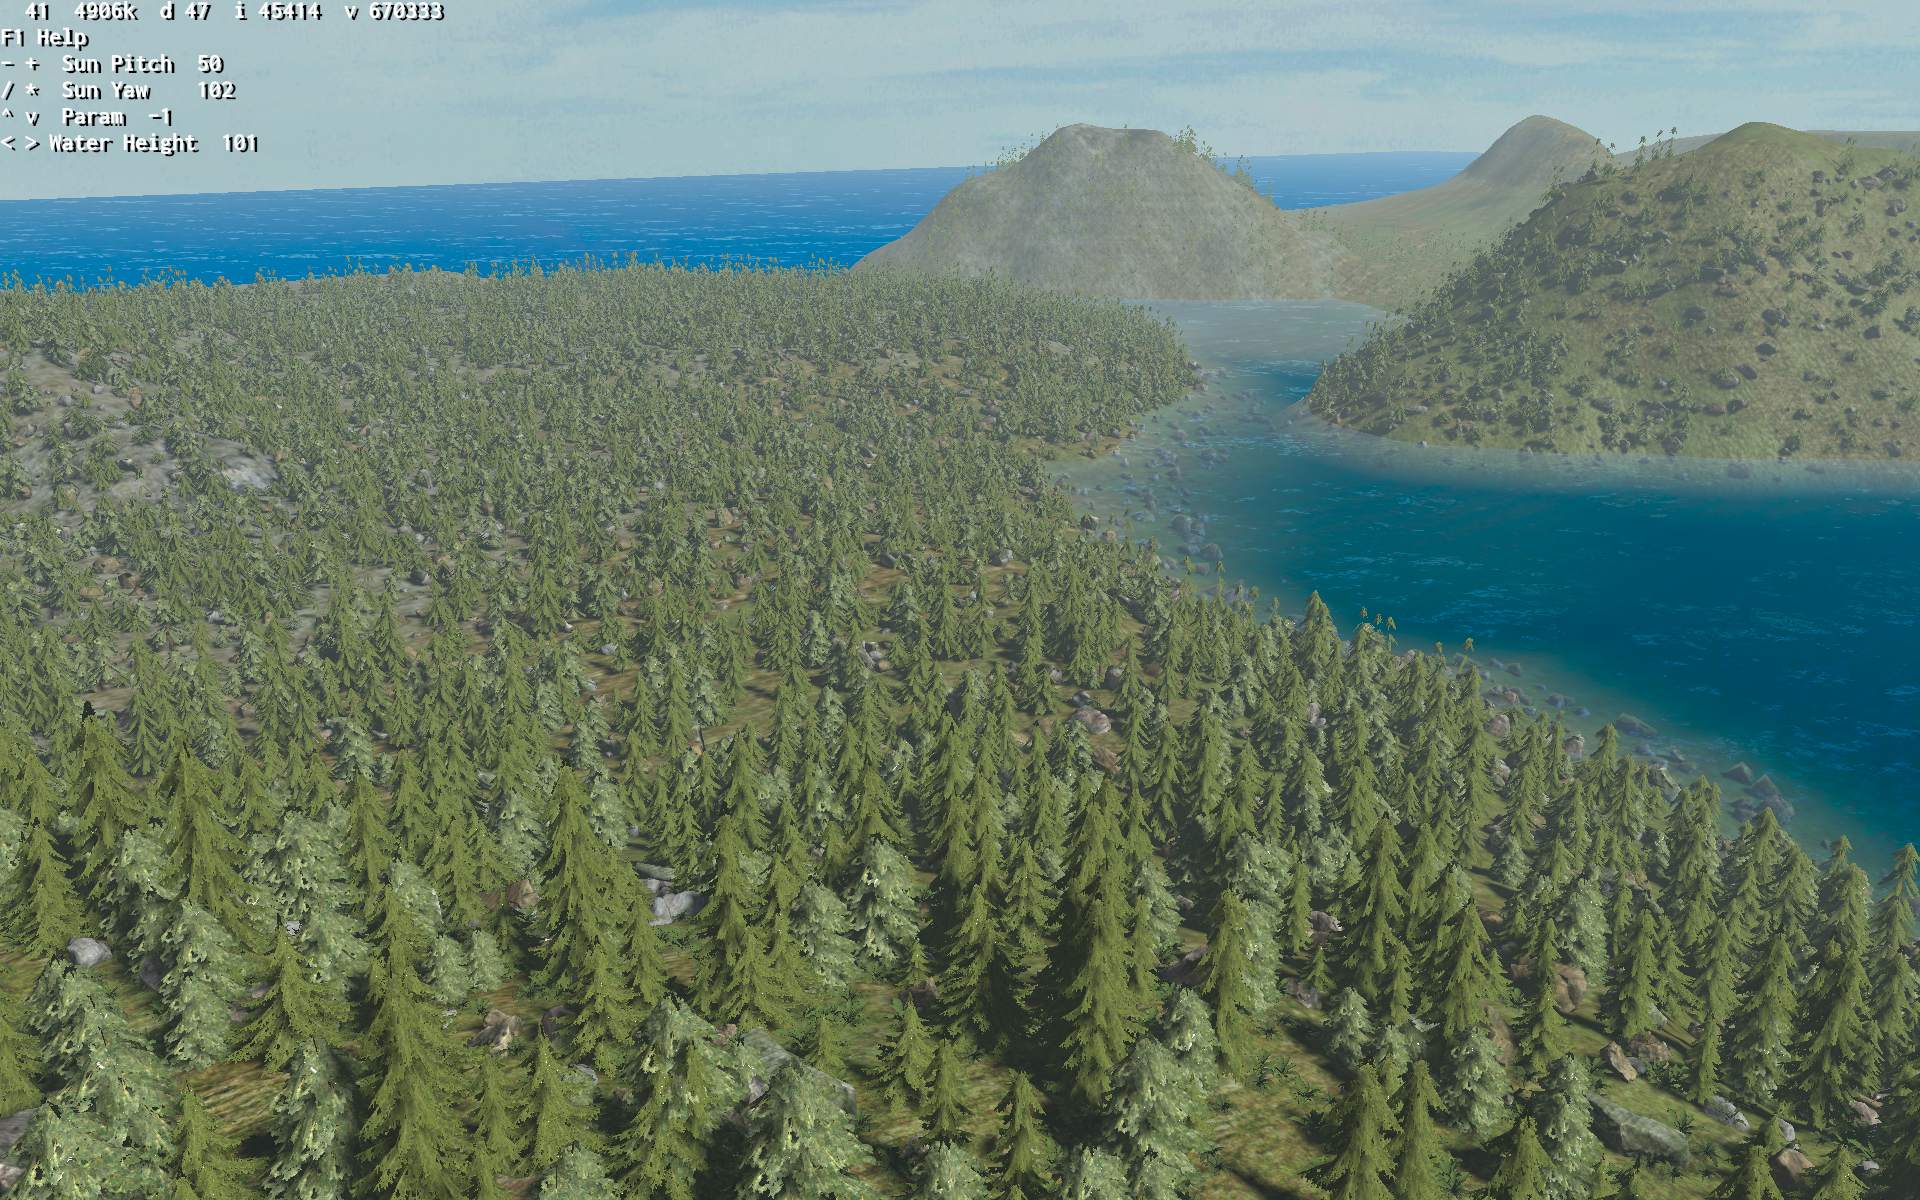
    From 2024 with water:

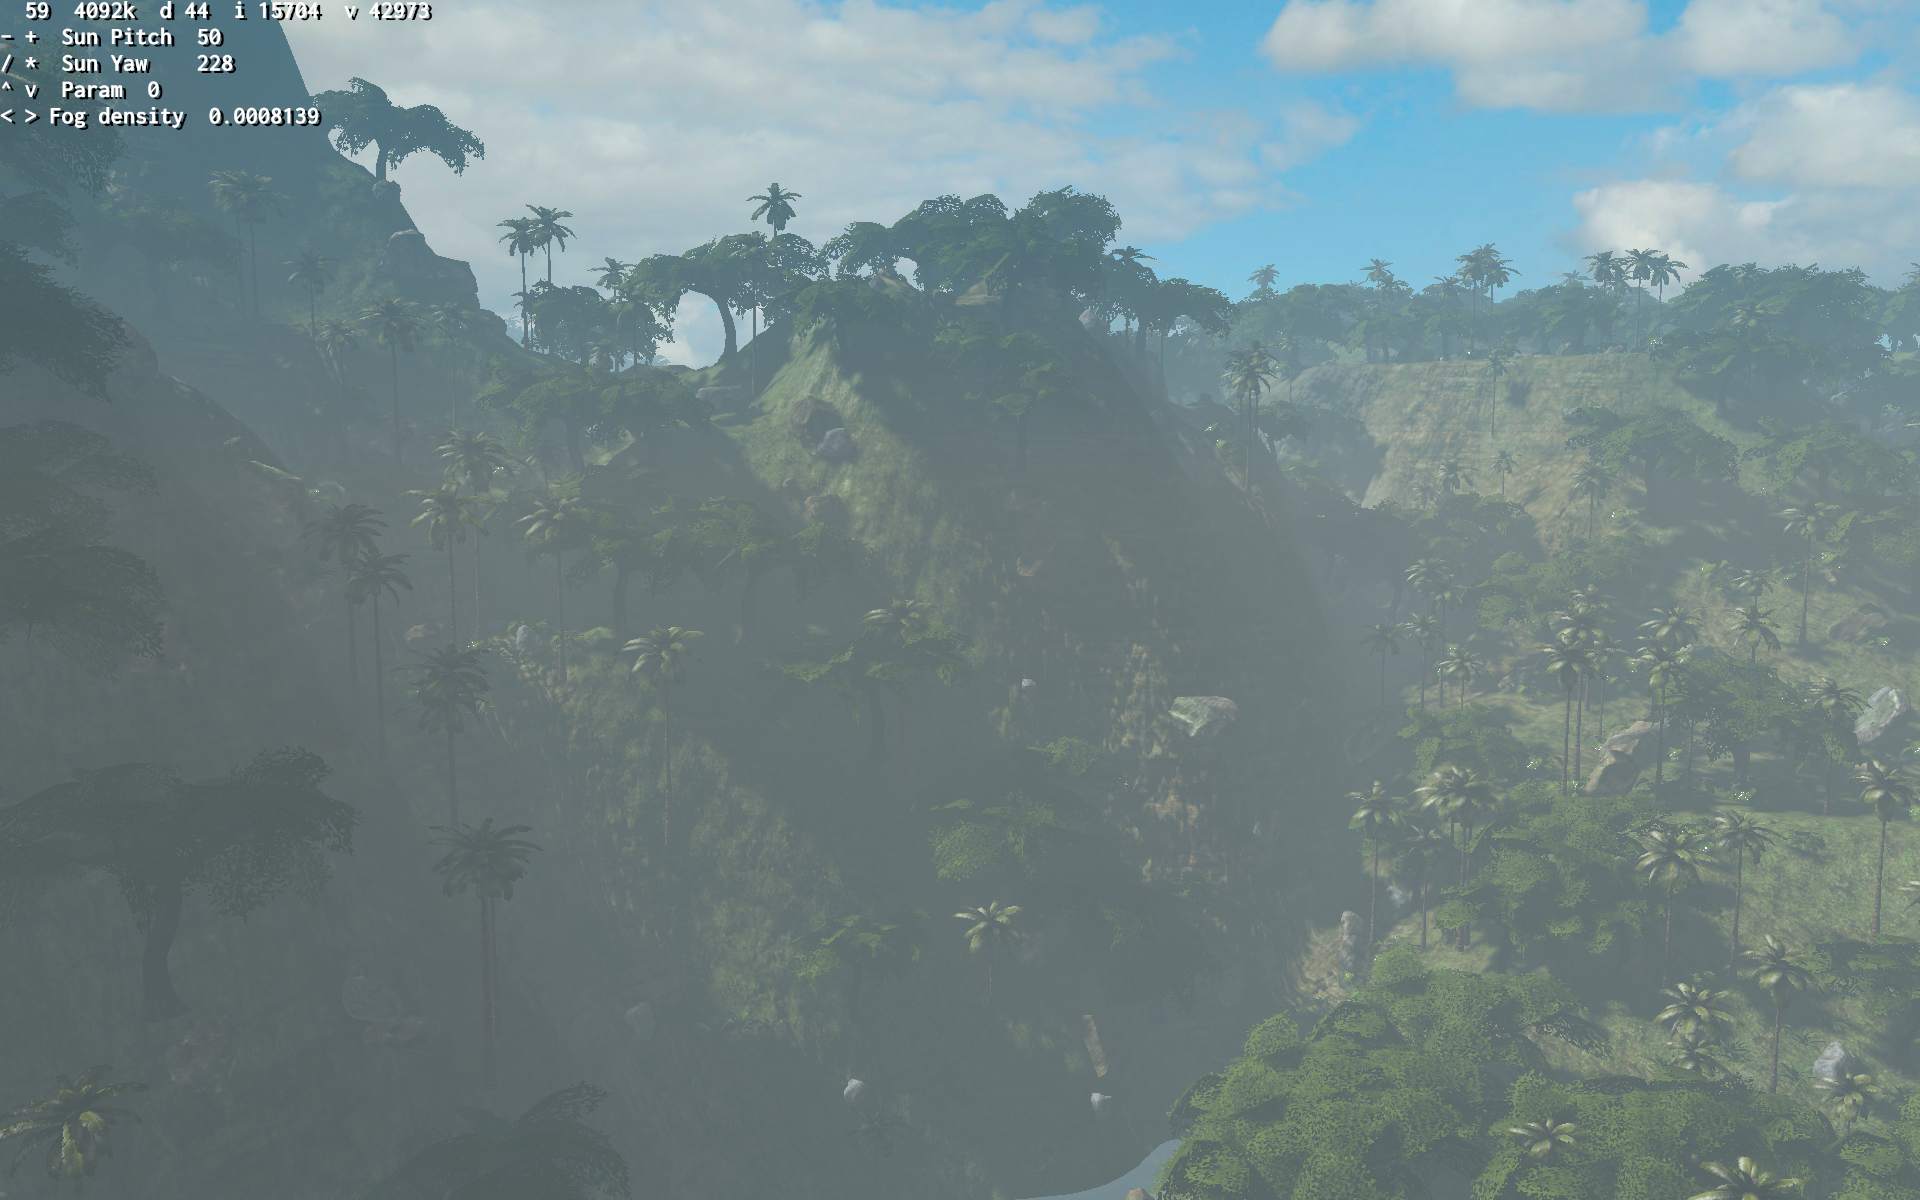
    Older from 2022, no water:

  • 2022 stm32 console 🎛️

    2022 stm32 console 🎛️

    ⏱️Overview

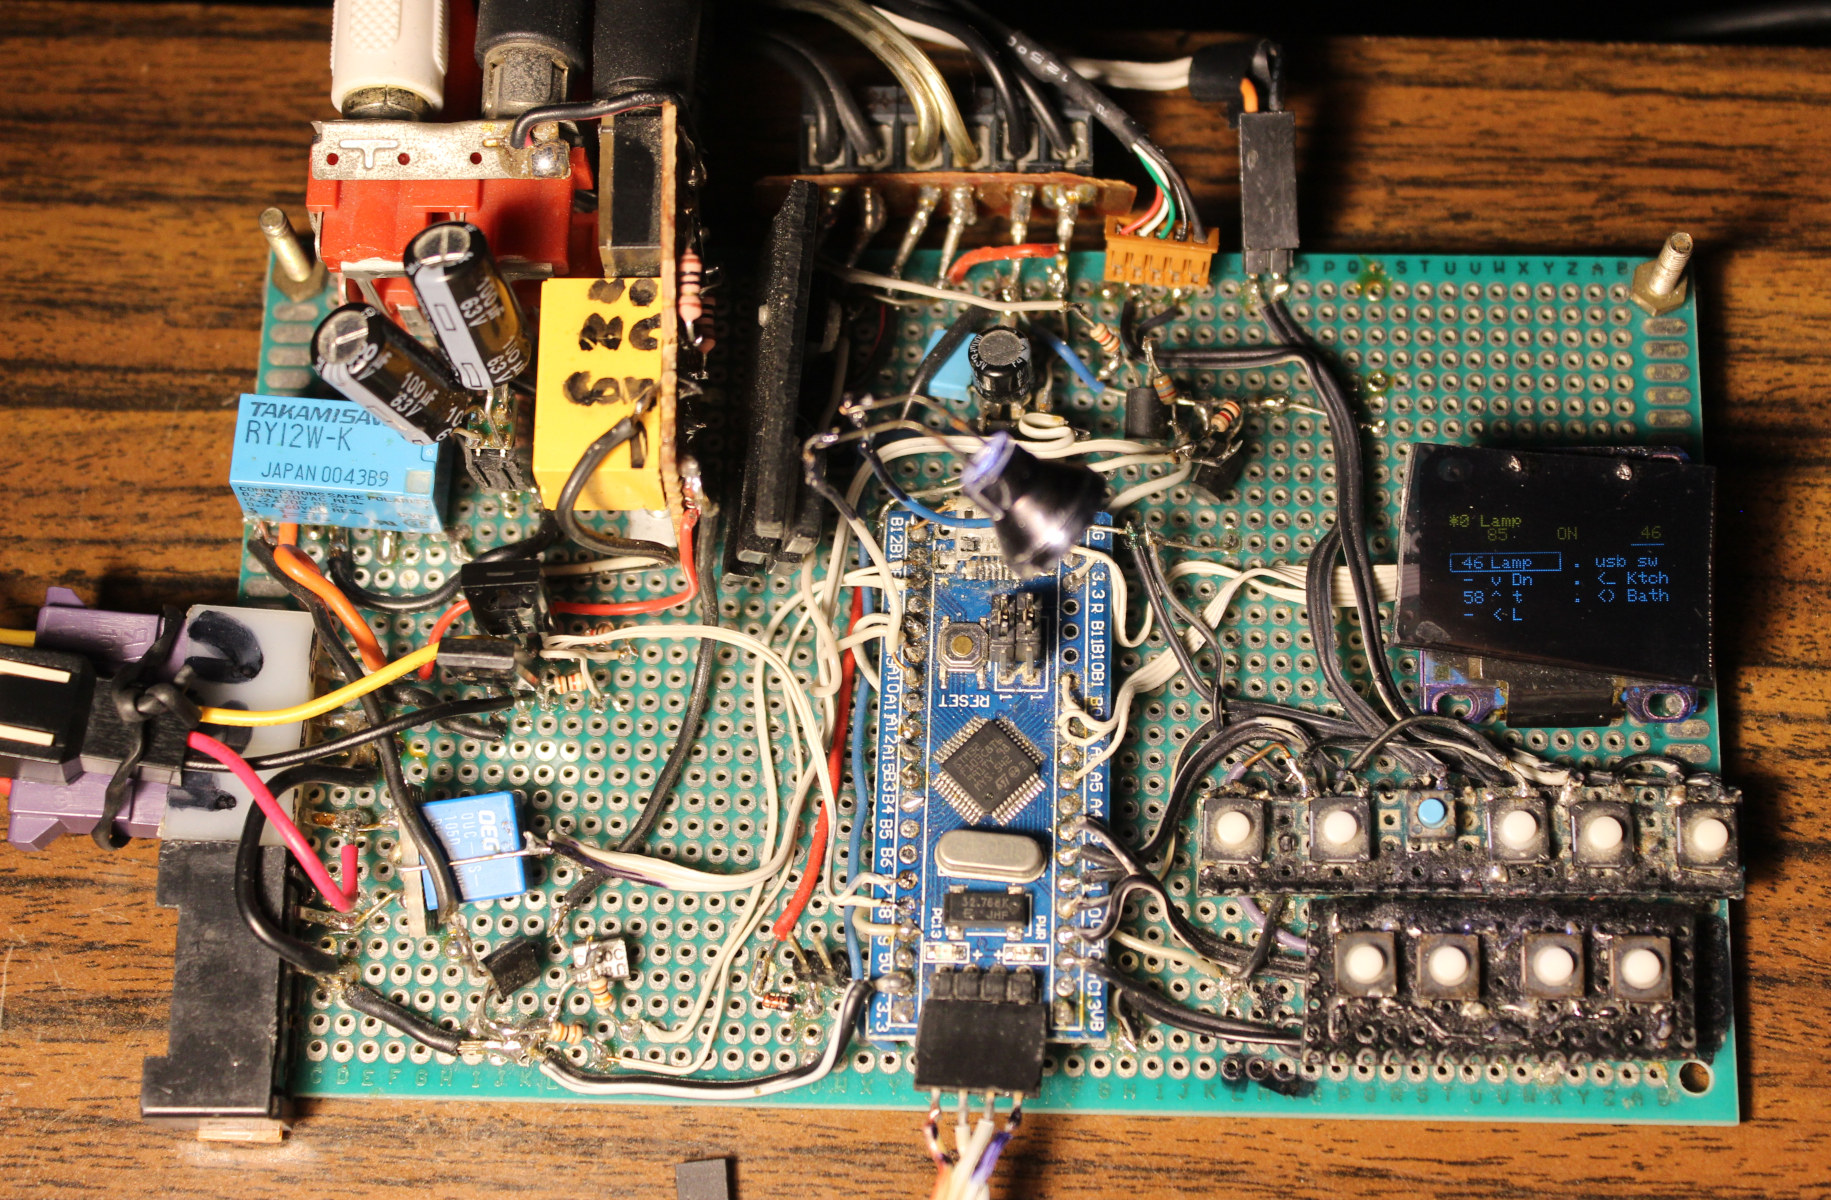
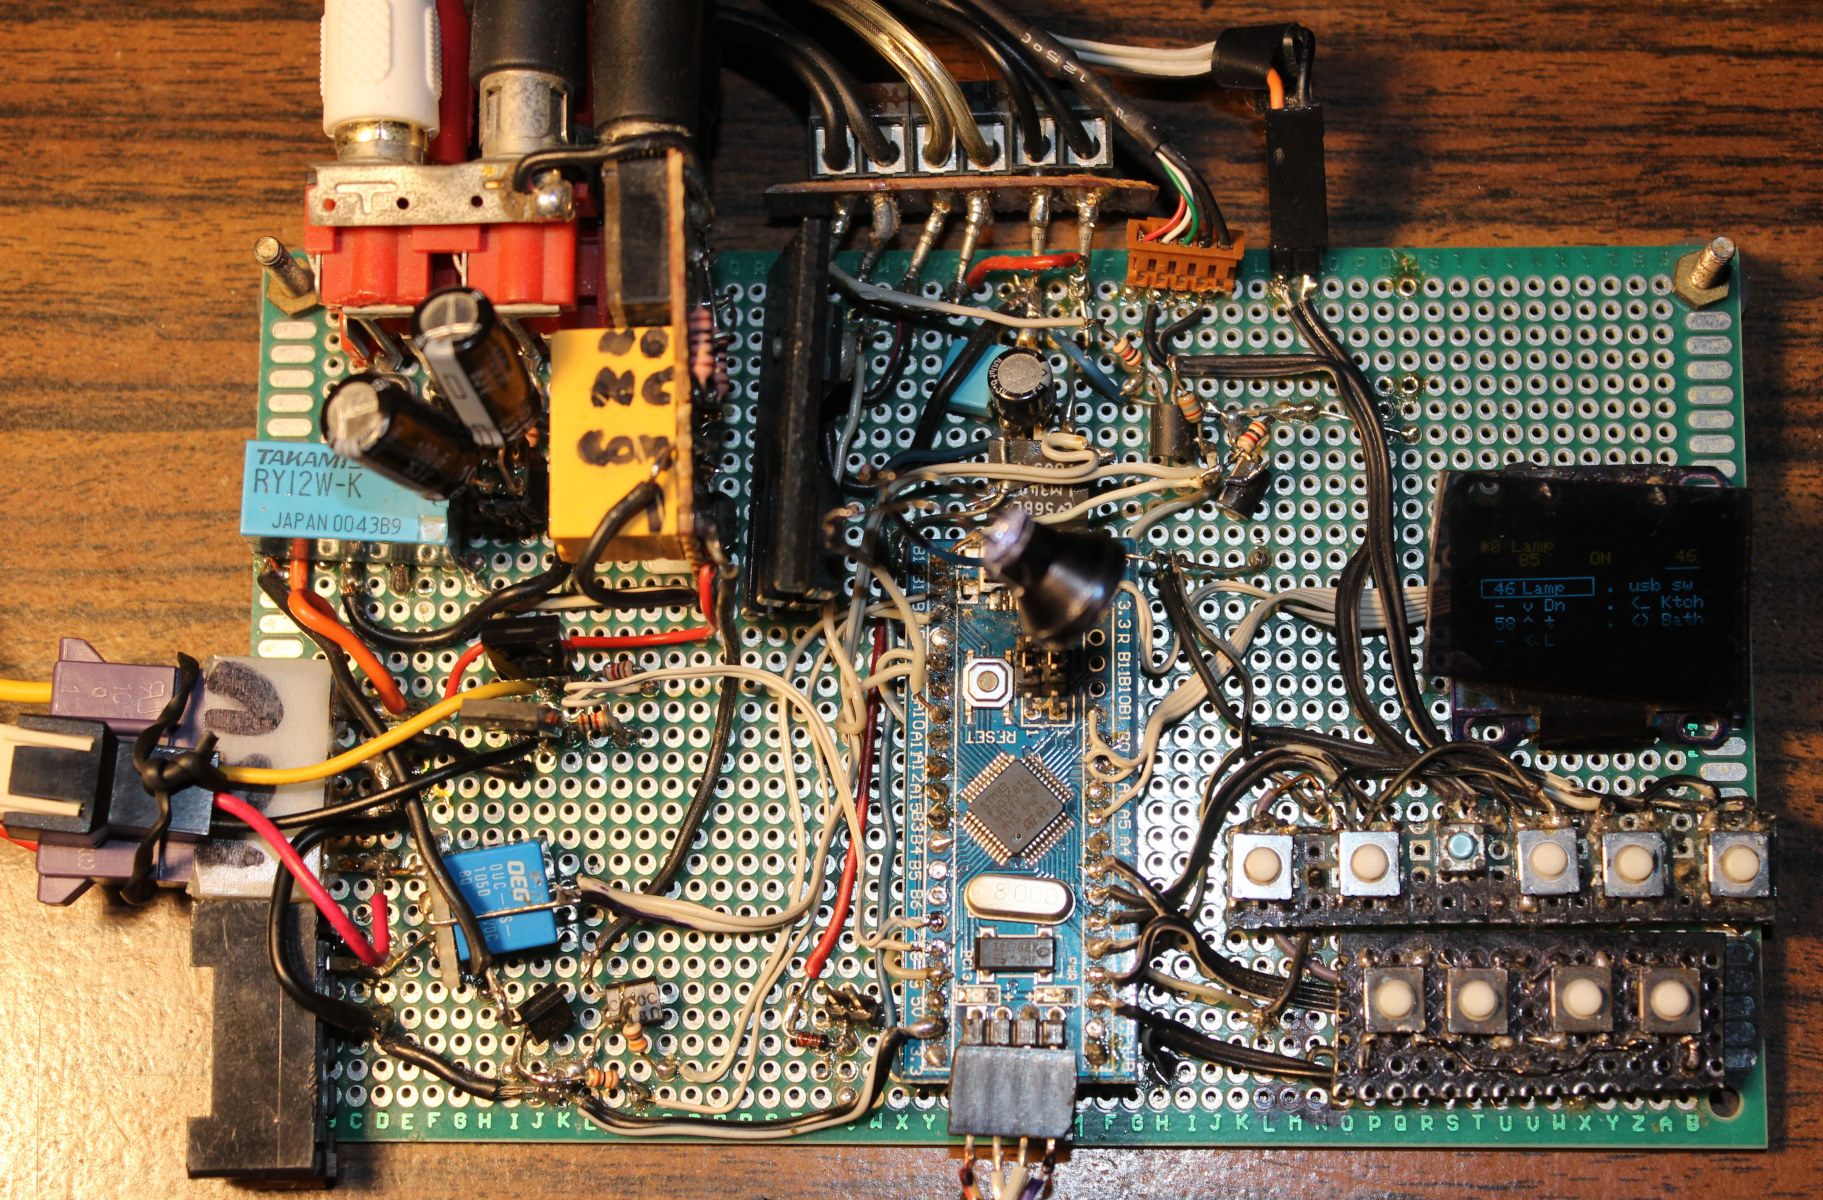
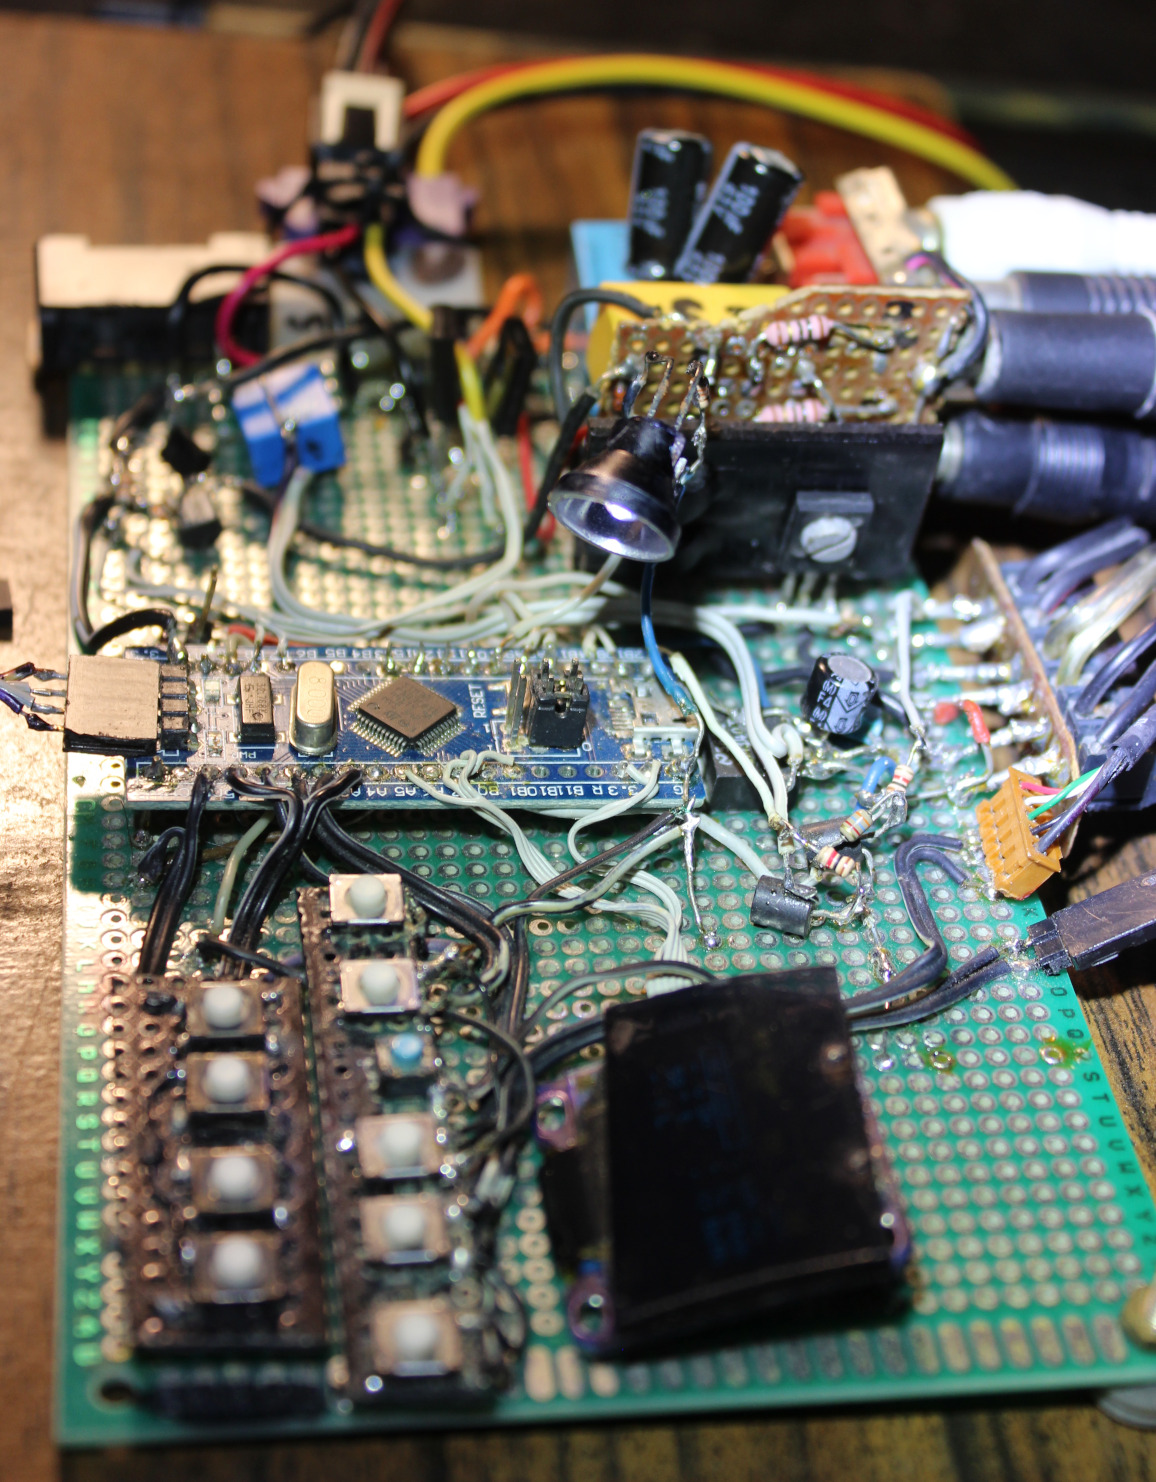
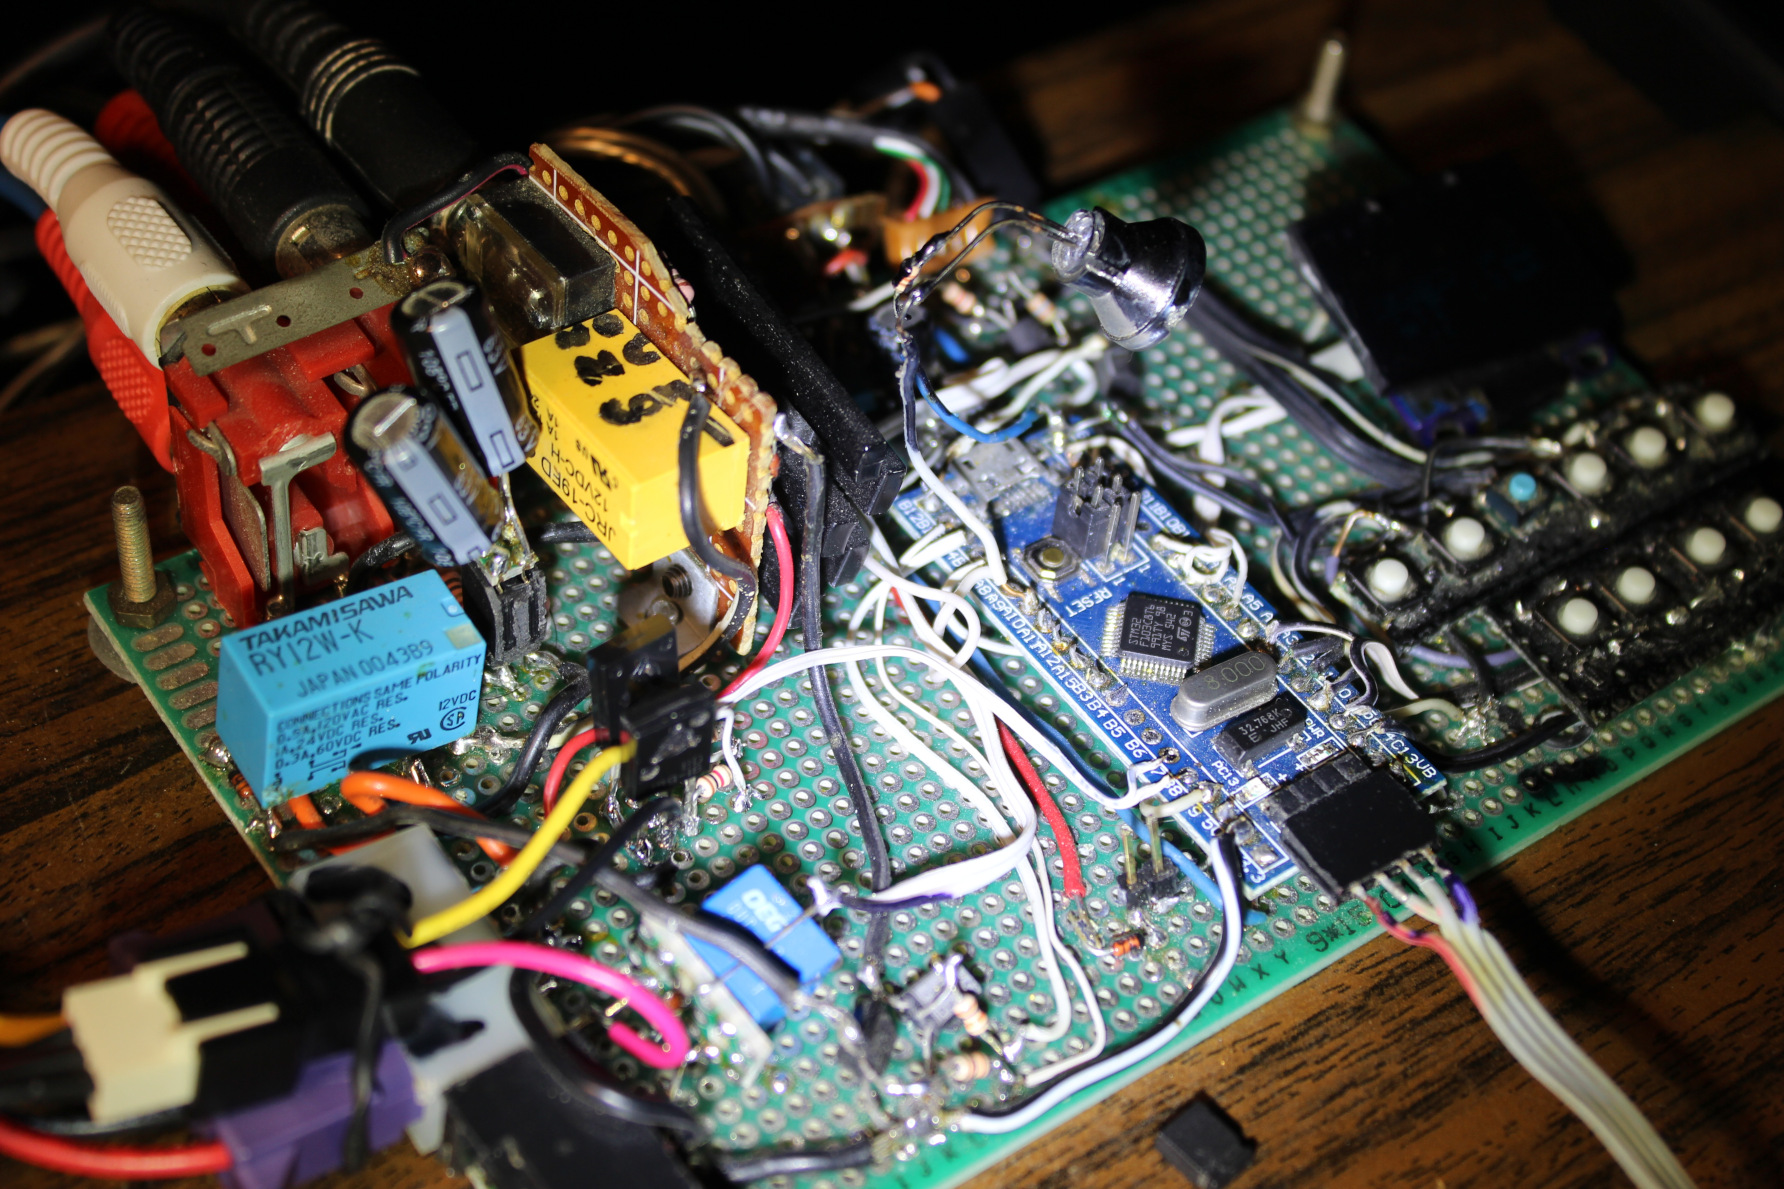
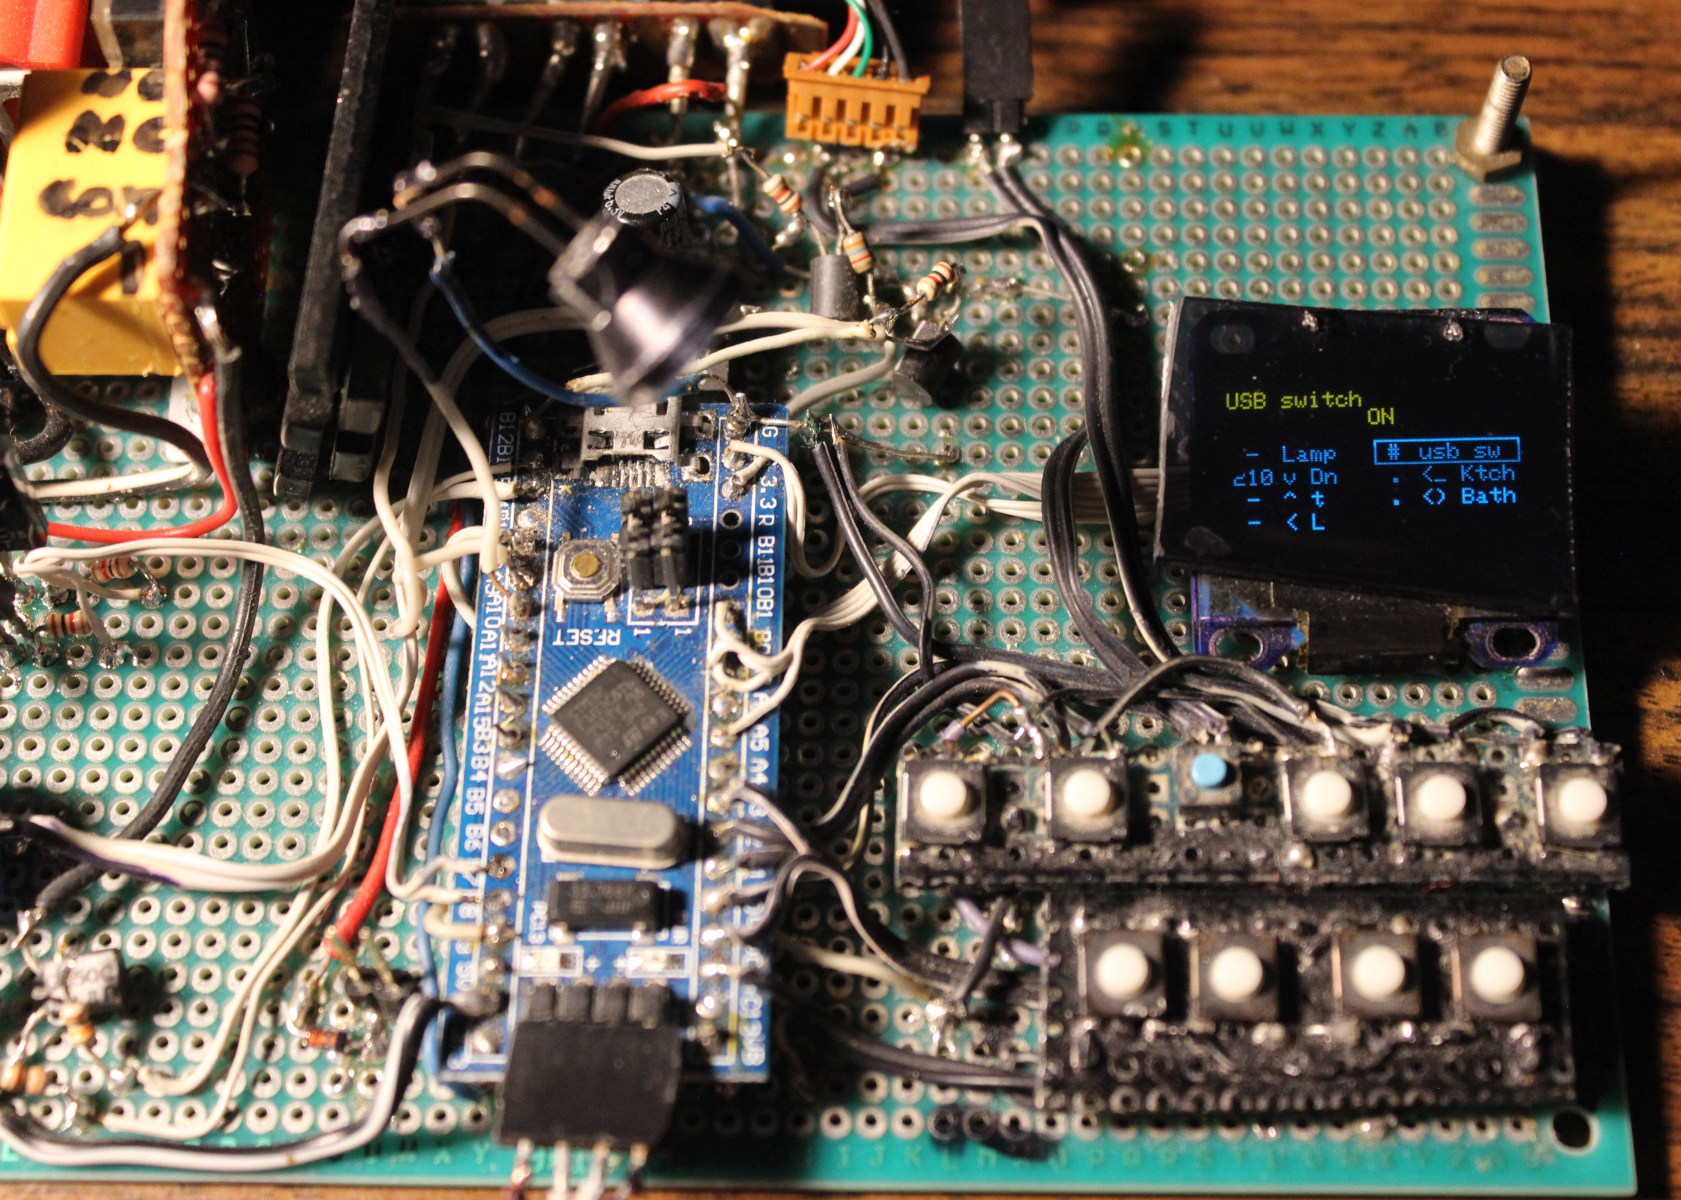
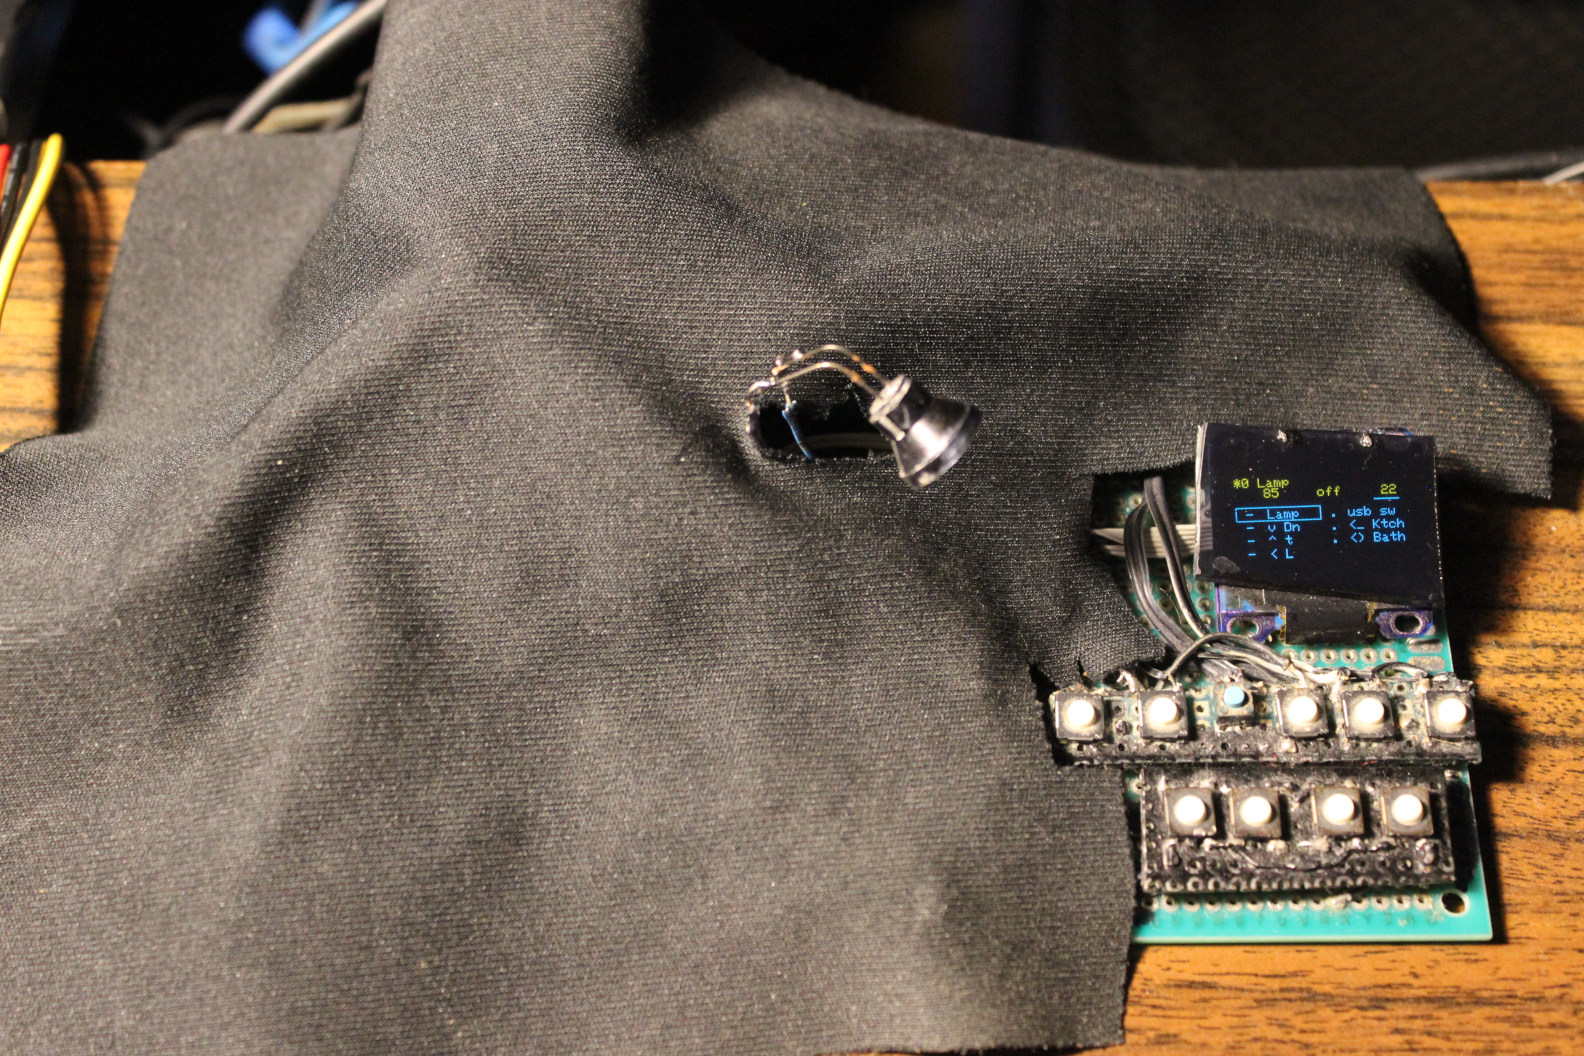
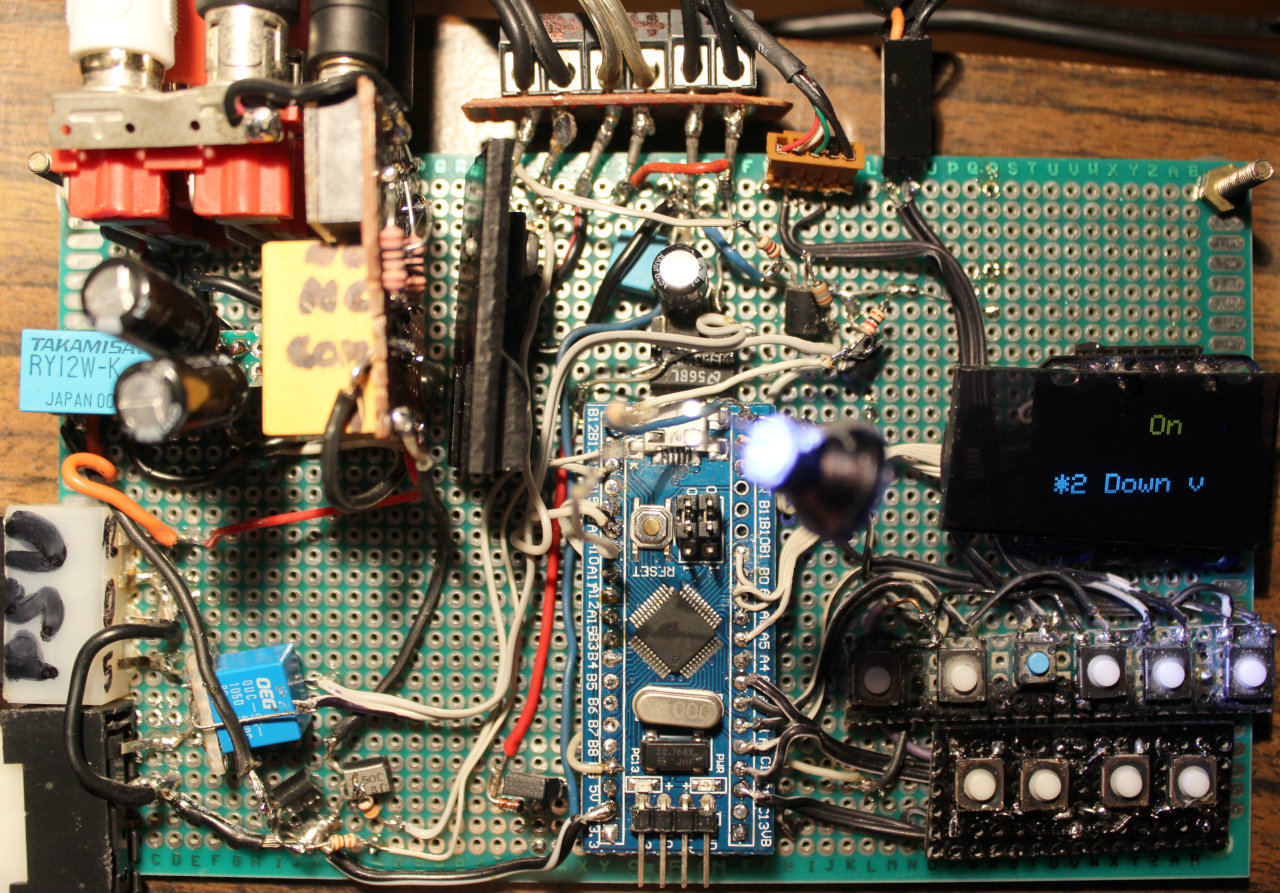
    This is a tiny project, that took about 2 days. It uses the “Bluepill” MCU board with small OLED display for info texts and has few buttons to toggle LED lights and relays for audio outputs.

    ✍️Motivation

    For many years (seems about 20) I was using just old logic chips. And it felt ancient, so I finally decided to do it with bluepill.
    Having a small display is nice and informative. With many inputs and outputs left, there is still room for later changes.
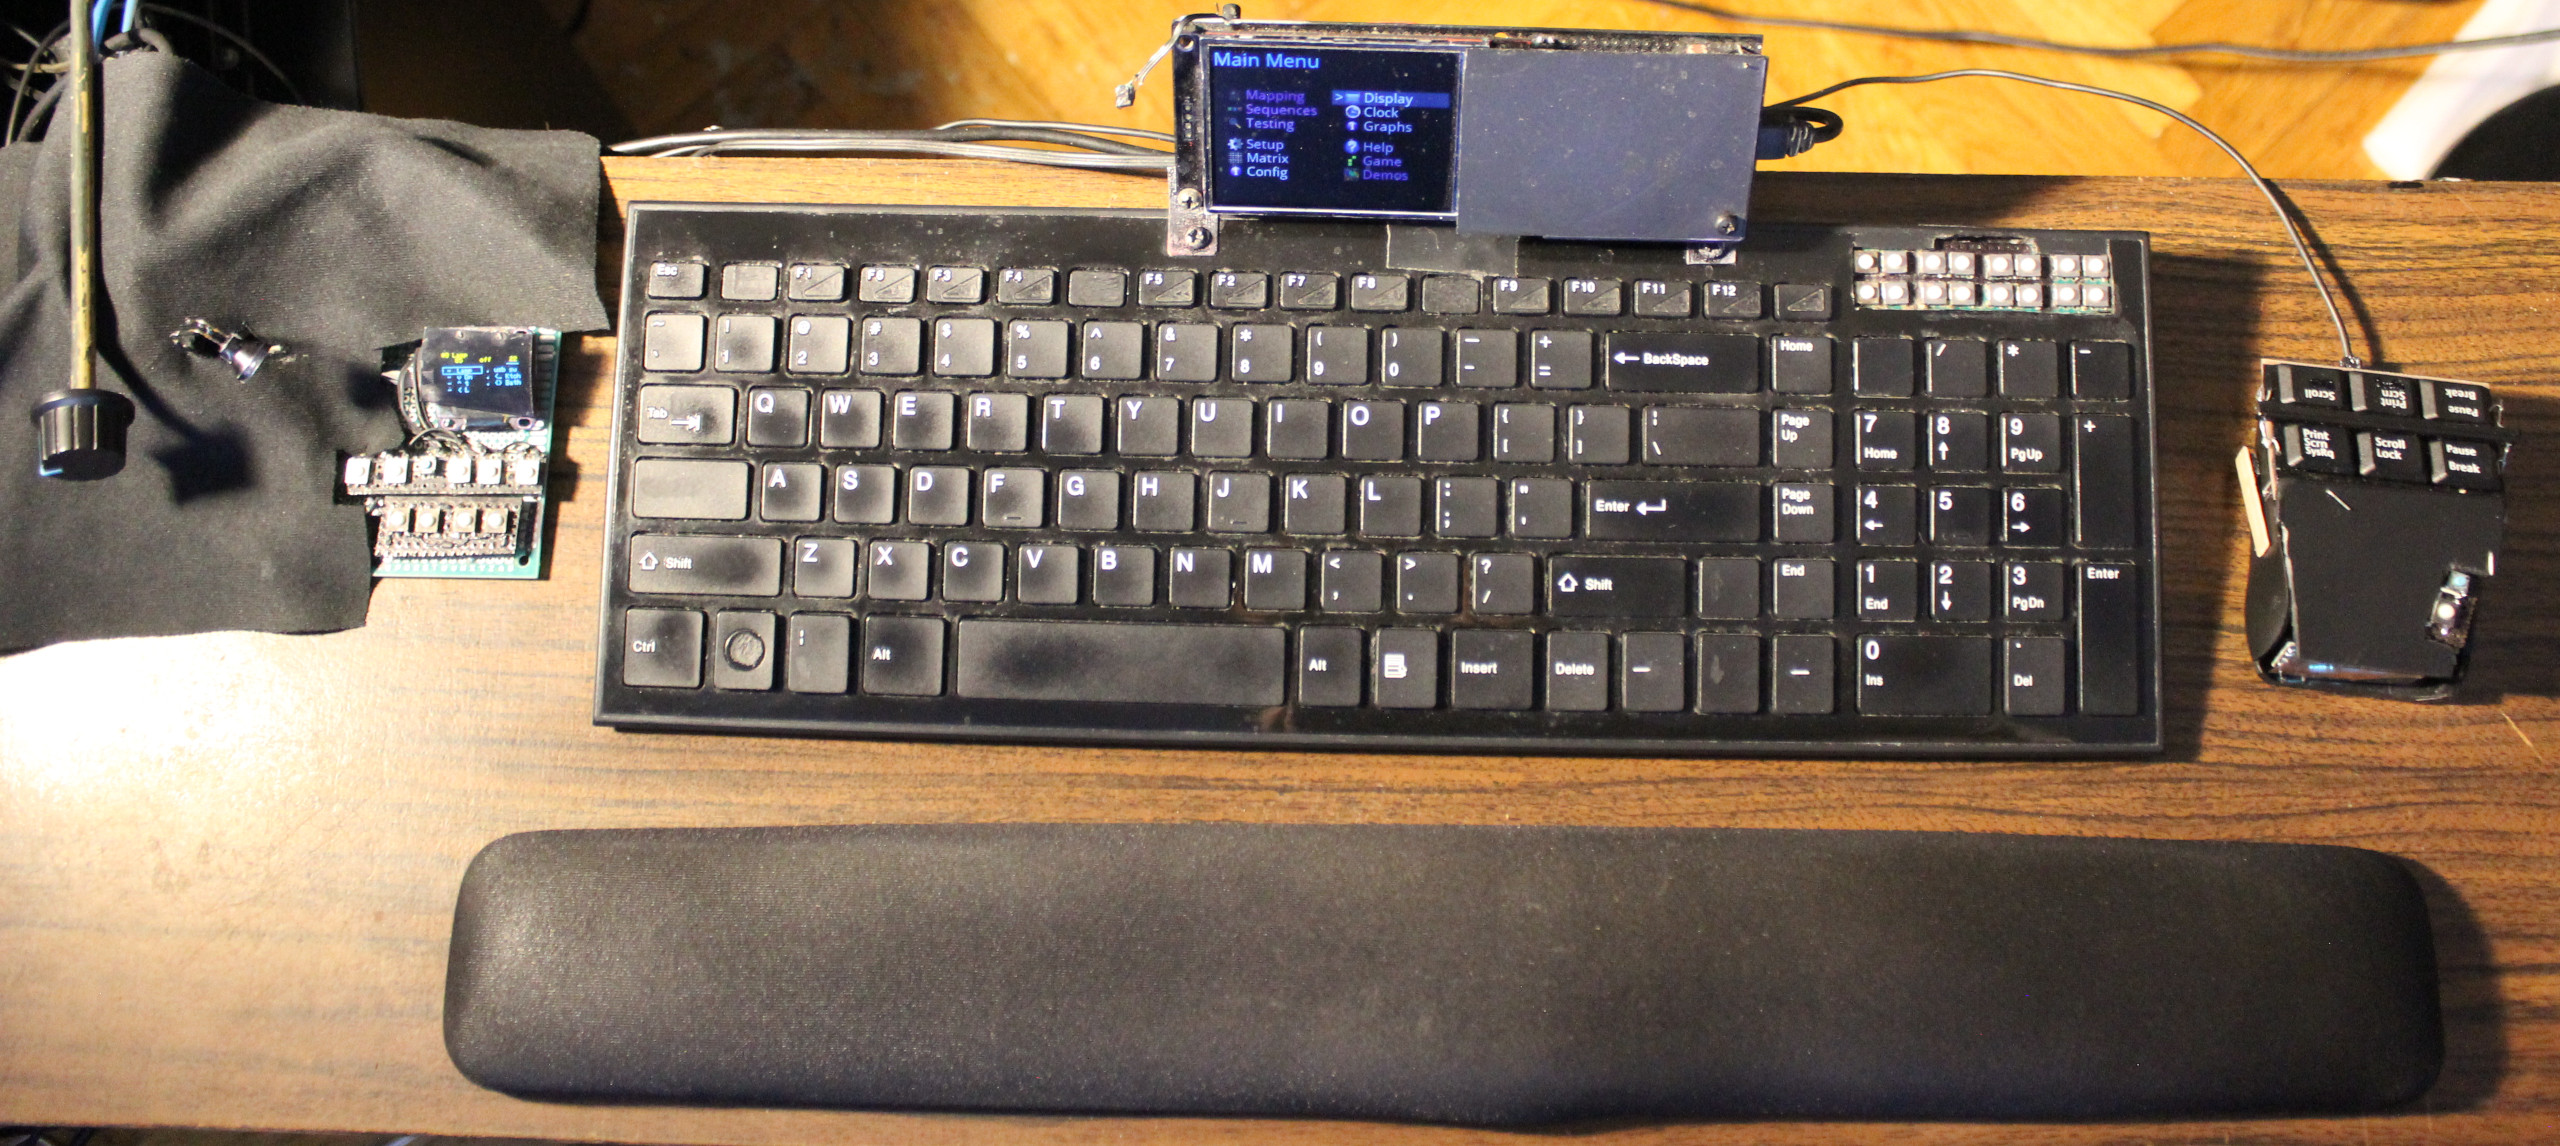
    This “console” is very useful and has a place just left of my keyboard.
    Has no case yet, and I’m not sure if it will, I’m just covering it with a black cloth.

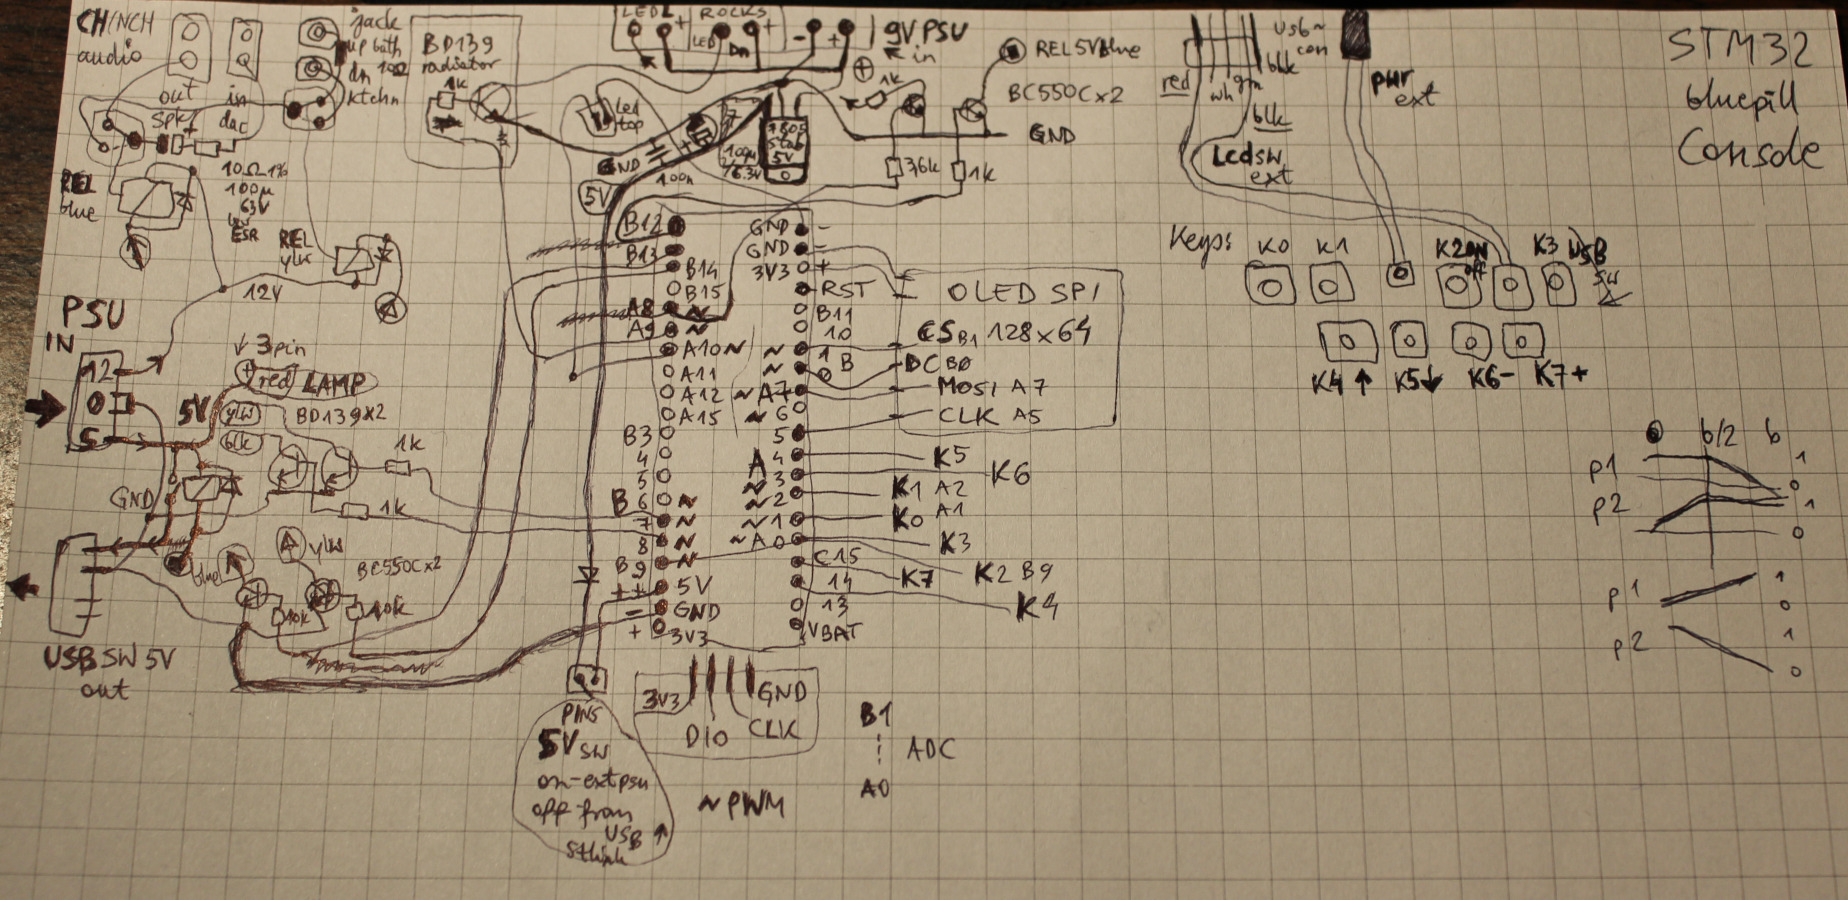
    📂Sources

    Sources are here.
    Actually just using that Arduino .ino since it’s a small project.
    I was editing code in VSCodium, then building and uploading using the worst Arduino IDE 1.8.19.

    📊Features

    • STM32F103C8T6 “Bluepill” MCU – cheap, but decent
    • Small OLED display – for OSD info texts, saying what pressing button did
    • Few (8) buttons, for toggling:
      • 3 LED lights – and adjust their brightness with PWM
      • Audio DAC output to: speakers / headphones / bathroom (12V relays)
      • USB switch (5V relays) – directs keyboard (KC4) and mouse to PC or laptop
    • Just as a place to mount my 2 other important buttons:
      • LCD monitor input switch
      • PC power on/off
  • 2020-22 cAmp2 ▶️

    2020-22 cAmp2 ▶️

    ⏱️Overview

    New implementation of my audio player, based on my older cAmp.
    Works on GNU/Linux (and should on Windows).
    Now using SFML for graphics, and ImGui for the new GUI. Still using (not FOSS) bass for audio.

    📂Sources

    Available here.
    Now with CMake and newer C++17 syntax.

    ✍️Motivation

    Old cAmp was WinAPI and DirectX only and had bad style, old C++03 too. It was still one of my last college projects.
    I did once try moving it to SFML, and almost succeeded. I had no pressing motivation until I started moving to Debian GNU/Linux instead of Windows which required this new version. I made things differently this time and with more experience, hence the Gui and visible options.

    Missing Features

    The old cAmp was using GPU shaders and cAmp2 doesn’t use them yet. Seems not that needed. And it doesn’t even have hotkeys or threads implemented here. Well there is always something on my “to do” list for this project, like for any other.

    📊New Features

    Apart from most of the old features (with few important missing) it has some new ones too.

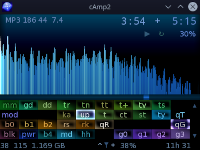
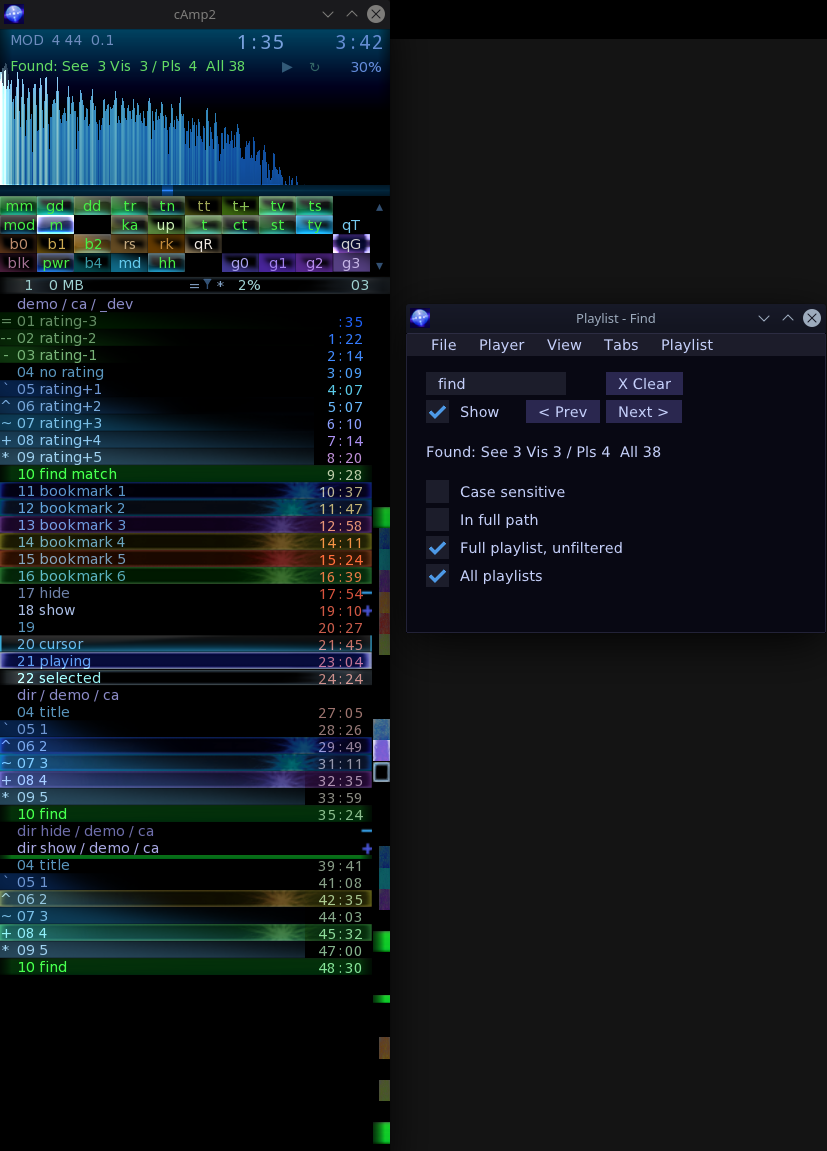
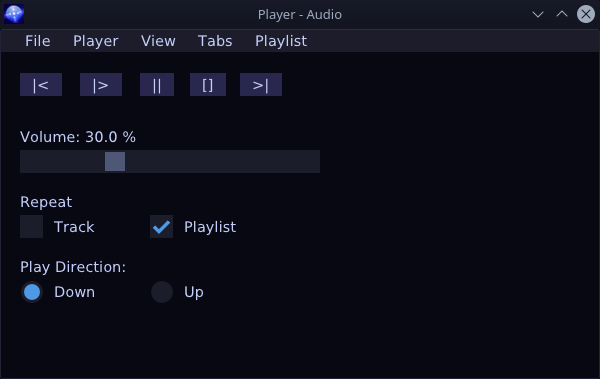
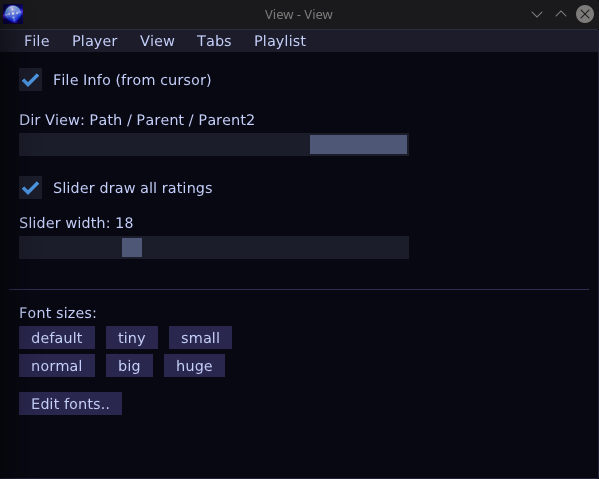
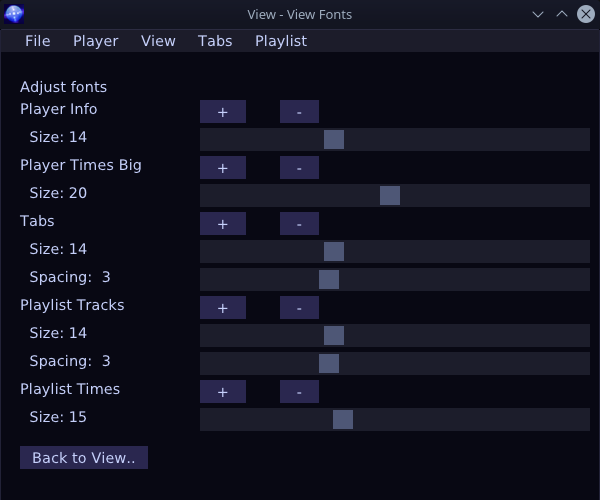
    Most notable addition is the Gui with few windows having controls for changing view parameters, adjusting with sliders or showing info. Since ImGui is such a joy to use it was also easy to implement bindable all program keys list and move all options to Gui.

    Other new features:

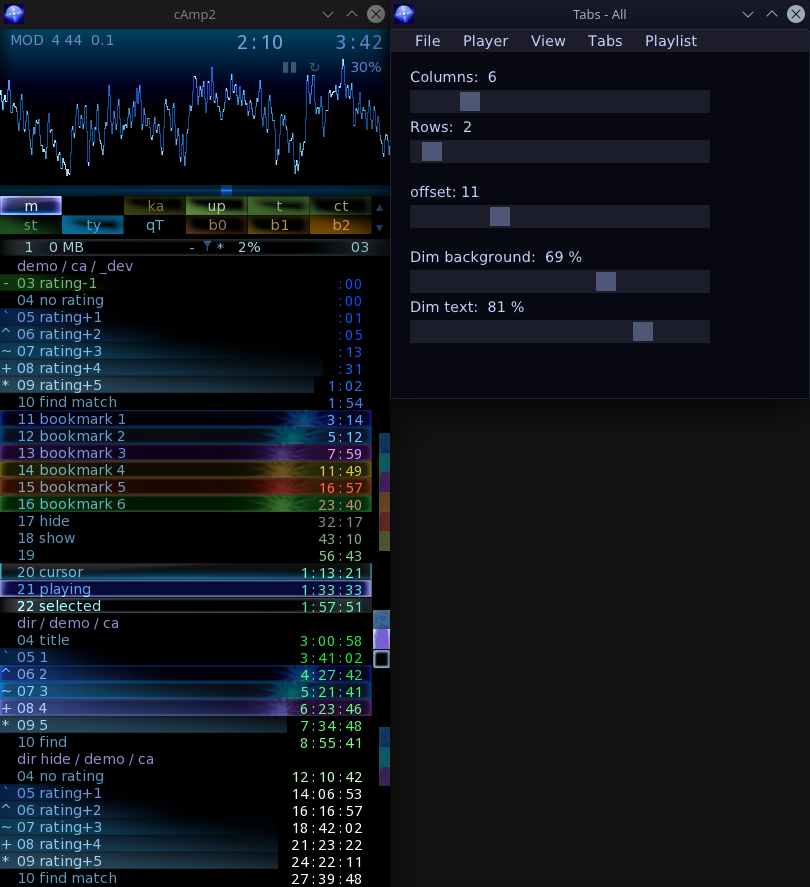
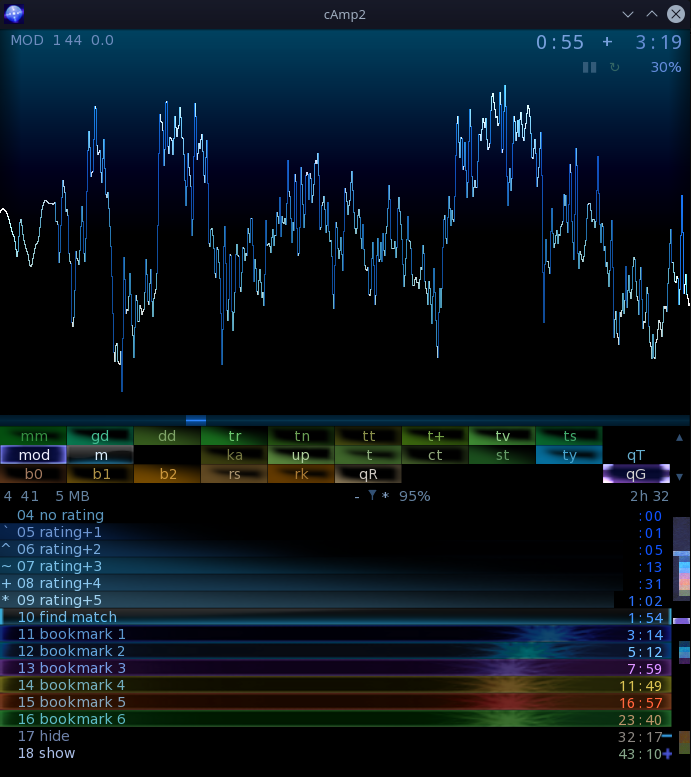
    • Colored tabs, sliders for their background and text brightness. Empty tabs as separators.
      Can be seen on screens. I find it quite useful, e.g. for now I have 4 rows, first is for Trance style, 2nd for older trance, 3rd for rock, 4th for metal genres (about 31 playlists total).
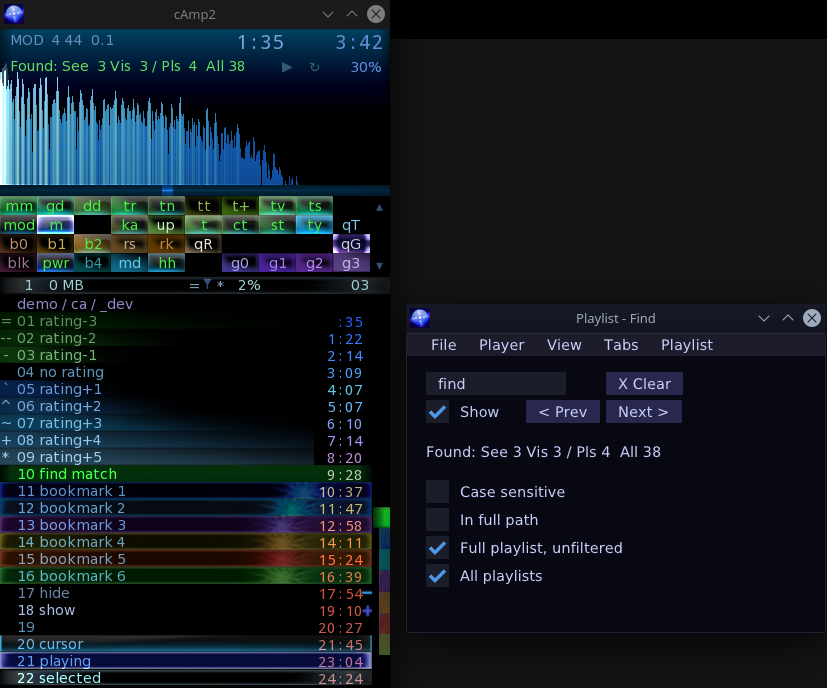
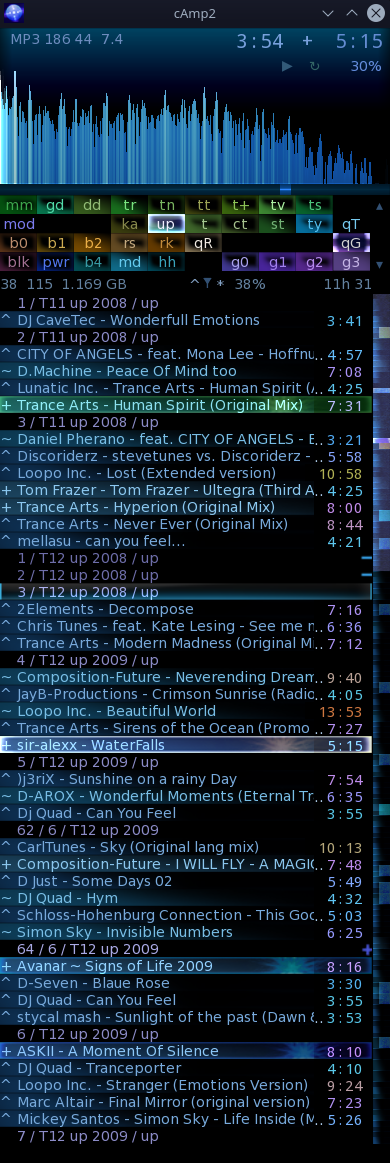
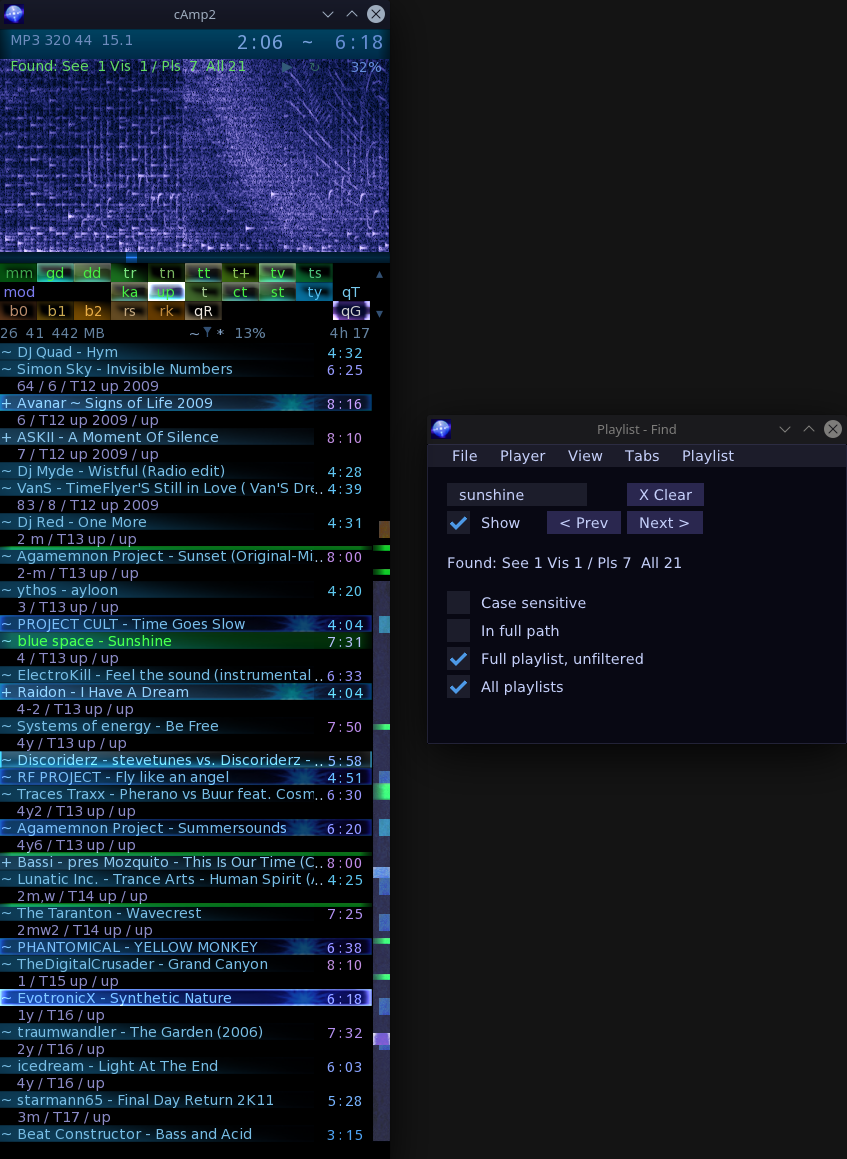
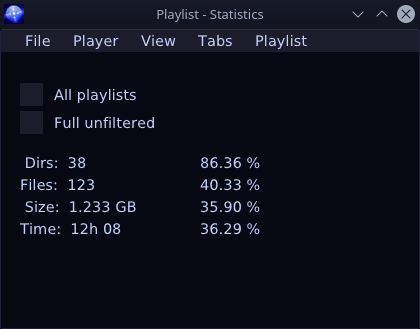
    • In between markers. E.g. if I filter tracks so that playing cursor or find matches become not visible then it draws a shorter marker still, to show they are between those visible. (It’s best shown on 2nd screenshot also 3rd and this).
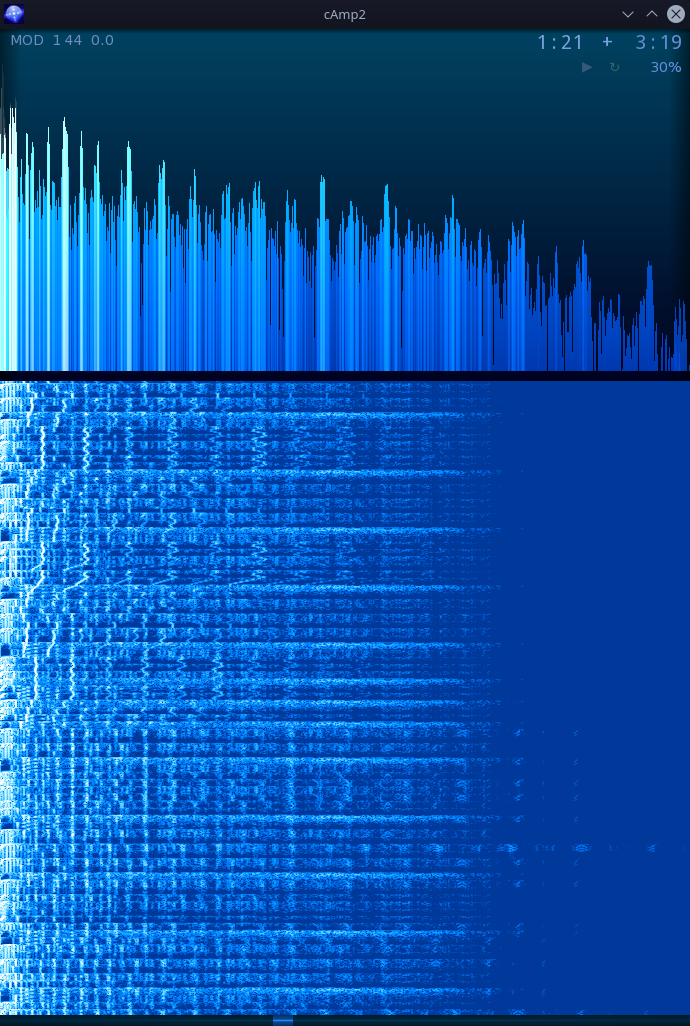
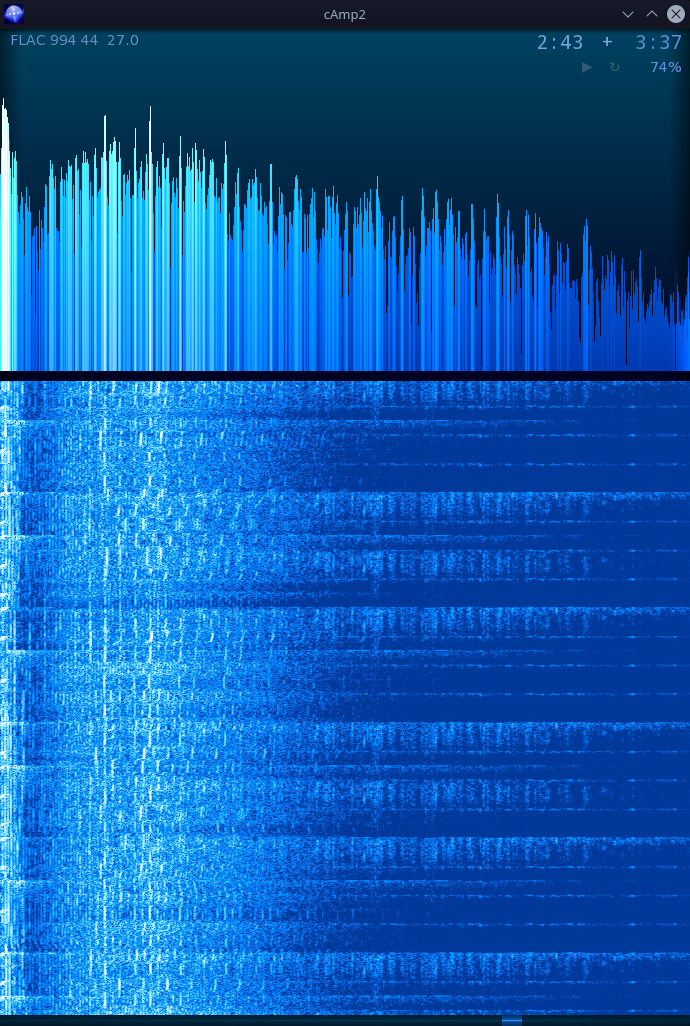
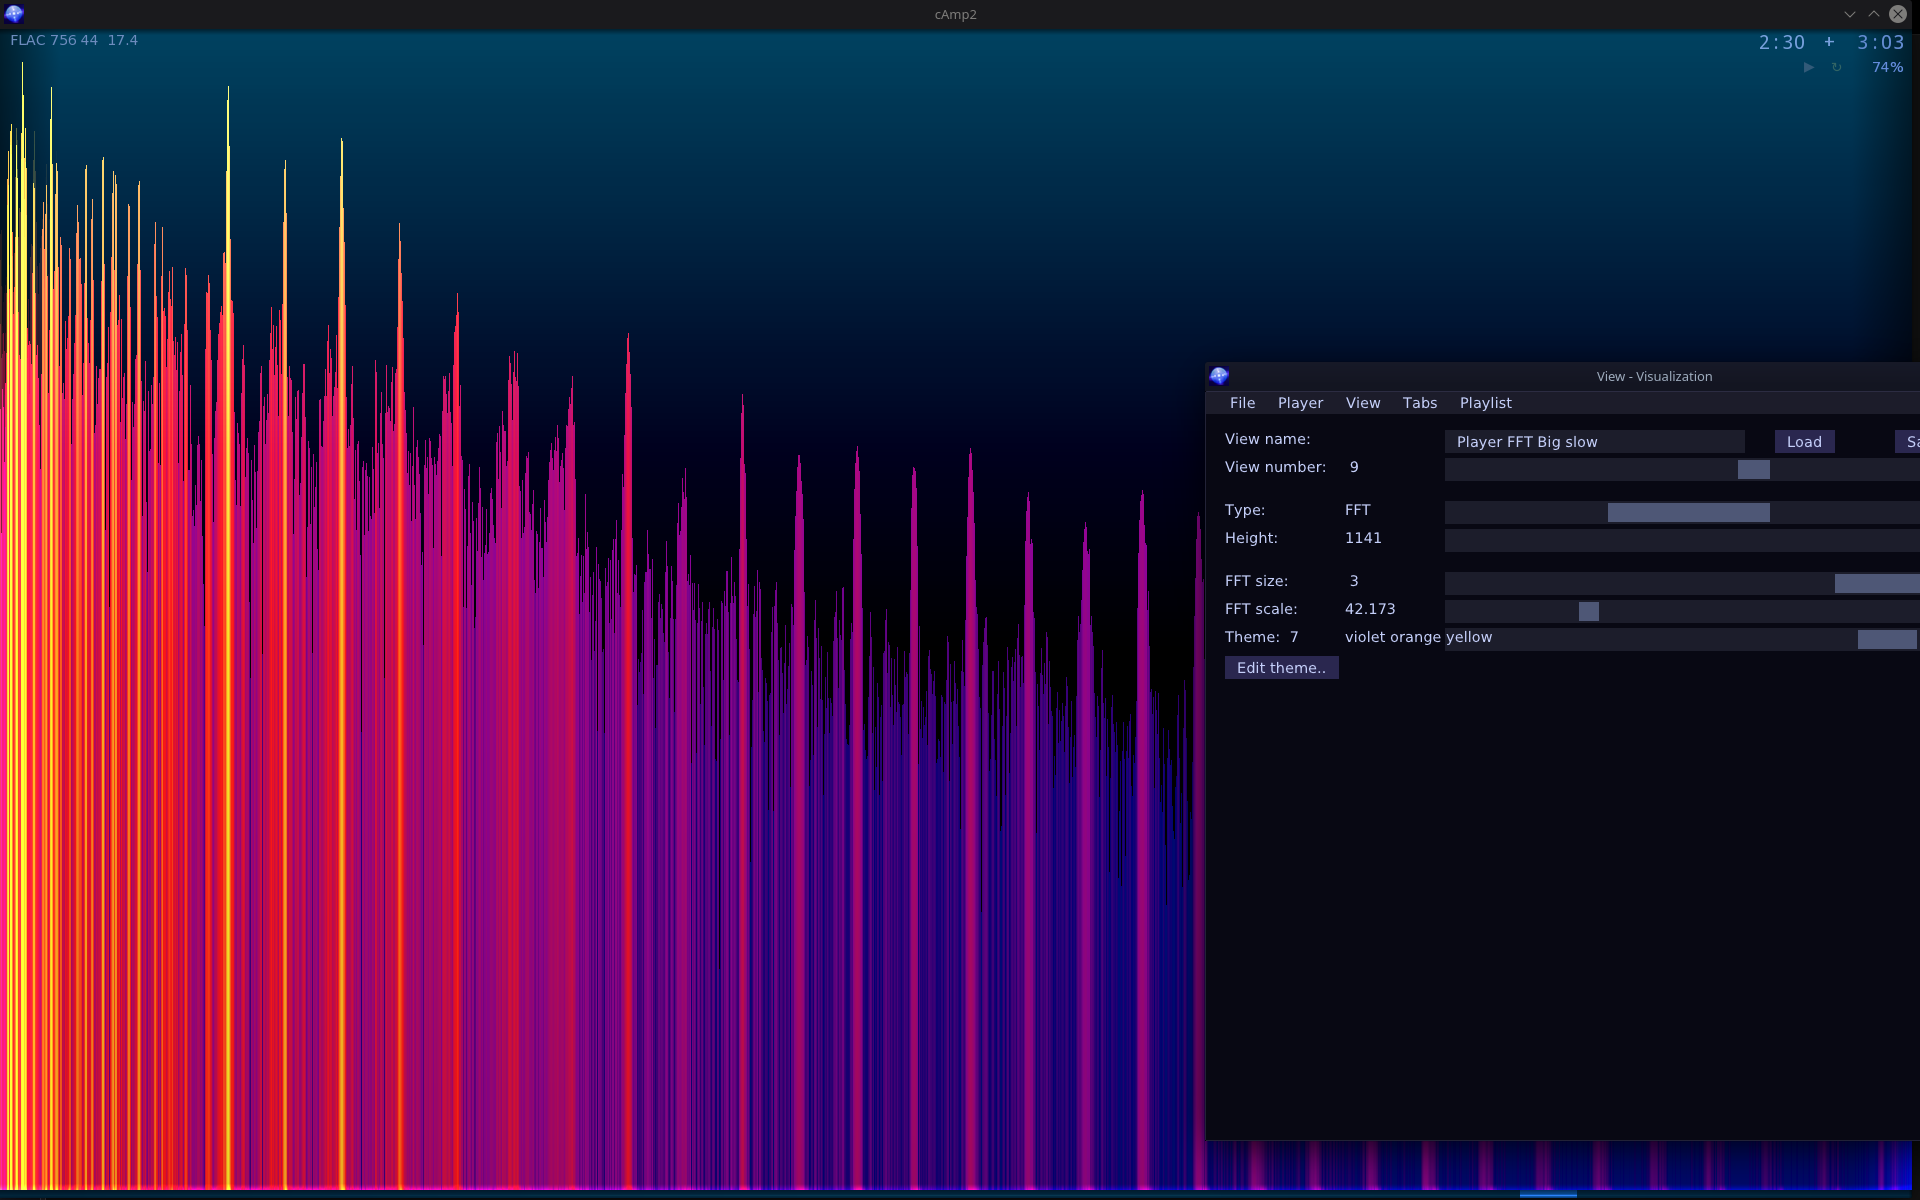
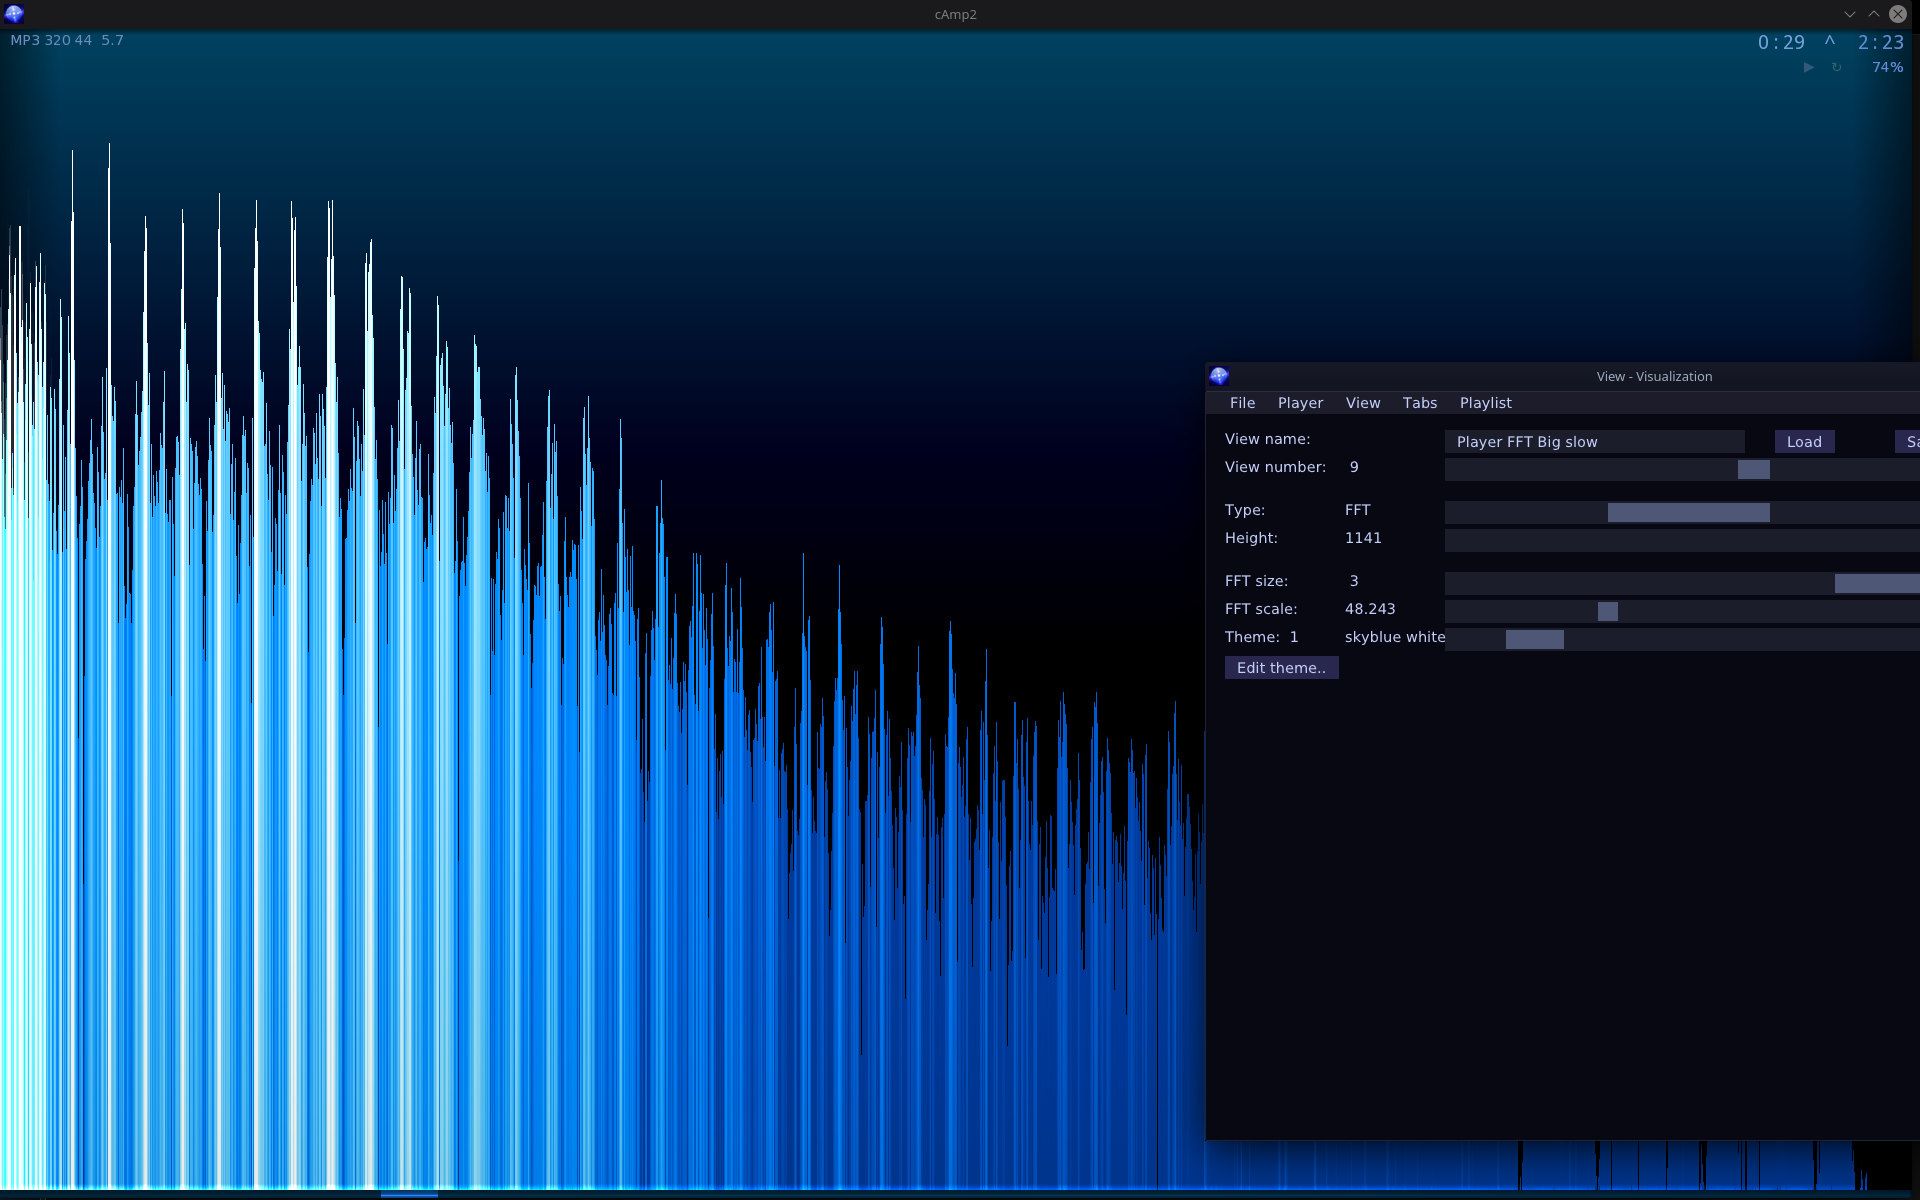
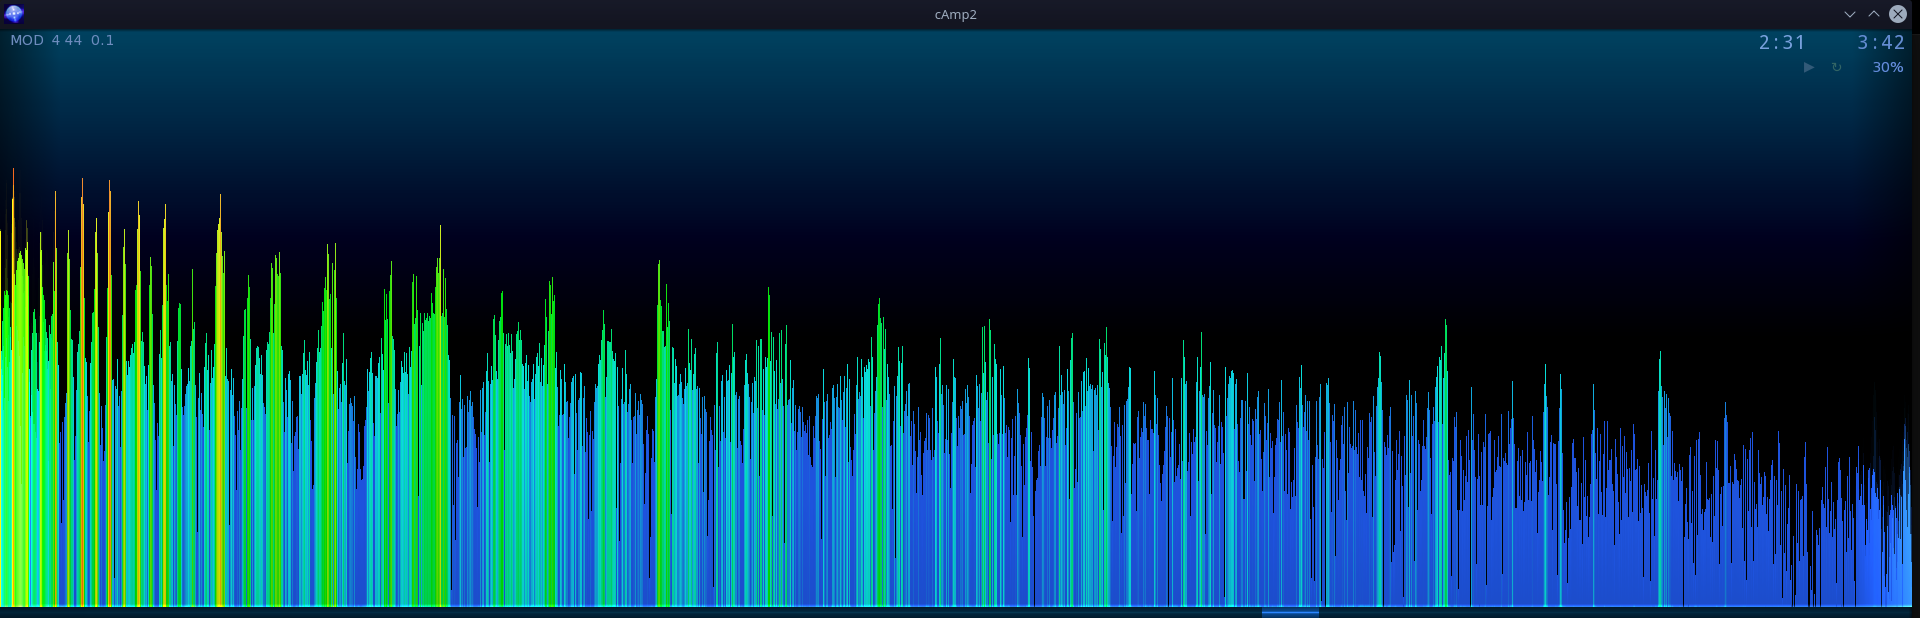
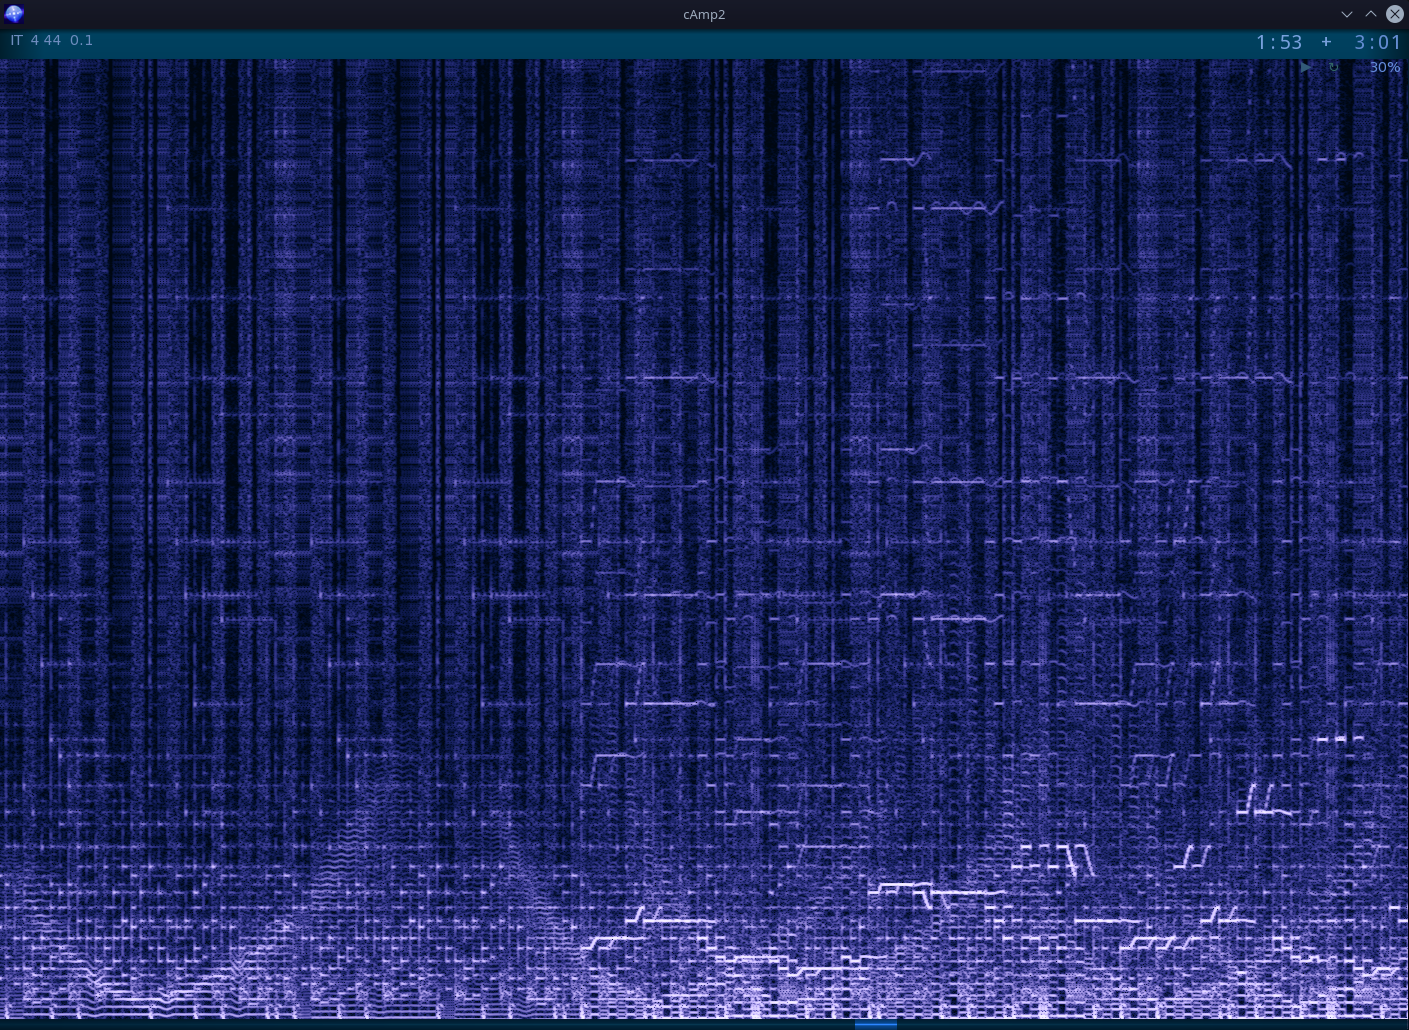
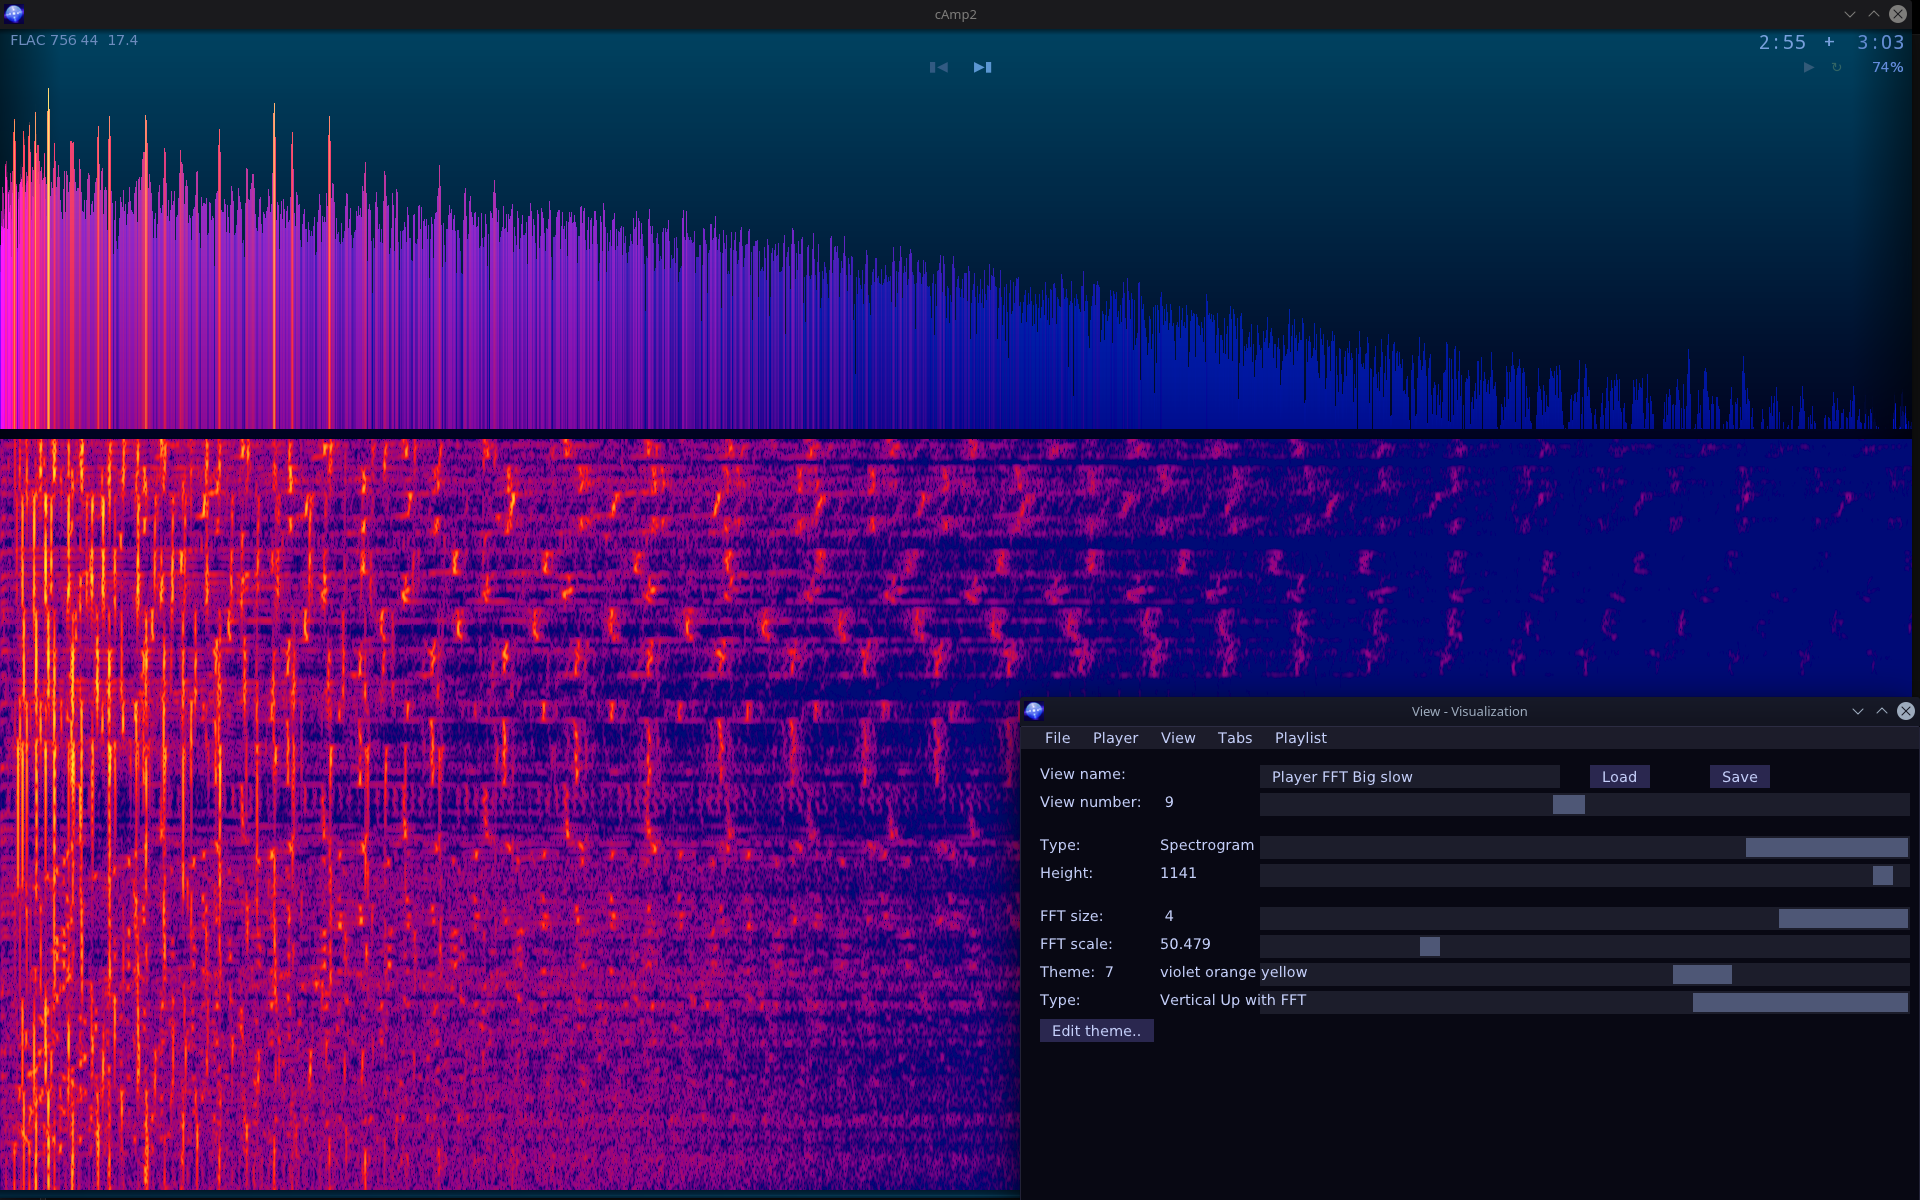
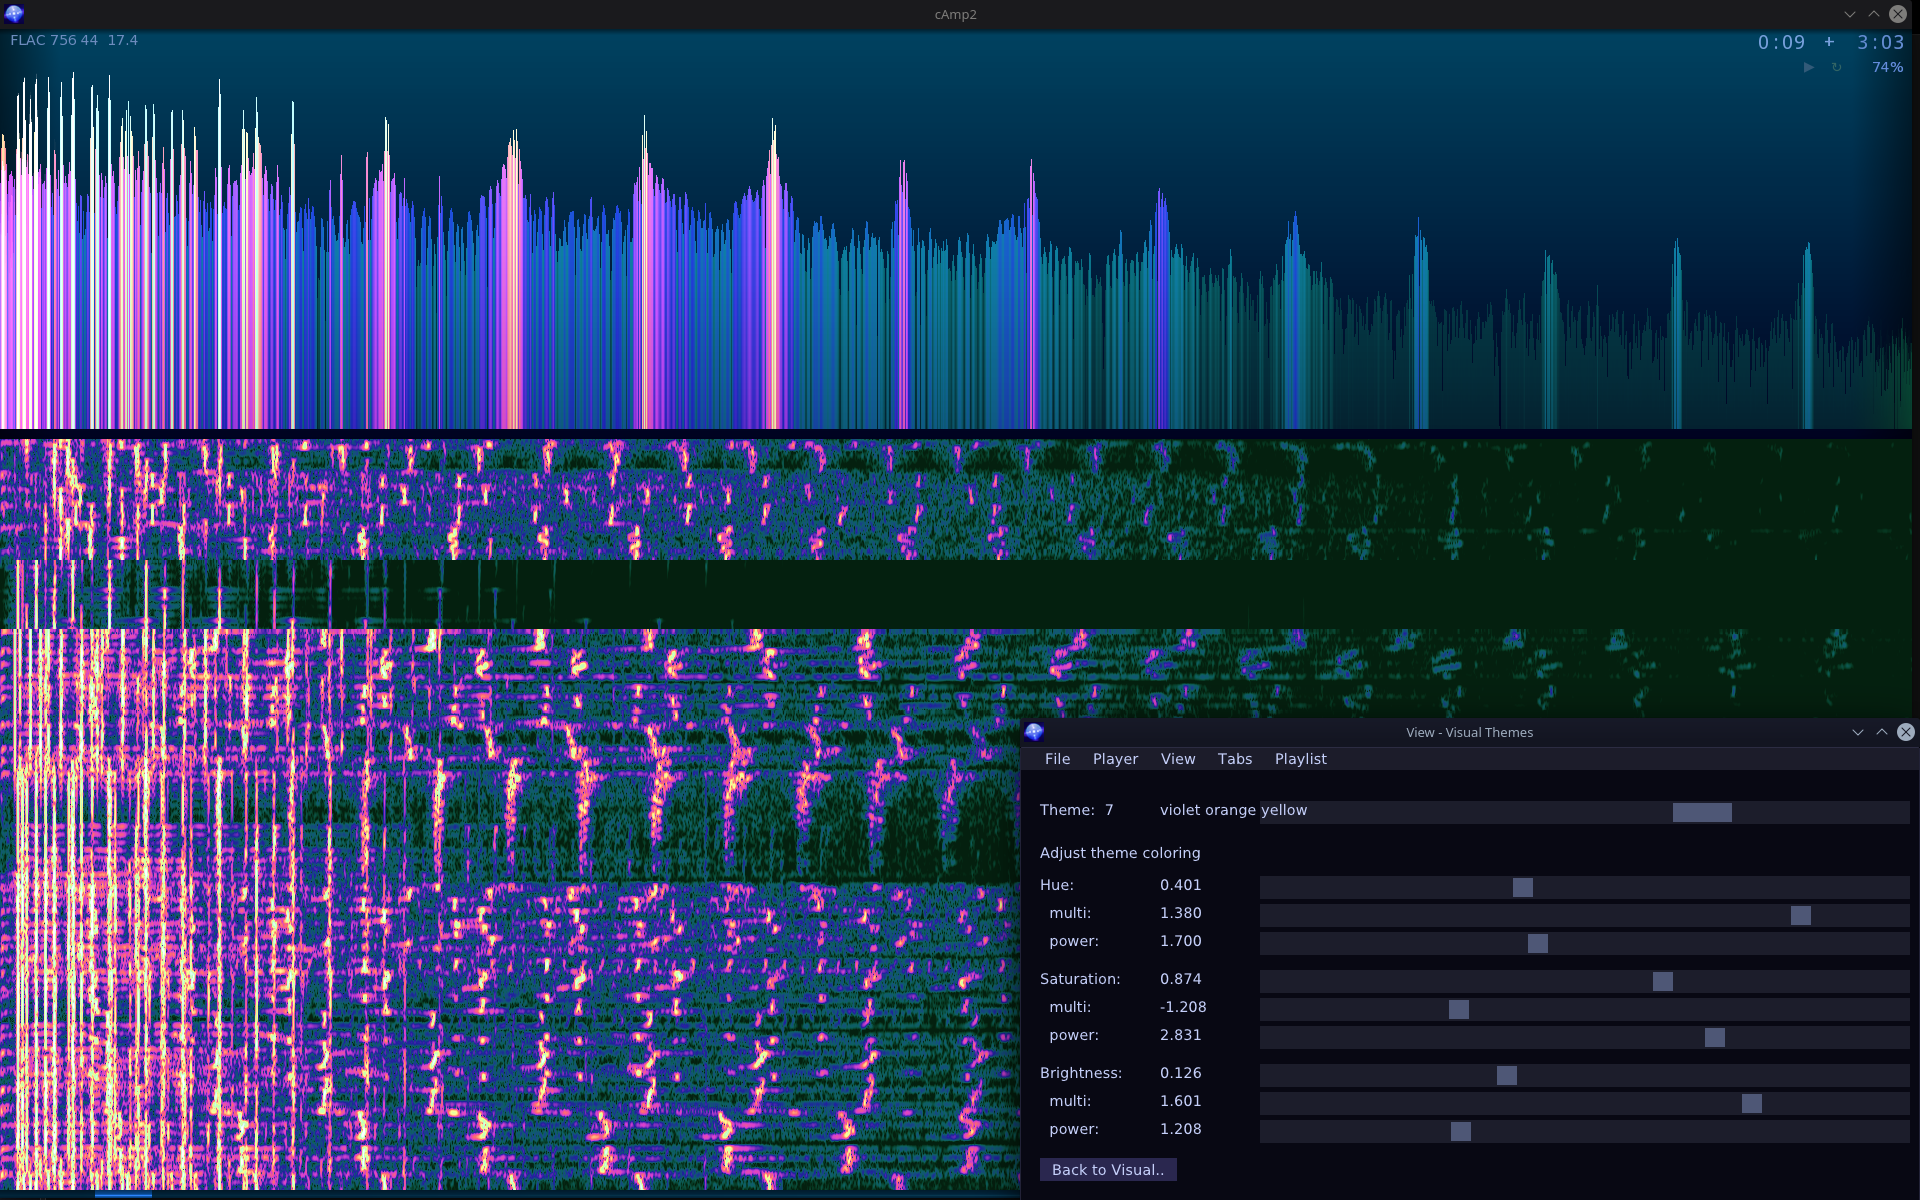
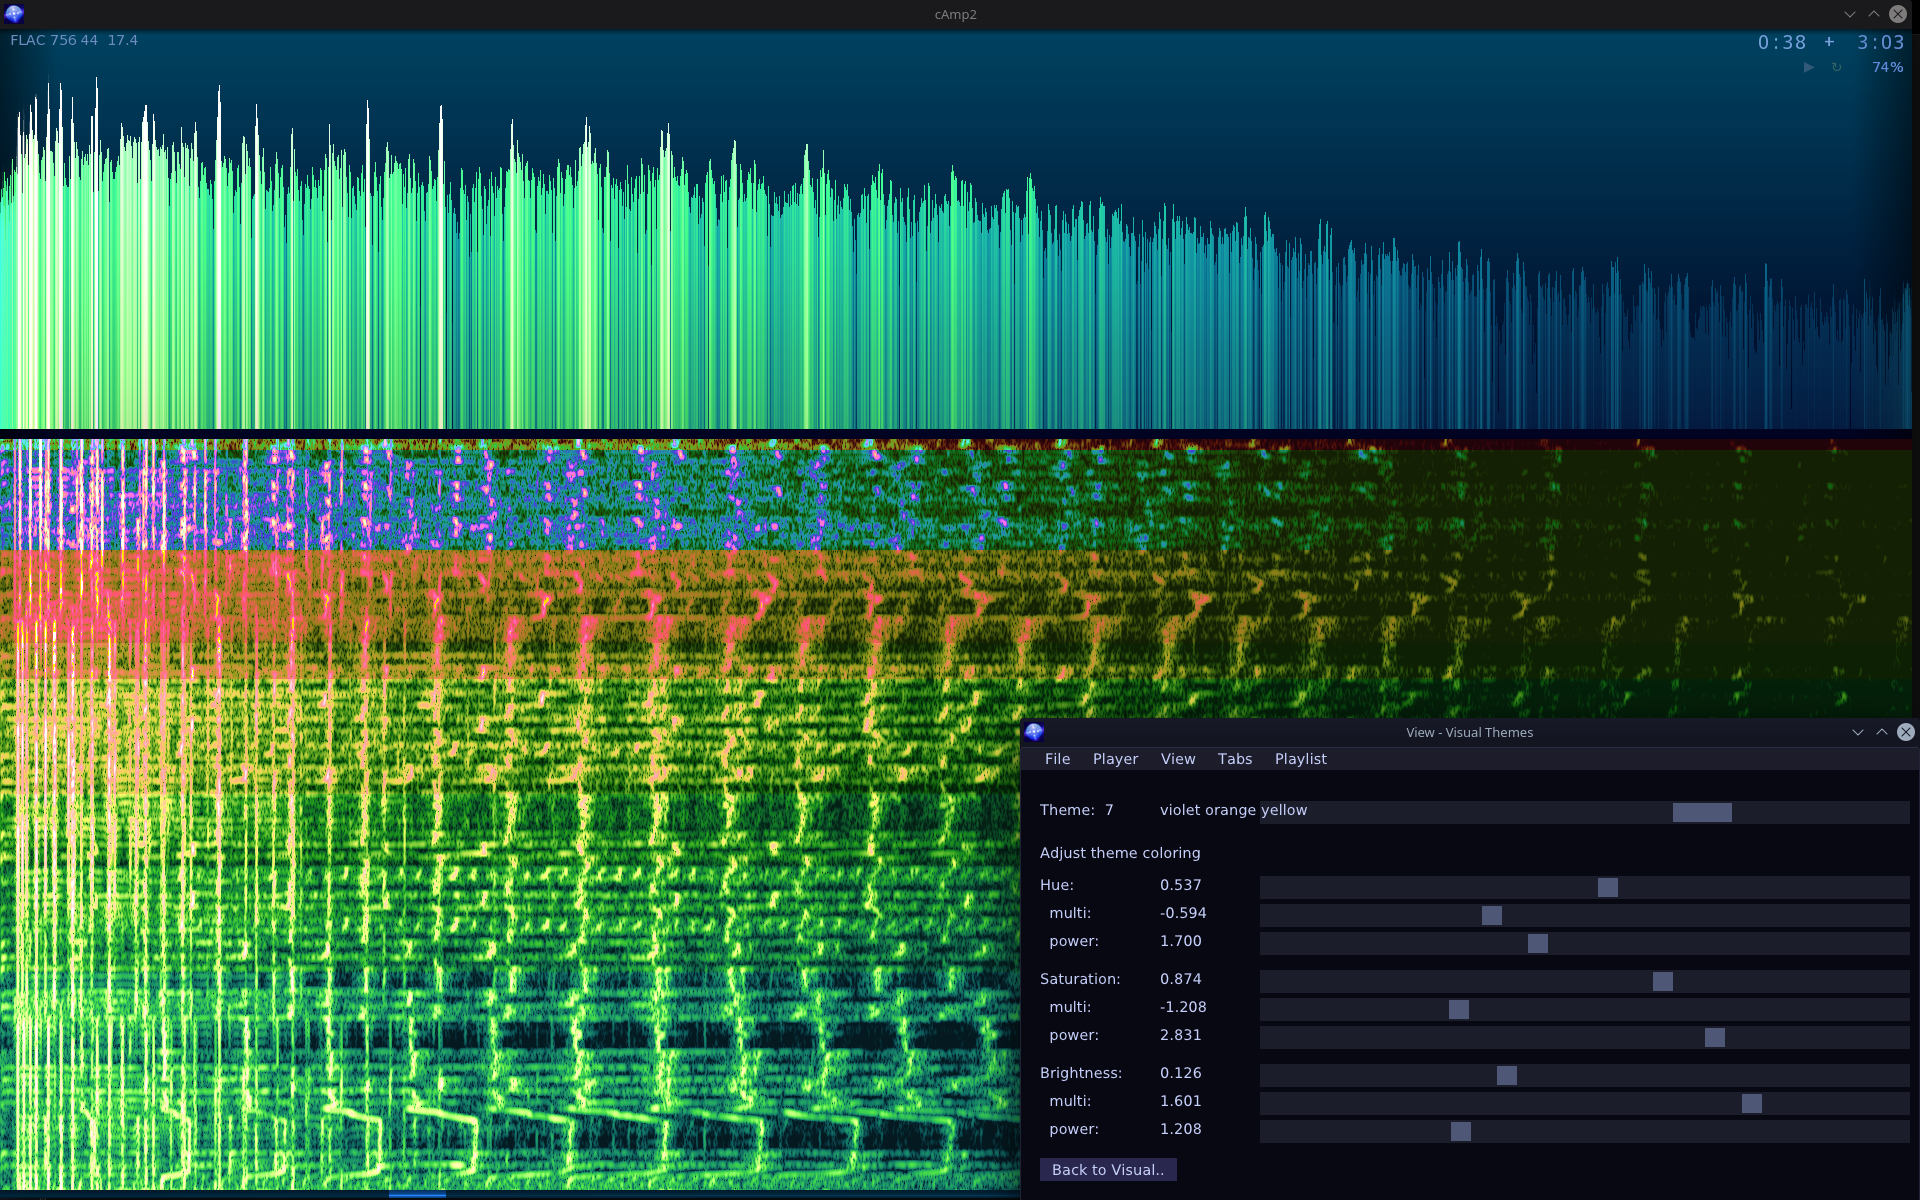
    • New visualization type (screens, parameters): FFT above and spectrogram below.
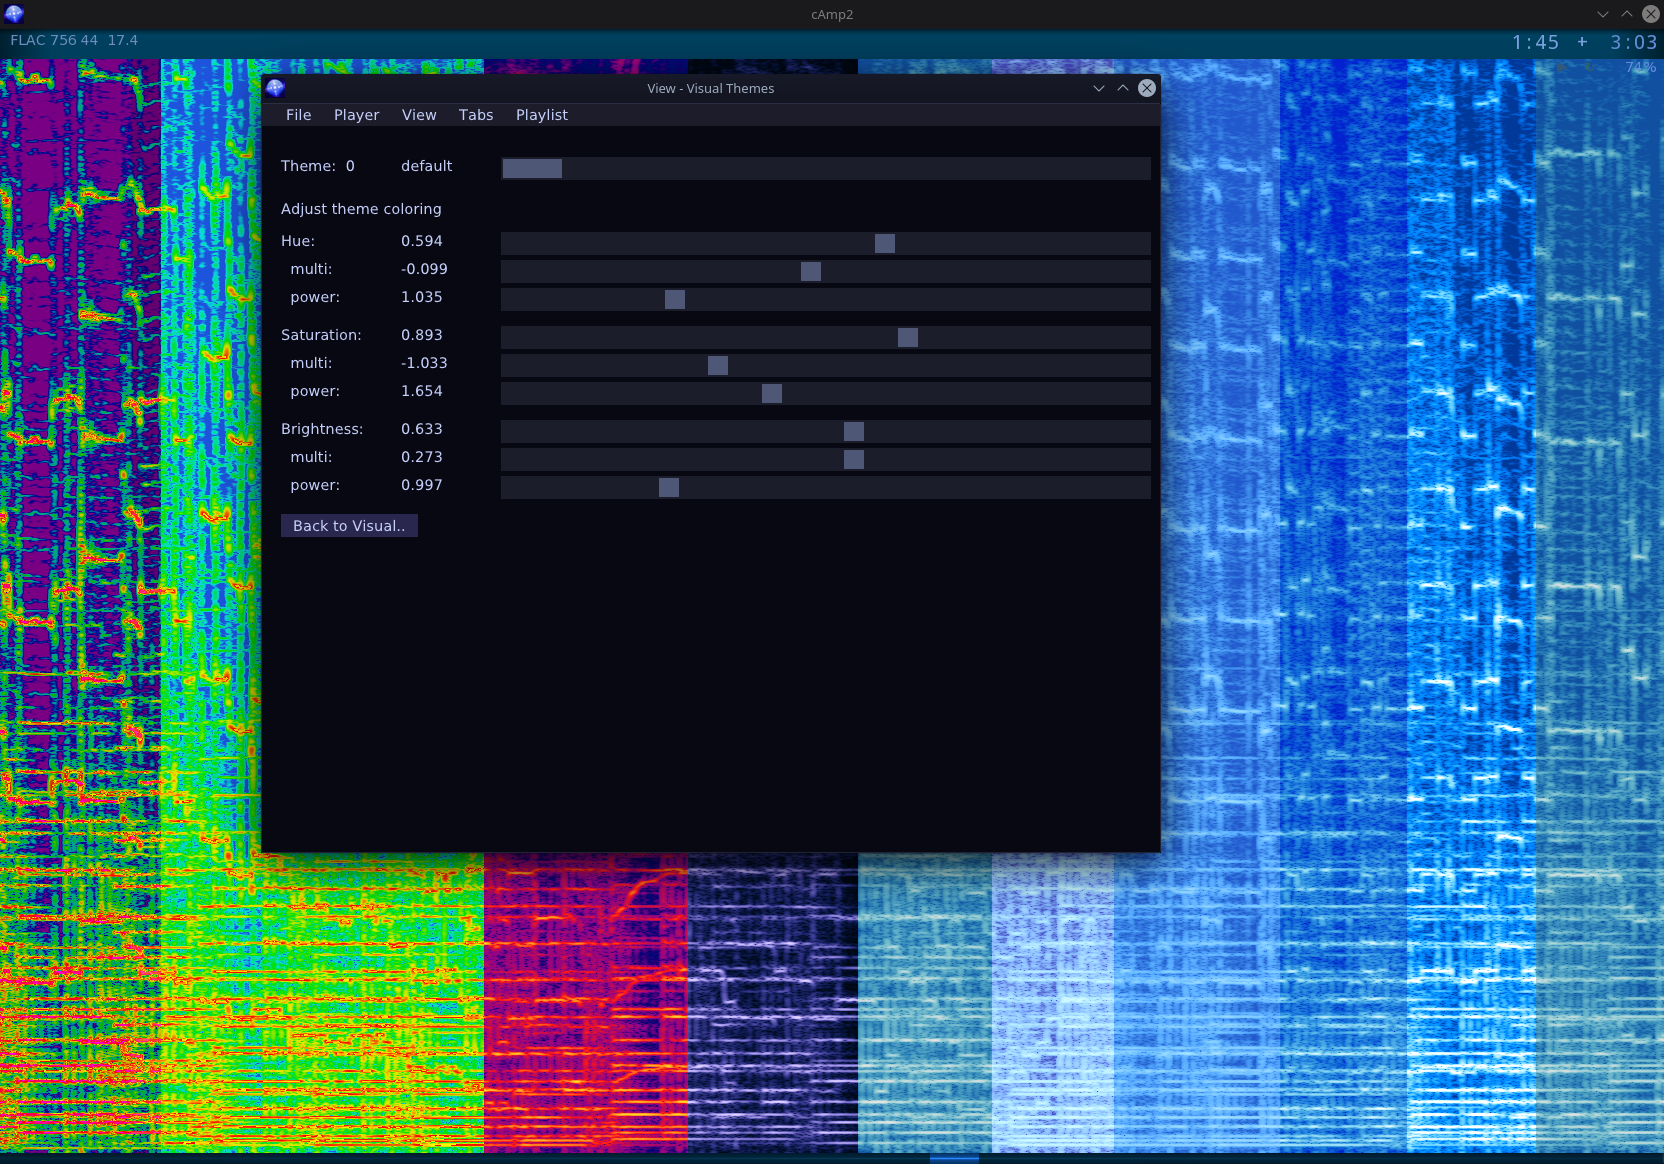
    • Visualization themes and sliders for adjusting colors.
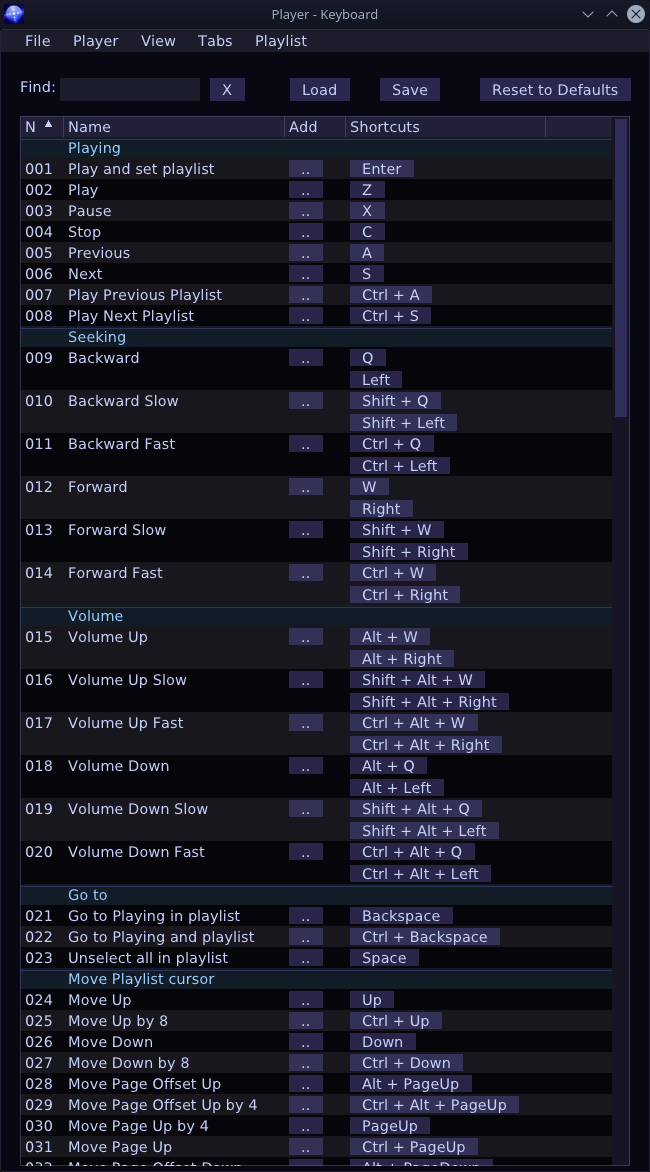
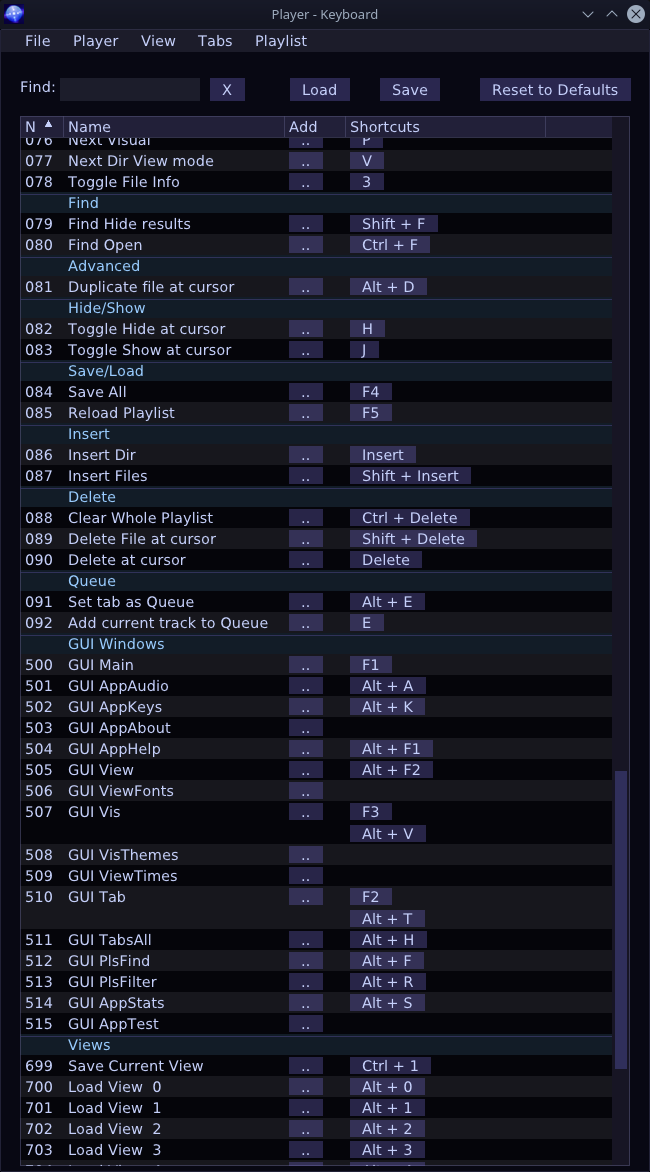
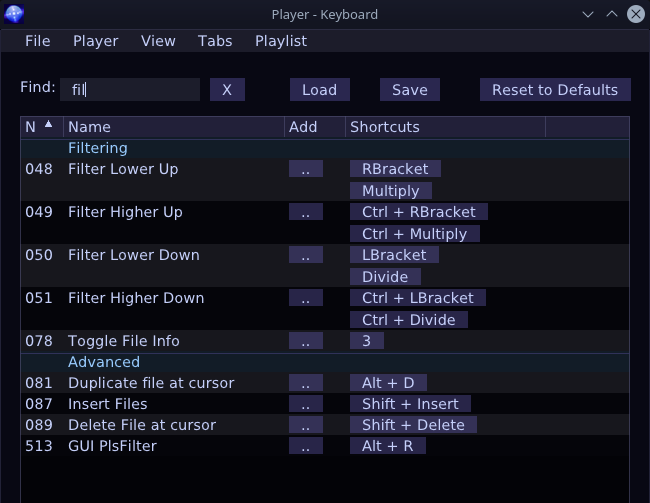
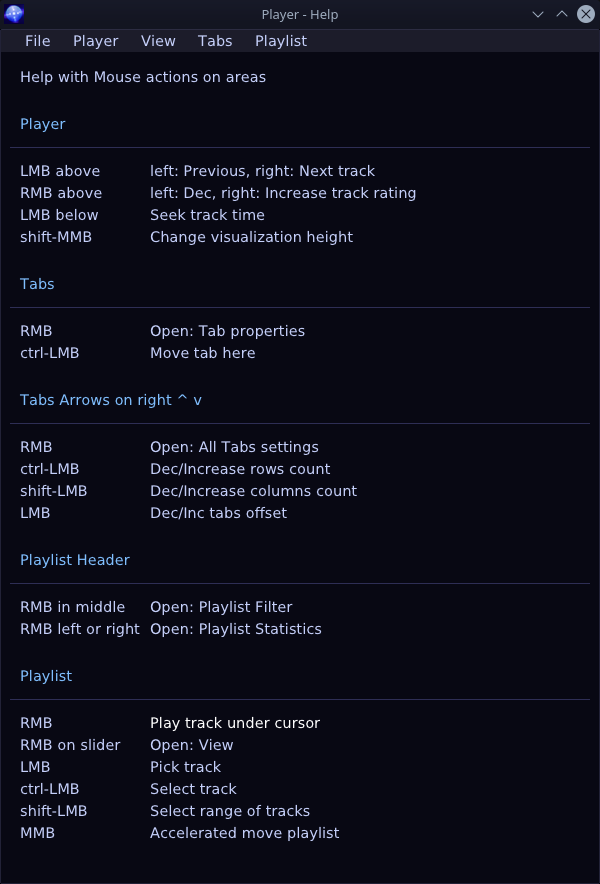
    • Rebindable all key shortcuts list with filtering. And help for mouse actions.
    • Queue tab(s). Any tab can be set as queue. It will be marked in 4 corners. Then you can add tracks with one key (E) to queue end. Good for temporary playlists or “best of” ones.

    ⌛Conclusions

    Well it is definitely useful. It’s one of those key programs I need to have at start of any OS (first is my DoubleCmd fork, then this player, 3rd is Firefox with many add-ons).
    Yet it’s still missing one crucial feature like moving (reordering) tracks. Kind of funny, but I still don’t need it that much. I just delete whole playlist and add its main folder again to refresh once a while, and keep order in my filenames and subdirs. There are few other features missing too from previous version. But if I’m doing bigger projects (like Stunt Rally 3) or smaller and more interesting ones, then I don’t have time for this nice useful program which I still use every day. If we count the older one too, made in 2009, this would be the longest used program I made.

    📷Gallery

    Screenshots start with normal playlist, find, track backgrounds explanation with time coloring, tabs adjust, later 3 visualizations, their themes, and rest of Gui windows.

  • 2021-22 Fan Controller 🌡️

    2021-22 Fan Controller 🌡️

    ⏱️Overview

    This is a nice gadget I made recently for controlling speed / power of my PC fans (all are 12cm, 12V, 3 pin, with RPM output).
    It has way more features than my old & basic 3 knob regulator which I used for over 15 years.
    And since this is open source (and I wrote it), it surely has and can have any feature (commercially unavailable, not even thought of, or way too expensive).
    Obviously it isn’t badly needed, that’s why I made it after so long.

    📂Sources

    Sources for Teensy 3.1 or 3.2 are available here.

    I do not recommend Teensy 3 at all. All Teensy boards are quite expensive and aren’t that needed for a fan controller. I think a bluepill or blackpill would suffice and be much cheaper. More info and detail in my MCU tutorial.
    I simply used Teensy 3 since I had it available, doing nothing and I had code for it from my older keyboard firmware, so it was faster to adapt it.

    ✍️Motivation

    For many years I was using just the simplest LM317T voltage regulators with 3 knobs (for 3 fan sets).

    Obviously a basic analog fan controller is very simple and extremely useful. I had 3 knobs (5k logarithmic potentiometers) with LM317T (even with no capacitors or radiators), mounted in the 3½” floppy disk bay. It was working very well for years and I could still use it. It only works for analog, not PWM fans.

    I did try once a Gelid Speedtouch 6, wasn’t very cheap, and it was hopeless. Even worse, when I realized that I can make a better one myself, like usually.
    Additionally, after being rather finished with my keyboard features, I had some Teensy 3.2 boards left, lying around, doing nothing, simply asking to be used for something. Even better, I could use my older keyboard firmware for Teensy 3.2 and adapt it fast for this controller.

    So I finally got to creating it. I called it “Fancy” from Fan C(ontroller).
    There was something new to learn too. I even used a cool circuit simulator to find out resistors around transistor, wasn’t exactly the real value later though.

    And of course not everything went as planned.

    For example: I wanted to use thermocouples for temperature which I had few of already. I tried an op-amp with differential amplifier for them and used ADC to read voltage which seemed working on breadboard. But after doing that for real (and using bigger resistor values) something didn’t work and I saw noise. So after few days trying I dropped it and just used DS18B20. They are bigger (3pin package) but have more precise measurement (at higher cost too).

    Unfortunately I also killed one Teensy 3.2 board by accident. I’m not even sure how. I’m guessing some 12V was still left on capacitors and I could touch 3.3V pins with it.

    📊Features

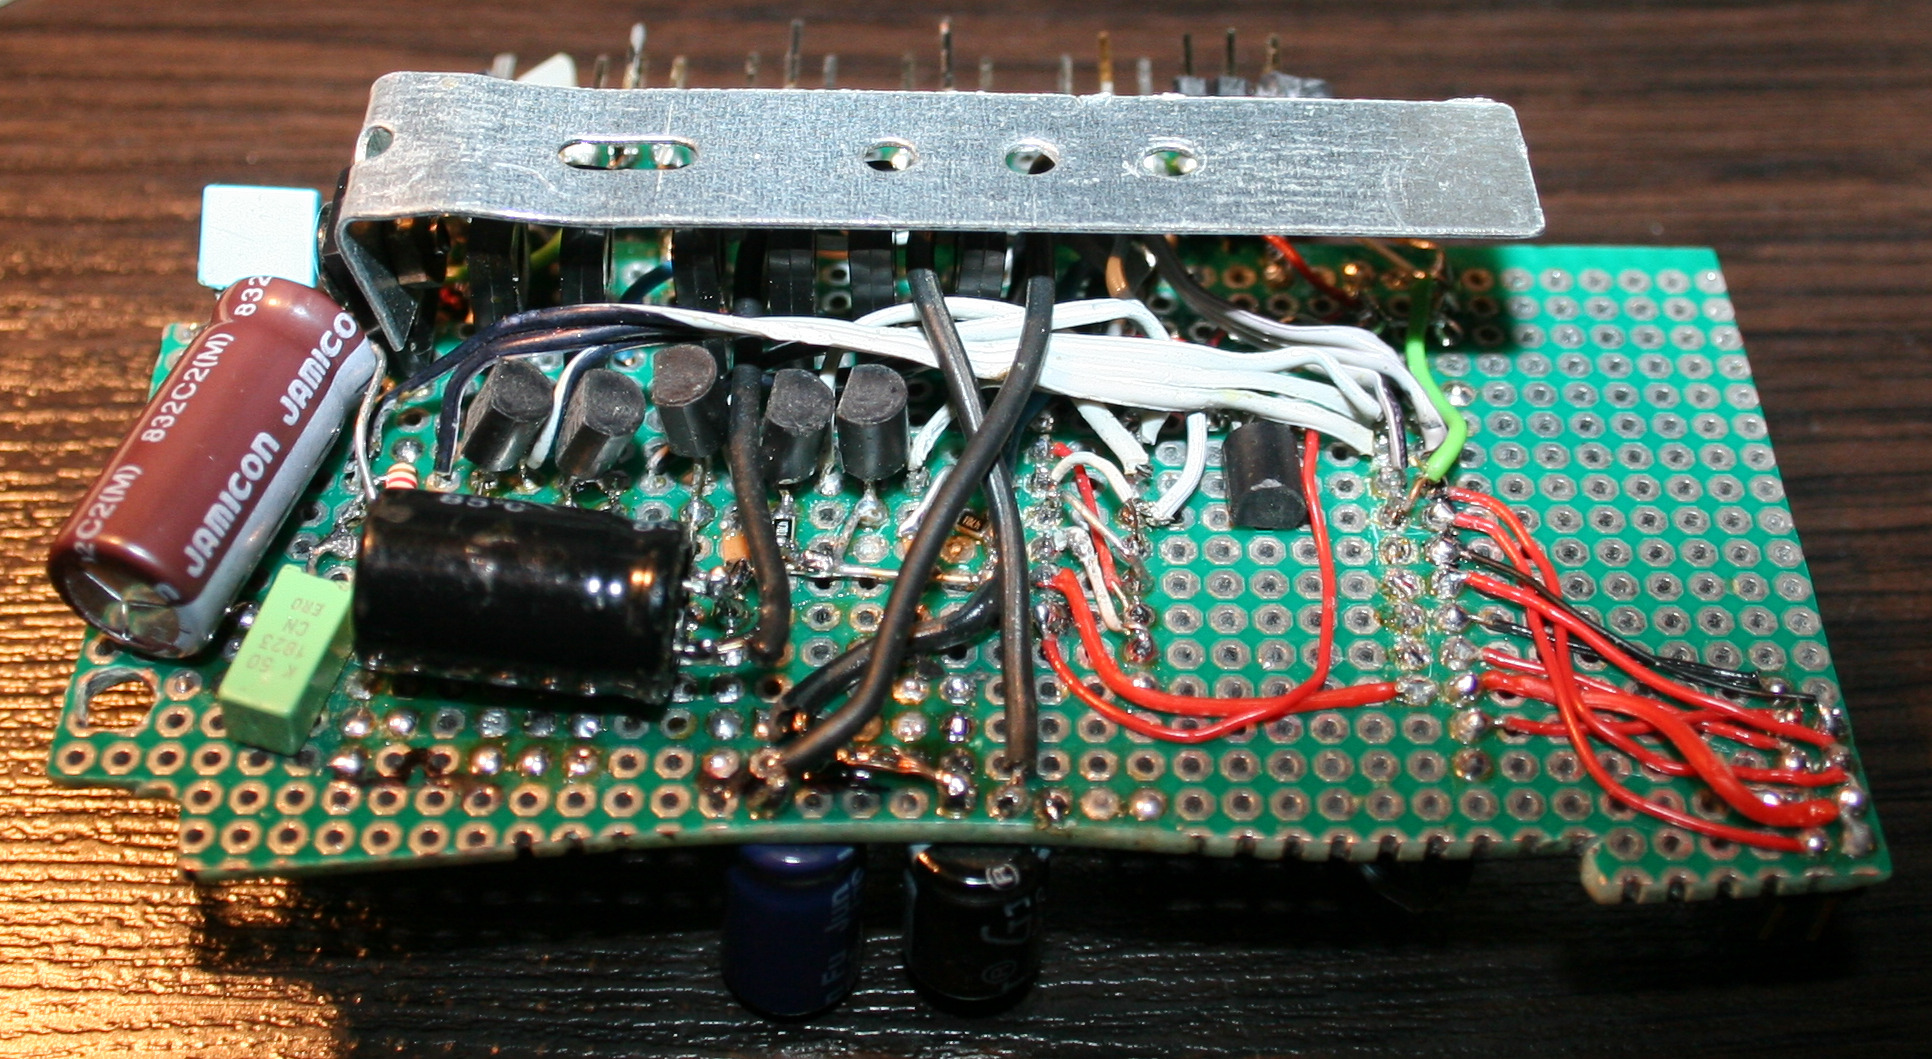
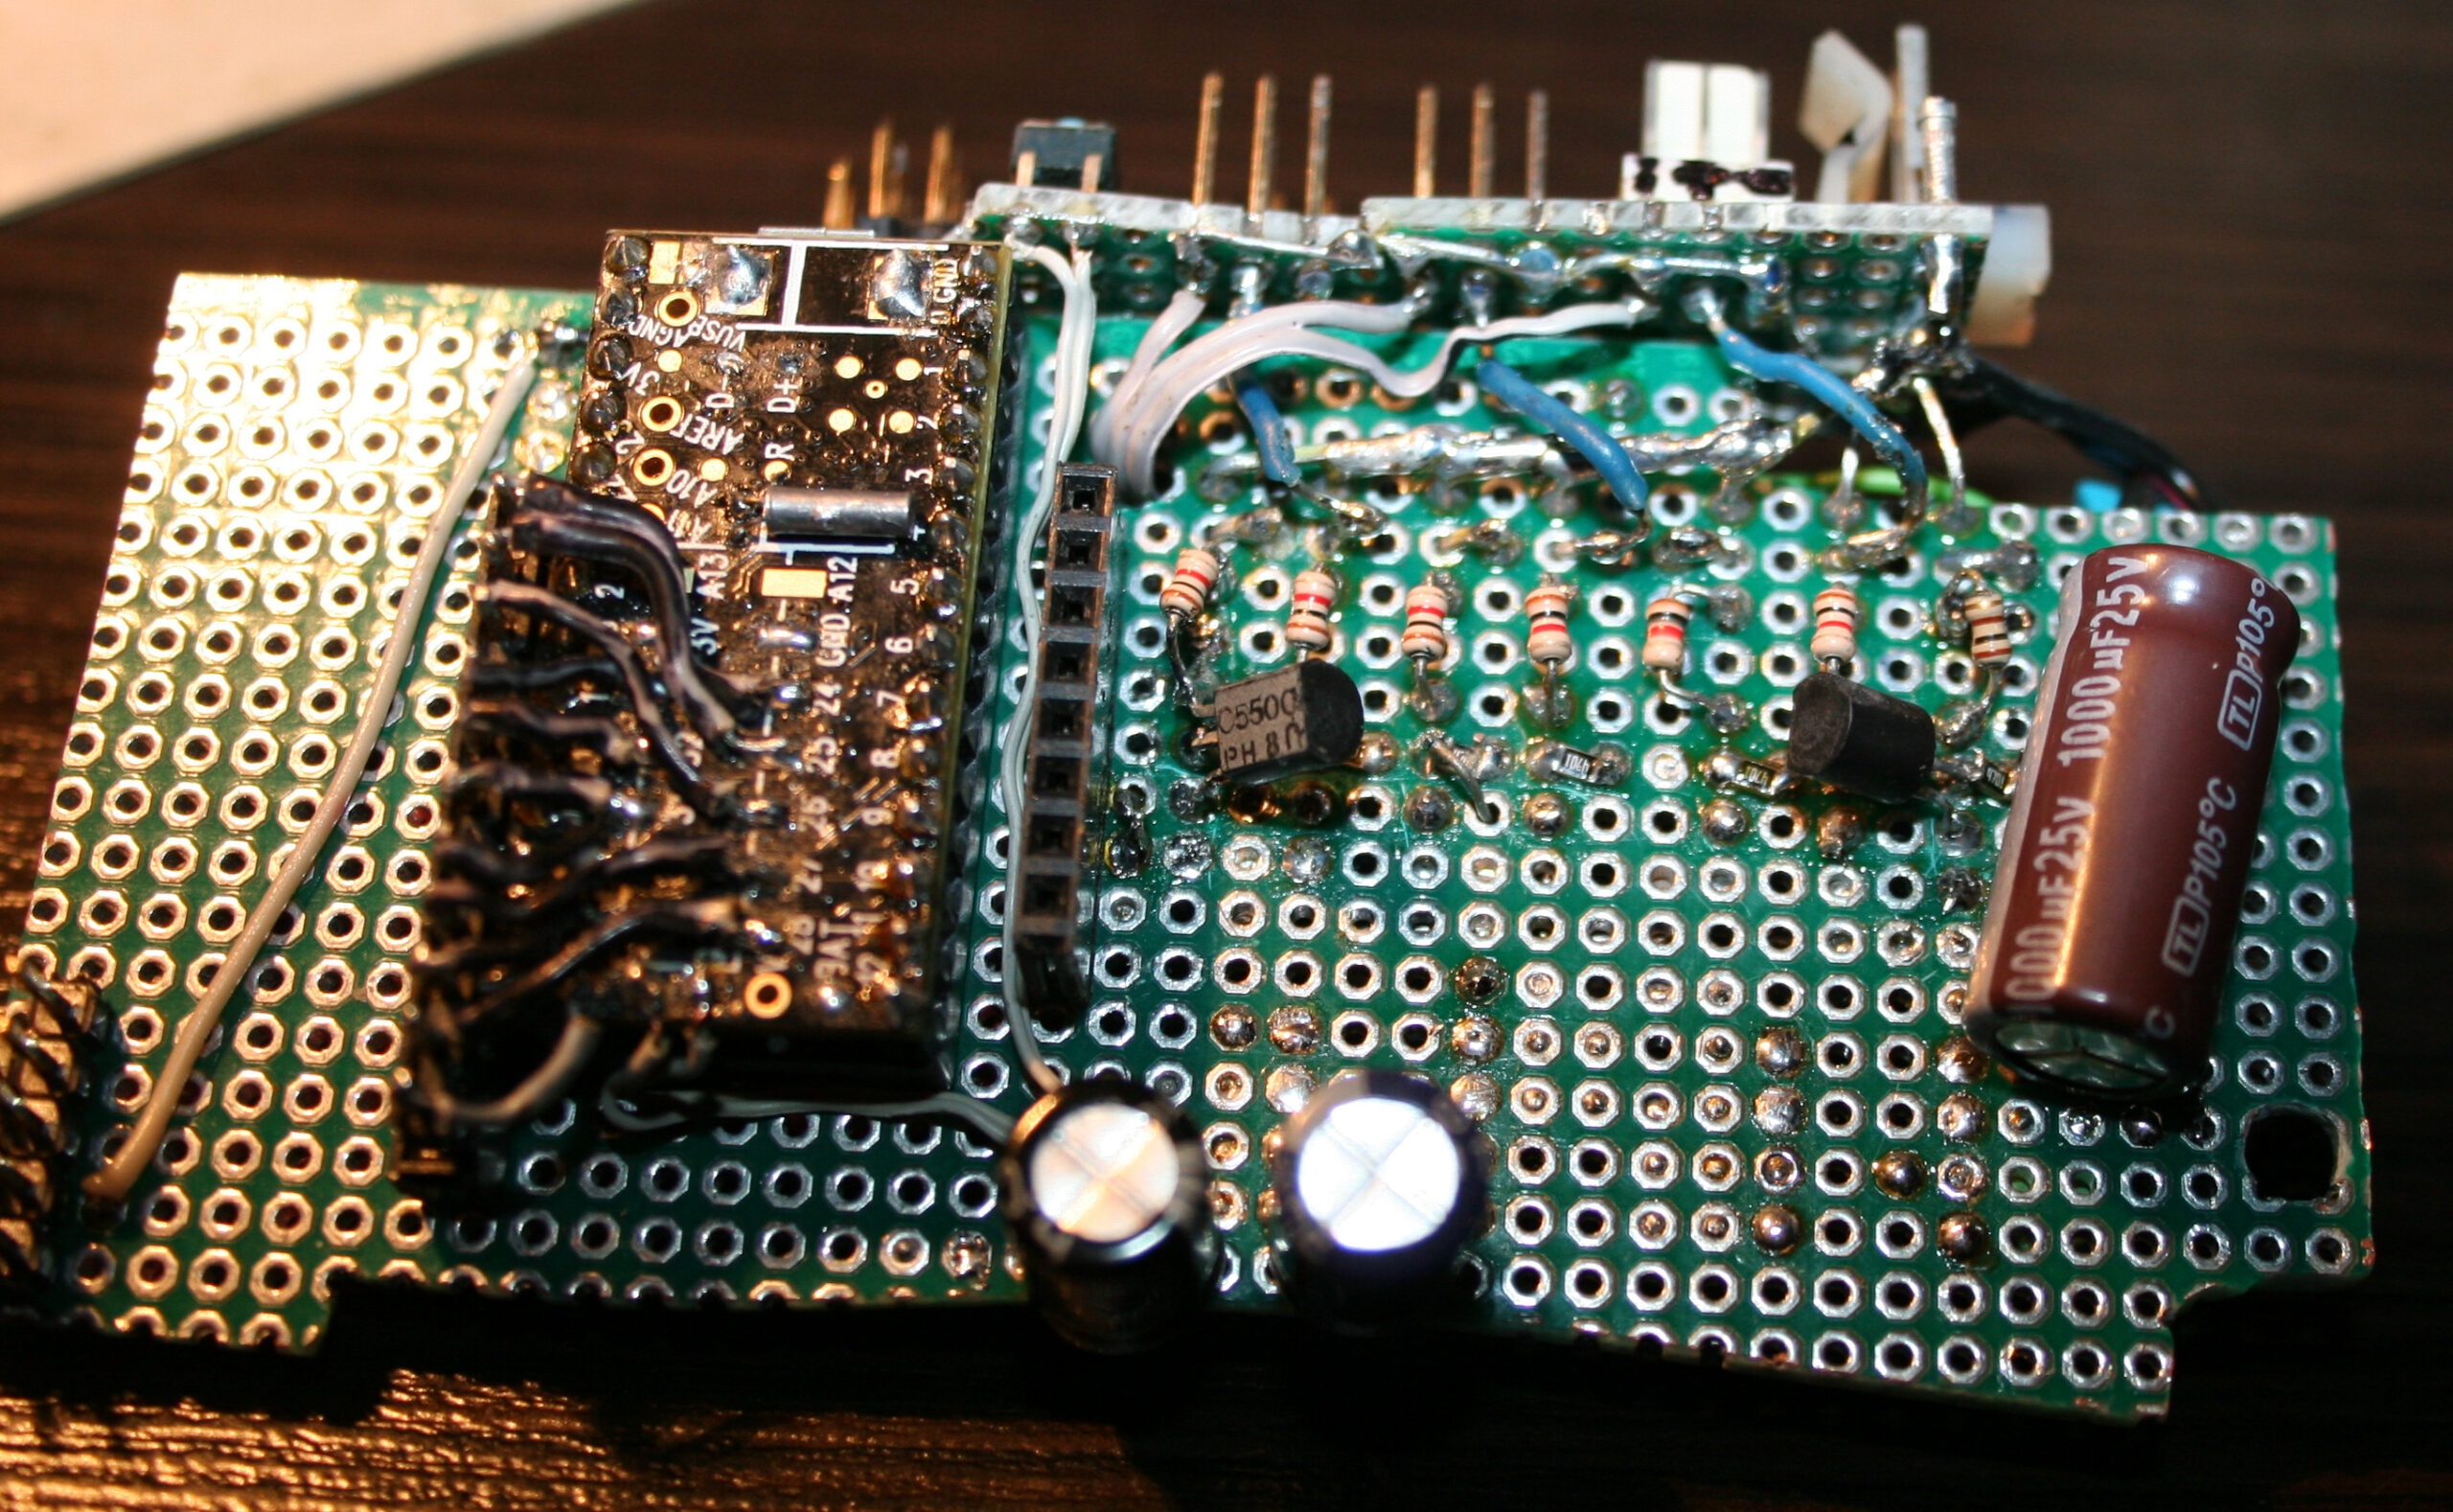
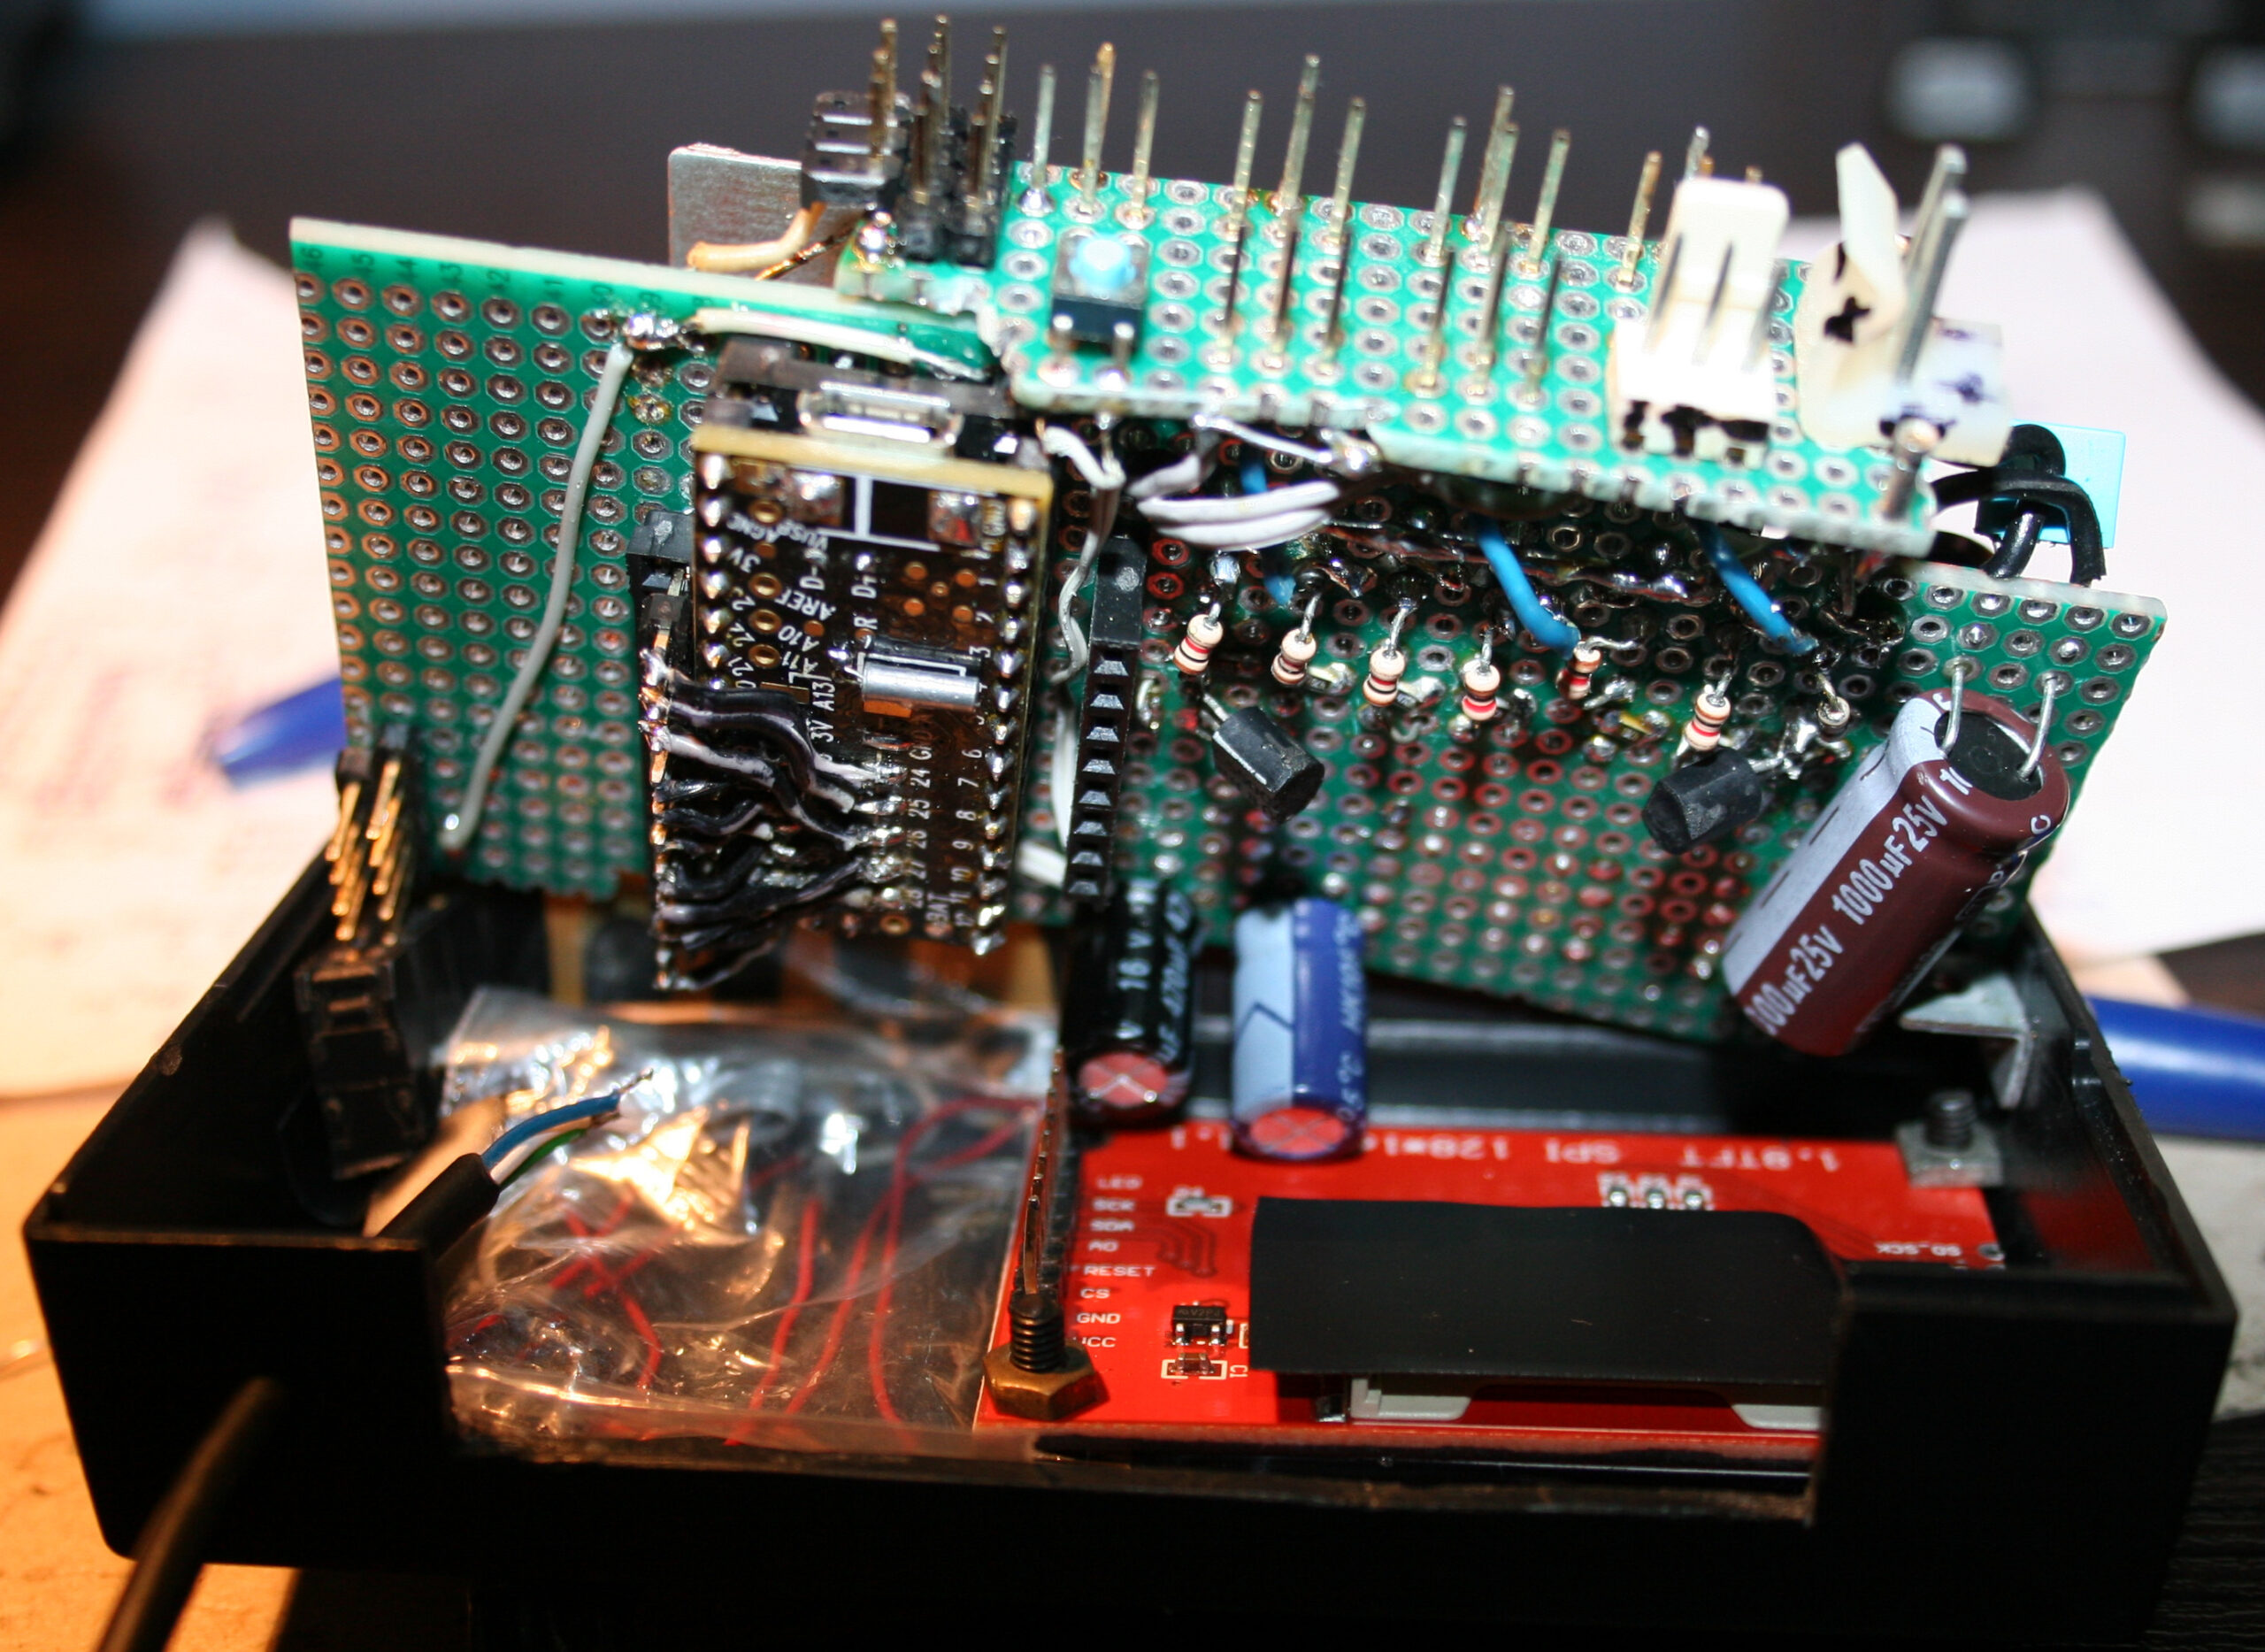
    A shorter, bulleted list of all features can be seen in sources readme with more detail on electronic parts and schematic image here.

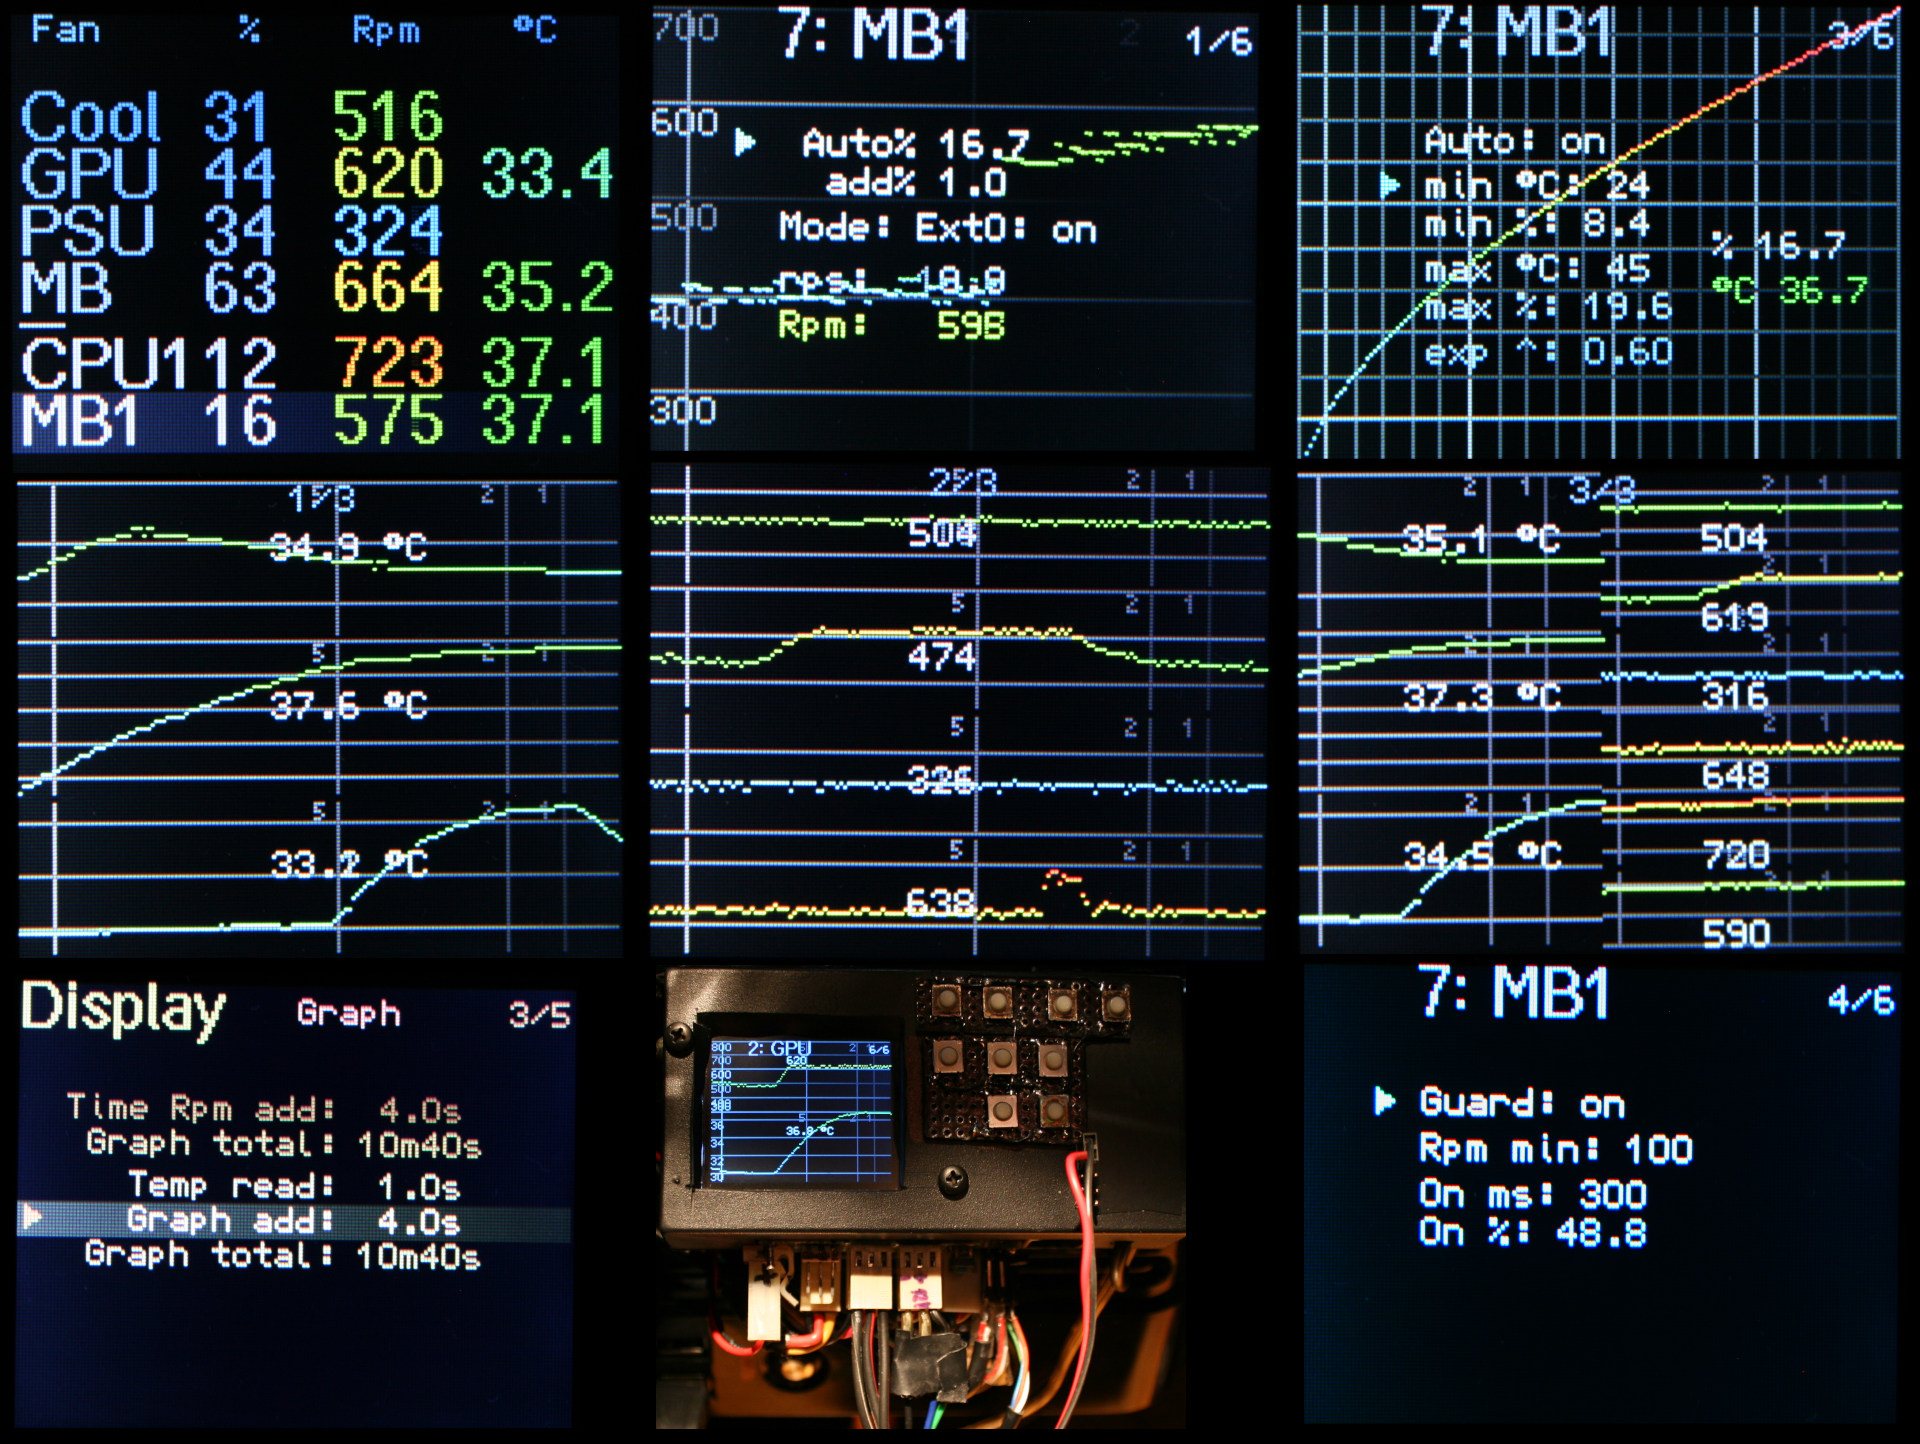
    GUI

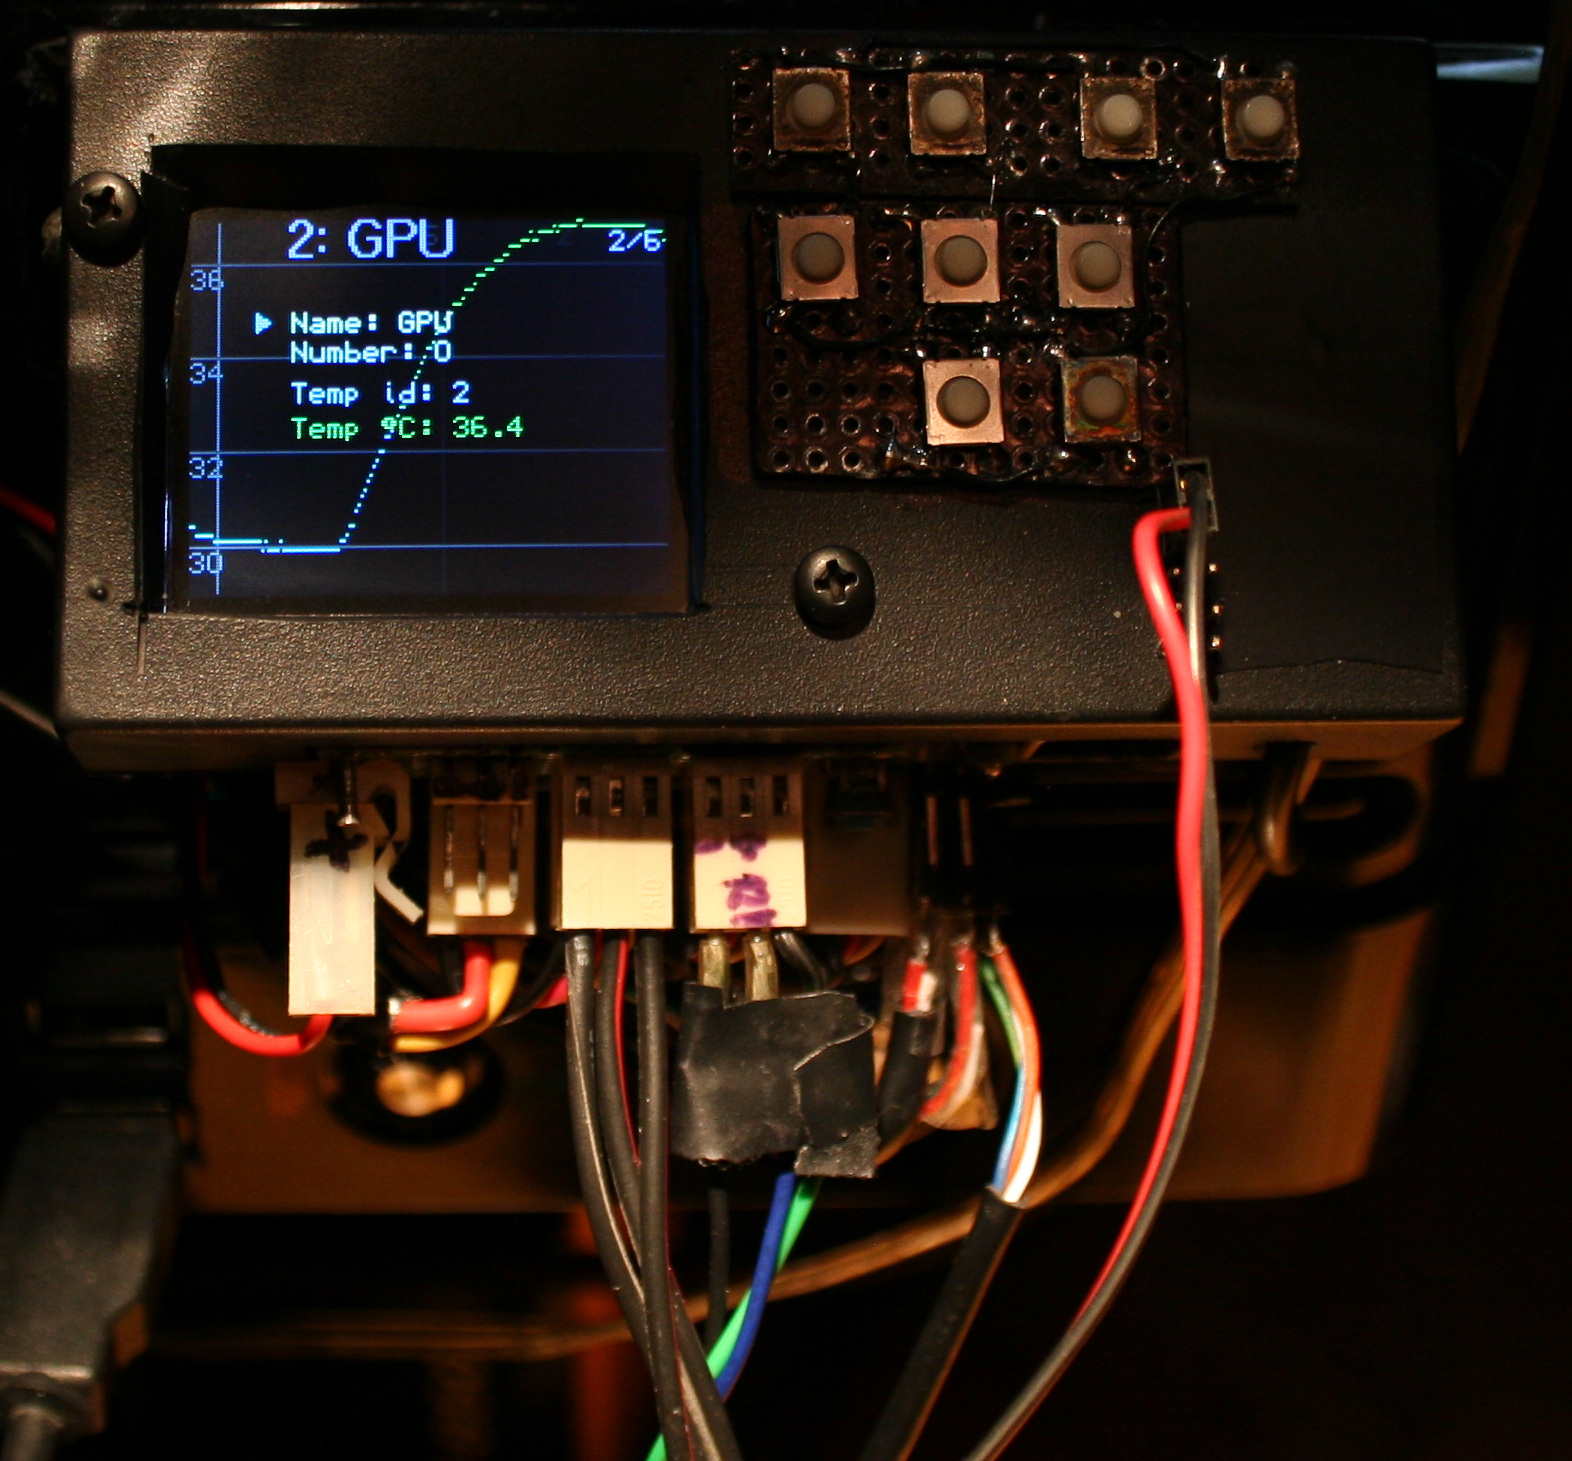
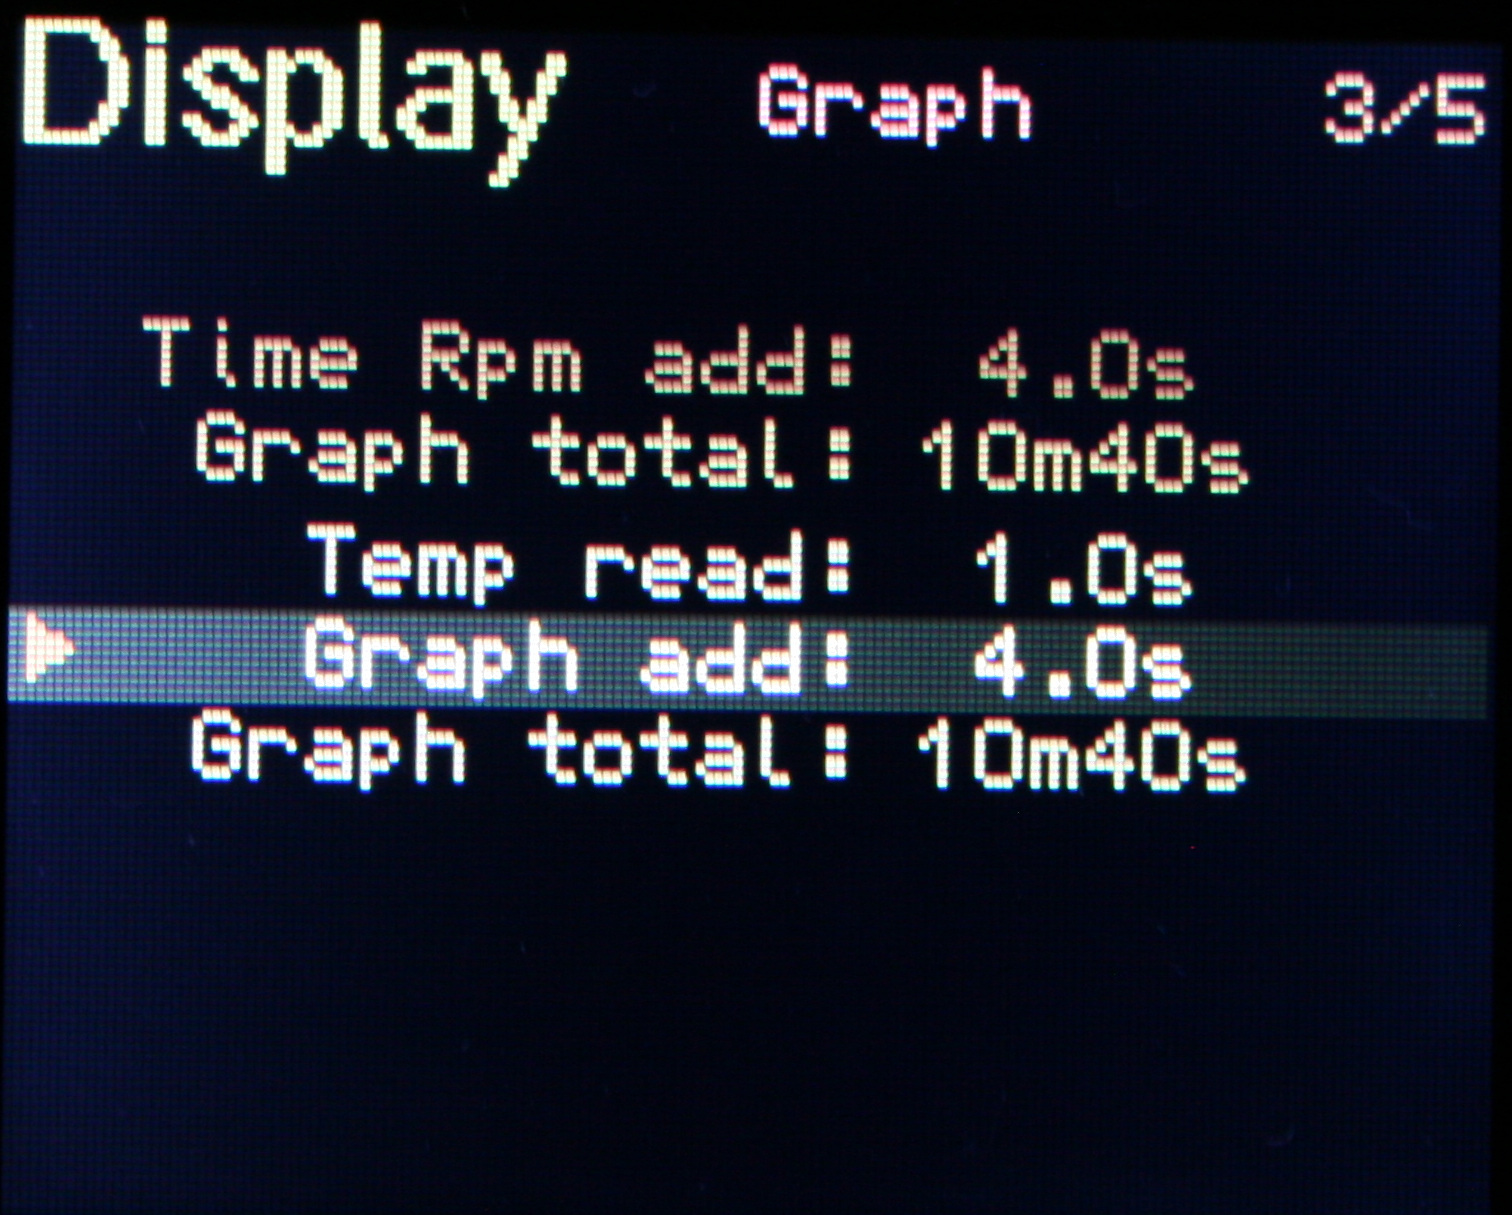
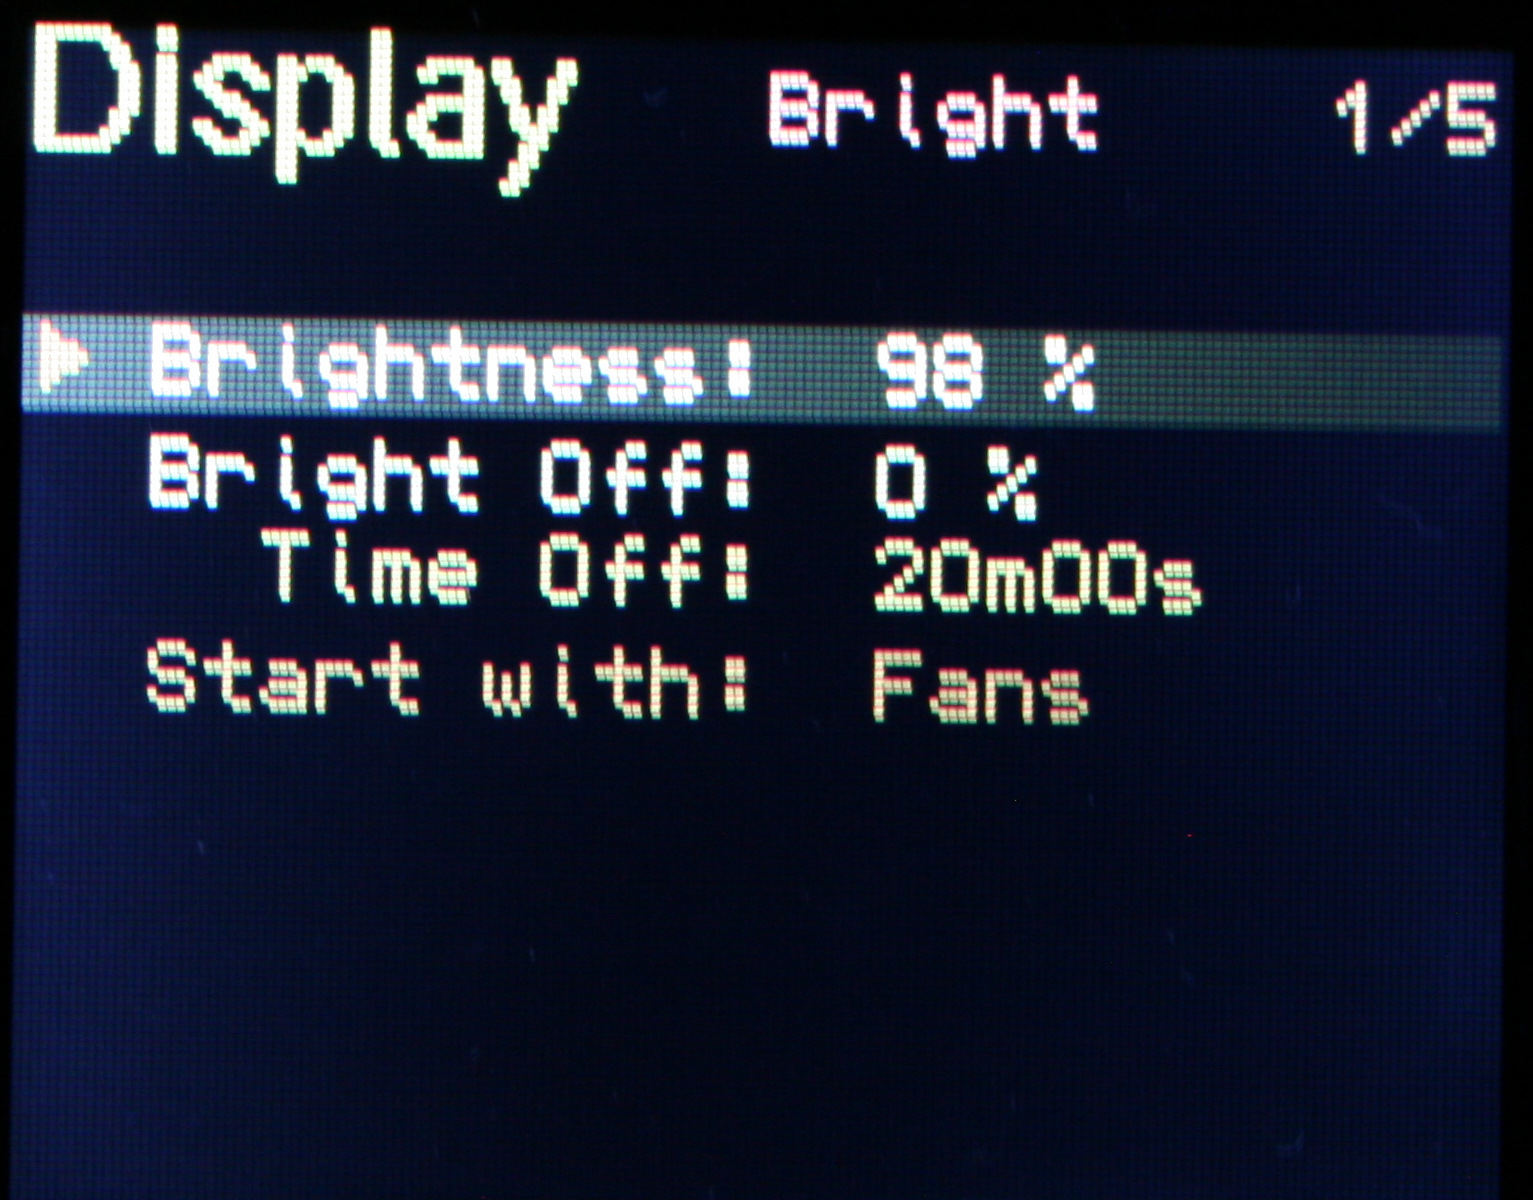
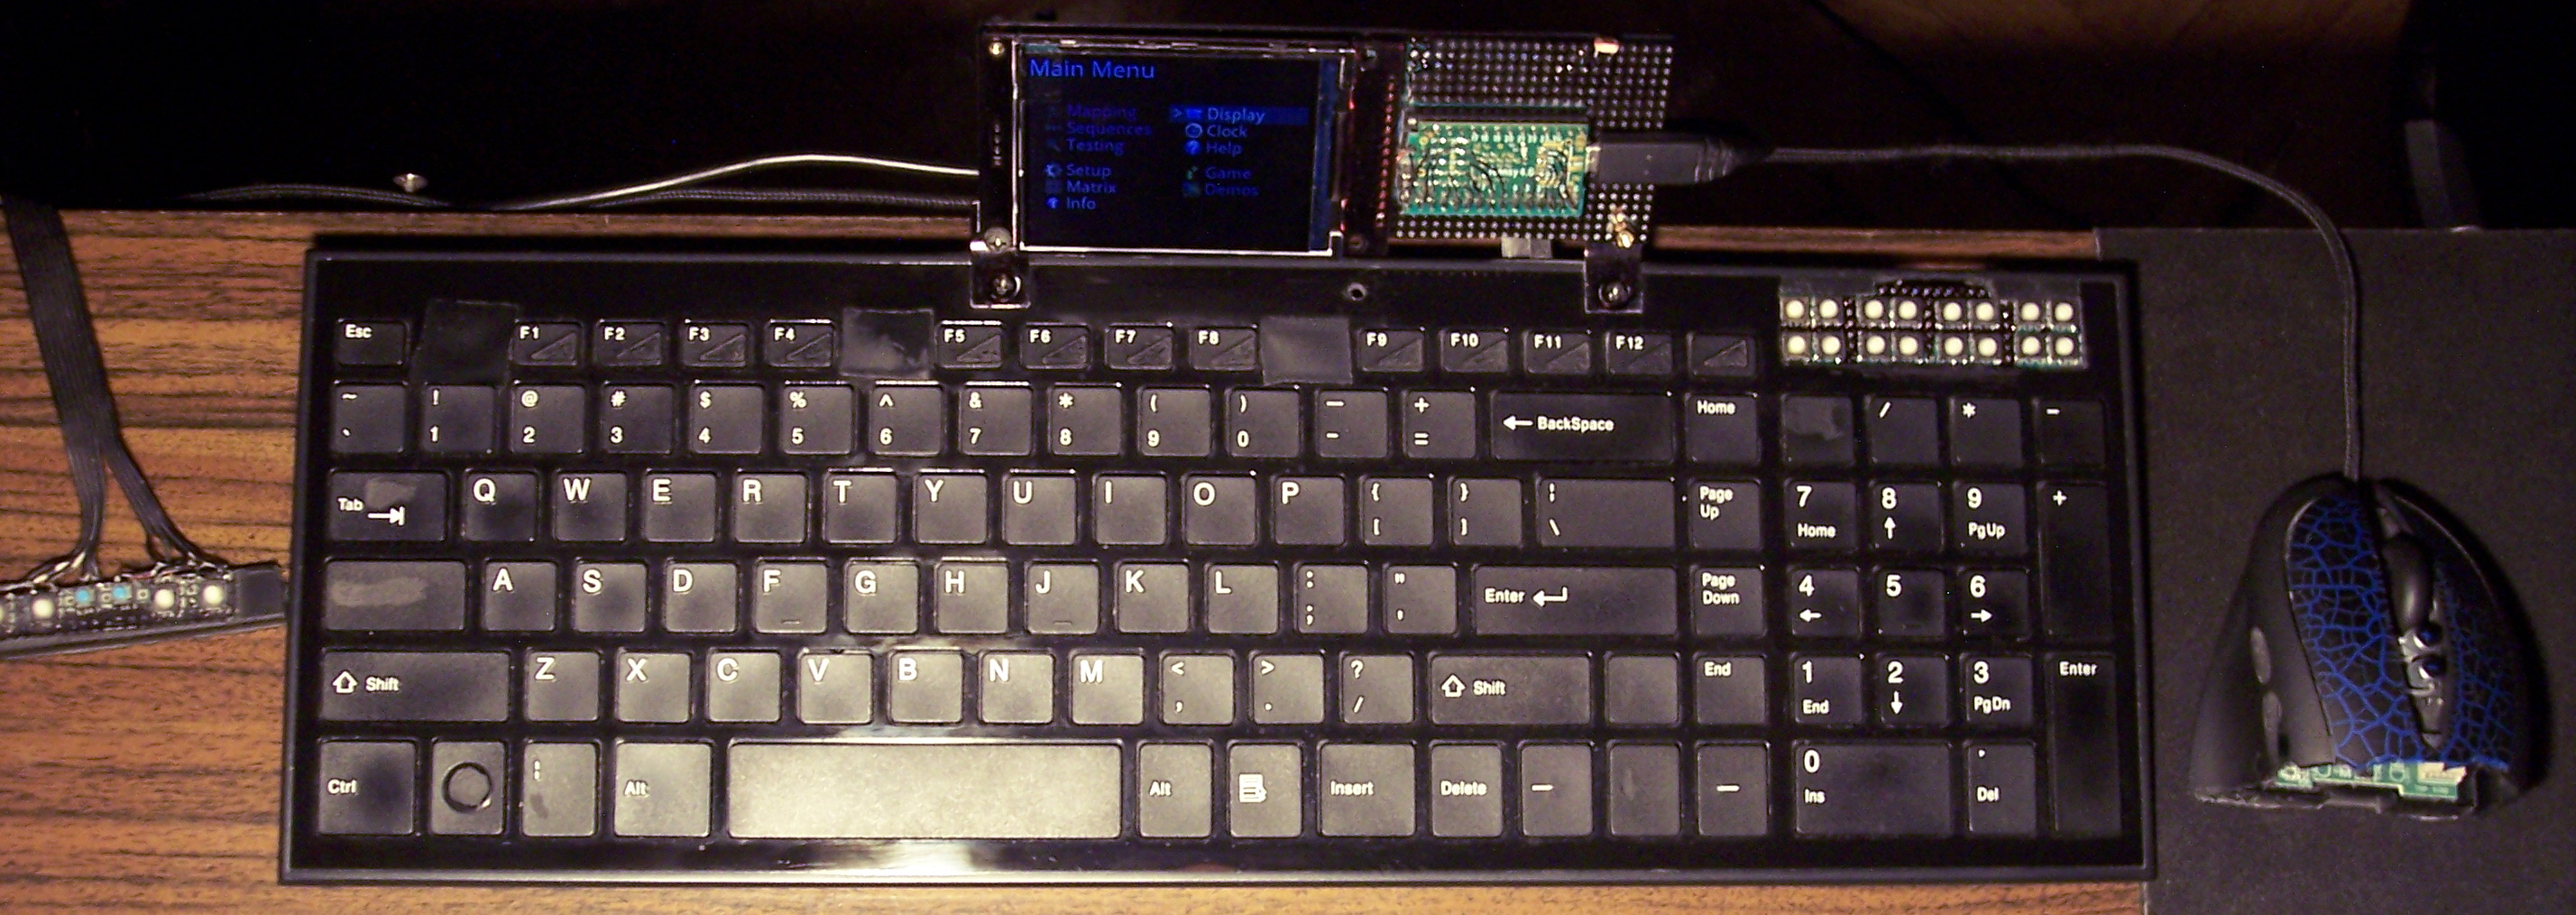
    It has a 3×3 keyboard and a LCD color display (diagonal is 1.8″, 4.5 cm). I did years ago my keyboards this way, so it also came with 3 levels menu (GUI), many options and even full screen demos (why not).
    Of course it permanently saves all settings, in EEPROM.

    📈Regulating

    The main advantage of my digital fan controller is that it allows lower RPM than analog, which then makes PC slightly quieter.
    This is because a fan needs shortly higher power (voltage or PWM) to start, but can have it lower after it started rotating (I don’t mean the power started rotating 🙂).

    Next, it monitors RPM (revolutions per minute).
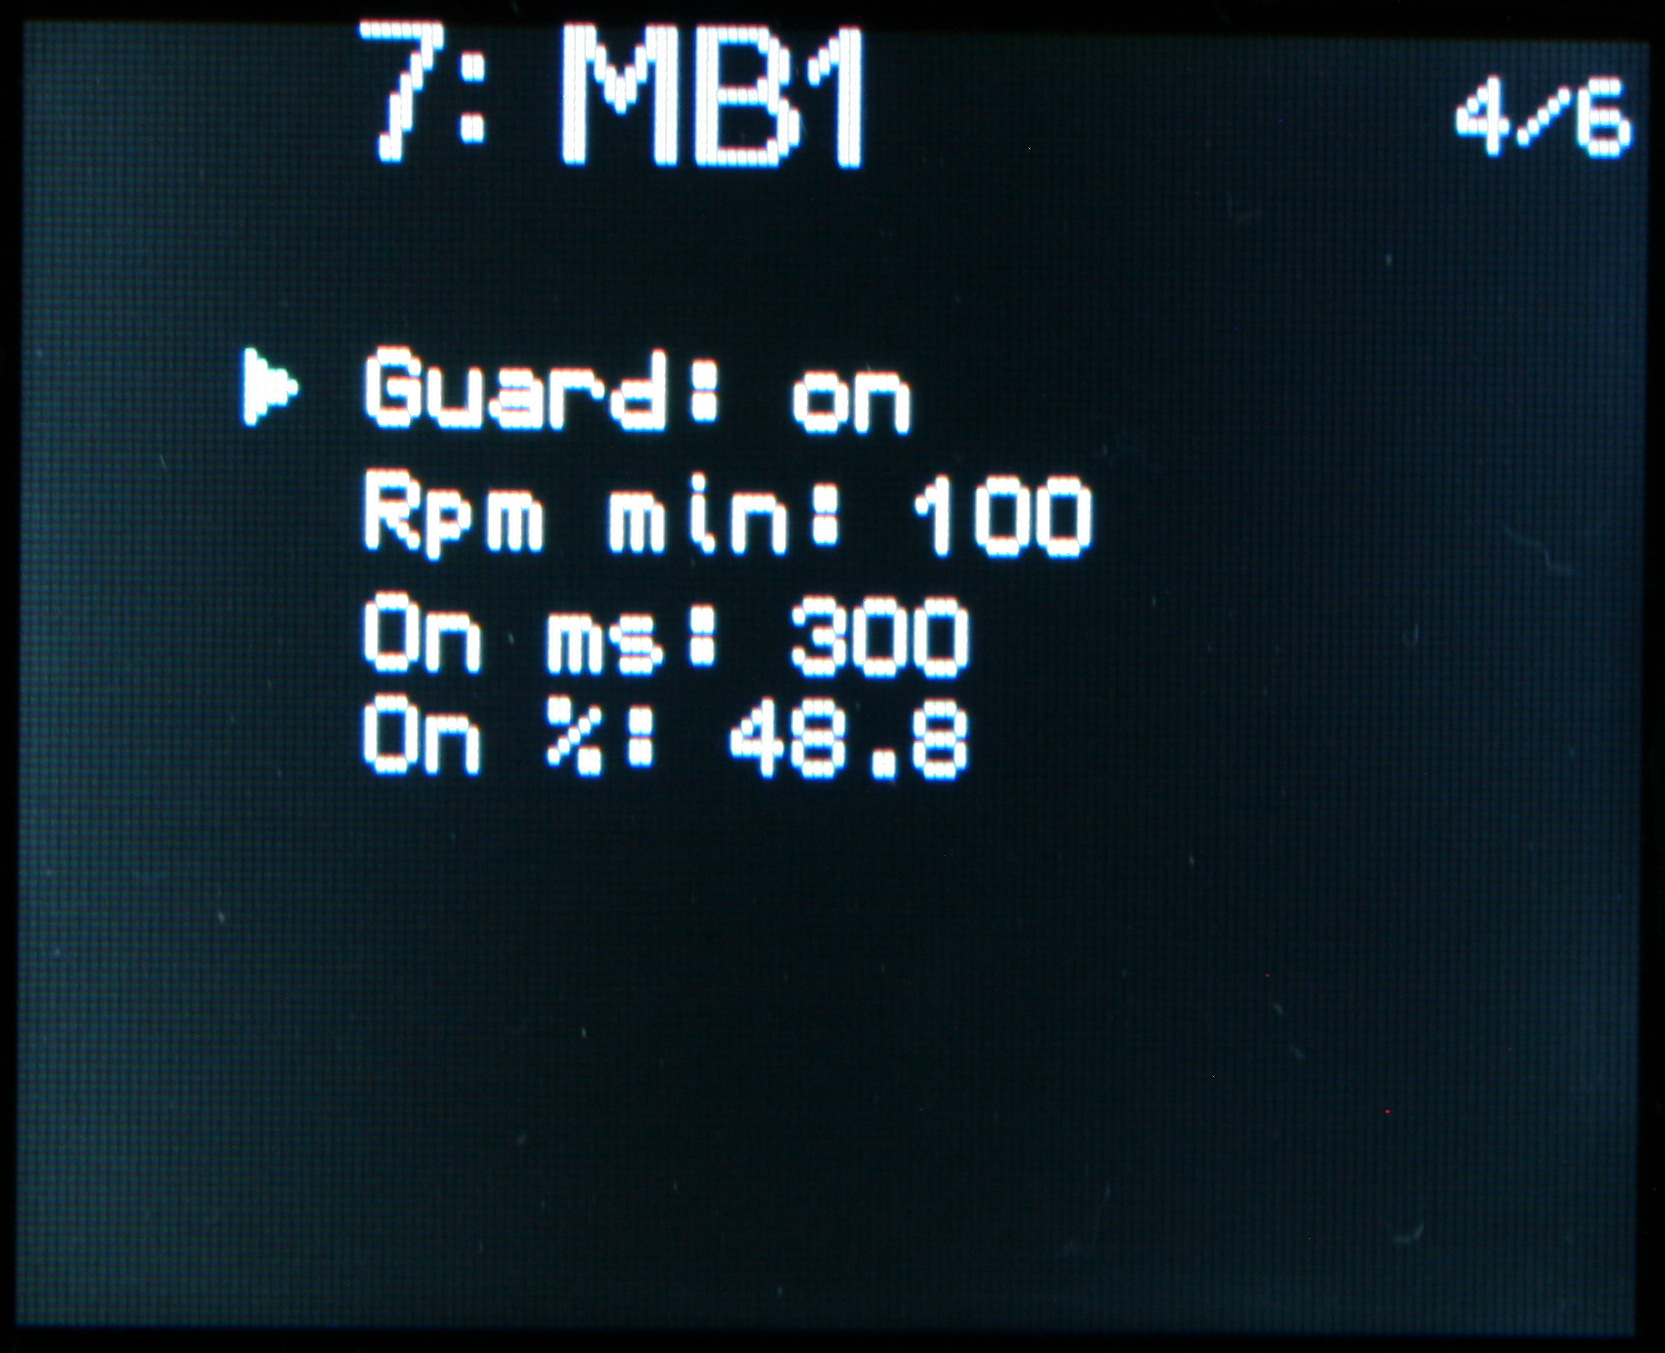
    So a natural safety feature here is: stop prevention (or in general RPM guard). It can increase power shortly to start again, even if user picked too little power to spin, or something stopped the fan.

    Additionally PWM outputs can be used, for fans that allow it. Actually all of my old PC fans didn’t work with PWM, so I had to also make analog outputs (channels) for them at some point. I don’t know if it could be more universal, these channels require some other parts.
    So it can control analog fans (changing constant voltage) and PWM fans (changing modulated pulse width at medium frequency).

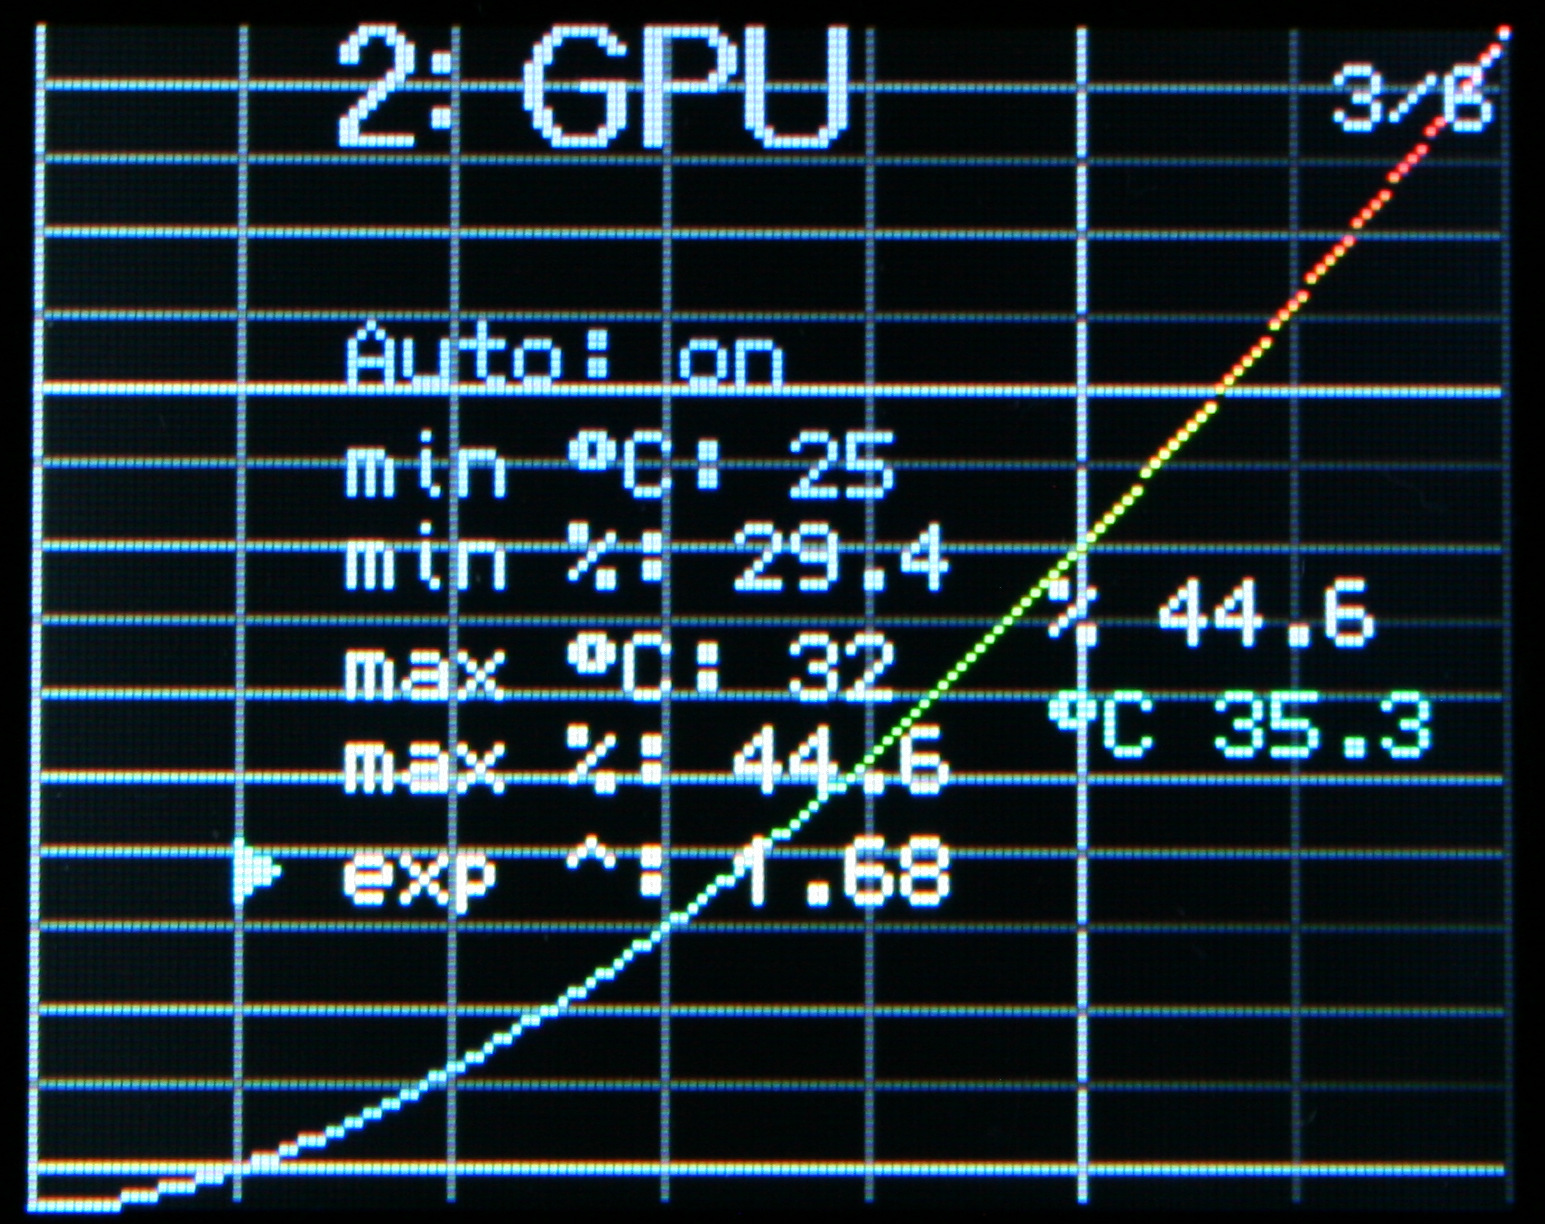
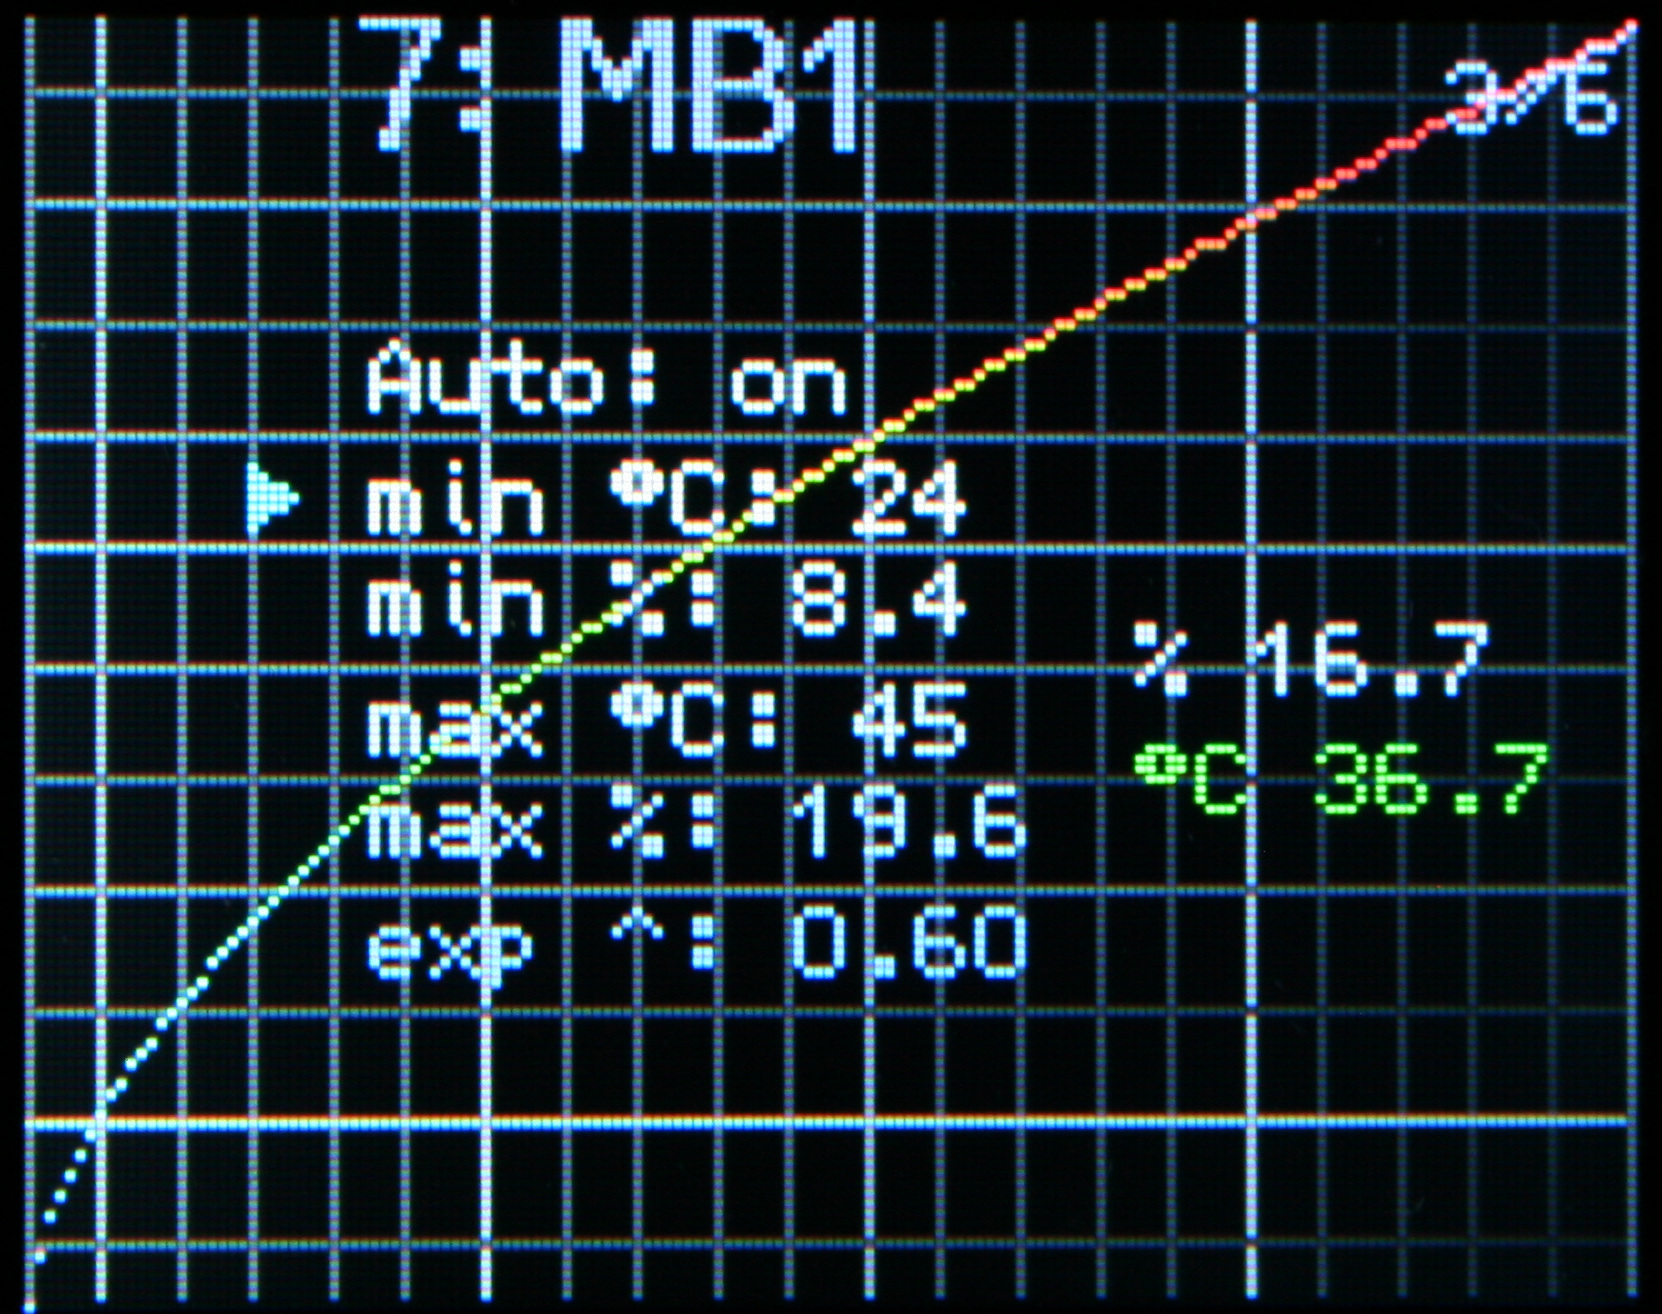
    Optionally, temperature is measured. It can be used as feedback to automatically set fan power. This is naturally useful if sensor is on (or near) the heating part which fan is cooling.
    Sure, this can be possible to do with some software, that came with PC motherboard, GPU or a separate program. But it may not work on Linux or have all of my custom features.
    During summer I had my fans set higher, also even did set them lower when I wasn’t using much CPU (e.g. playing games or building C++). So hopefully this feature will make controller do it now, not me.

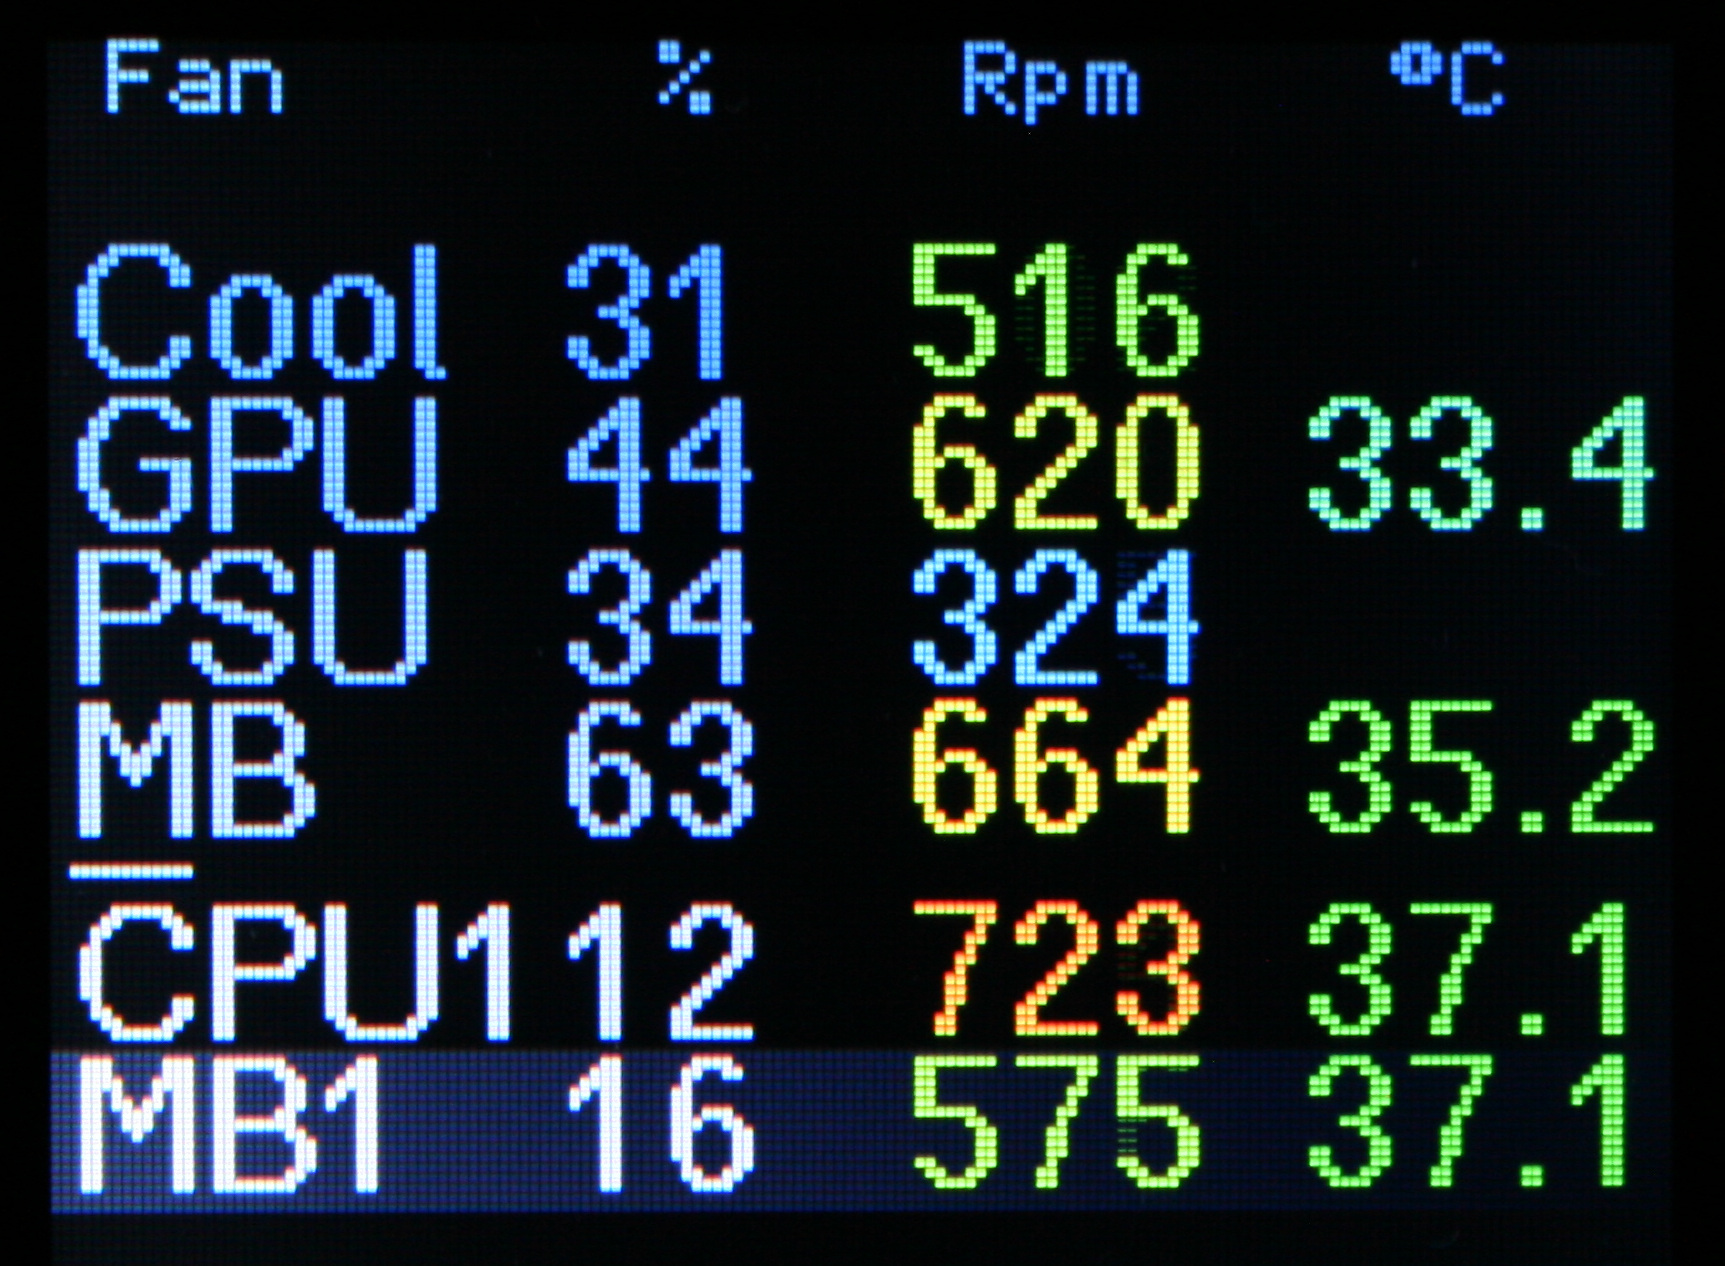
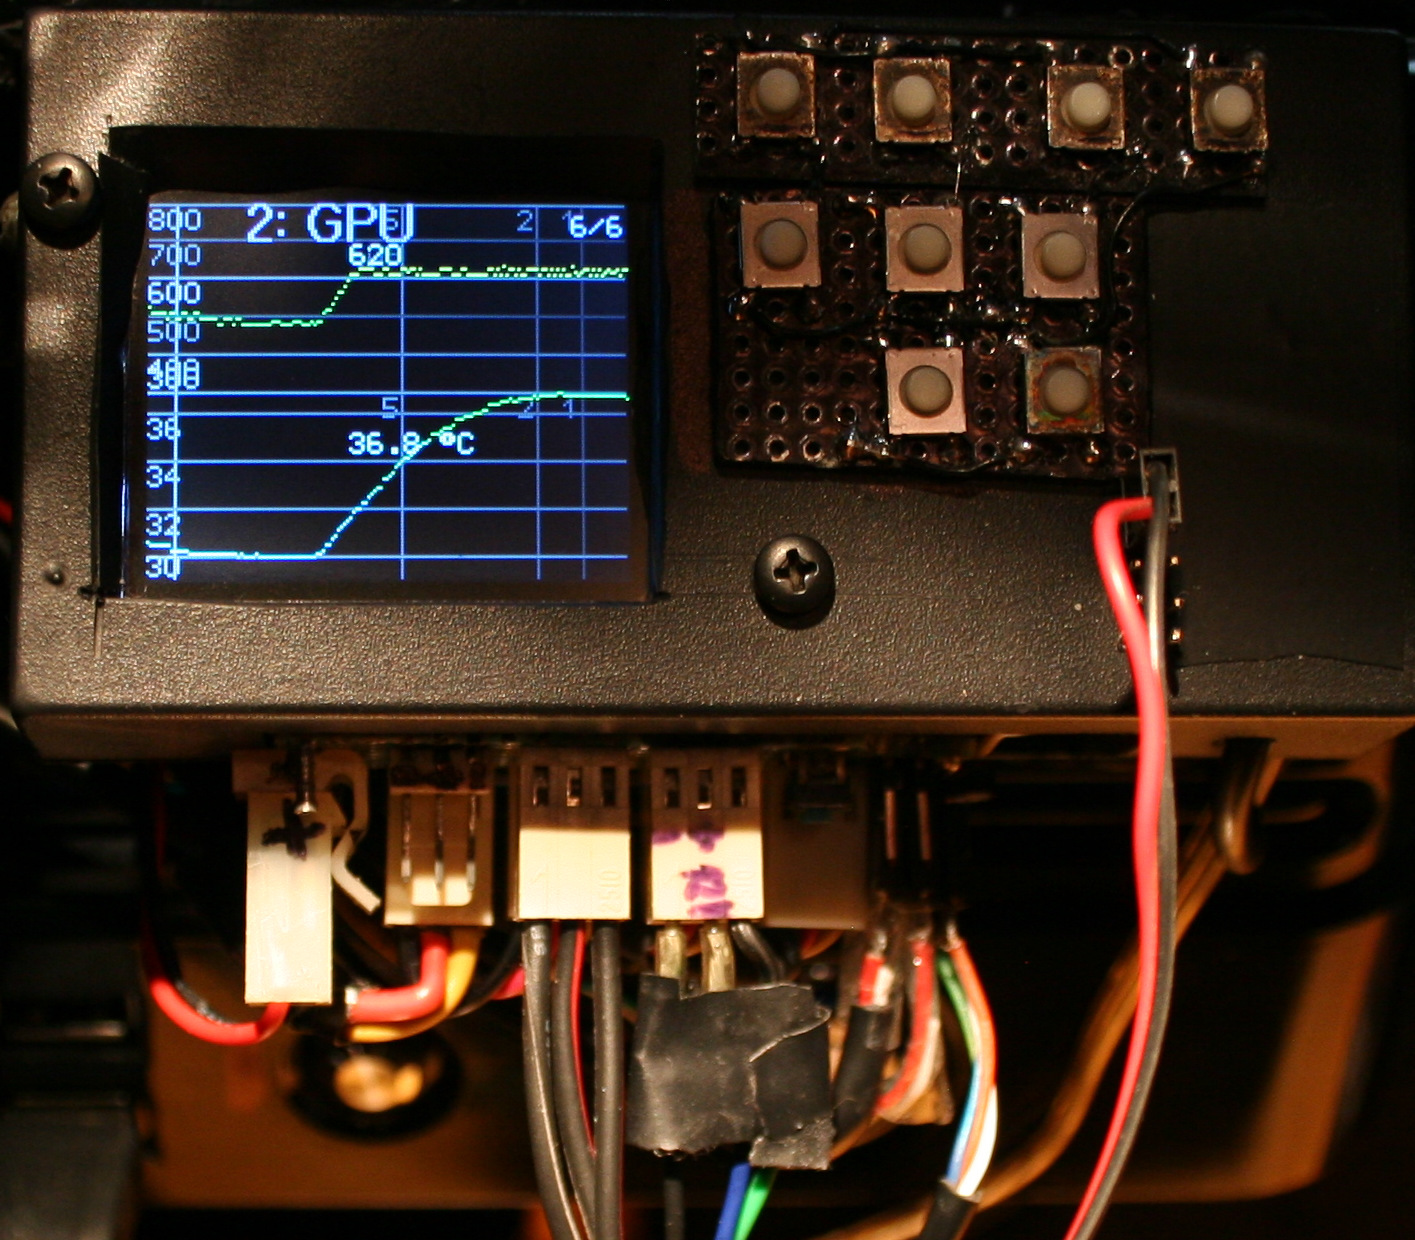
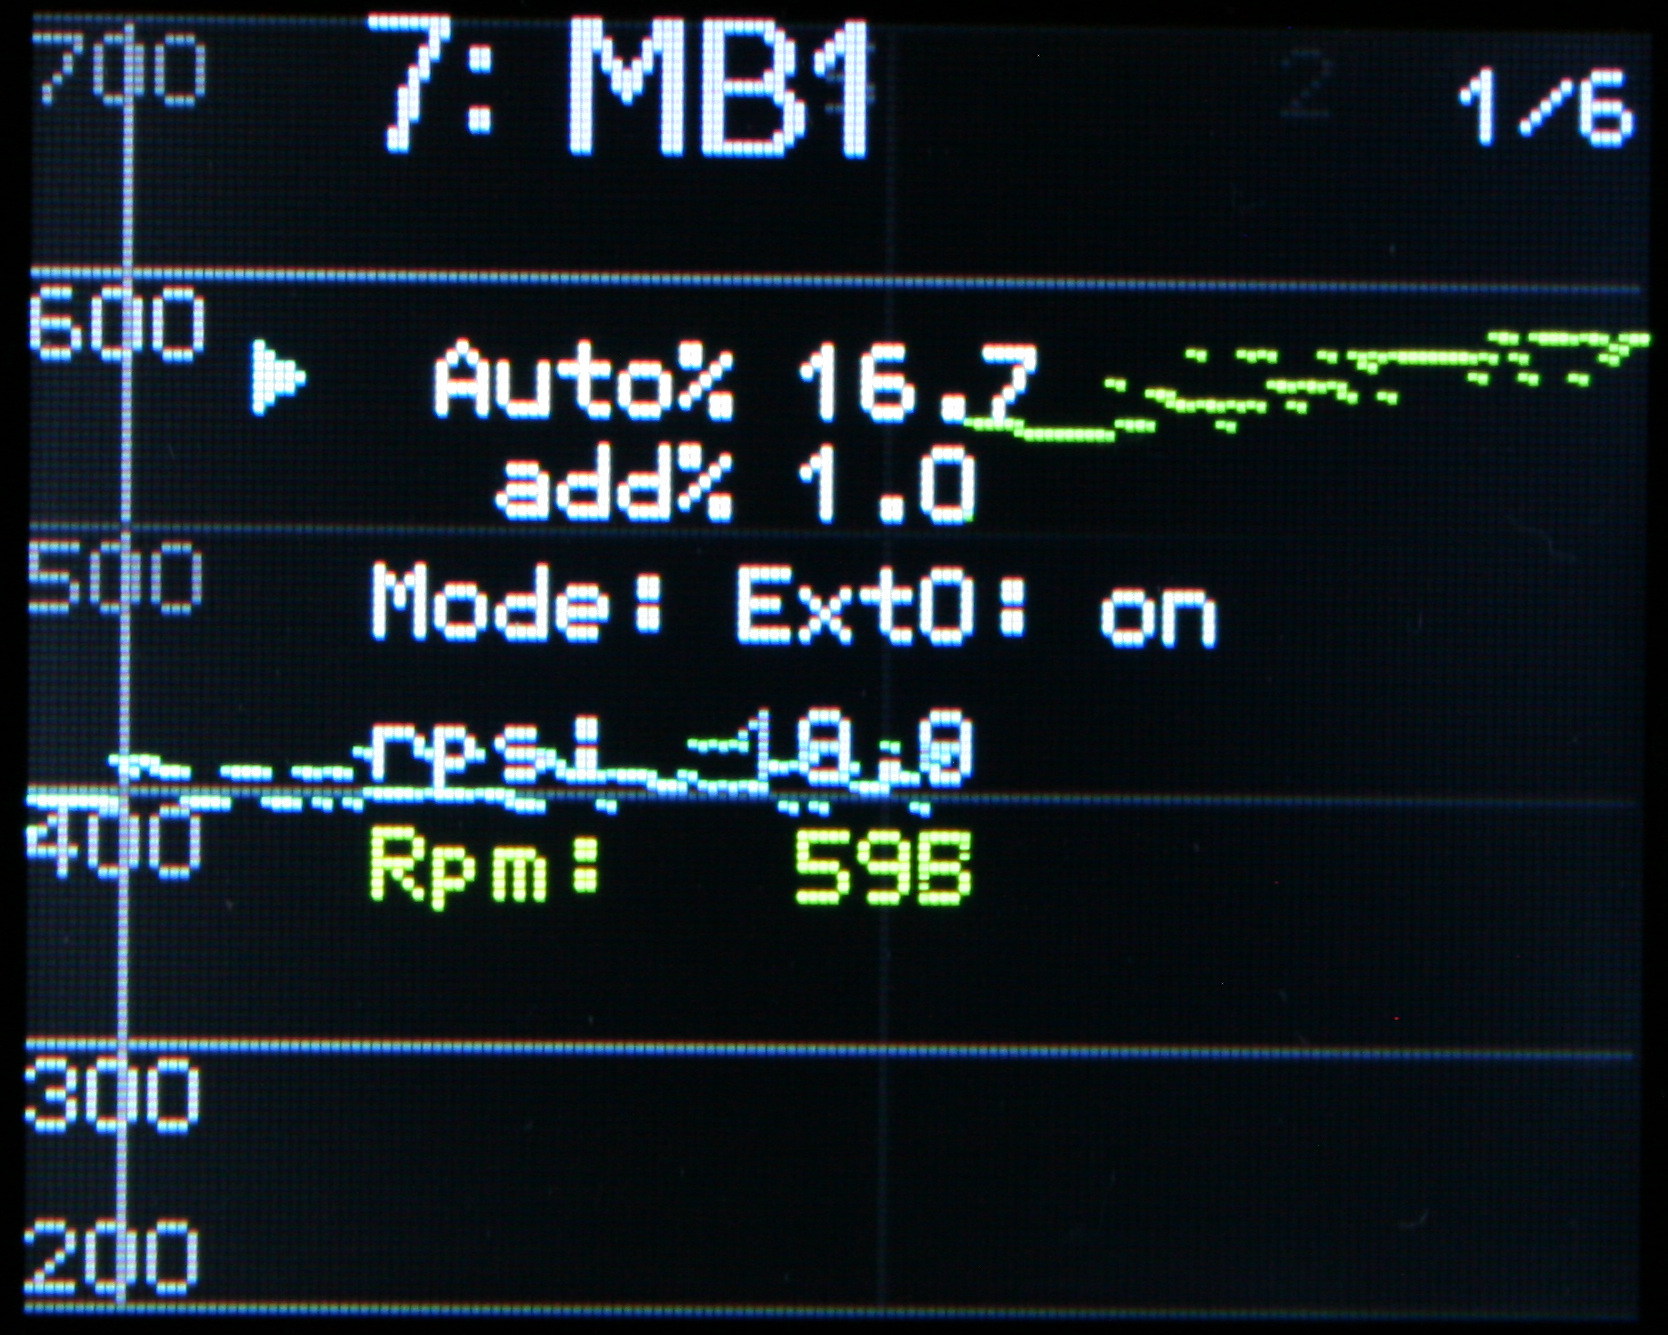
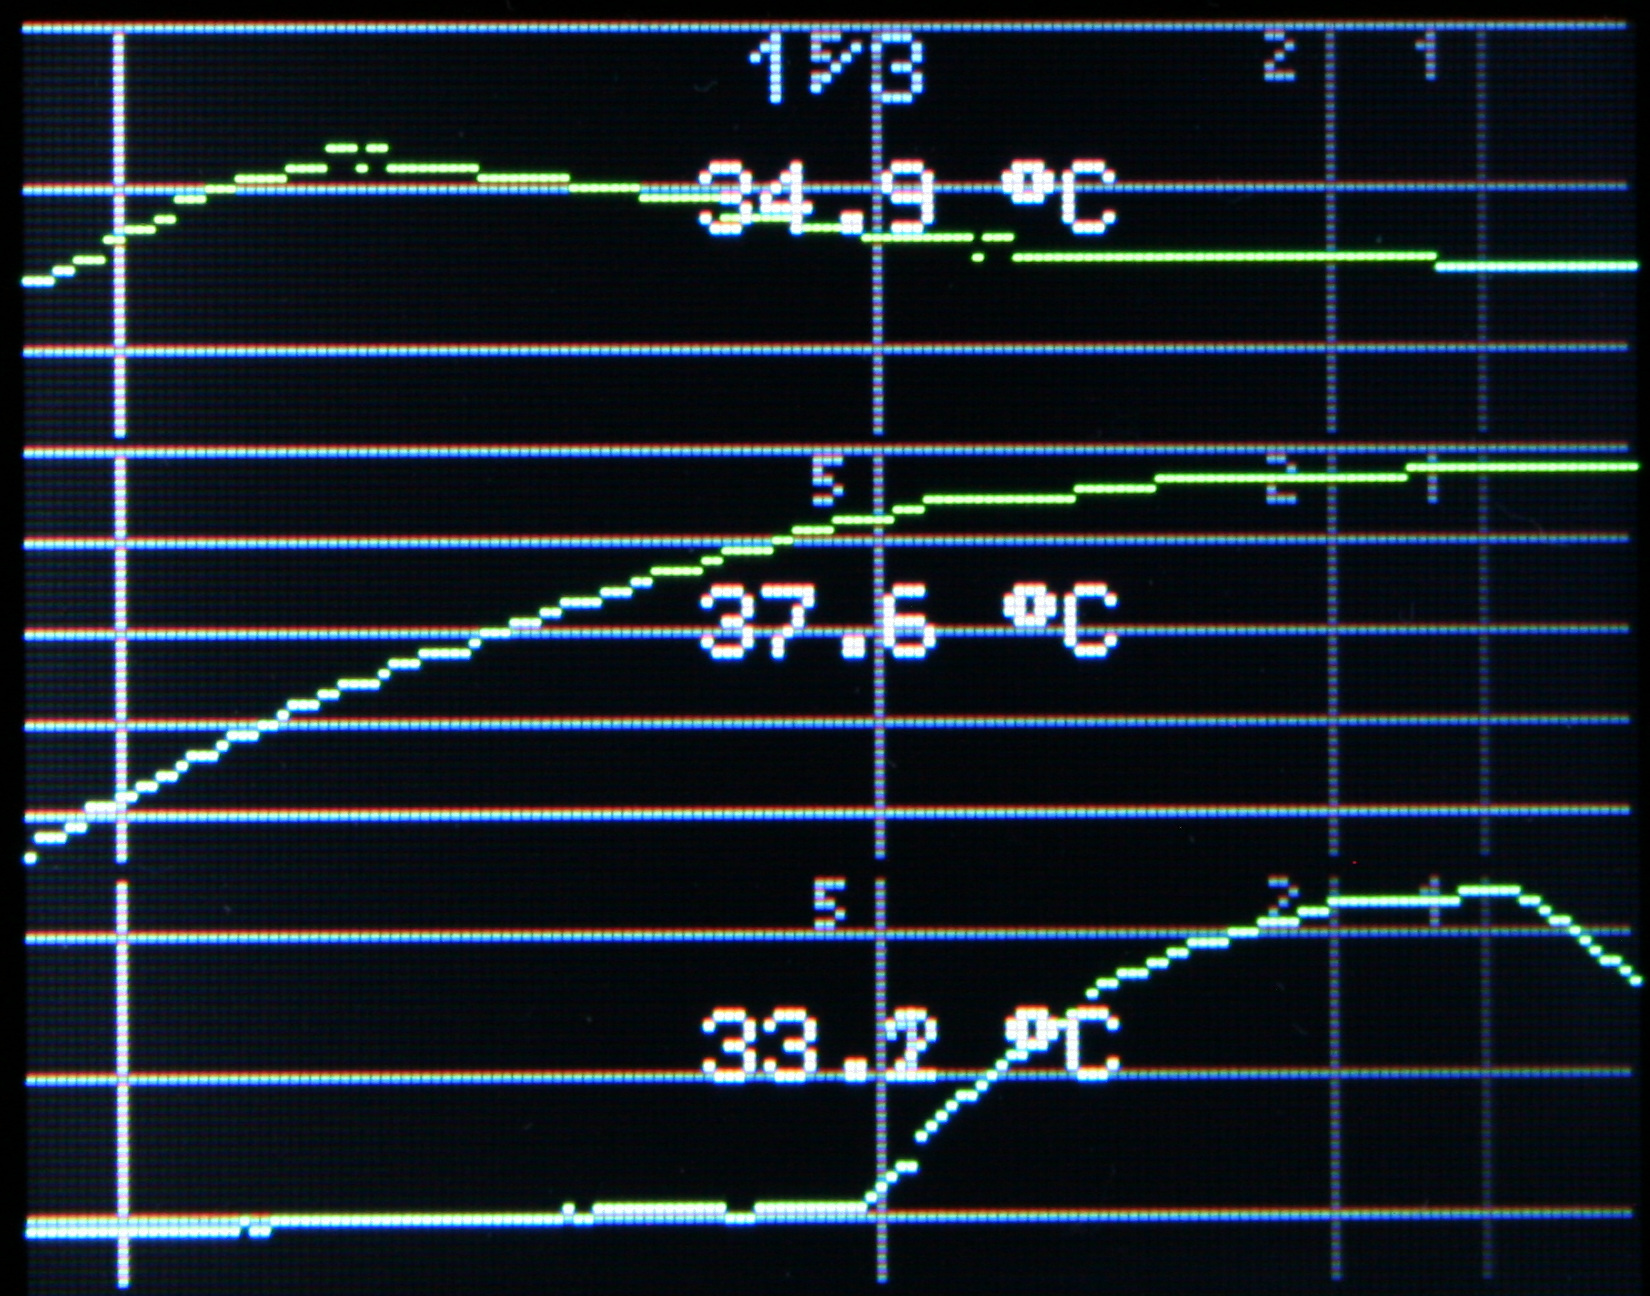
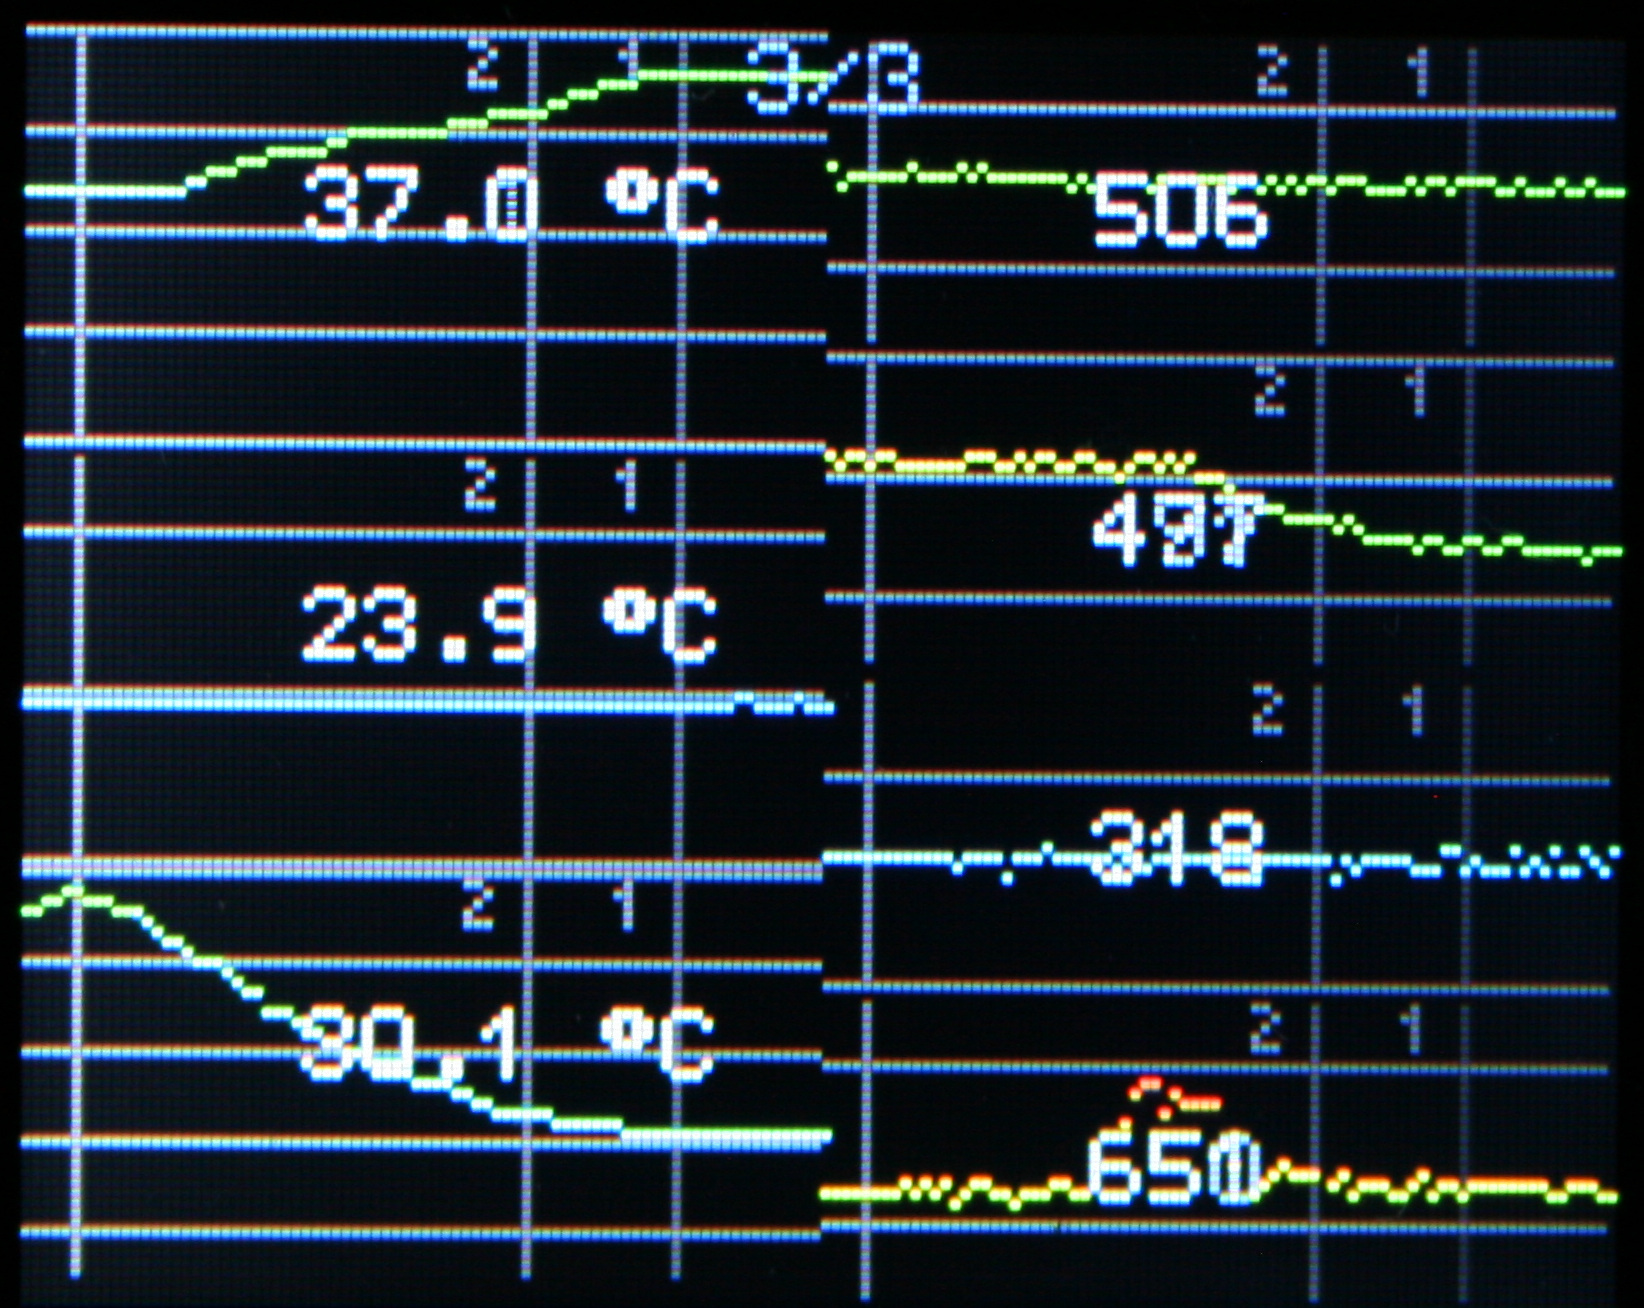
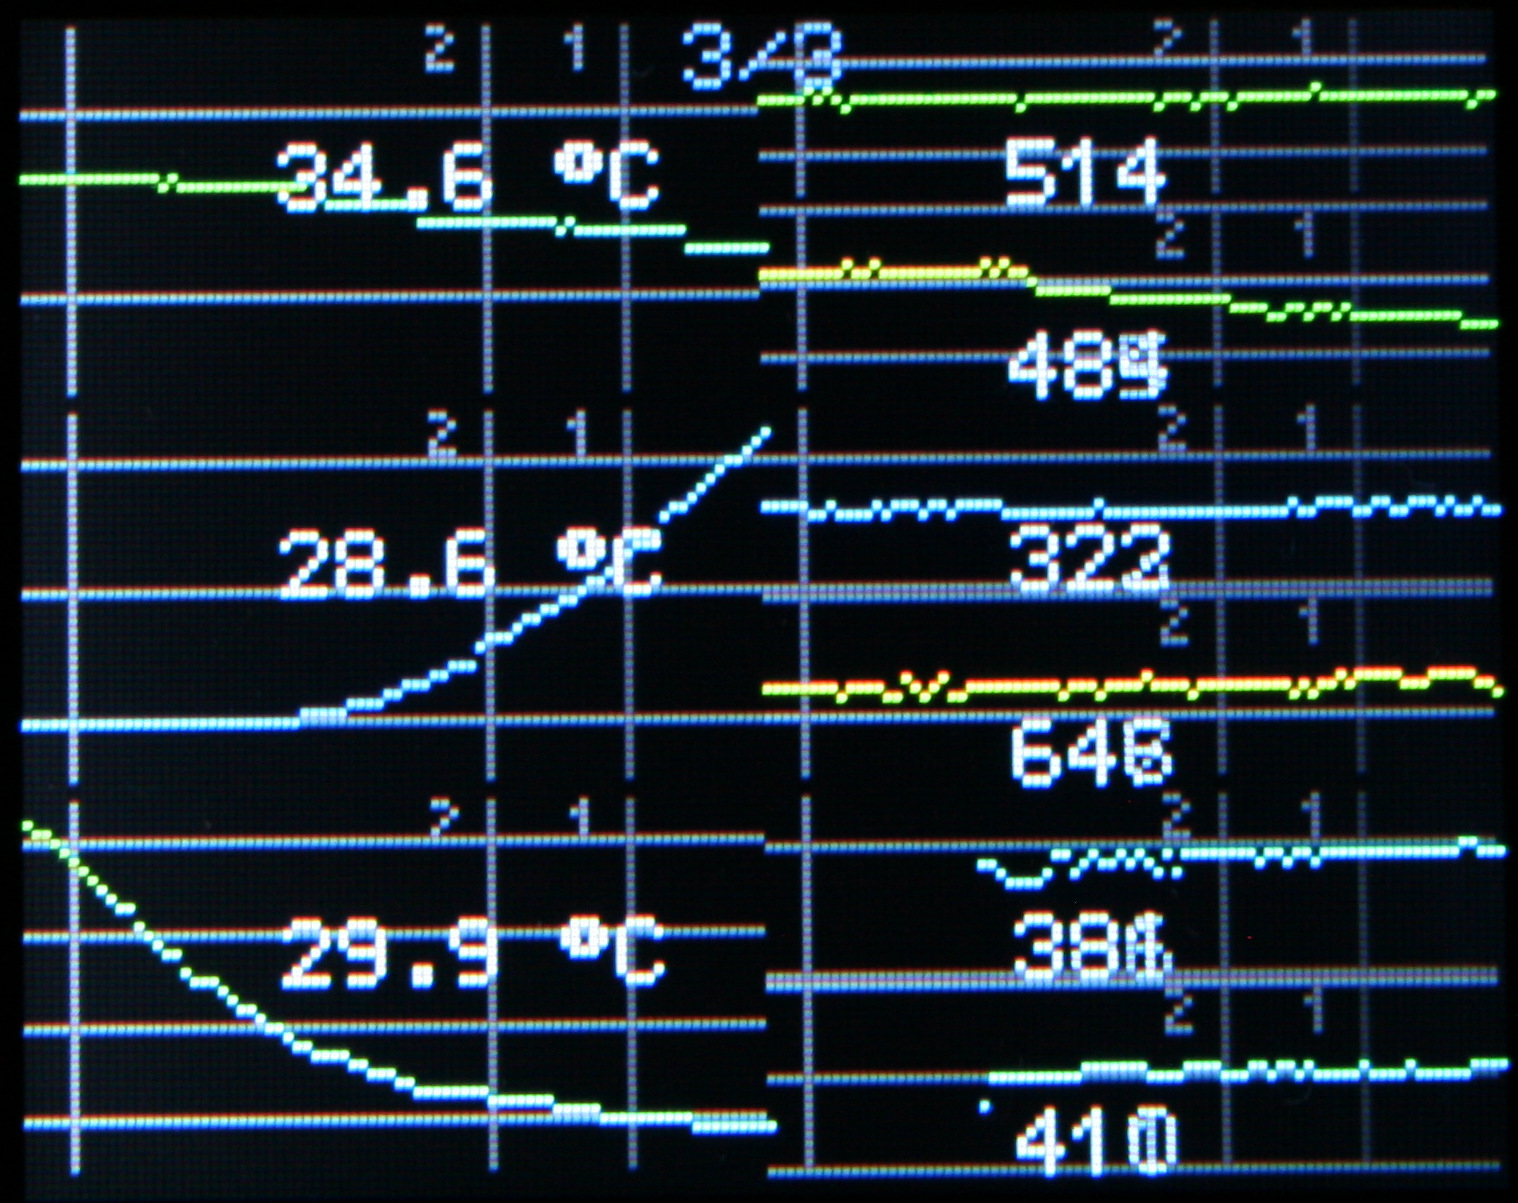
    Since the display is 160×128 pixels, it can show graphs of RPM or Temperature over time. Even few smaller at once, but with less detail.

    ⌛Conclusions

    Well it was a cool project, not just with digital chips, I had to use transistors with other parts too. I’m glad that one of the boards I have unused got to do something everyday.
    I hope it will last long. After all, my old regulators were really basic and much easier to repair (which wasn’t needed).
    Surely this thing is heavy, probably has too many parts too, but it doesn’t matter. It’s not like my PC weight matters at all.

    📷Gallery