
⏱️Overview
I’ve spend over 1 month in total, exploring the Unreal Engine 5.3 on Linux and gathered some opinions about it. I’ll say upfront: I don’t really like it and this version is not even fully working on Linux. And no: I will not make or port Stunt Rally to it, I know for sure now. This isn’t a strict tutorial, but my gathered experience, many complaints, with some useful links.
UE like other big, comercial, modern engines has even bigger issues. I added a chapter at end with them and more links.
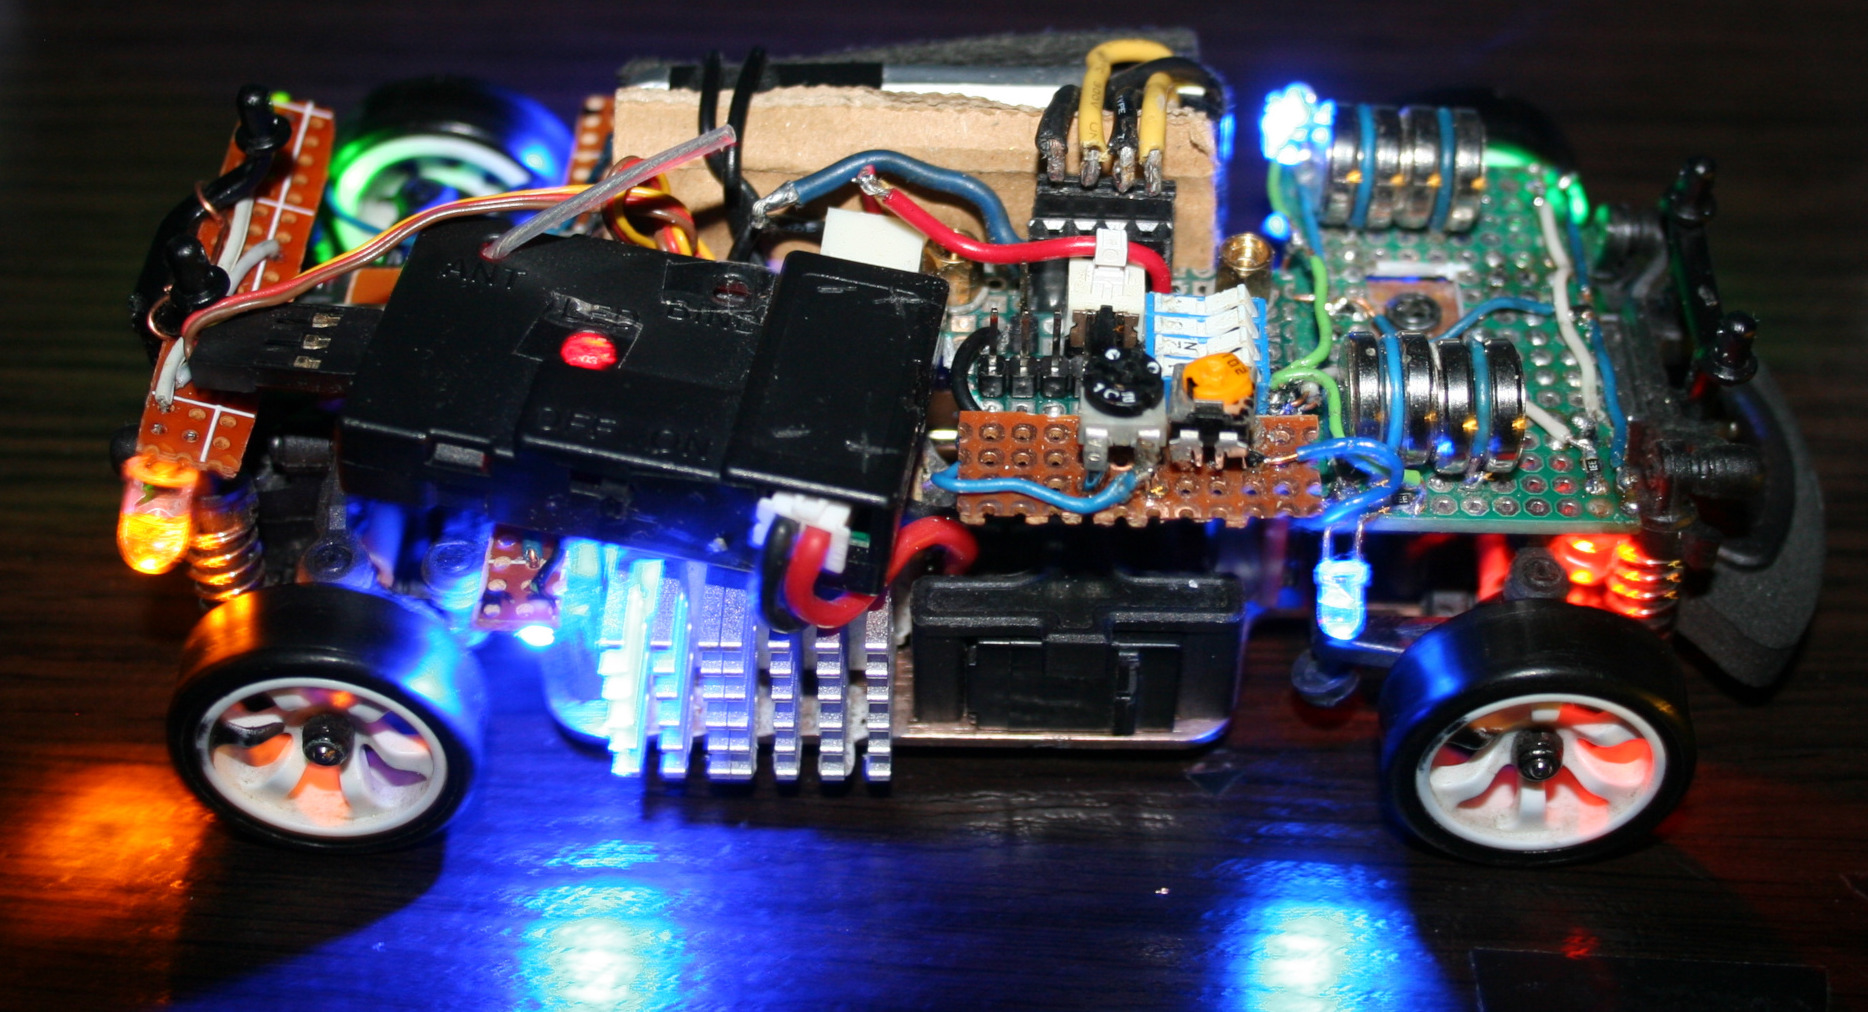
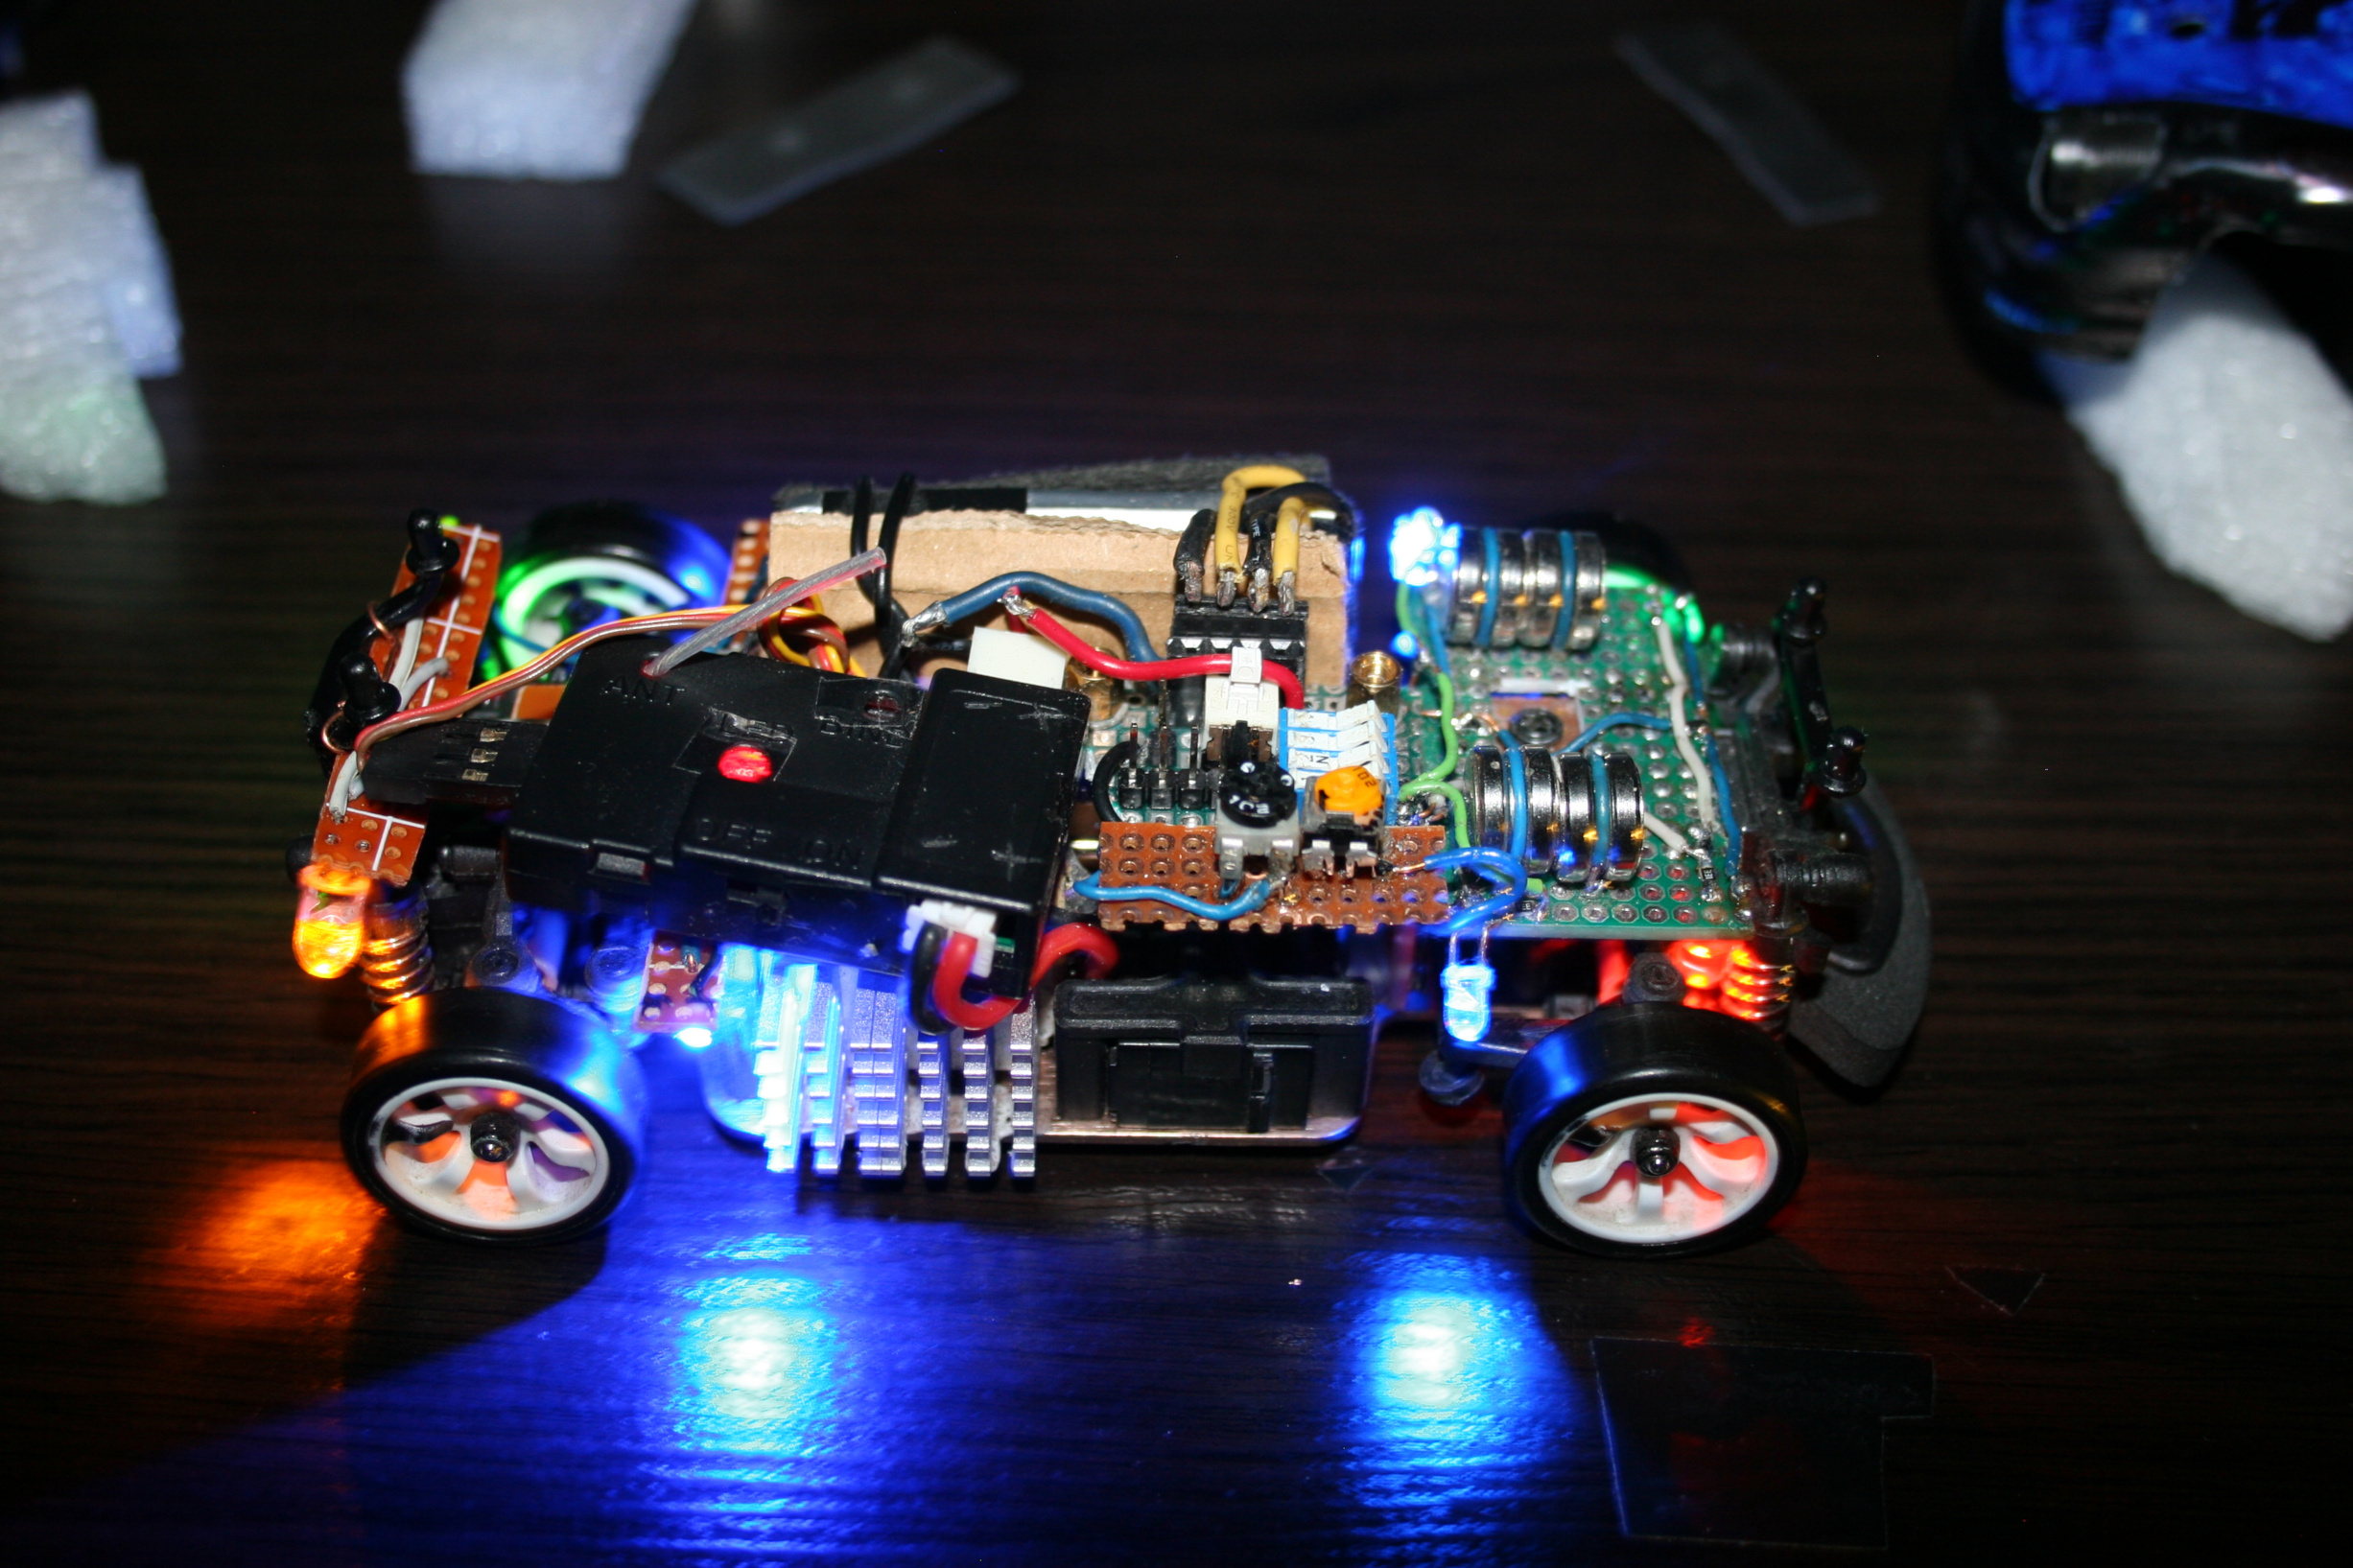
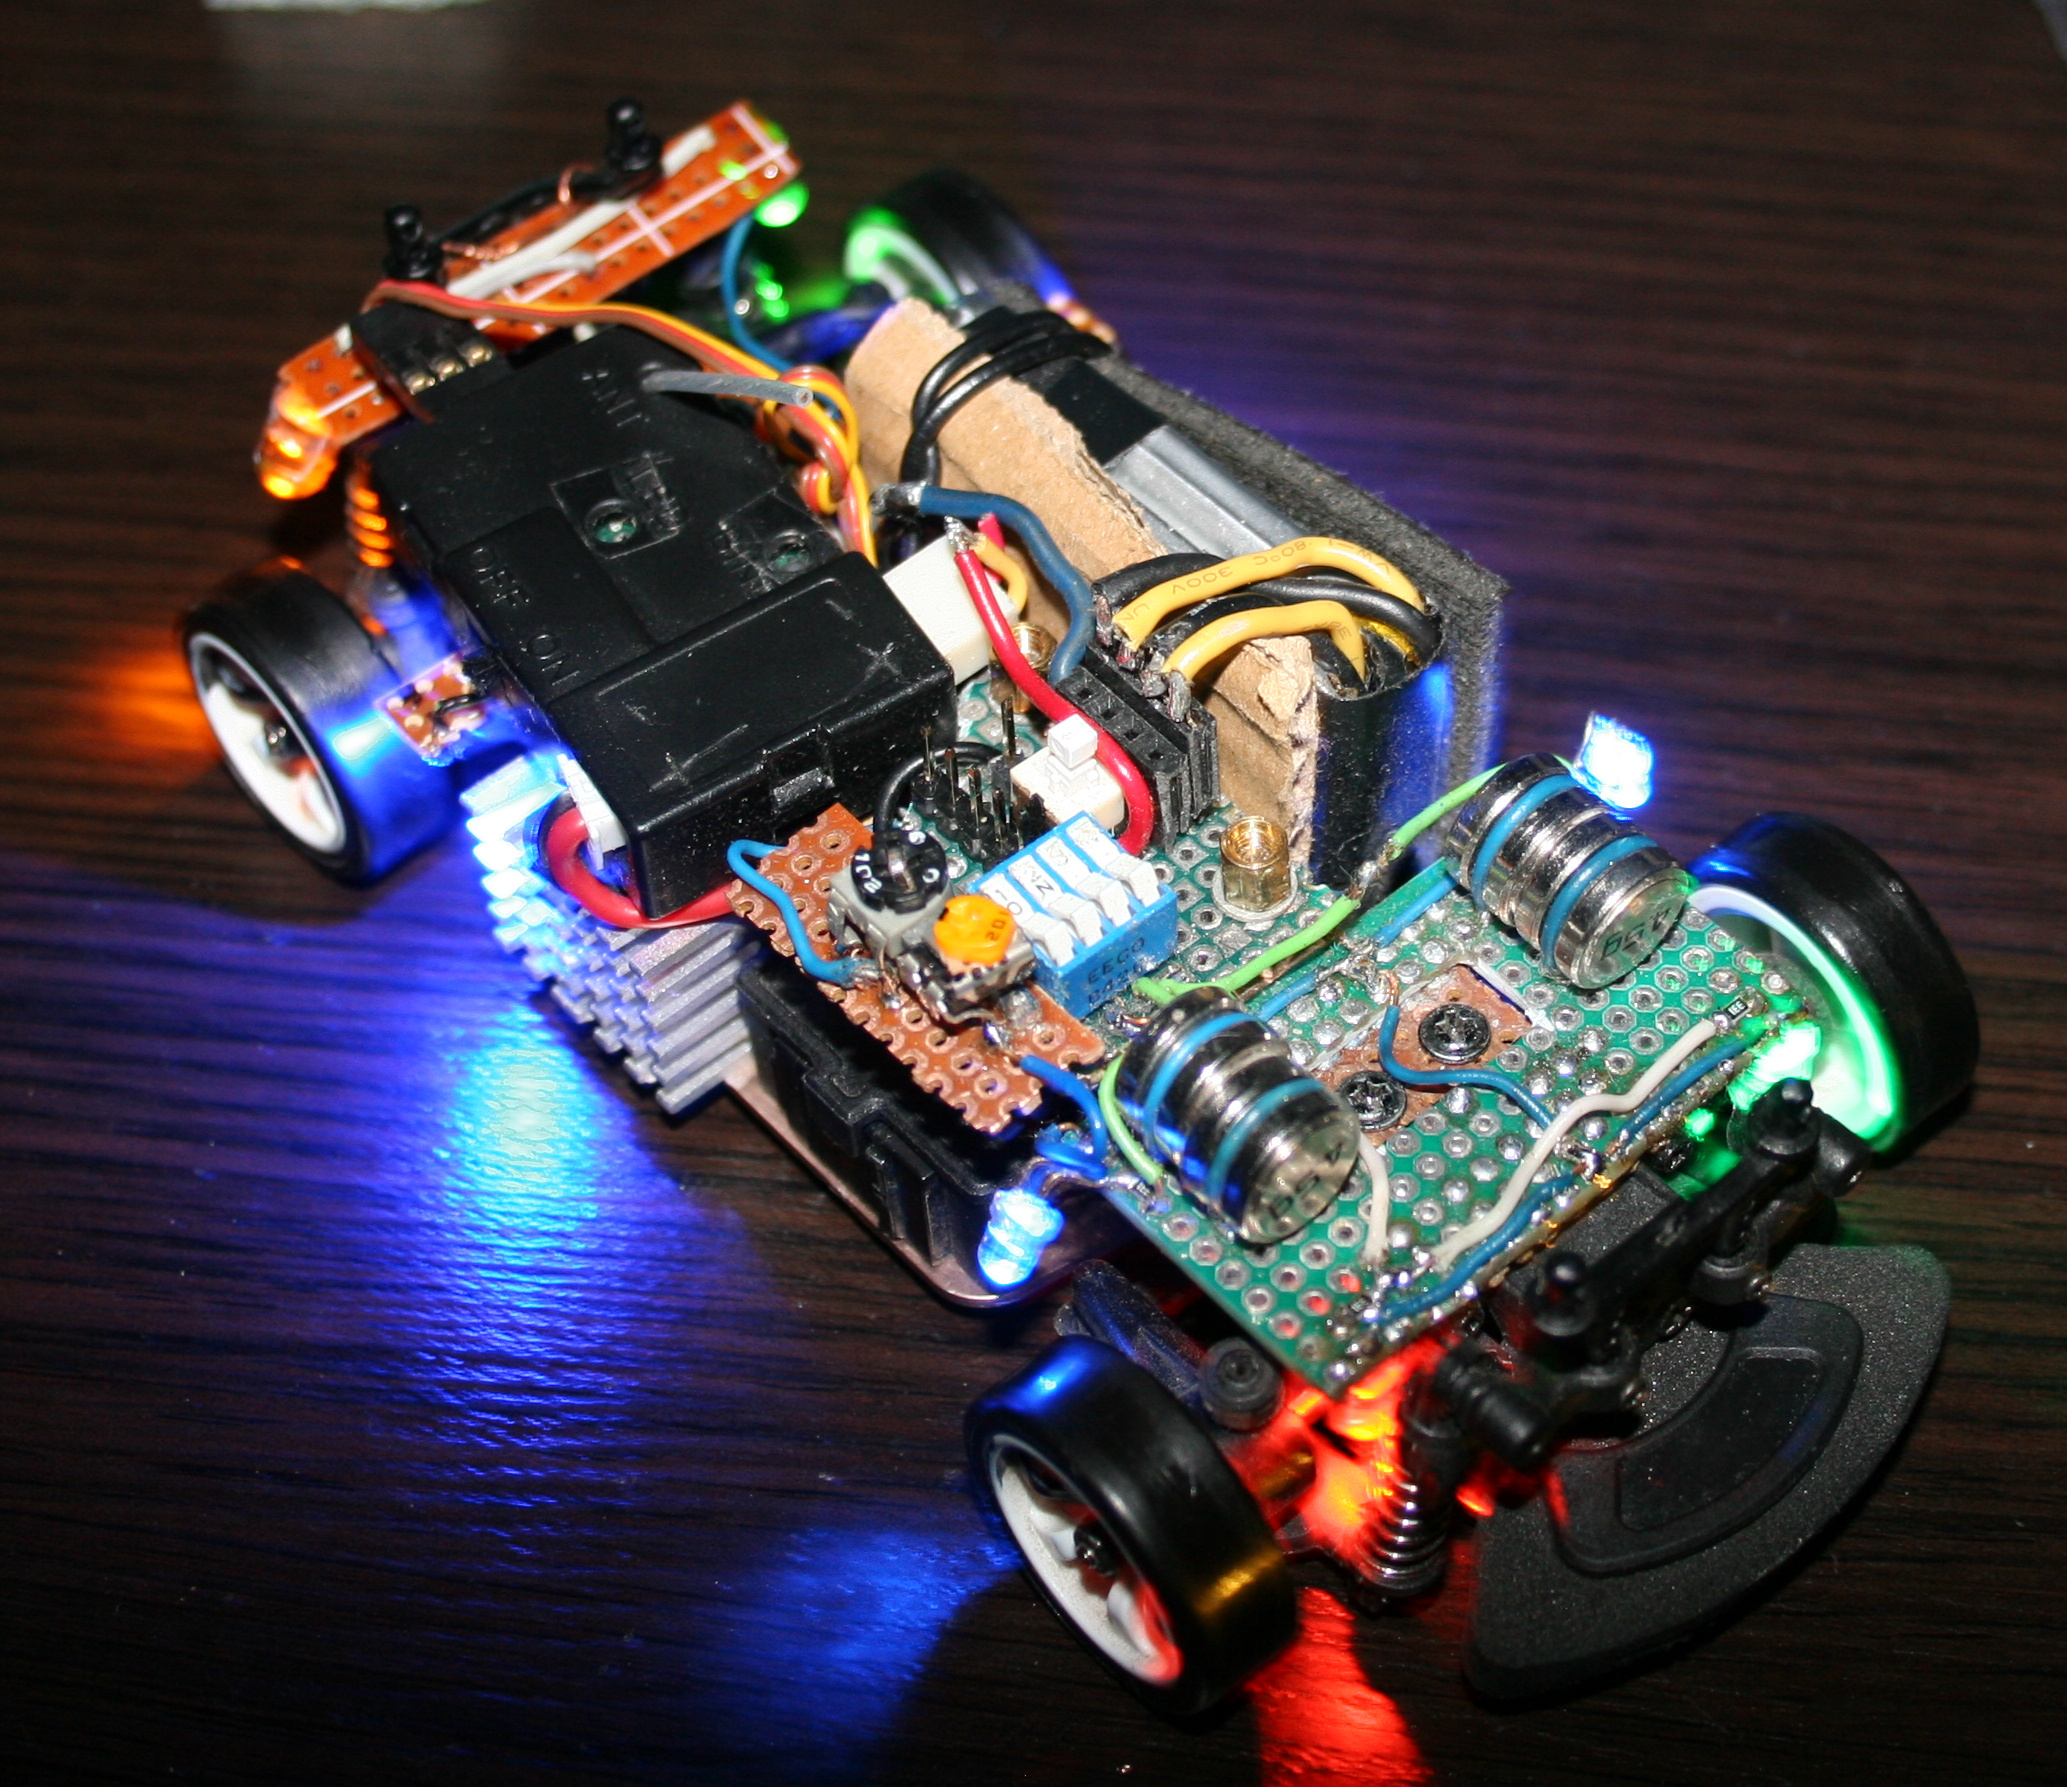
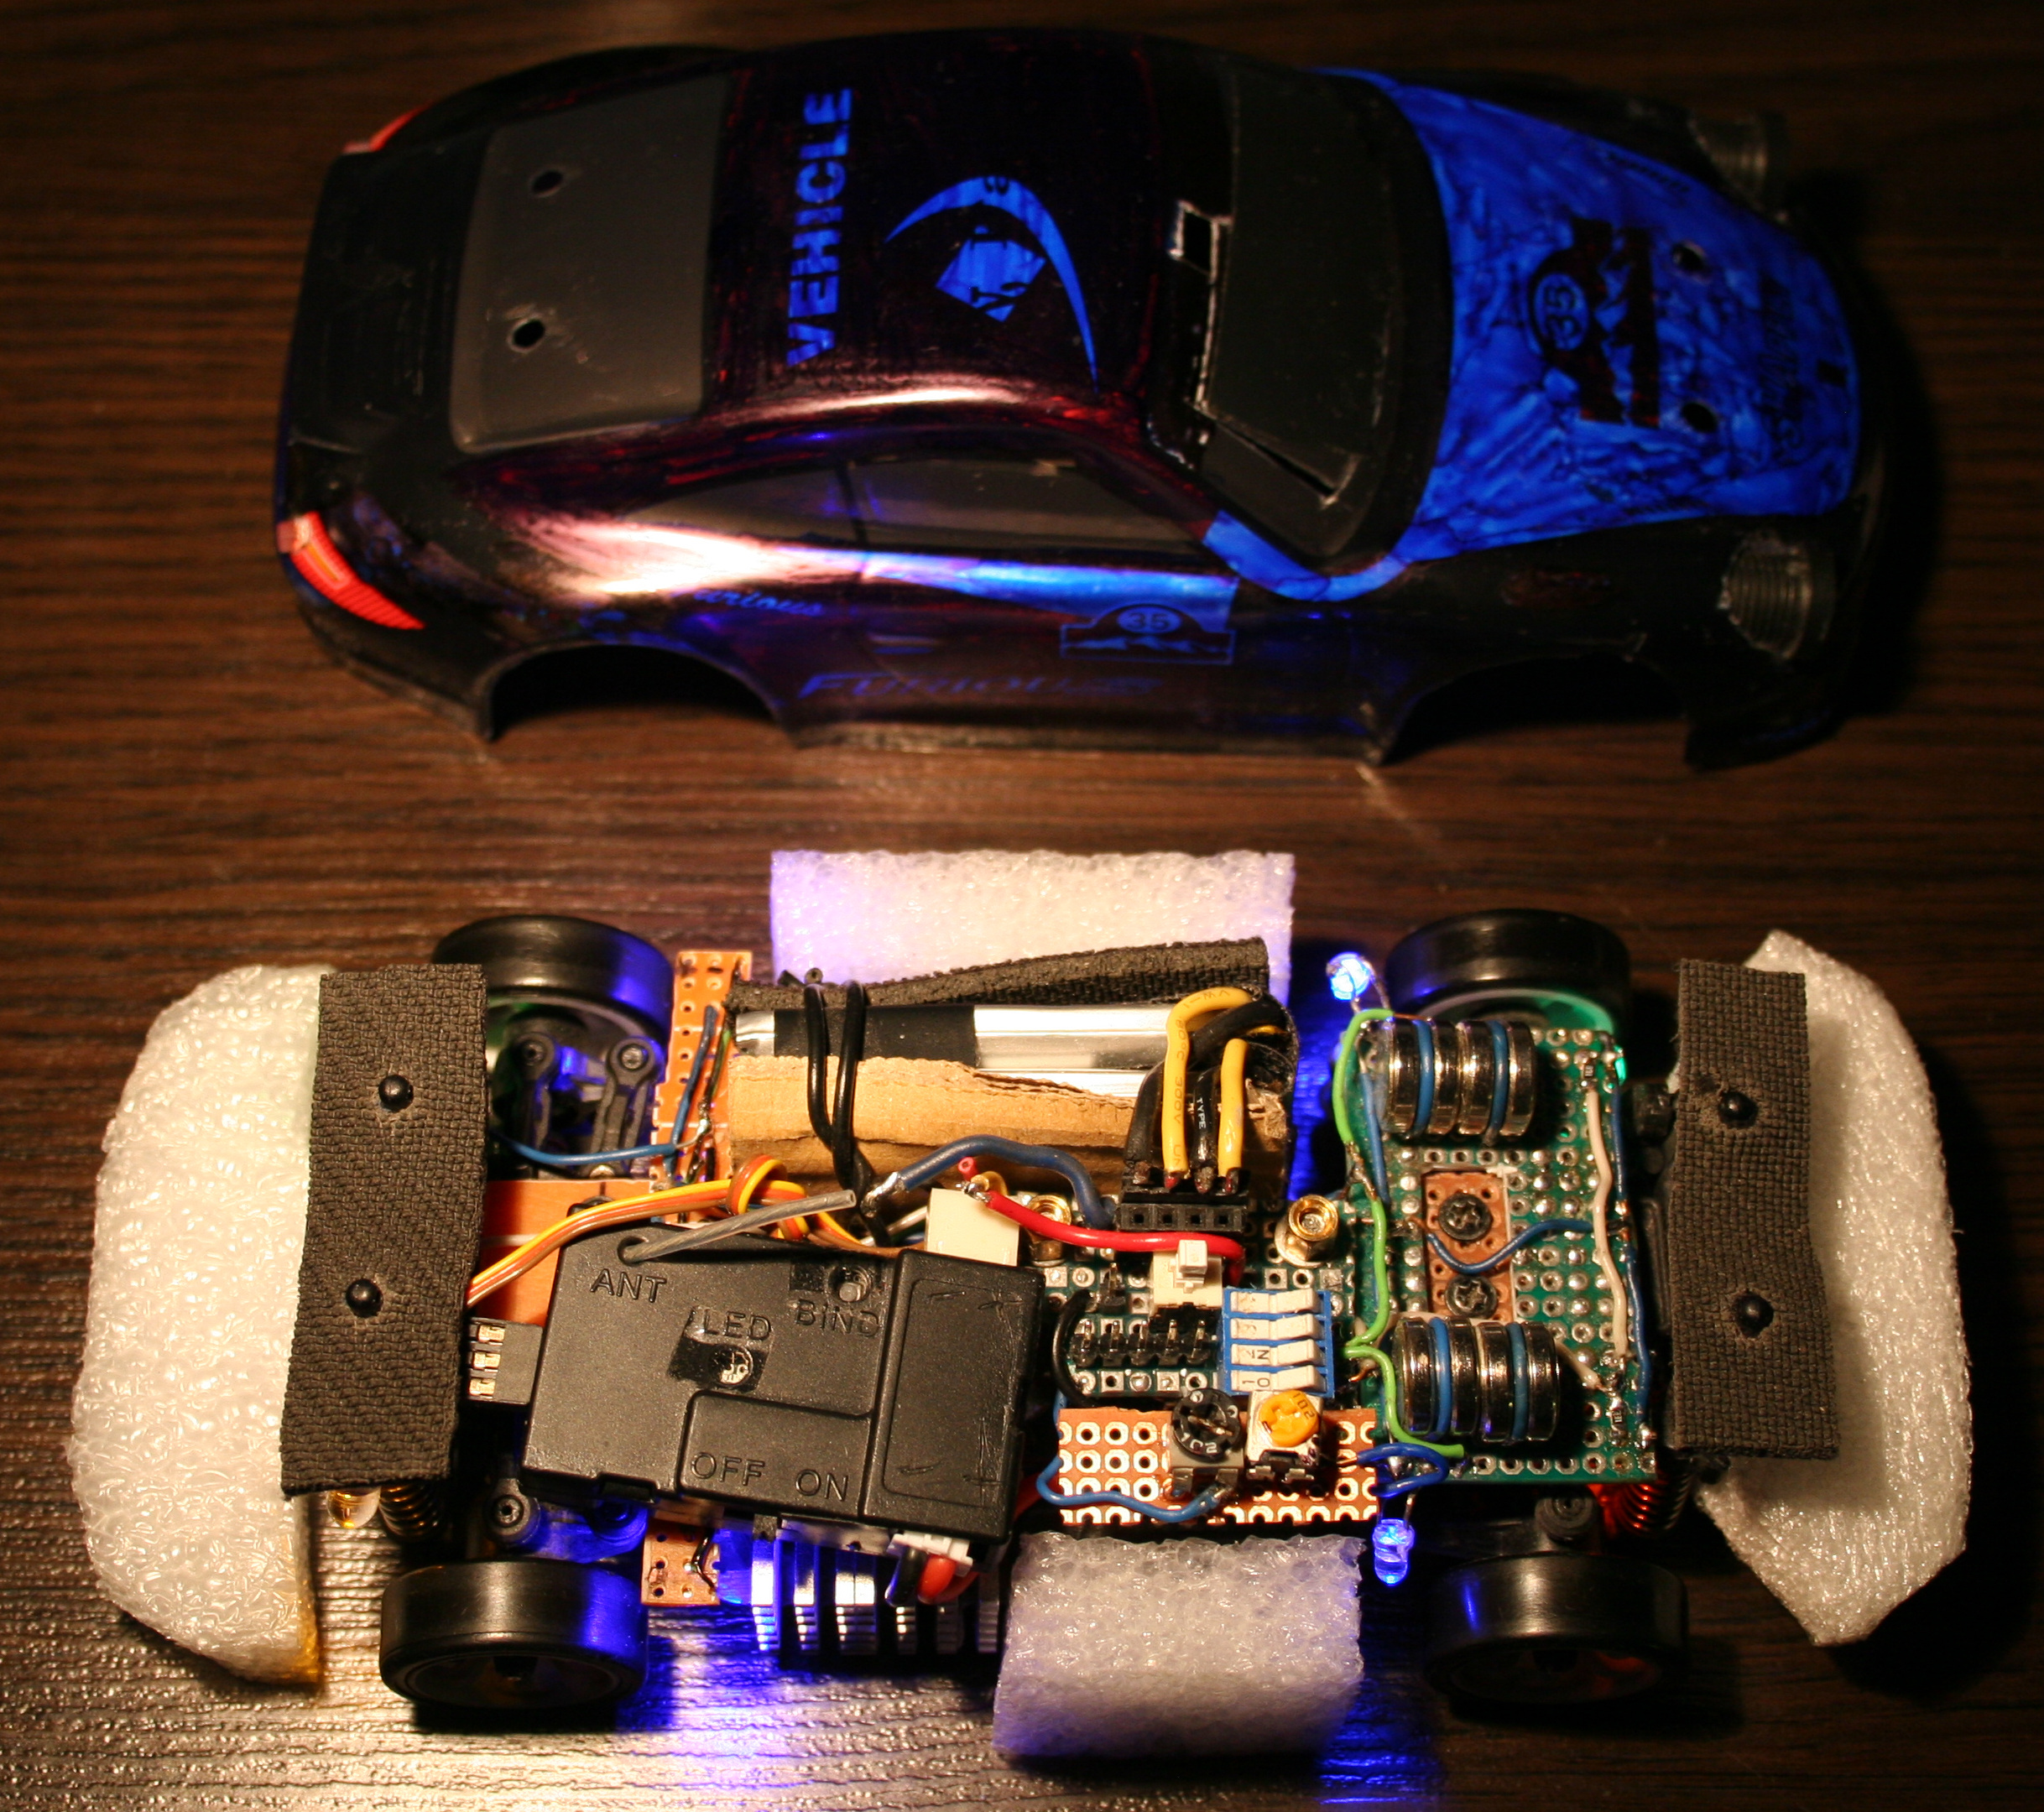
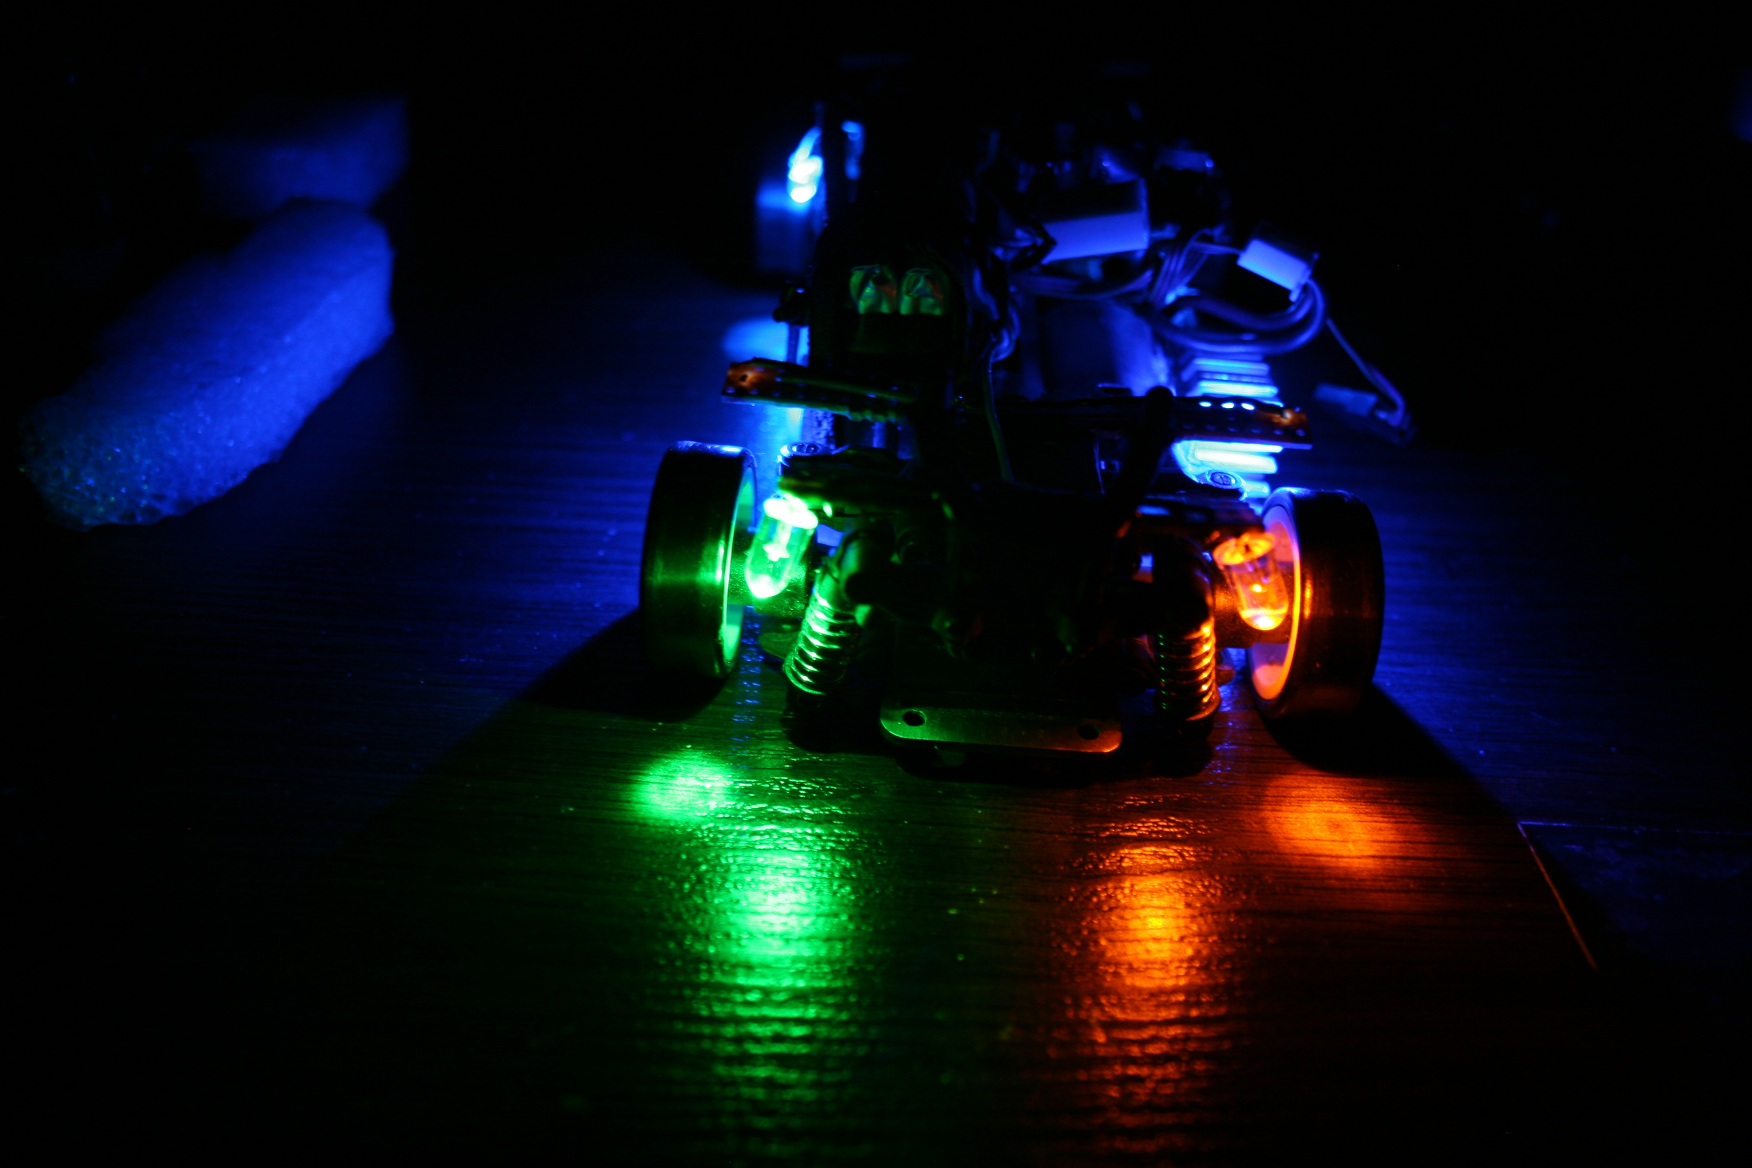
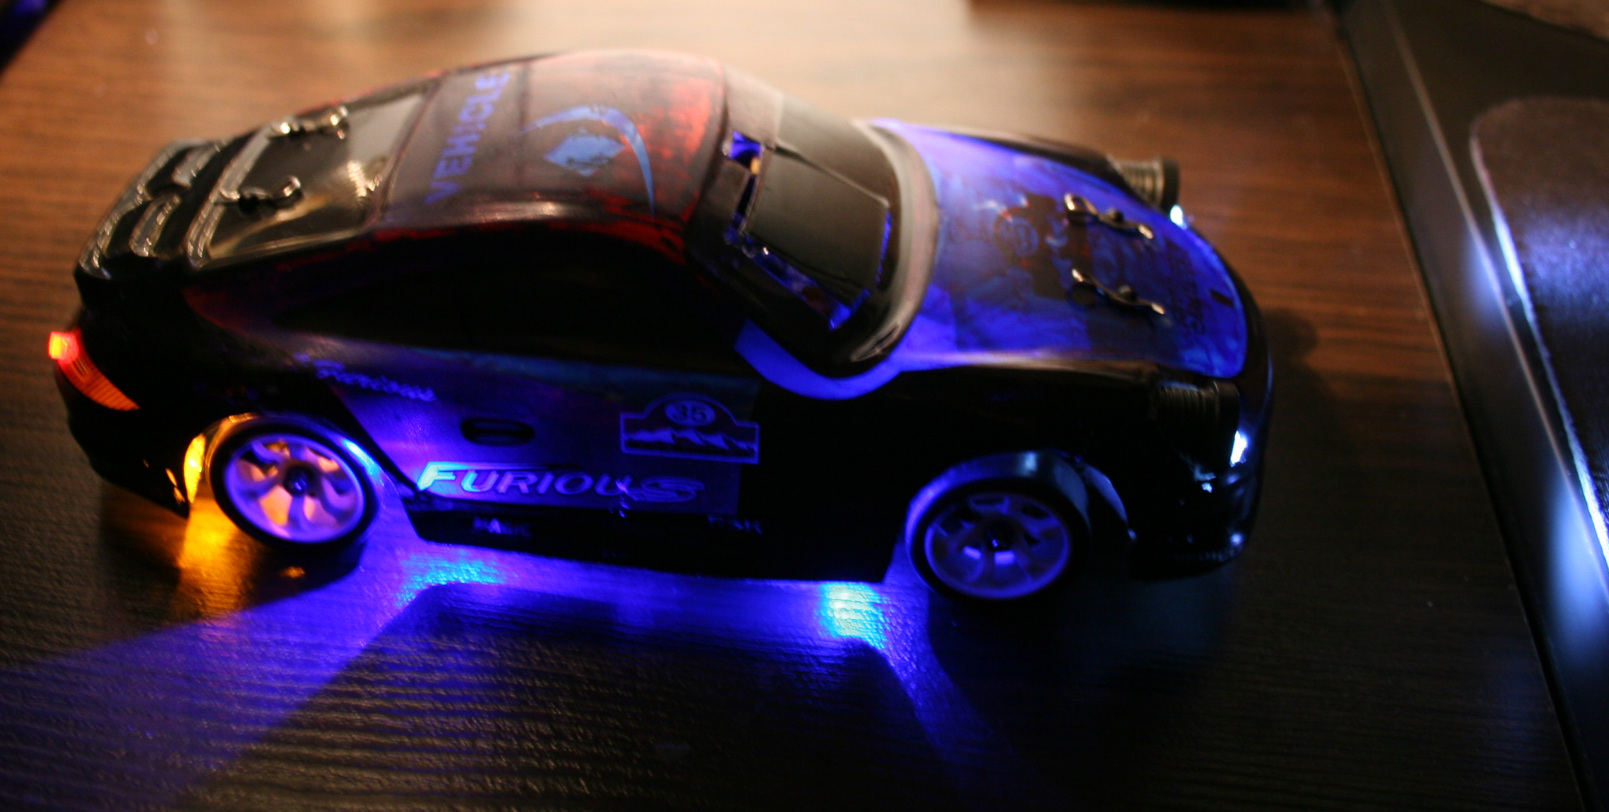
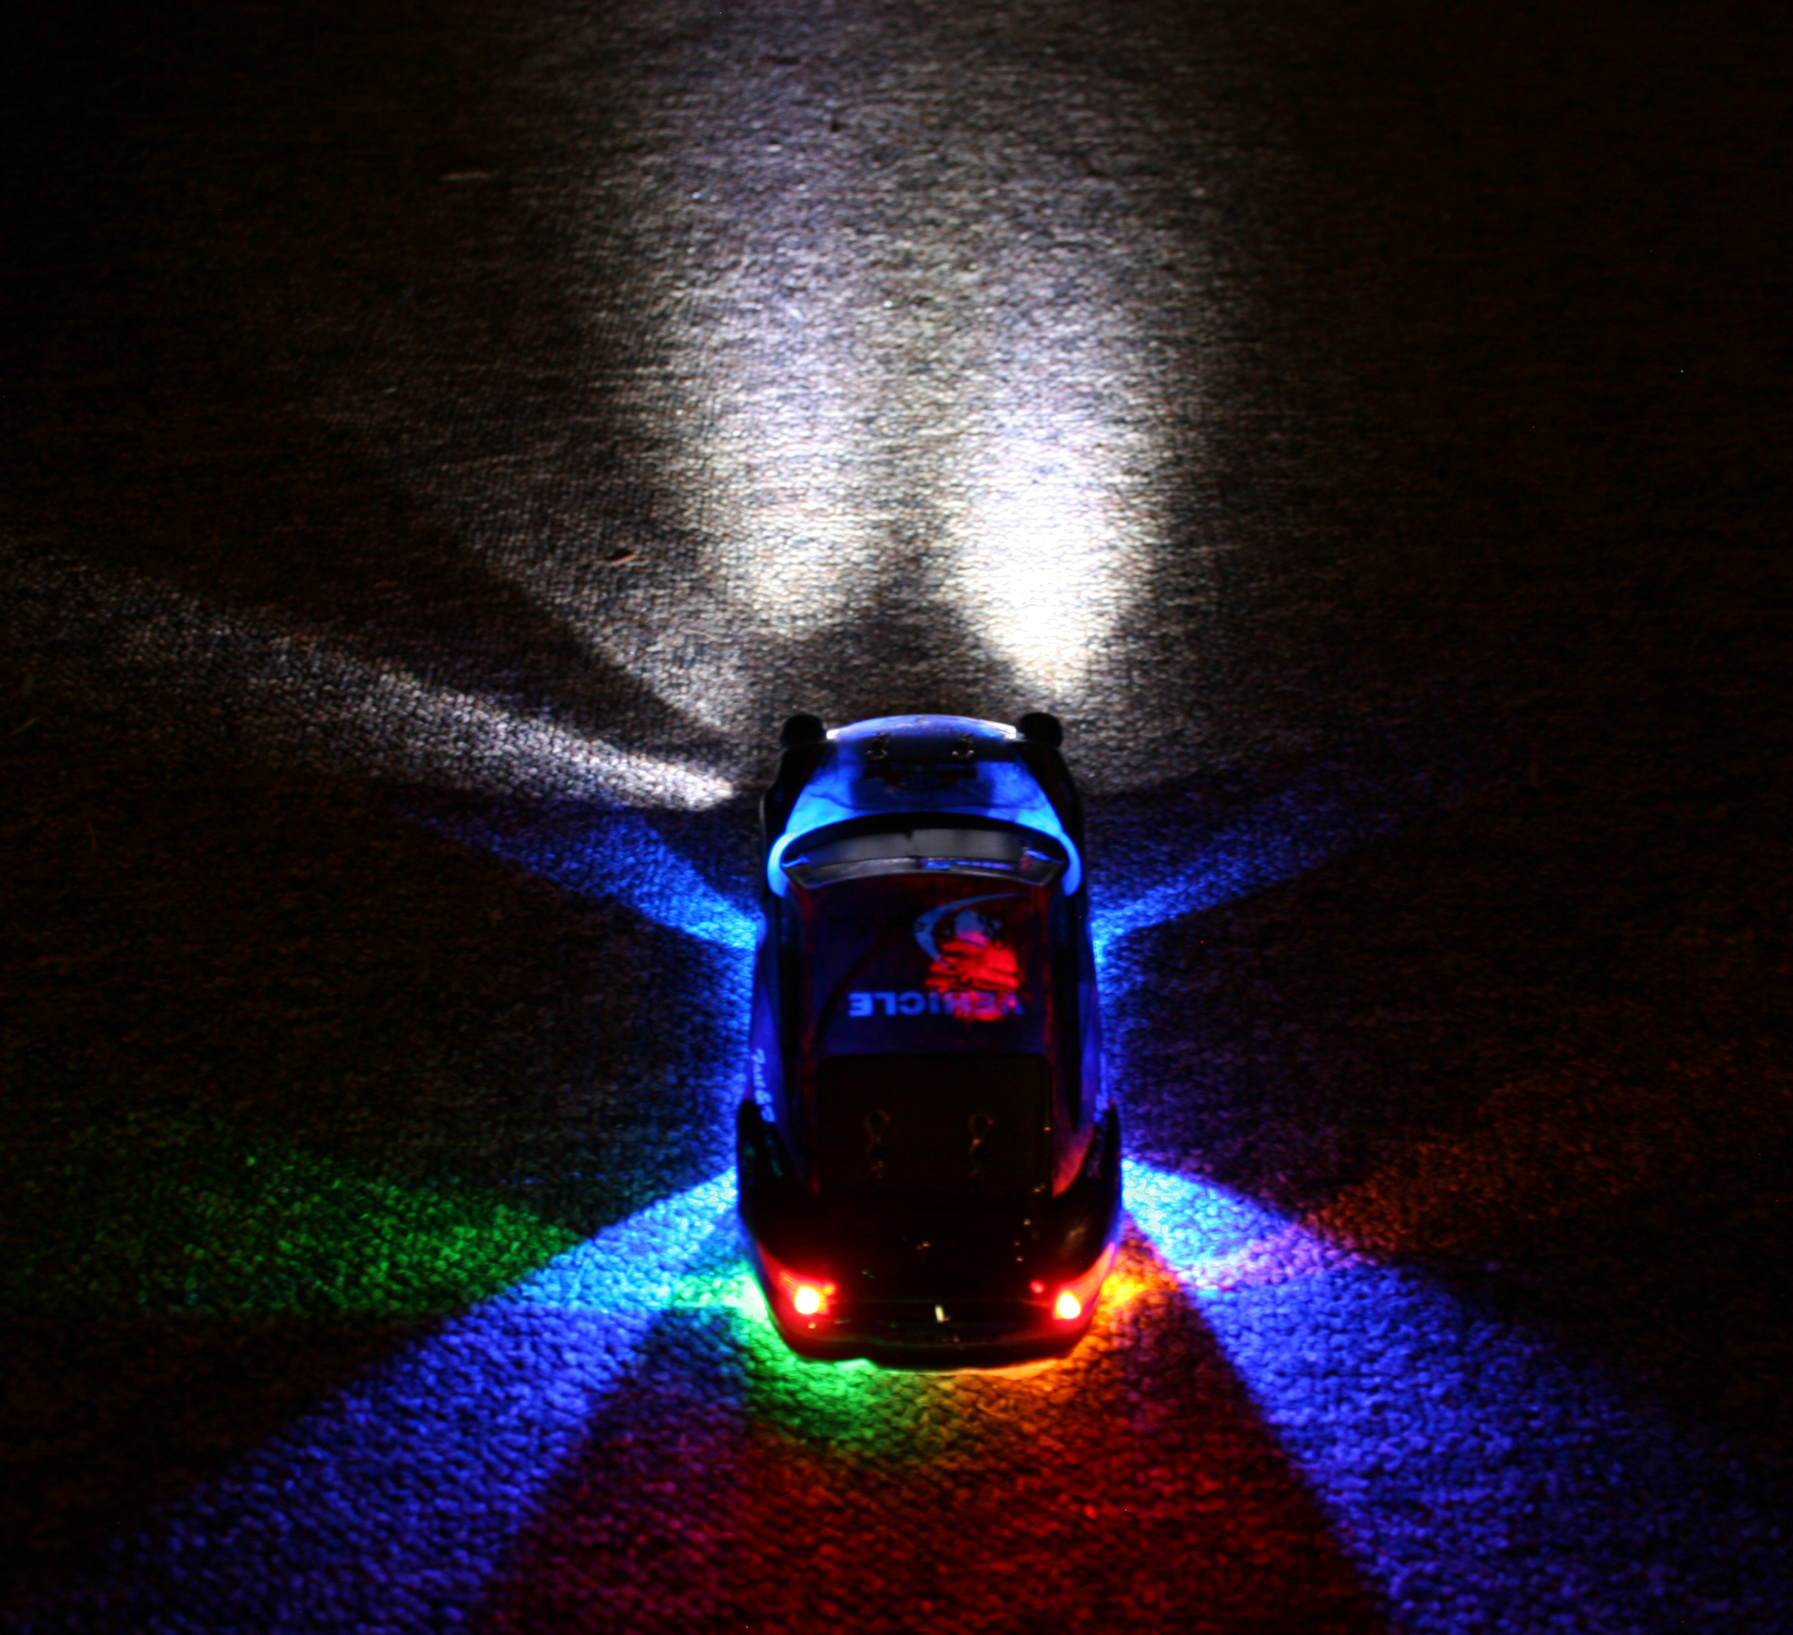
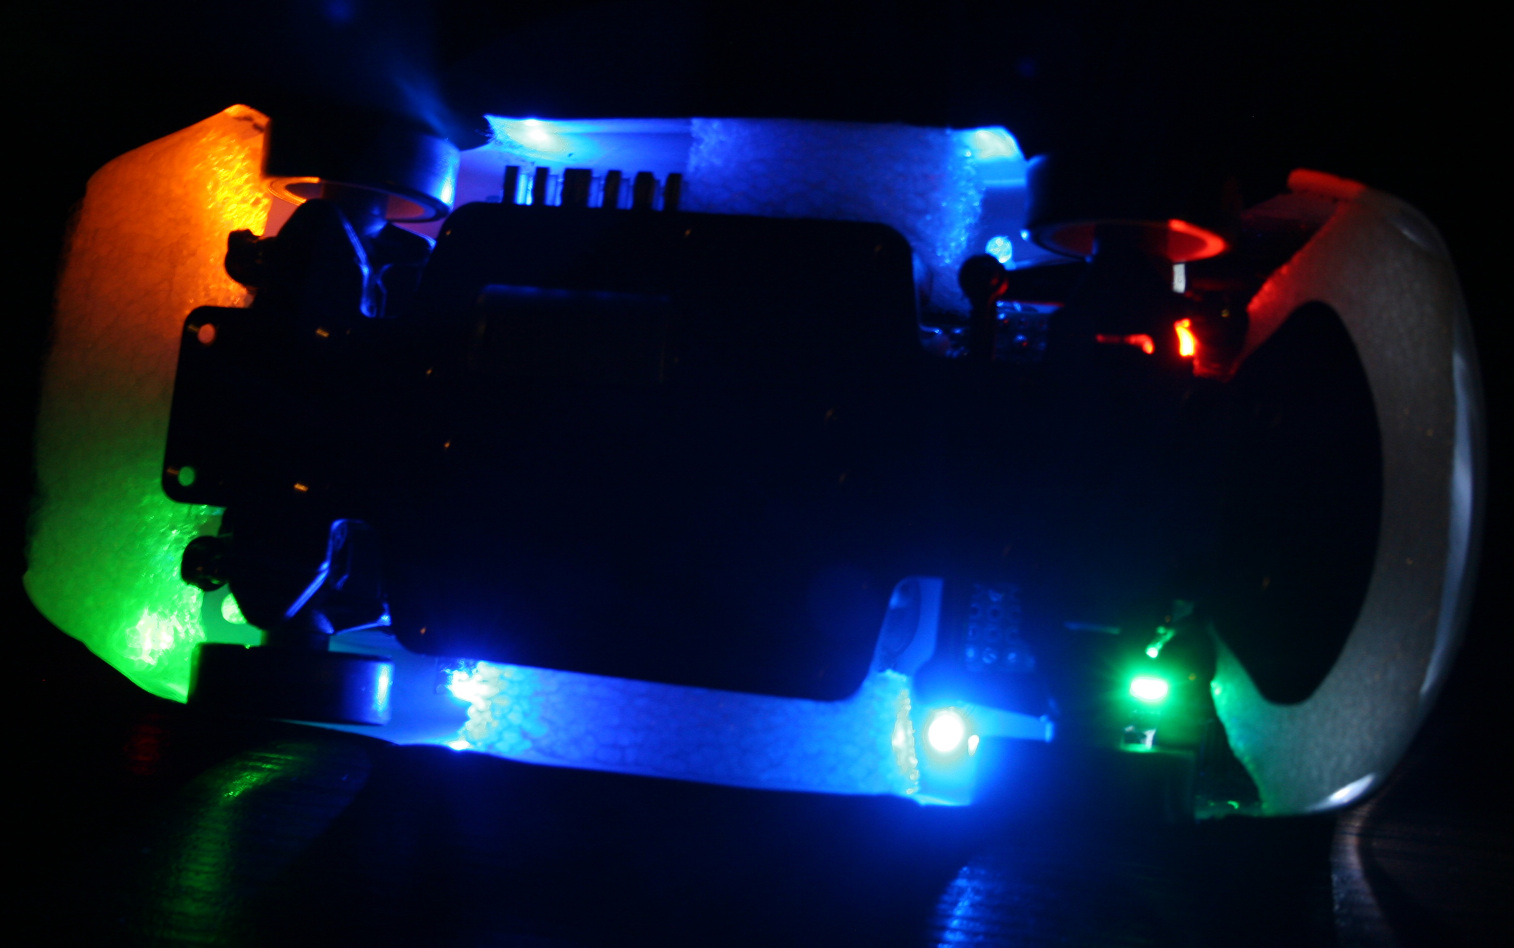
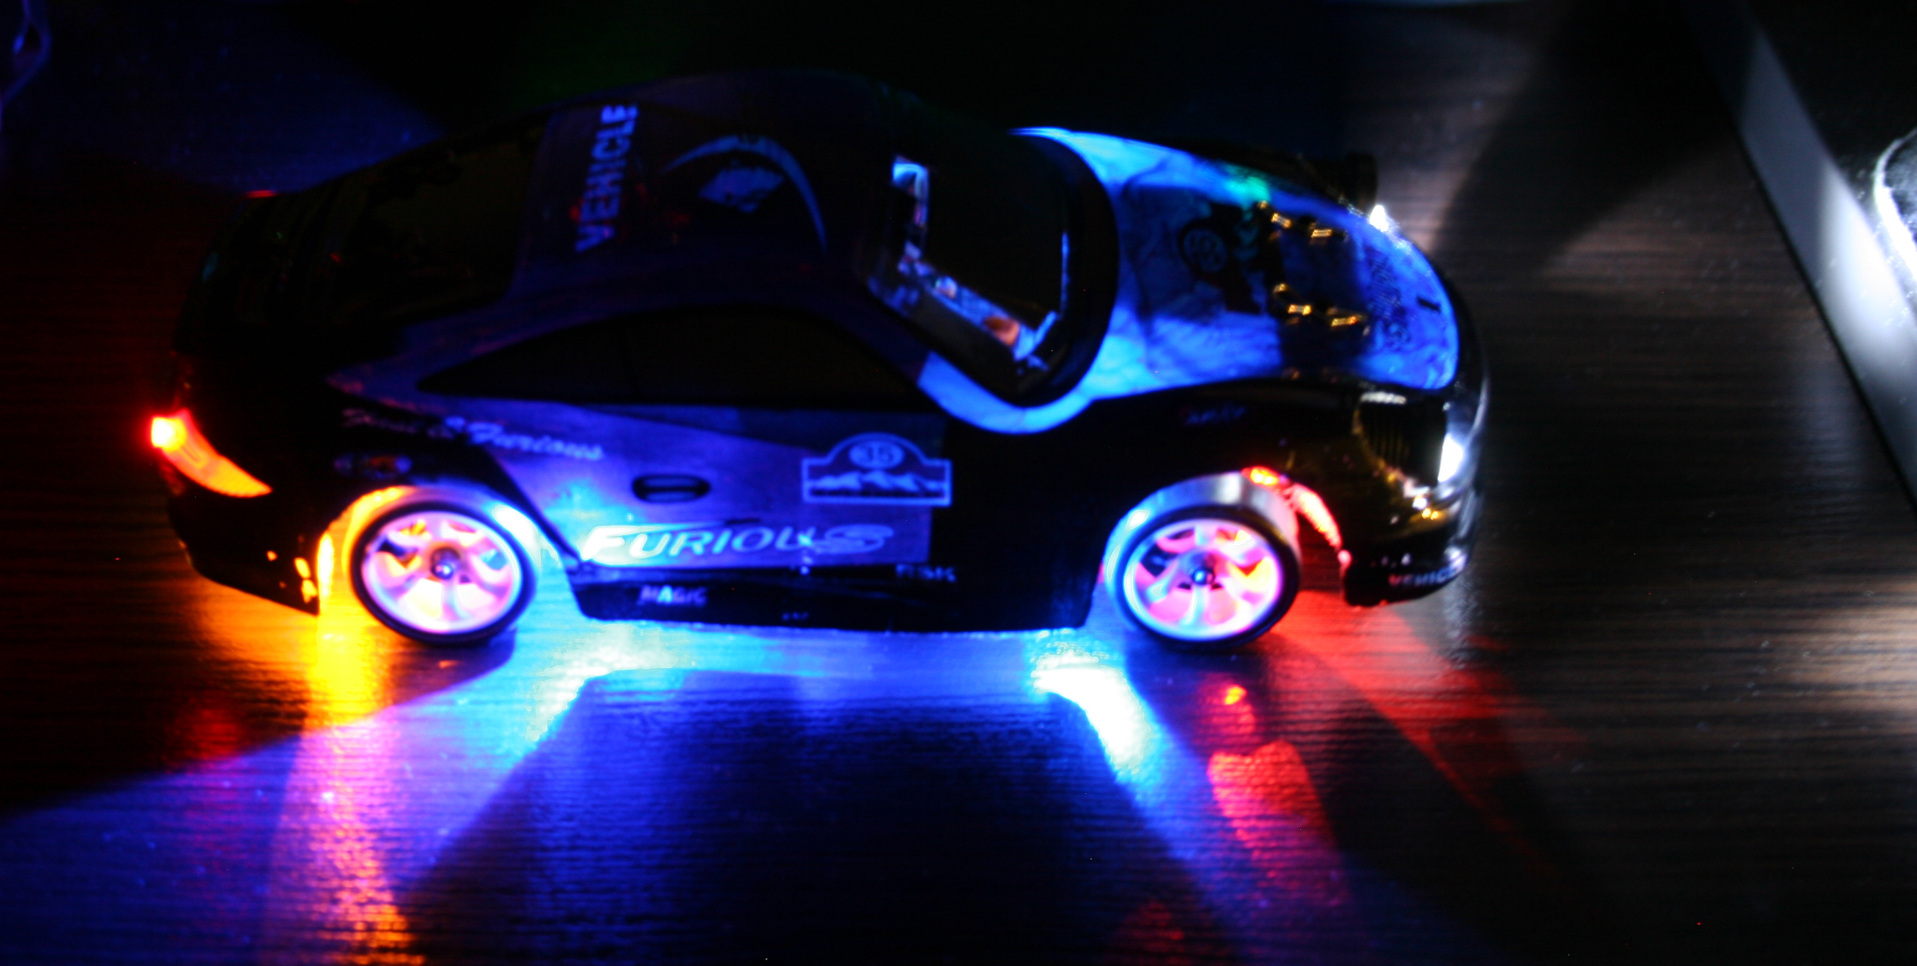
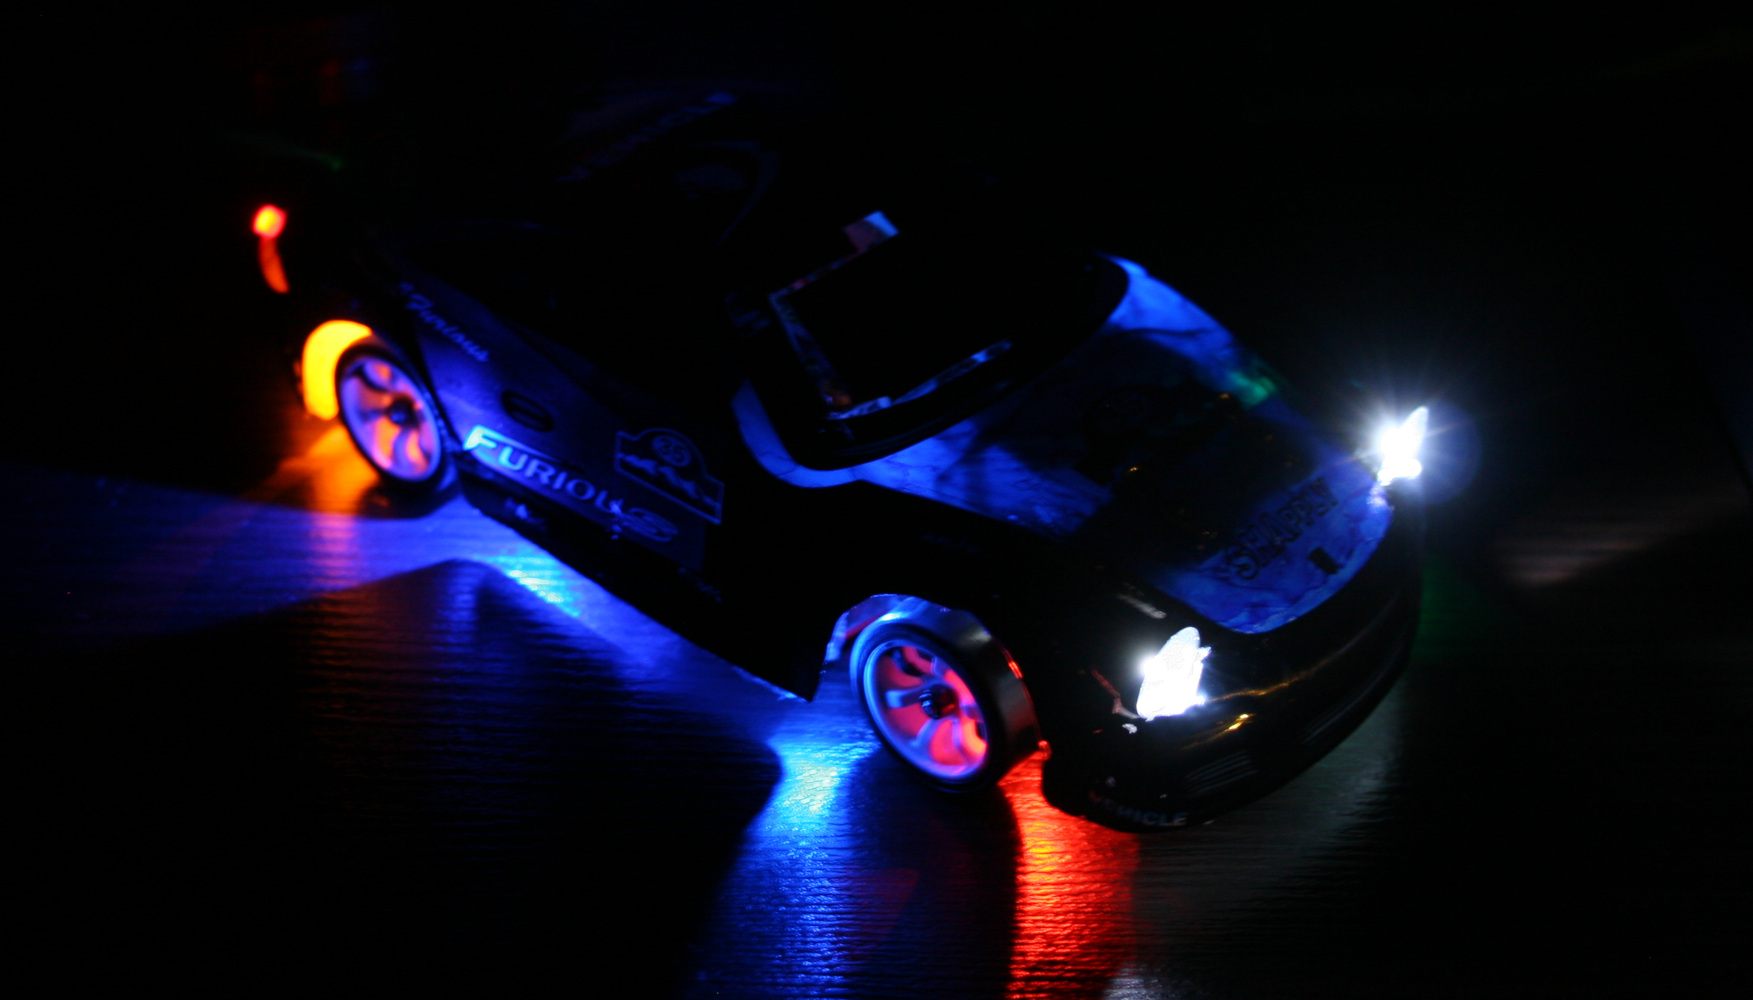
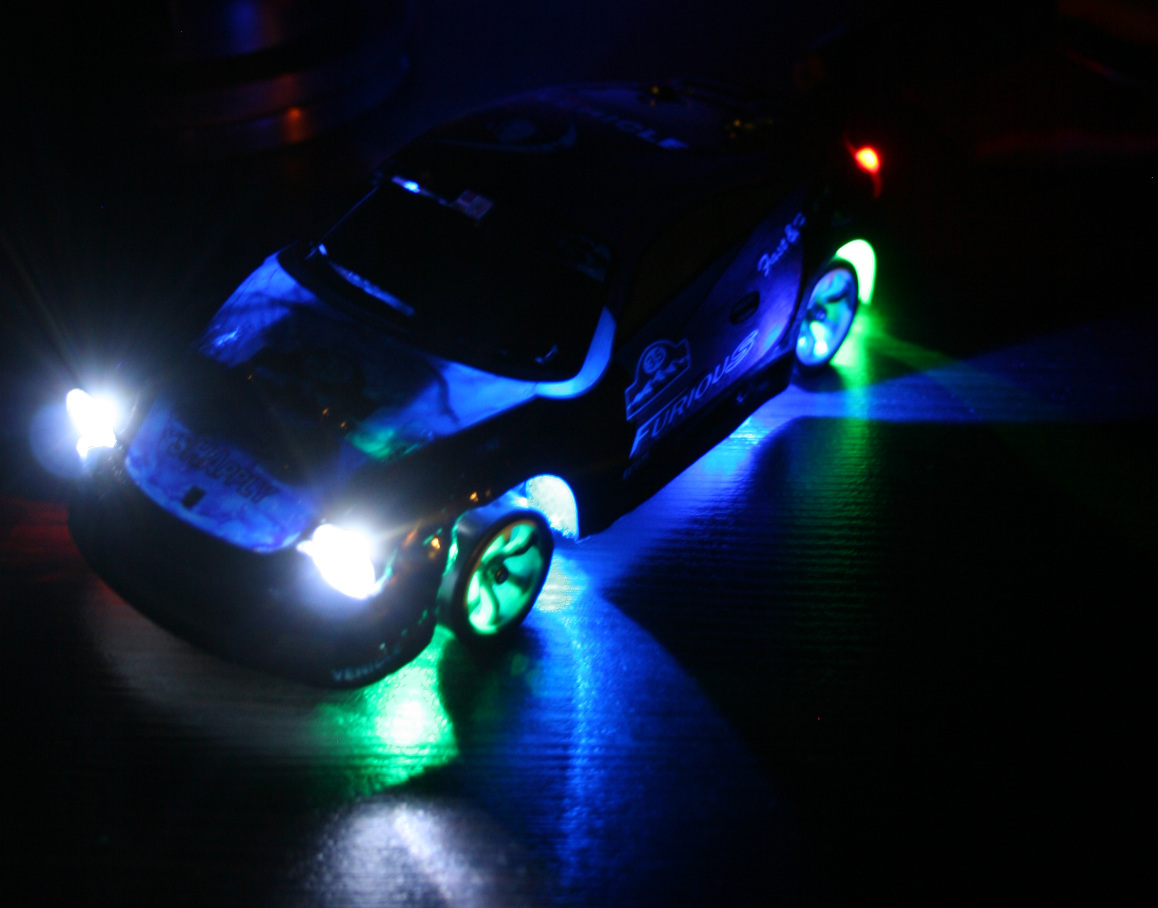
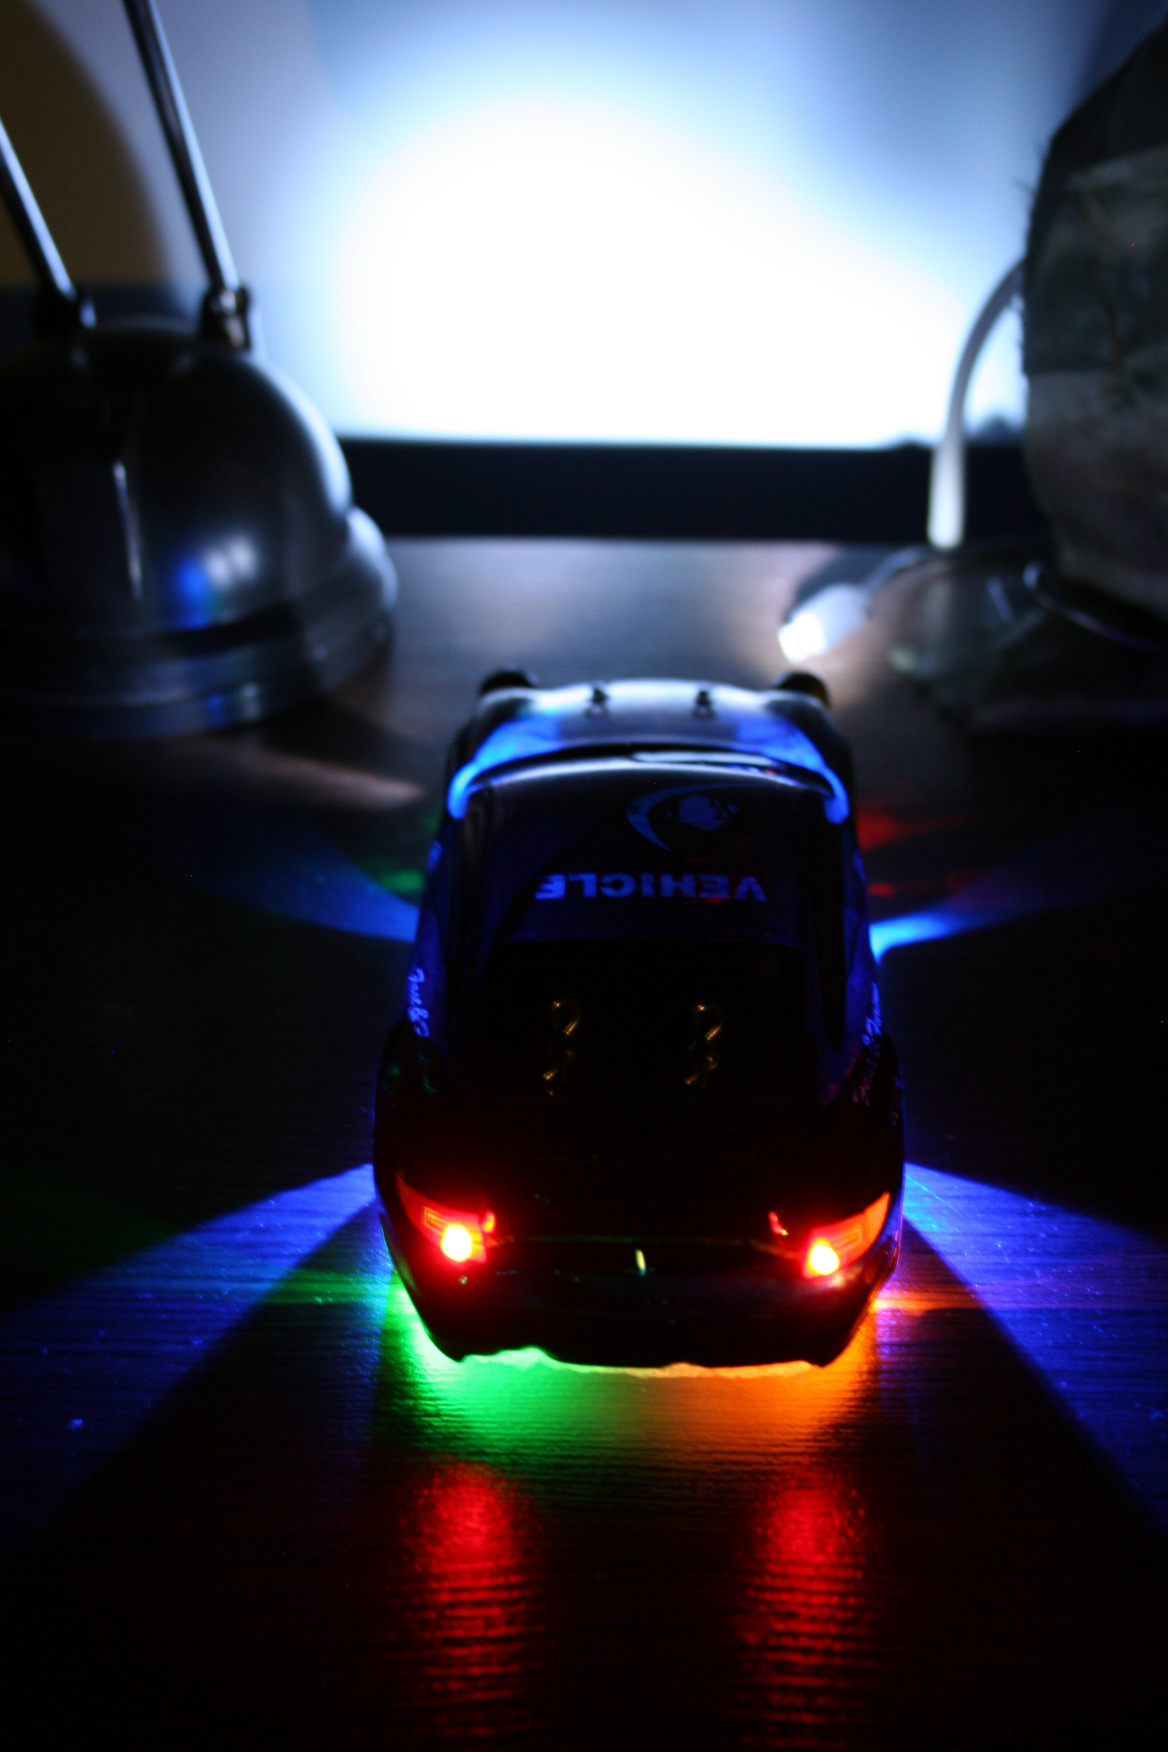
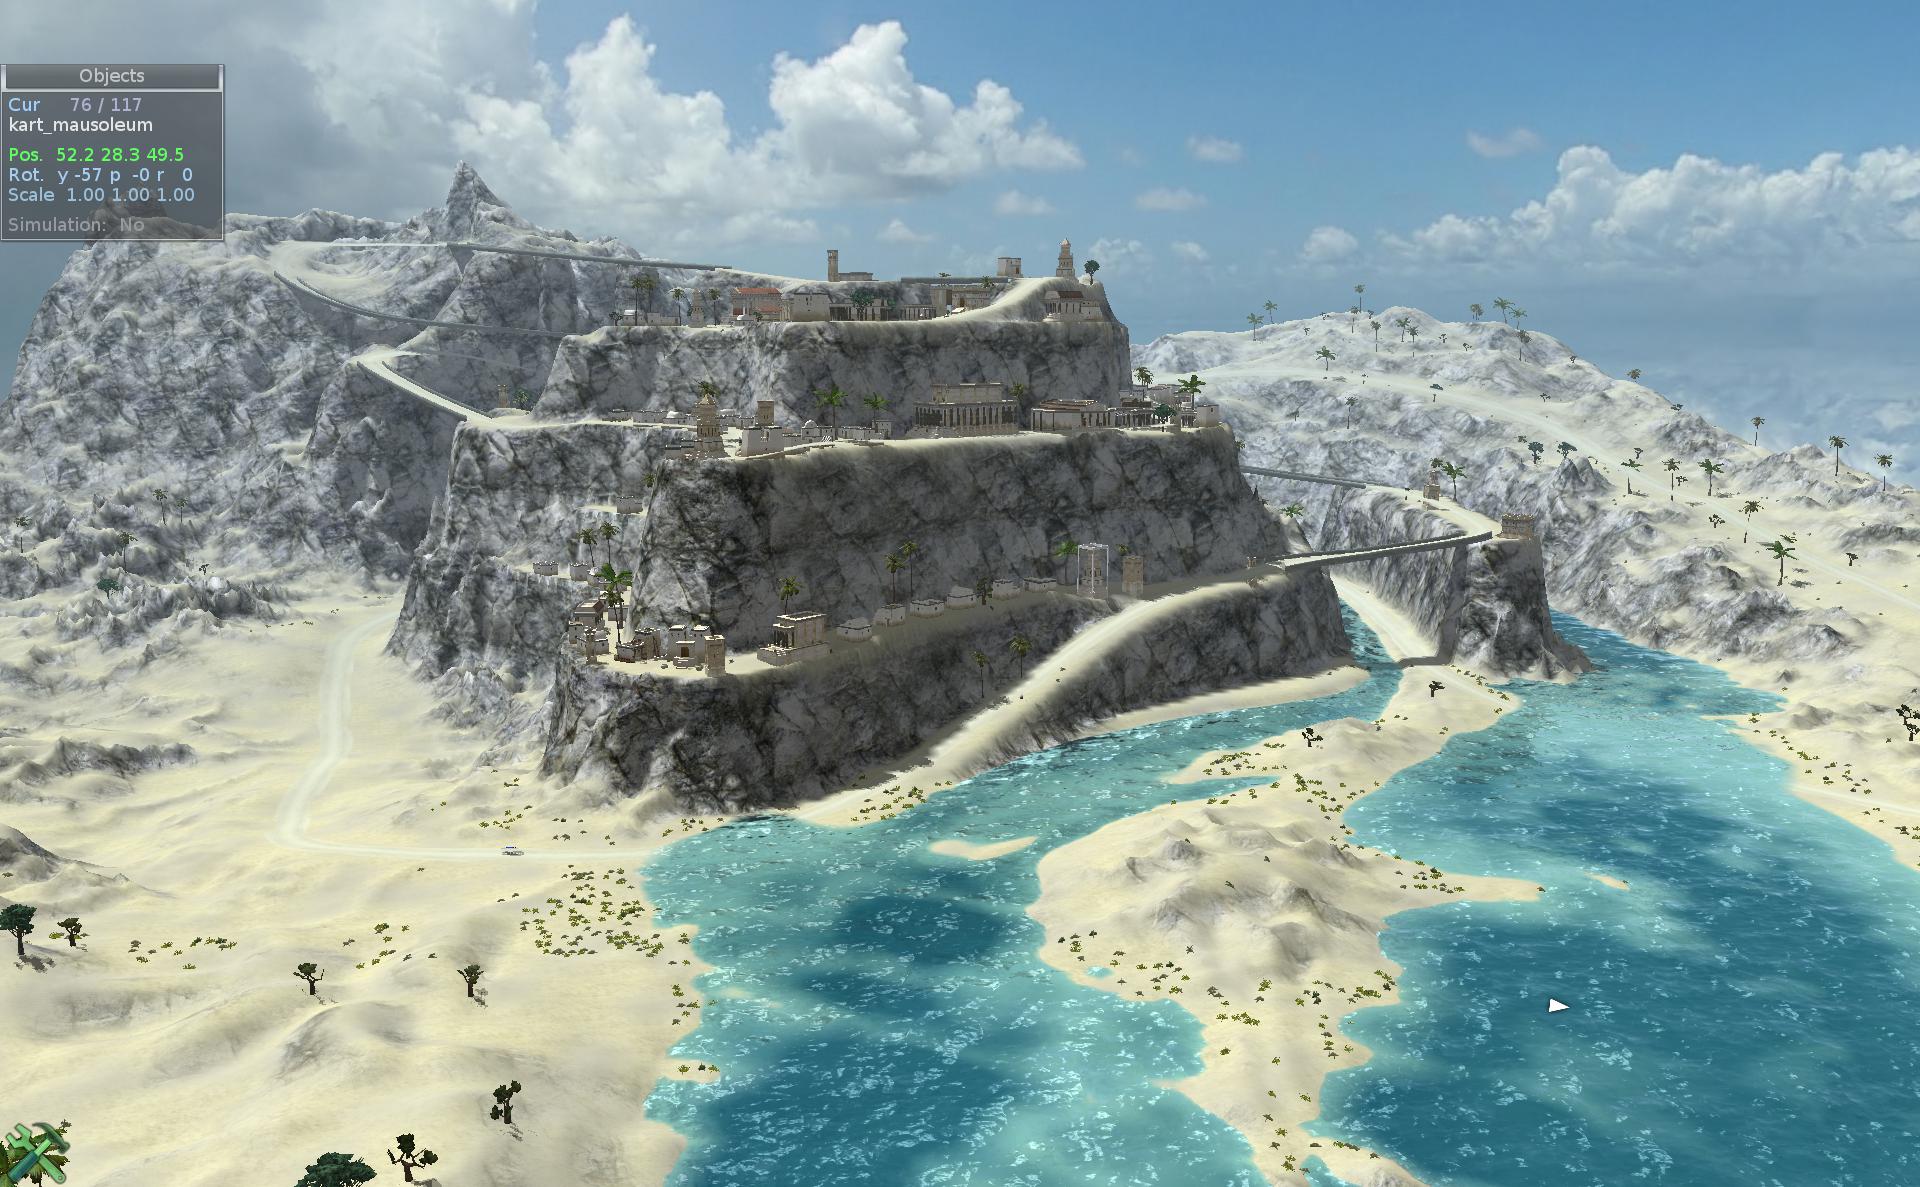
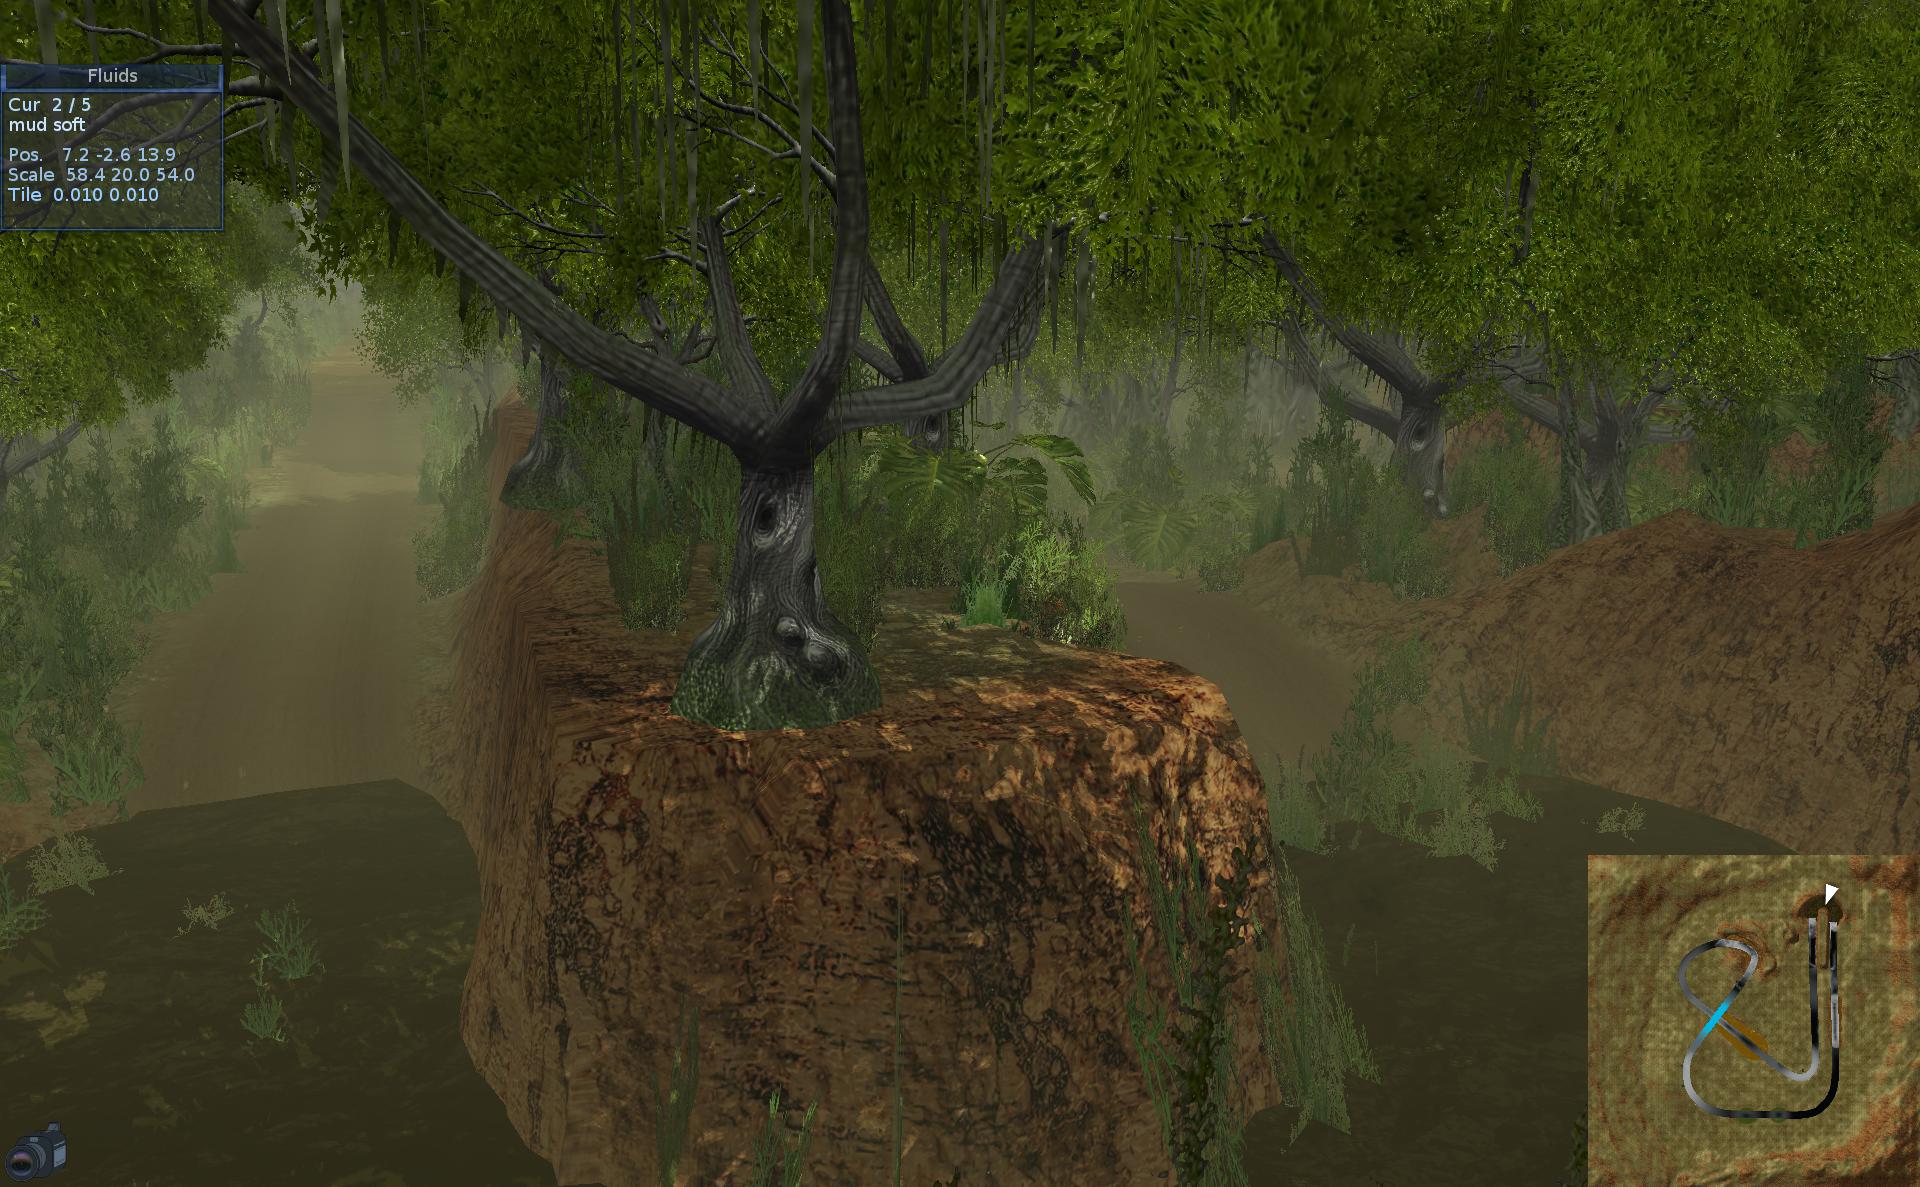
📂Gallery🏞️
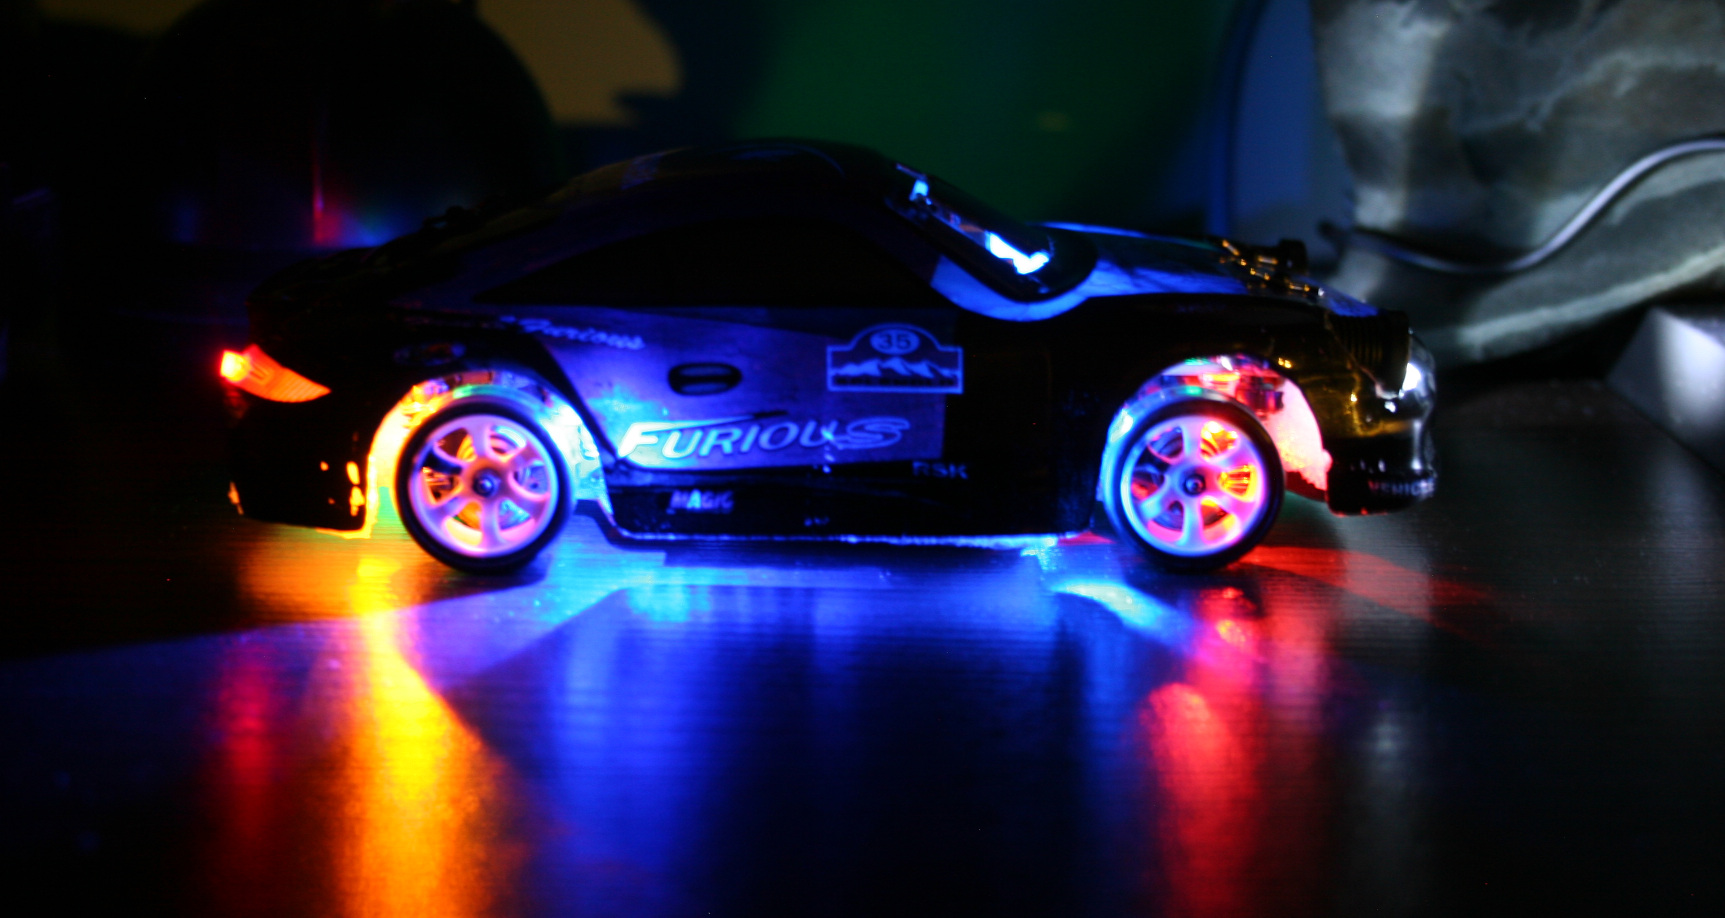
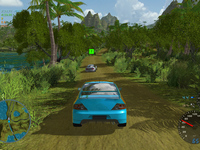
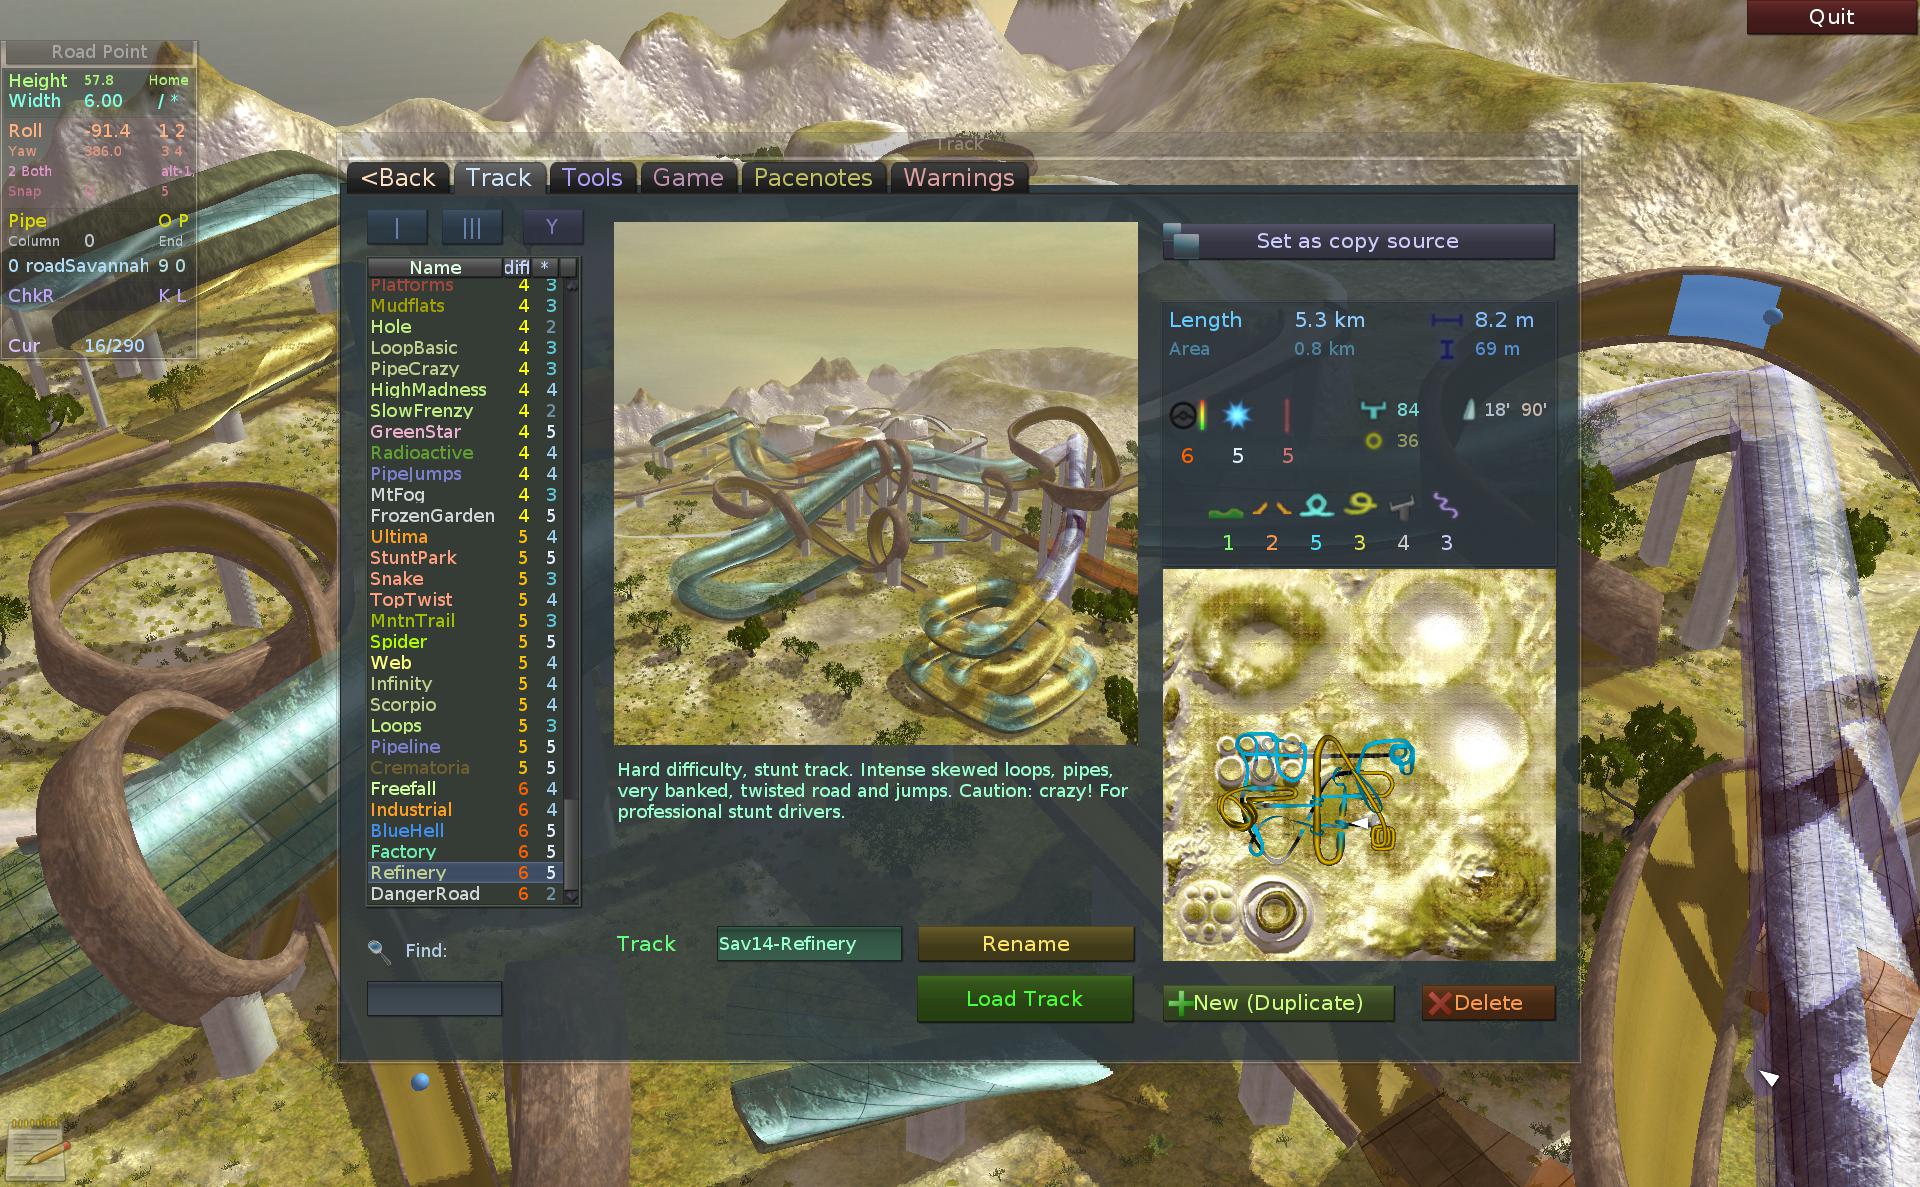
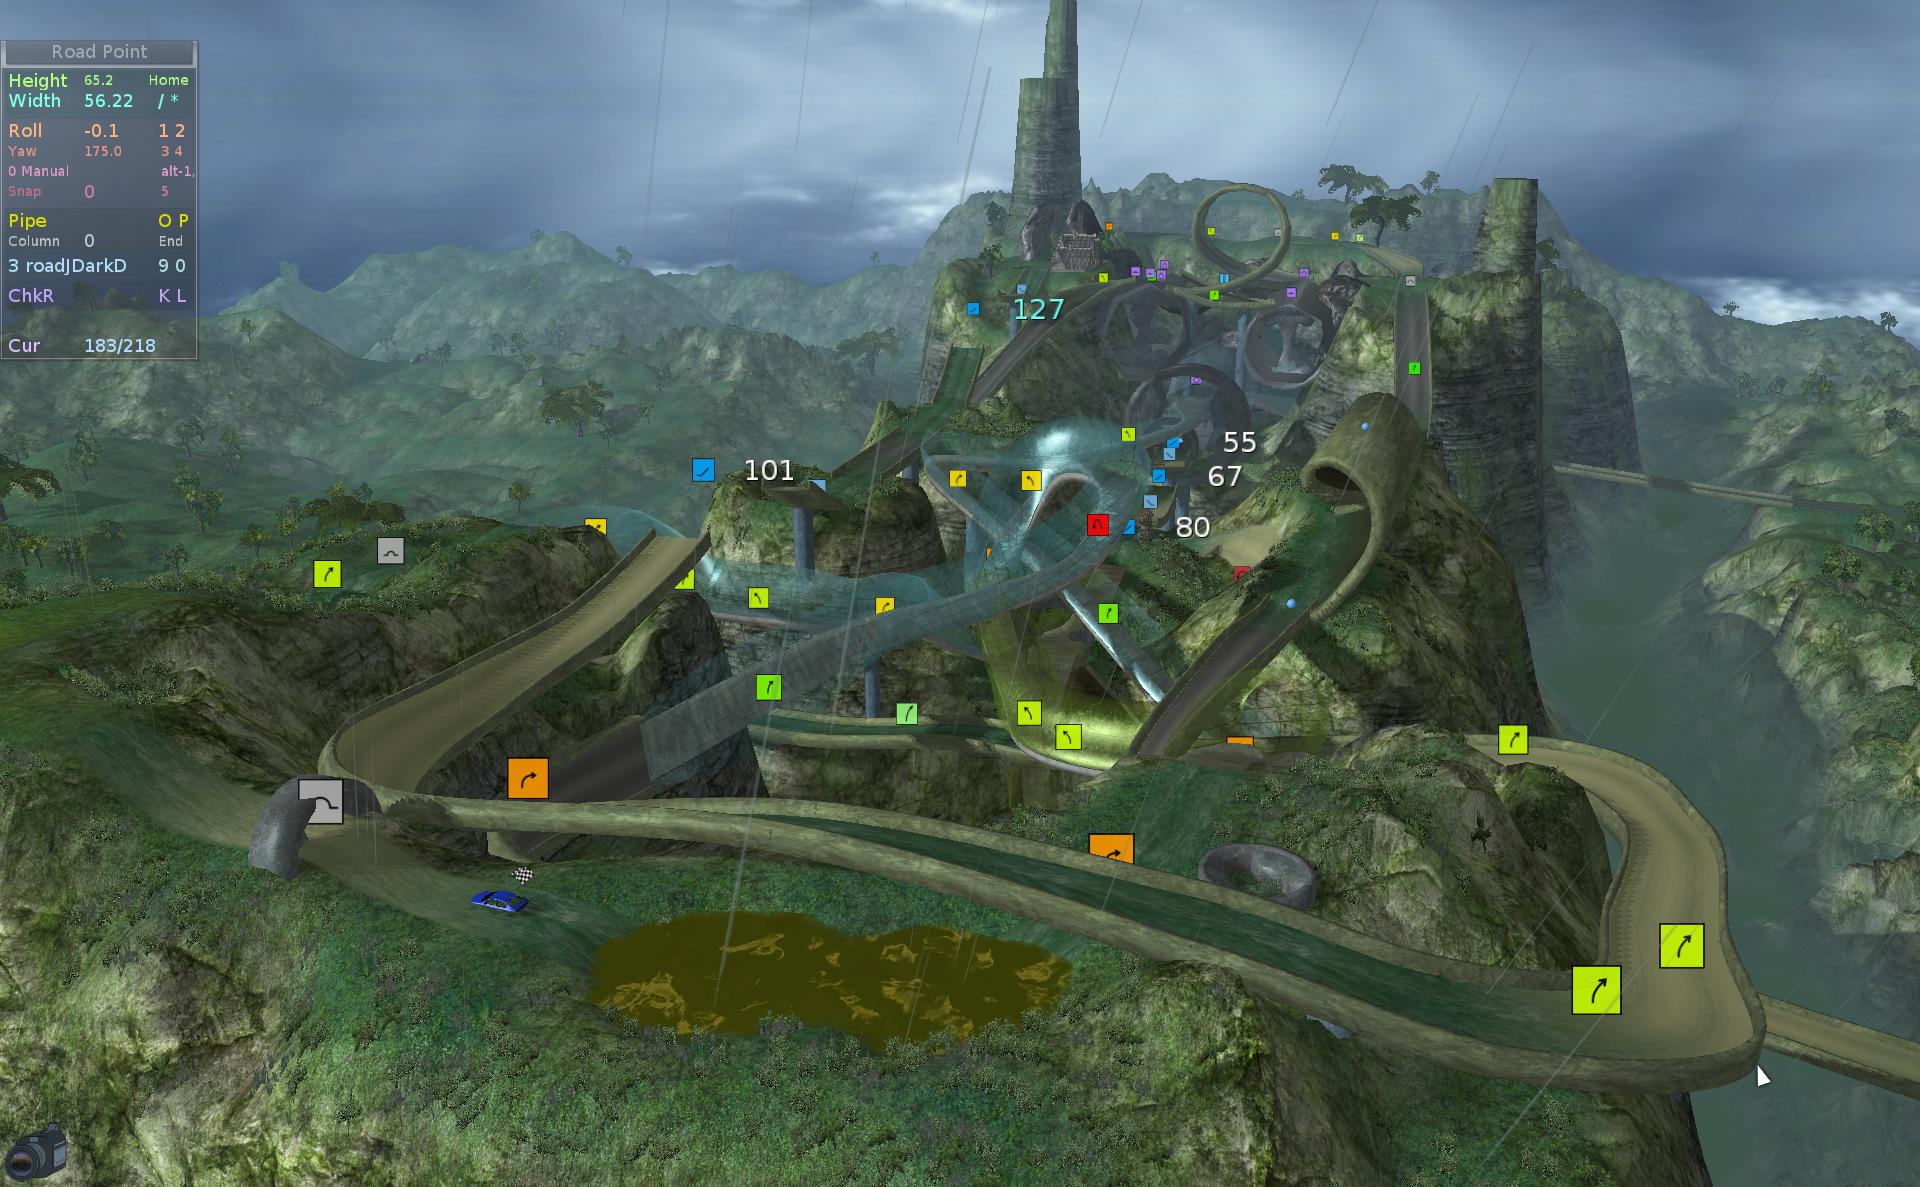
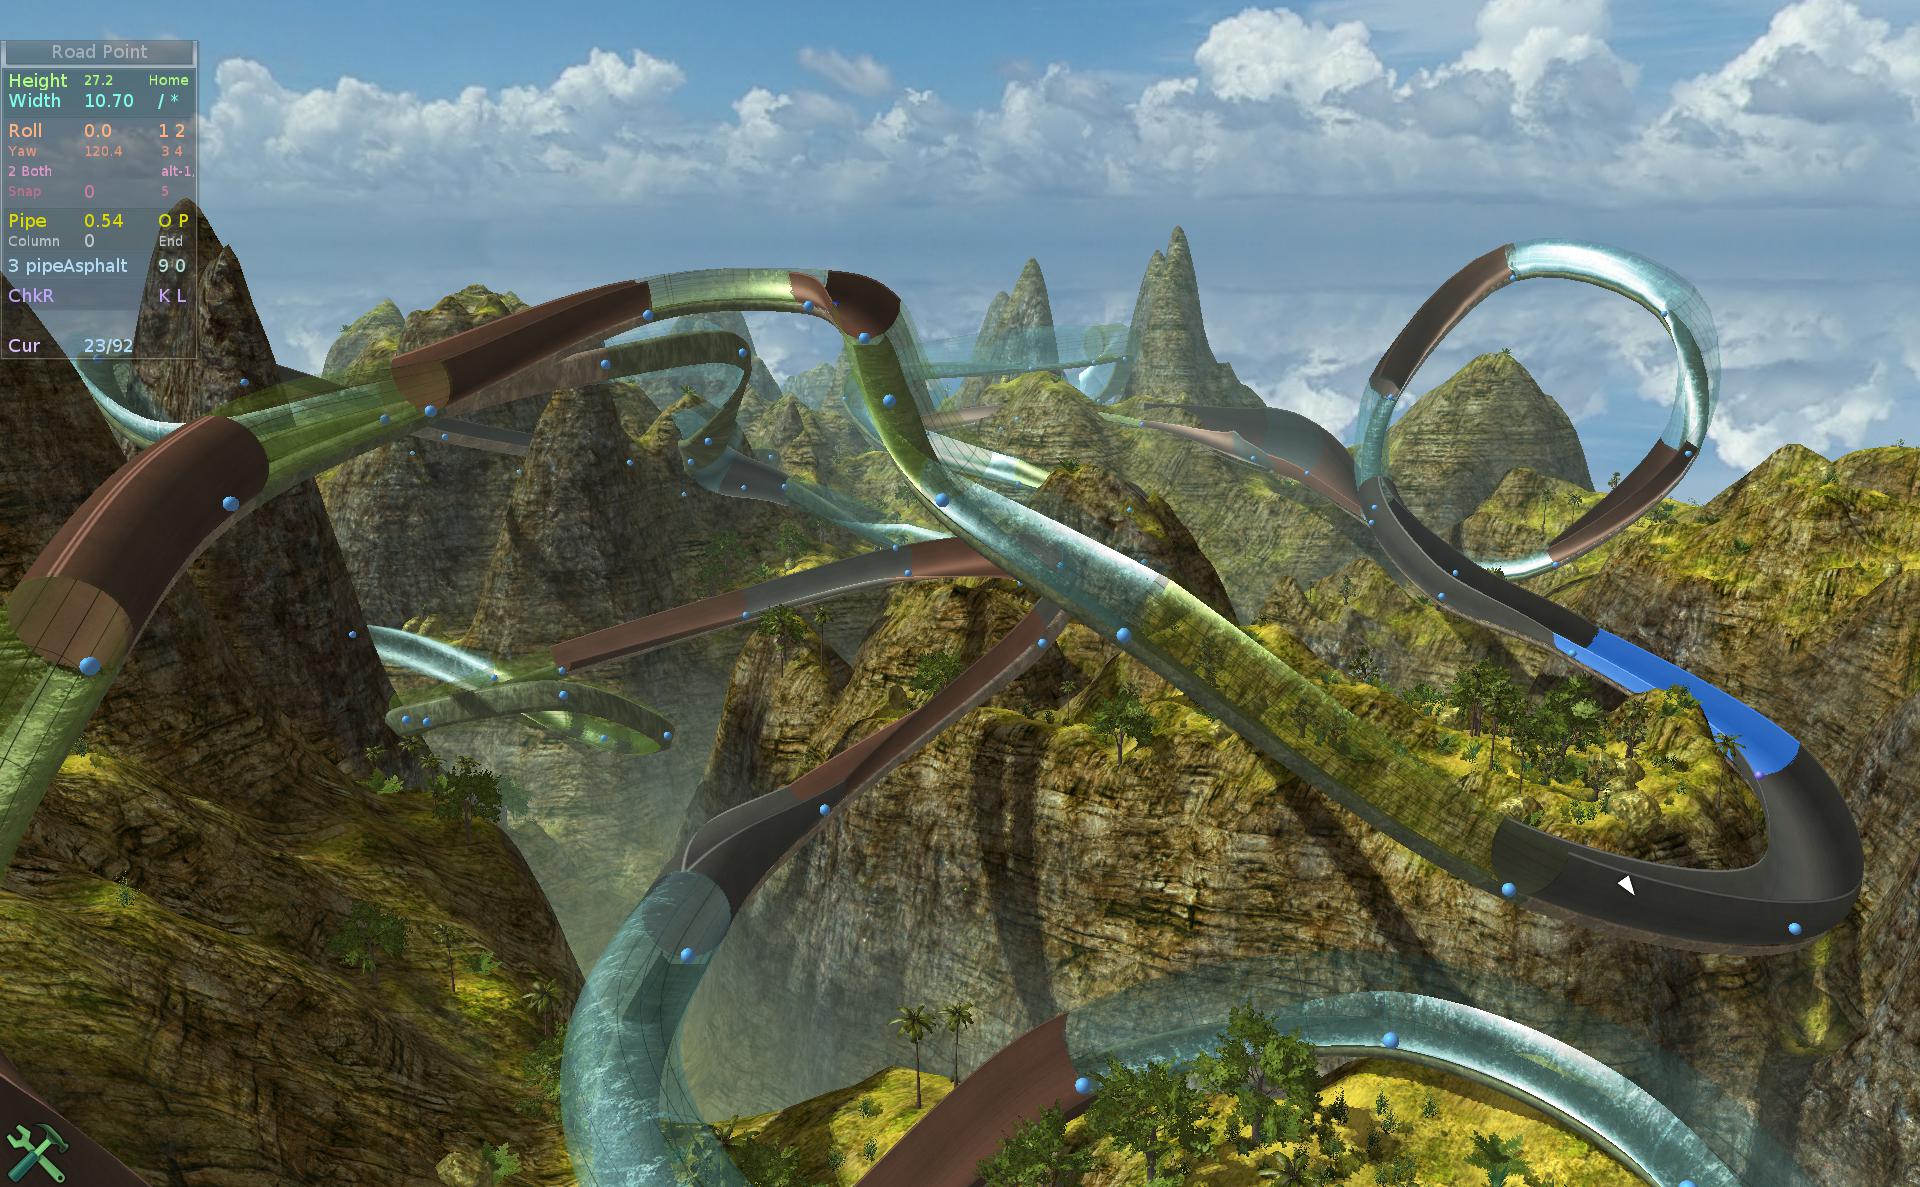
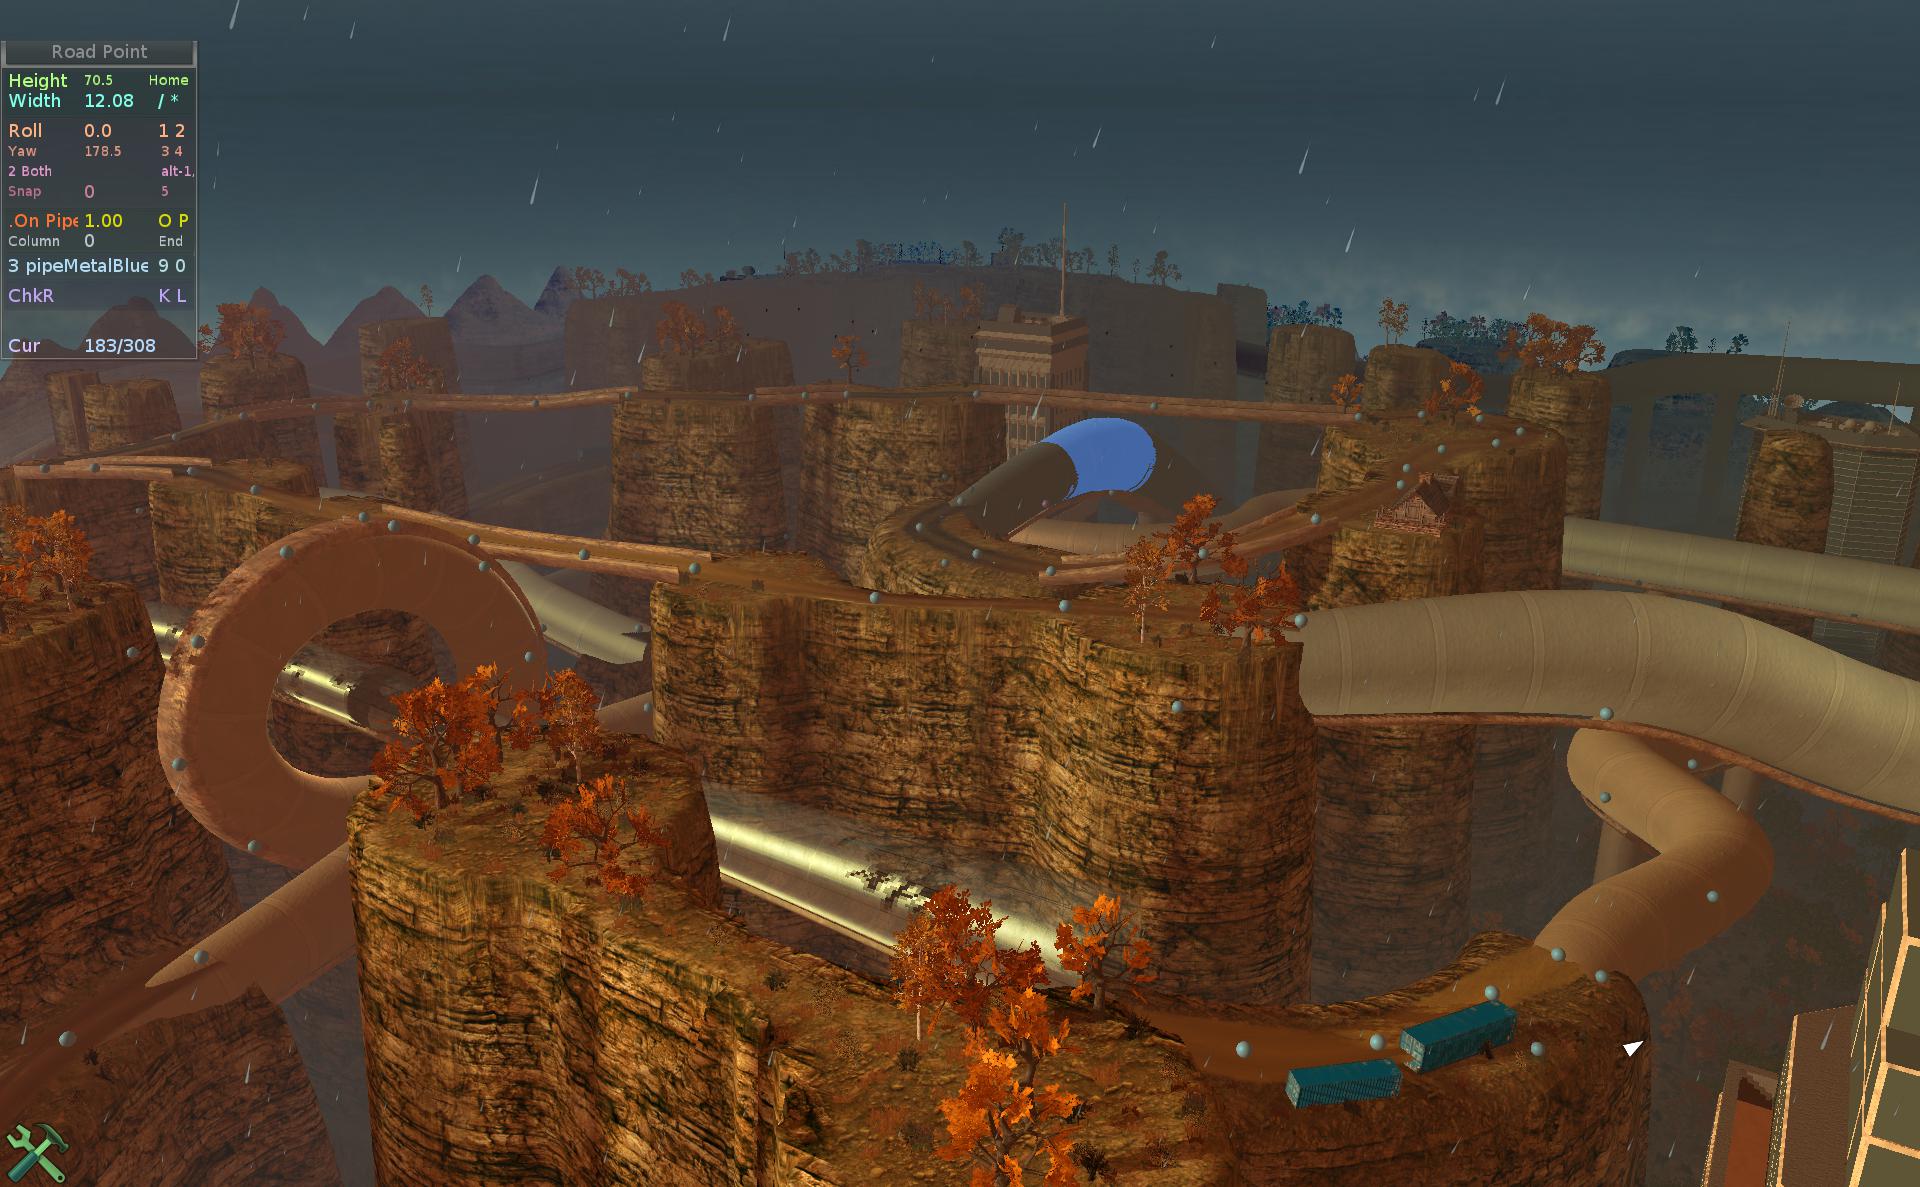
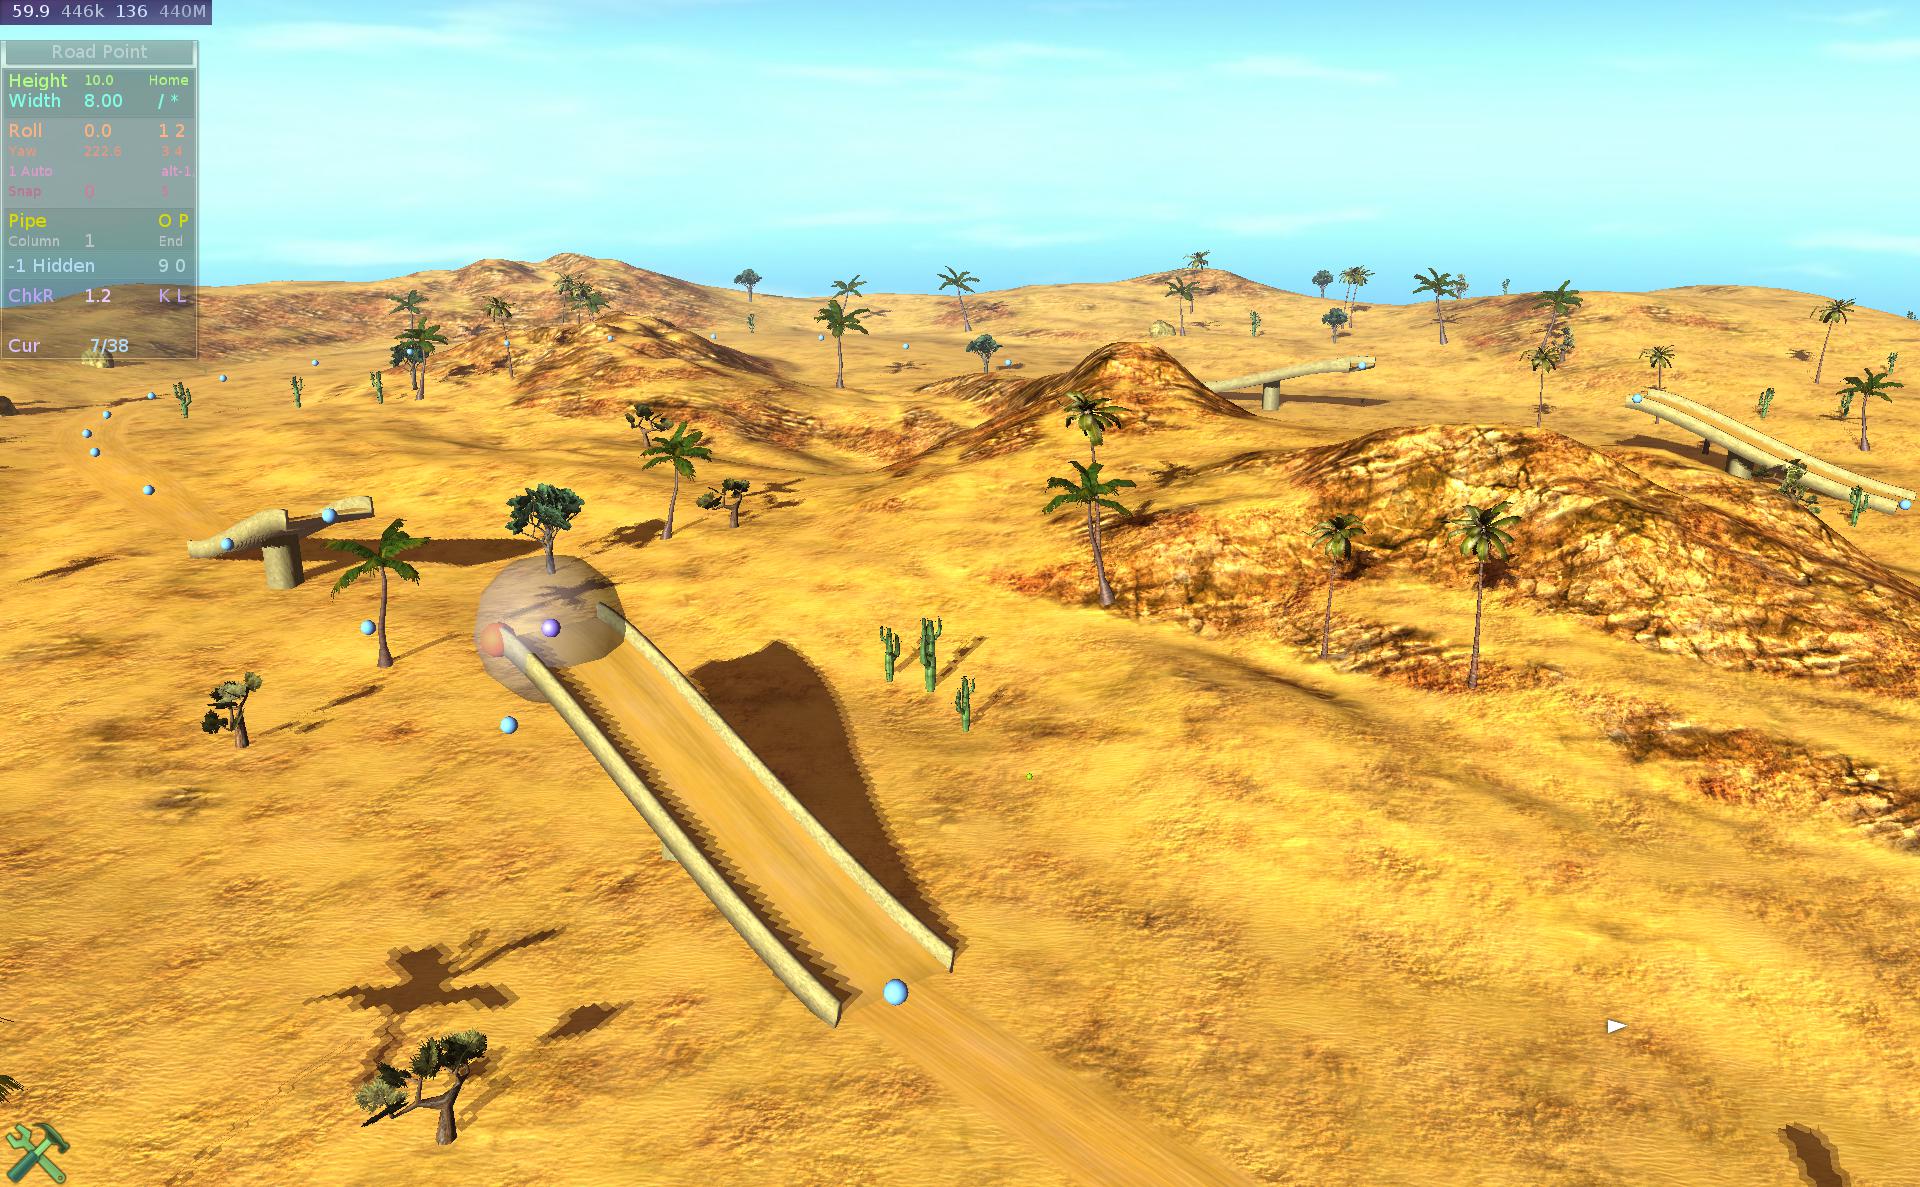
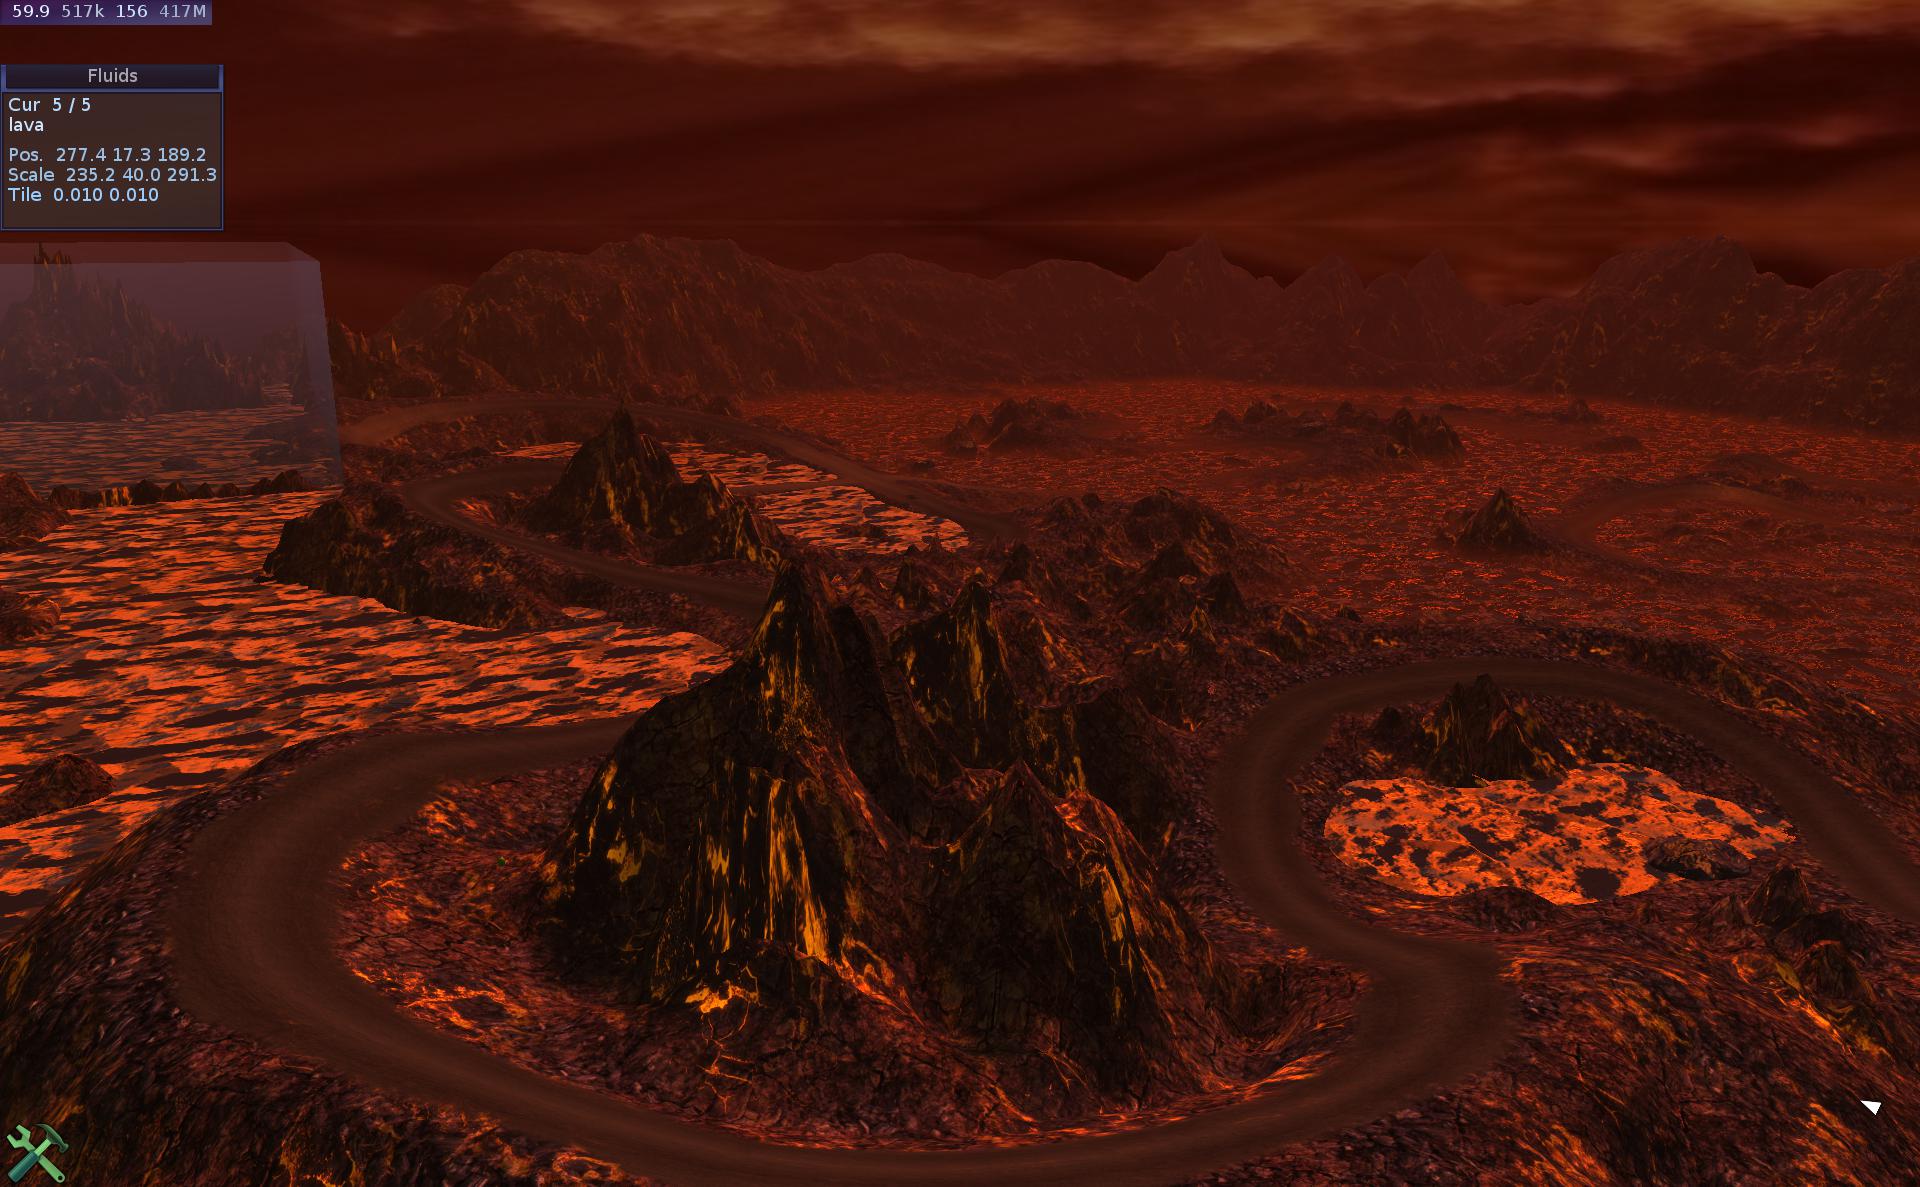
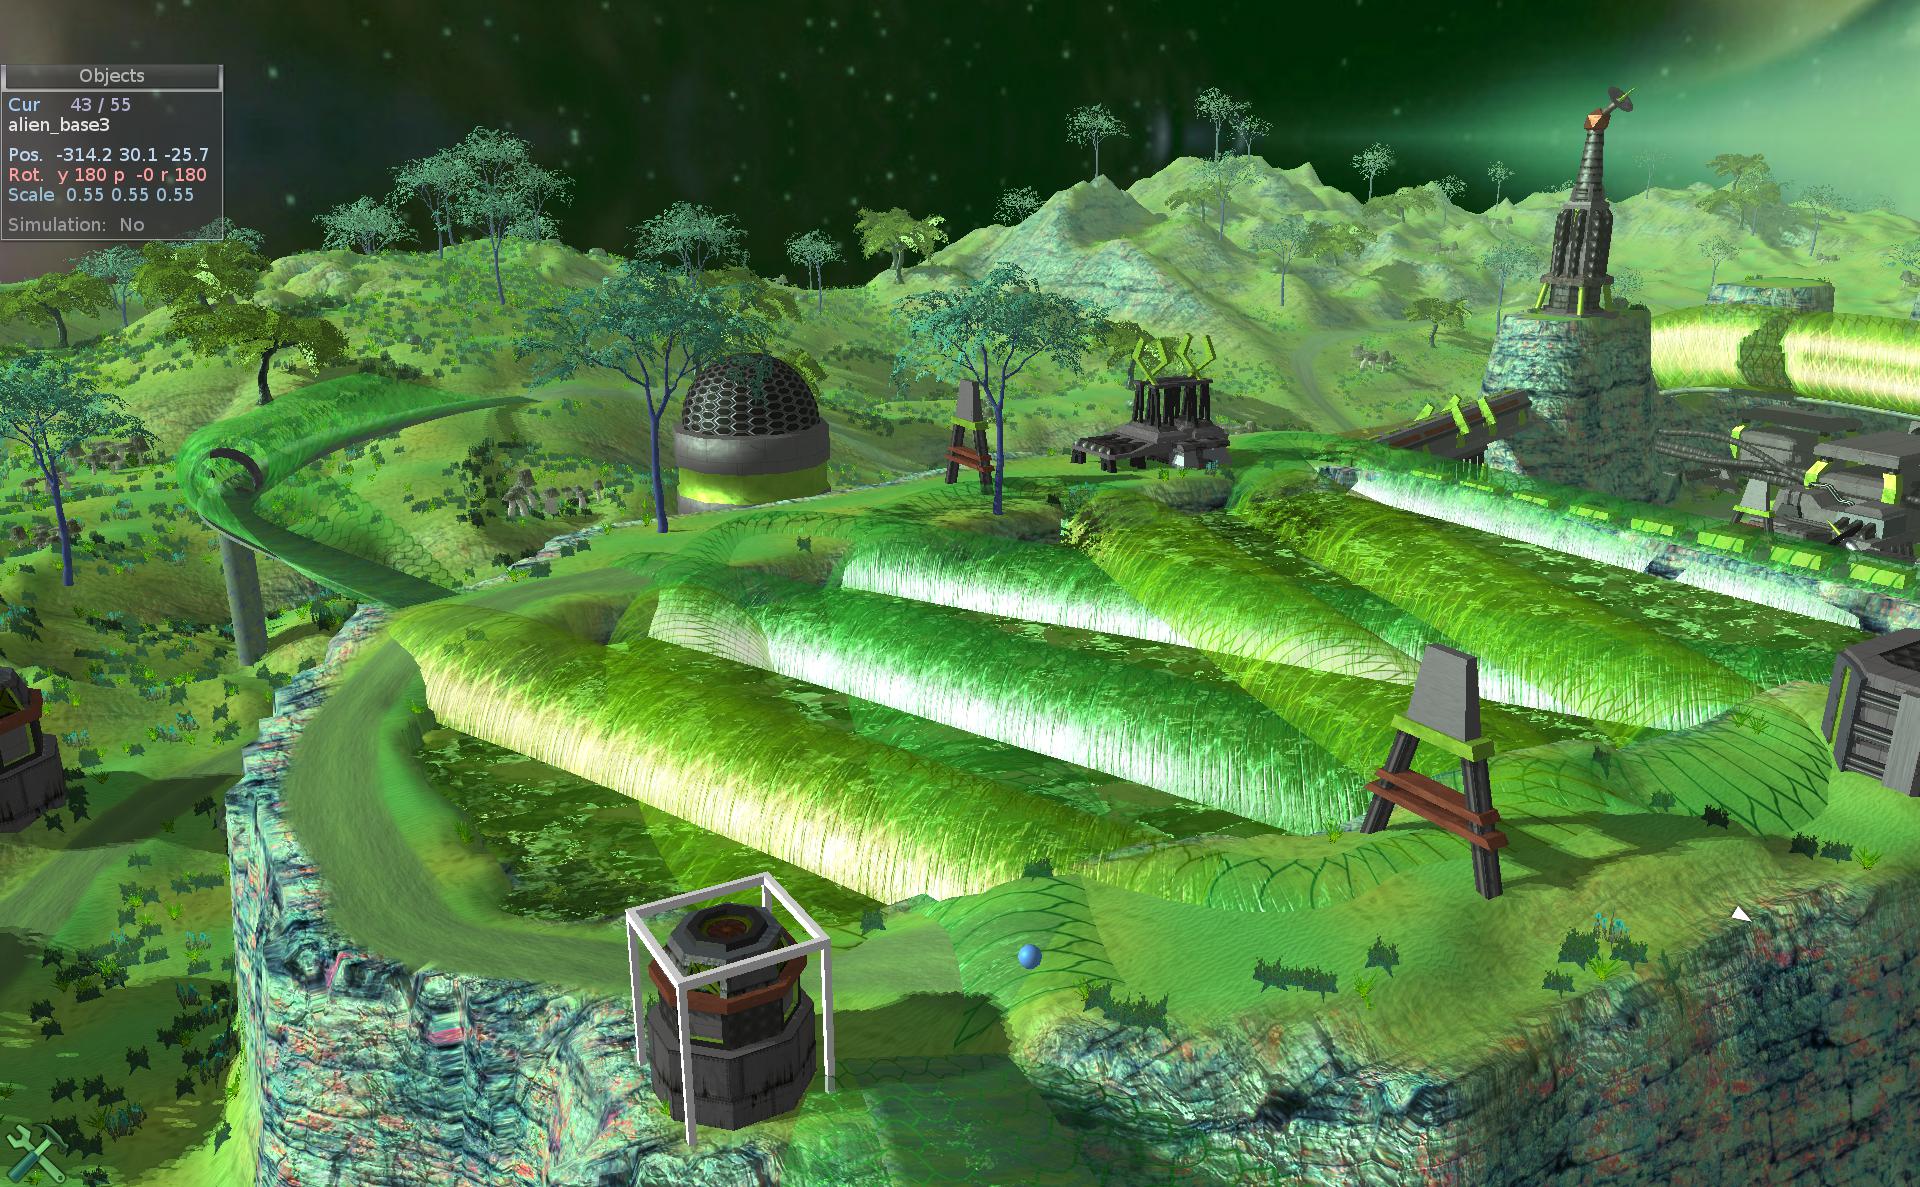
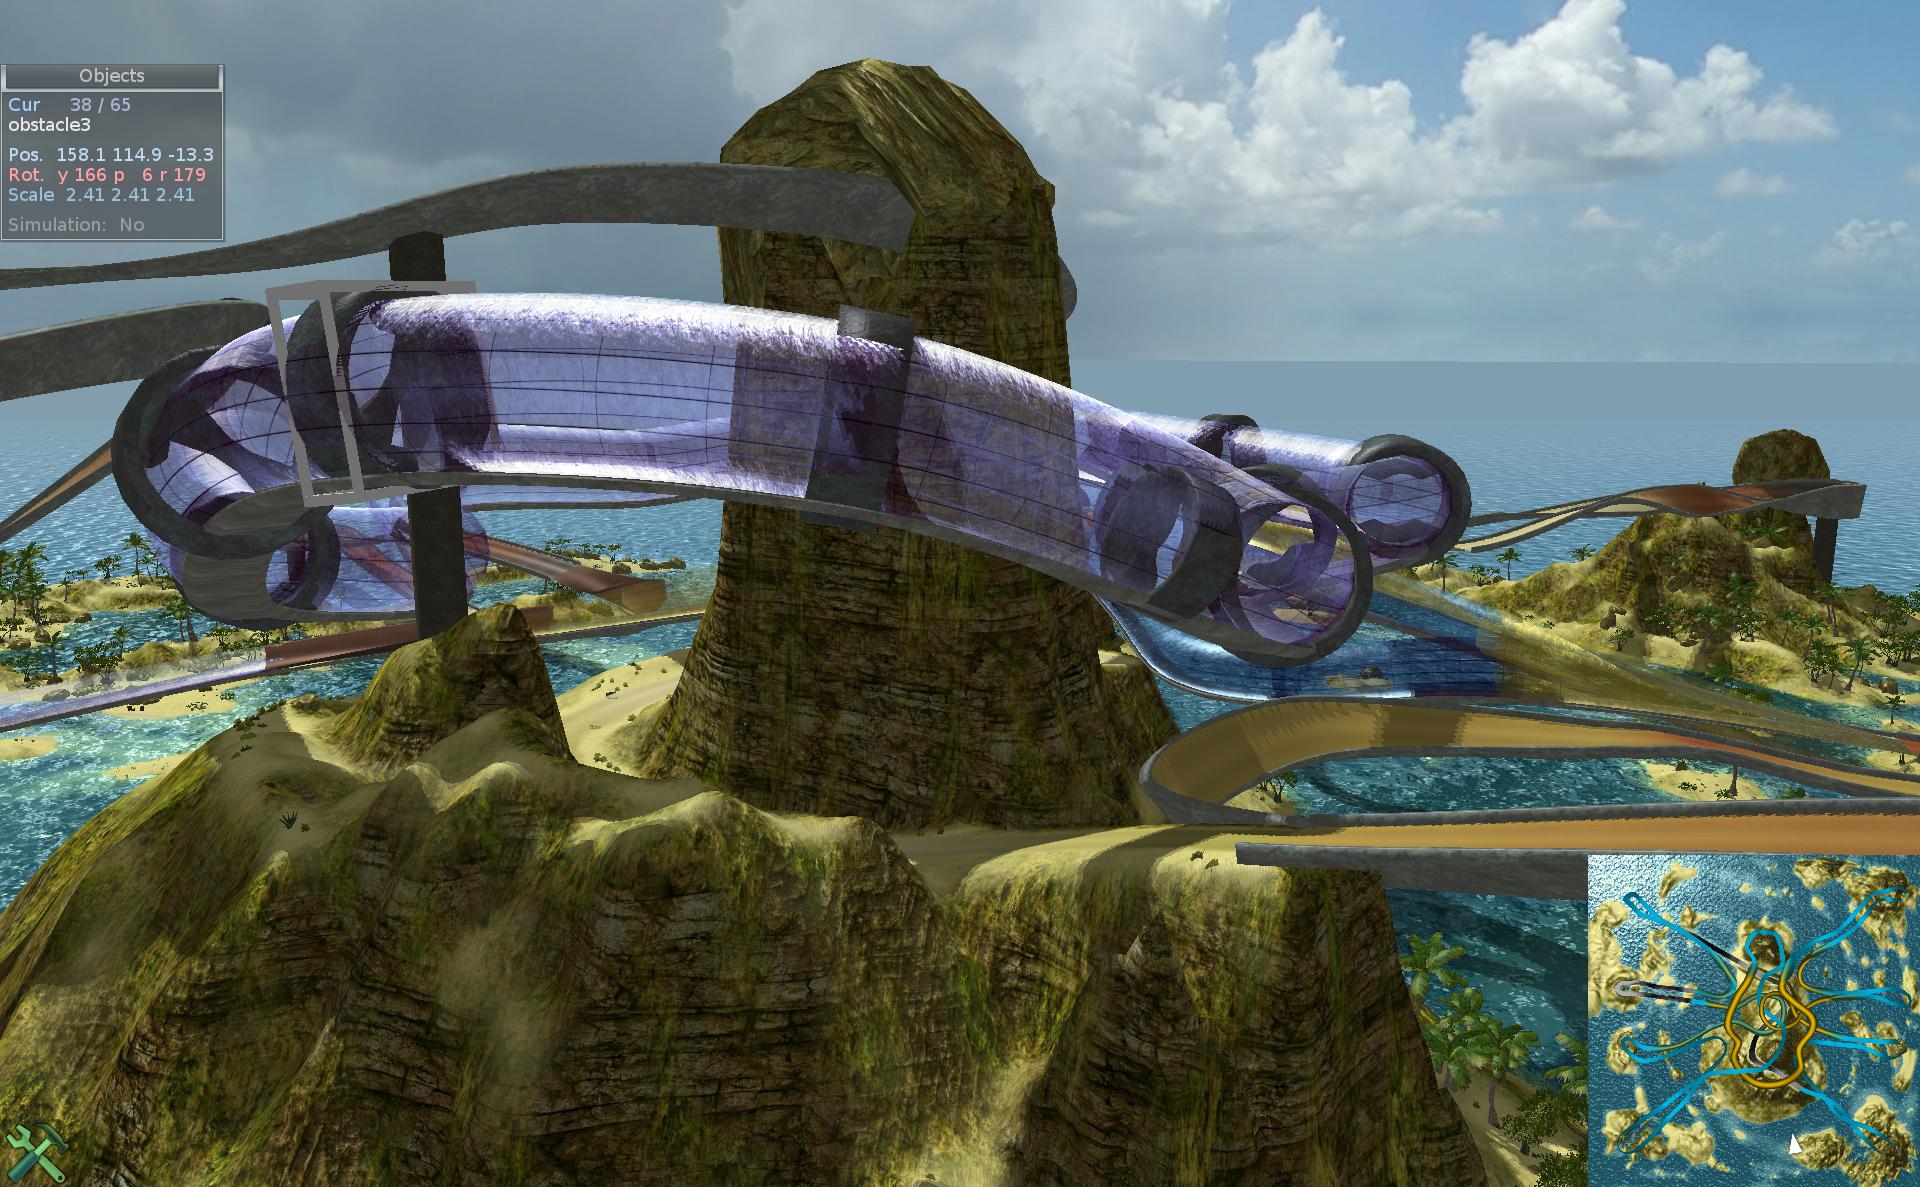
Short gallery with showcase here.
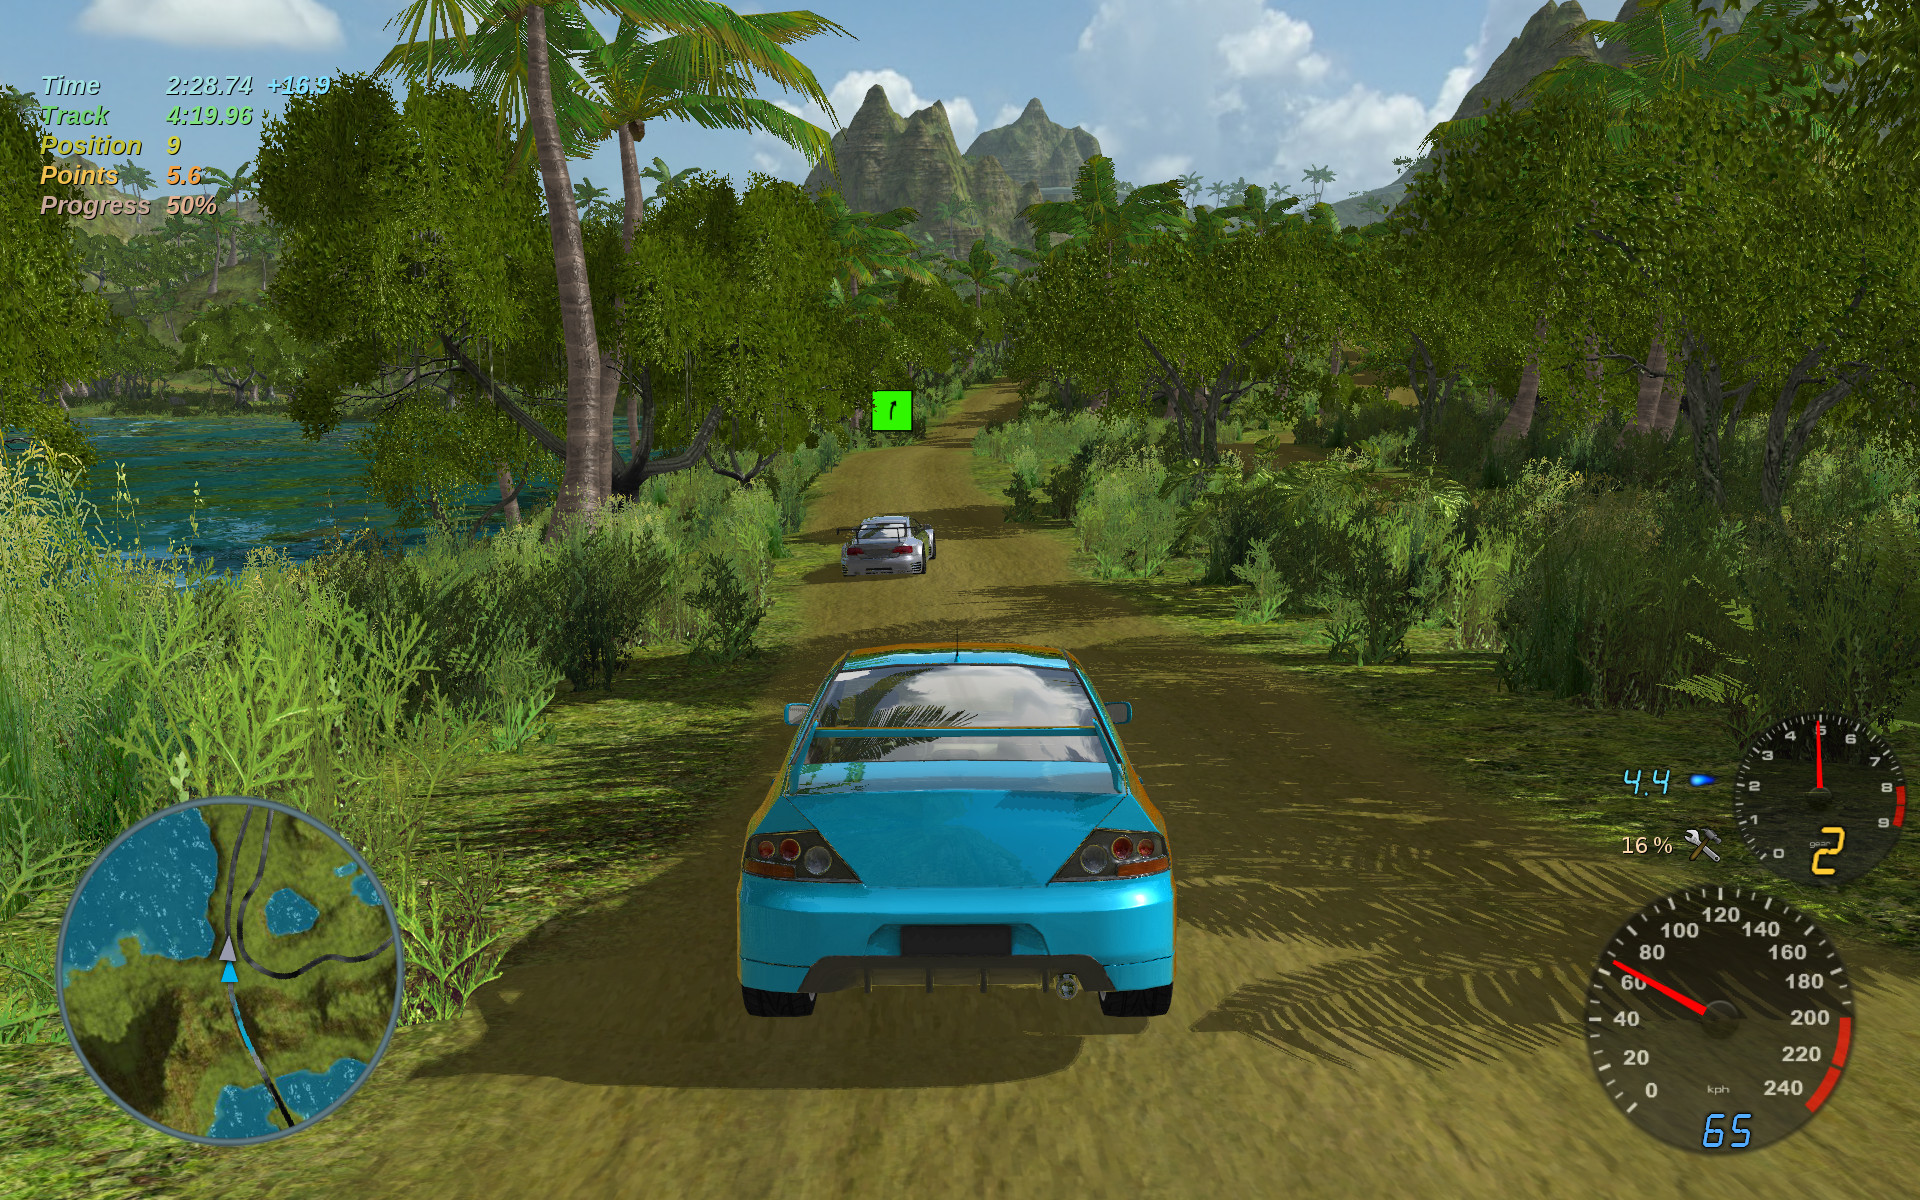
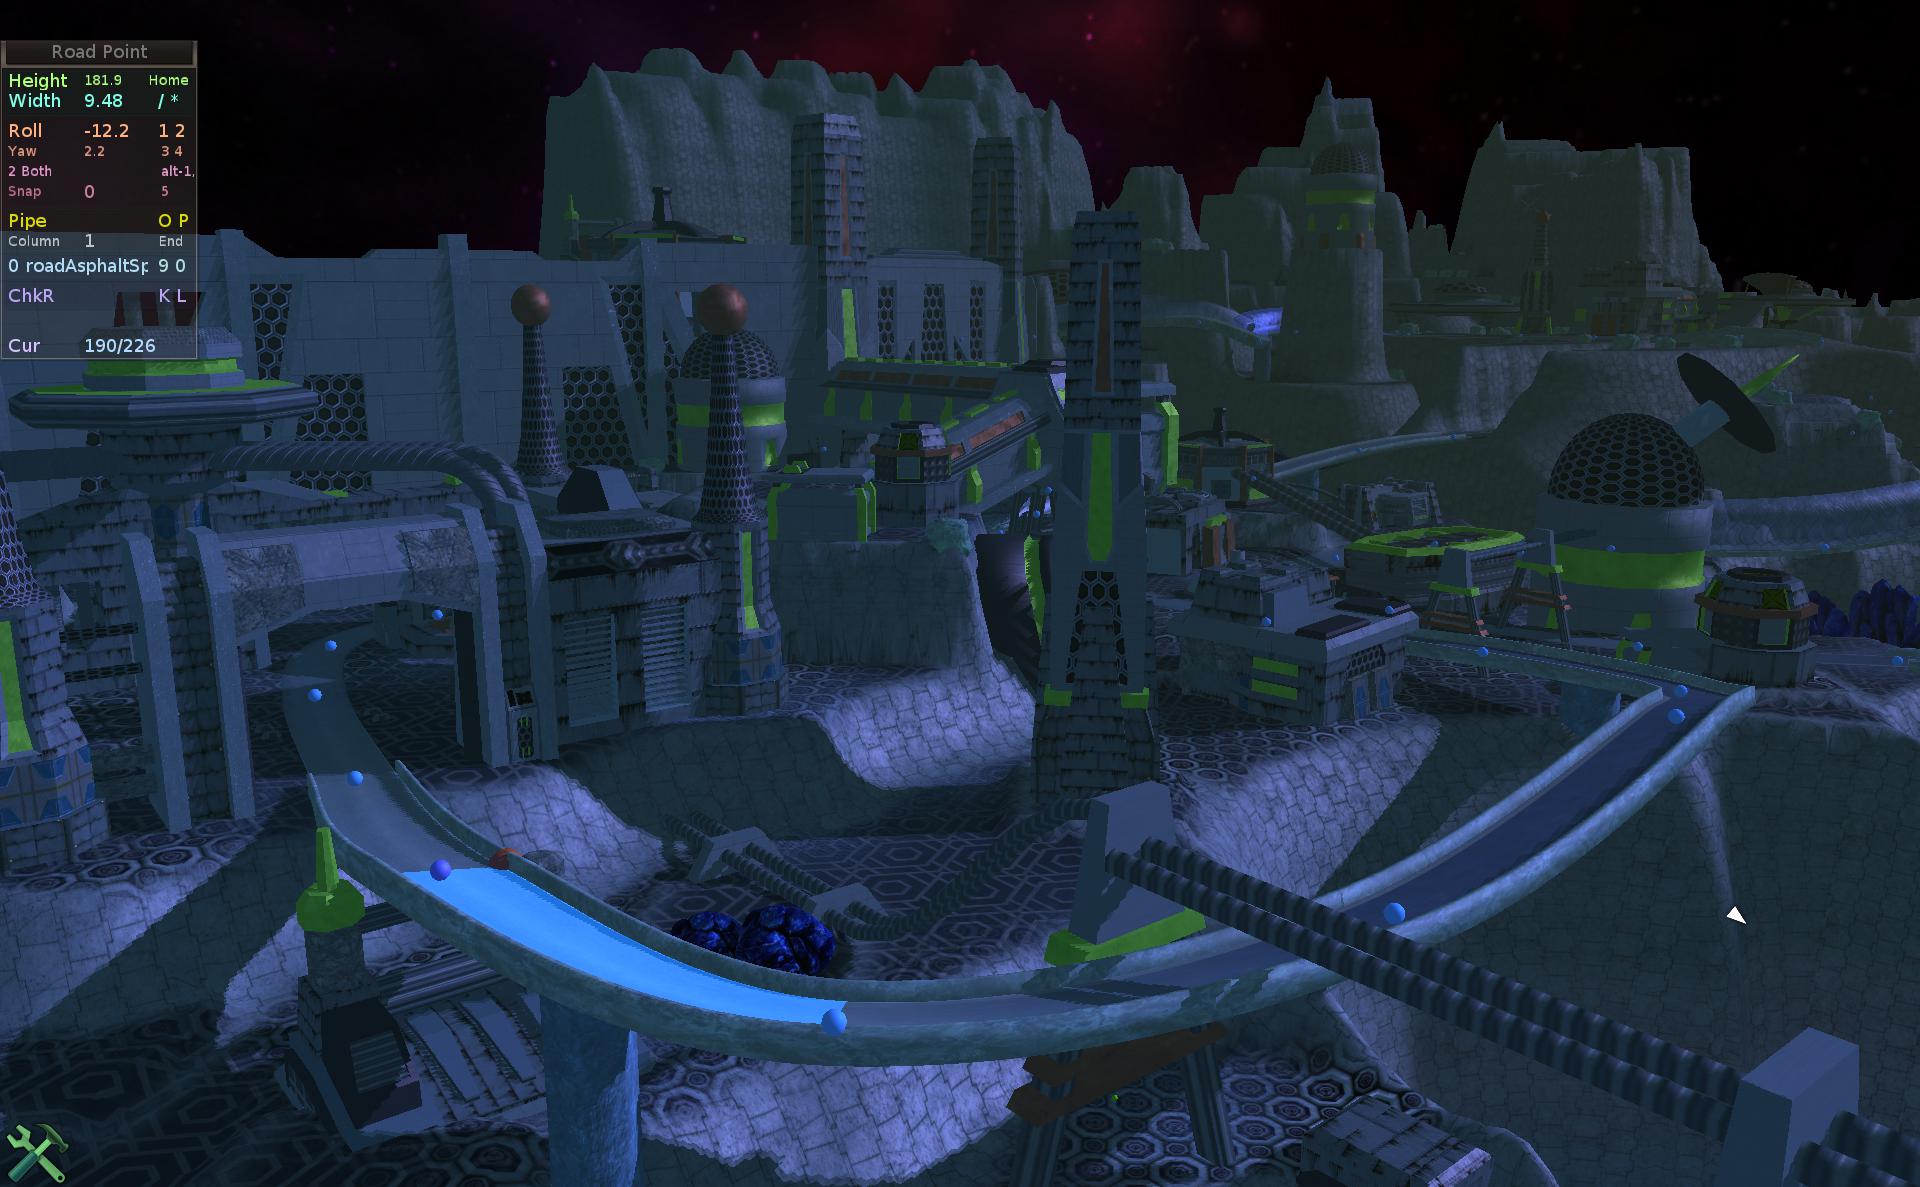
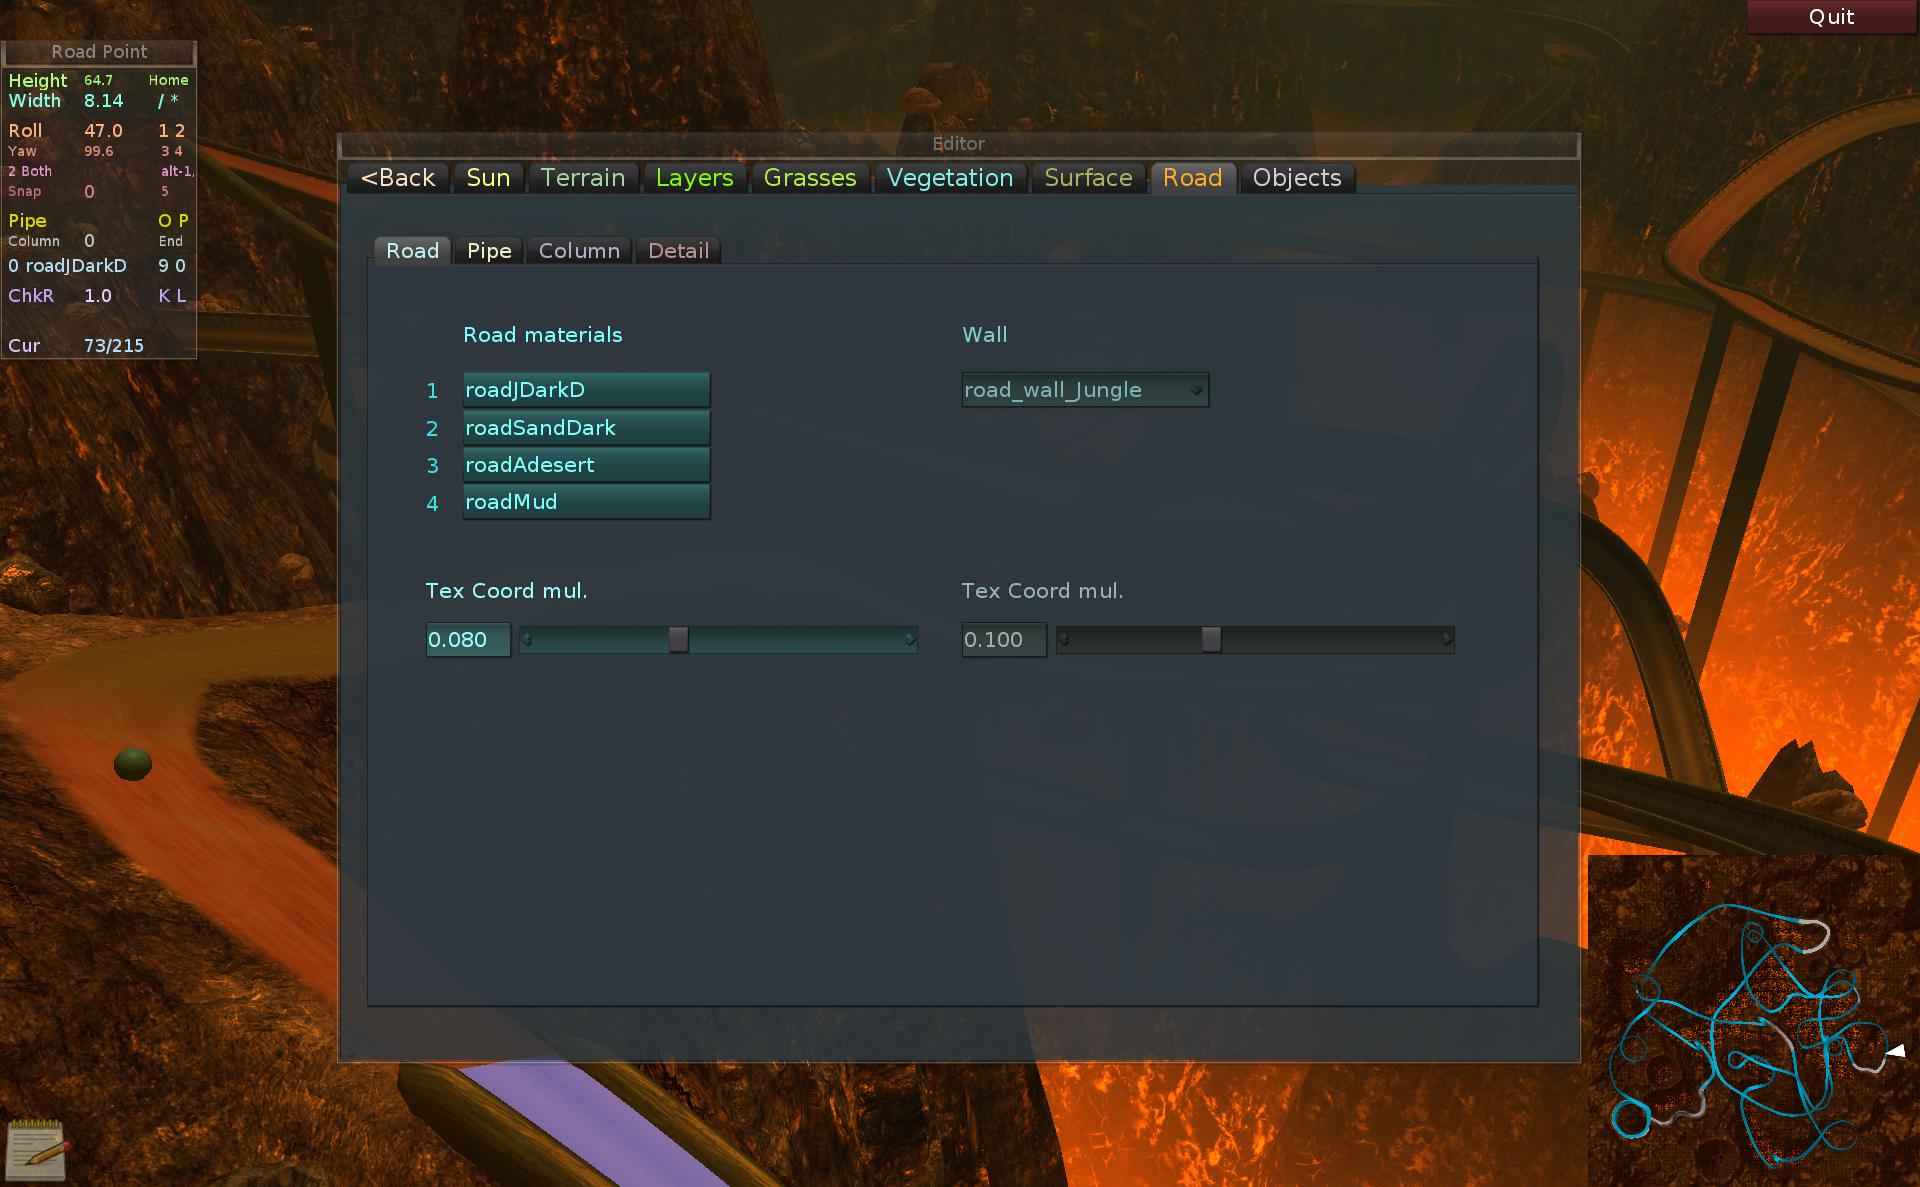
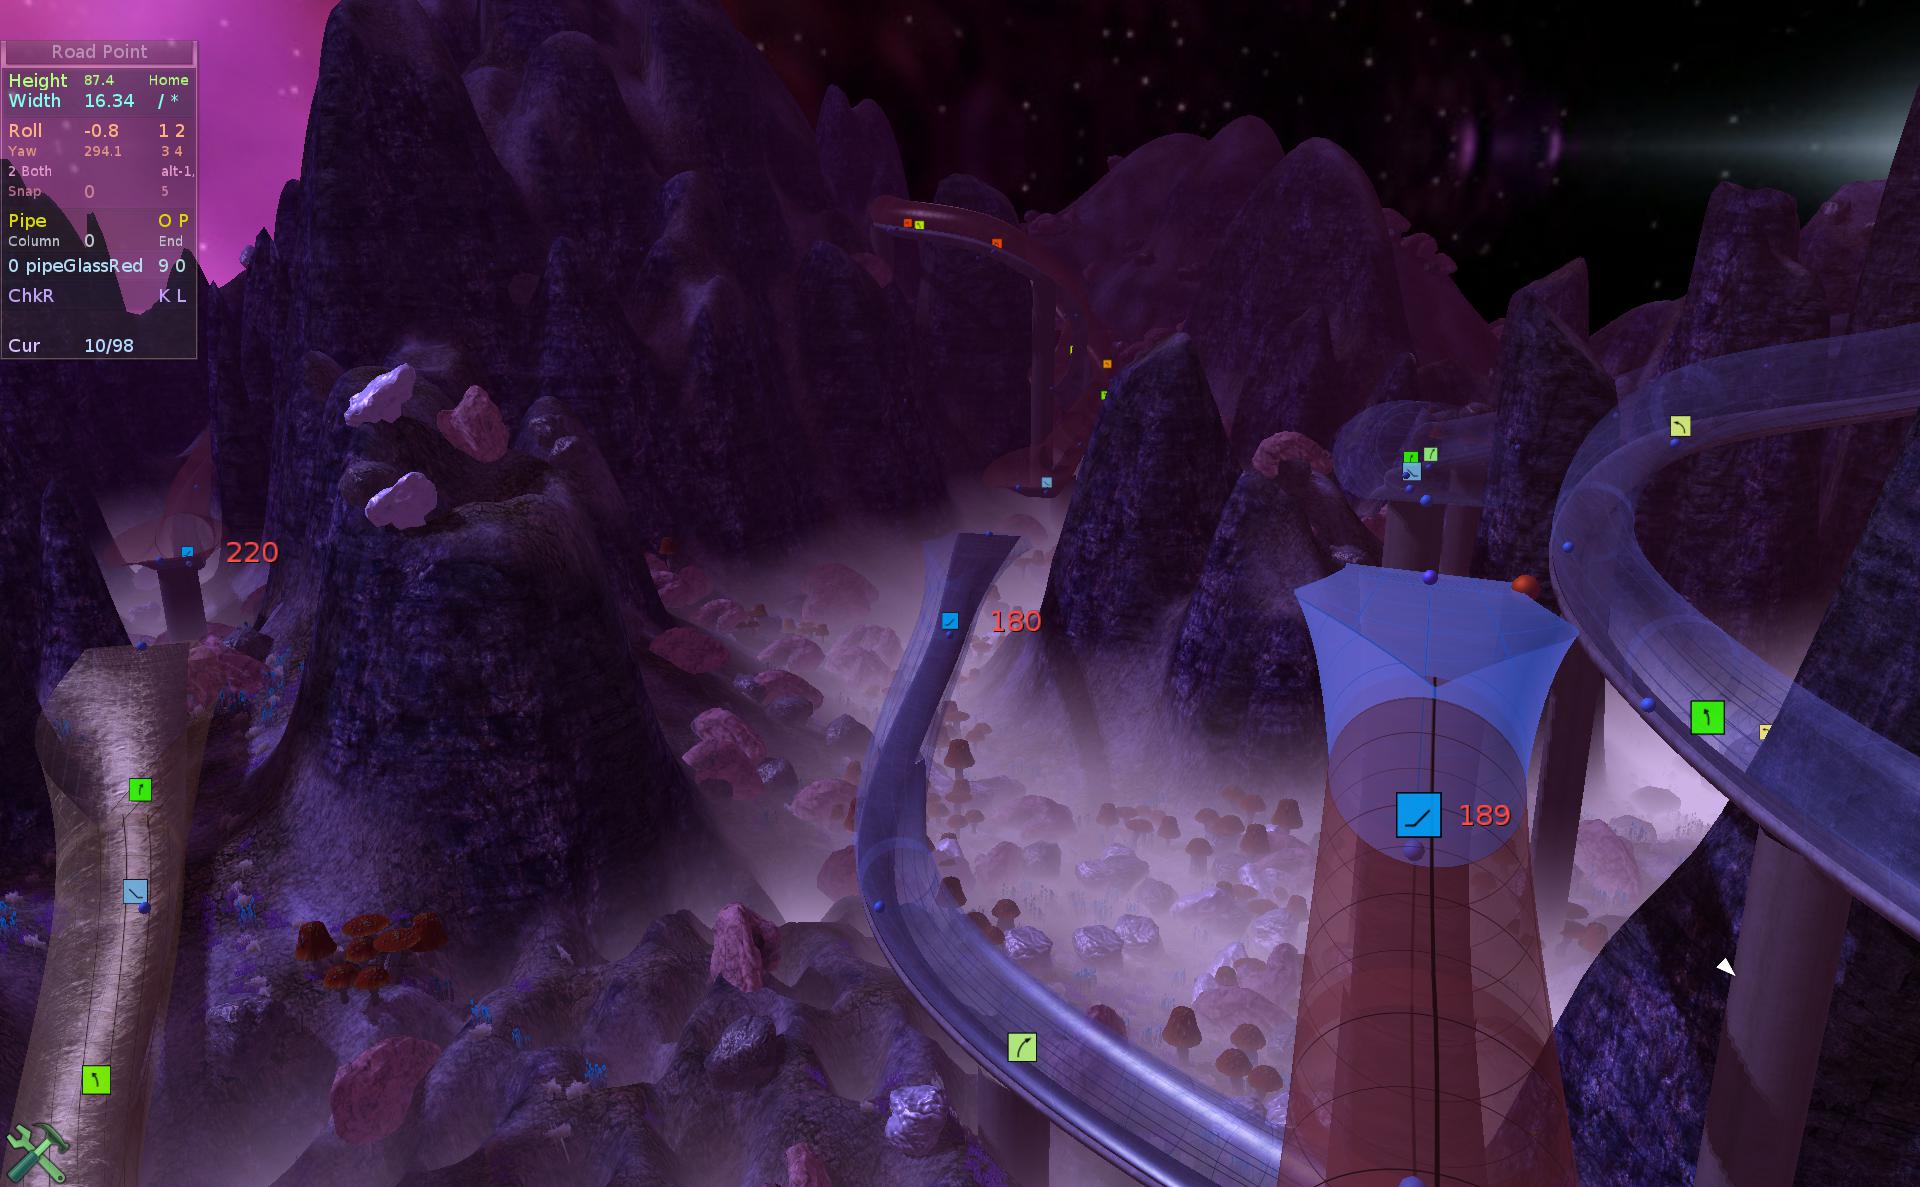
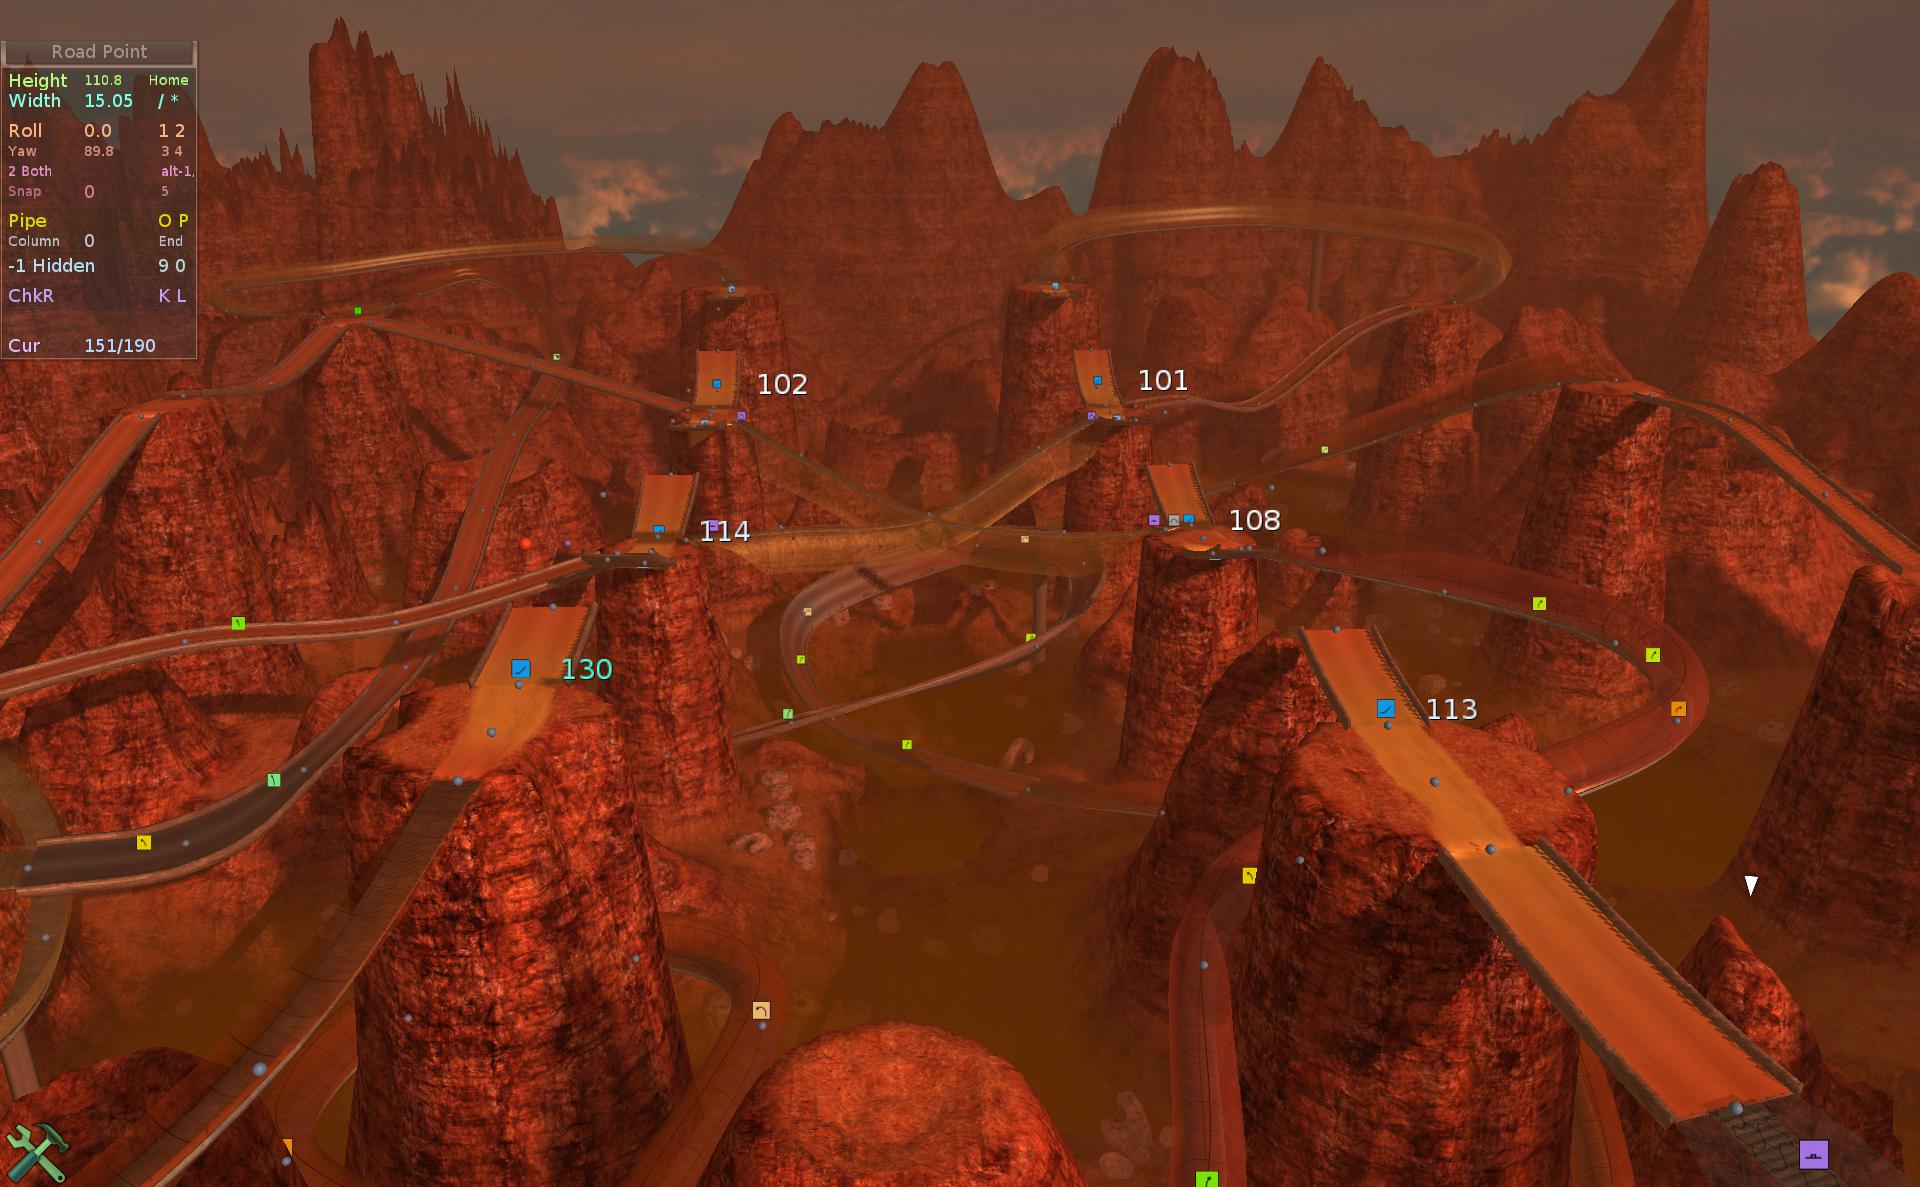
Long gallery with many more things shown and including visible bugs.
✍️Motivation
Well I have been using Ogre rendering engine since about 2007. Over a year ago moved to OgreNext, which is even less popular. I can simply say there is just one person (the developer) who is able to, and does usually answer my questions, or fixes issues.
Naturally at some point I wanted to get at least a basic knowledge of other engines. Since they’re so highly popular and have big forums and communities. And get my own opinion, also regarding what’s best for Stunt Rally (rendering only since we already have simulation and even own track editor).
I made 3 initial choices due to highest popularity: Unreal, Unity, Godot.
I did already check them in 2022, and wrote a little in my Rendering “tutorial”. But ultimately for me, Unity died a sudden death due to their freaking license changes (which shocked lots of developers and made them move). I did check out Godot and so far its best demo for terrain and nature, and it didn’t seem too great at performing there. Which seems also a popular opinion that it doesn’t handle big 3D scenes that well.
So, the goal was not really to move SR to any of them. It was to assess if that’d be even reasonable, and logically prove that it’s not (even only for rendering purpose). Last and quite important reason was to learn “the other side”, new effects and technologies, and know what would be possible to achieve in SR too (someday).
📜Earlier try
I did try UE on my old PC. Back then in 2020, UE5 had to be built from sources on Linux. Took me like 50 GB of space to download. And few tries to finish, as there was no info (and I had a small SSD). Then few hours to even build. Lastly at start it took 30 min to compile over 5000 freaking shaders. So ugh, yeah, clearly my PC was too old for UE5. I did try later after I bought a new PC. It does still need 5 min for shaders now. And that’s needed when major options are changed.
Still, my impression is that most people would need to buy a new PC to use UE5, unless they already got a new gaming PC. It is really demanding on hardware.
🔍Observations, my issues
Of course, these are specific to me, using it on Linux. Also to what I was testing: for Stunt Rally try, so in 3D, mainly for driving cars, on gravel and for stunts.
Also I didn’t spend years using UE just maybe over 1 month total. I could be wrong, or assumed something using my anti-commercial logic, or just didn’t care to investigate longer.
I list here all my issues I had using UE5.
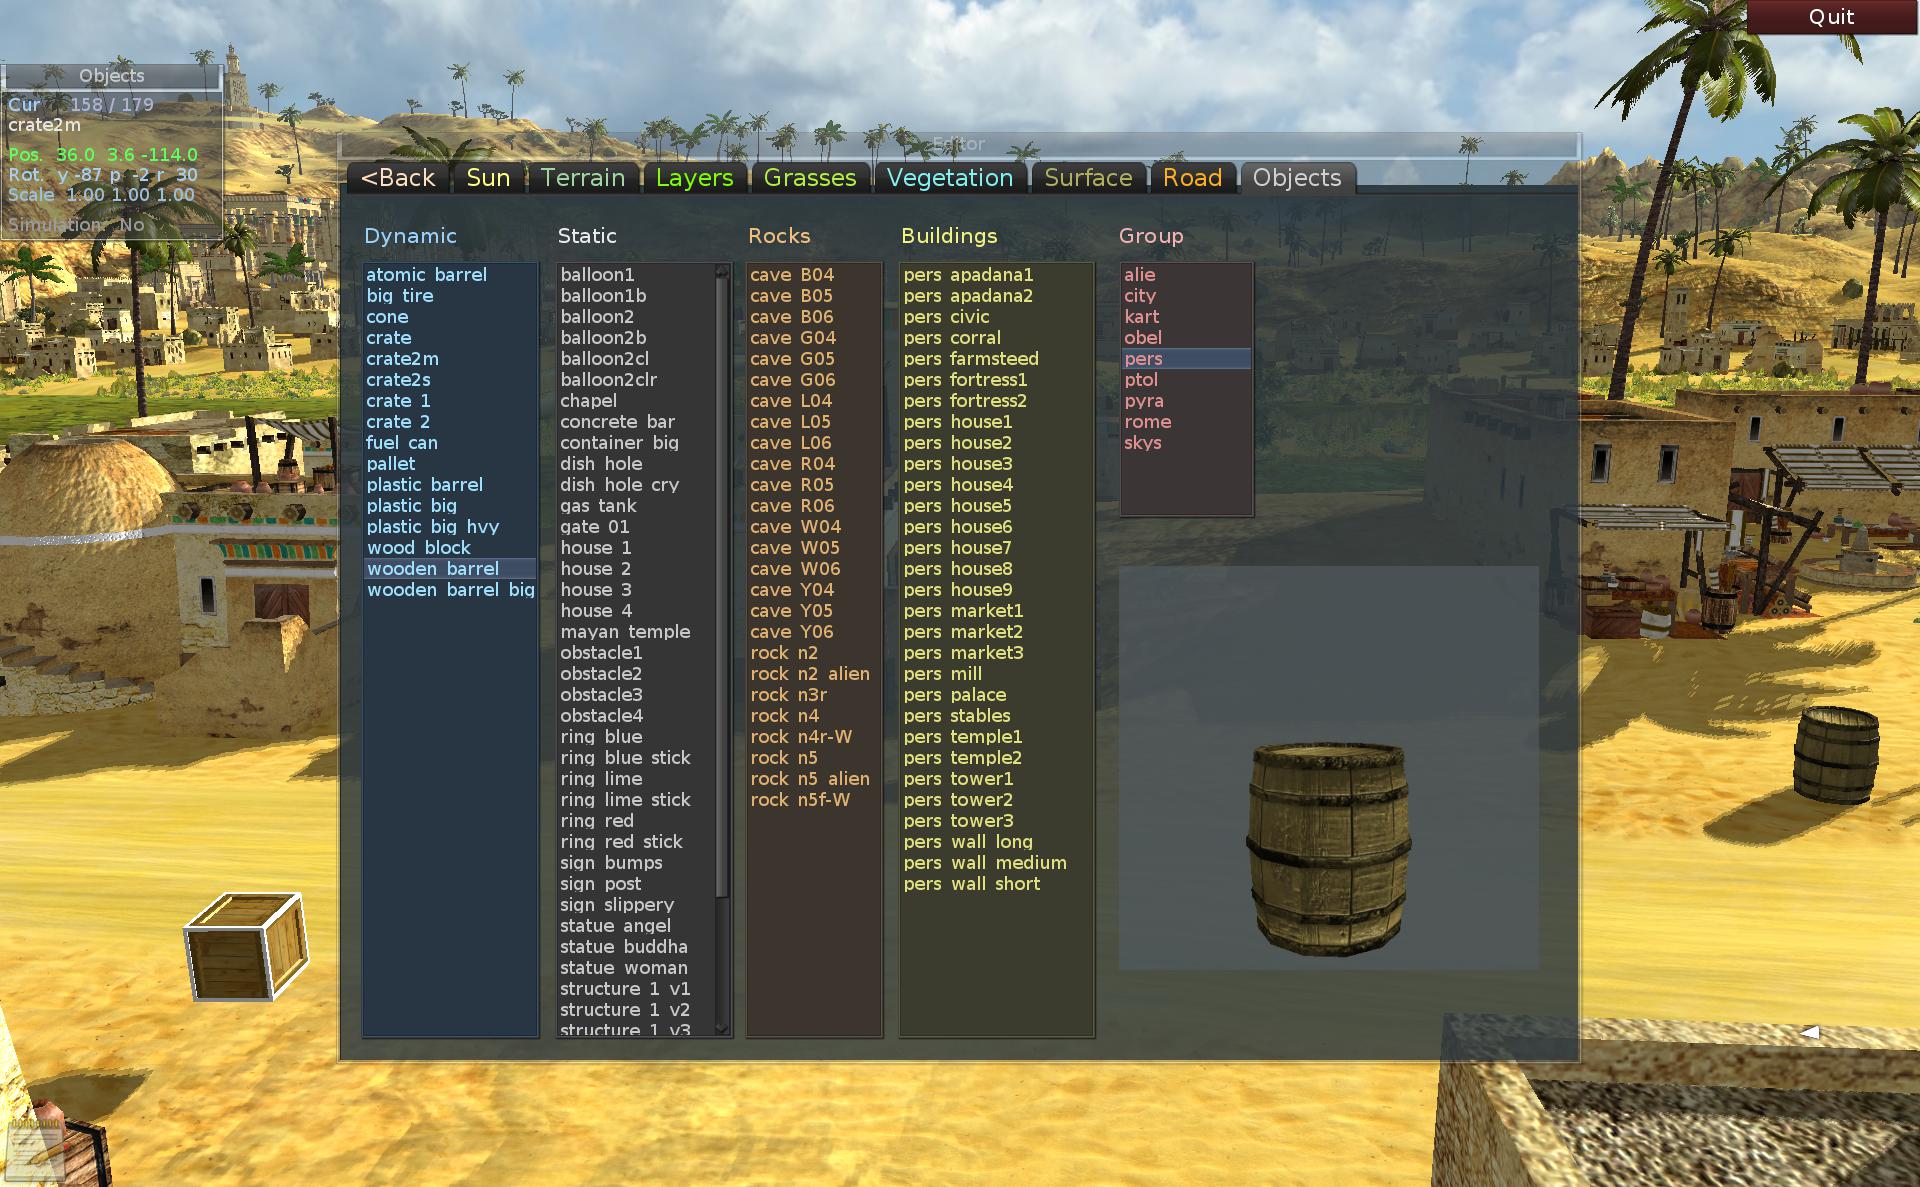
- UE is a big commercial hub, feels like a shop. Not for true FOSS projects. Lots of assets, meant to be used for Unreal projects only. Nothing is CC Licensed. They also have own binary file format for everything, only .ini readable for options. I did import e.g. trees from .fbx (which can be exported from Blender) but that needed more work, making materials later.
- Aimed at Windows and making big profits. Obviously if someone paid for Windows, they’re more likely to pay for its software. Linux is the least popular so least supported.
- Not meant to be used on Linux only. Nothing can be downloaded, as this needs the freaking Launcher application which has only msi installer. Even their demos don’t support Linux, e.g. this and that. Thus IMO they don’t fully support Linux, just wanted to add it to platforms list, as only the engine works but not the rest of their ecosystem. The Quixel Bridge is also not working at all. I don’t care about that integration, to add assets directly to project content. I’m a fan of simple download buttons or repositories. But big companies progress by buying other companies and so “improving”, which is also a way to be more monopolistic.
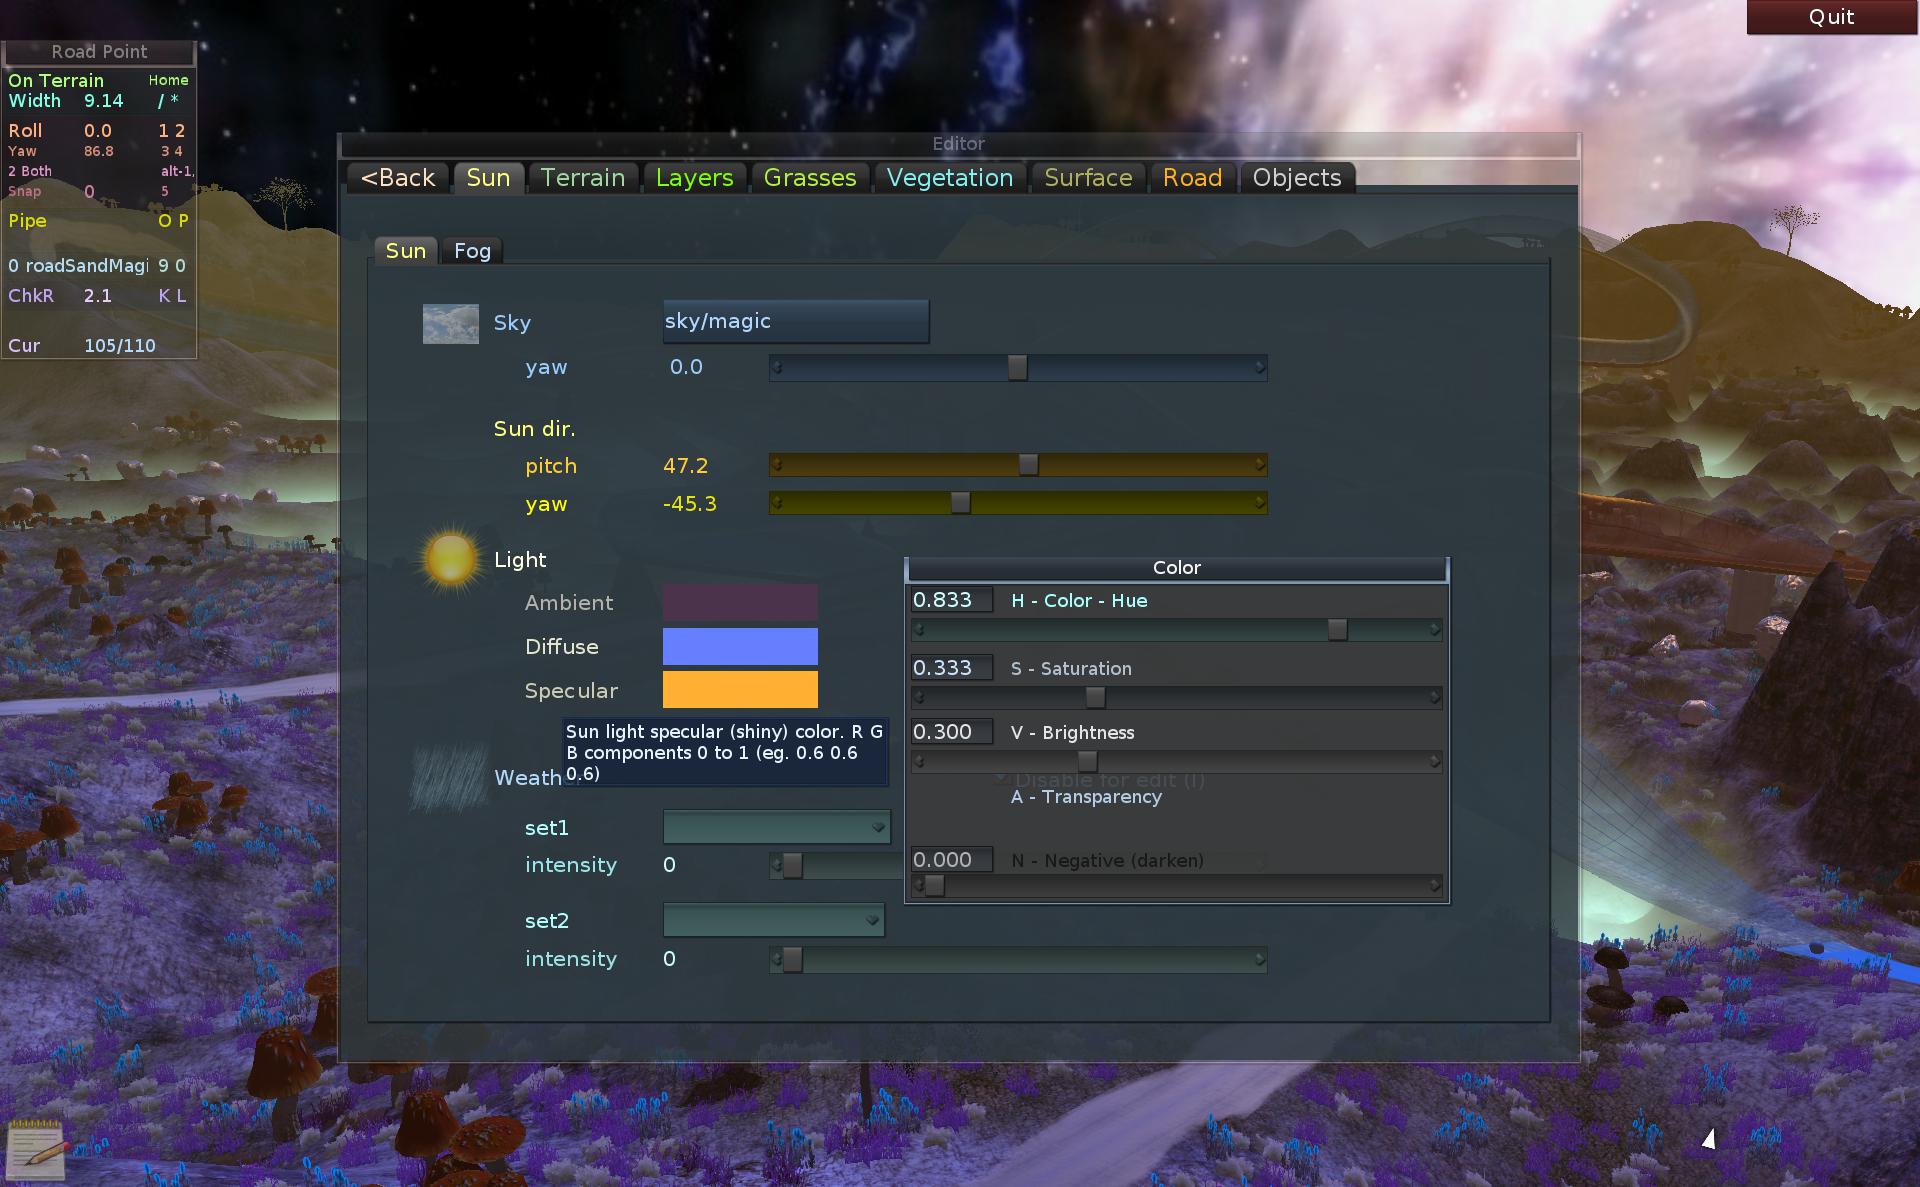
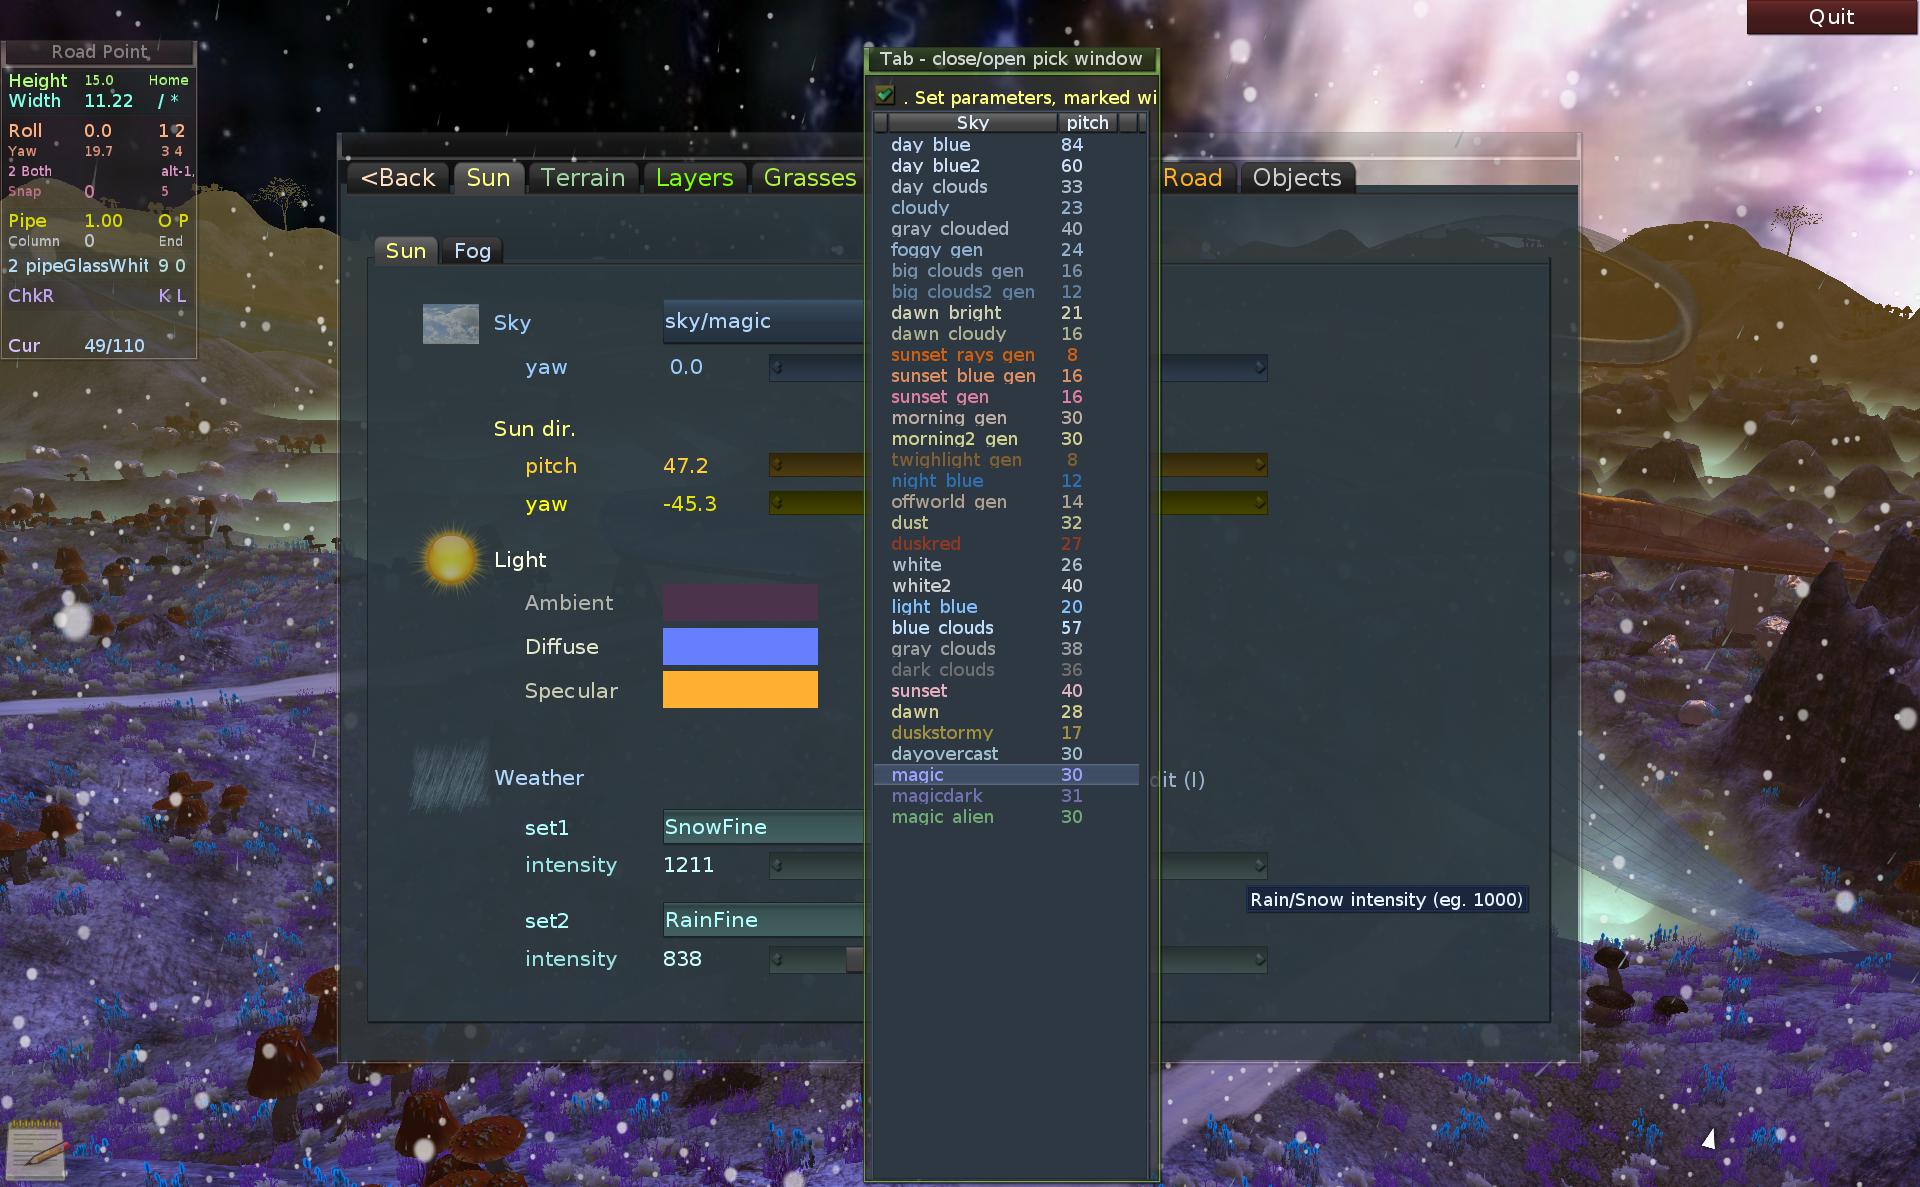
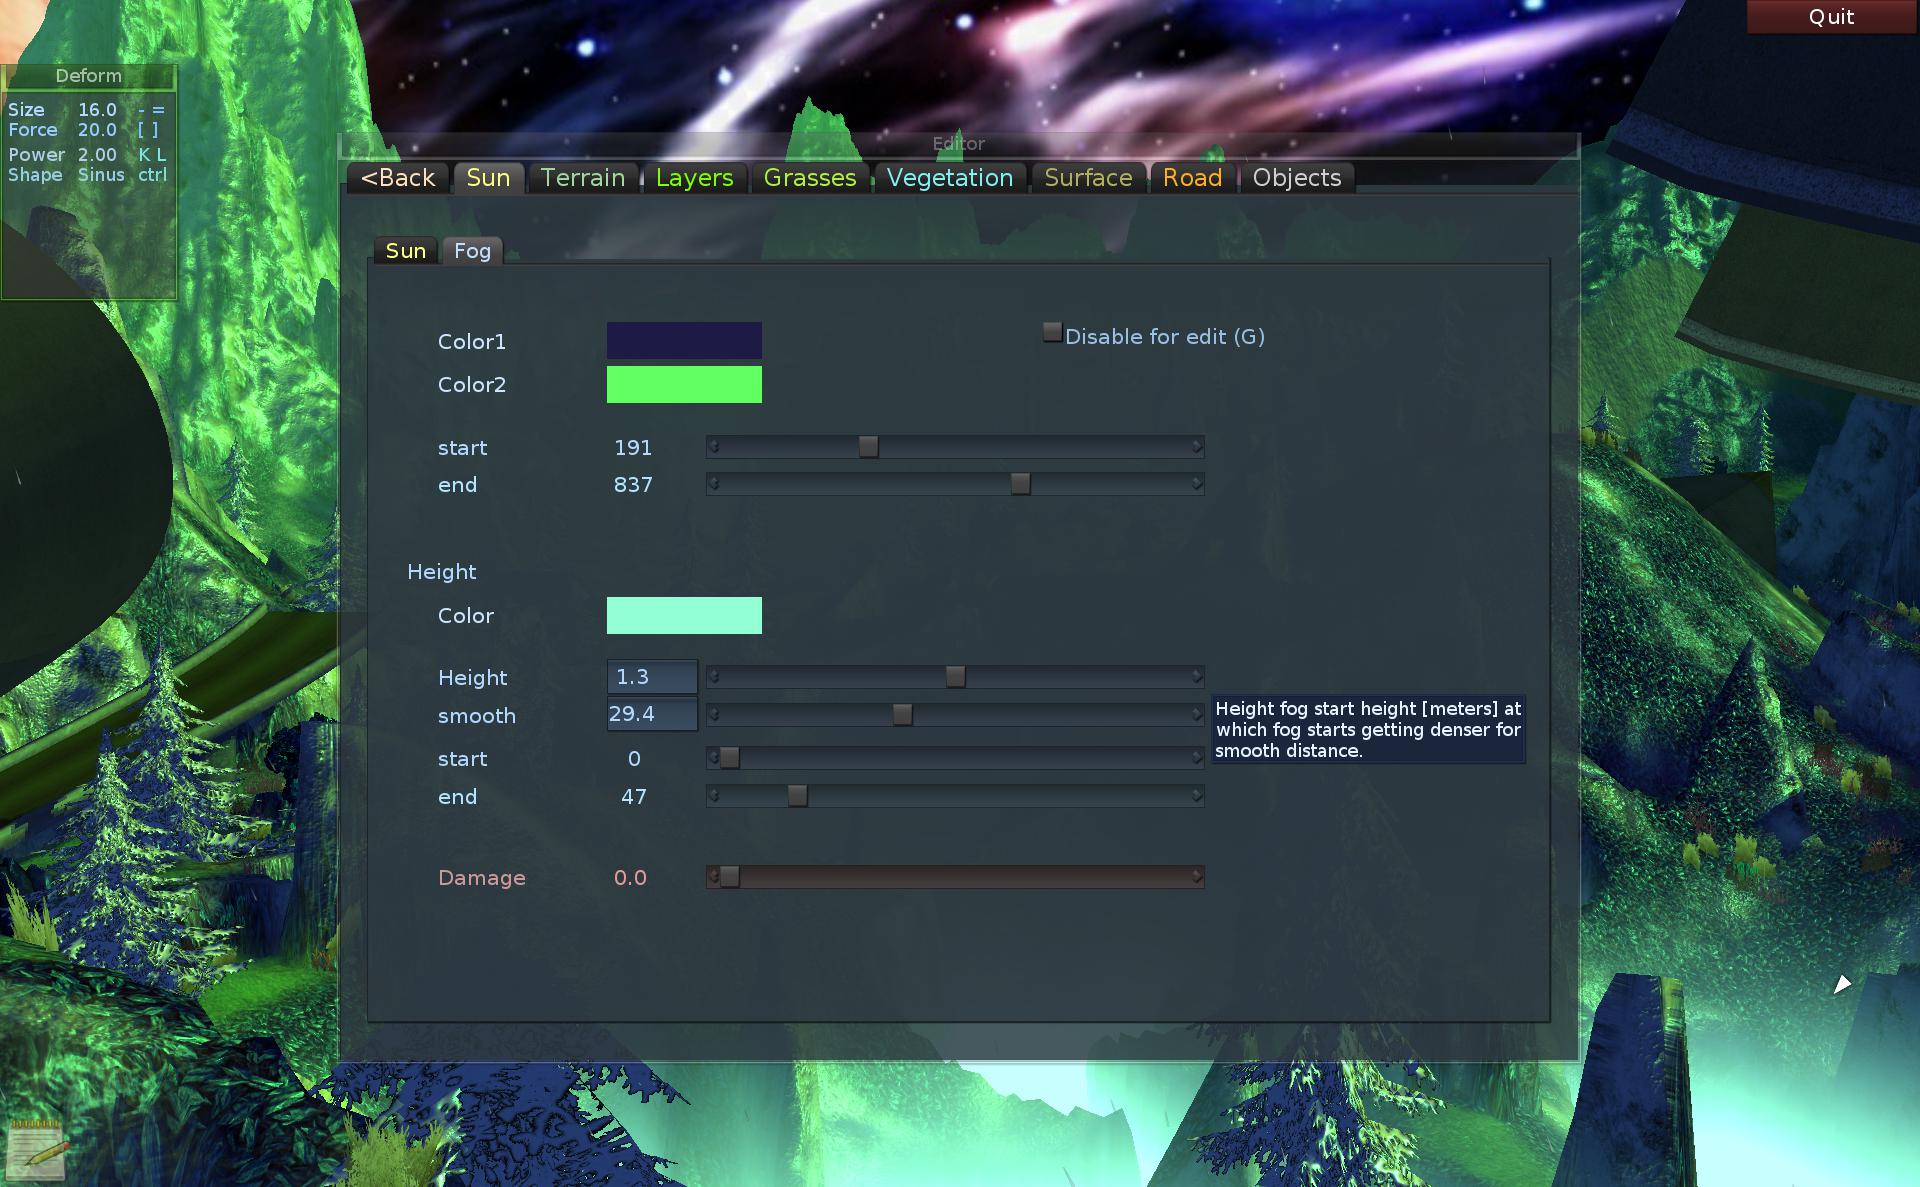
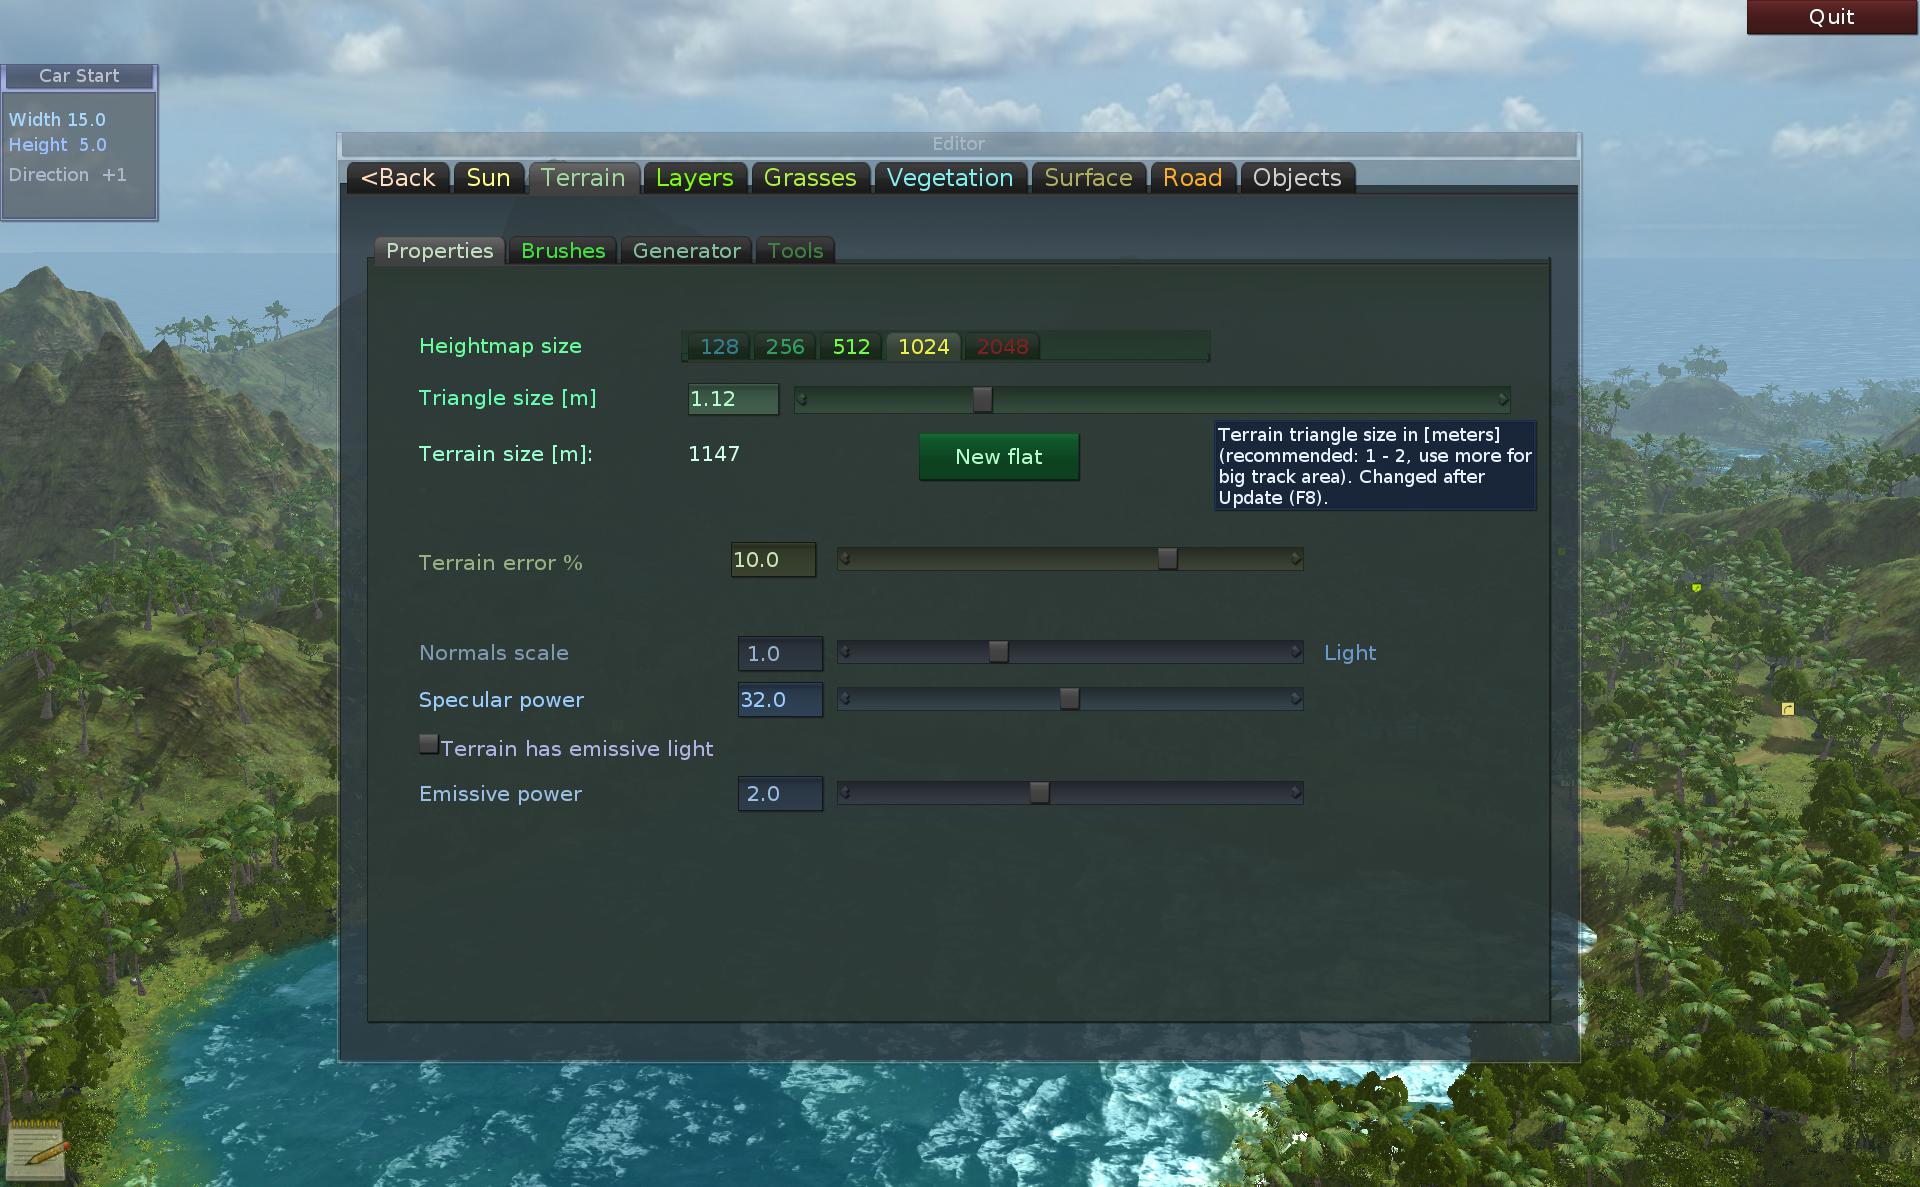
- Editor GUI. IMO it’s utter garbage and a mess. I wouldn’t enjoy using it daily. There is a “magical” way to scale whole GUI. But no real options to choose font sizes, icons, themes or other visual stuff. Seriously, in such a big editor, used by so many people every day? Sounds like a joke to me. I can’t take seriously any* programs which don’t allow user to (at least) change their theme and font size. *even small, but except my own. I have made my own themes for every software I used for longer.
- Tons of properties, written in same tiny, plain text, no idea which important, no icons for settings or e.g. even colors or bigger fonts for more important/significant ones. No way to bookmark properties or settings to know which I want to remember easily. Should I like write them on paper or something like in middle ages, or remember all that? Some have tooltips (white) with decent text, some very little. At least the worst stuff is bottom in properties usually. And the (rhi) statistics texts are even smaller and less readable. I made my own Fps and statistics bar in SR and it has few detail modes now, medium size font, and even coloring from value, if it’s red that’s bad.
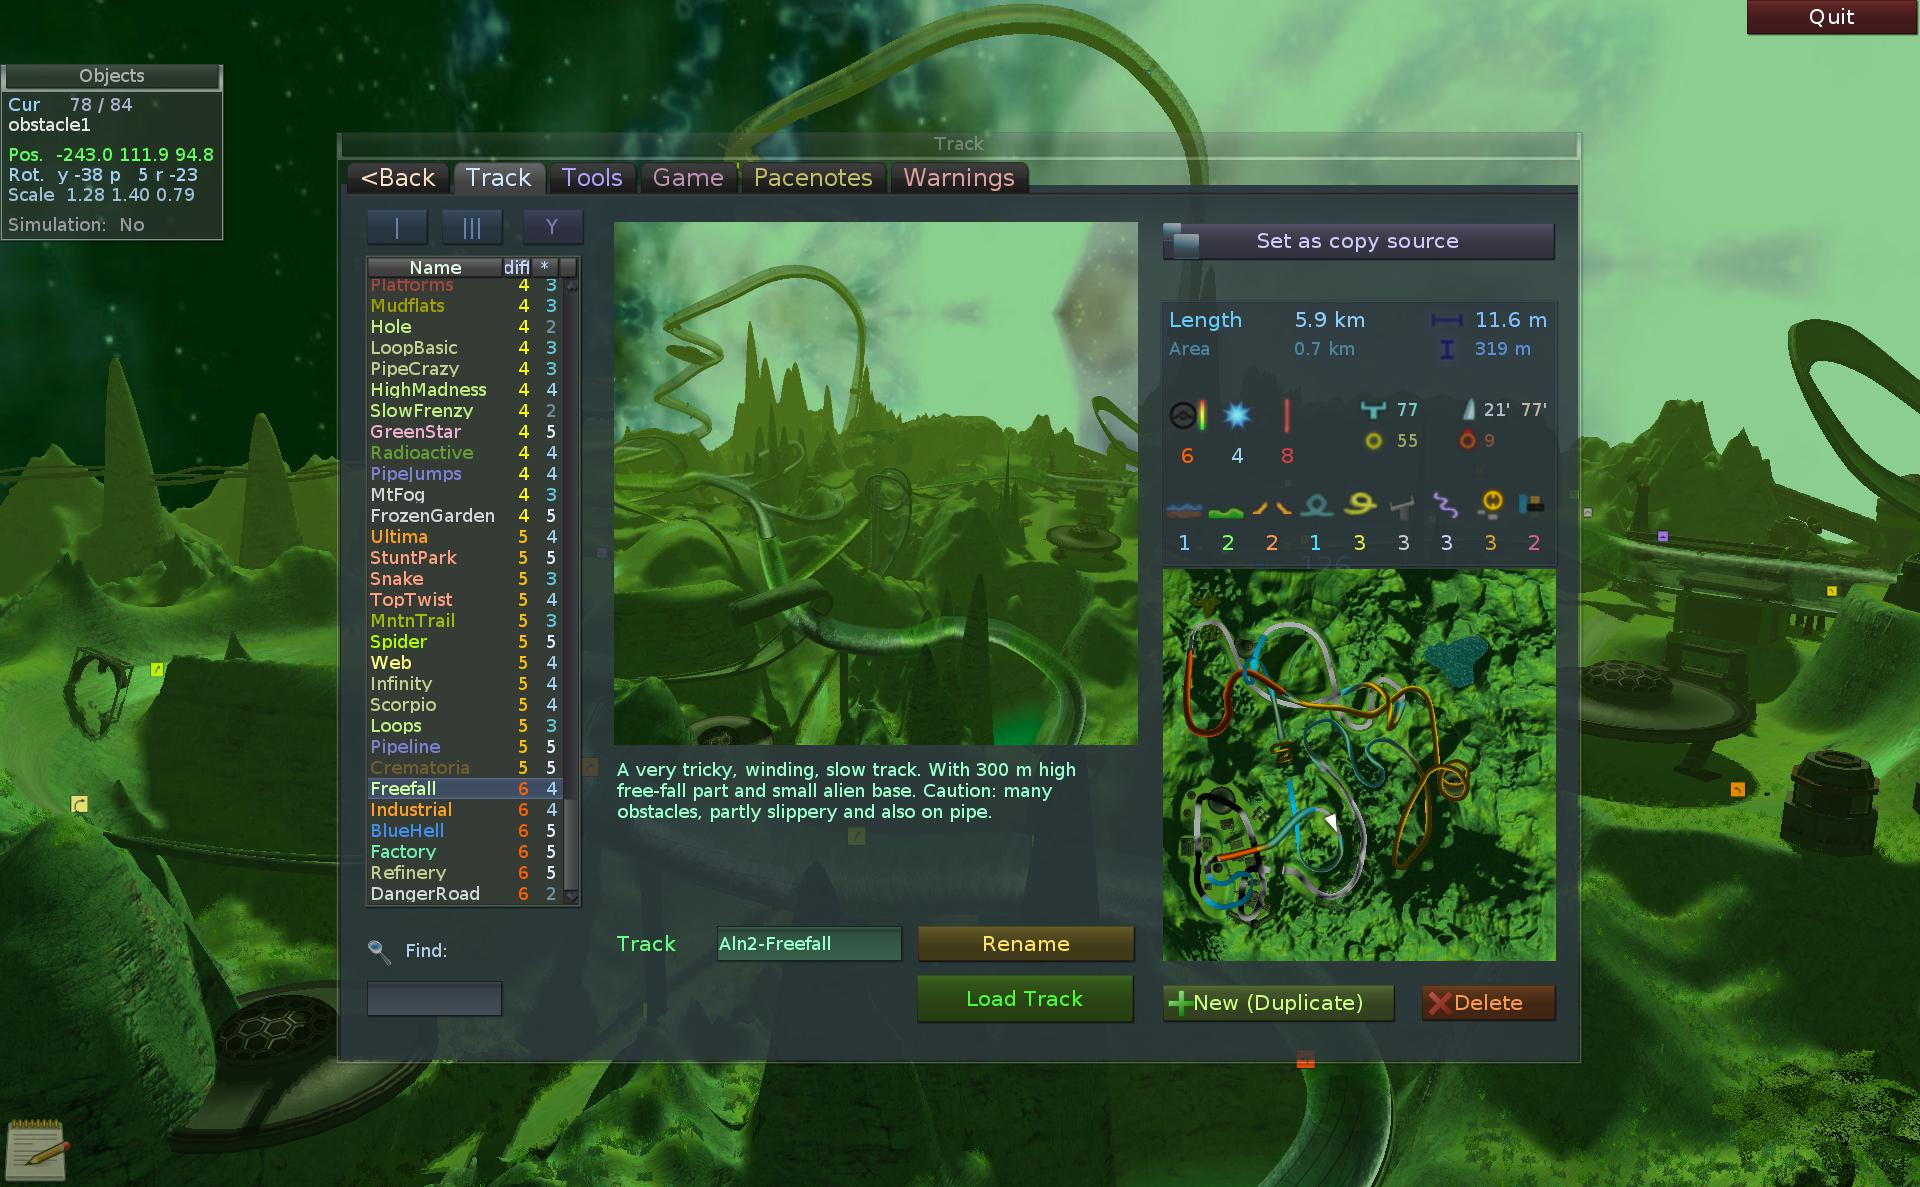
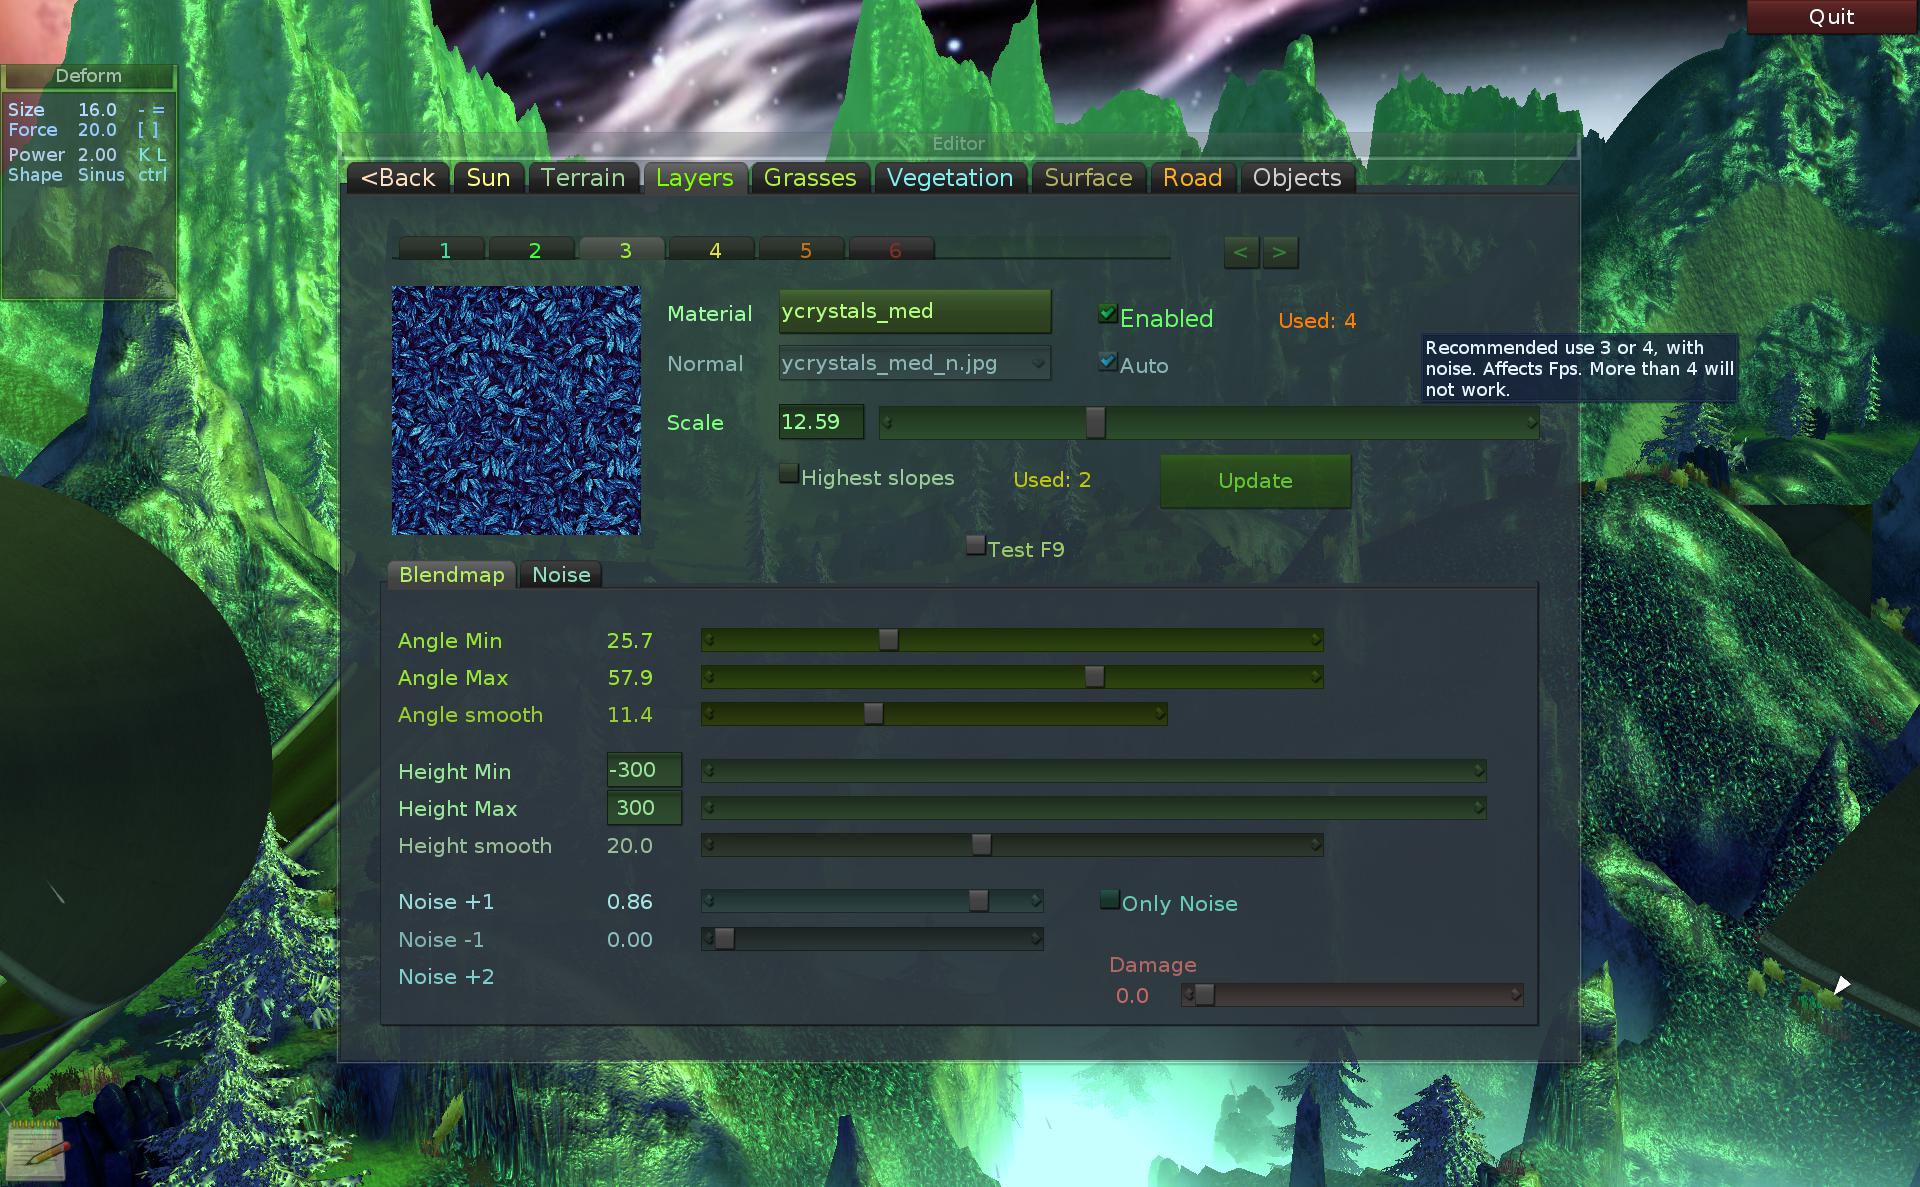
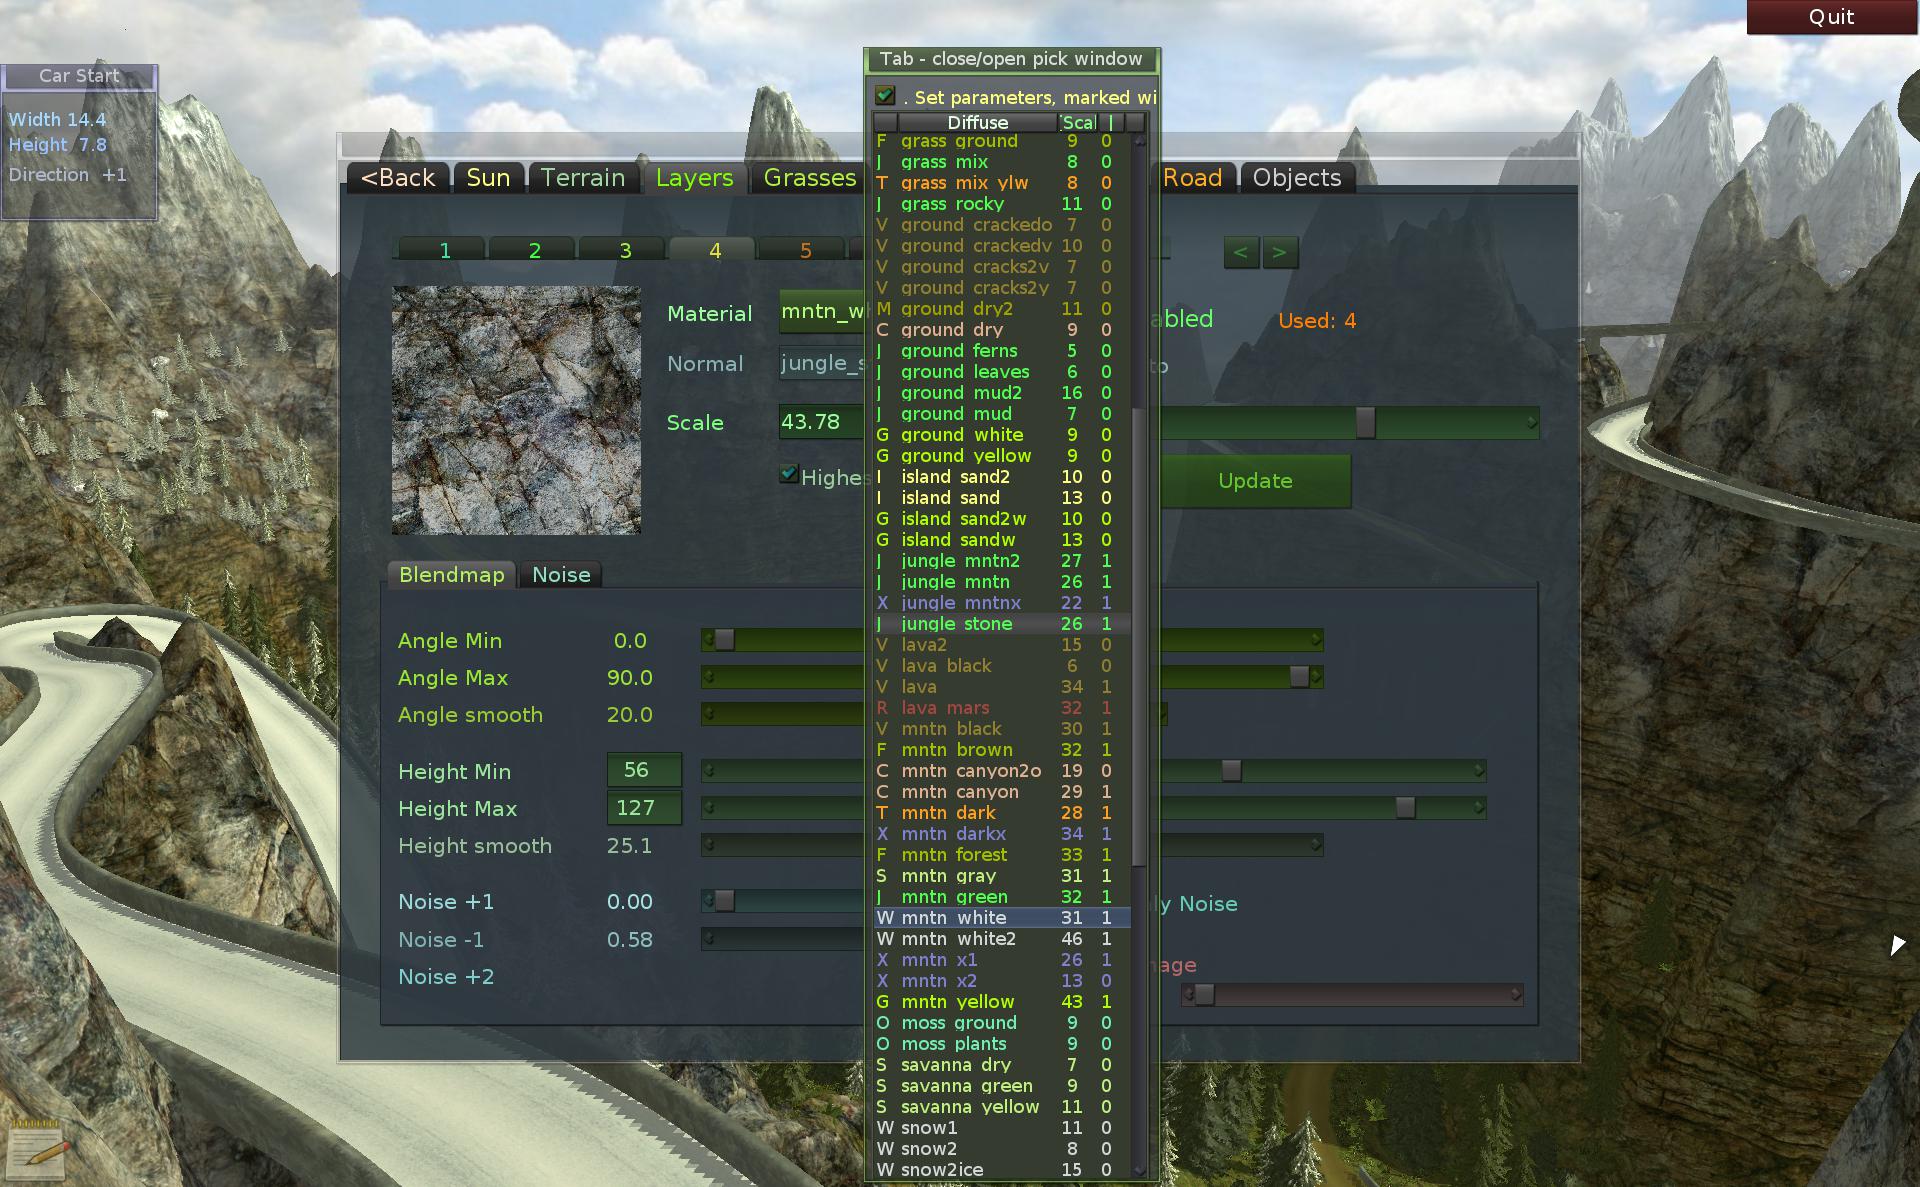
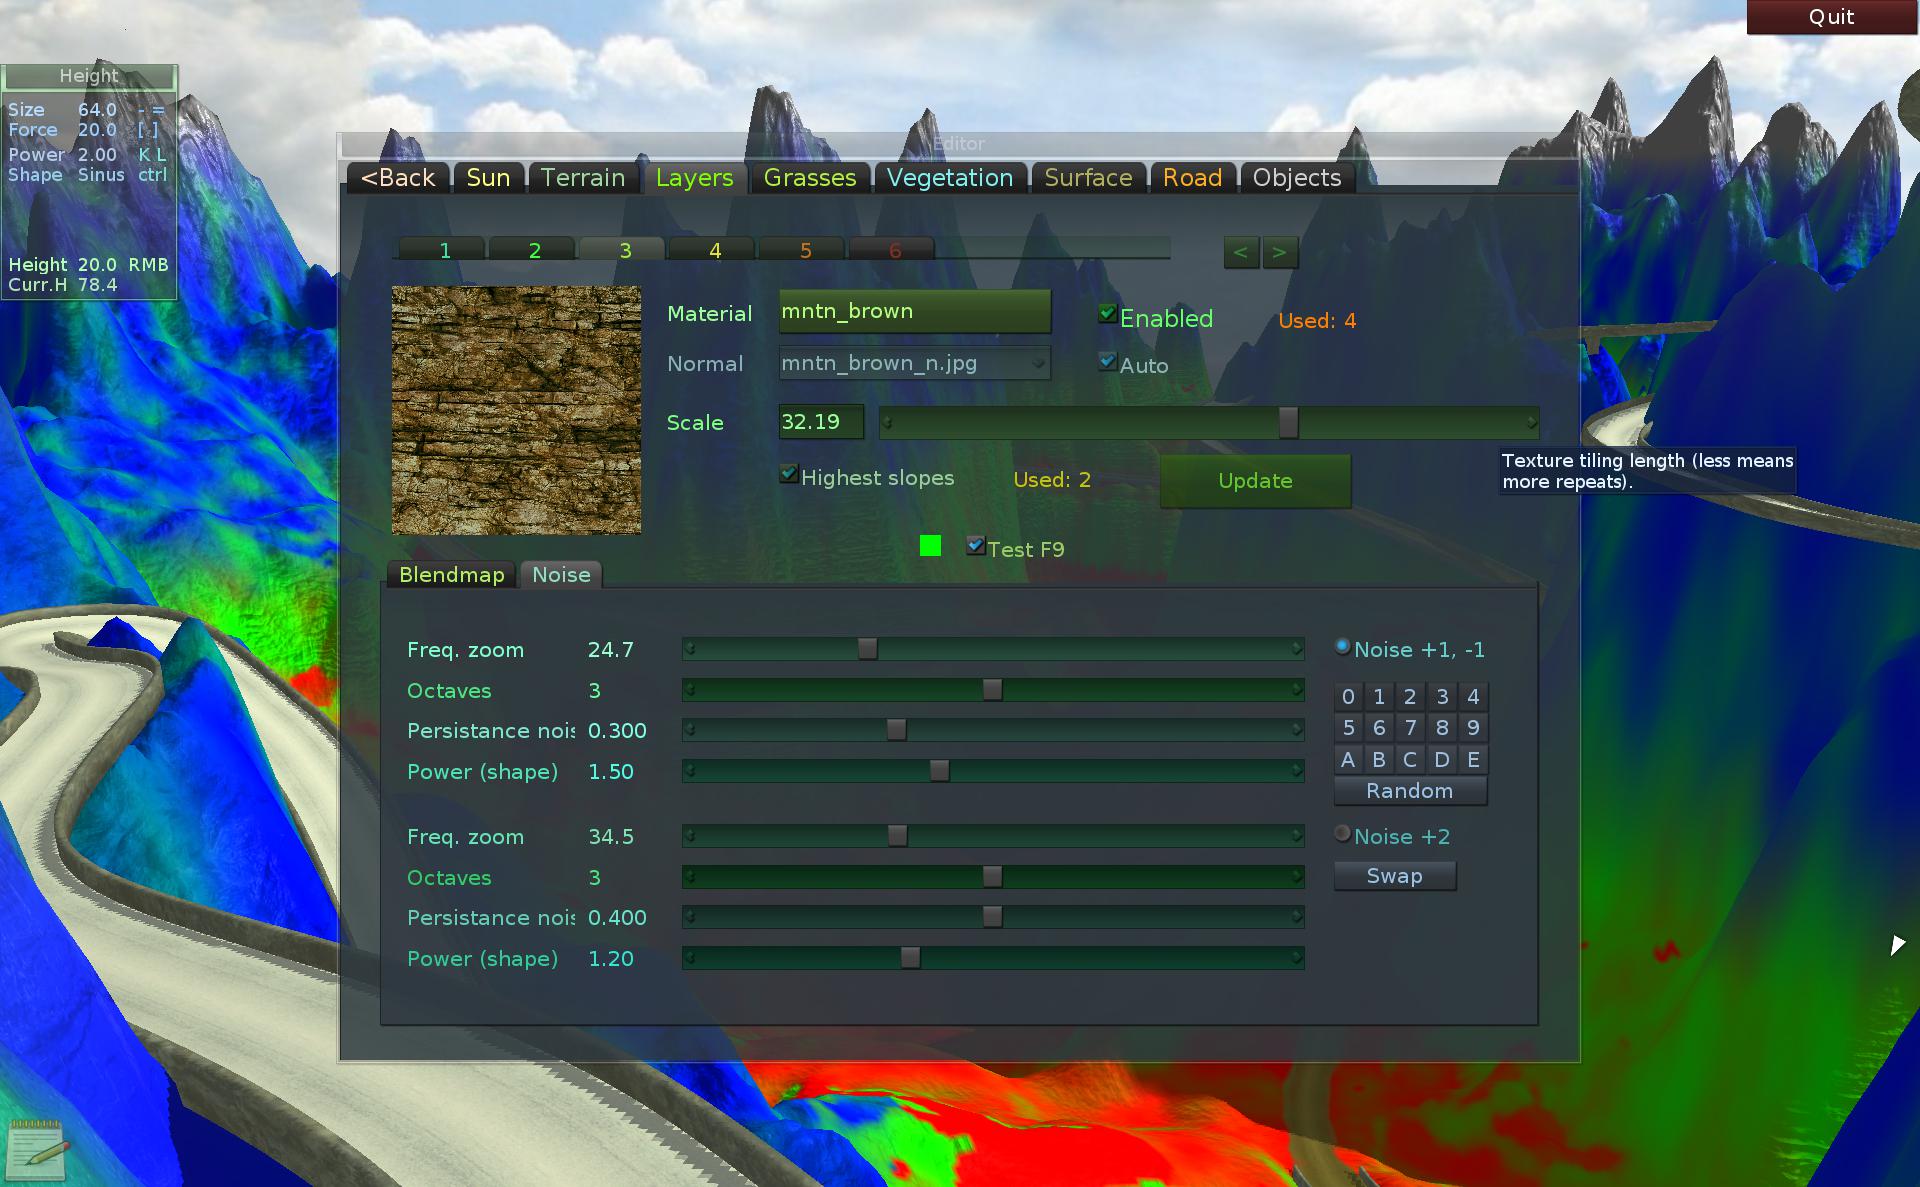
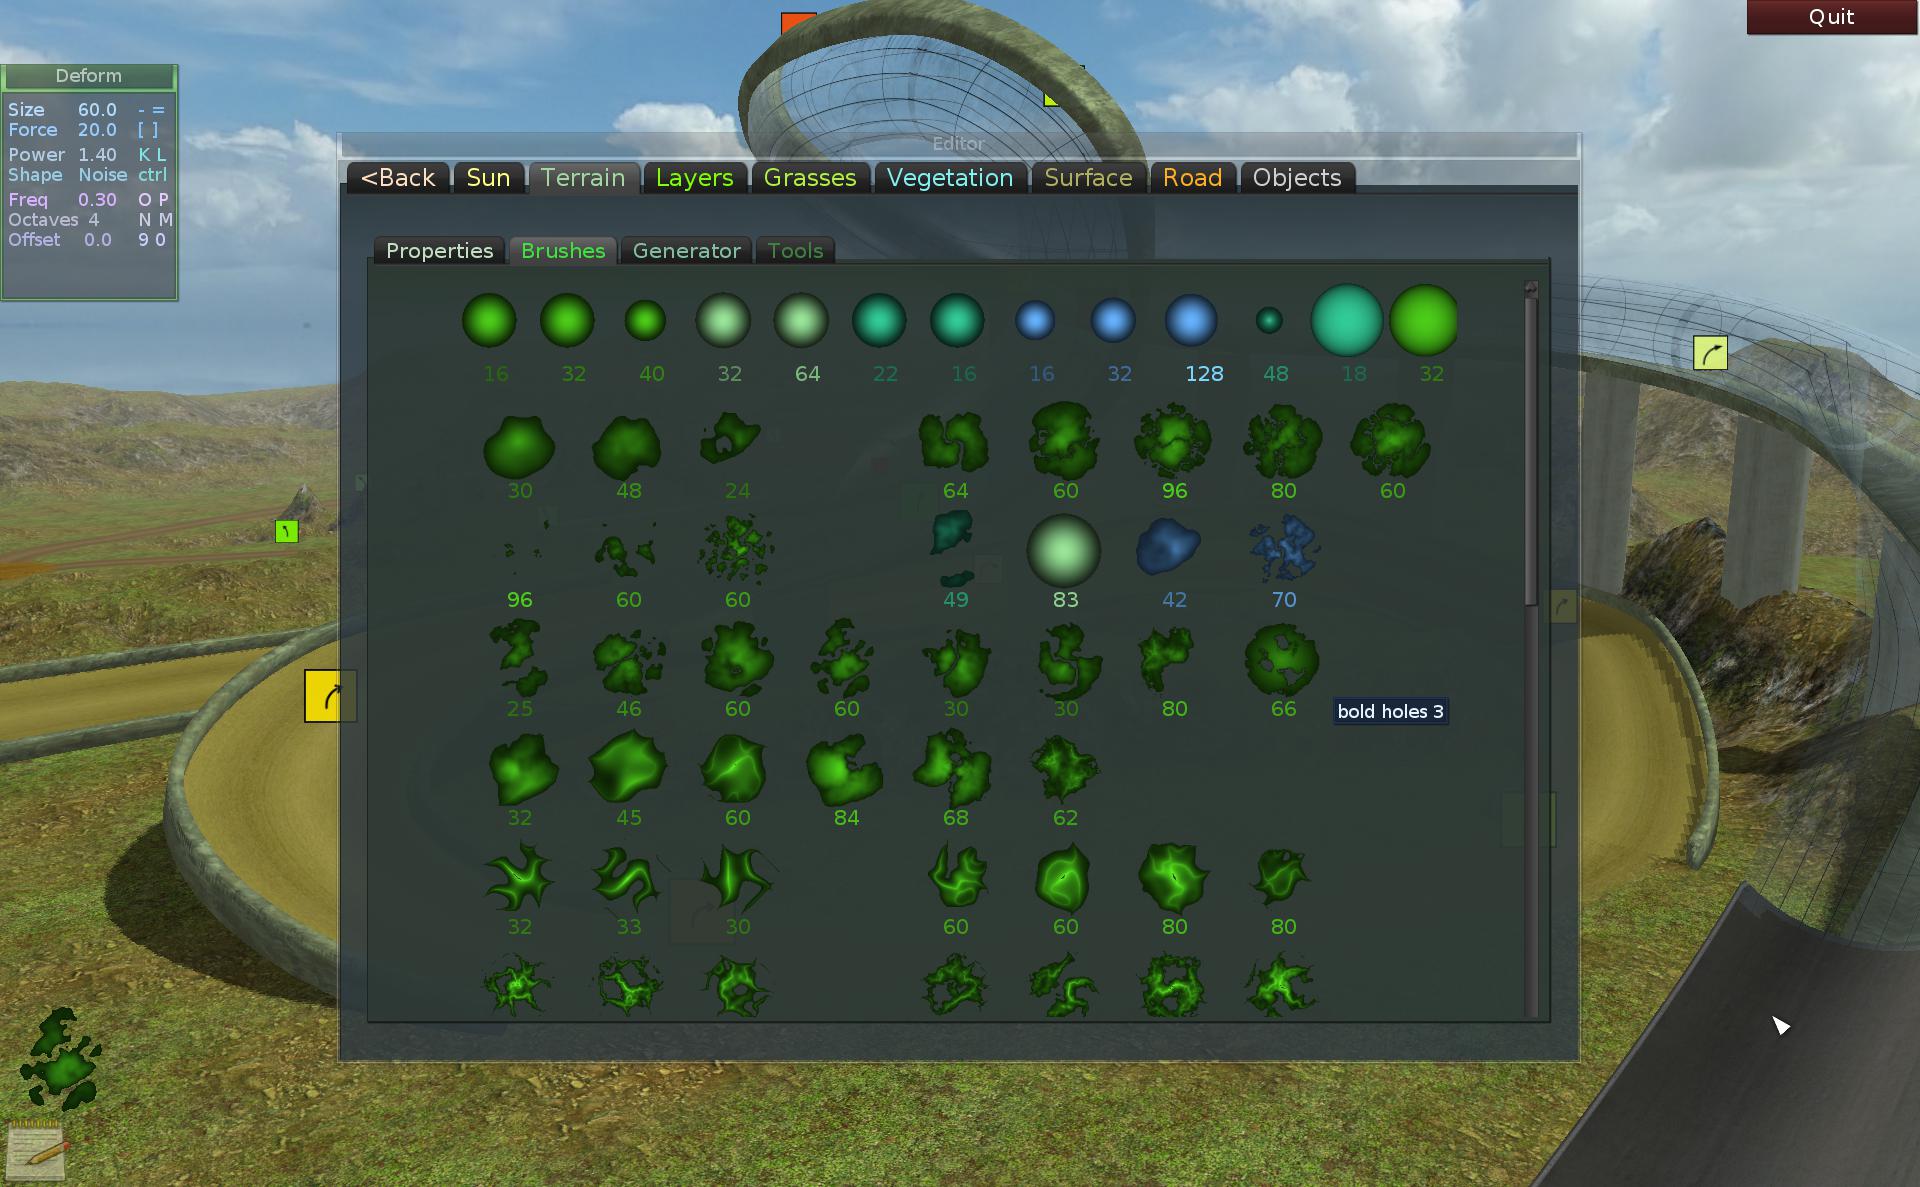
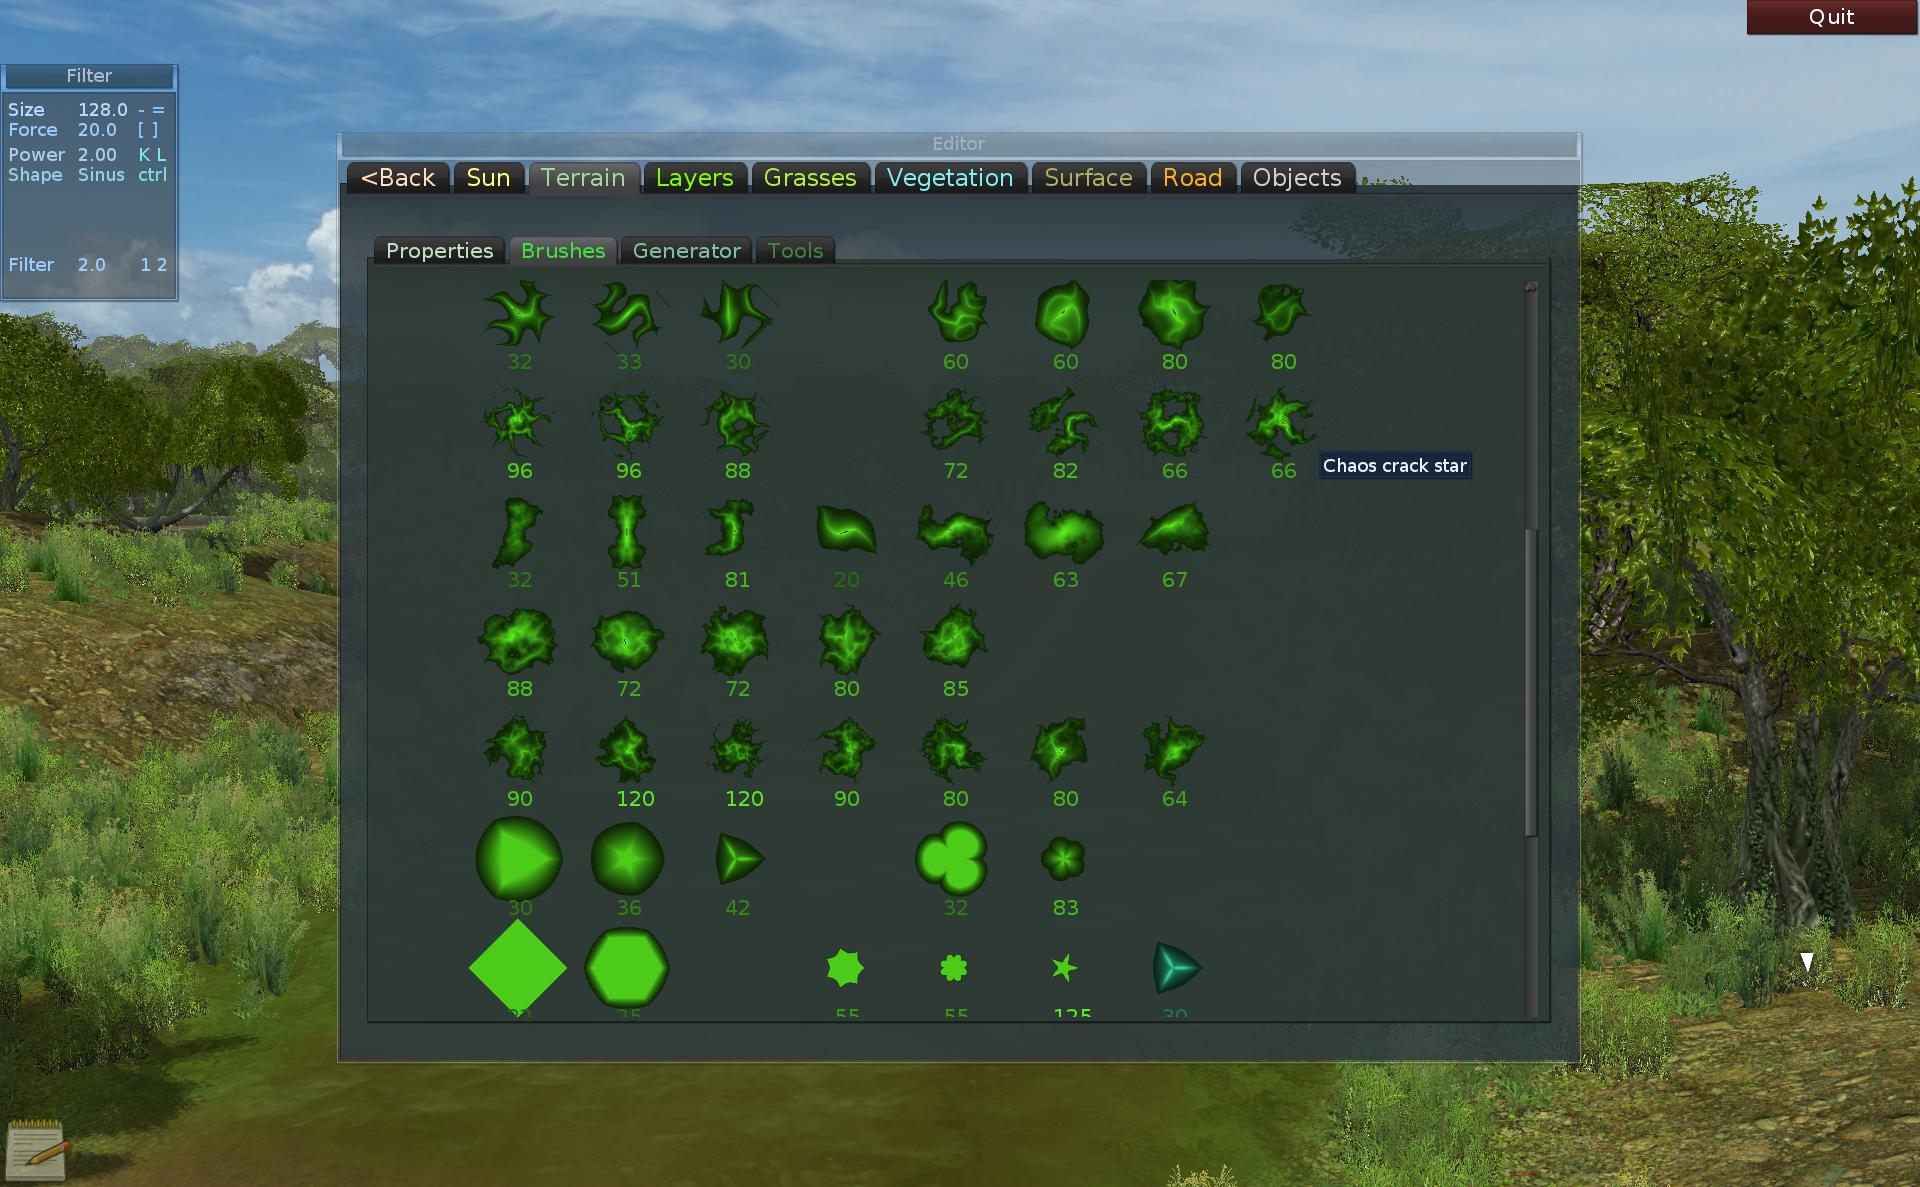
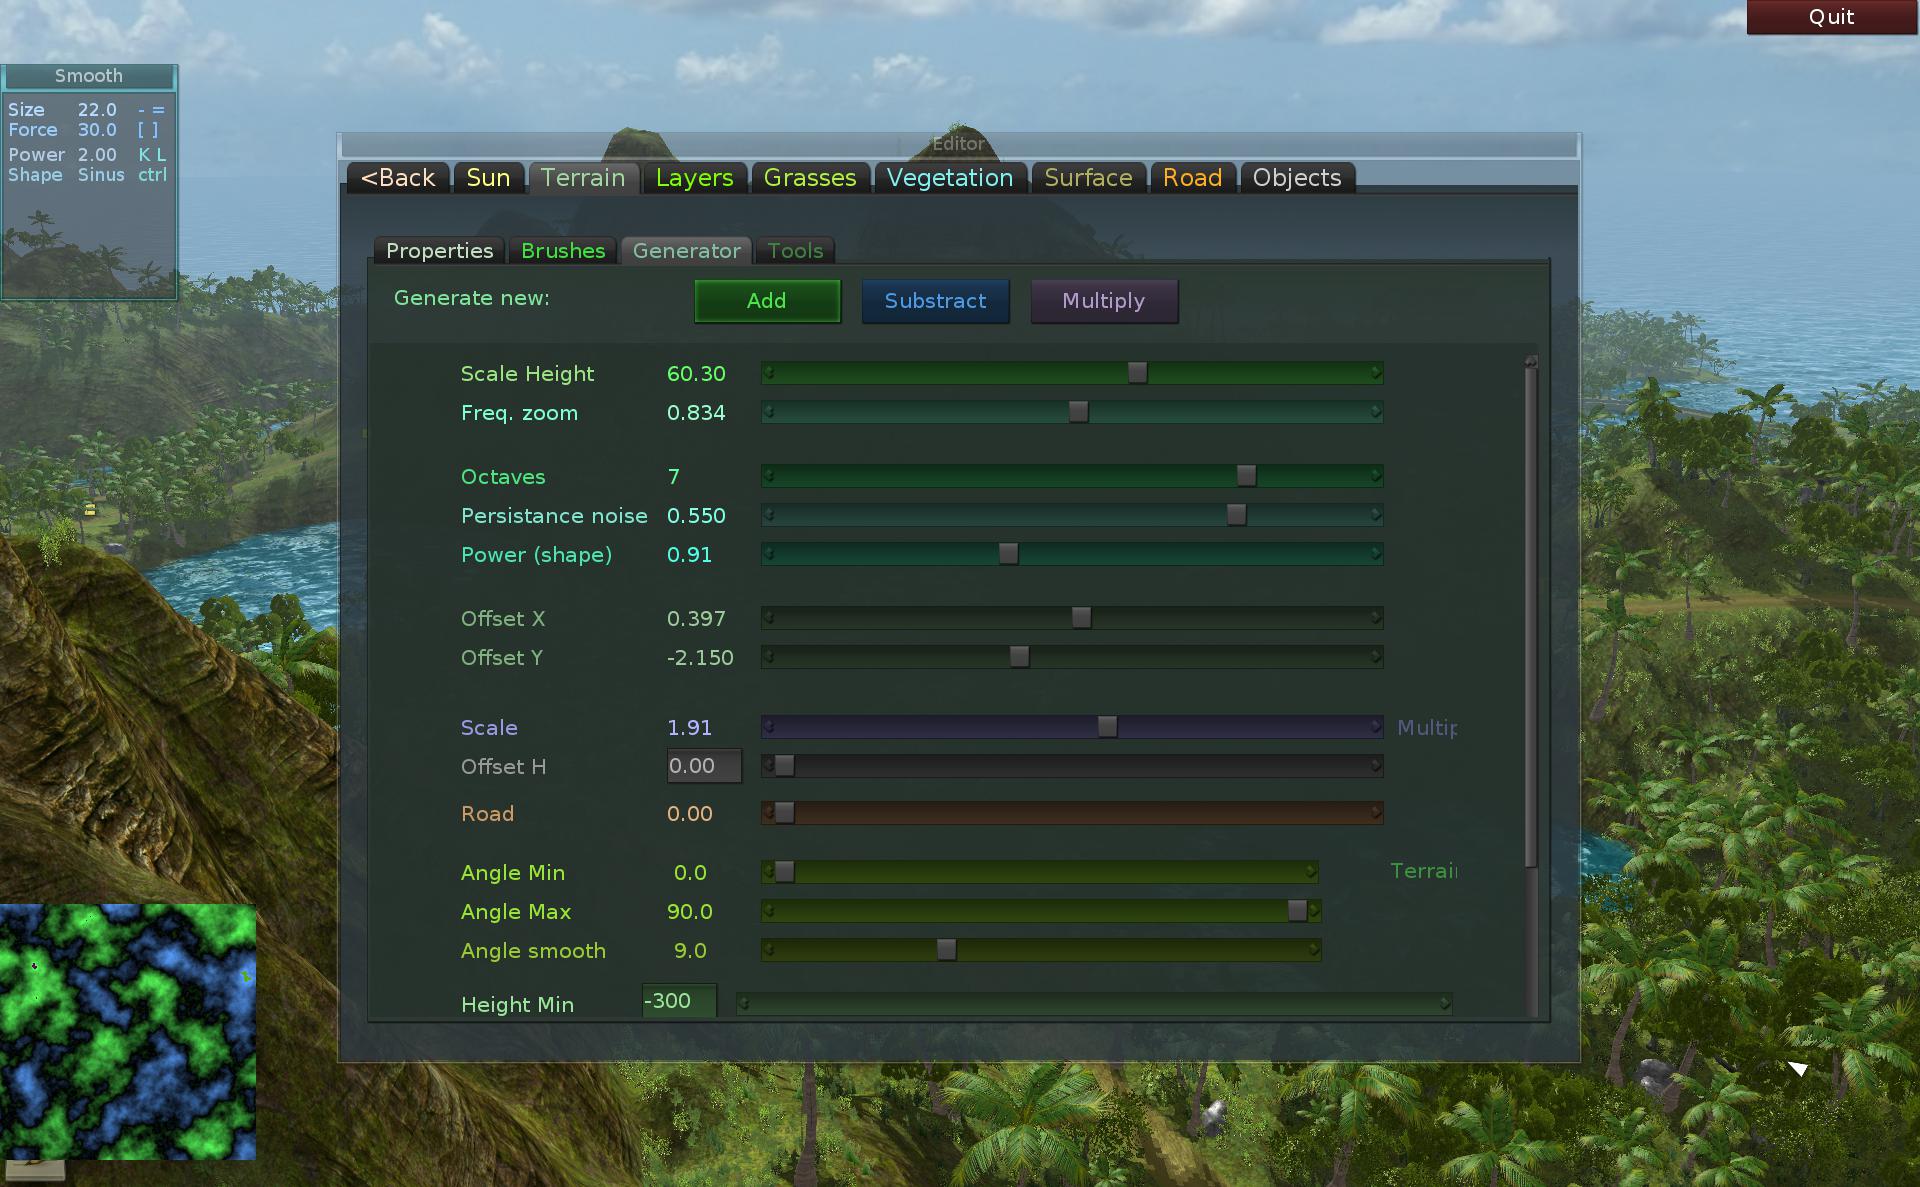
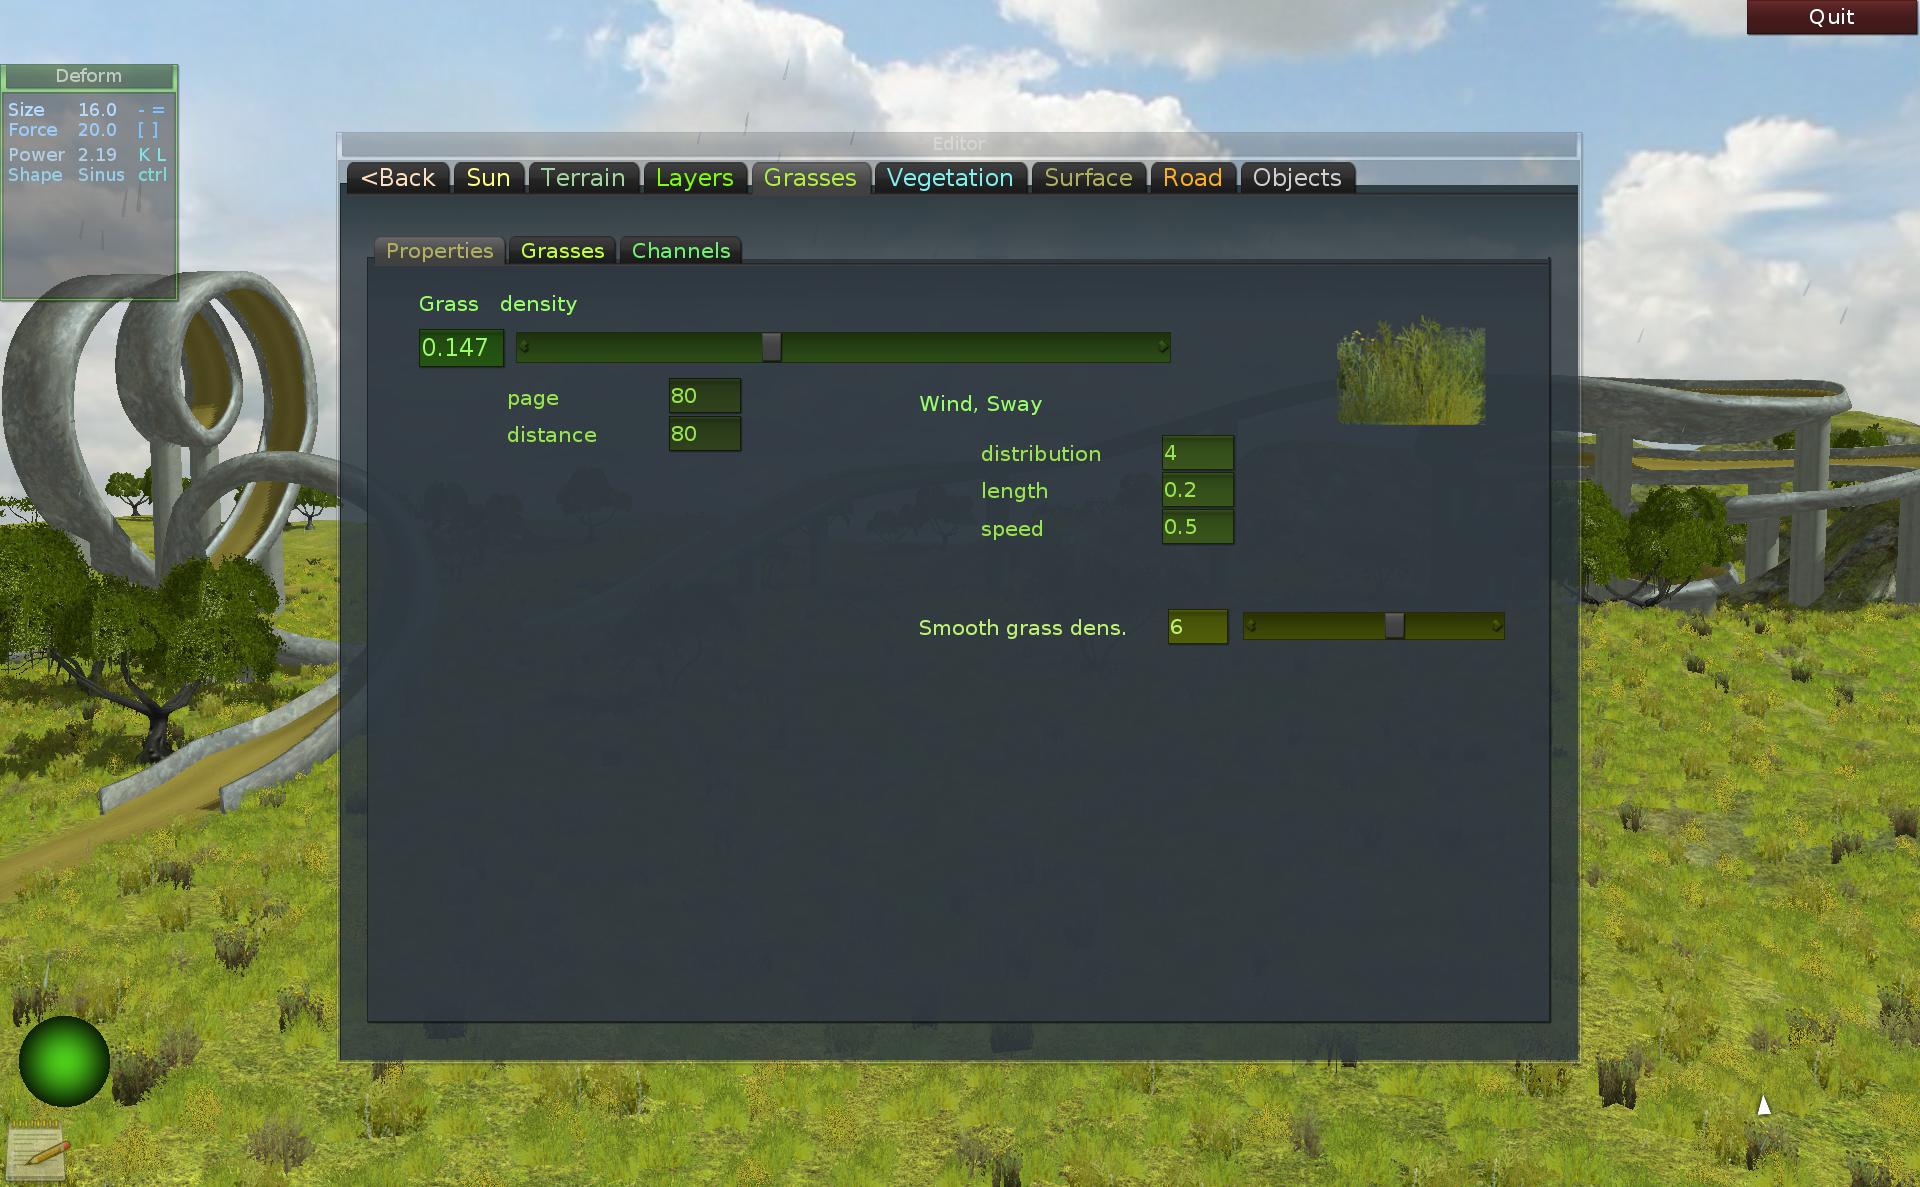
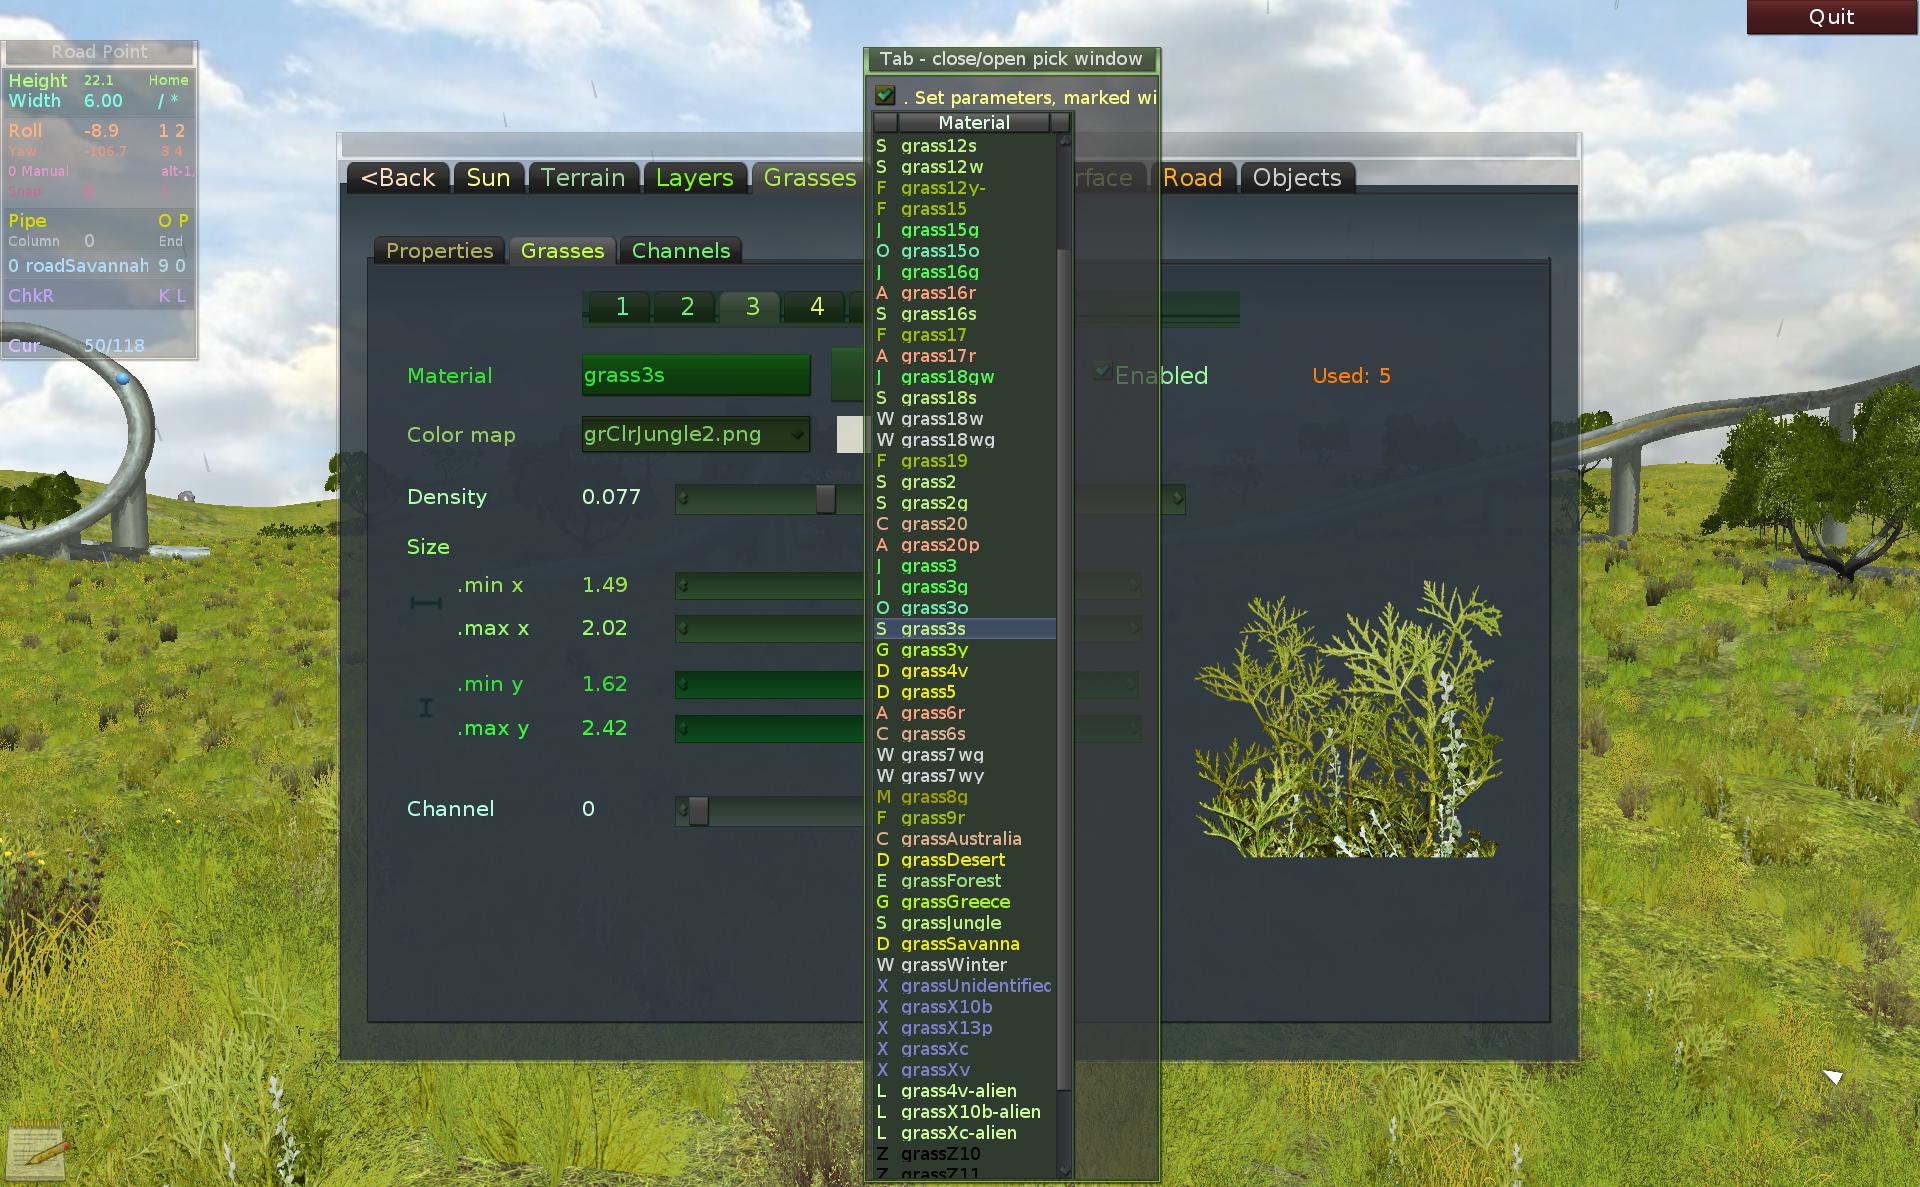
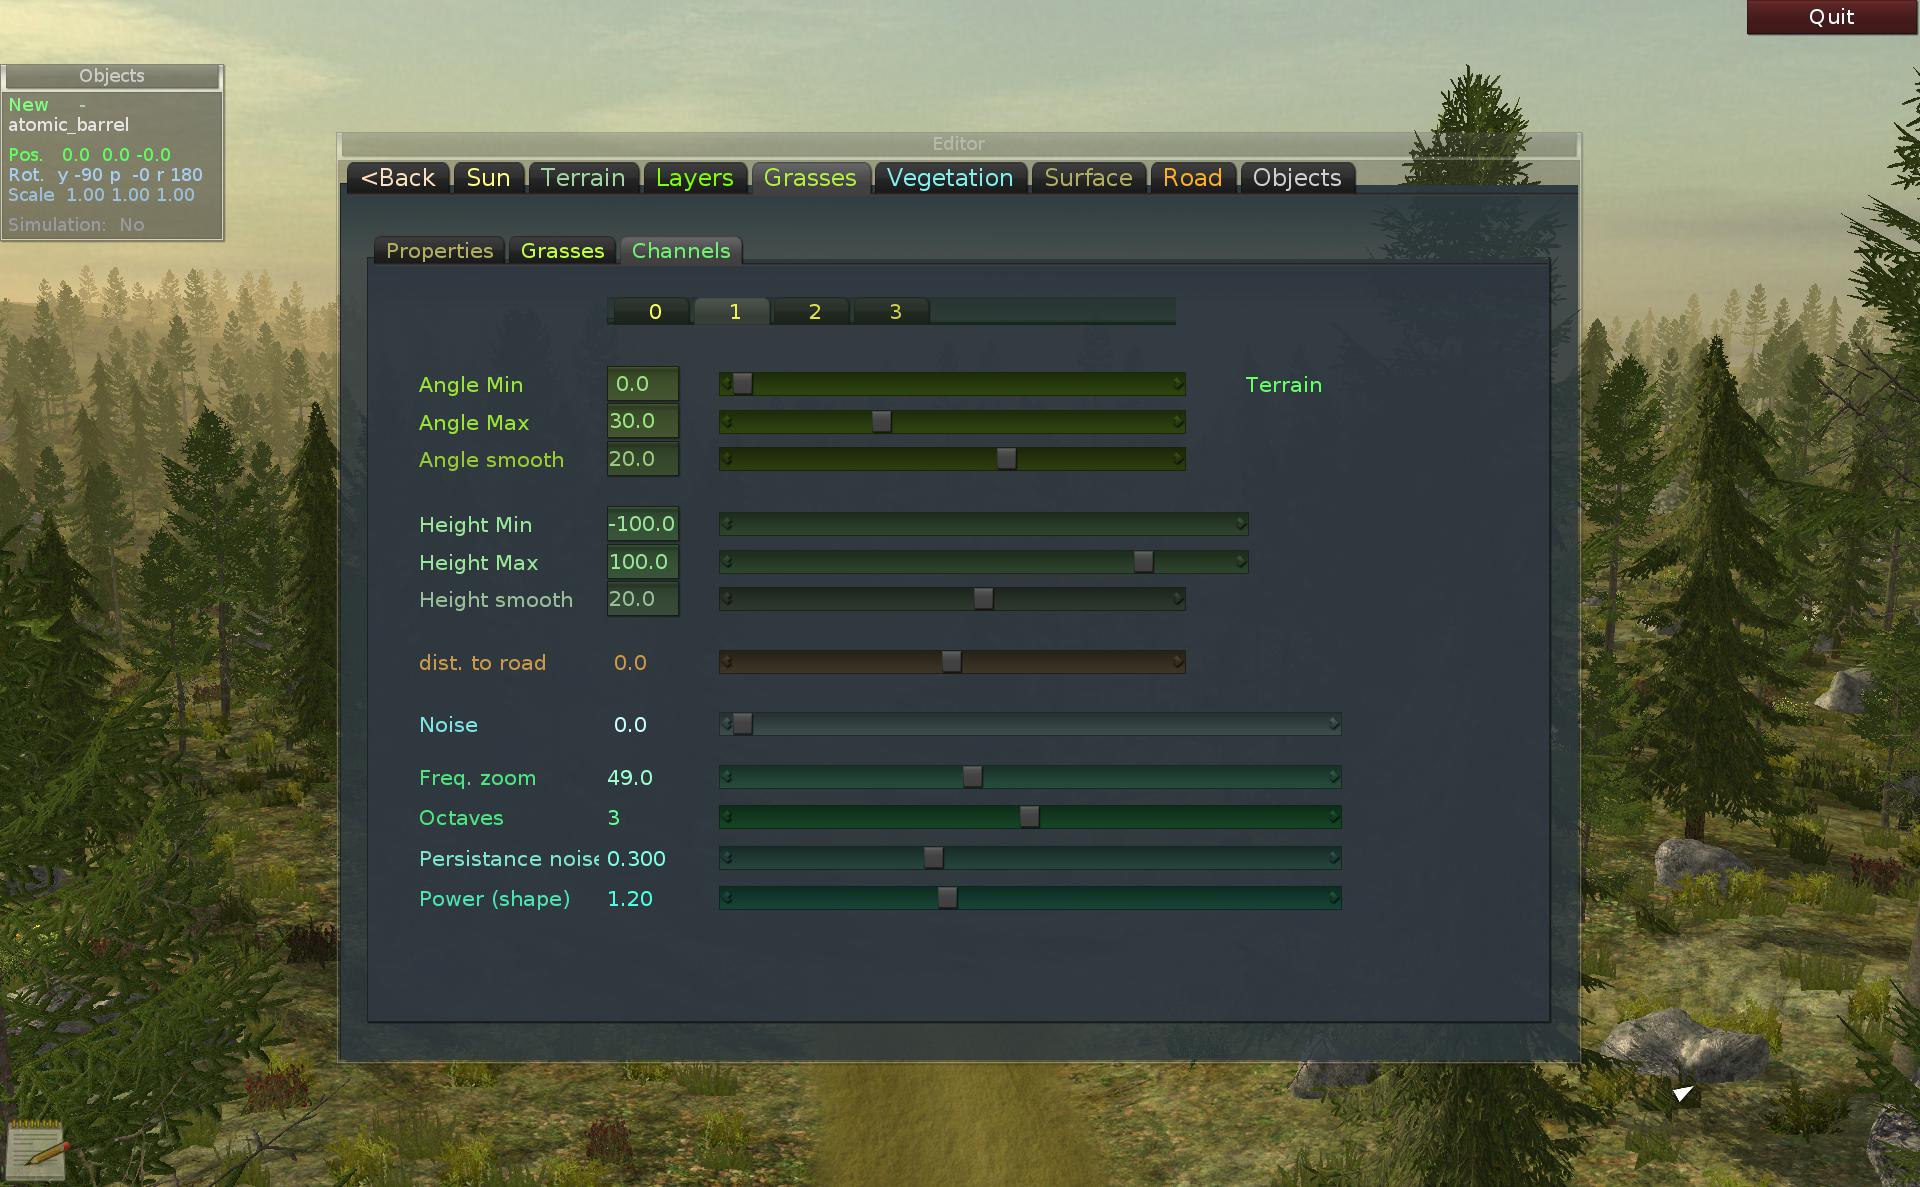
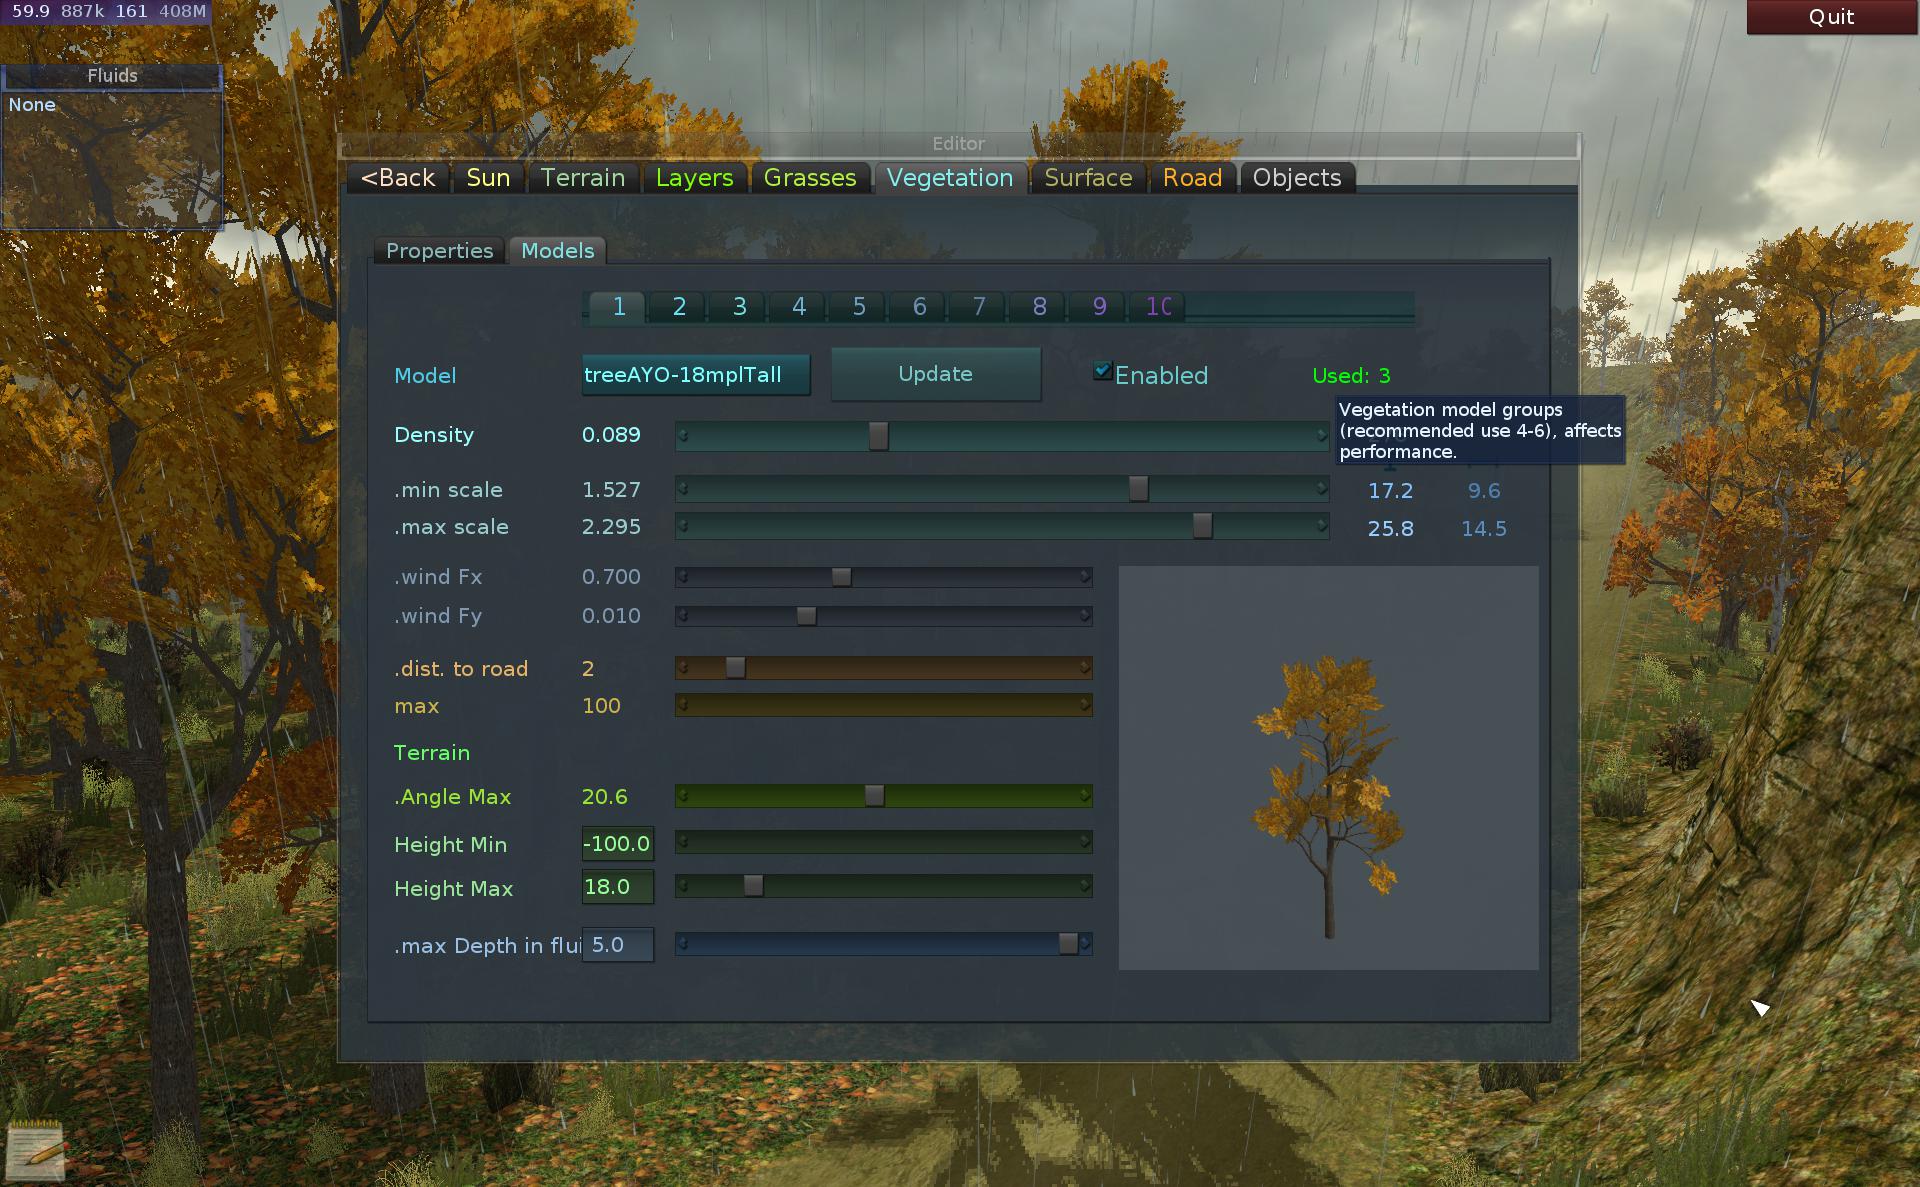
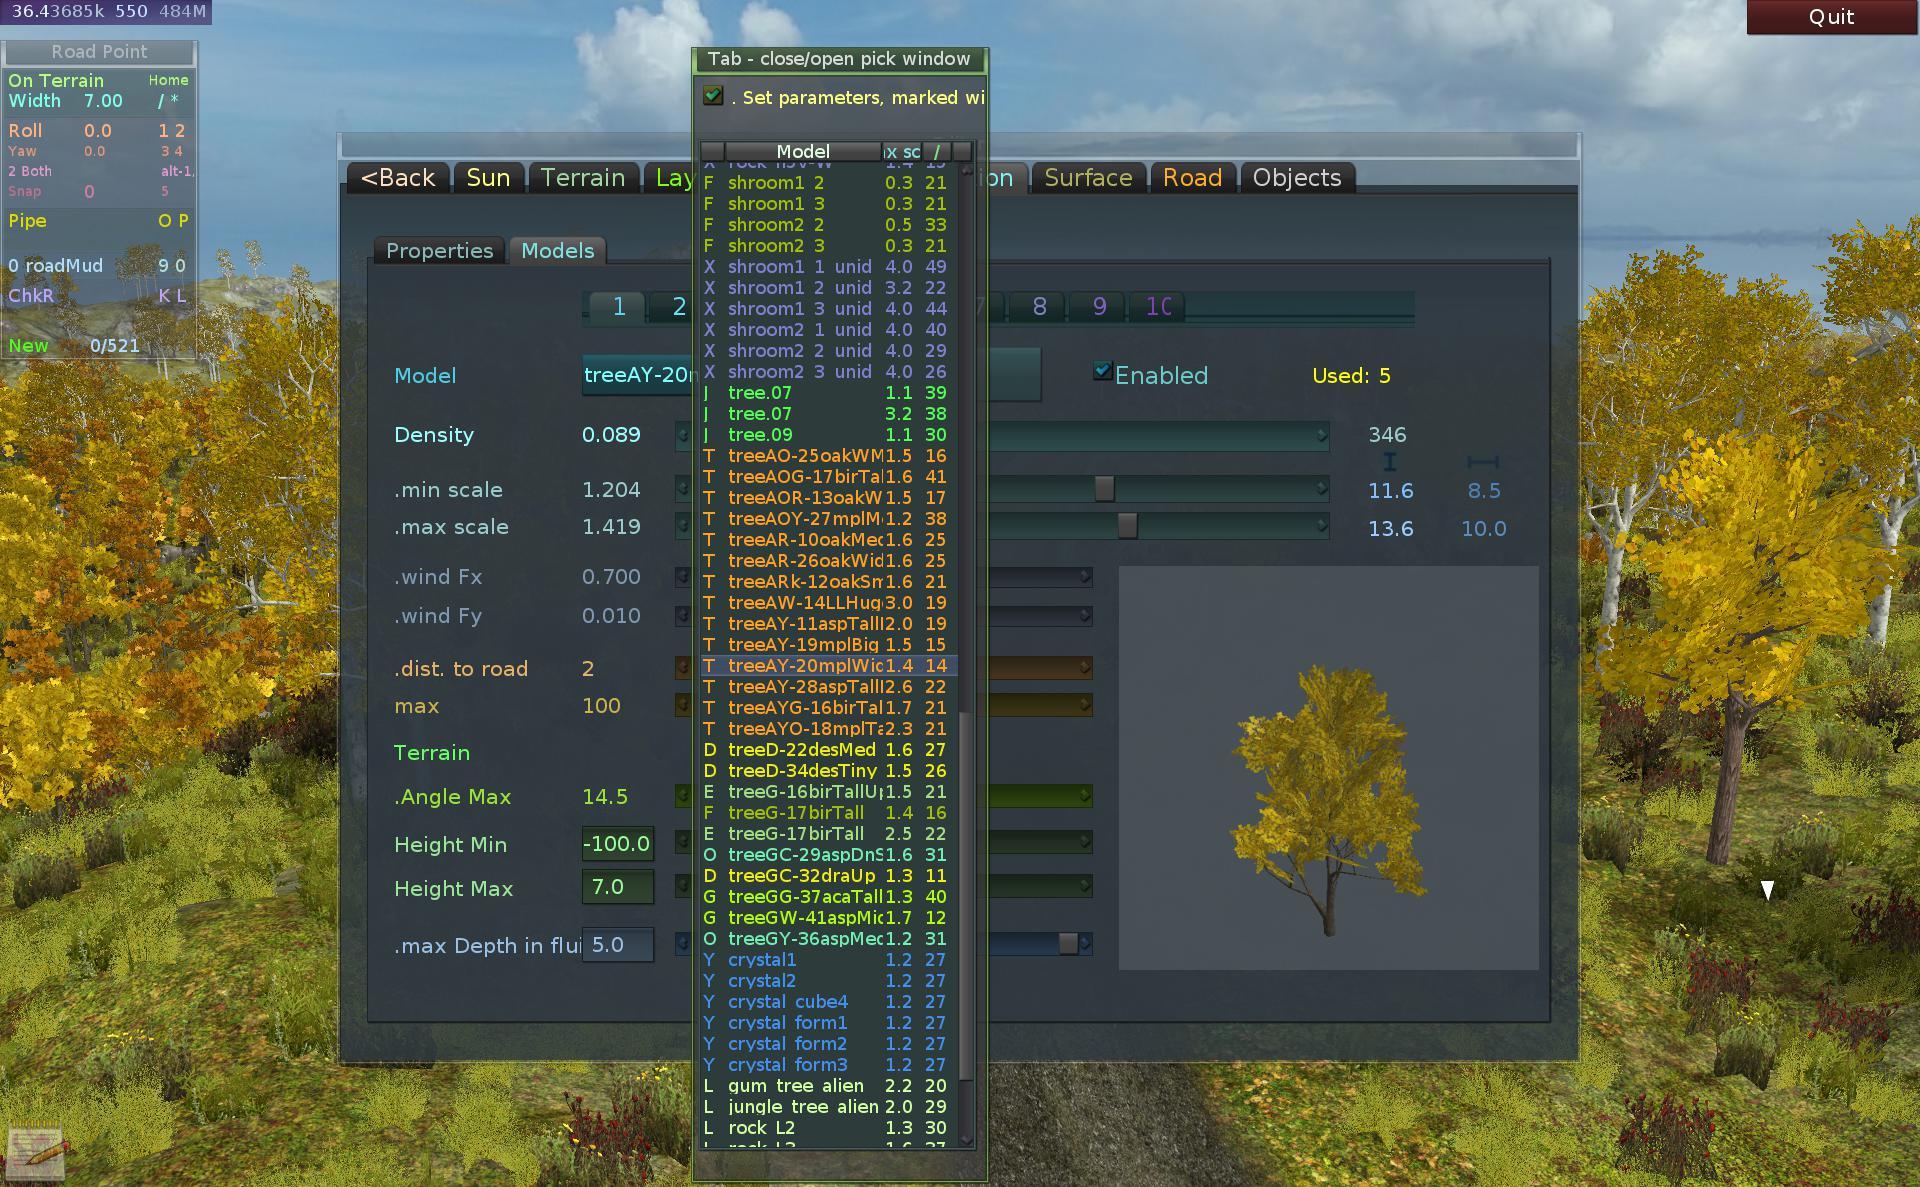
- Editing terrain. Seriously cumbersome. If you ever seen or used Stunt Rally Track Editor, it should be pretty clear what I mean. Sure, I wrote it myself so it has what I find best already. I mean using just mouse wheel to adjust brush size and force. Also having keys that increase those. Then plenty of terrain brushes to choose from. All brushes using floats and computed for needed size. I could go on. We made over 200 tracks just using those tools. Seems like UE doesn’t care much about such tools. There are some other software programs (big and commercial too) that will make a terrain which you can import instead of editing. BTW I saw no way to import raw float heightmaps which we use since years for best quality.
- Gizmo. Well it may be my personal hatred for that thing. But how am I supposed to drag that one axis if it’s covered by another. Probably need to focus, rotate around or use ctrl, meh. We don’t have a gizmo in SR editor, yes it may not be obvious how you’ll move etc, but you’ll always be able to do it, directly from anywhere.
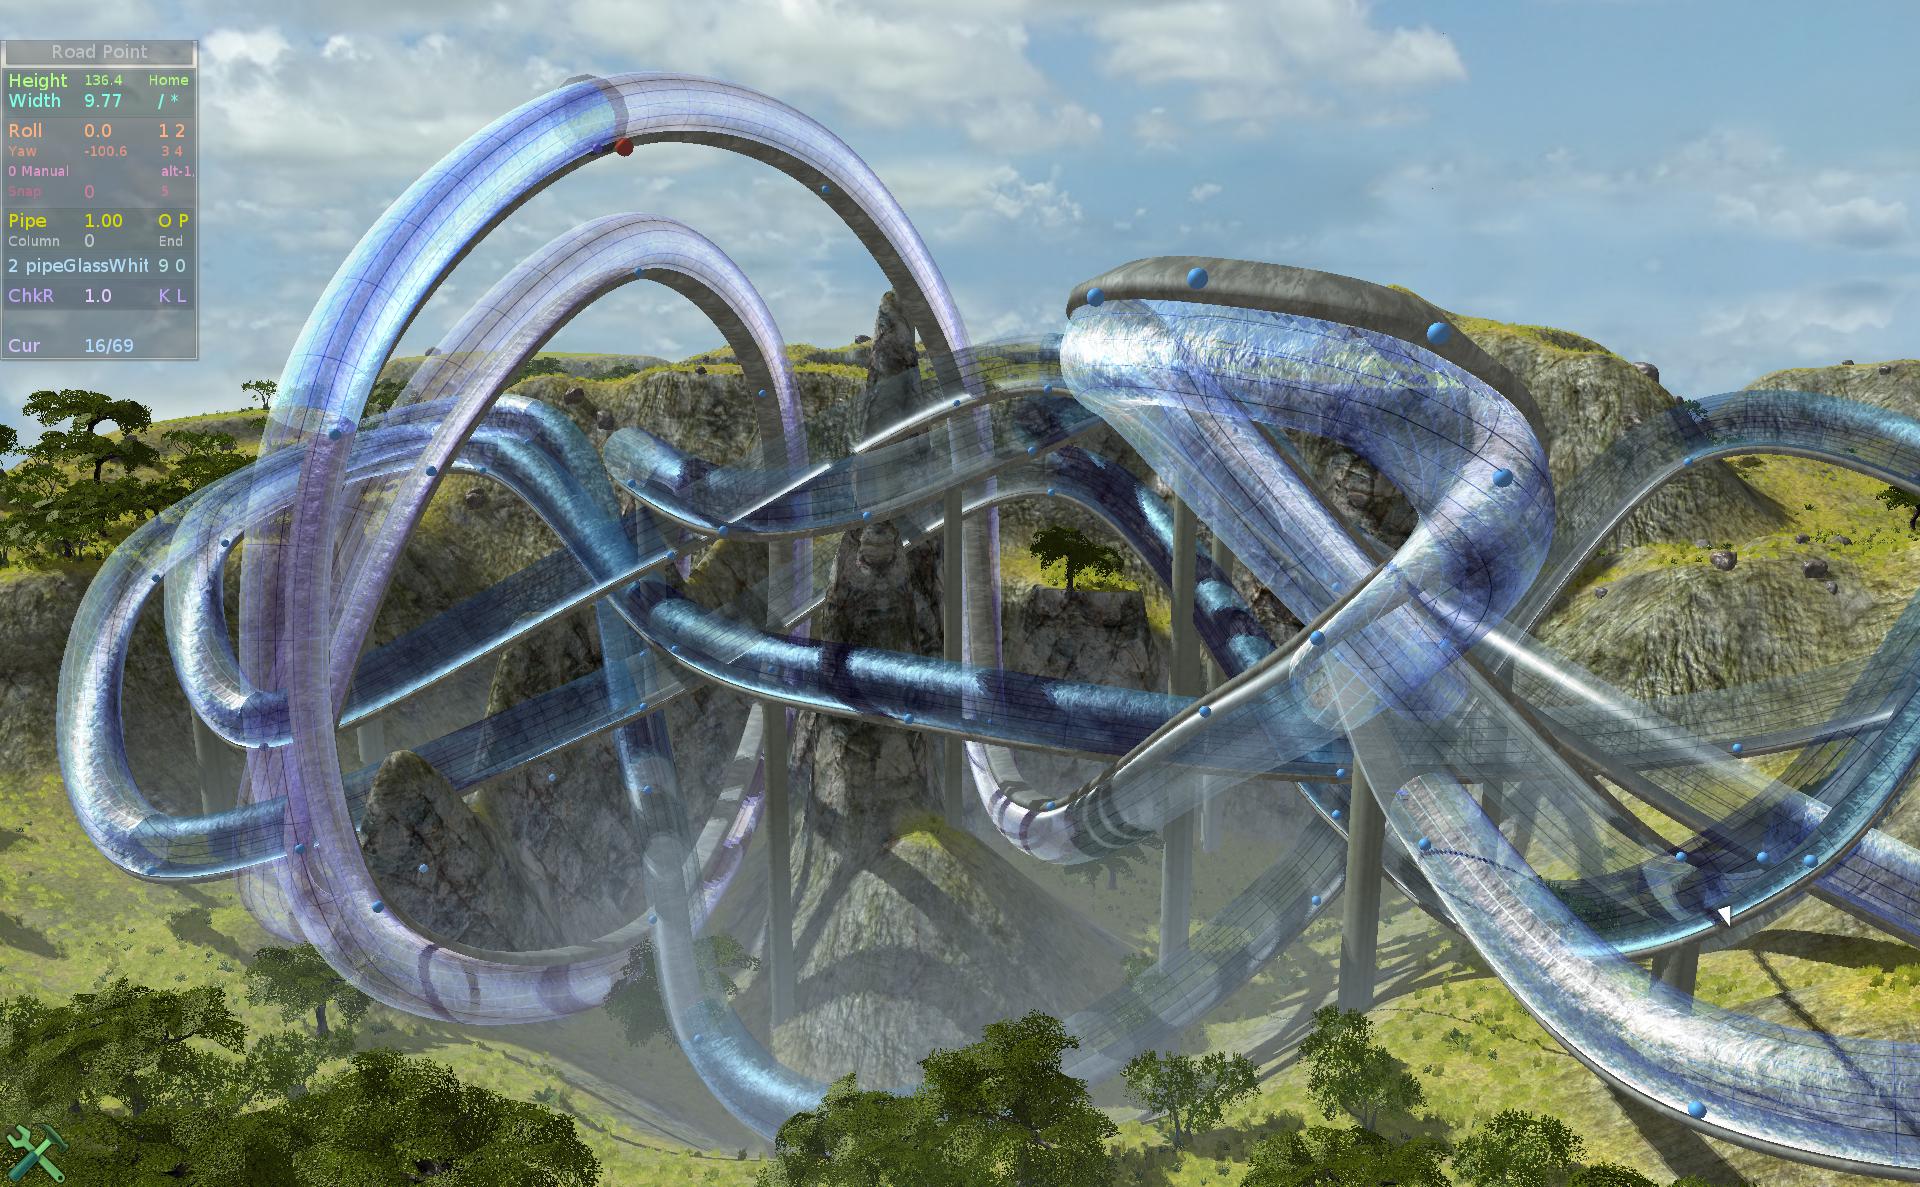
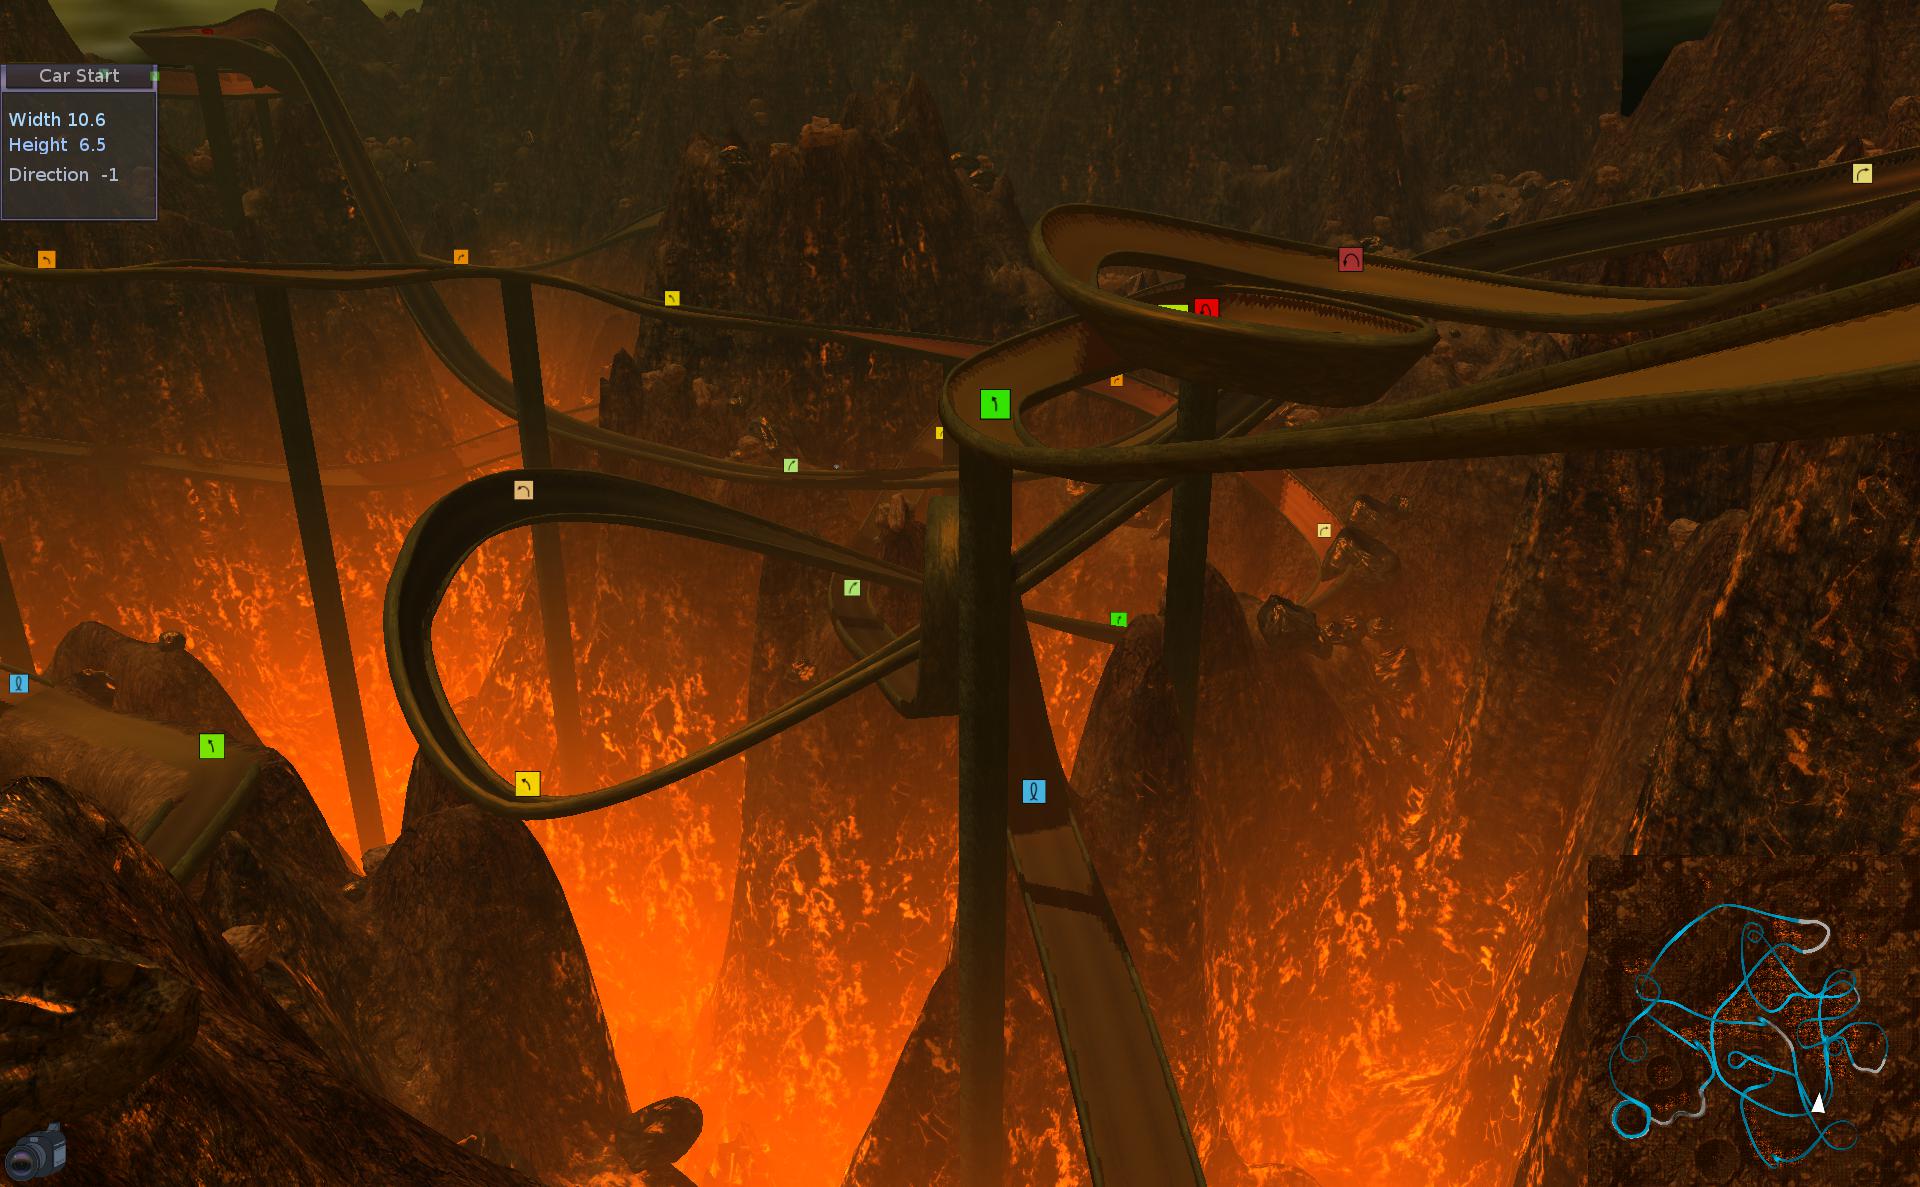
- Physics. I’ve seen some opinions on internet that it got worse in UE5 (has Chaos), from UE4 (had PhysX) if I got it right. So far I had plenty of sudden car jumps because of what looked to be normal wheel force from contact, getting weirdly high. Also had some sudden object jumps, flying far very quickly. All not looking good or real, seems like an unstability. I did increase substeps and decrease interval to get better simulation at high speeds, and I did surprisingly fix that wheels wobbling suspension. I could drive even over 600 km/h in big glass pipe loop and 450 in smaller one. That’s probably the only thing better than in SR with Bullet physics, but I’m still using old version and didn’t try new in years.
- As of UE 5.3 which I tried, I was not able to turn on Nanite at all, and neither HW ray tracing. And those are UE’s biggest, prominent features. I used Debian 12 and AMD GPU with Vulkan. Saw some post that 5.4 could fix it, maybe.
- Lumen software reflections. Man, those look laughable. I guess most would use HW ray tracing now or in few years. But I’d rather have my own cubemap rendered and used for other parts too. Instead of looking at Screen Space Reflections (a recent disease) or those blobs (done by Lumen software reflections) when screen space didn’t cover. Plus I’ve never seen car underside reflected properly here. Lastly I tried adding reflection captures and thoses didn’t work. Could be my fault, whatever.
- Many effects are iterative, updated partly over time, and so they work best when not moving. E.g. volumetric fog lit from car lights, is moving inside car when driving. Reflections also have some noise, changing pixels. Global Illumination with Lumen, also does fluctuate and spread unevenly over time. Sure, it’s new technology and best if it didn’t melt GPUs doing impossible today. But it feels to me like these are just targeted for those indoor furniture designs and static shots, not games.
- Many things even vehicle parameters need that Compile pressed after changing, then running to test. Really not convenient. The default vehicle simulation is completely nonsense. I guess it could be good for basic arcade games. That’s to be expected. Can’t touch dedicated C++ code for vehicle simulation like VDrift or even RoR with deformation. I found an older UE4 vehicle simulation, whole made with blueprints. Is good to learn from, didn’t feel great to drive though, but I’ve spend not much time with it.
- Lots of thins are still done from console with typing commands. I guess no need to add them to that pile of unrecognizable settings list yet, probably translated though. But on the up side, there are plenty of options to customize for sure.
- Crashes. Last but not least. IDK if it’s just because I use Linux, or Vulkan, or AMD, or their drivers. Doesn’t matter, either way I had many UE crashes. Luckily I didn’t loose much, seemed to be at end mostly. Still, not a good sign, not for stable software, not for daily use. Also seems to me like UE is favoring NVidia GPUs or maybe they have better hardware ray tracing, IDK and don’t have time to investigate. Ah and trying to start profilegpu did reset my PC instead.
- Whenever you change key options it will be building over 5000 shaders again, which takes for me 5 min. And Package project at first takes like 30 min, but later it does much faster even less than 1 min. There are slow downs of like 5-15 sec whenever you save a material etc, there are structures in UE that need to be rebuild and this a slow delay when editing.
🎛️Blueprints
Quite a lot of stuff can be done using Blueprints. There are games made just using them.
But then you’ll be dependent on them, which means no full control over what’s happening, and just doing what others tell you to do their (commercial) way. There is no avoiding blueprints, even with C++ code.
Another thing is that the list with blocks in blueprints is again huge. Here even a video with main ones. So usually you’ll have to type more to find a block. Even if + or * etc is enough to get simple operations, that’s still just ridiculous for me as a programmer to put a block and connect those lines to it, instead just typing + in code.
But yes, they’re easier to understand for non programmers. Still, I felt like I didn’t know how to do anything at all, when I was starting with blueprints. So it’s not like those were easier to start, just less to set up (no external IDE, compiler).
Lastly big, complex games would require a lot of code, which in blueprints means few times more clicking connecting, picking blocks, to me it feels like slow playing with toys instead of developing. And then area is huge, also hard to find stuff, lots of moving around and zooming. Sure there are comments, same as in code. But much more code can fit in text editor. And it doesn’t go both vertical and horizontal (when done right). Doesn’t need zooming. I find code easier to navigate (definitions, references) too. All can be done faster by keyboard.
There is a cool webiste with lots of blueprints here.
One good part for blueprints (similar to scripts) is their safety, since they show errors, won’t break, etc. While code can crash, corrupt memory, loop infinitely etc. And could take more time to build and test too.
❌Why not
While there are some apparently good things about Blueprints, e.g.
- it’s easy to get stuff done (or find how to on youtube, since they aren’t convenient and there isn’t much help in UE)
- easy to see how stuff is made (until they get too big anyway, just like code)
- no need for using their old C++ (I still prefer to write code, not play with blocks)
I see a bigger picture here. Since this is UE-only thing, once you get used to their blueprints (too much), you won’t want to use other engines, right? Secondly, the easier it is to start with UE (using blueprints), the more people will use UE, so more profit. Perhaps it was also another way of doing stuff, added as alternative to their old, specific C++, which I’d surely dislike using.
☑️ Somewhat good parts
At least good at start, because I end them with a view that’s bad. For me UE was only good for observing and learning some new things, I won’t be using UE myself.
- A lot of stuff working already. But as the saying goes: if something is good for everything it’s also good for nothing (i.e. not great for anything particular). Also if you wanted a change in their sources then it’s a huge amount of it to even grasp (like 50 GB total). And more games using UE will mean more will look the same due to its technology.
- Plenty of (free) Plugins. Even fancy things like Niagara (3D smoke and fluids simulation, rather not for my/current hardware). But Water is still Experimental (yet essential), and I had some bugs with it (underwater fog was bad at times, even white flashes, then after publish it was at random level above sometimes). Very many plugins are also in Beta and version 0.1. Seems like it’s still too early. IDK maybe UE5 is still too young. I’m obviously only considering free plugins.
- Useful modelling tools included. E.g. video. Can quickly edit and draft a scene with basic models, already inside UE. For me not needed, as we already have our assets, and tracks made.
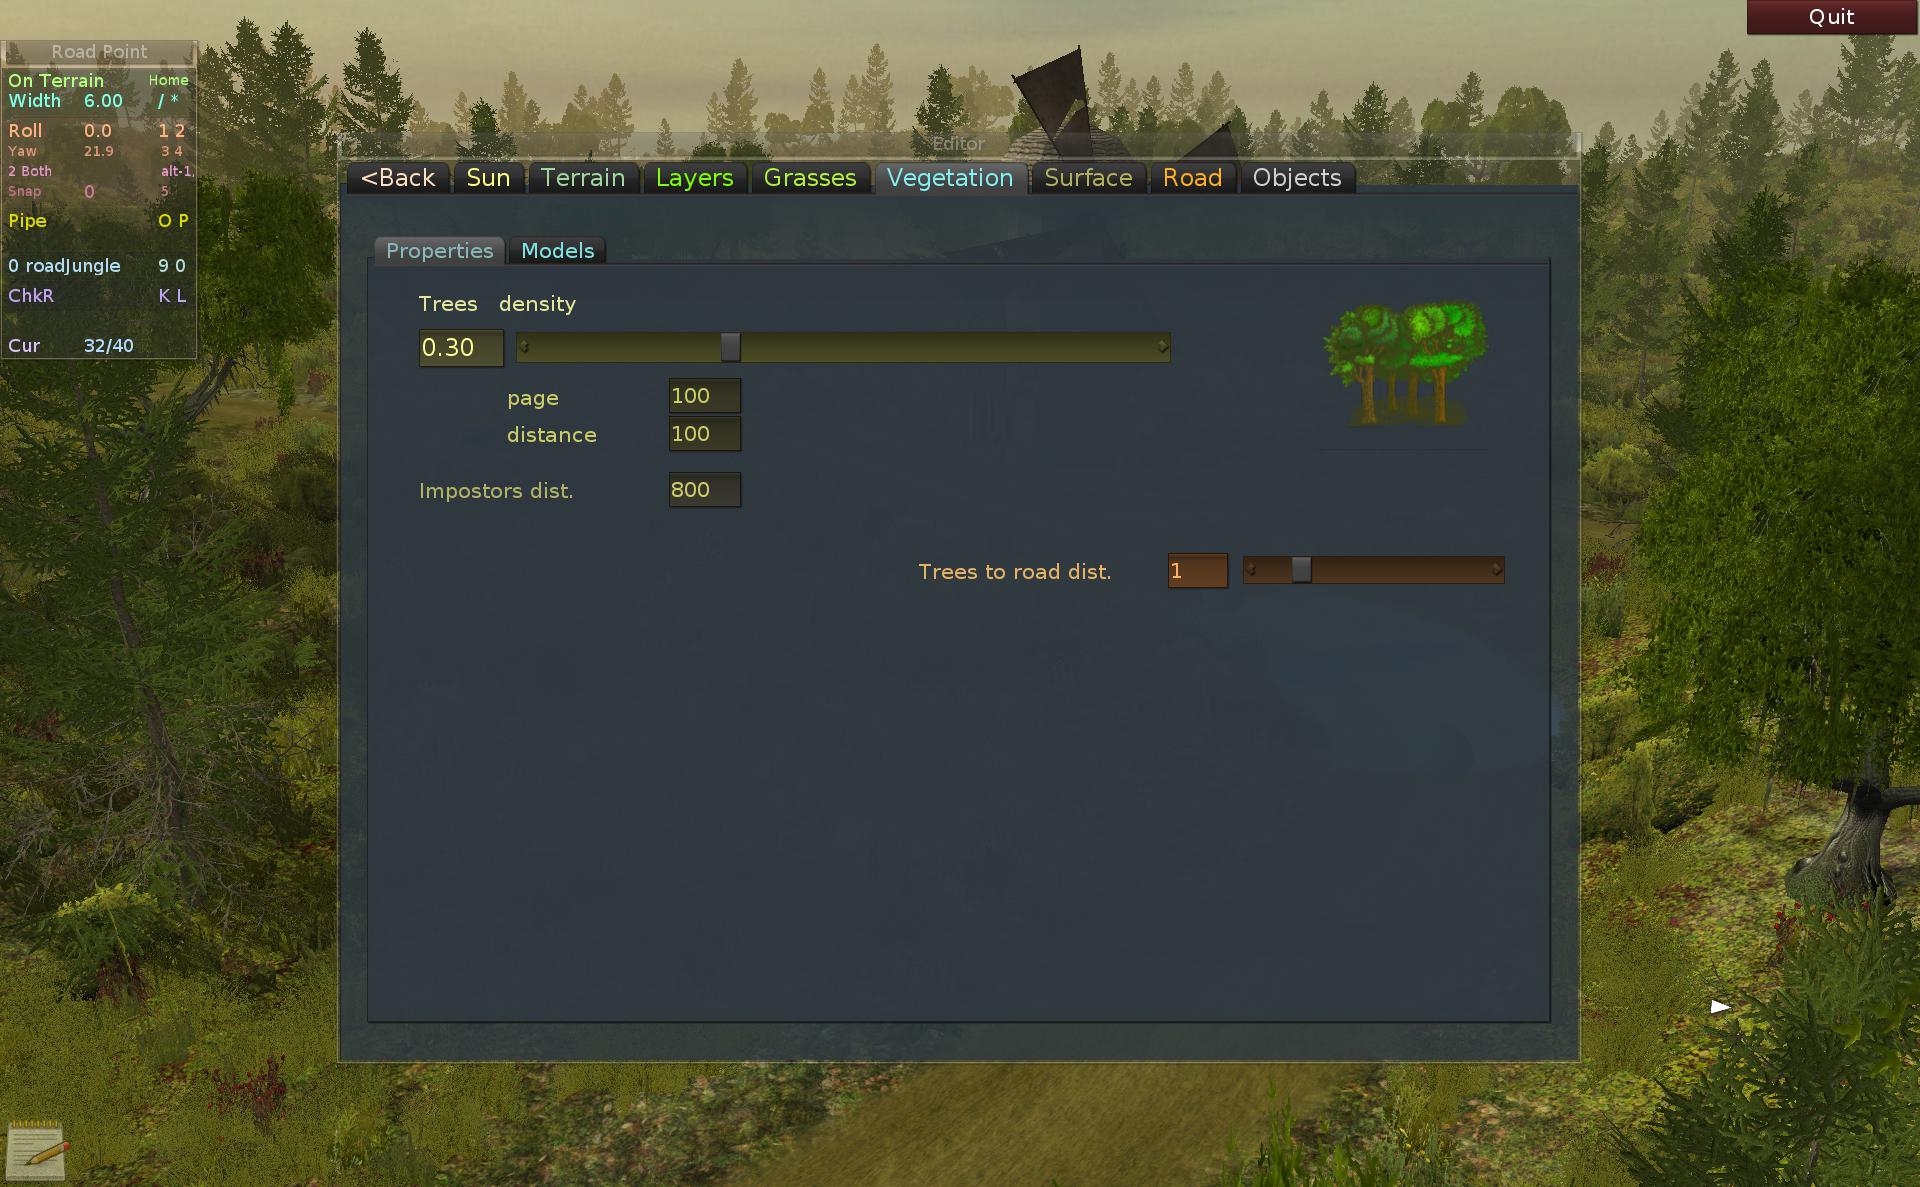
- Many possibilites to generate and place stuff (meshes, vegetation etc) with PCG. Still, those are rather new UE features. Which I’d expect much earlier. E.g. someone using UE4 didn’t have them, years ago. And frankly, in Stunt Rally we had automatic vegetation placing and road generation with LODs since the beginning in 2010.
- Can move camera with W,S,A,D and Q,E, that’s cool, even bookmark places. But I didn’t find a way to change the speed by keys, and sliders don’t allow any values just predefined, IDK.
- Plenty of debugging view modes and visualizations. Well the rendering engine is very complicated and “heavy” (high HW requirements) so these will be needed to optimize, probably even if you don’t want to. A very good (but older UE4) video series pipeline bottlenecks, passes.
- Seems like Visual Studio is again default for C++ but at least VS Code is supported. So my setup with clang and VSCodium won’t work. And OgreNext supports clang officially. UE C++ is also in its own style. Quite old, not even similar to new C++ versions. All variables used and methods use big letters. Video here. Yes it’s a matter of preference (or getting used to) but yeah I dislike this too.
- Many resources to learn from. Still those are commercials for Unreal and their addons etc but if you filter this out and ignore, then there can be plenty of useful, or universal information to learn in general.
- UE is definitely huge and complex. With high popularity and big community it’s easy to find solutions to problems. But that doesn’t mean less problems. Actually I found many topics on forum which didn’t solve anything and seemed like unnecessary distraction, like from people not knowing English not only UE. Surely it was easy to find out why I got gray models after Packaging, but why on Earth weren’t shared wrap samplers the default, causing this issue. I think there is a lot of detail to be known to get UE working for any project.
⏳Summary
Well definitely you can learn a lot, not only from using UE in practice, but also from that big number of videos either in their playlist, or lots of other videos from creators around UE. There is also a decent amount of documentation. This can help when starting or using UE, but also for getting information on various subjects around rendering or games etc (just at a smaller fraction).
So it was a cool experience, completely opposite to mine. I mean using an advanced rendering only engine, built from C++ sources. Not just installed, and already with most needed tools. There is a gigantic gap or difference between those. And not only in software size and thus difficulty, but also in the community. It’s a complete opposite too. In UE (or Unity, Godot etc) you can simply even put your question in youtube and find a video (or few) with answer. When I was searching for UE vehicle tutorials there were even few playlists with that.
Still, it’s not reasonable to change rendering or game engine far in production. Only possible at start. And SR is and already was far in production, having my own coded features, even when those engines weren’t available, that popular or so feature full. So clearly just because of that I won’t really be able to change engine. And neither would I have patience to spend 2 years or so, right after I’ve spend over 1 year to move “just” from Ogre to OgreNext.
UE is big, and very commercial, so Windows, NVidia, Visual Studio are default, if not only option here for all things to work. So definitely not for me as a Linux only developer. I think they also use some telemetry, I’m not sure, but I saw urls, sent to their website from UE, as warnings in log, when I didn’t have internet.
Lastly there are plenty open source engines, e.g. listed here, or new list here, also tools here, and a big collection of engine related links here with lots of libraries and sources.
🛑Big issues☠️
This is an update chapter. Later after my tests, I found more, pretty big and serious issues about UE.
There is a whole channel with many videos. First is detailing the TAA and bad optimization (temporal aliasing) that is excessively used and forced by UE (and some other engines too, also to fuel the vendor locked, upscaling algorigthms like DLSS, FSR, and putting AI into graphics, I can’t even) and another about Broken Mindset Of Modern Graphics & Optimization. What’s gets even ridiculous is that we already had games with better graphics 10 years ago, before the modern graphics introduced garbage effect of smearing from TAA when moving and blur from upscaling. There is a reddit channel with anti TAA topics. There is also another problem with UE being based on Fortnite where it works on dynamic (destroyable) environment and lighting and most of rendering is based on that. While most games don’t need that, and so they work slower with UE. There are also many paid influencers and AI comments spreading lies in favor of the bad algorithms etc.
All this is absolutely disgusting for me and I’m glad I don’t have a job where I’d have to deal with all that. I’m not interested in modern games or GPUs either, especially if they are made performing worse to fuel buying latest expensive GPUs, while being more buggy then ever. And they’re also pushing ray tracing too early. A short summary of the issues is starting here. Too many games are made just using UE5, making them all look the same, and bad (video, and another video).
So ultimately this is not just UE’s fail, but the failed way of how modern graphics go in recent years. But UE is spreading and leading this garbage too (video). One more thing, UE is not only for games, there are many other industires like movies (can render slowly), architecture design (static views) etc using it. Which in turn makes it worse for gaming too as games need real time graphics with dynamic camera.


