⏱️Overview
I described here my PC and its water cooling (WC).
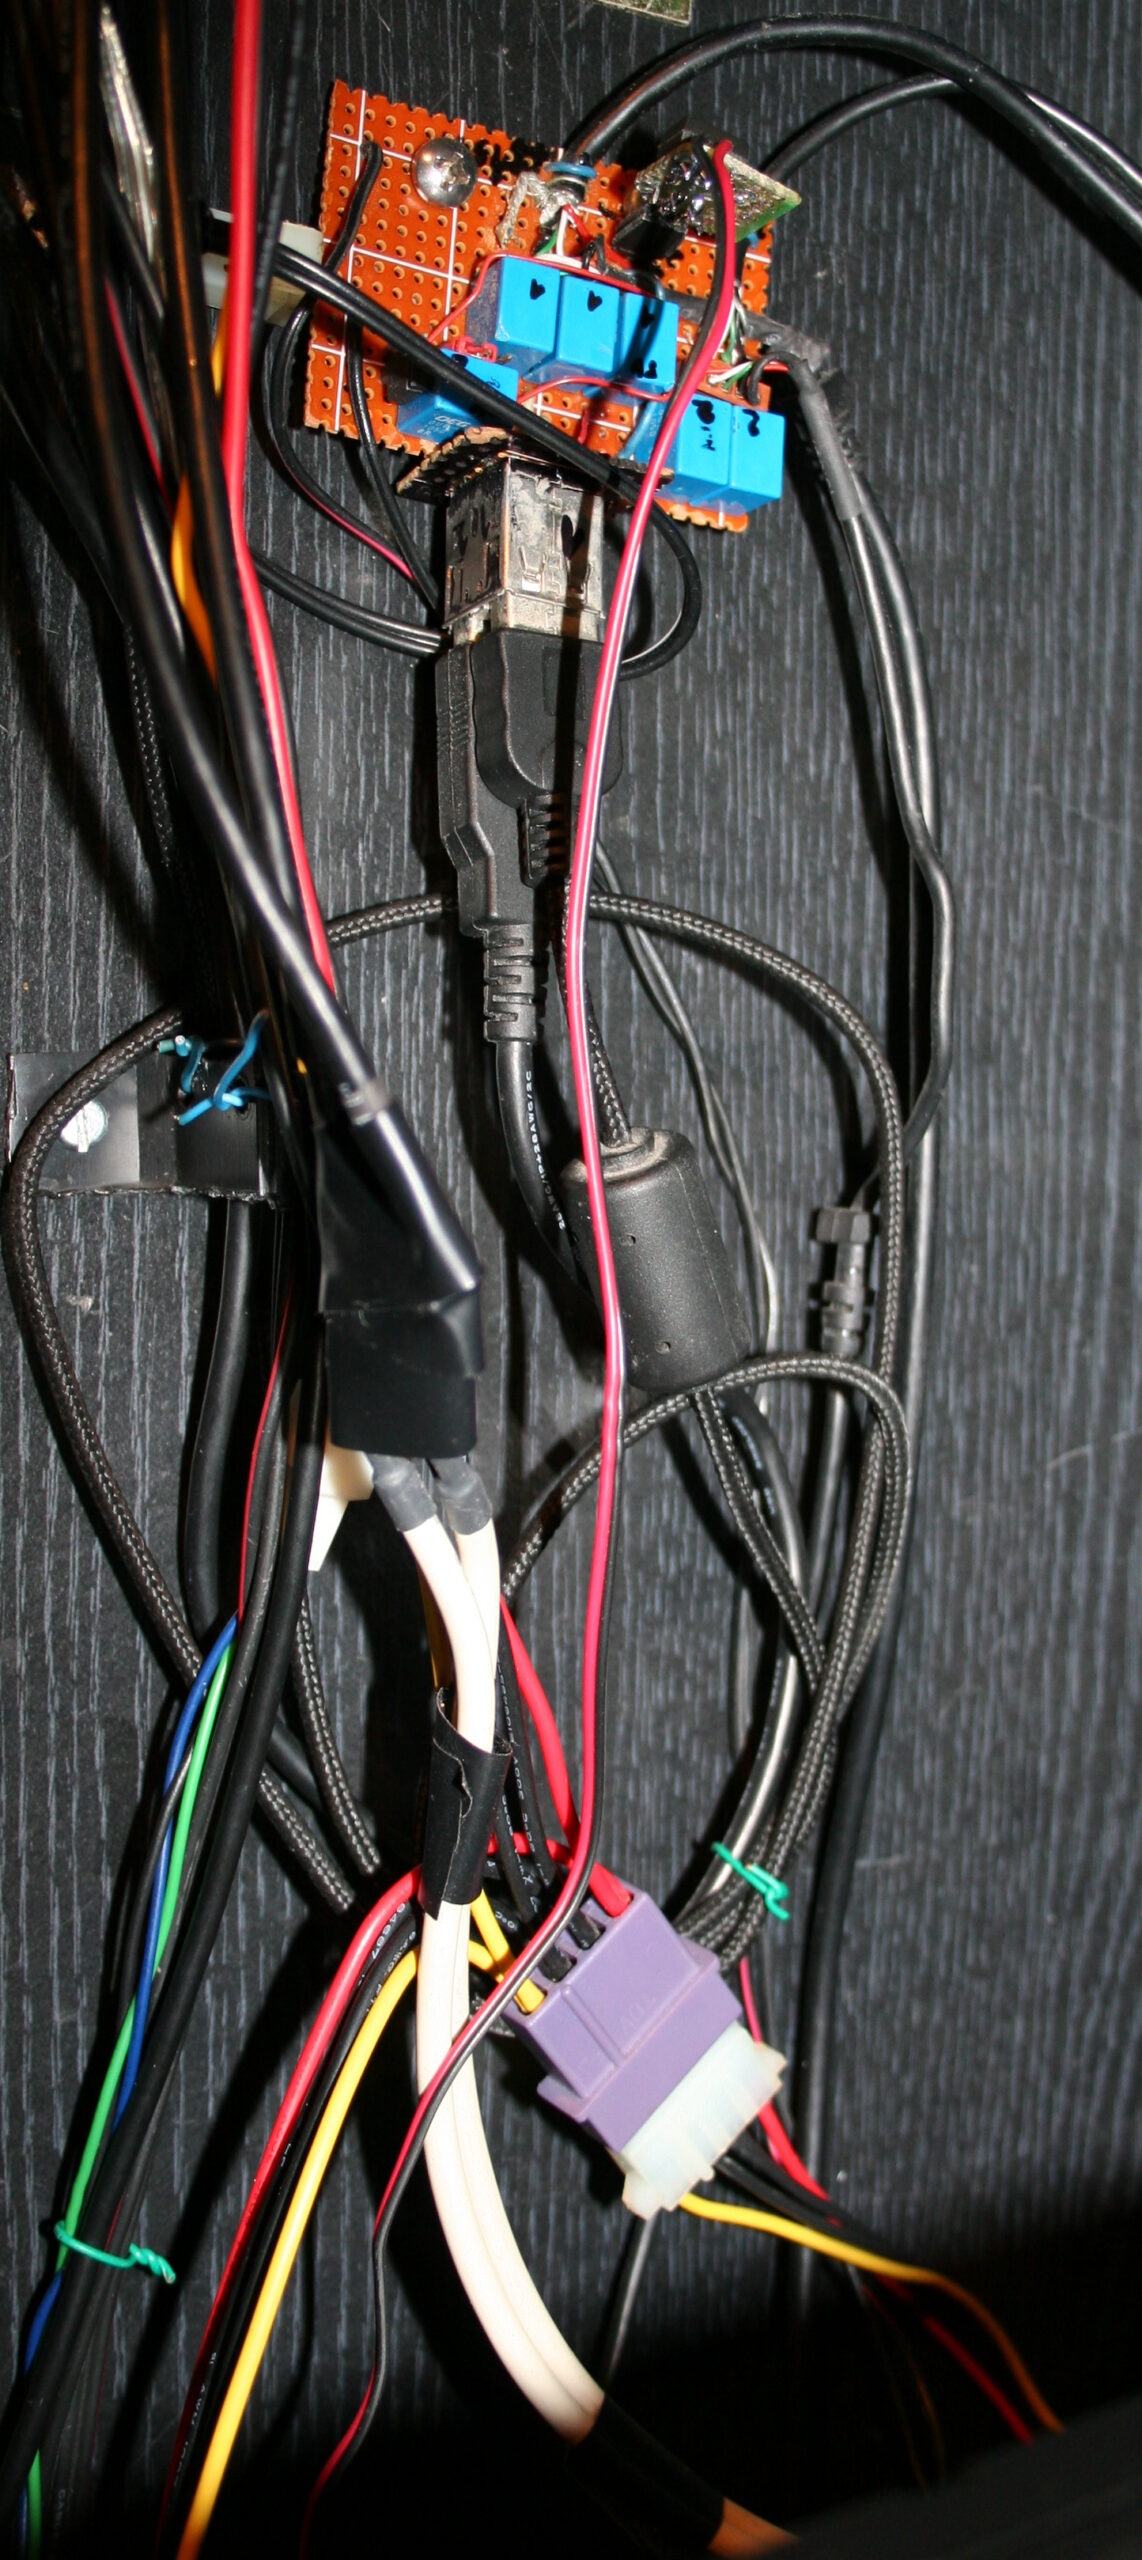
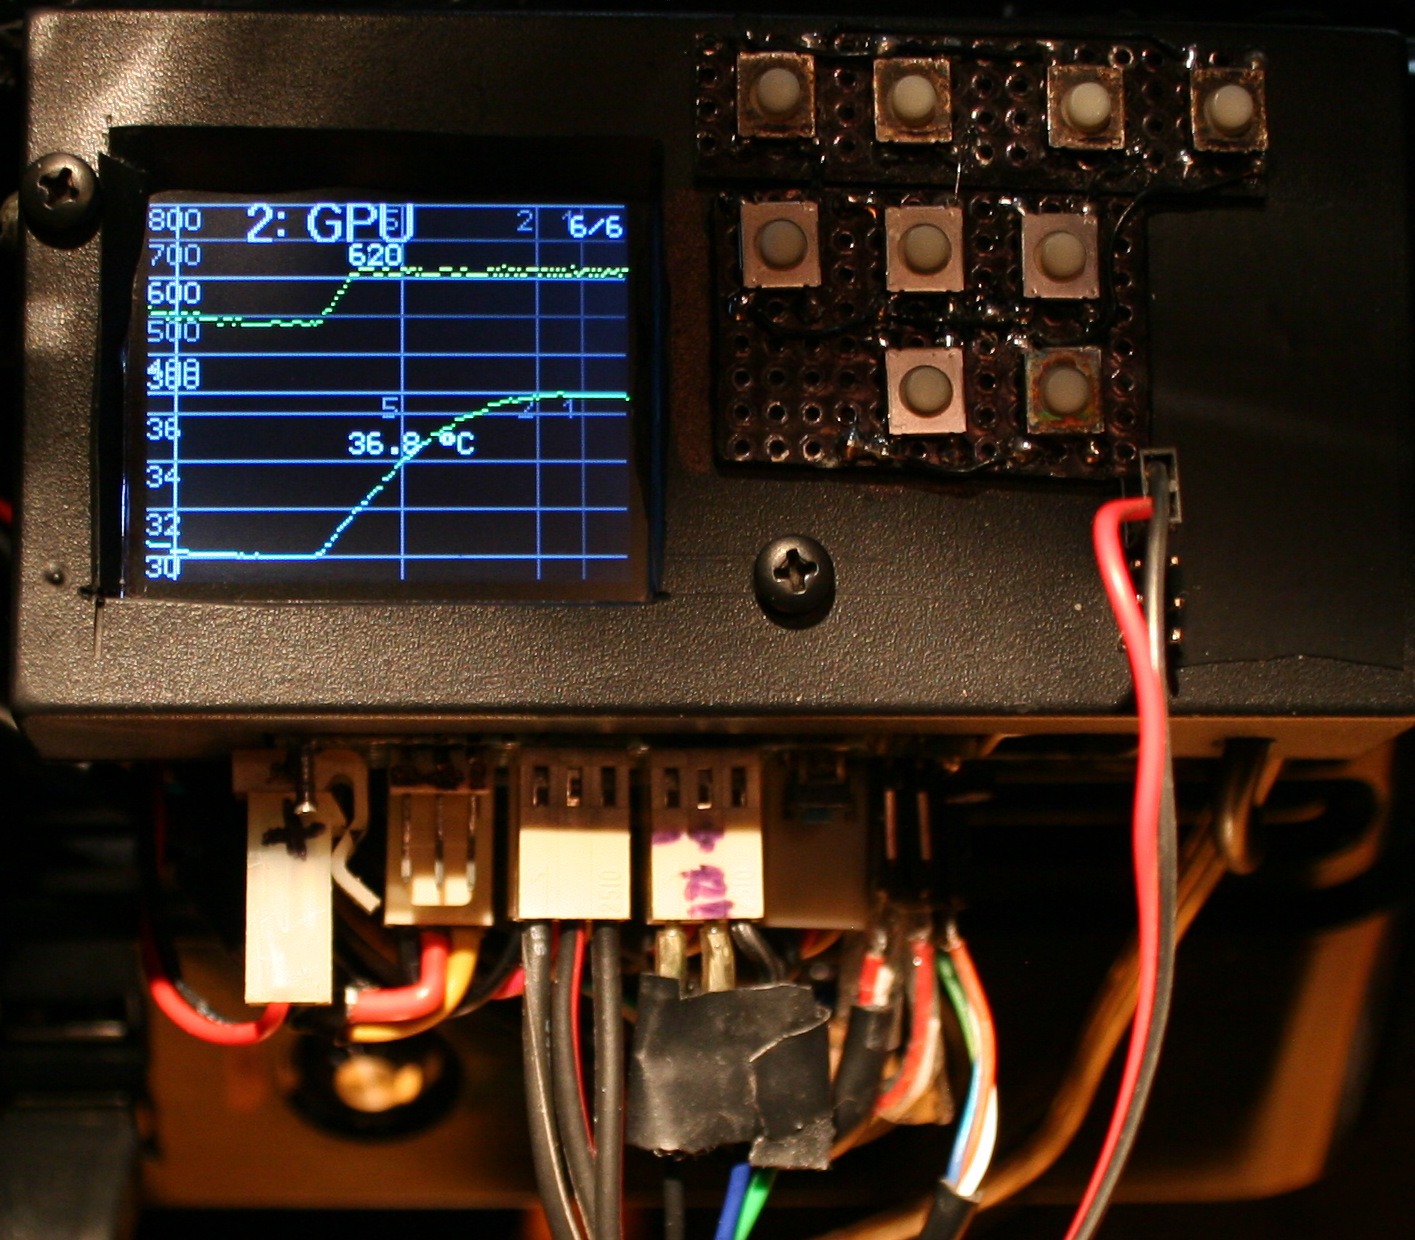
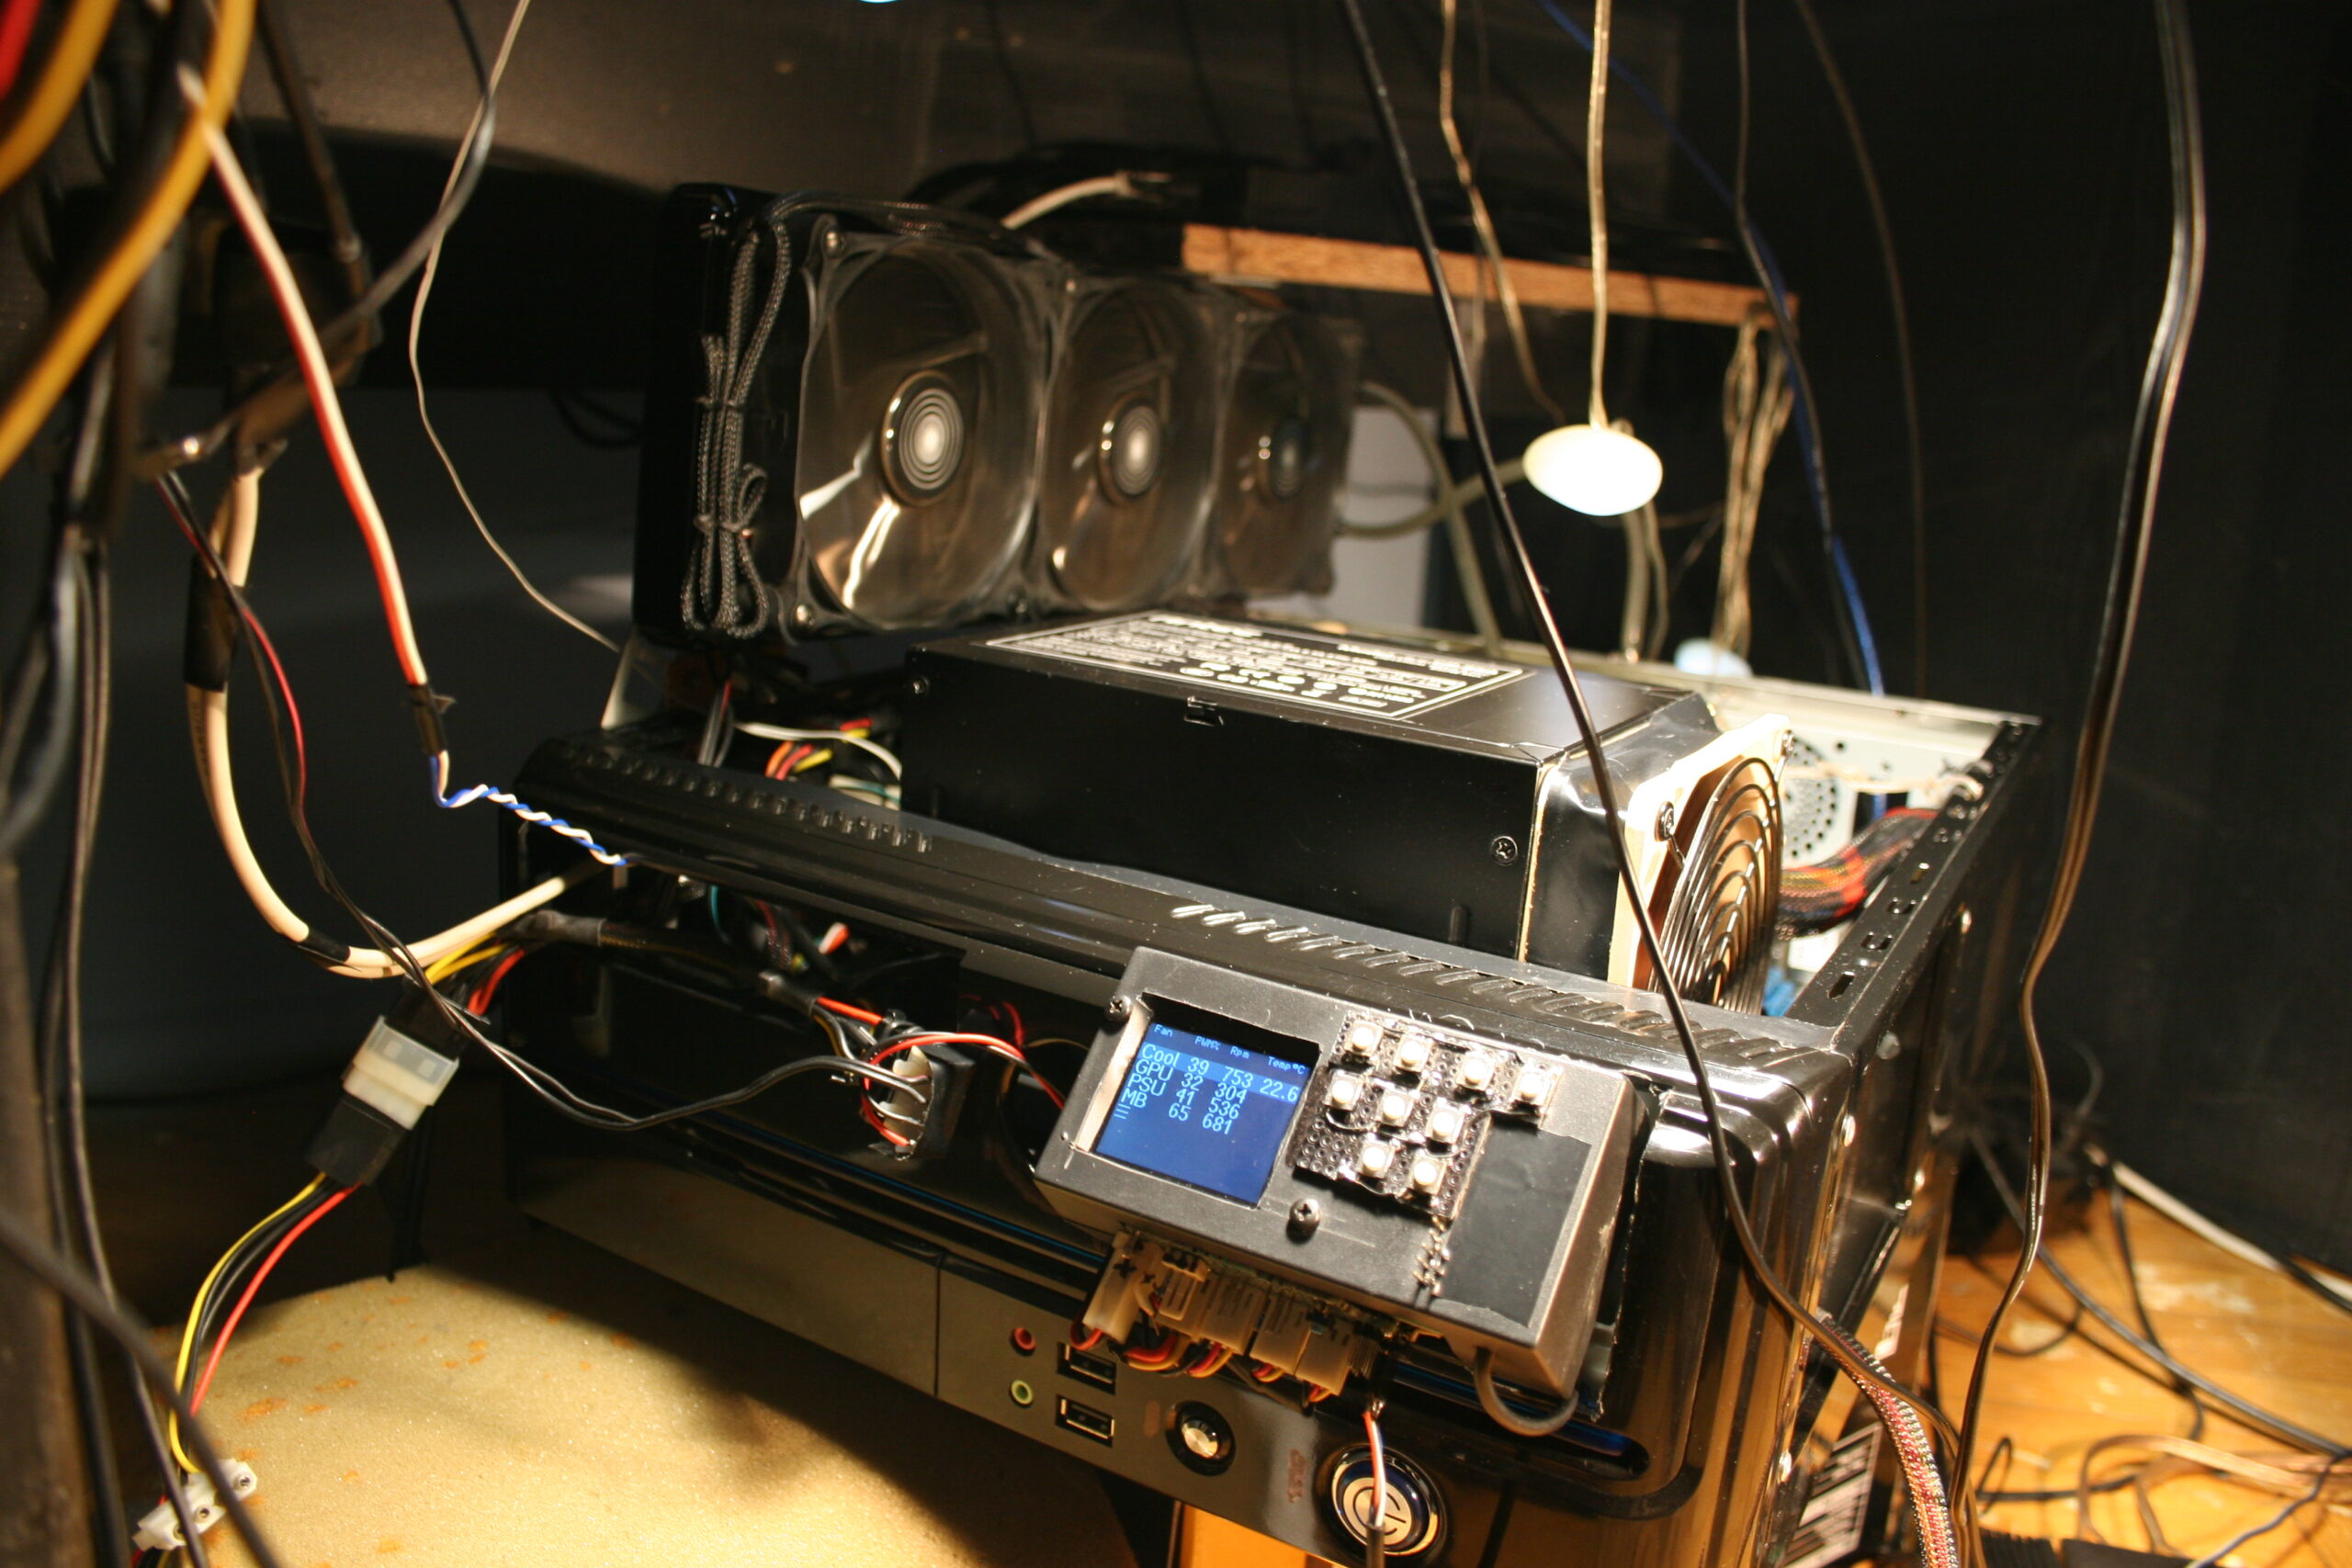
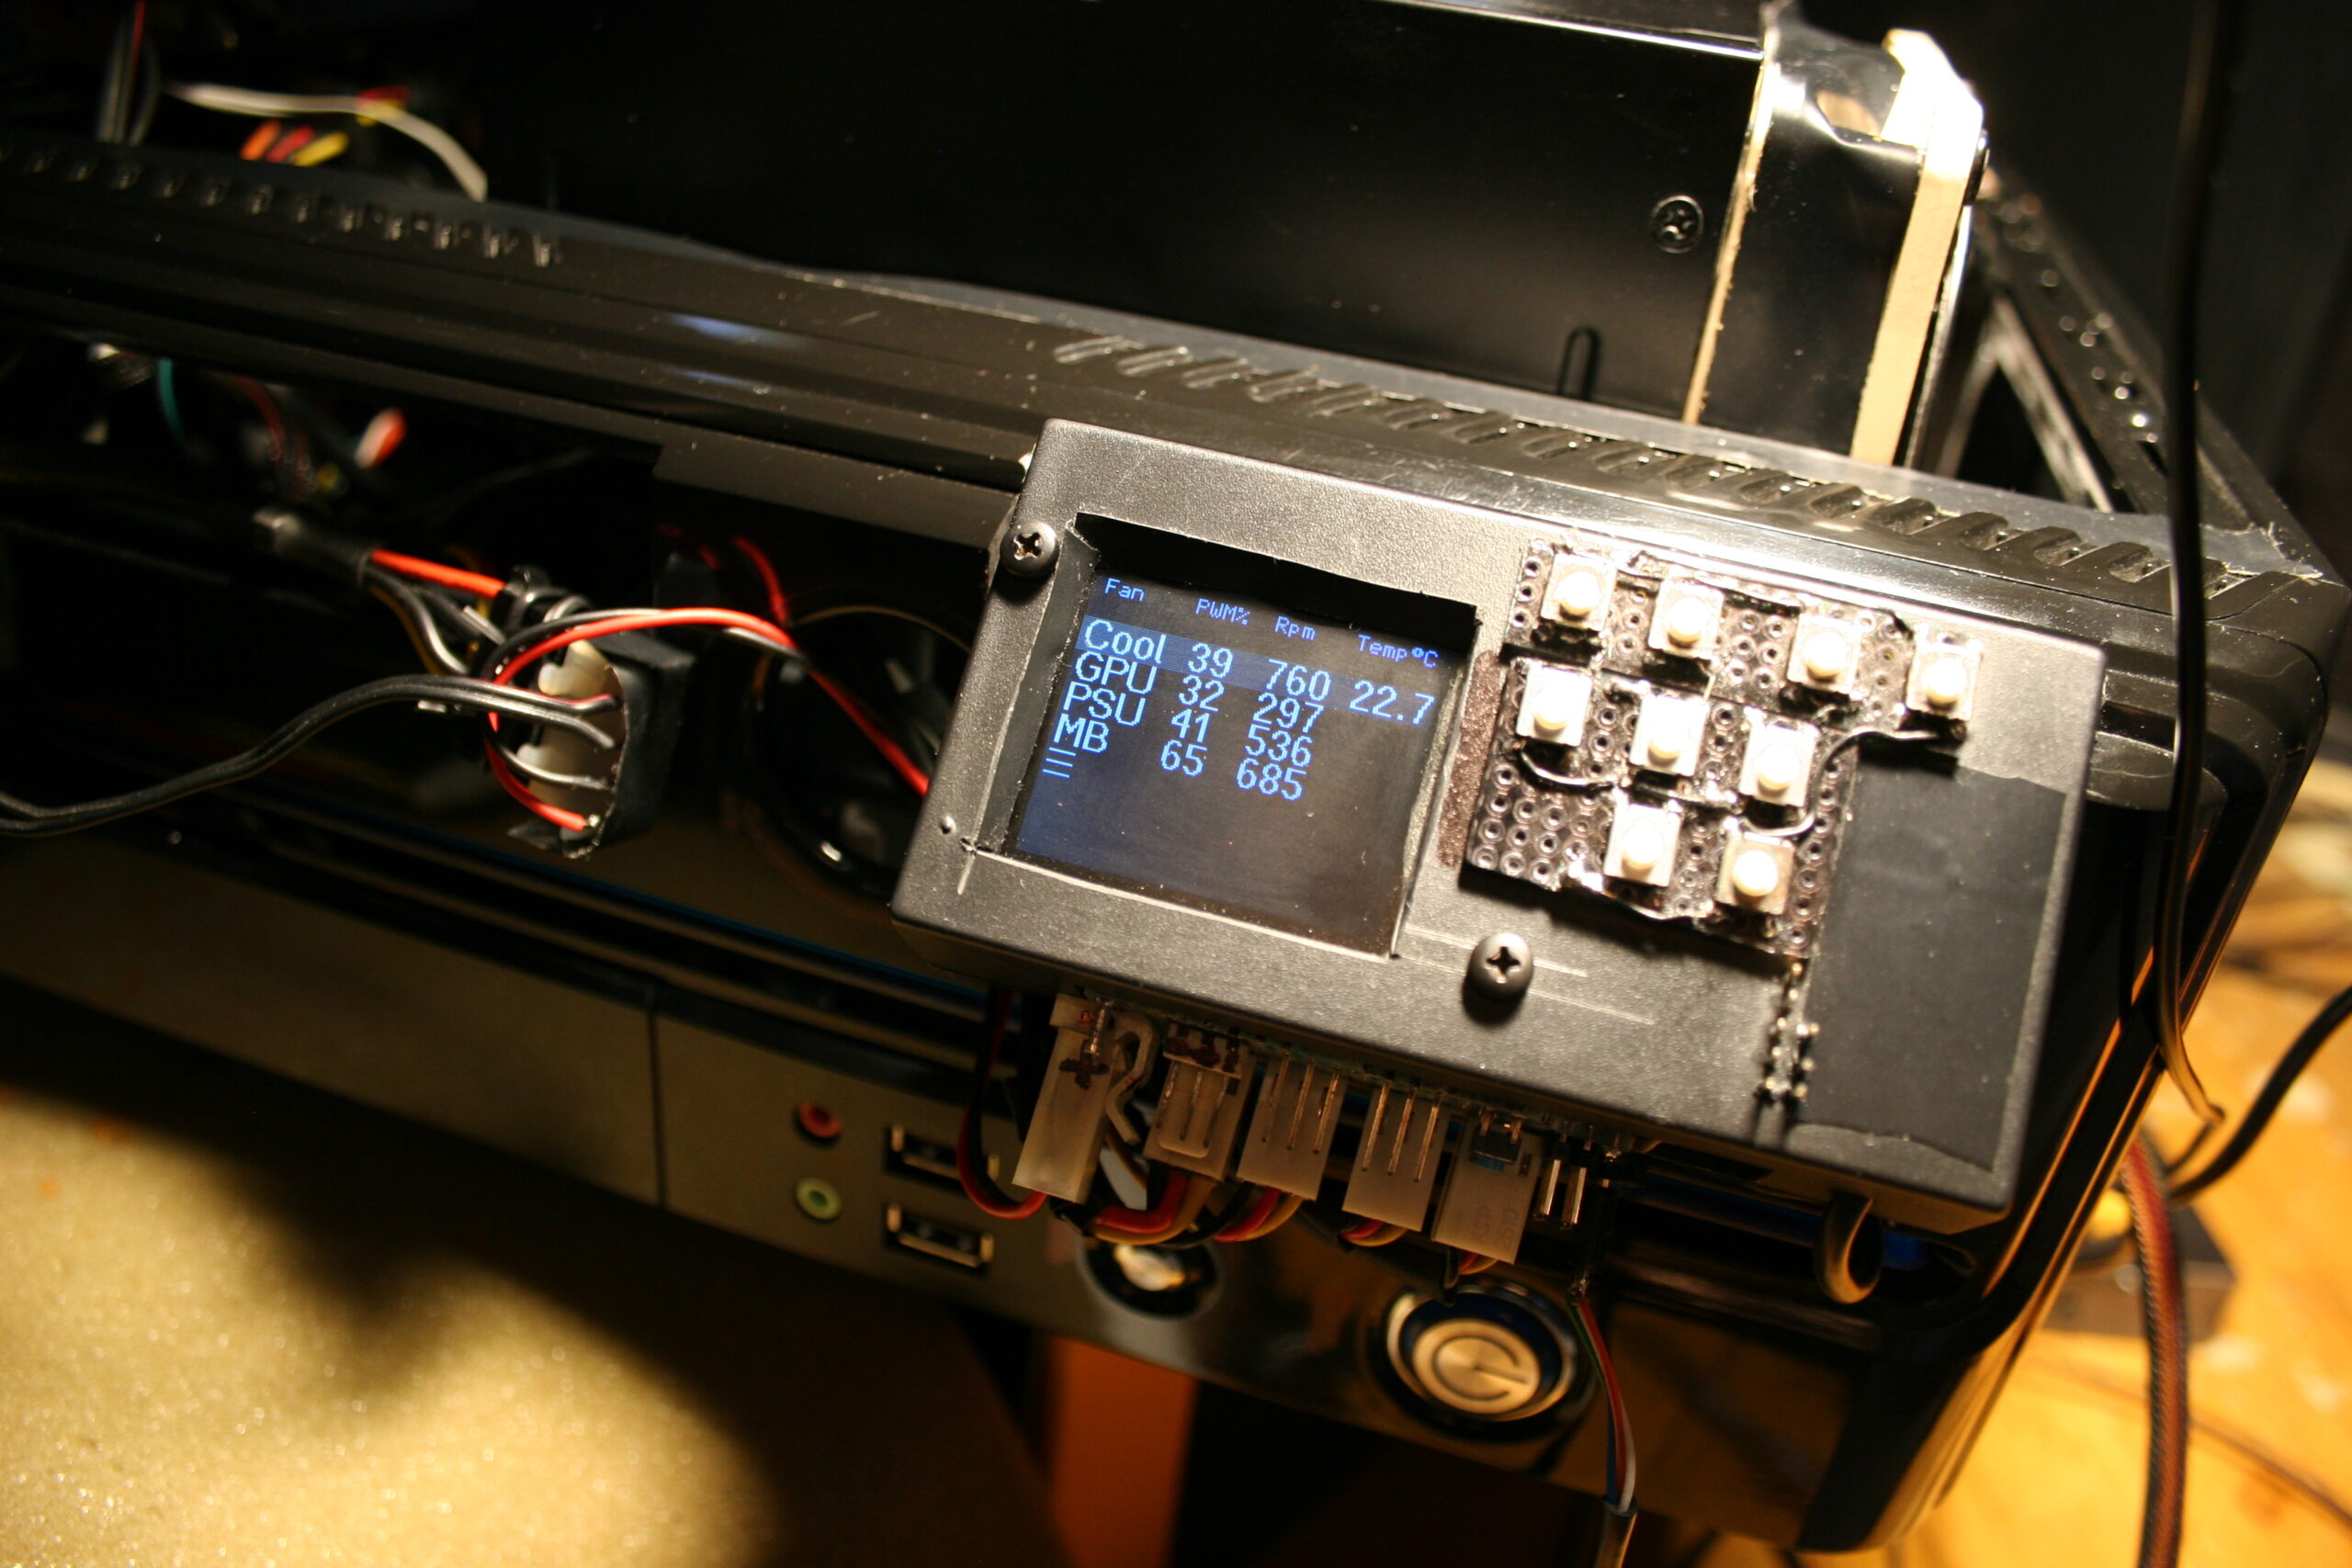
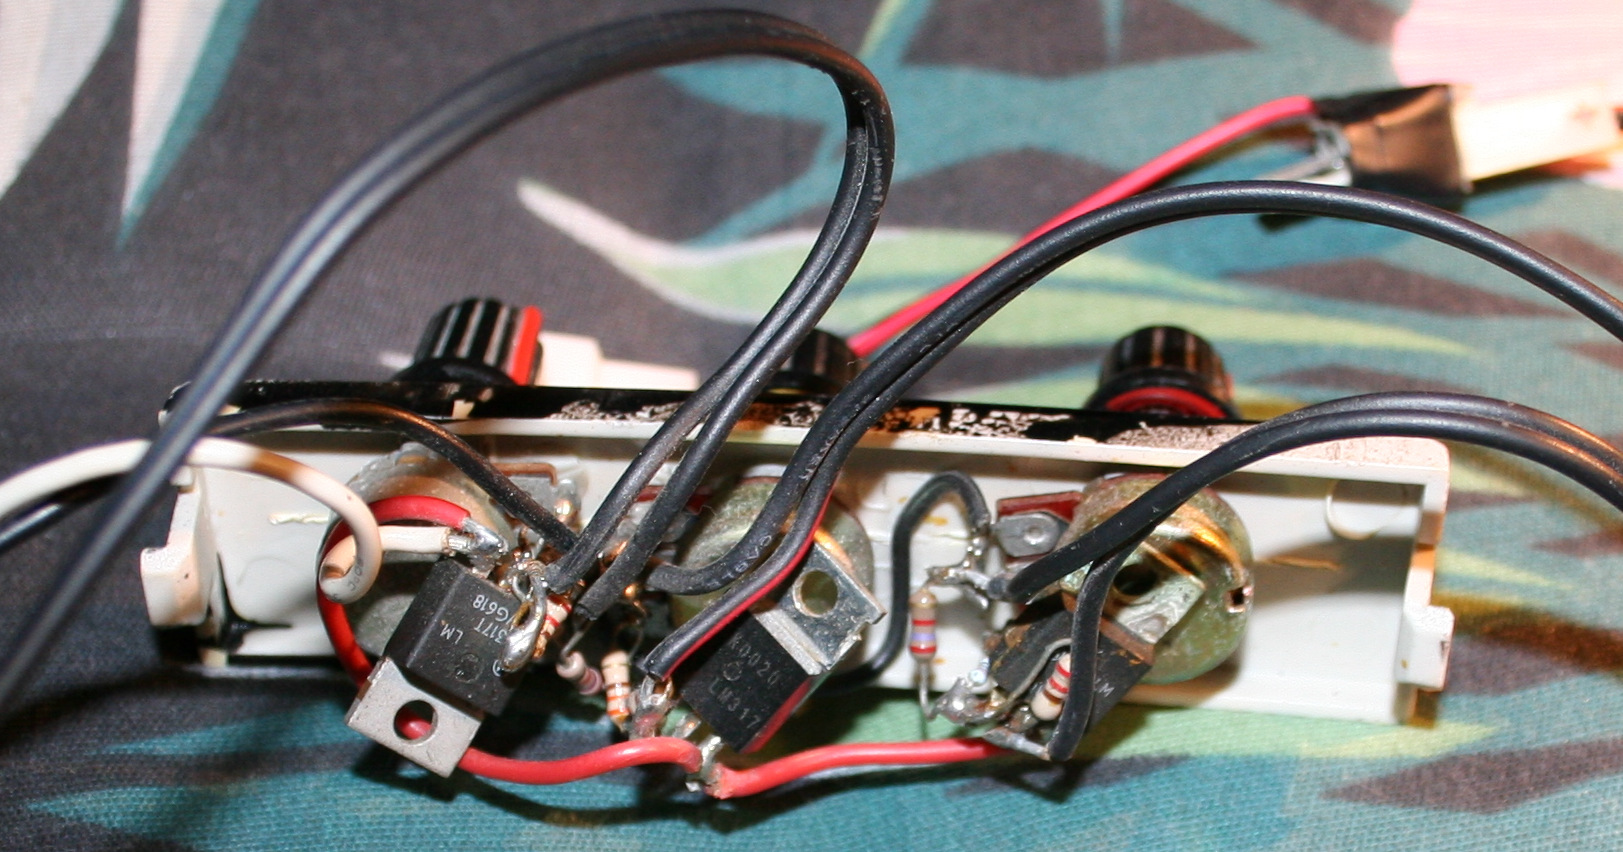
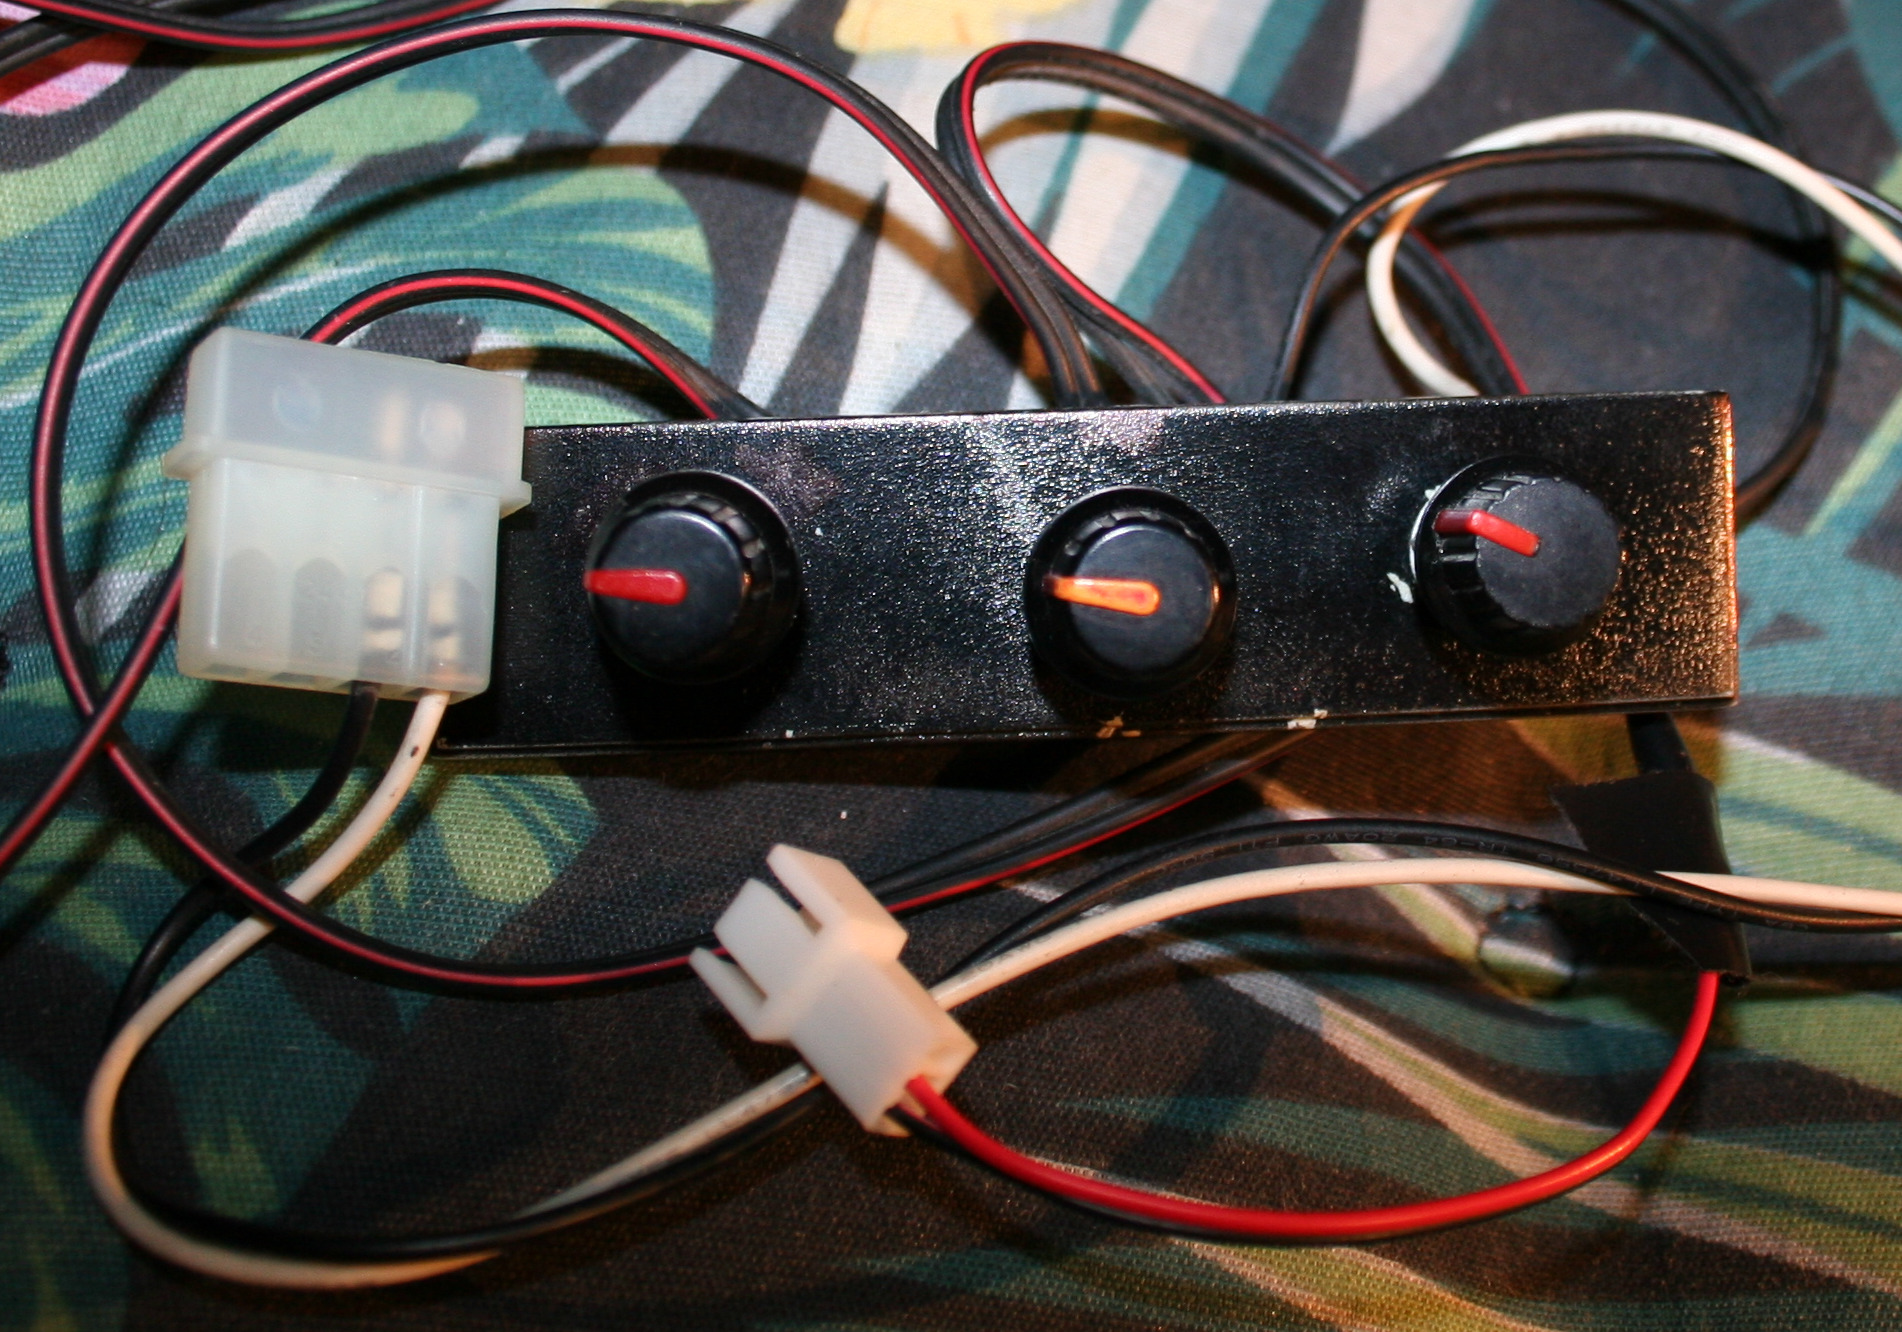
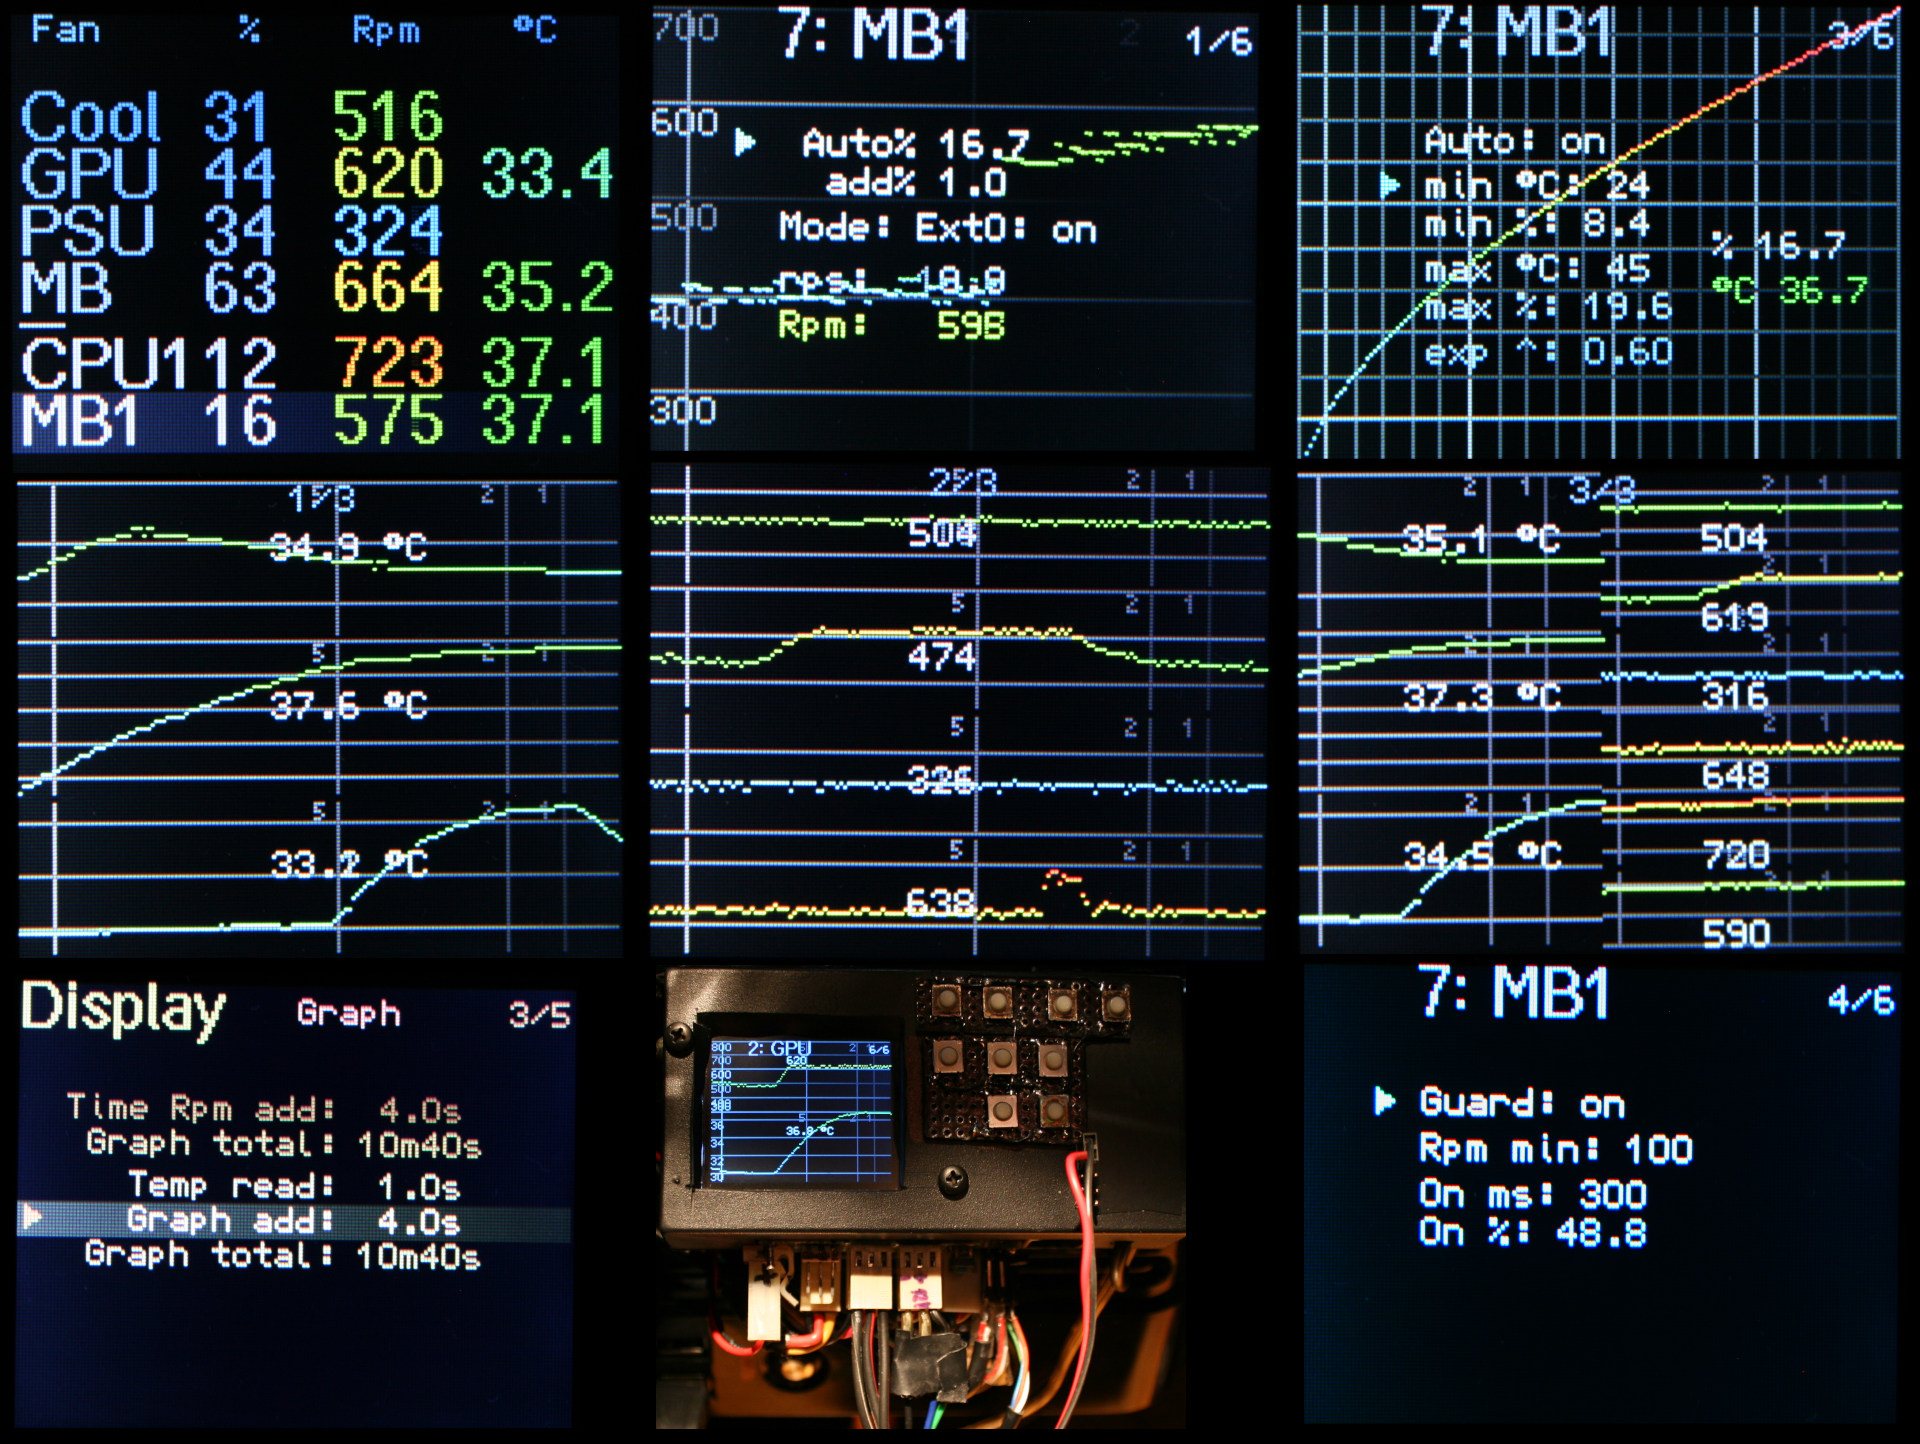
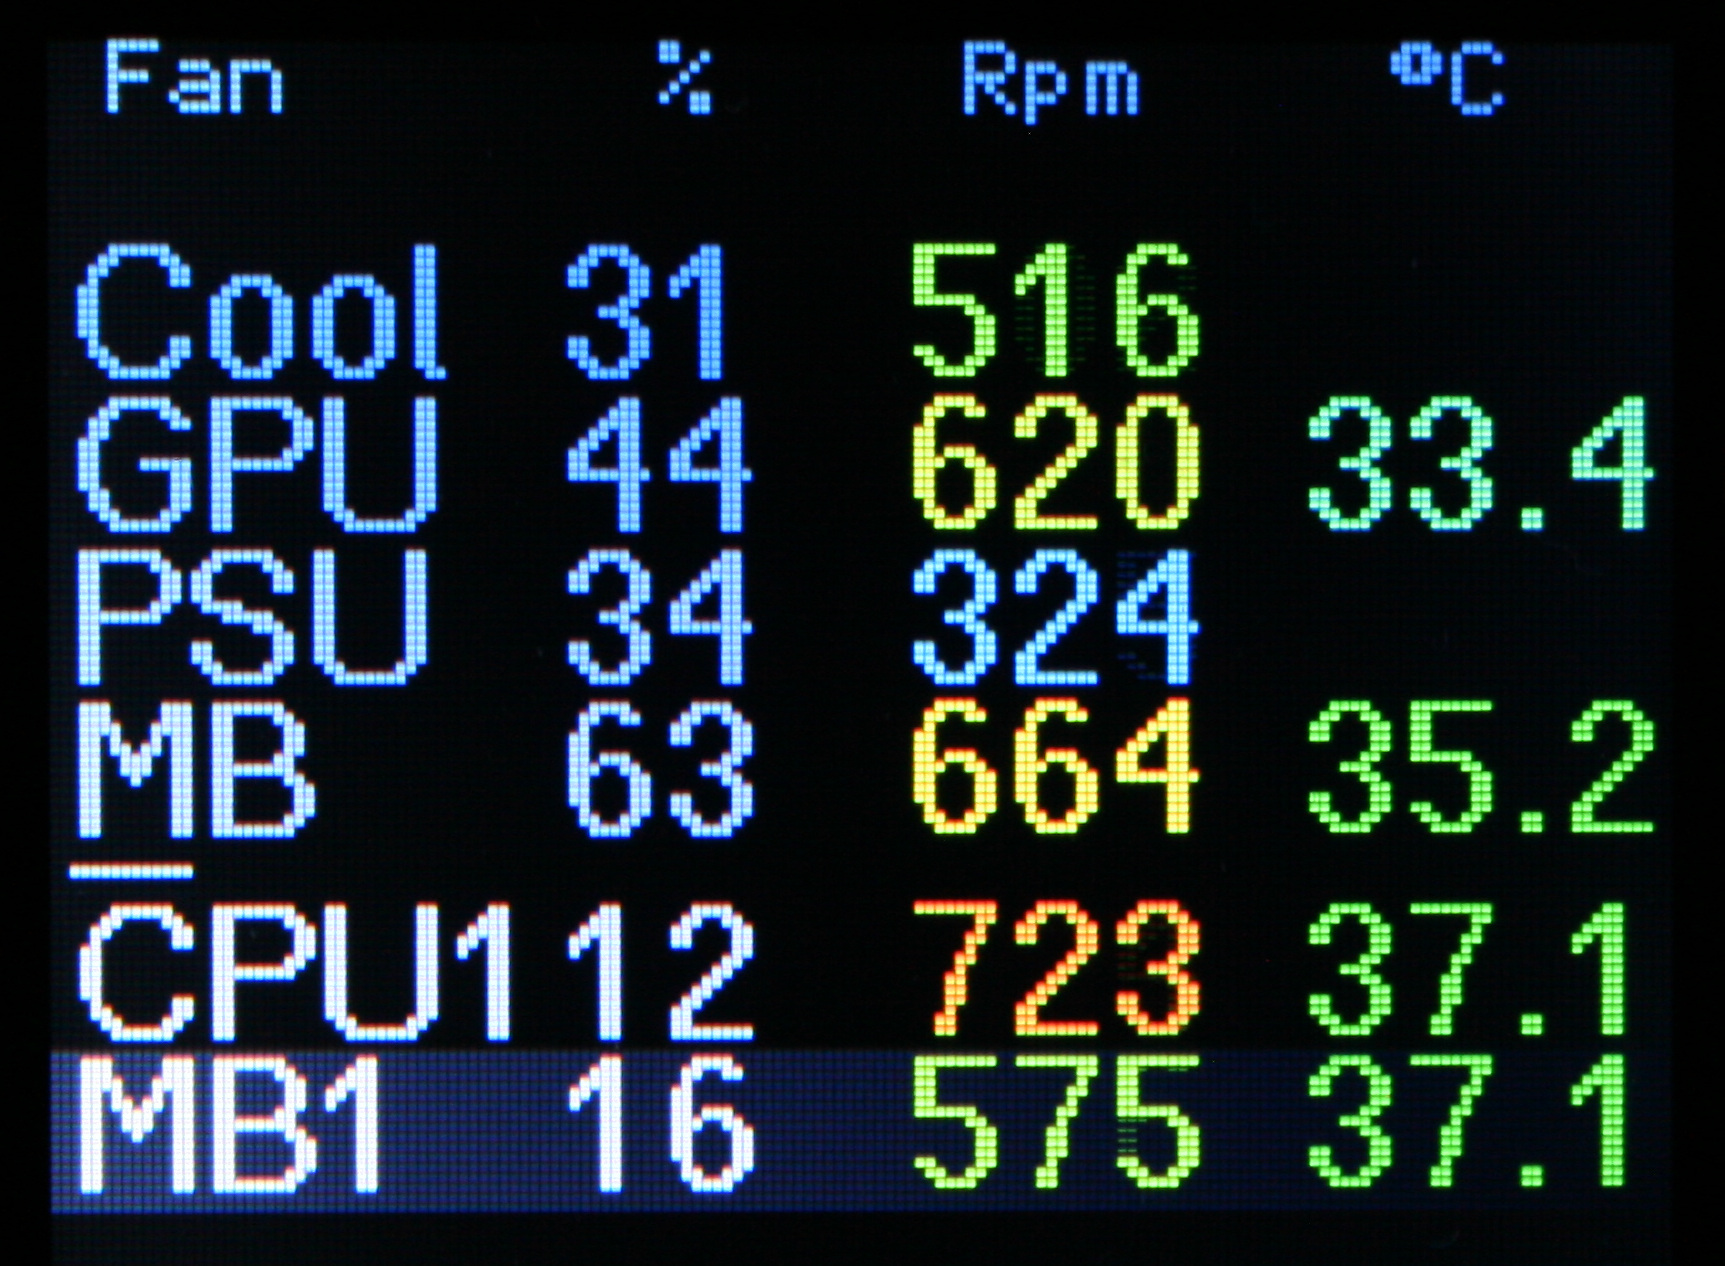
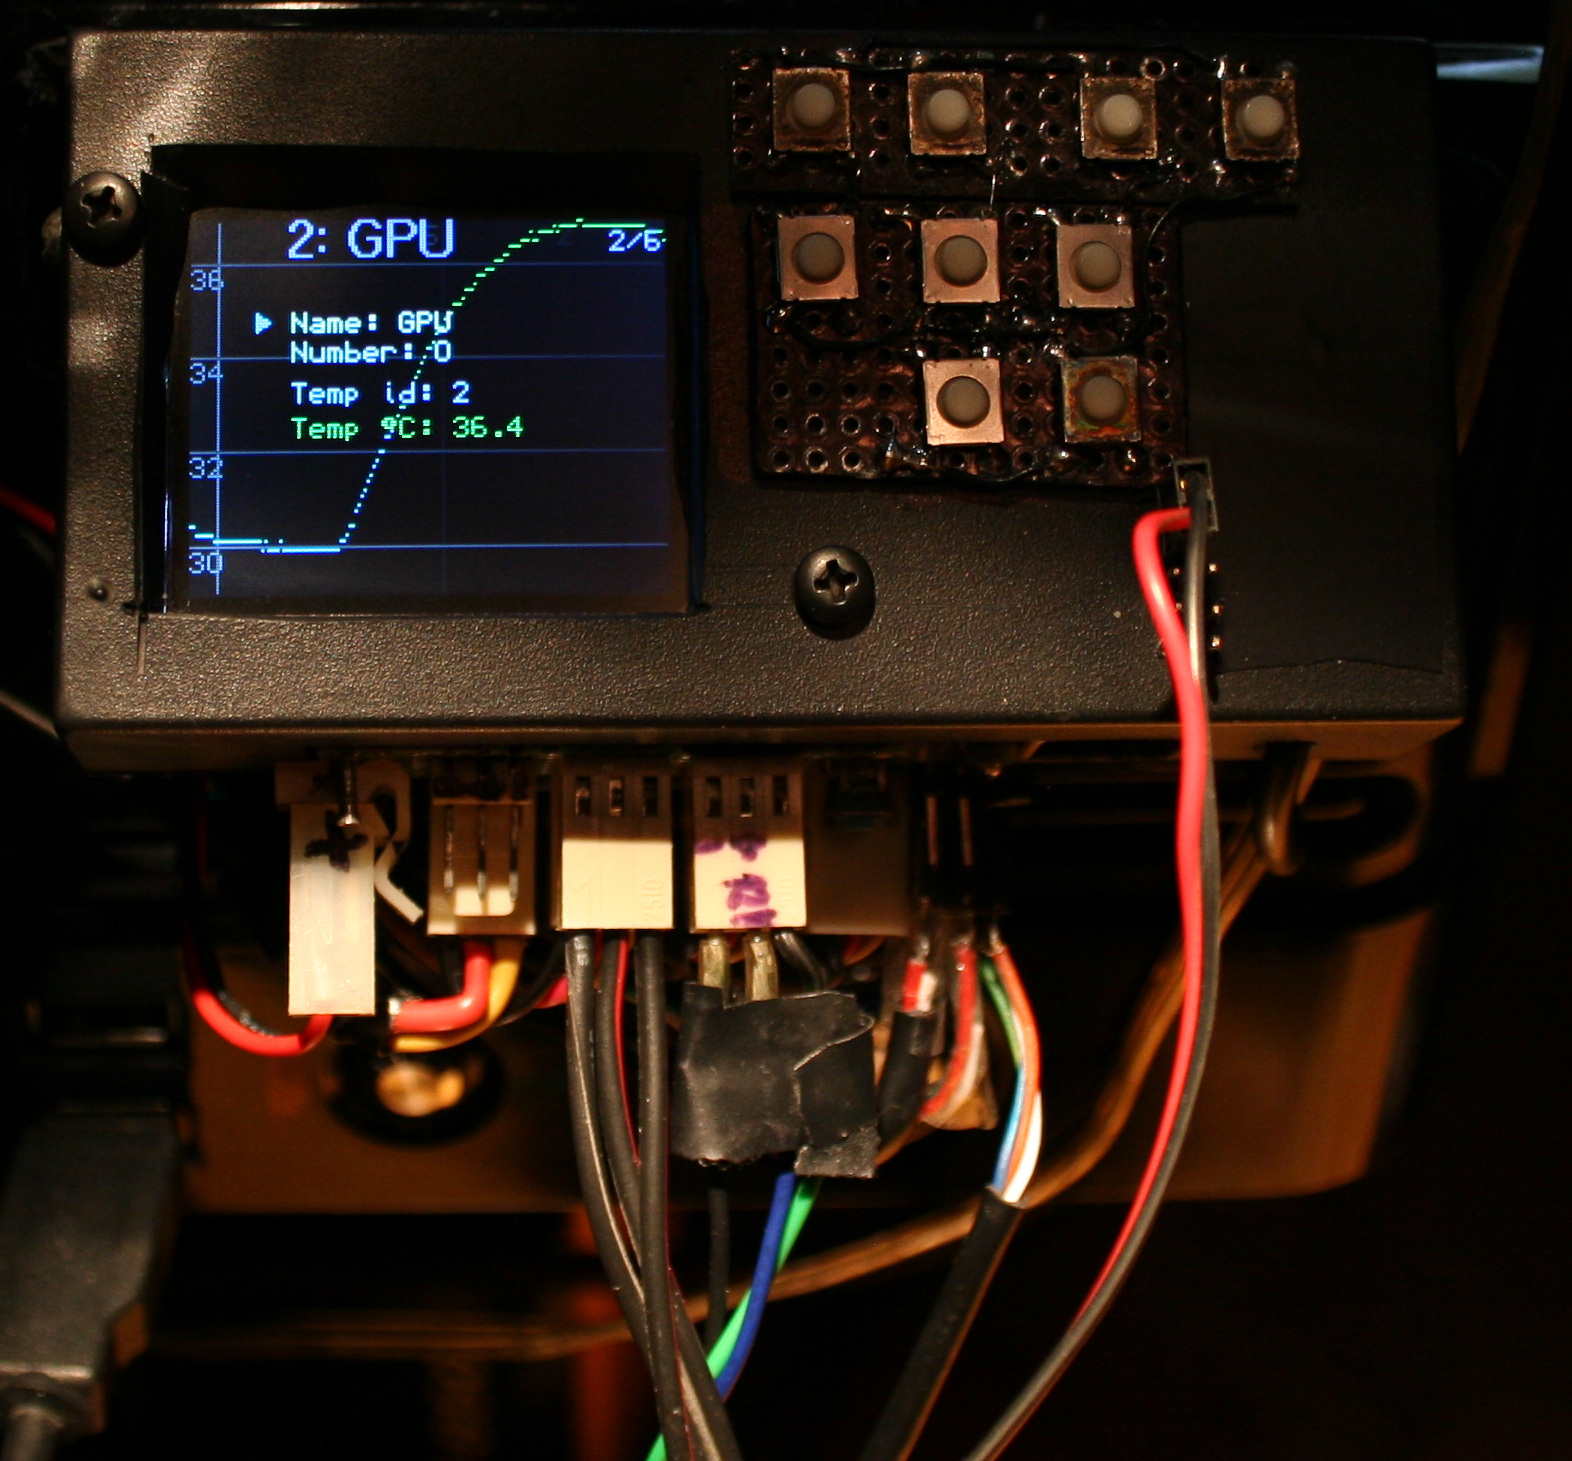
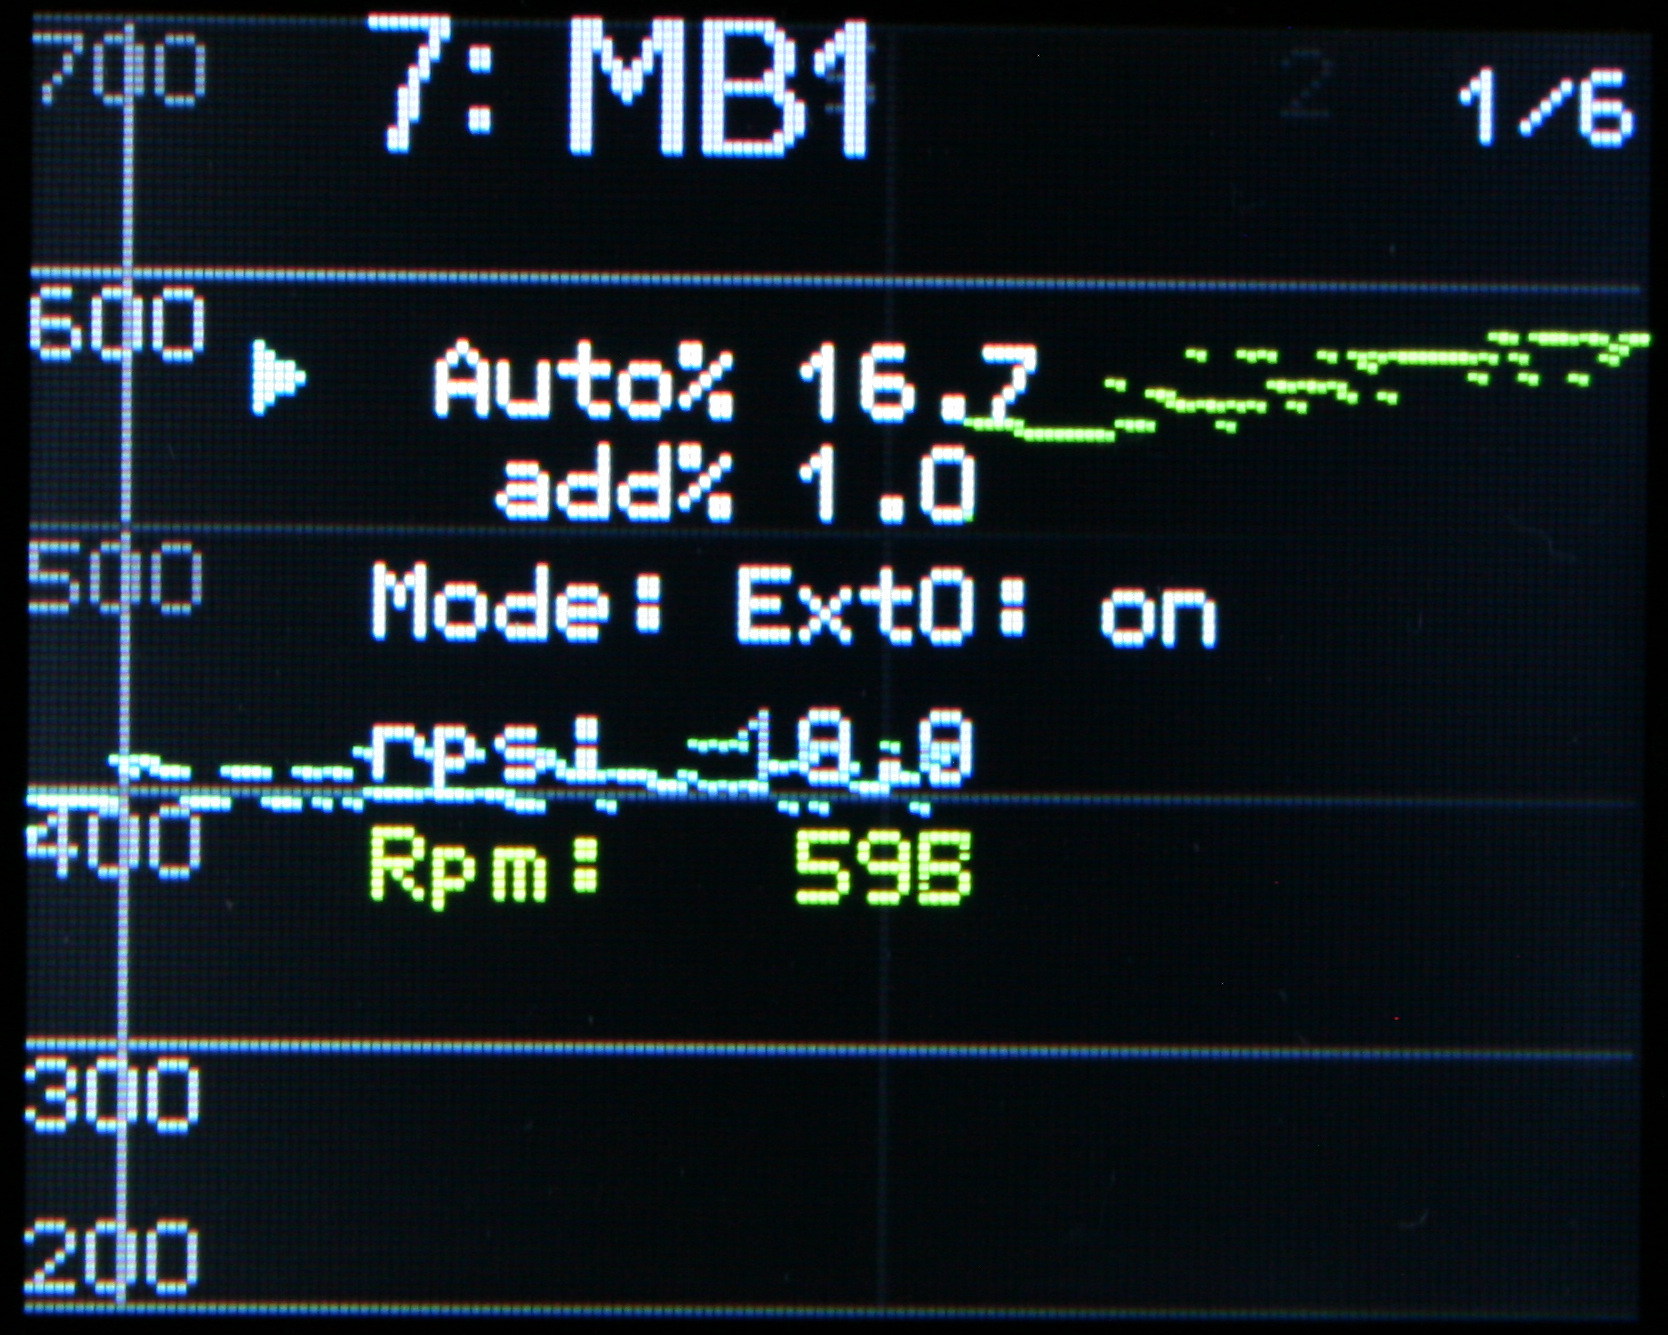
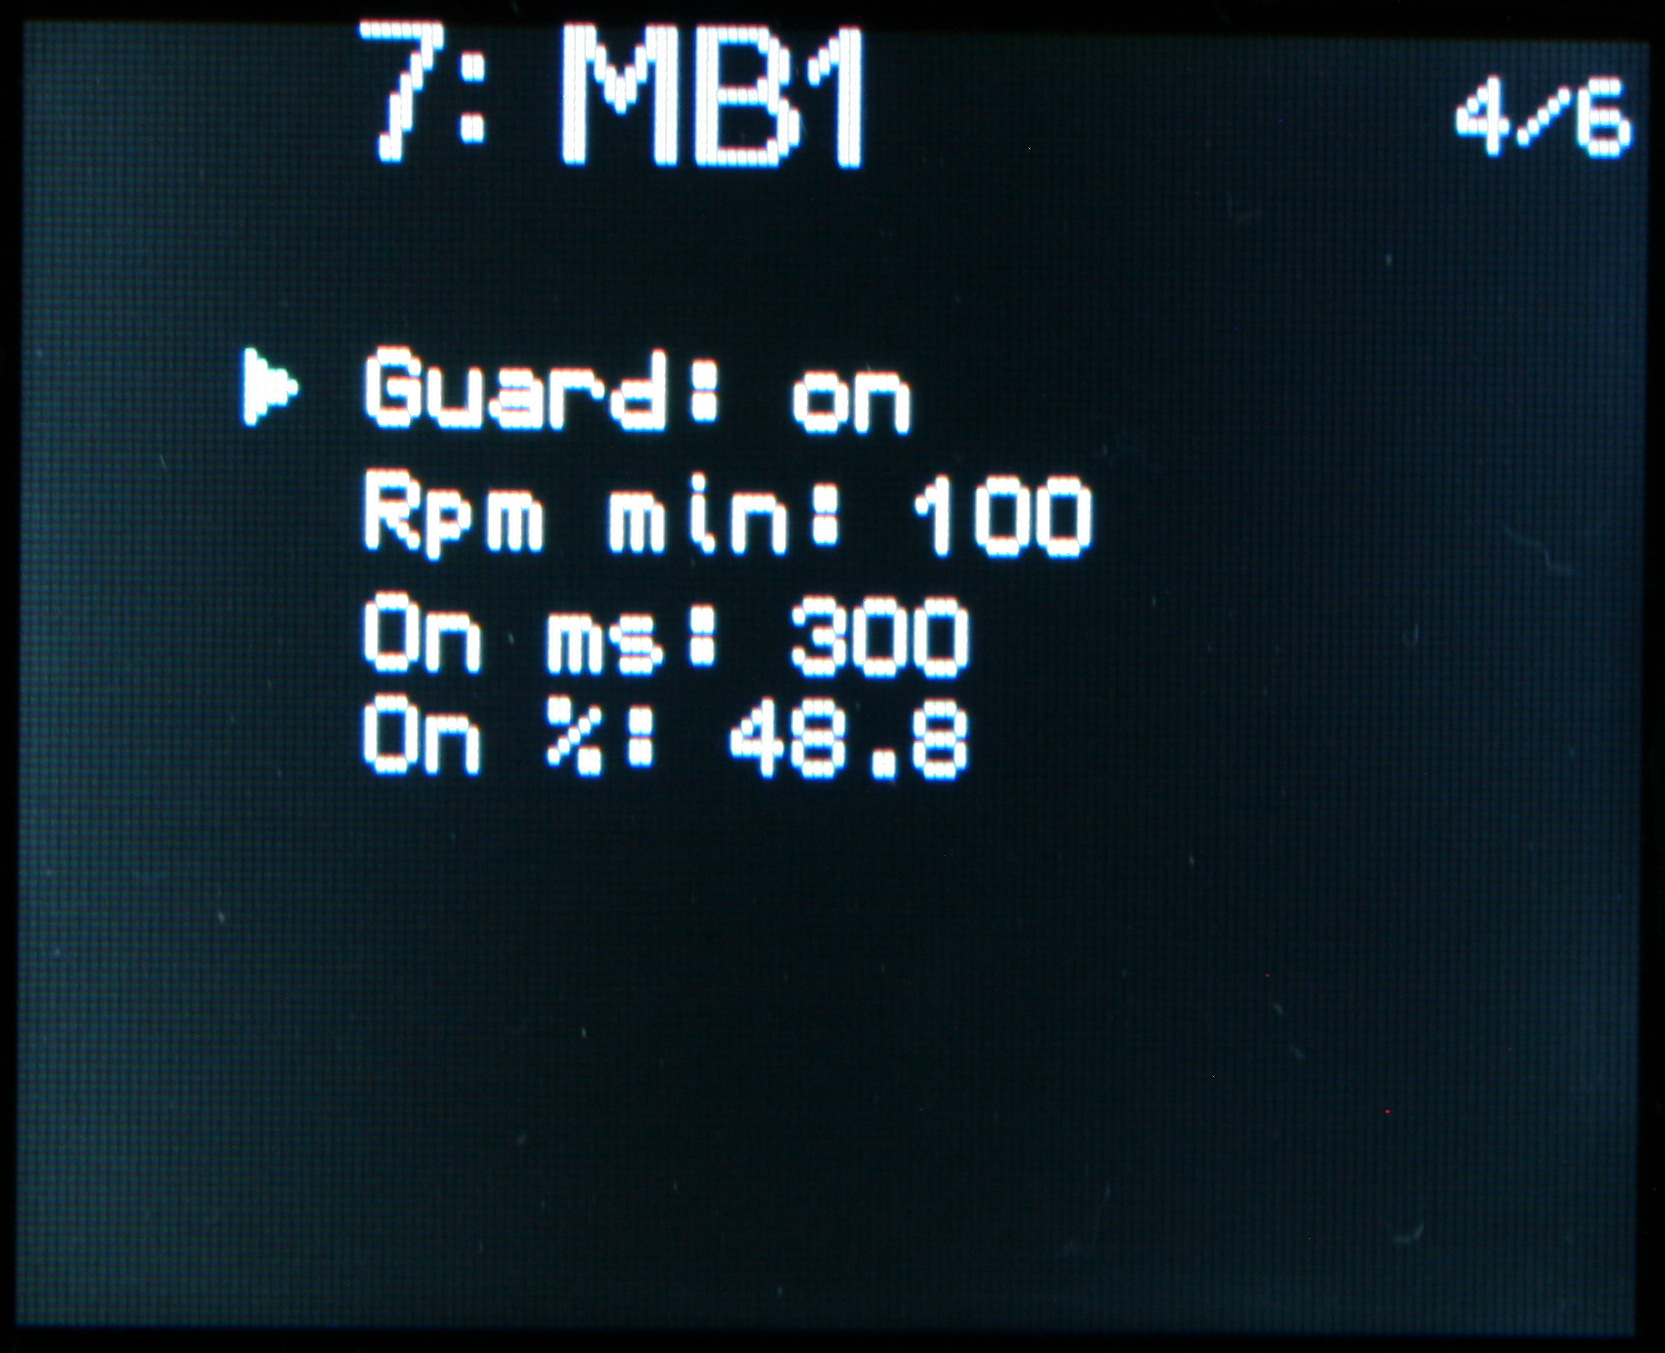
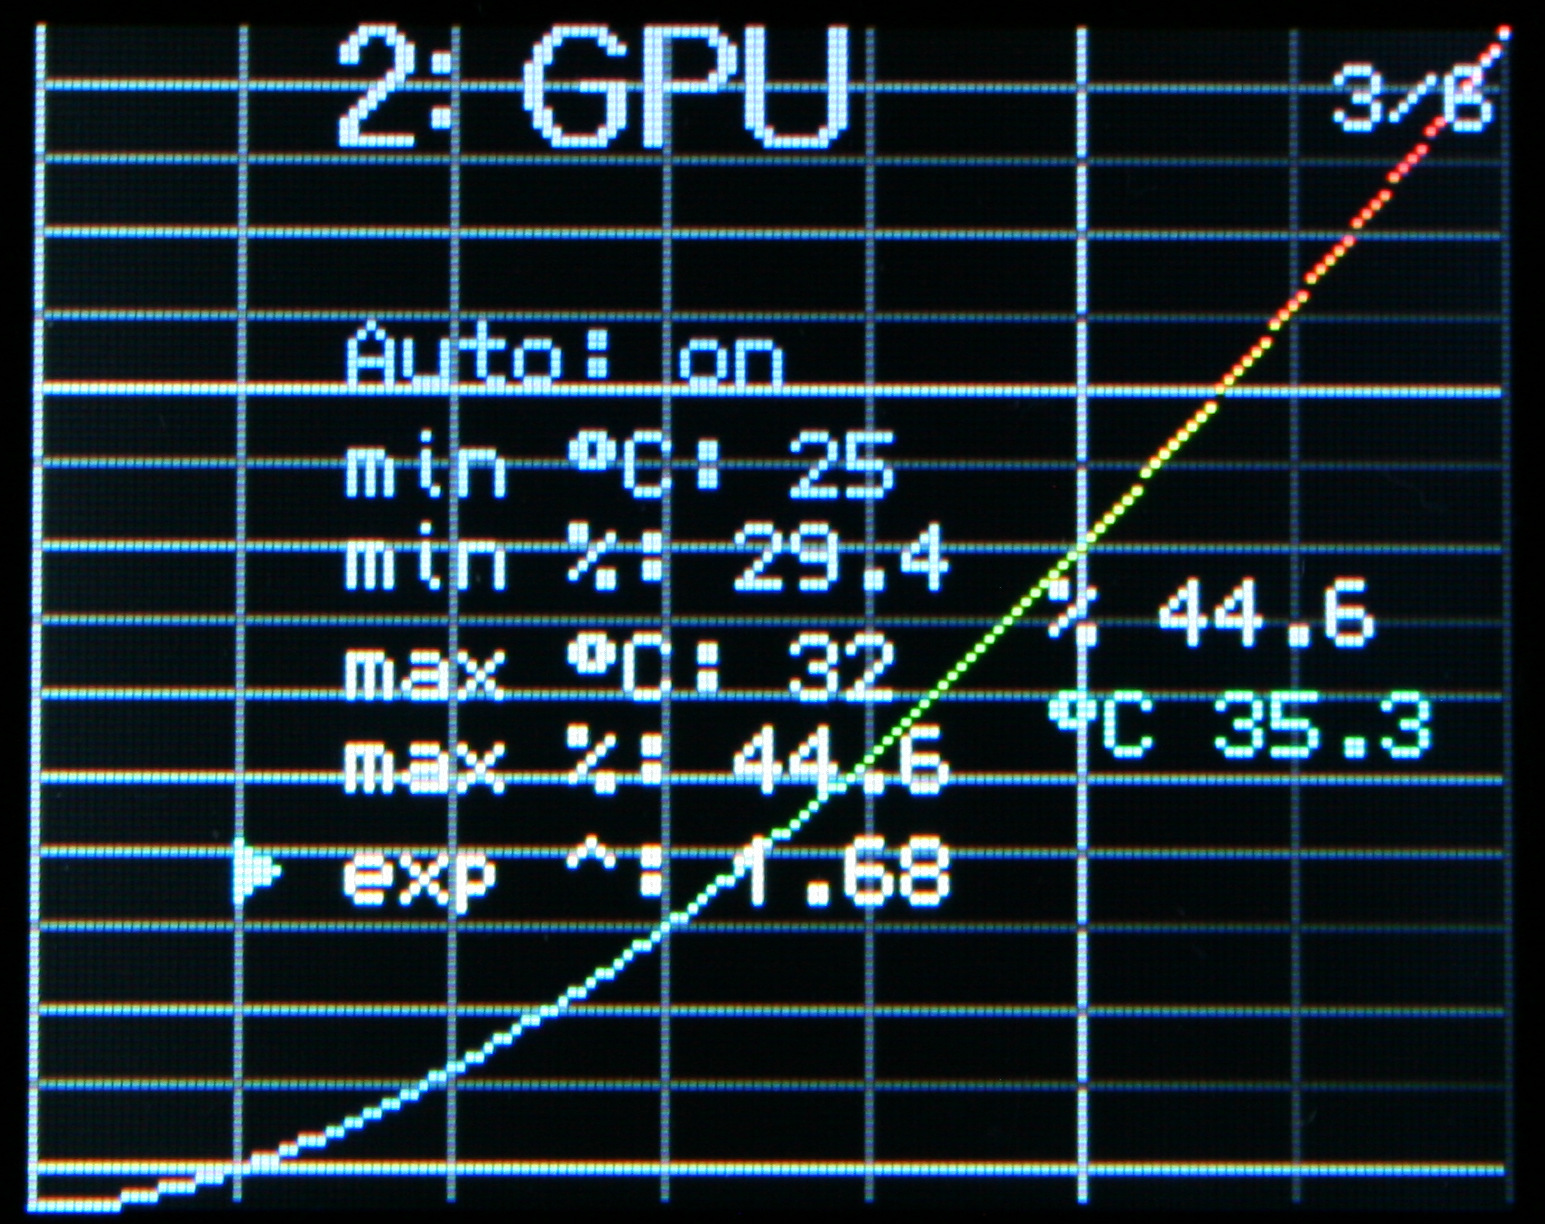
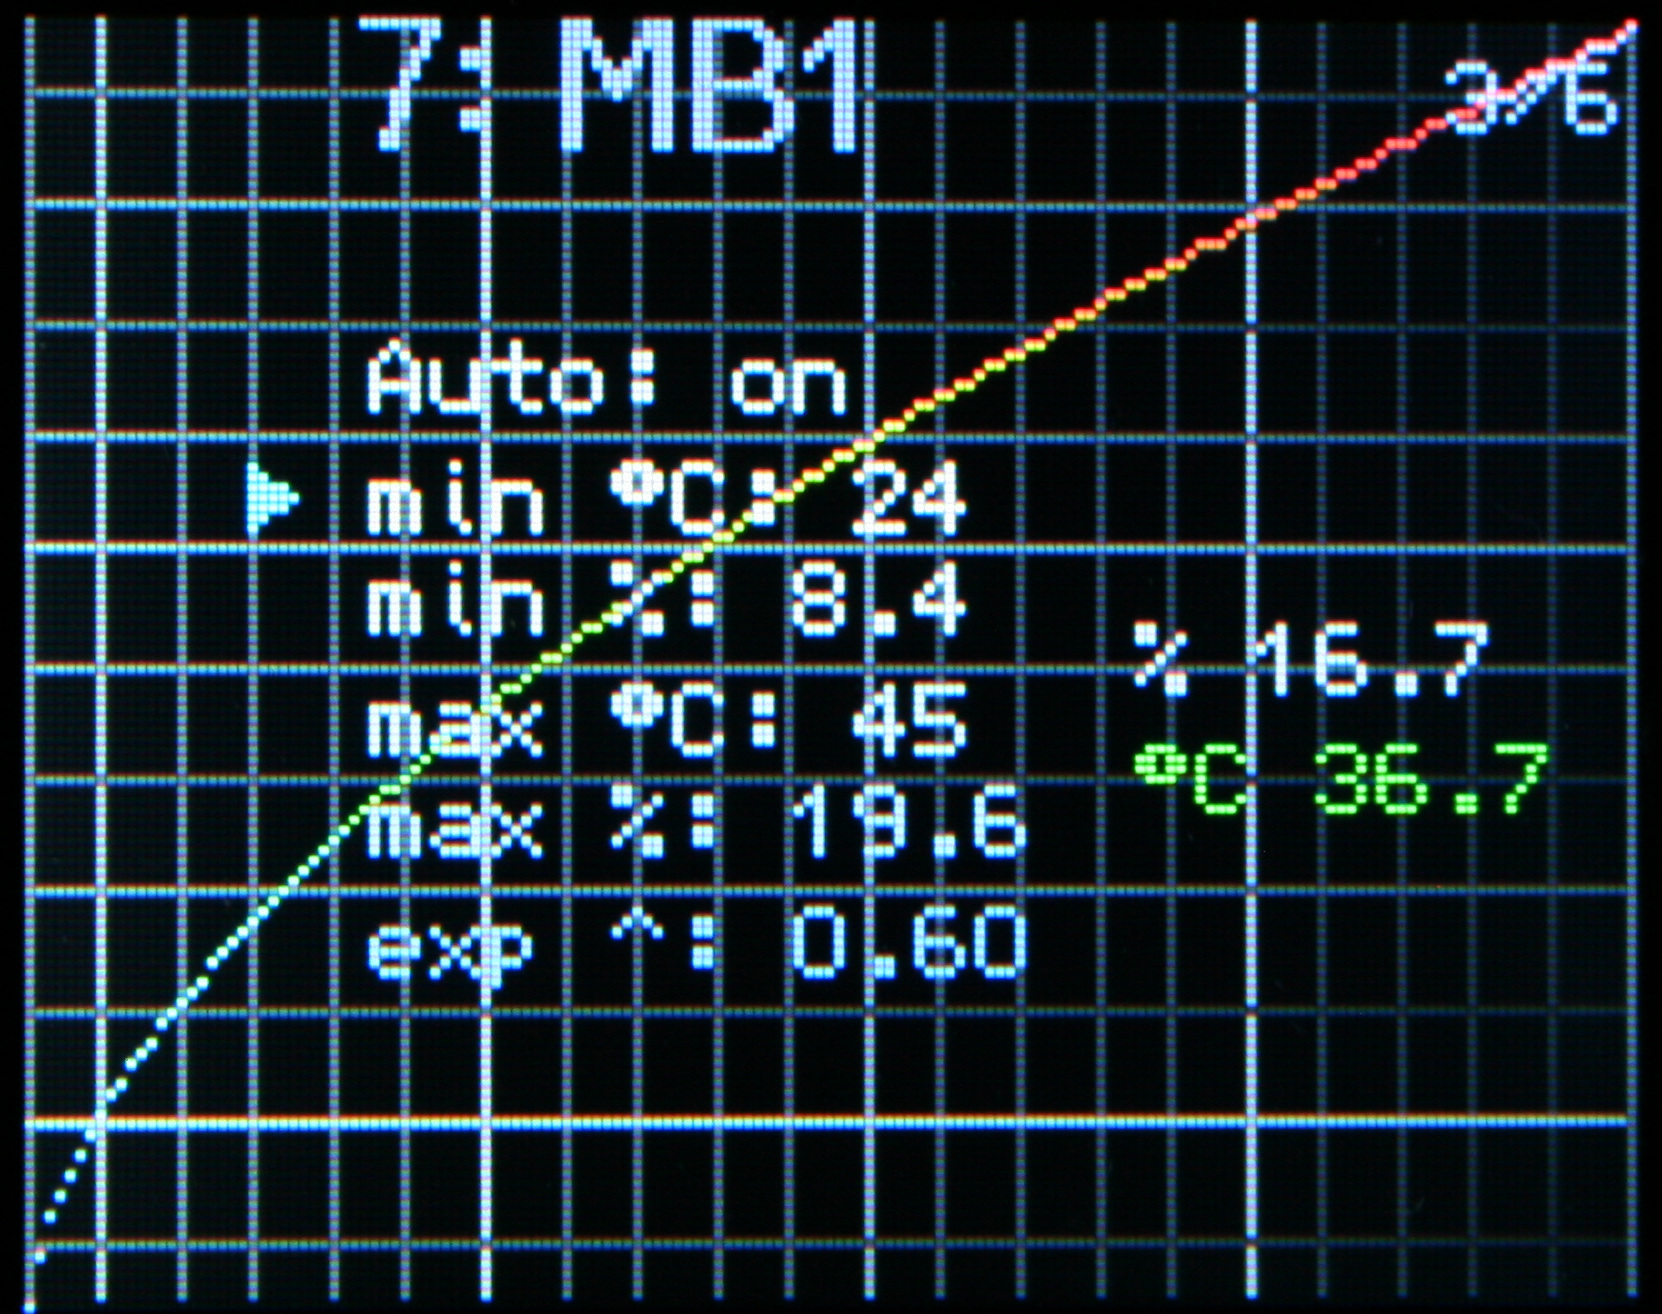
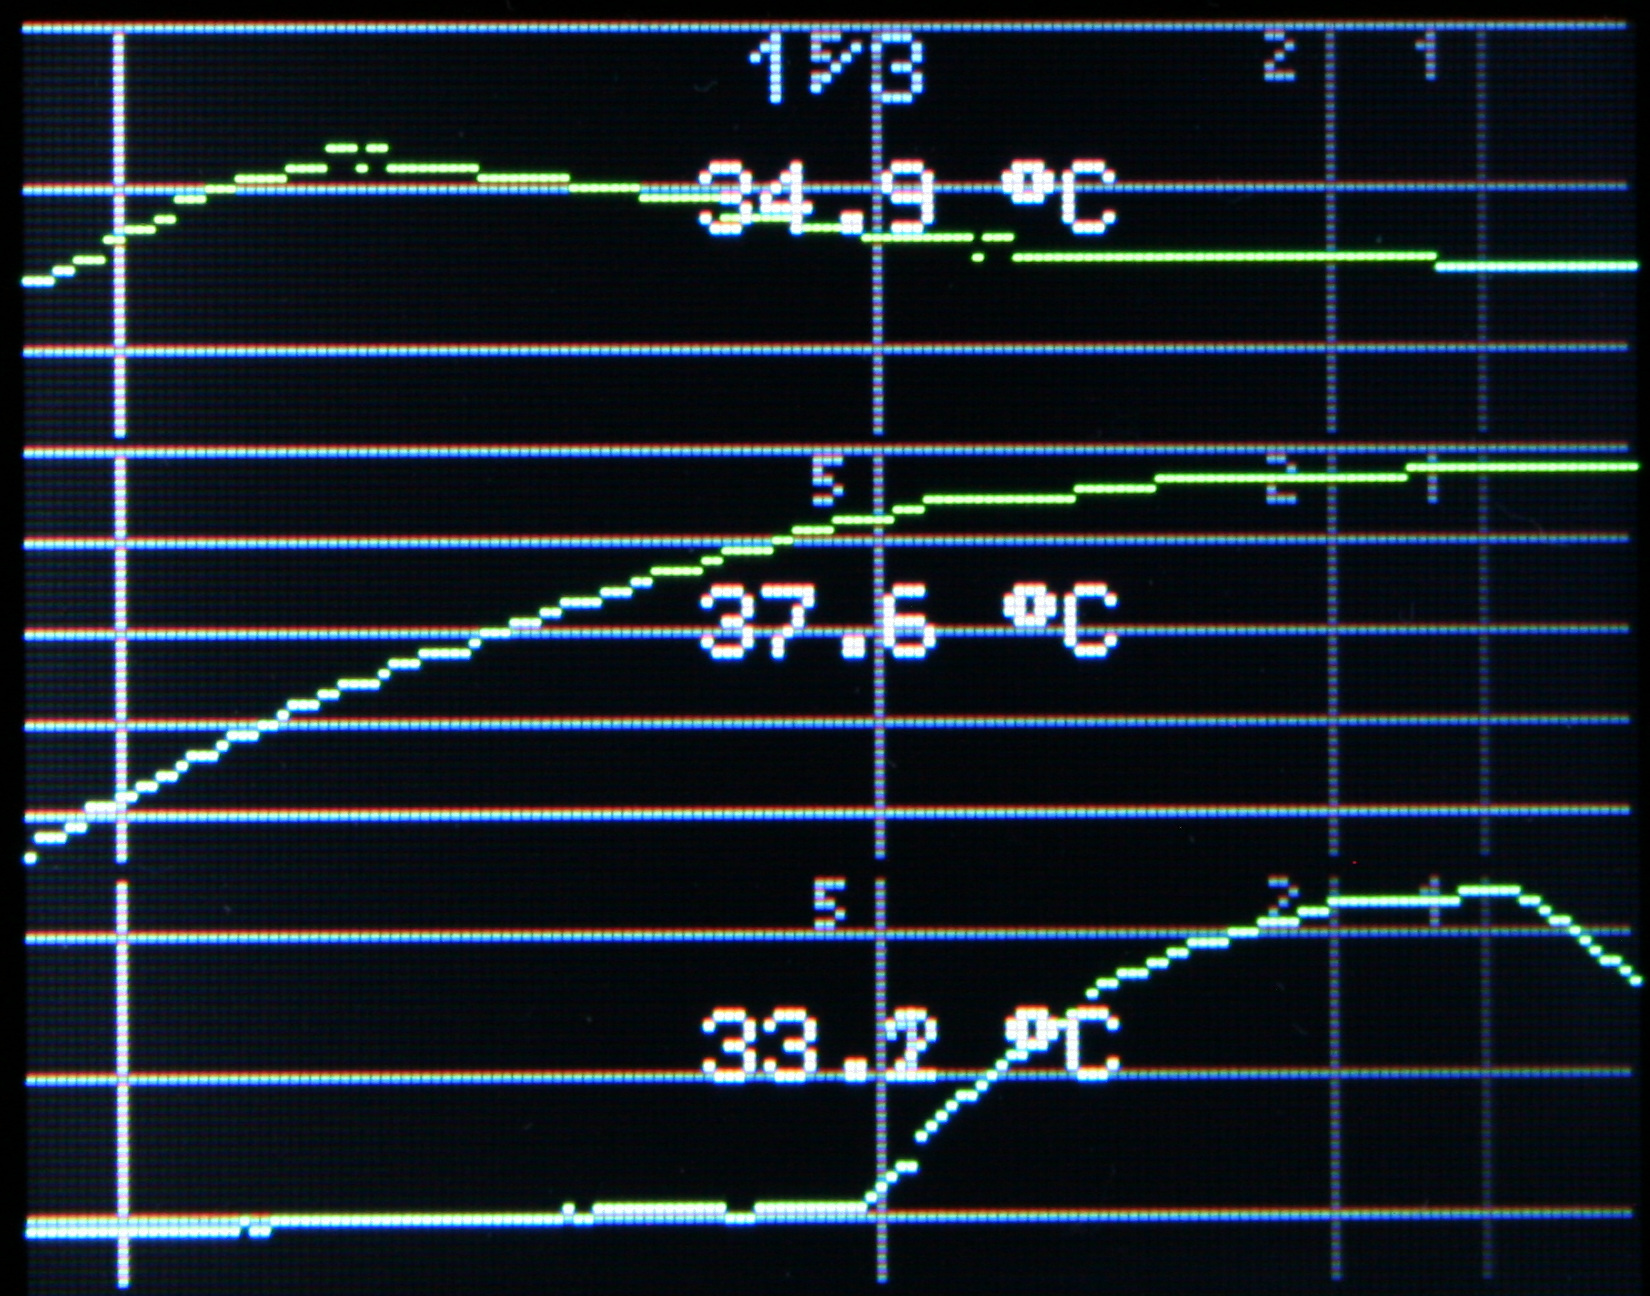
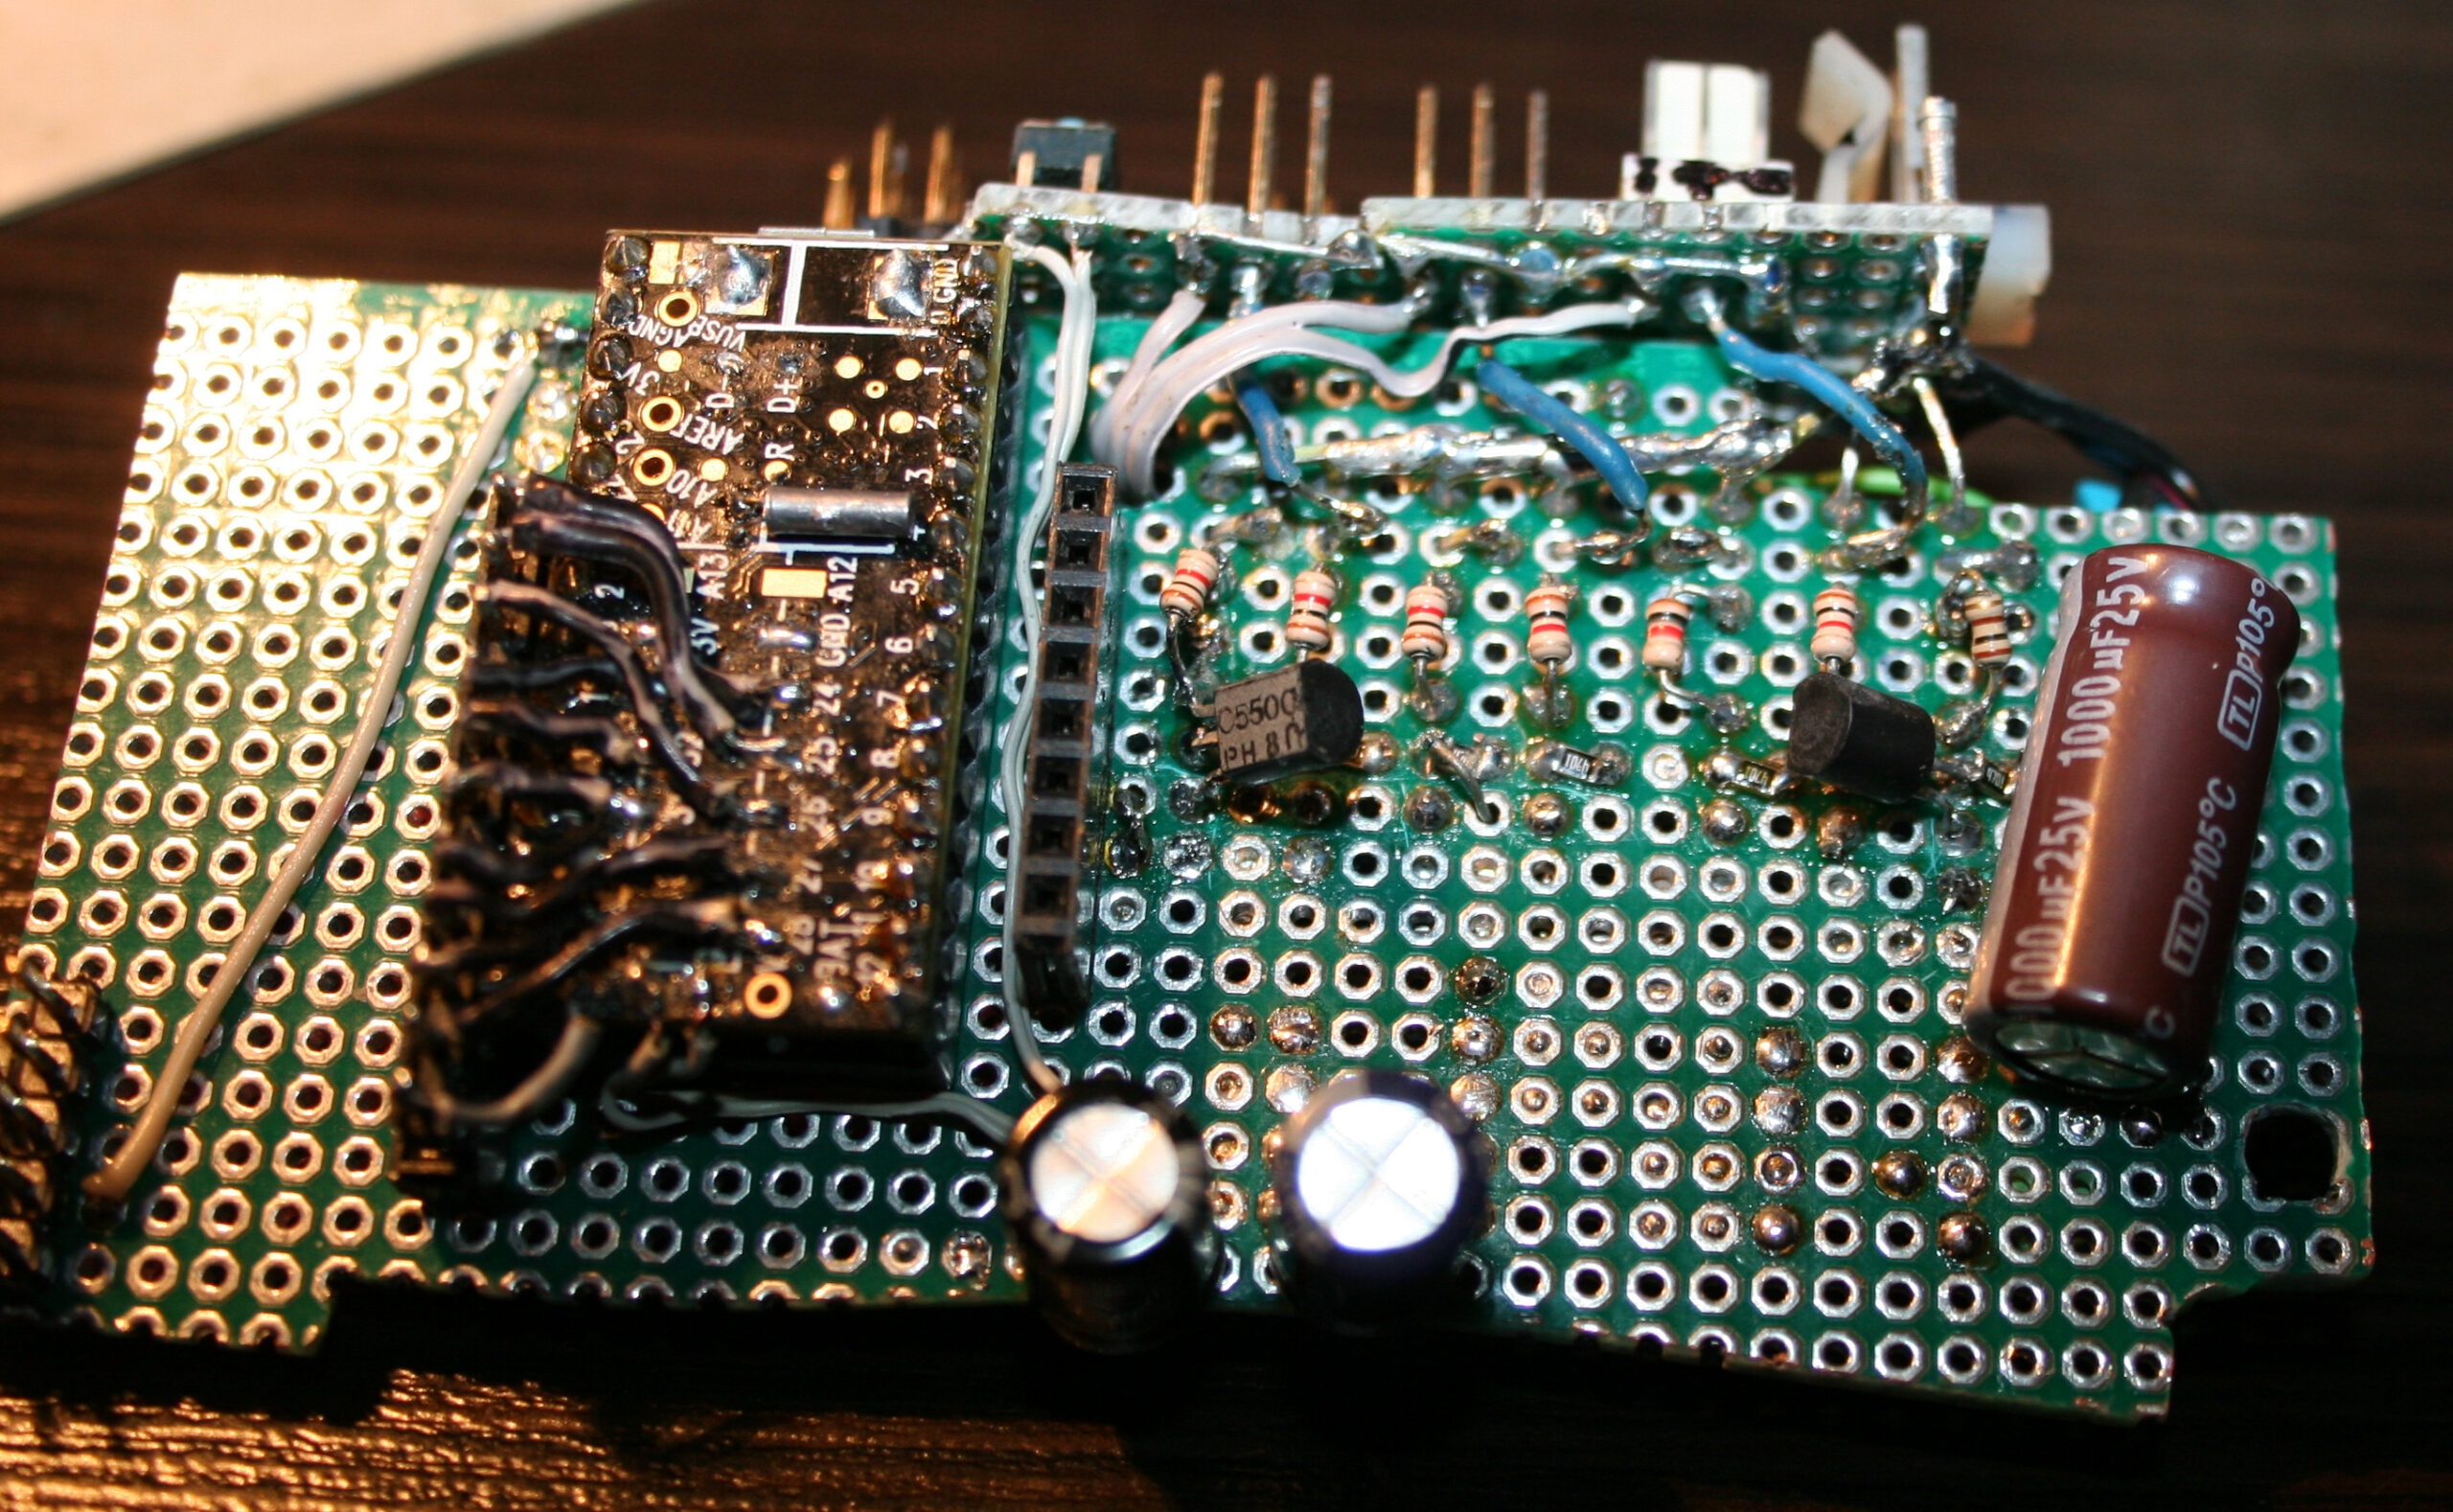
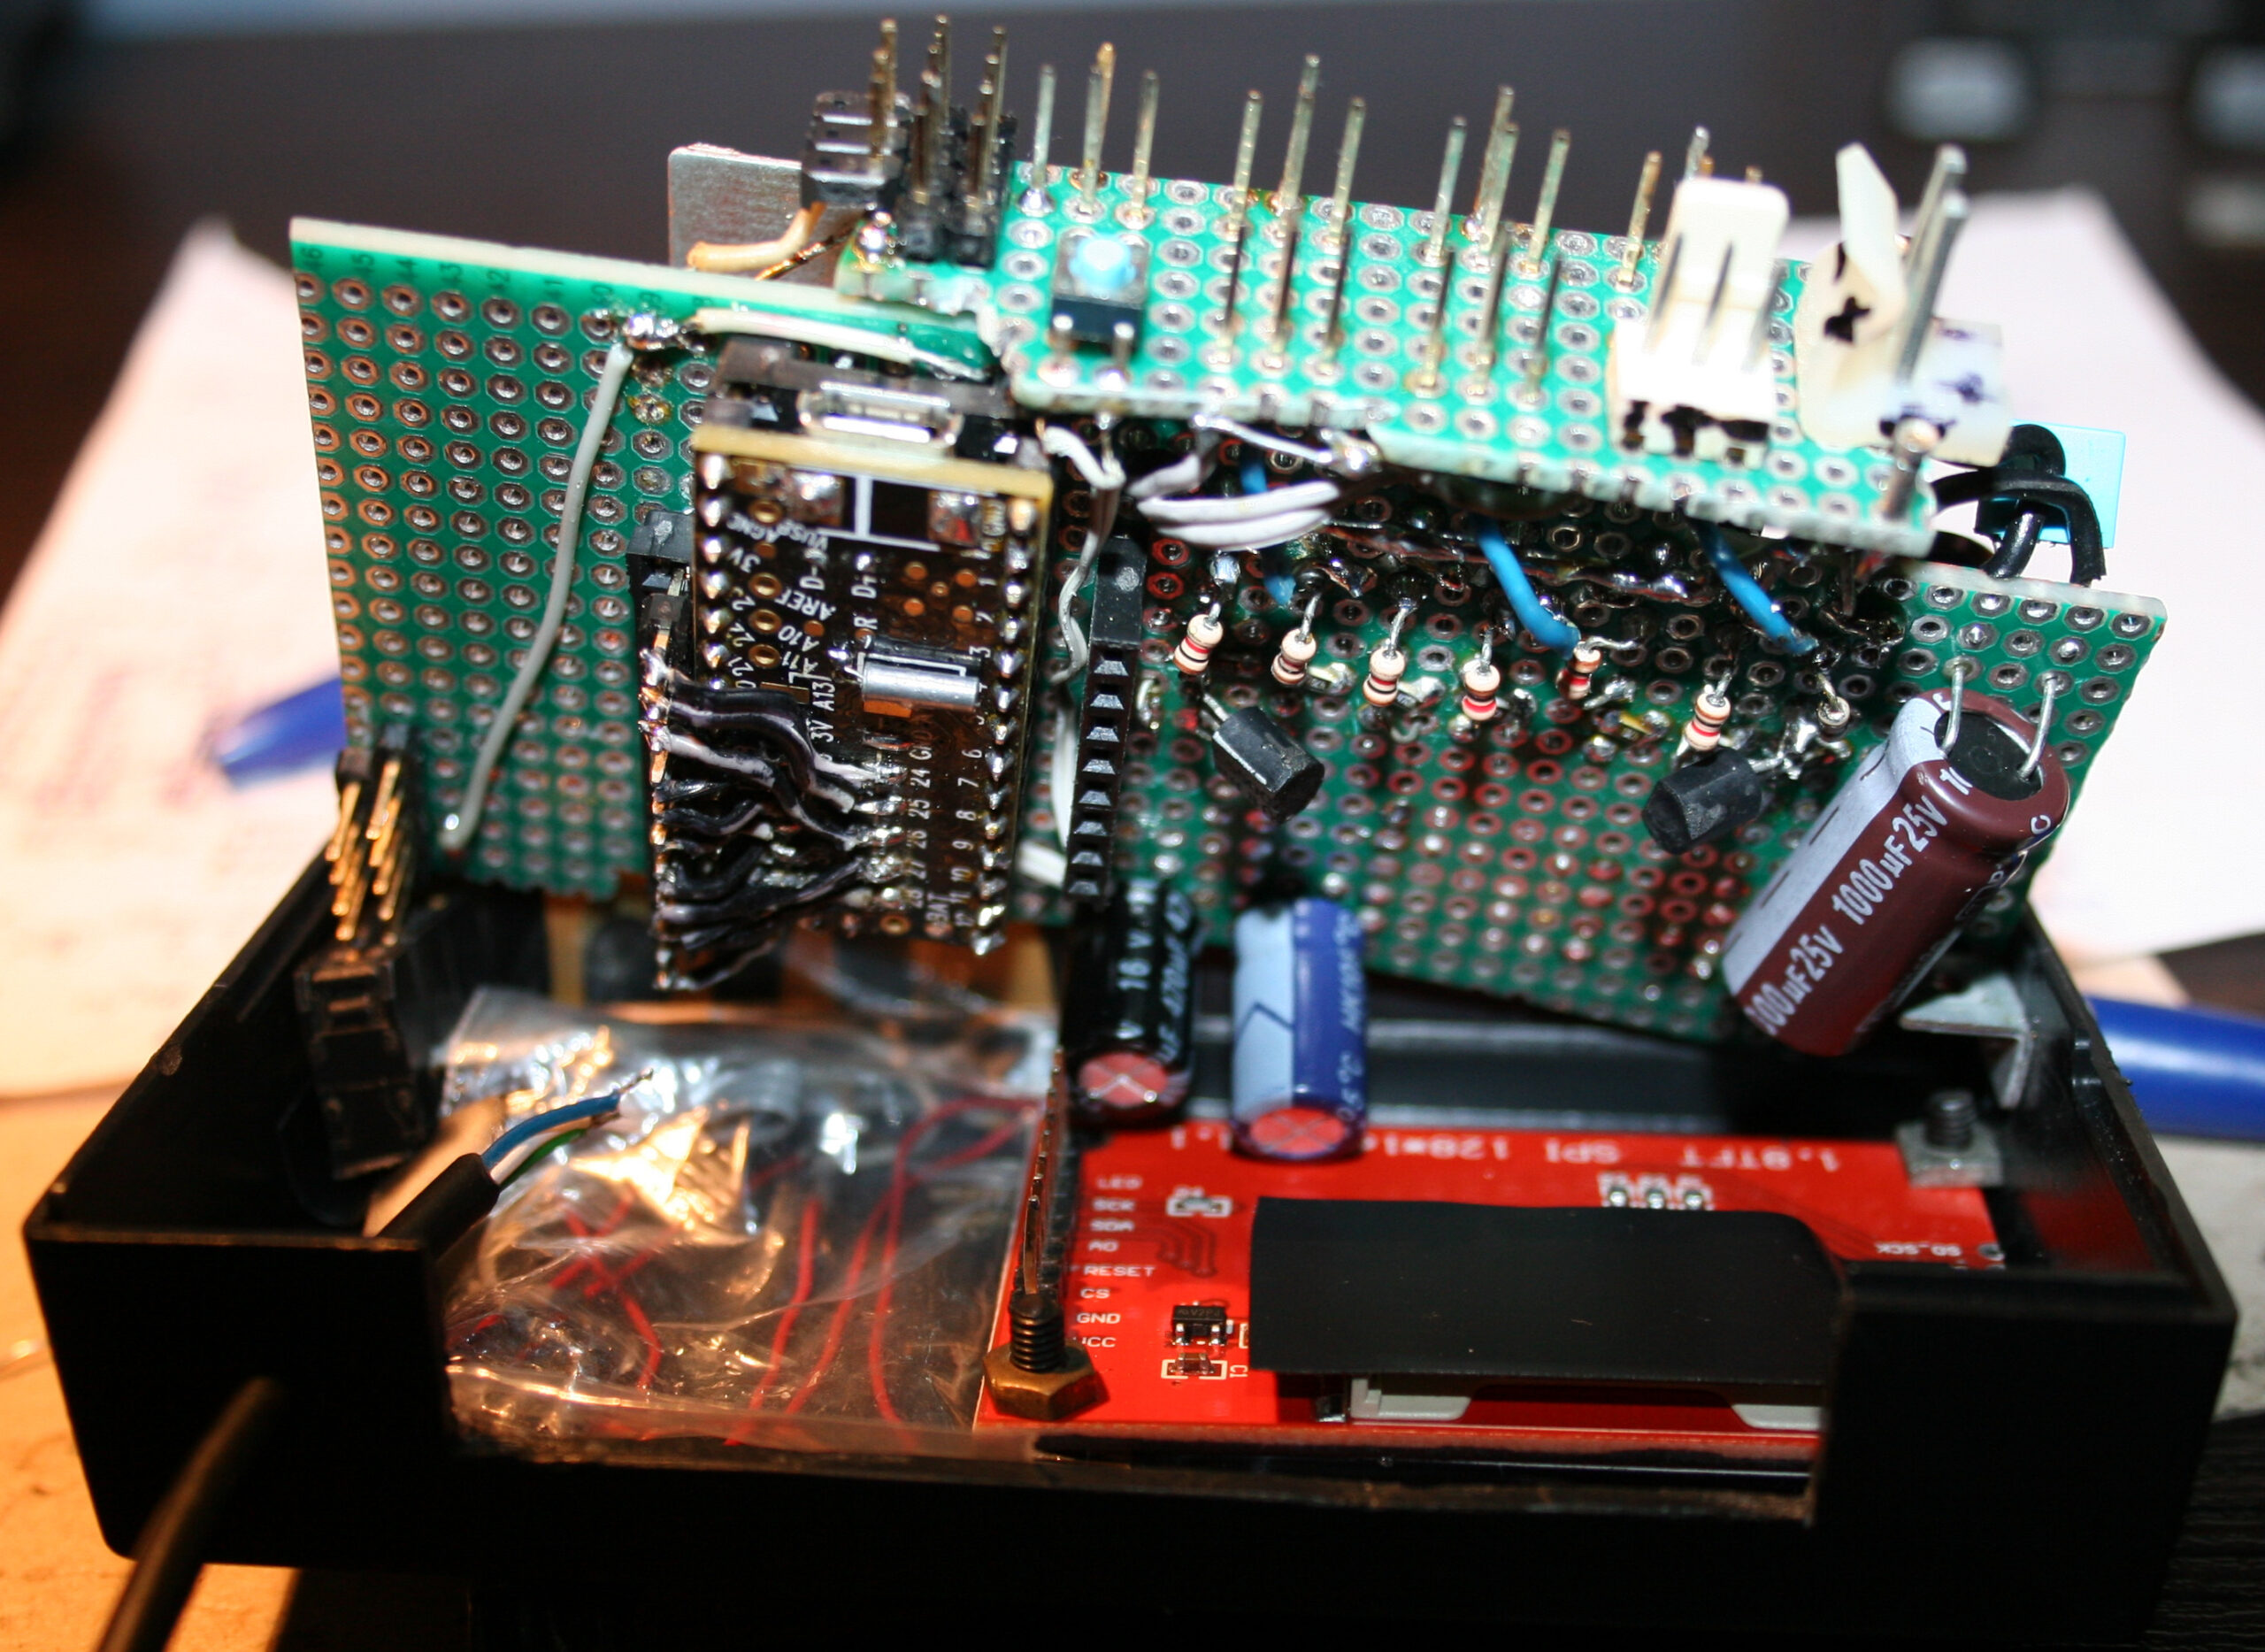
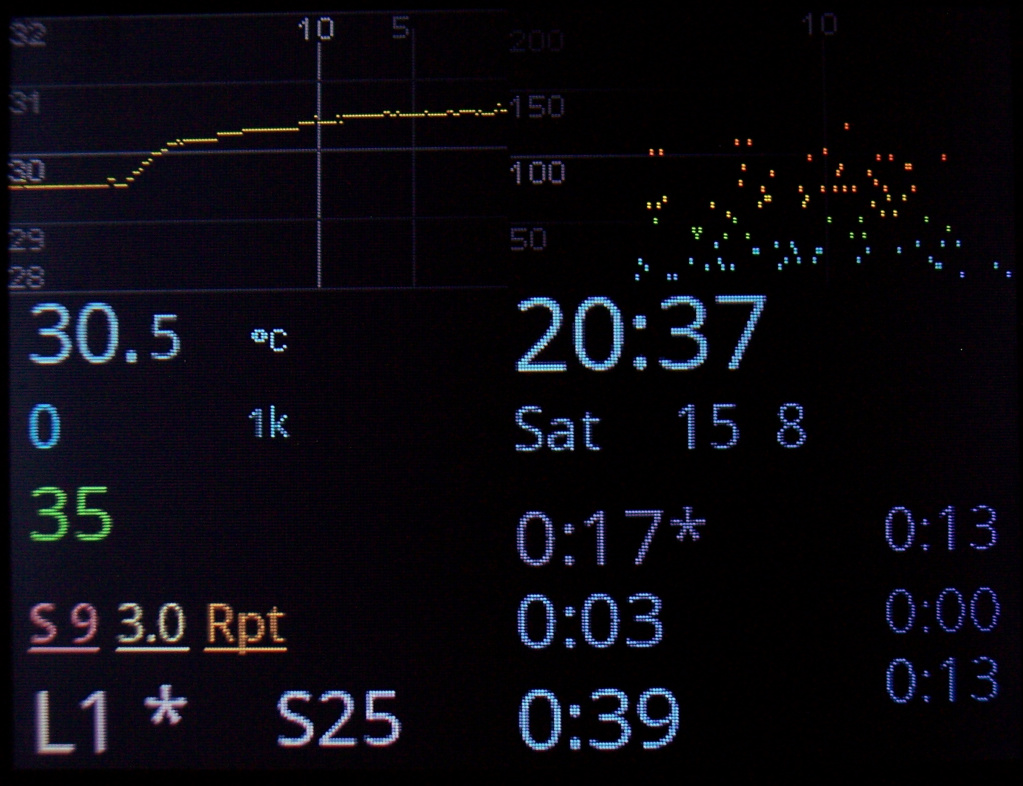
It also features my own fan controller, which motivated me to finally create this page.
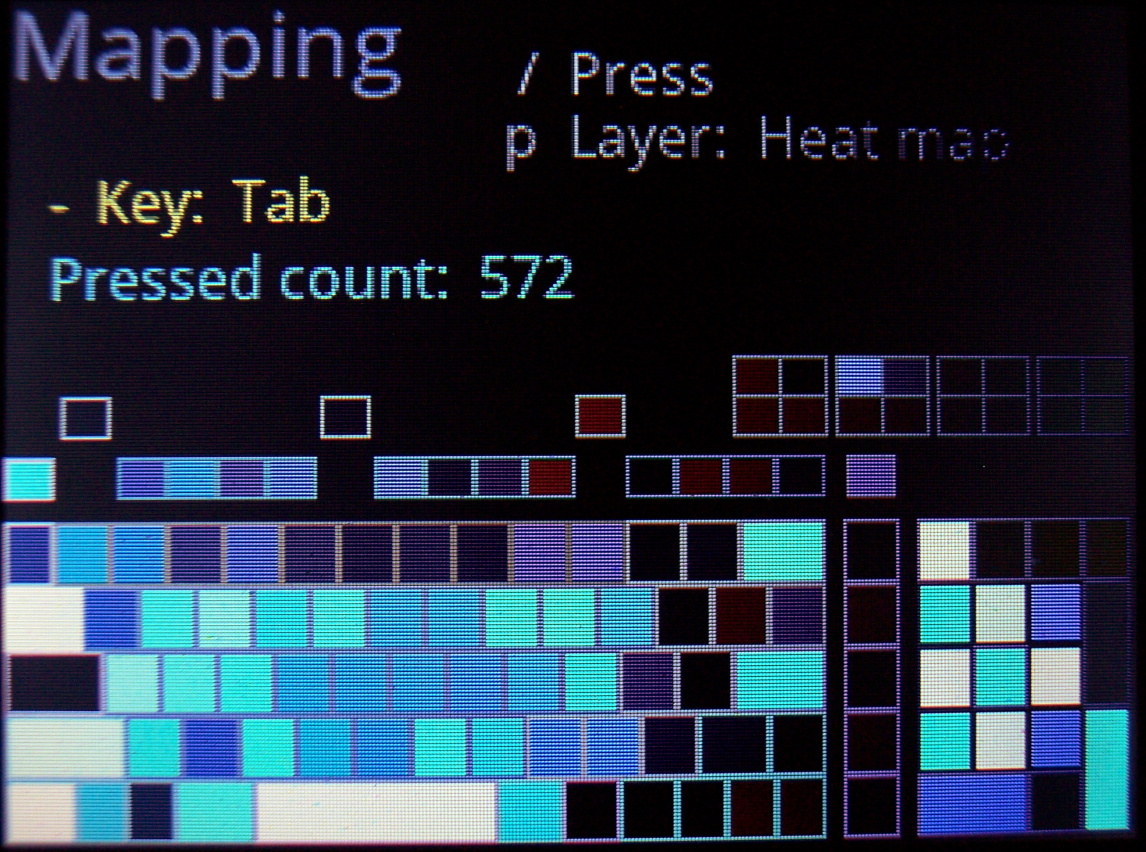
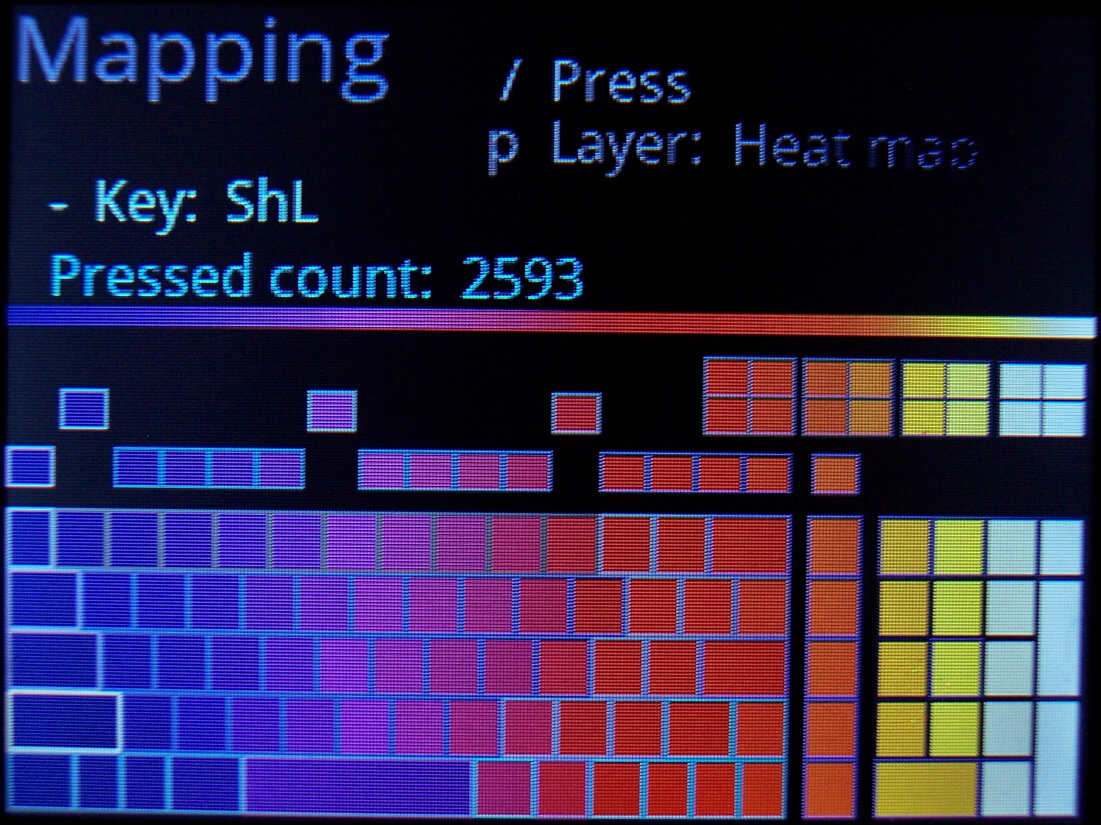
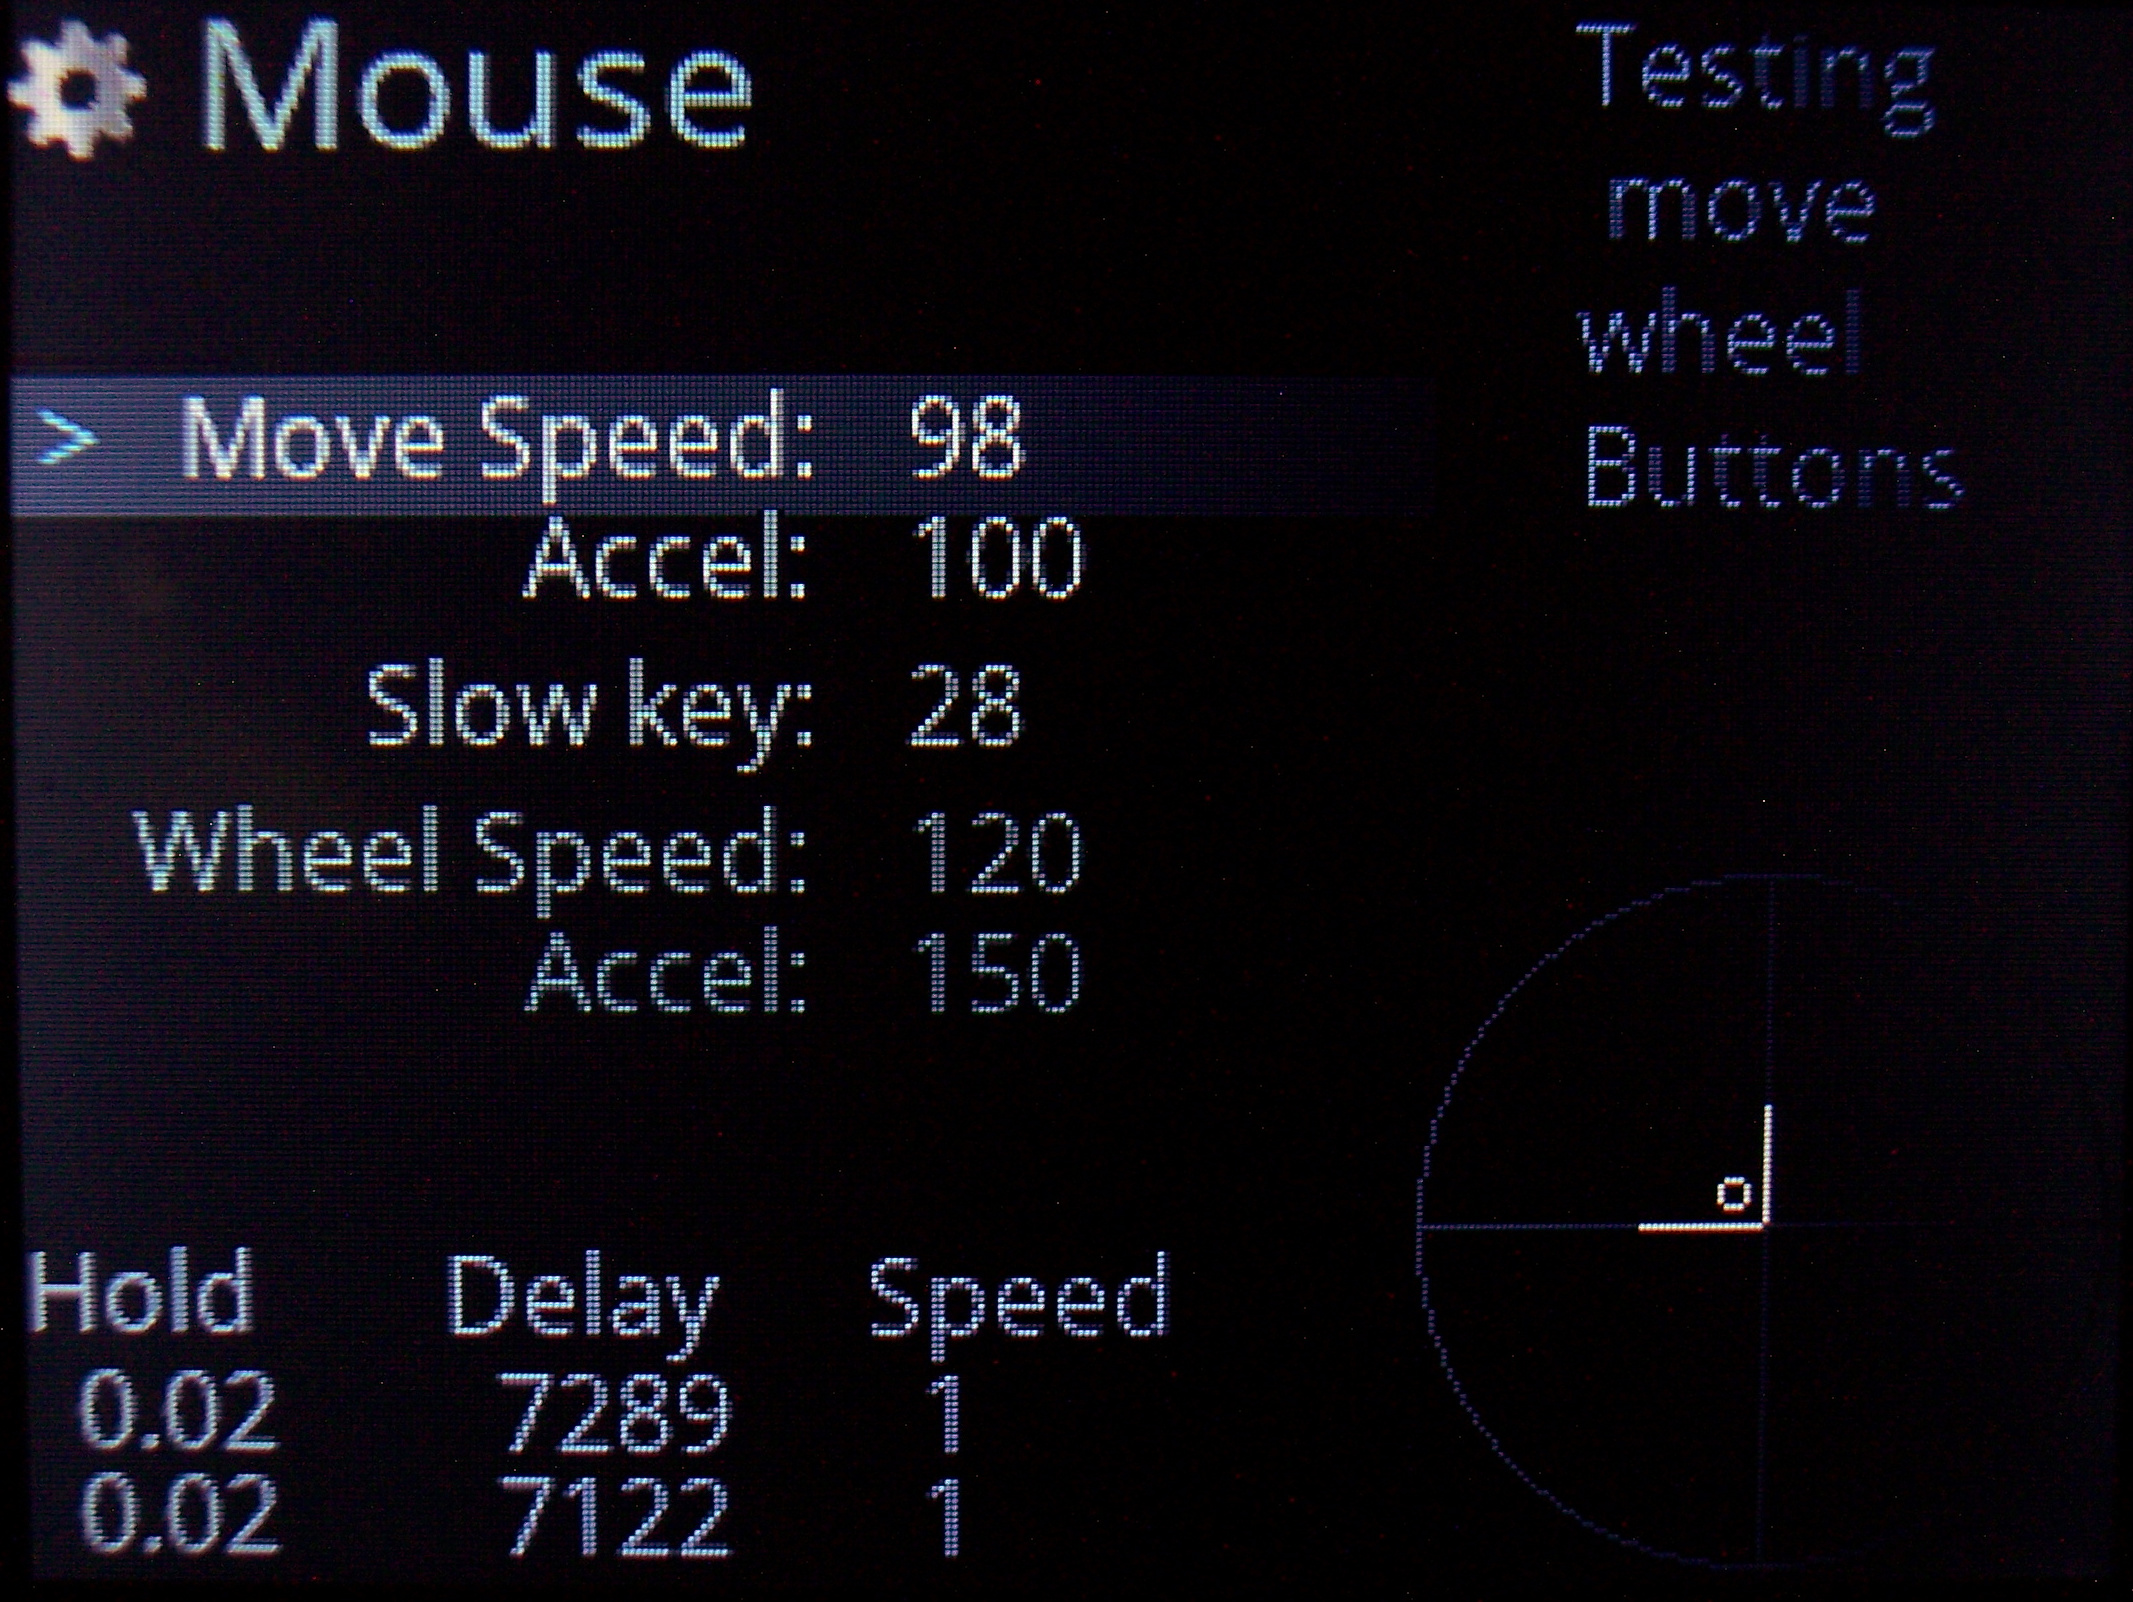
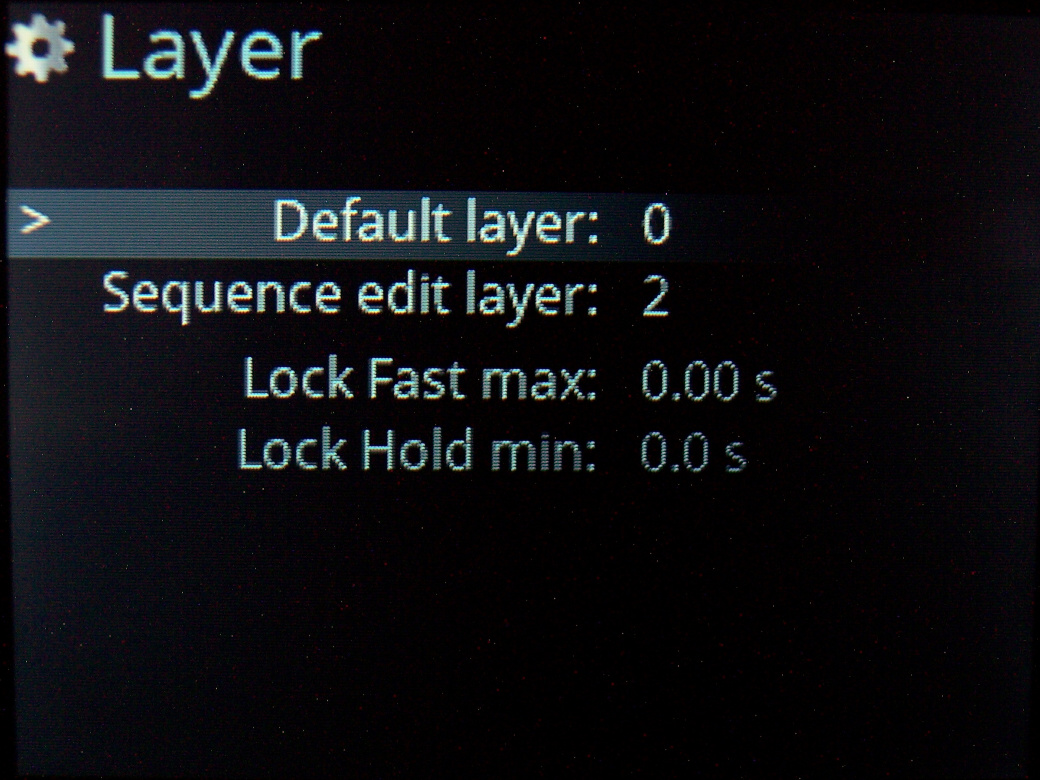
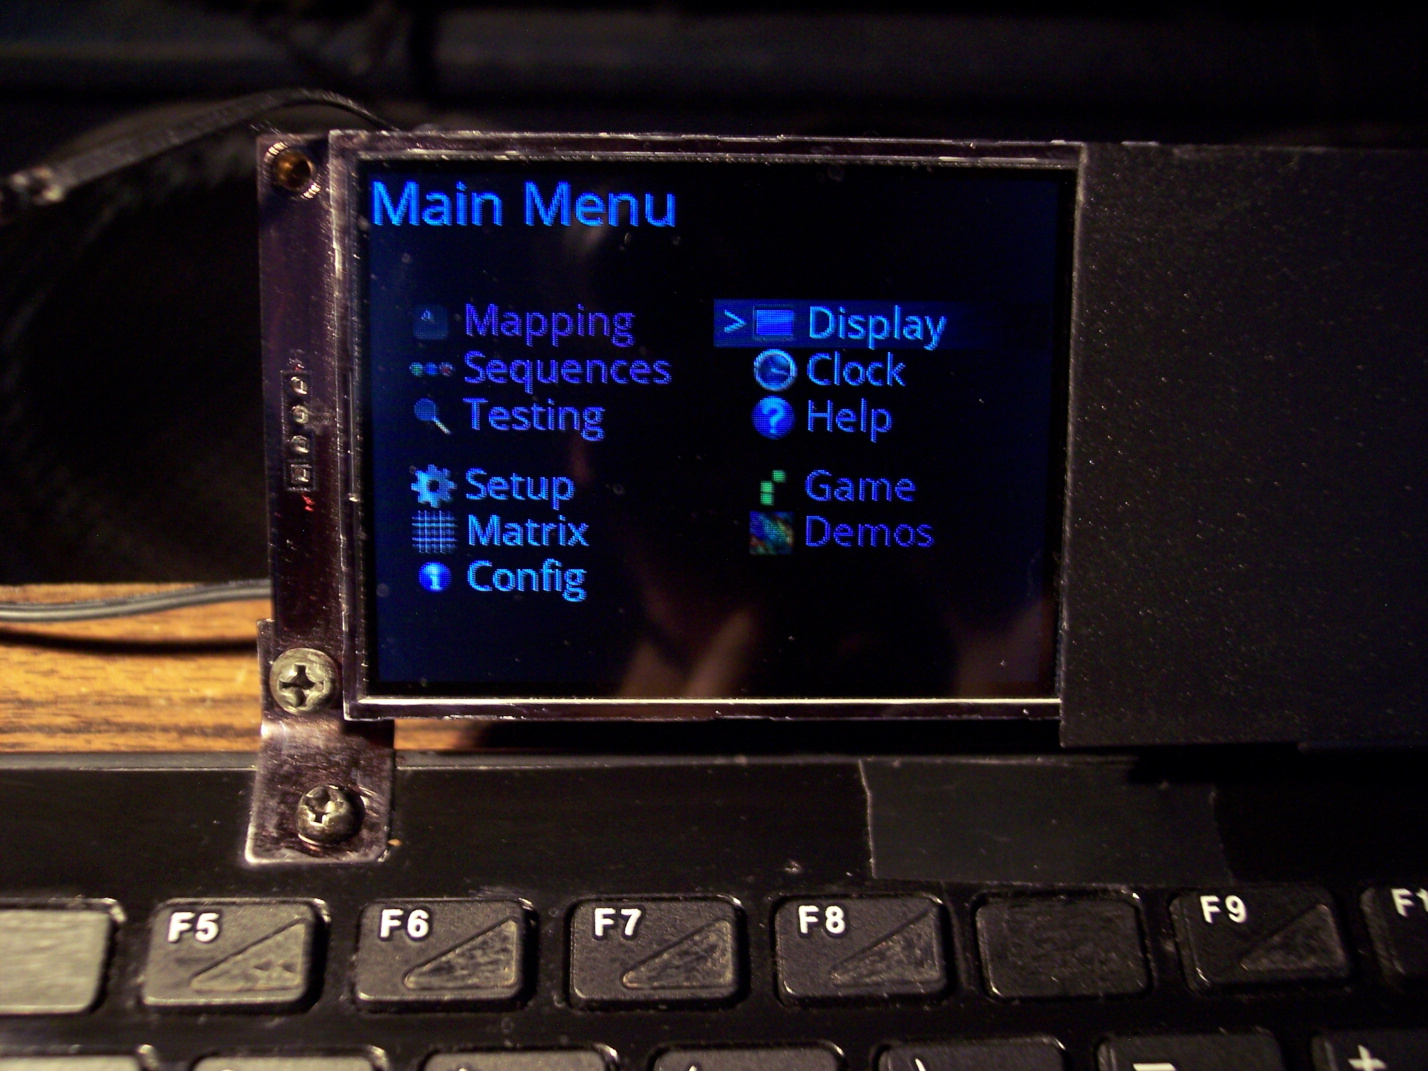
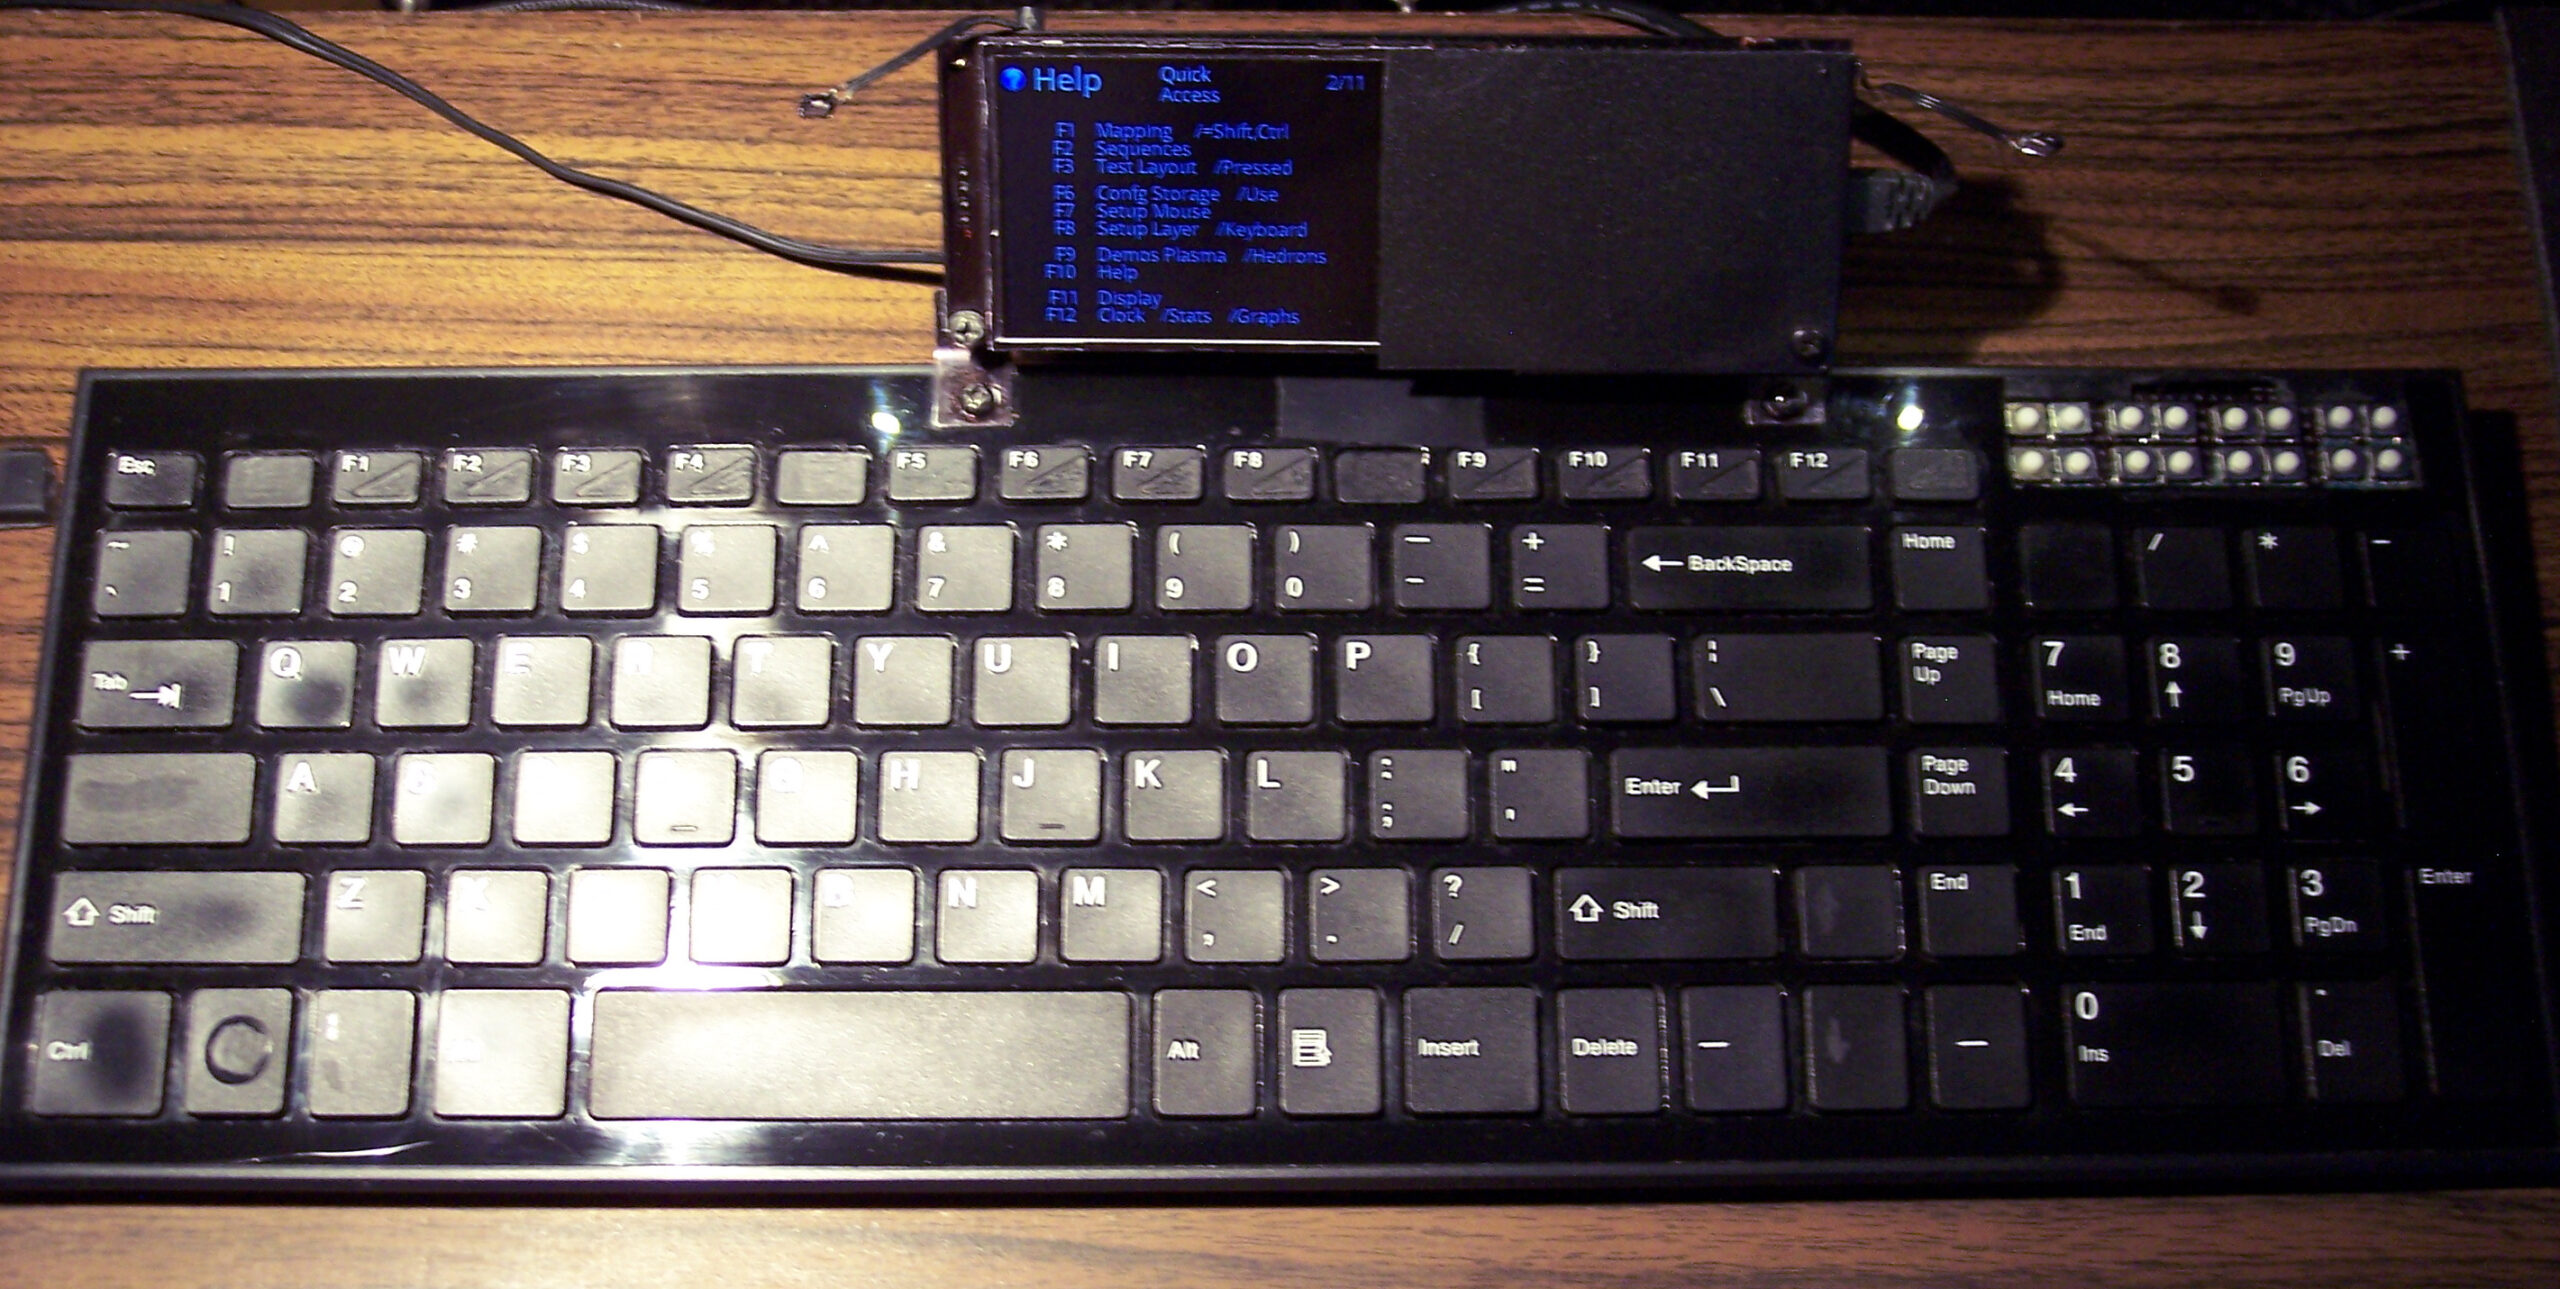
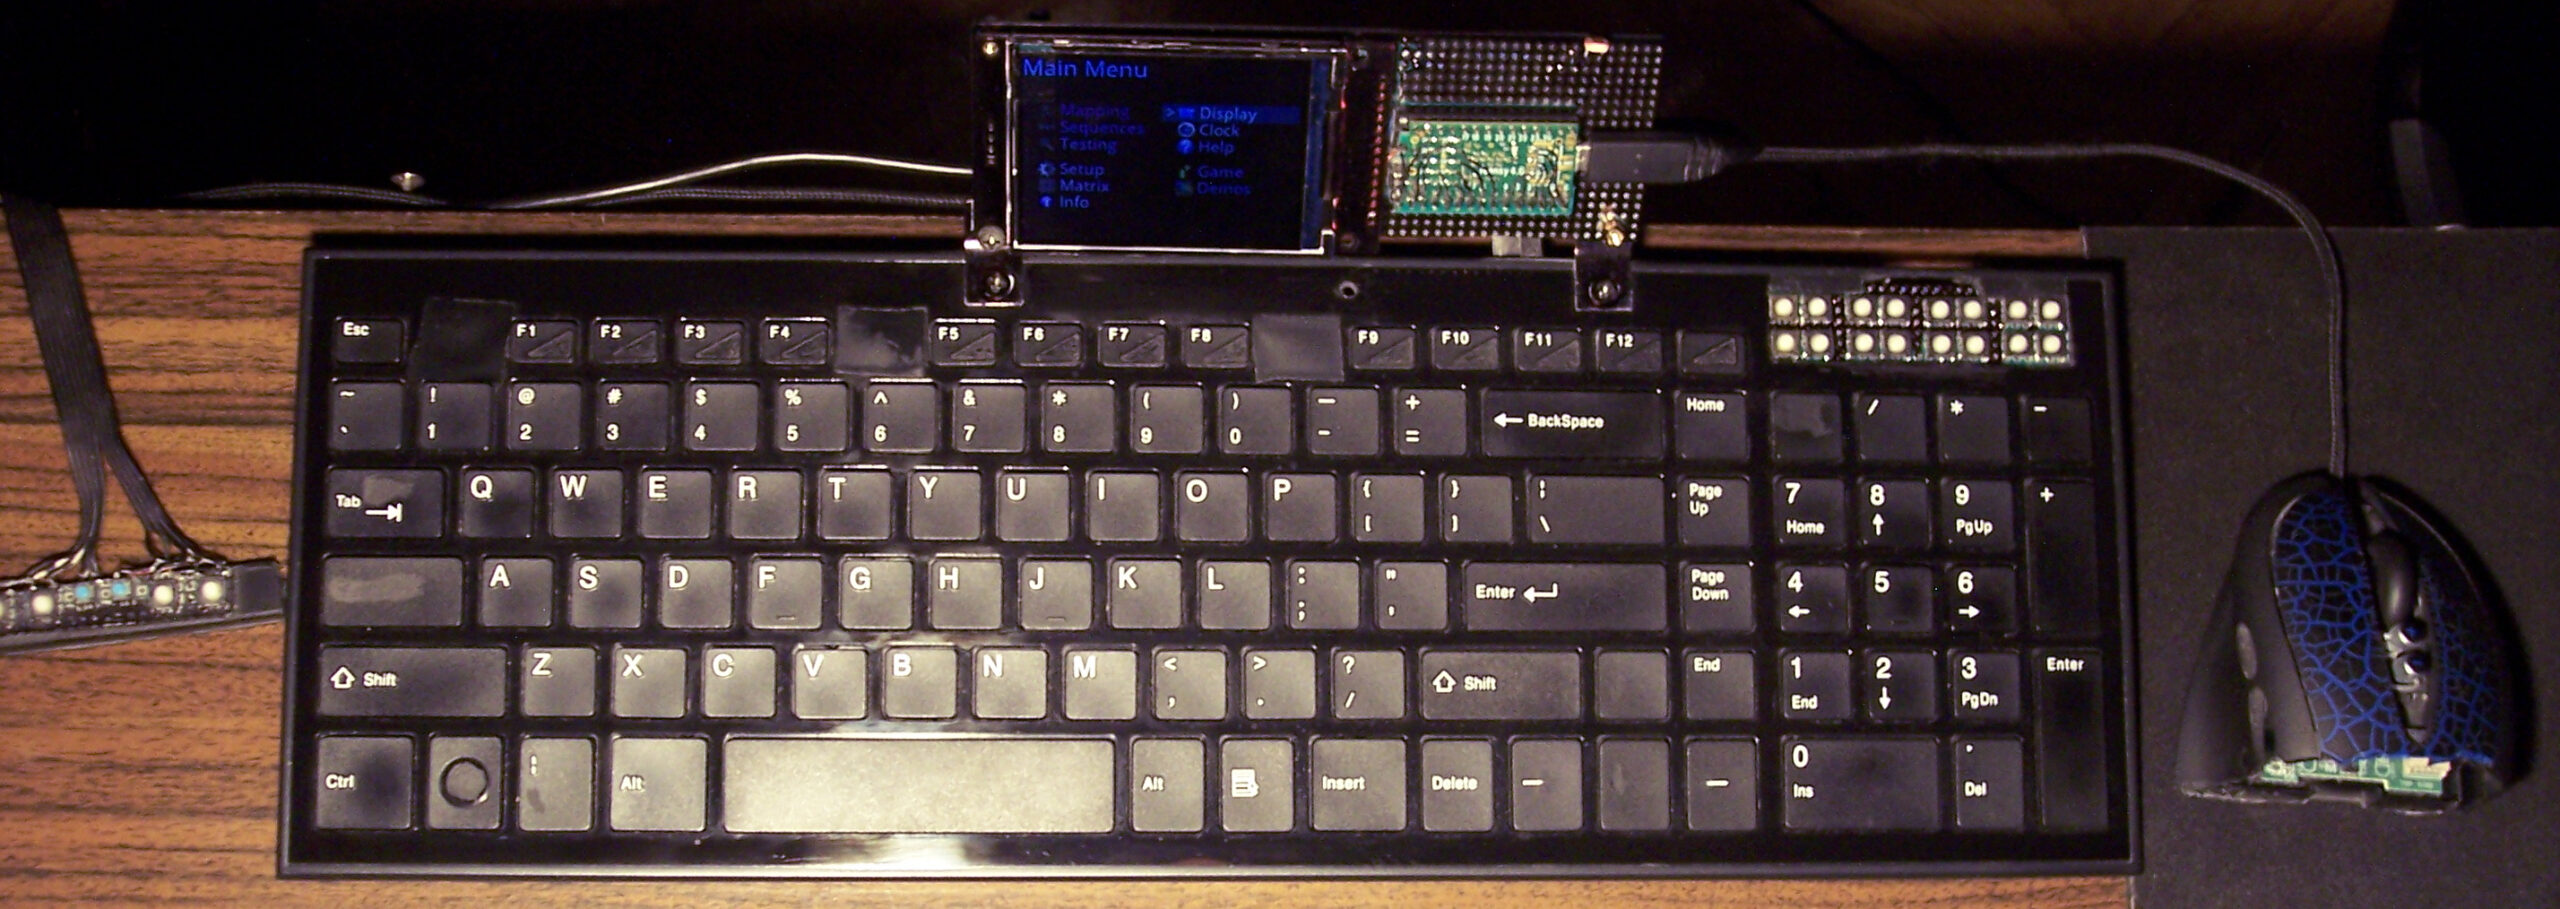
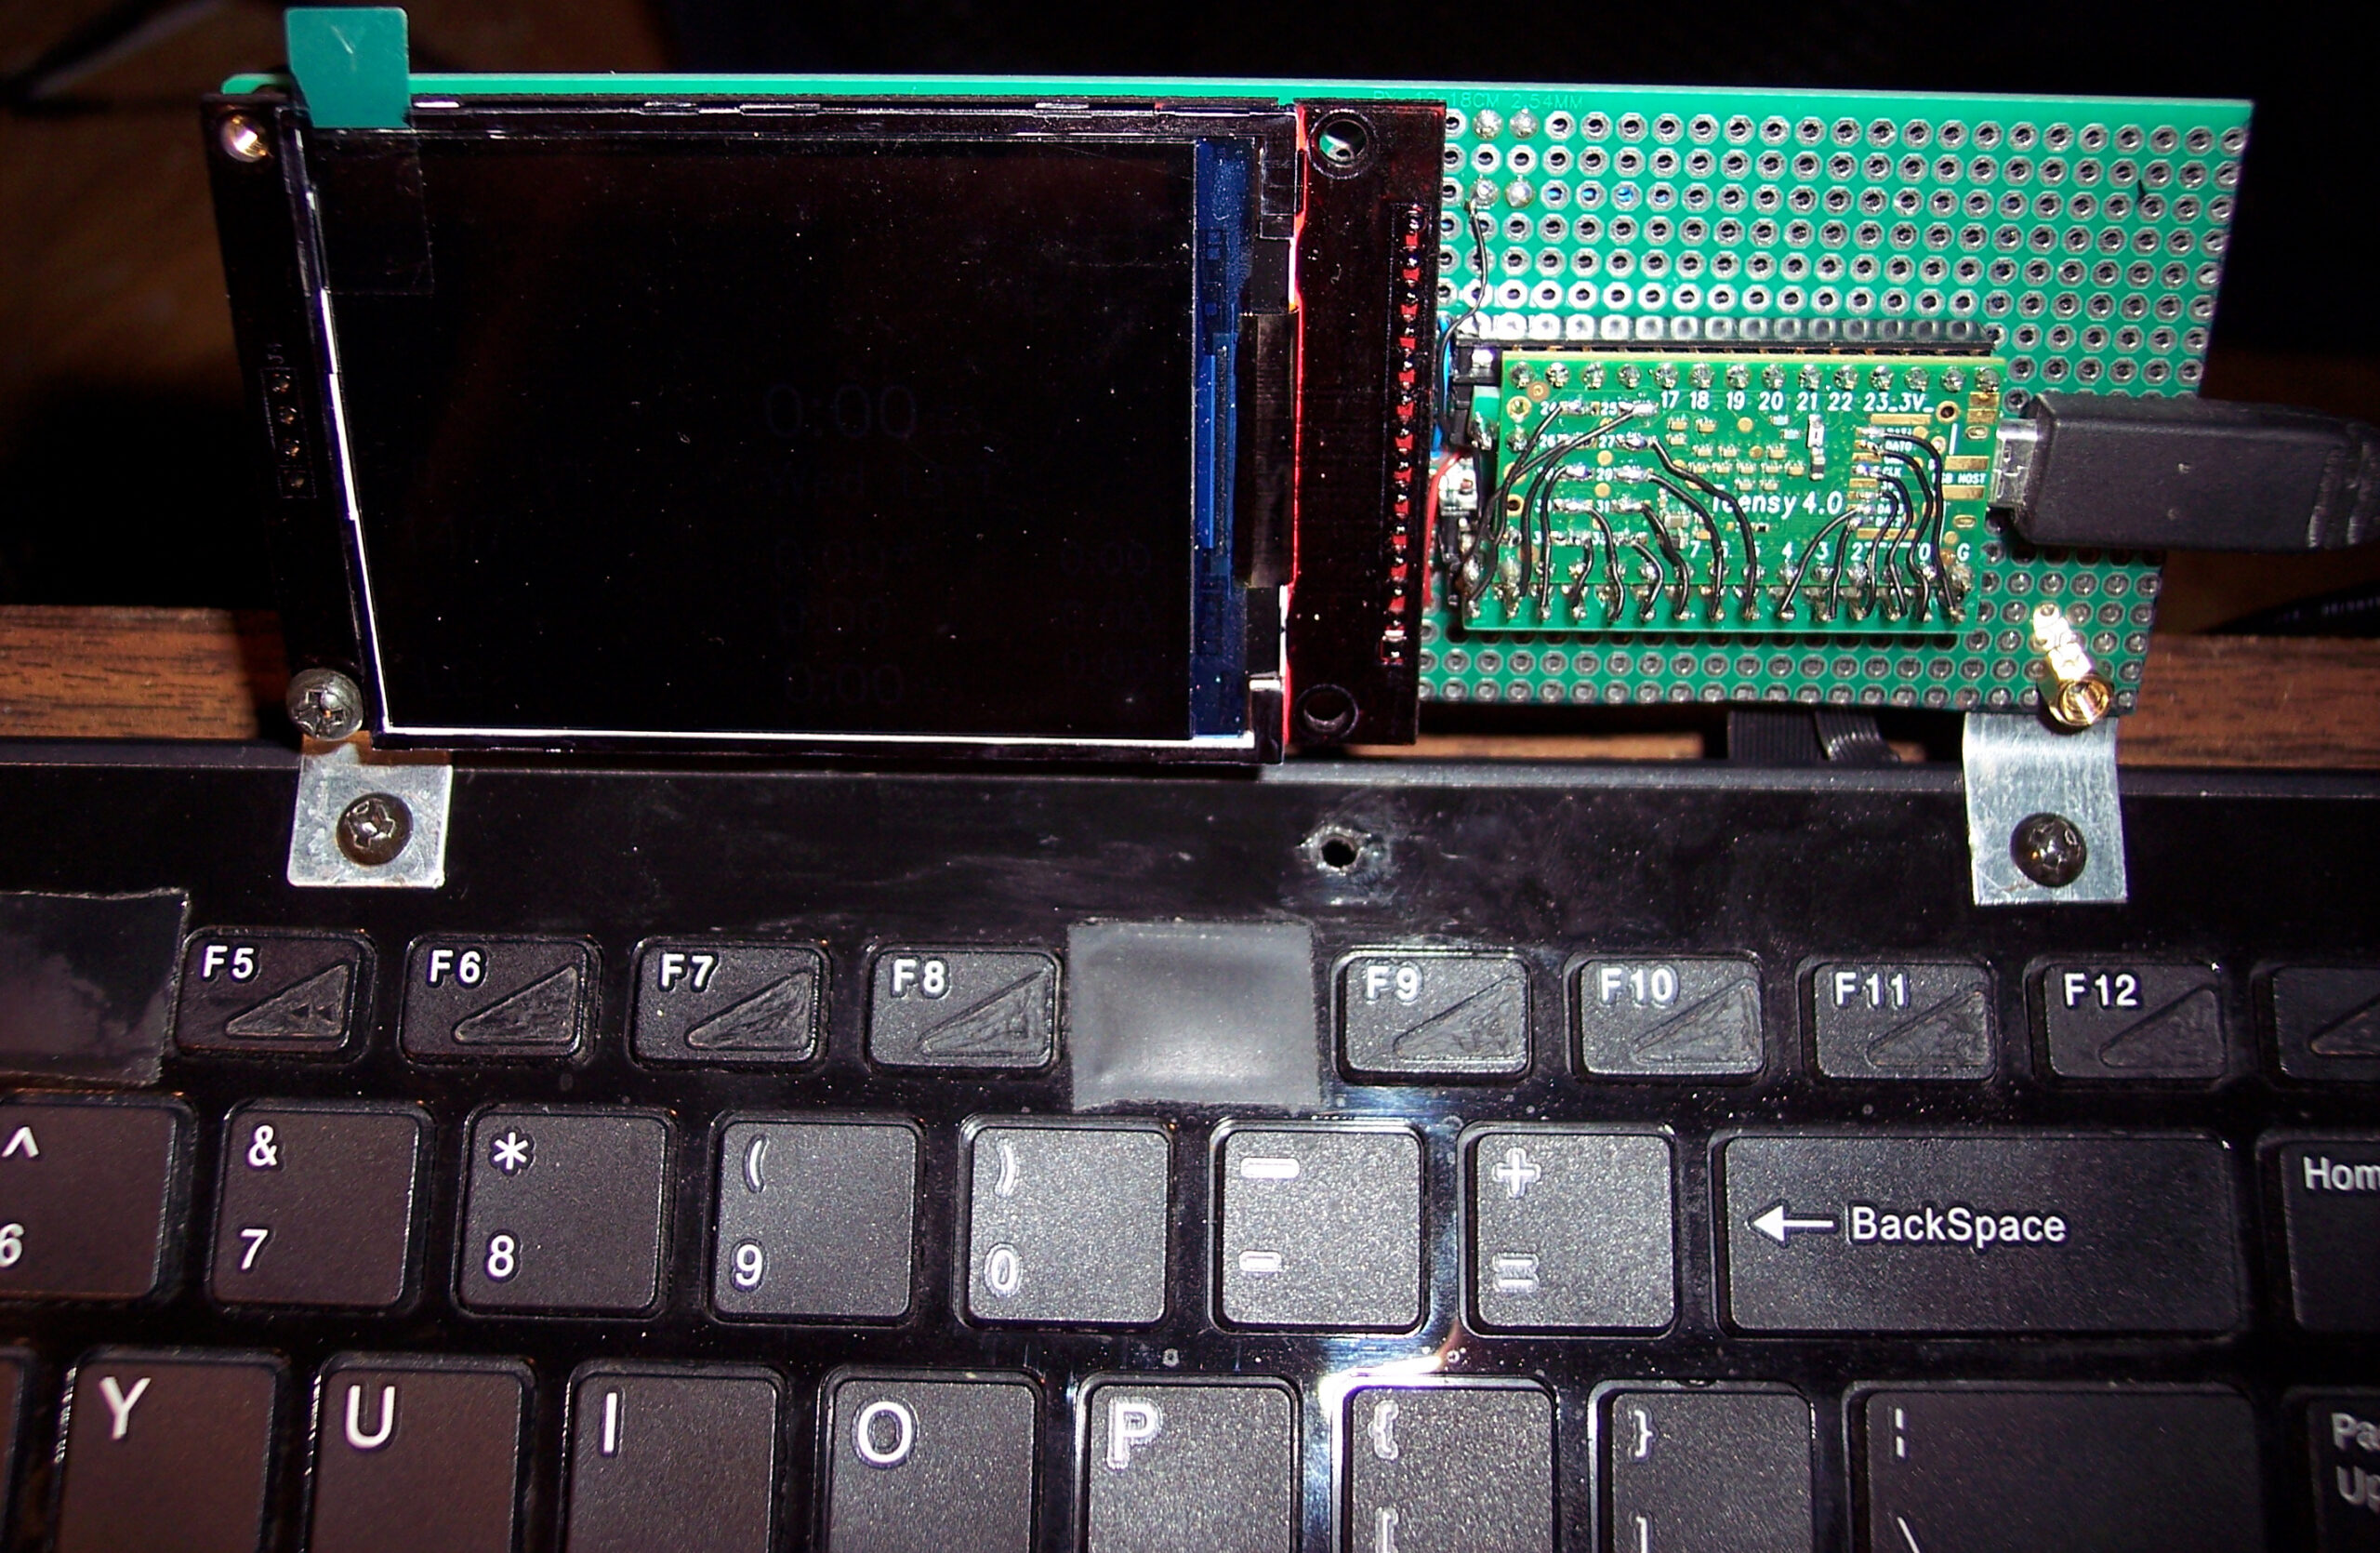
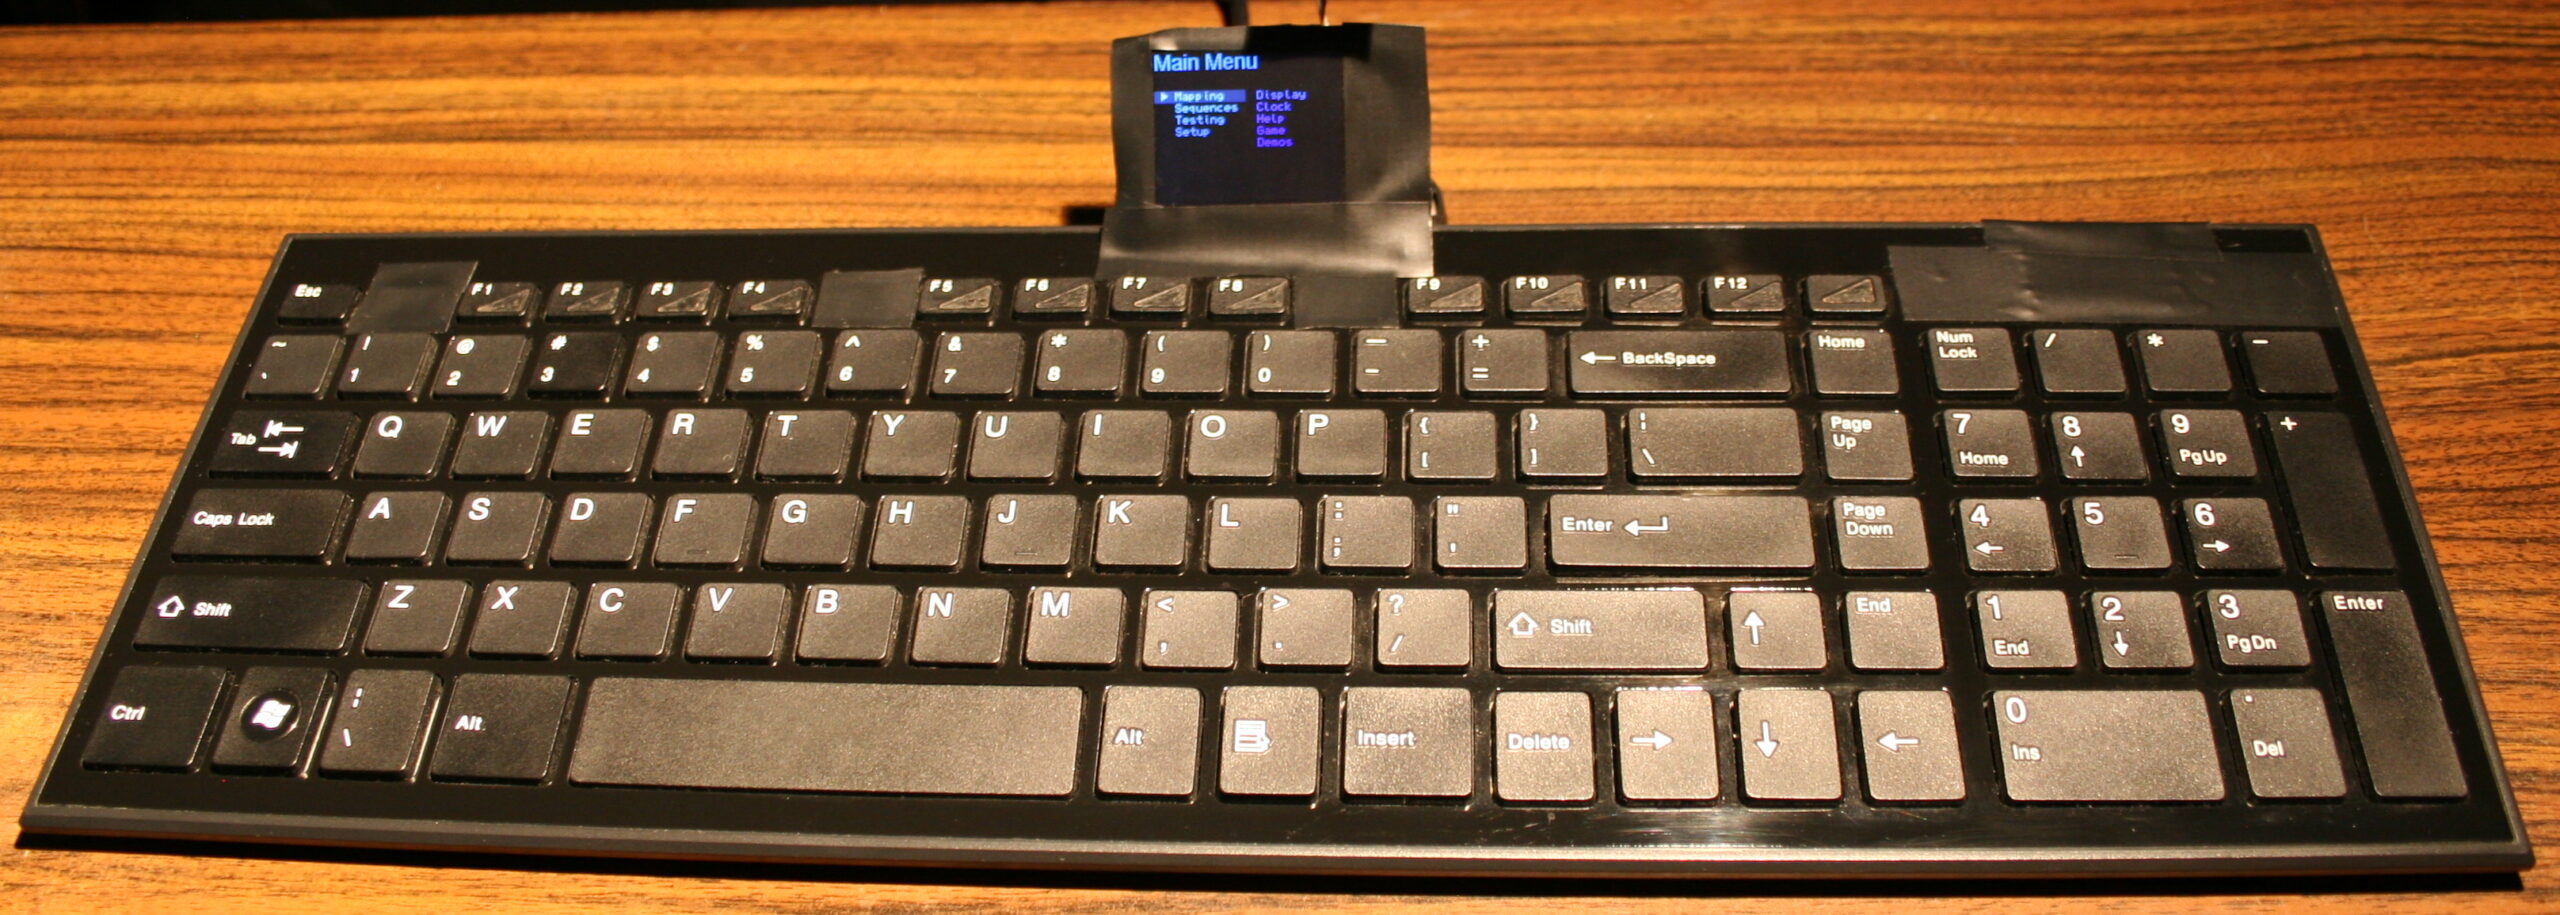
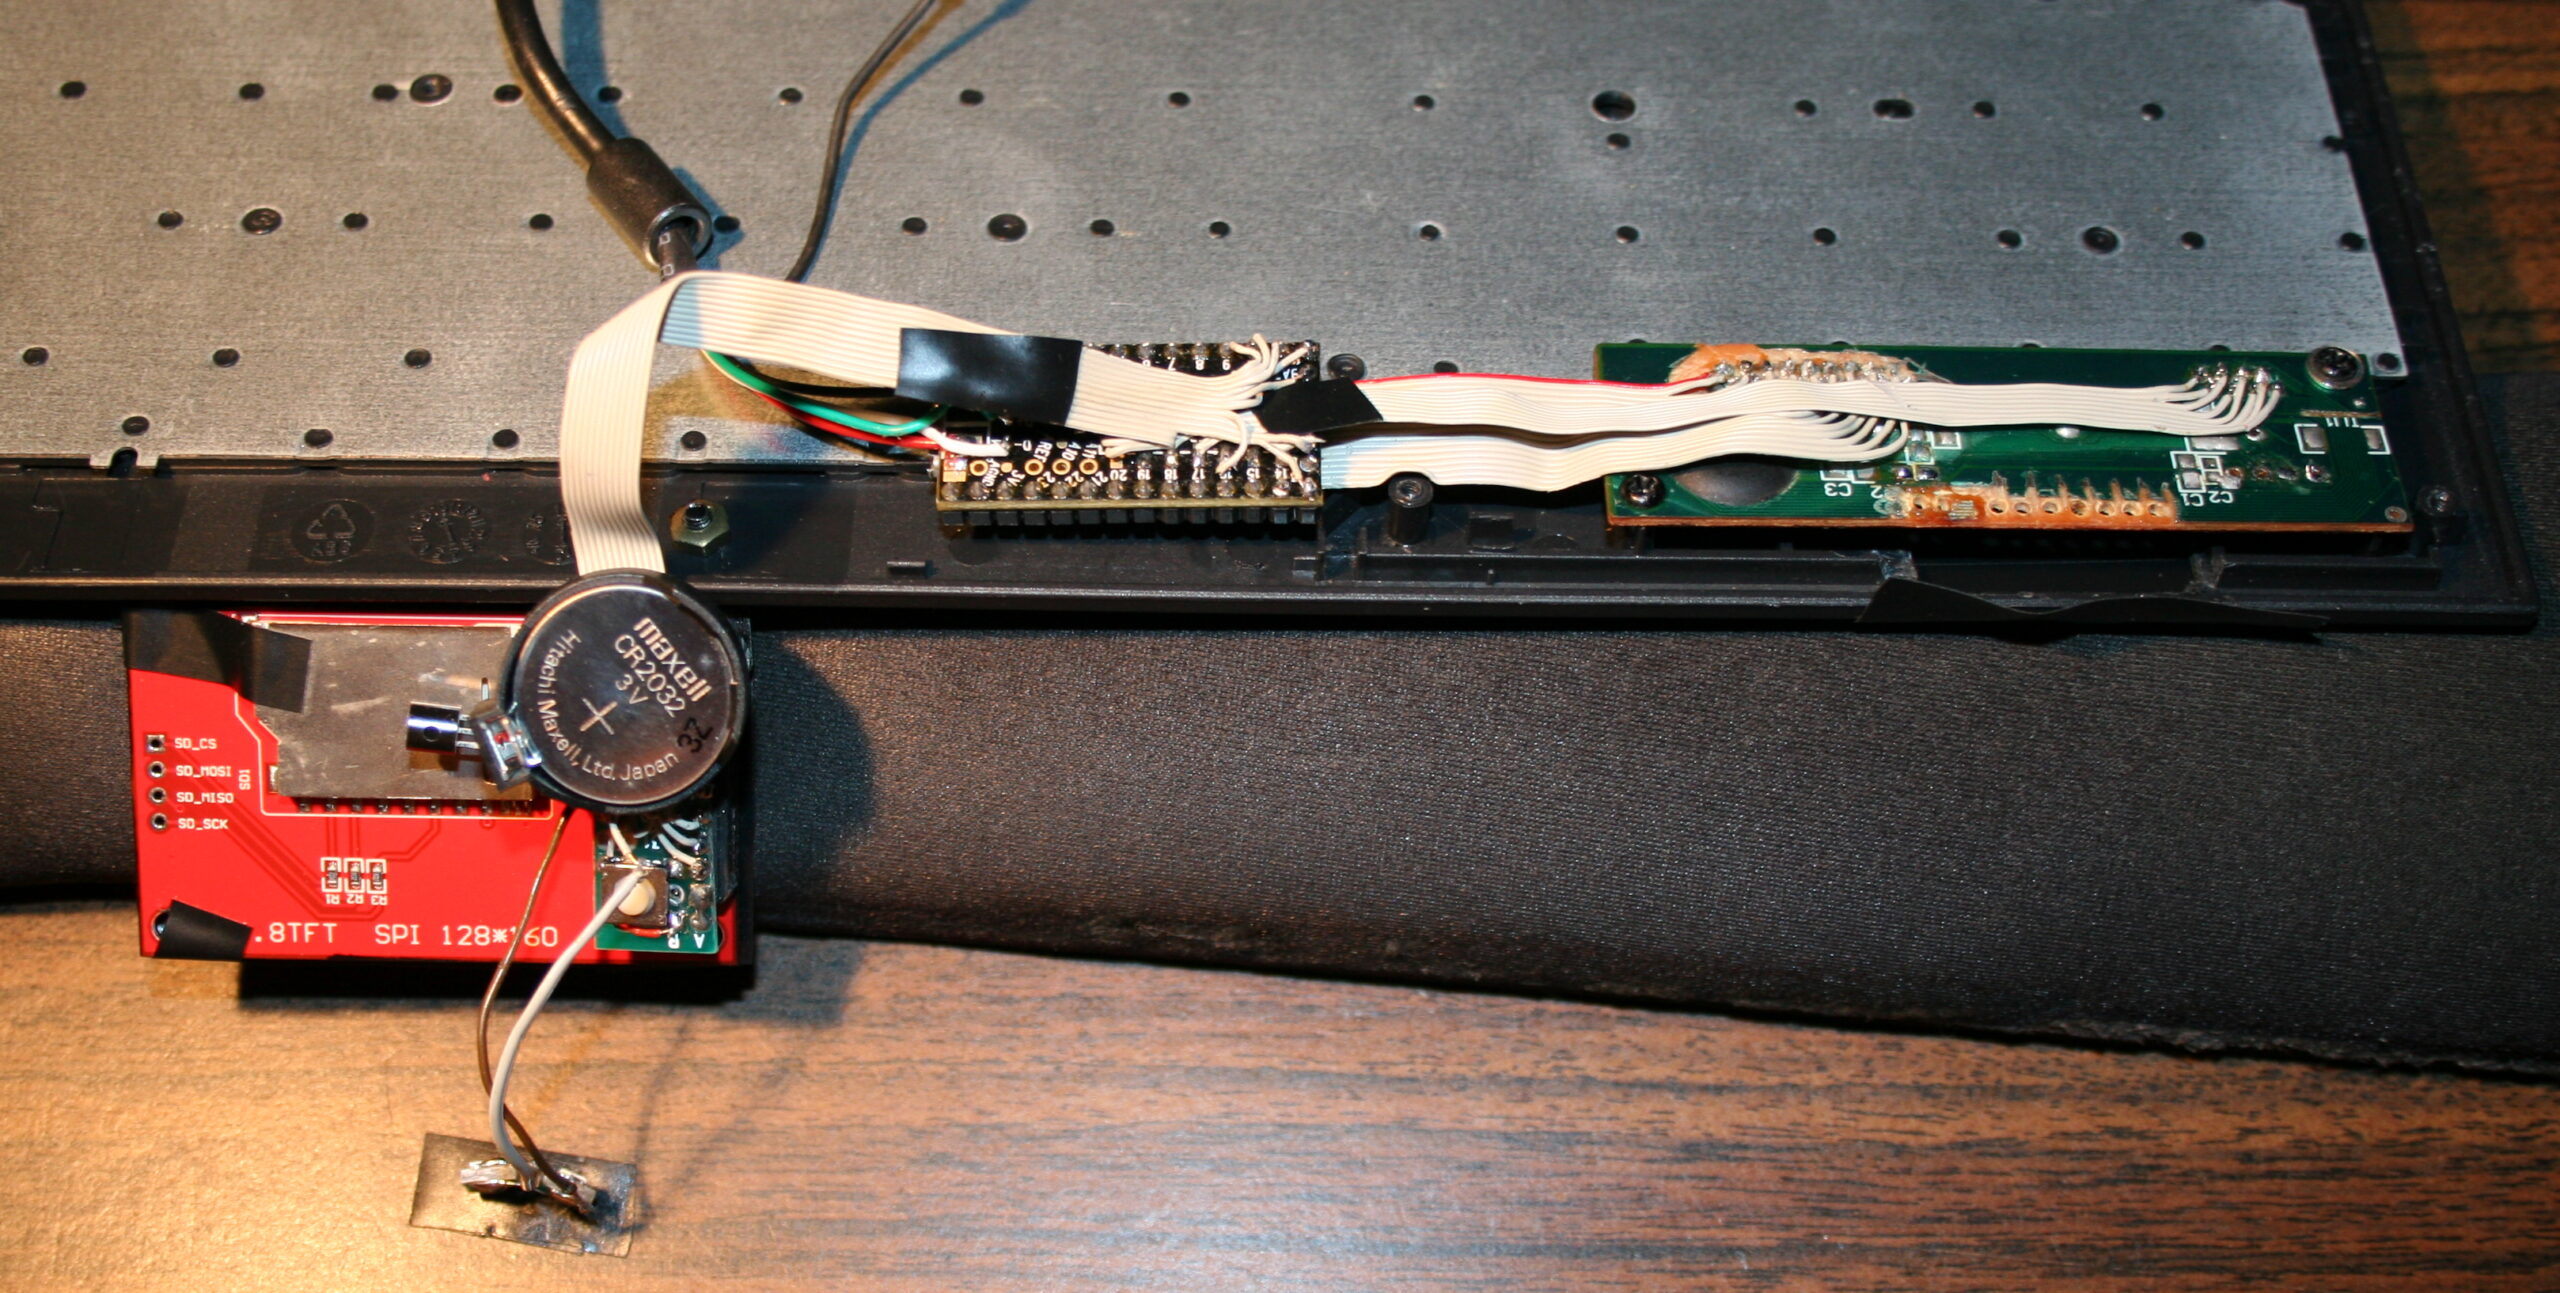
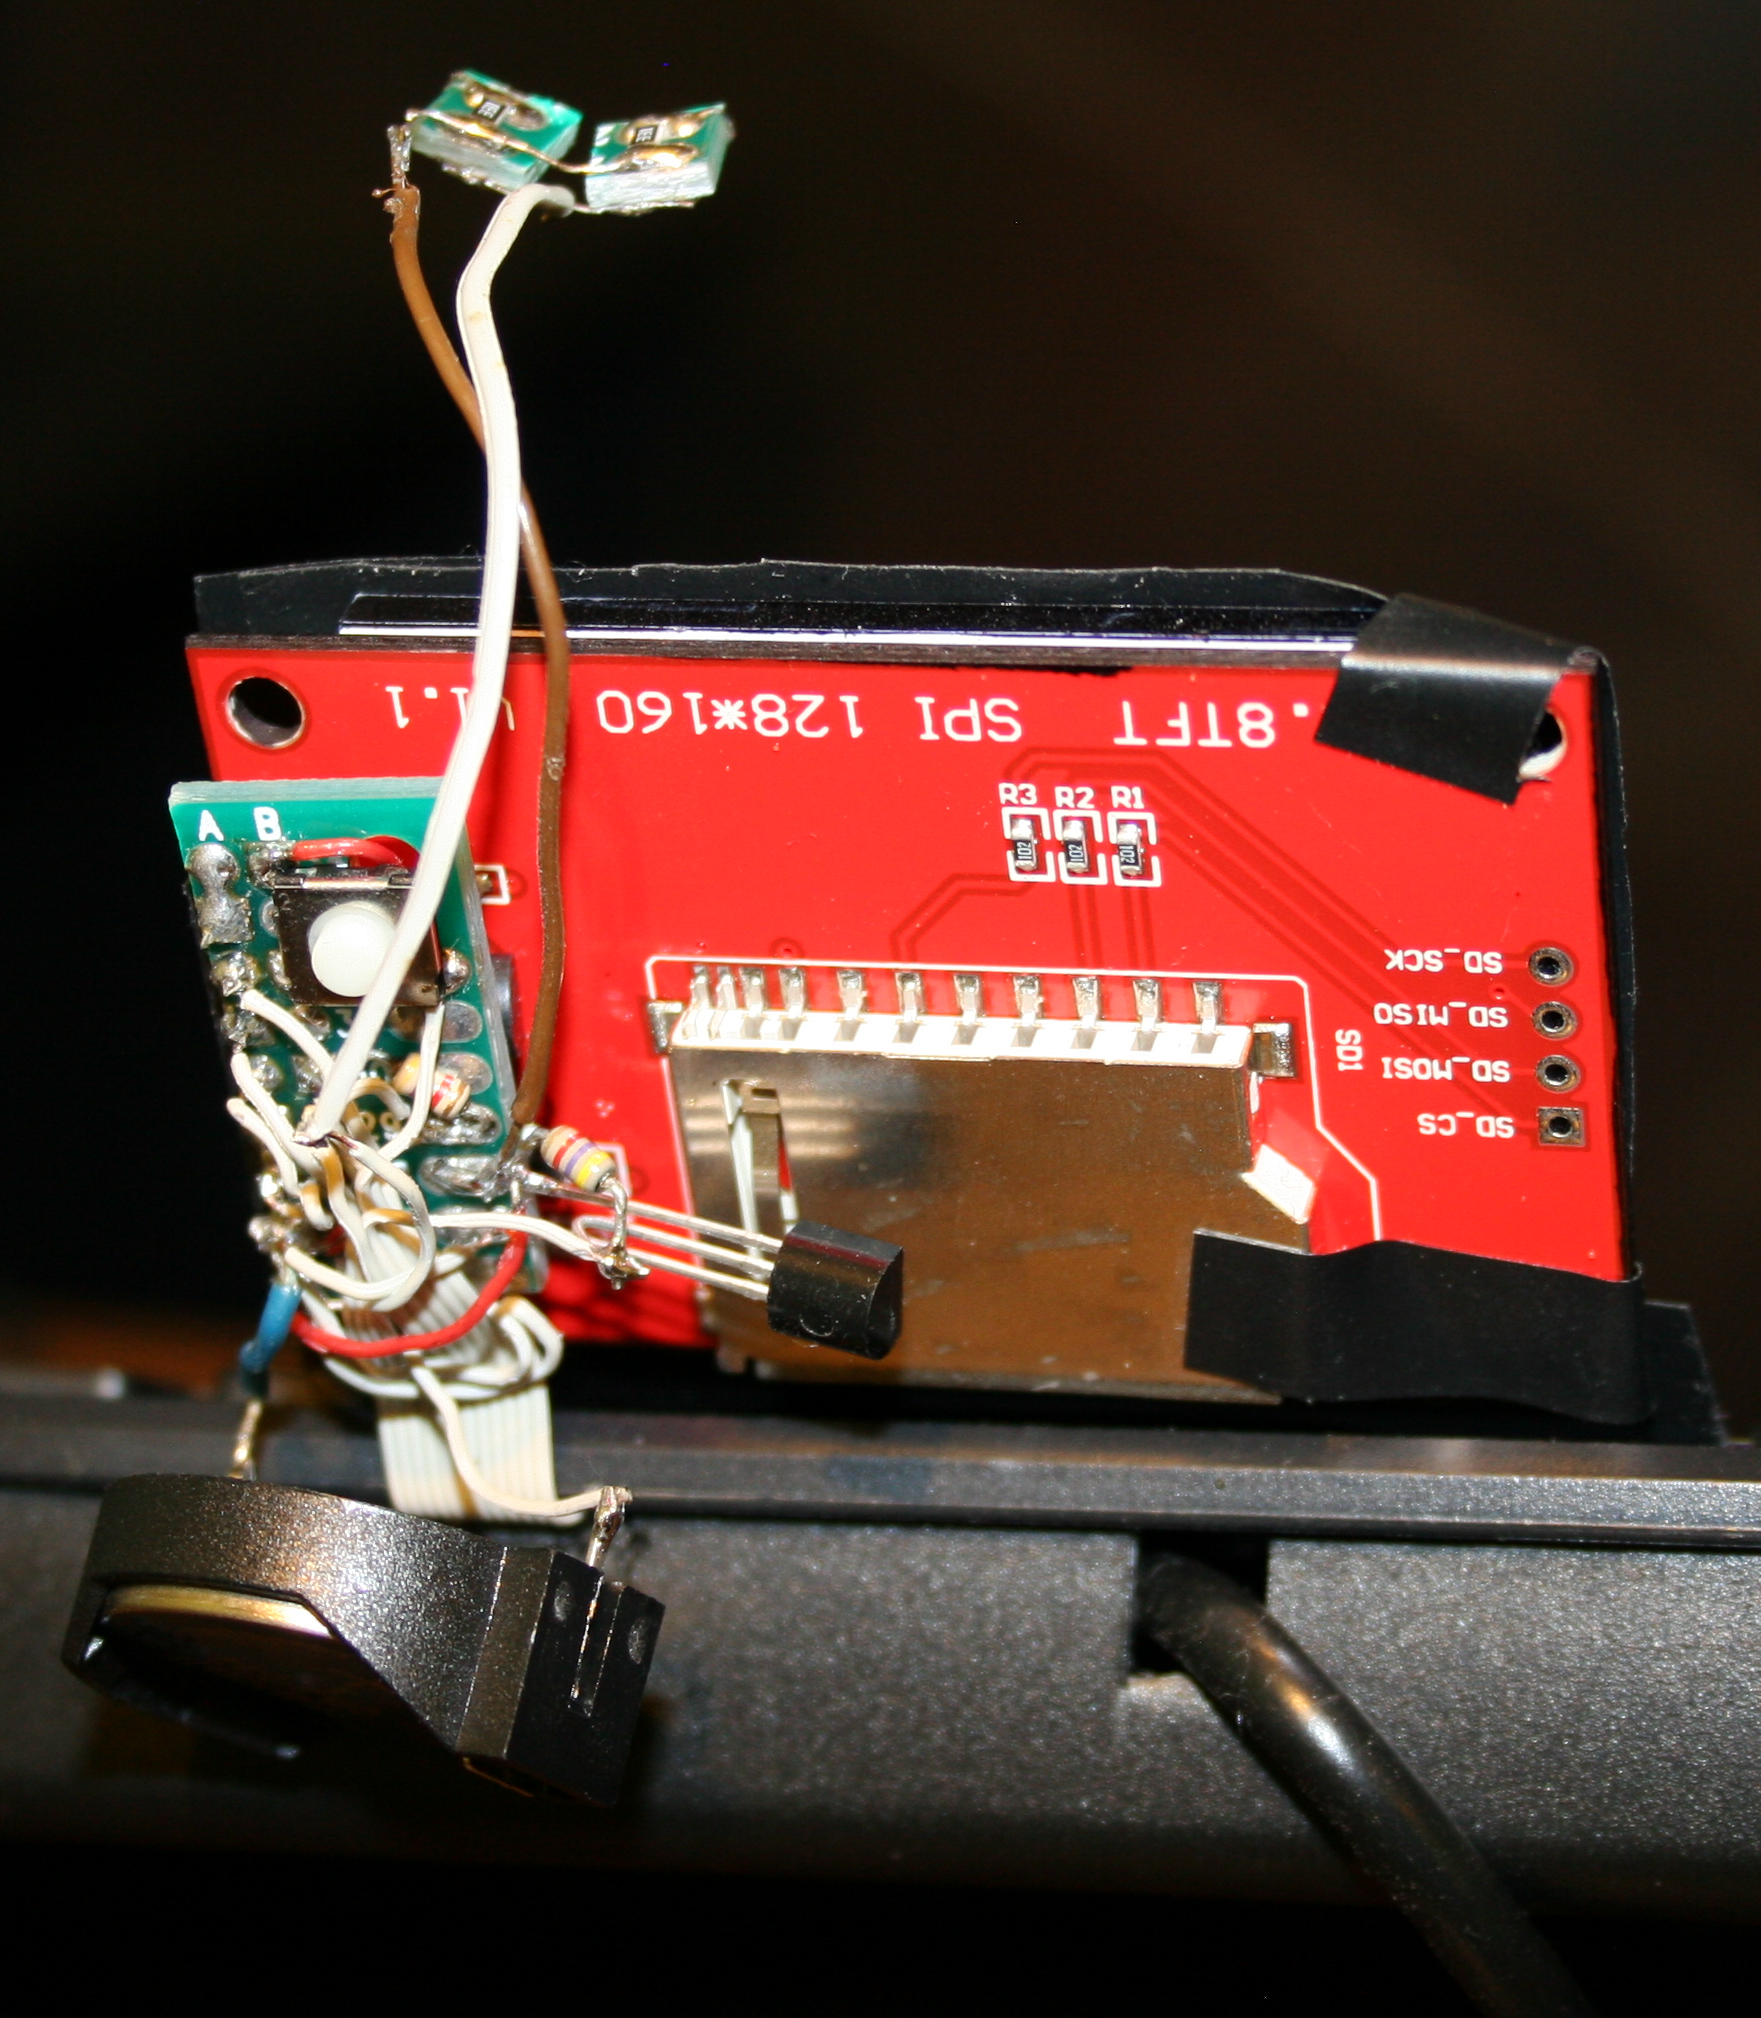
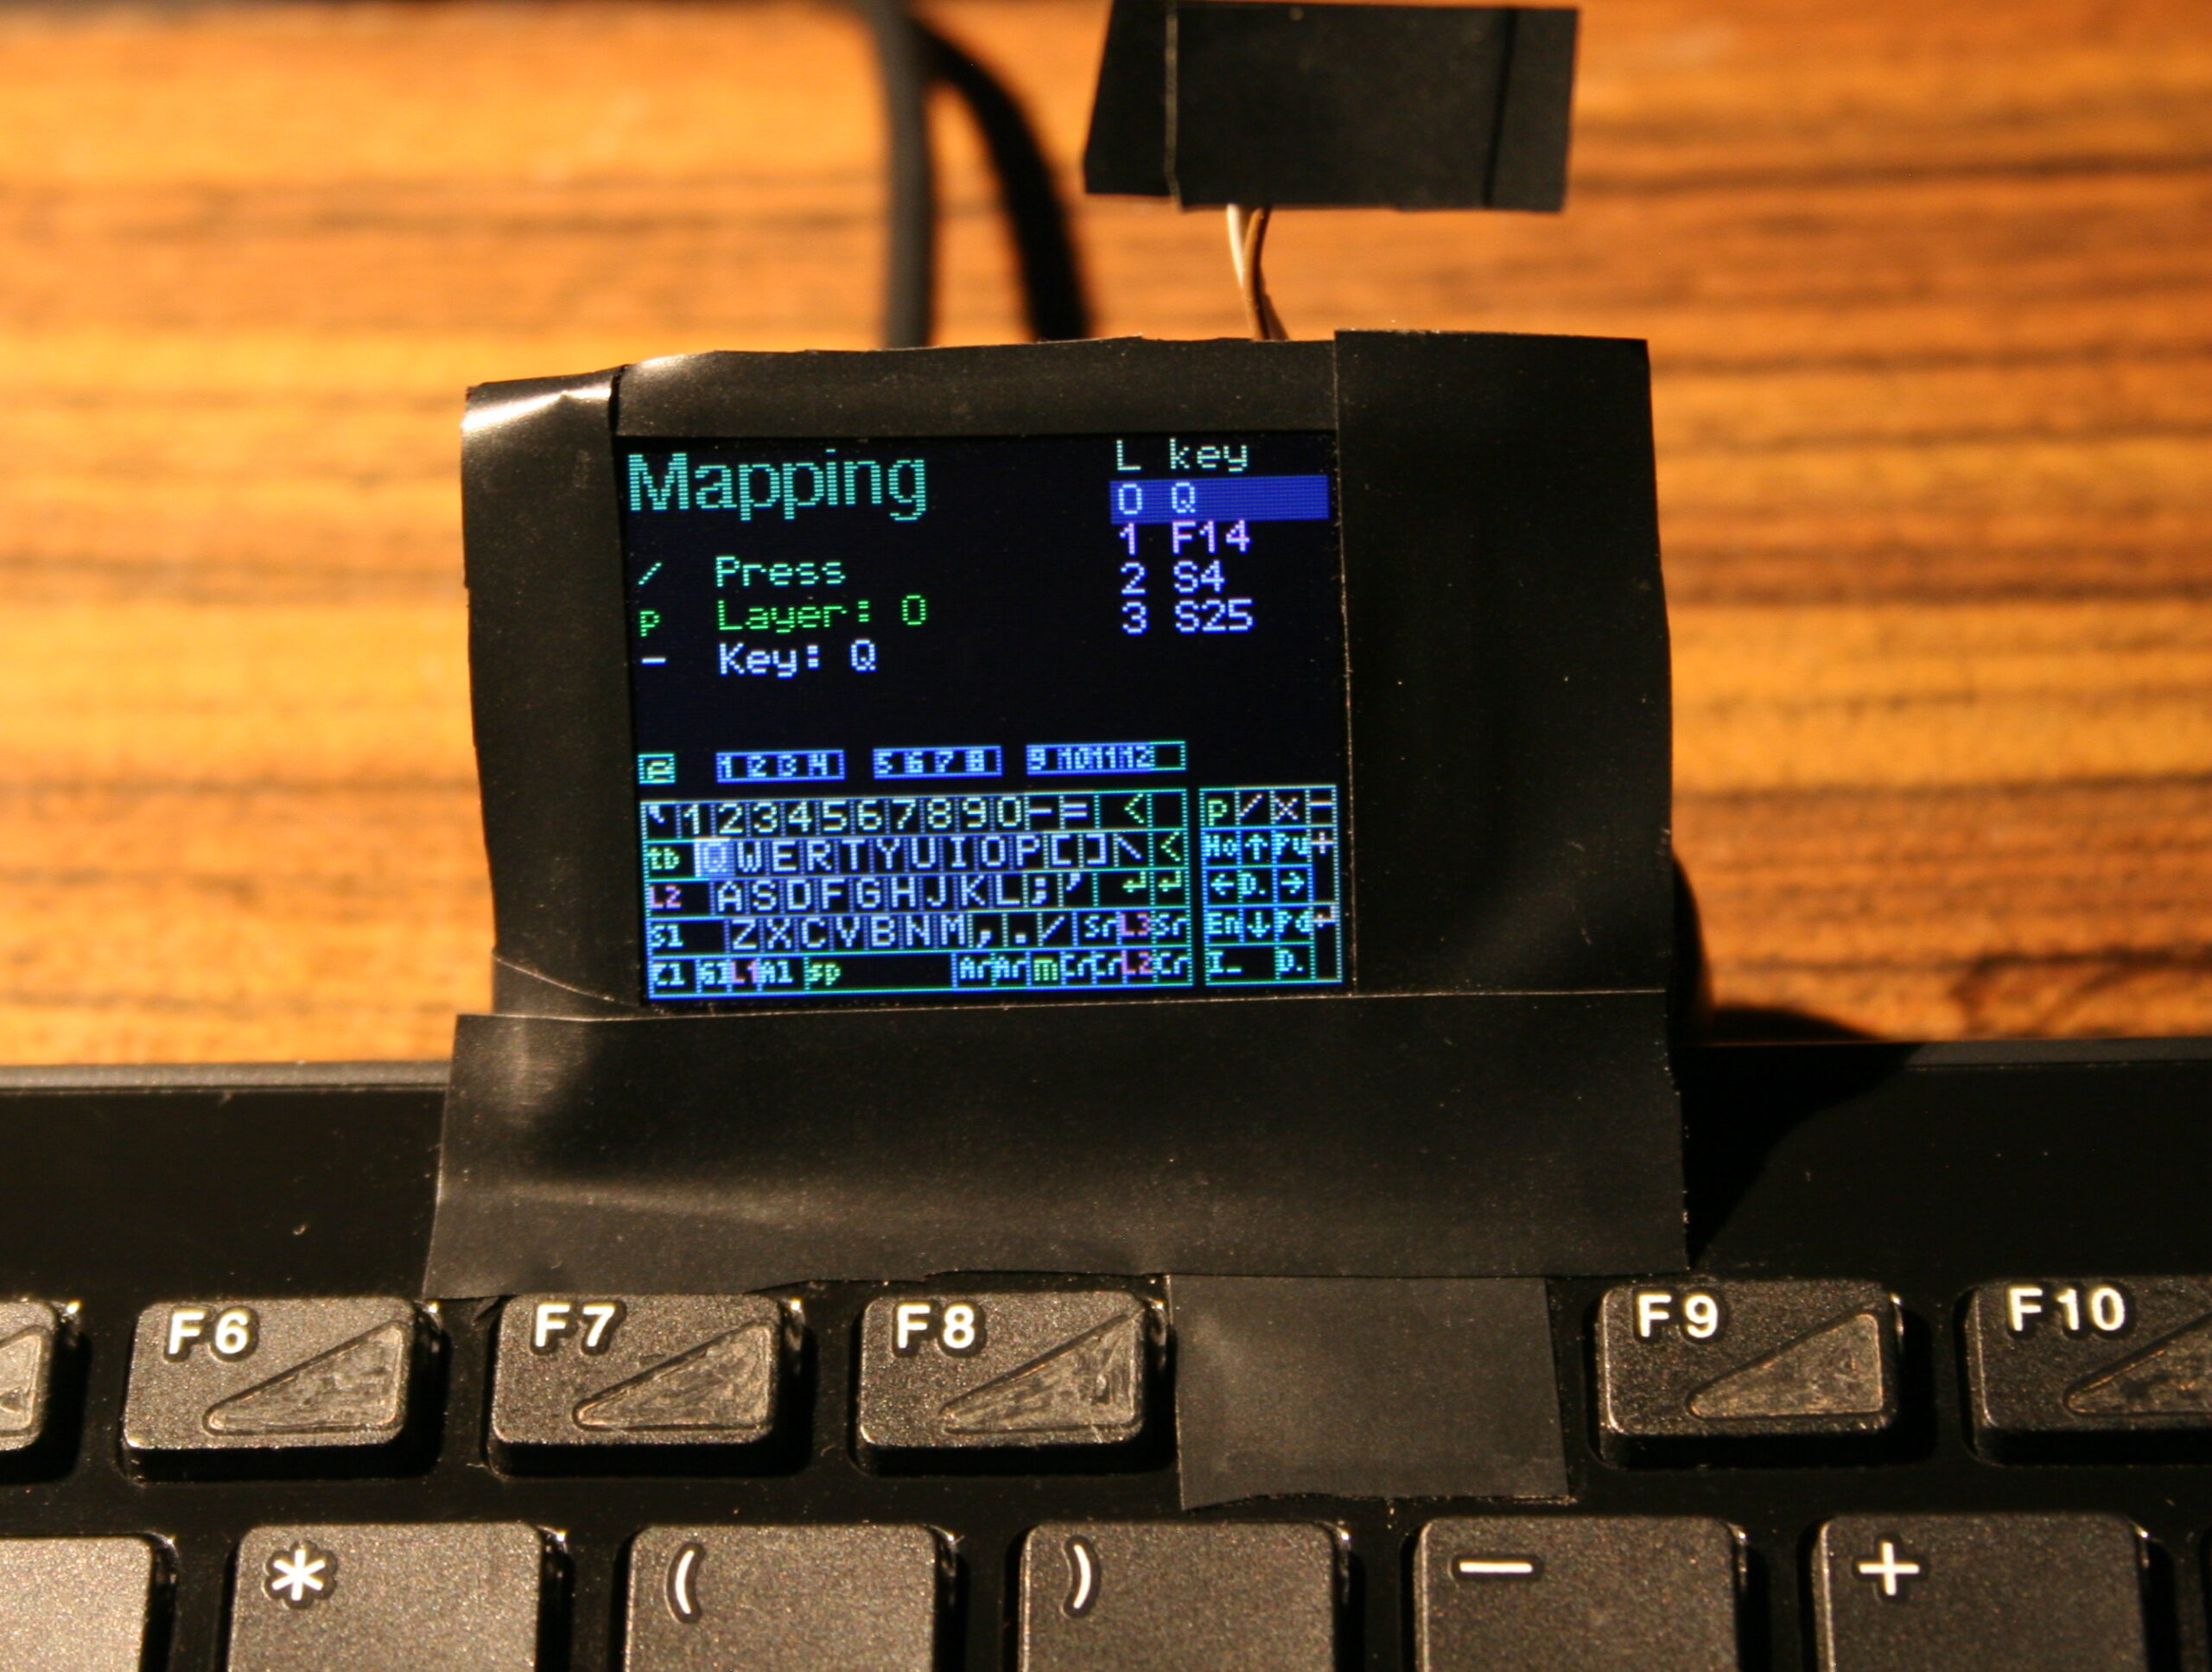
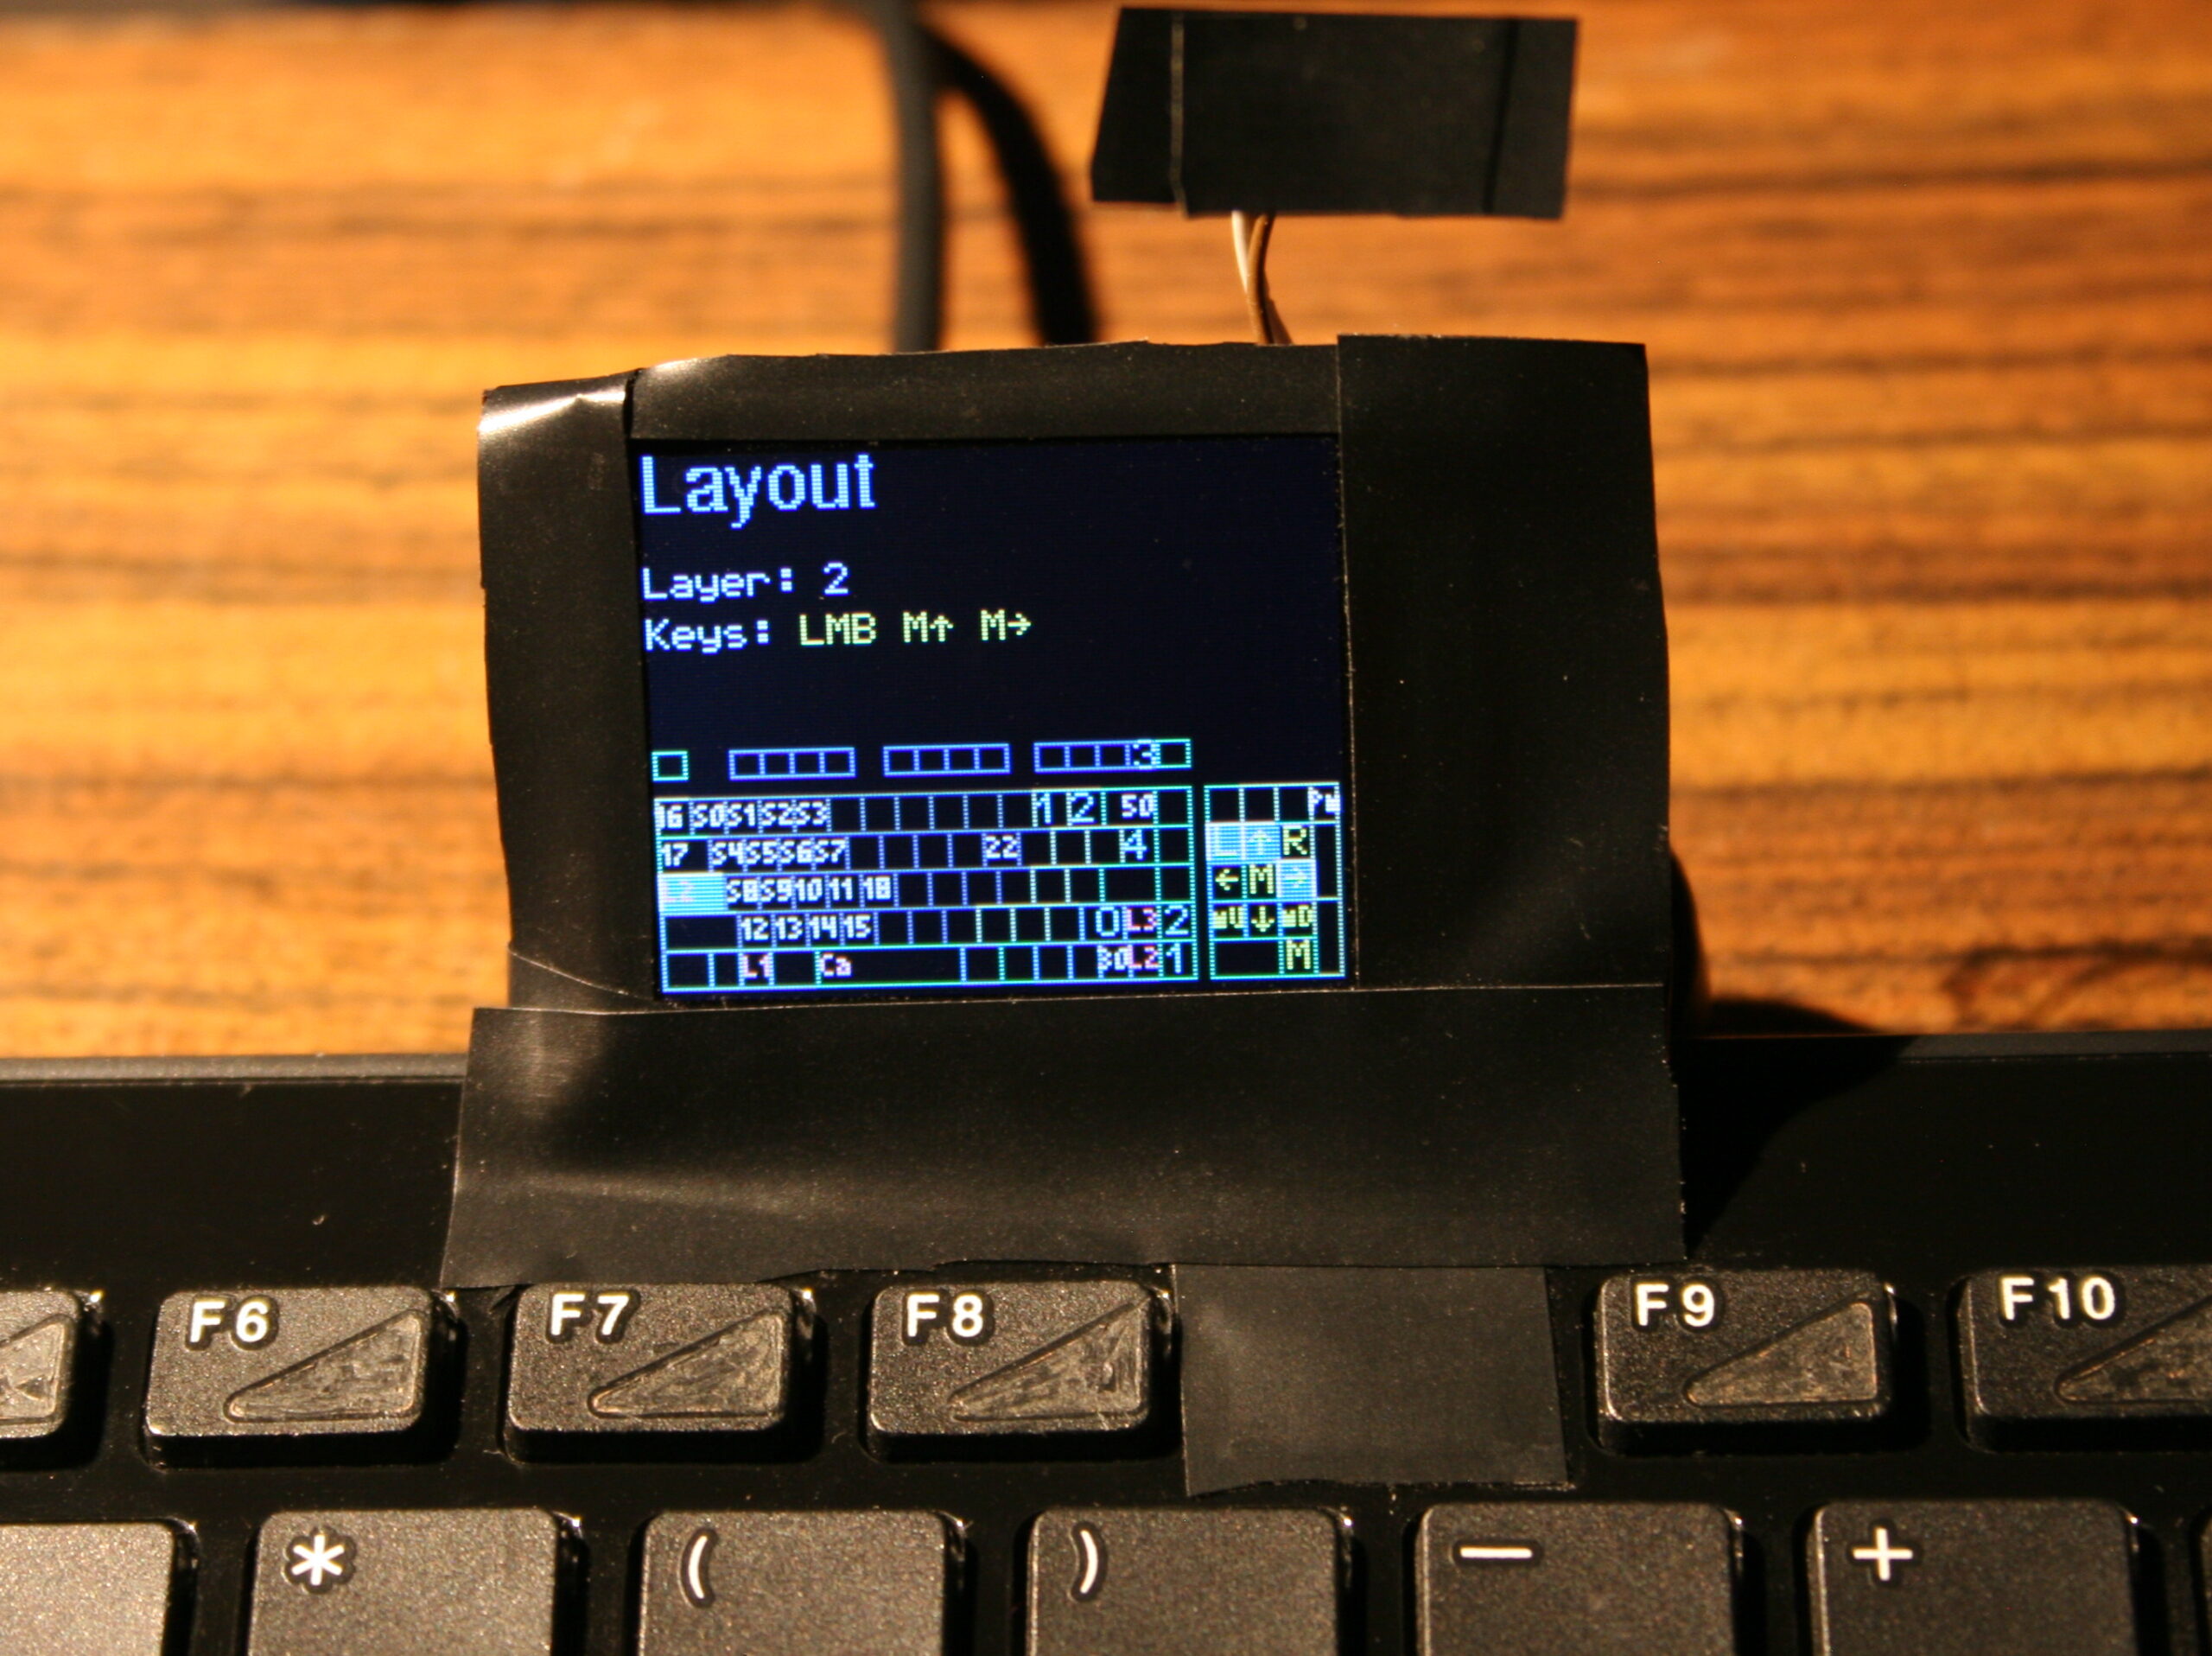
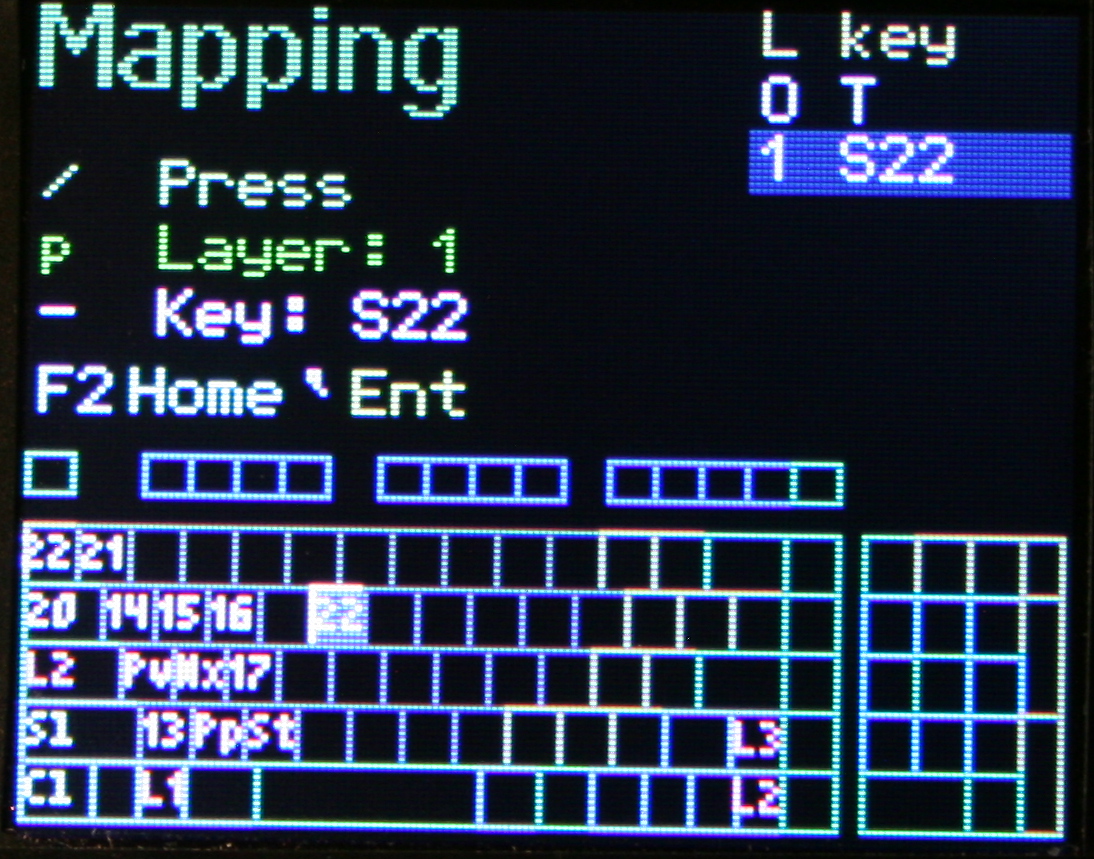
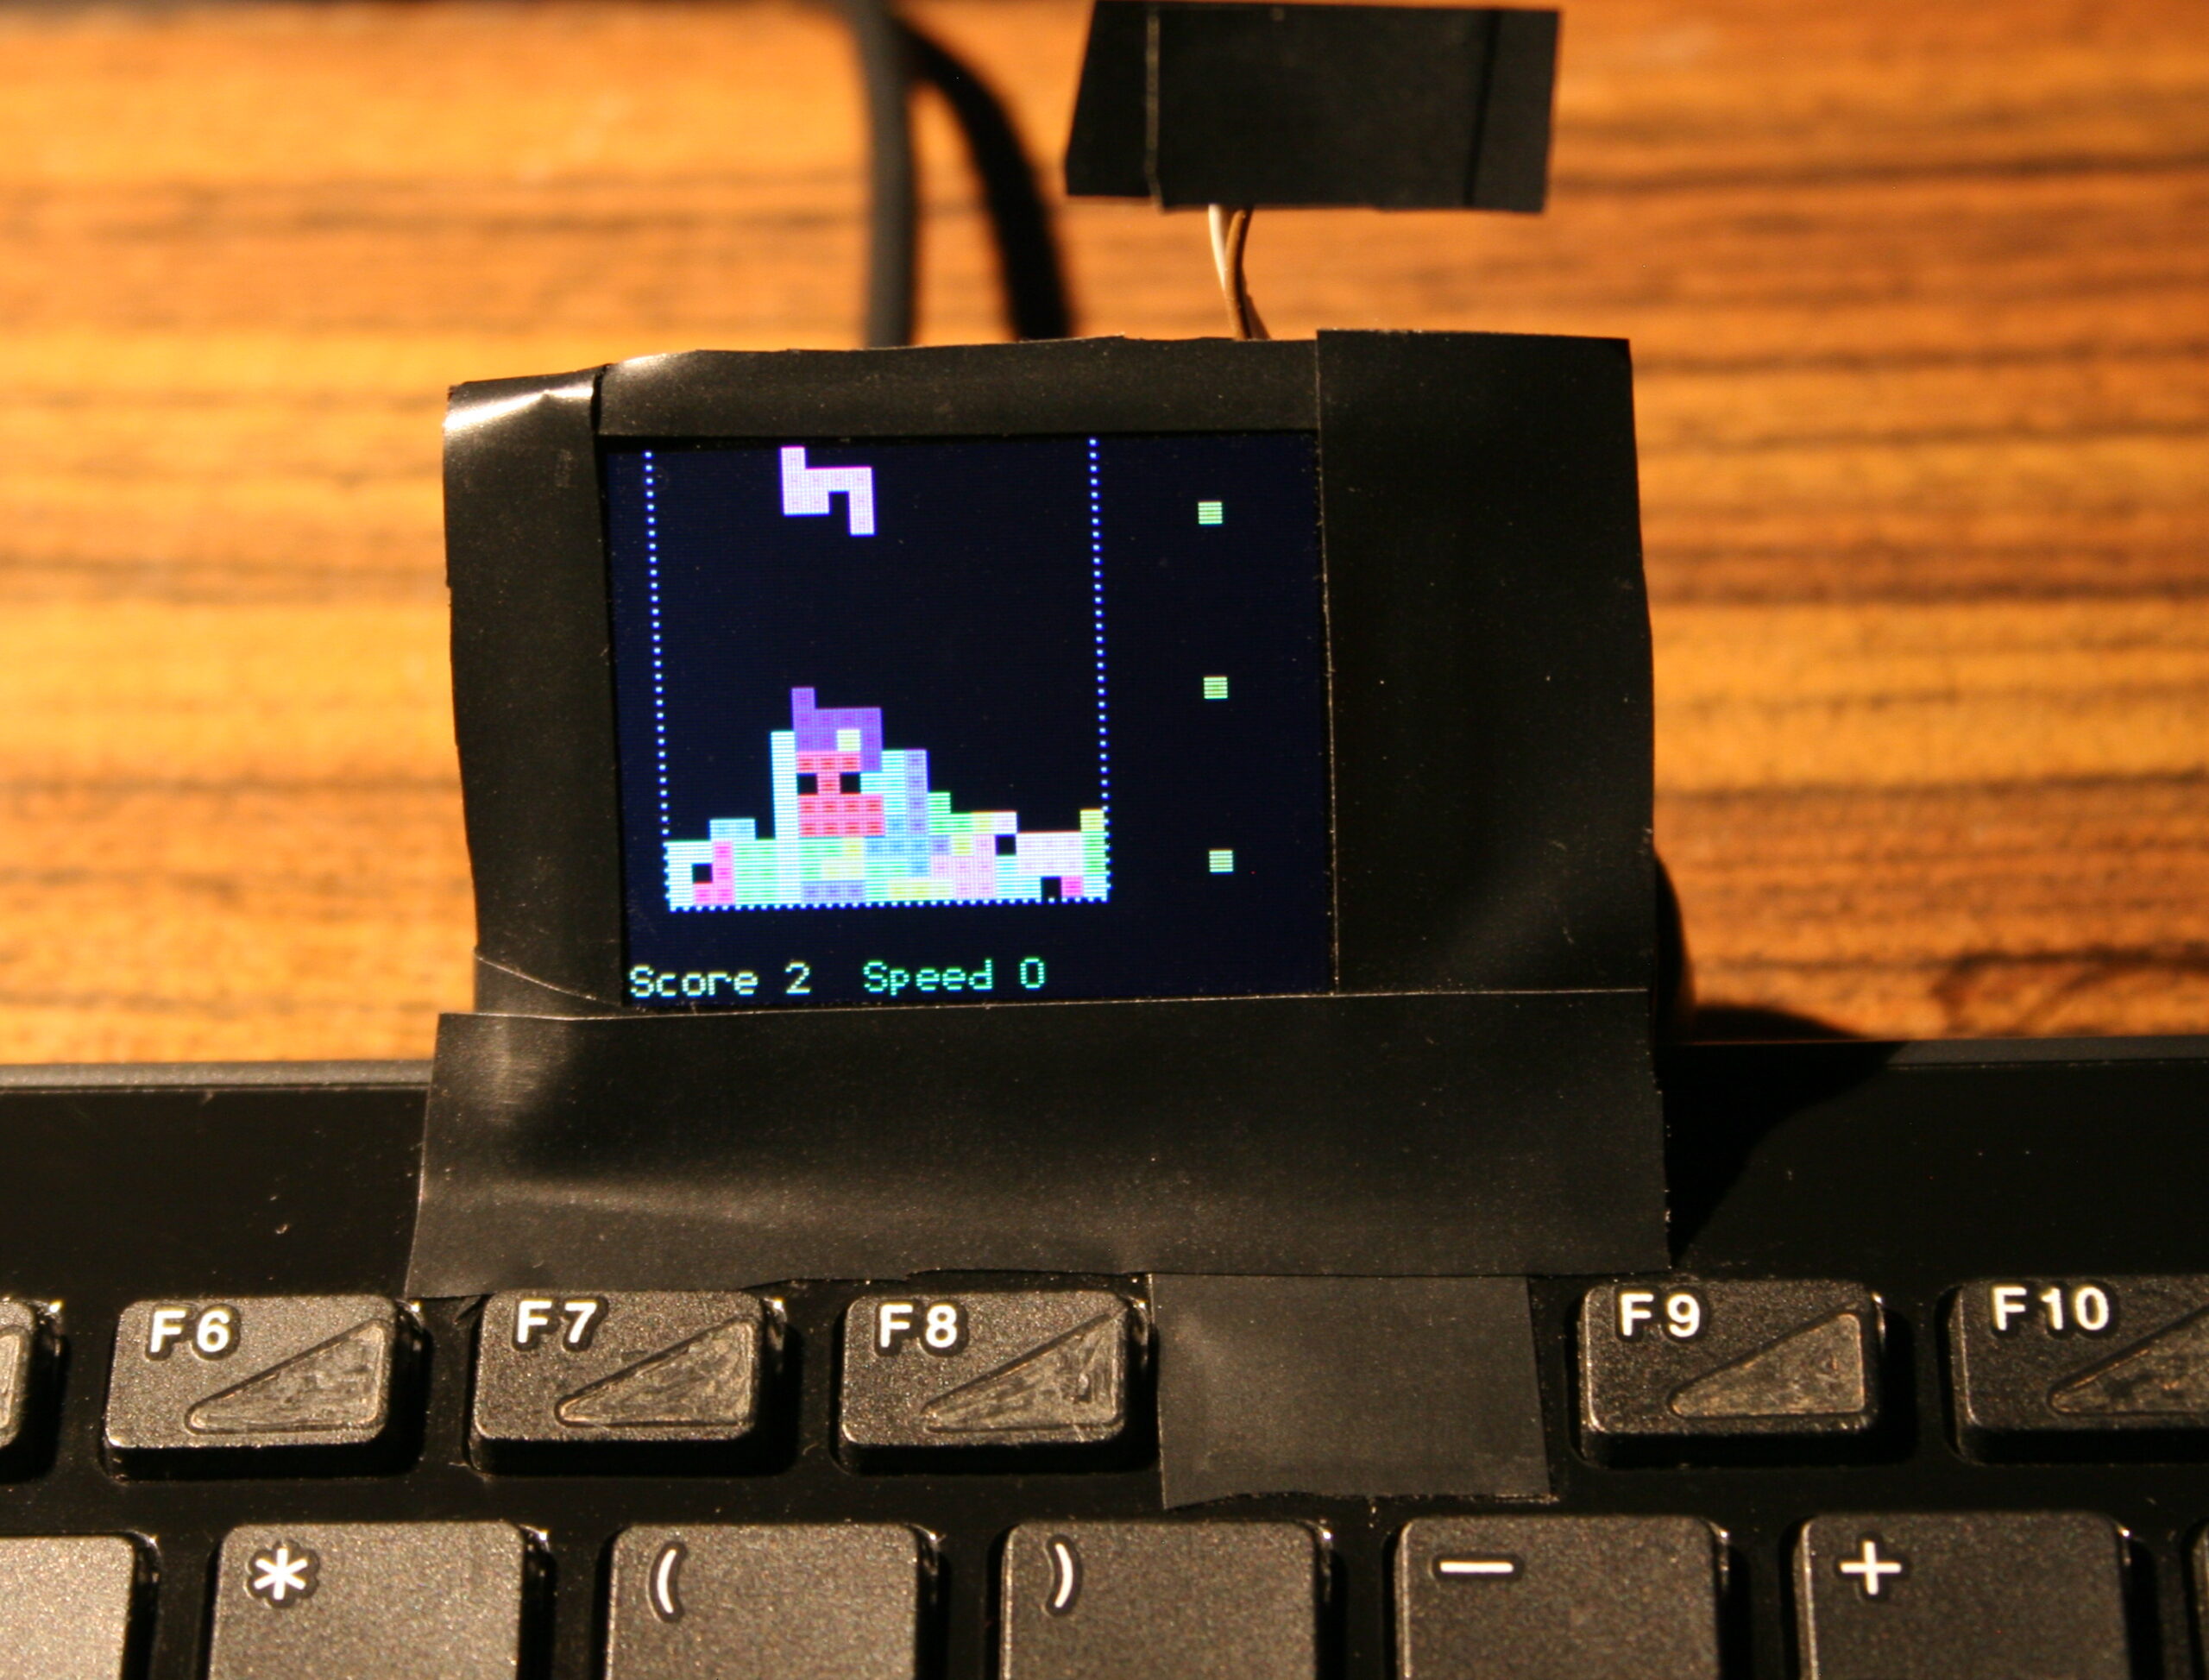
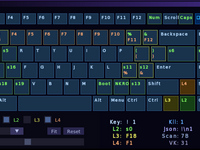
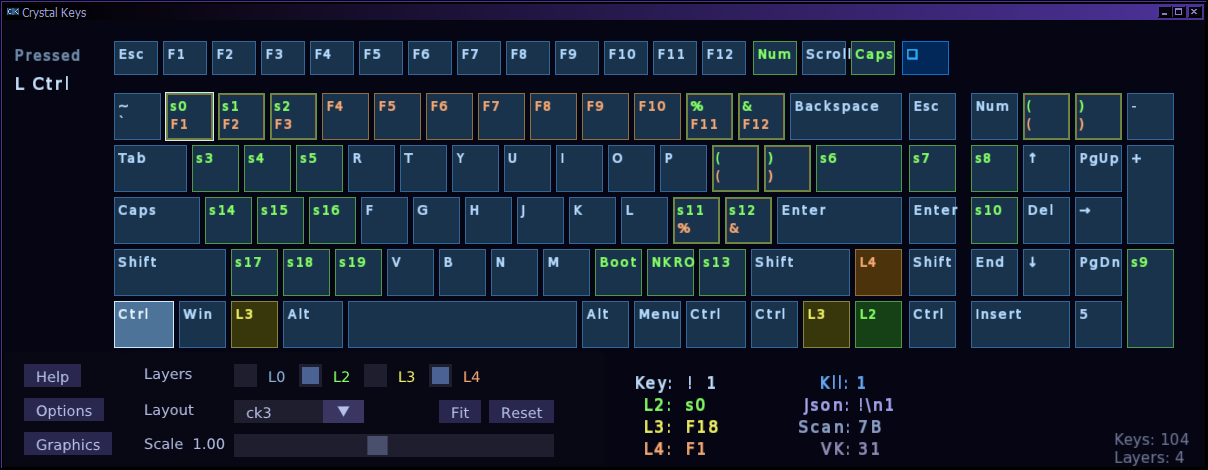
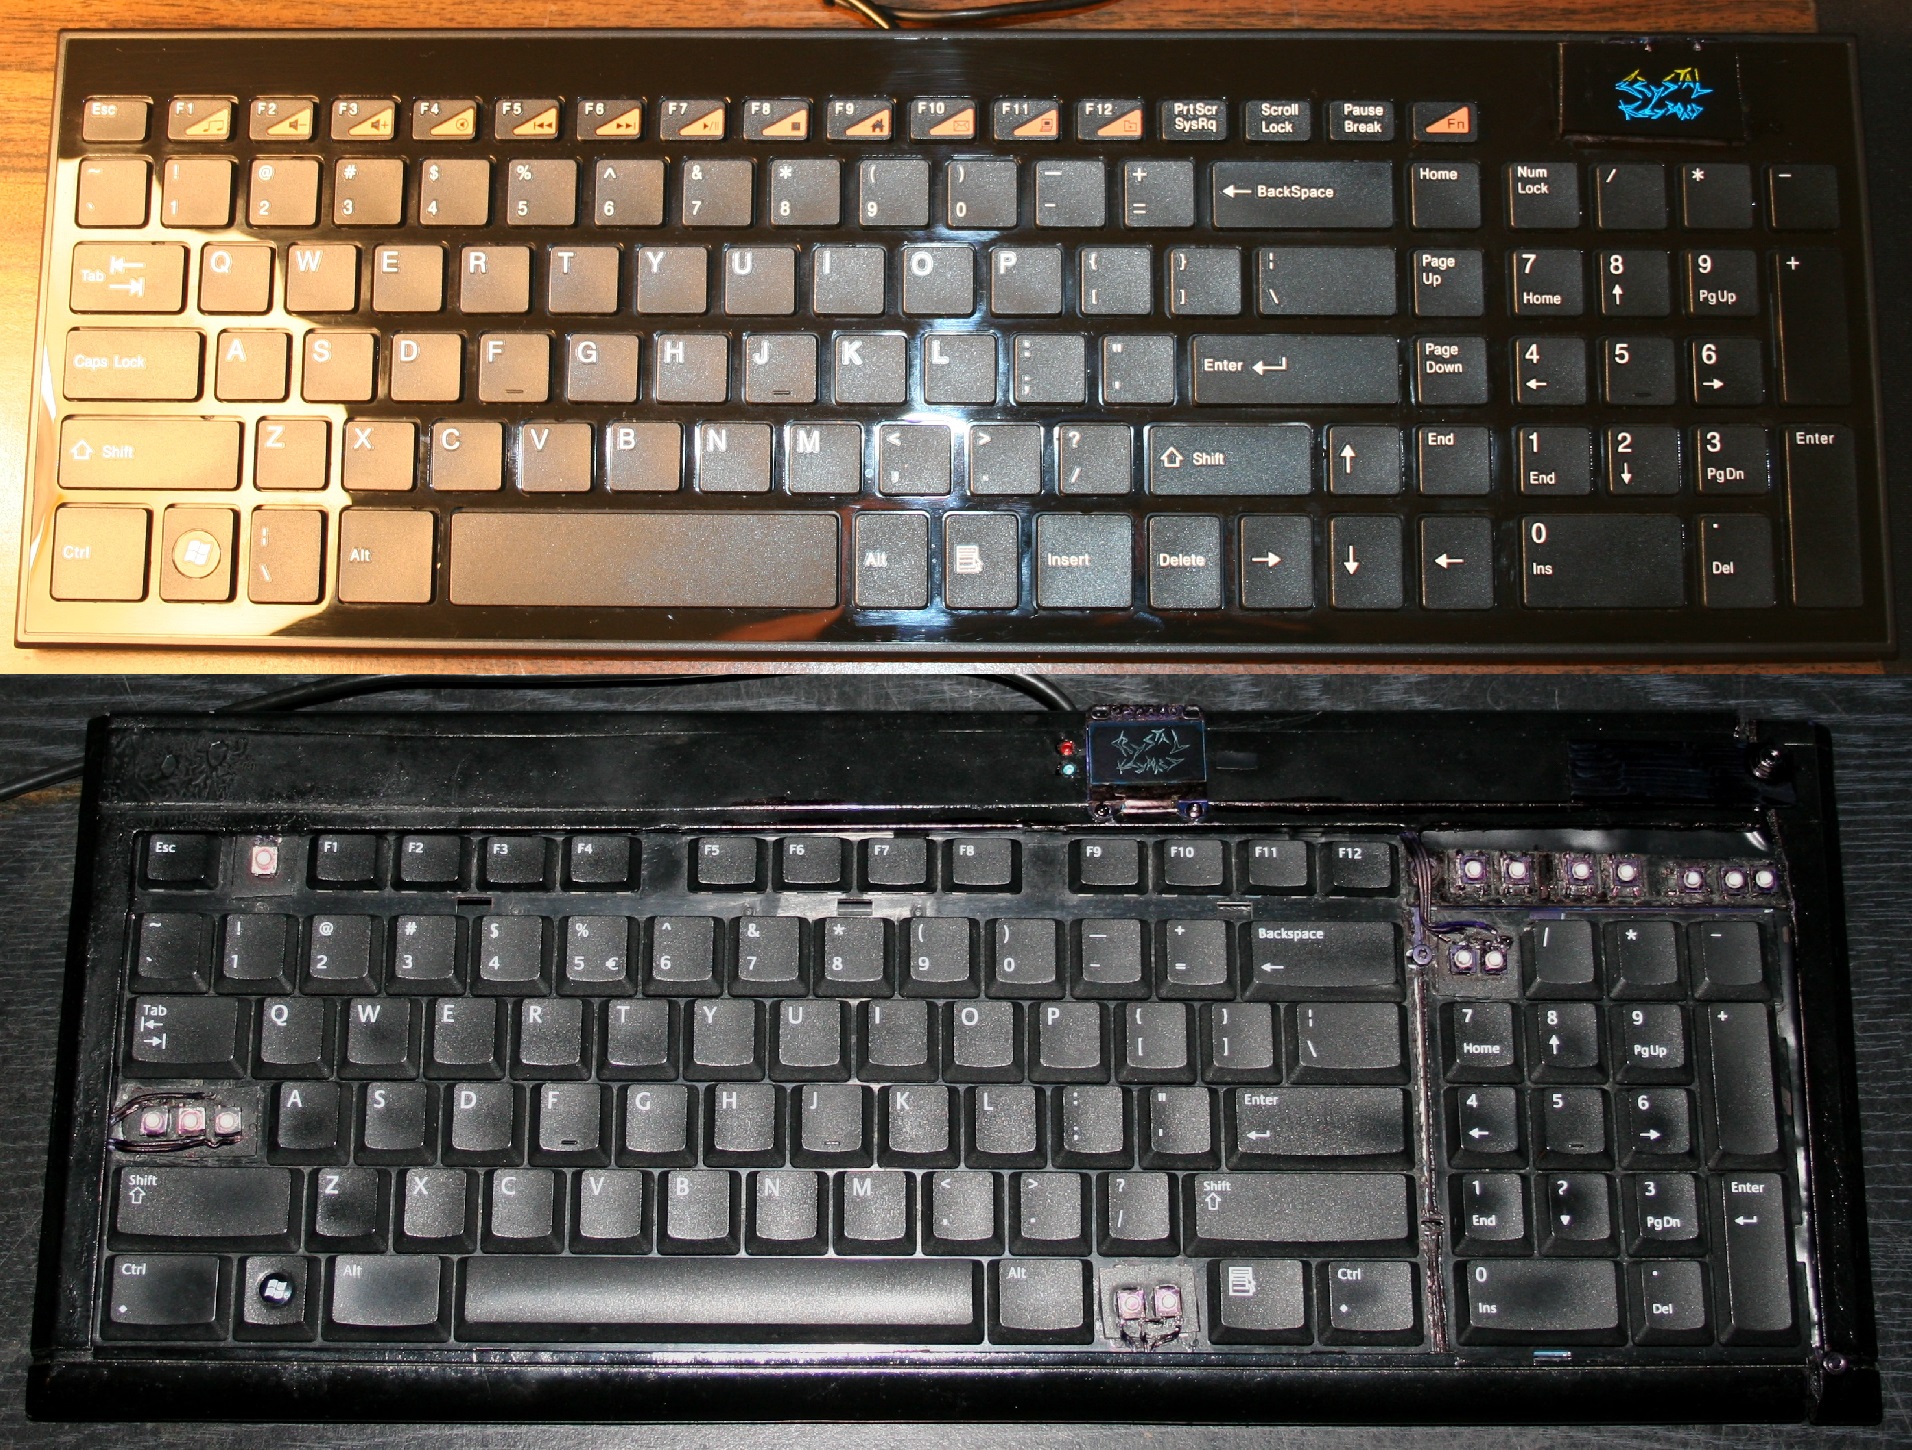
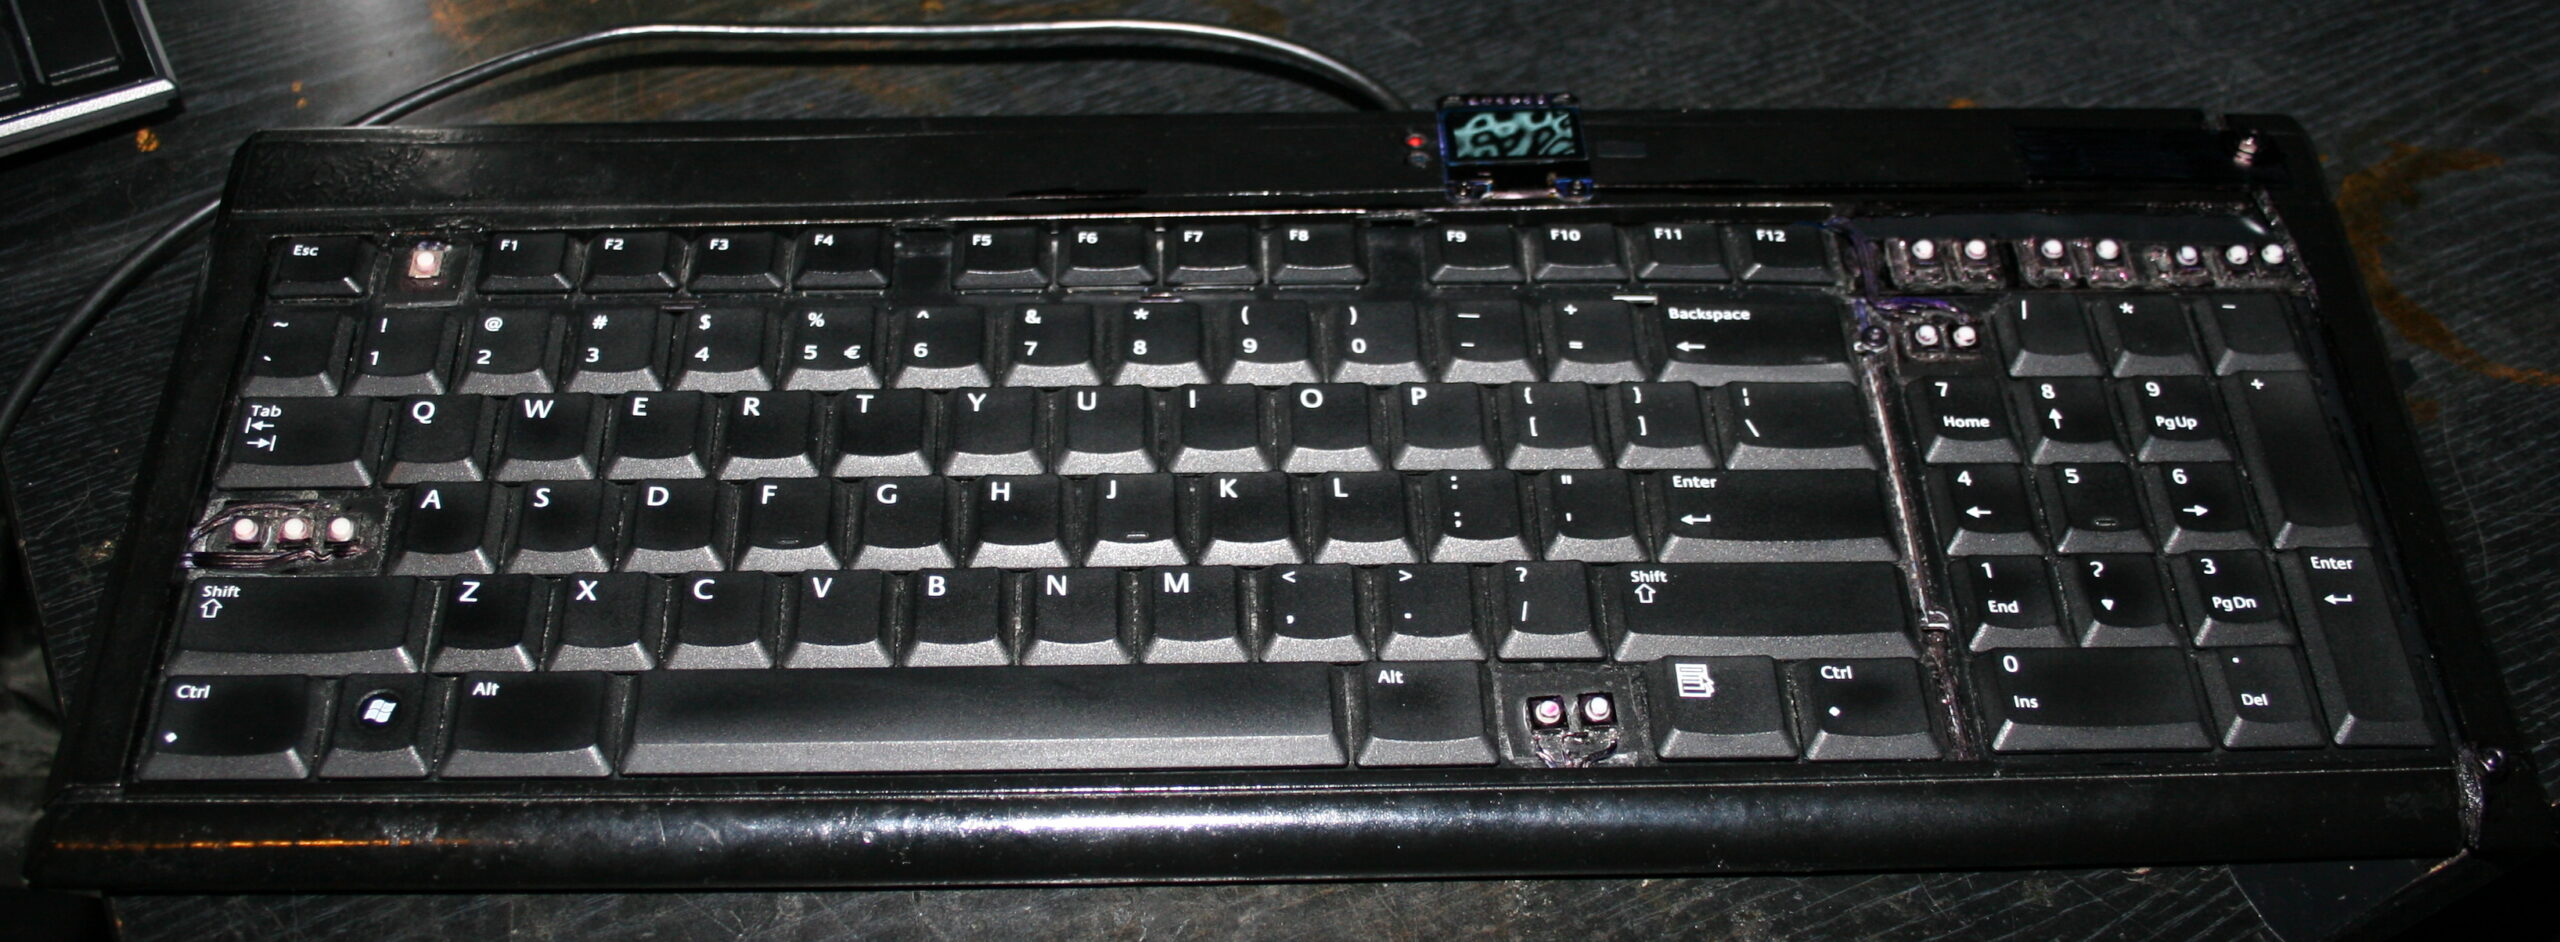
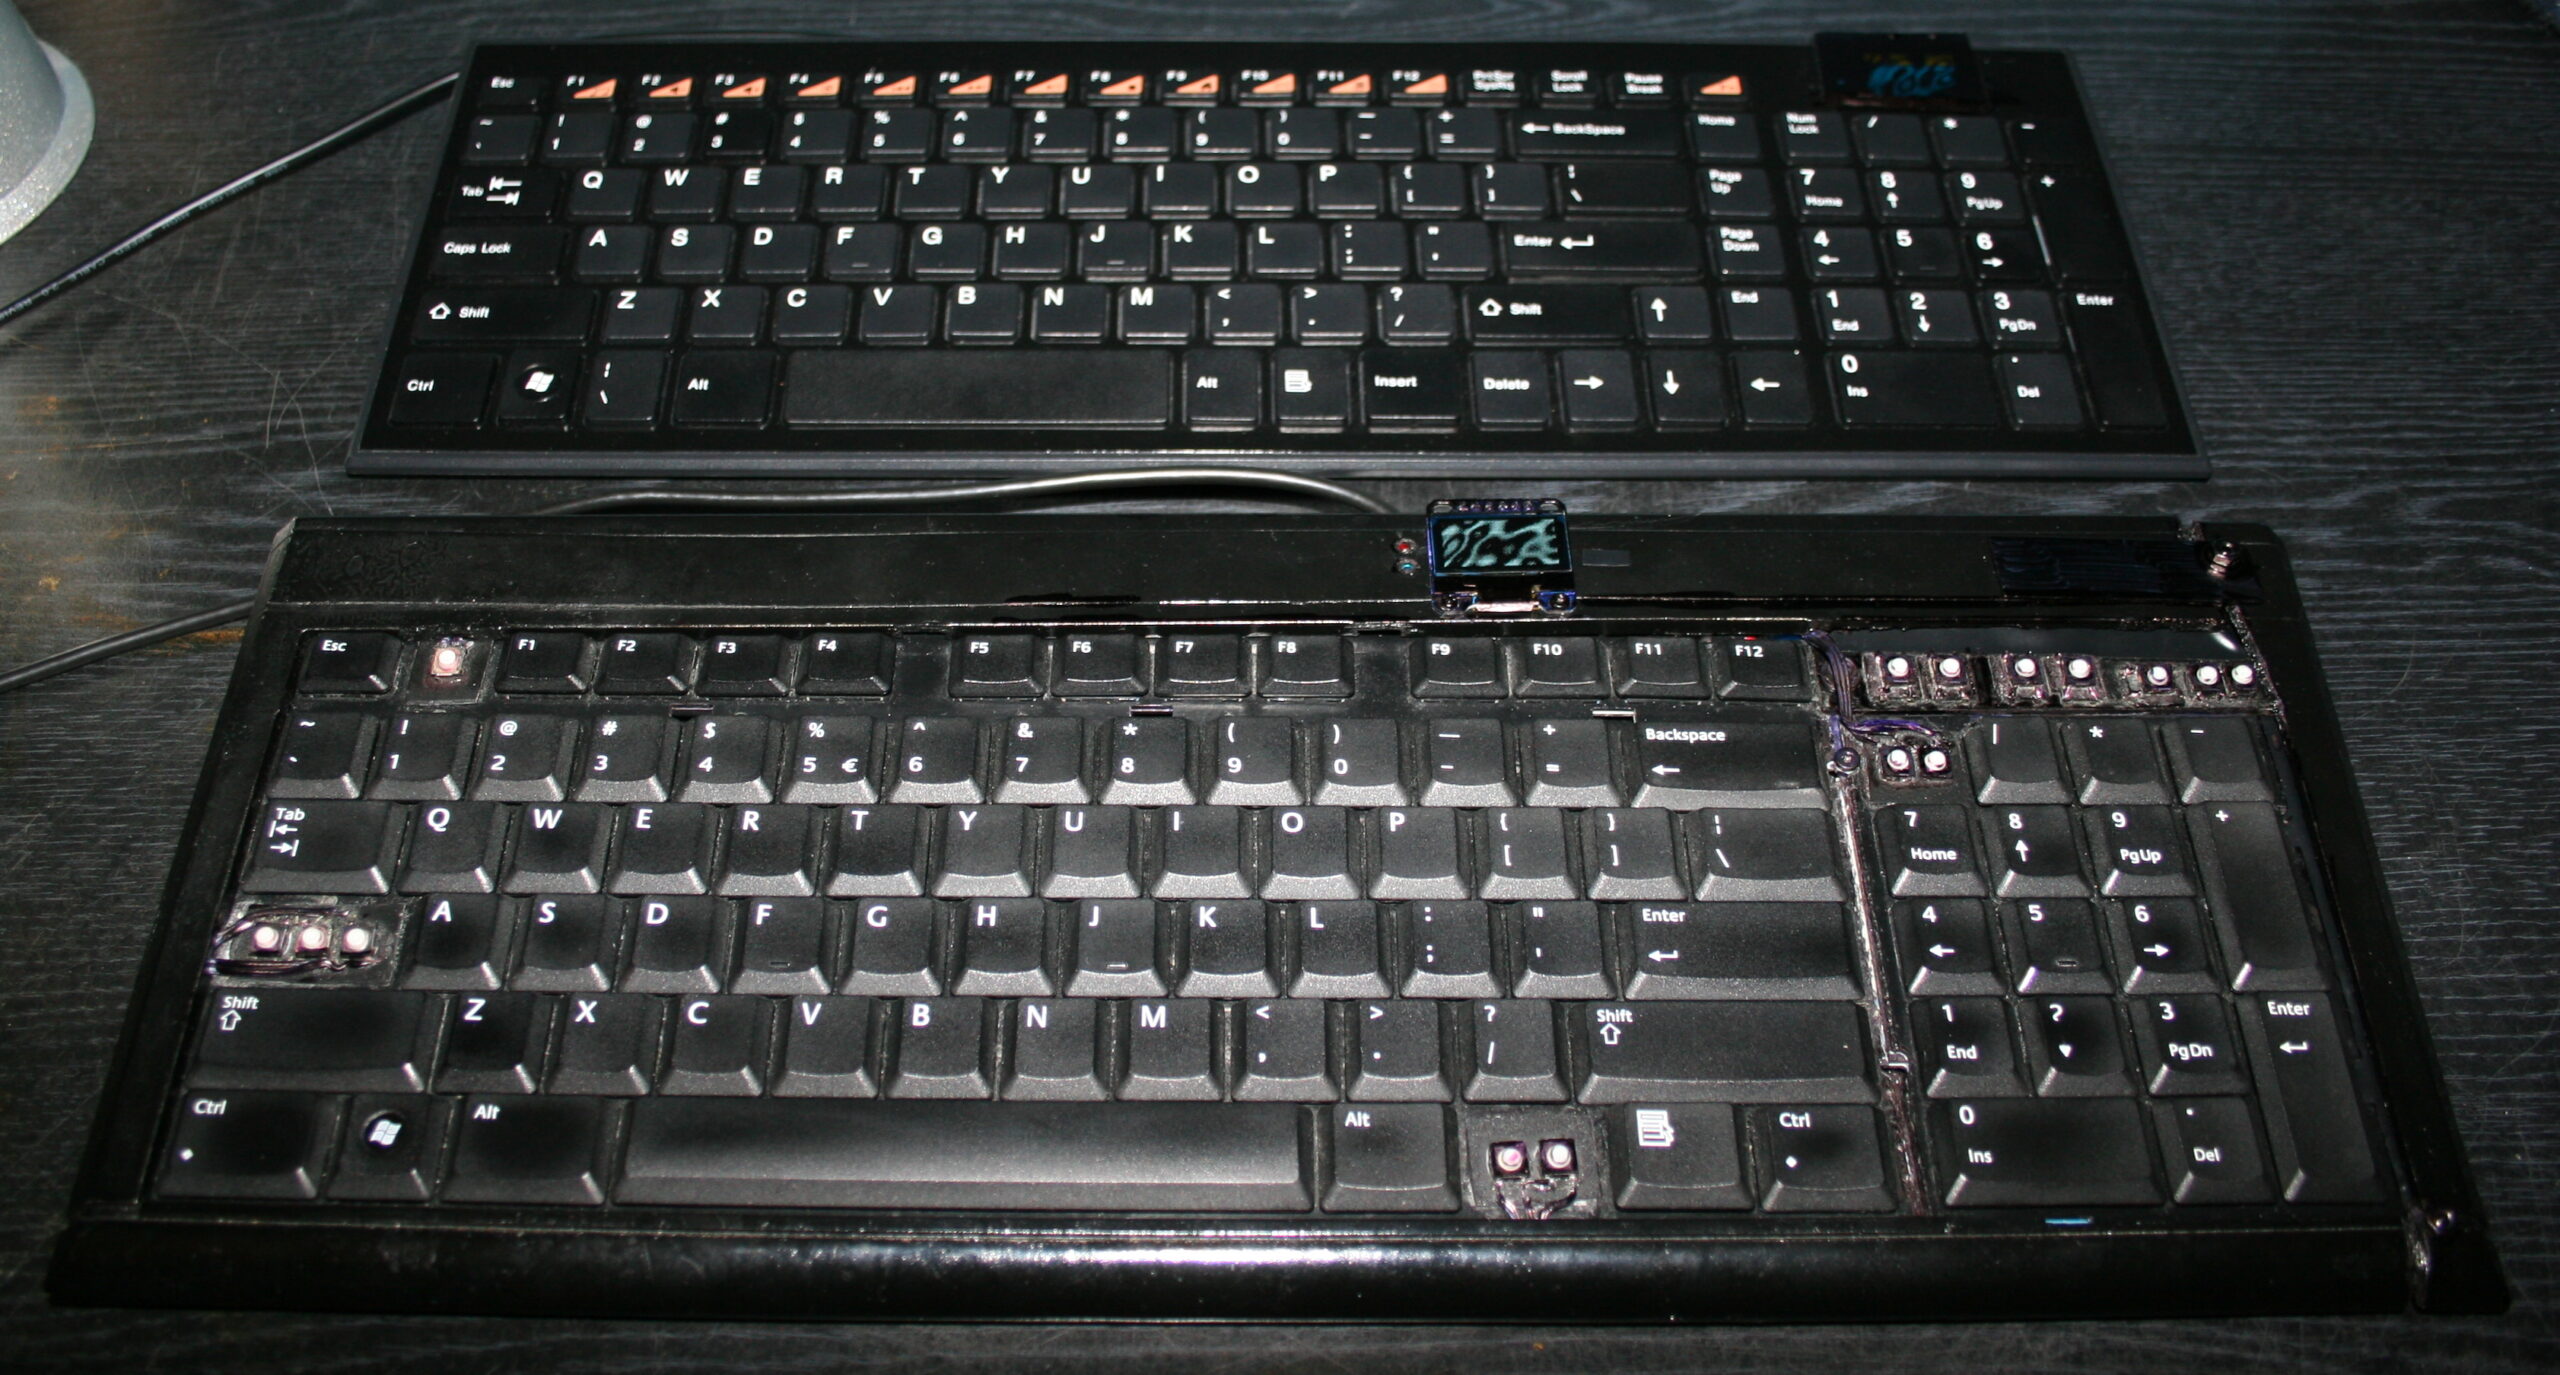
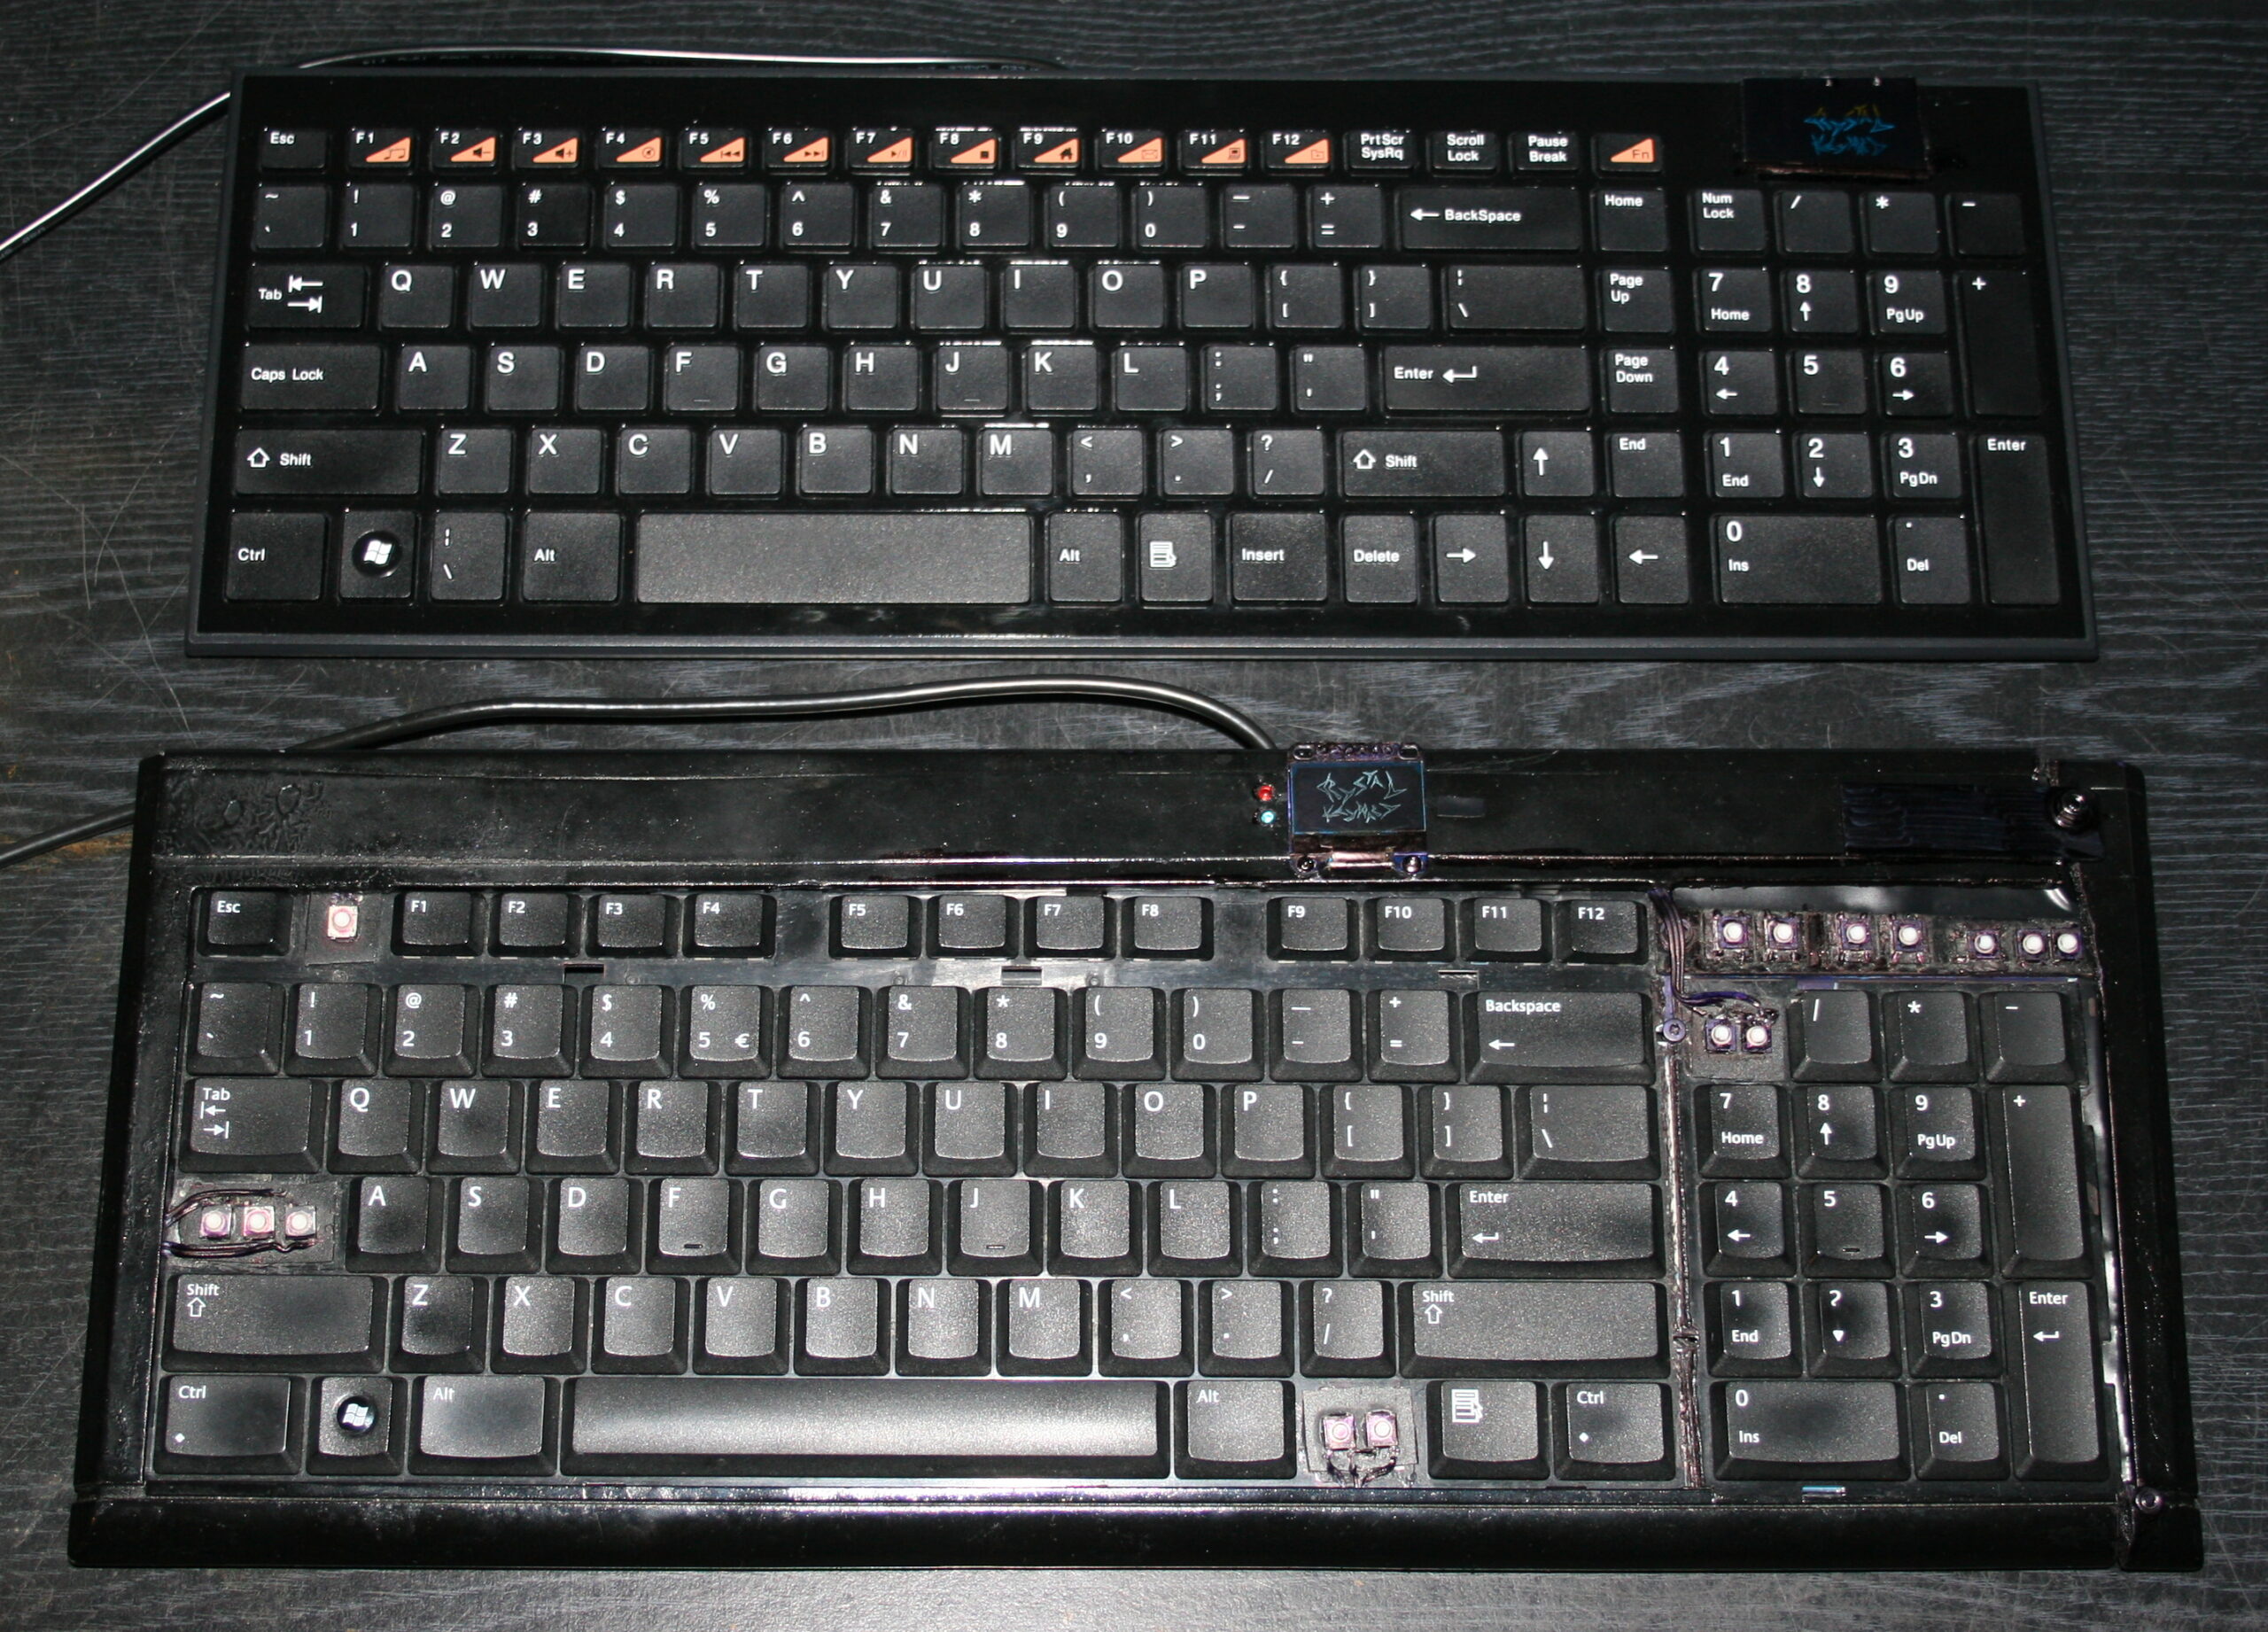
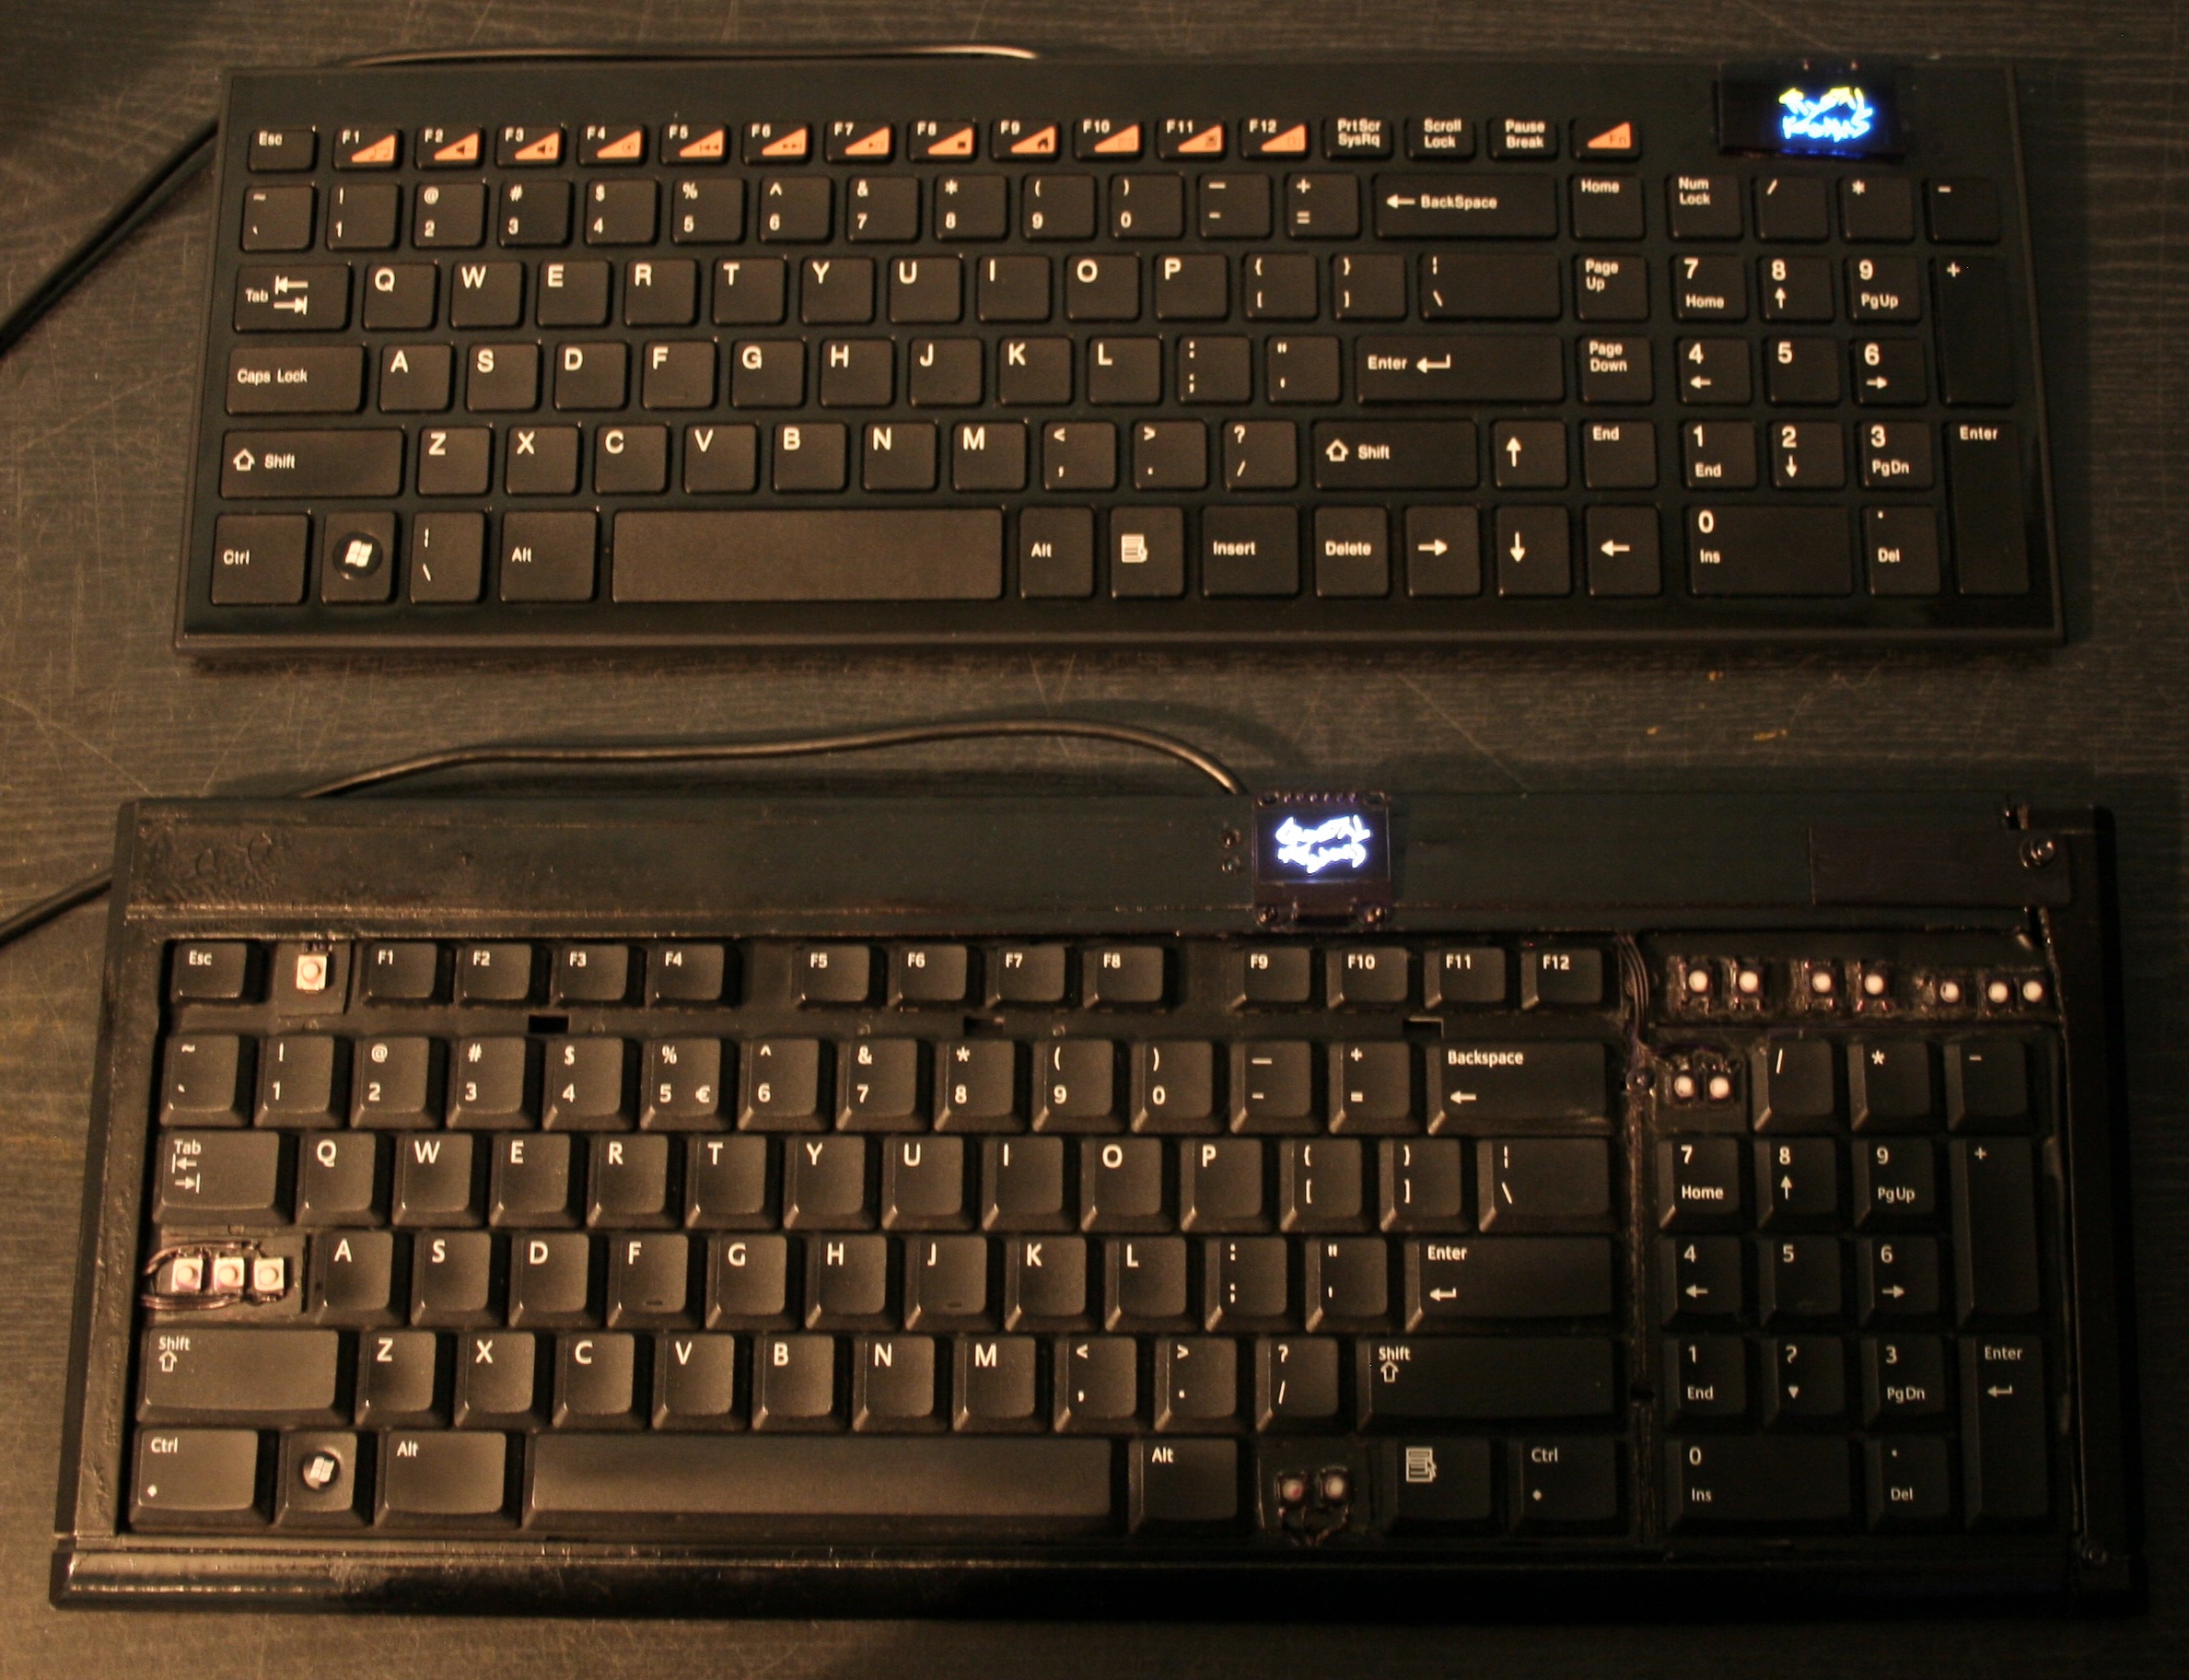
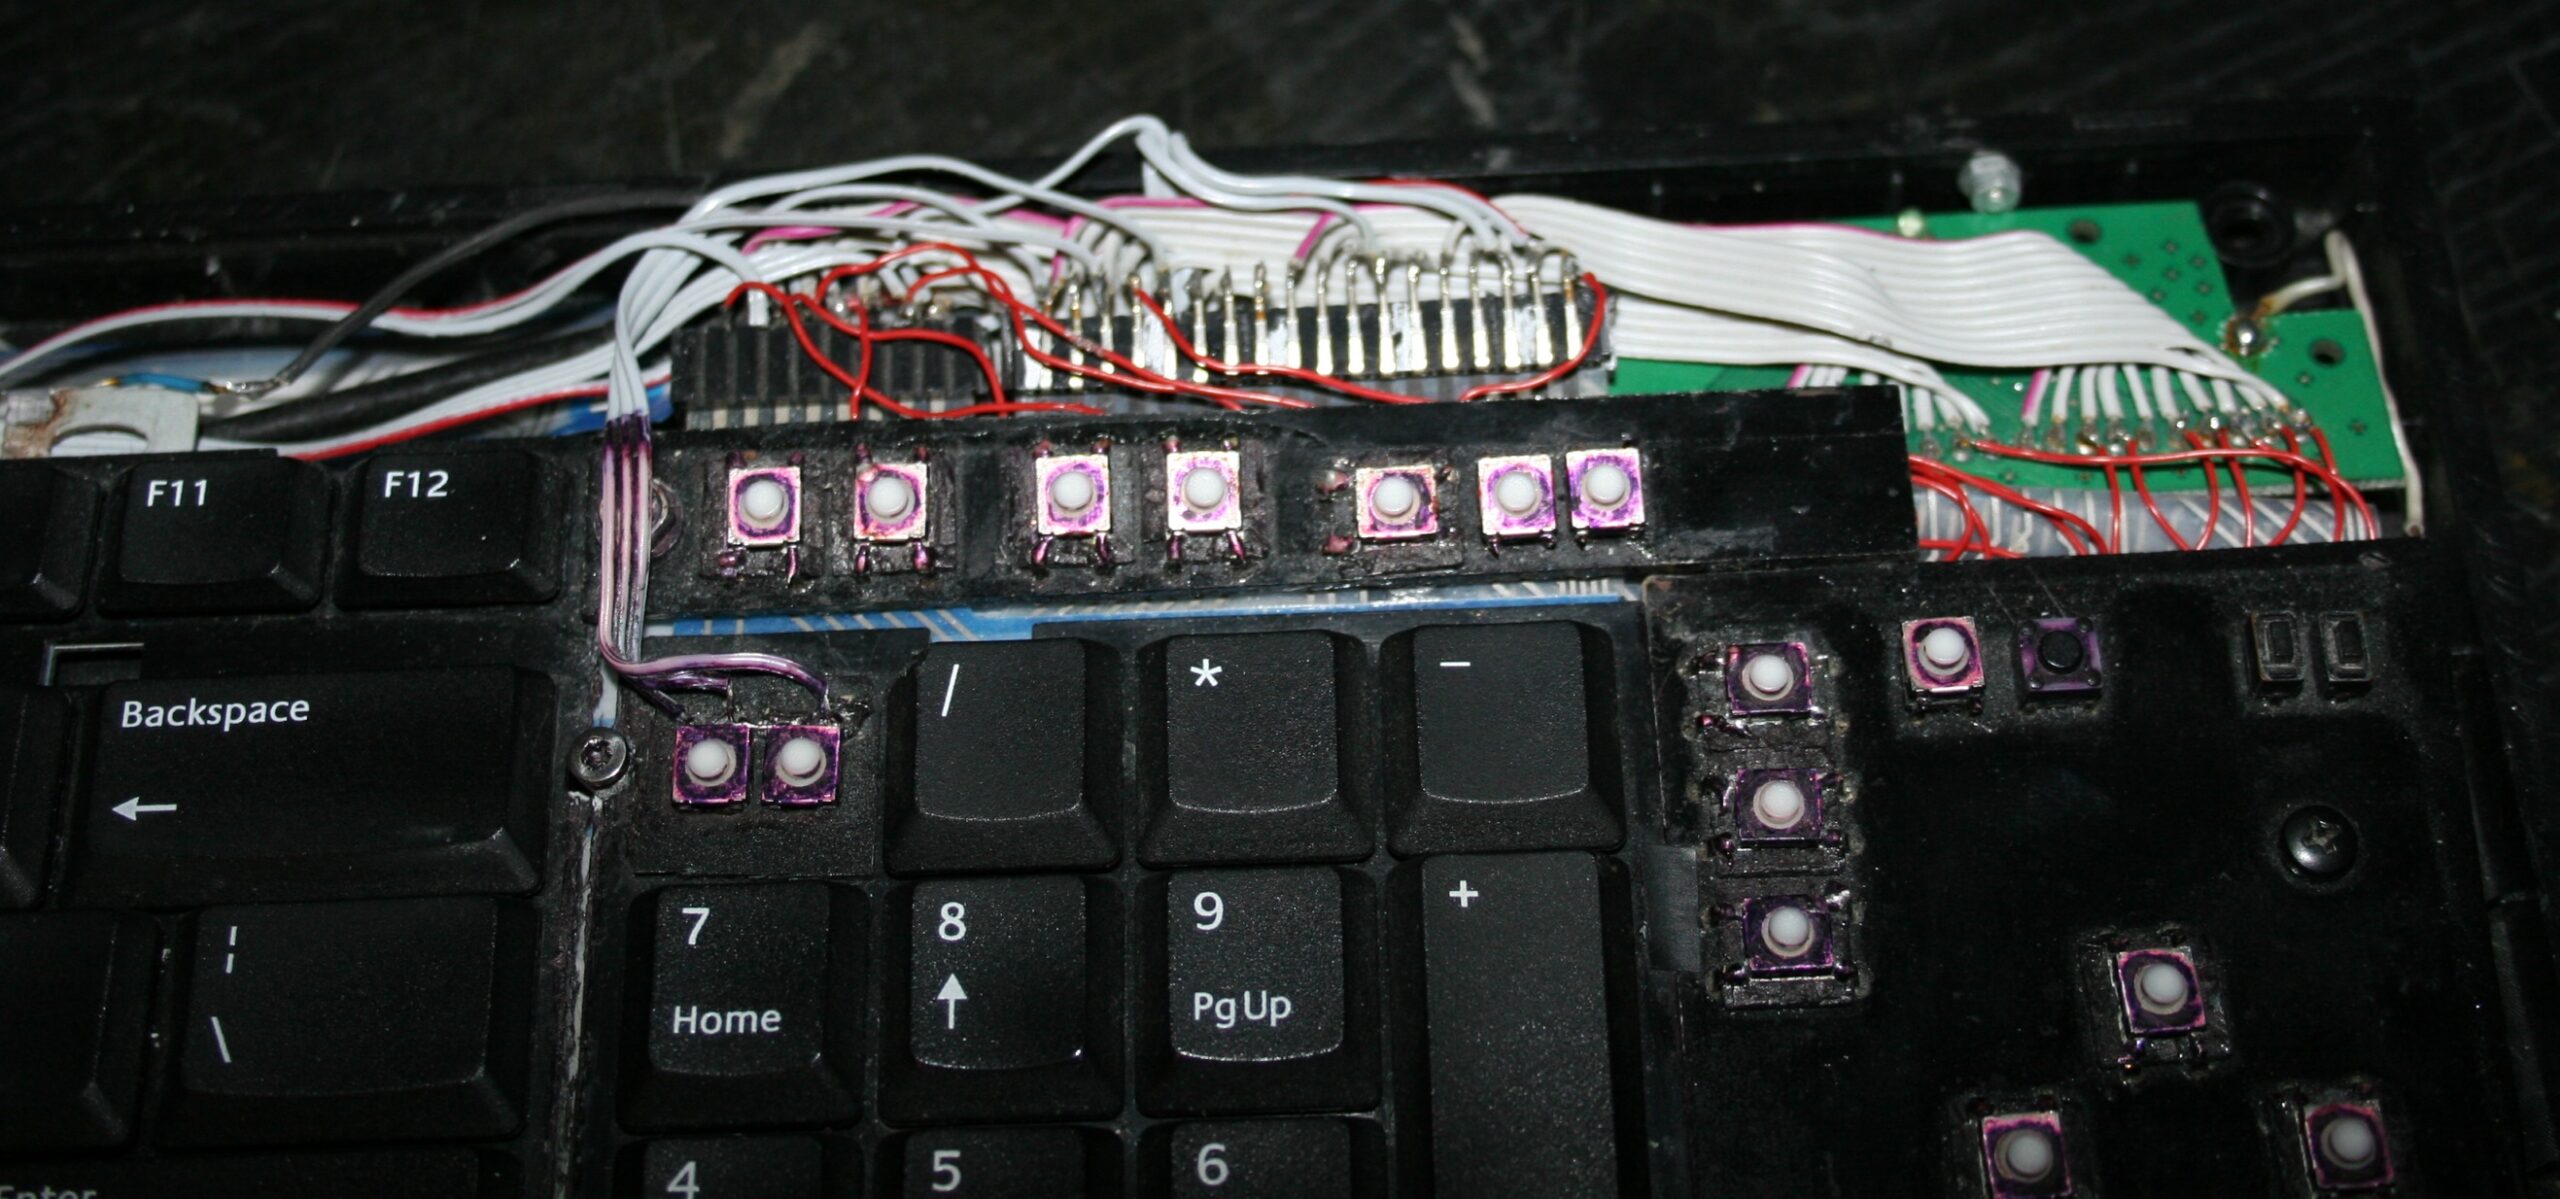
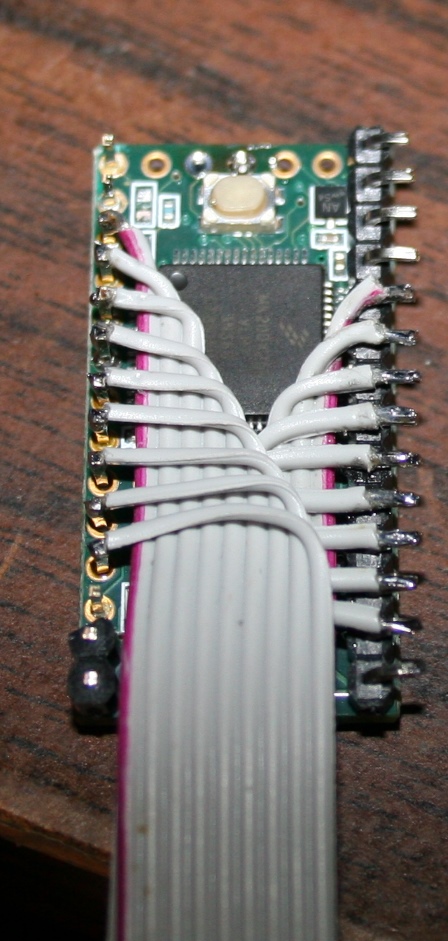
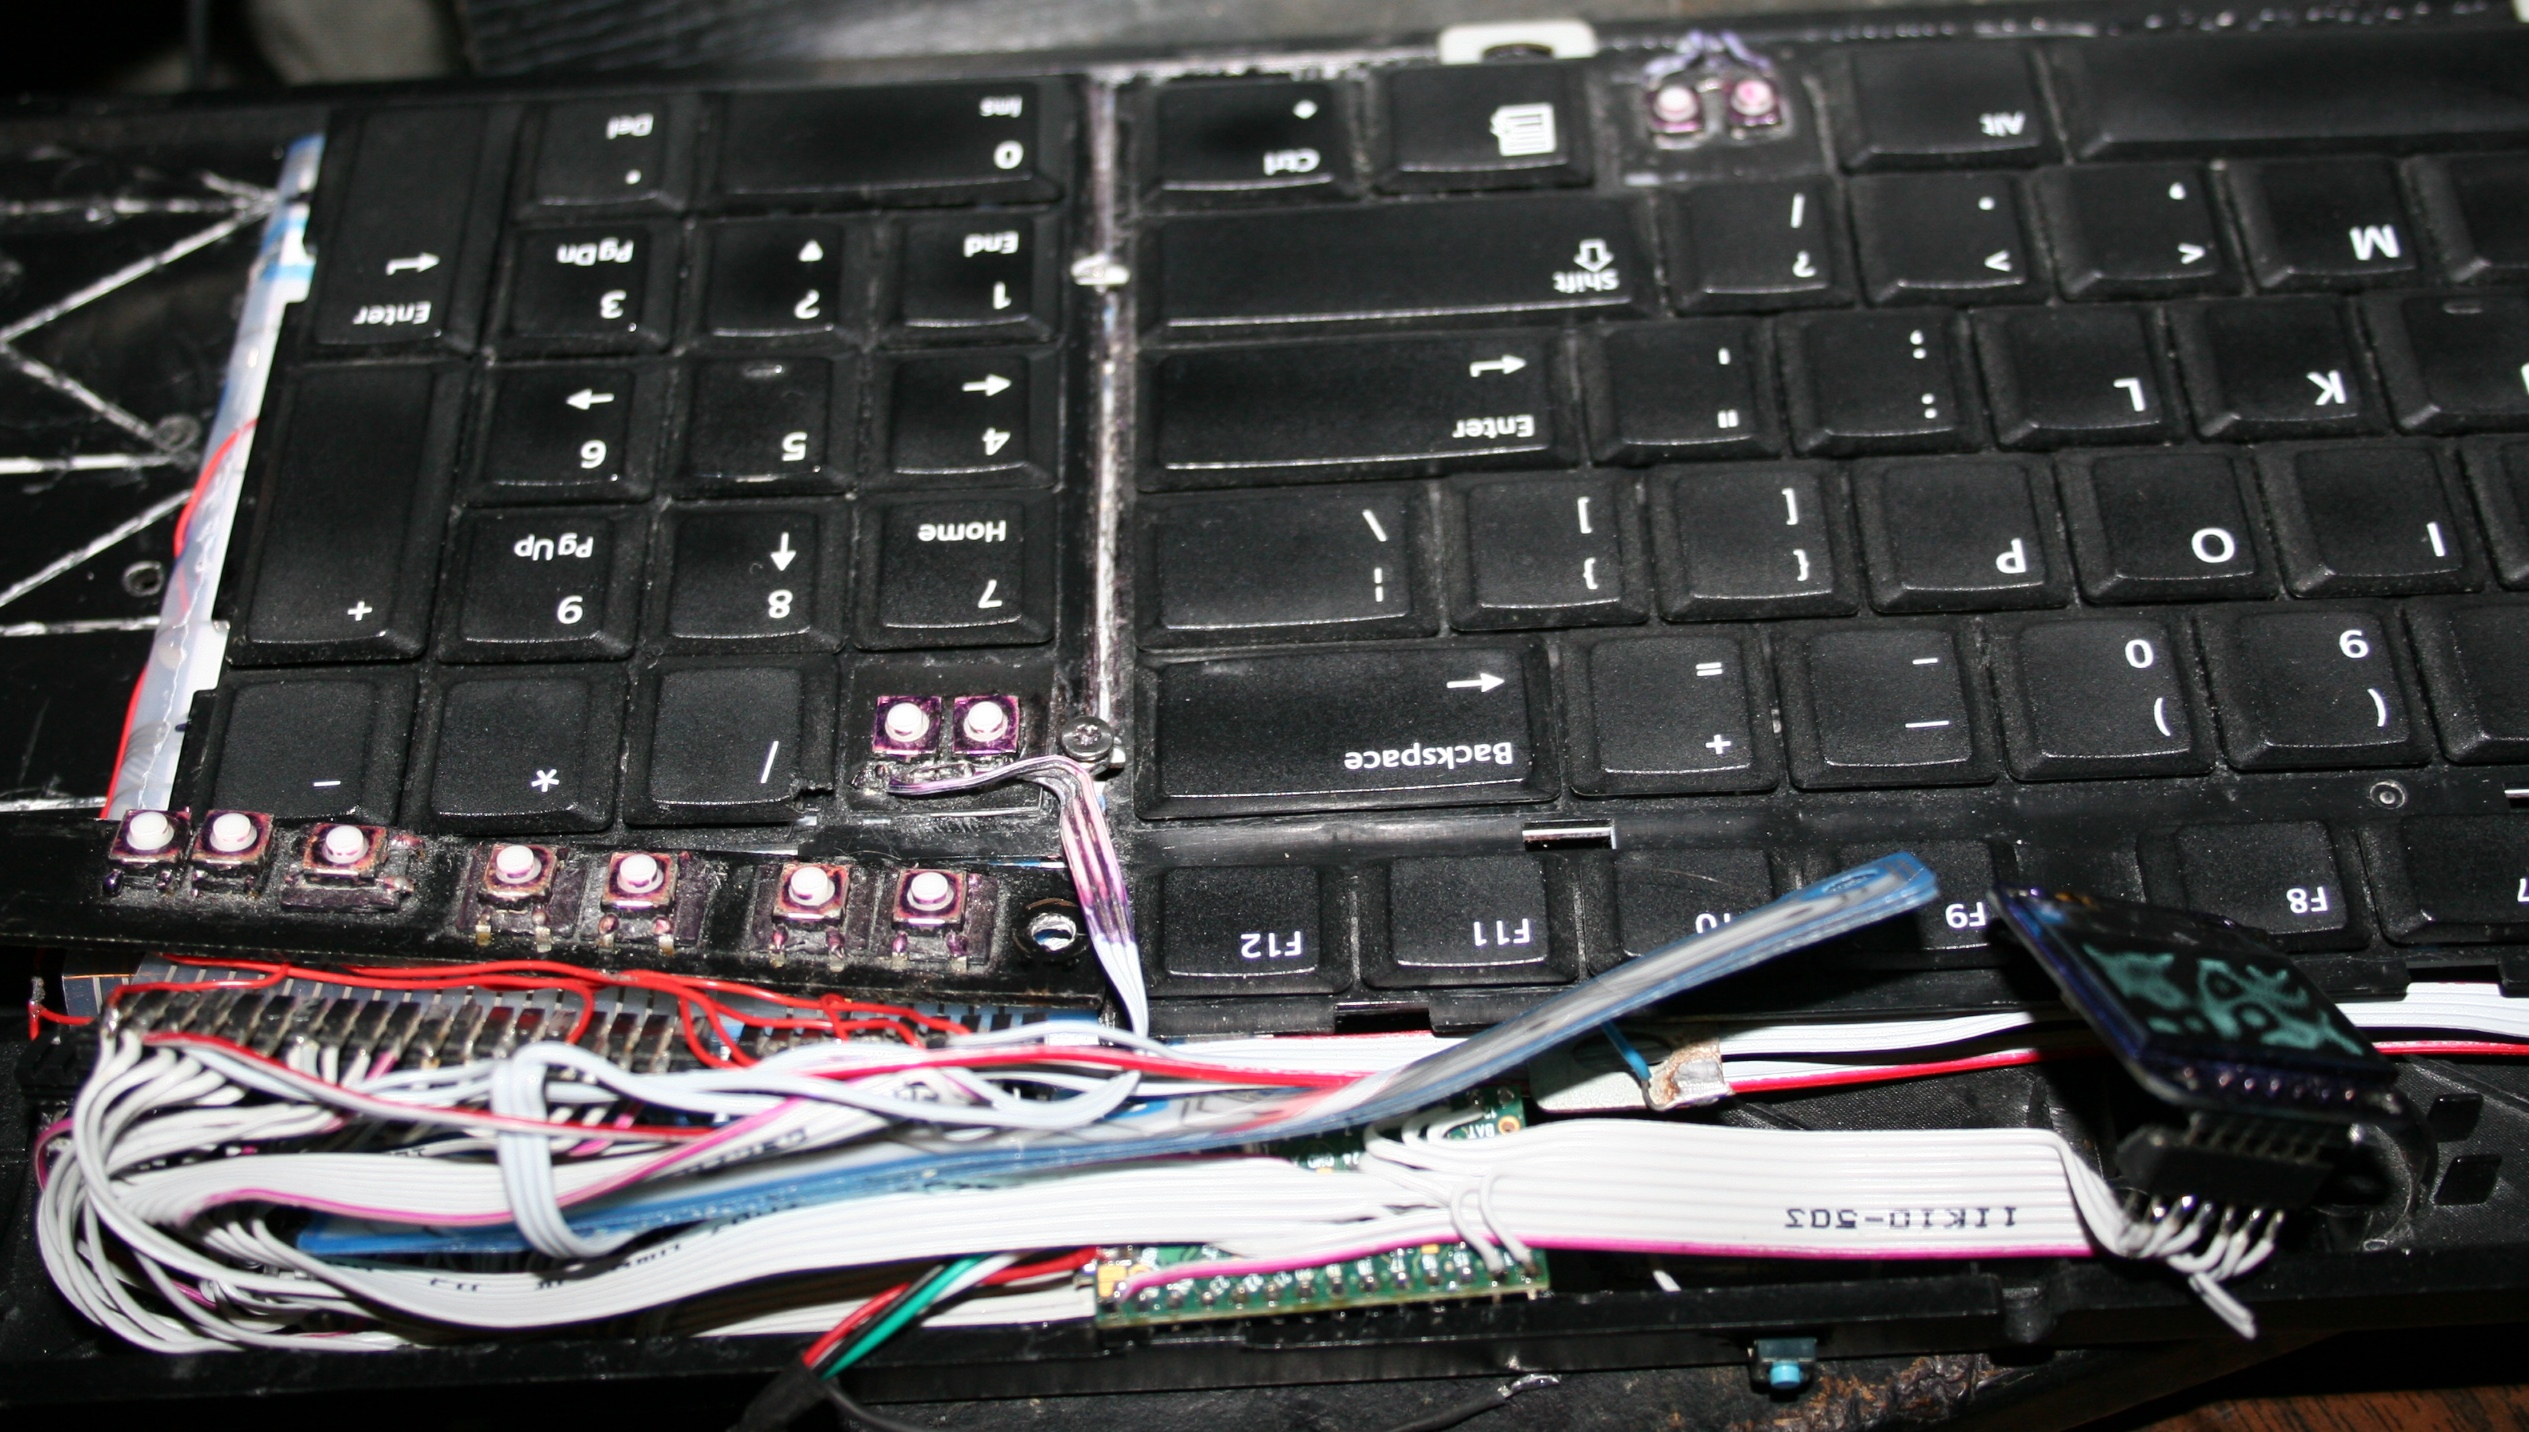
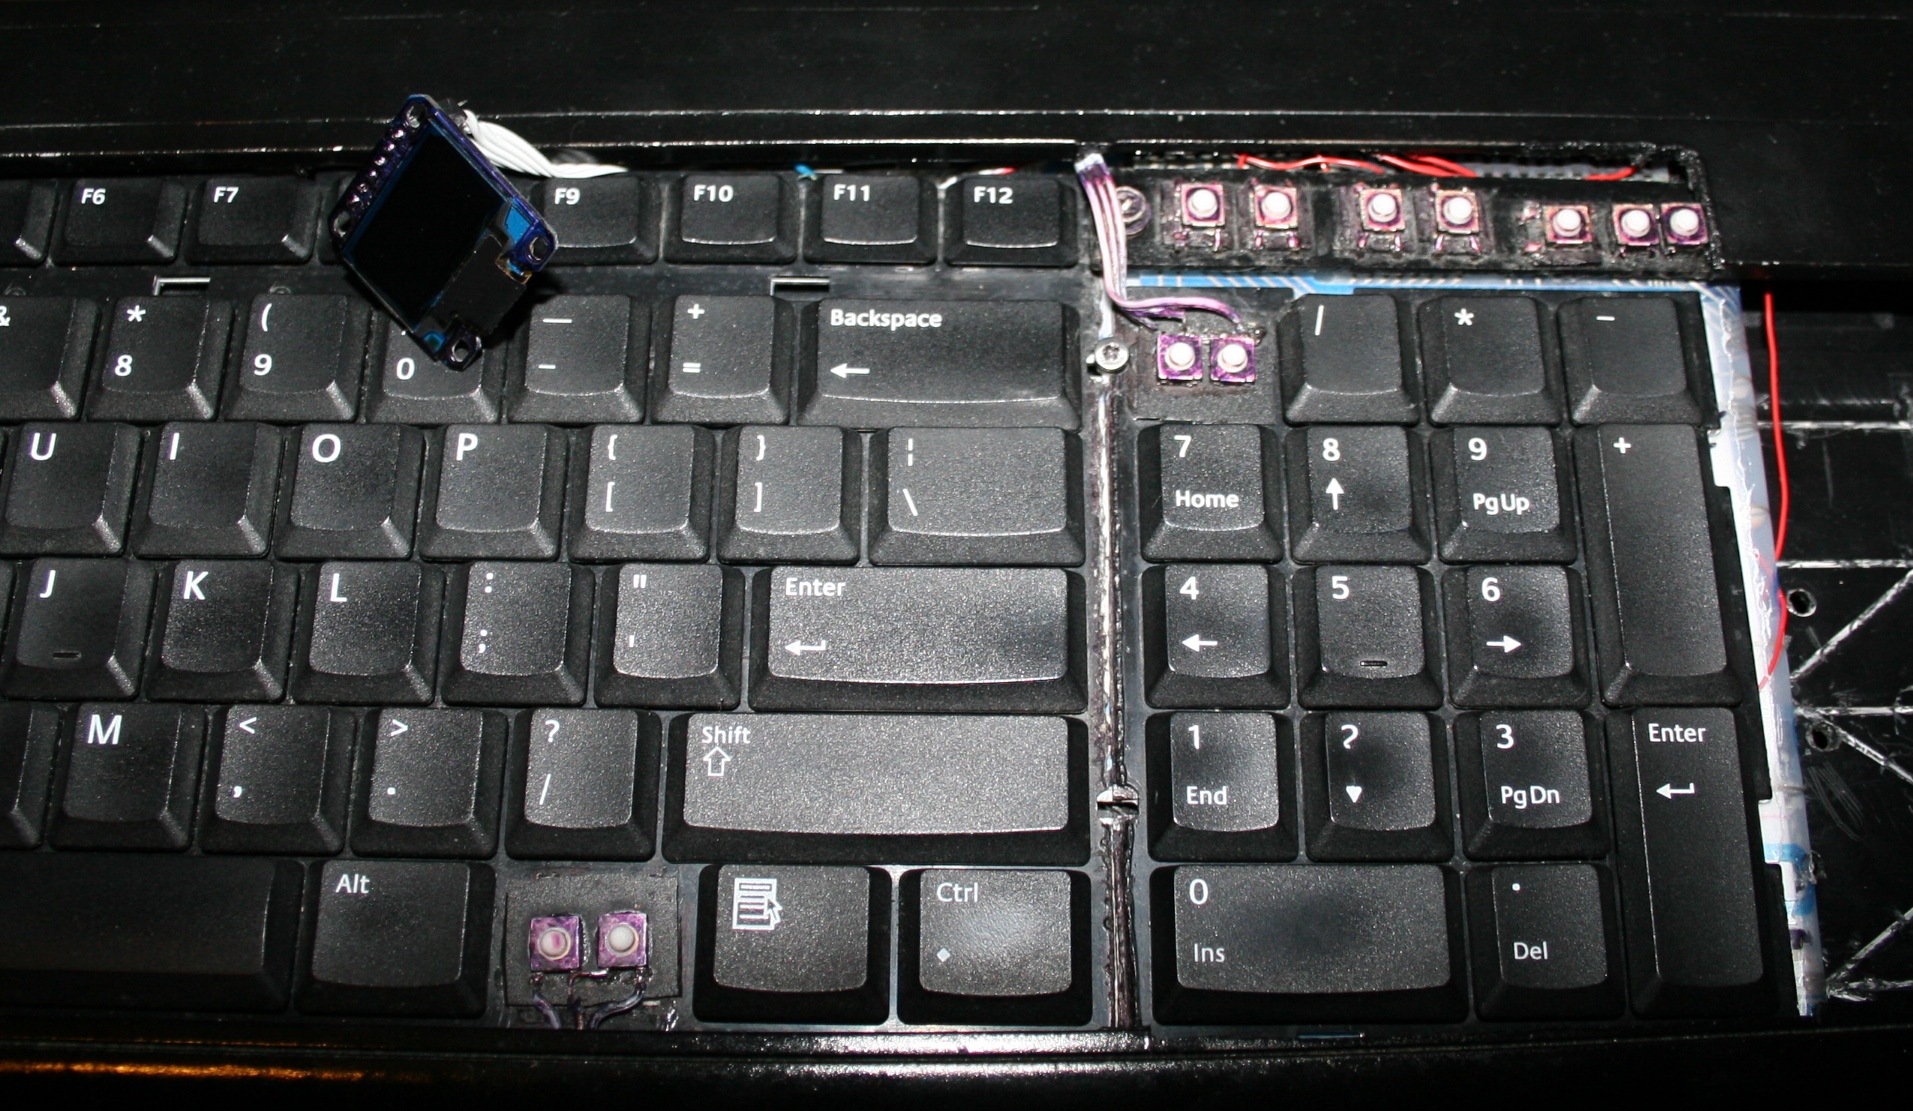
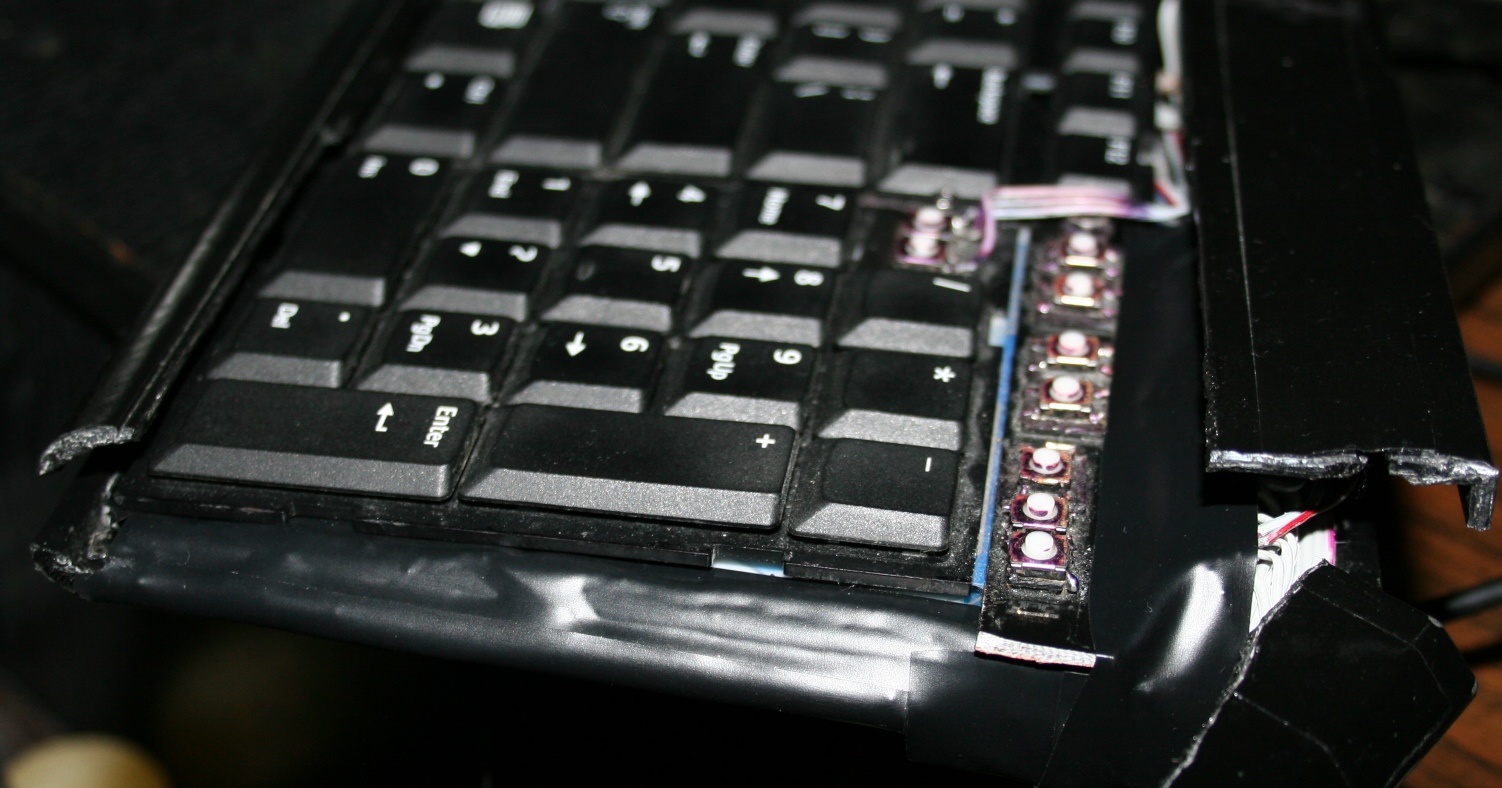
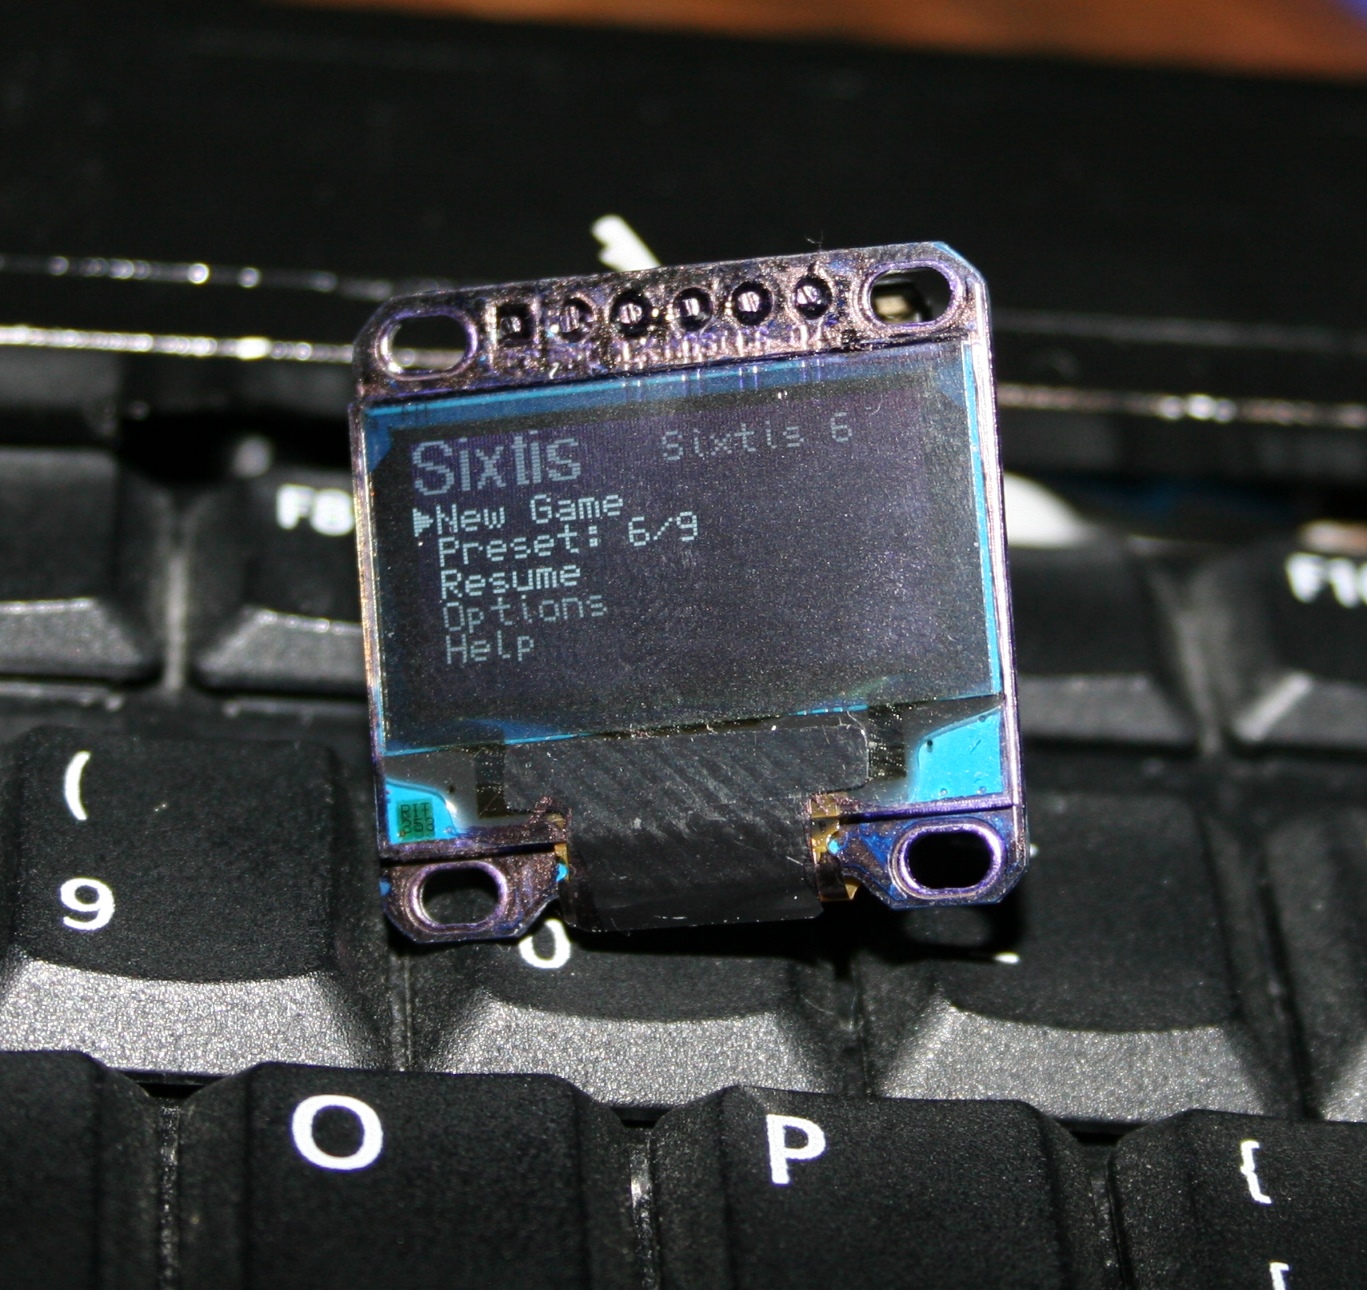
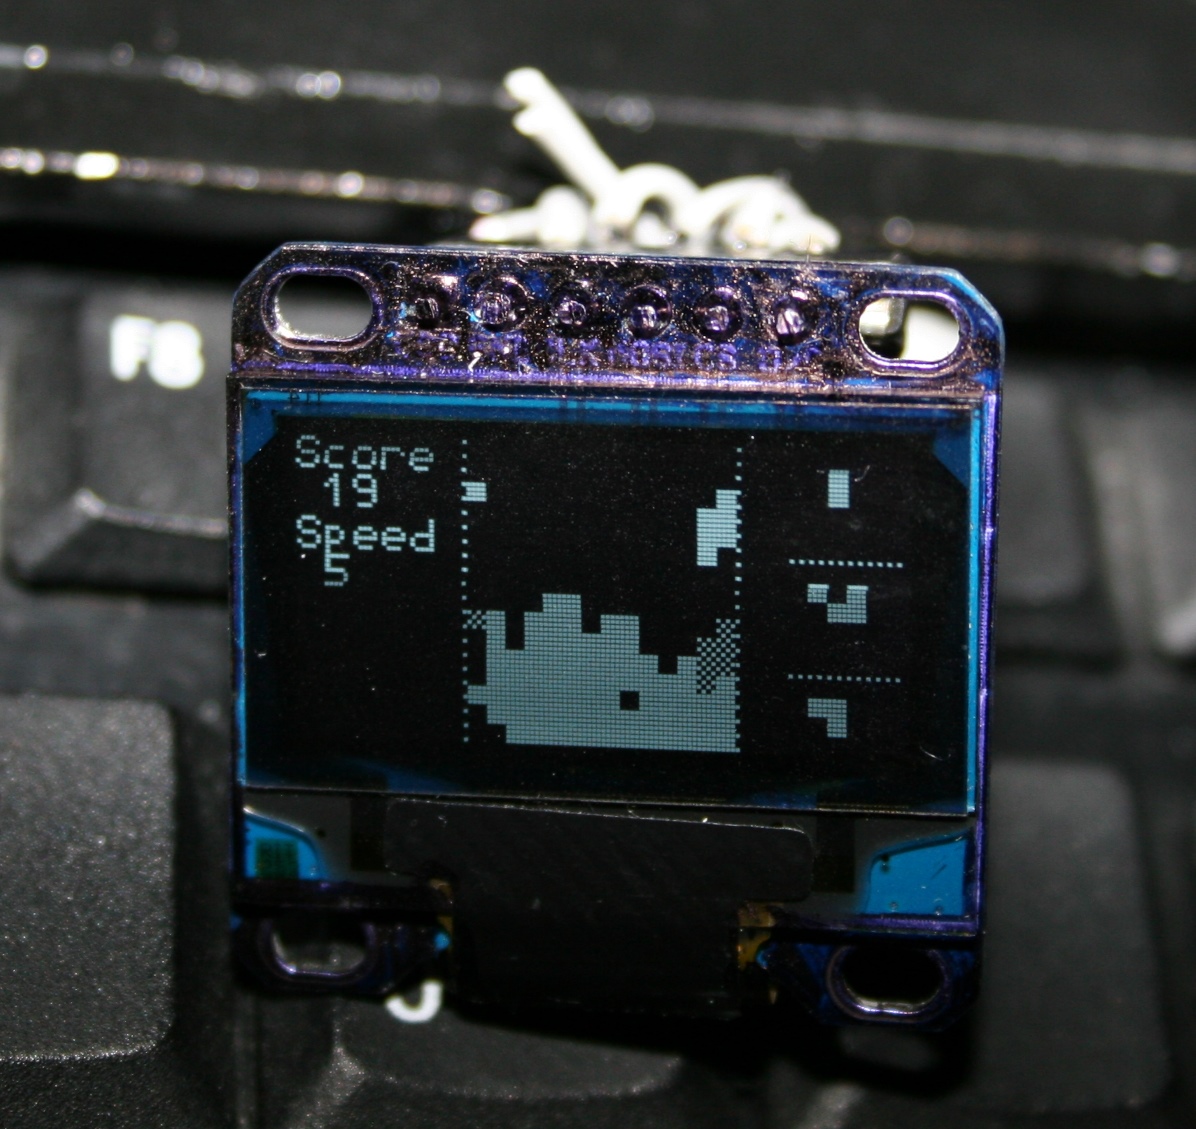
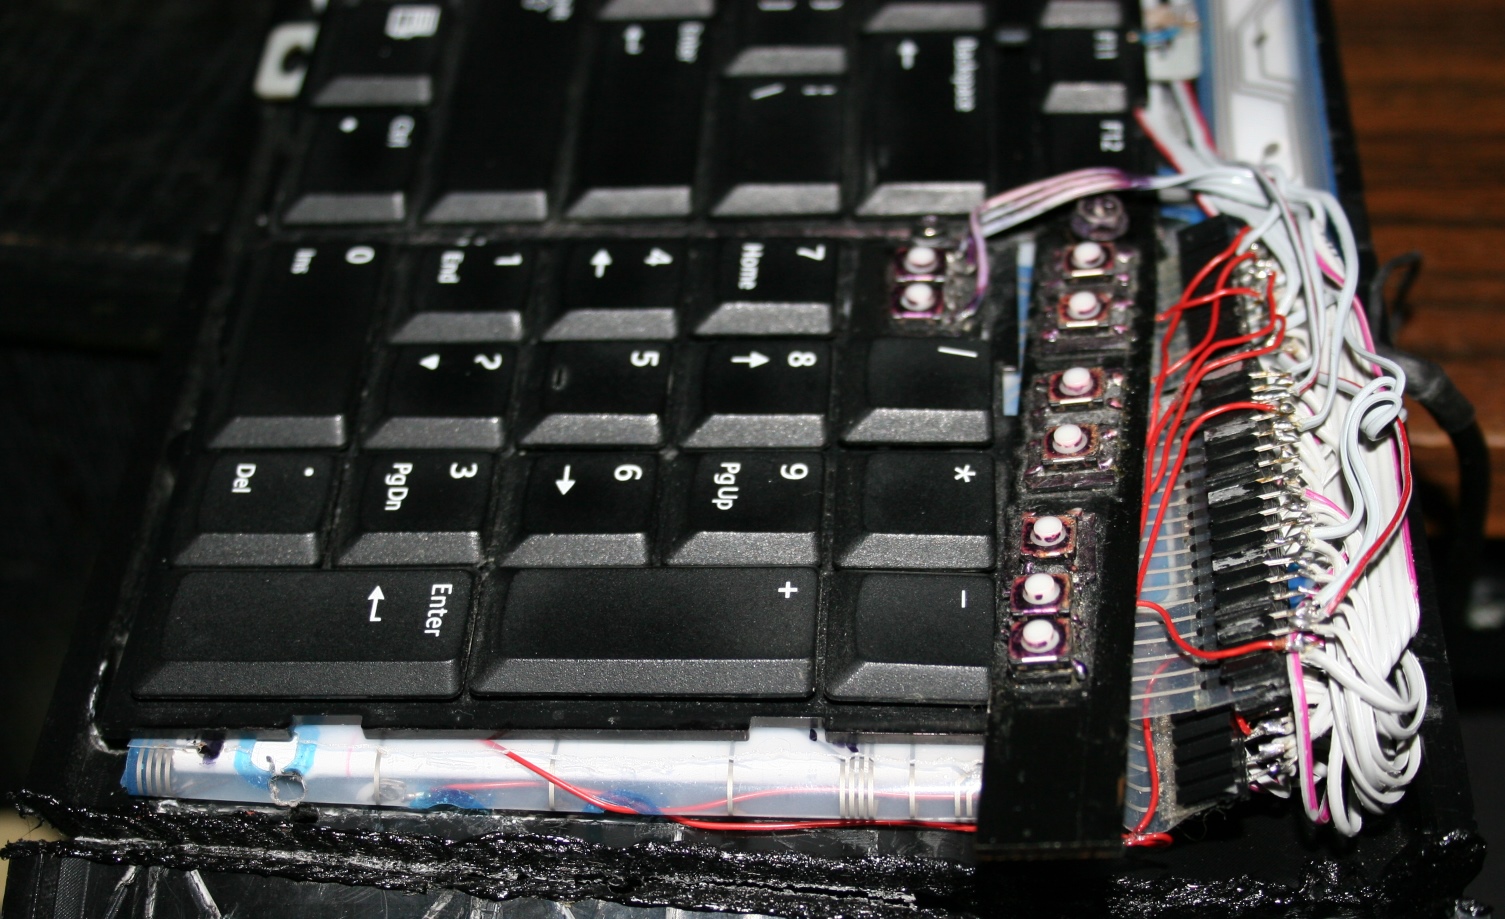
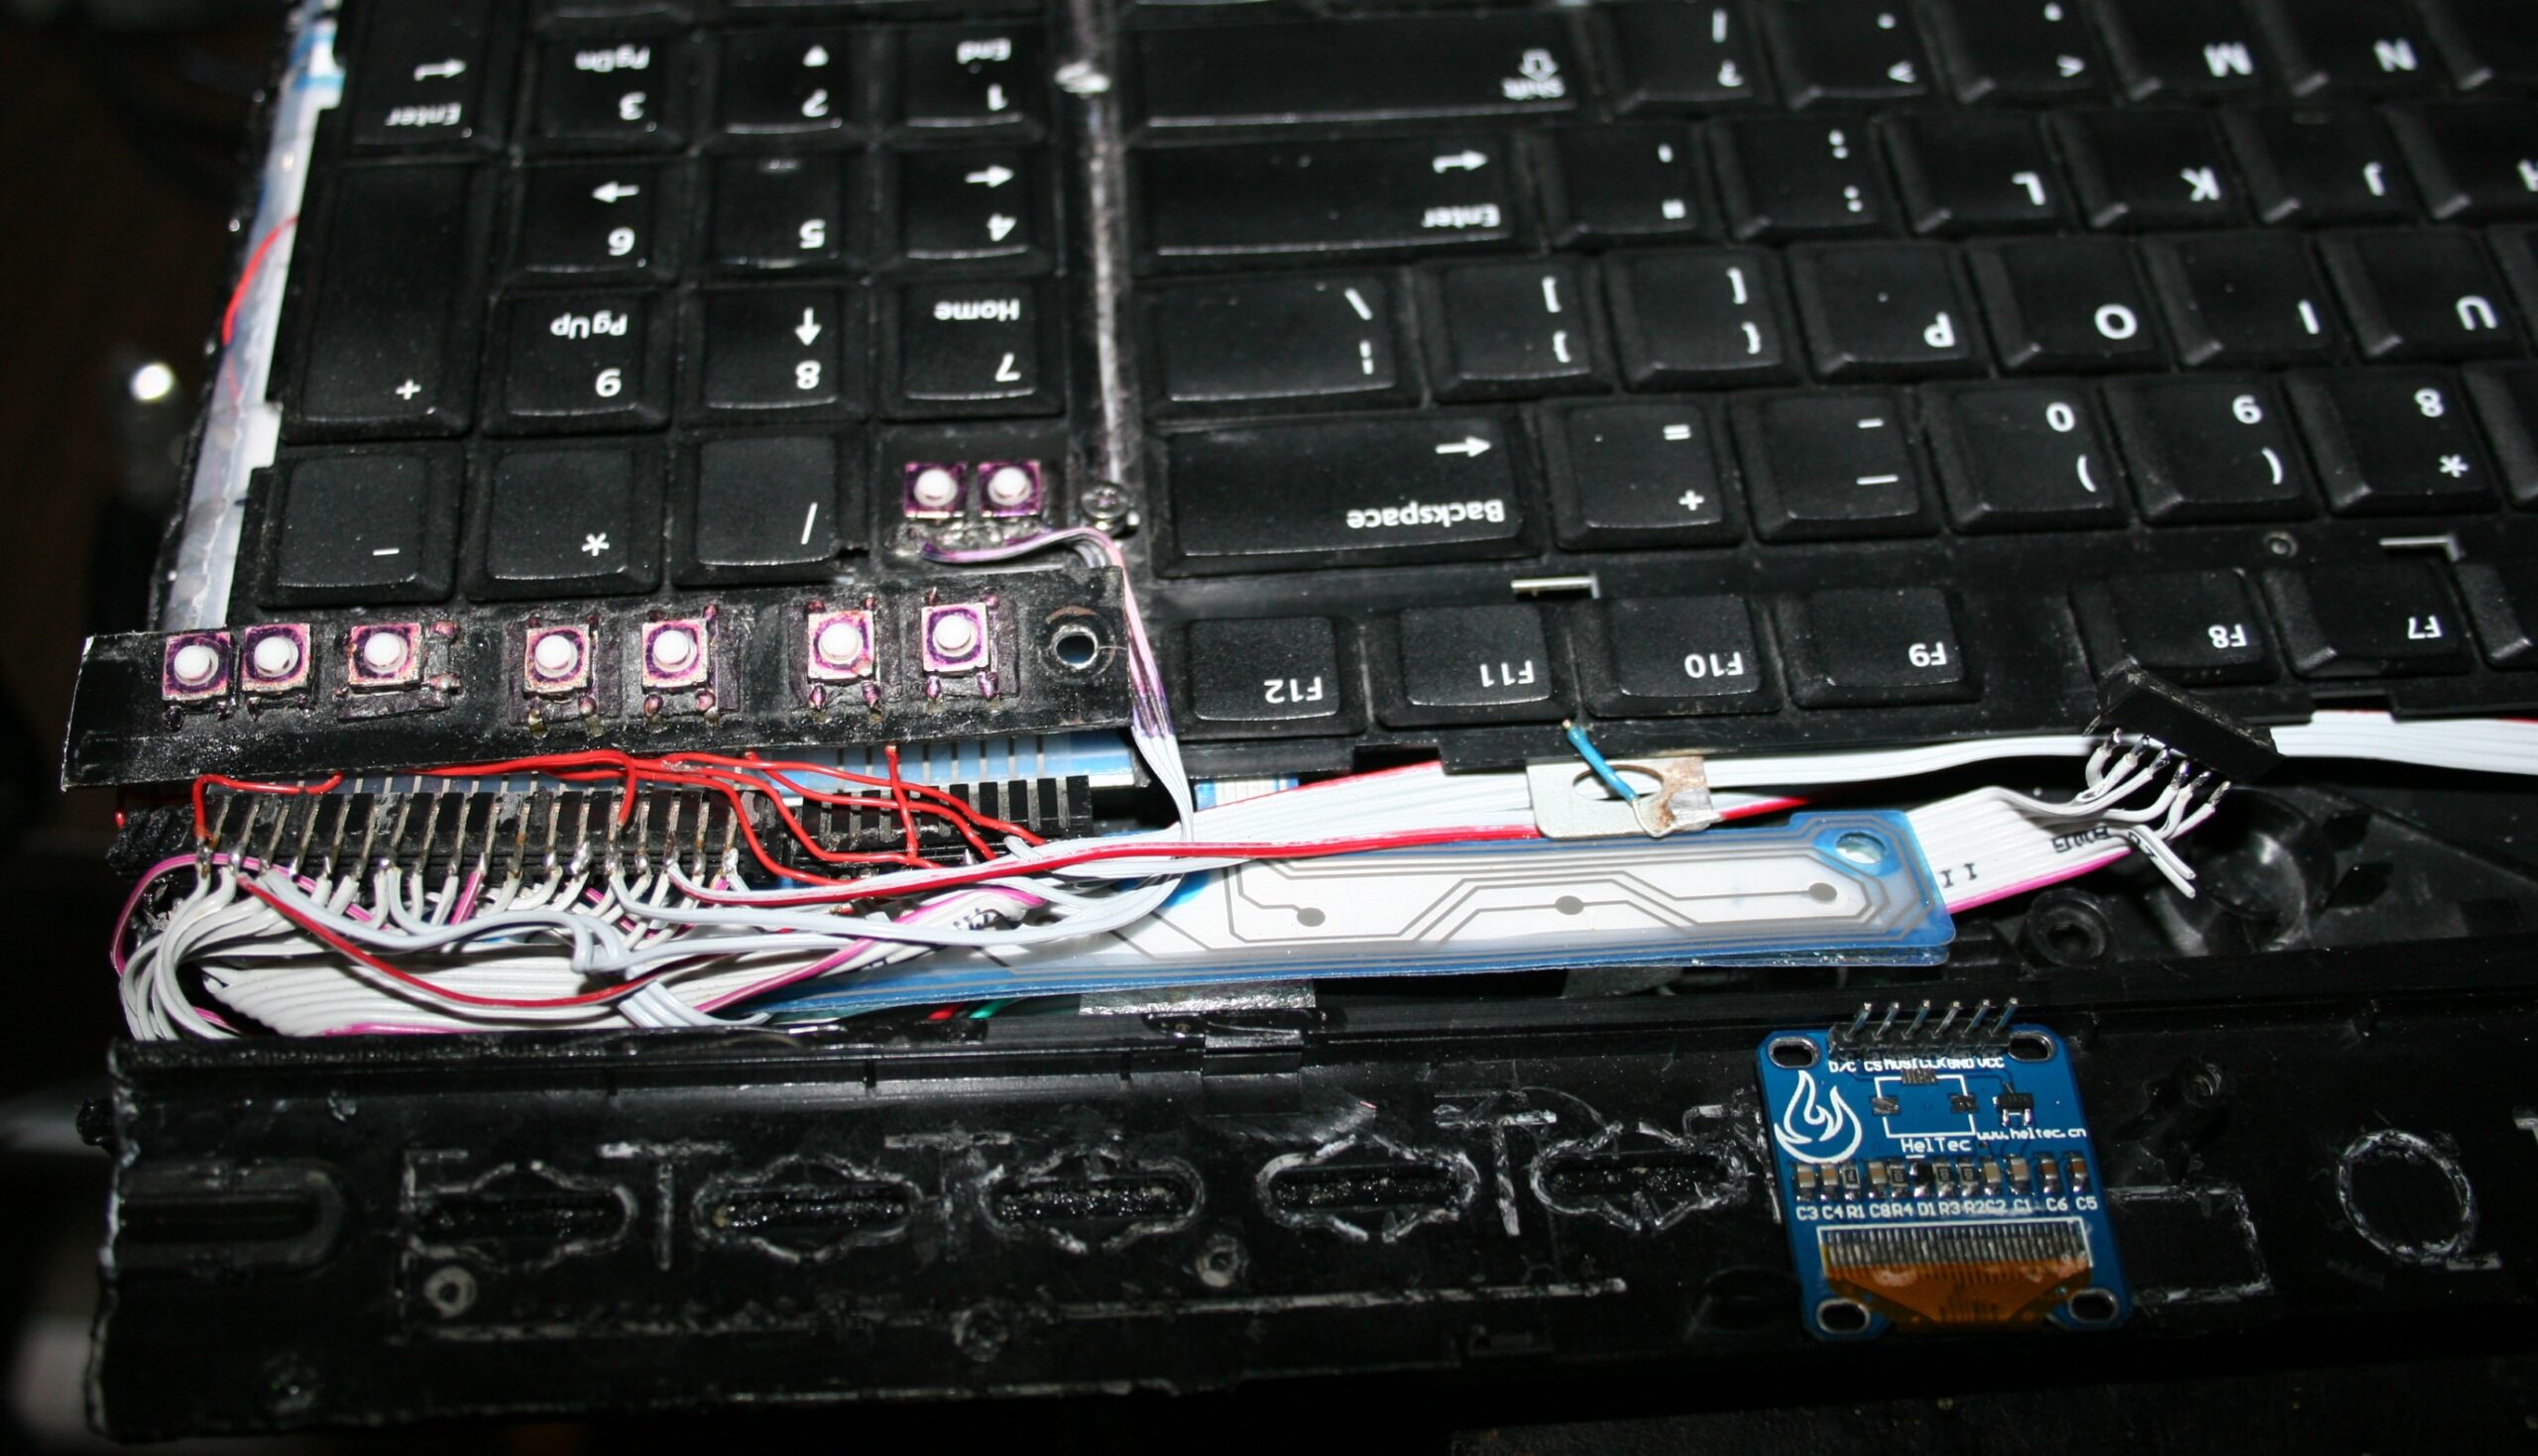
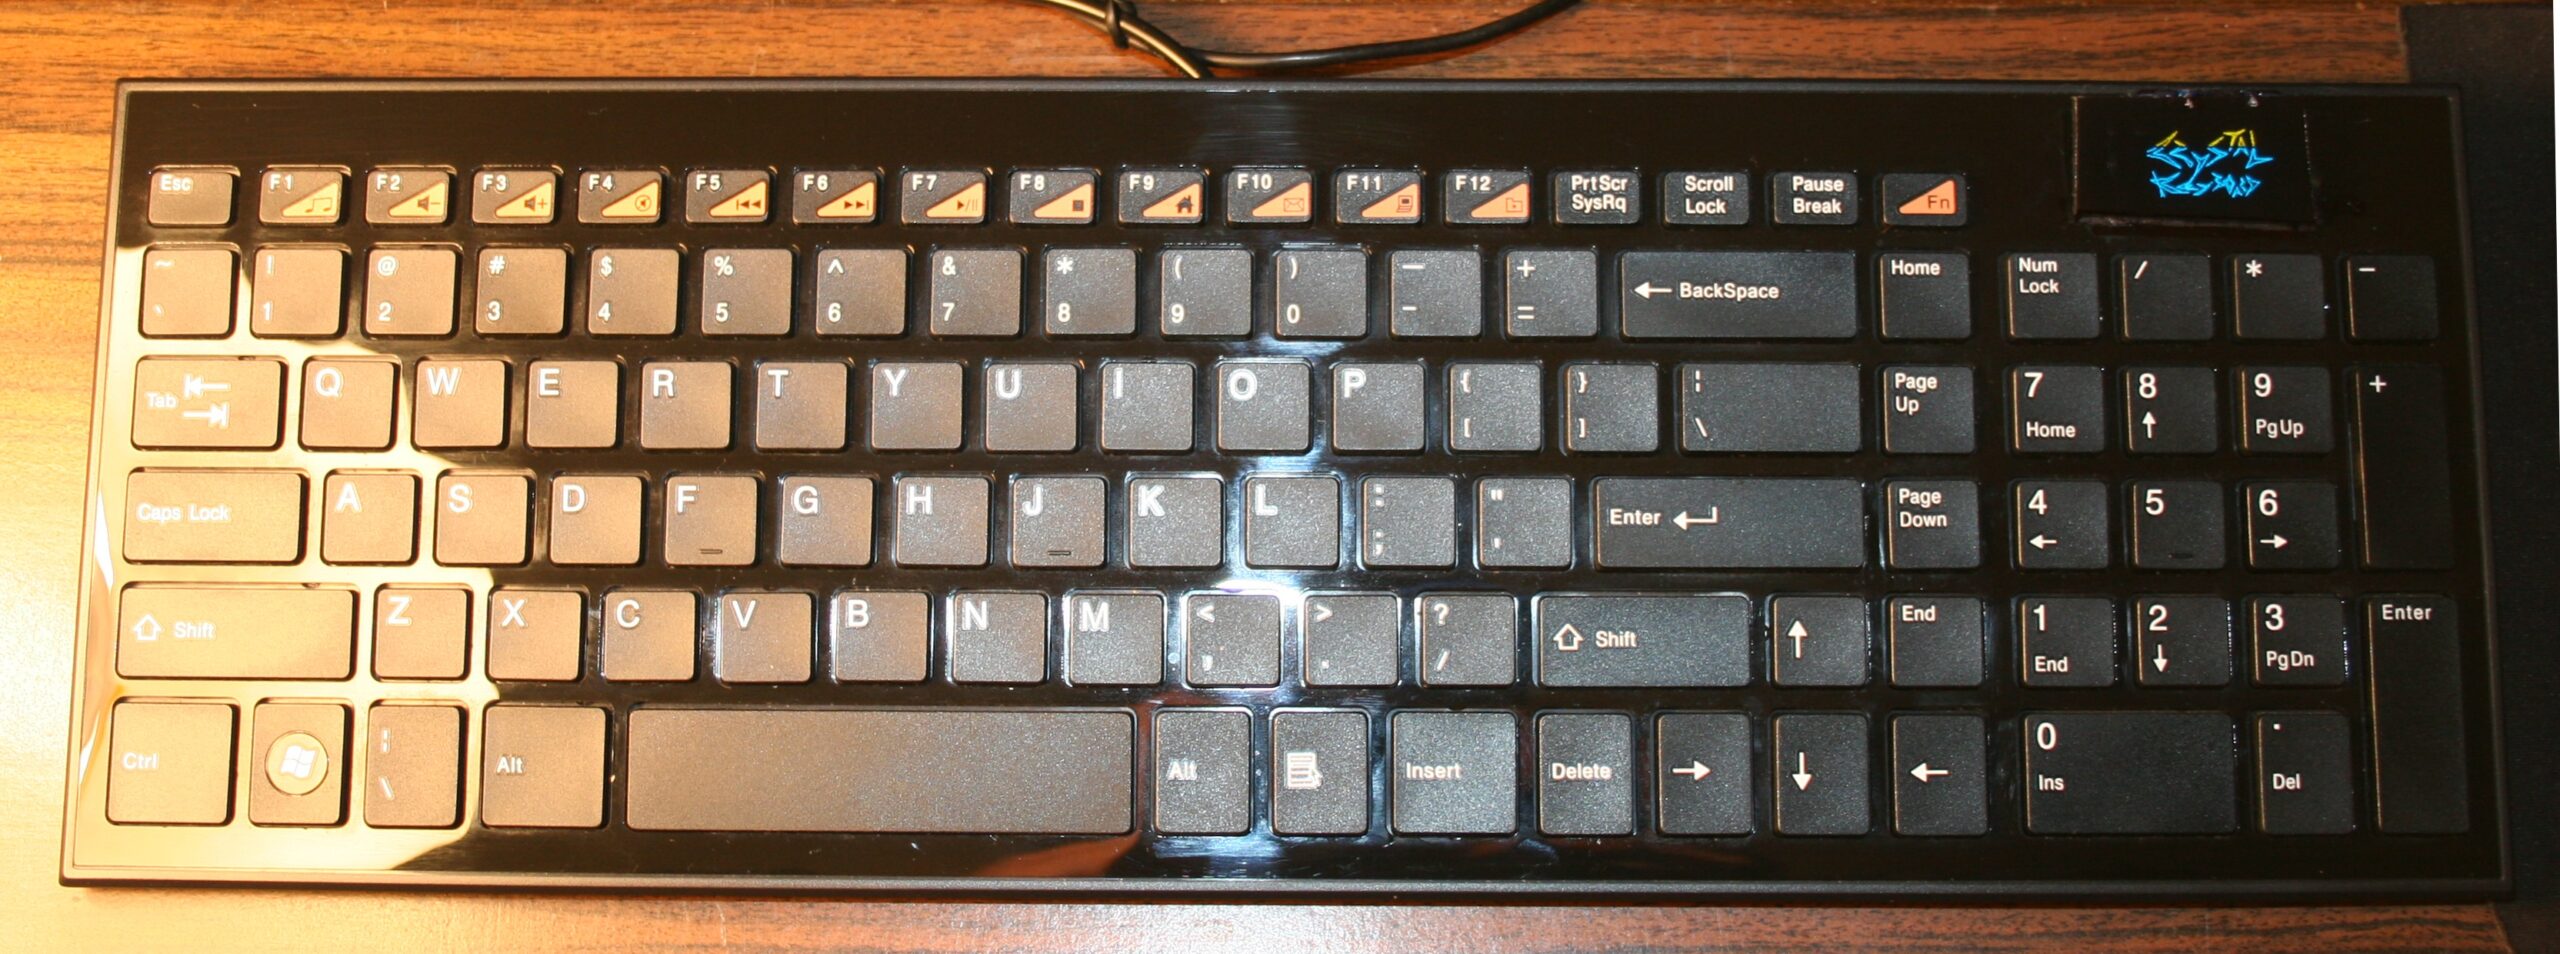
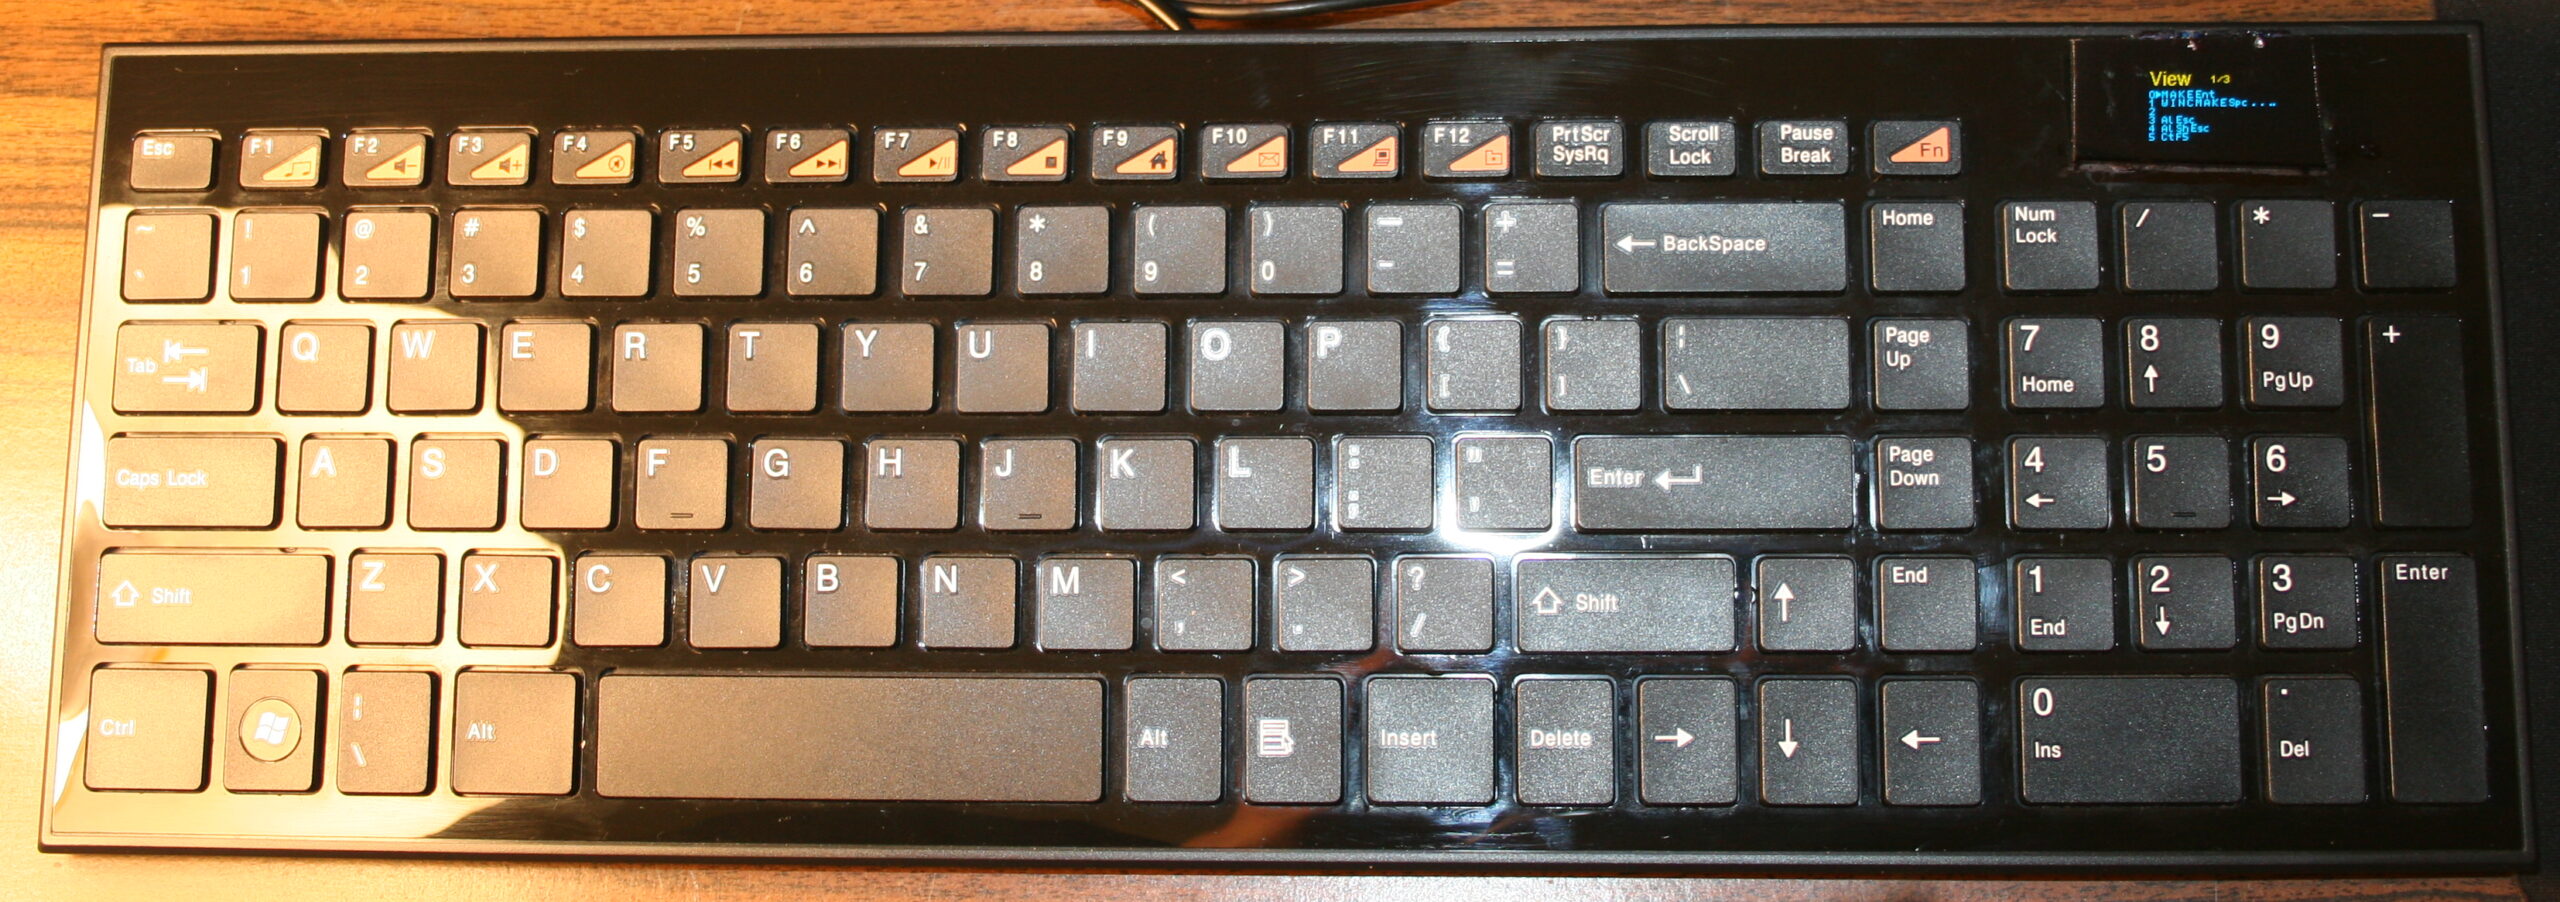
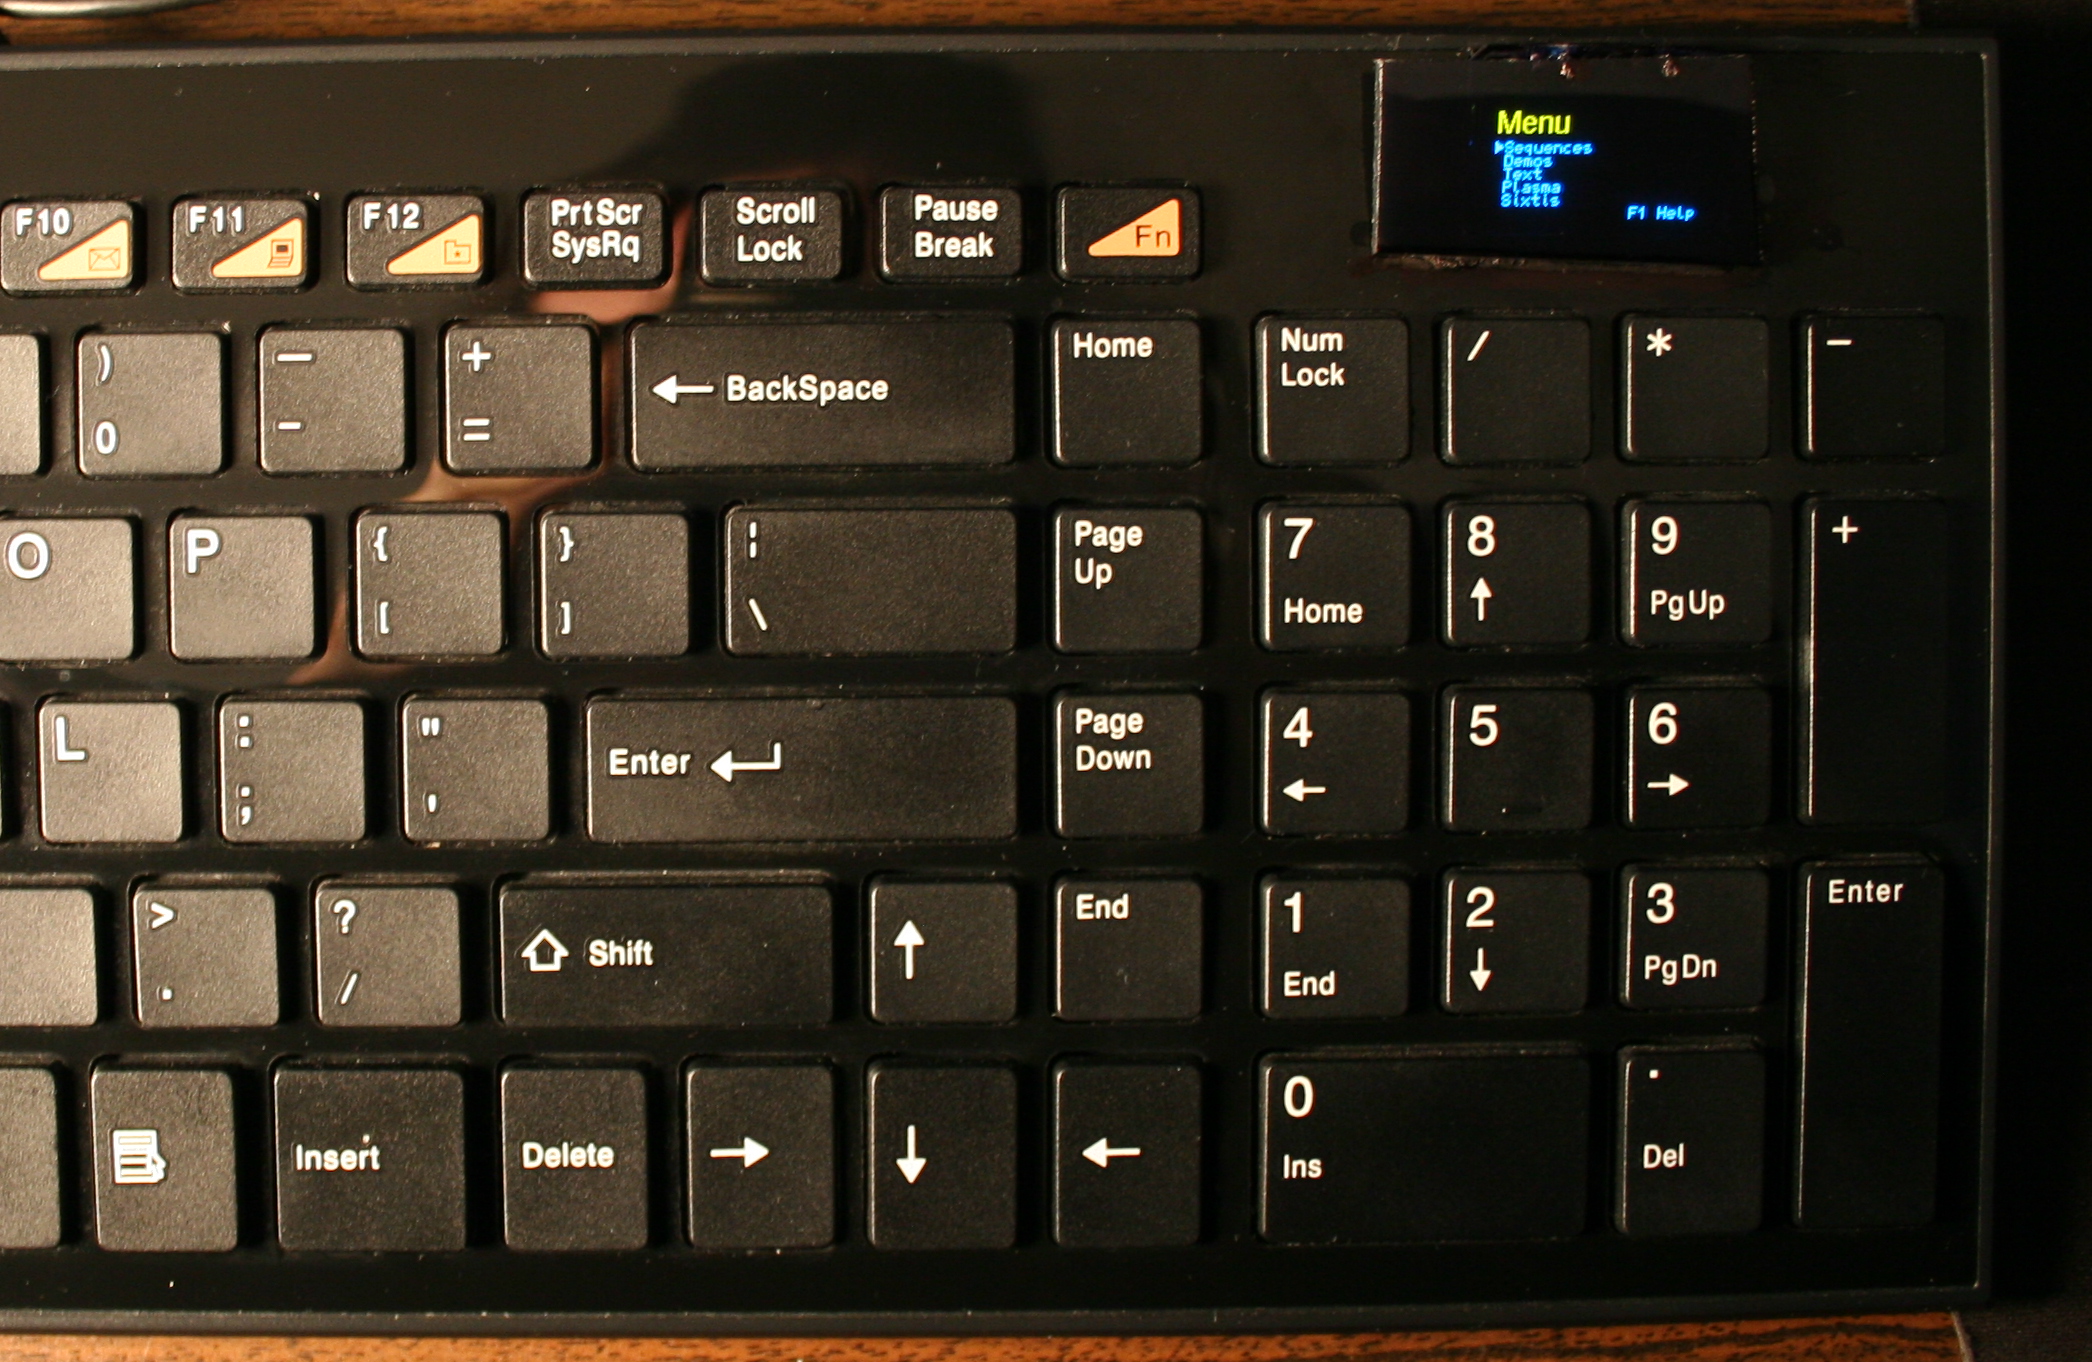
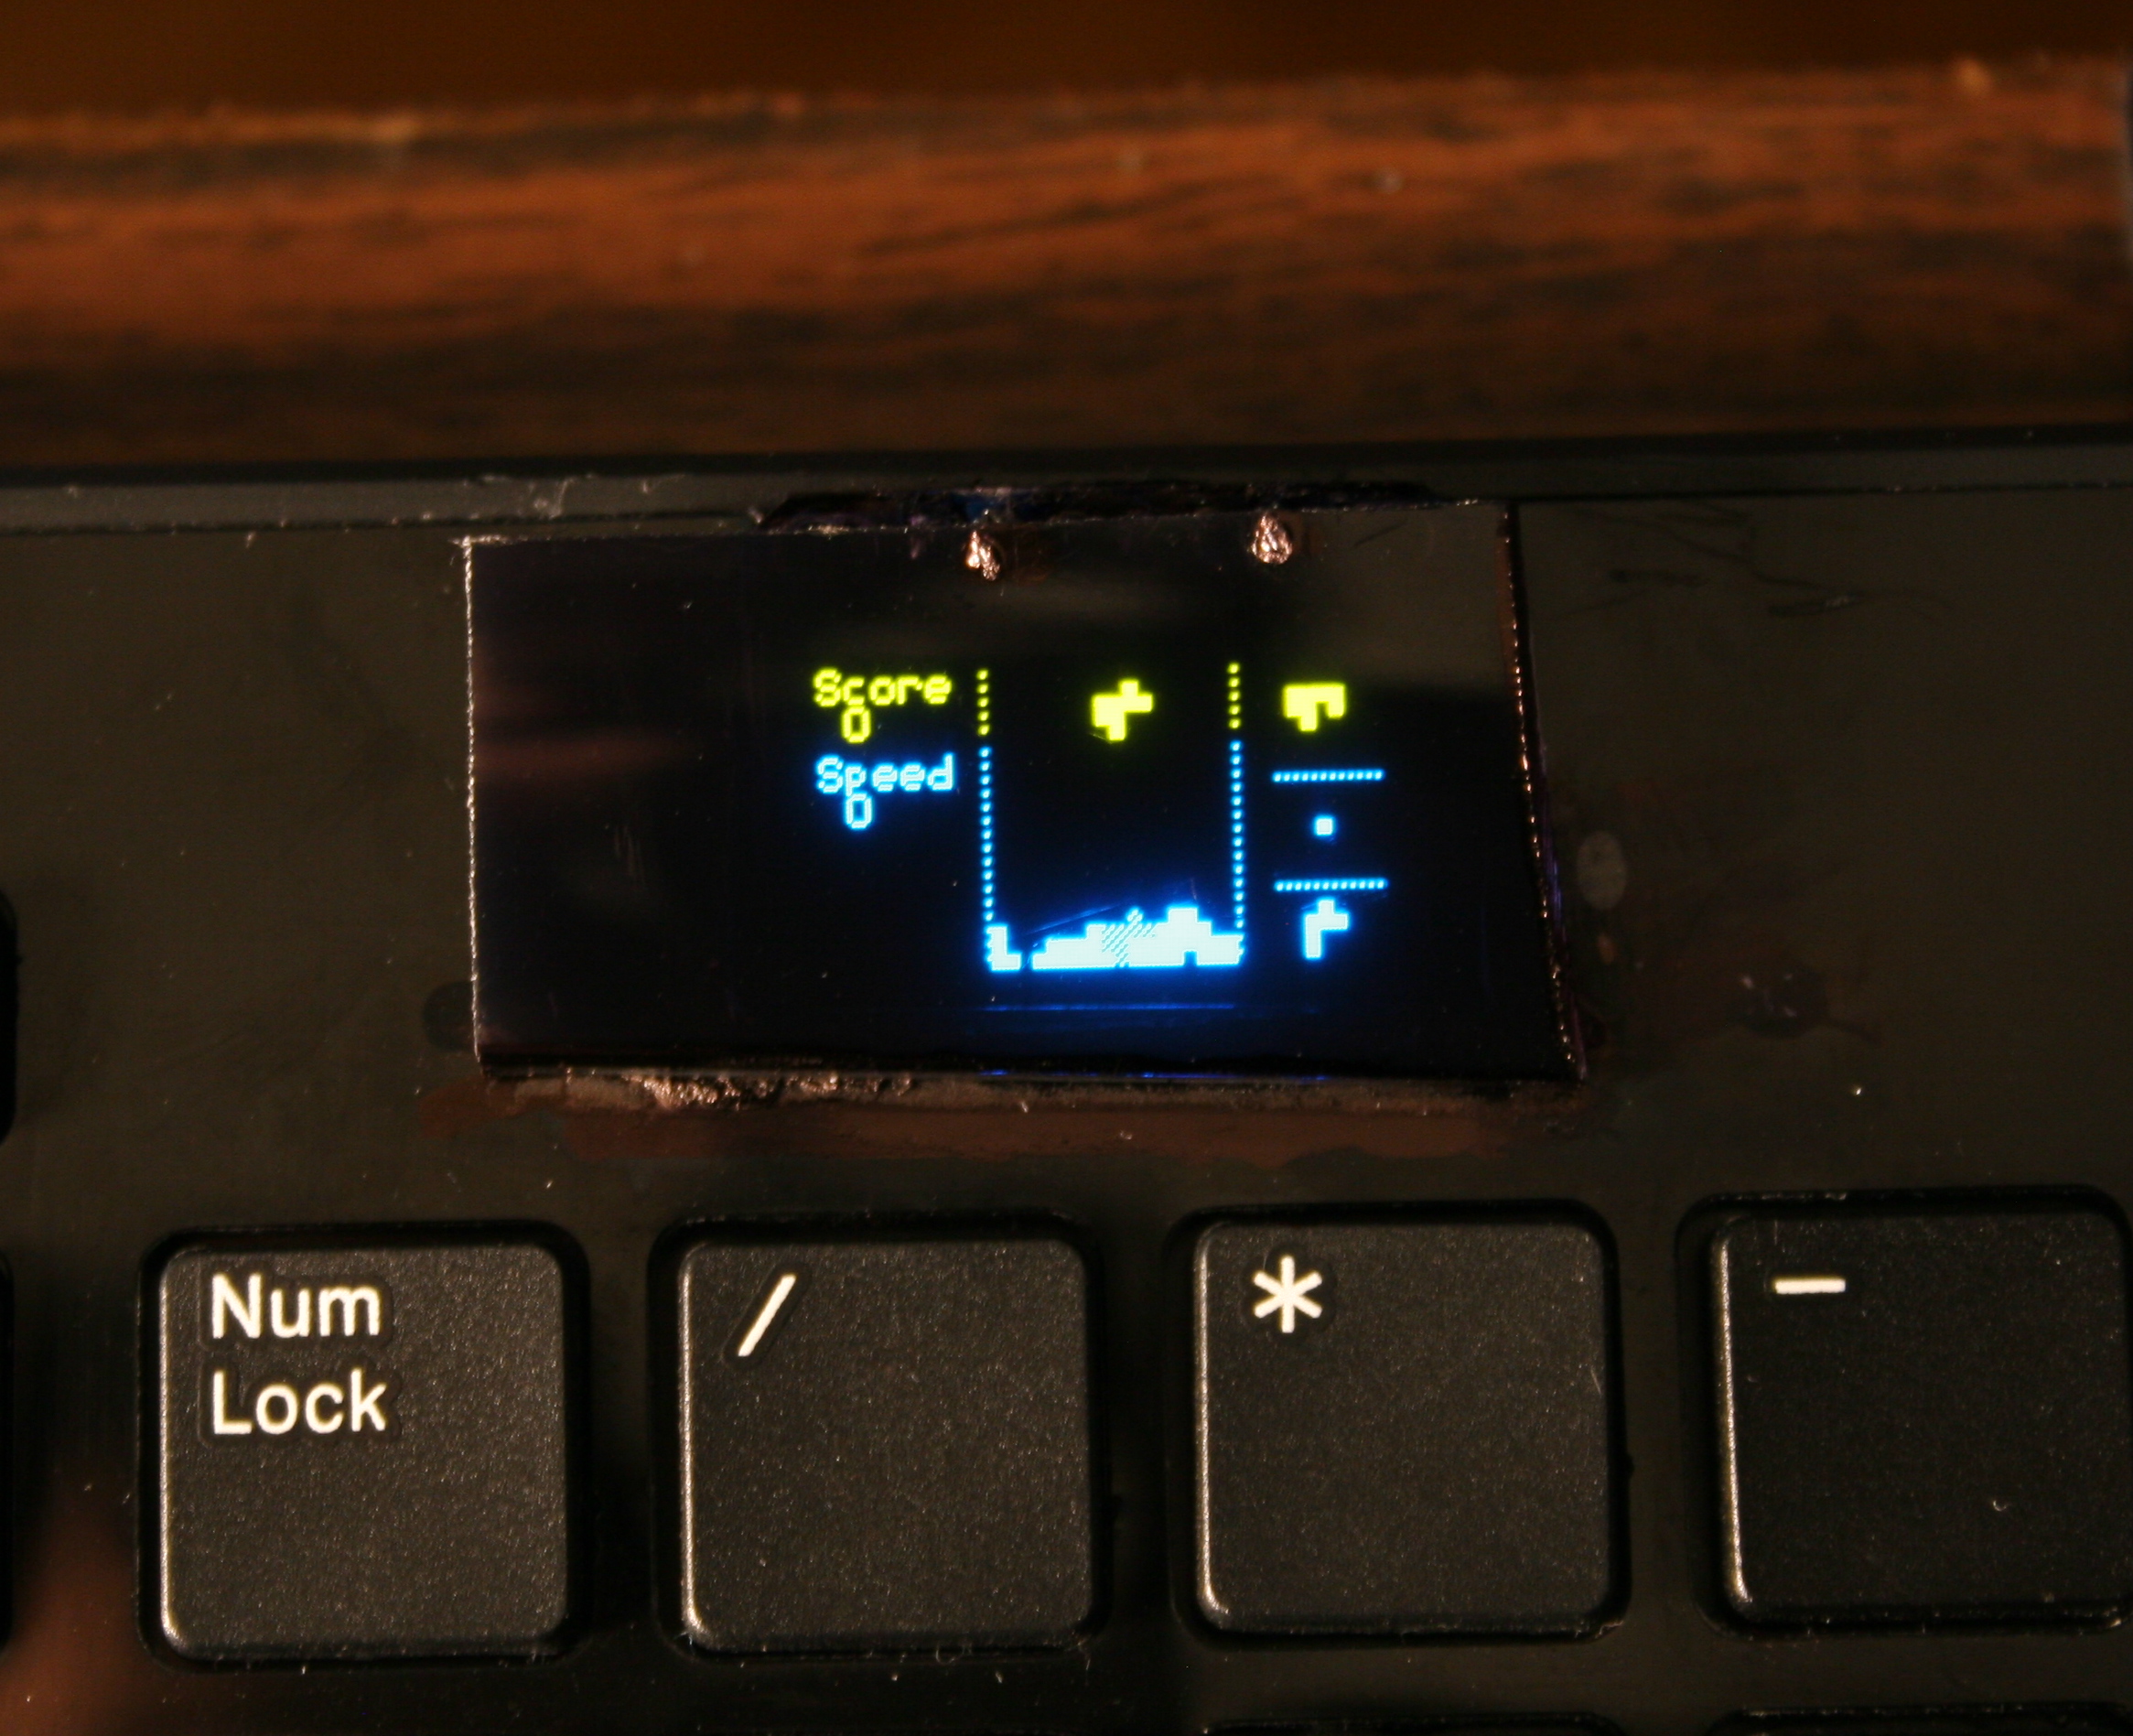
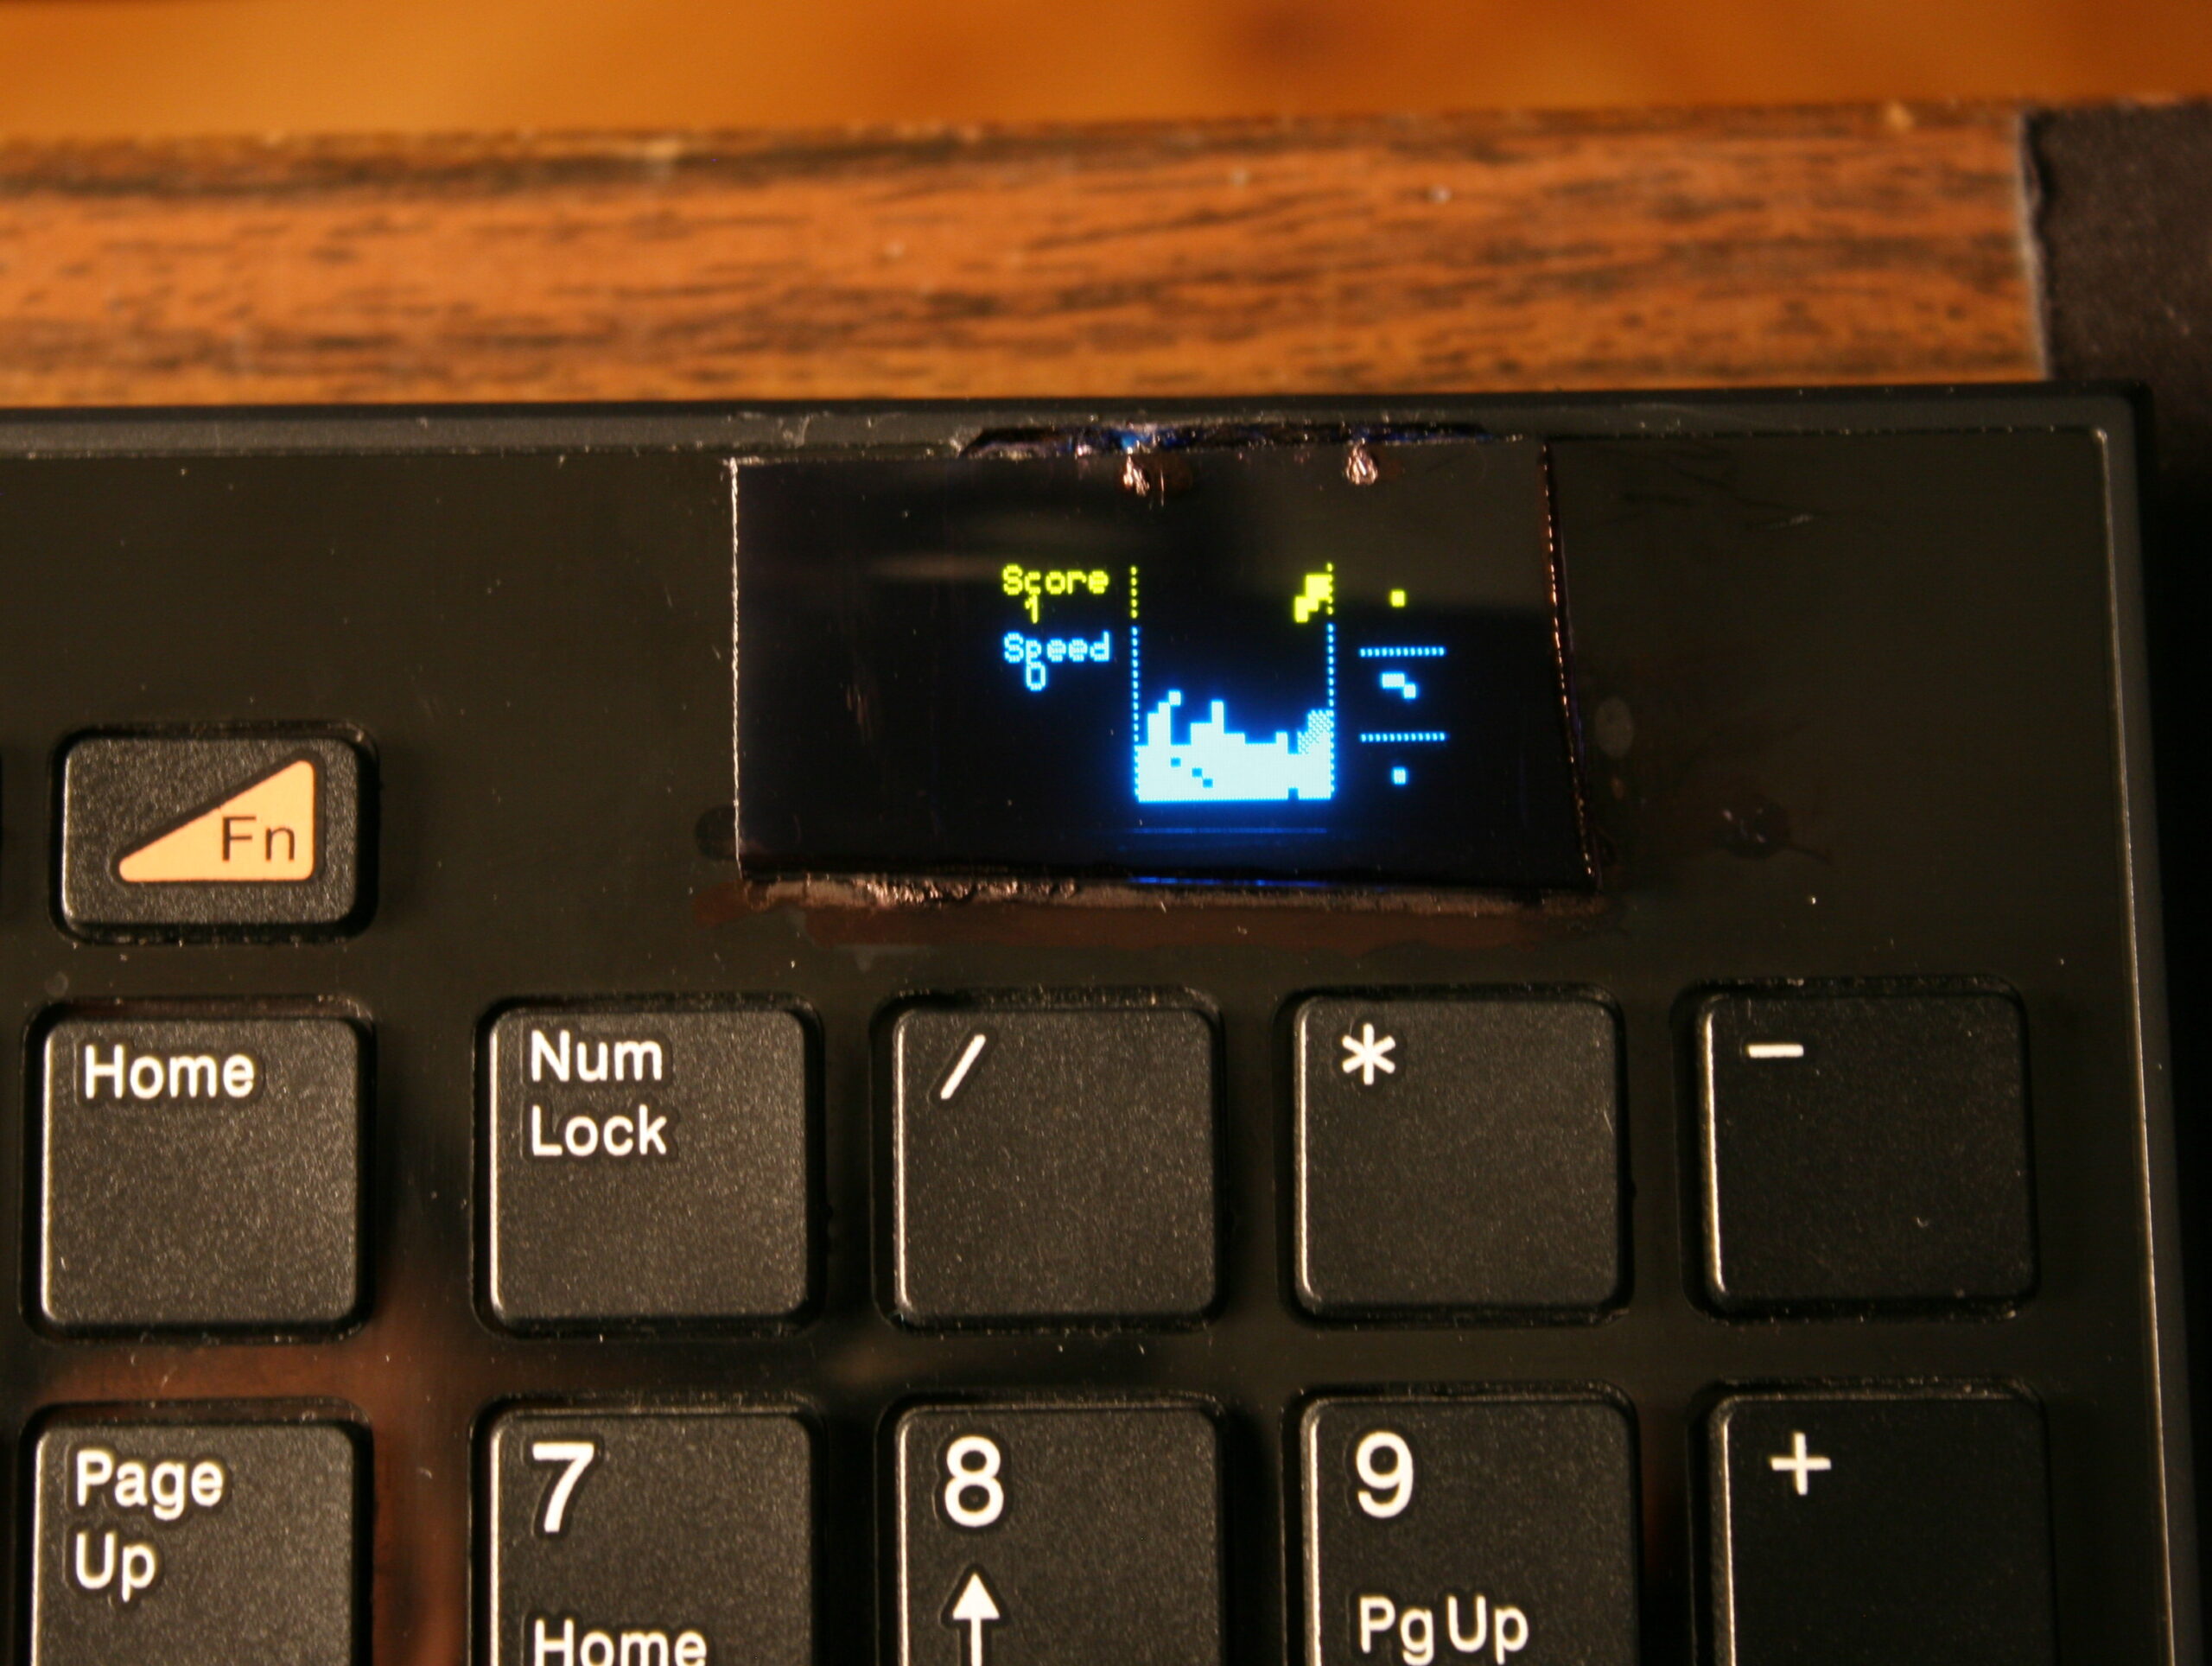
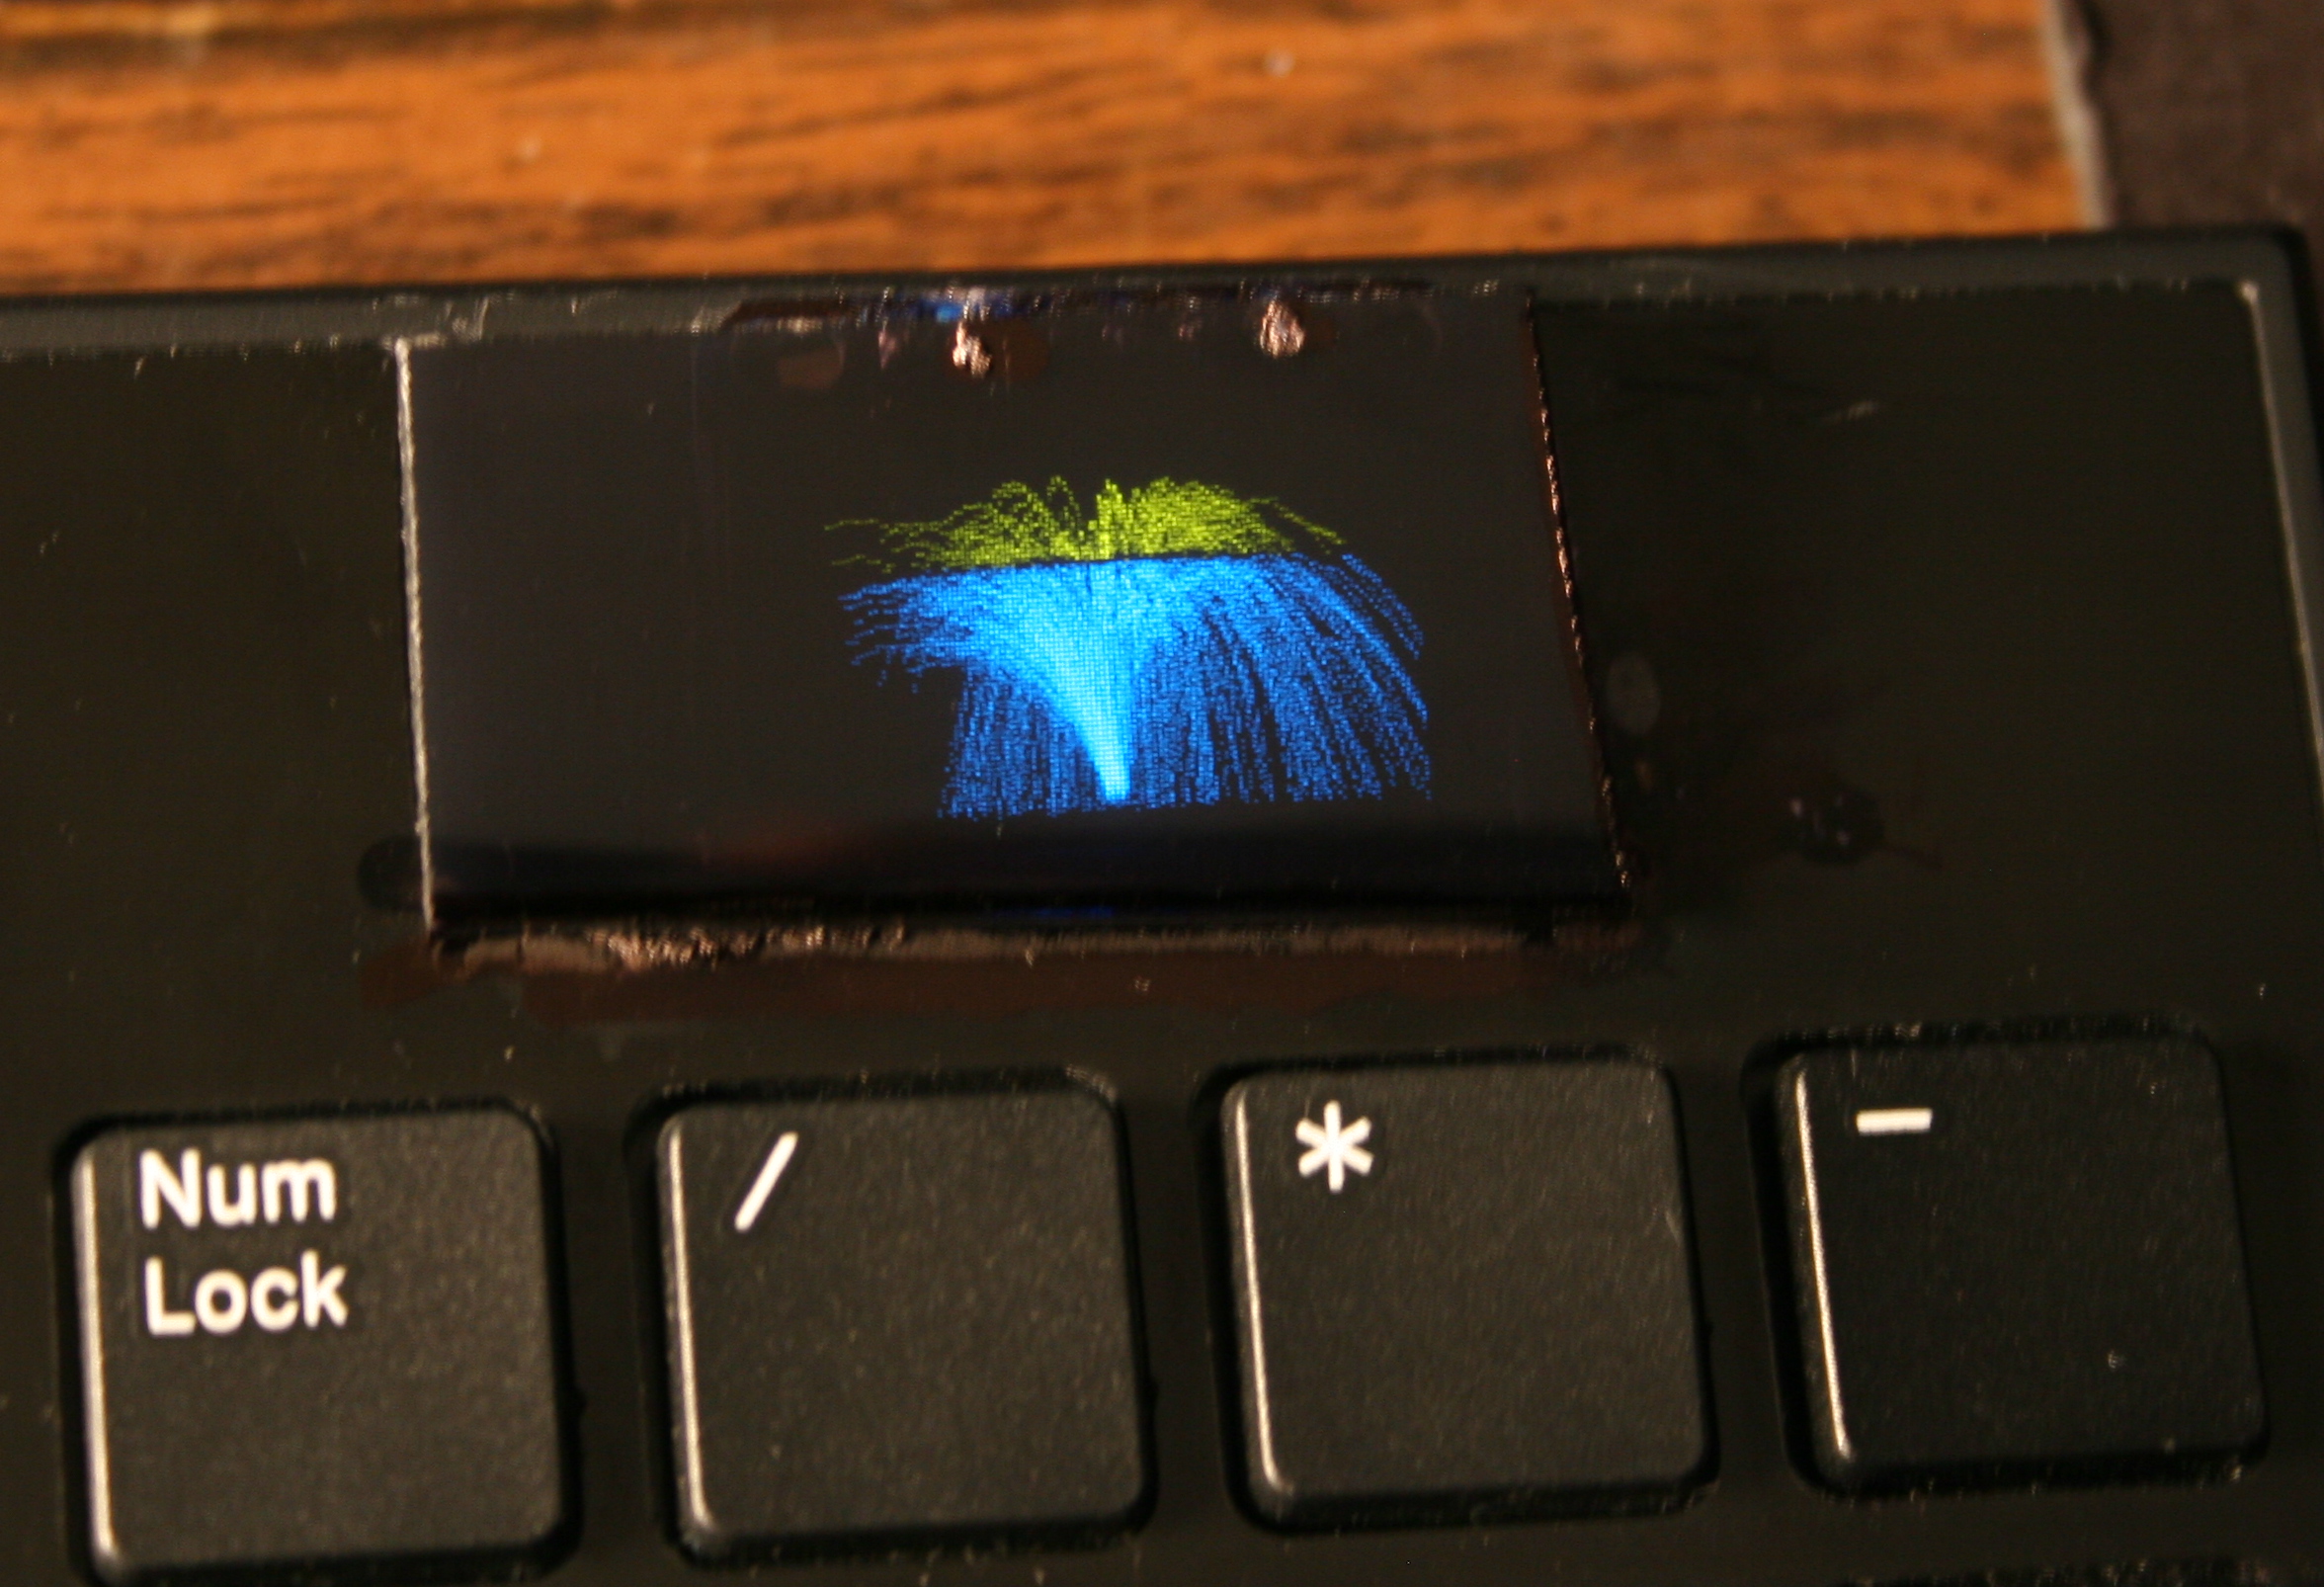
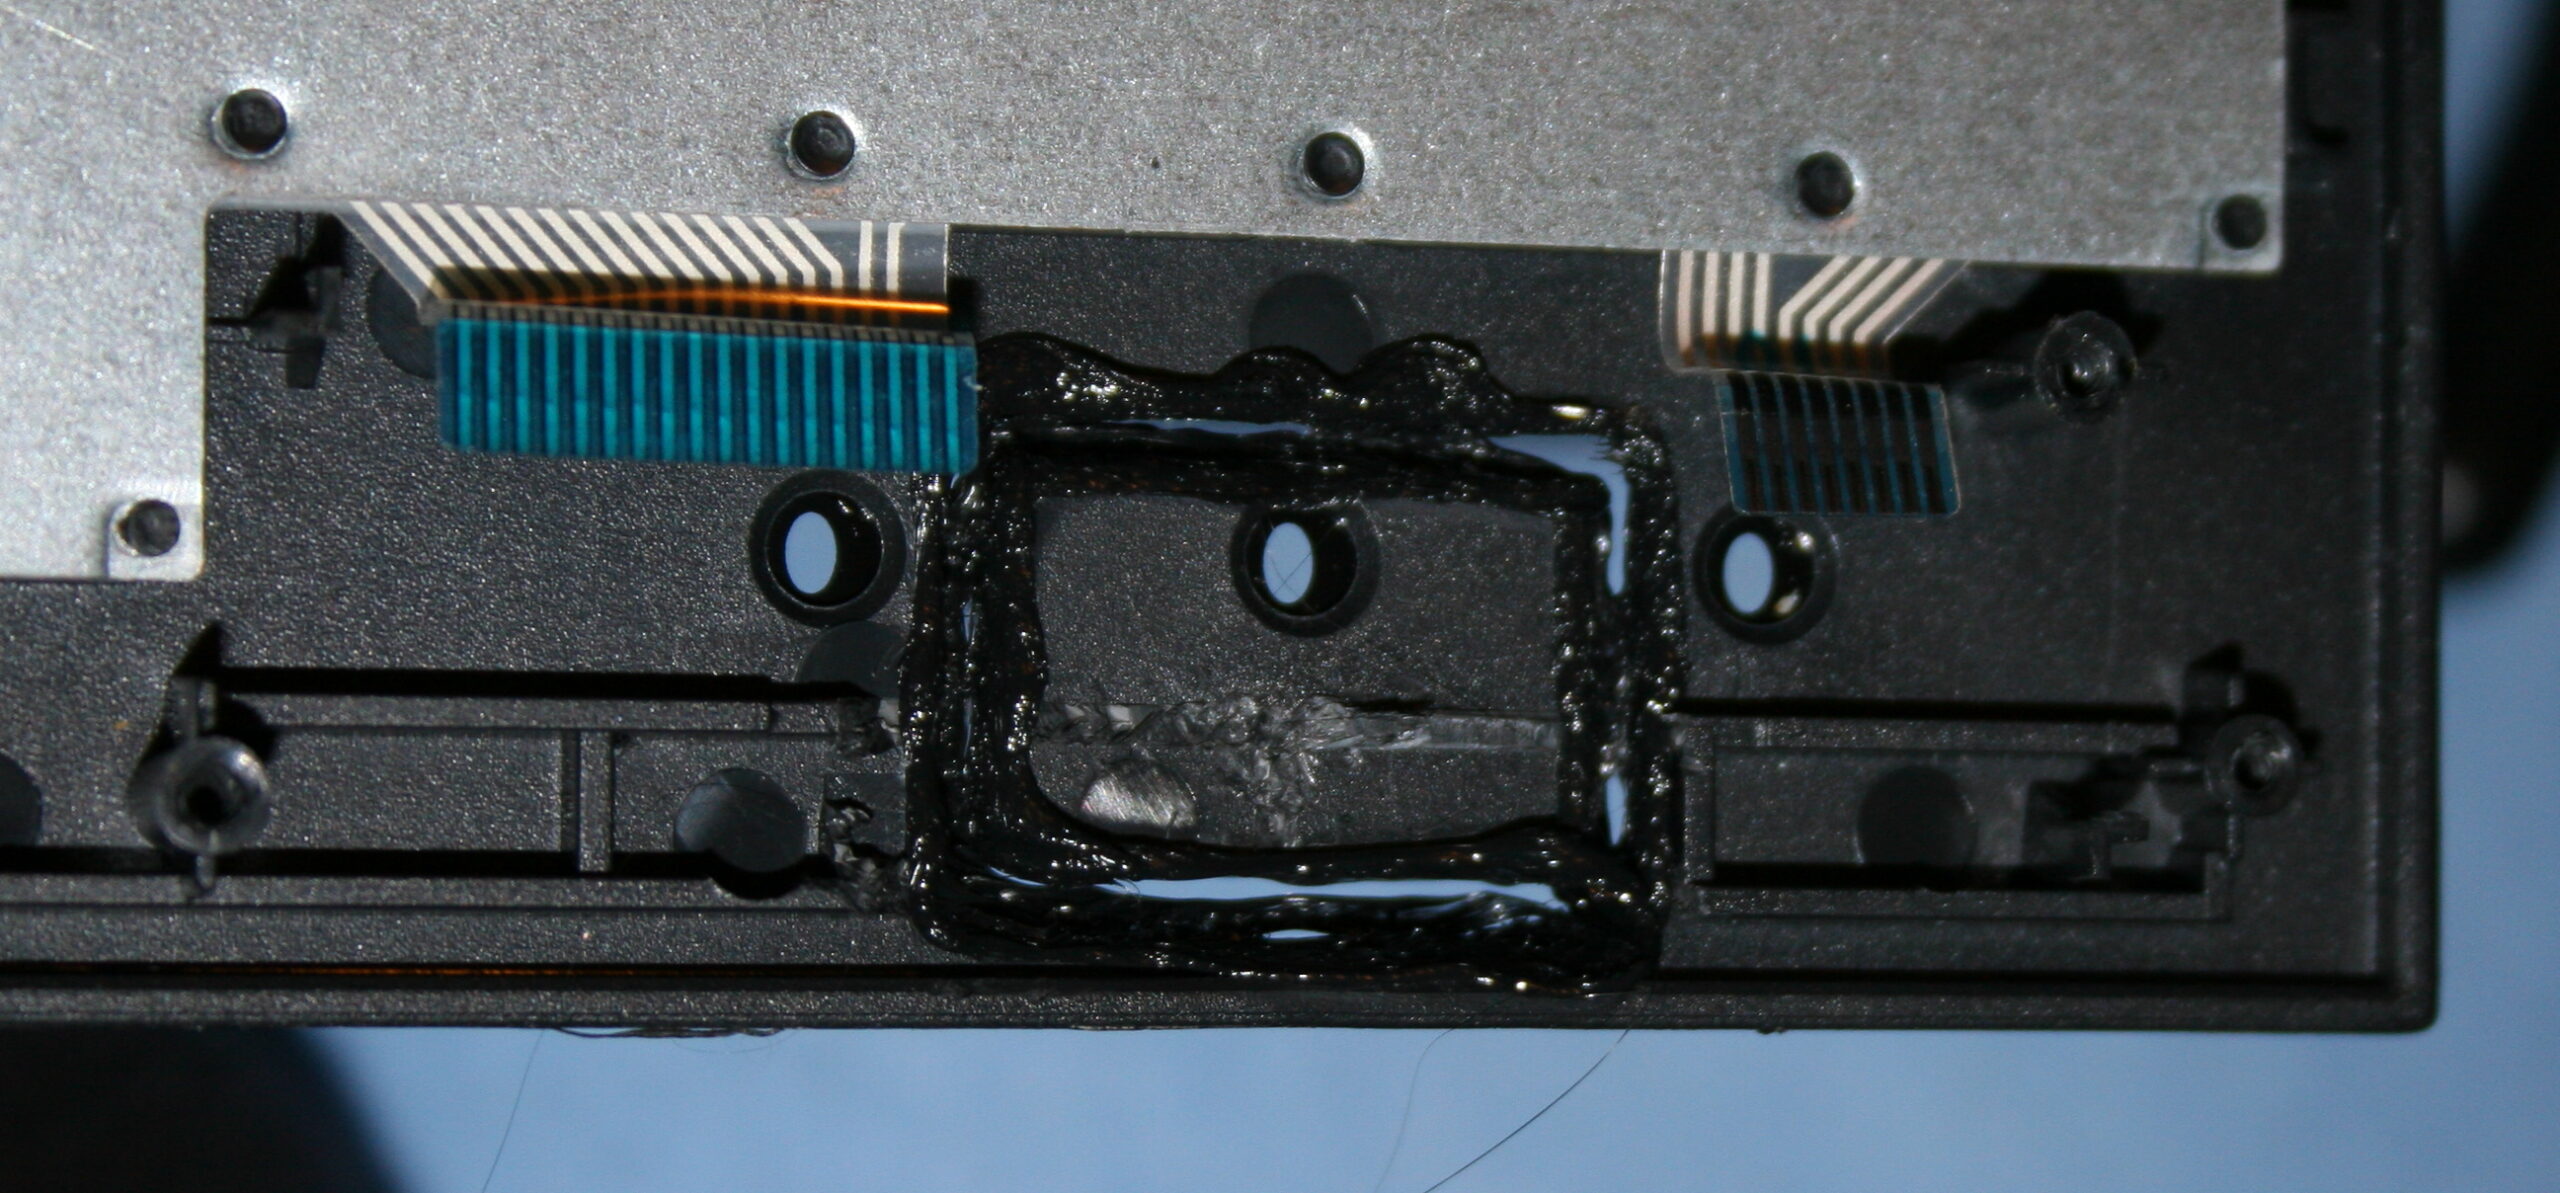
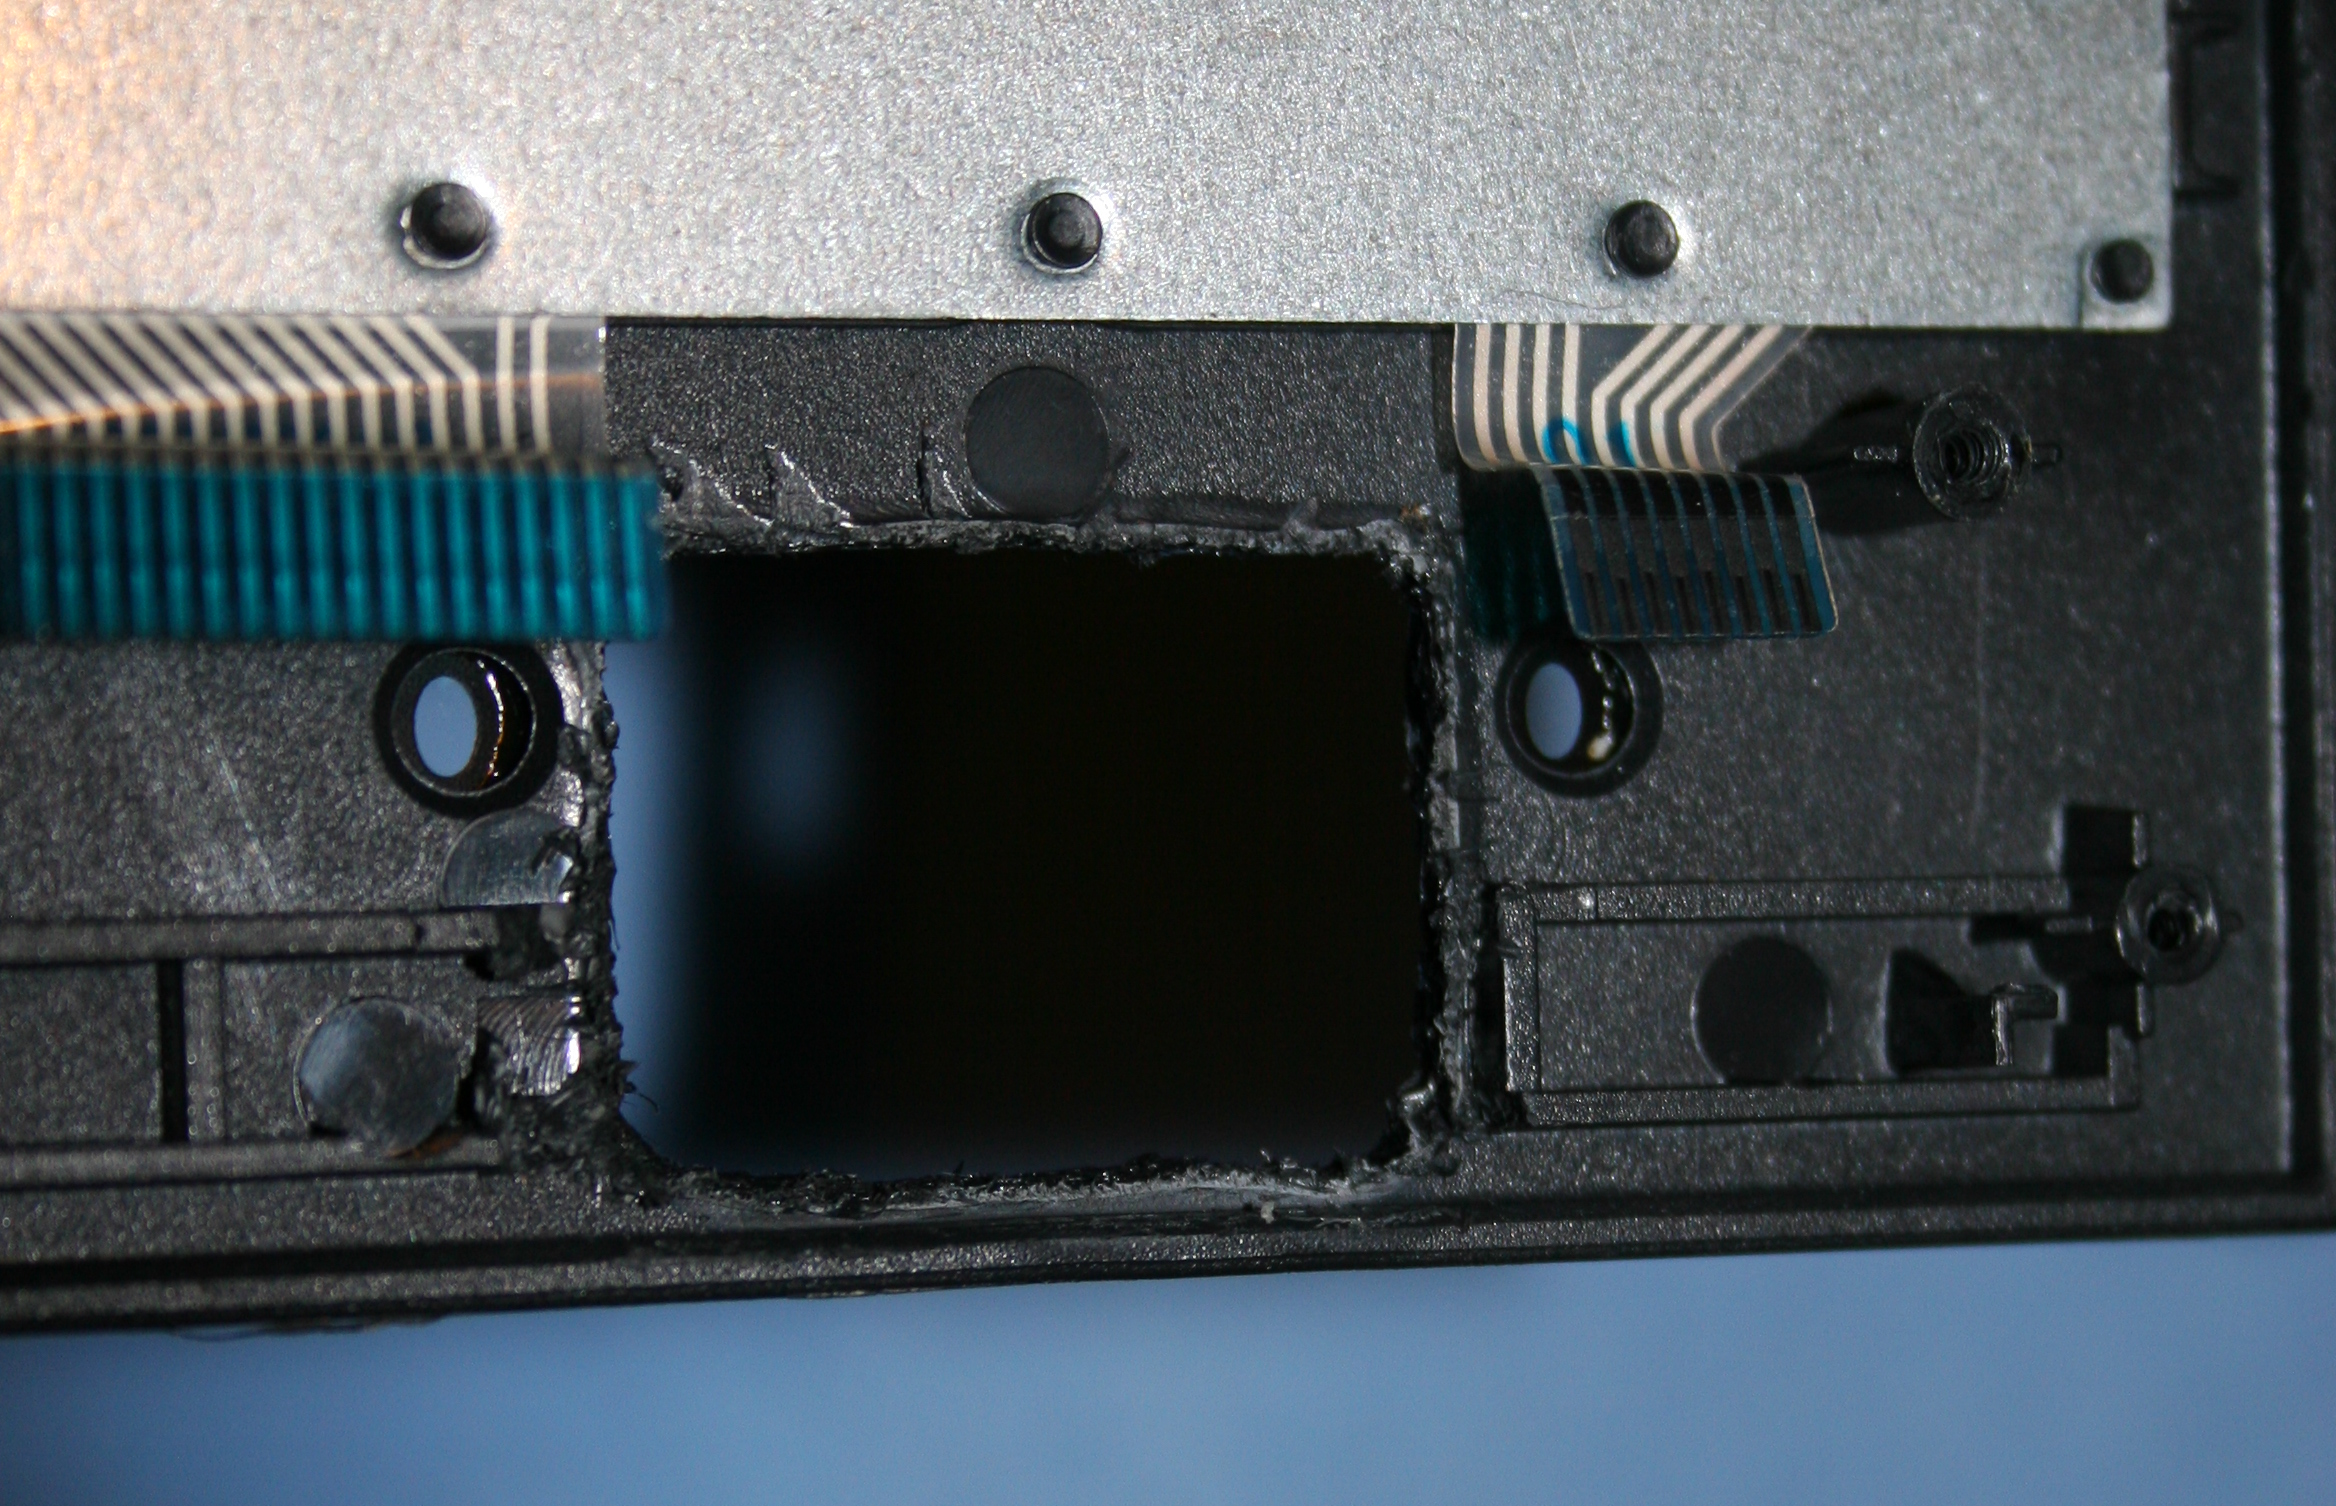
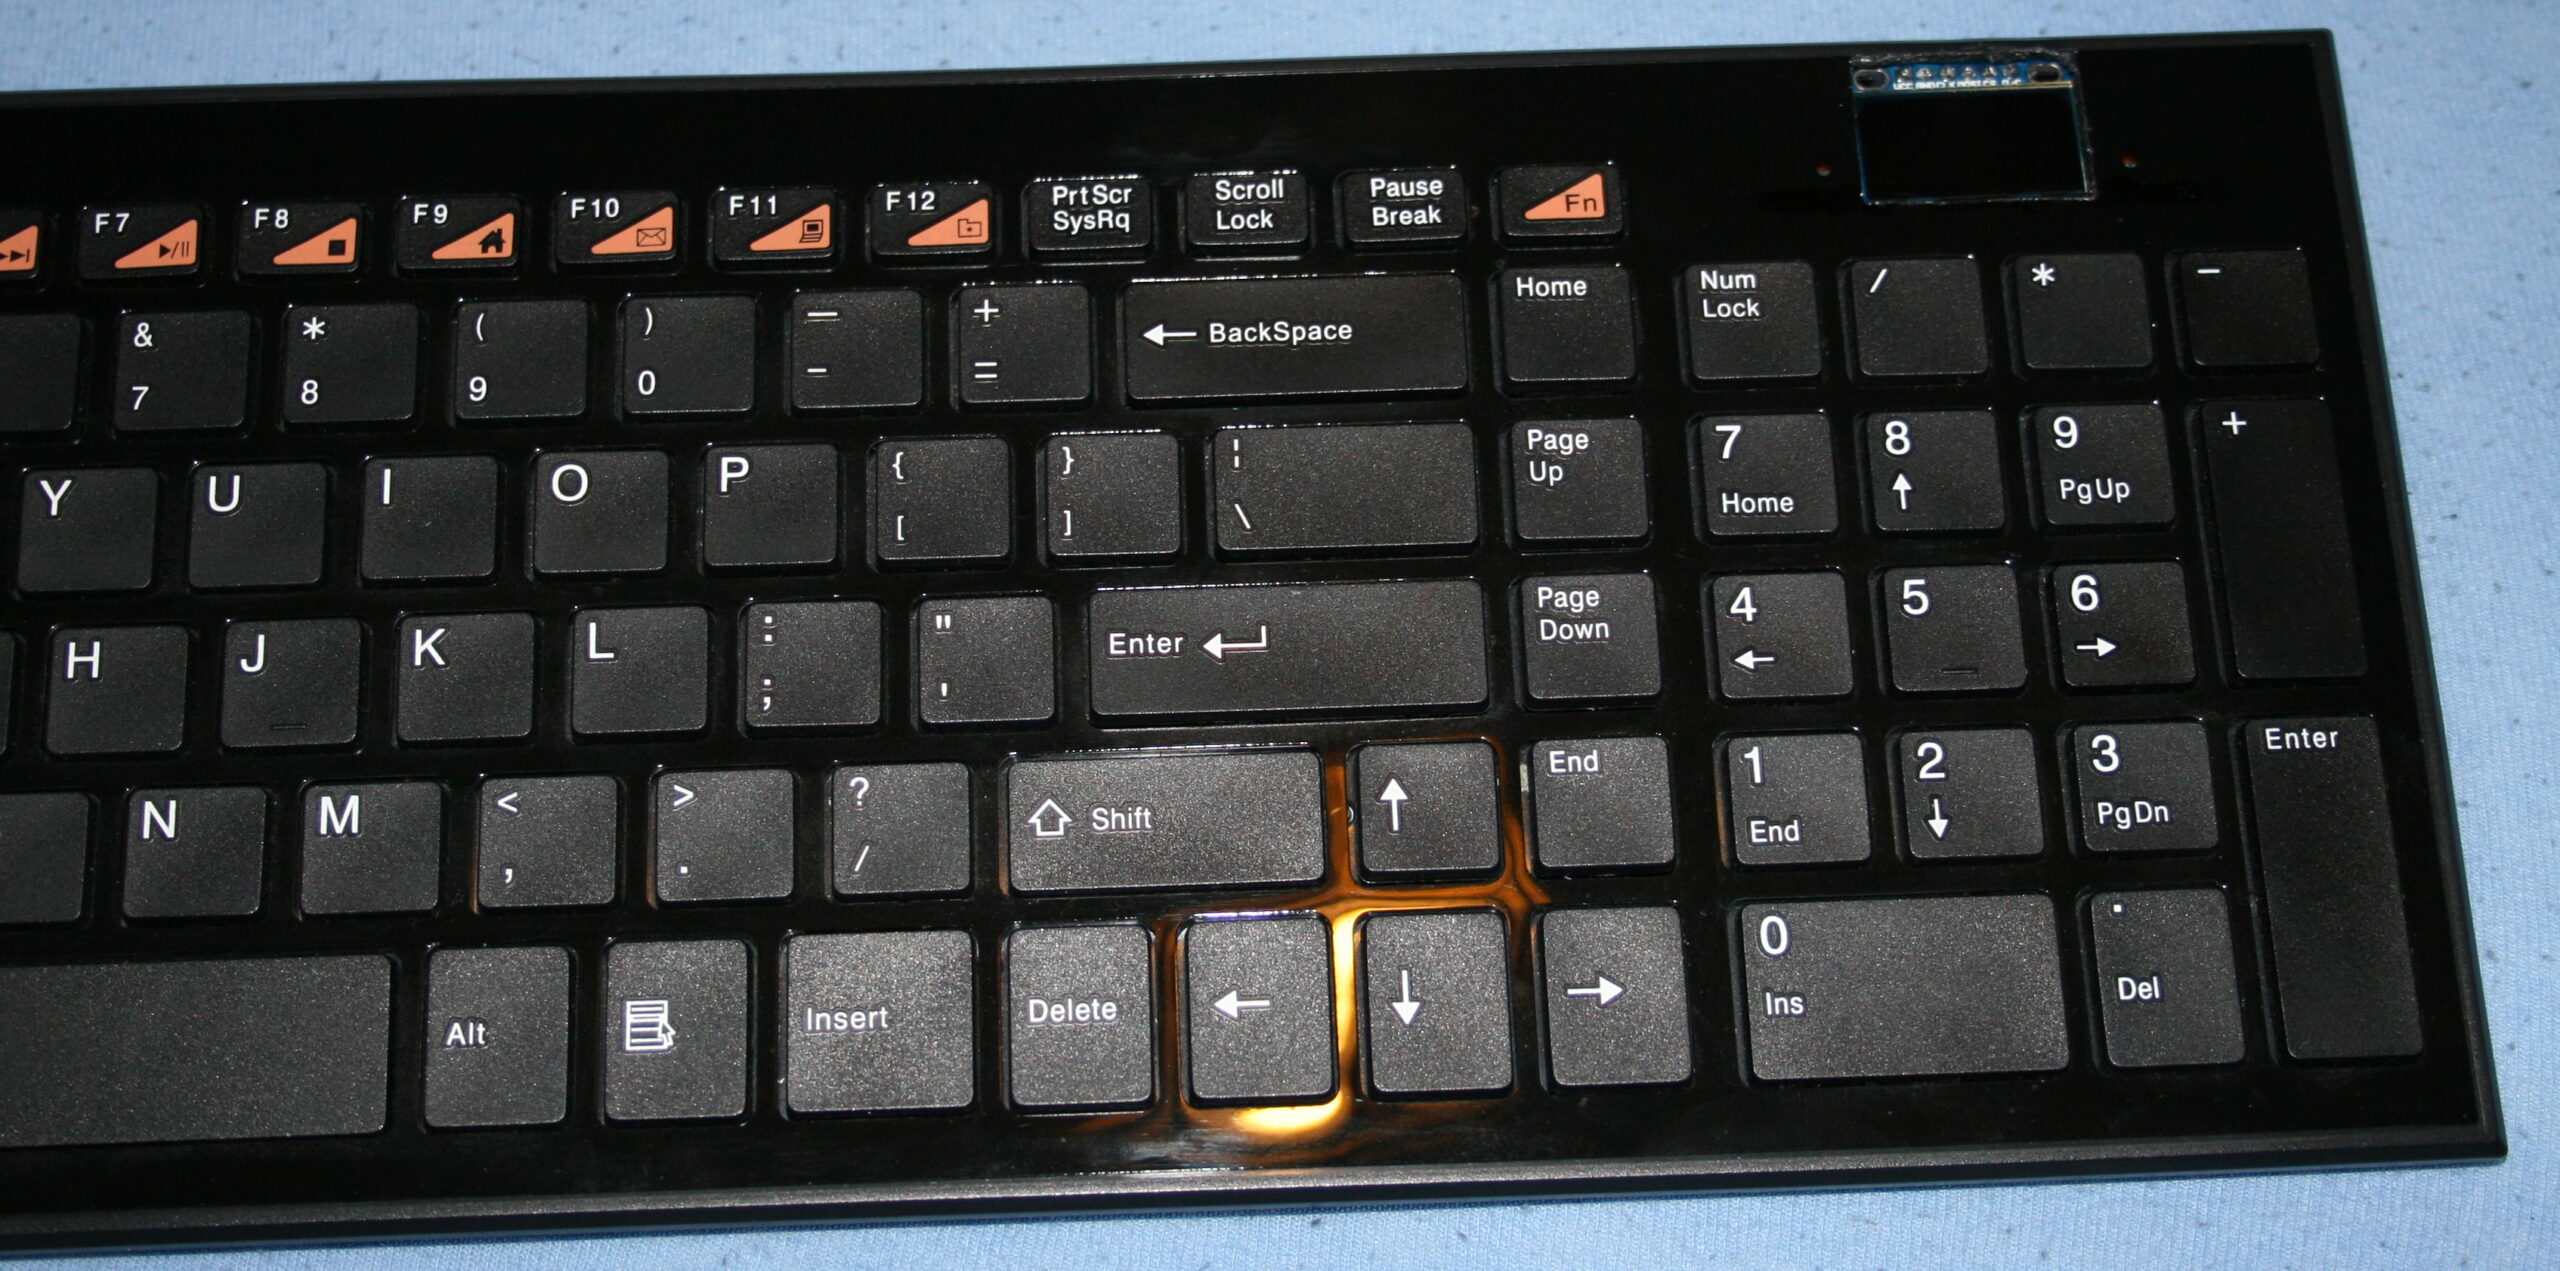
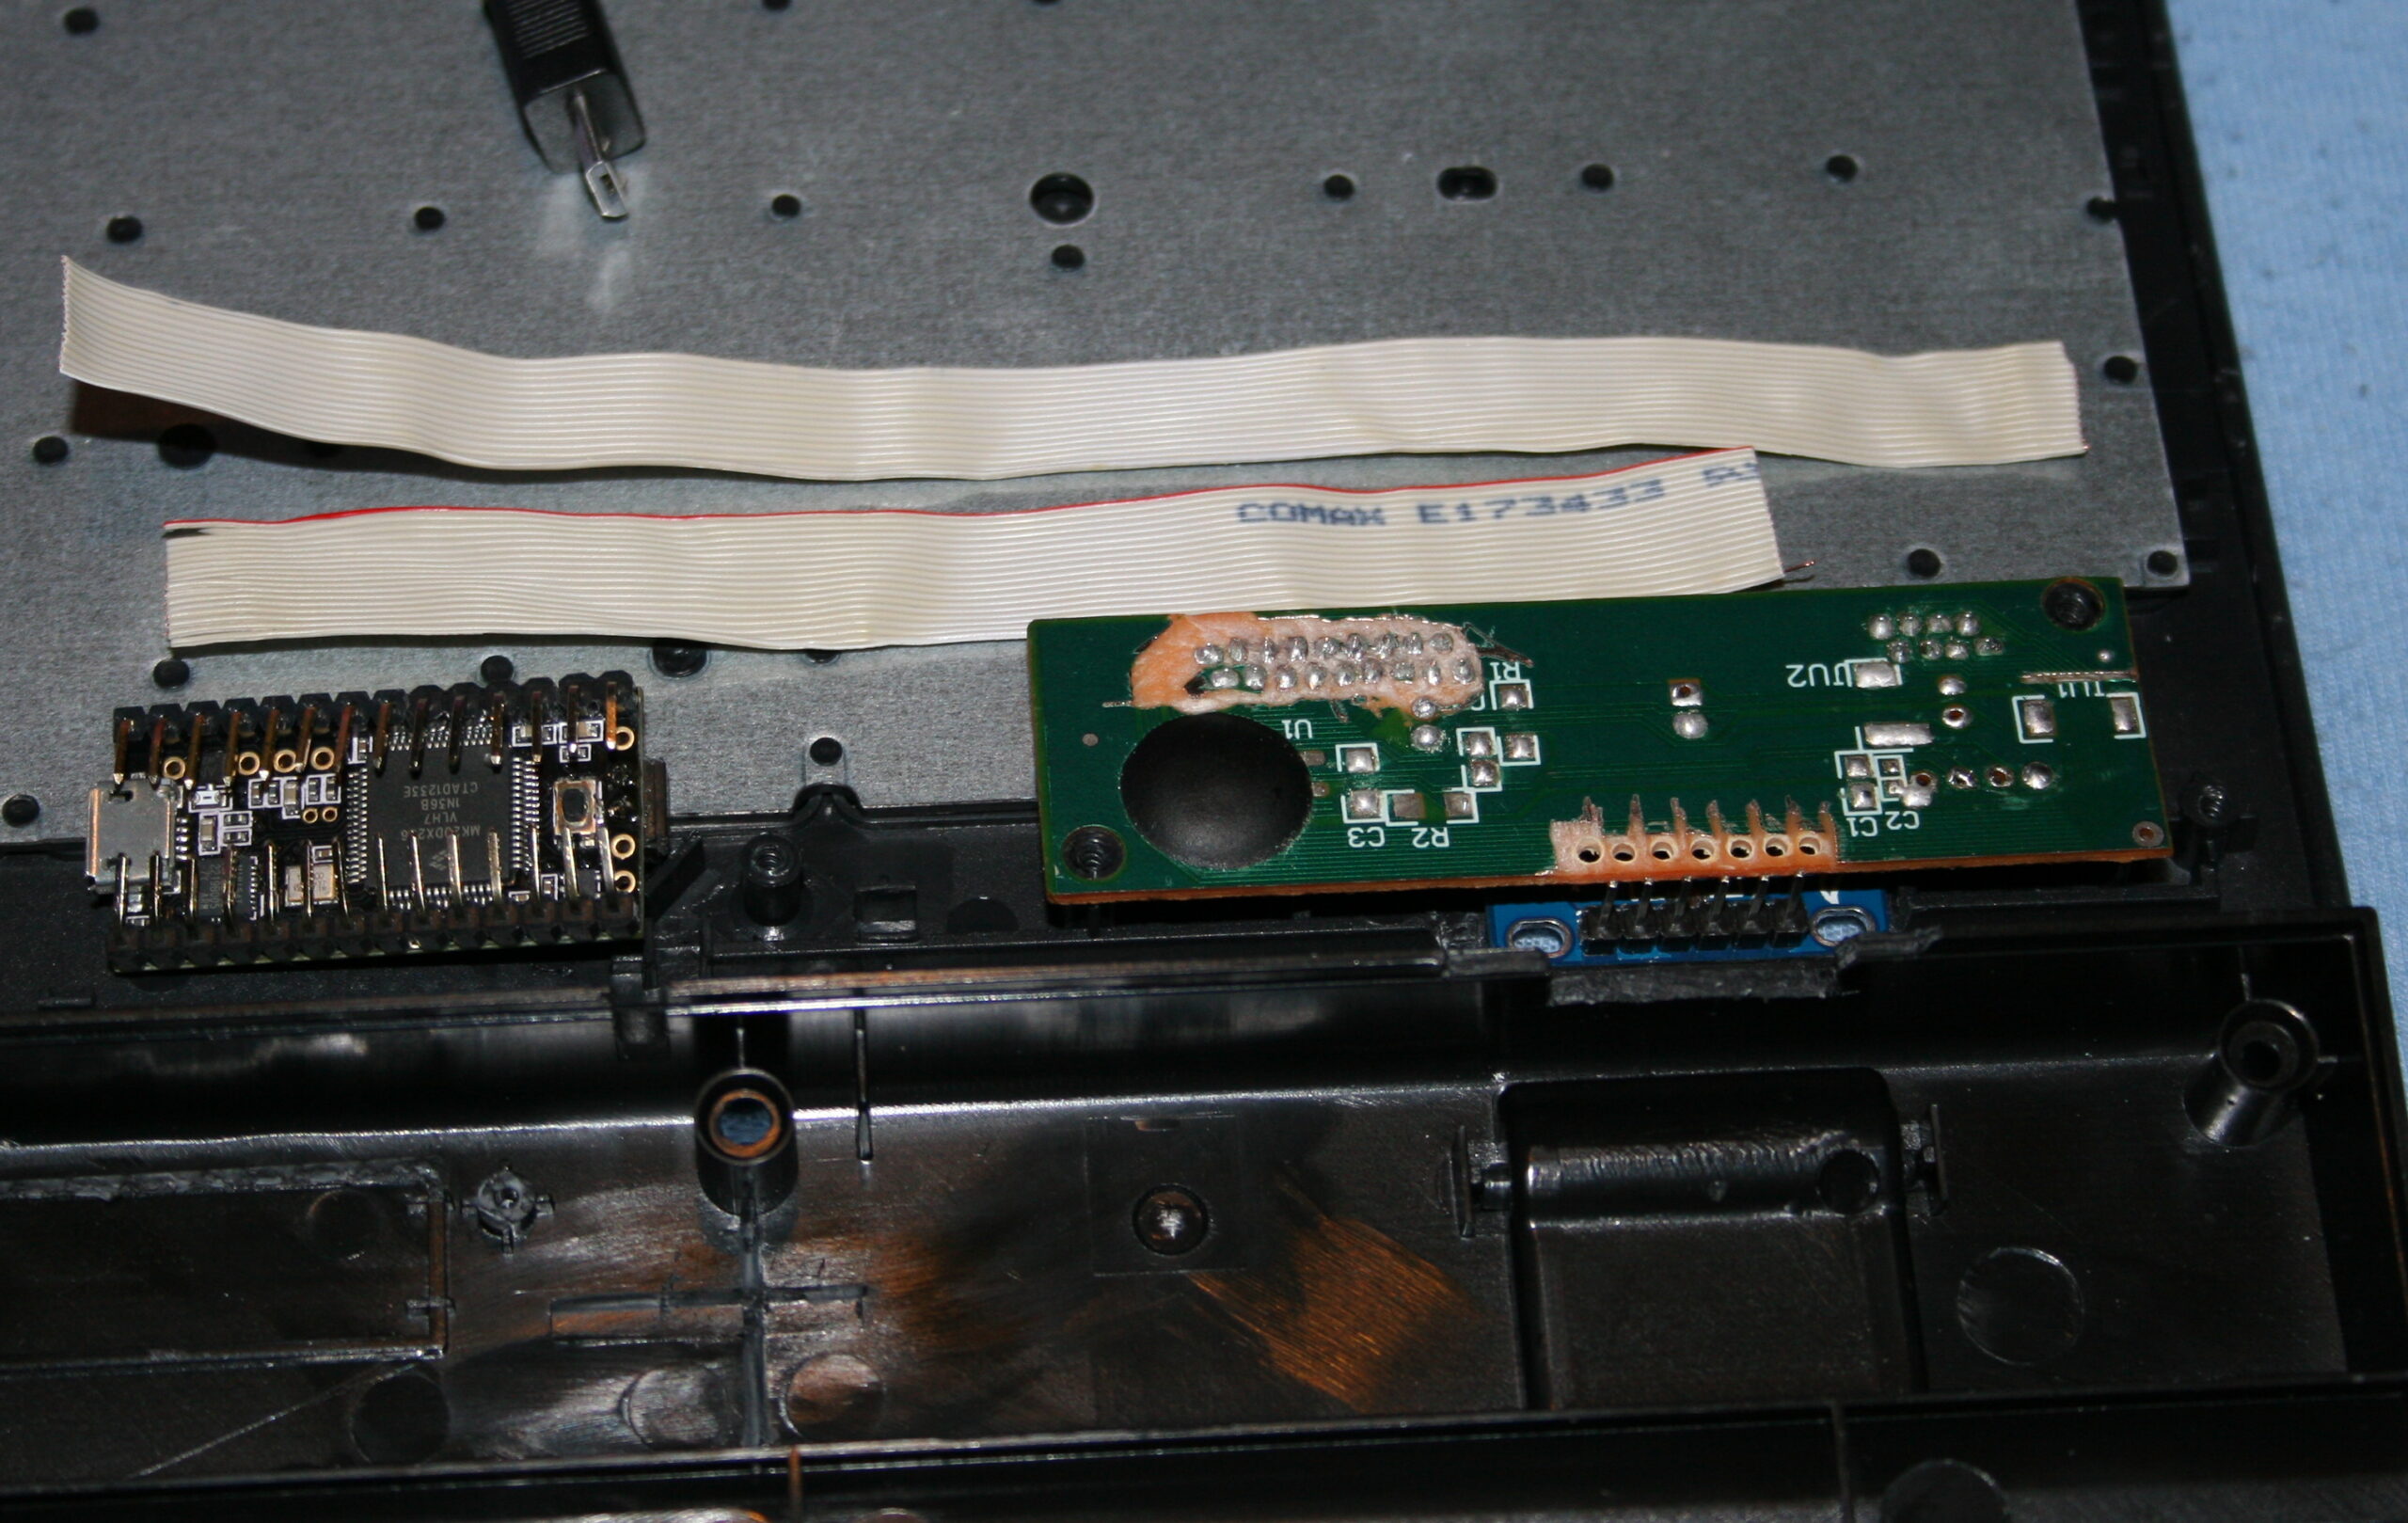
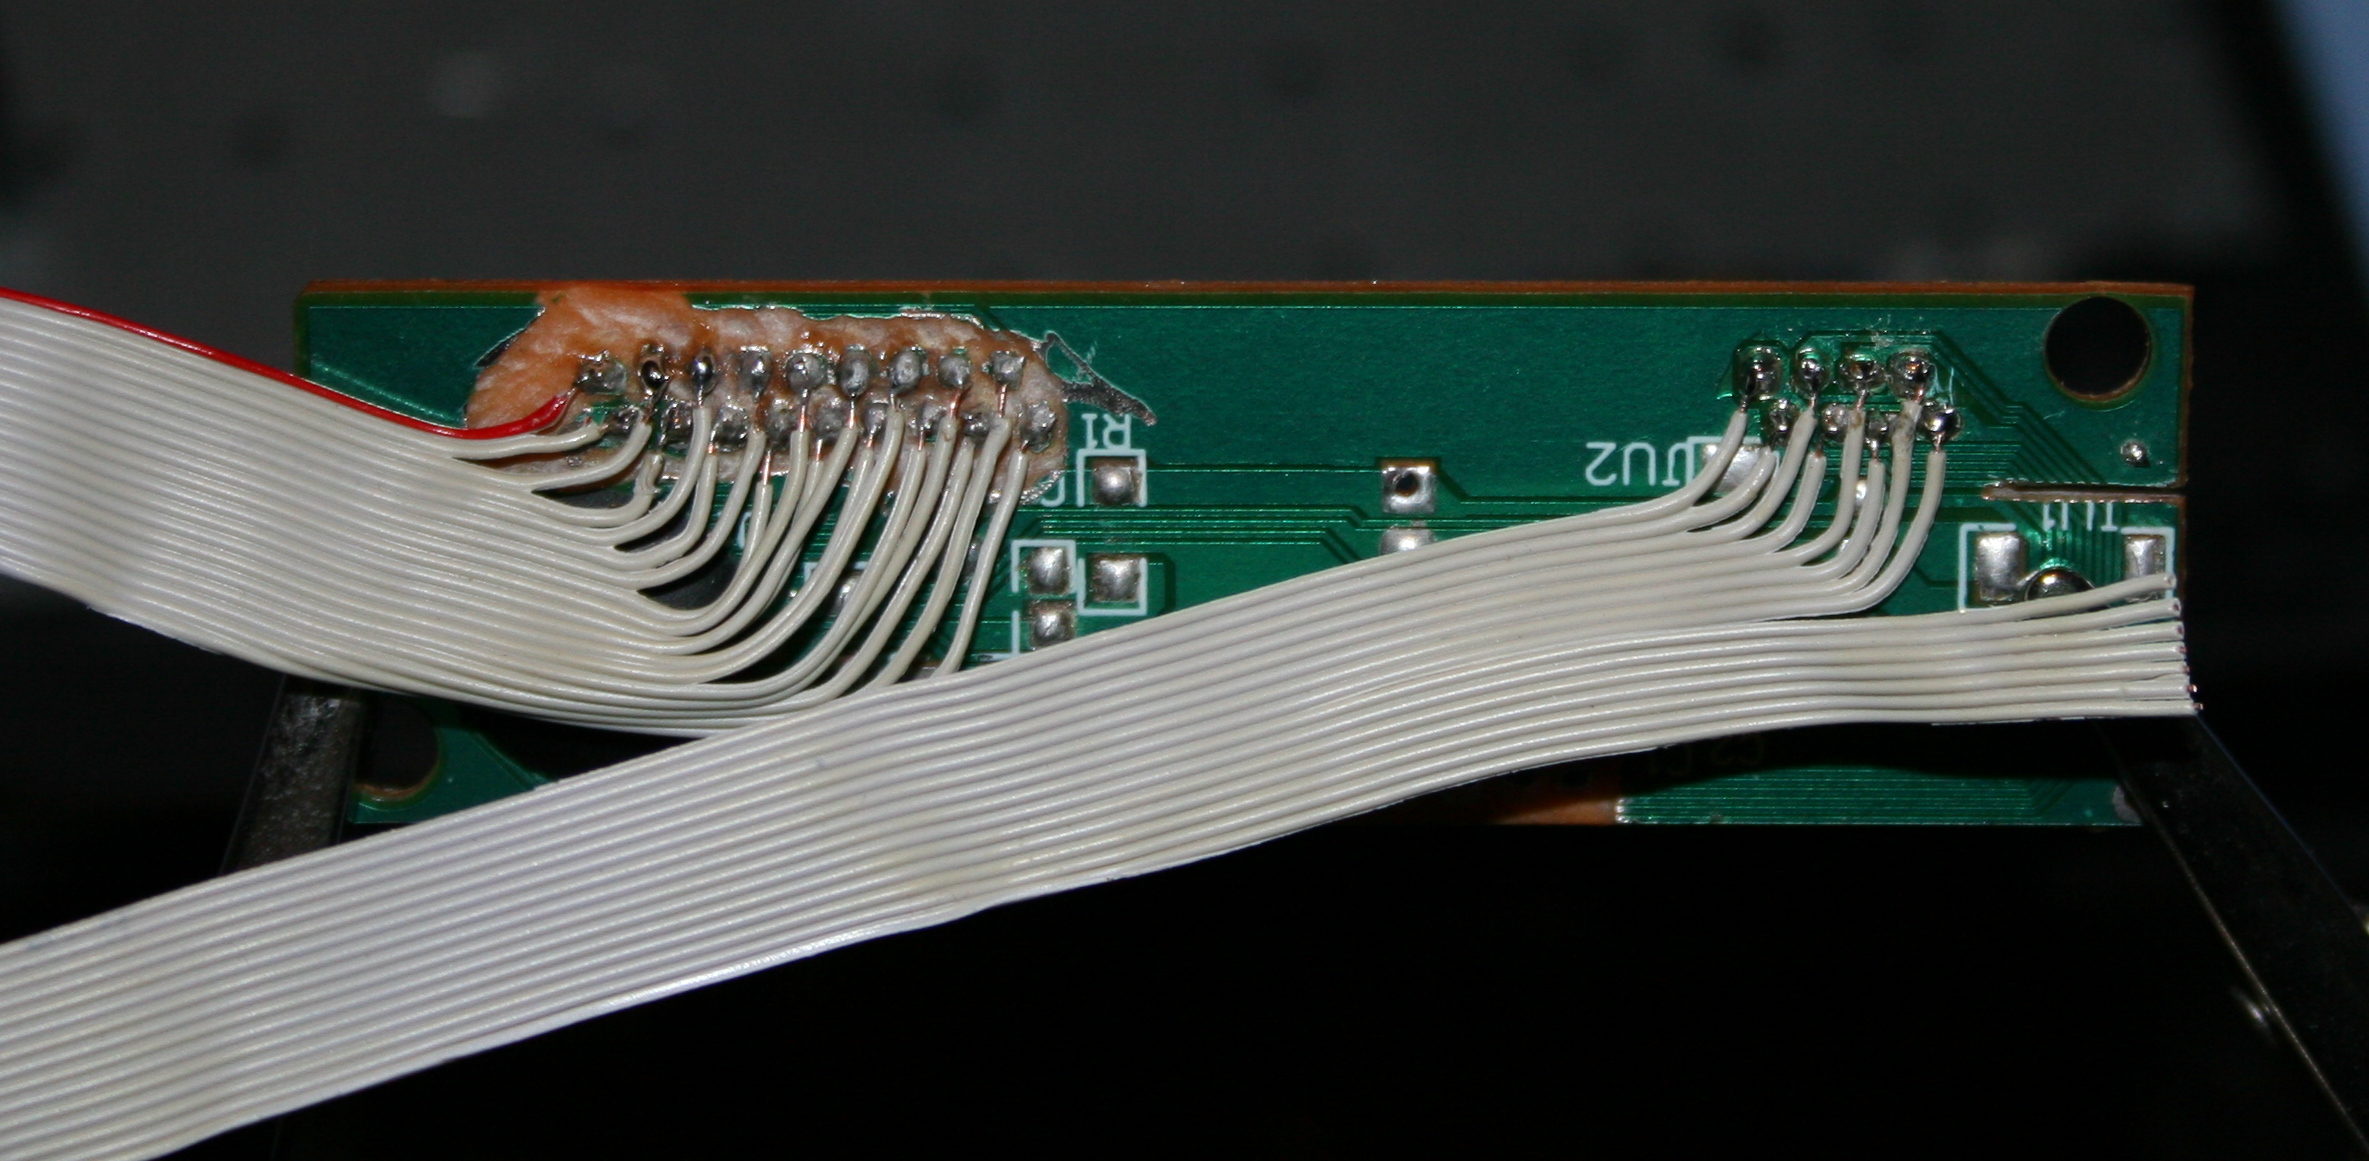
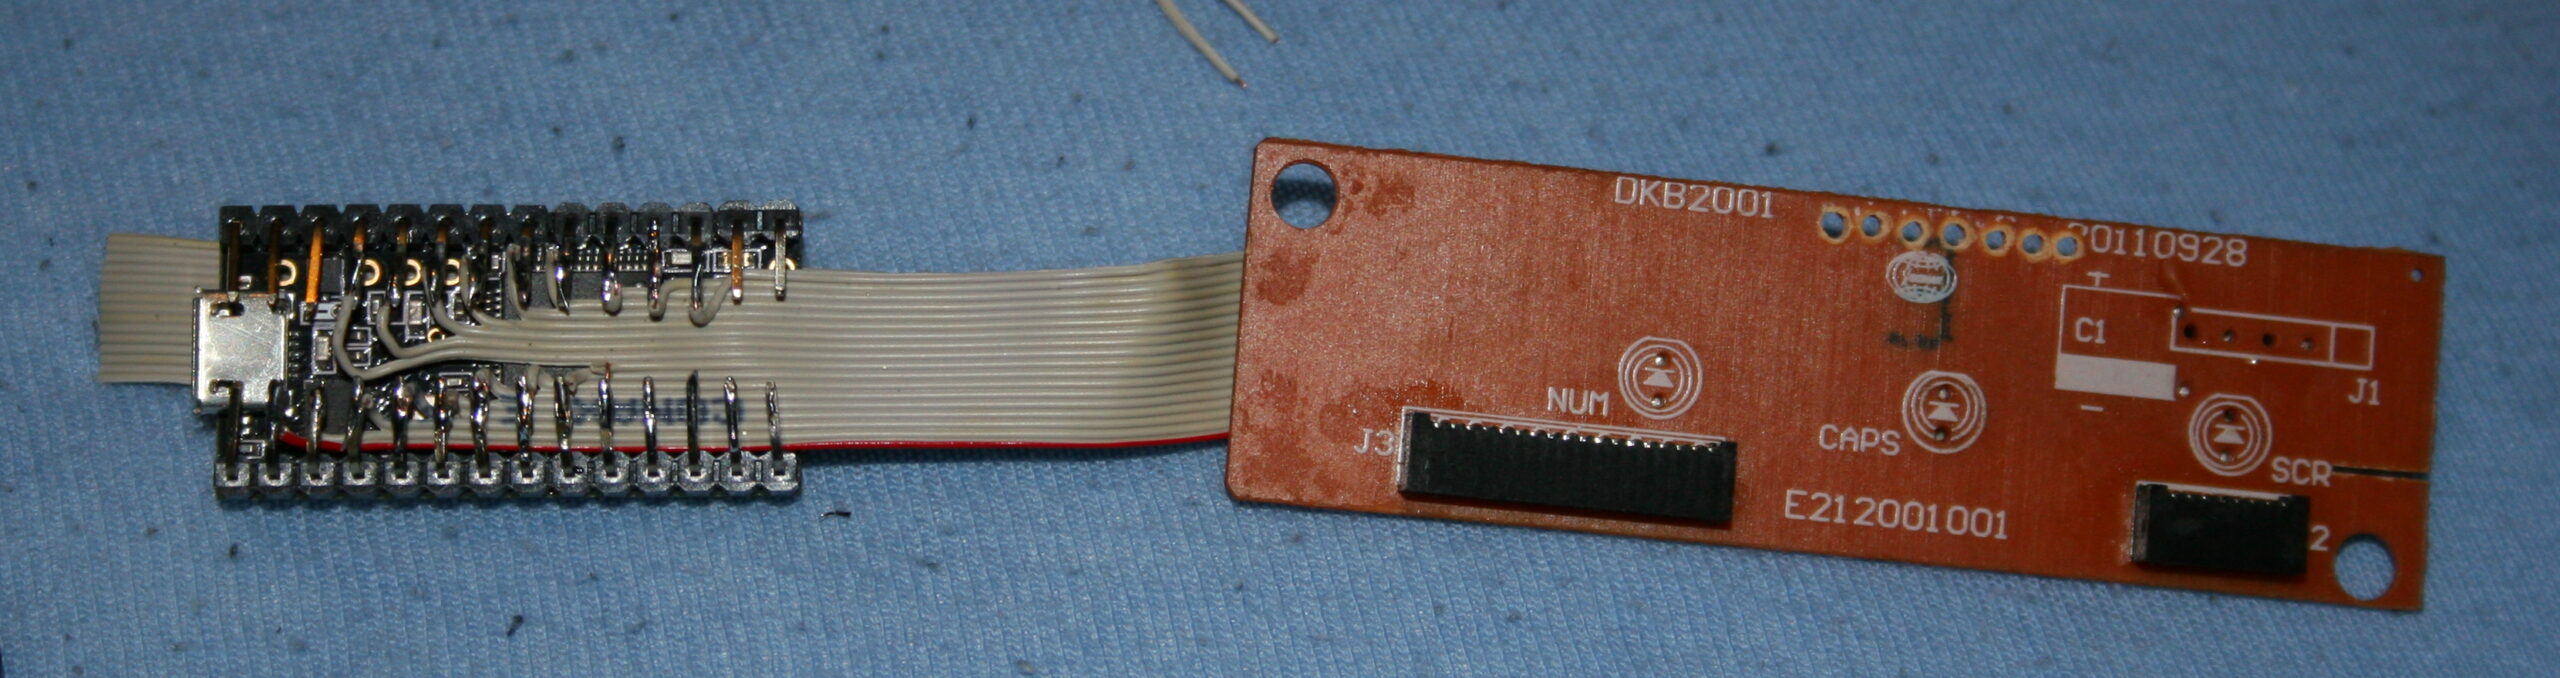
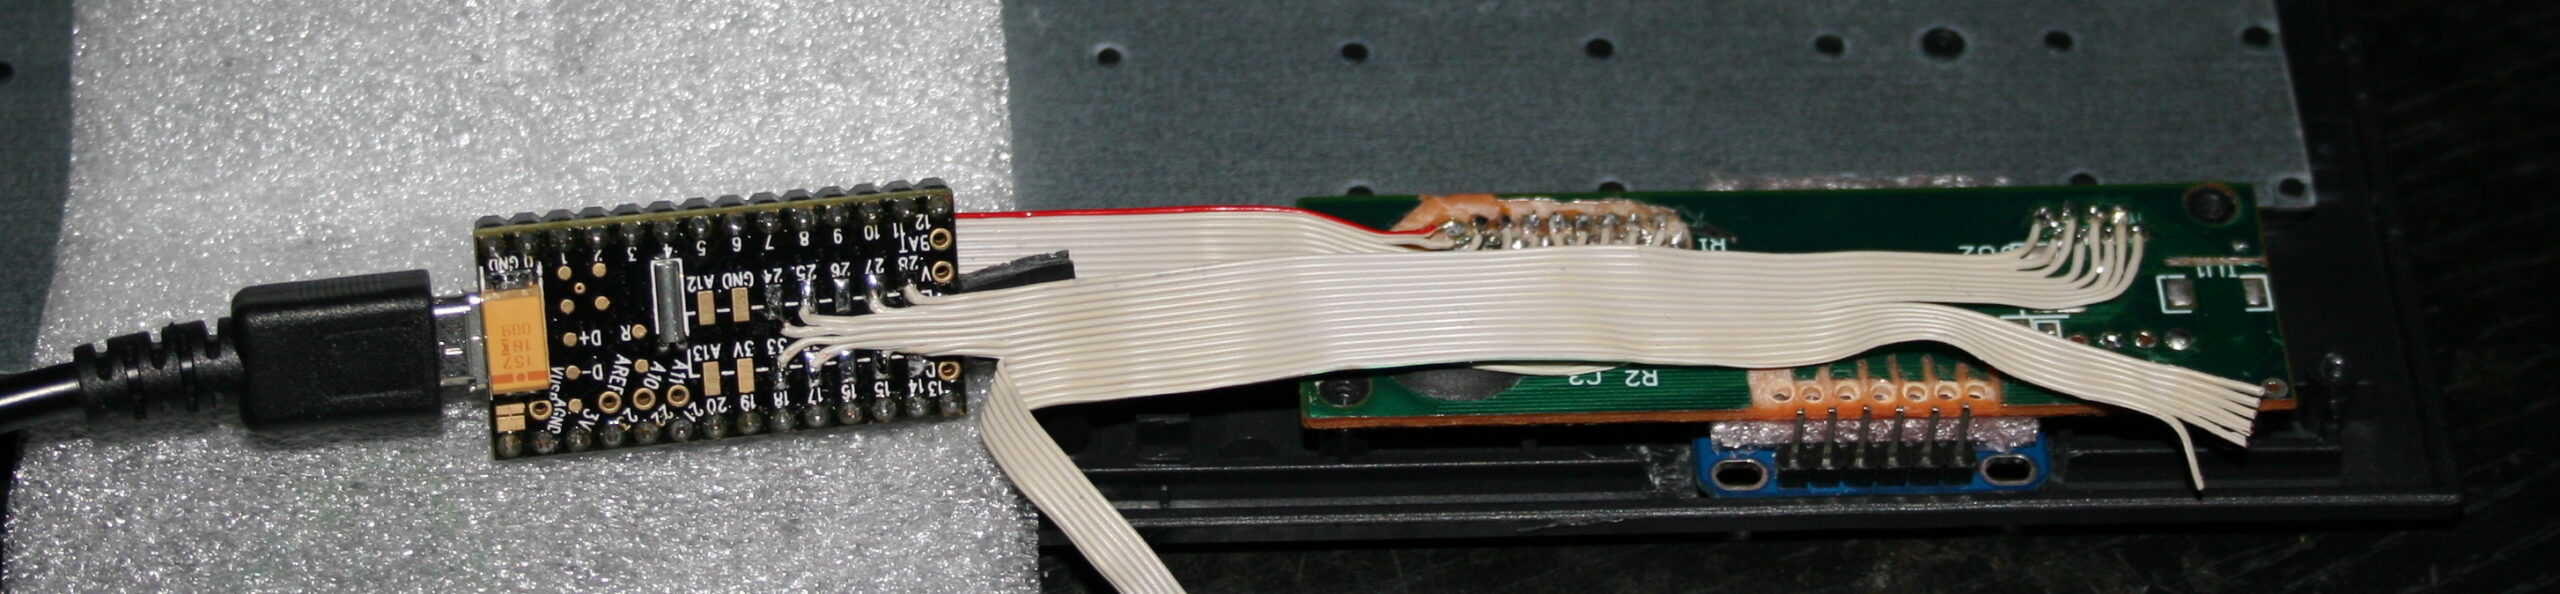
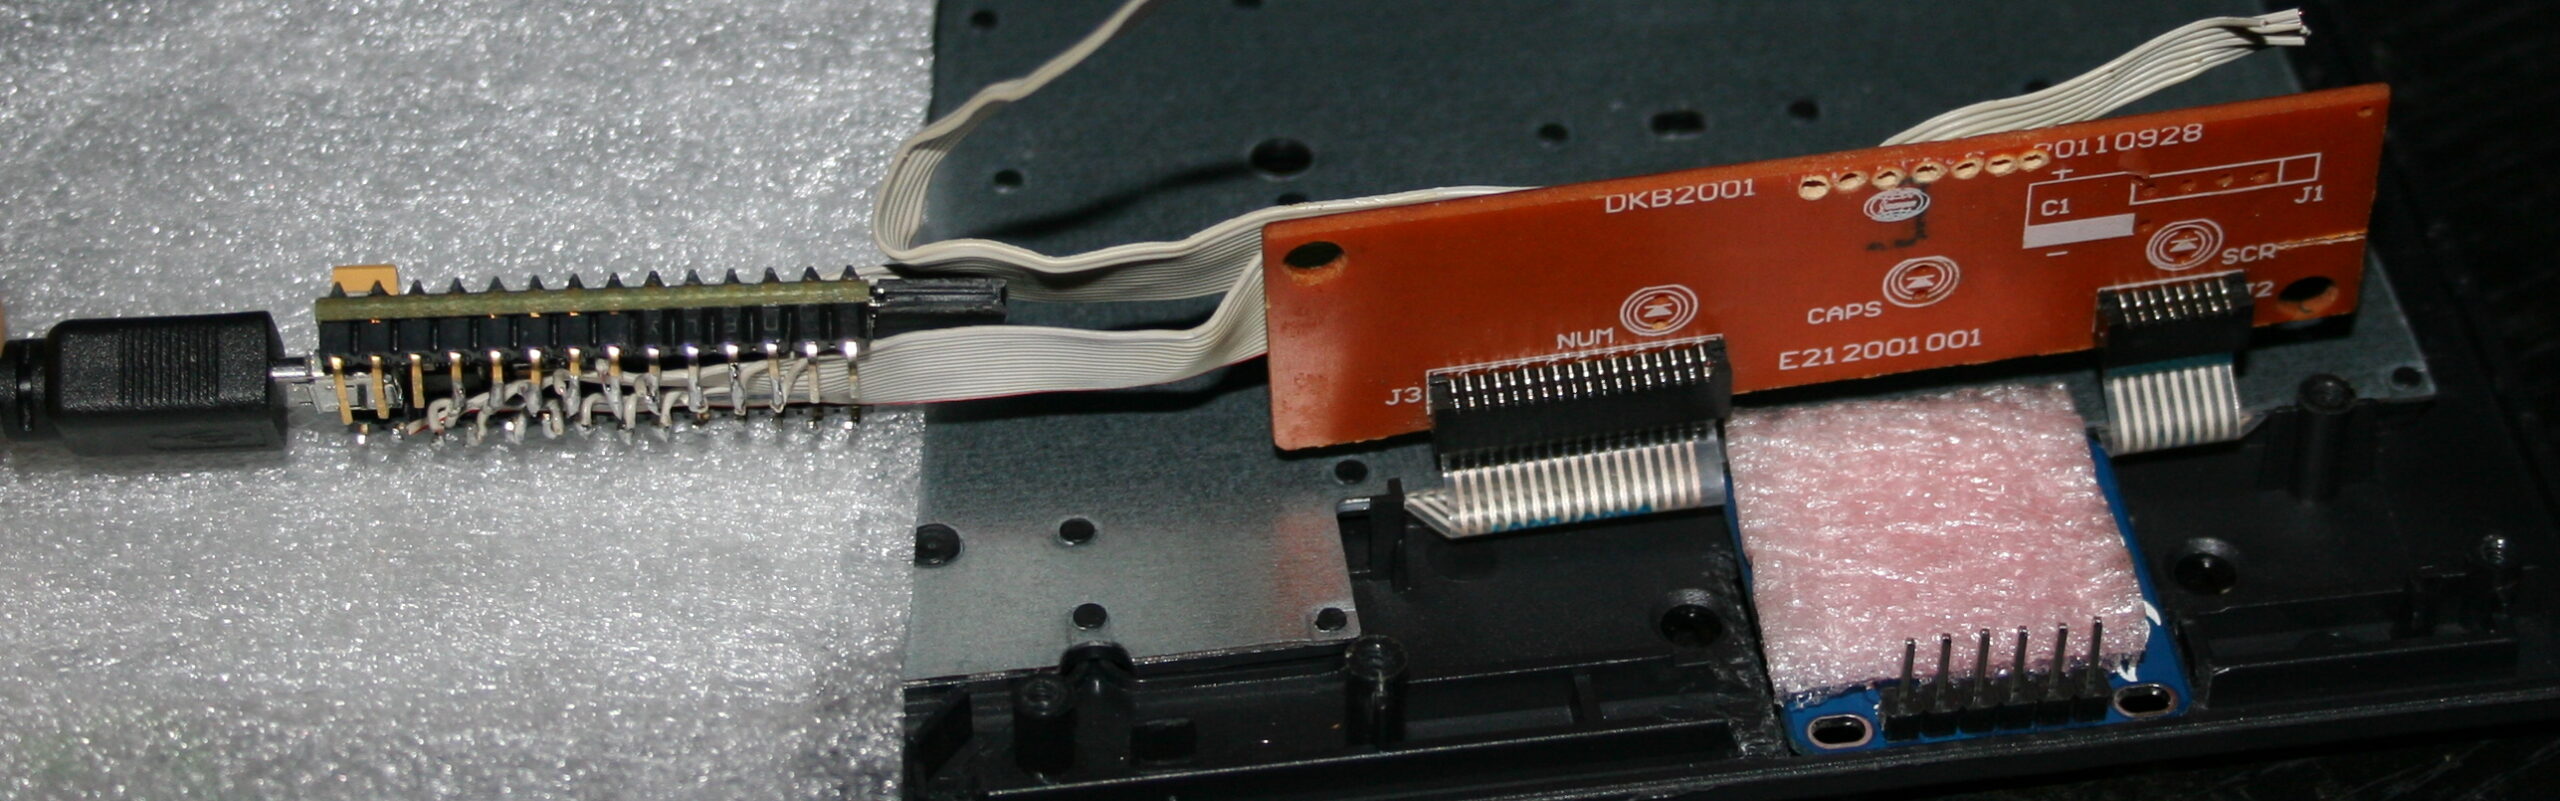
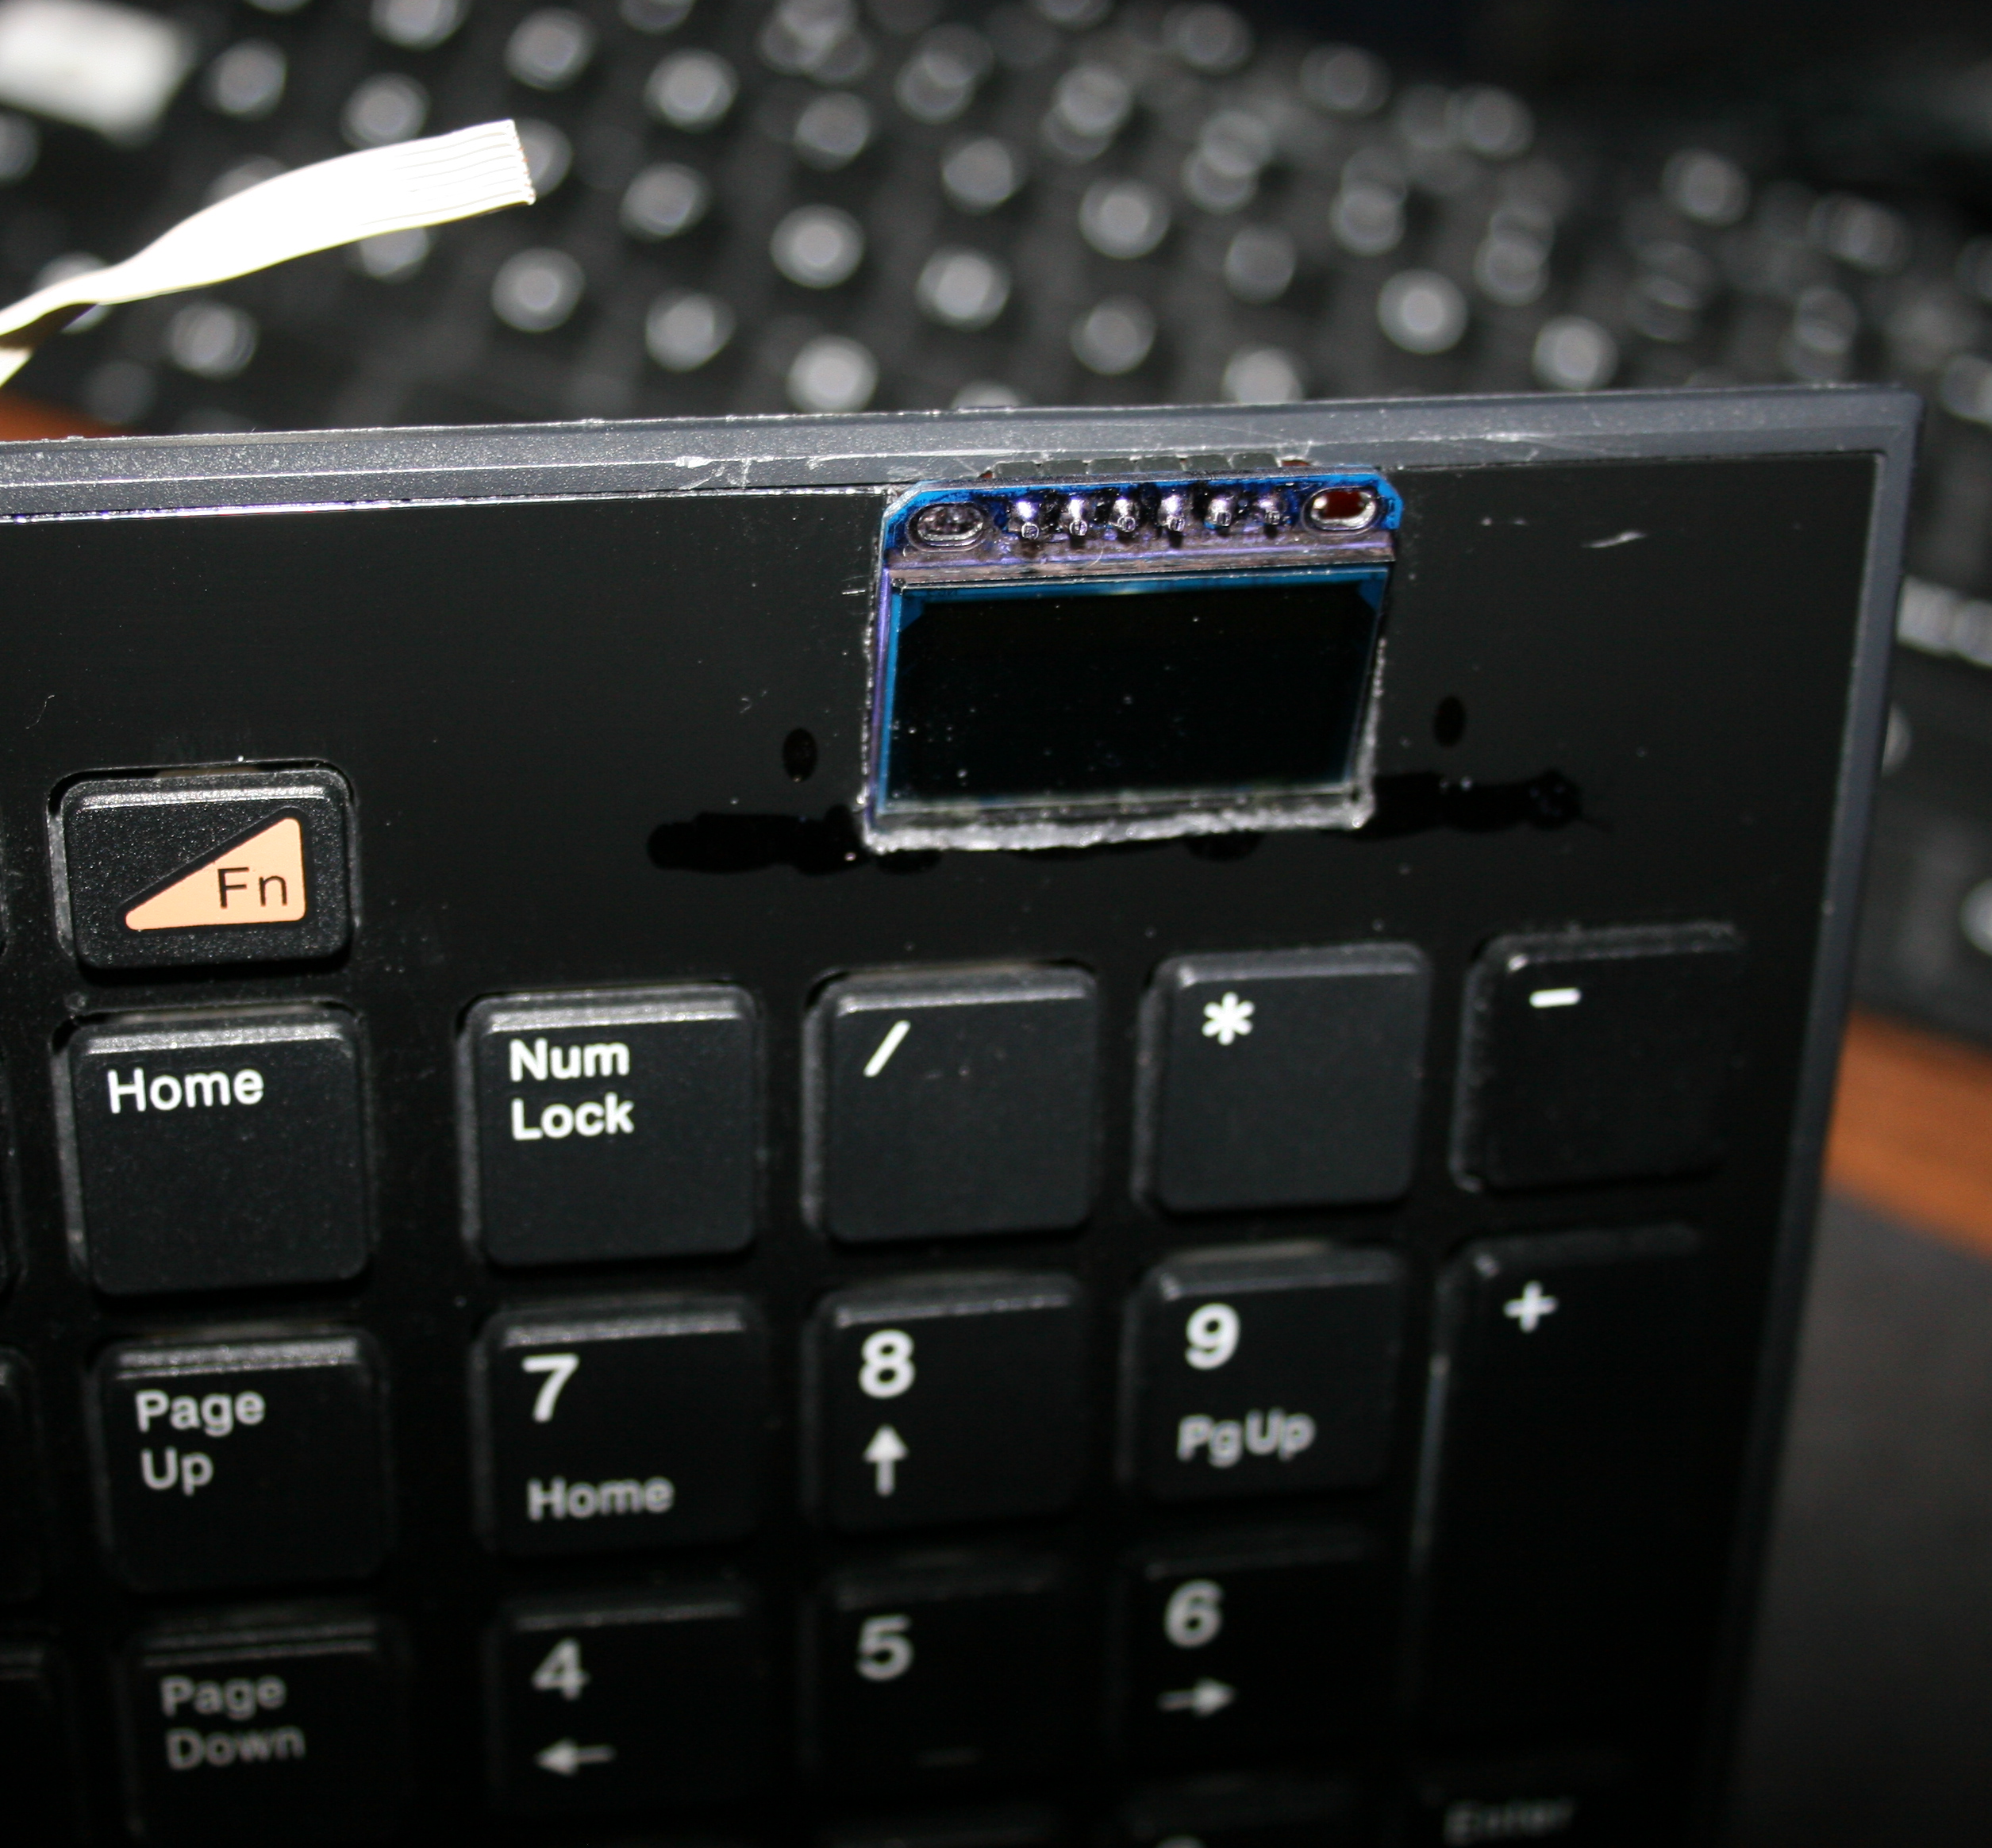
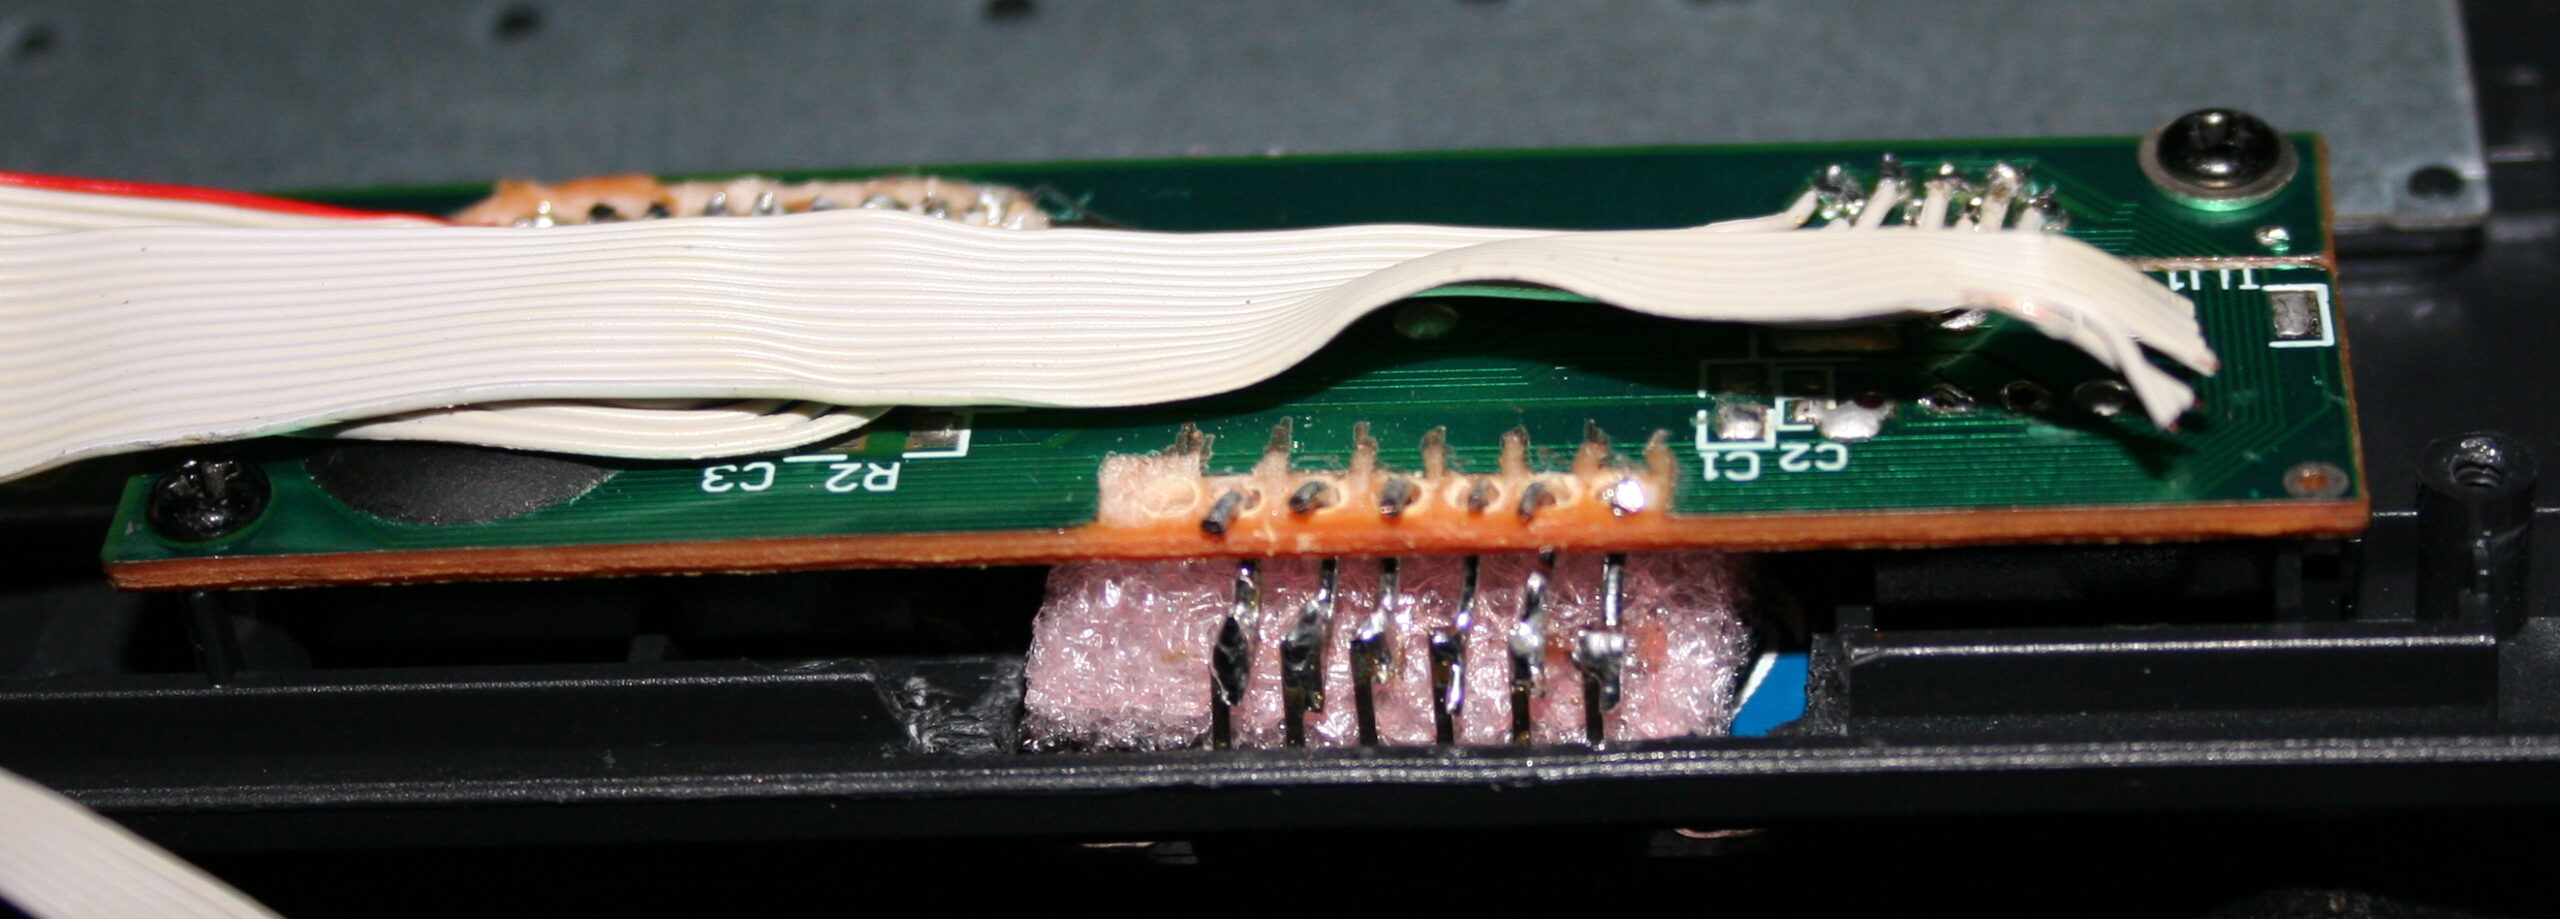
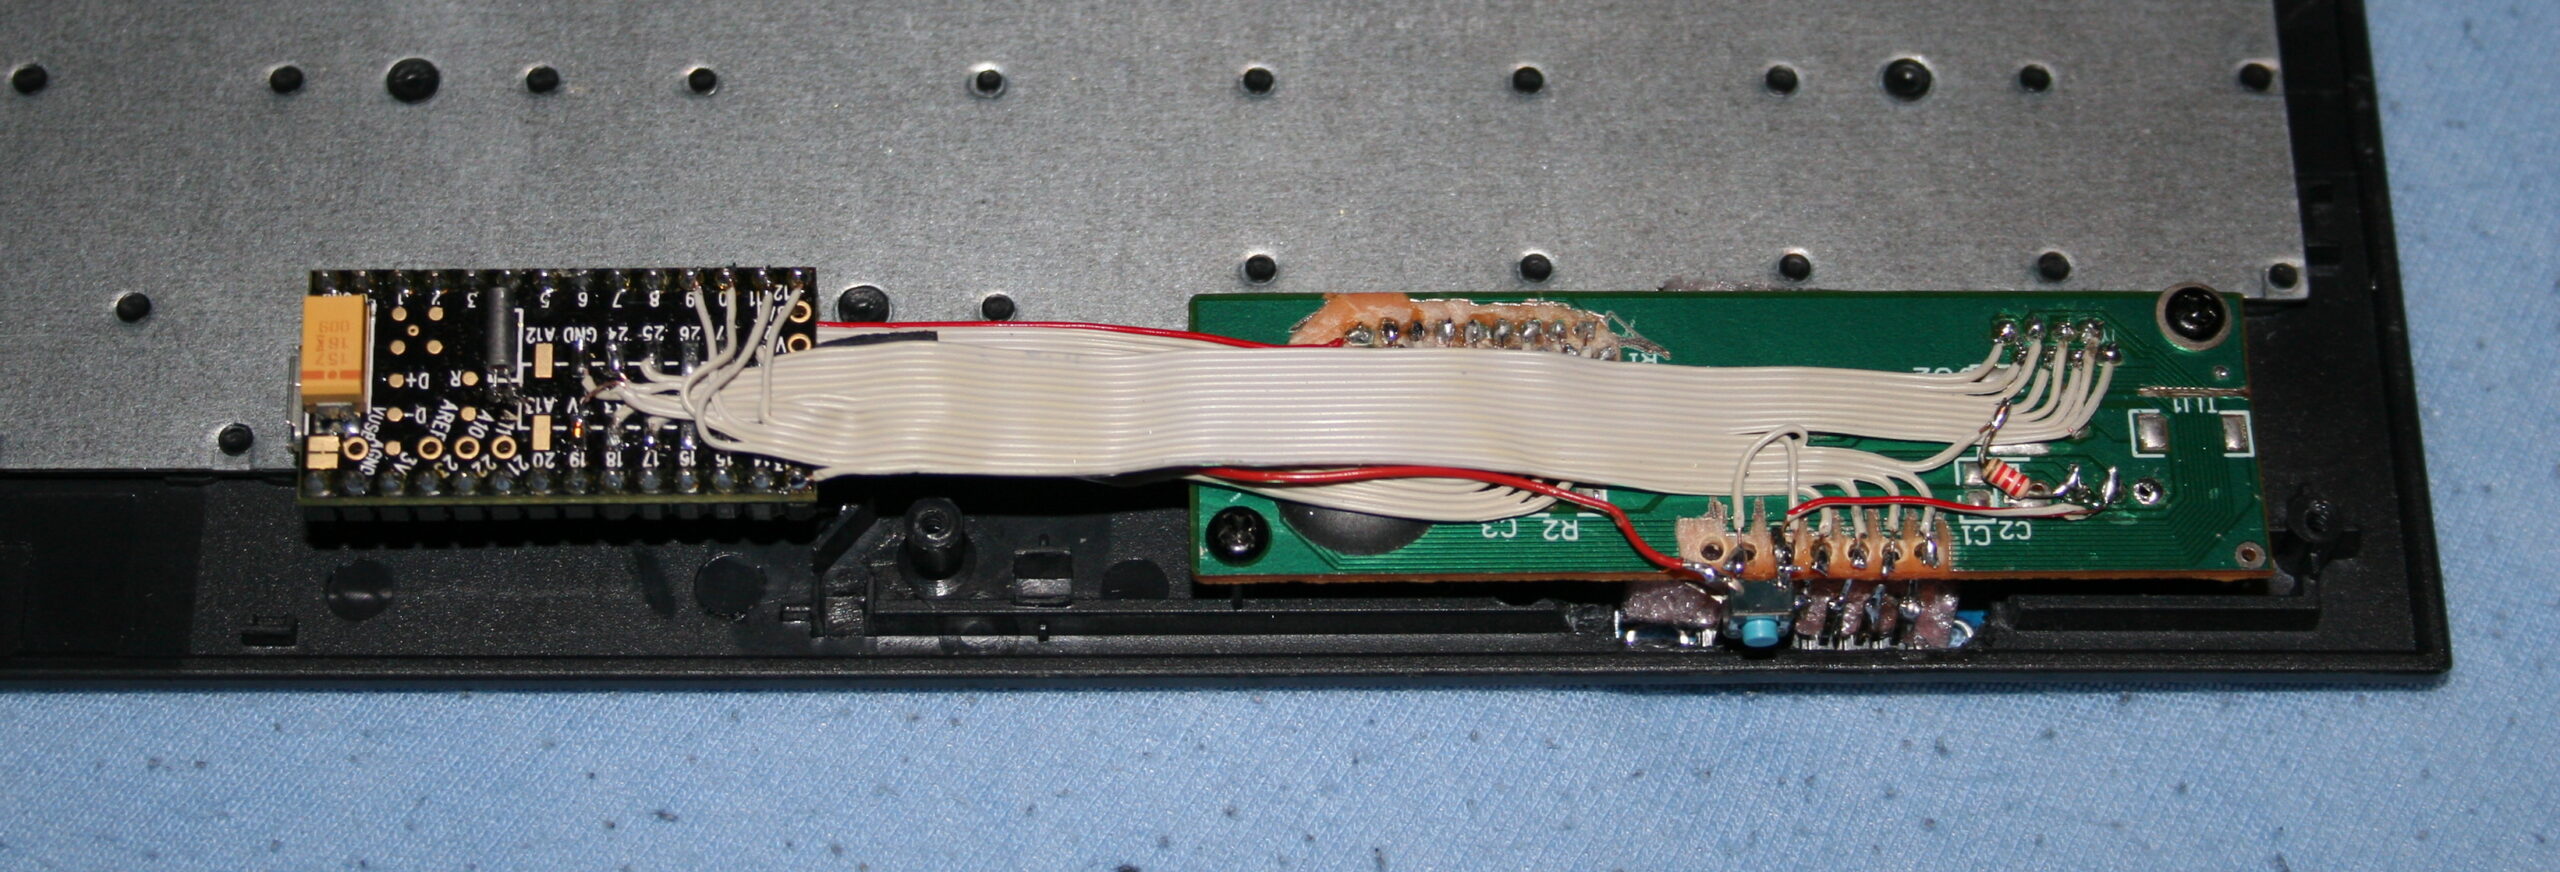
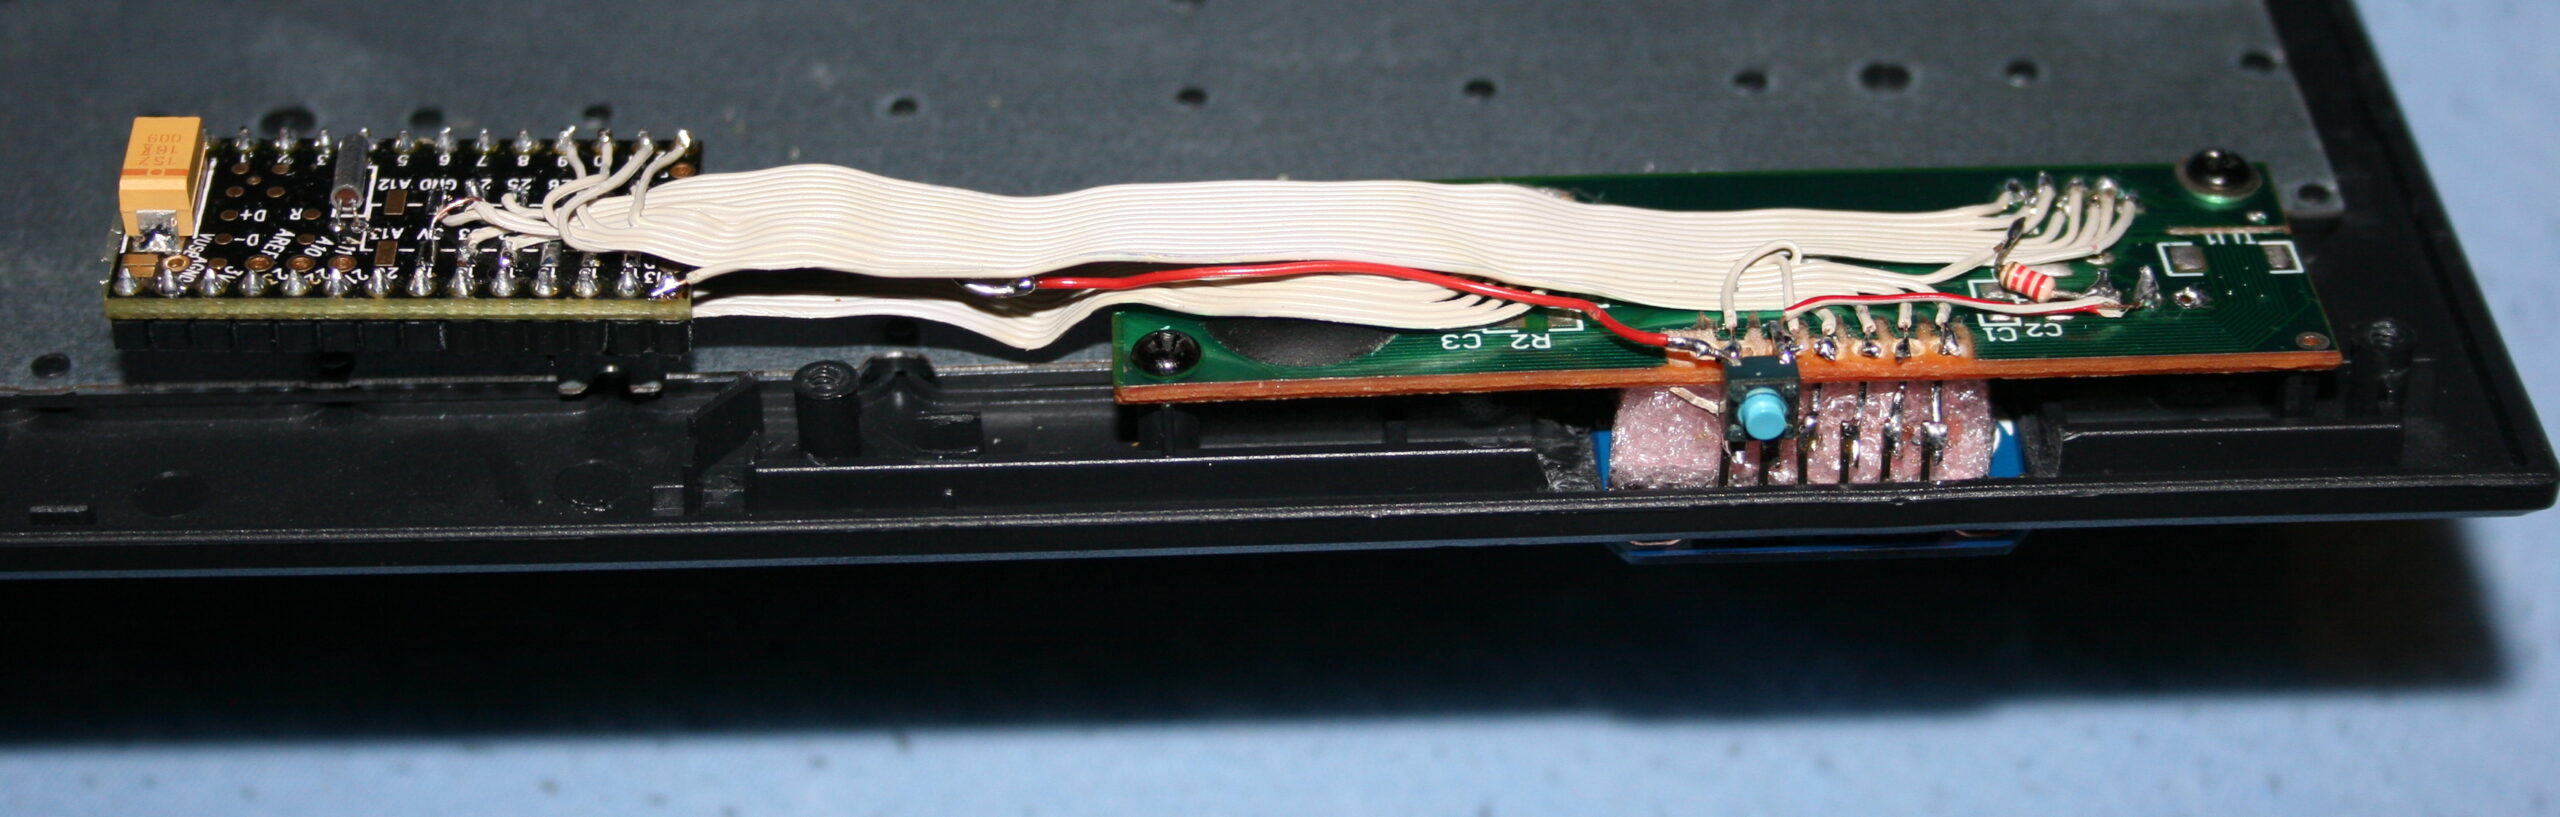
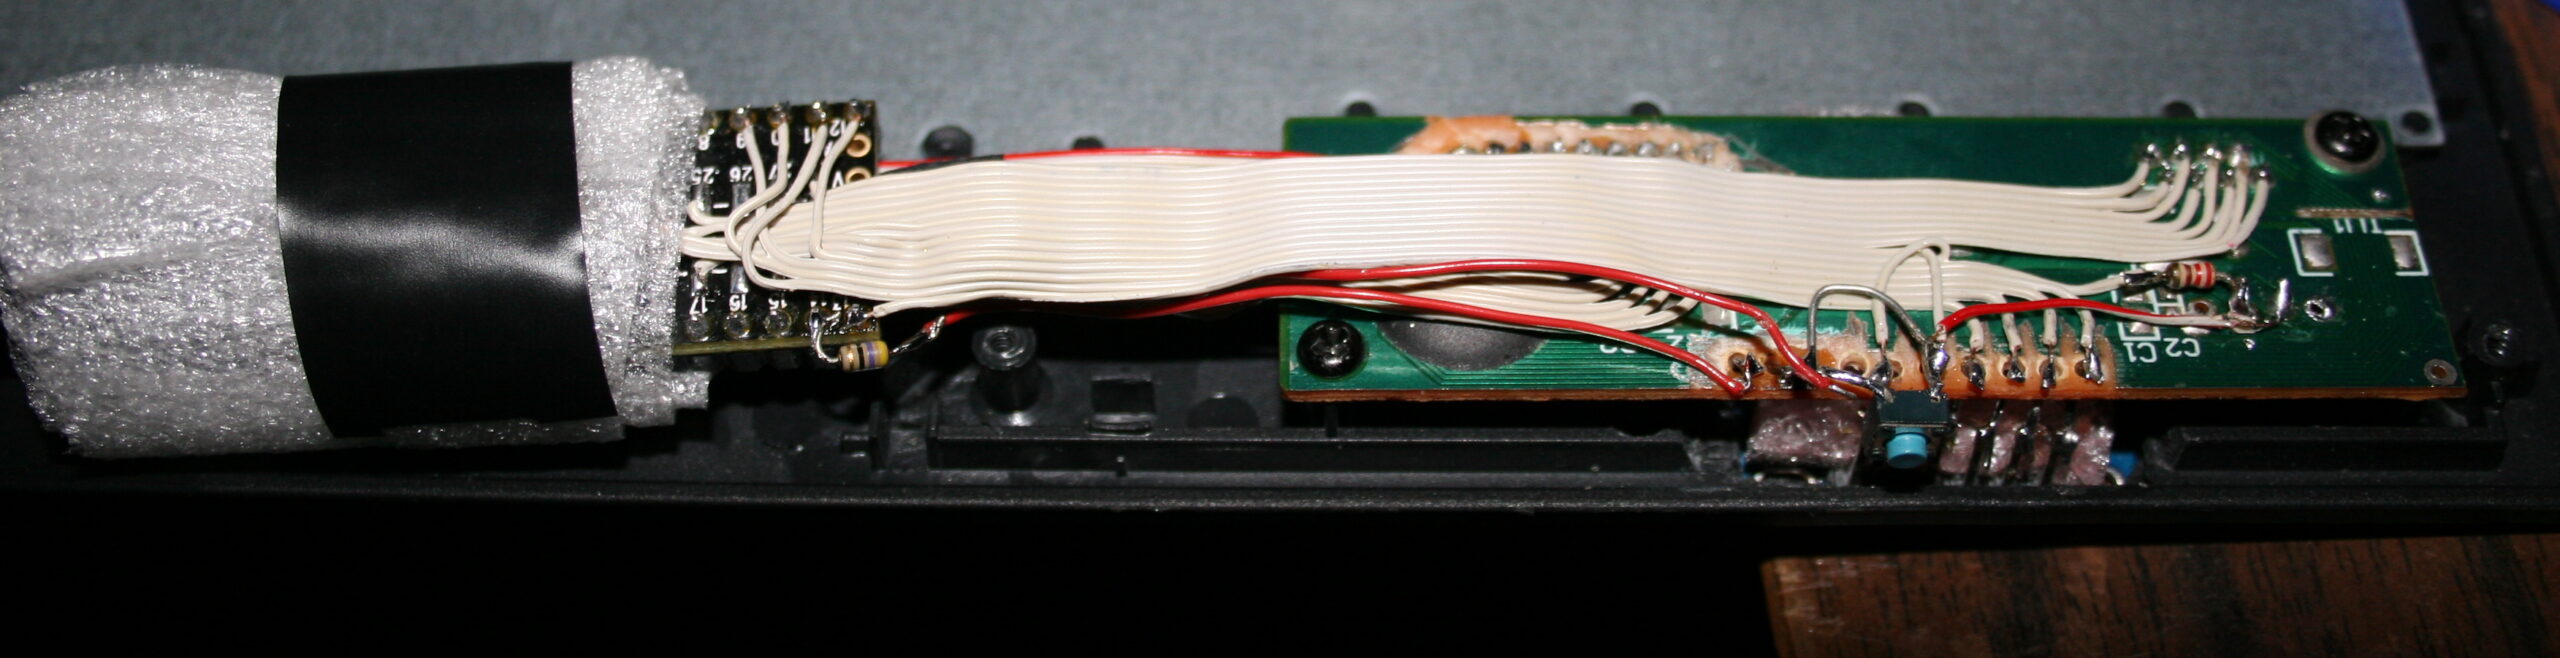
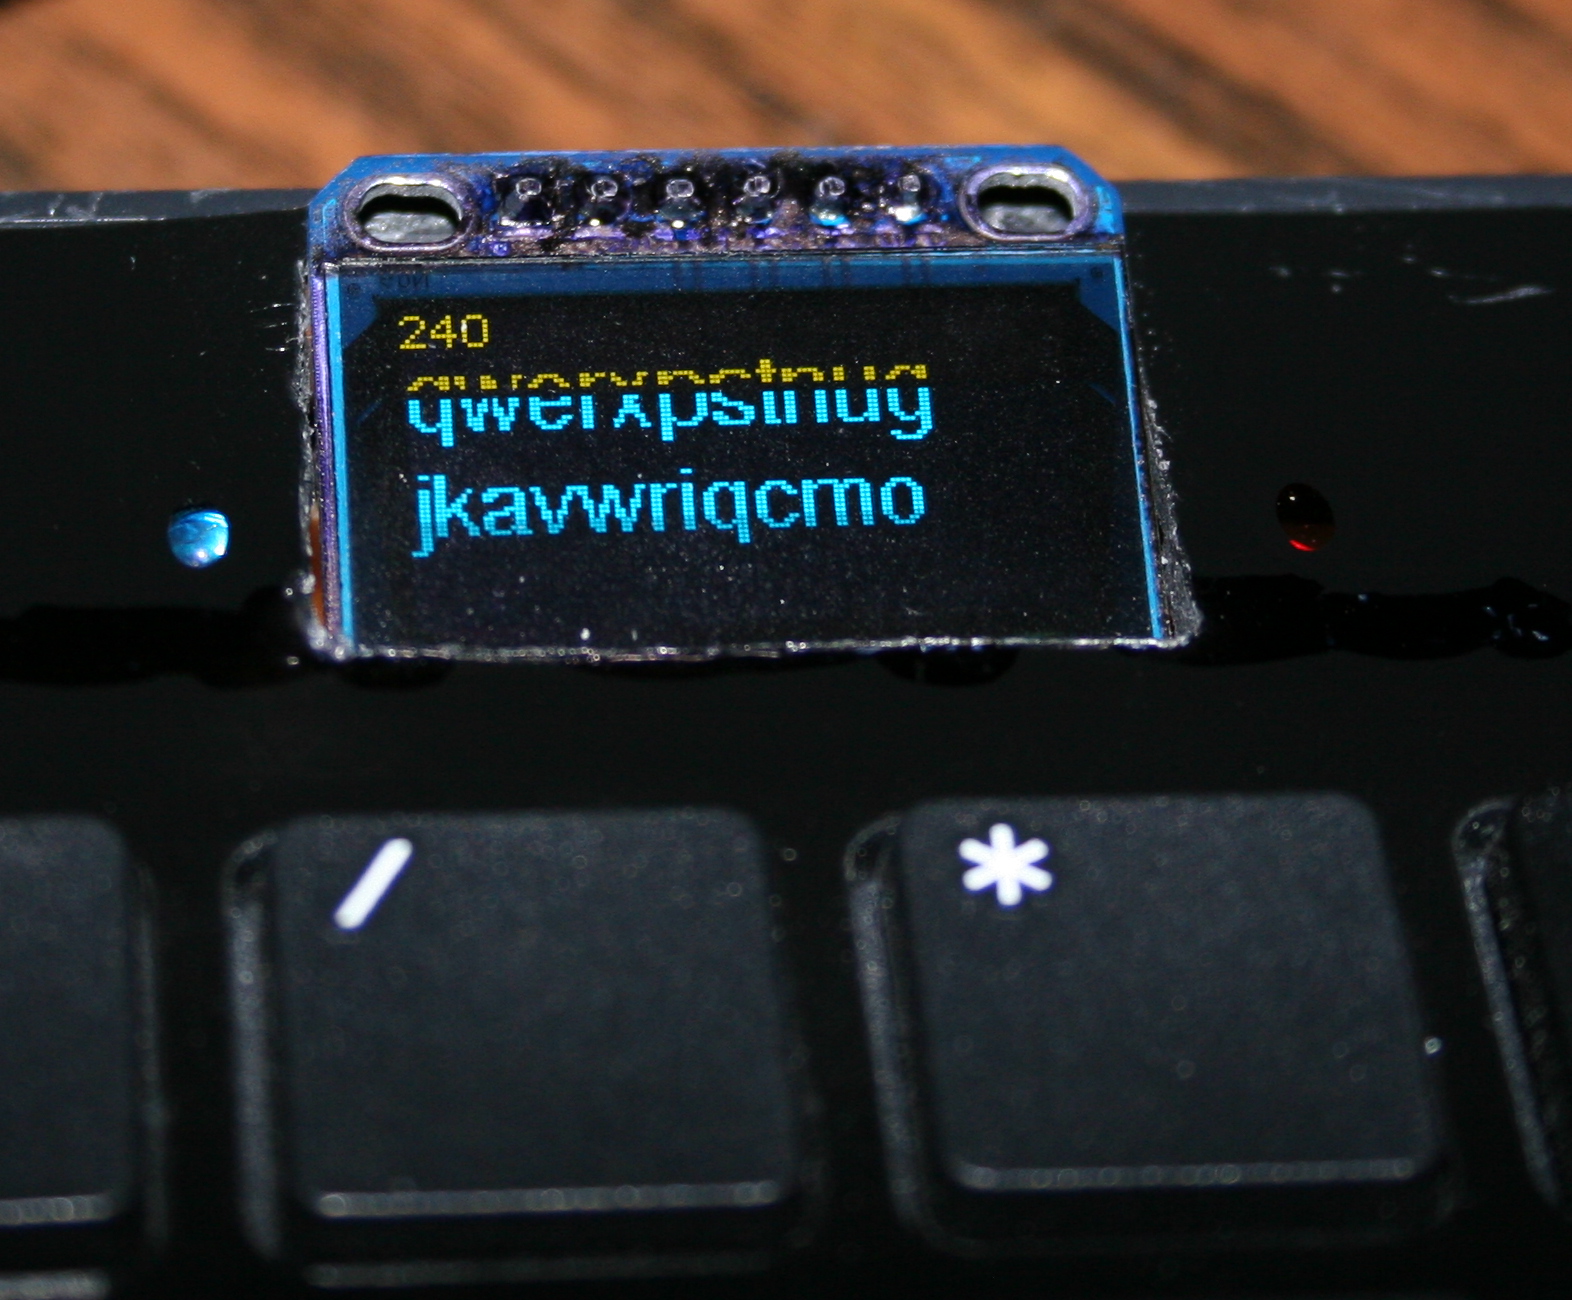
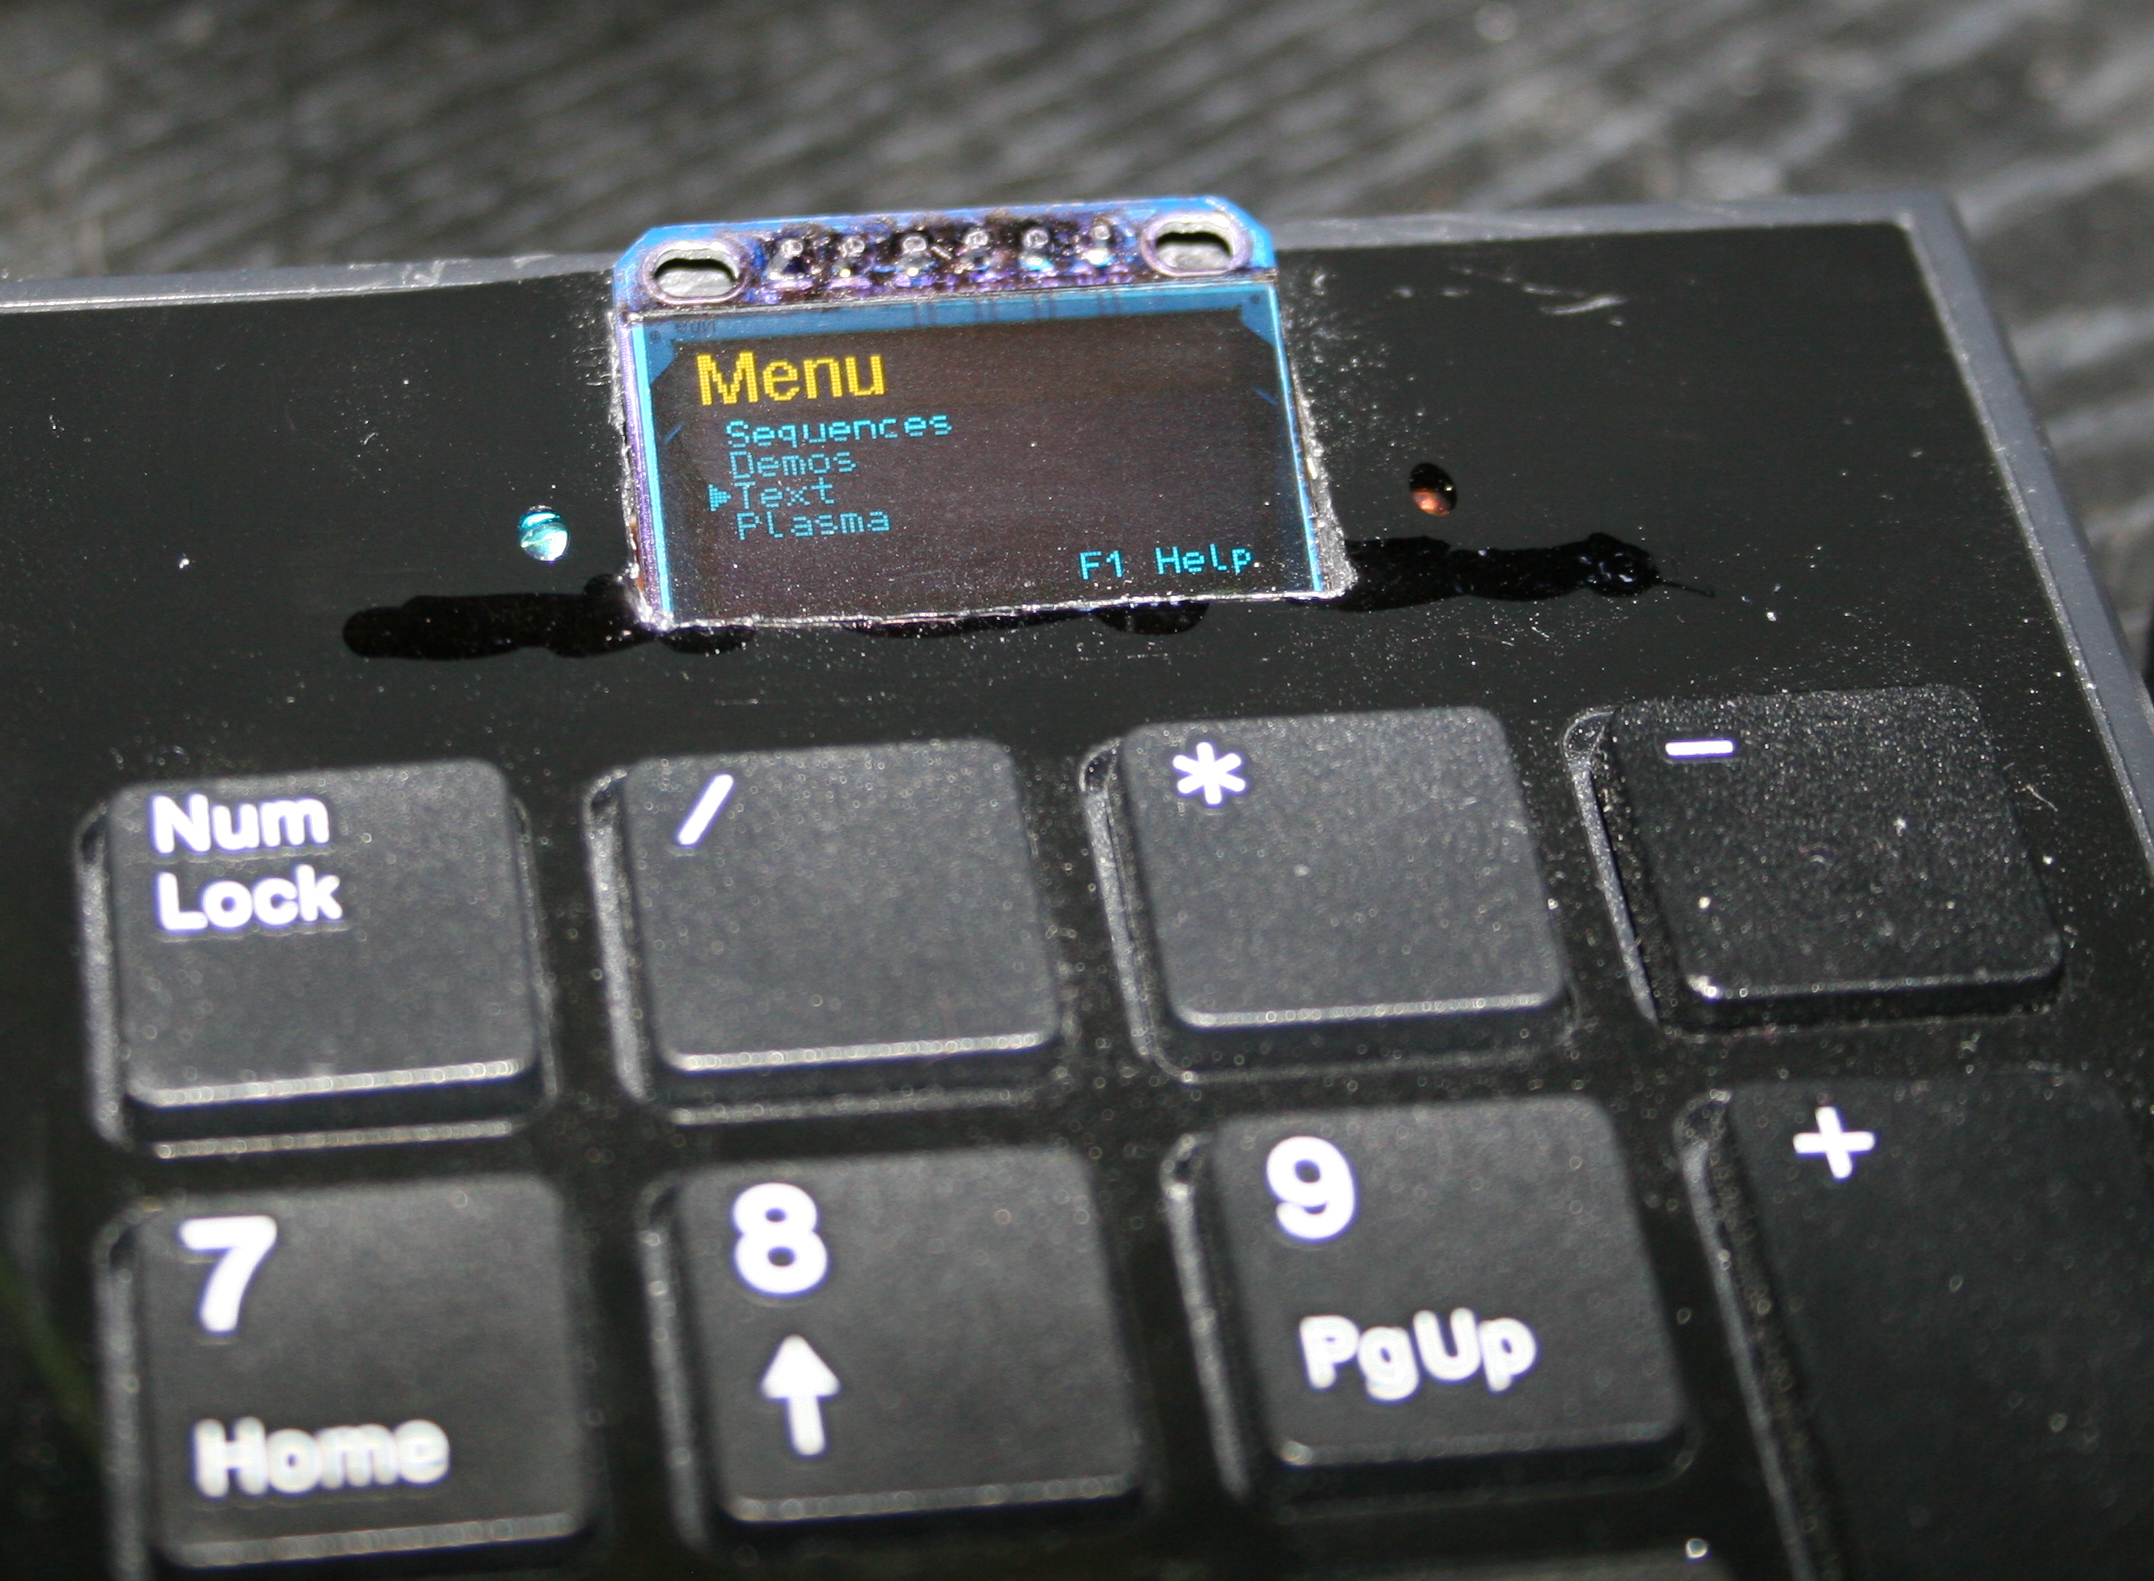
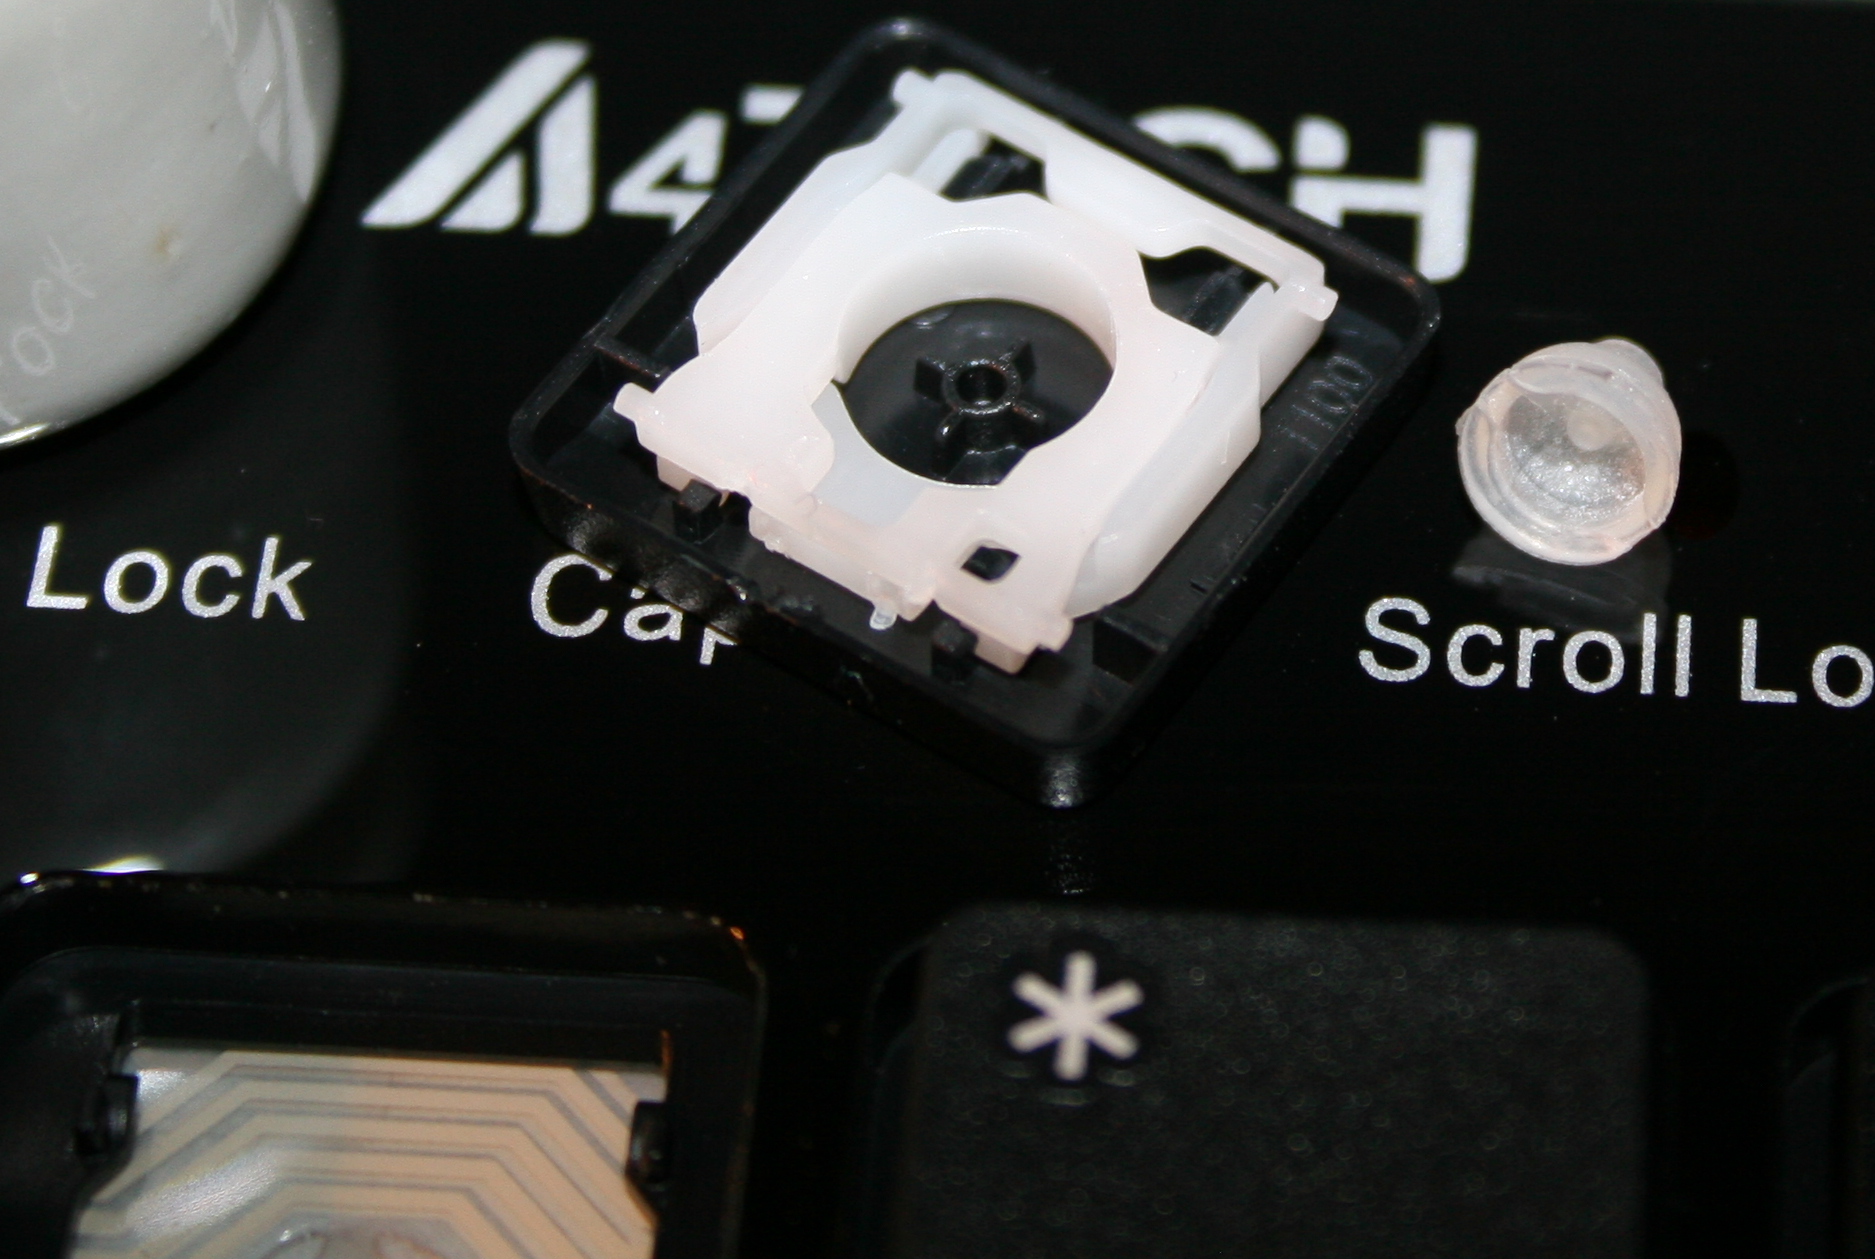
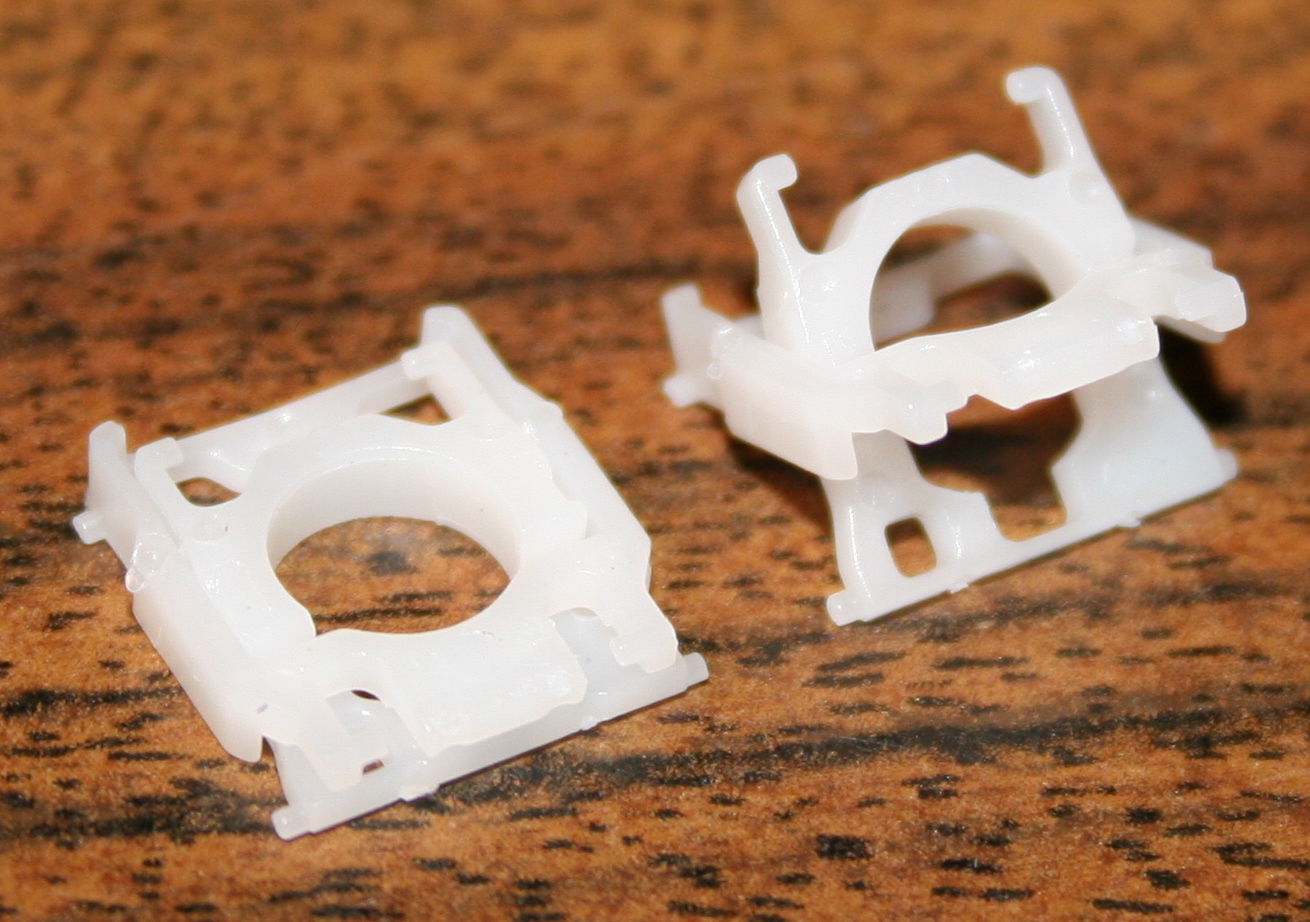
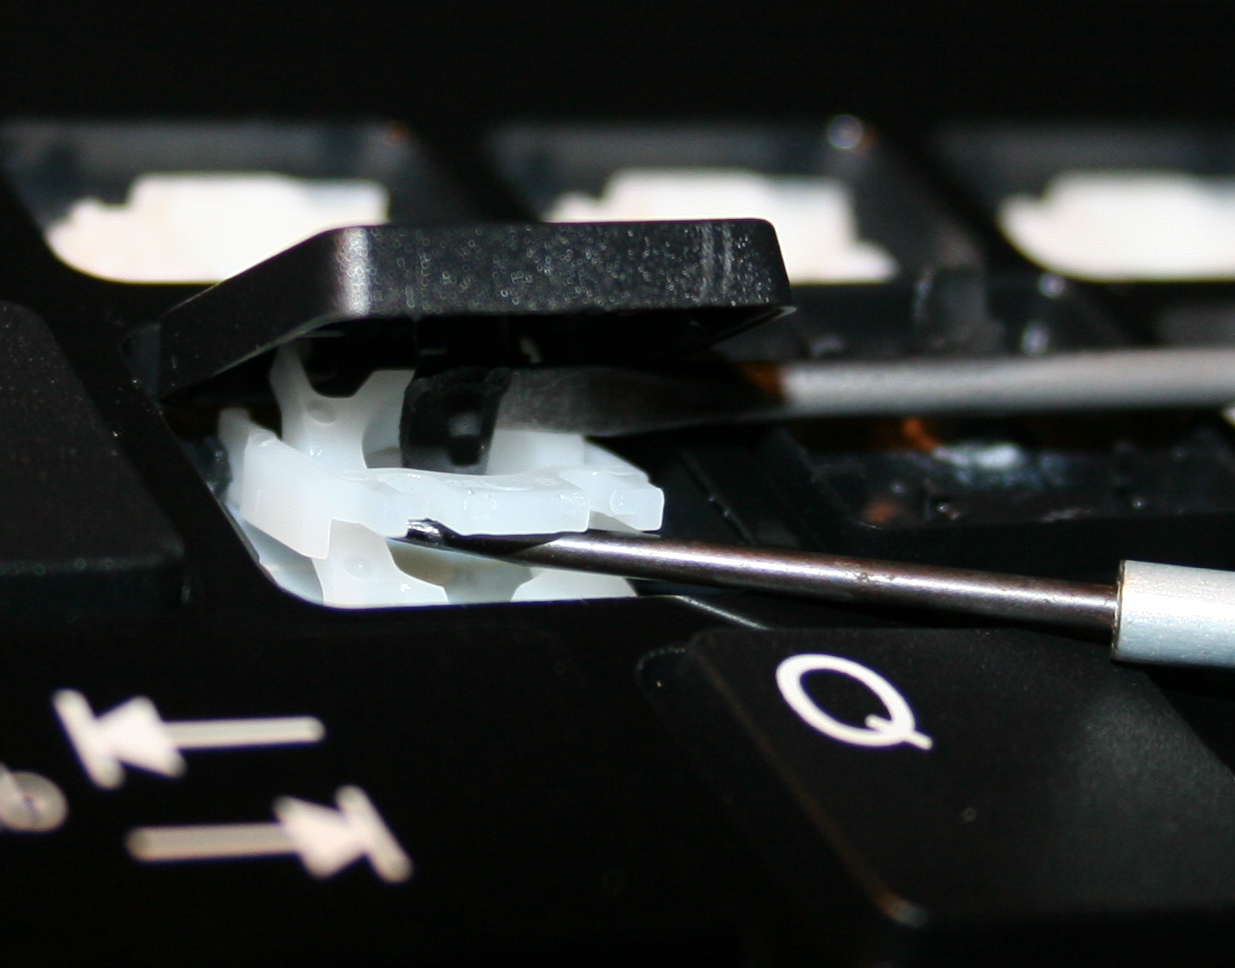
Obviously, I’m using my own firmware in heavily modded keyboard with my PC.
💧Water cooling history and observations
History intro
I got my first PC in 1992, as seen in my very first post here. I had many more since then. I’ve put my full PC history in last chapter, at bottom.
Until 2004 I had no big issues with PCs and their noise. Those had 2 medium fans (about 9cm), one on CPU other in PSU. Surely those weren’t quiet (just cheap) and were mounted firmly so their vibrations were even amplified.
Before WC
In 2004 I bought a new Pentium 4 and decided that I had enough of that noise, “a PC should not be heard” I said. So I first started buying “quiet” fans:
- Well the small 9cm: Zalman CNPS7000A-Cu wasn’t that great, was full copper (whatever, too heavy), and with so little space between fins it was great at gathering a lot of dust, but it had a nice knob regulator.
- Years later I found a good one: Scythe Grand Kama Cross 2 for next CPU. It’s big but not very heavy, and has a 14cm fan which actually makes it way quieter. It’s still used in my mother’s PC.
Well that was rather a waste of money. Not very expensive, but not very quiet either. Yes until now, I’ve spent much more for WC in total, but it was used in 3 PCs already. I’d even say it was more universal than those “quiet” PC fans dedicated to some socket or one GPU type only.
WC Kit
I bought a WC (not to confuse with ?) kit from a local company Cpc/Hydrox. Needless to say they changed company name like 3 times, didn’t last long etc. But sometimes their parts still appear on auctions. I even sold my surplus once this way.
To put it short, their cooler was crap, their WC PSU plain garbage (cheapest and also had a loud fan), water pump is just a cheapo for aquarium.
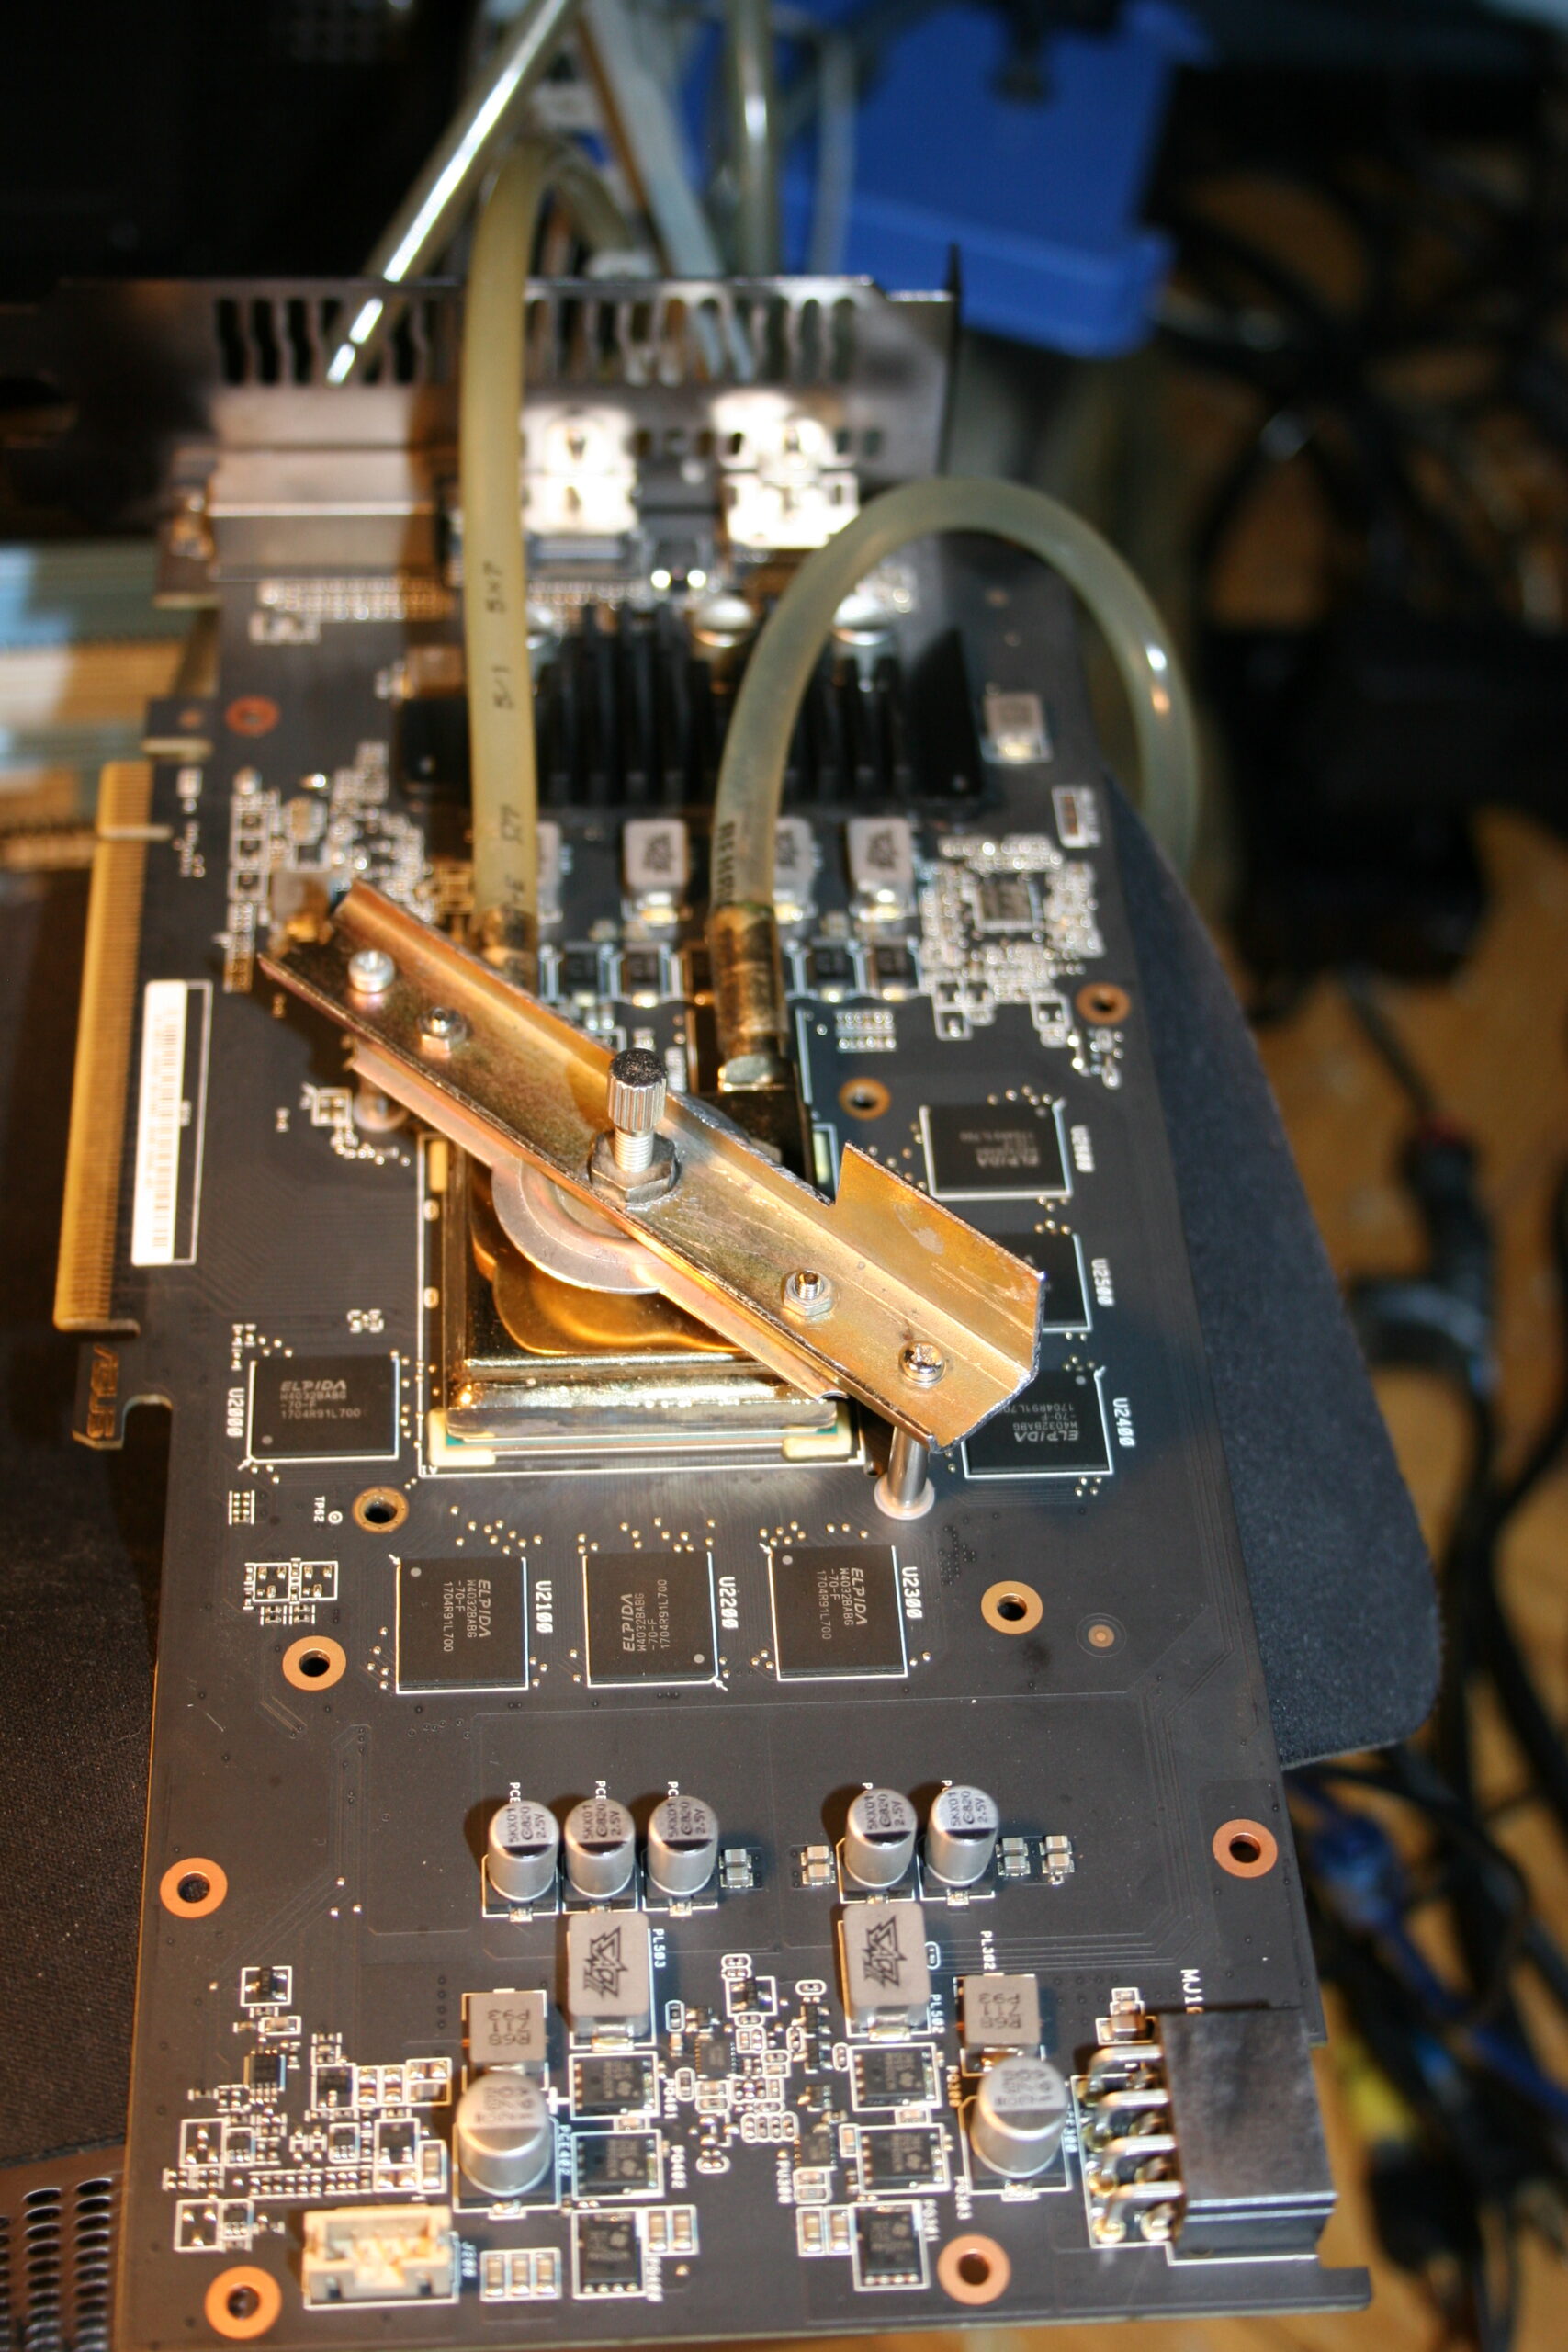
So a kit was really a bad way. But water blocks were cheap and really good.
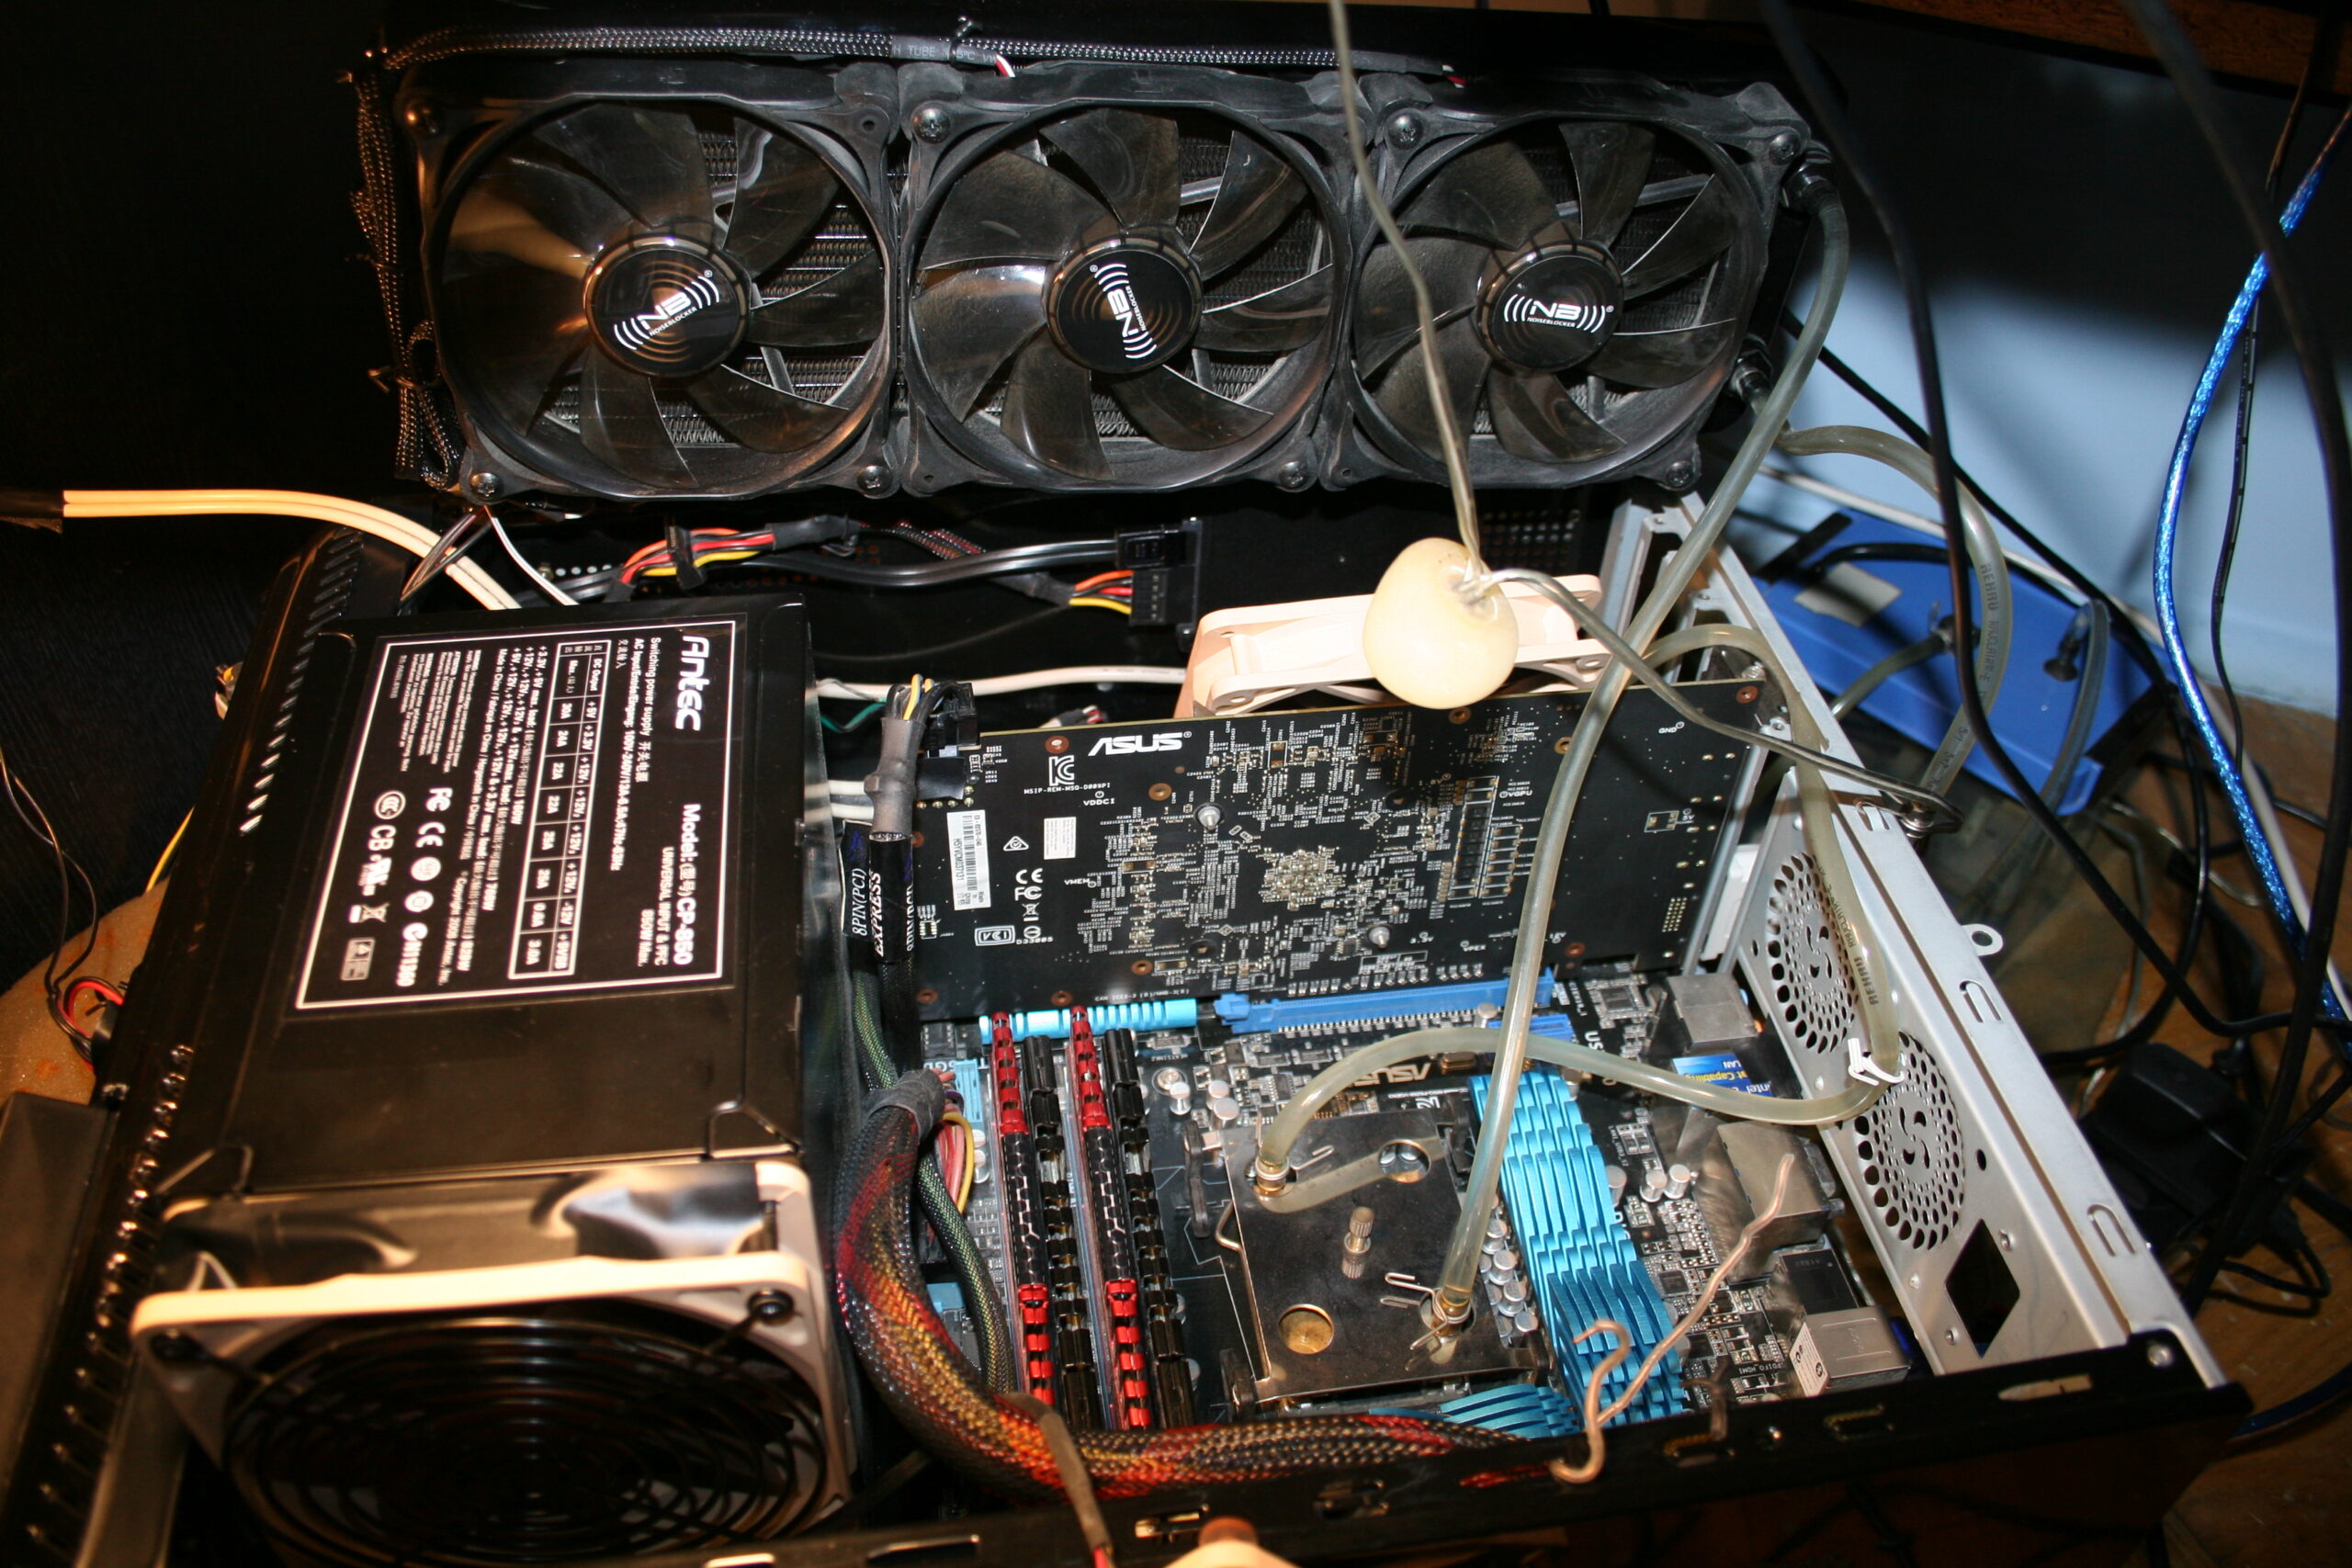
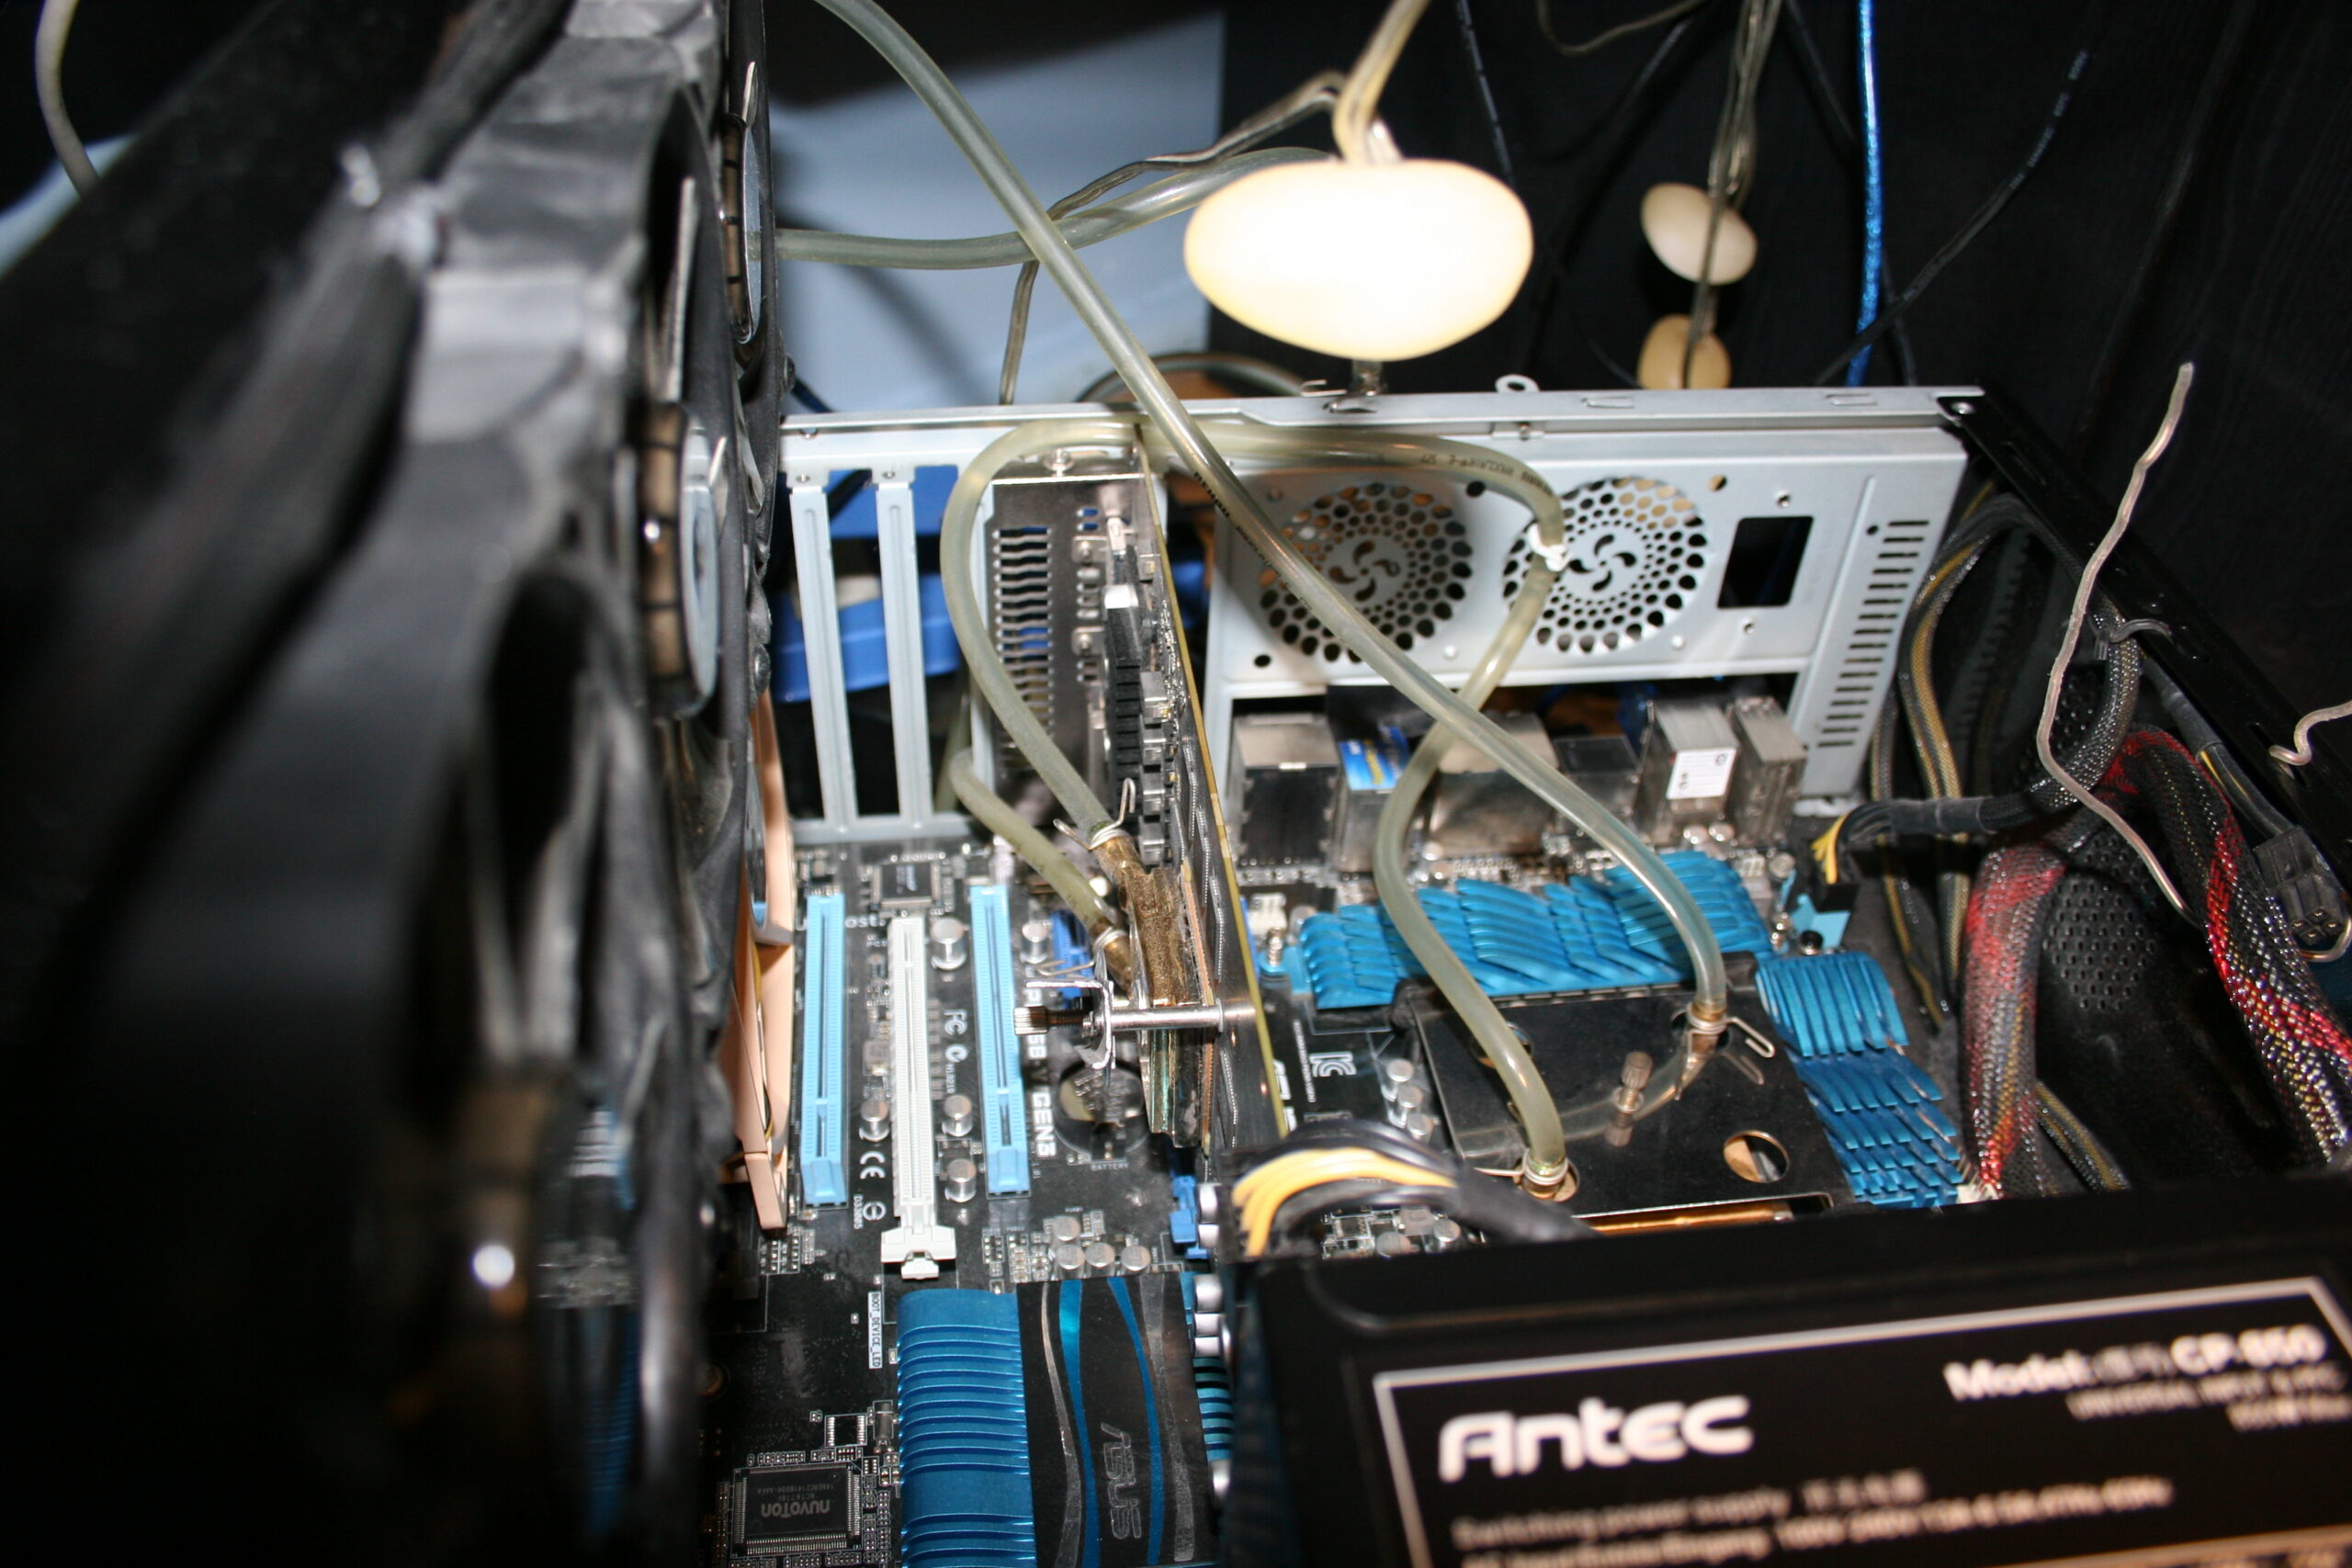
My PC evolved the most since 2004, when I bought that Pentium 4 and started water cooling it. My current PC still has most of the WC parts from that time (water blocks, 6mm (~1/4″) tubes, water reservoir and pump).
My choice for that kit and 6mm was its low price. Seriously, whenever I tried looking at other water blocks after (thinking I could maybe improve mine), all were 10 or 12mm (~1/2″) diameter and literally 3x more expensive.
PC WC Modding Rant
Back then, once a while, I was looking at pics of modded water cooled PCs, with “style” and plenty of lights too. How do I put it, just IMO OFC, let’s just say that’s the most illogical (retarded) thing to do with a PC. It’s the same approach as in modding cars. It’s a huge profiting business, a hype and really nothing more IMHO. Apart from water cooling, which is the most logical way of cooling, but for PCs it is way overpriced. Modded PCs are the culmination of commercial stupidity, visible from a distance and eye catching (i.e. self promotion).
For me it was a matter of how loud my PC still is, best measured in acoustic dB. Just like I said: “a PC should not be heard”, I also add: “and should not emit any light” or otherwise be visible even.
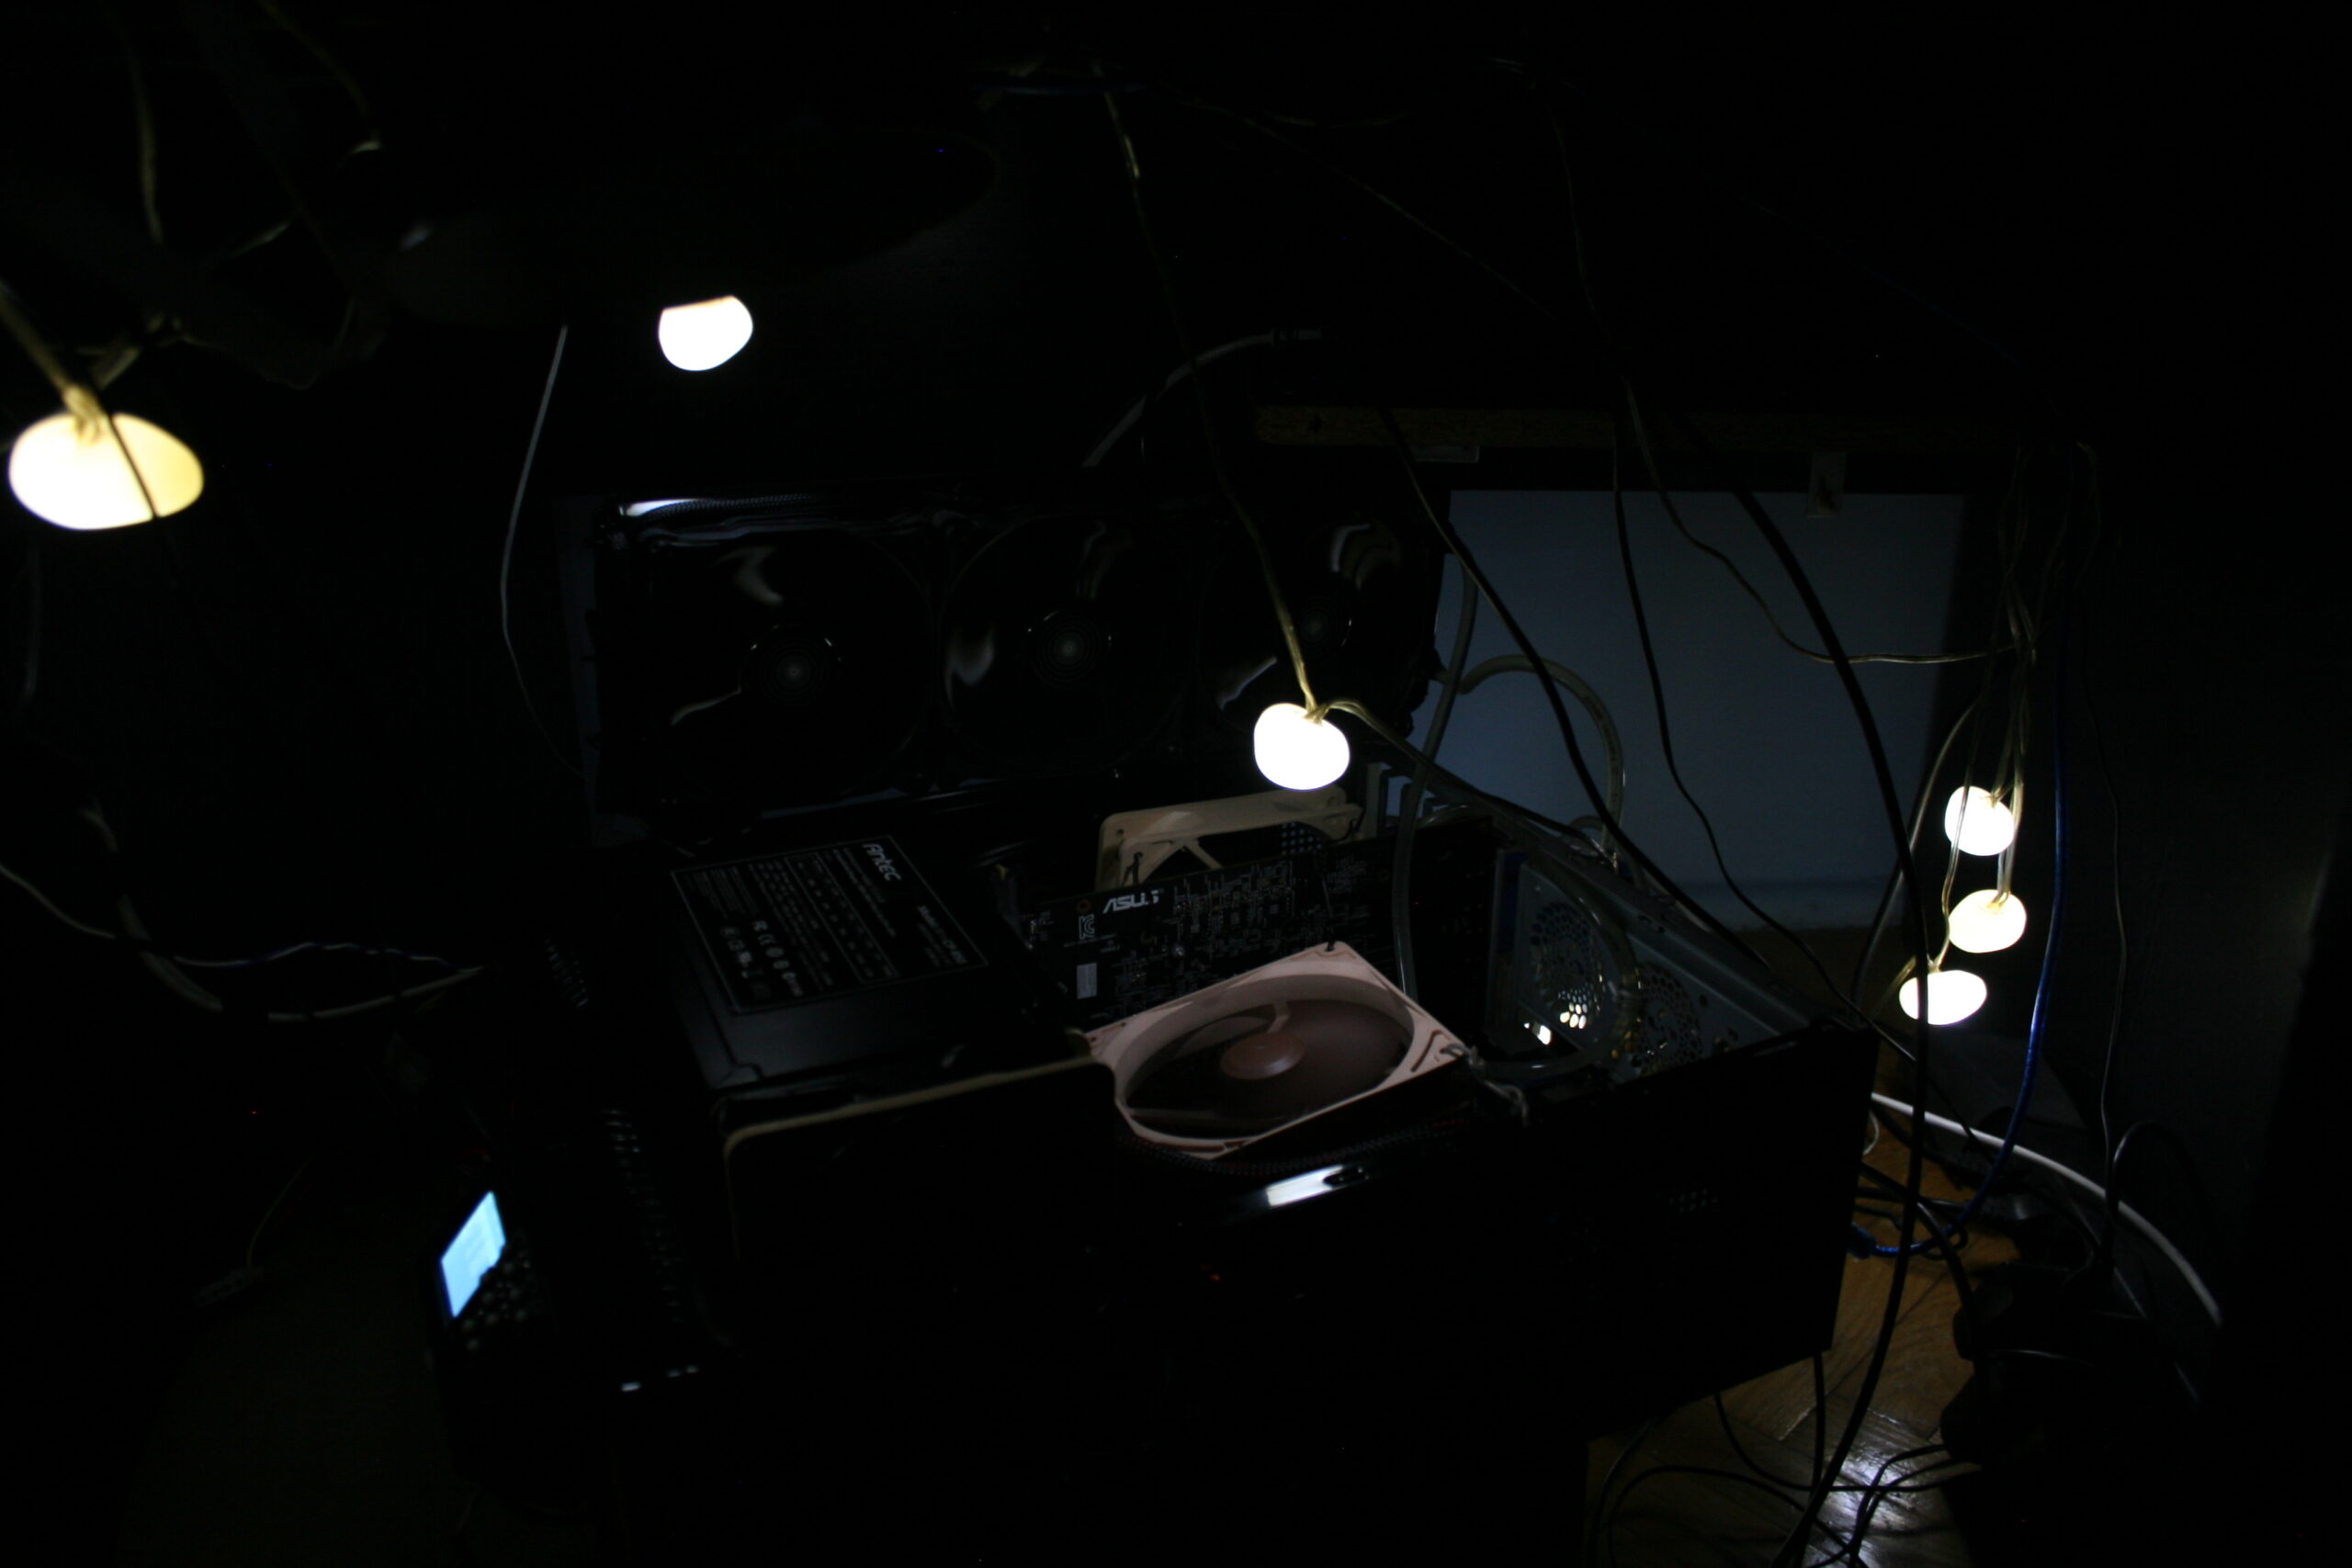
Of course, since my PC is on floor under own desk, I do have some white lights to make it visible when needed.
And it also mattered a lot more for me to have other modifications. as described in next chapter.
Radiator
I changed the radiator from kit, to a decent (got it used) copper for one 12cm fan. It was too small as it turned out. Water was heating up, fan didn’t manage to cool it when CPU was at maximum. At some point I had two such one fan coolers. I think it still wasn’t enough, definitely not for CPU and GPU, and too much tubing trouble.
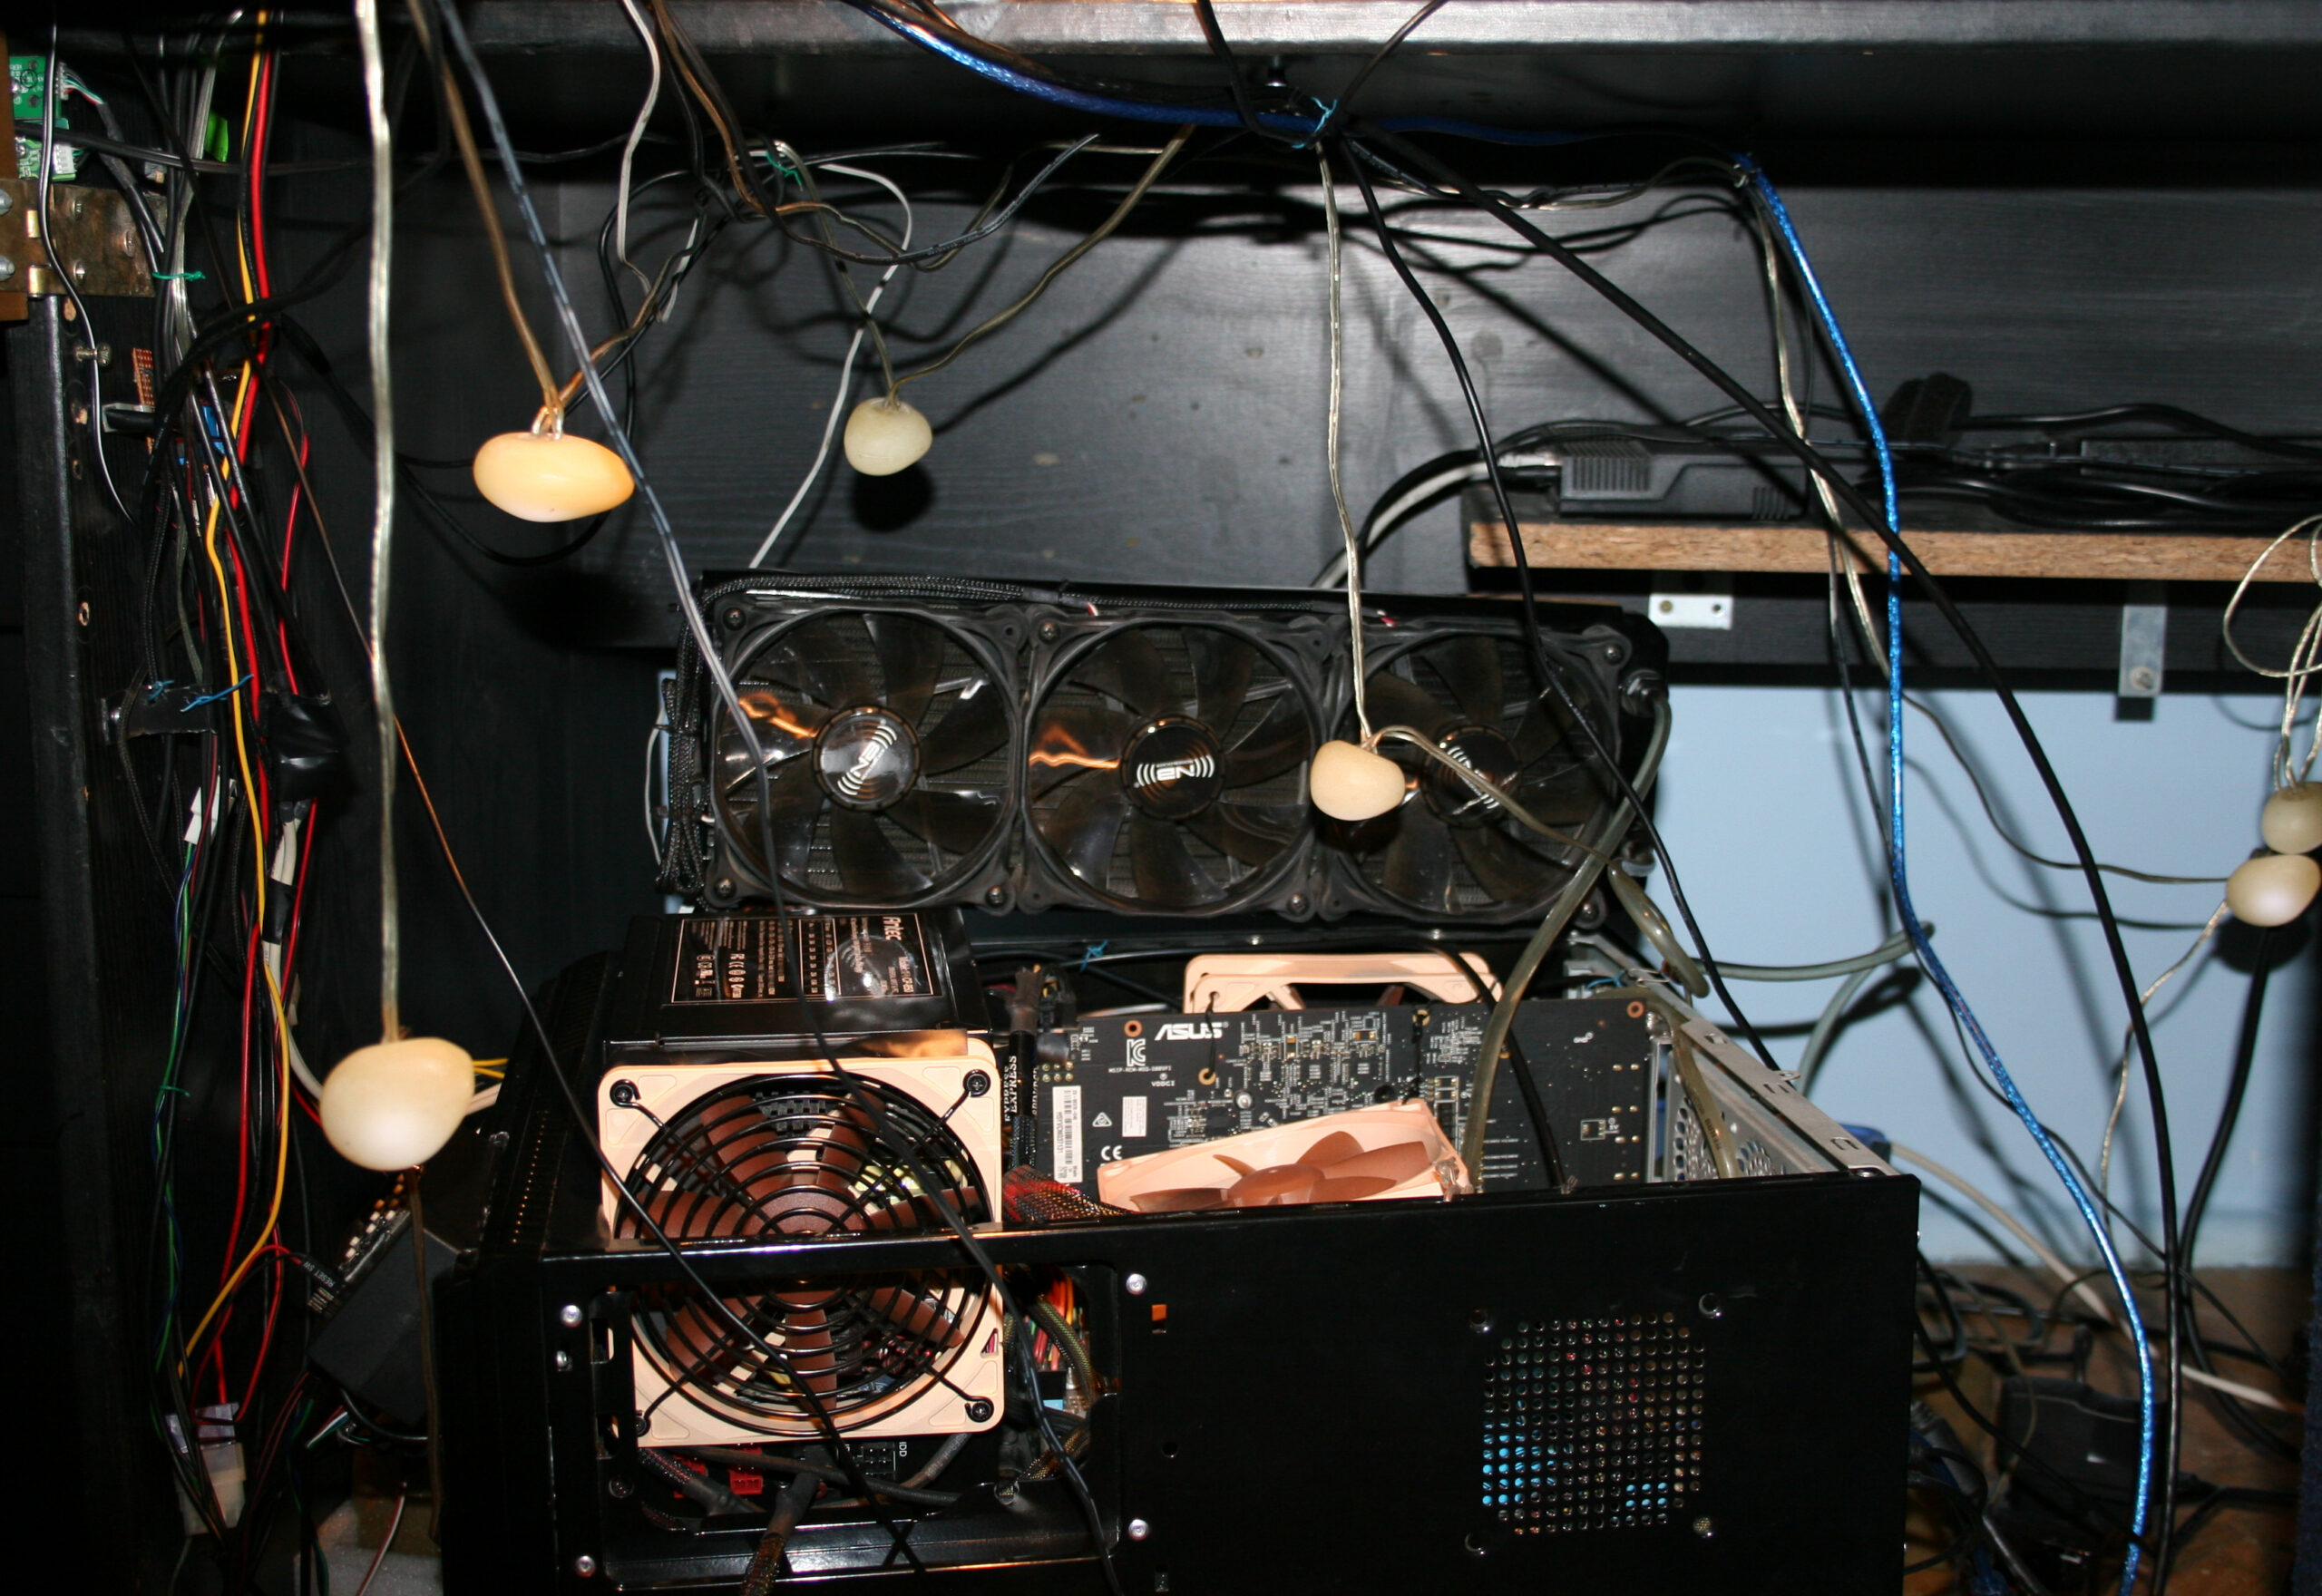
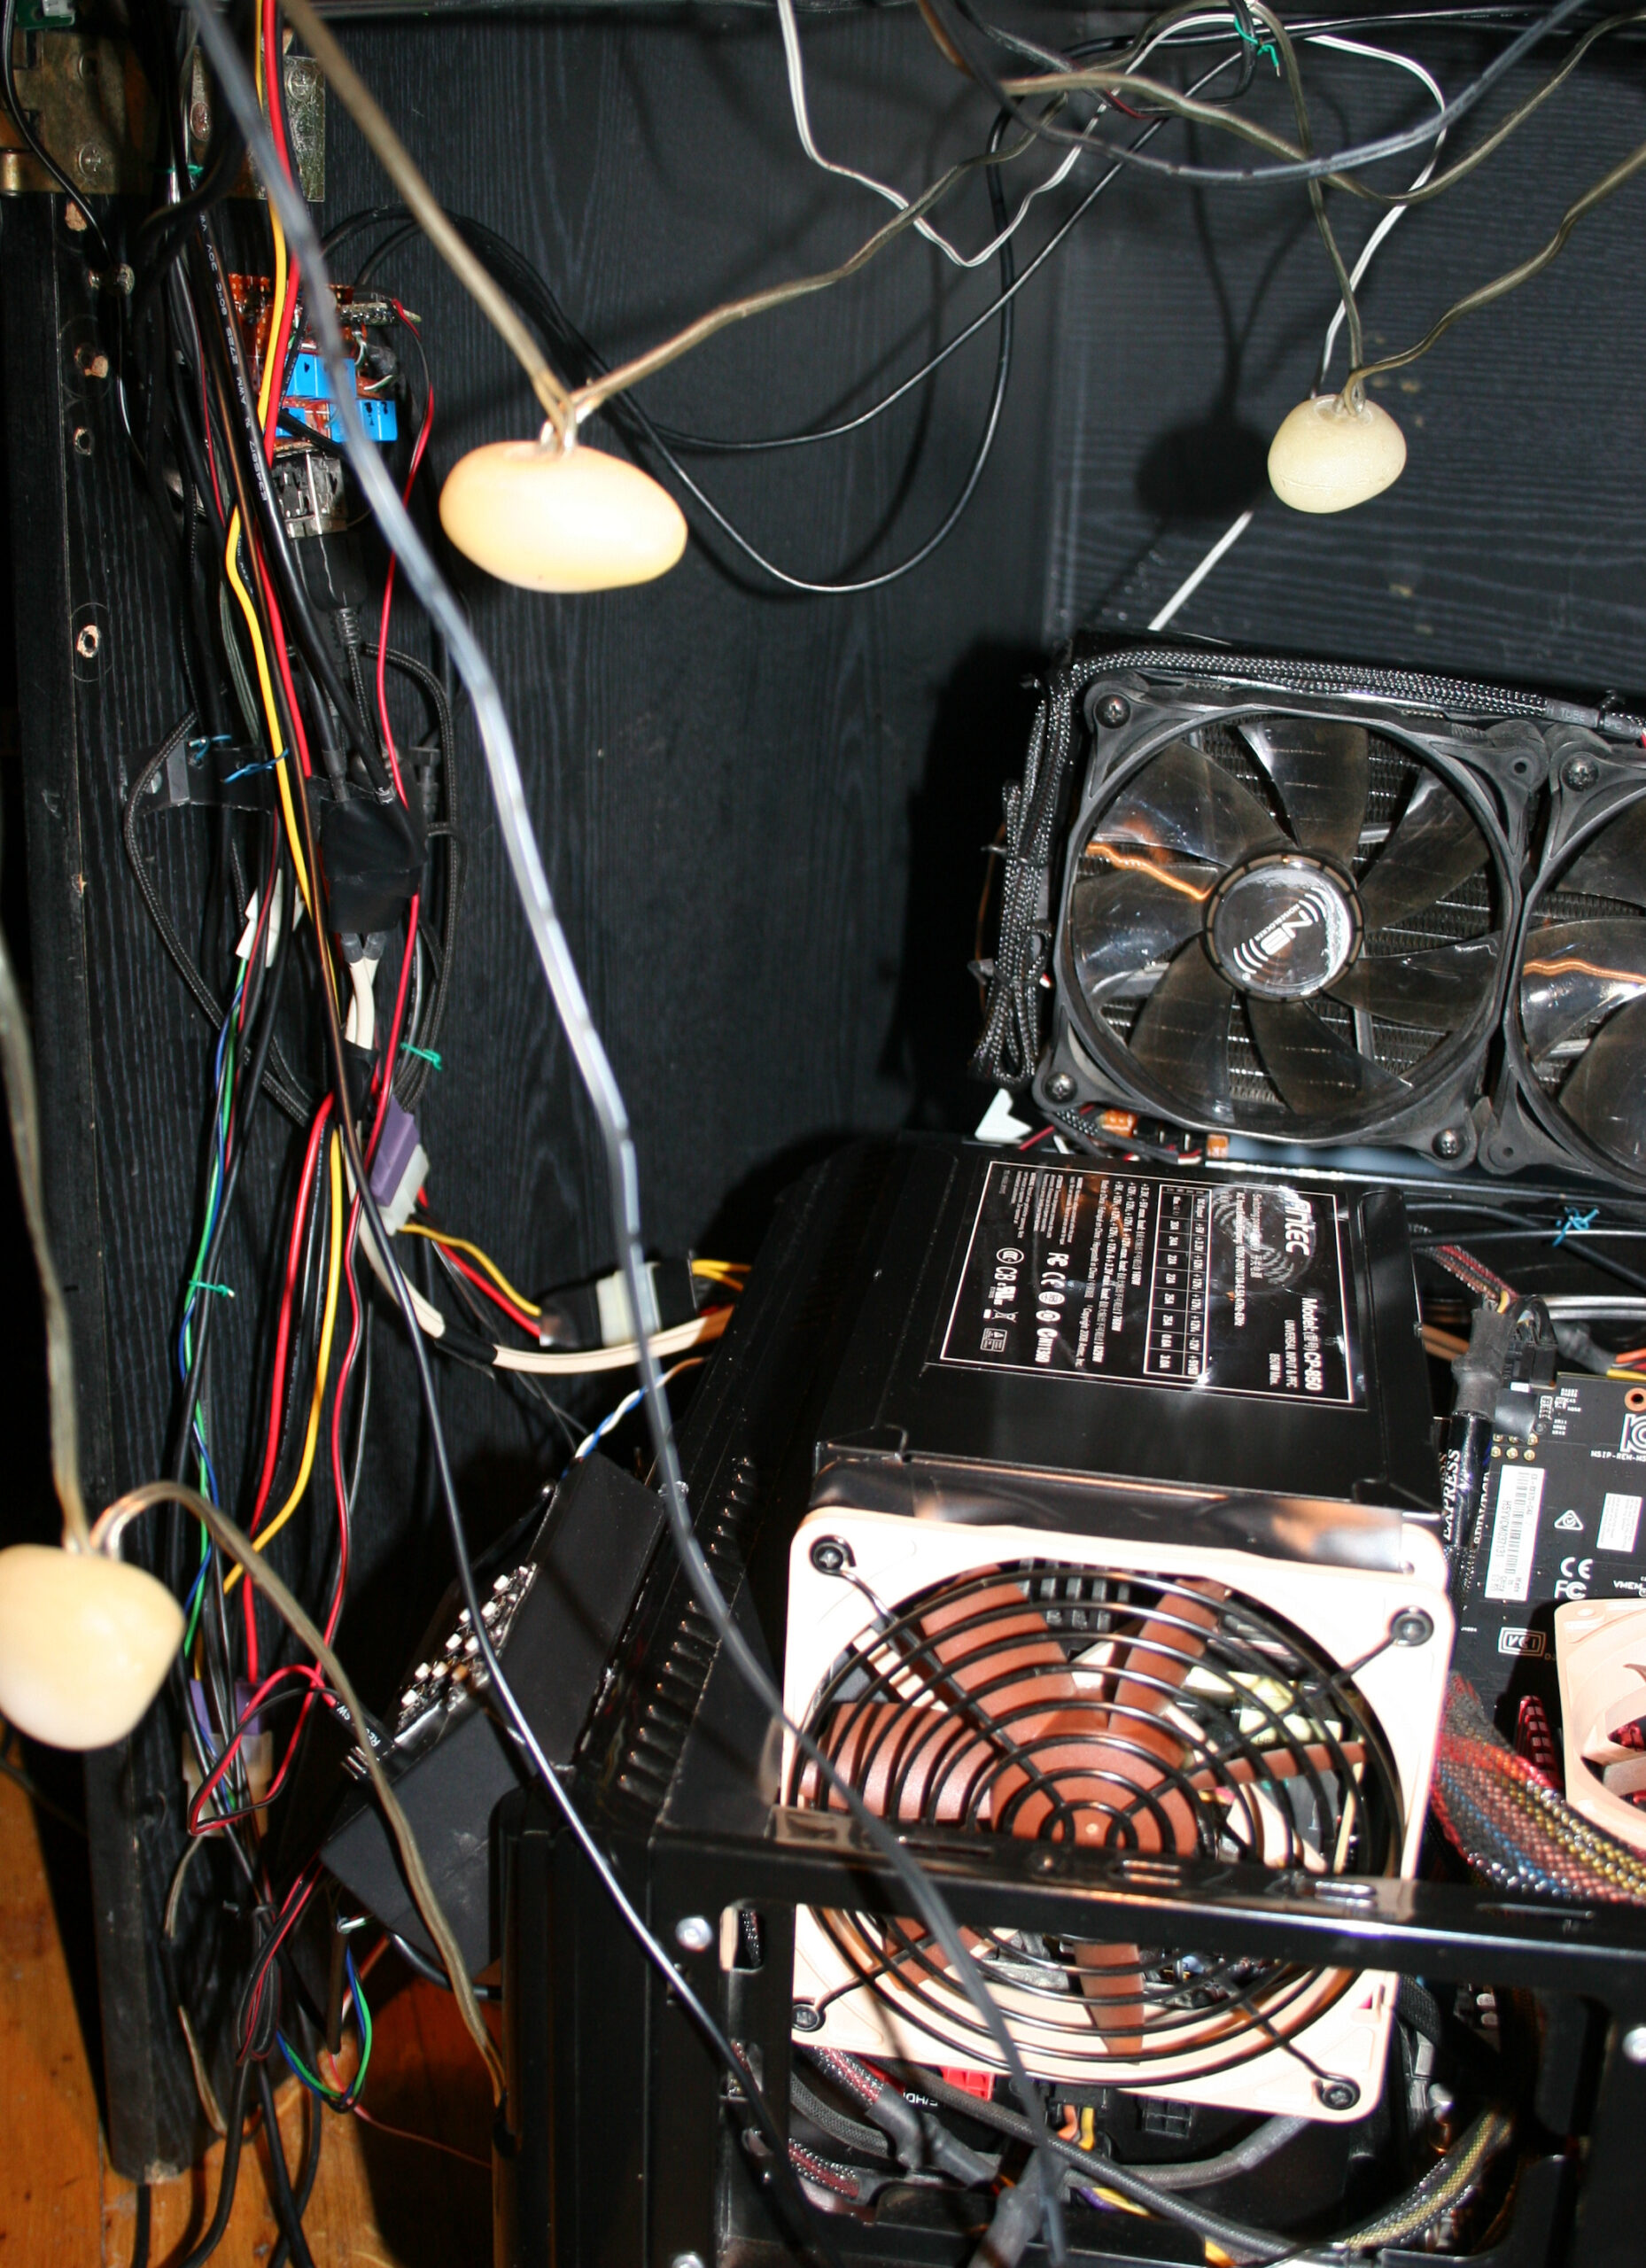
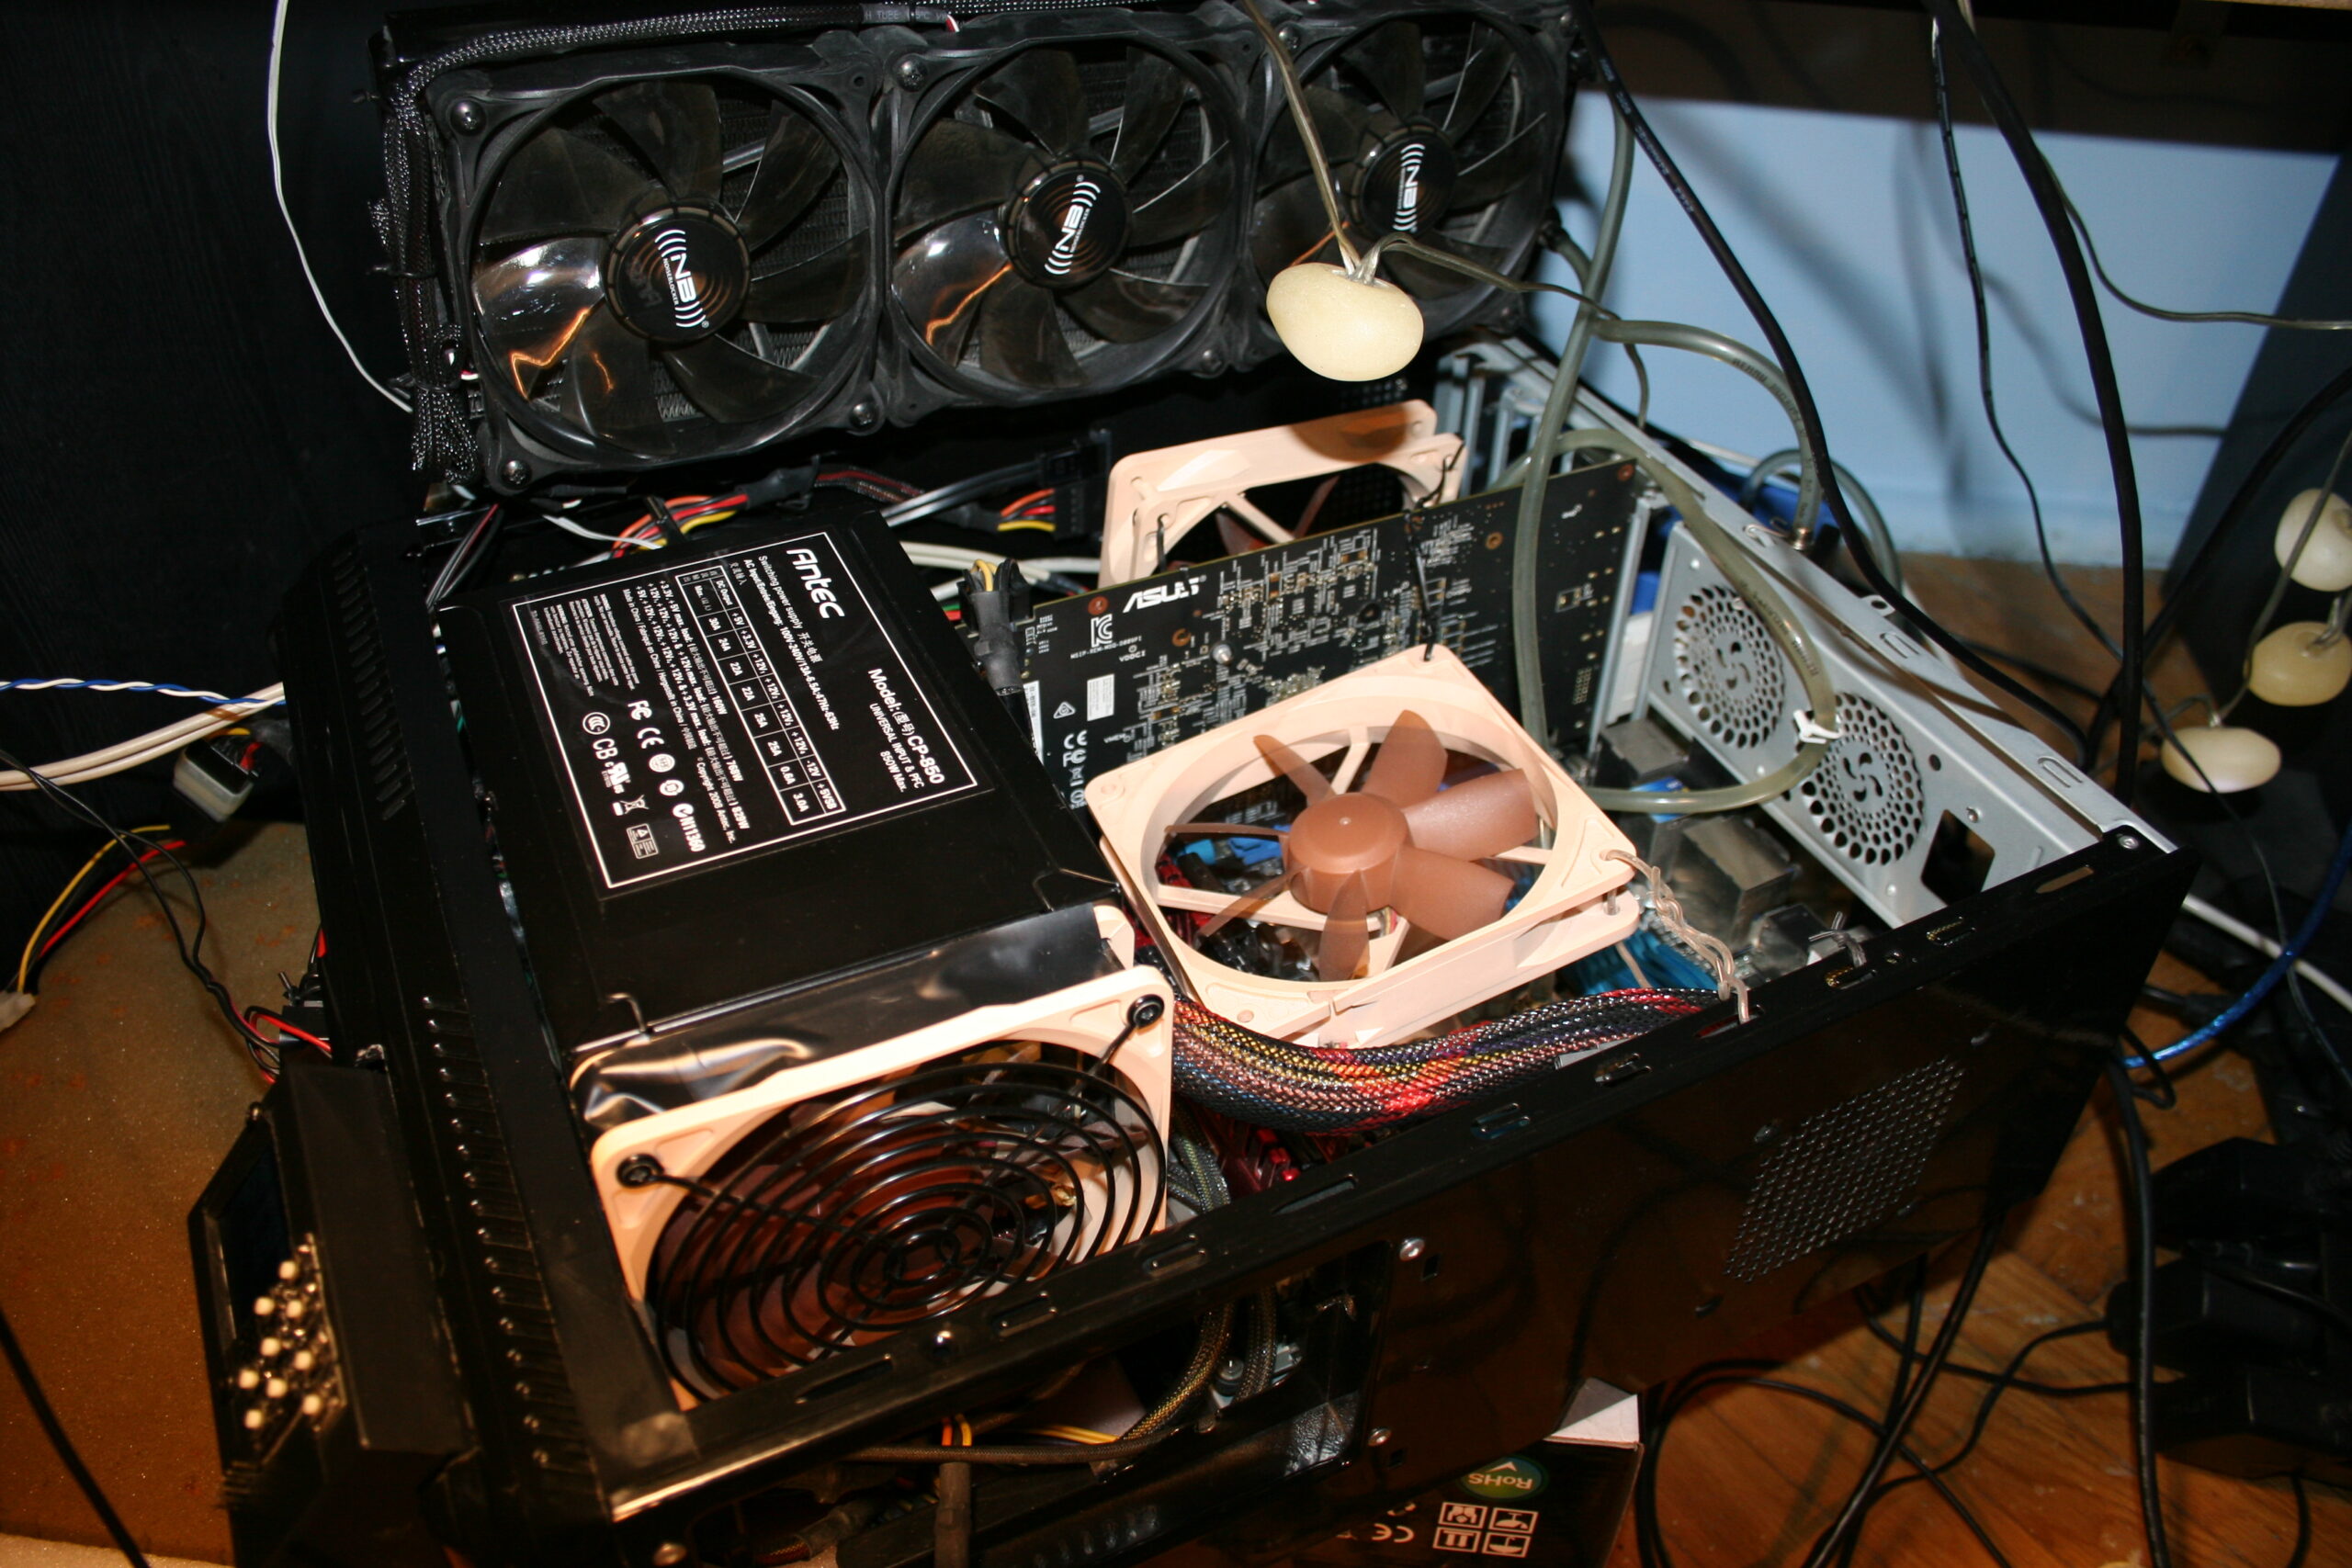
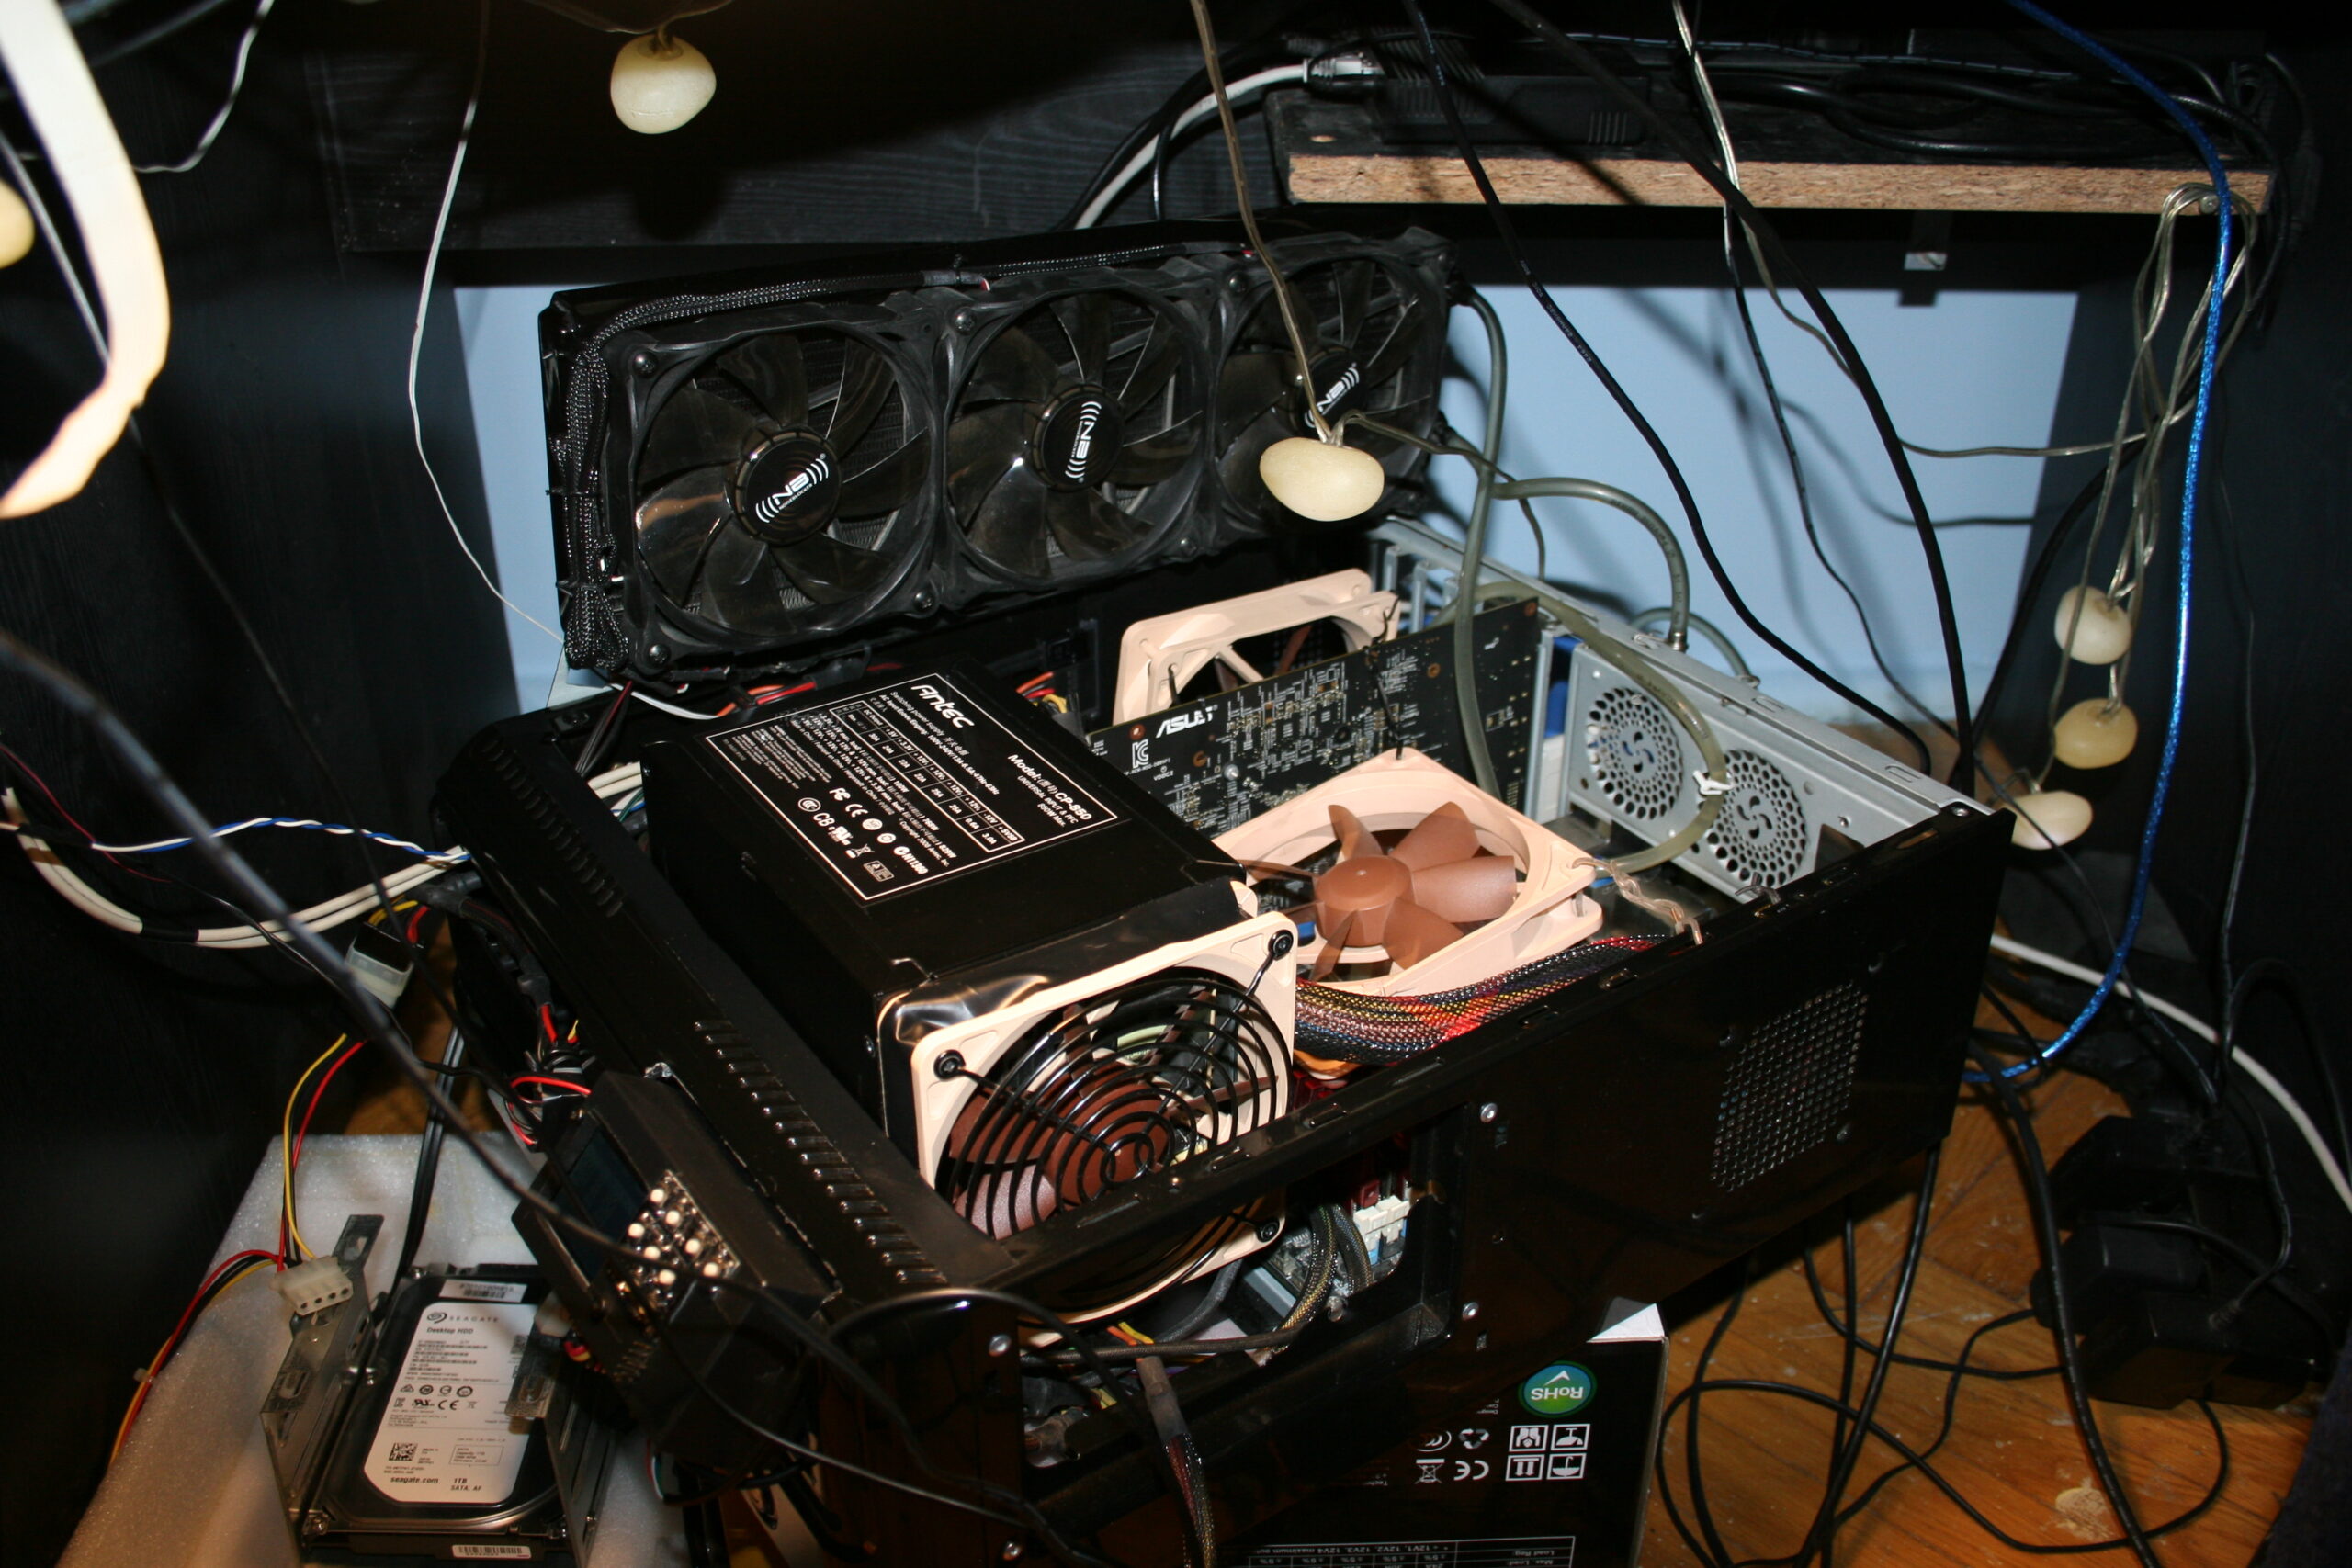
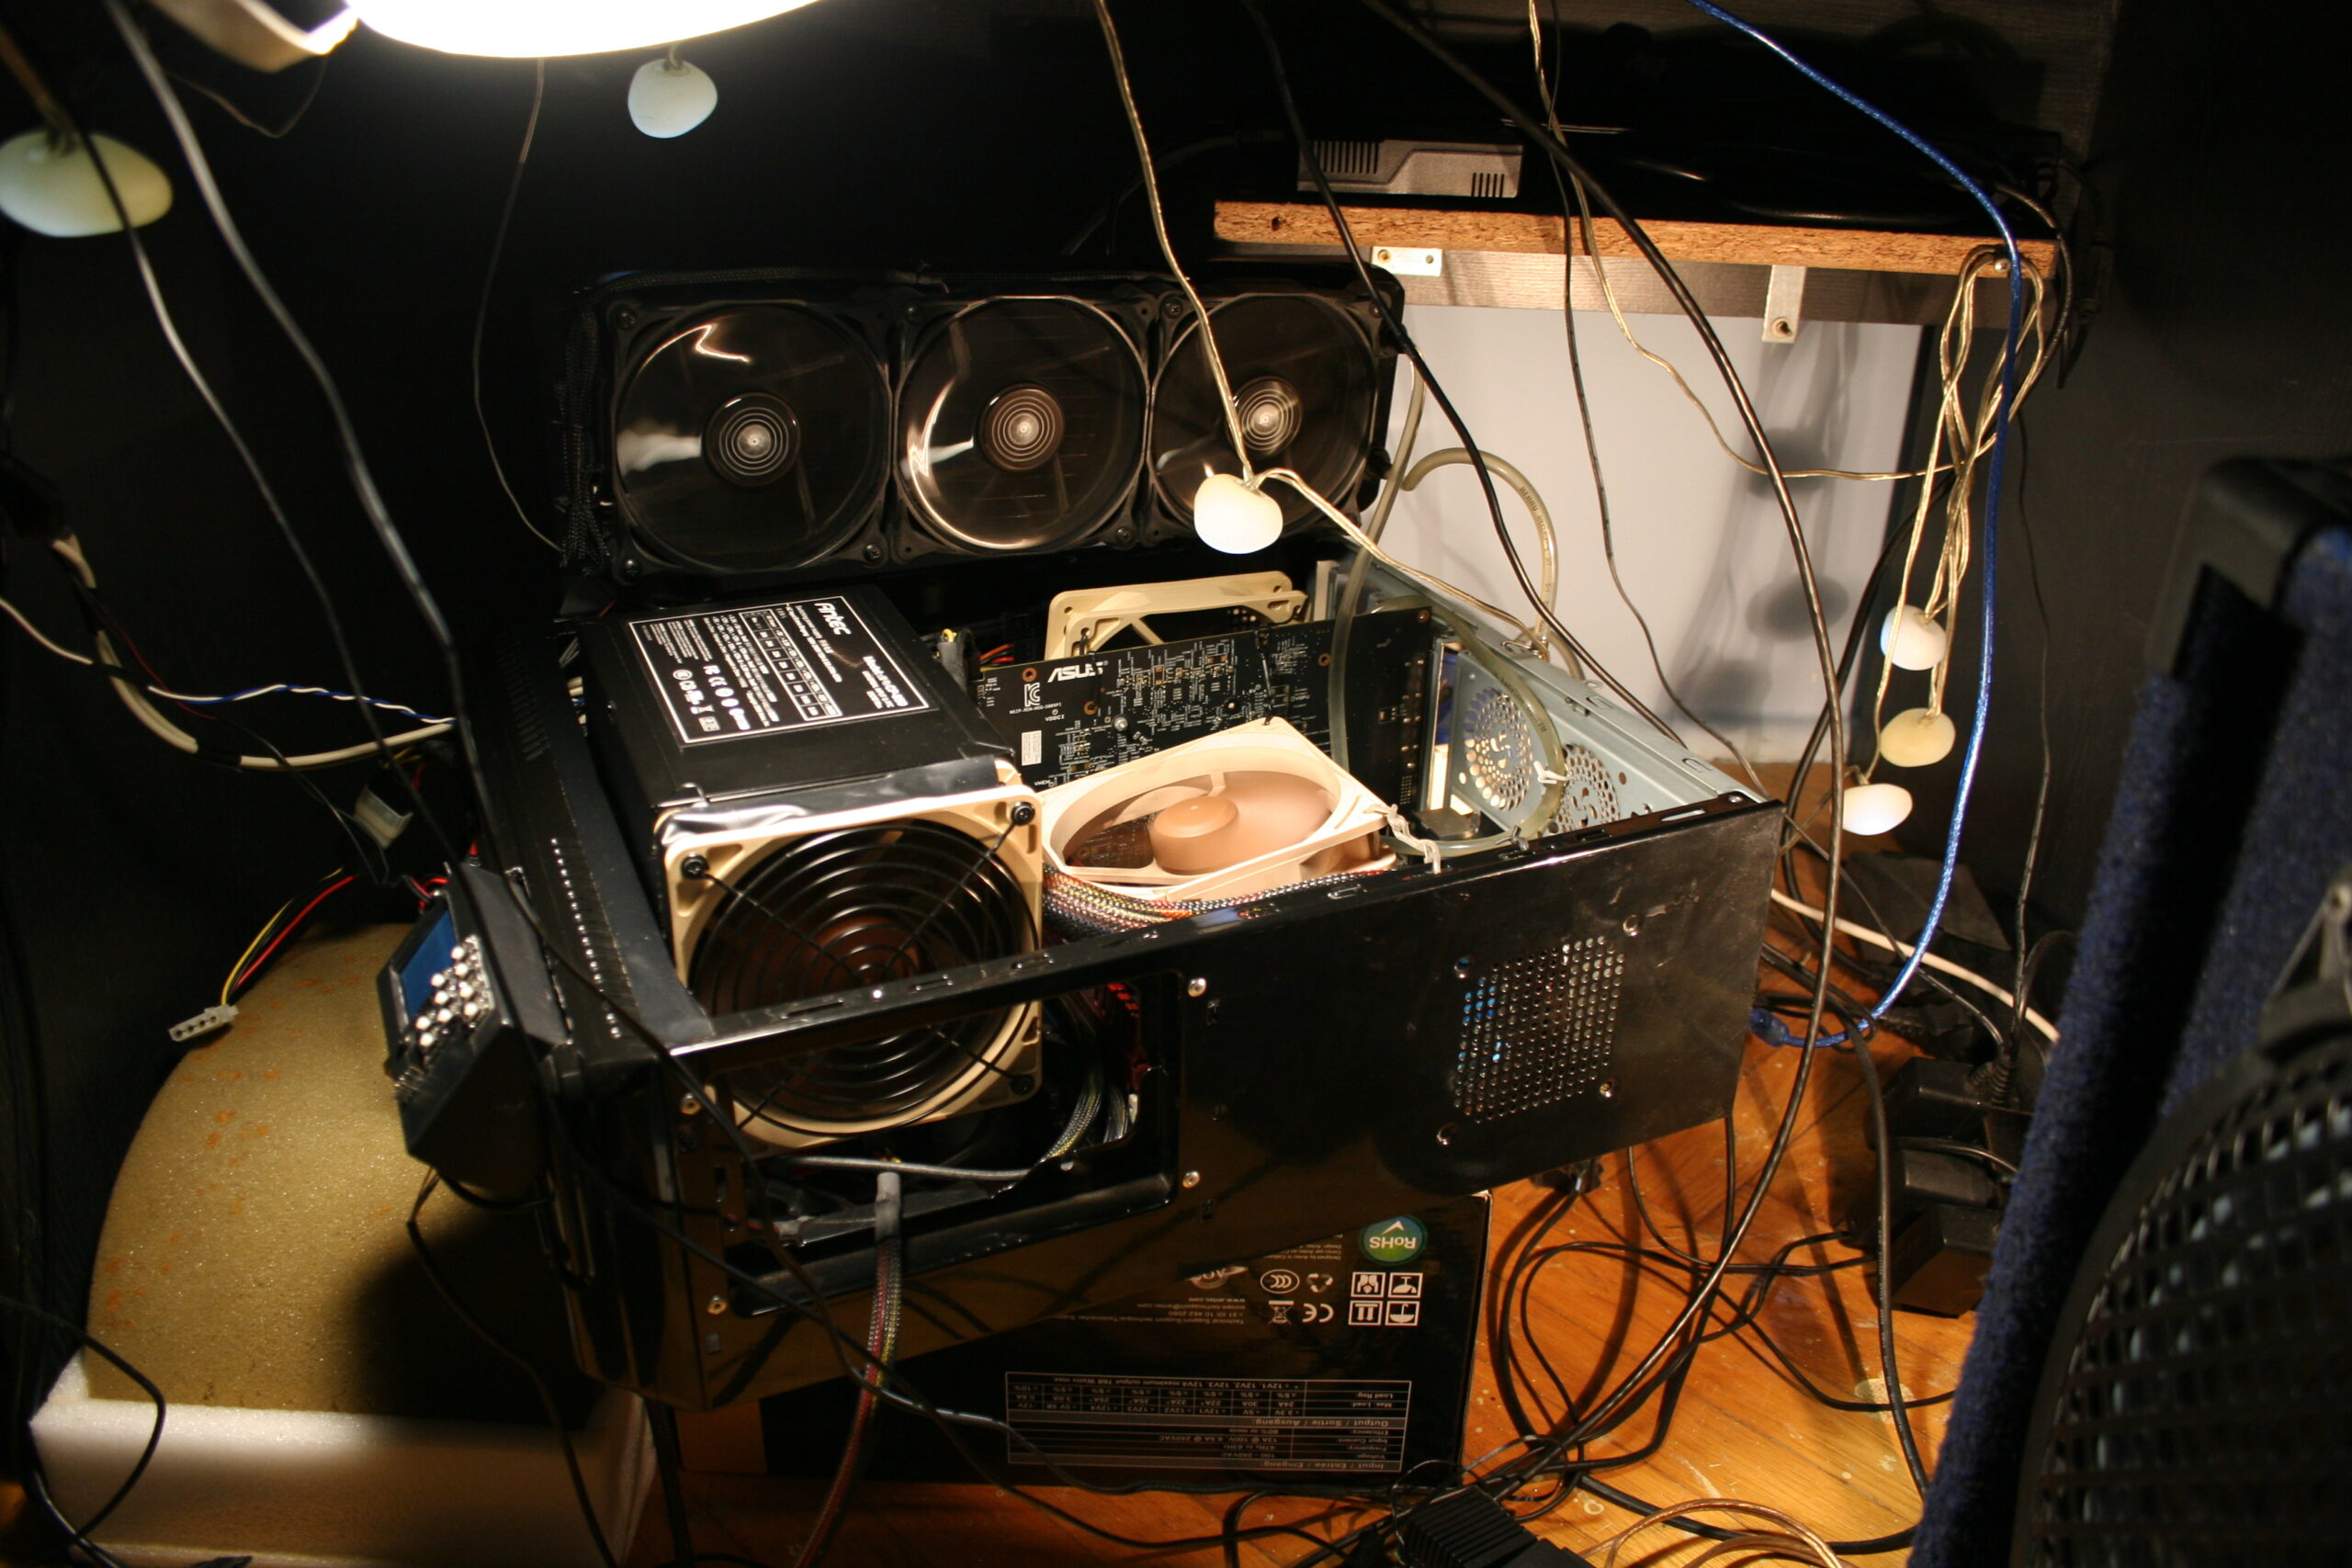
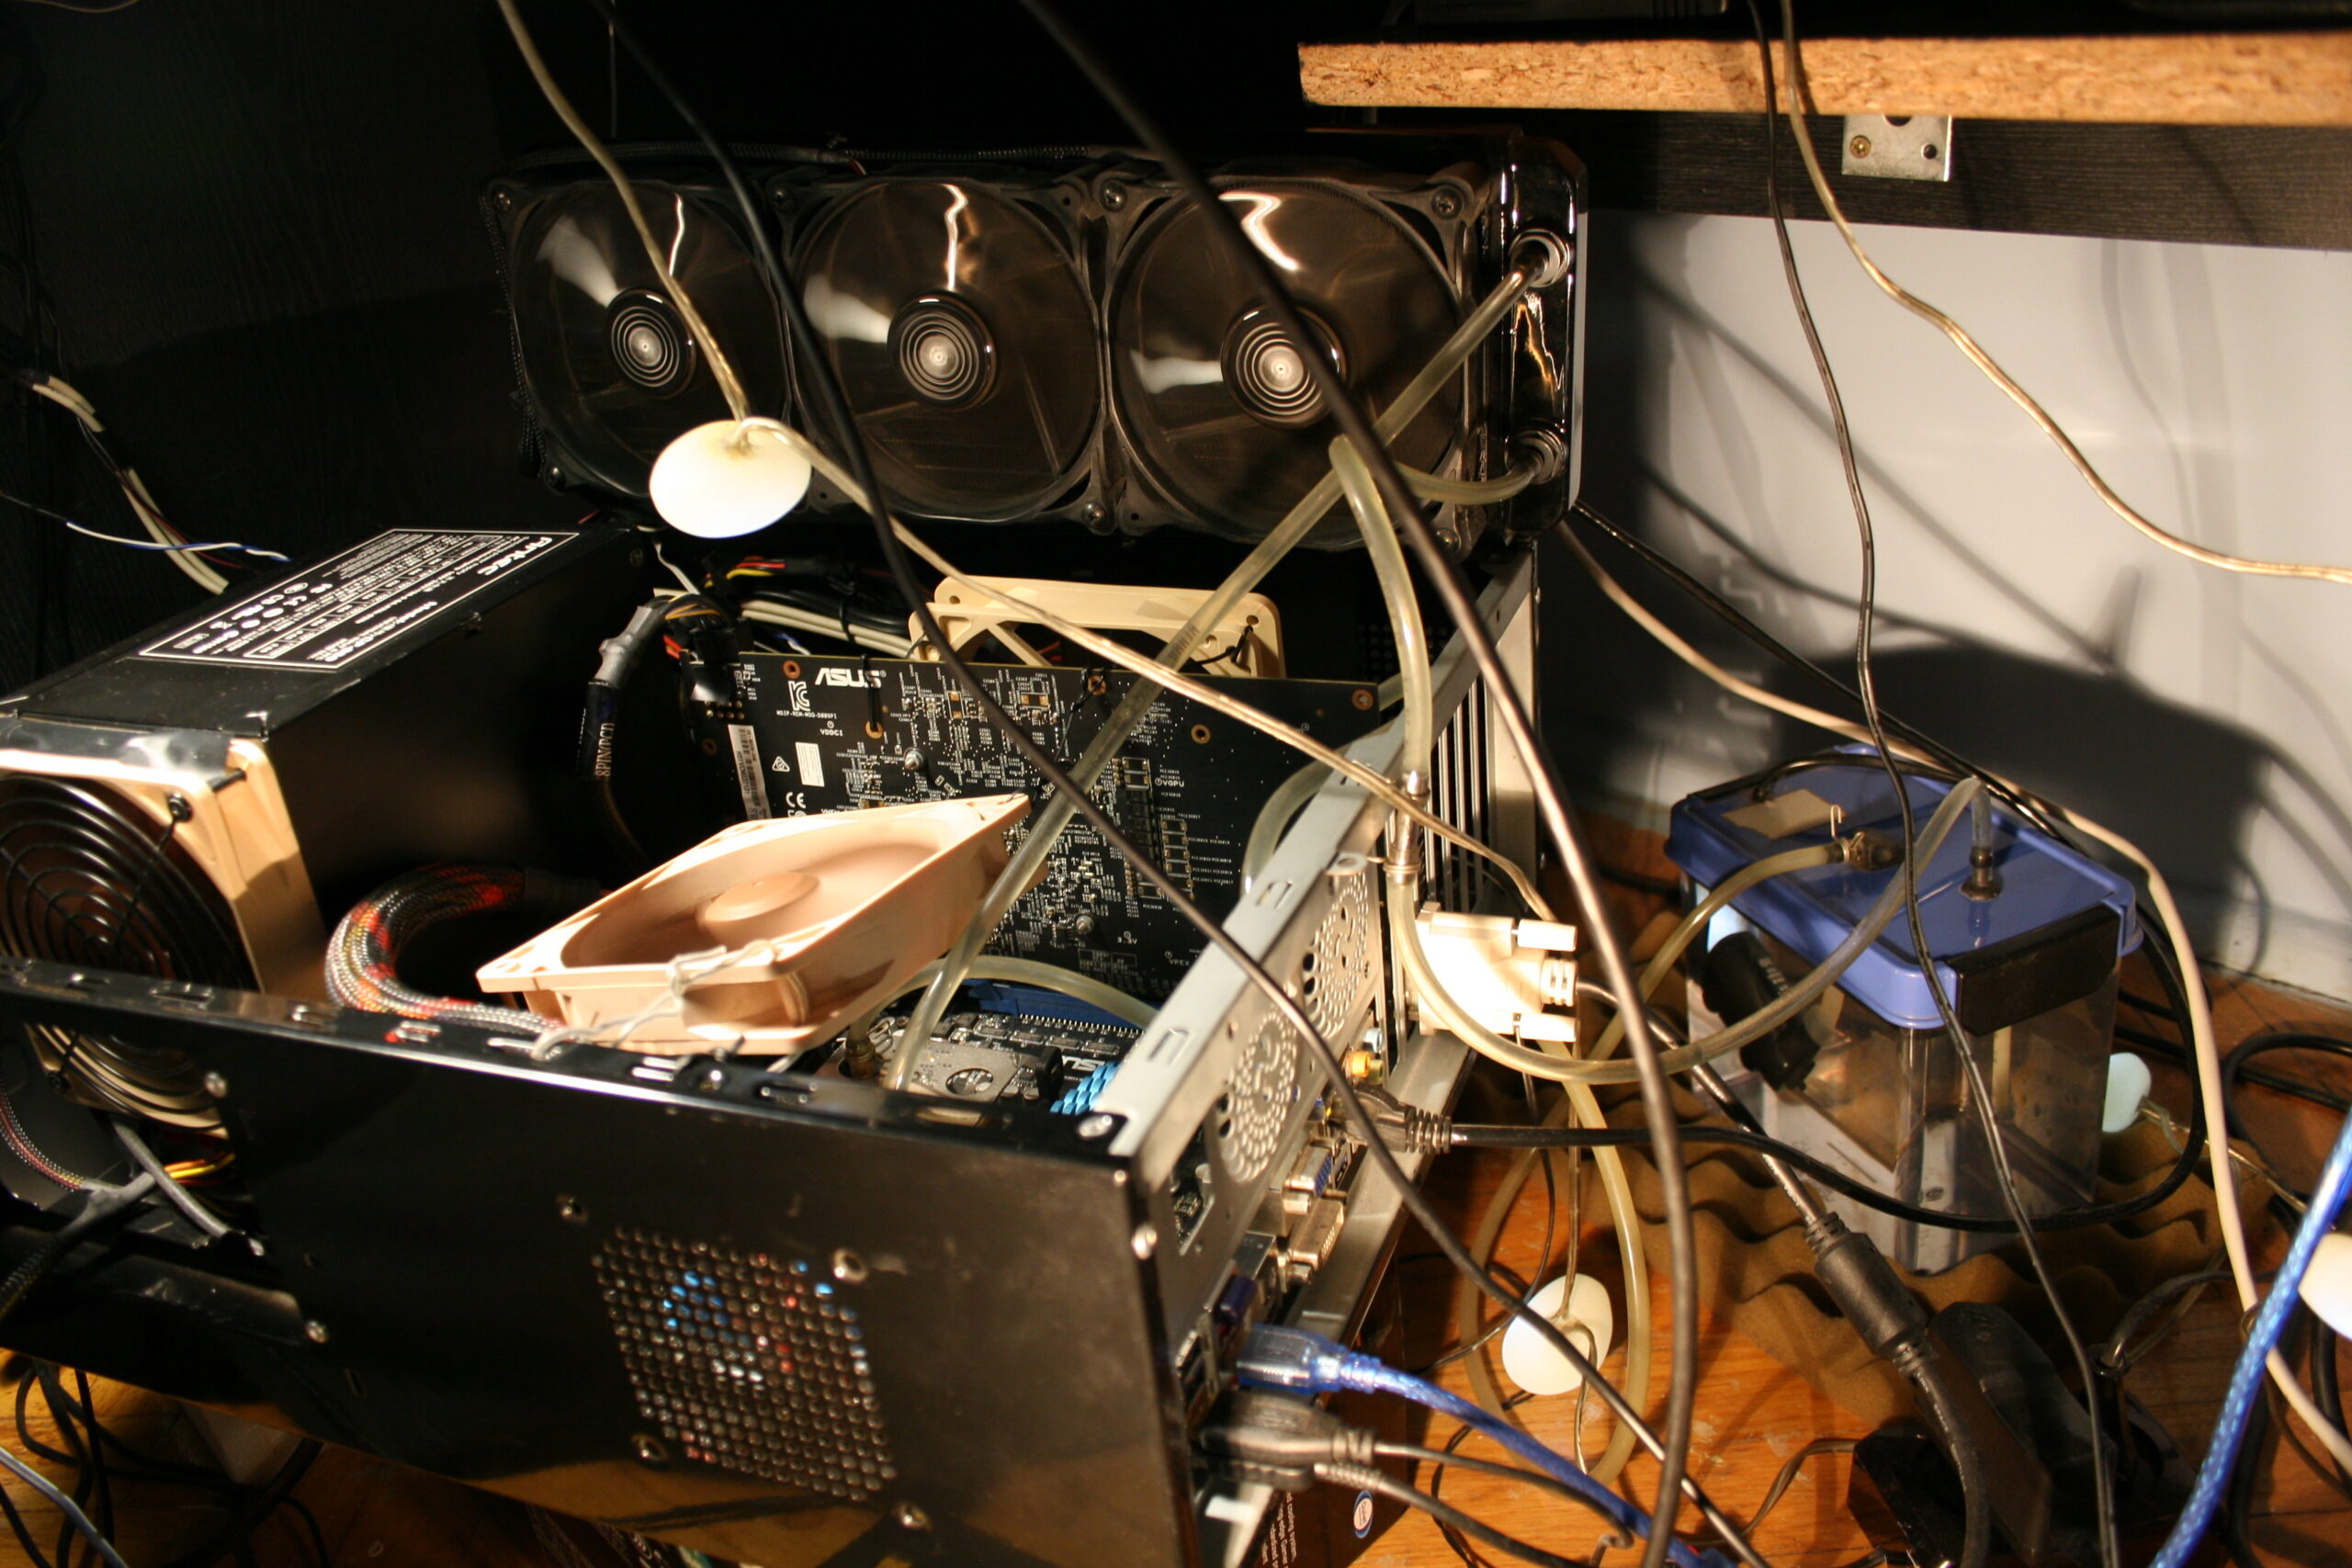
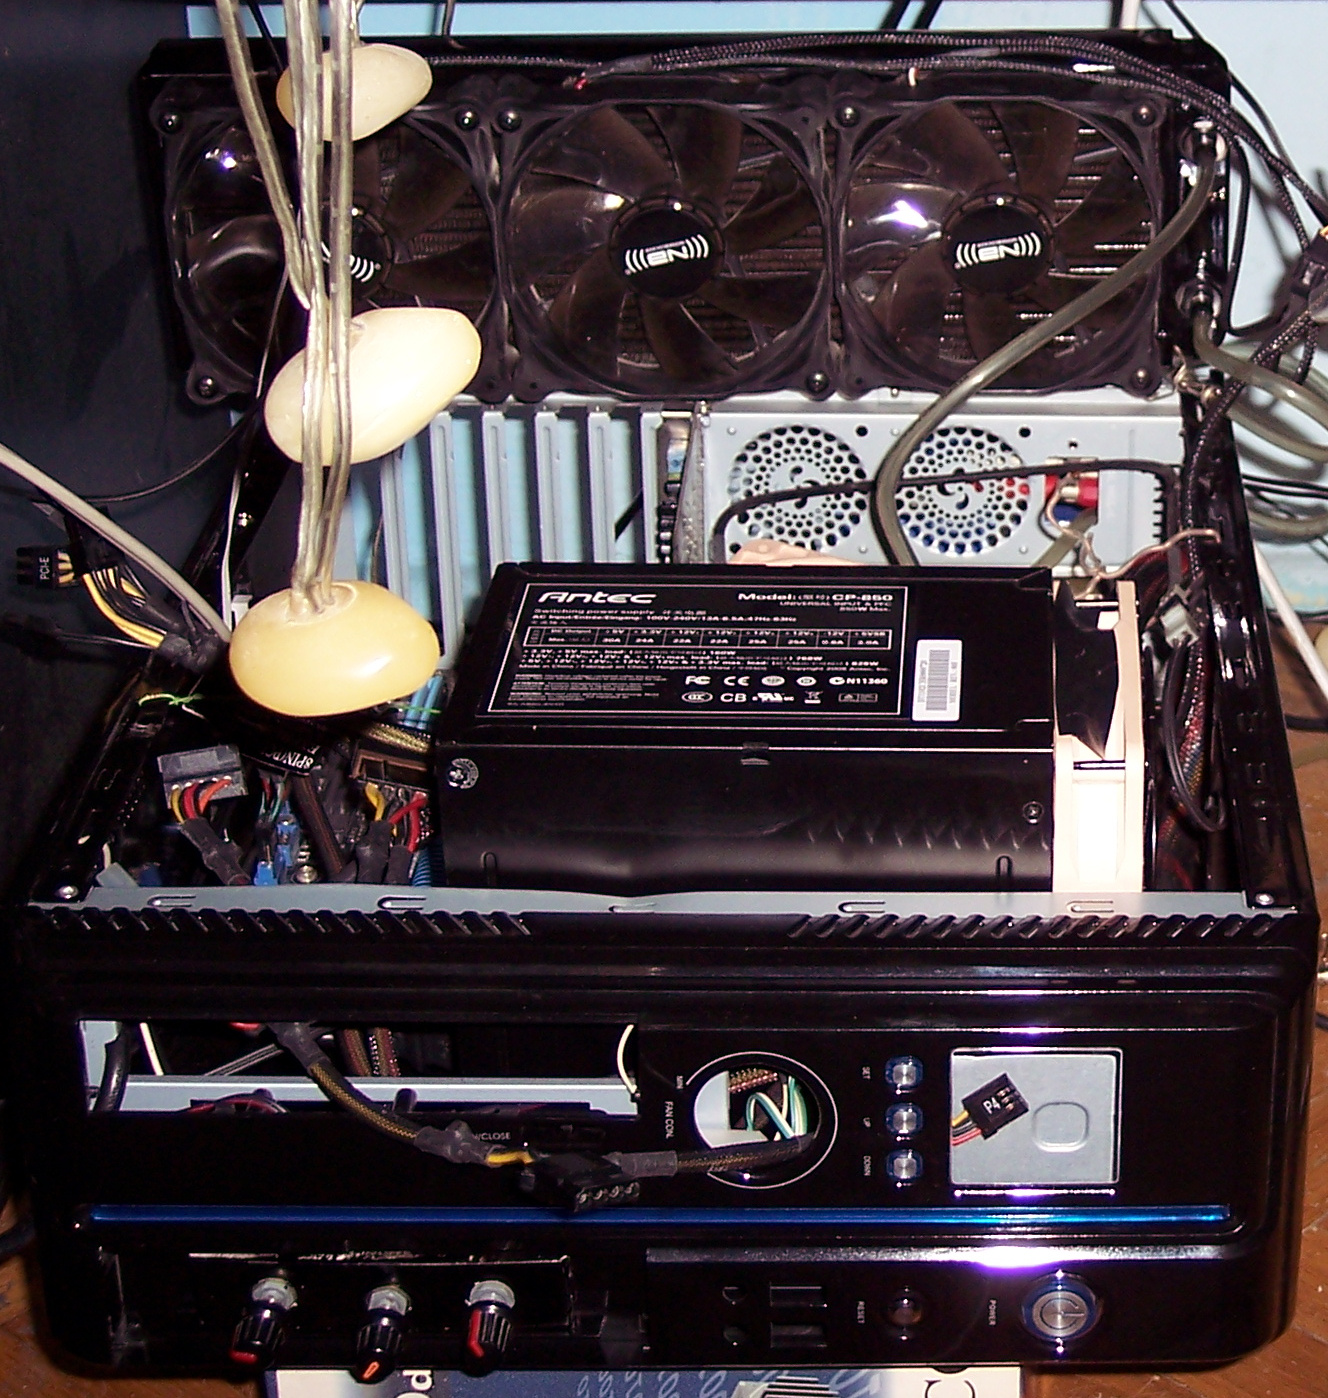
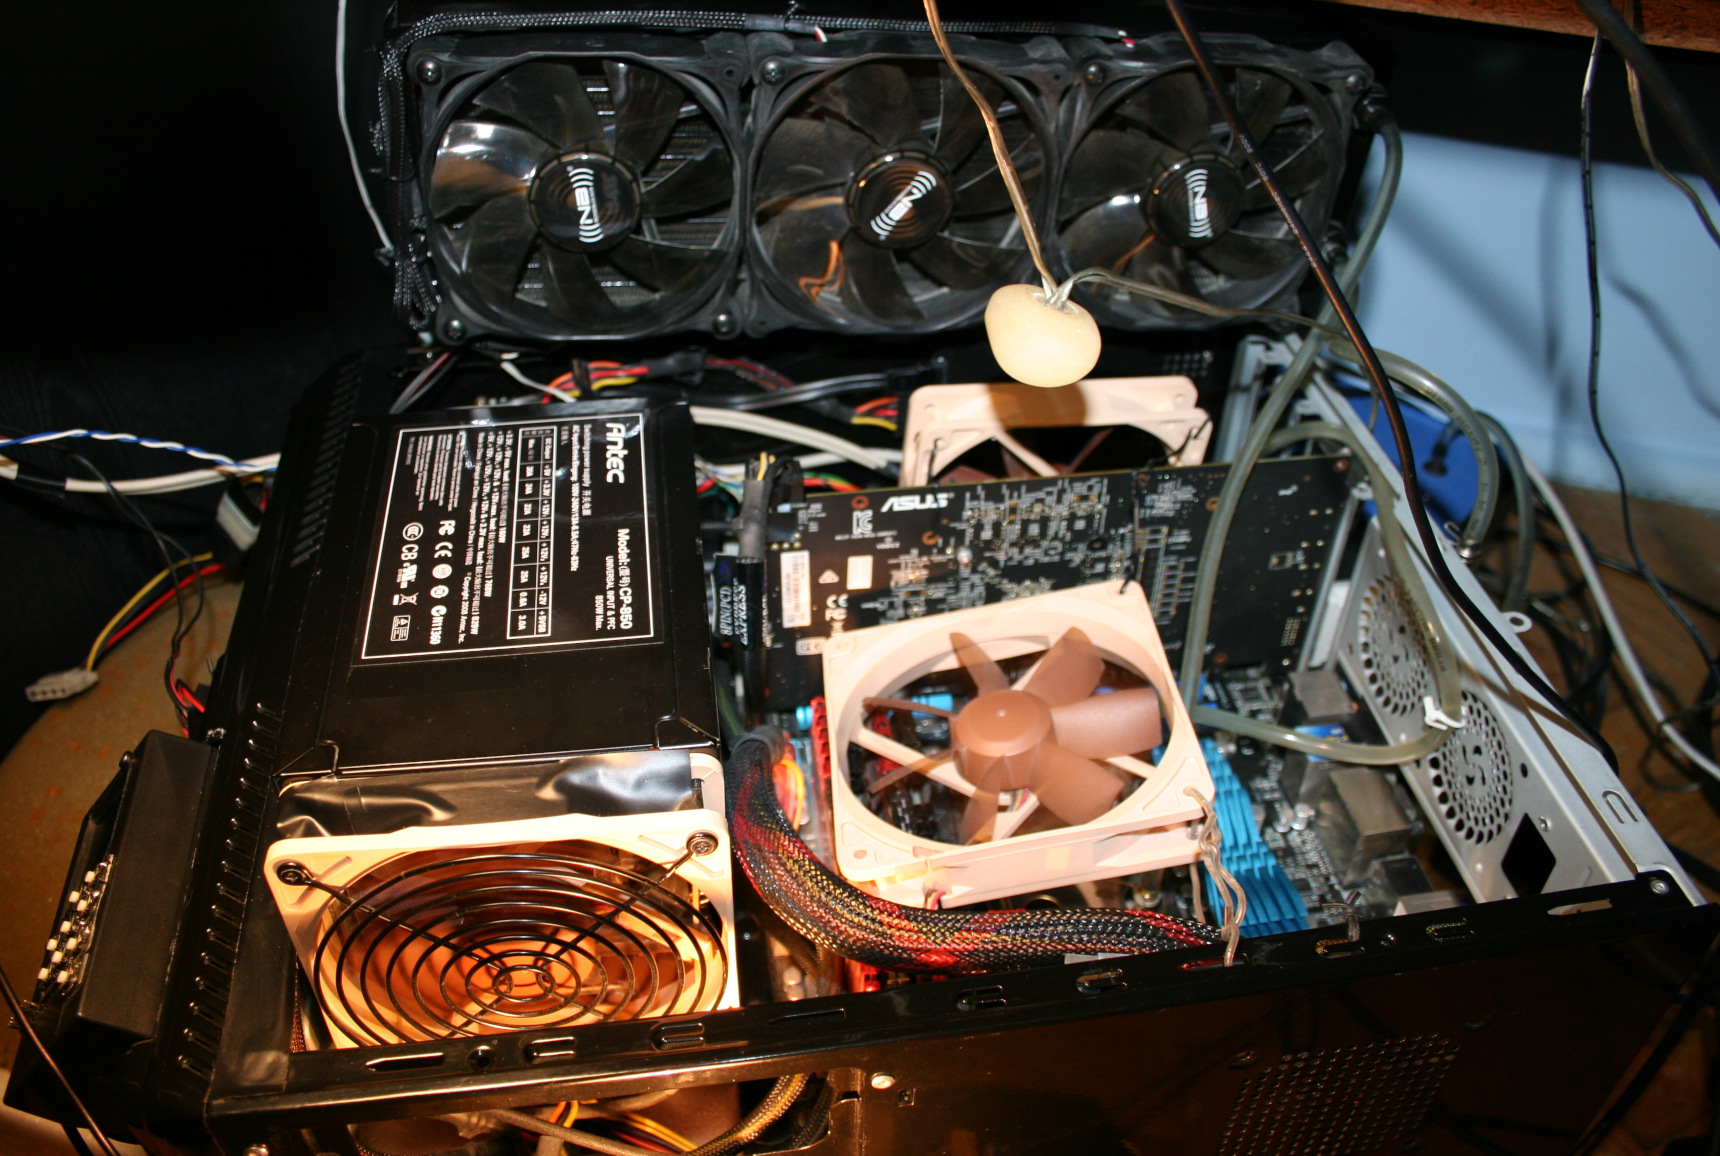
So at that point I bought a 3 fan radiator Black ICE GT Stealth 360 and I’m still using it today. It isn’t very deep and it’s easy to vacuum clean the dust from it. I do this like once in 6 months.
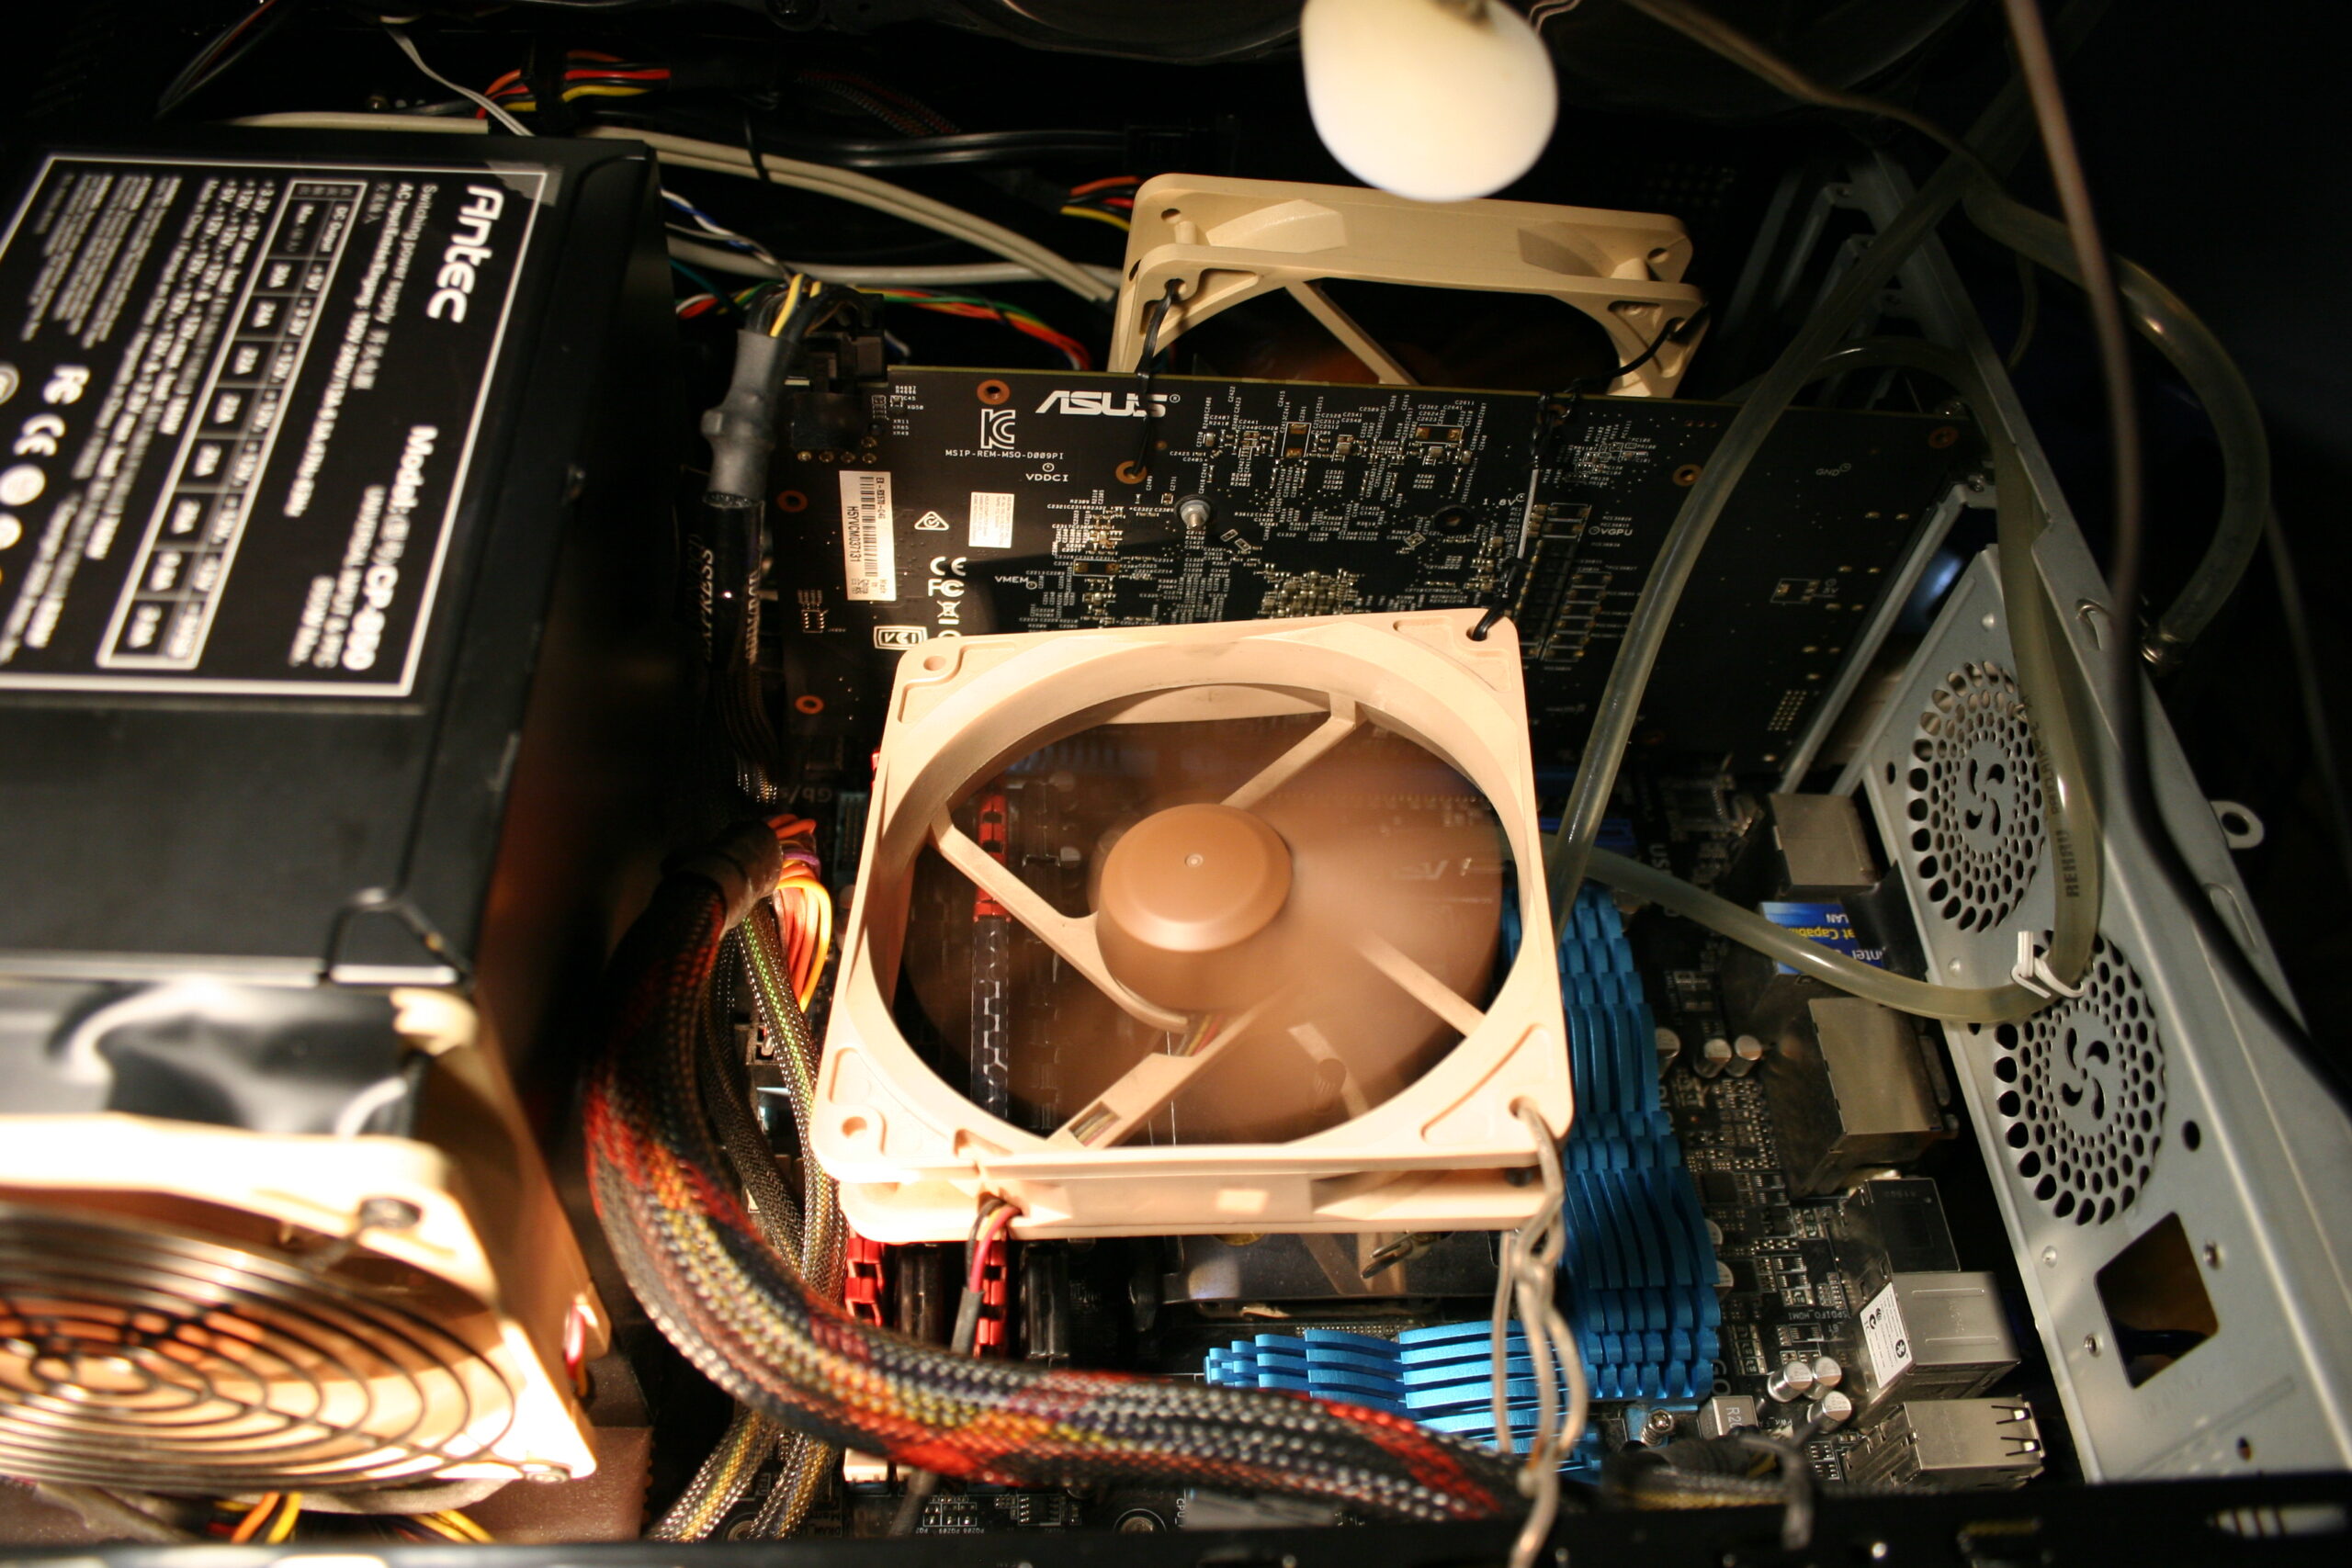
After moving my PC to WC (water cooling, right), I surely hated every CPU stock fan, especially those loud, stupid, cheapest Intel vibrating fans. I once even just cut off that fan of radiator and mounted a quiet Noctua 9cm fan above it, this worked well and was way quieter.
Fans
At some point I searched for quietest fans. After I think 4 tries I settled for Noctua. It actually varies from model to model. And the downside is their ugly, distinct color, which I didn’t spray black, I don’t want to risk damage.
For the radiator I bought 3 Noiseblocker fans (to be cheaper than Noctua and black already). They also have those rubbers good for mounting on radiator. I’d say they’re okay at low RPM, but not when higher, I can hear some motor noise.
HDD
Naturally after having CPU and GPU water cooled and quiet, the next thing is PSU and HDD.
HDD is easier. I used to wrap it in cloth, but this makes them too hot. So now I have one in some foam, covered by some old noise reduction foam, with the back being open to air.
PSU
I did try 2 noiseless fanless PSUs in 2004 or 5:
- Yesico FL-550ATX, a heavy tank (big parts) that was always hot, but quiet
- and Seasonic X-460FL, a light empty, too expensive, low power PSU, that wasn’t 0dB quiet, it had some high frequency hiss noise.
After Pentium 4 for better GPUs, I needed more power but there were no such fanless PSUs. I made a very stupid thing and tried using both fanless PSUs in 1 PC. Just connected their grounds and I killed Yesico this way?☠️.
Finally, some time later I found an awesome PSU: Antec CP-850. I even bought a 2nd one for my other PC, a year after.
It is bigger then most though. Inside, it wasn’t freaking all cramped to still fit the old retarded dimensions from very first PC ATX PSUs. It is just stupid: airflow is chaotic, no space left, all big hot inductors are nearby big capacitors (which don’t like heat) etc.
Bigger PSU is spacious inside and its design with components in lines is good for airflow, thus the 12cm fan is rotating very slow. BTW I eventually replaced it to a quieter one. There is a big surplus of power 850W, I’m probably using 130W to 300W. So it won’t heat up and suffer from it and/or make noise.
Case
Yes the Antec PSU is bigger and won’t fit most PC cases, at the time there were only 3 available for it, but that was just a stupid commercial for their products.
PC cases are likely my last concern and I buy them as rarely as possible.
I used this PSU outside of my PC case from 2008 for 15 years now. My other PC has it on top.
Eventually I moved to even smaller PC case and I placed it inside, thus making it look like it does now, sticking out.
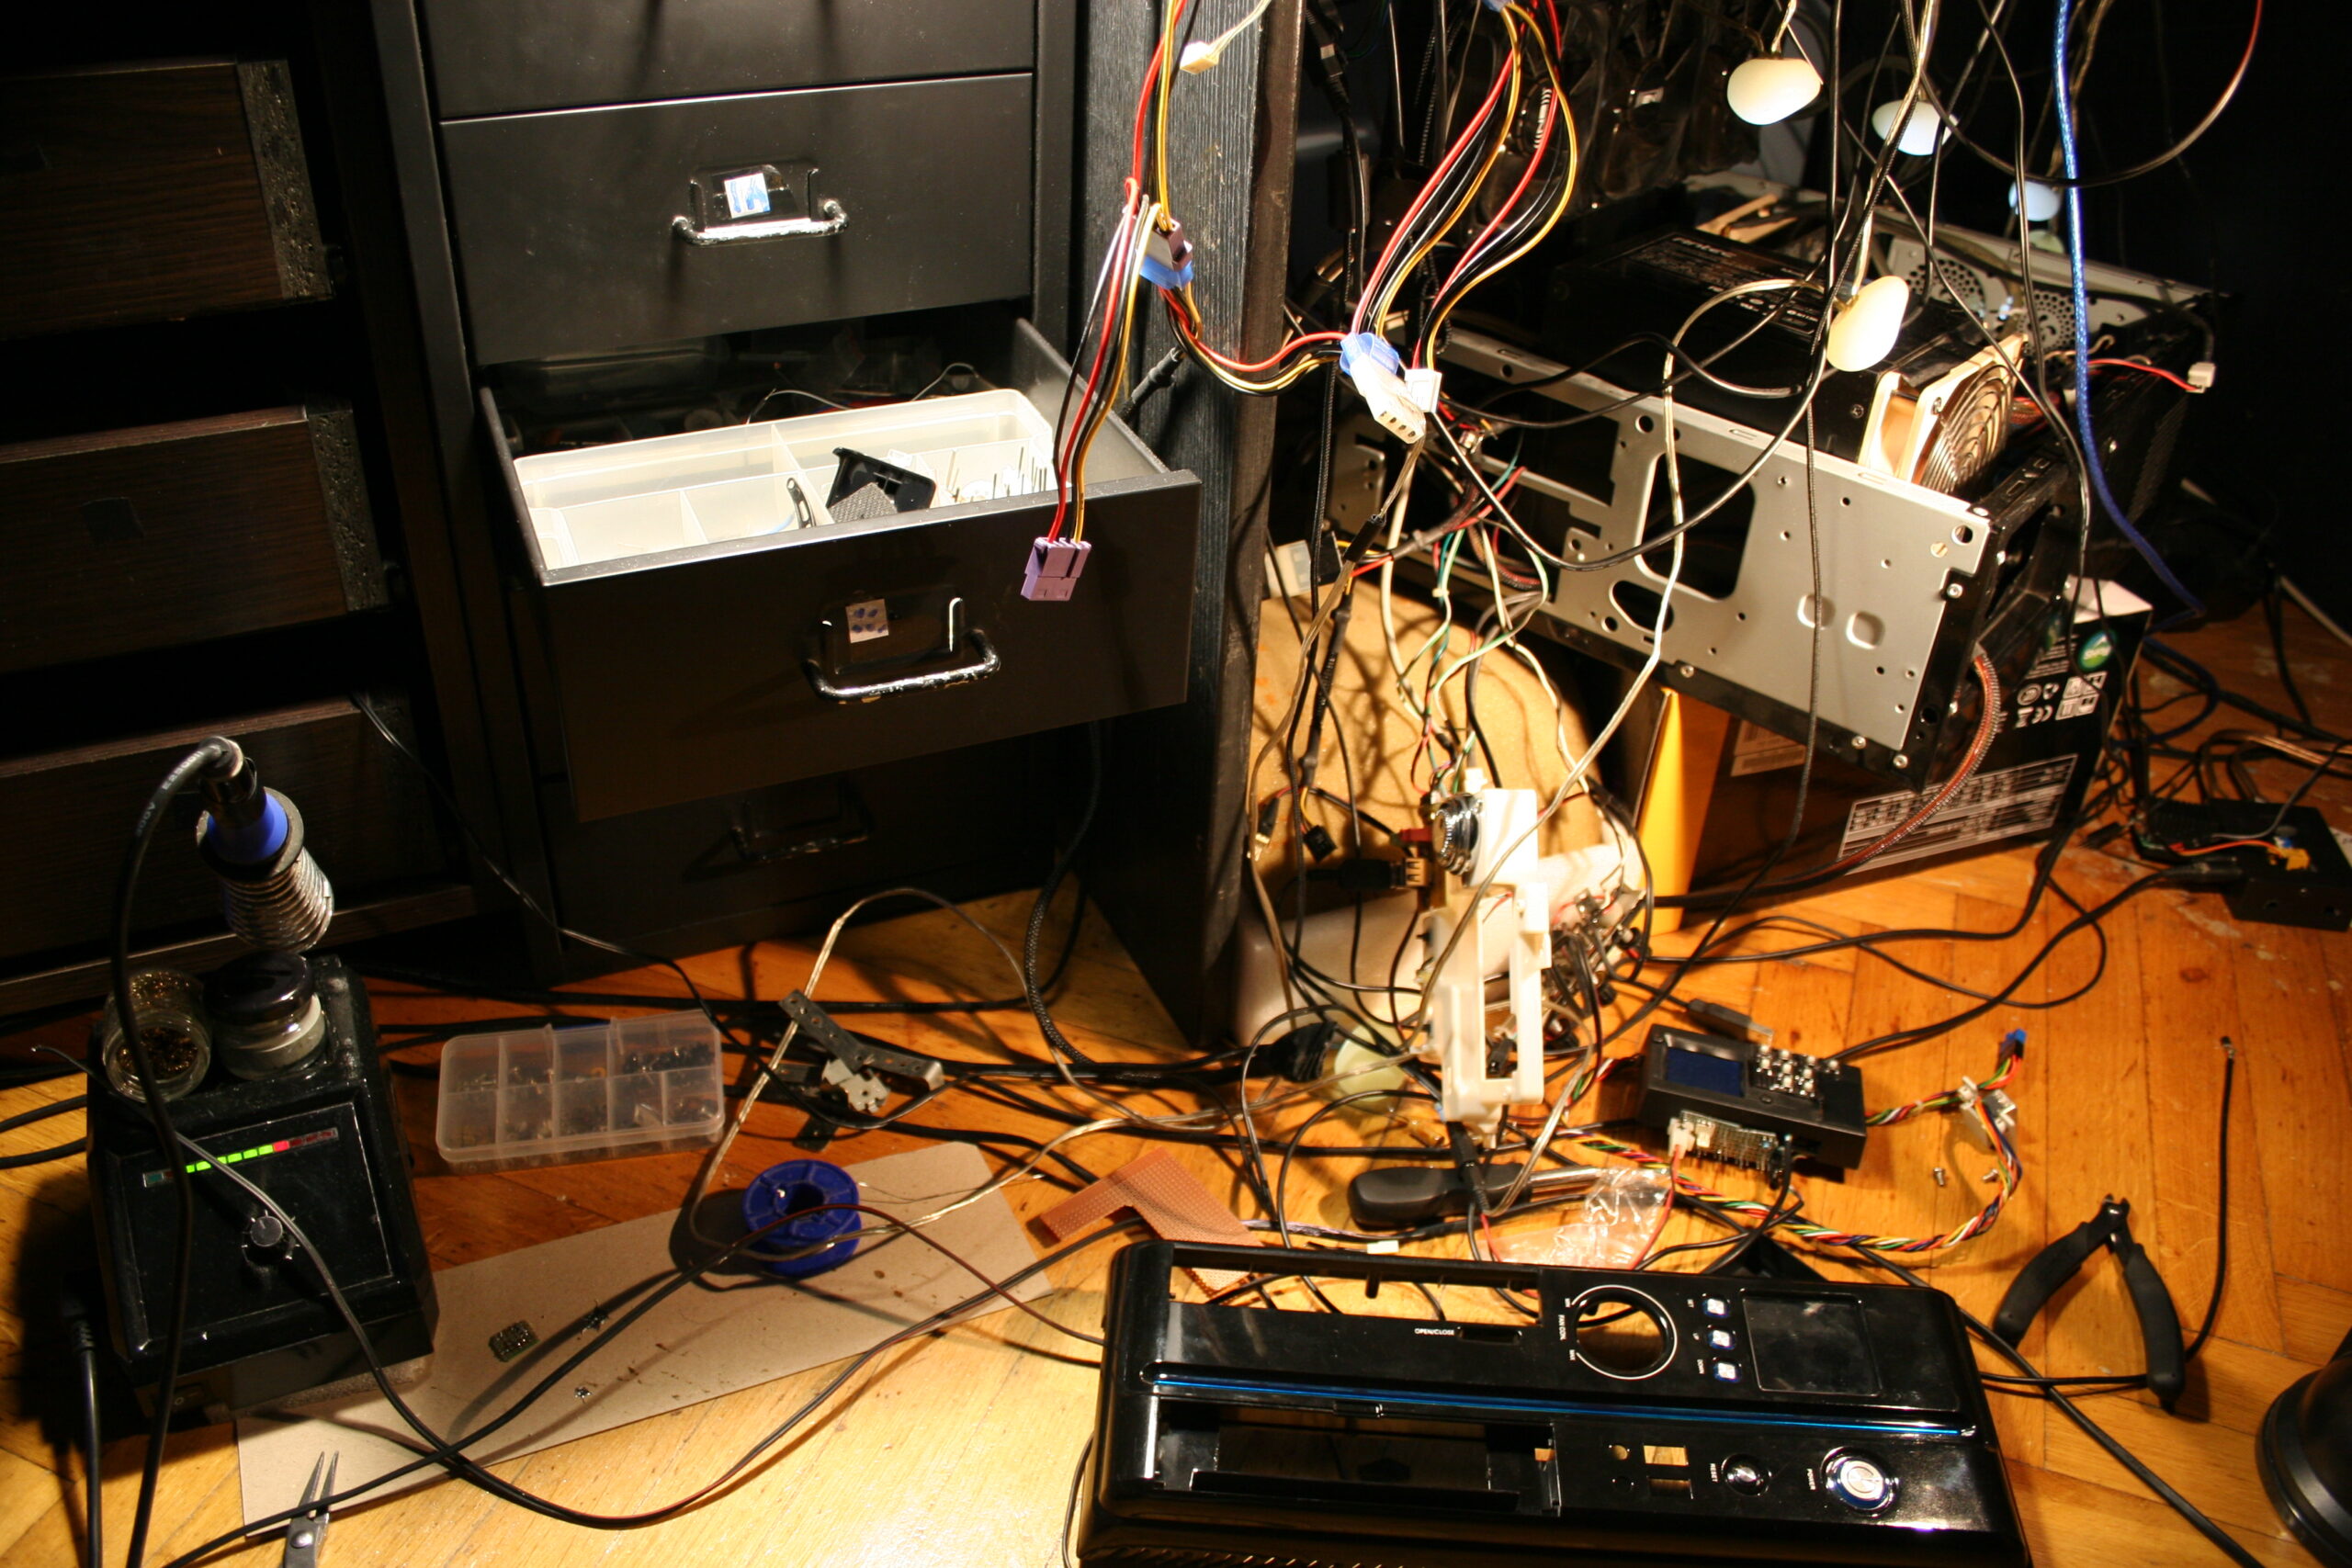
🛠️Modifications
Apart from water cooling things, I have many utility mods for (or in) my PC:
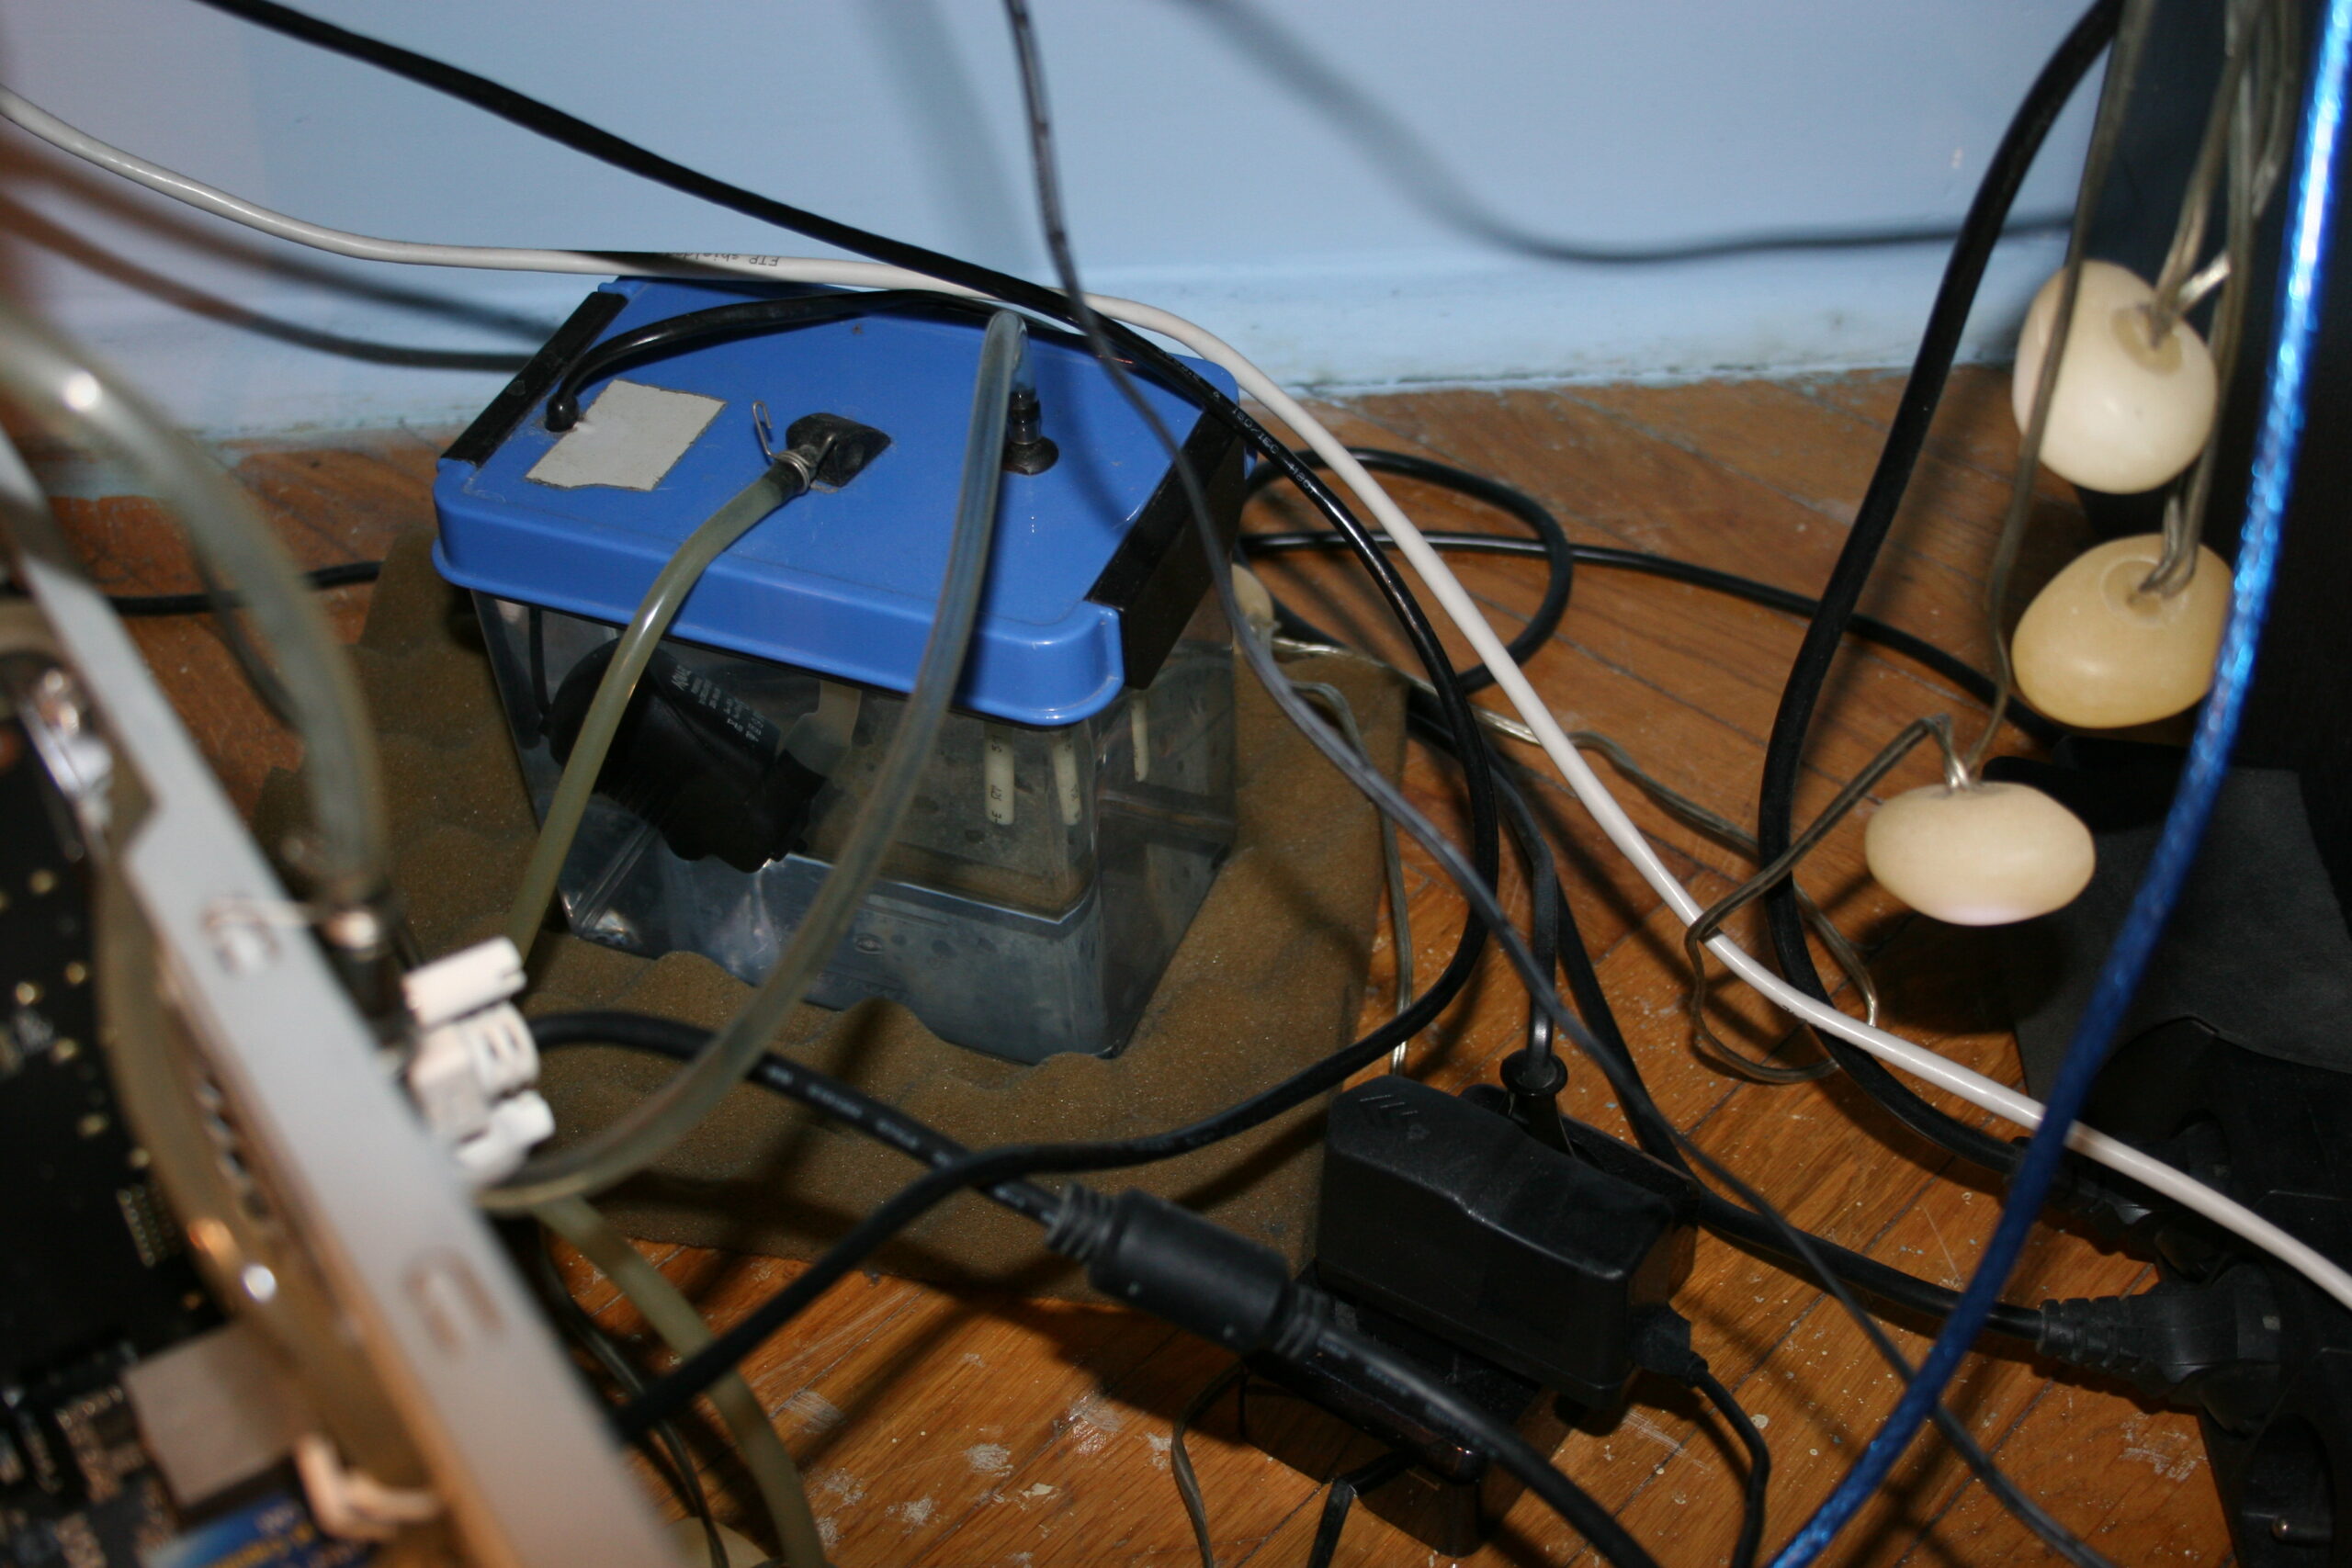
- external relay 220V to power water pump, and DAC (earlier audio amplifier) when PC is on
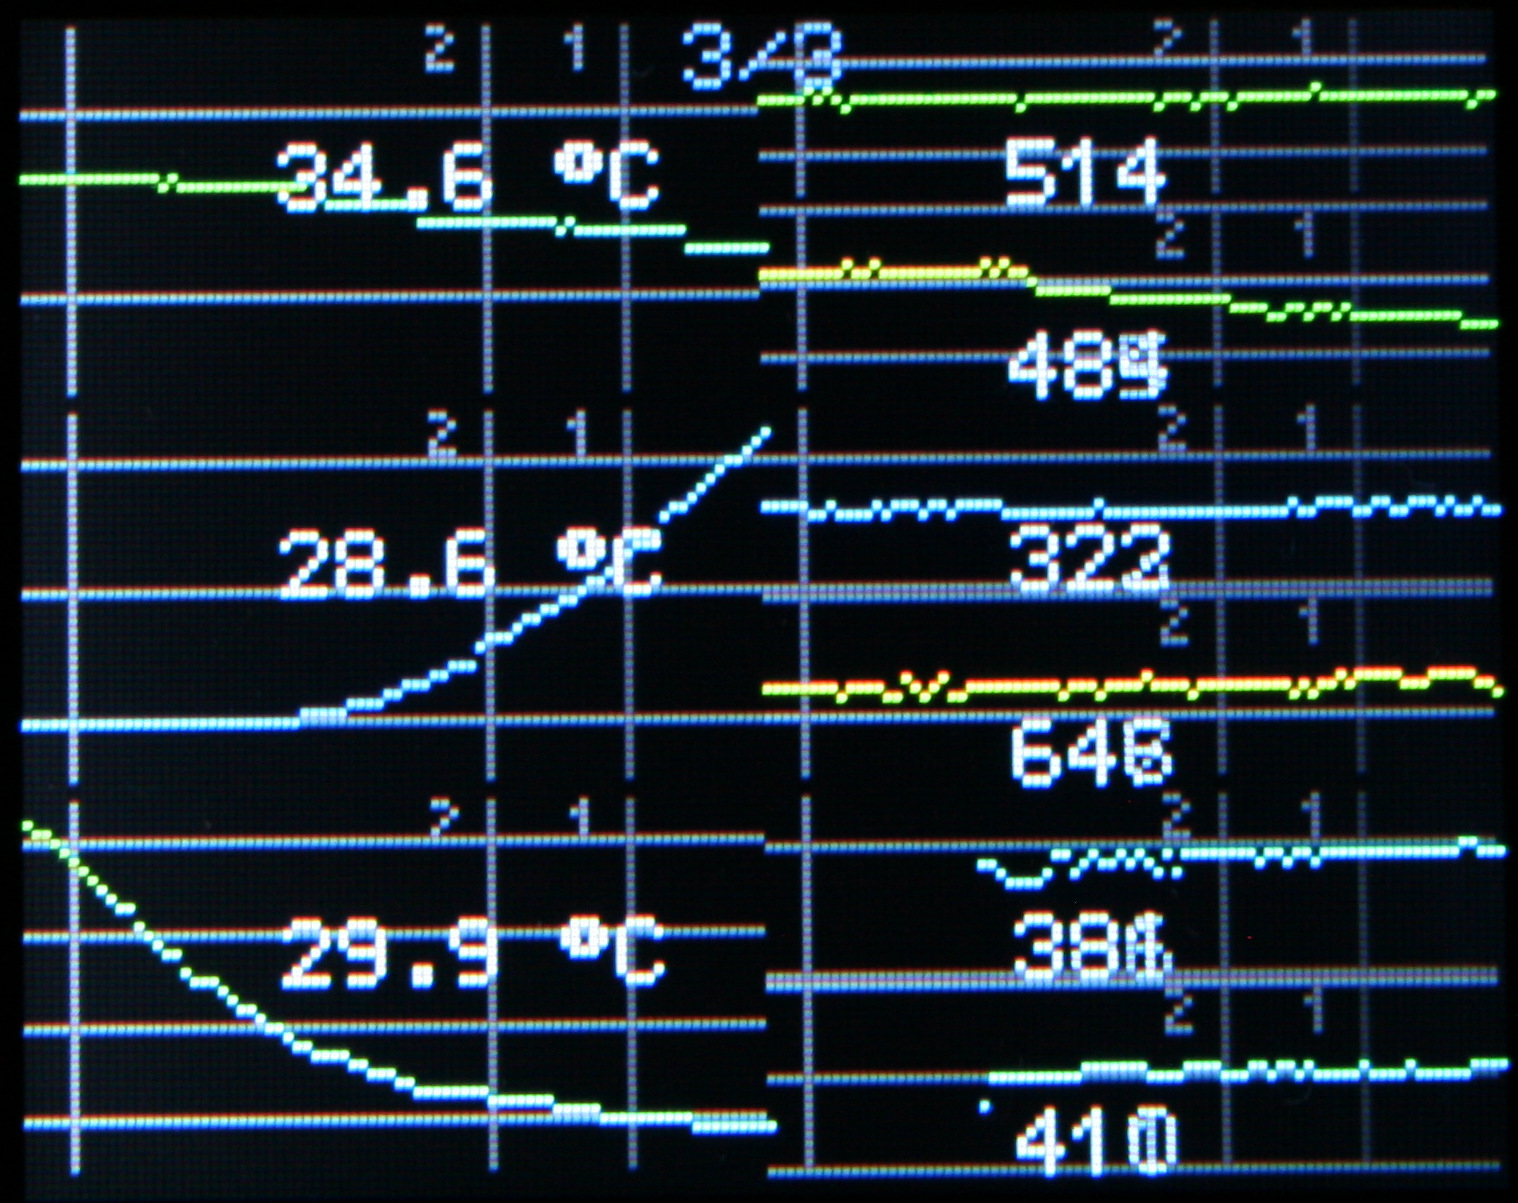
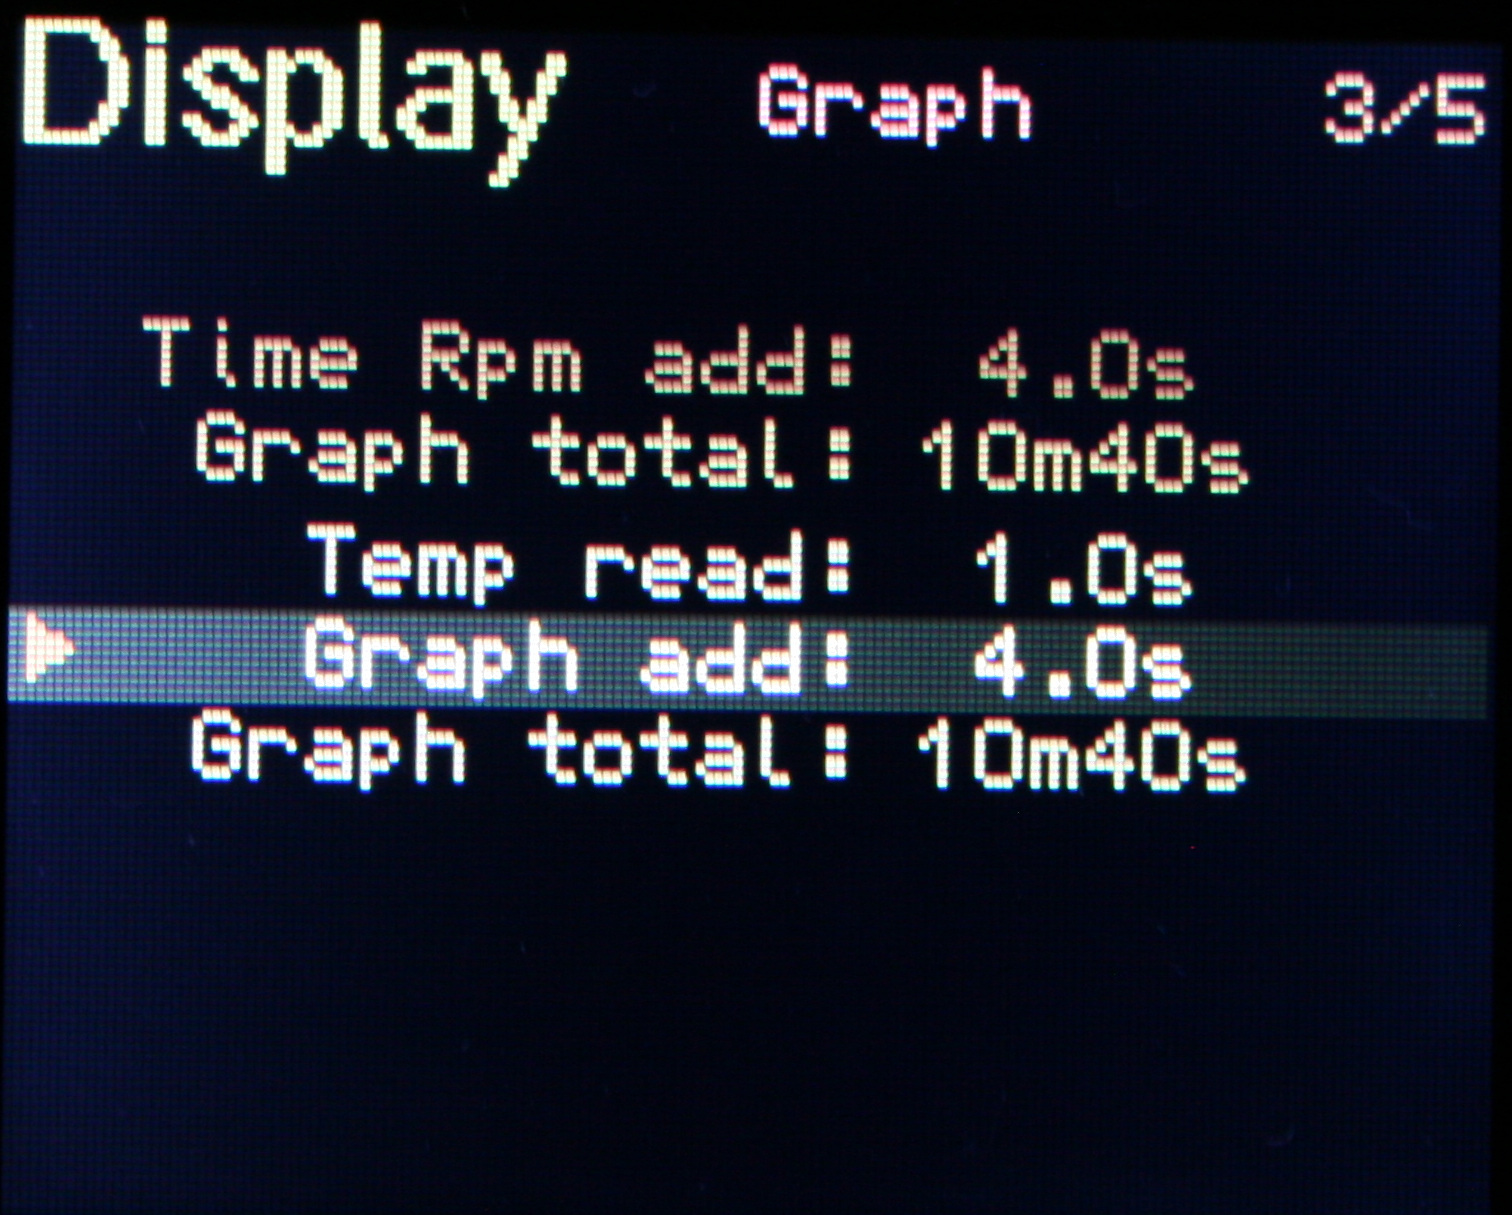
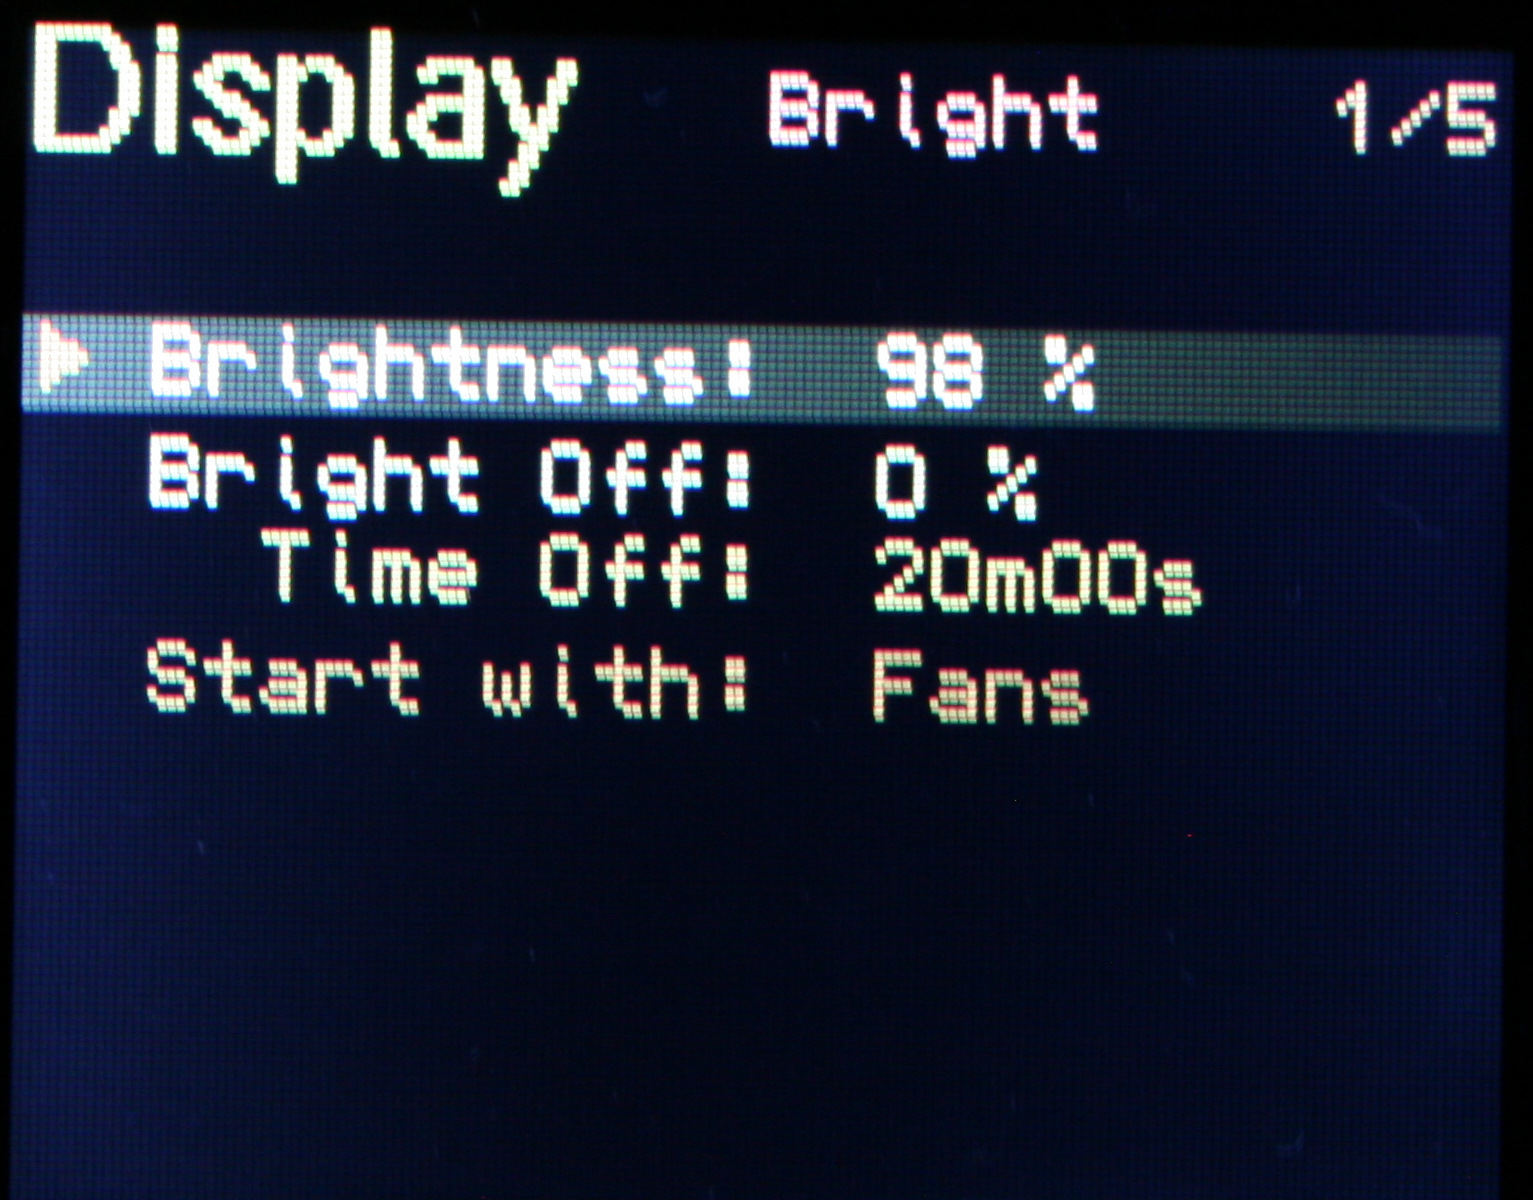
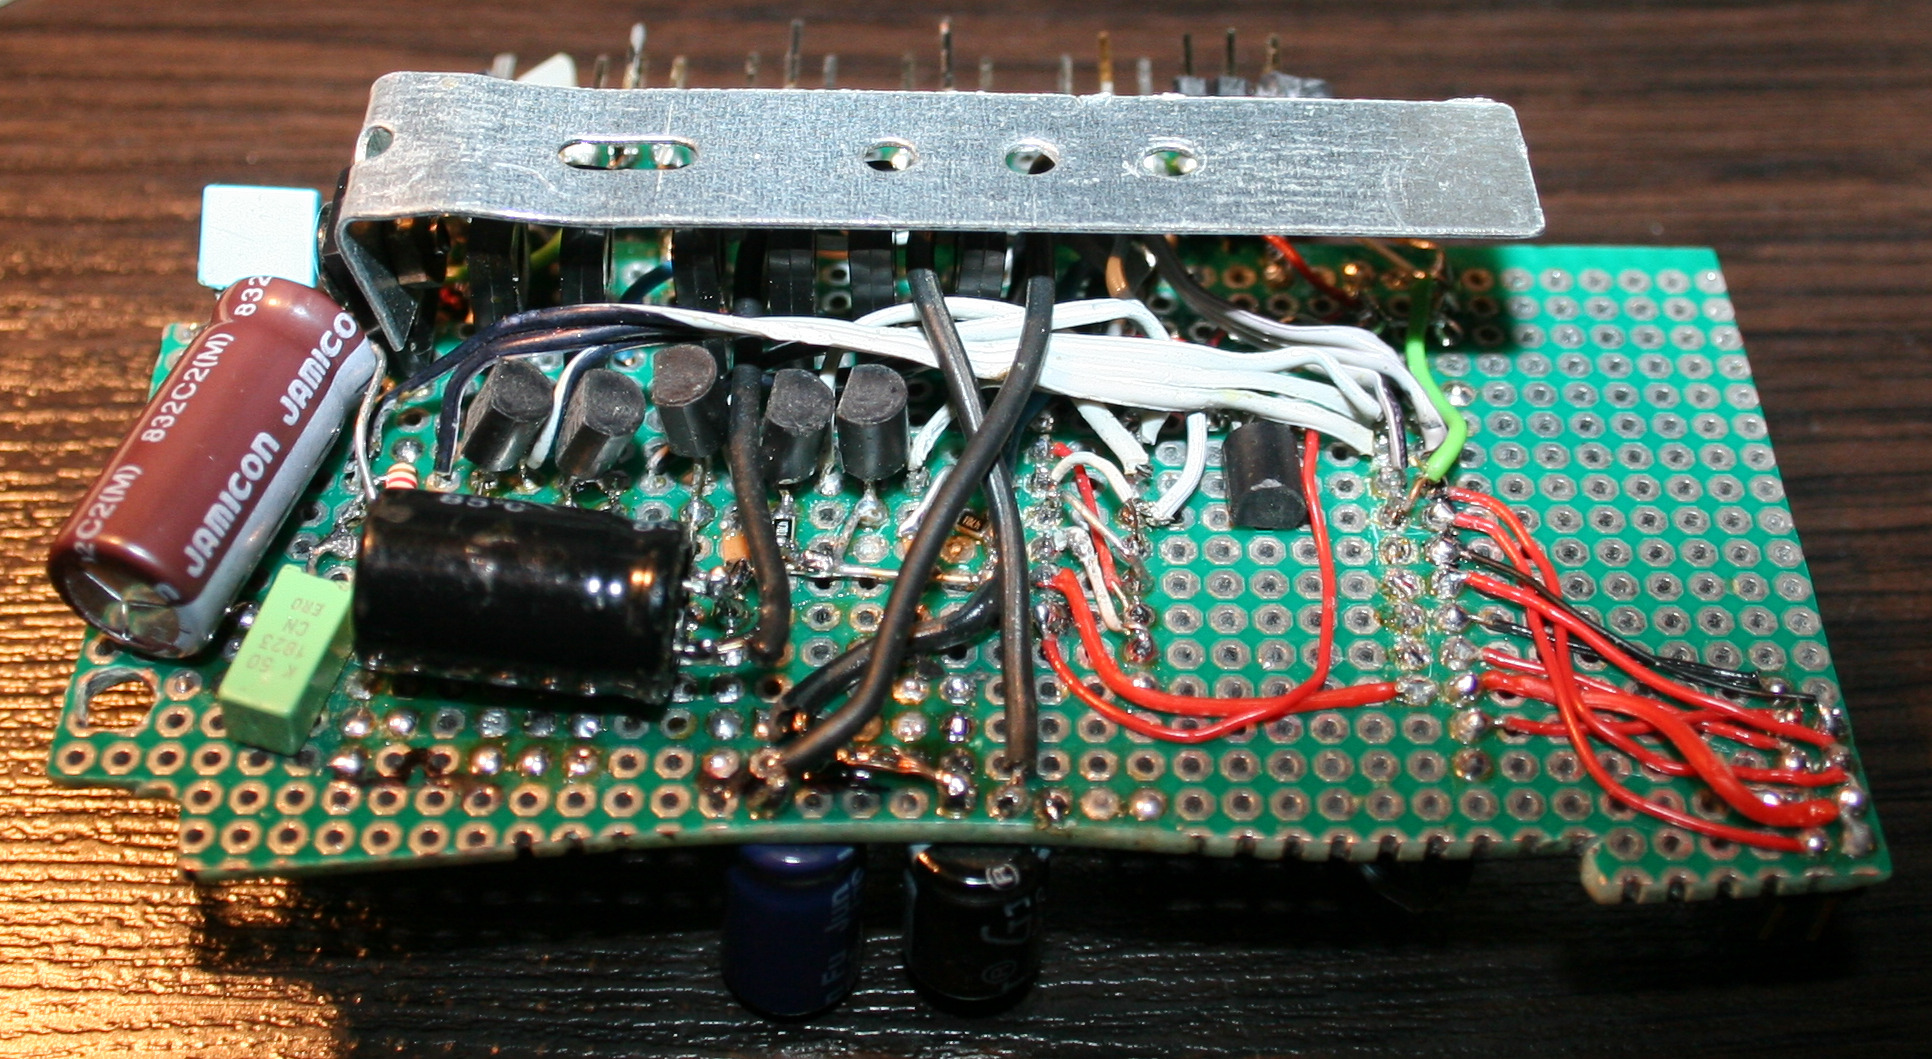
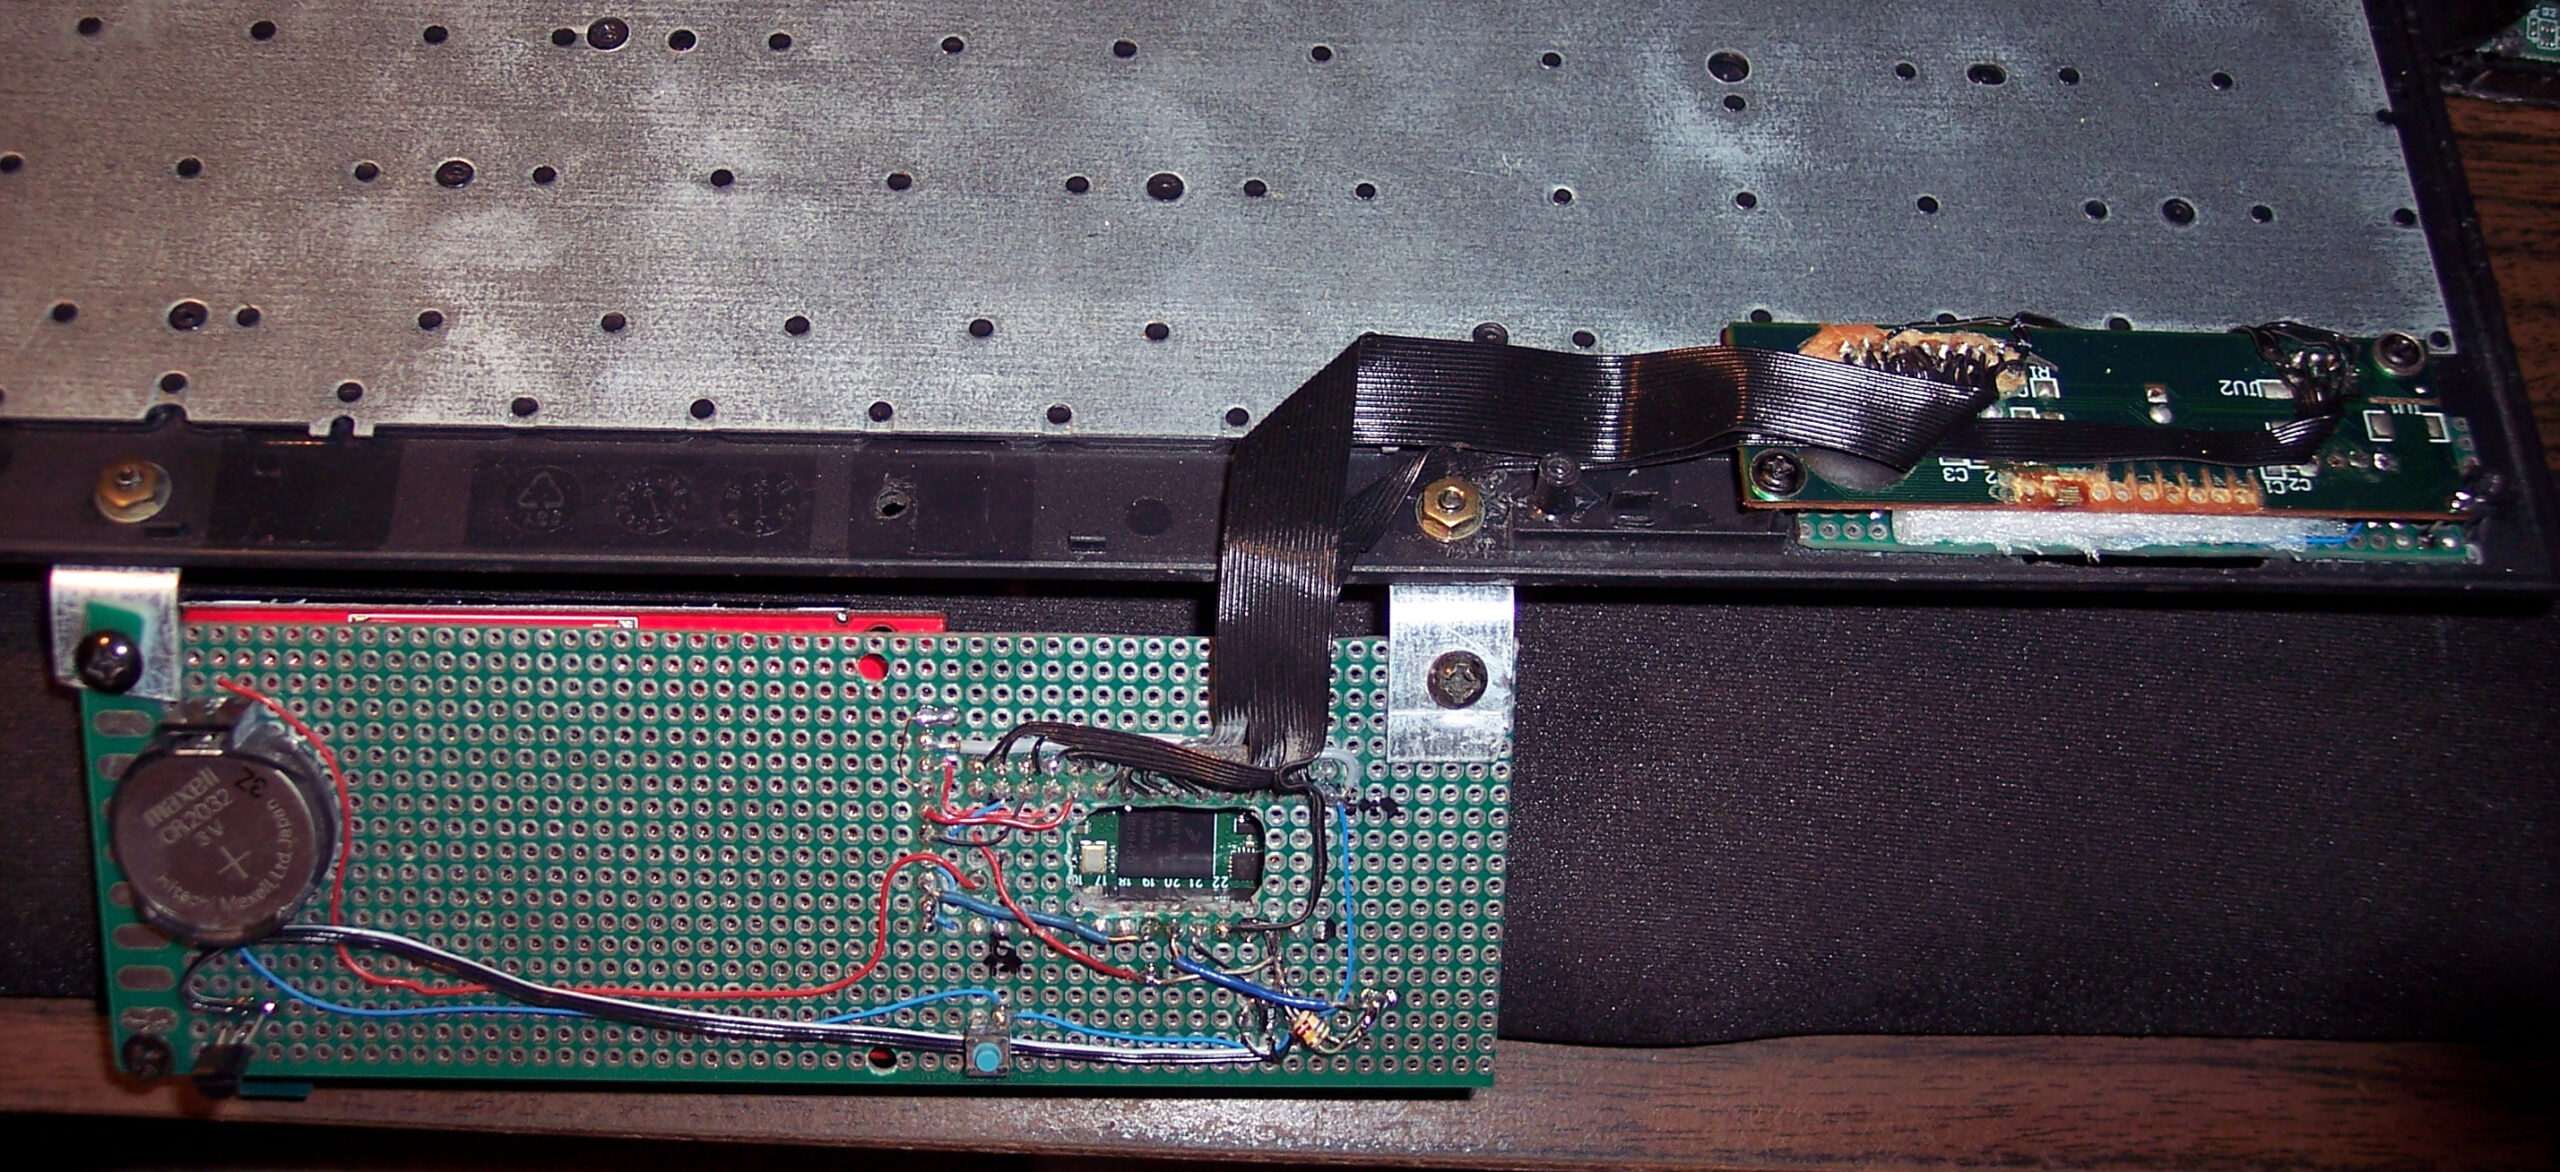
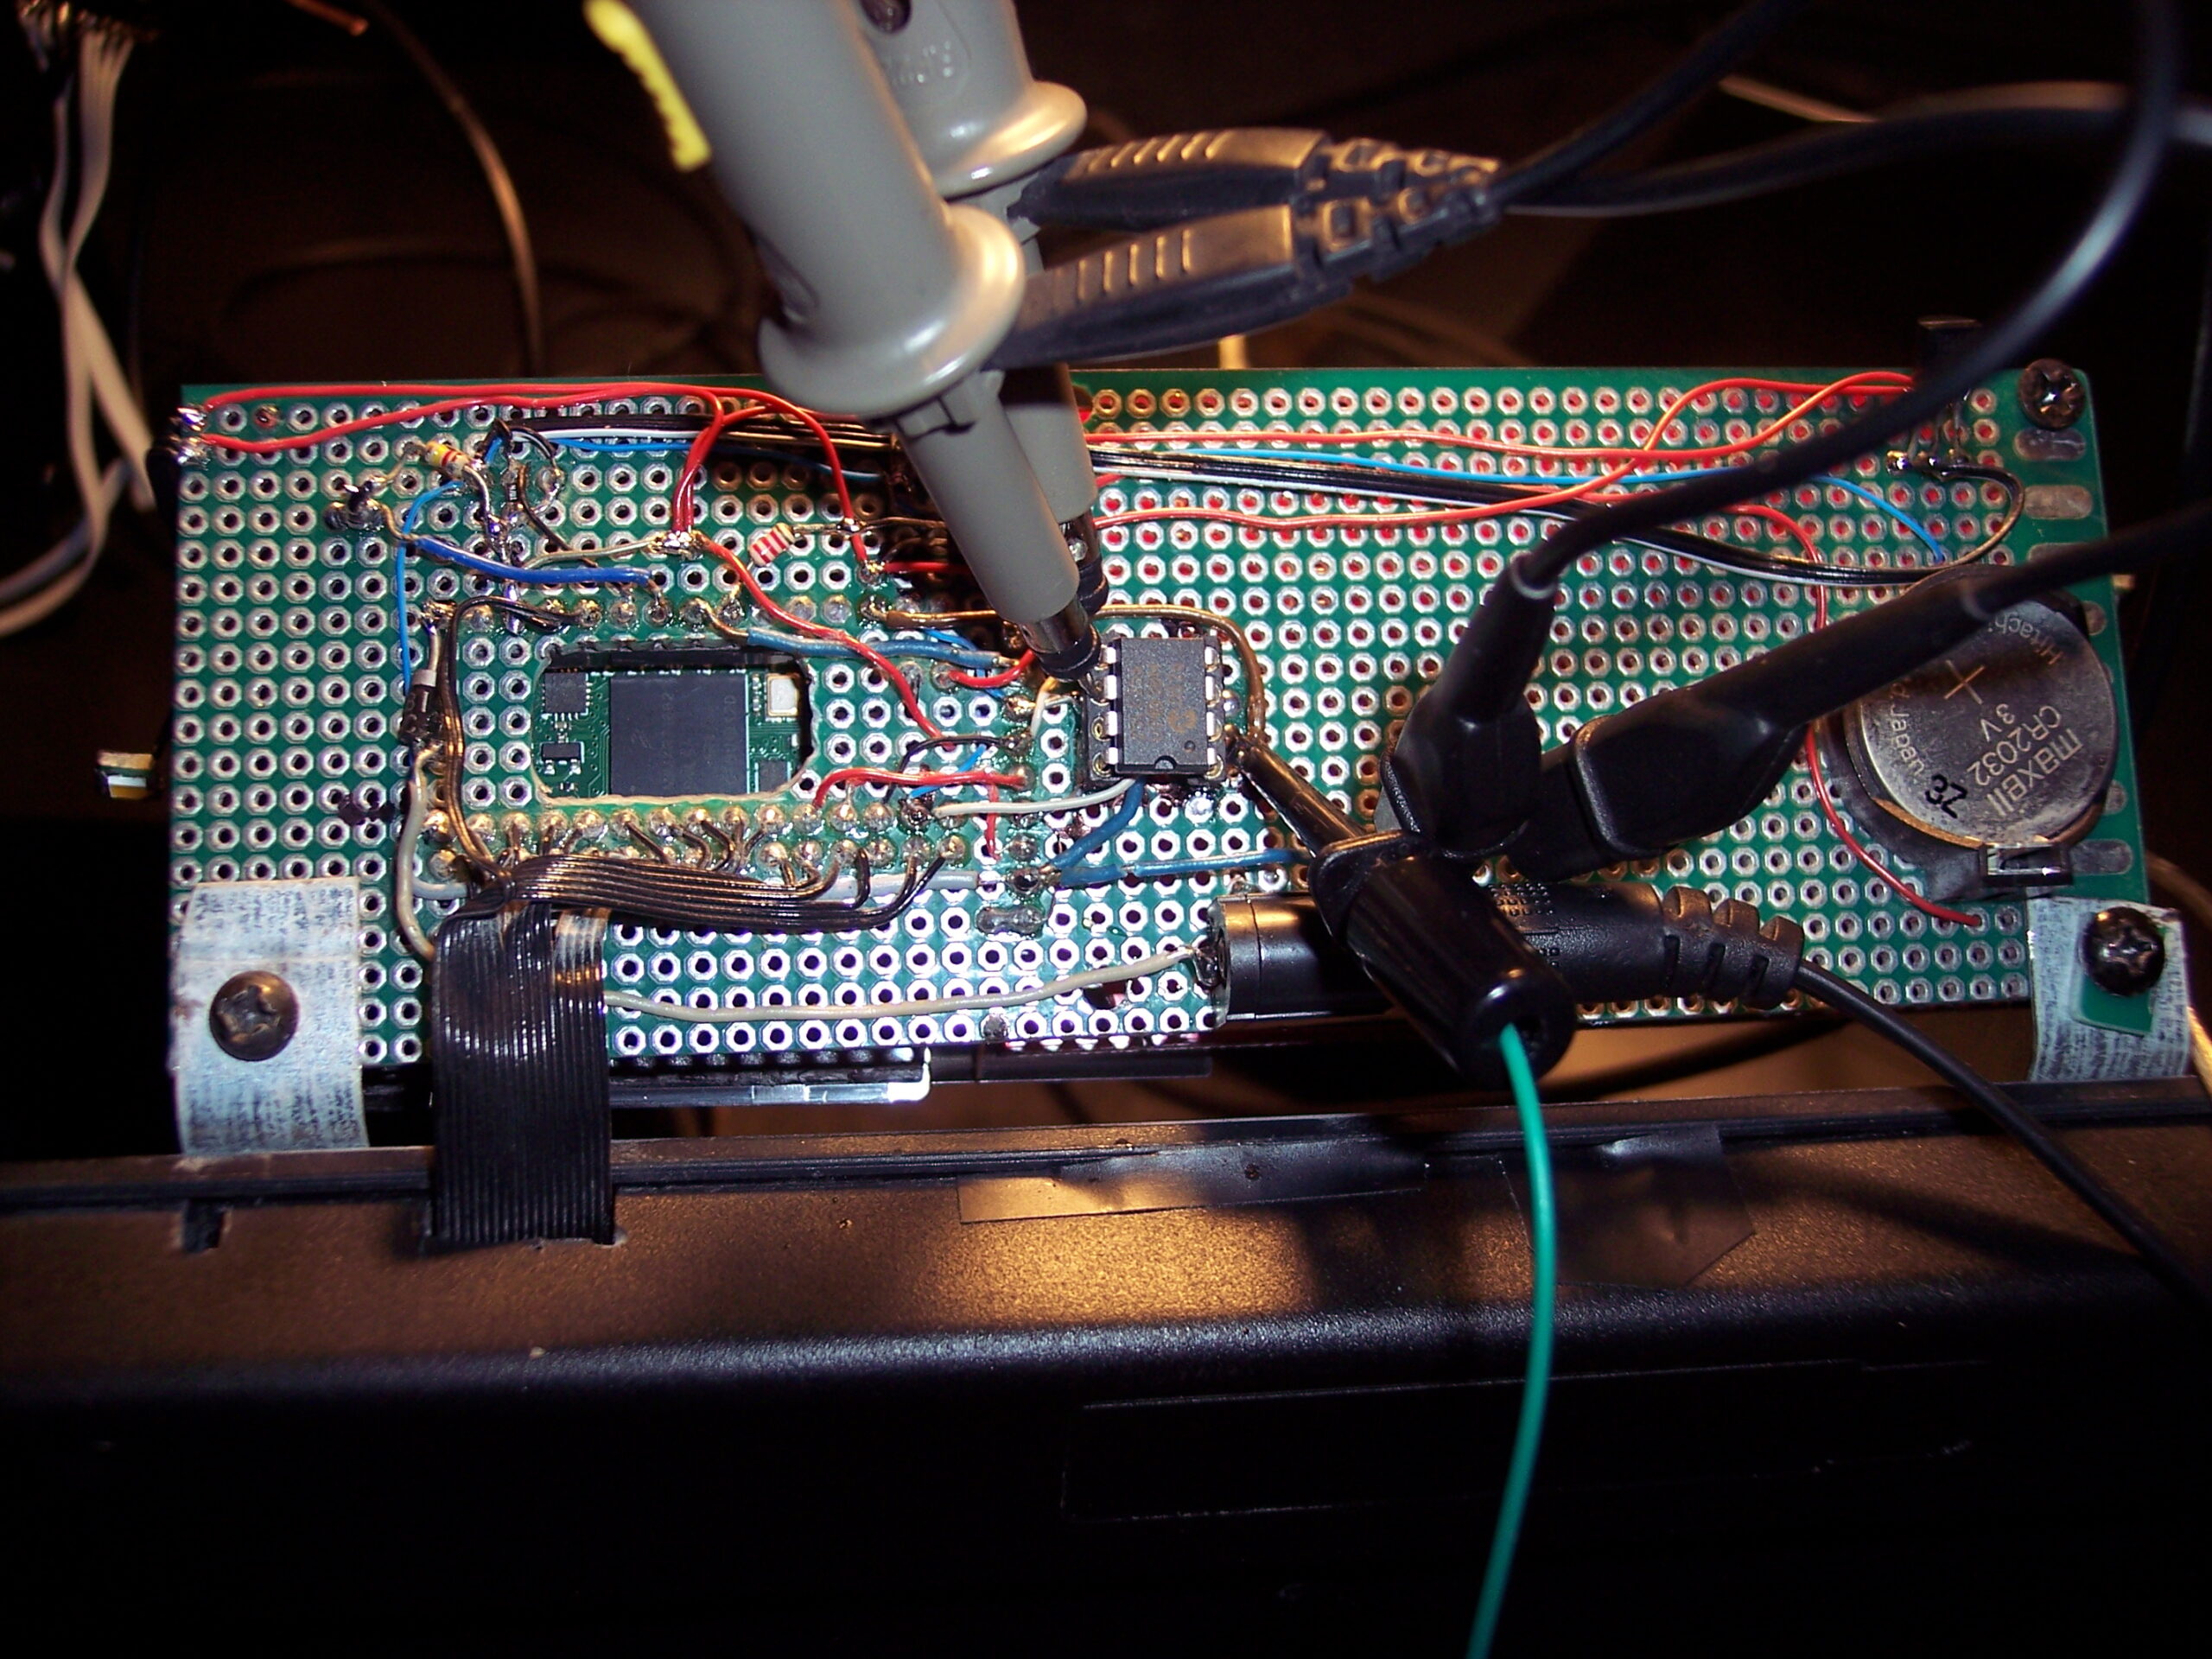
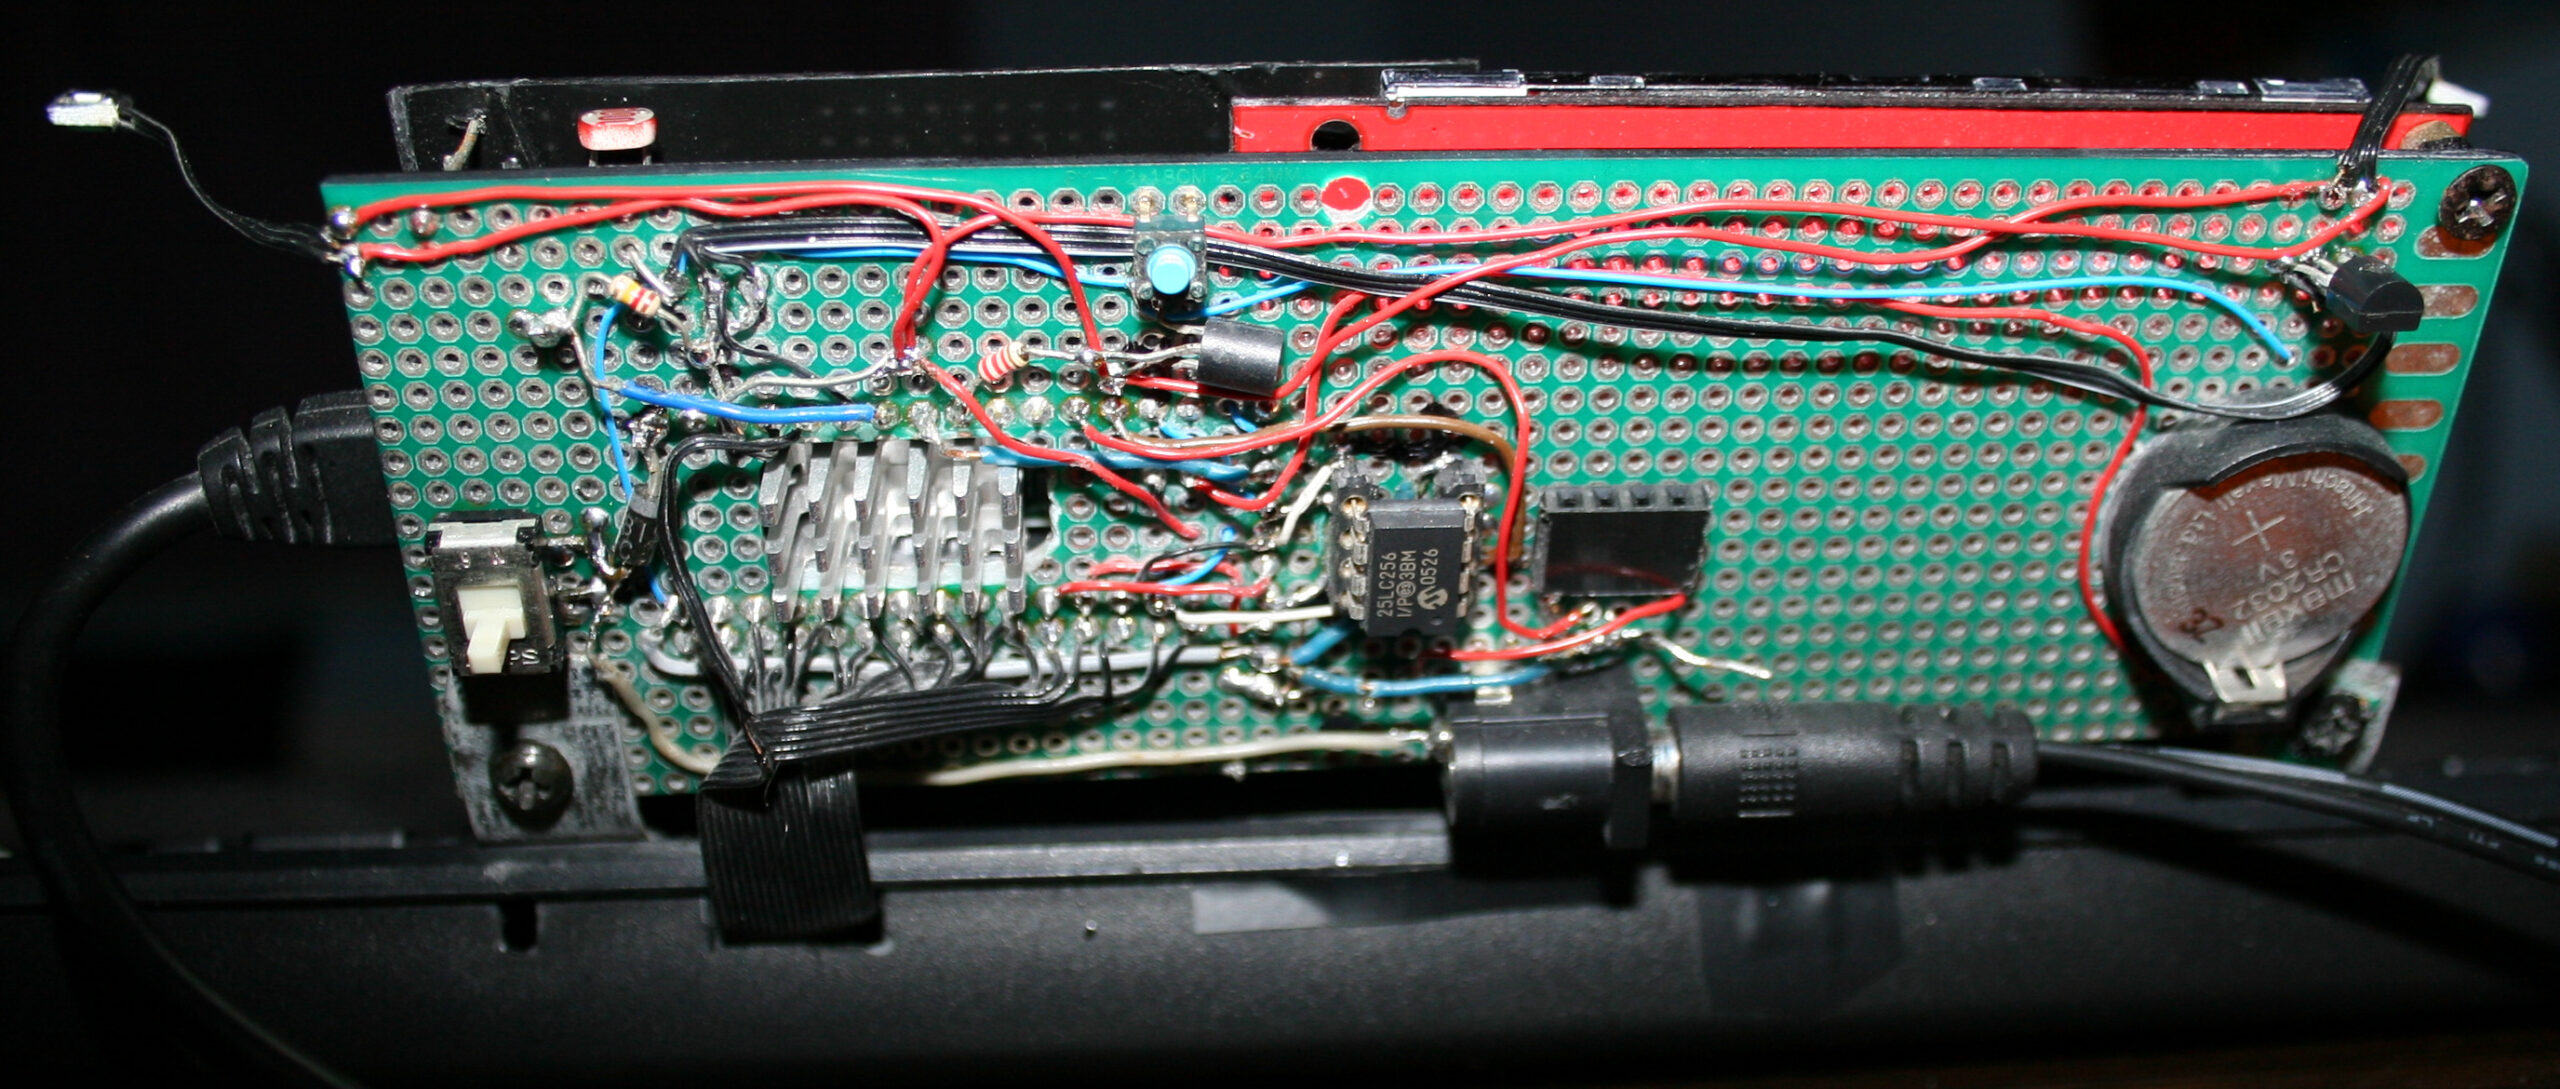
- for years I had just a simple analog knobs for PC fans, now I have my own fan controller
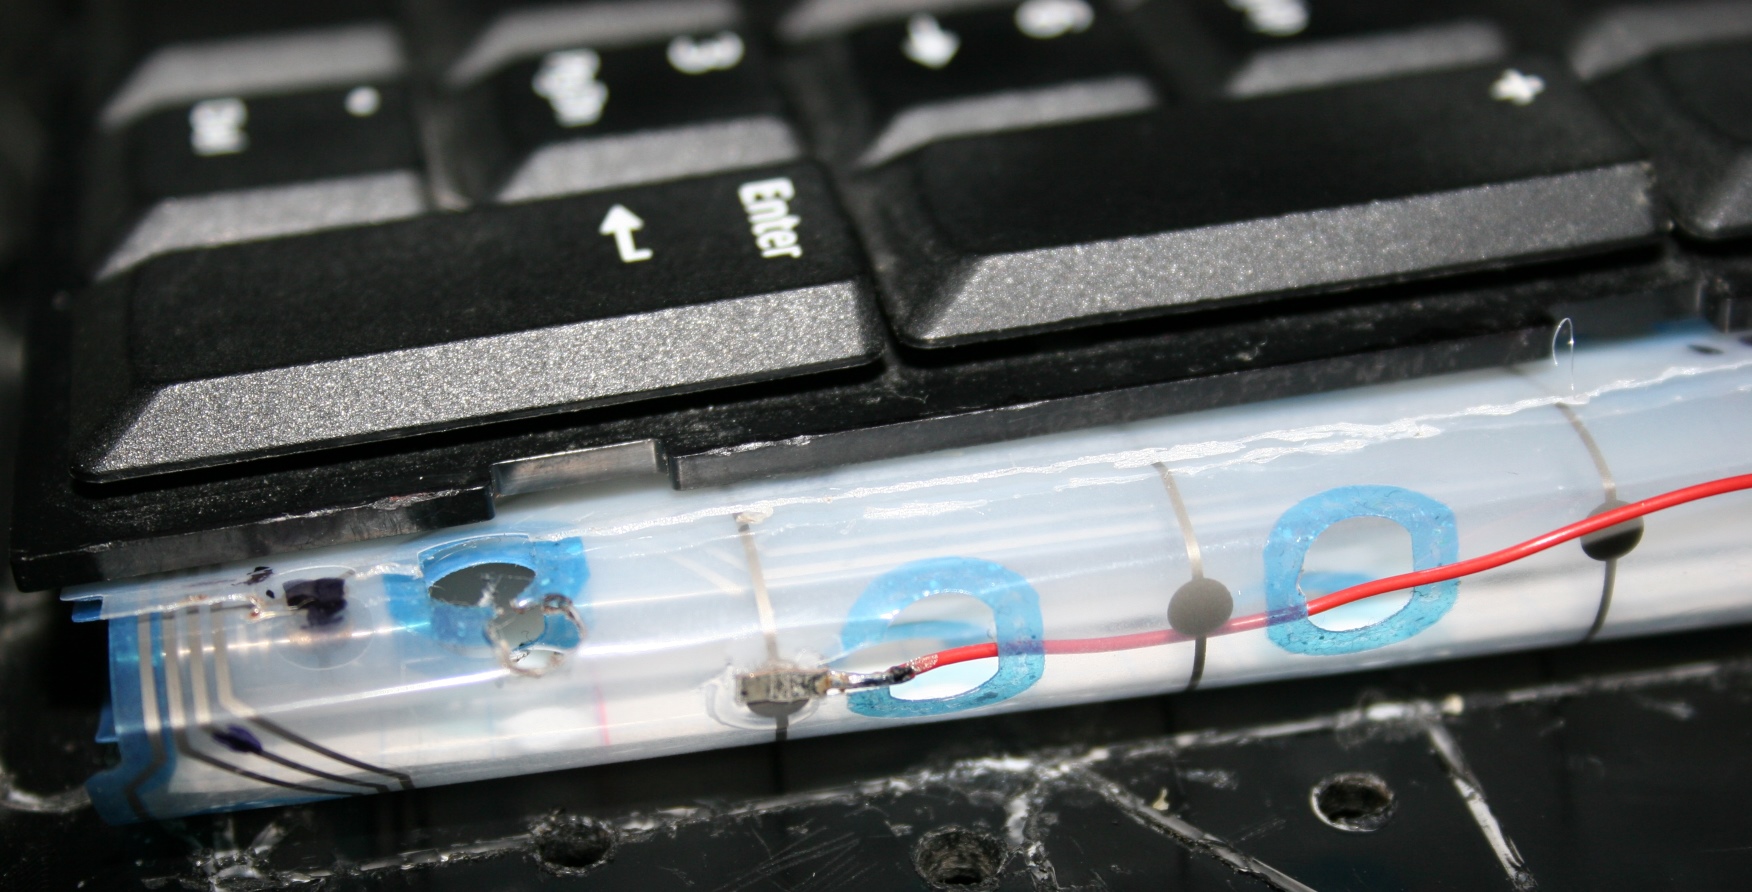
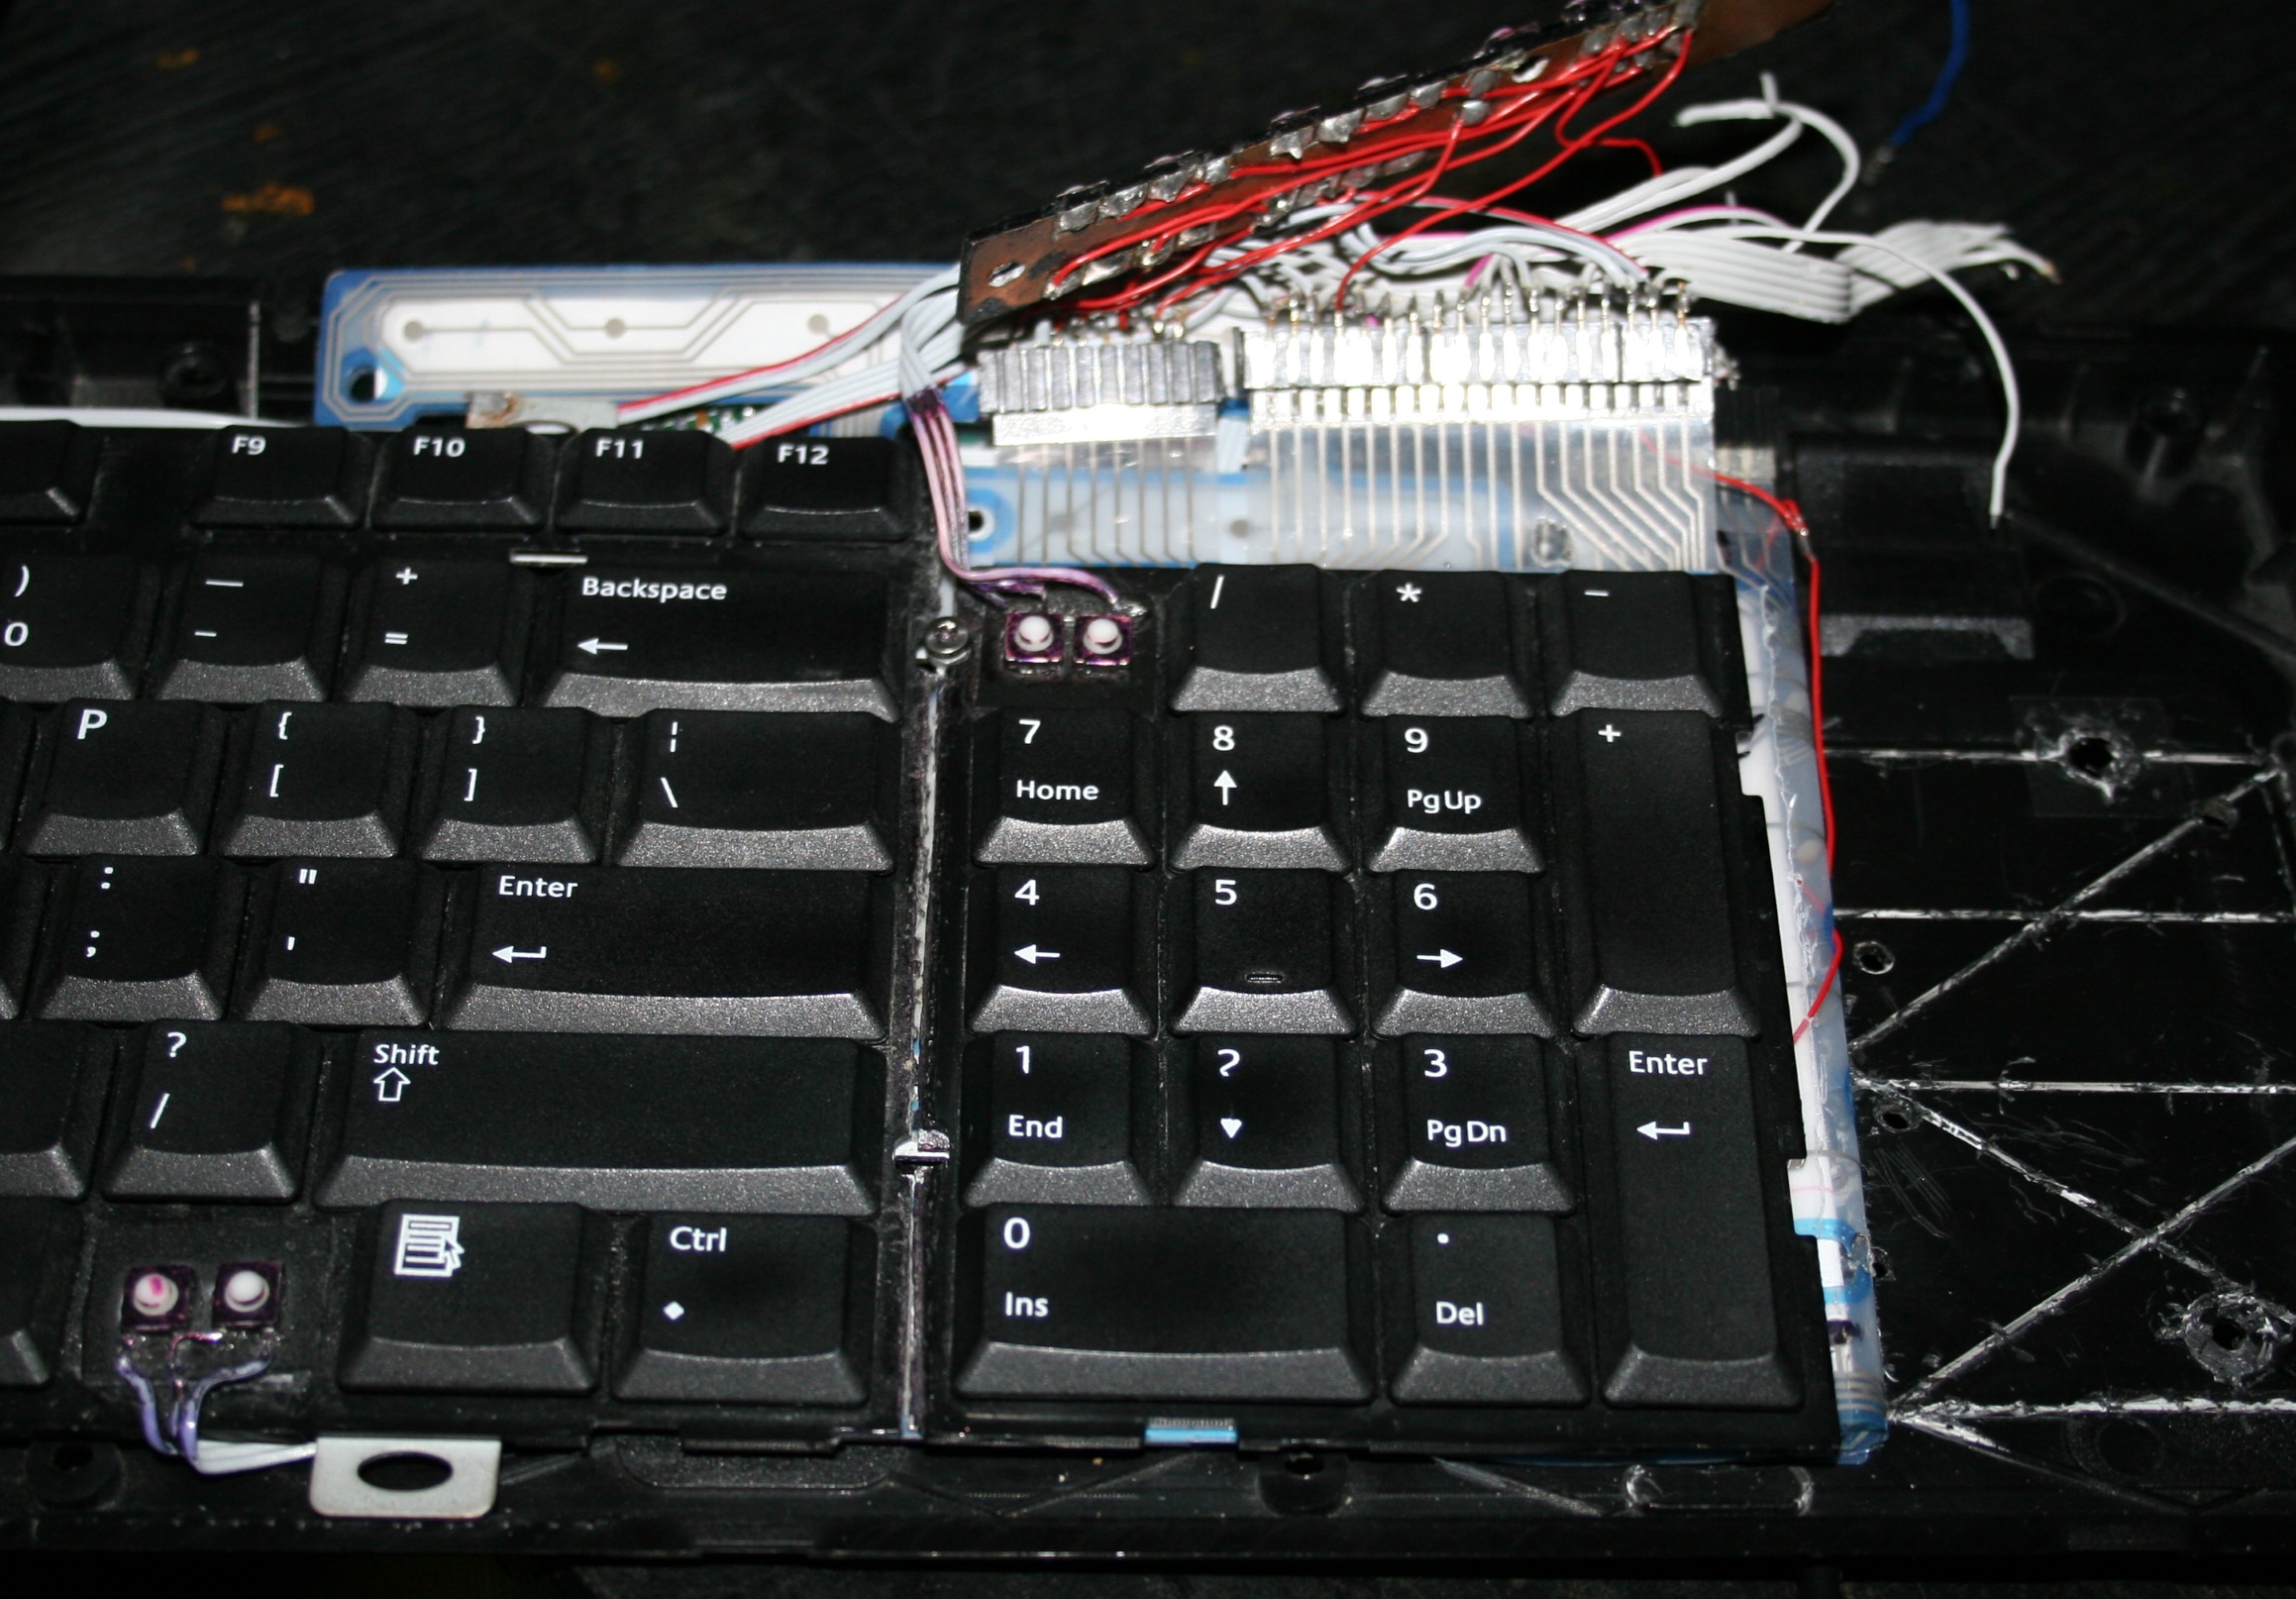
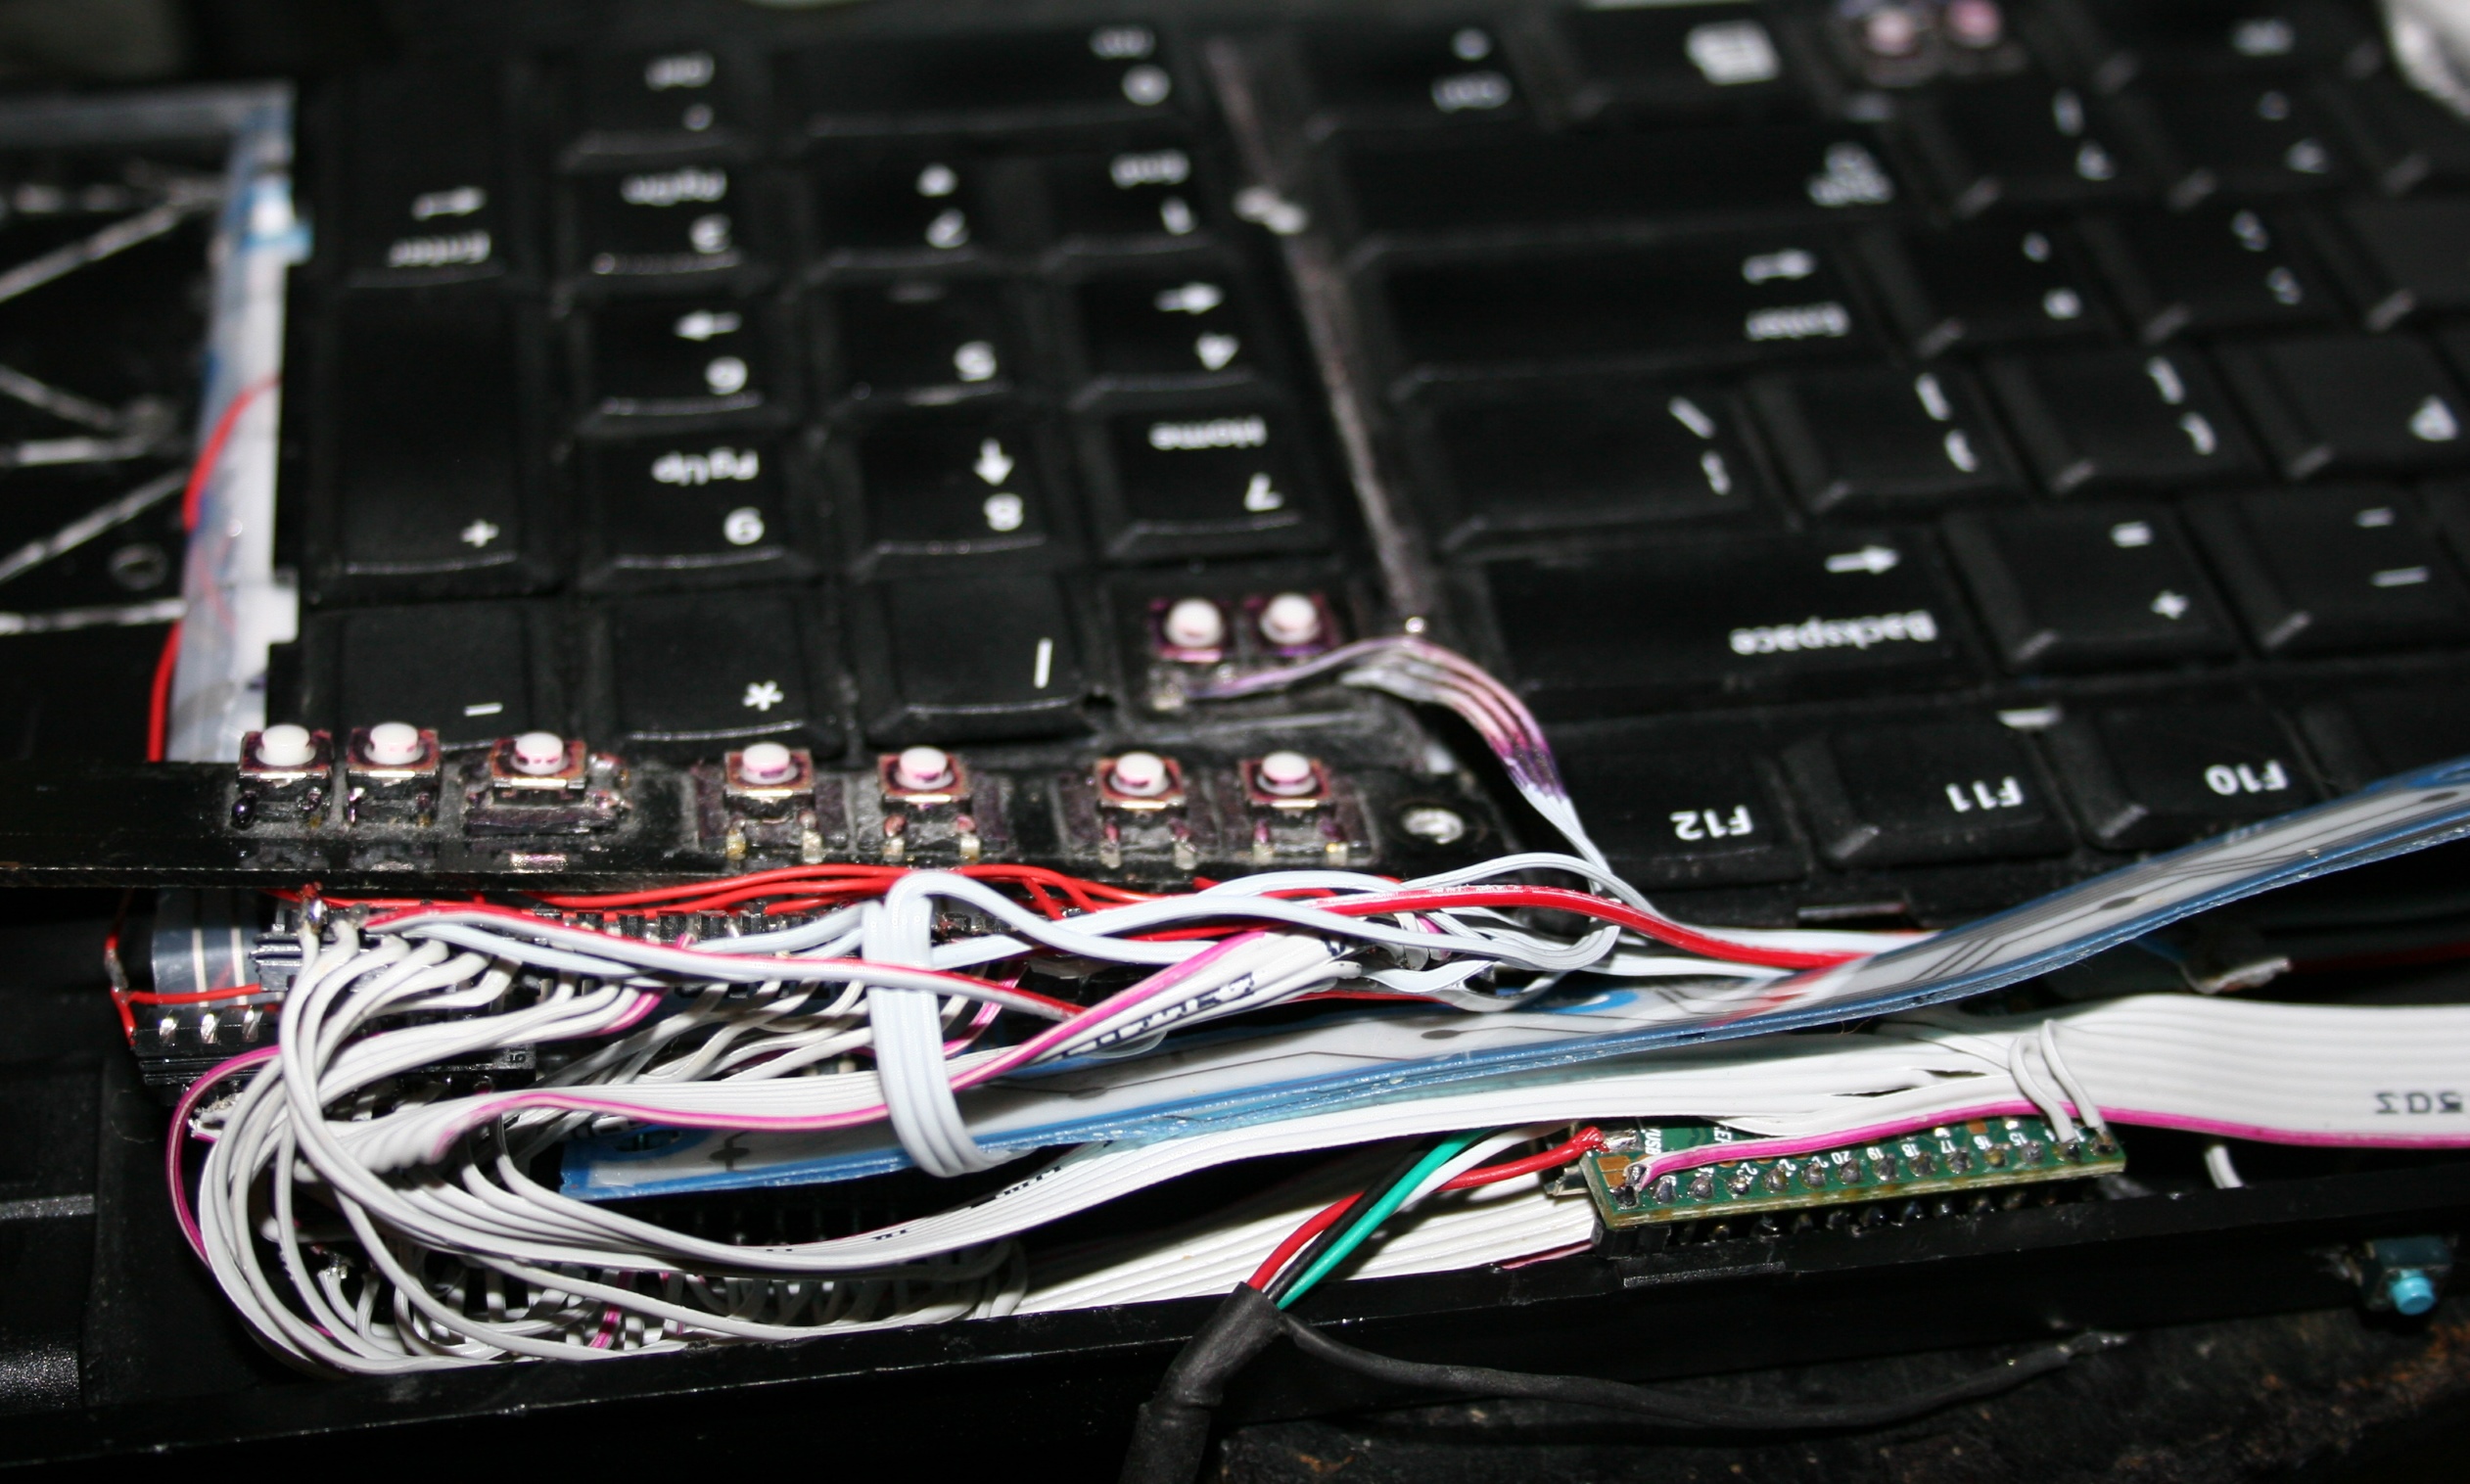
- also my own firmware in heavily modded keyboard
- external power switch
- and HDD LED (actually not used, too distracting)
- external 12V connector, to power my mini drill
- 2 USB switch
I use it to switch my keyboard and mouse between my PC and a laptop. Works like a charm, I can’t imagine not having this now.
I did it on a universal PCB with relays, since I had them available, but they do use 2,5W when on. There are 2 USB input ports and 4 output USB cables: one pair to PC and other to laptop. There are 6 relays, for 5V, D+, D-, and GND is common. - external switch for monitor input, near keyboard
This was a bit tricky. I had to disassemble my decent LCD monitor, get to the switch, solder some wires, and add a long 2m cable with external switch. It is extremely useful, I don’t have to lean to press and wait like that too.
📜My full PC history
Well this chapter is very optional, since it has quite nostalgic value for me, but otherwise it’s just mostly (ancient) history. Yeah, it’s over 30 years since my first PC.
Legend for the below table:
? – I’m not sure about exact amount or date
💀 – Dead, it broke by itself. Obviously very undesired.
🔨 – I killed it, so my fault. By bad overclocking @, or by accident otherwise.
♻️ – Sold it, eventually.
🗑️ – It became electronic garbage.
☑️ – Still using it.
| Year | CPU, MB | CPU Freq. @OC | RAM | HDD, SSD | GPU | Monitor | Audio, PSU |
|---|---|---|---|---|---|---|---|
| 1992 | PC XT | 8 MHz | 640 kB | 20 MB 💀 | 14″ CRT EGA | PC Speaker | |
| 1994 | 386, 486? | 33 MHz | 1?, 4 MB? | 260 MB 💀 | 14″ CRT VGA 💀 | ||
| 1996 | Pentium 1 | 120 MHz 🔨@ | 32 MB? | 1 GB 💀💀 | borrow Voodoo1? | ||
| 1999 | AMD K6-2 | 300 @366 MHz | 32? 64? MB | 4 GB? | borrow Voodoo3? | ||
| 2001 | Duron K7VTA3 📷 | 1.0 GHz | 256 MB | GF2 MX400 | 17″ CRT Samsung 753dfx ♻️ | ||
| 2004 | Pentium 4 MSI 865PE Neo2 | 3.0 GHz ♻️ | 2 GB? | 40, 80 GB? 🔨 | ATI 9600 | 19″ CRT Samsung 959NF ♻️ | SB 128 PCI? 💀 Yesico FL-550ATX PSU🔨 |
| 2005 | ATI X800 💀 | 21″ CRT Dell P1130 🗑️ | |||||
| 2008 | Quad Q6600 P5E Deluxe | 2x 2.4 @3.0 GHz | 4 GB? DDR3 1066 🔨@ | 320 GB | GTX 8800 512MB 💀 | 24″ LCD TN Iiyama ♻️ | SB X-Fi PCIe Xtreme 💀 Antec CP-850 PSU ☑️☑️ |
| 2011 | 1TB? 💀 | GTX 560 Ti 1GB💀♻️ | |||||
| 2012 | i7 2600K P8Z68-V GEN3 | 4x 3.4 @4.4 GHz ☑️ | 8 GB DDR3 1333? | 2TB | |||
| 2014 | 24″ LCD IPS Eizo EV2436W ☑️ | ||||||
| 2020 | 16 GB DDR3 2133 | 1TB | RX 570 4GB ☑️ | DAC AIYIMA A5 PRO ☑️ | |||
| 2023 | Ryzen 5 7600X B650M DS3H | 6x 4.7 GHz ☑️ | 32 GB DDR5 6000 | 1TB M.2 Gen4 NVMe | RX 6600XT 8GB ☑️ |
⌛Conclusions
As a kid I didn’t have new PCs too often, they were also getting faster and obsolete quite often. Then after a brief period of having newer hardware (mostly GPUs) somewhat often, while most of them died too early I think I realized it’s not good to buy (they’re soon to be garbage anyway).
Later I realized that since years CPUs don’t really get much better, yet they do cost same or more. Thus my CPU and MB is still from 2012 (happy 10 years man).
I did have them overclocked for few years, but now I even don’t. It gets 30% faster, but uses 30% more power. So I’d rather have 100W (not 130W) at idle, when I just listen to music or watch something. I don’t need that extra 30% like I did when I was building C++ often, for Stunt Rally.
After all PCs are just tools (and not just gaming like consoles) but for learning, creating and entertainment too. So naturally buying a PC is an investment, that has to be done rationally.
Some time later I decided it will be better to buy (instead of new PC) a new ergonomic chair (for PC) and a bed. Those are similar priced but much better for health.
➡️End
Well in Sep 2023 I bought a new PC, even with case, only PSU still same. Added it to history table. It feels way faster than my previous, like 3 to 5 times. It seems I’ve skipped a new PC (CPU+MB) somewhere along the last 11 years. I always aimed for new PC to be at least 2 times faster to not waste money and time for updating. It needs some time to update, like a week to choose right components, move OS setup, etc. I cleaned dust in this now old PC and moved to air cooling again, then set it up and gave to my mother. Replacing previous one, which was way too slow, nowadays even movies were not smooth. Yet still almost all PCs of mine drain above 100W at idle. Well it’s good to update and do stuff faster, but of course still a high cost for new technologies.
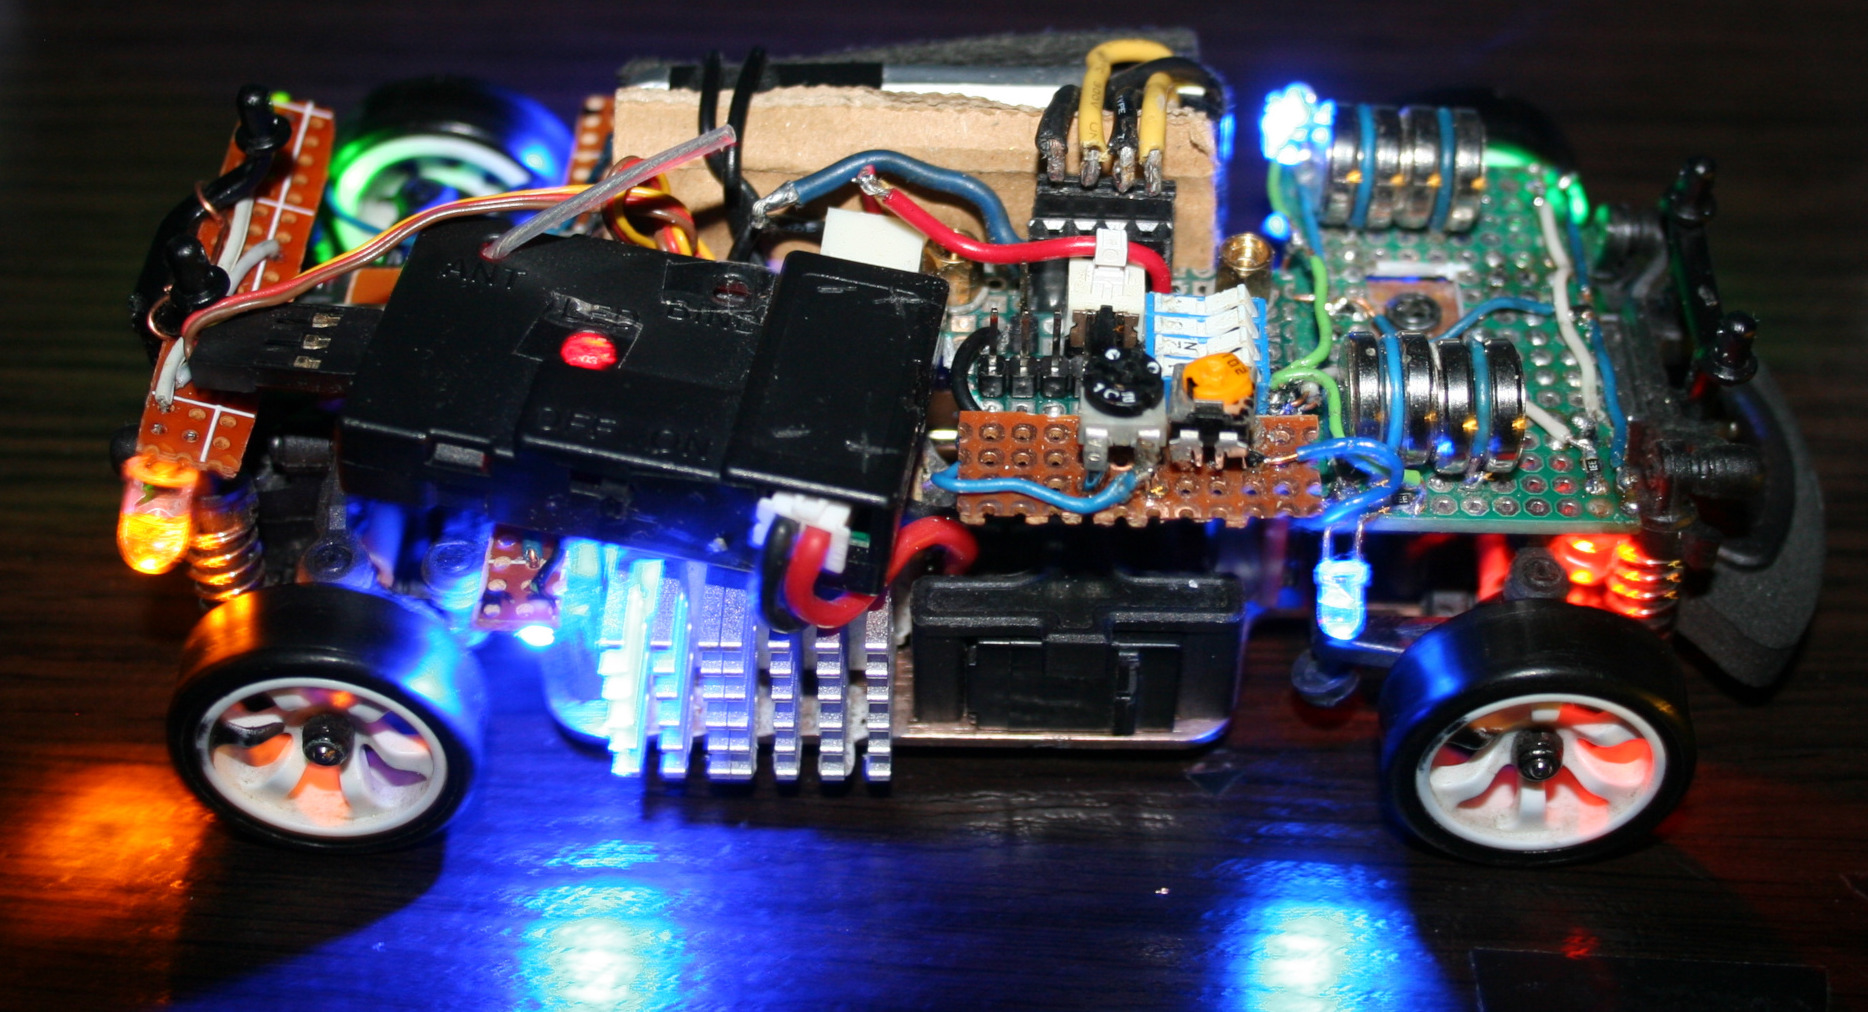
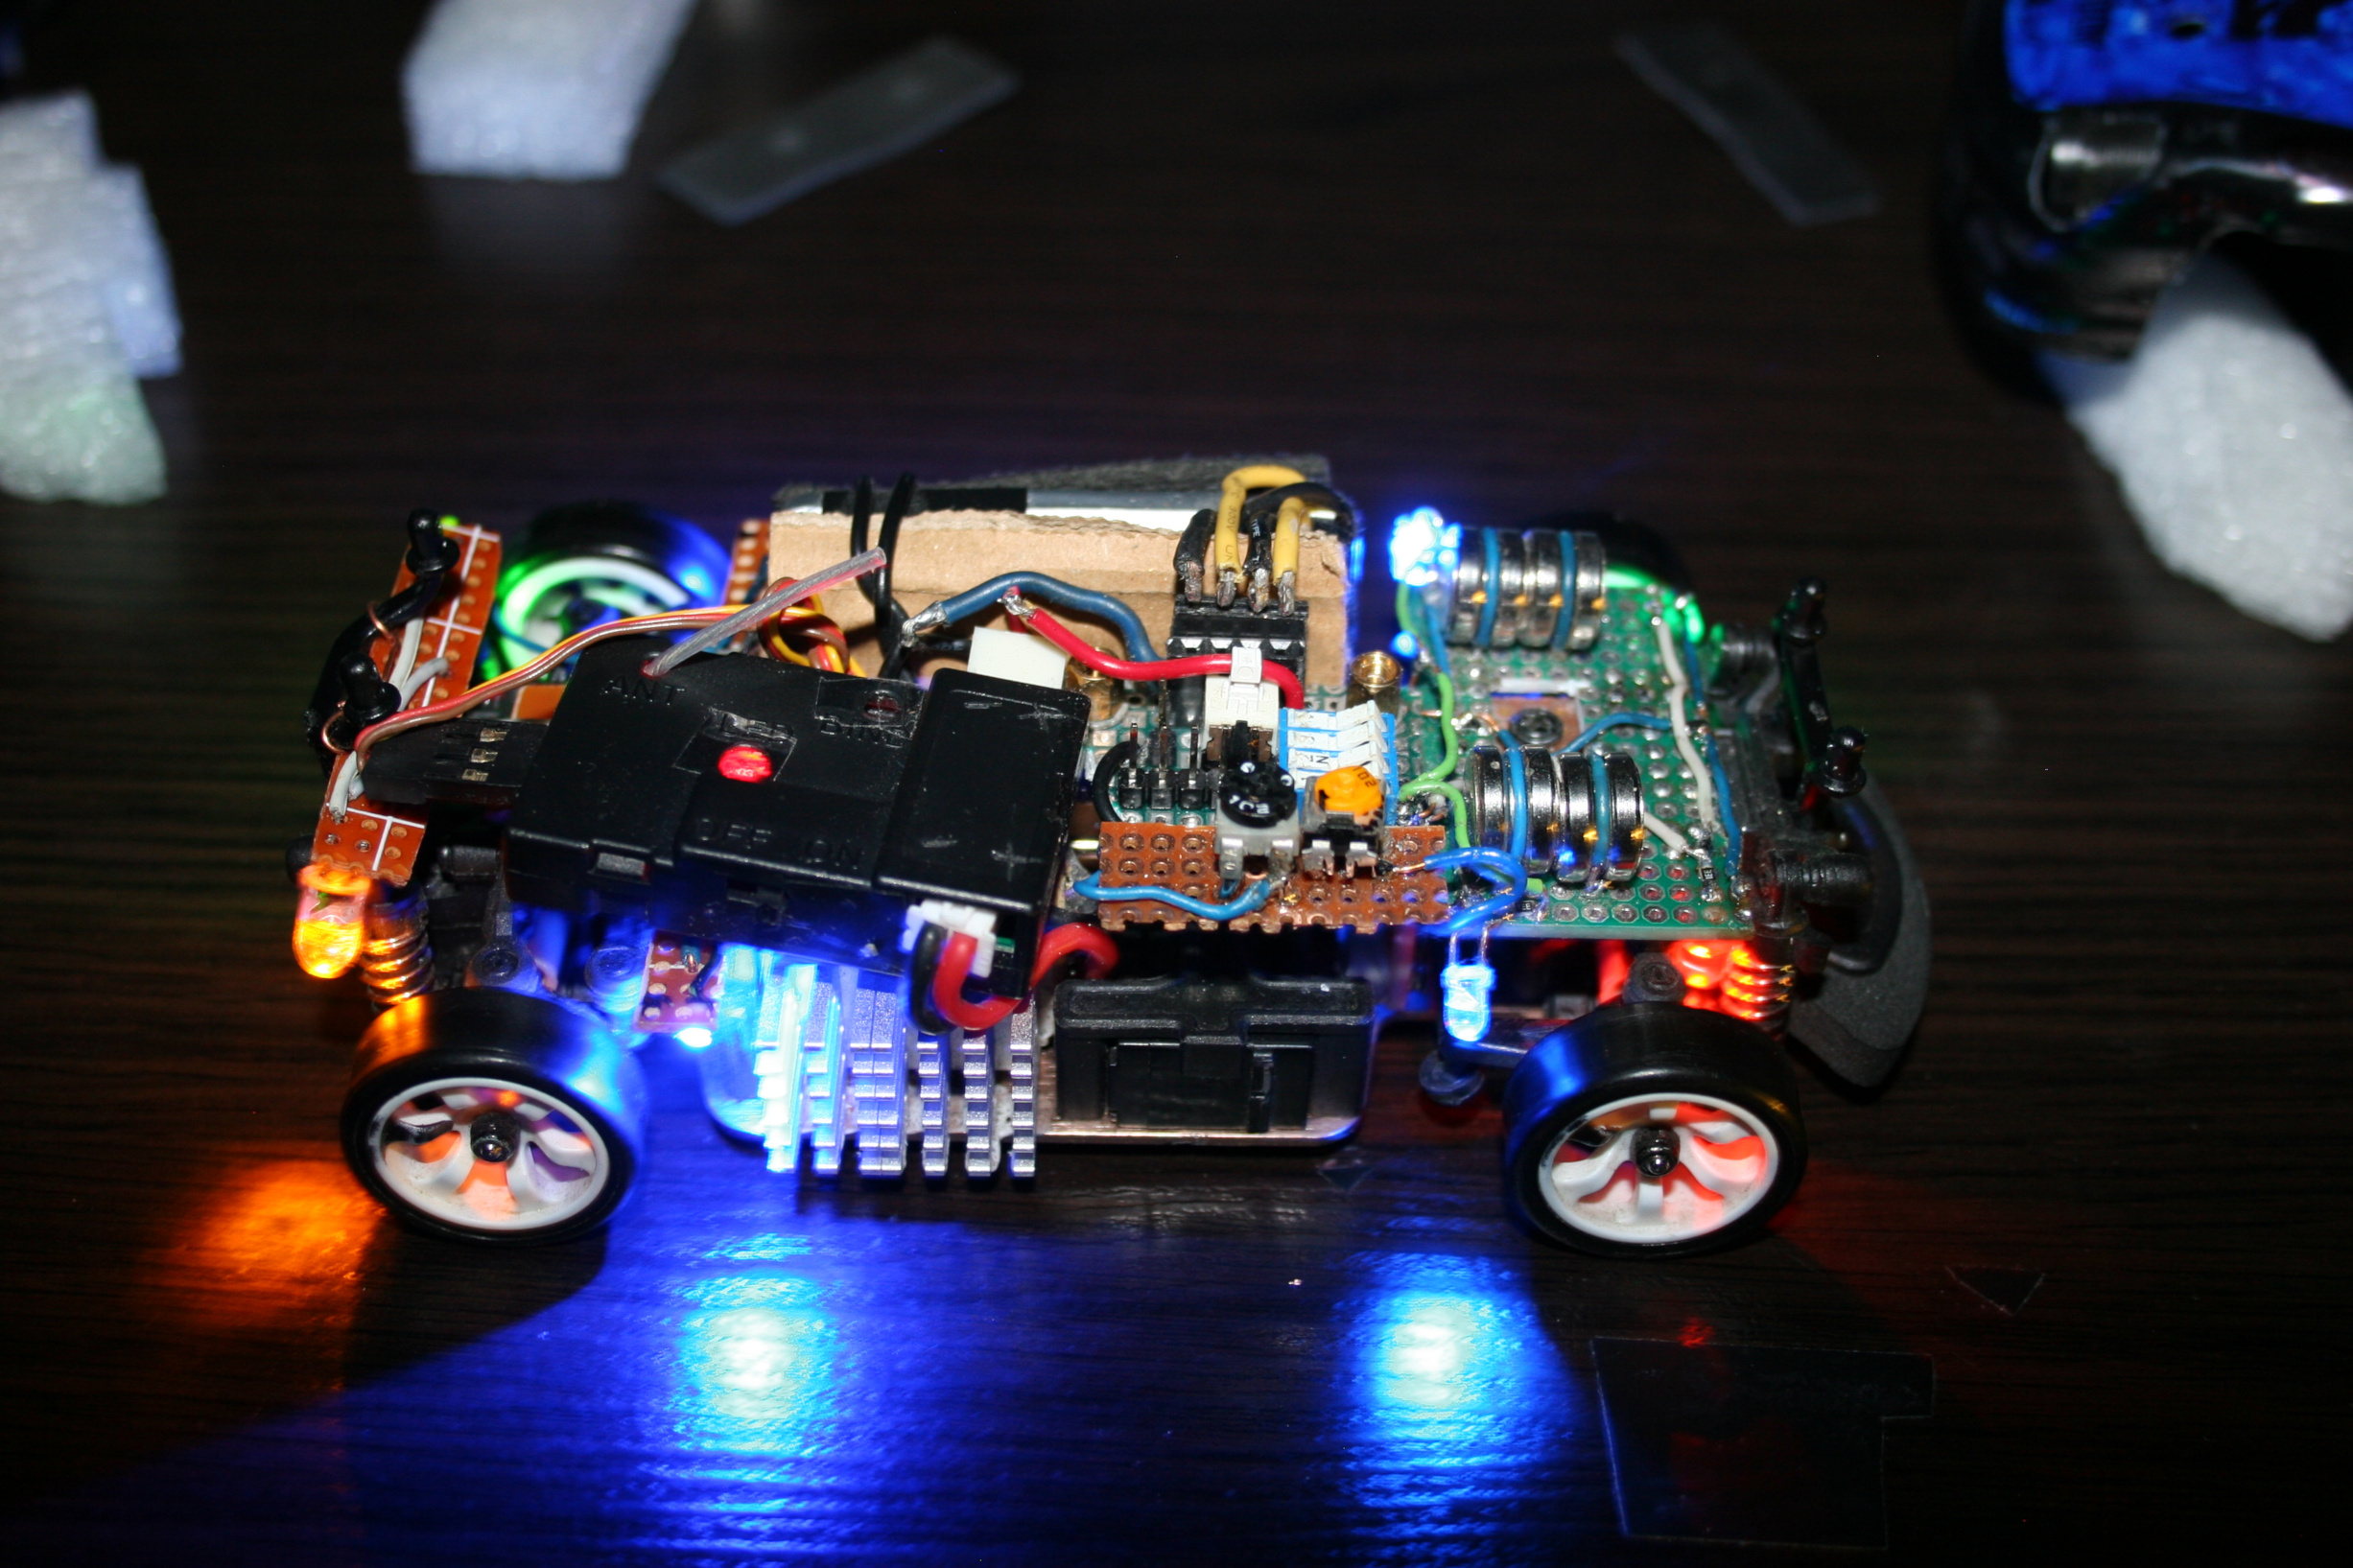
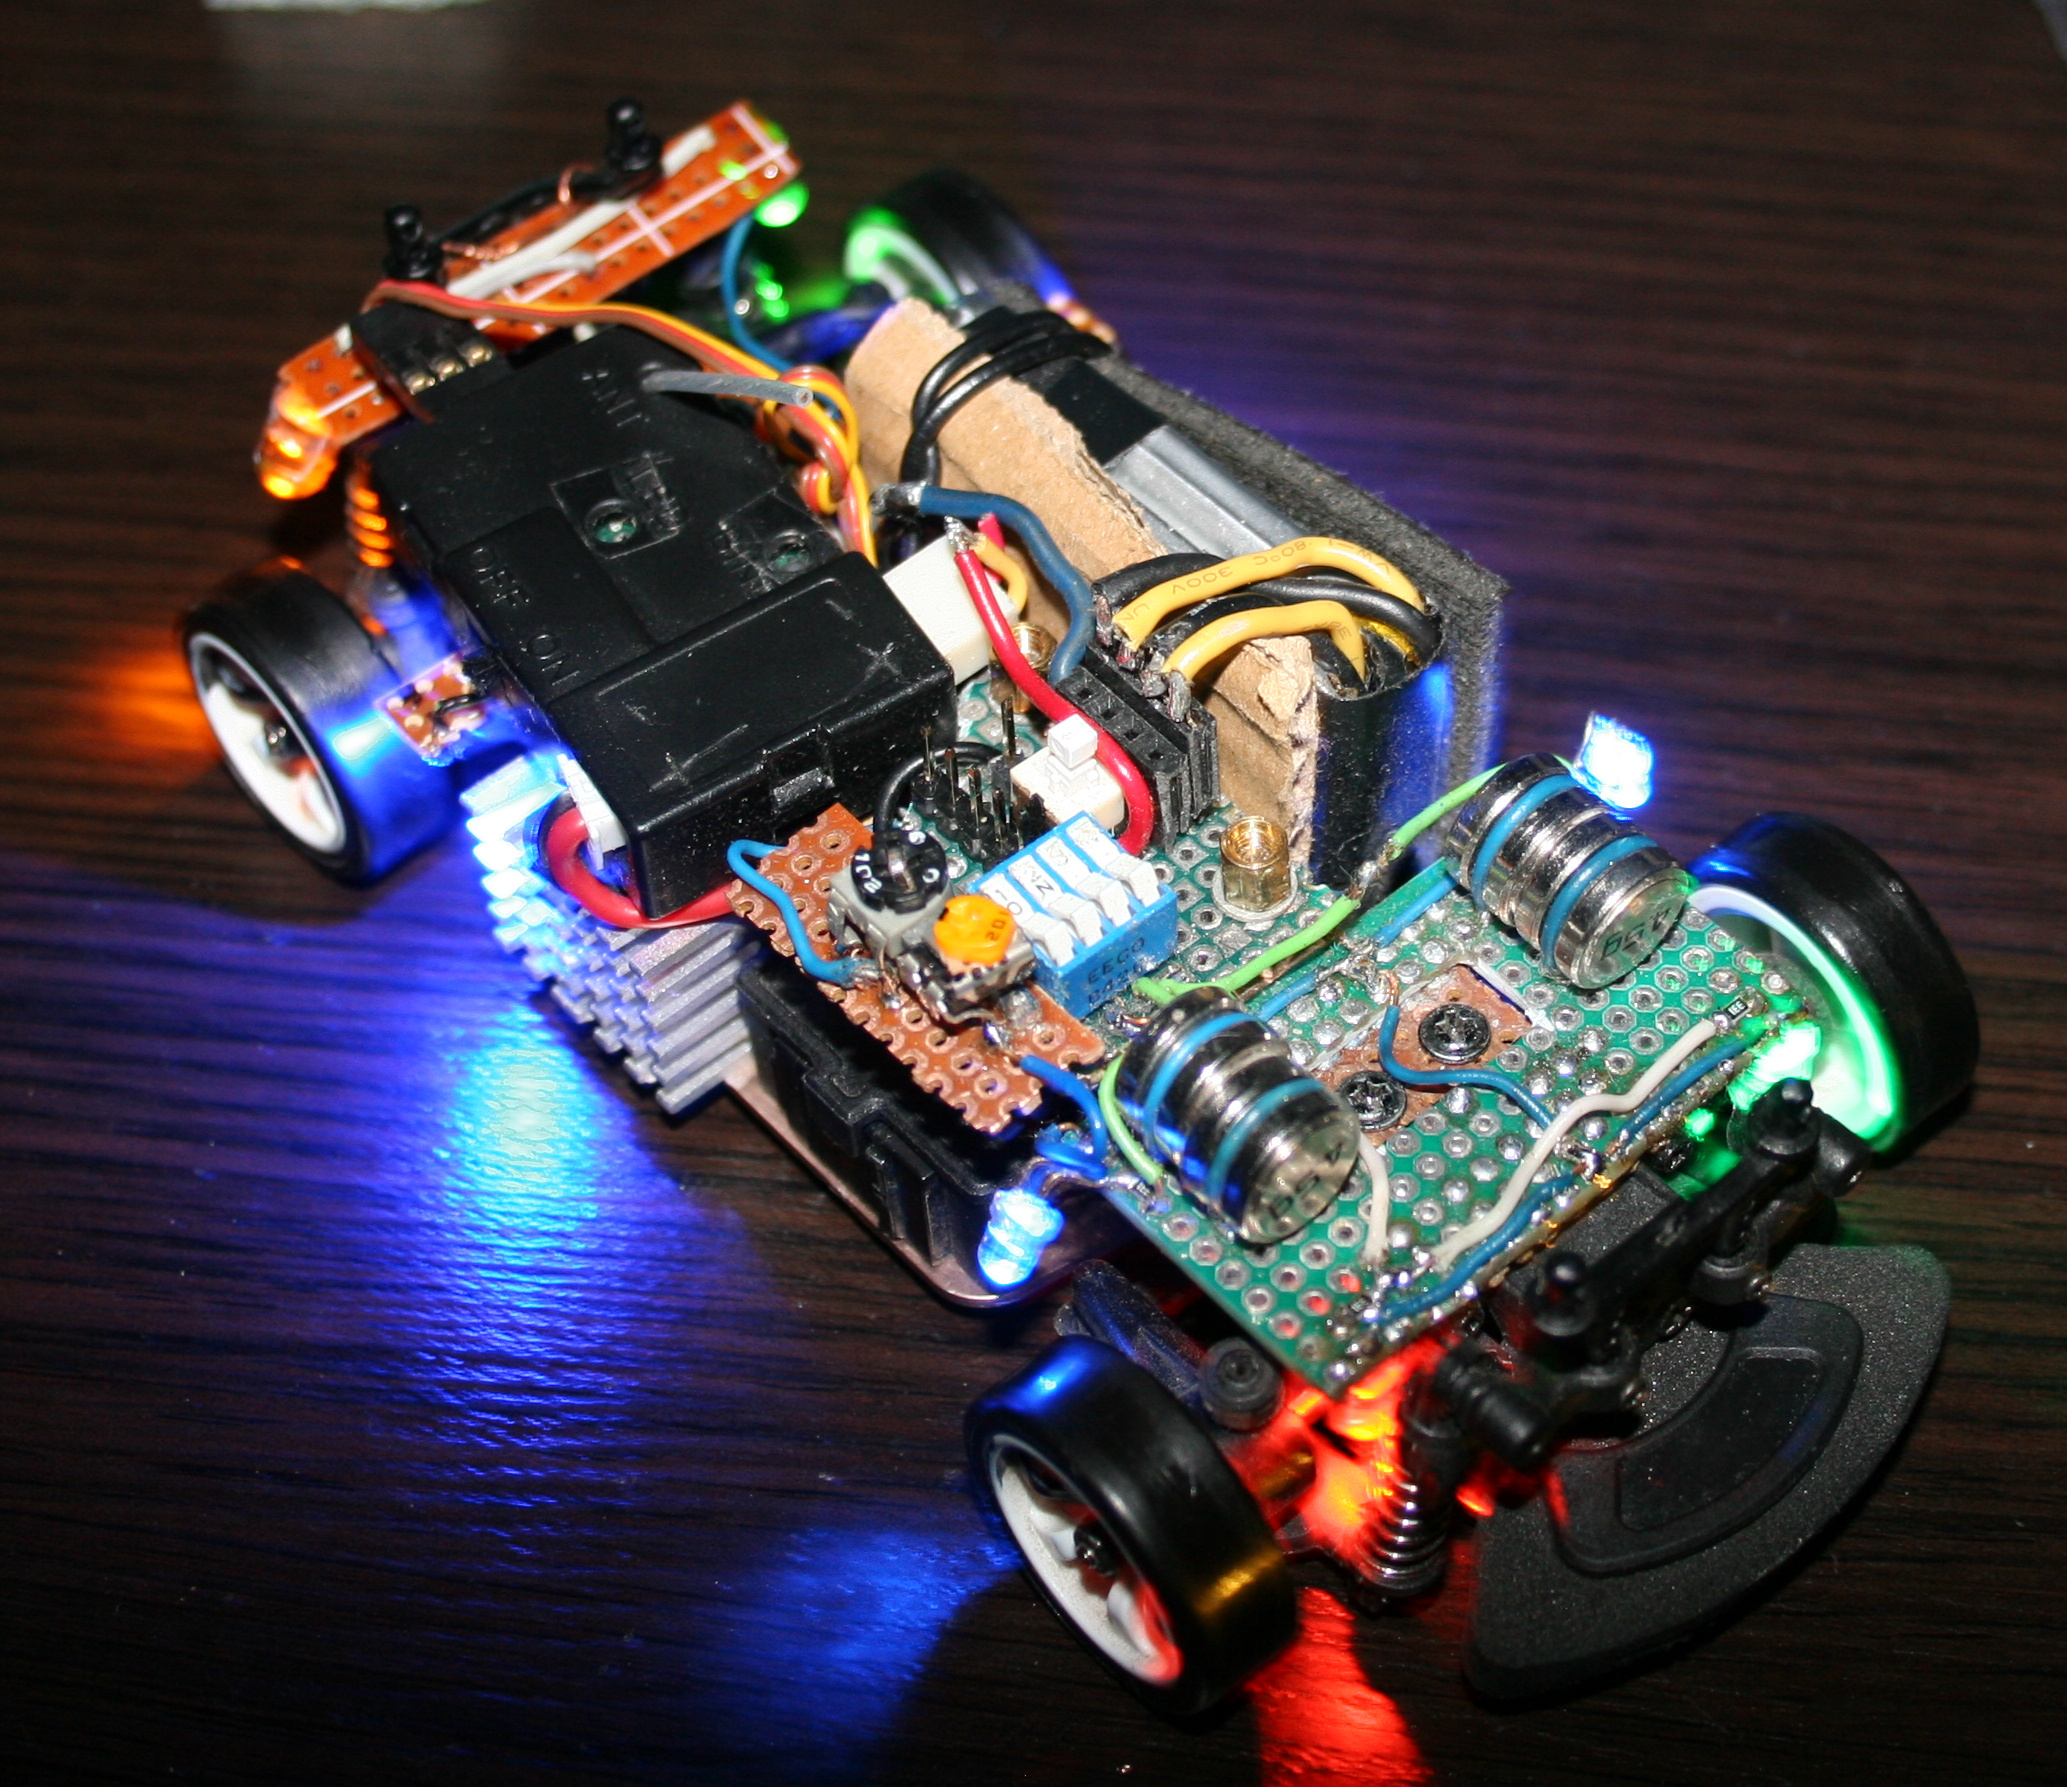
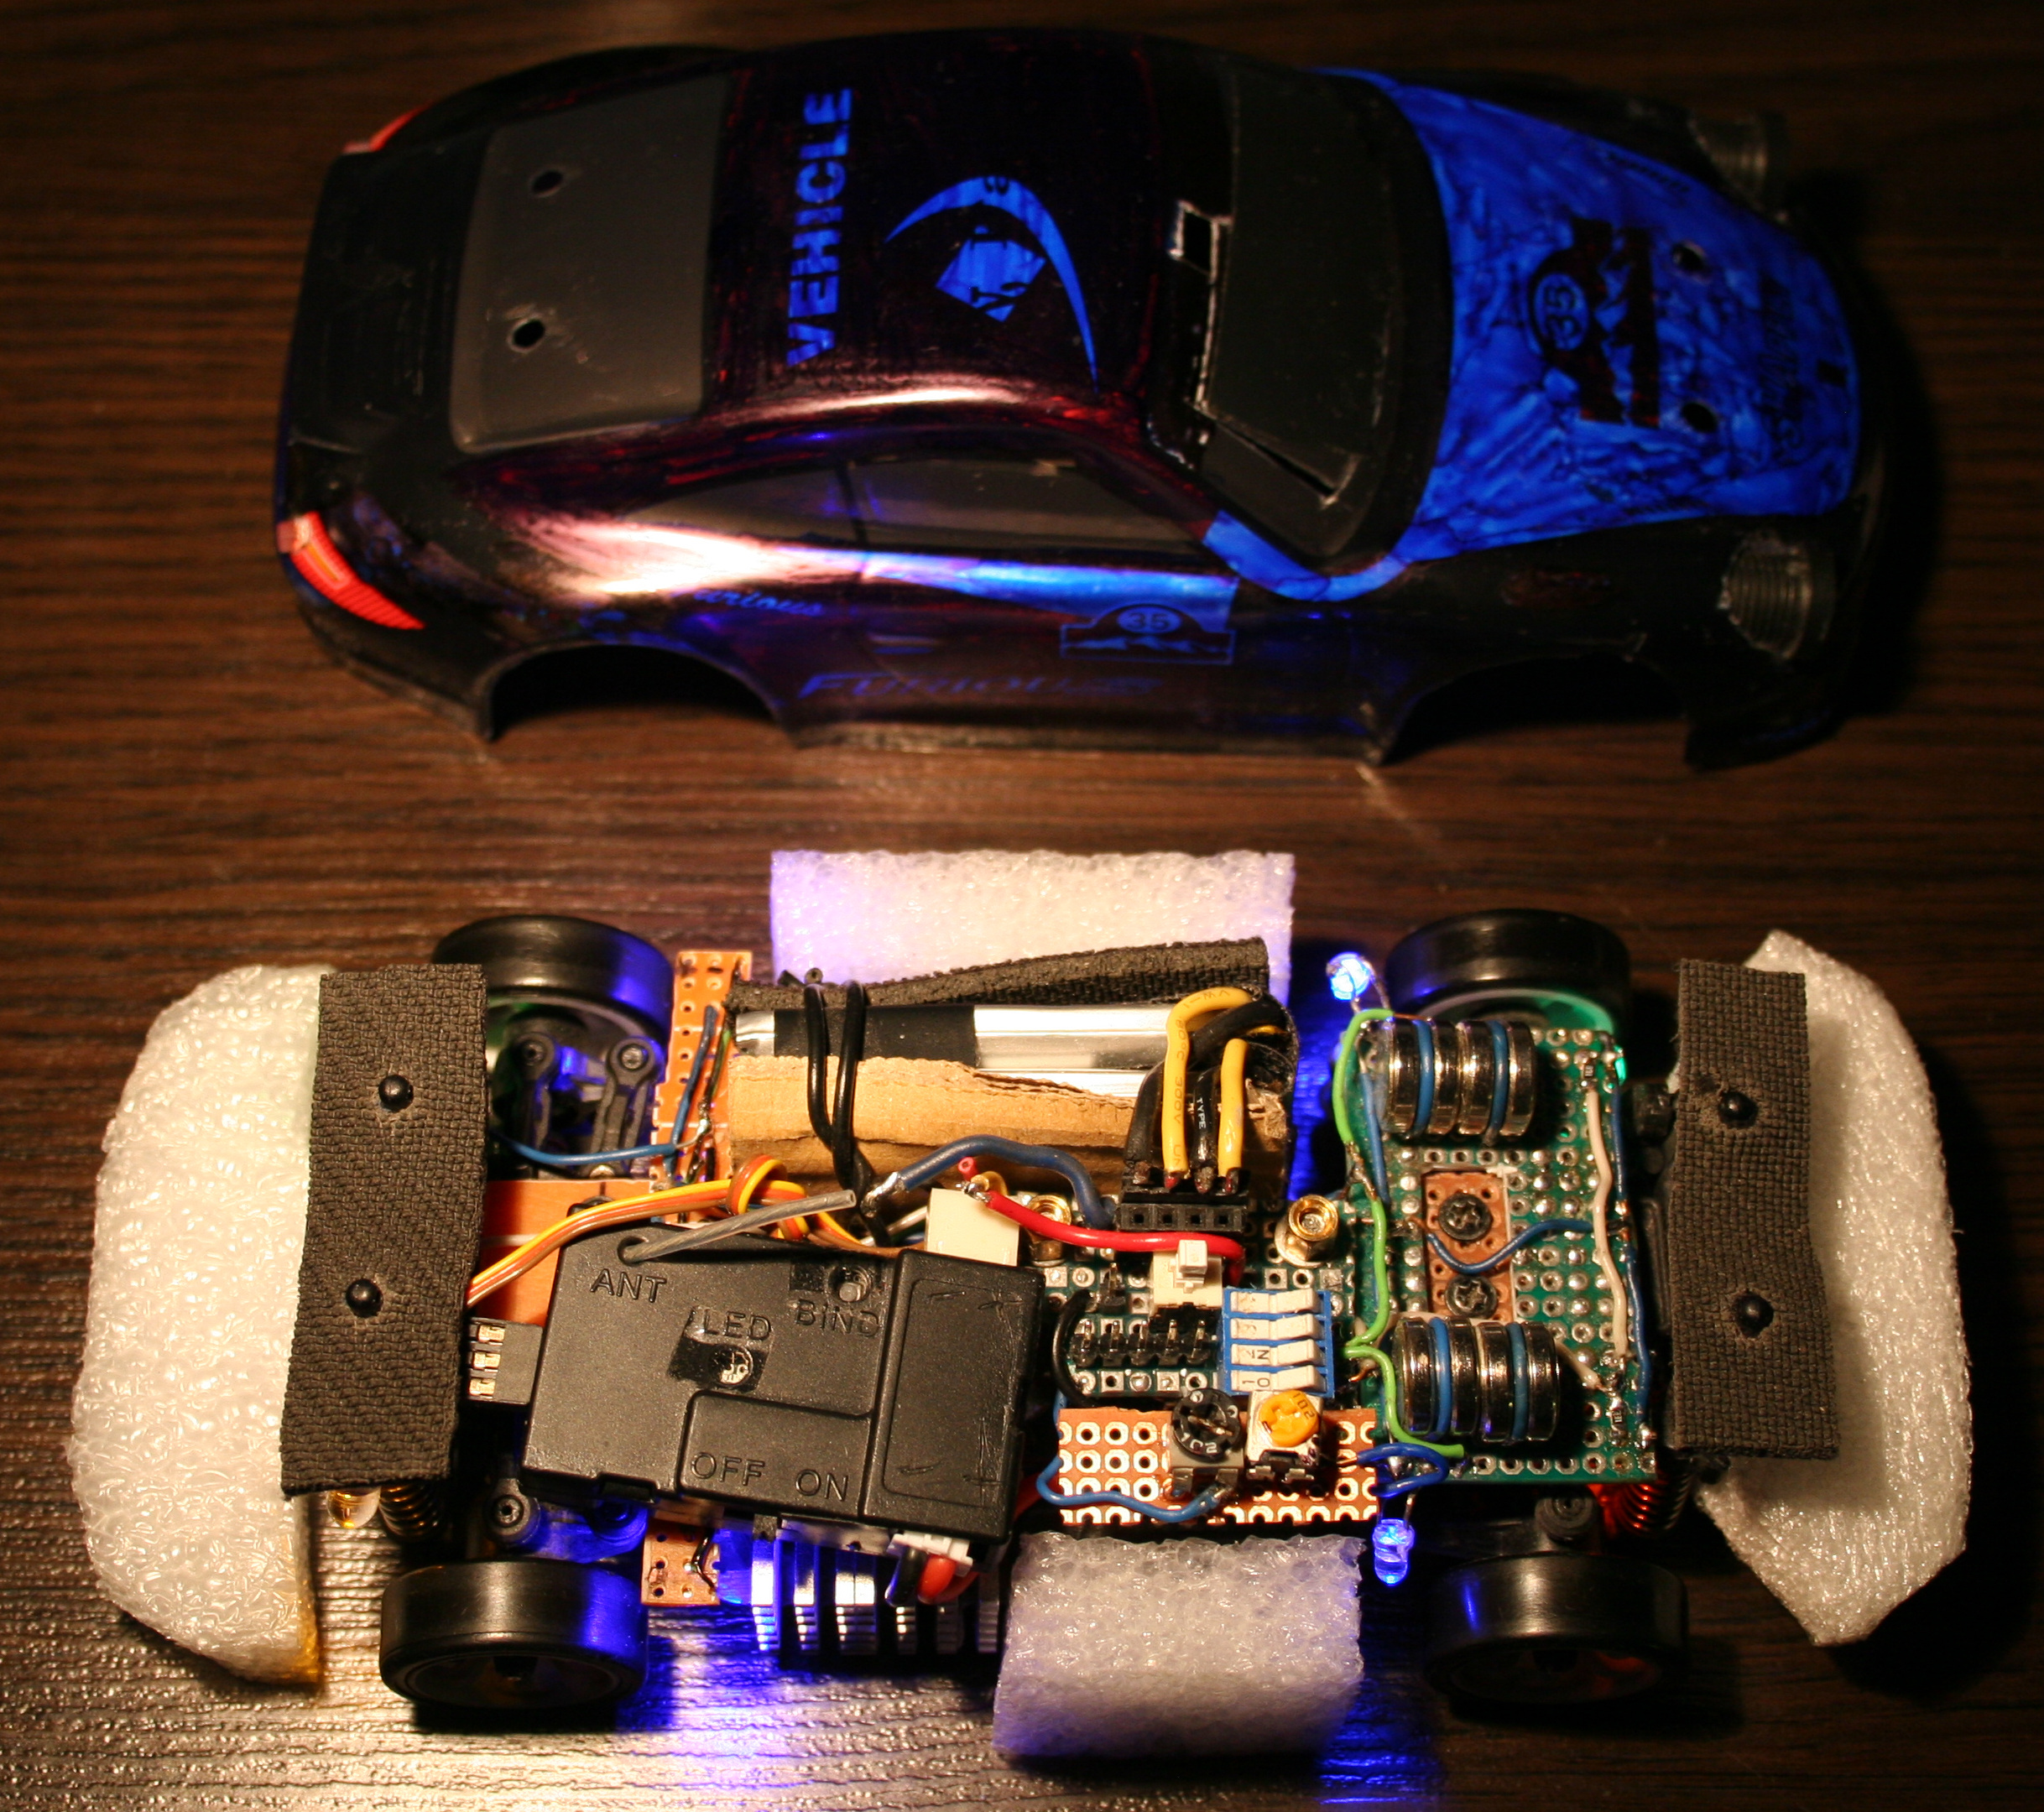
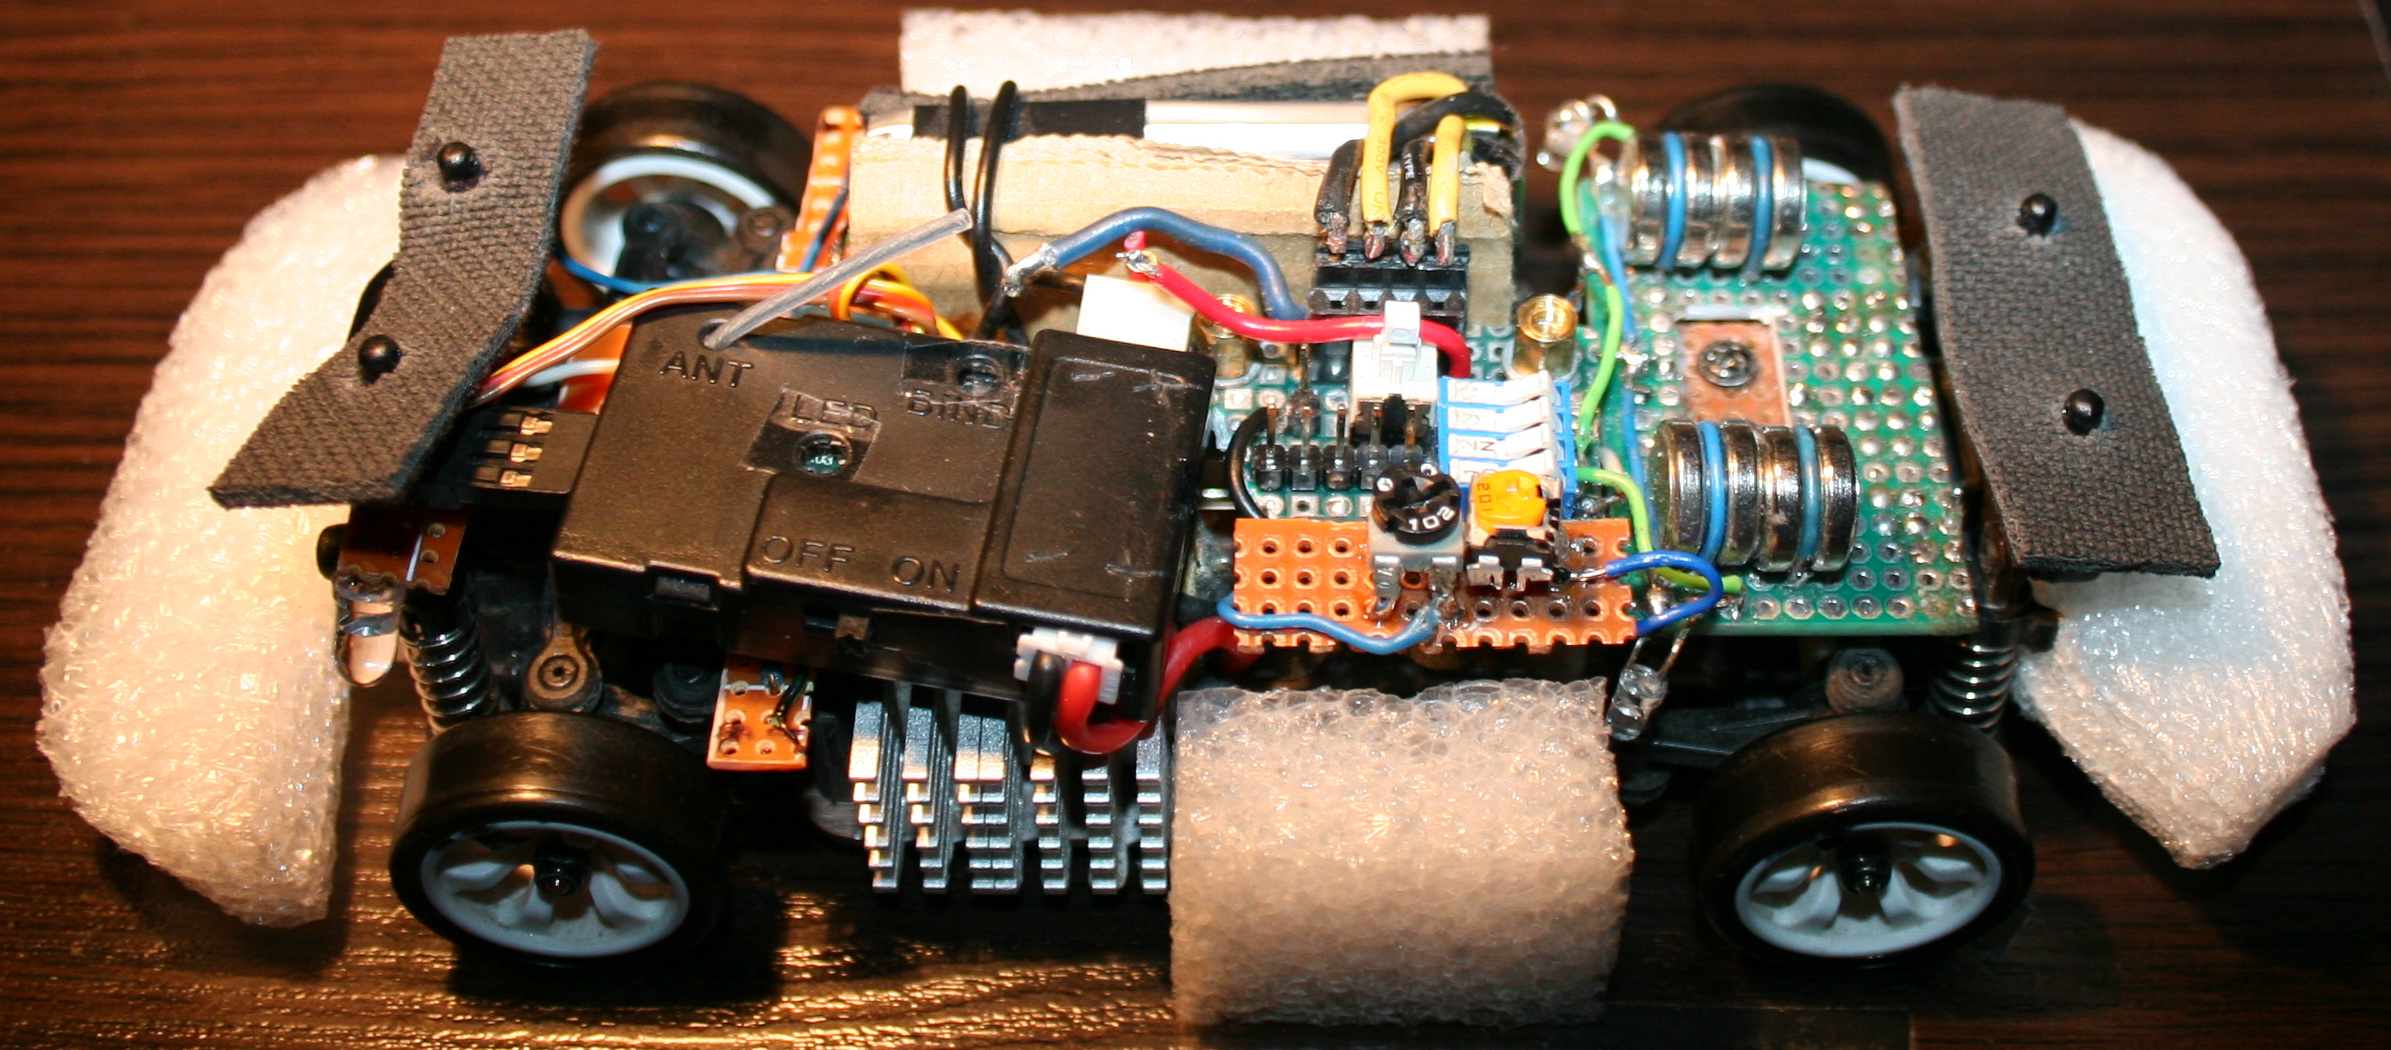
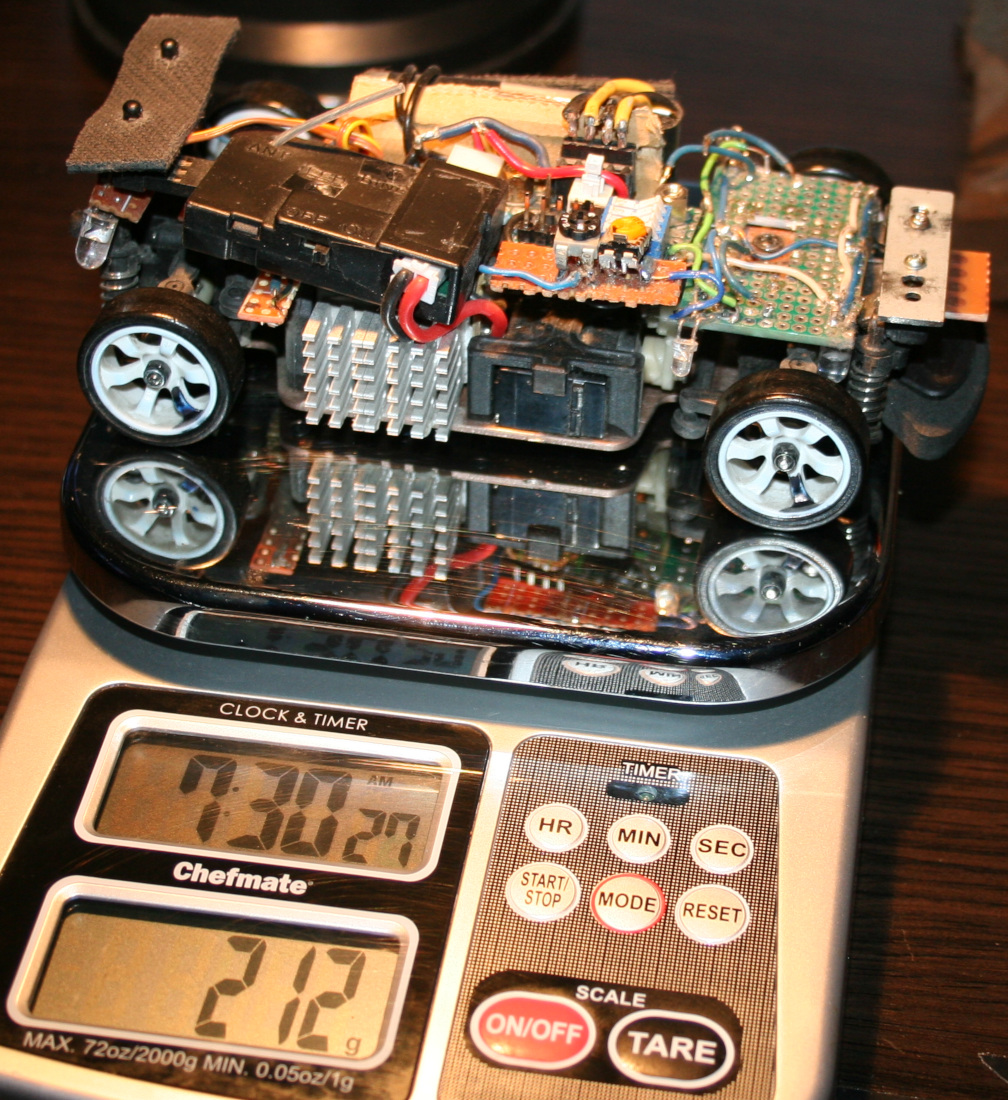
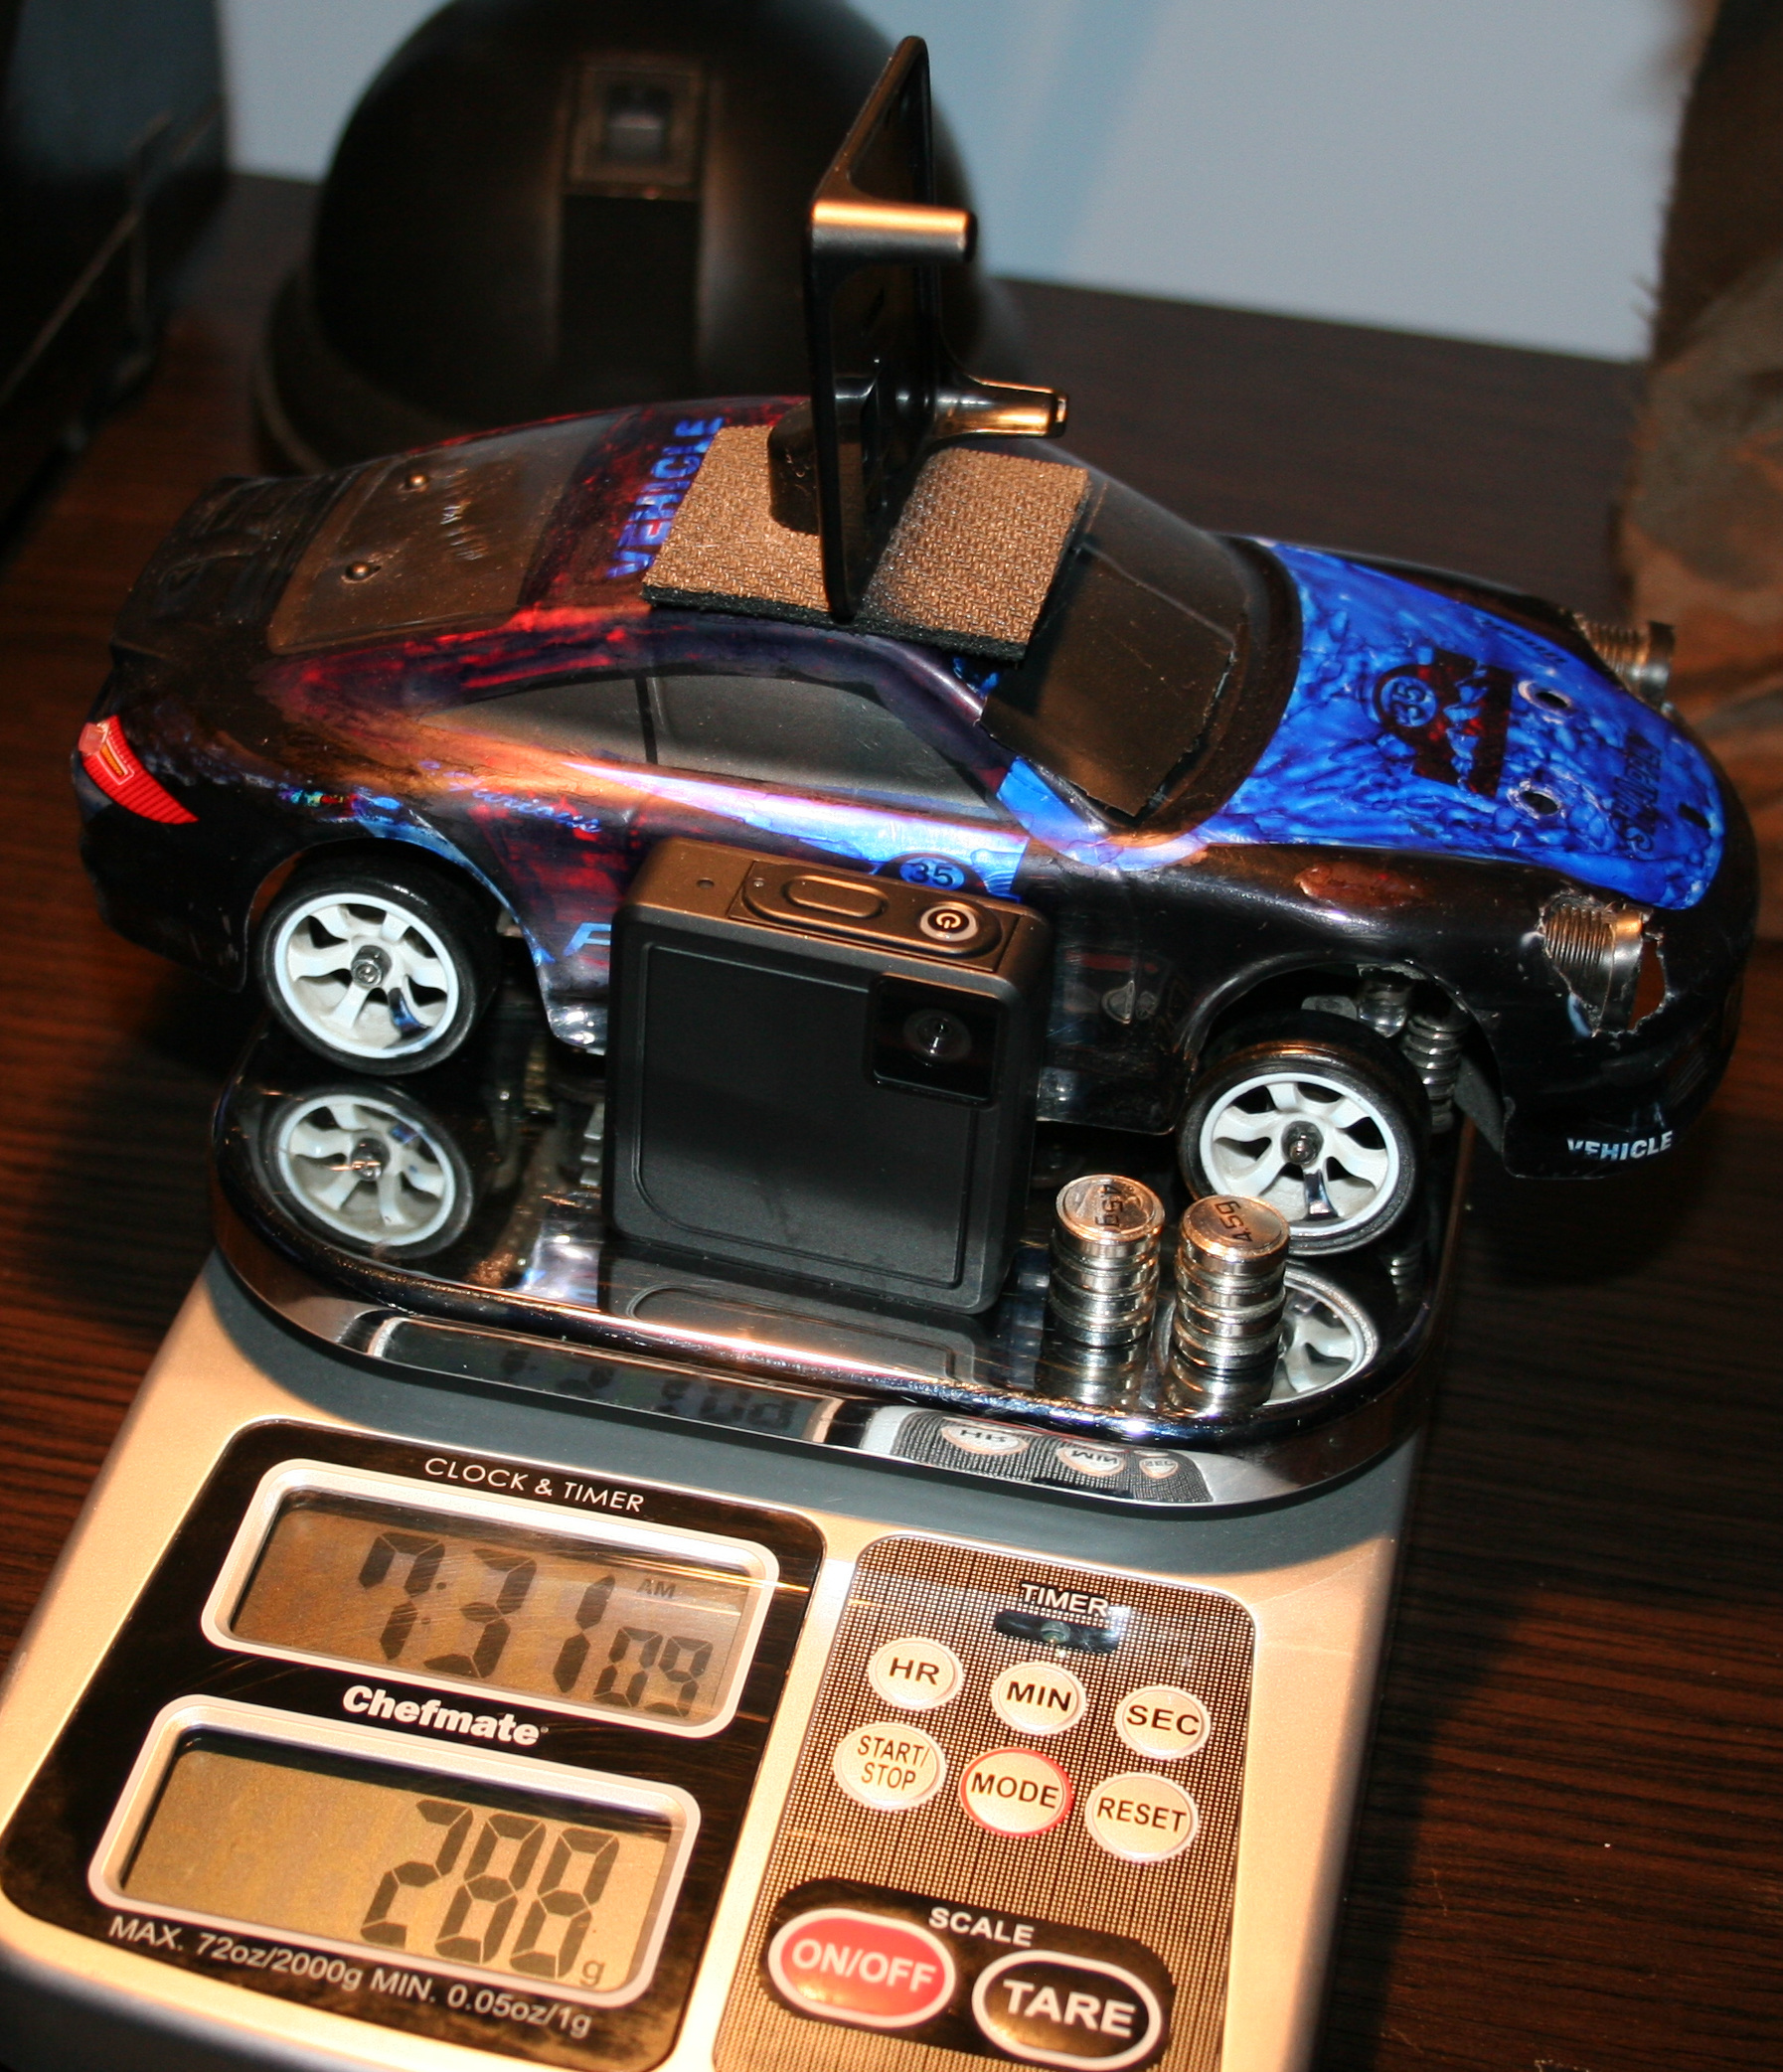
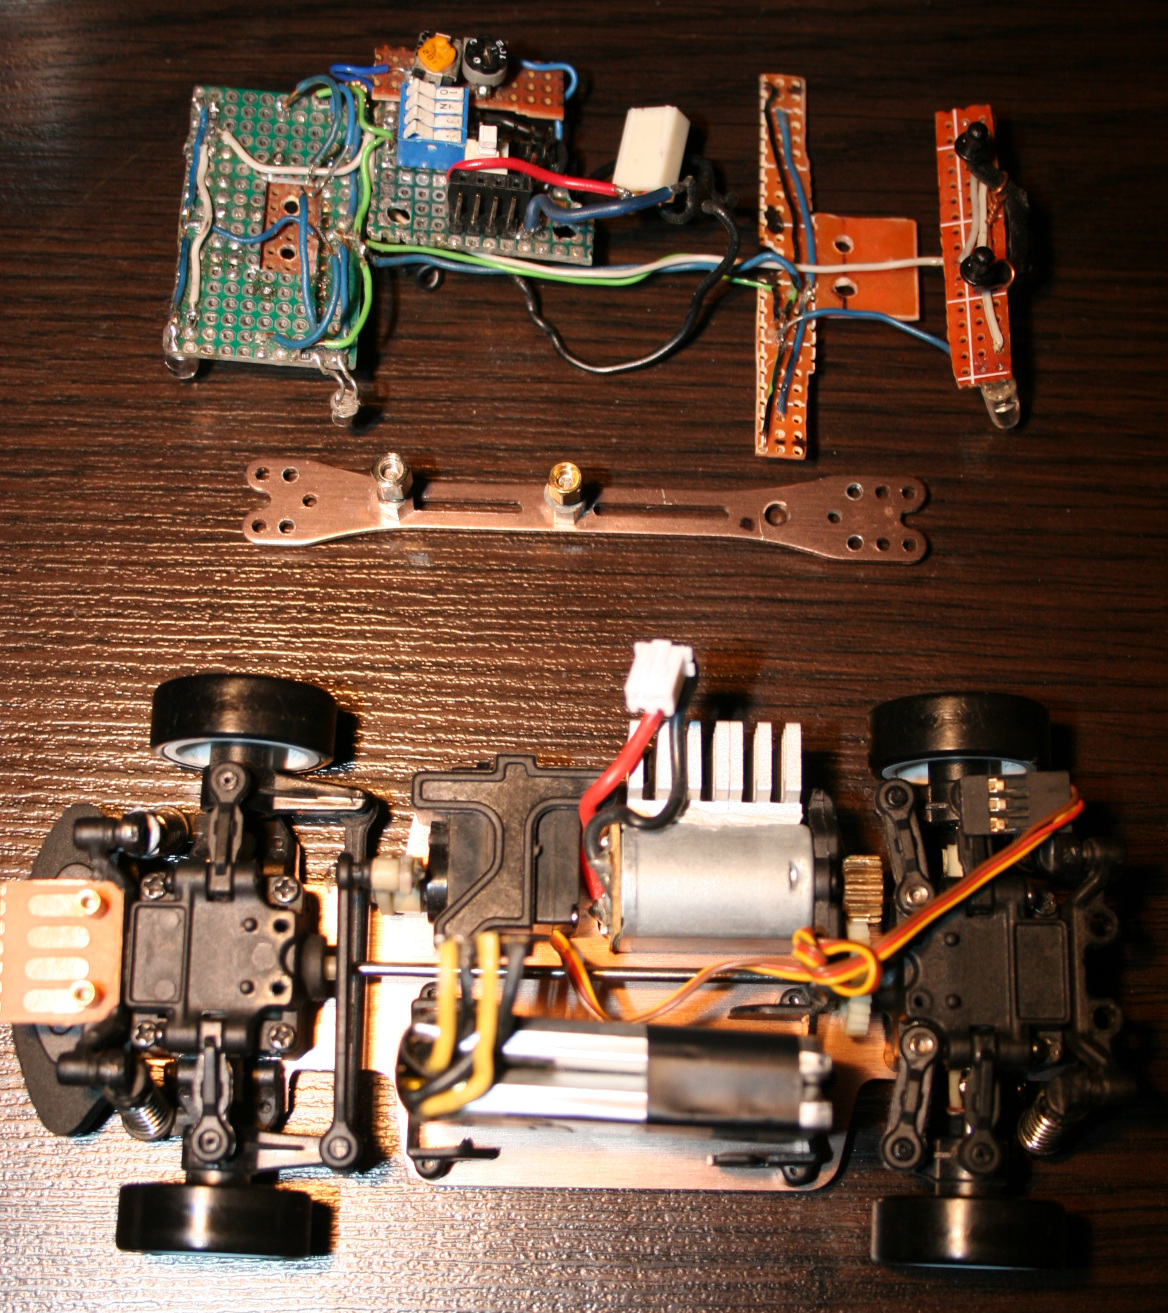
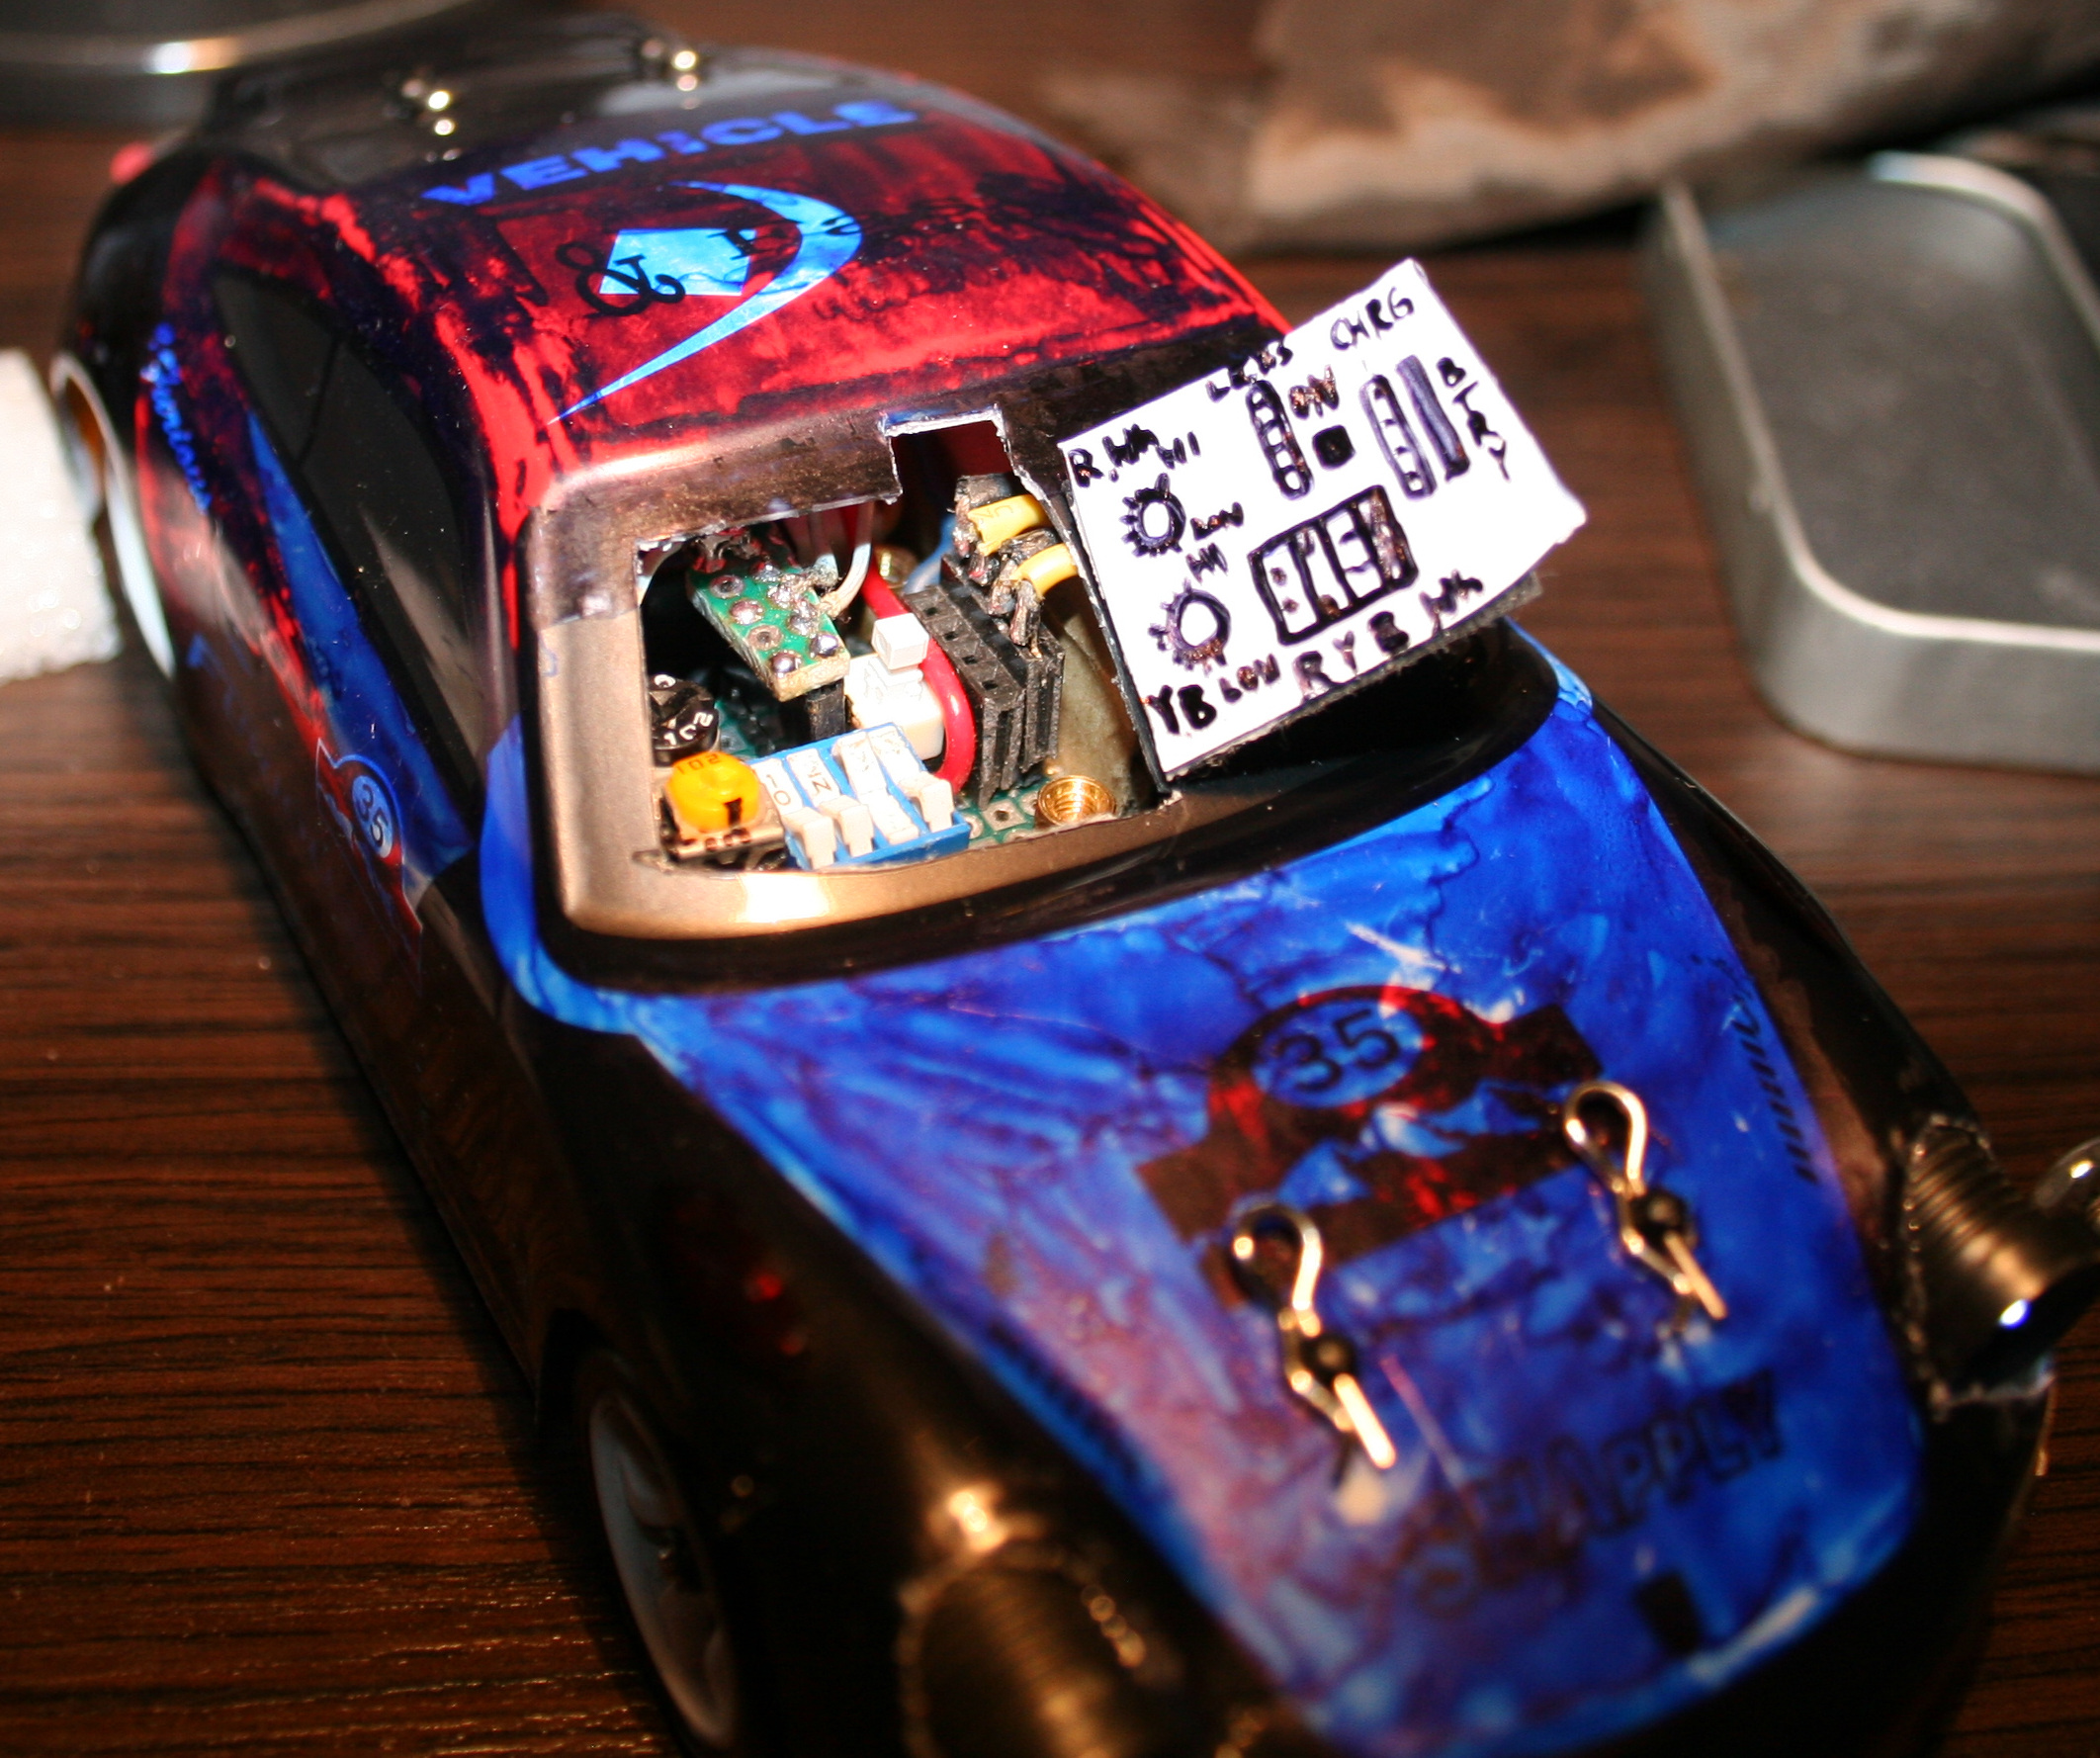
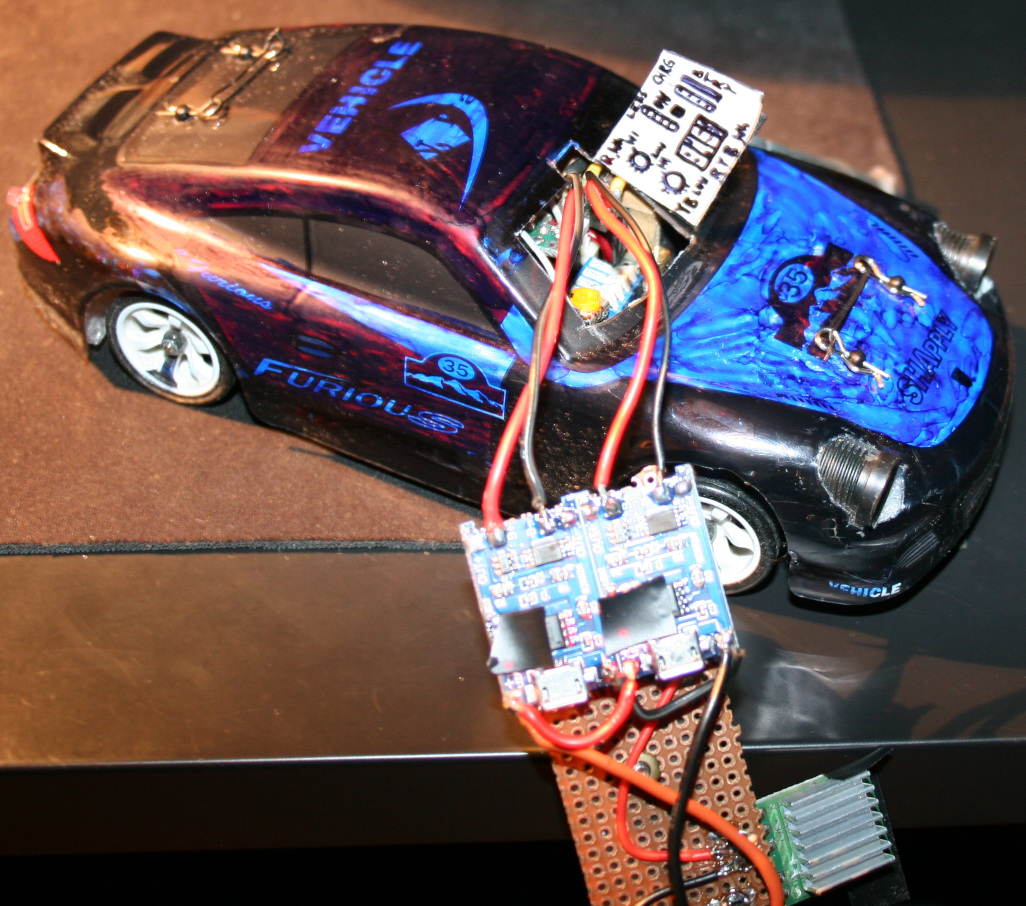
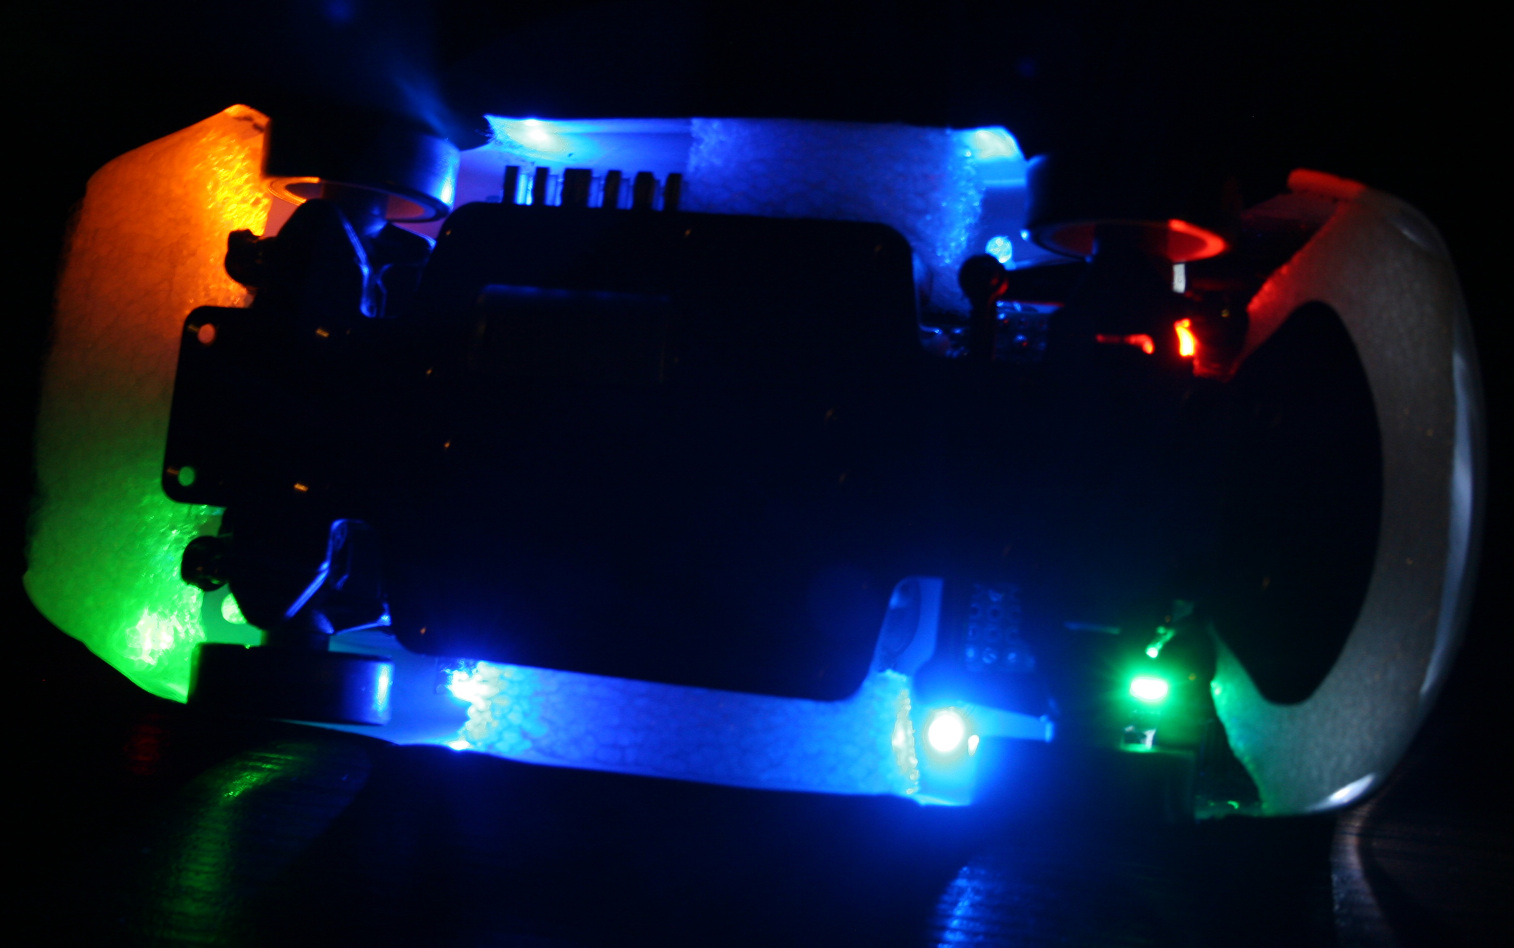
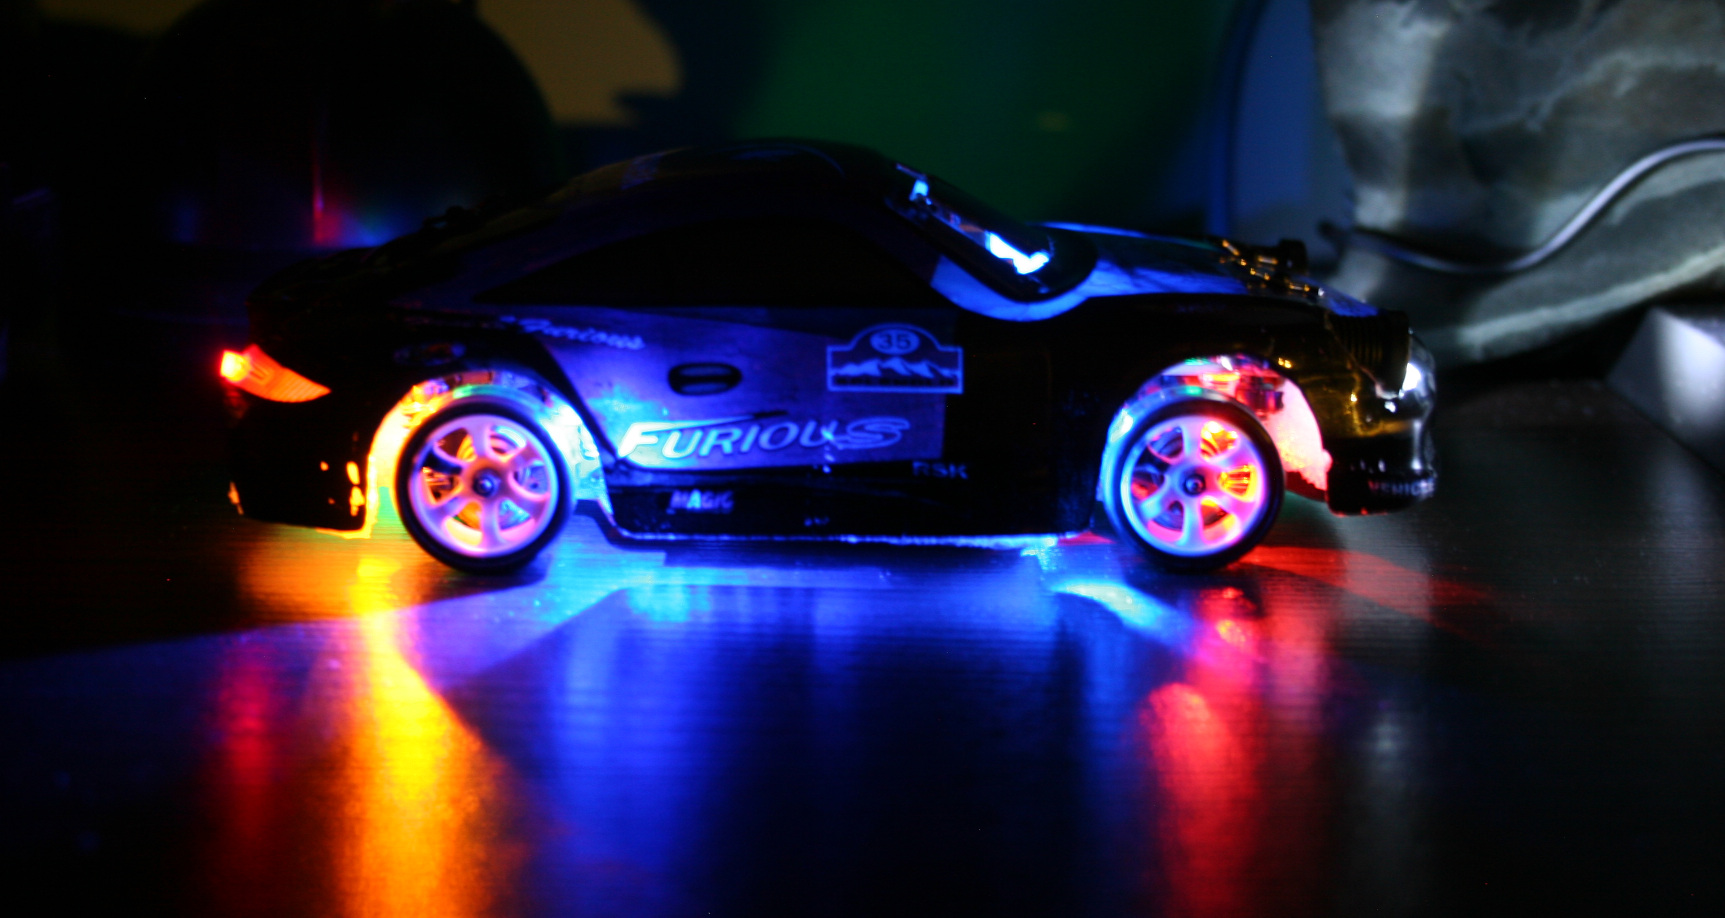
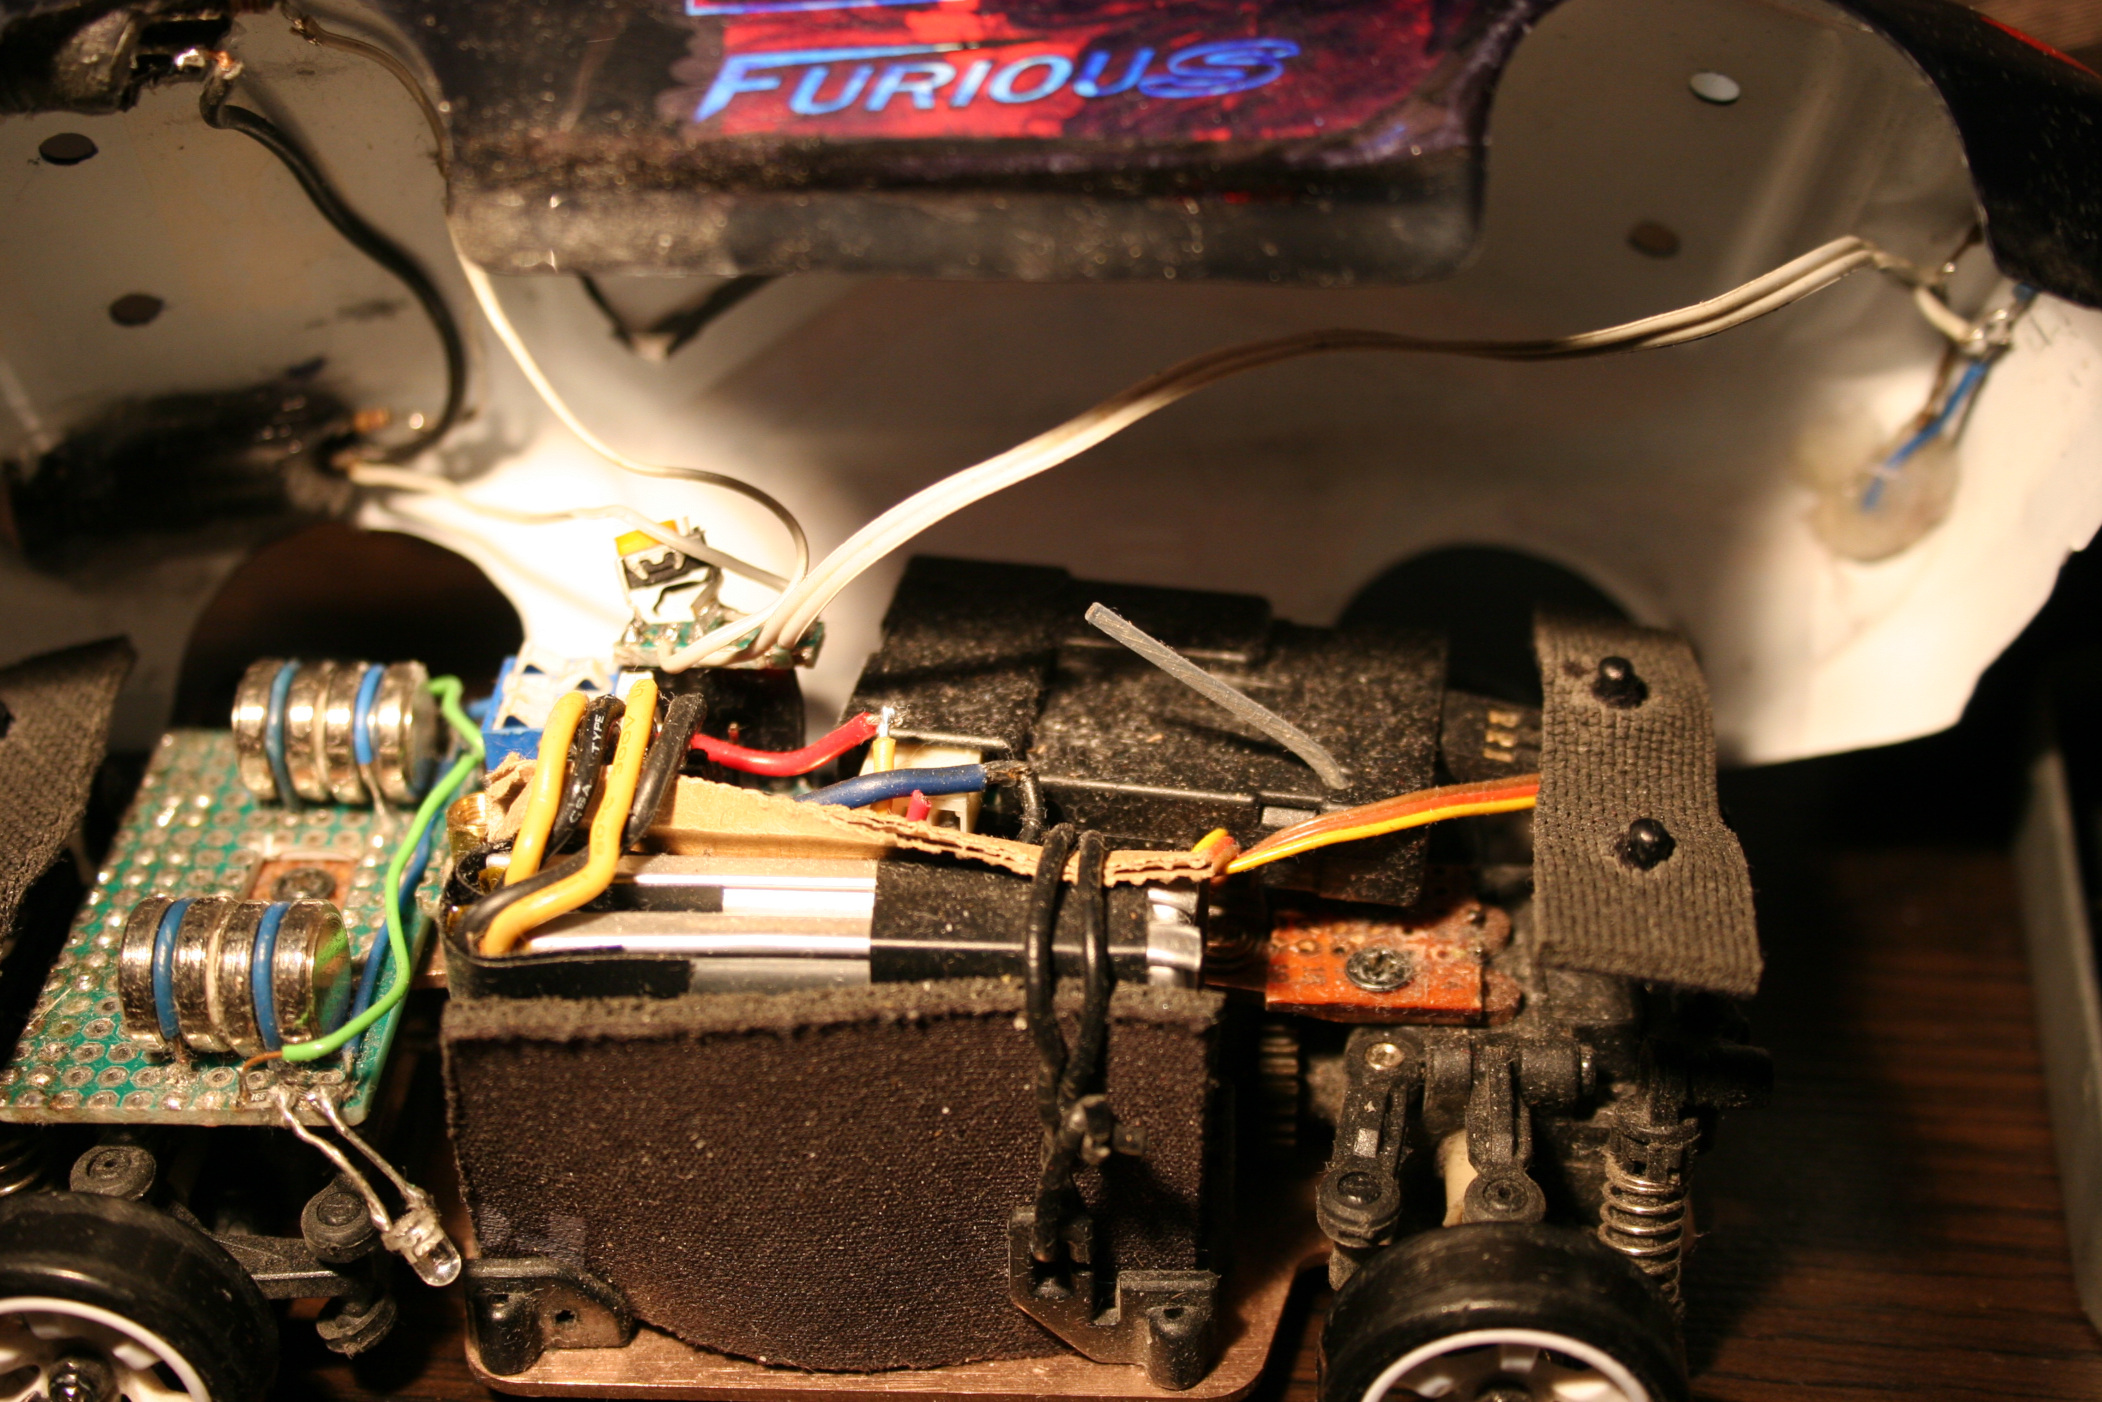
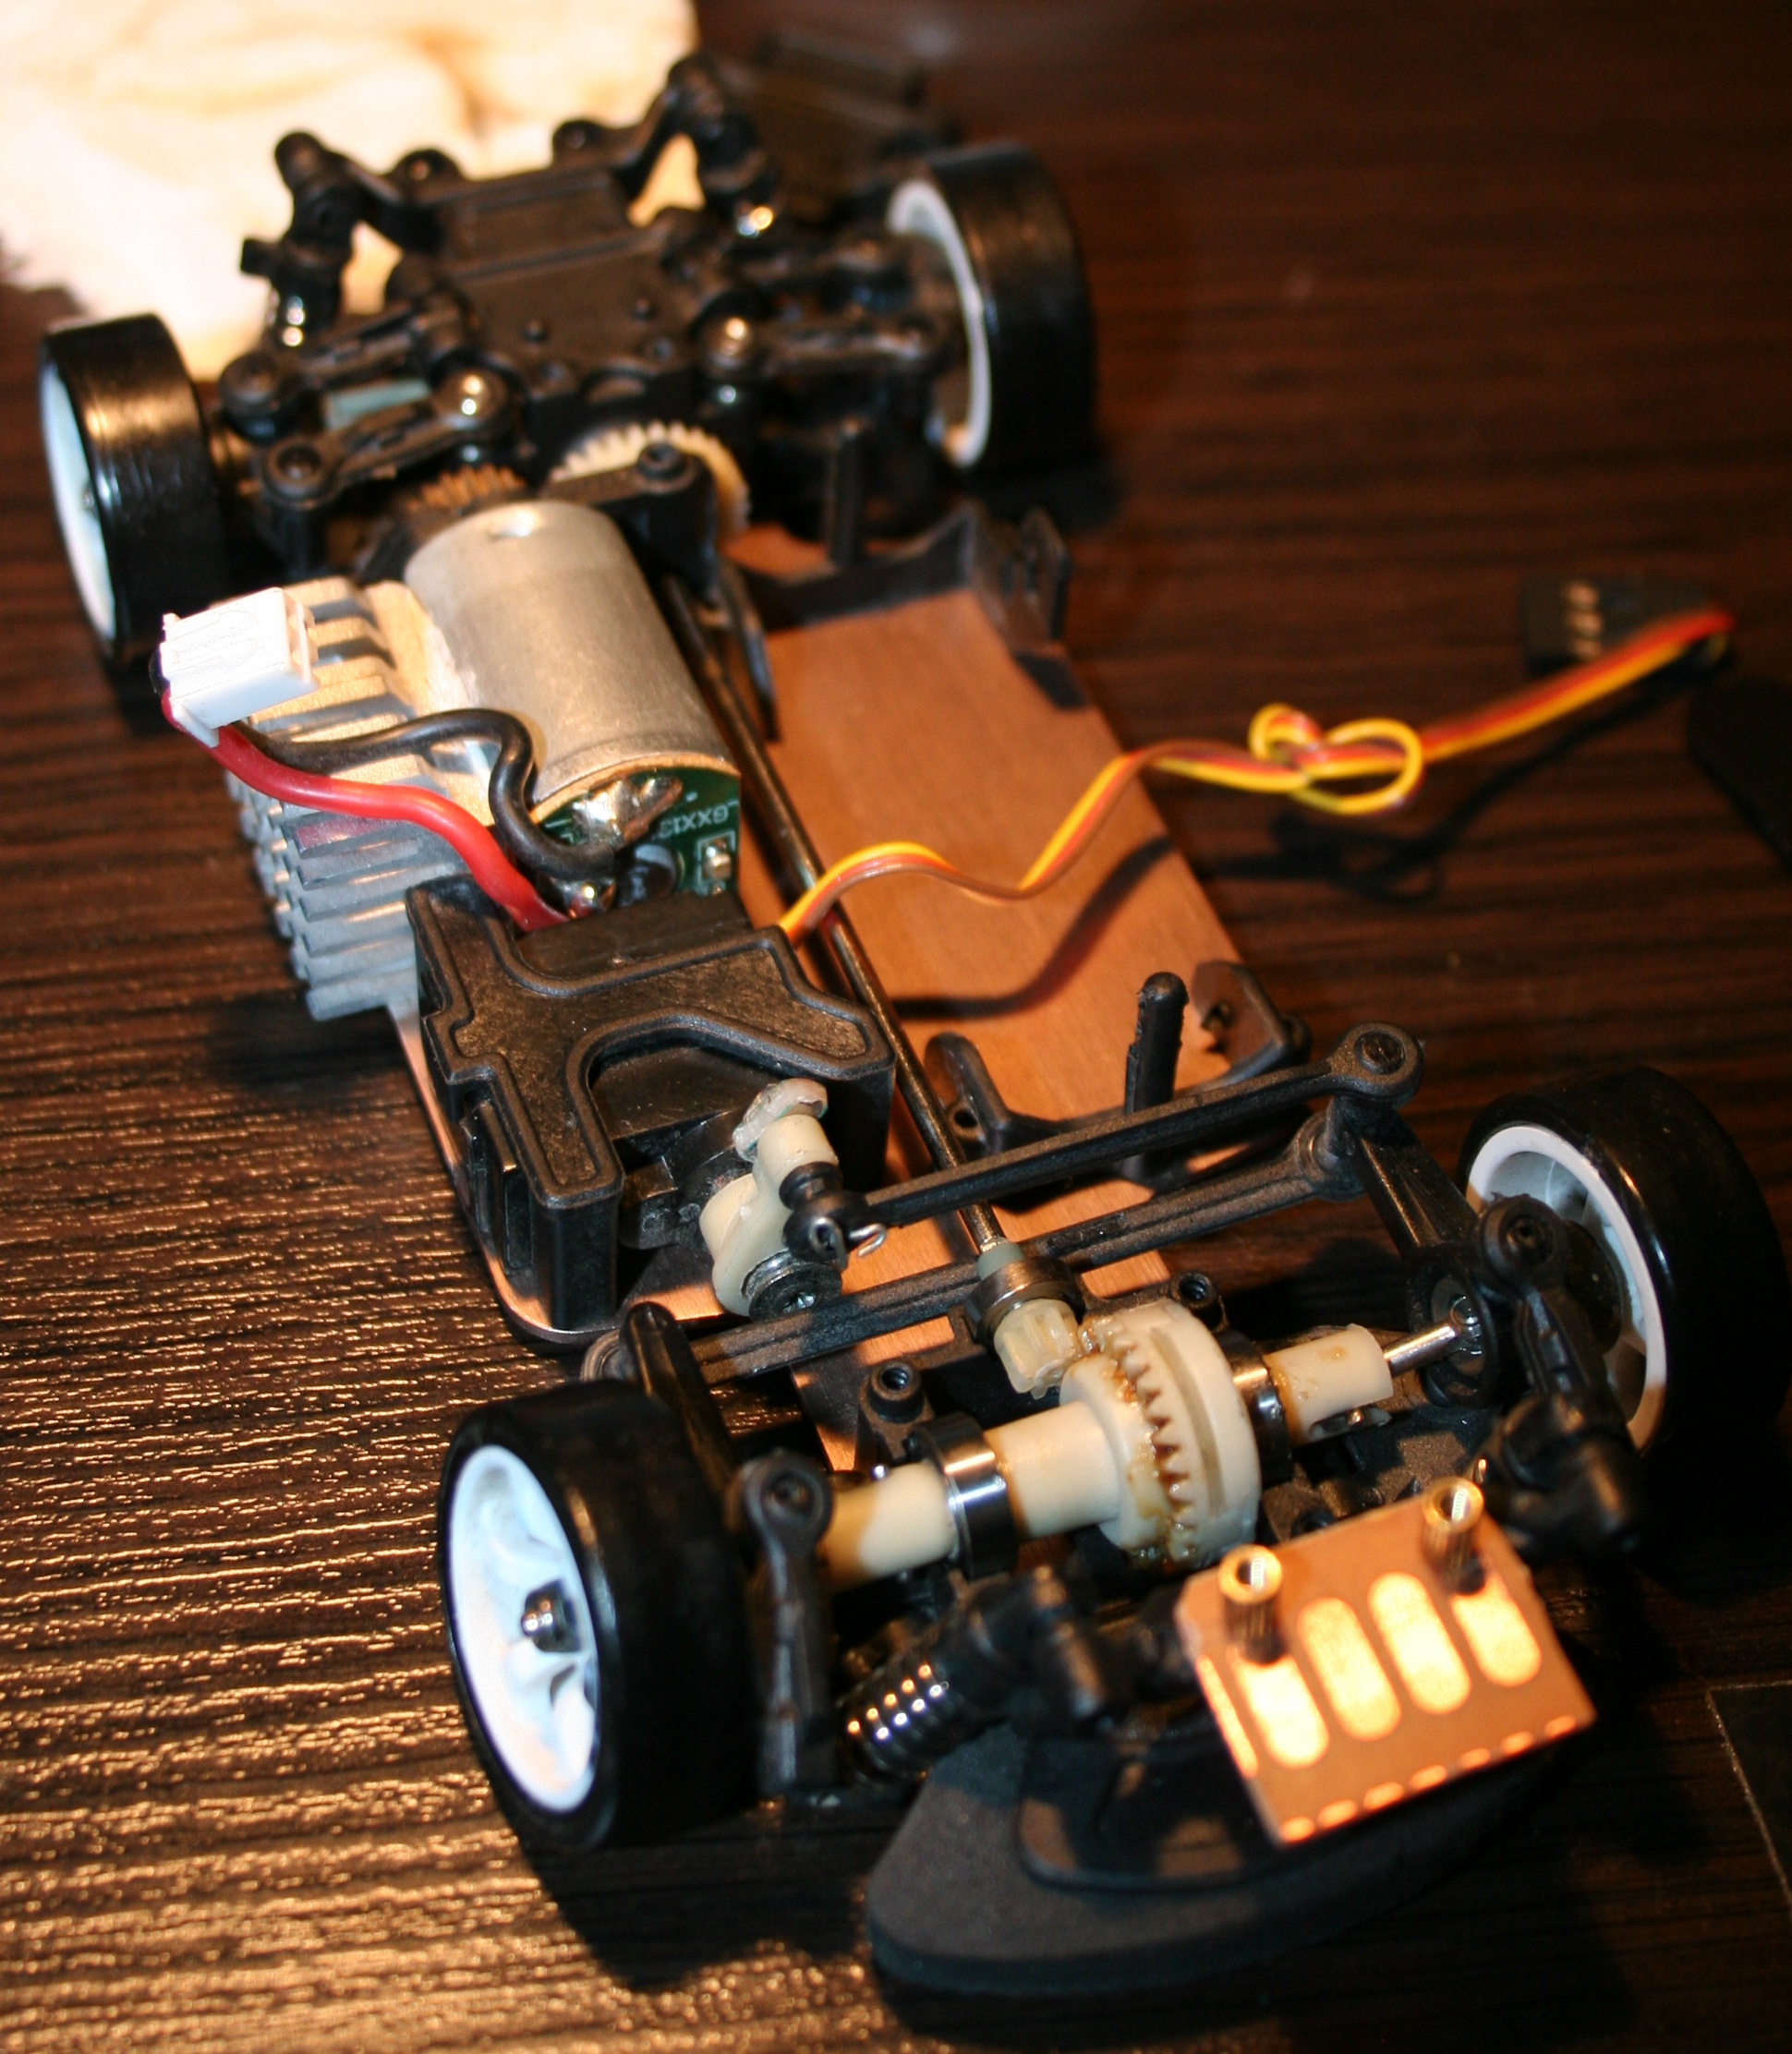
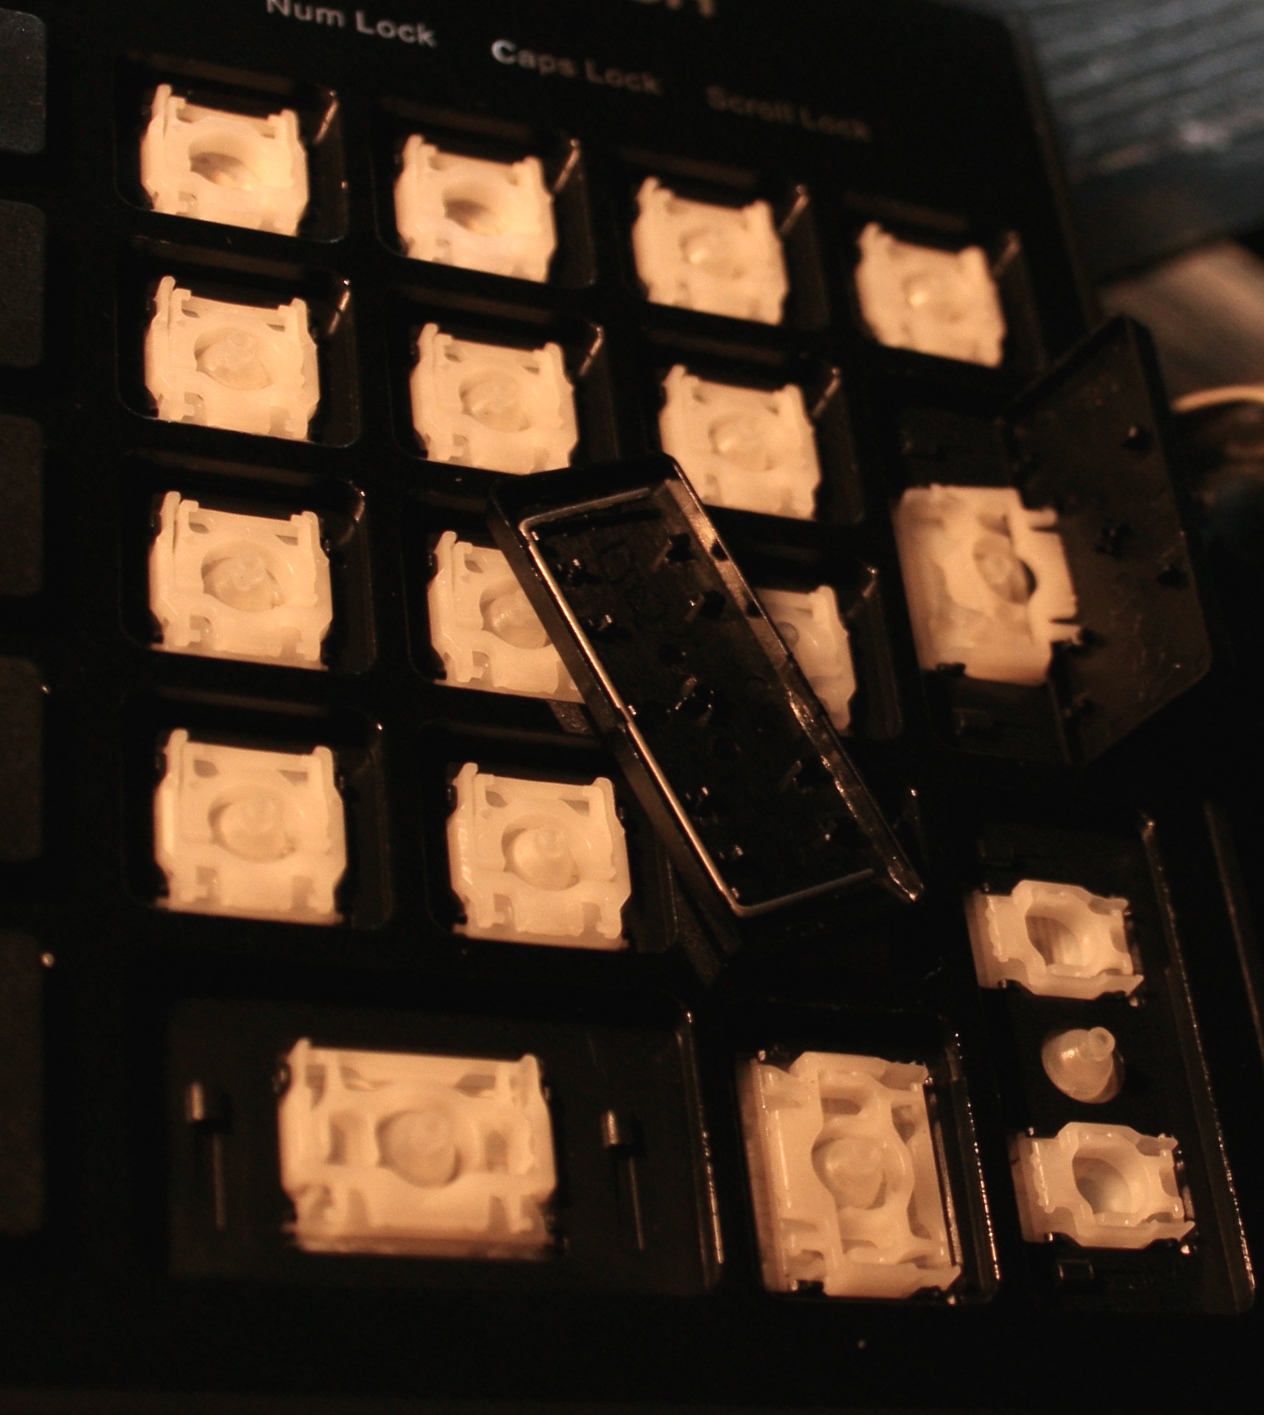
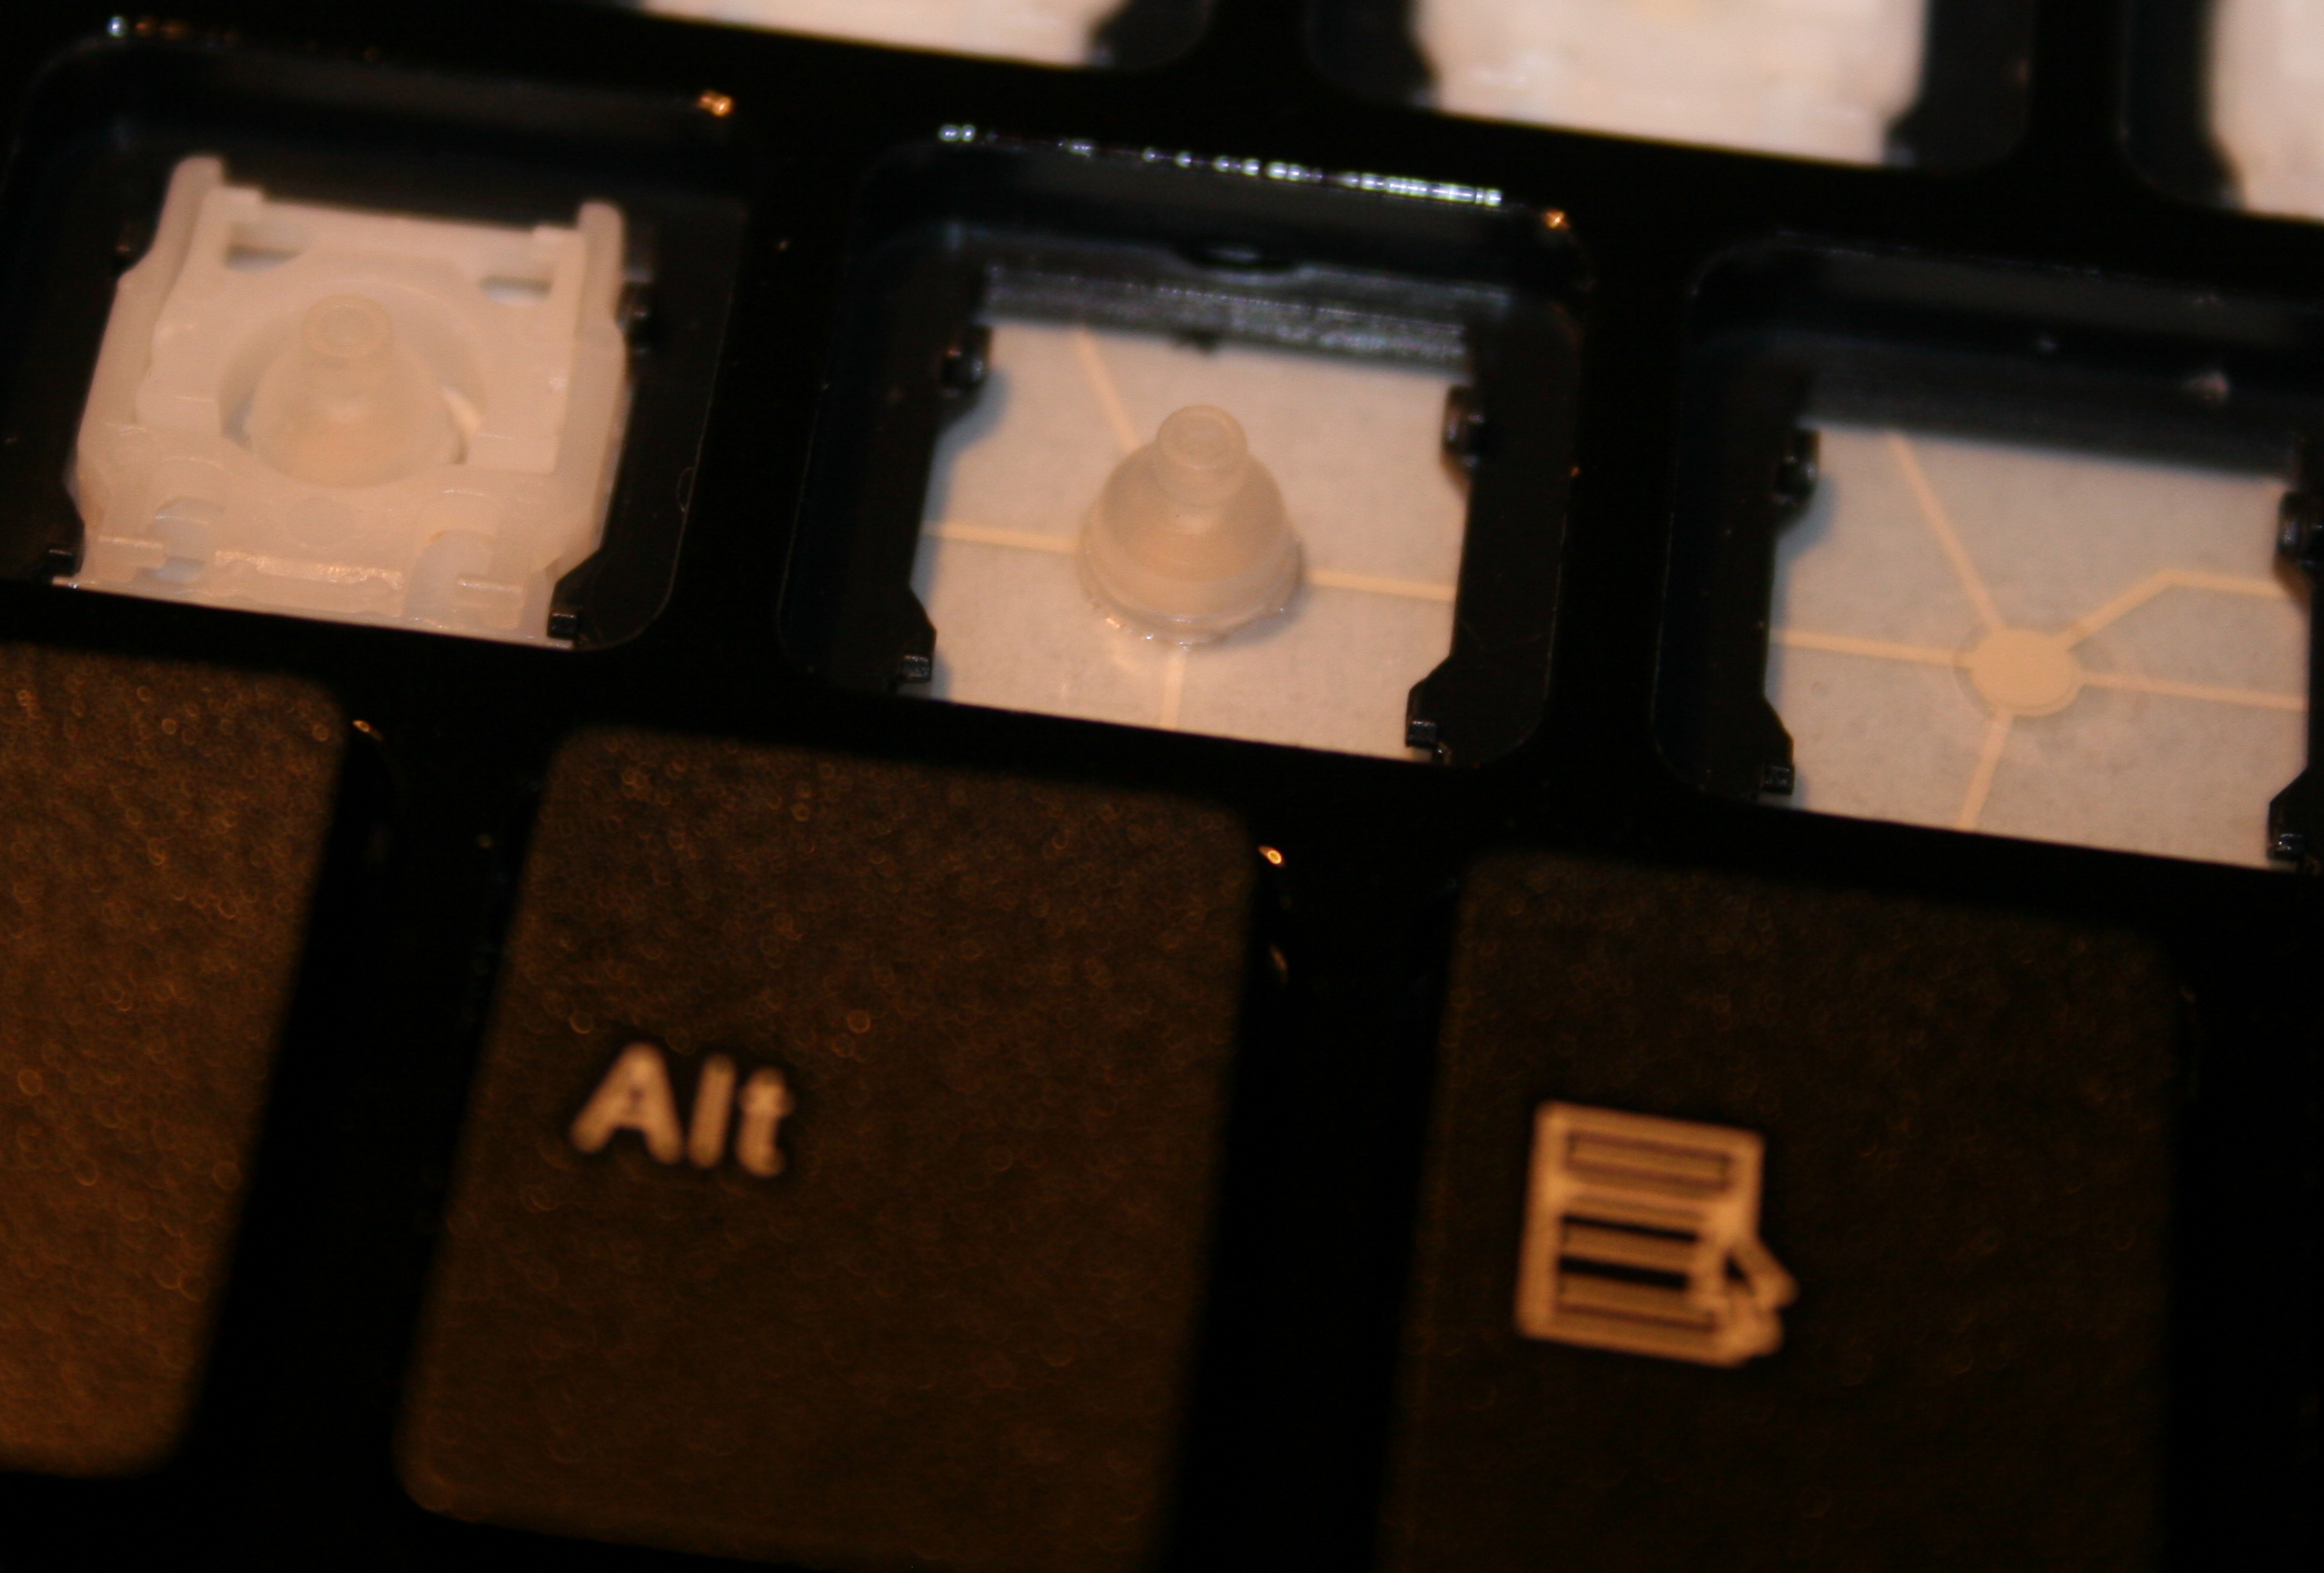
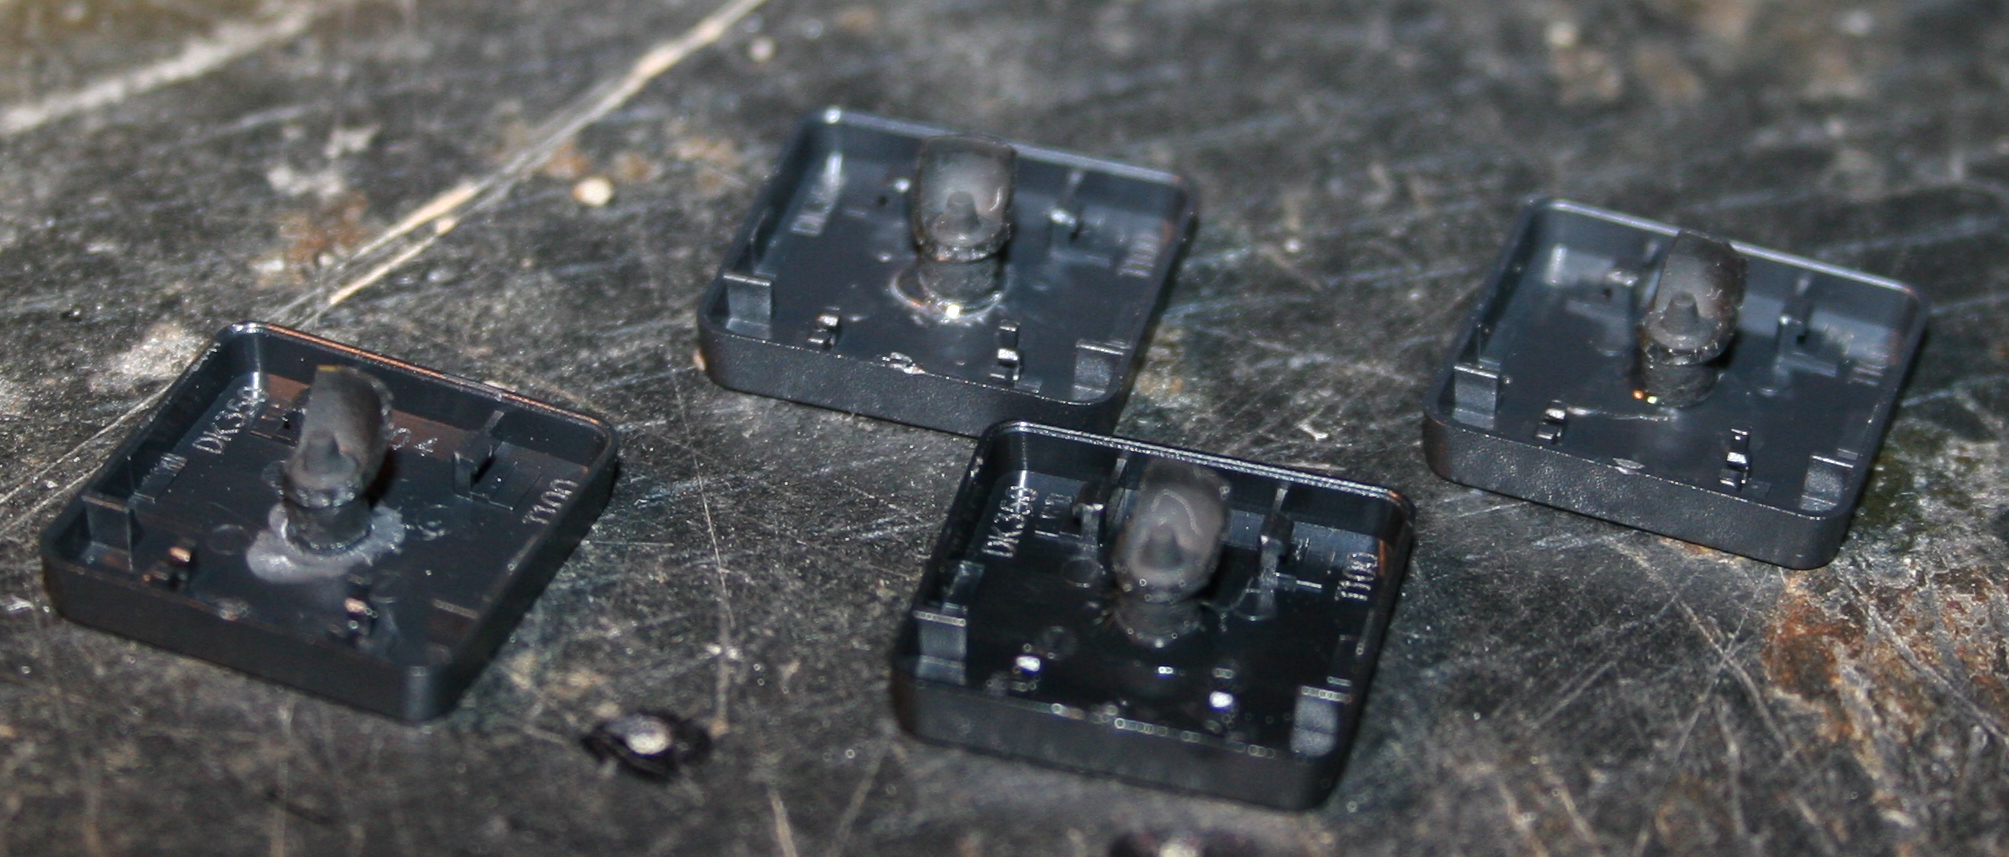
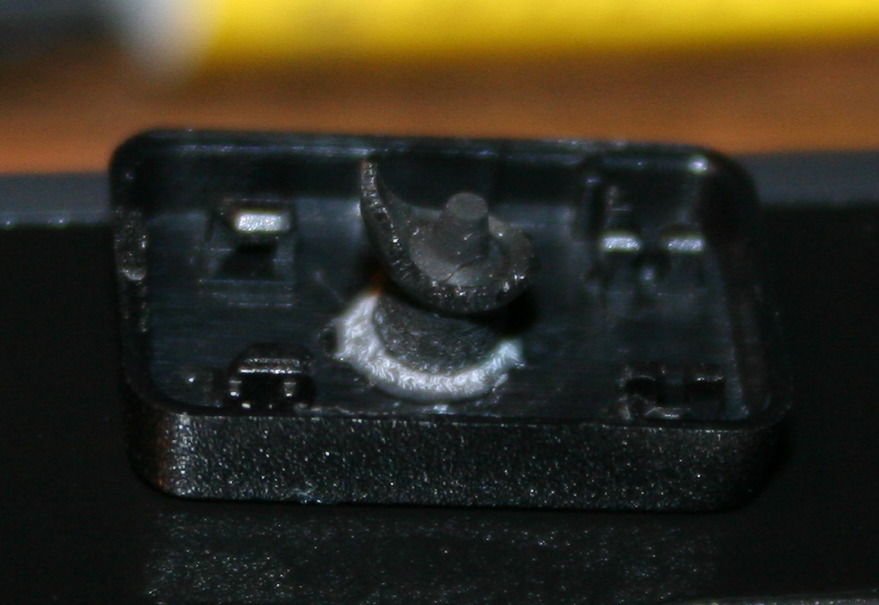
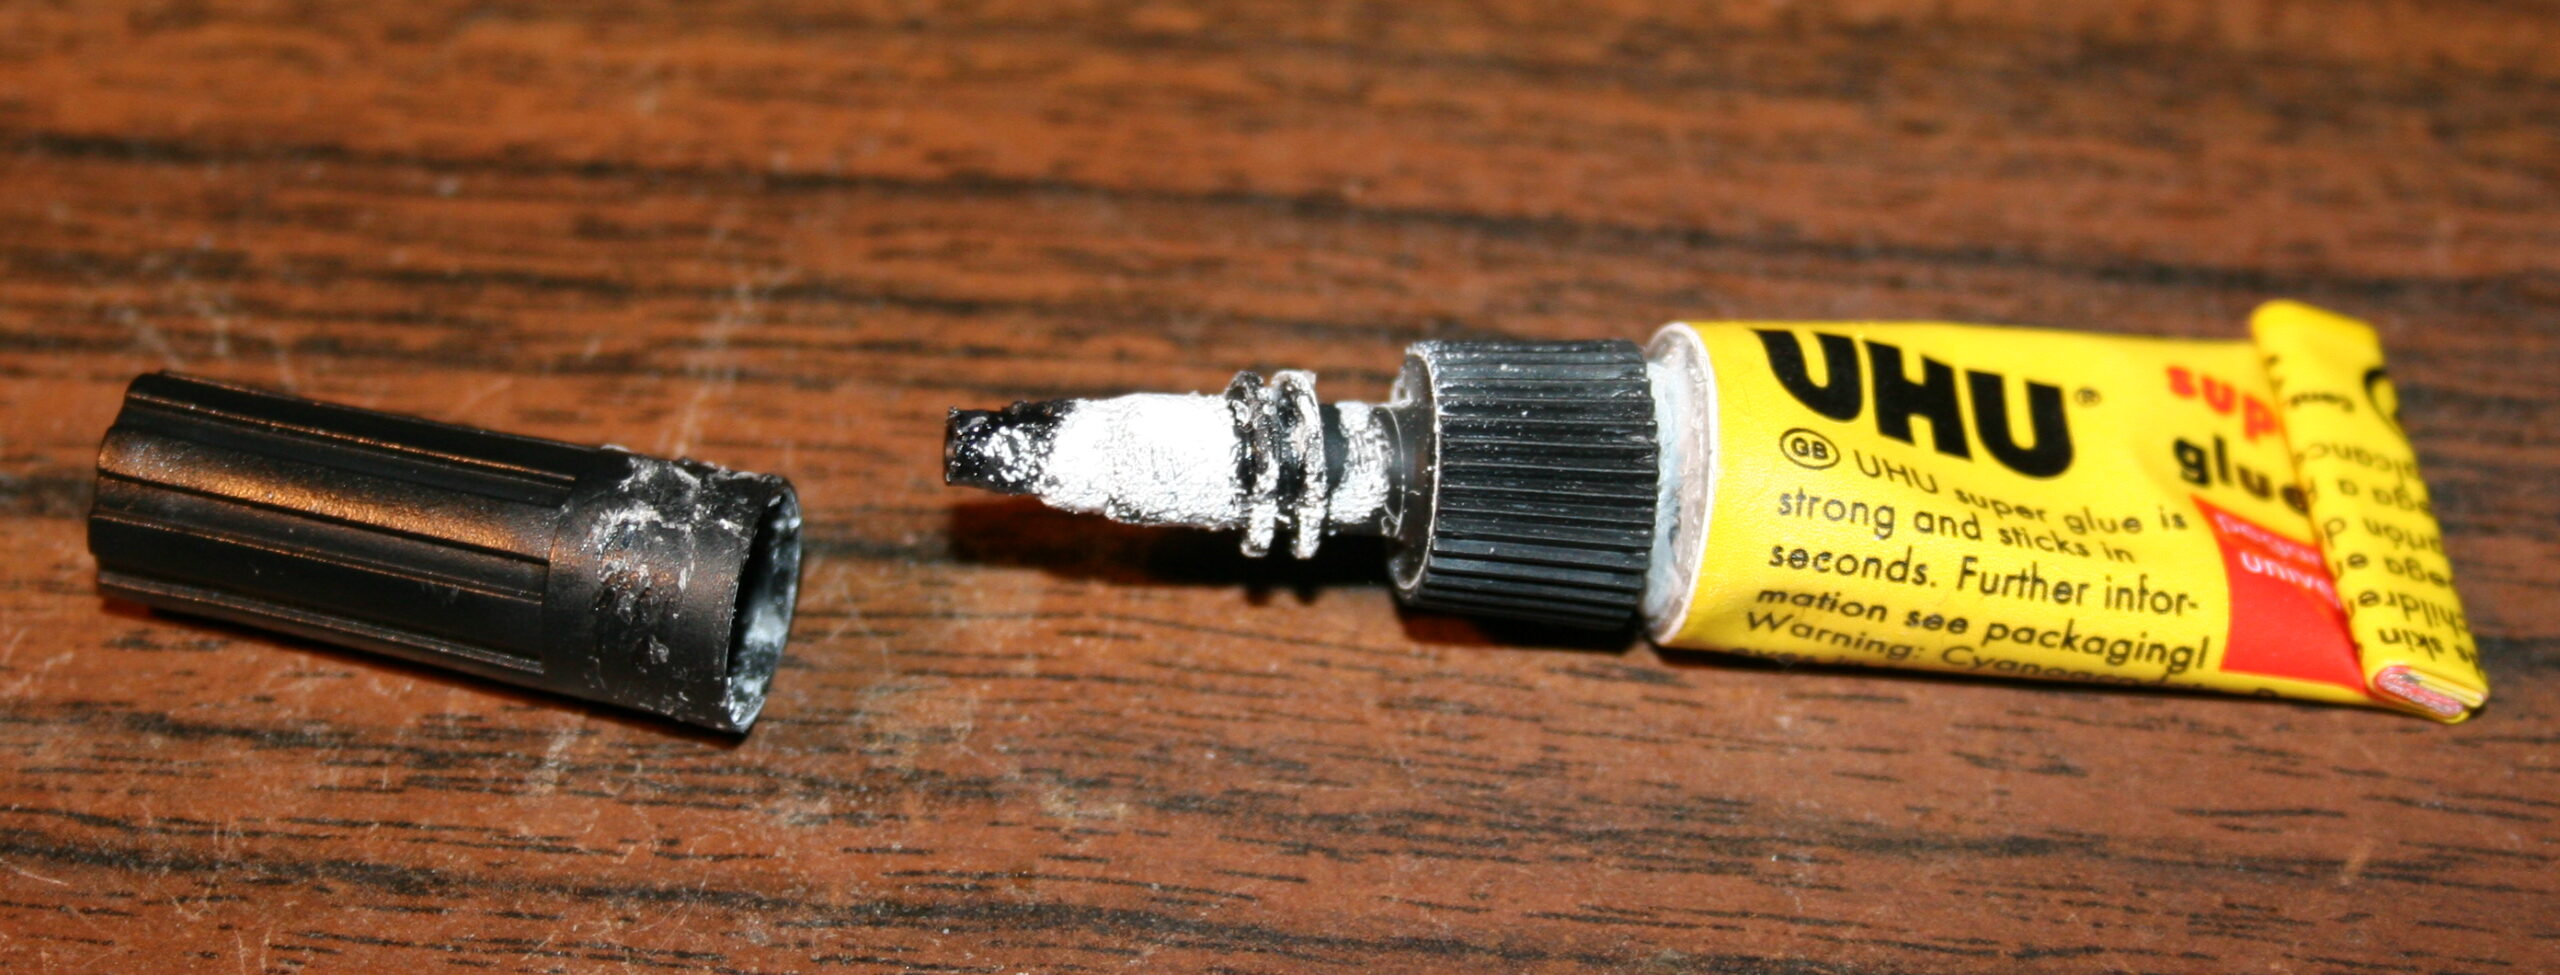
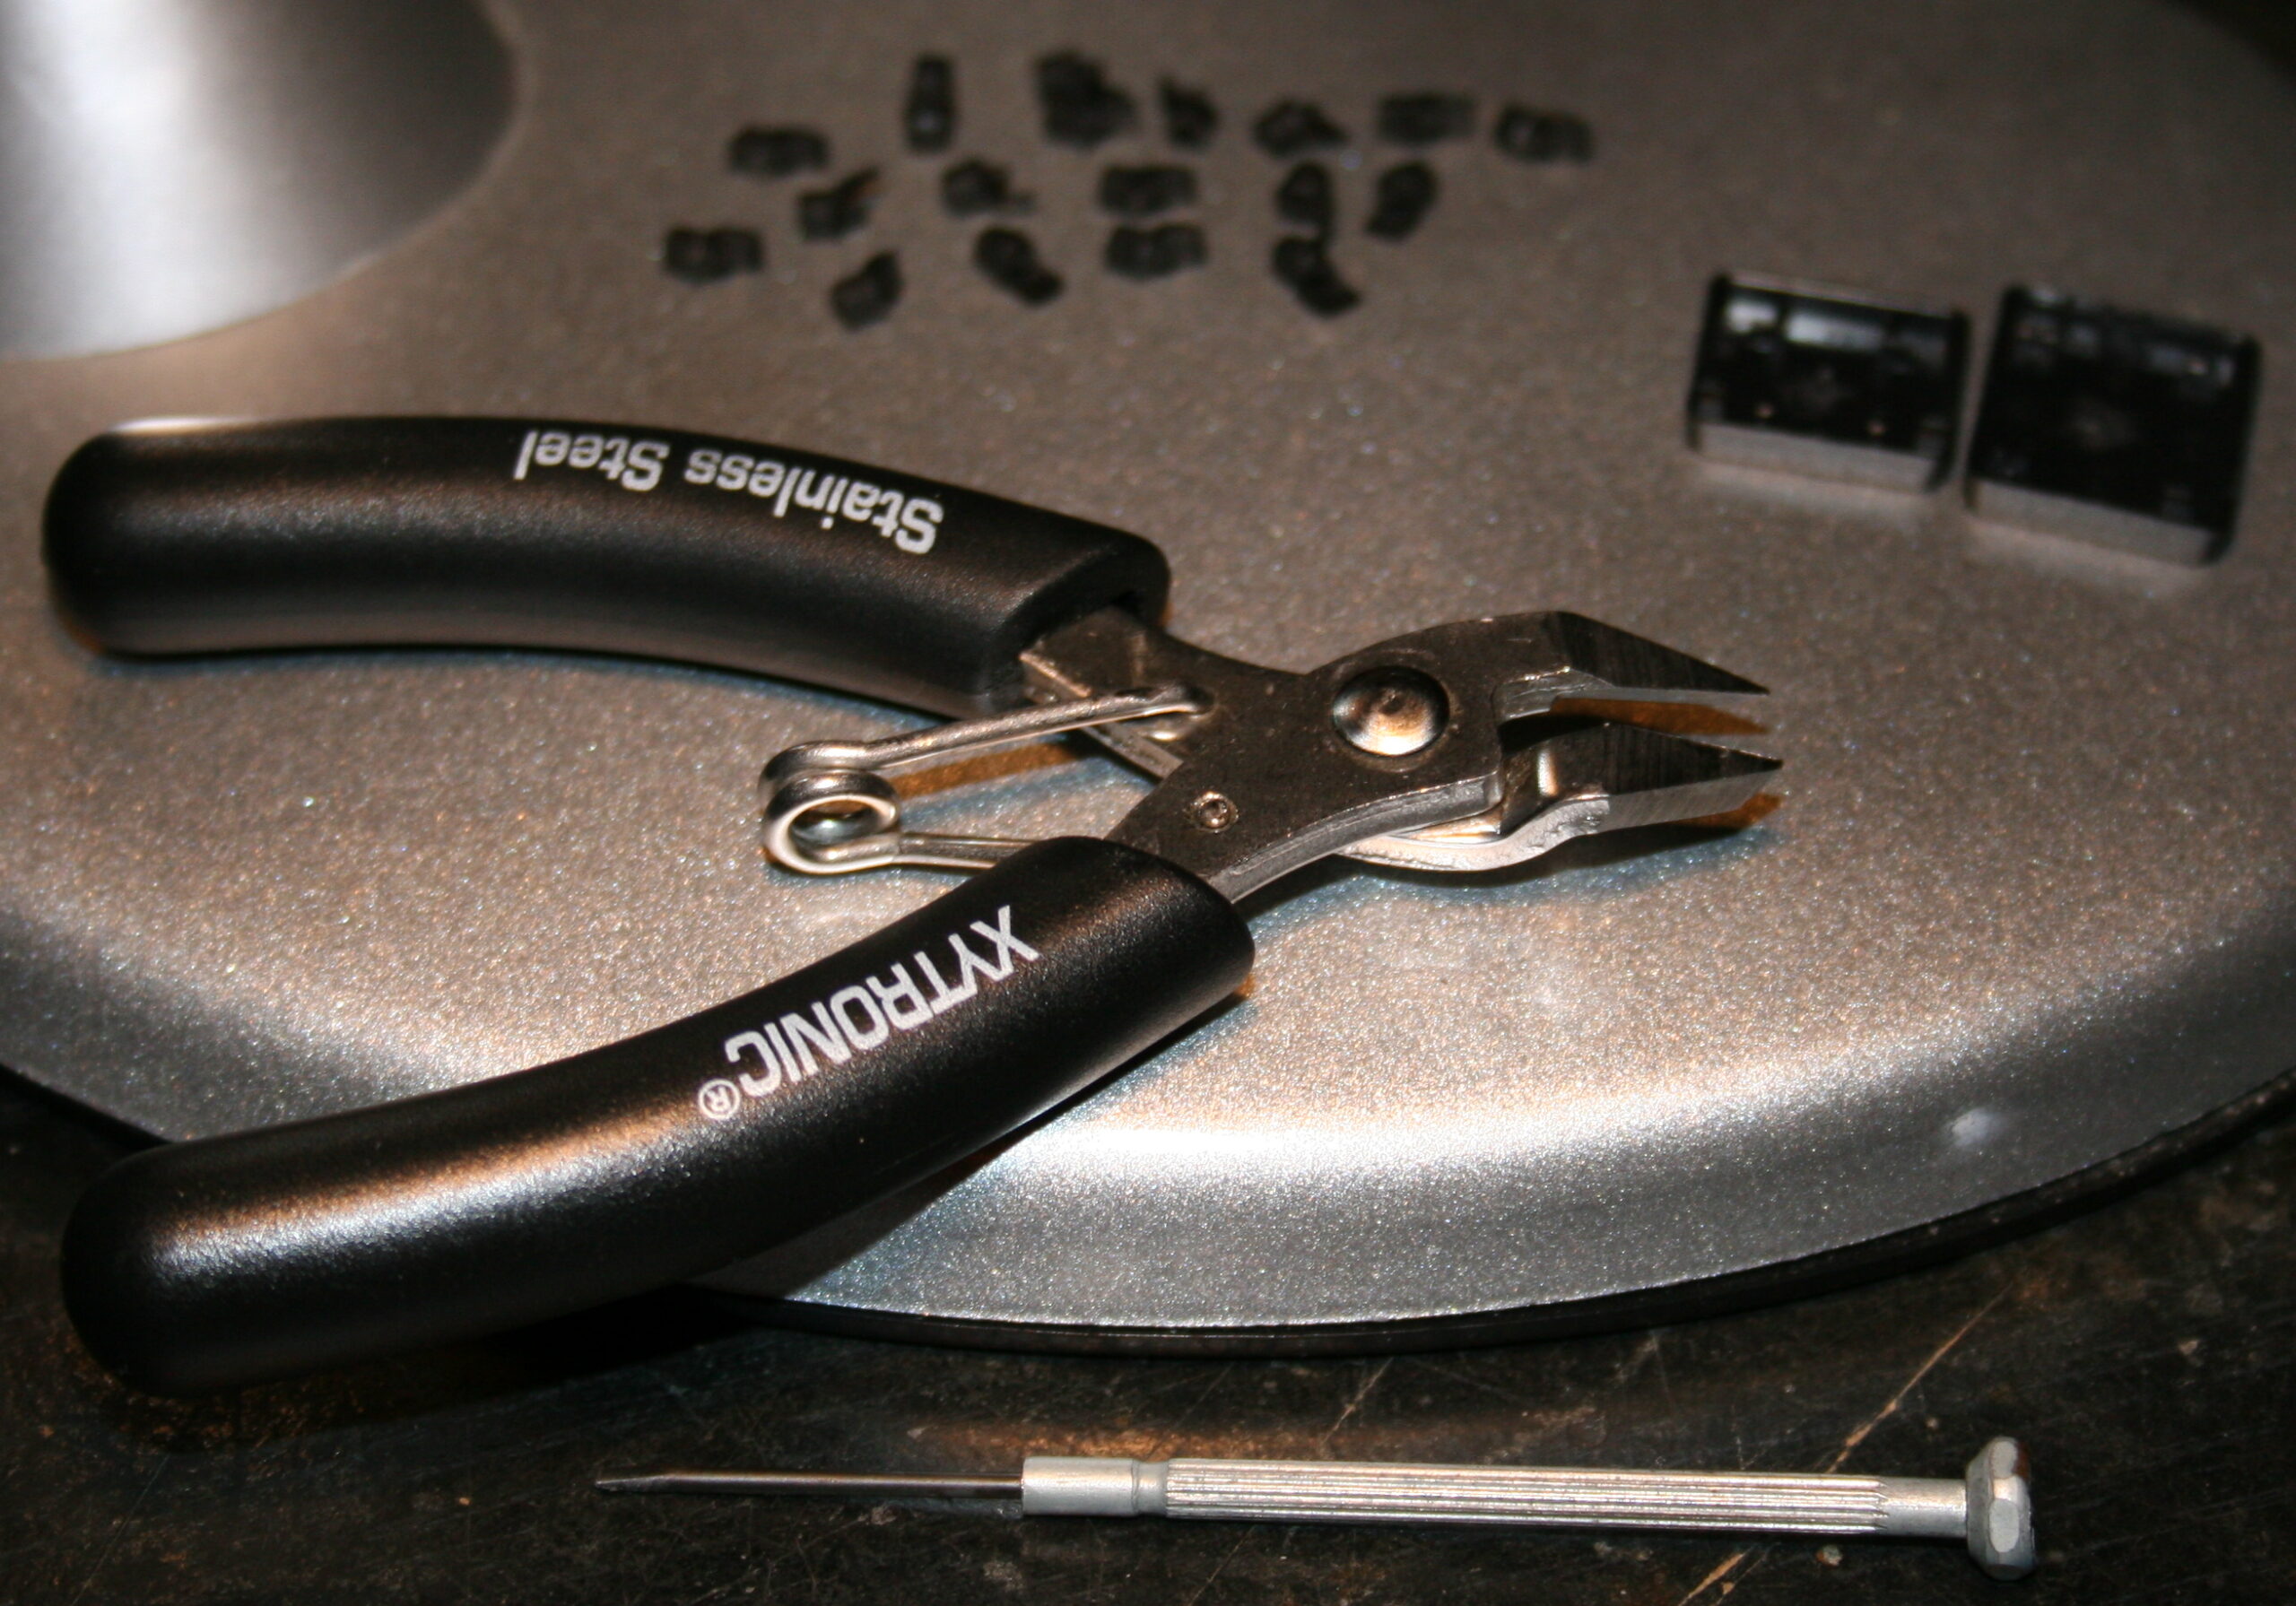
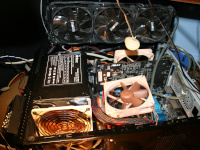
📷Gallery
Final version pictures