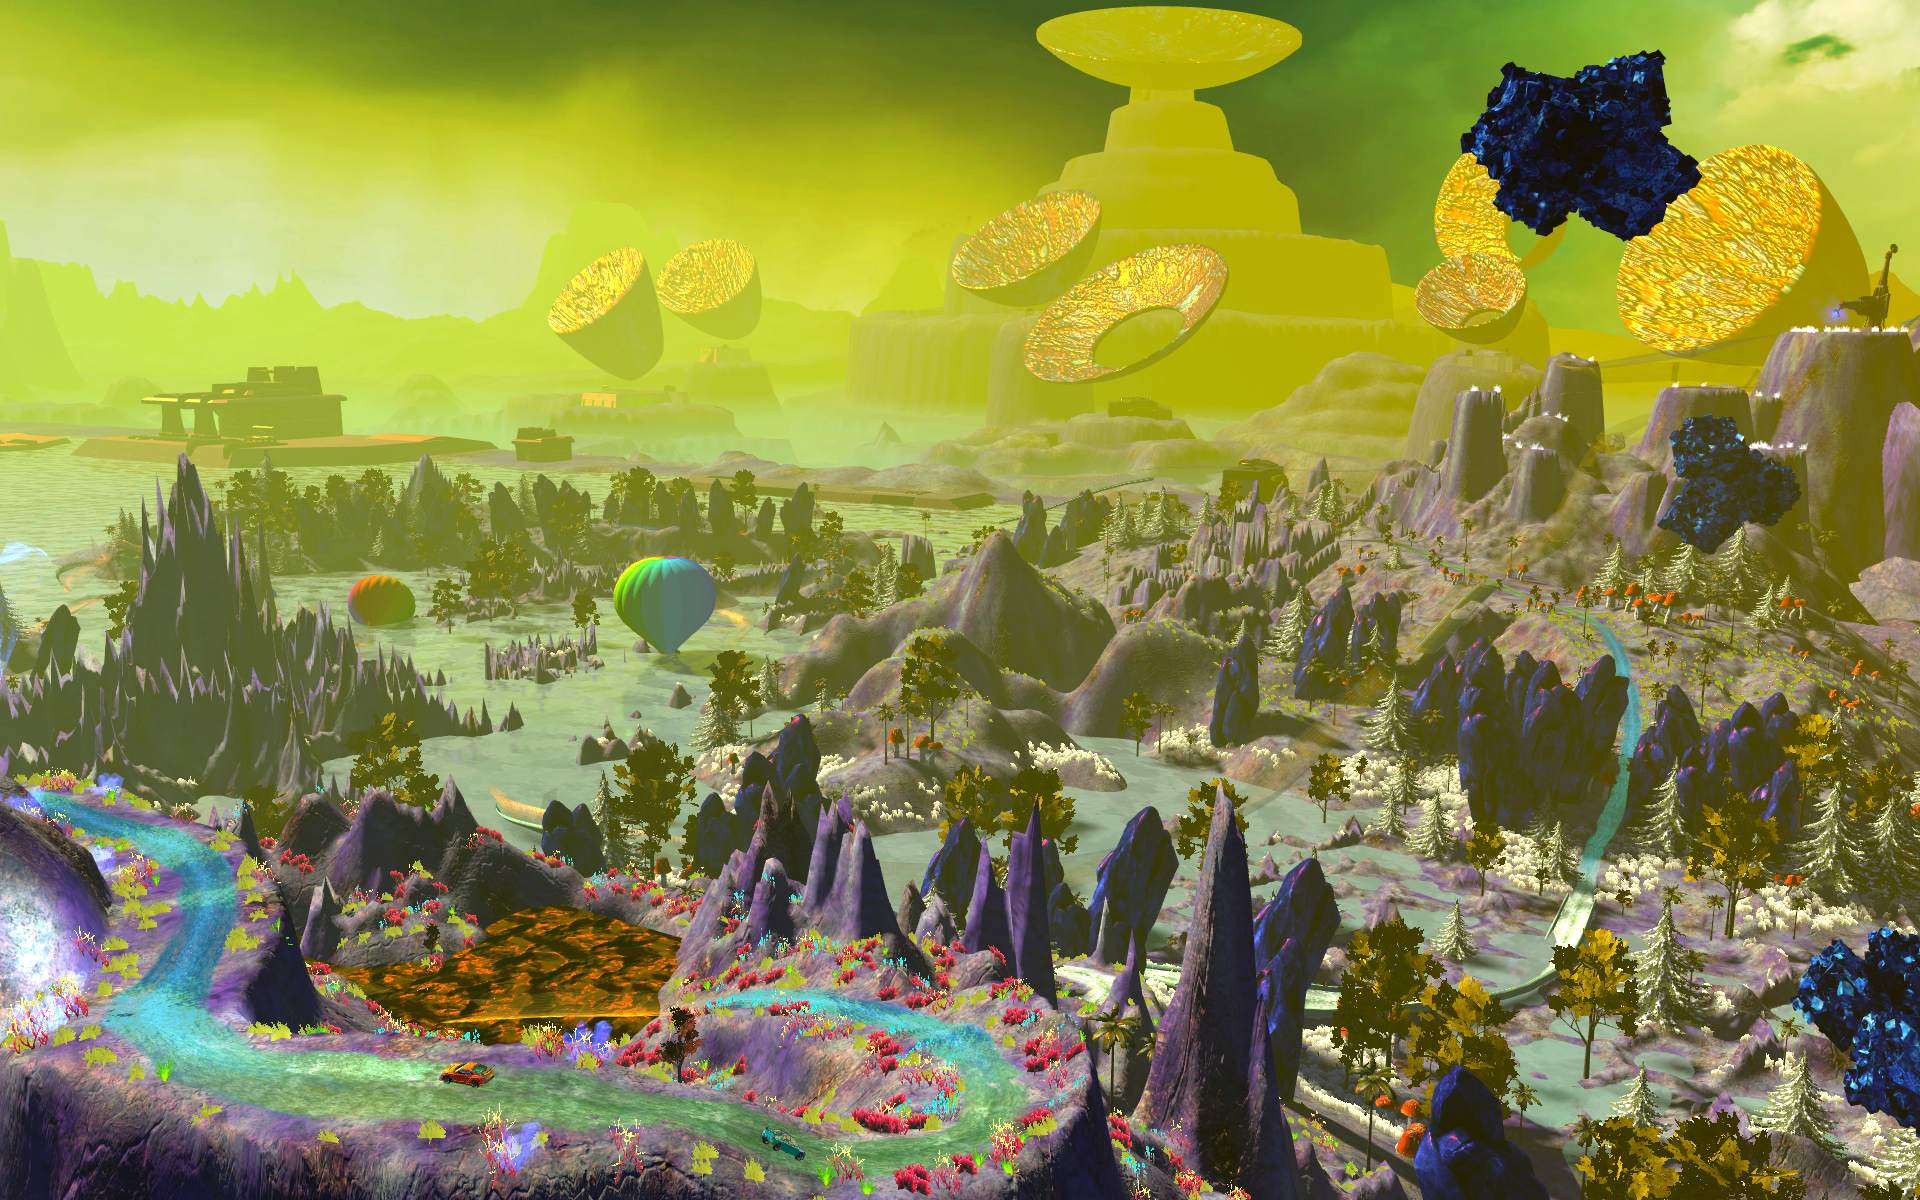
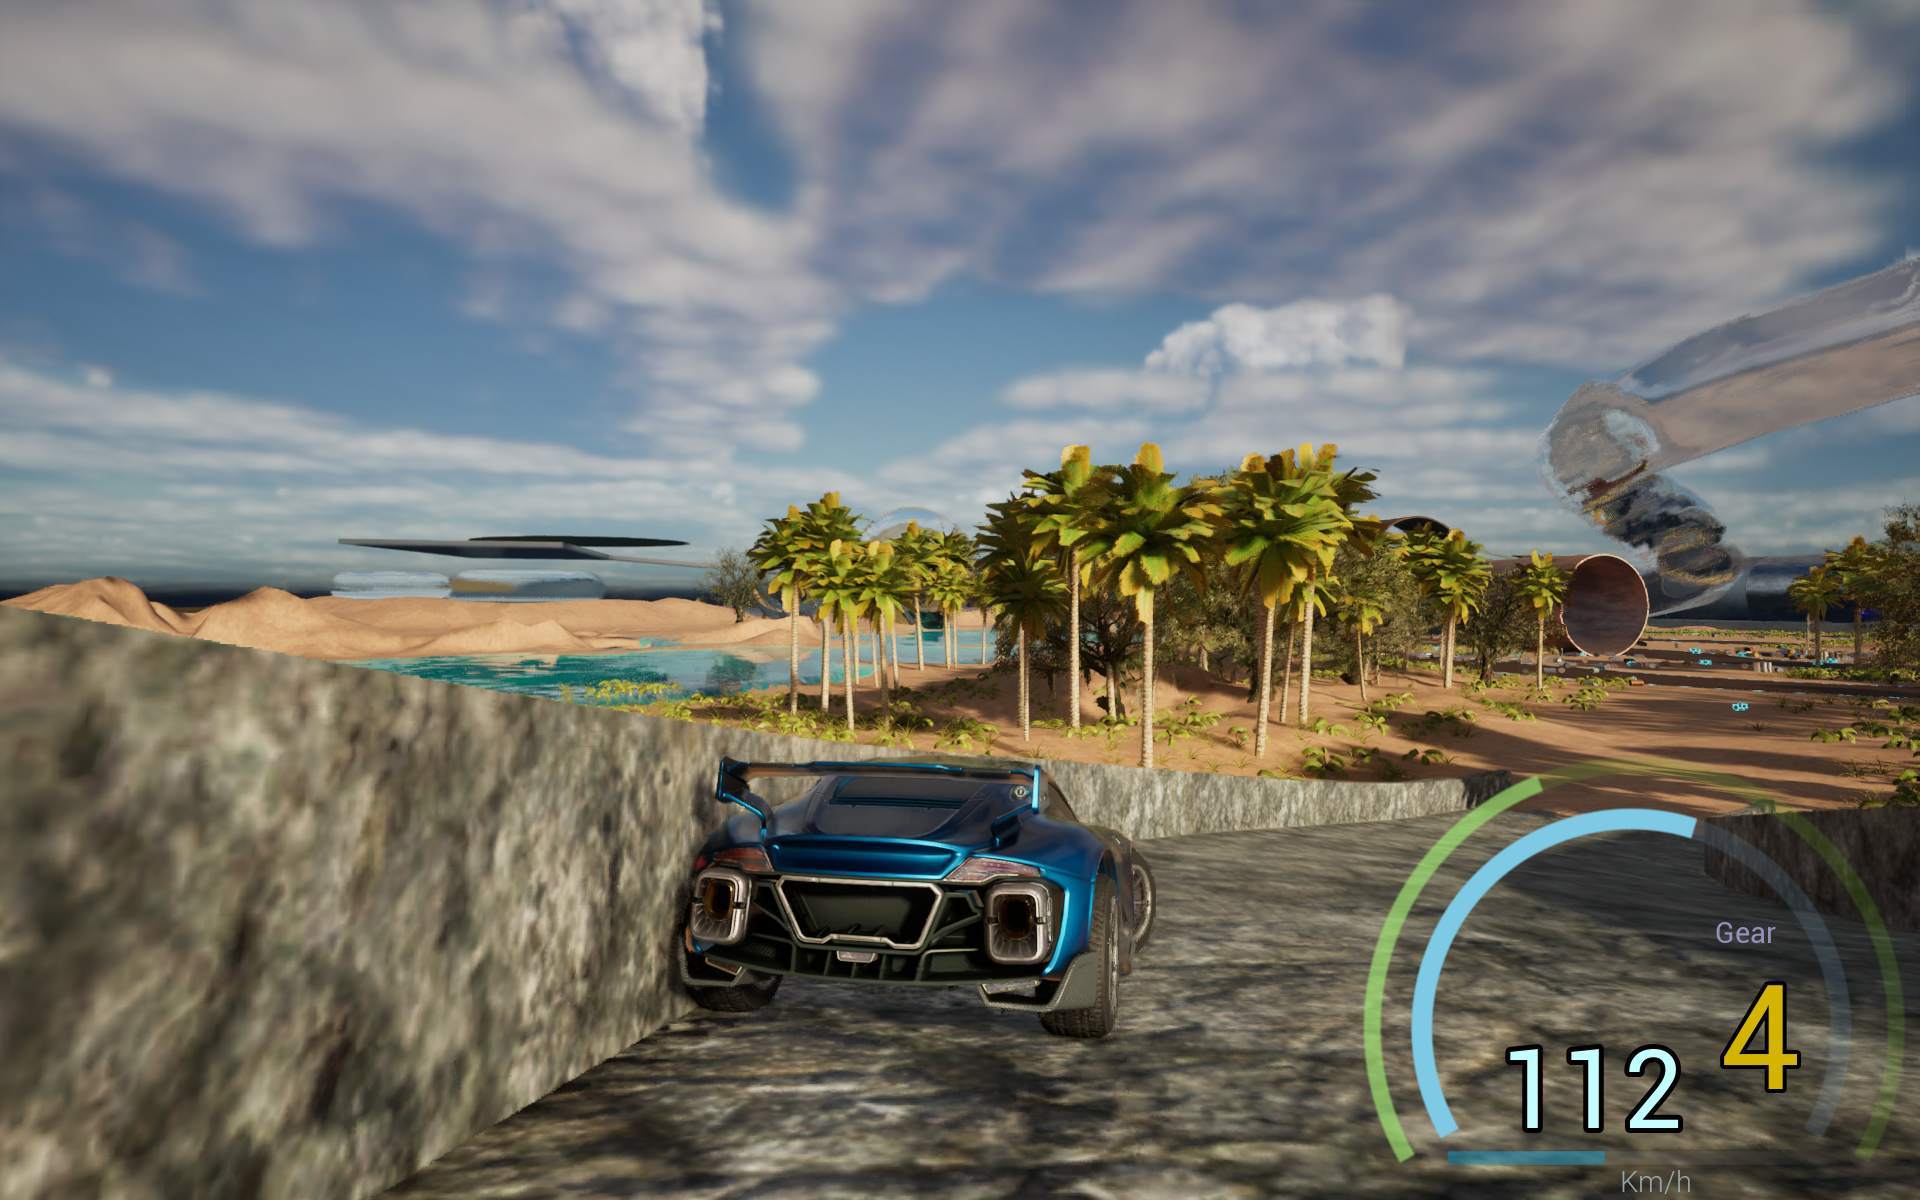
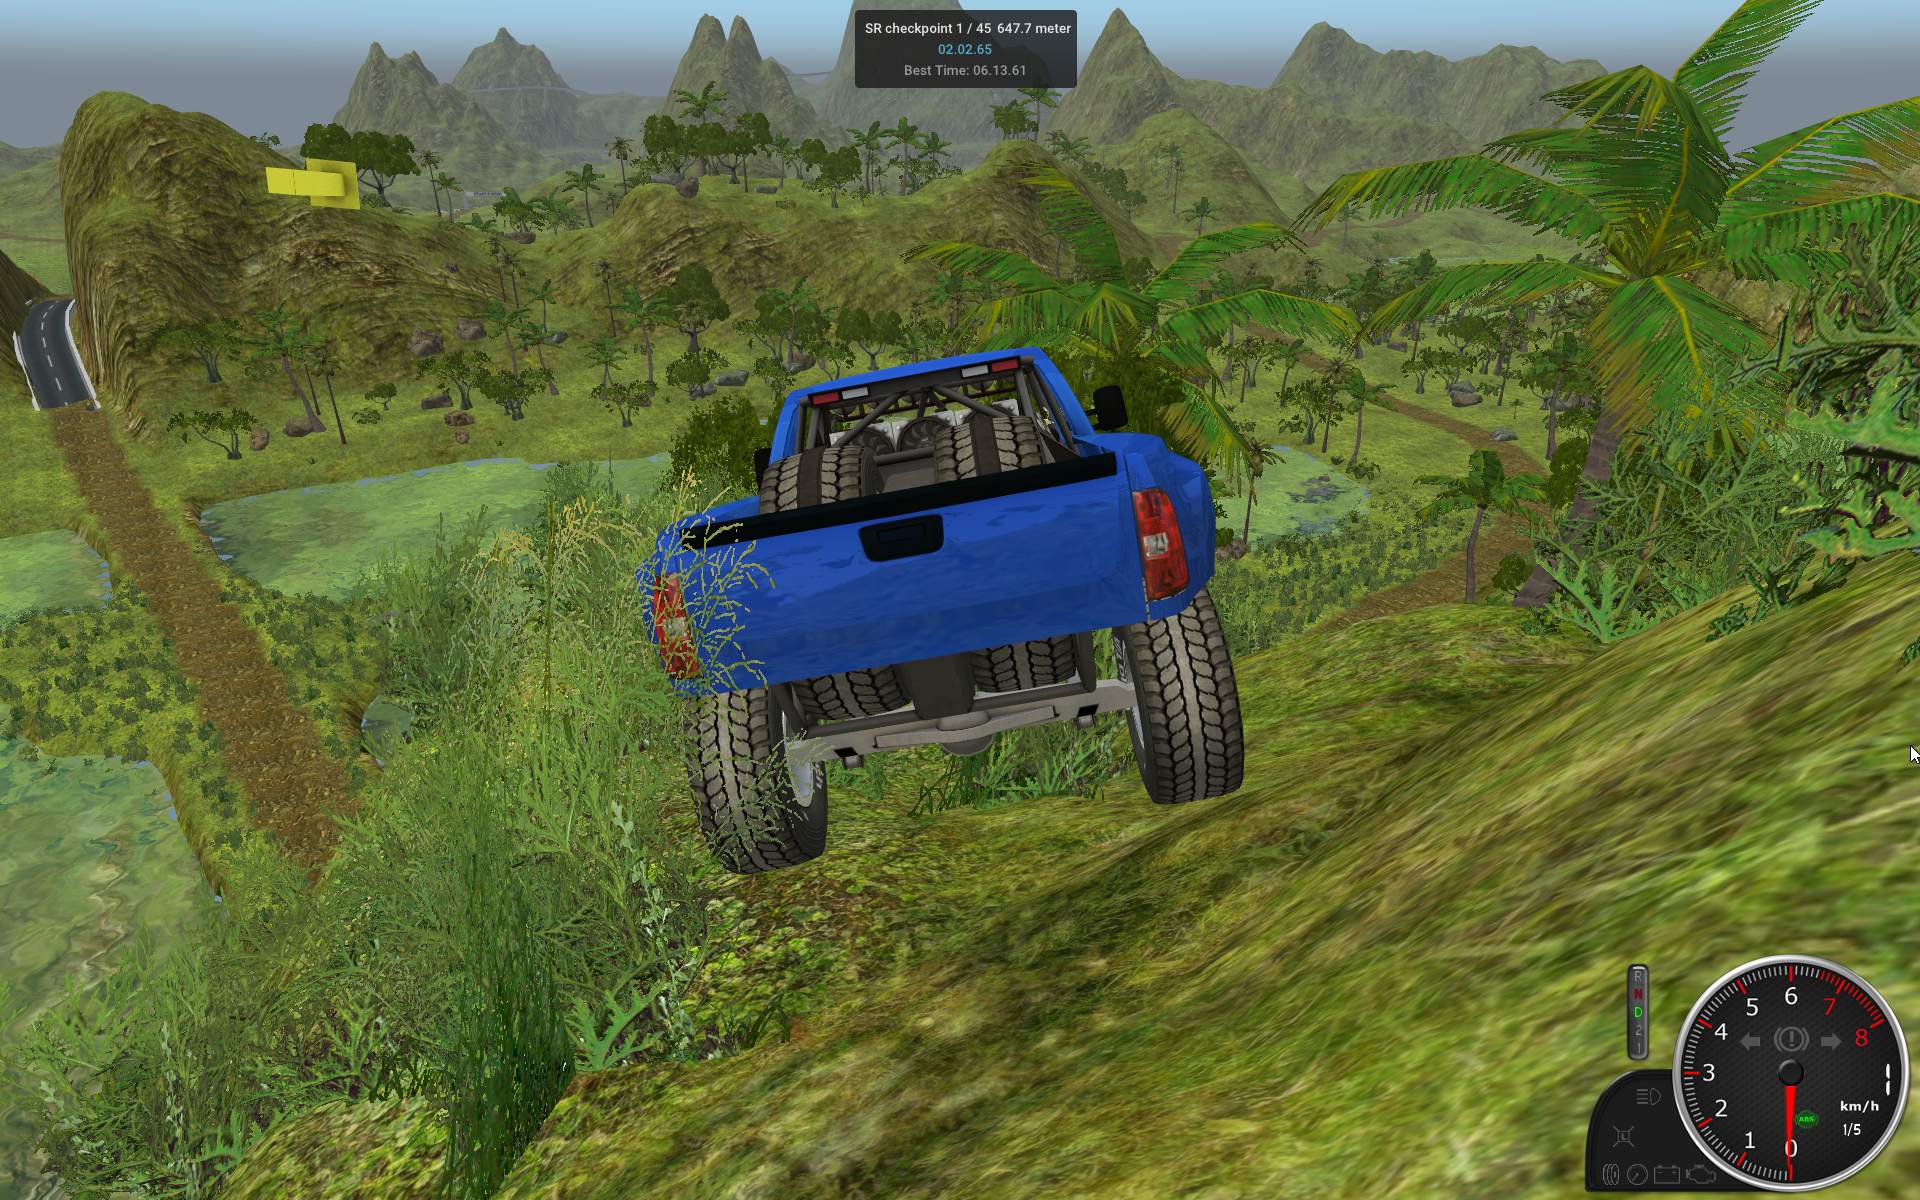
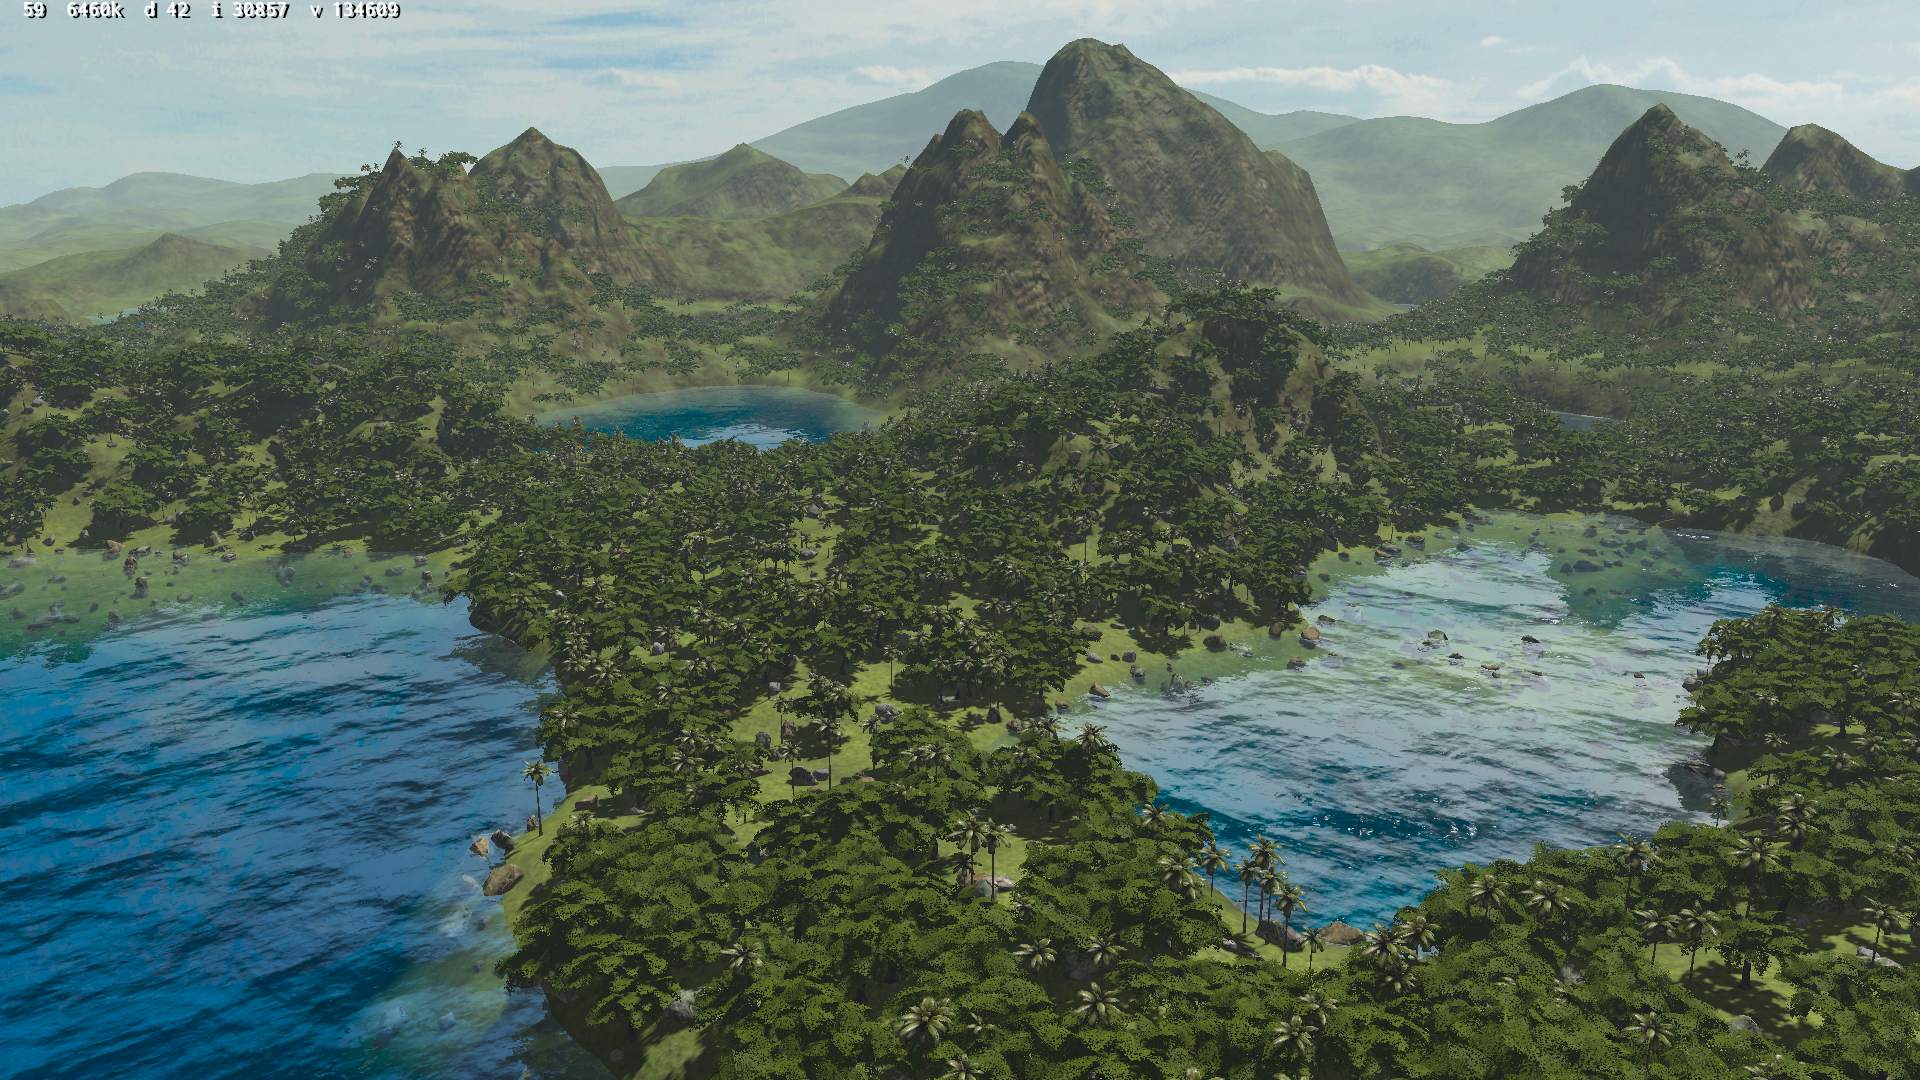
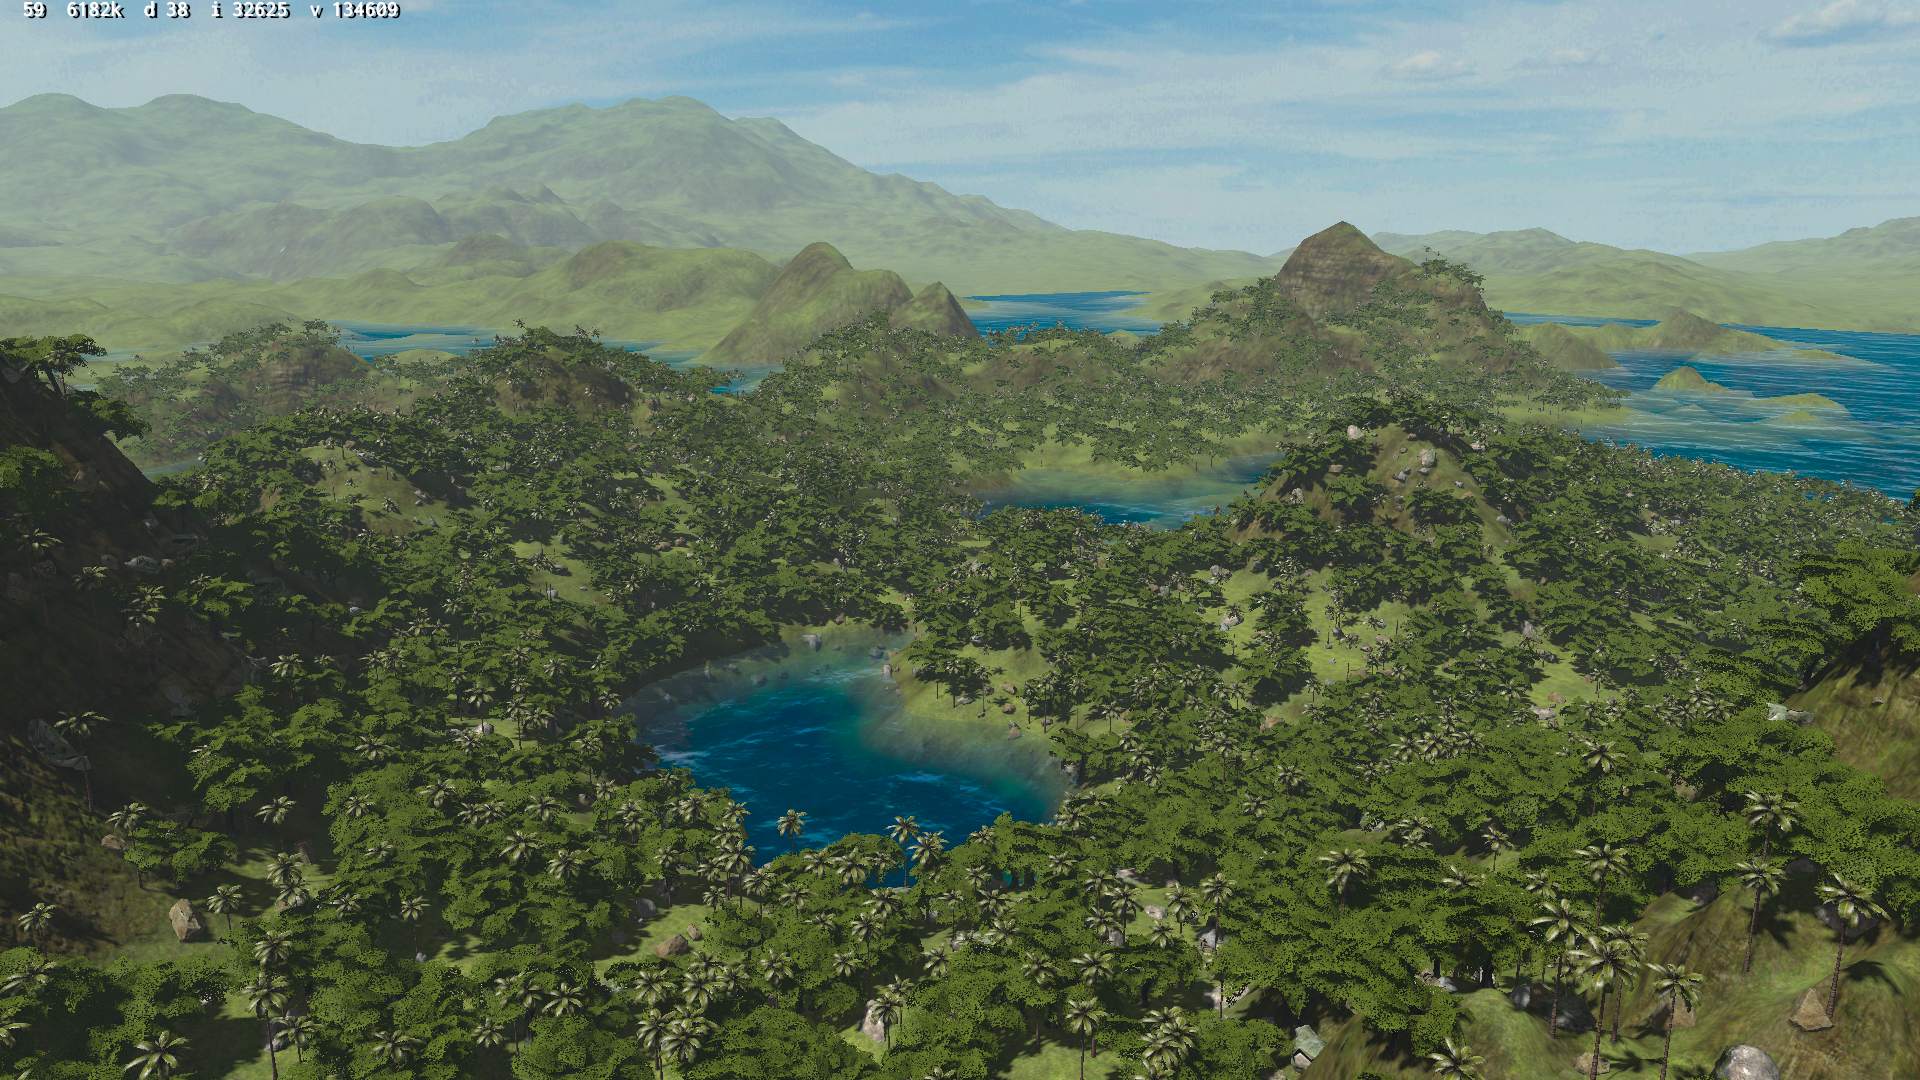
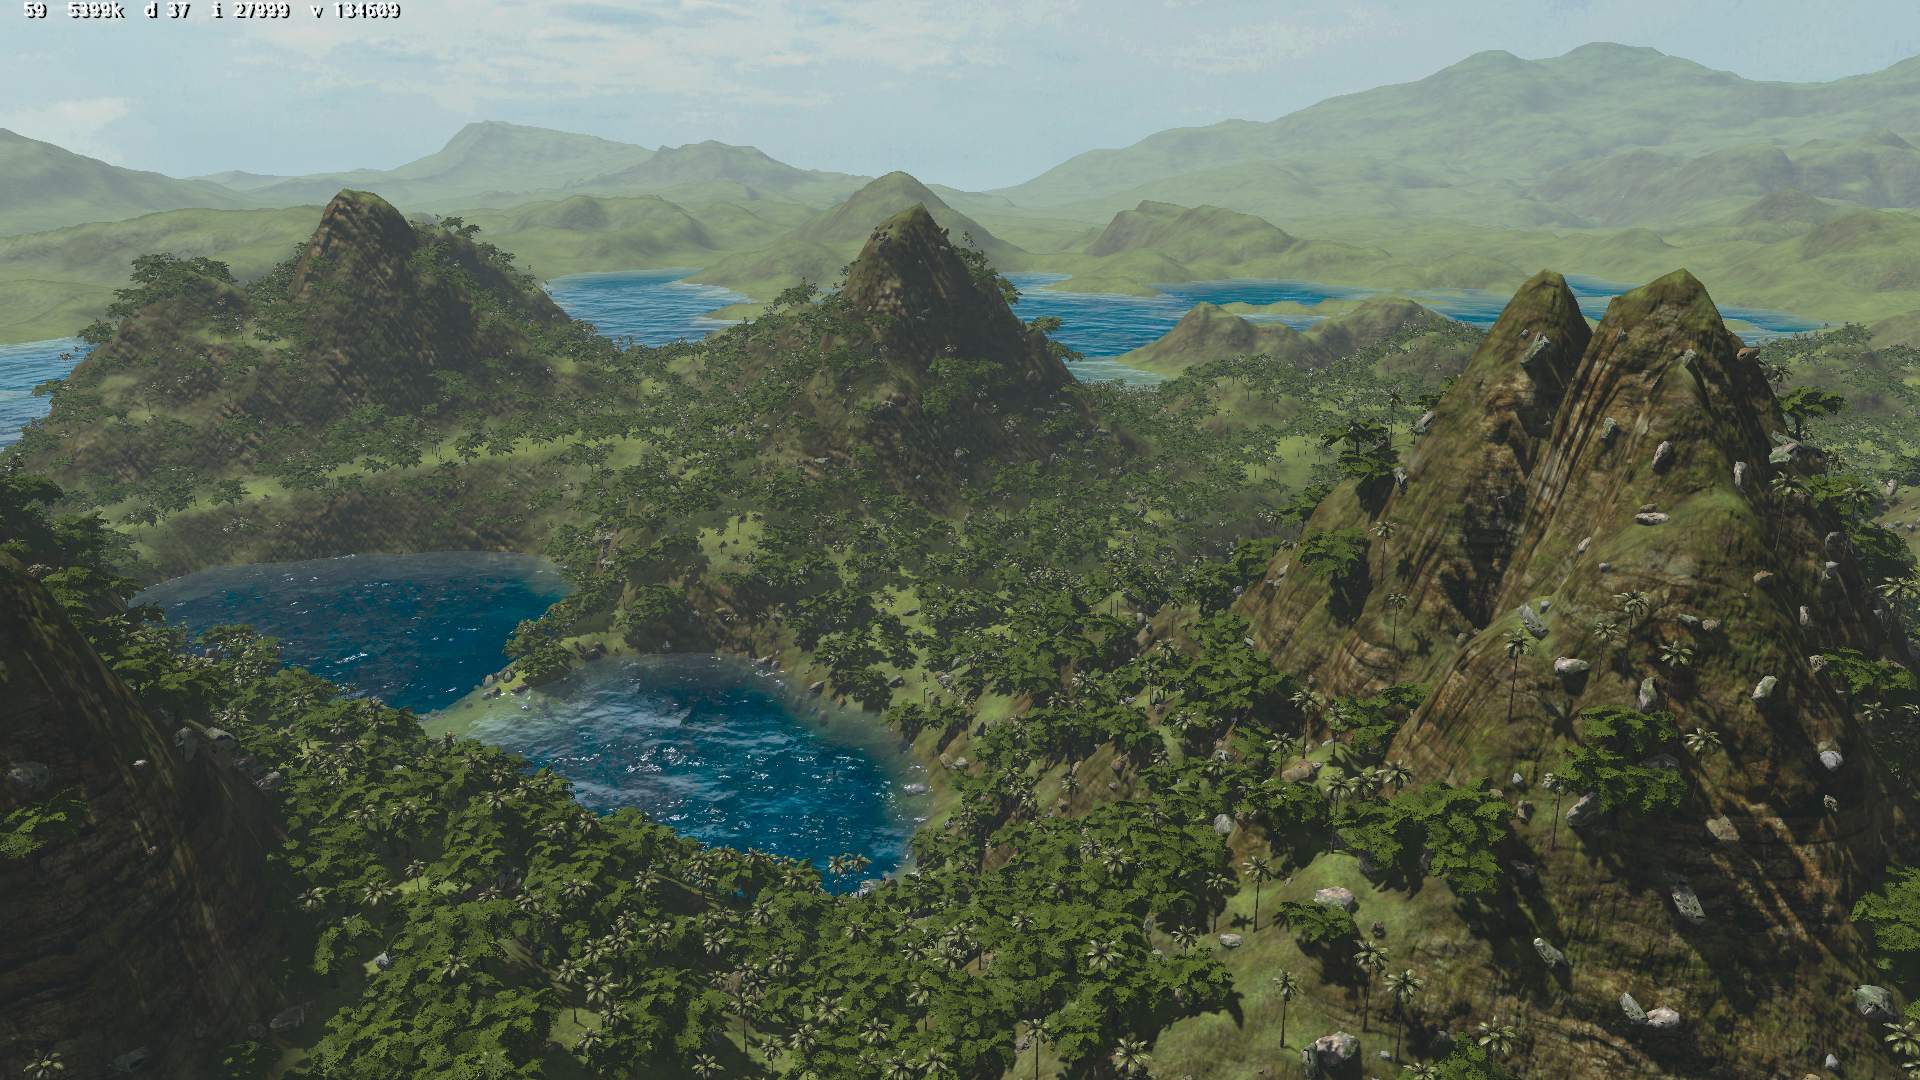
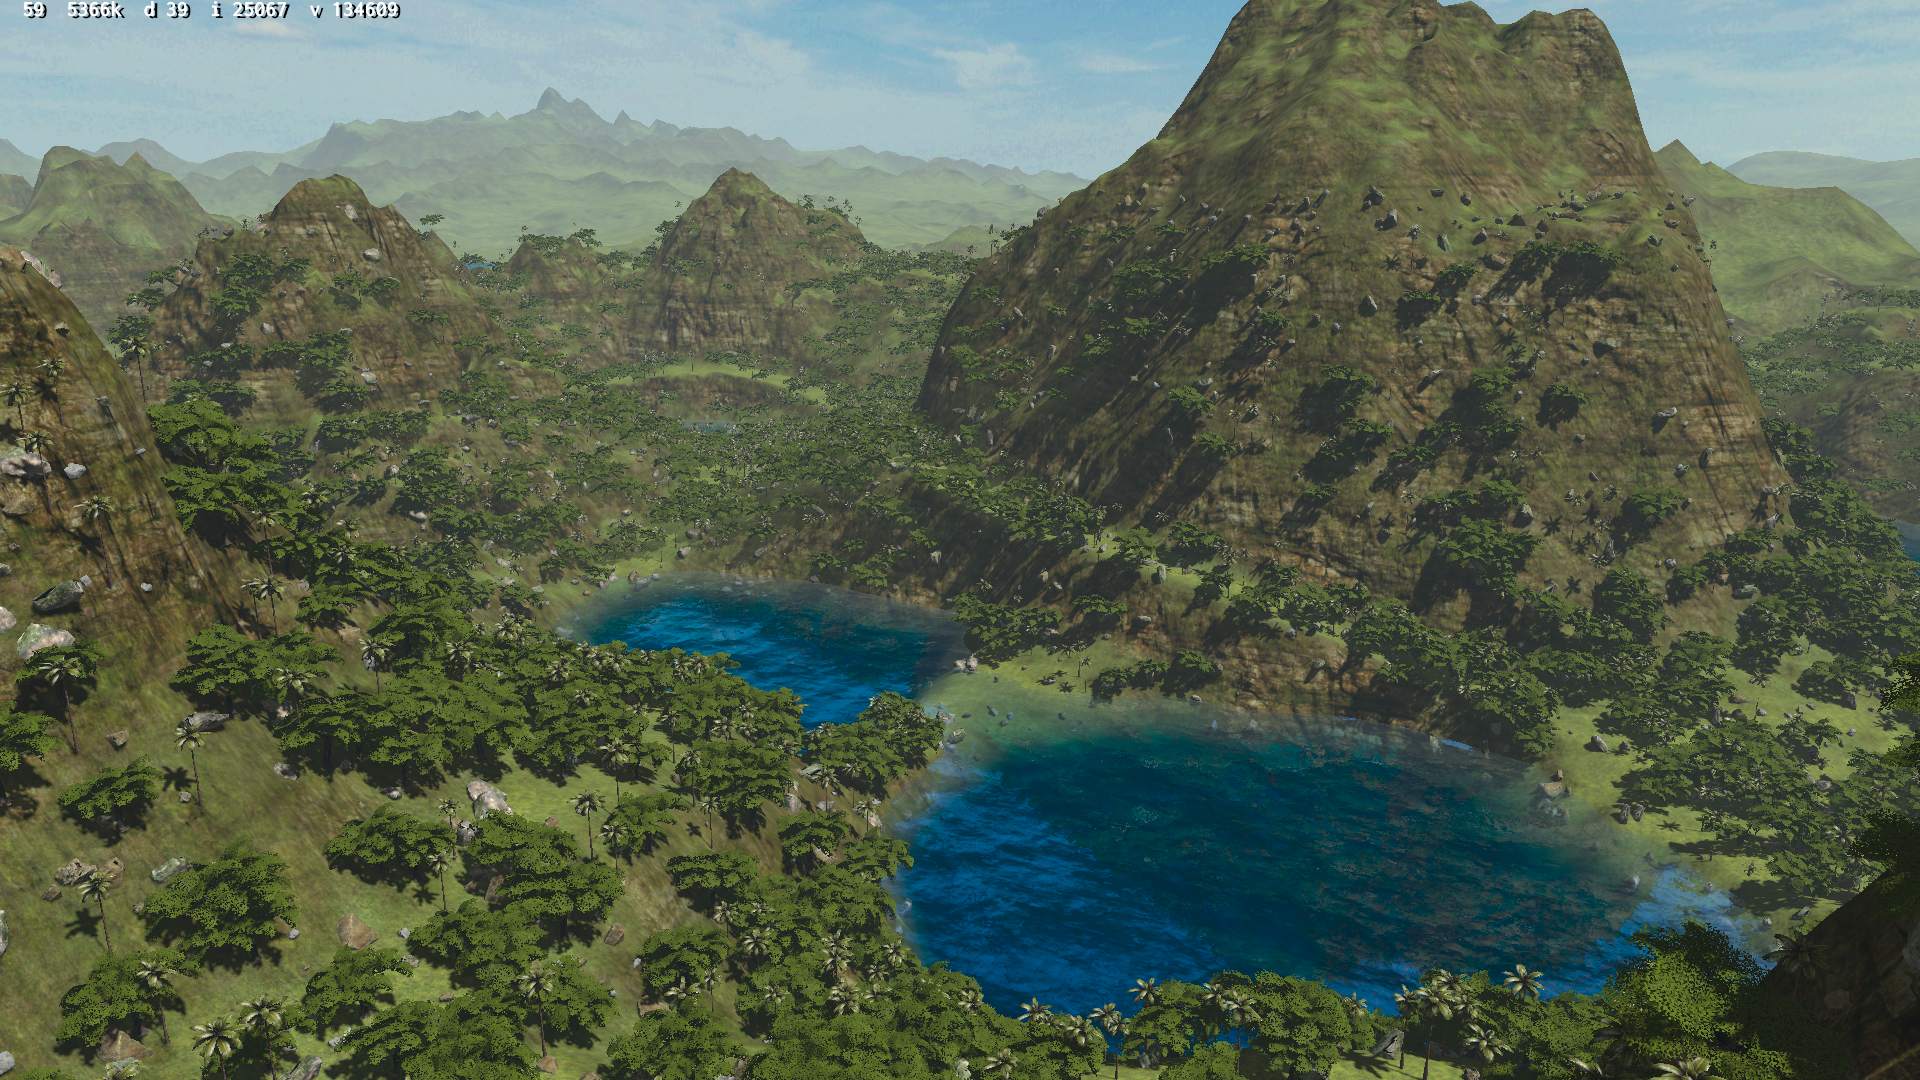
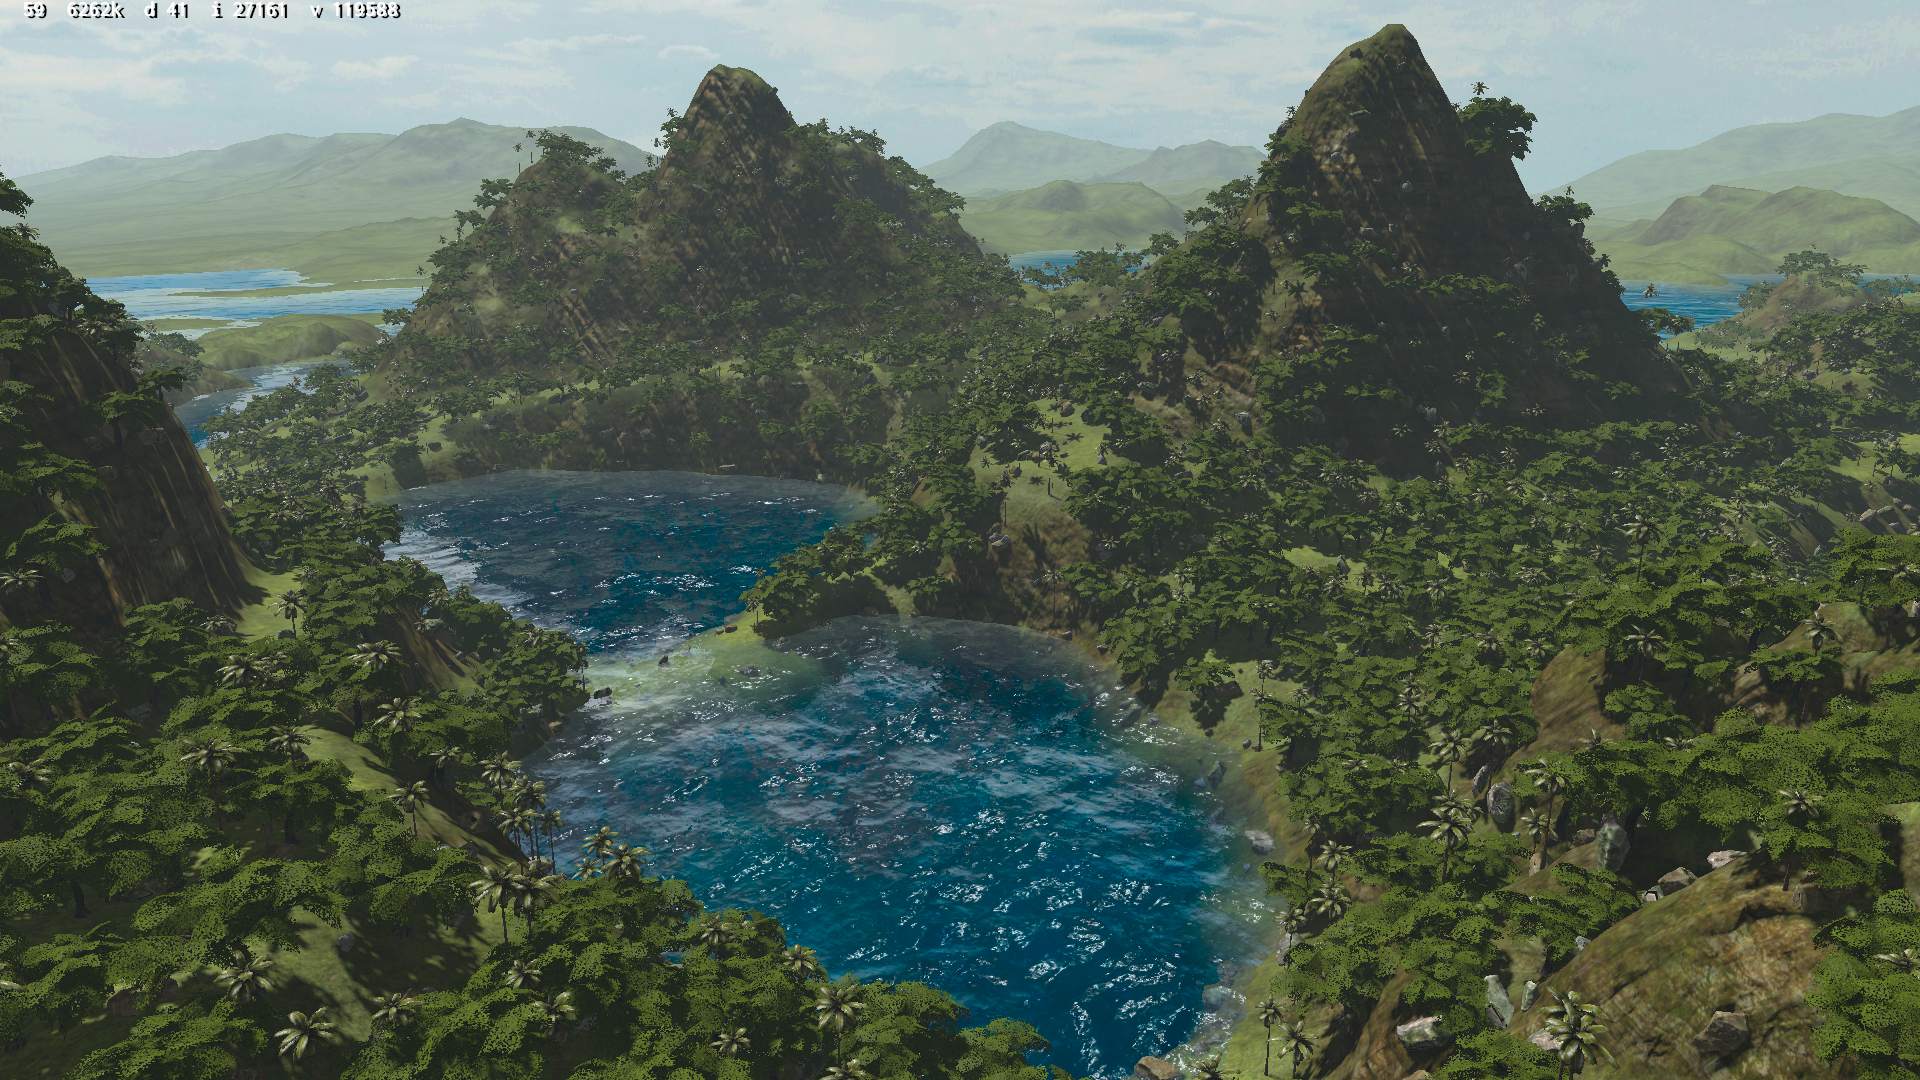
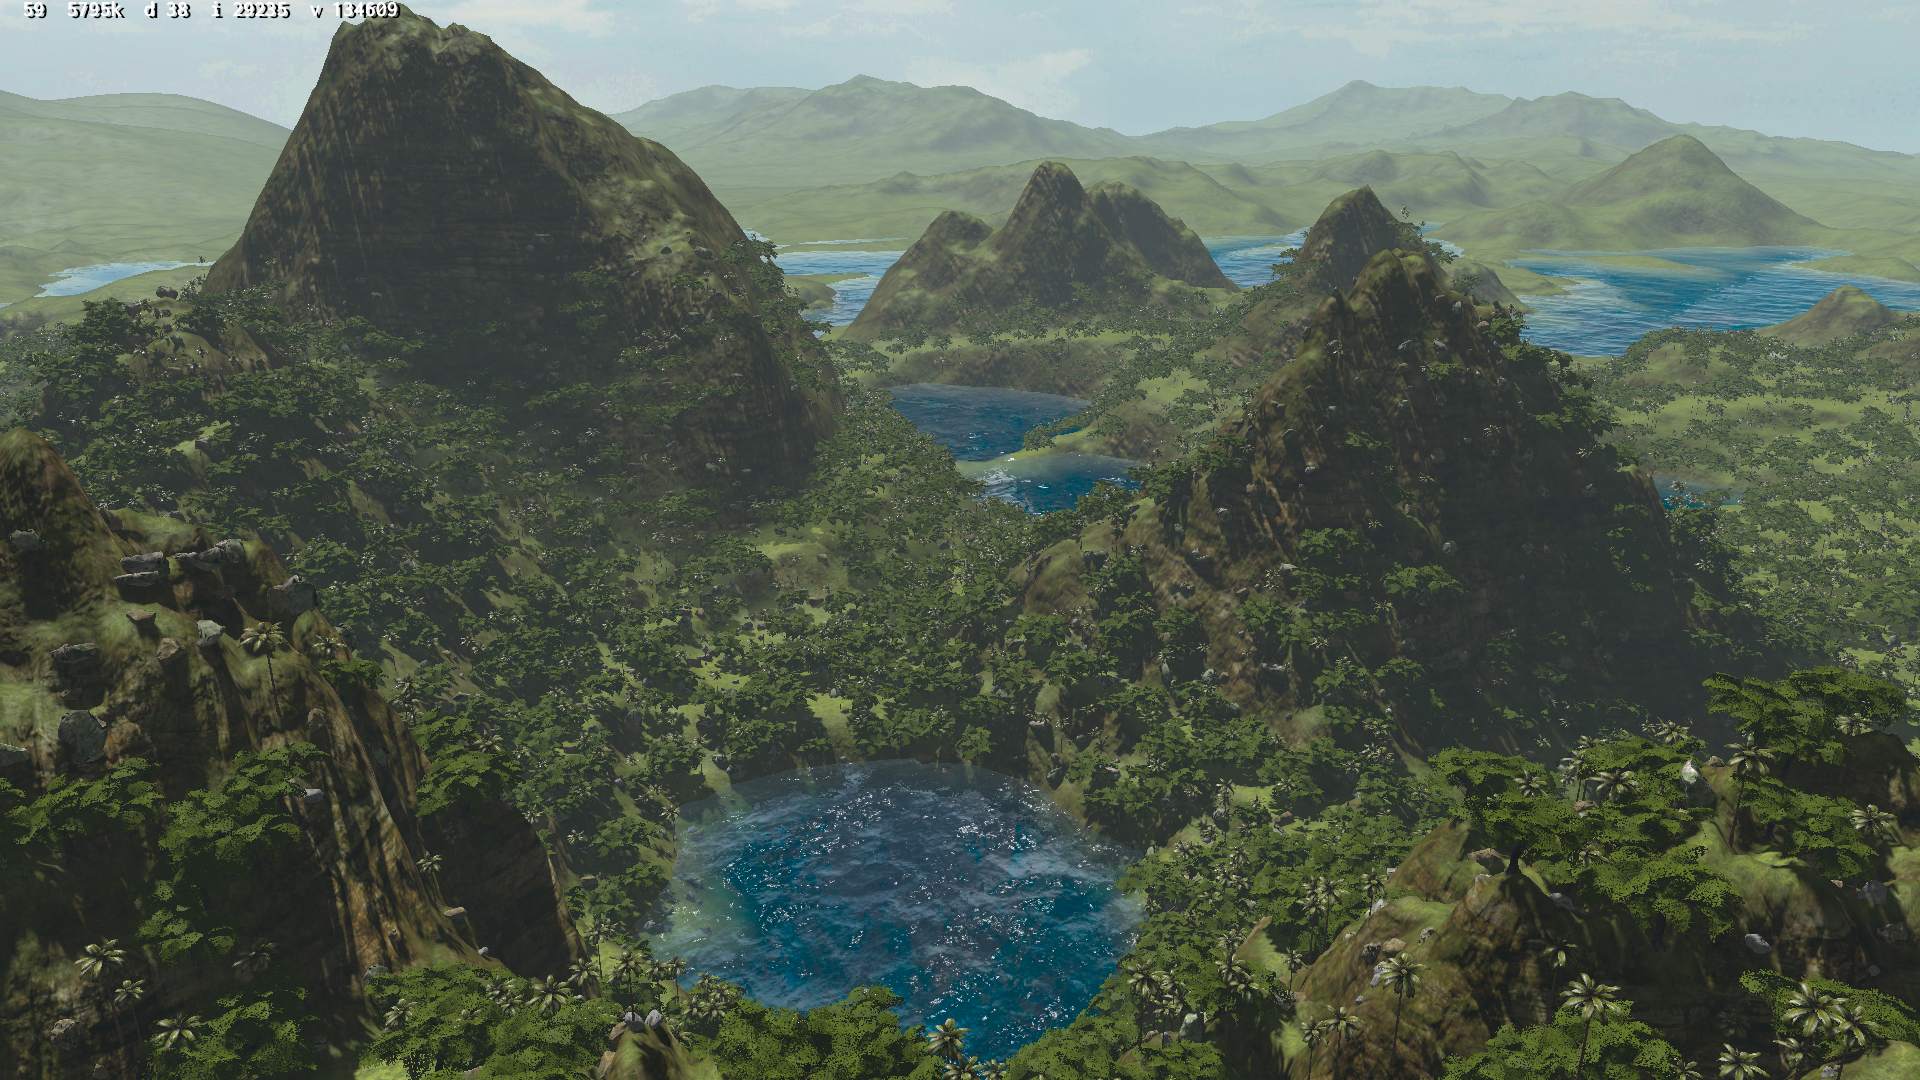
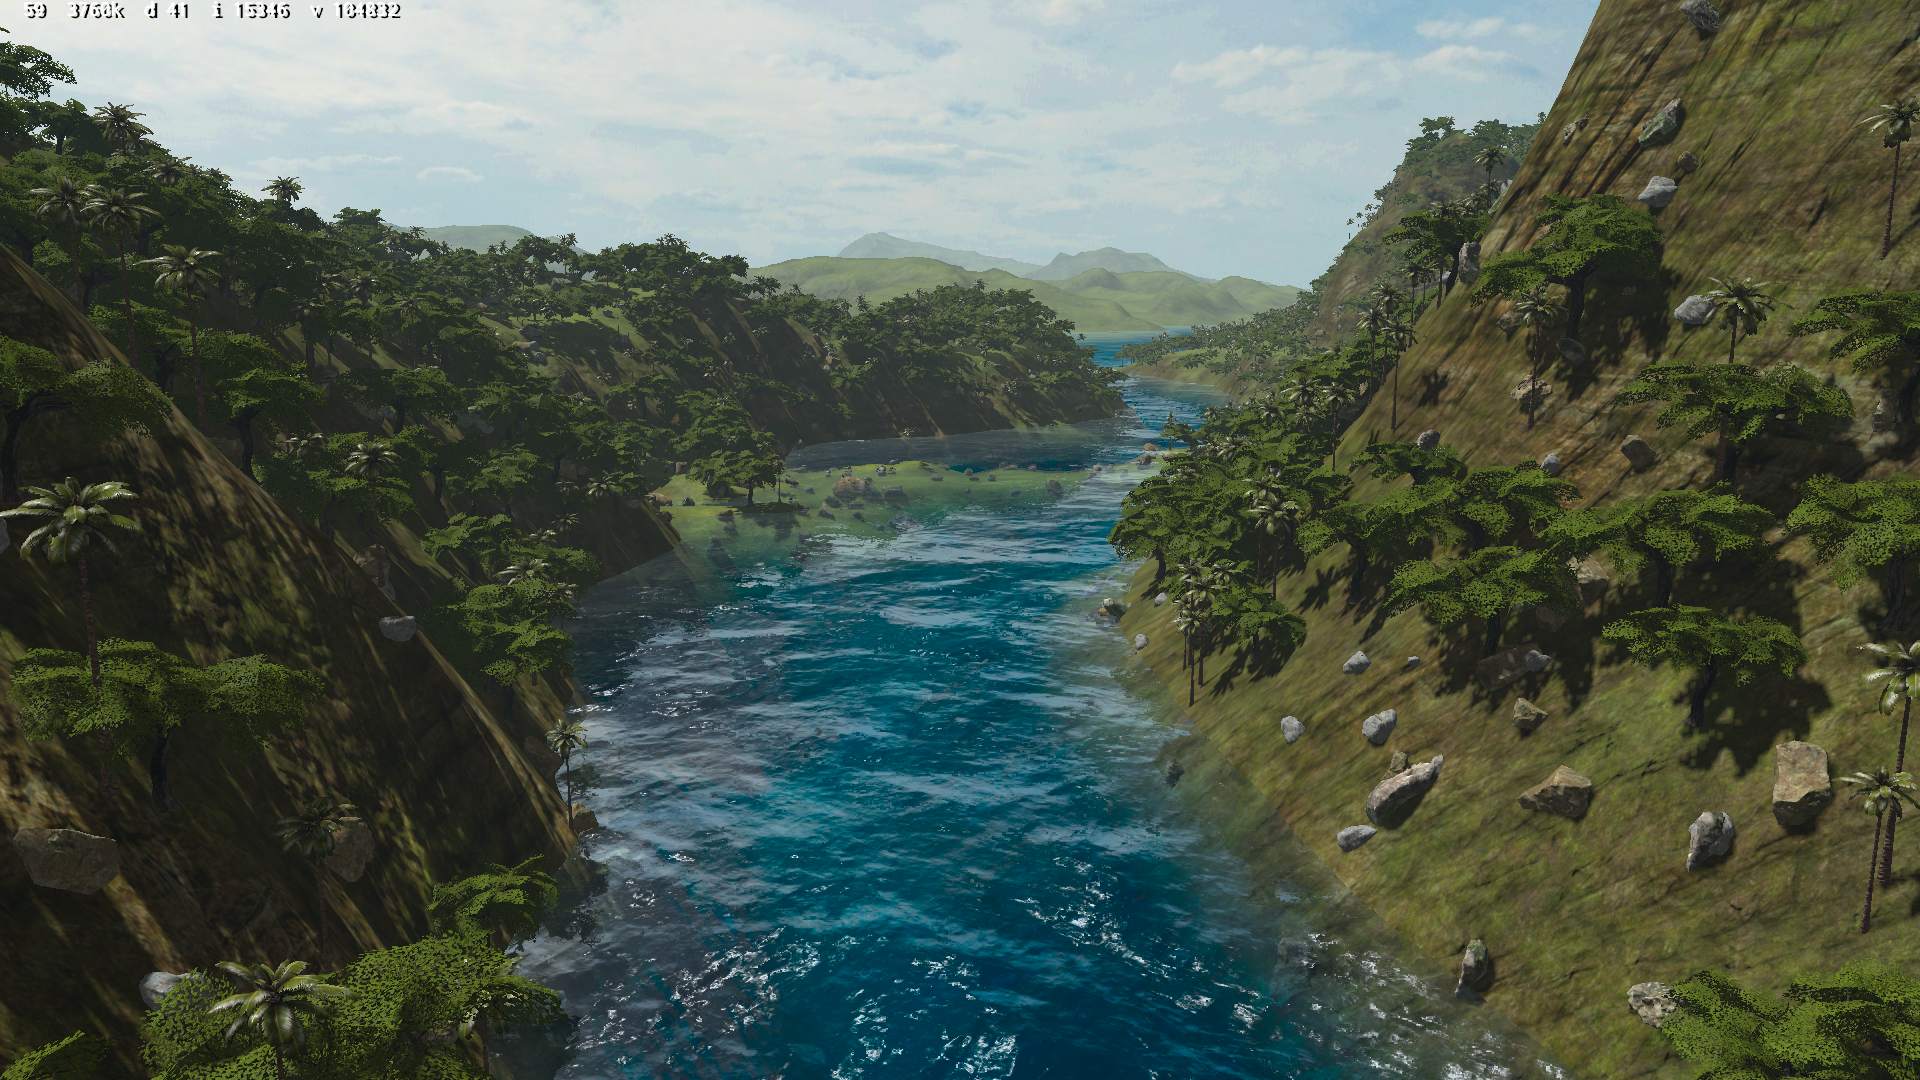
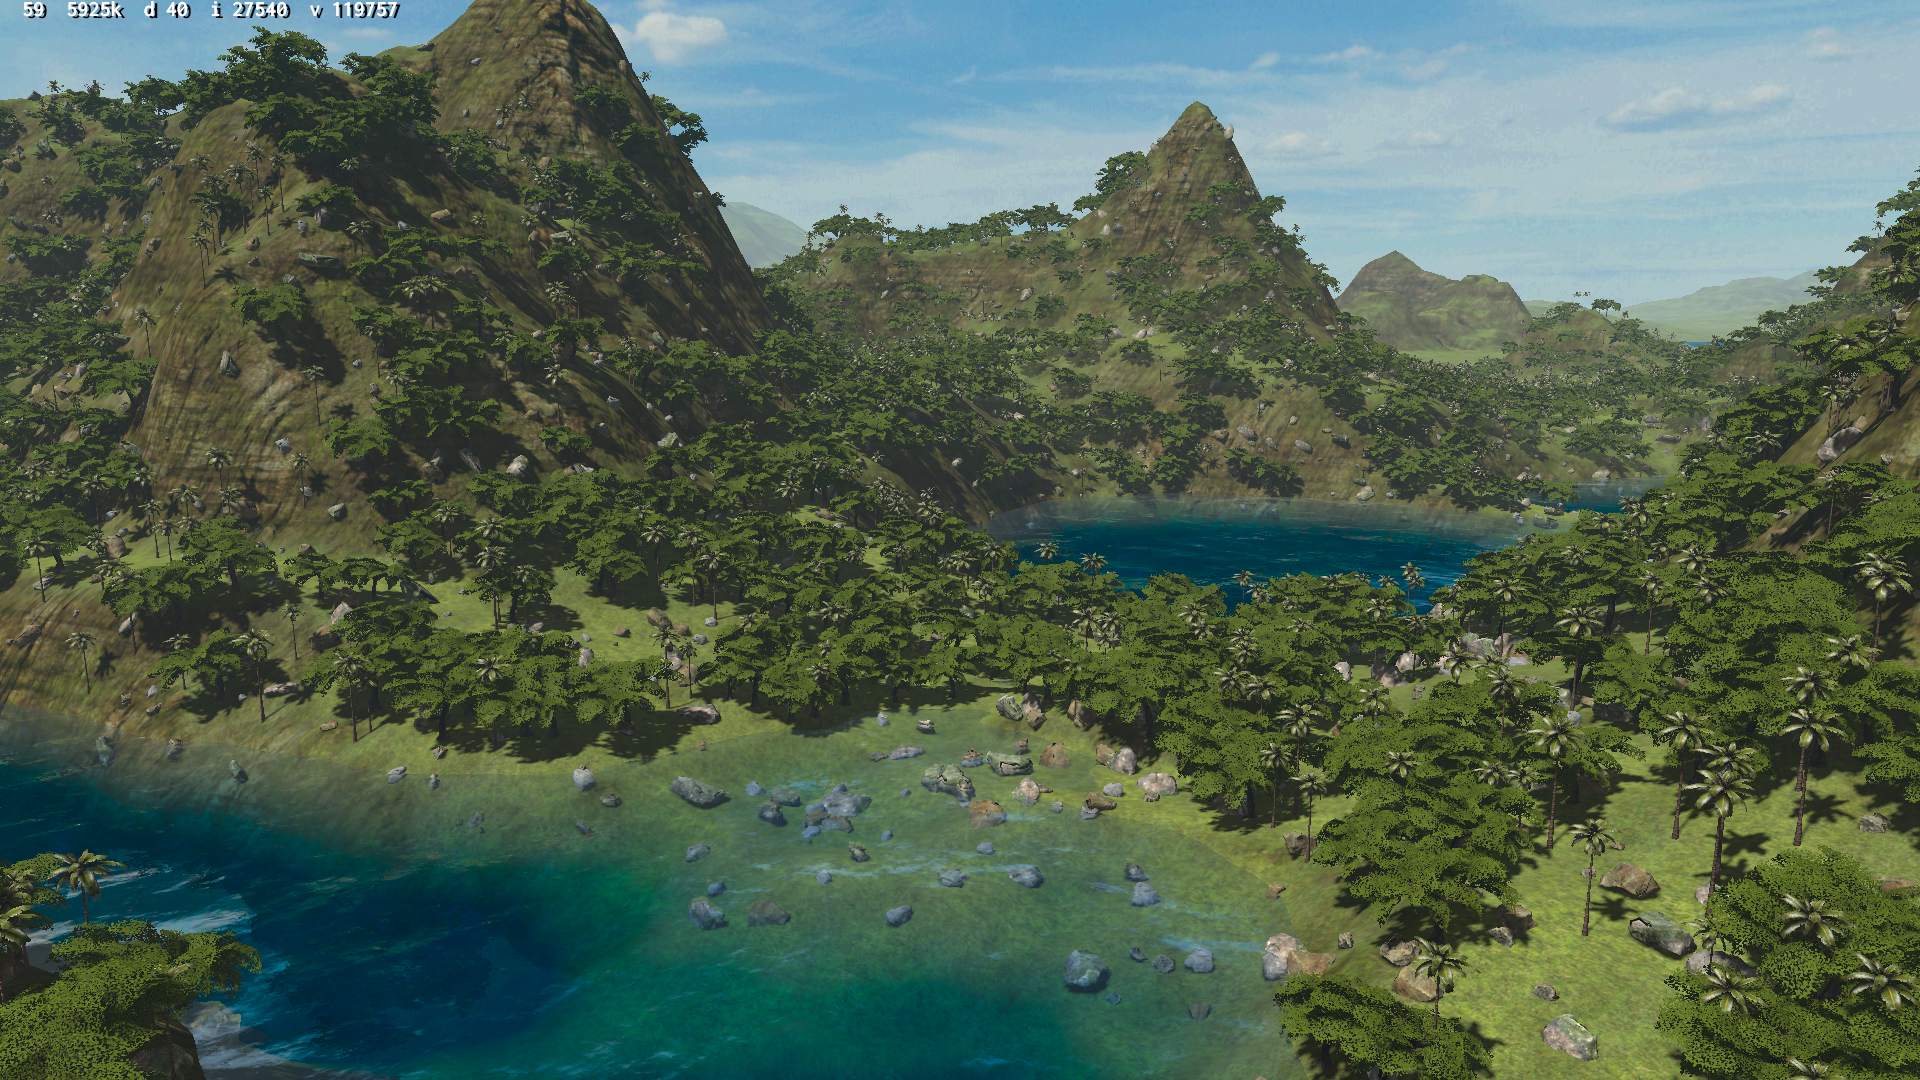
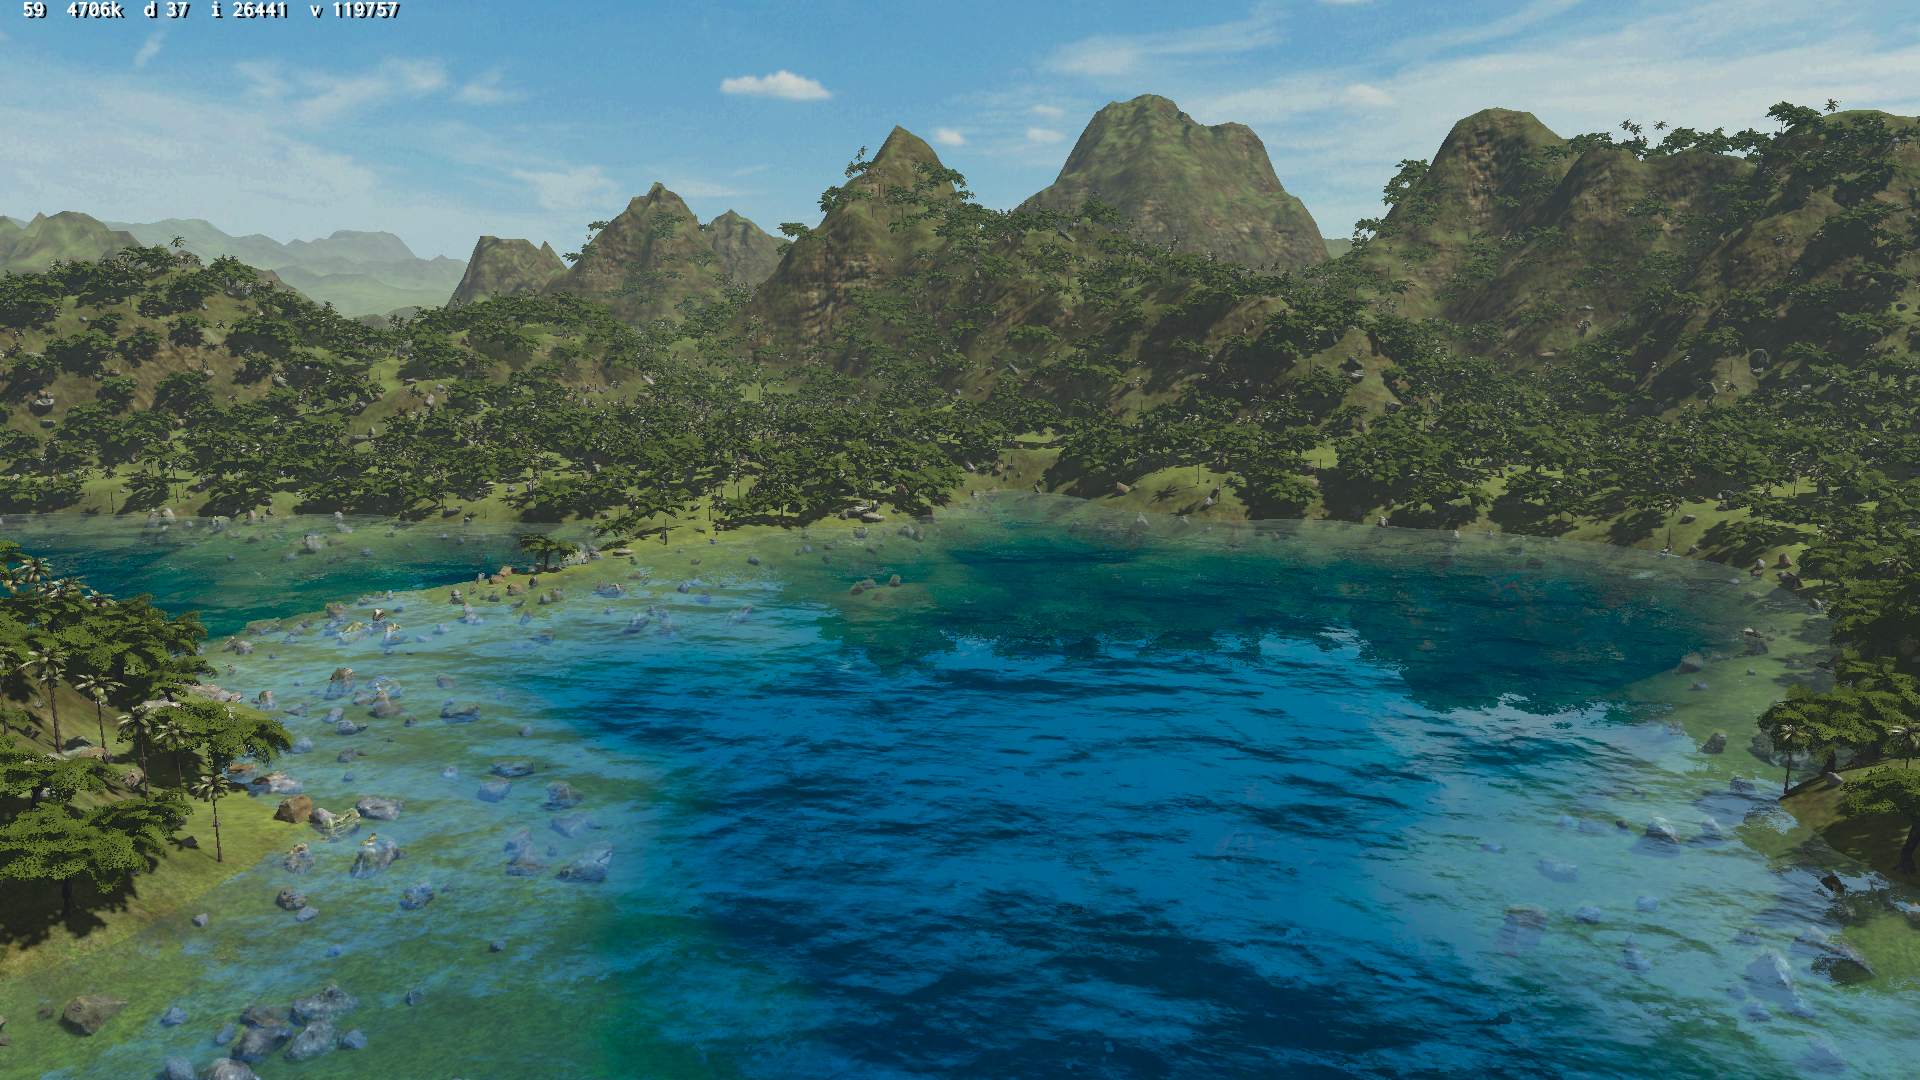
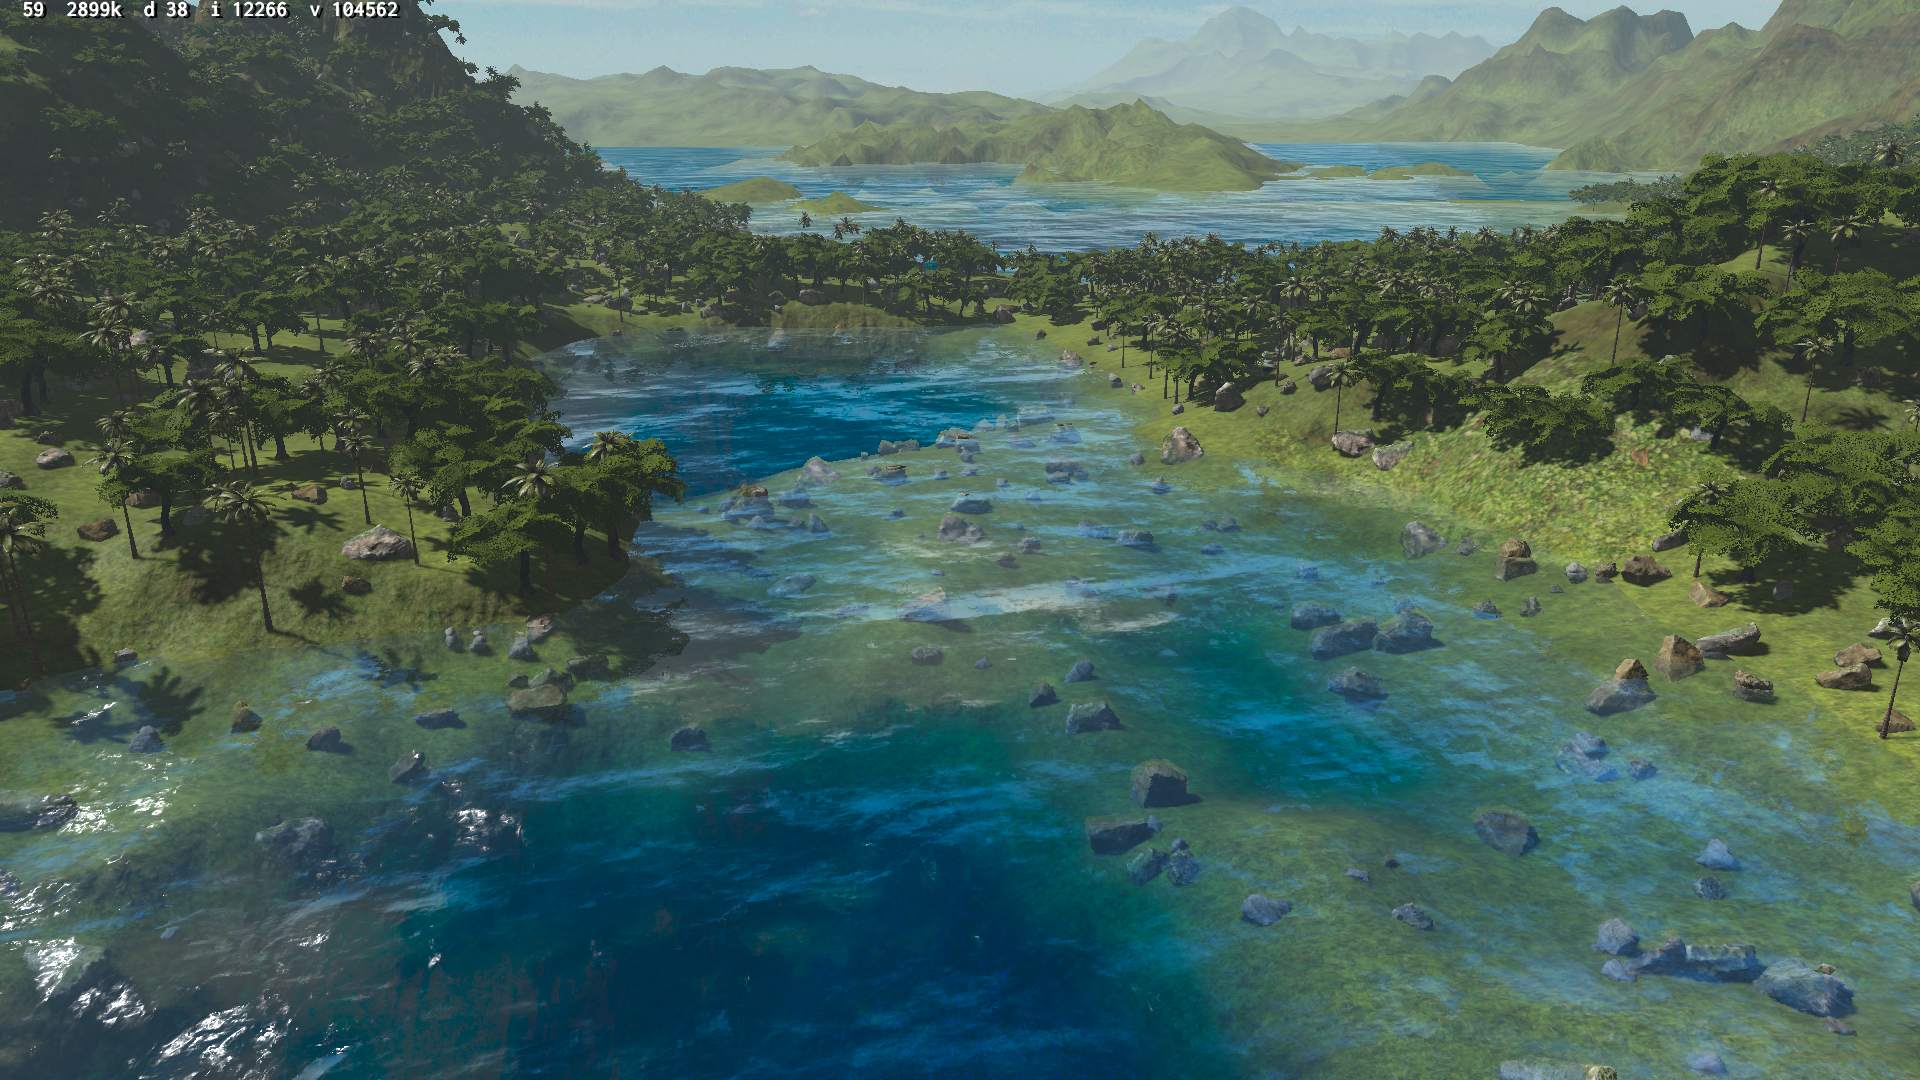
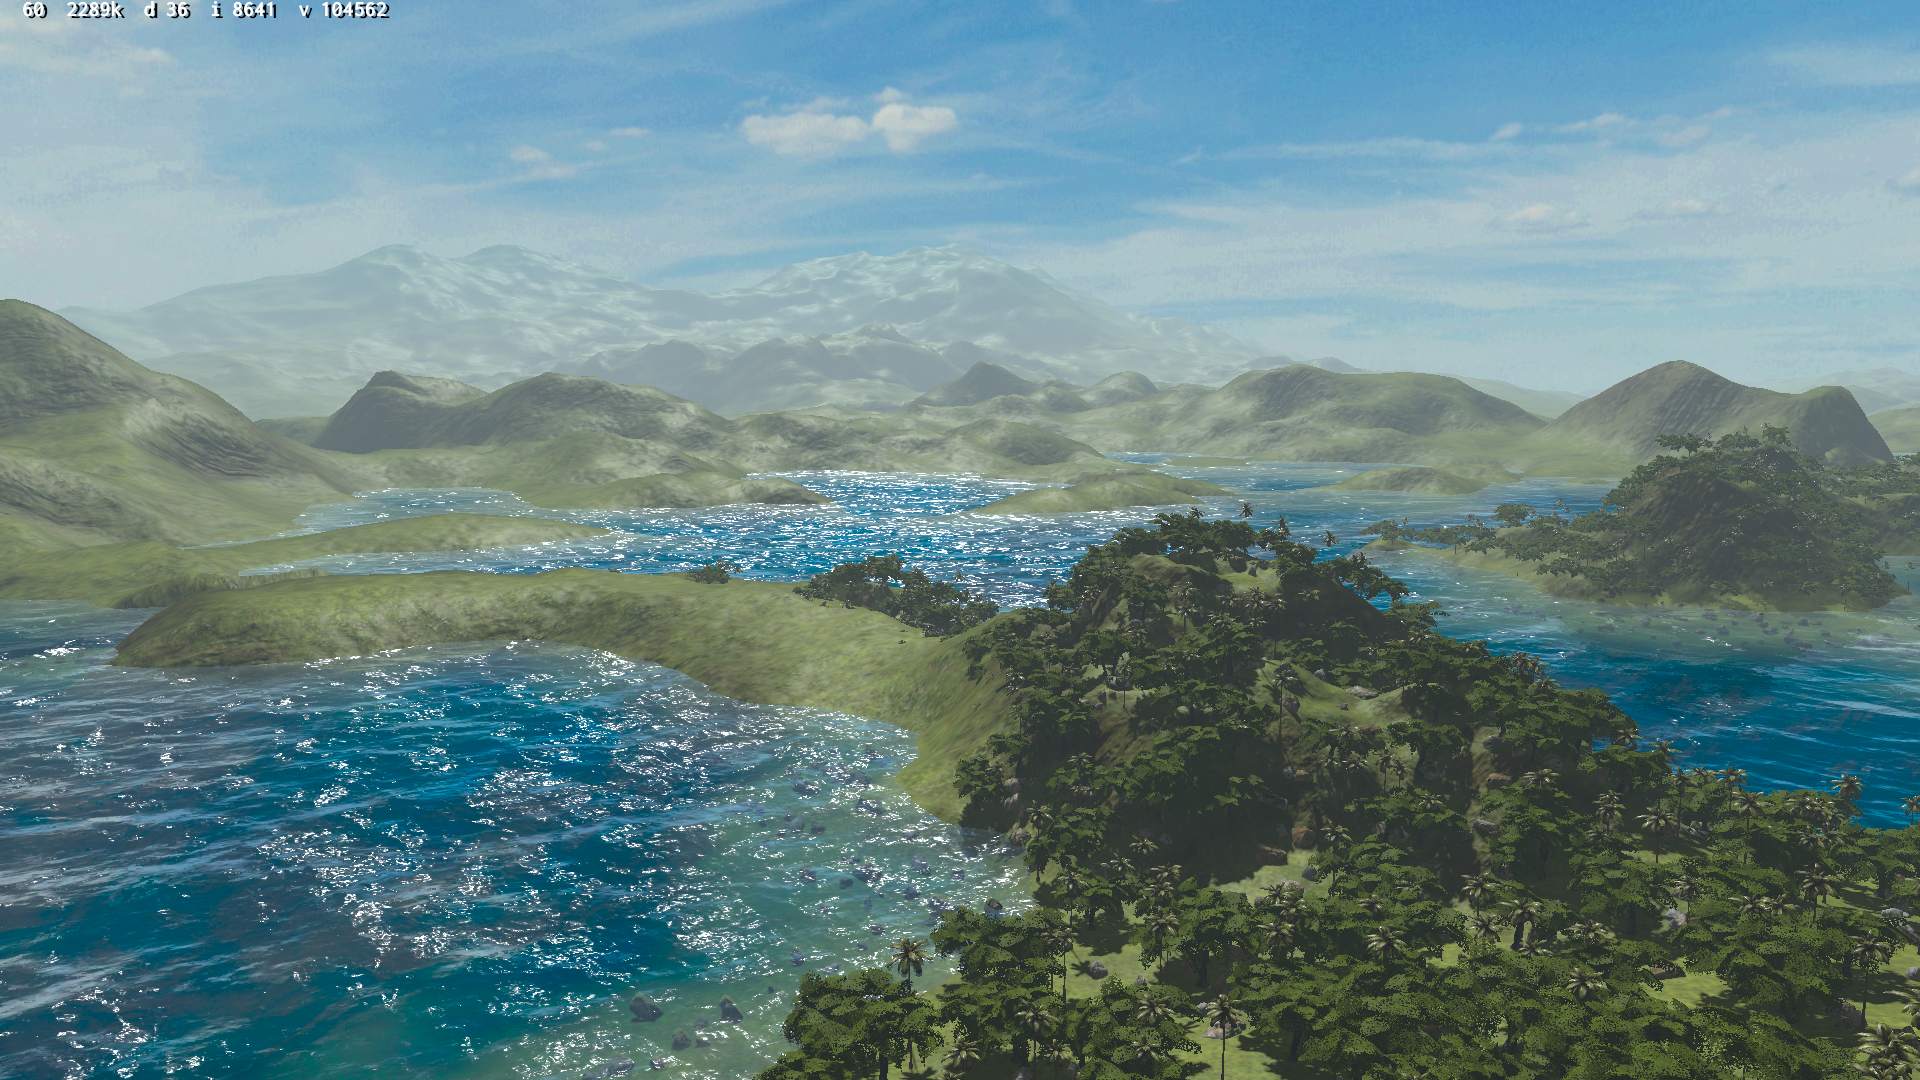
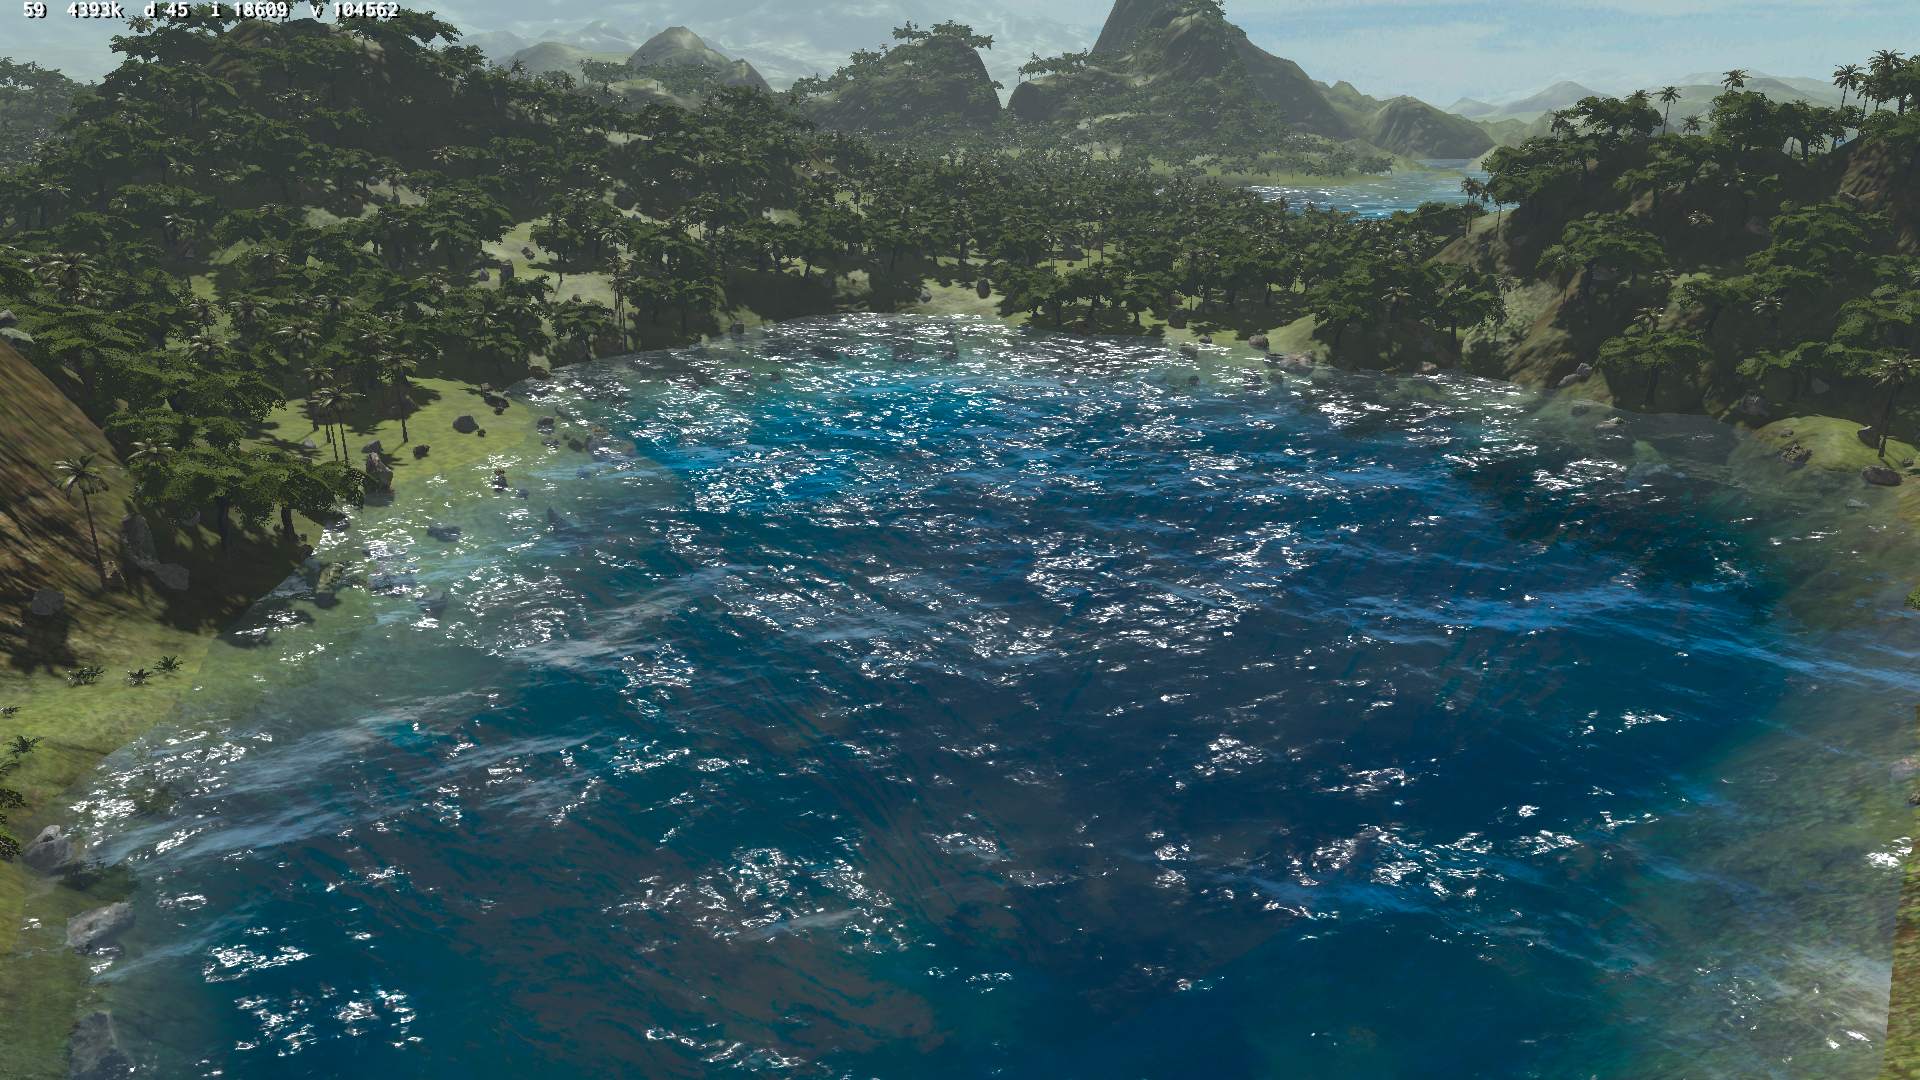
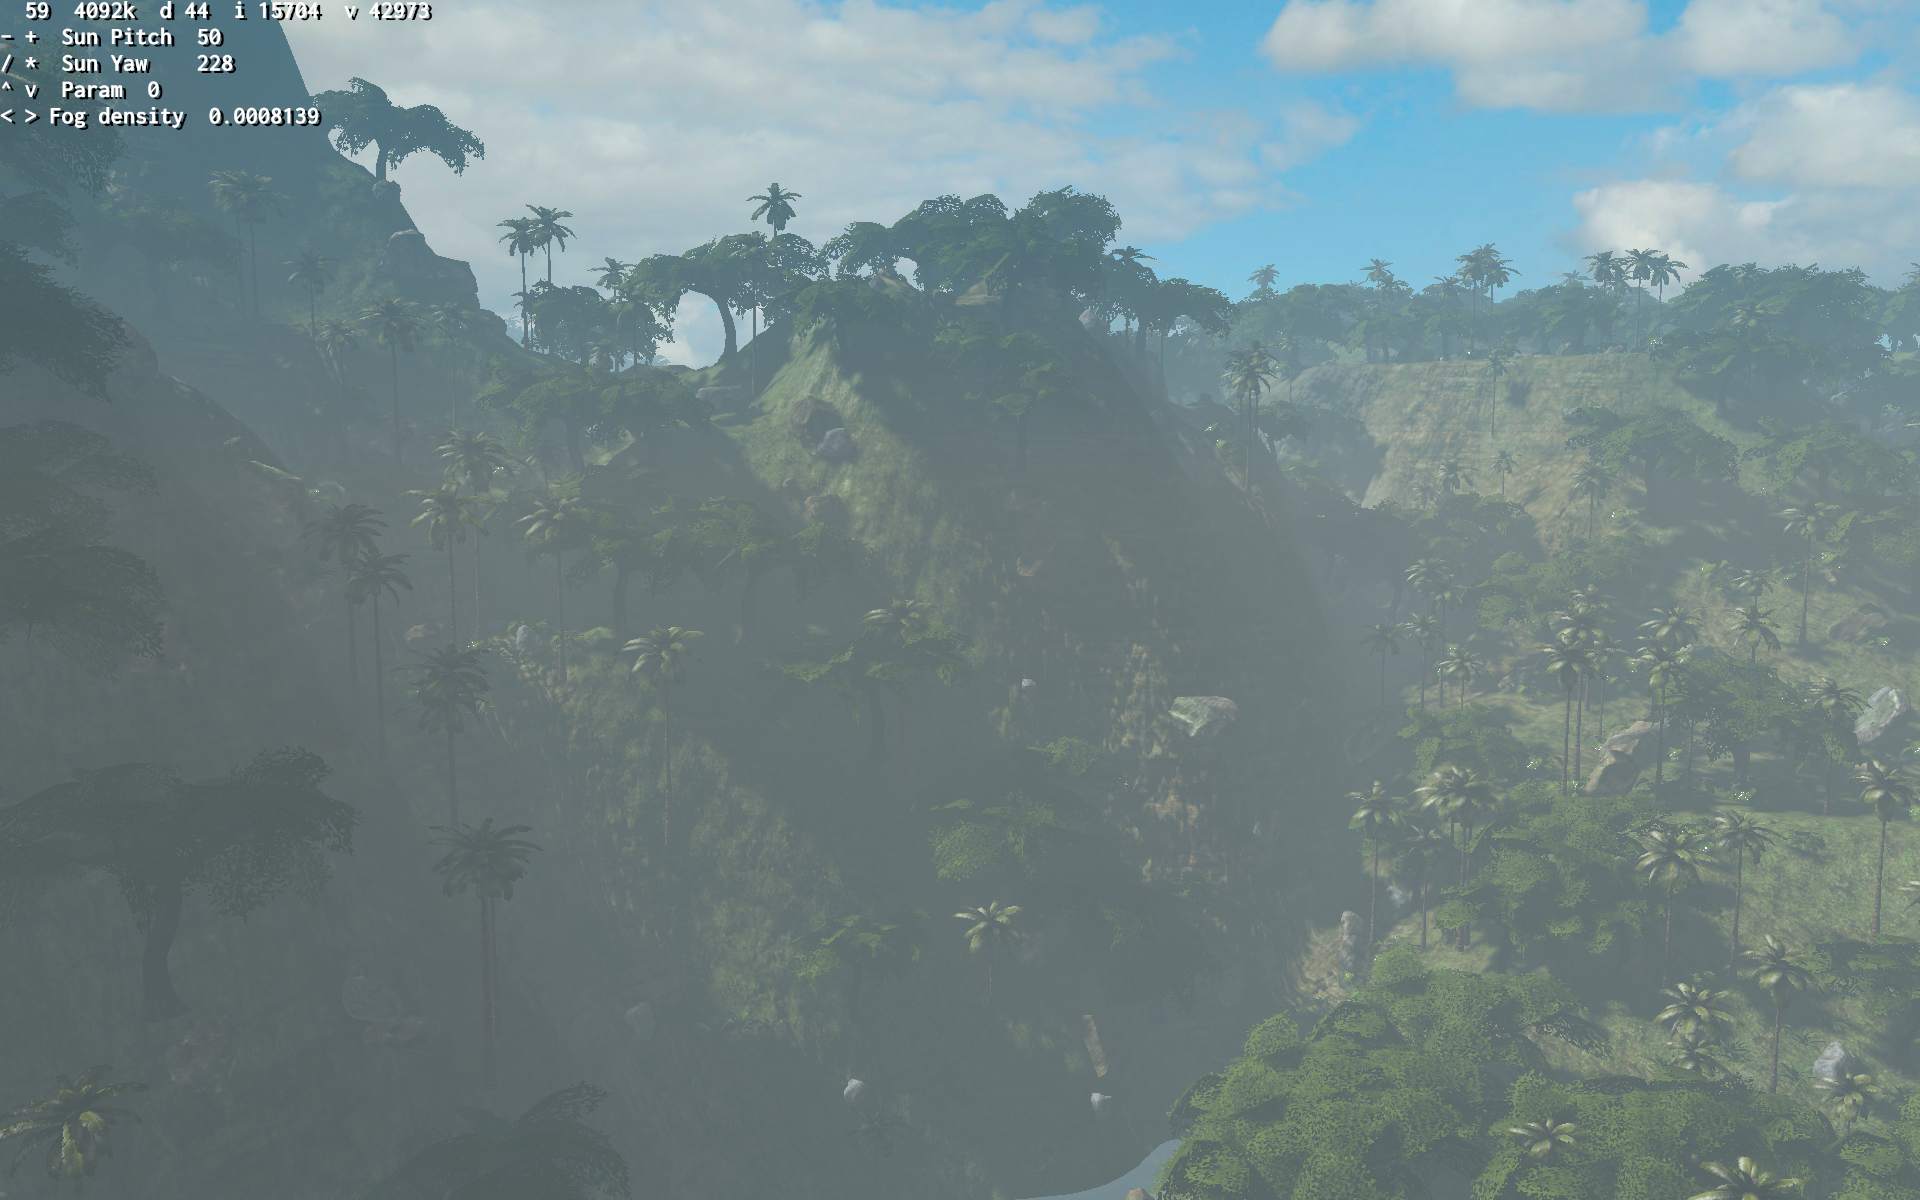
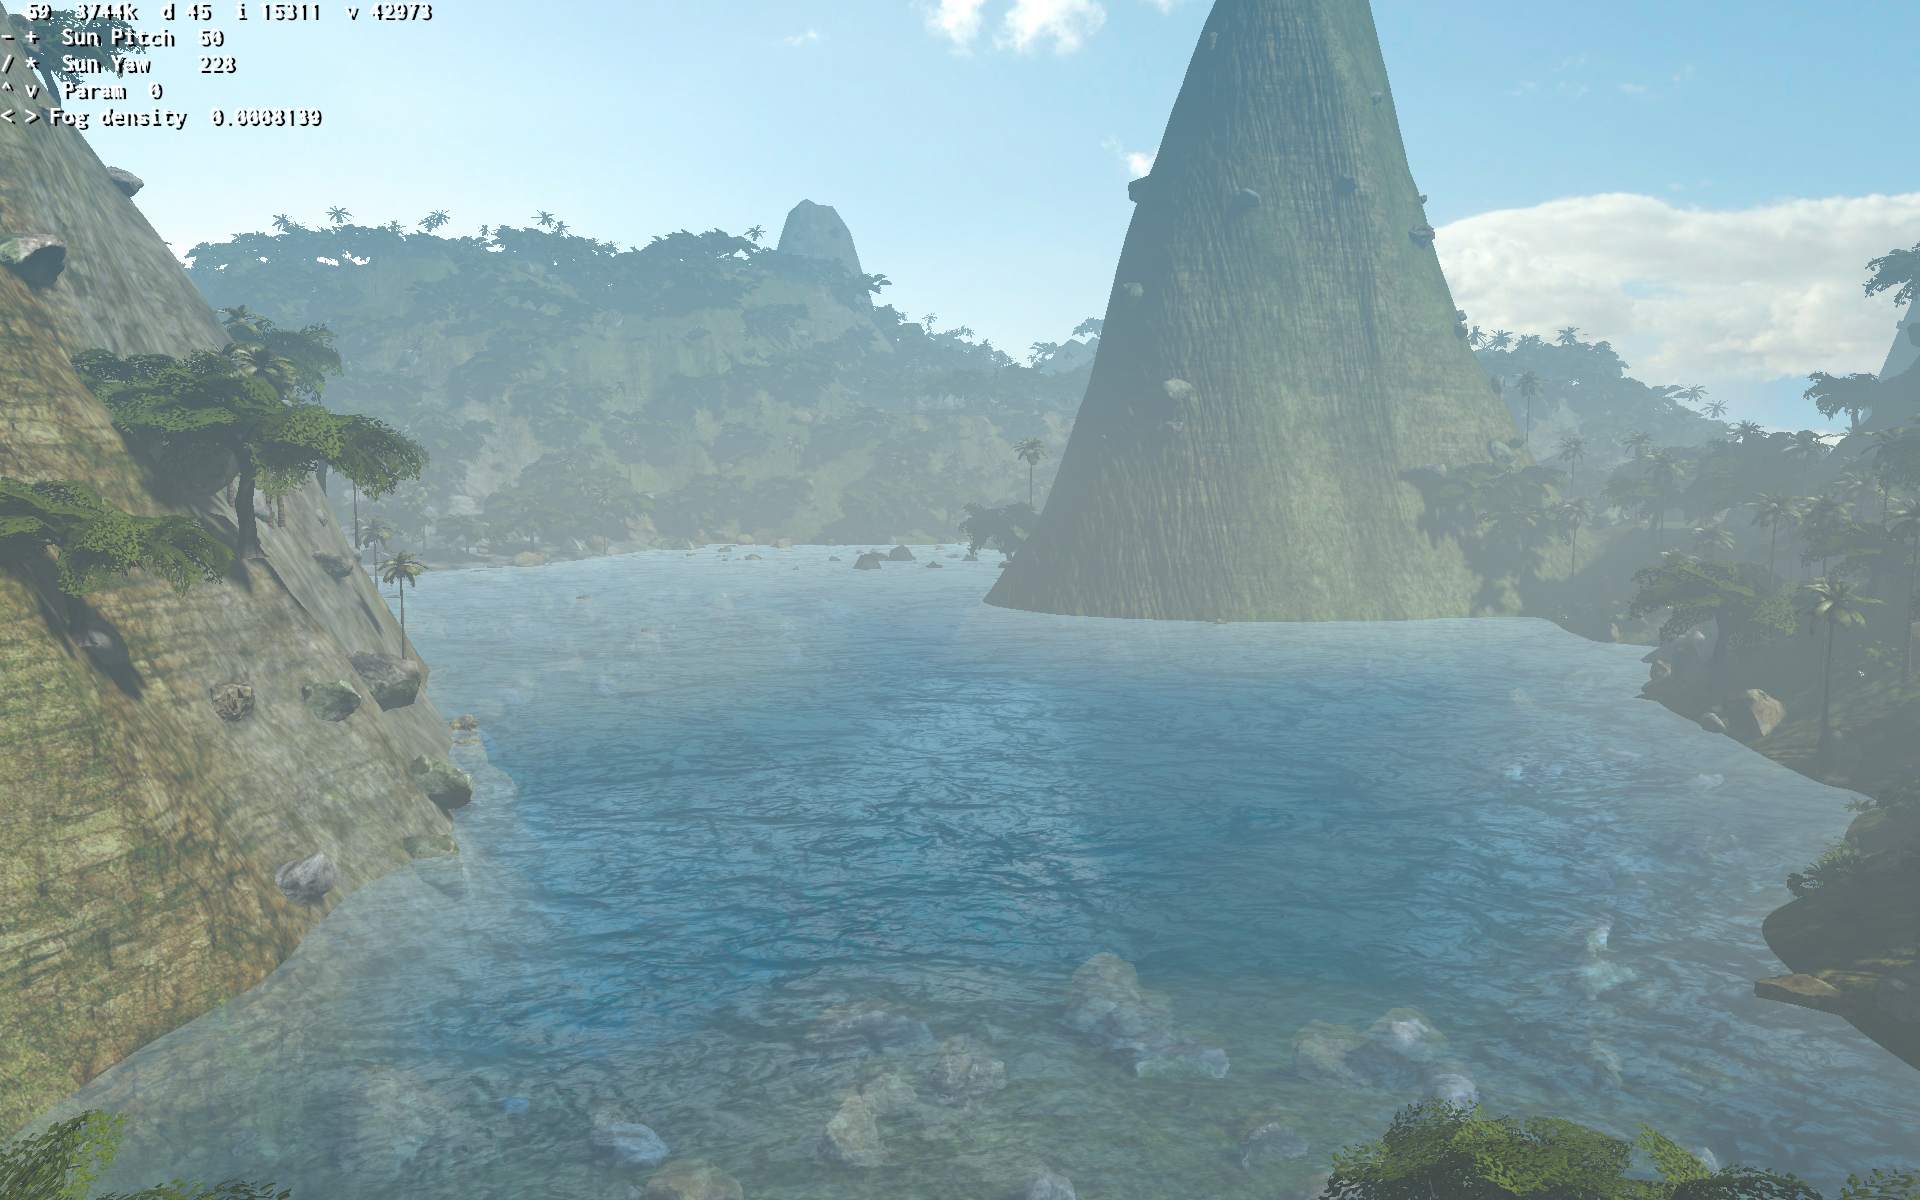
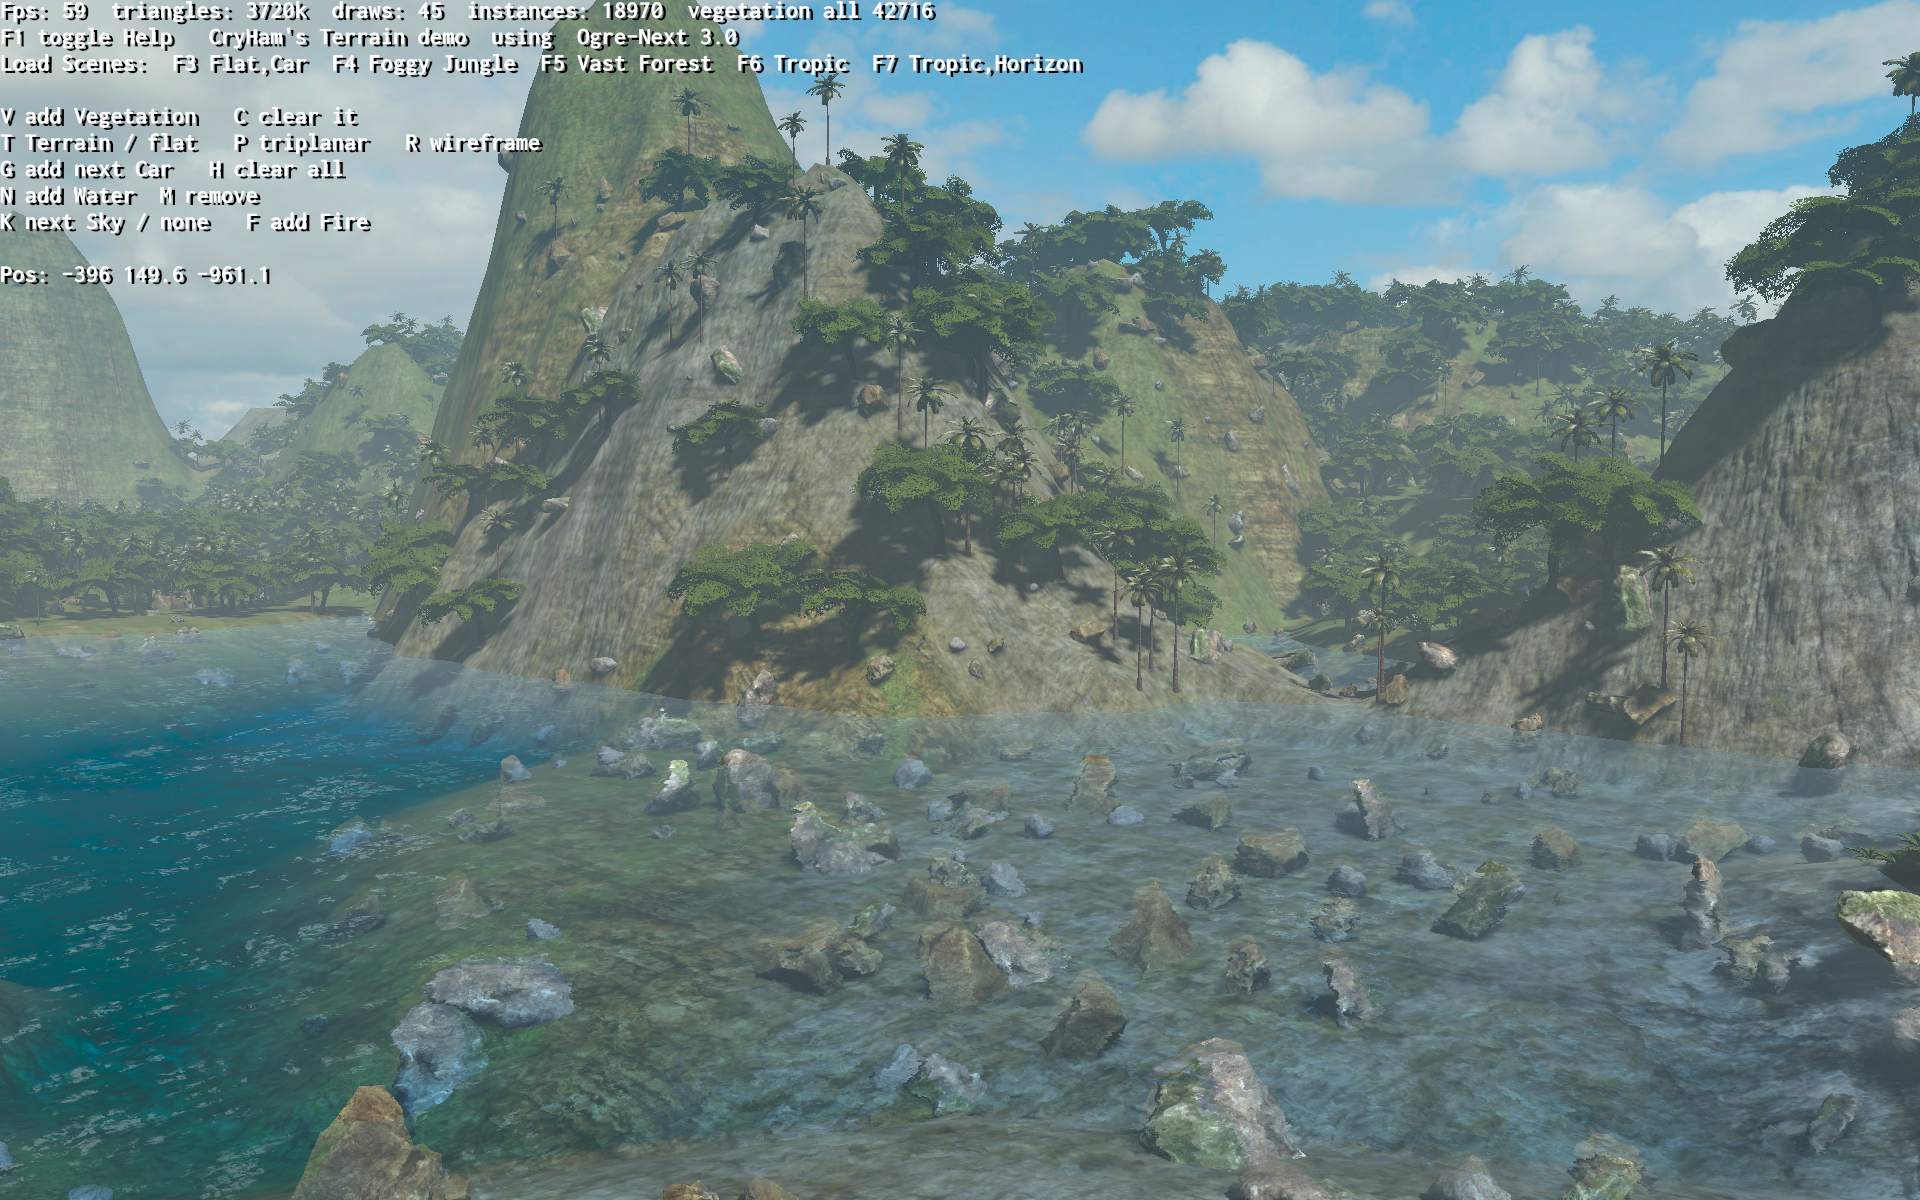
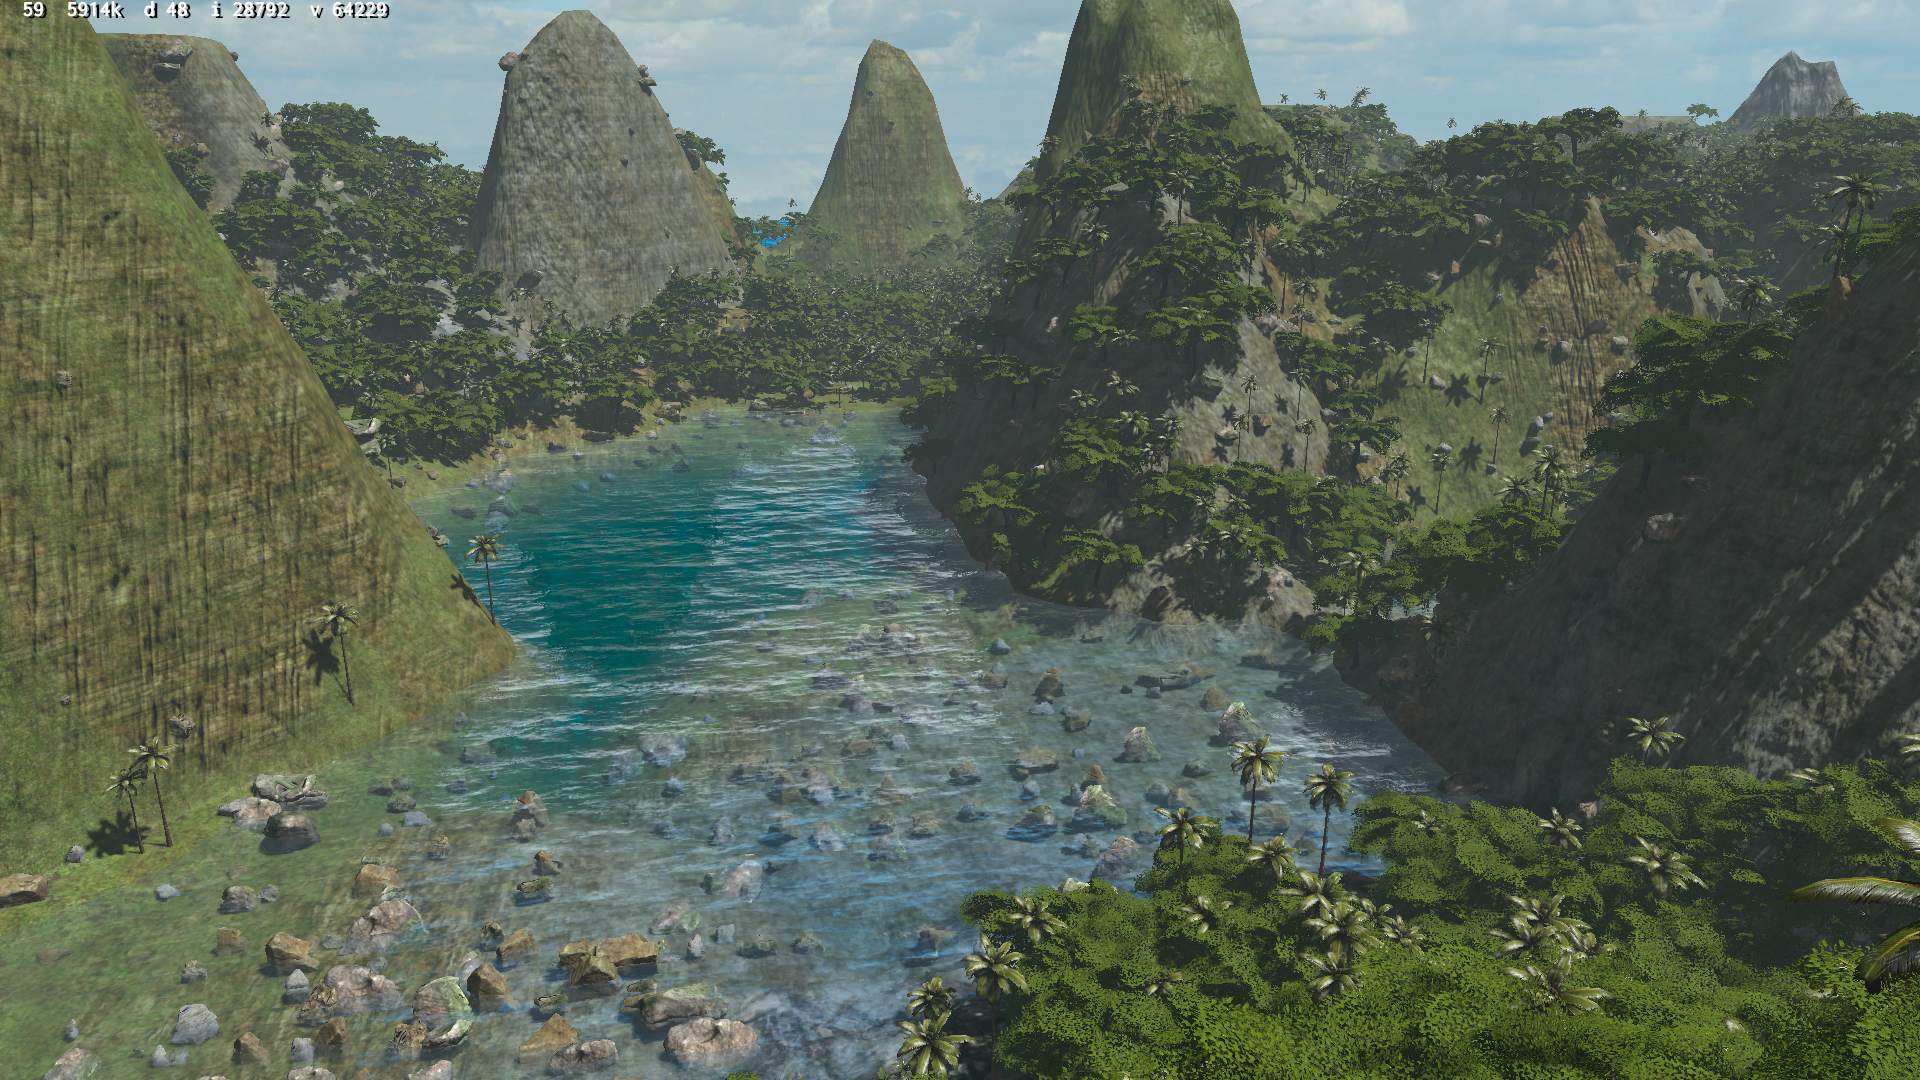
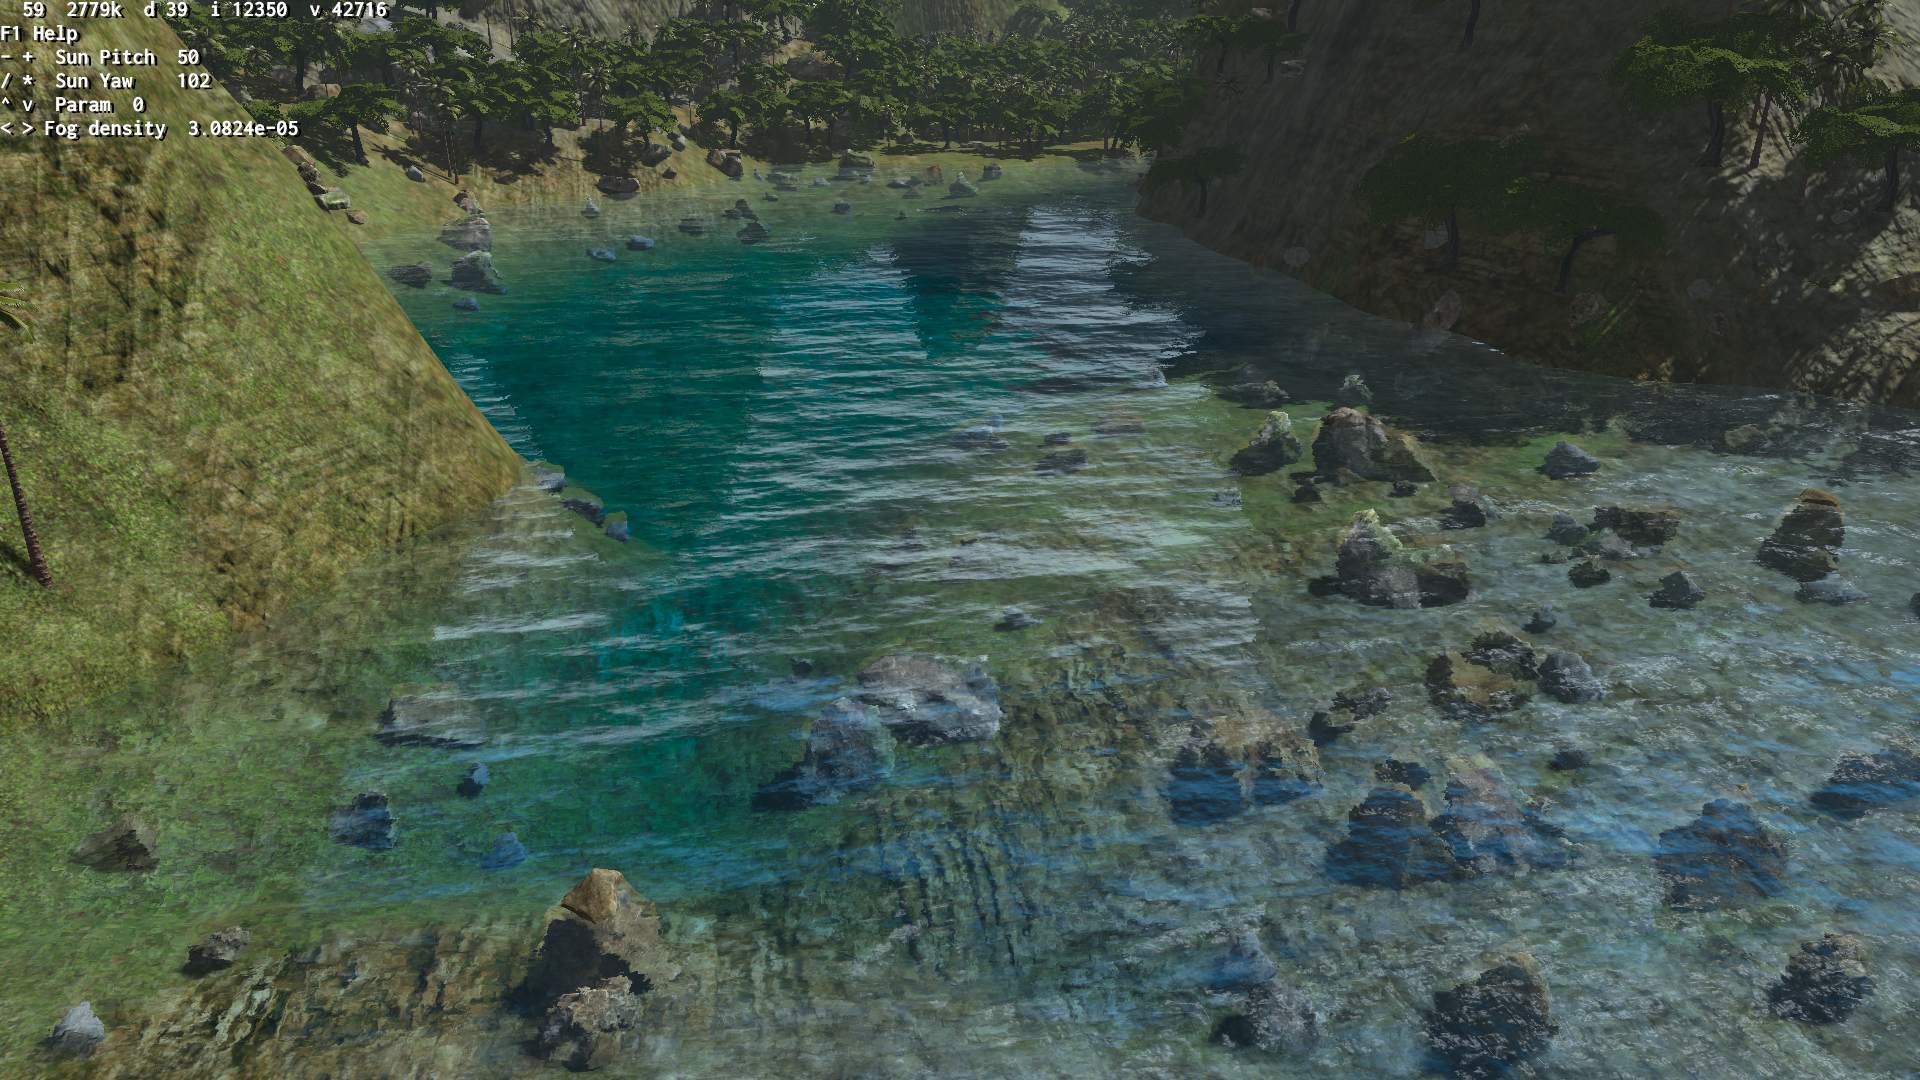
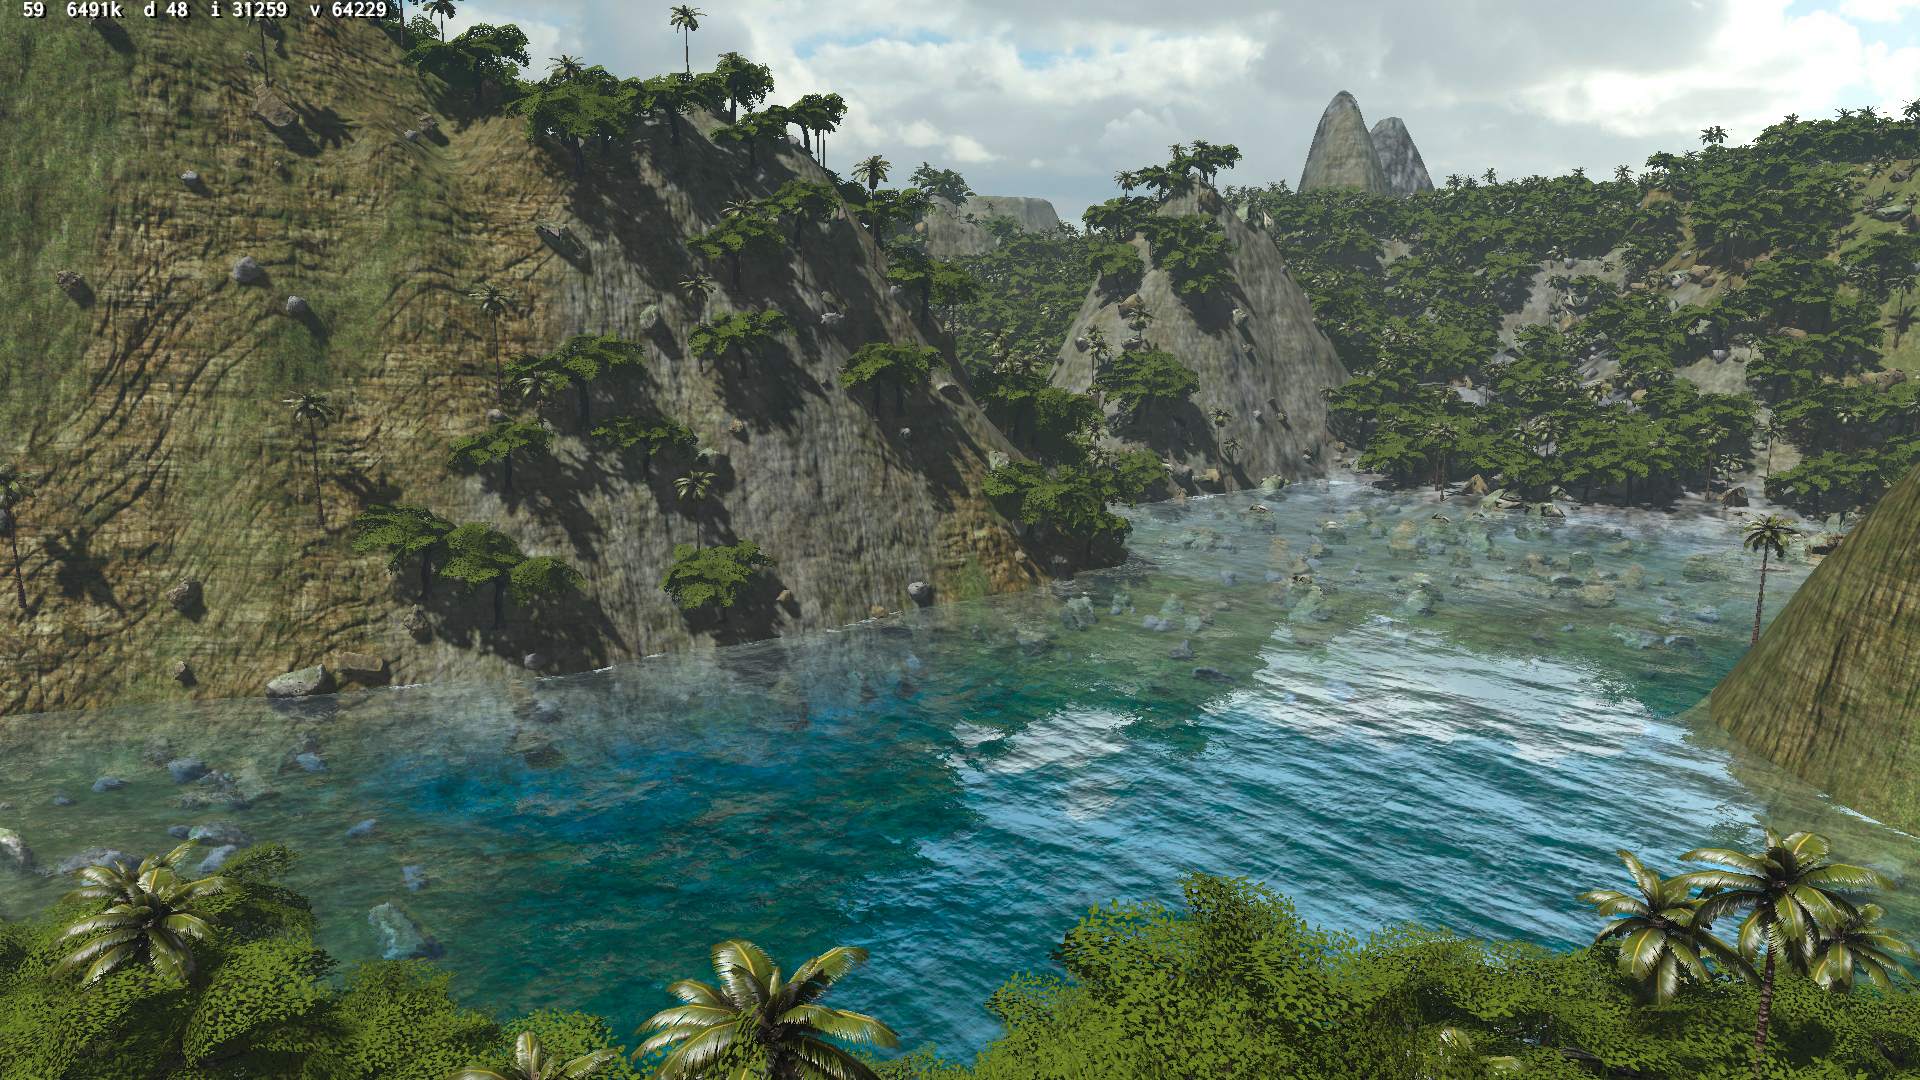
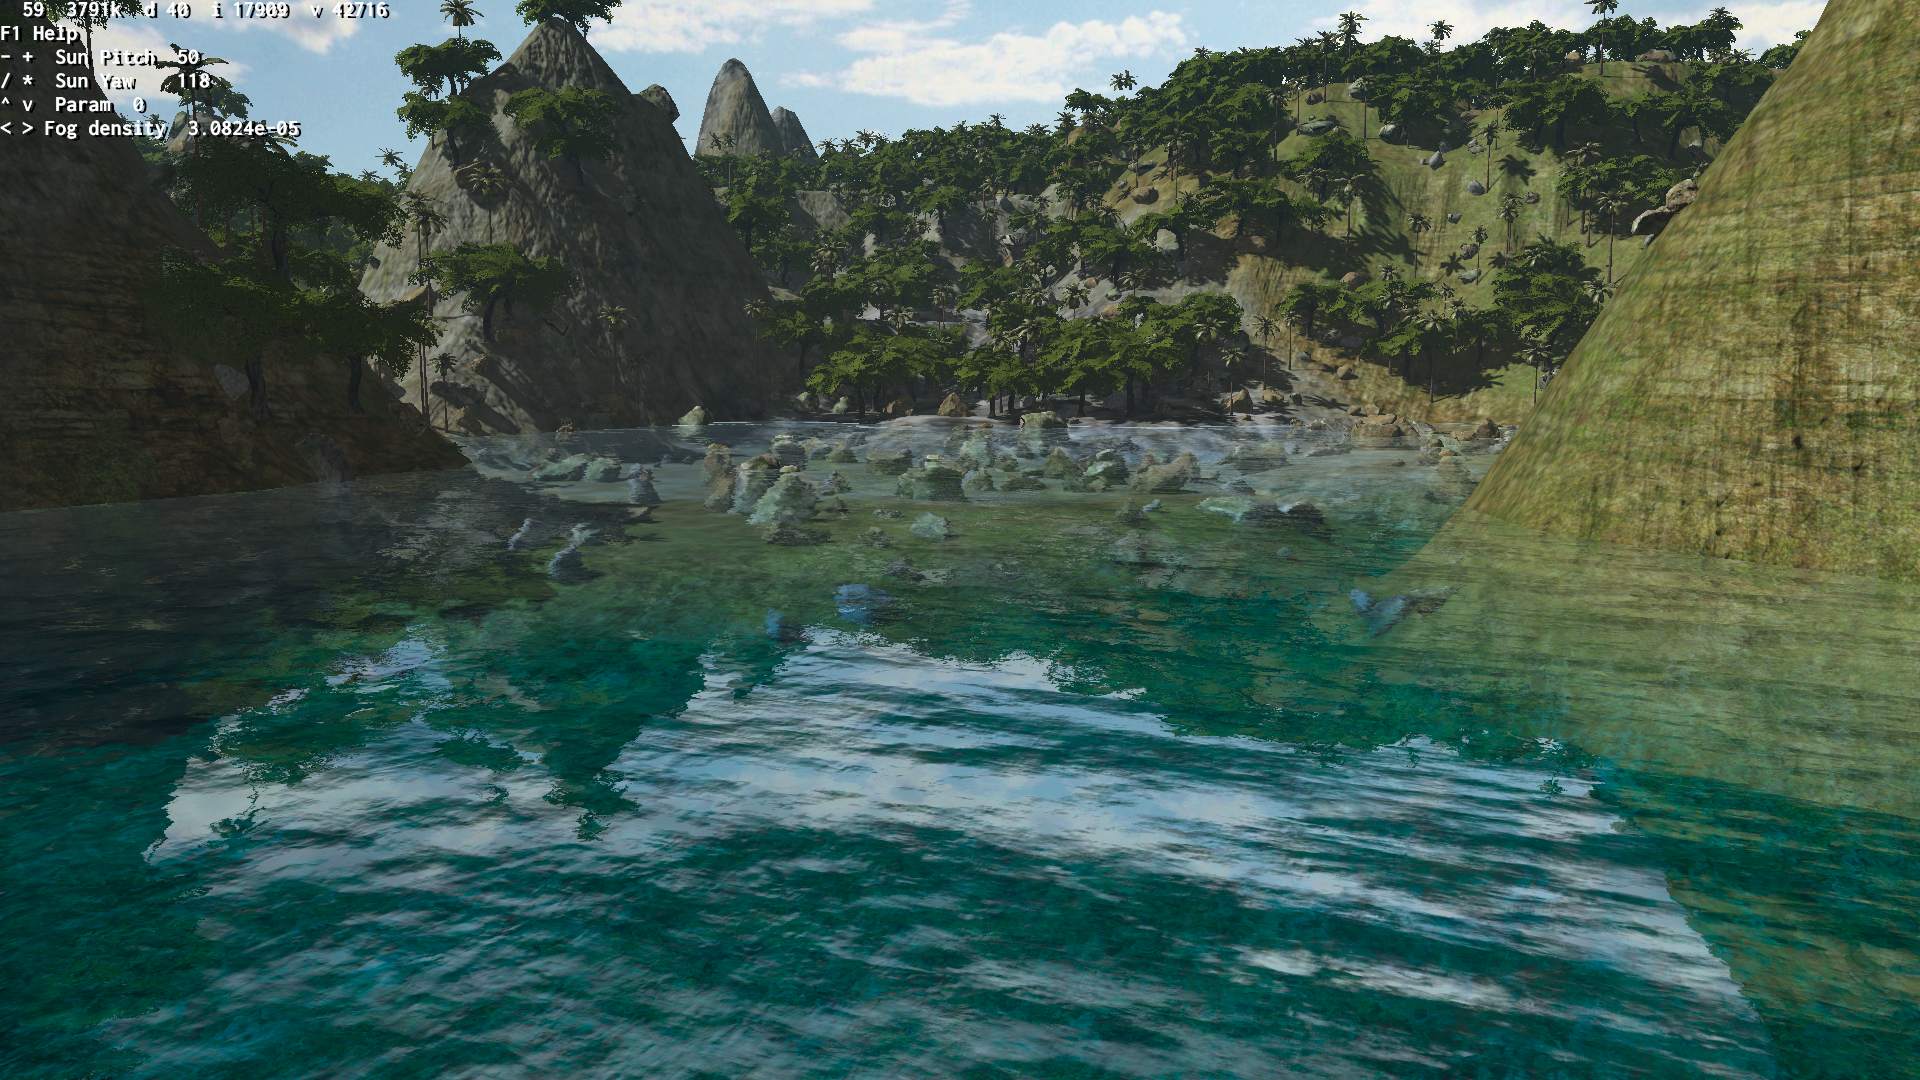
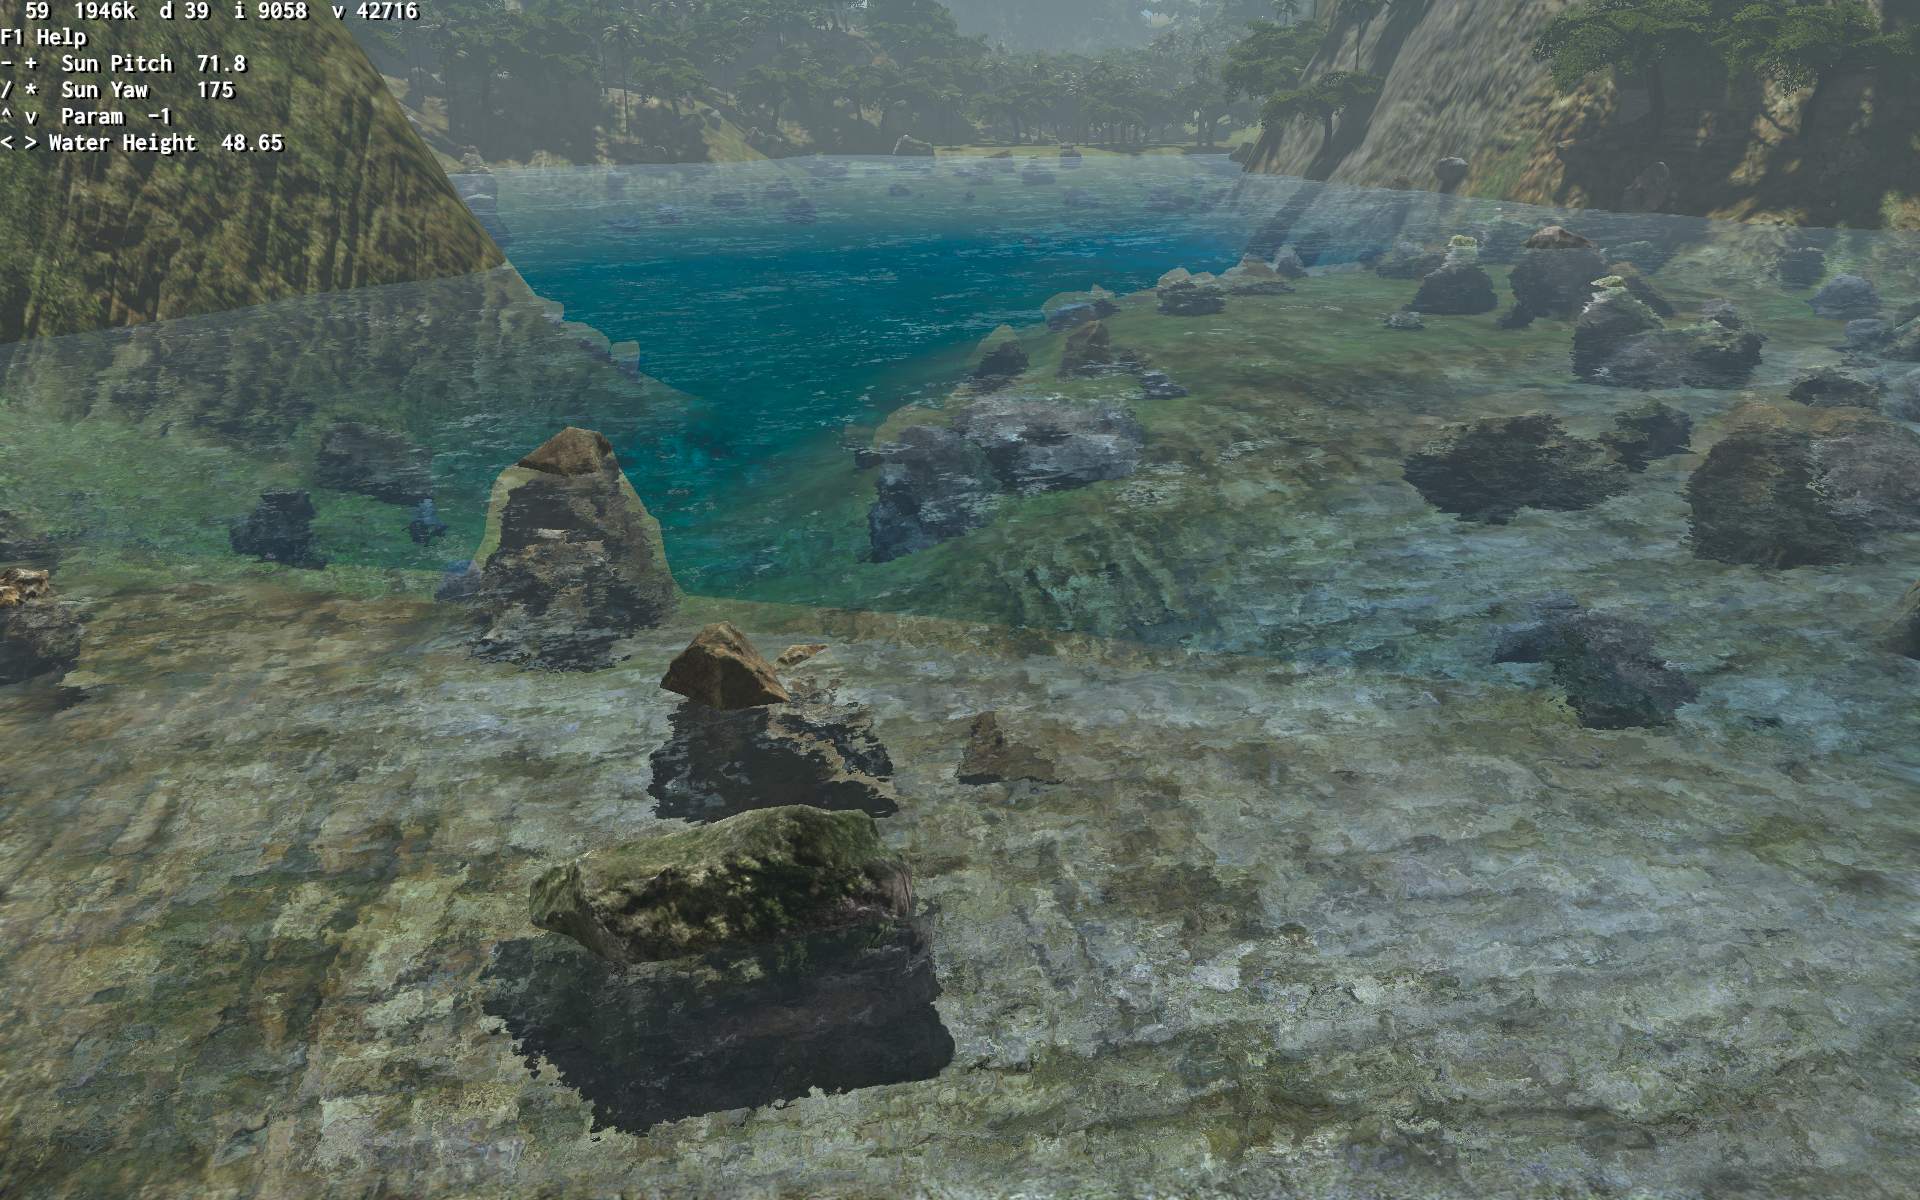
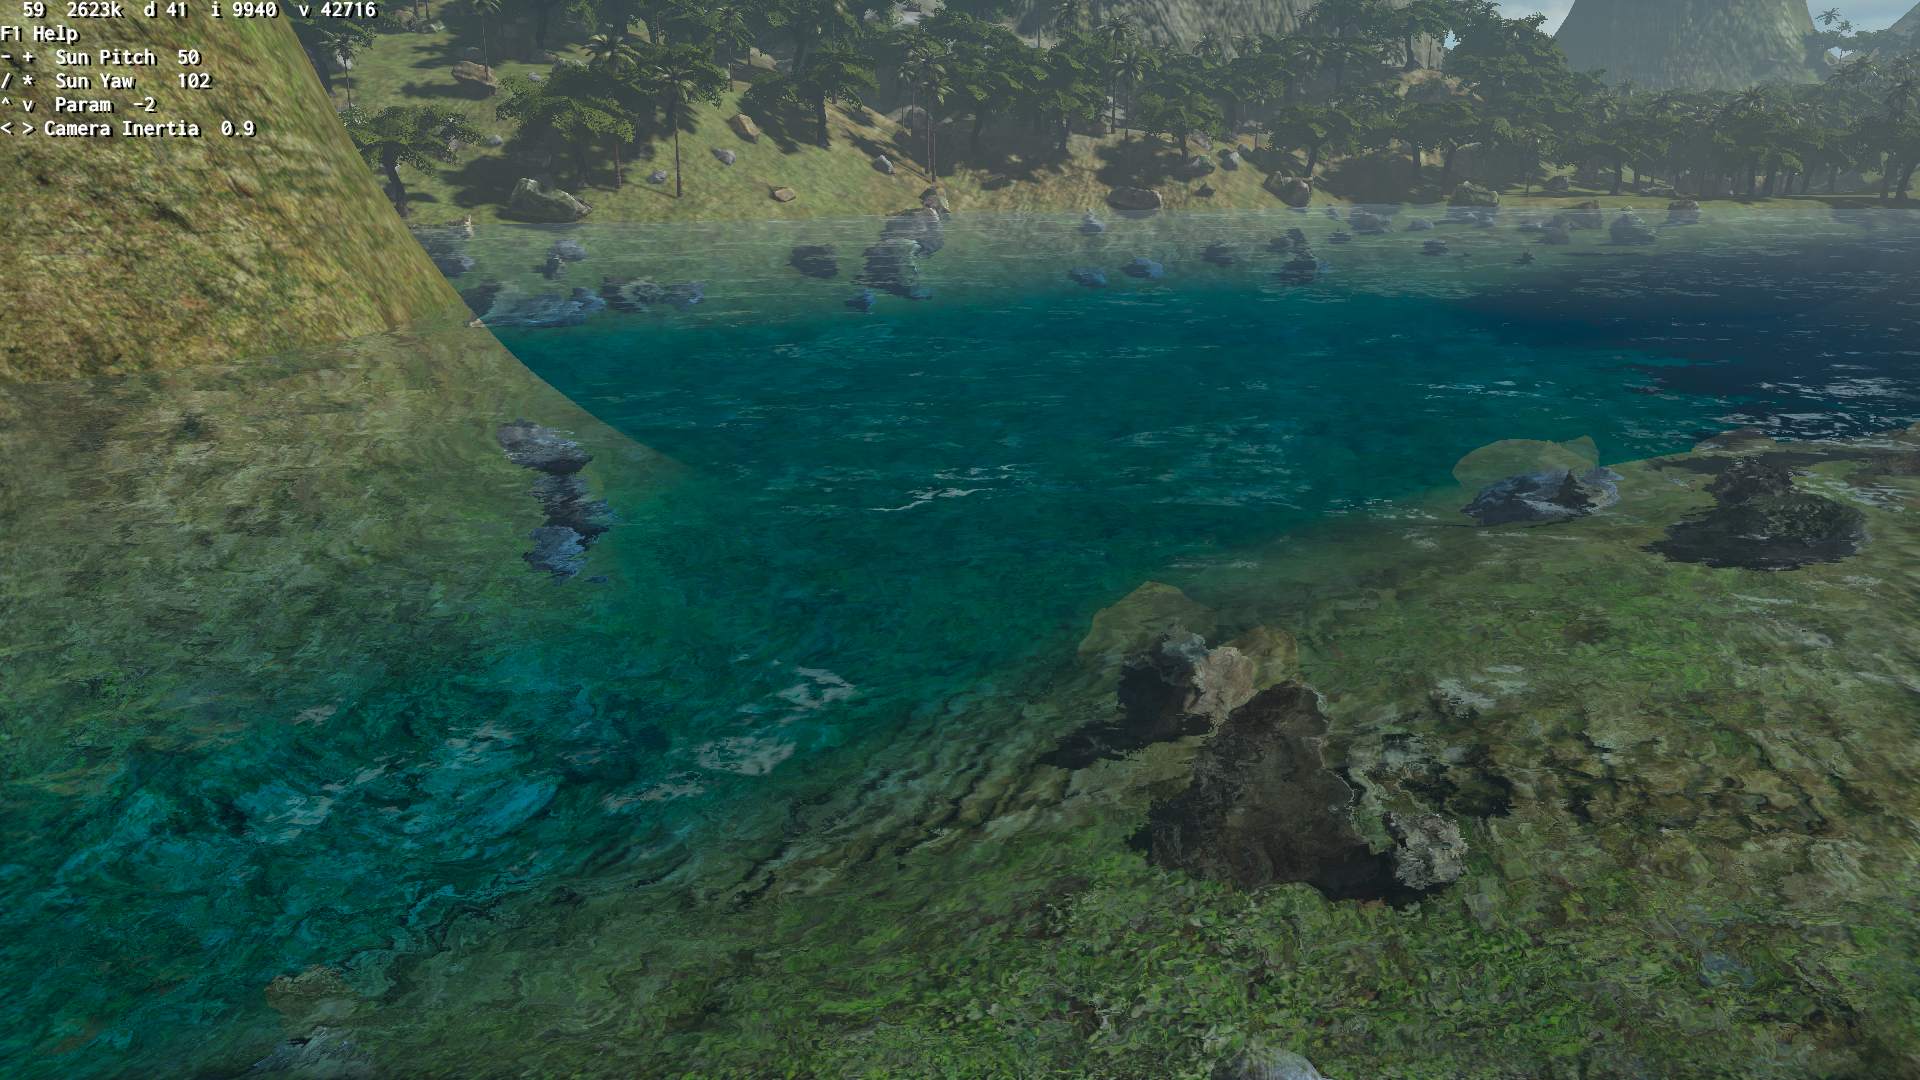
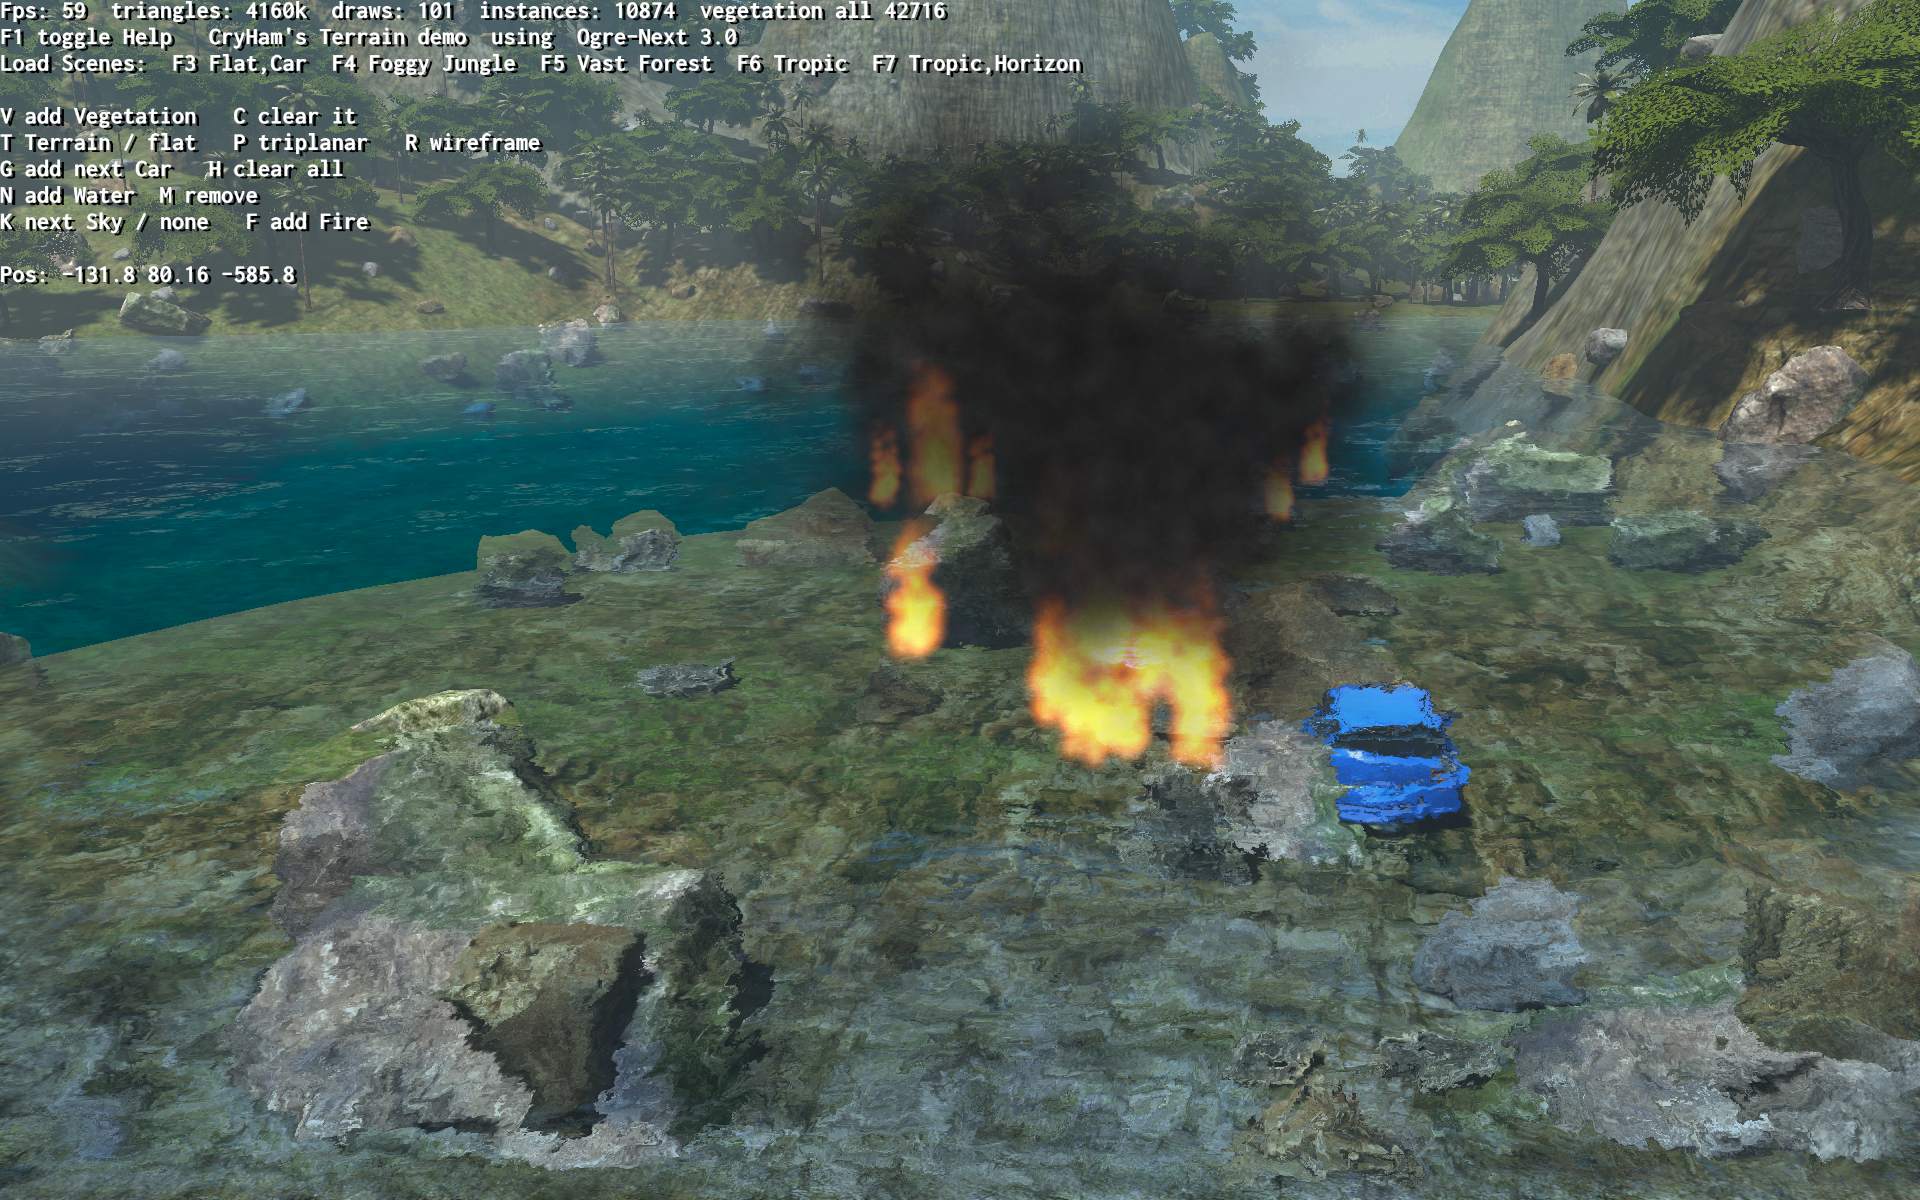
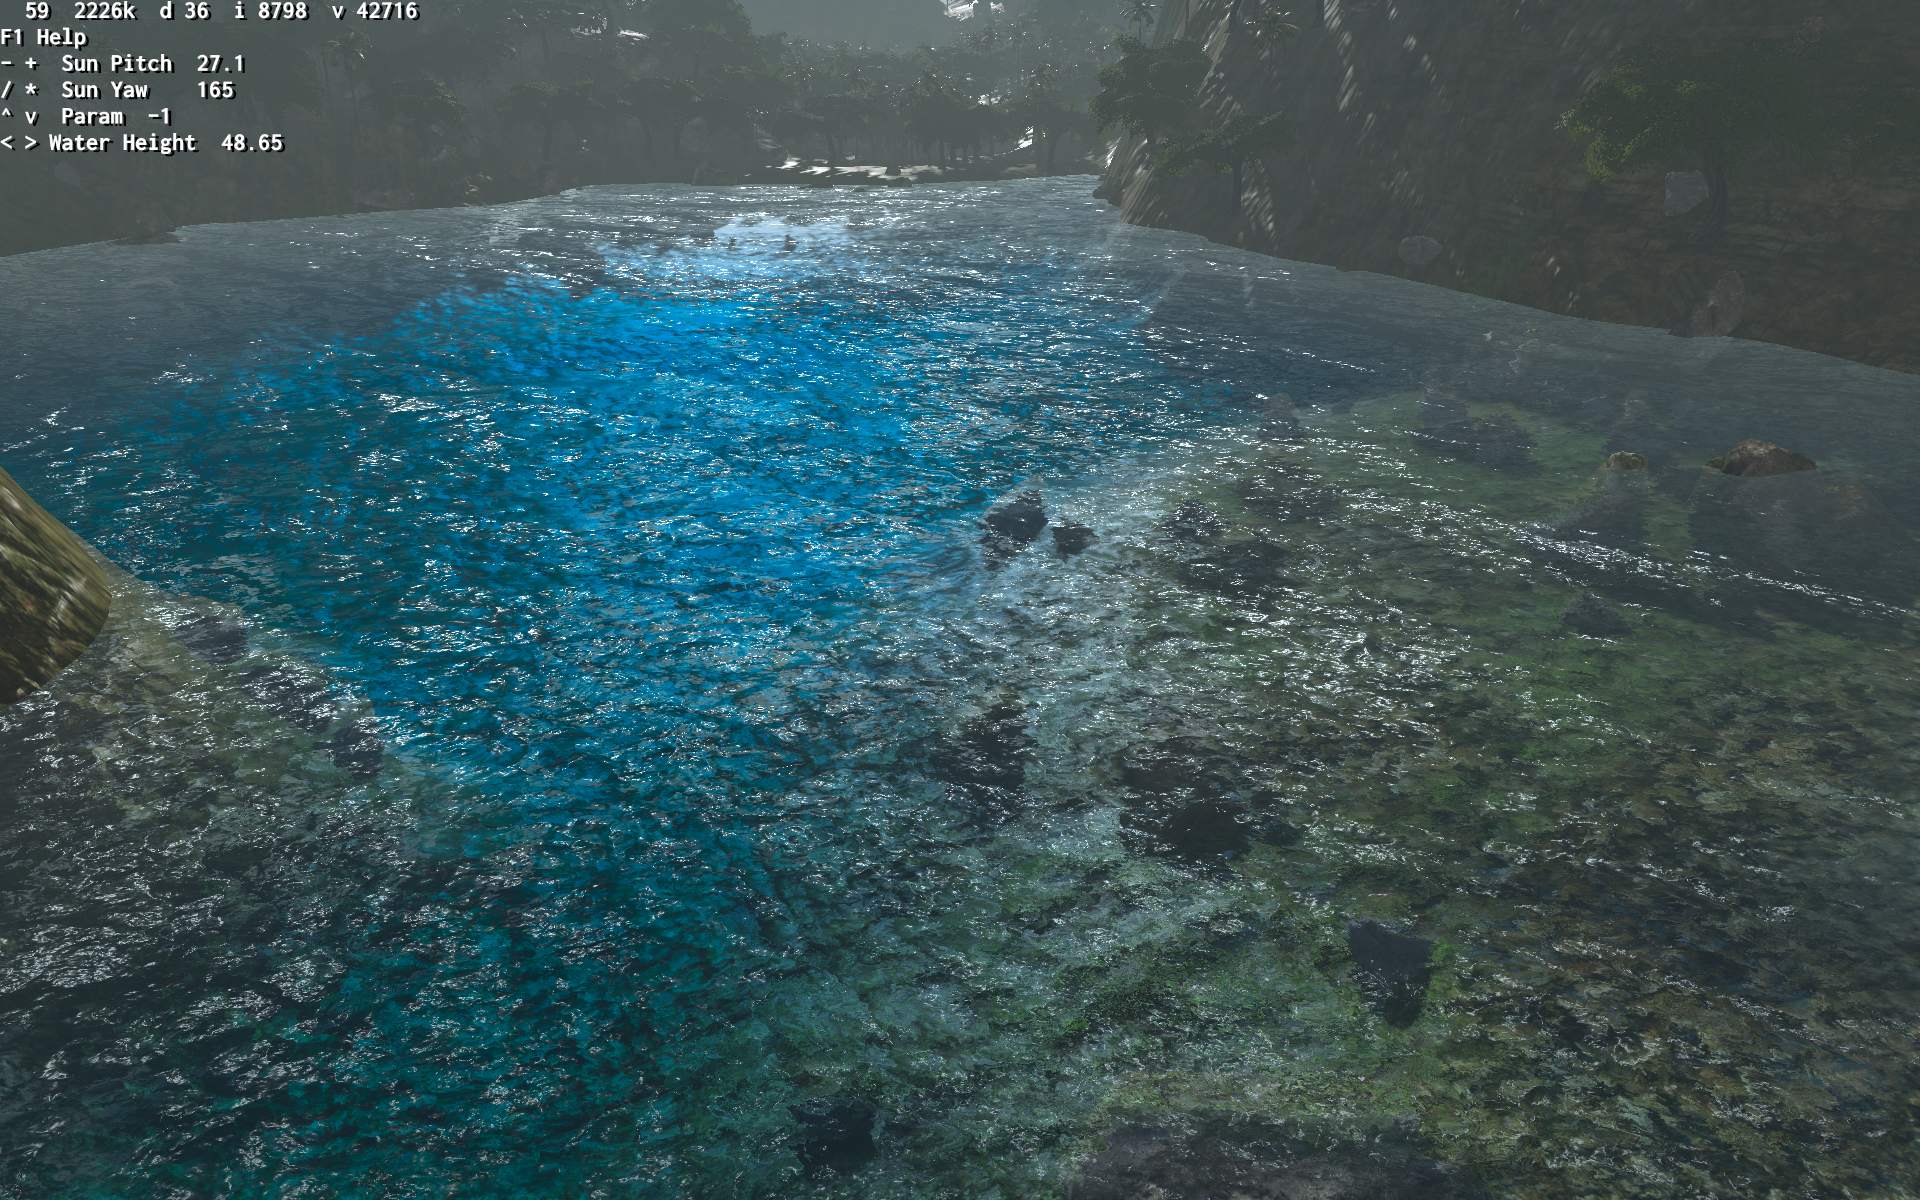
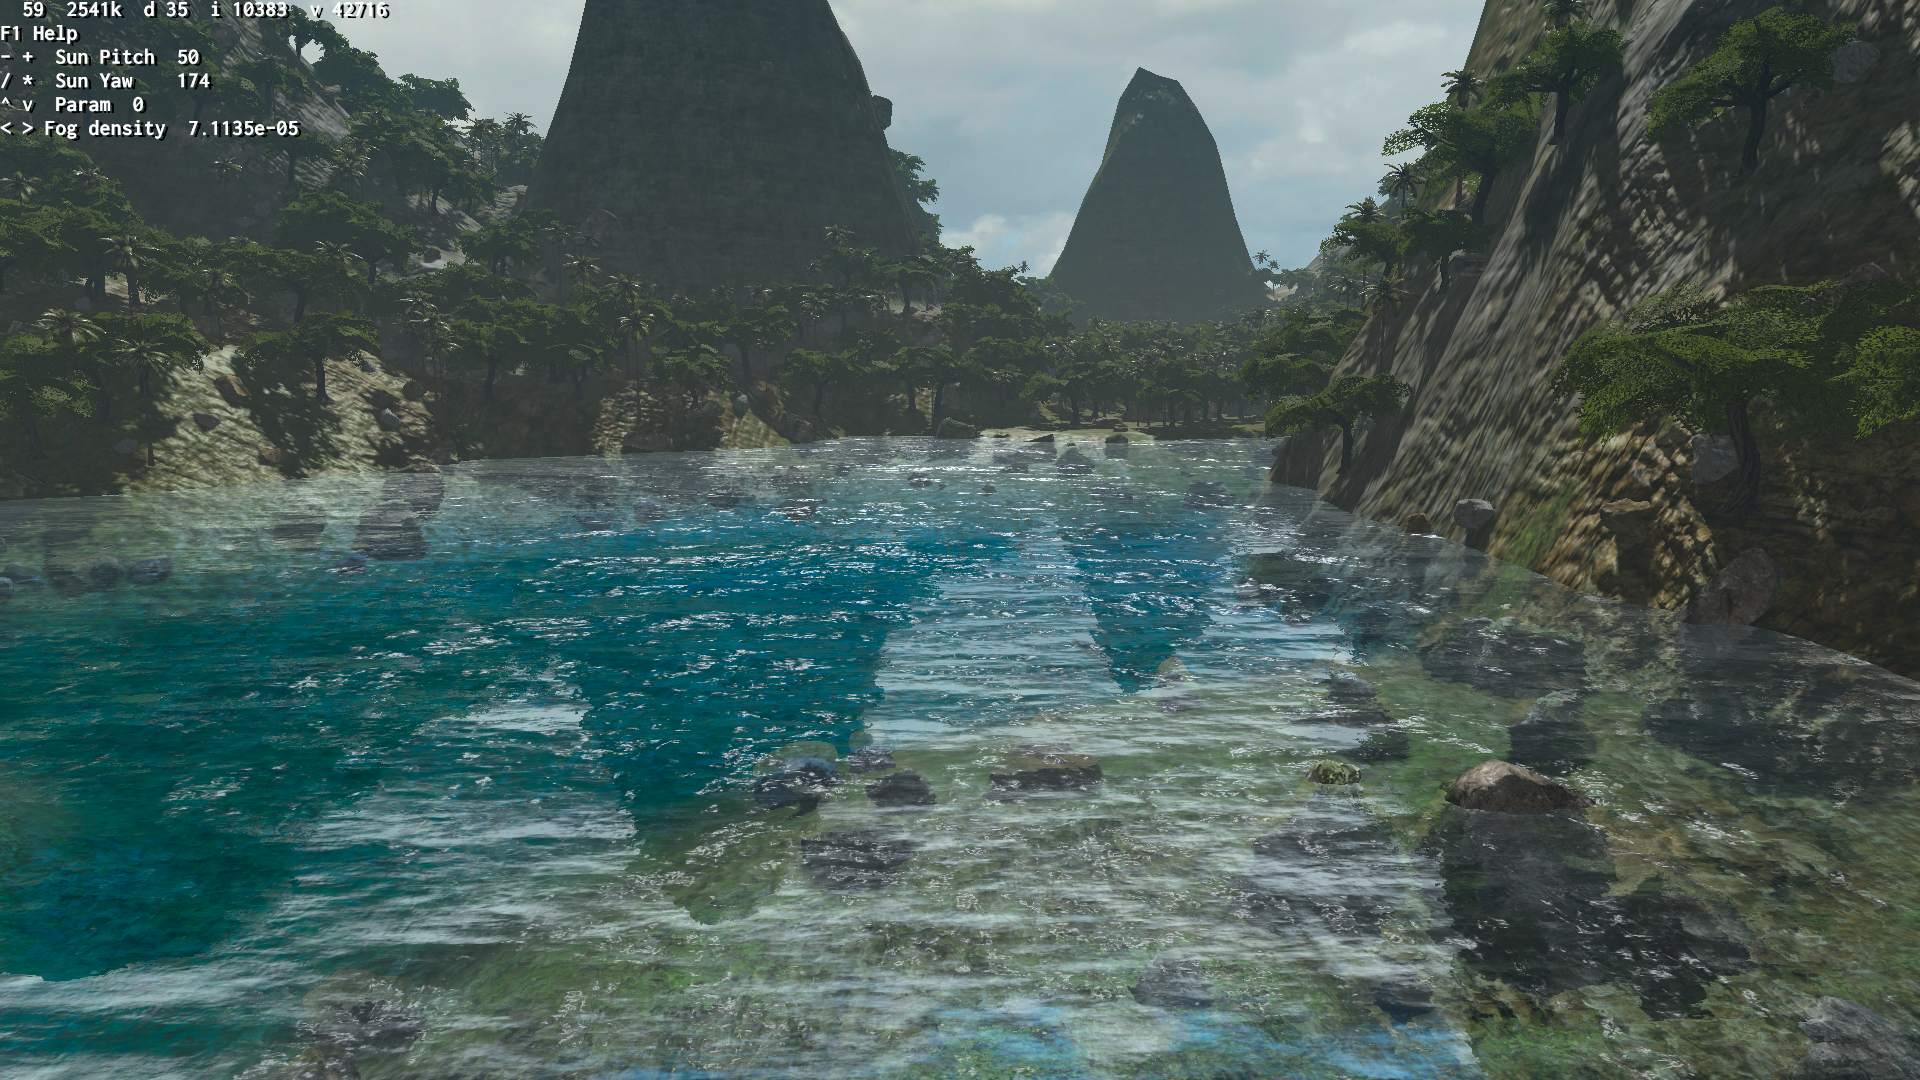
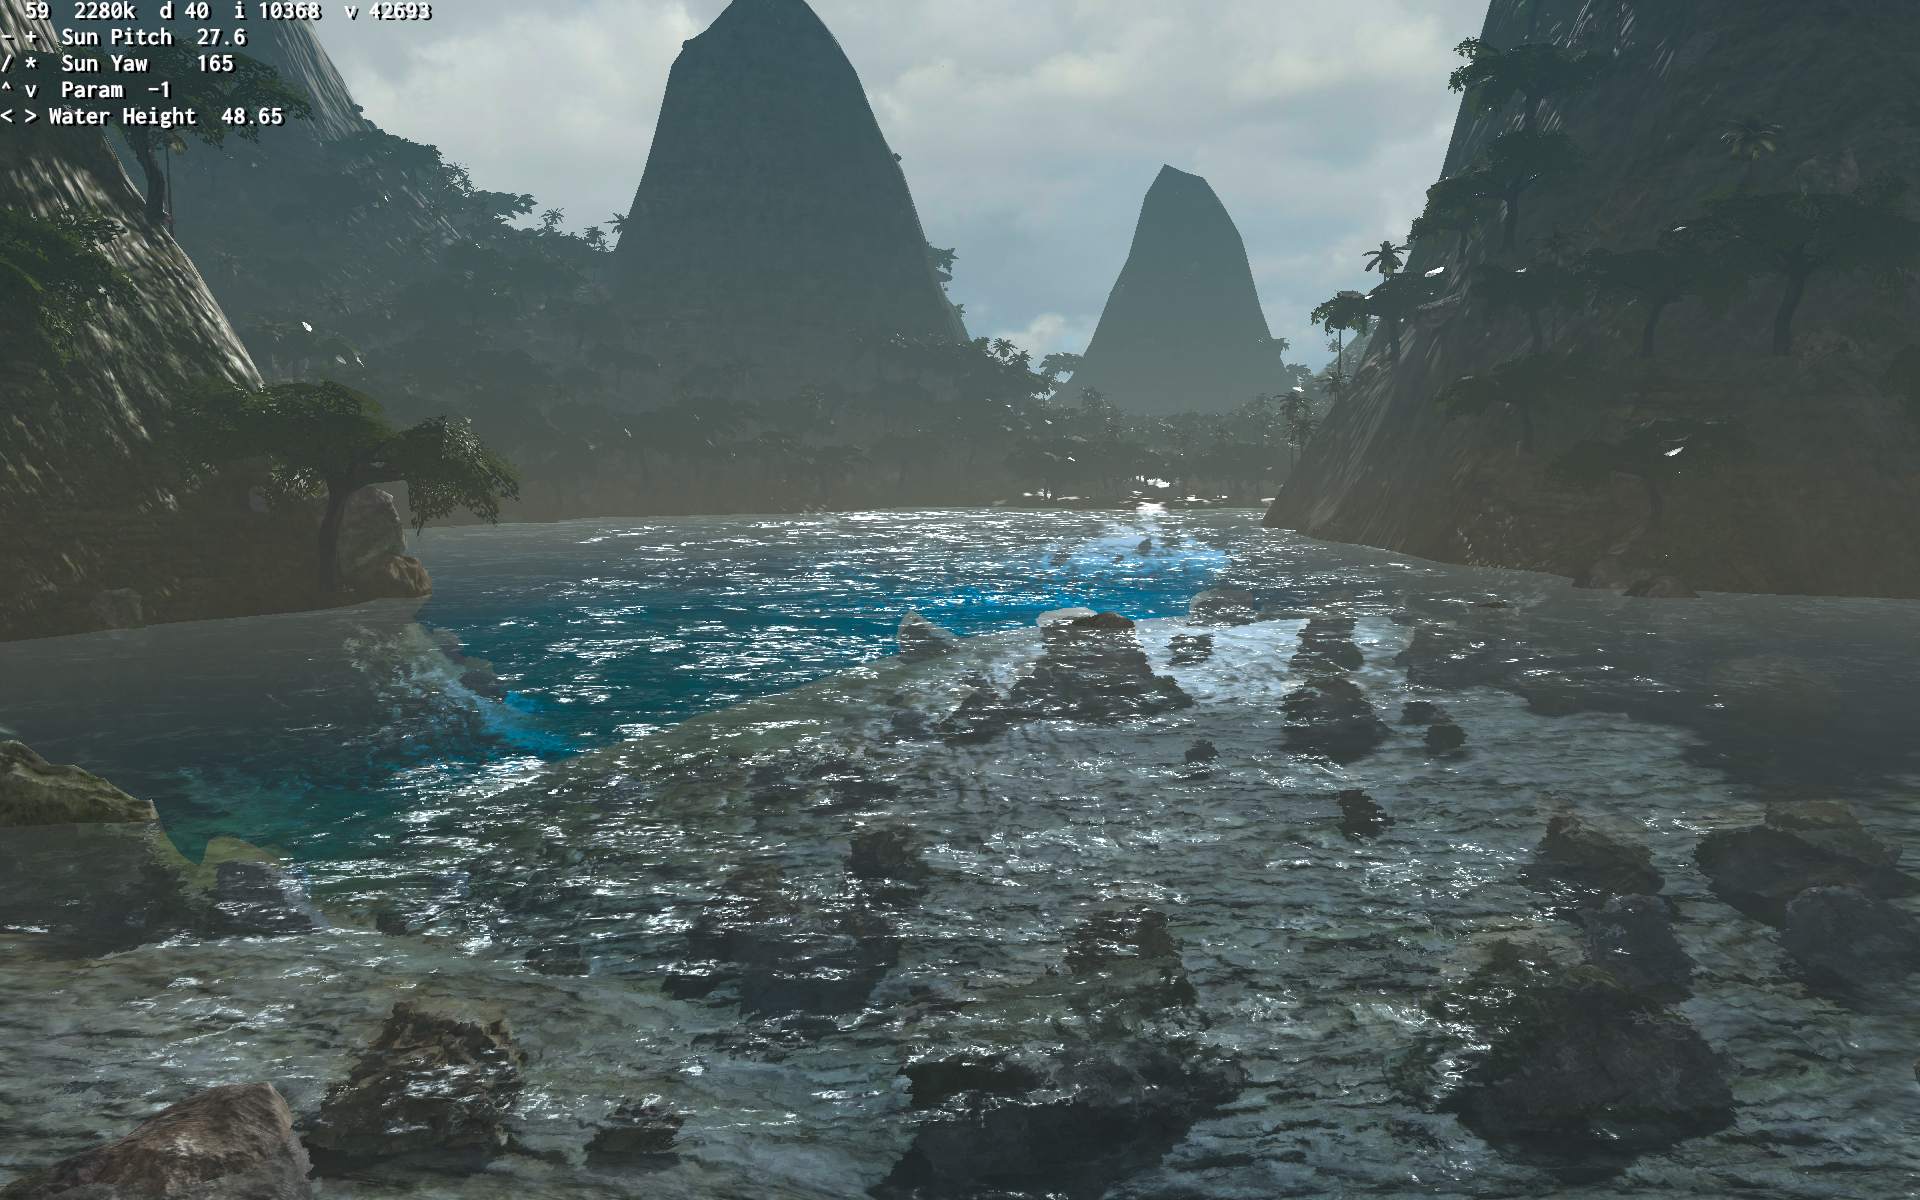
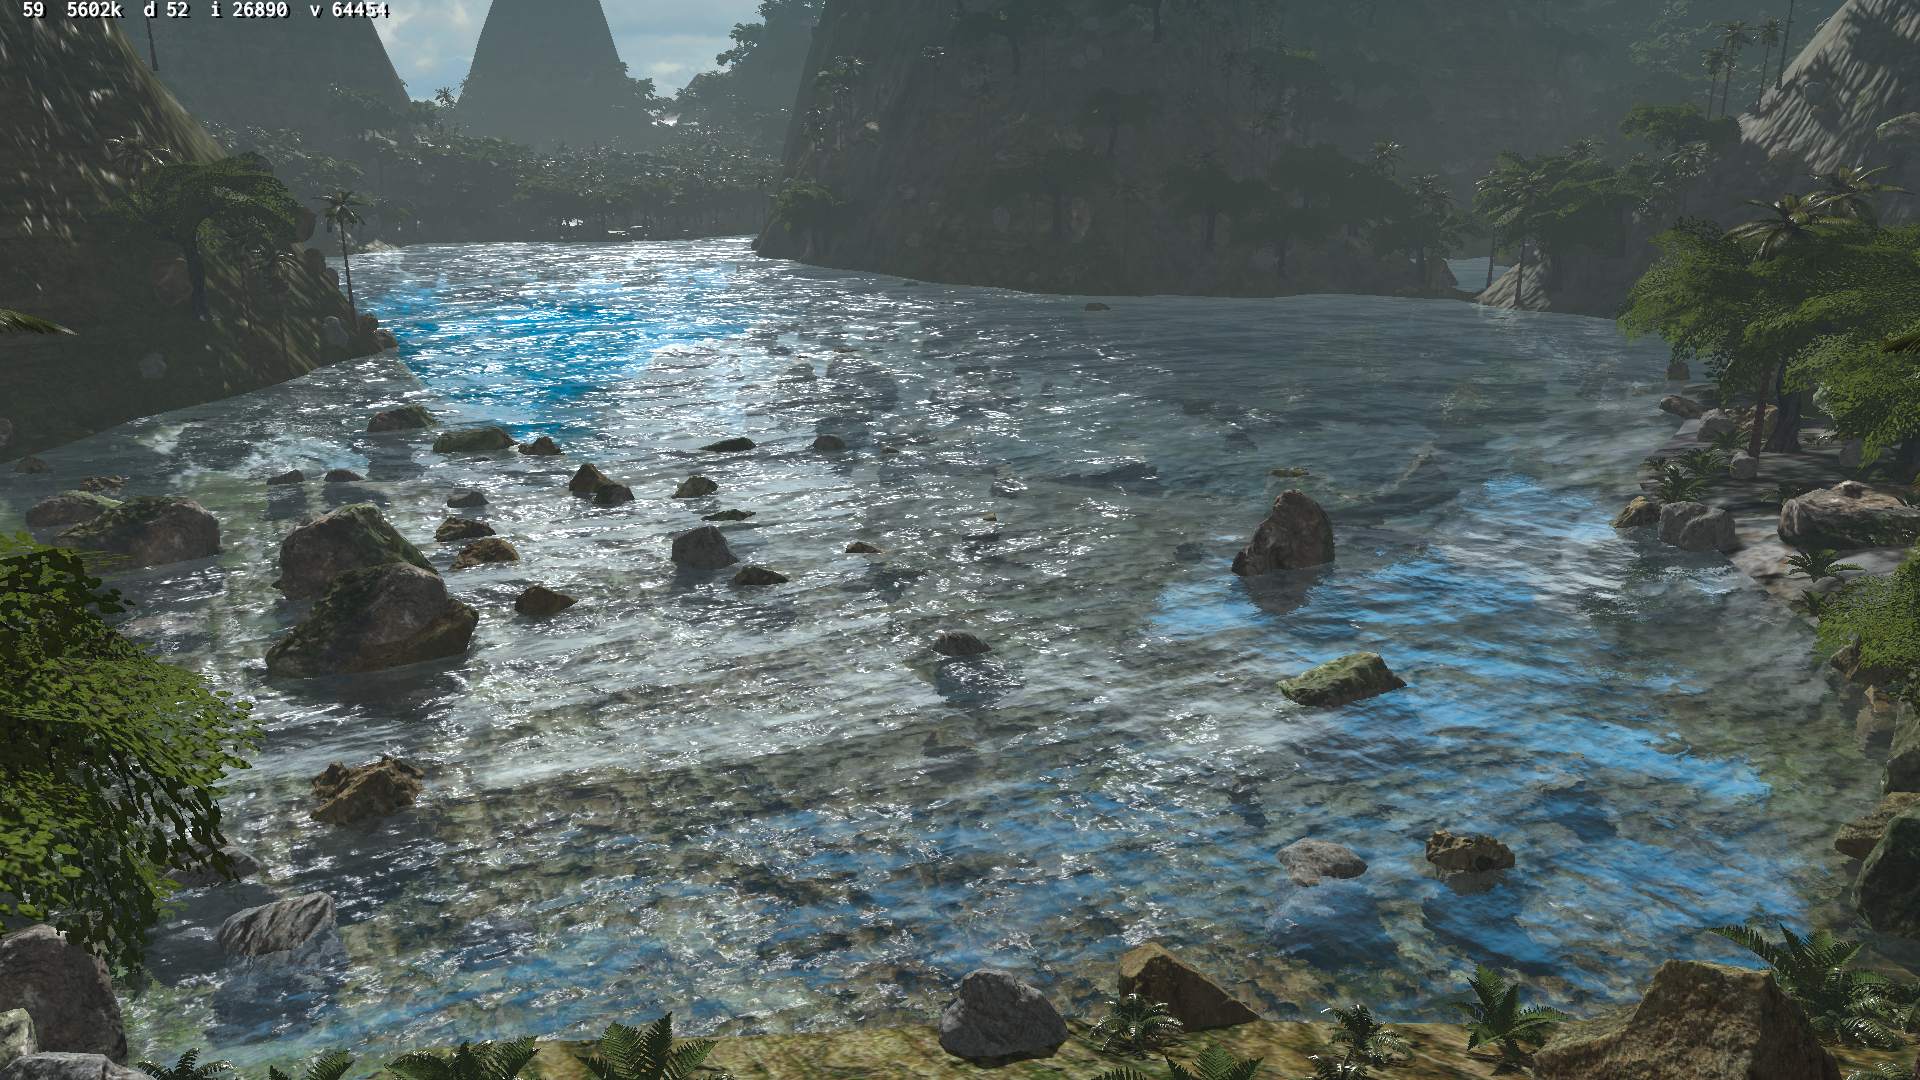
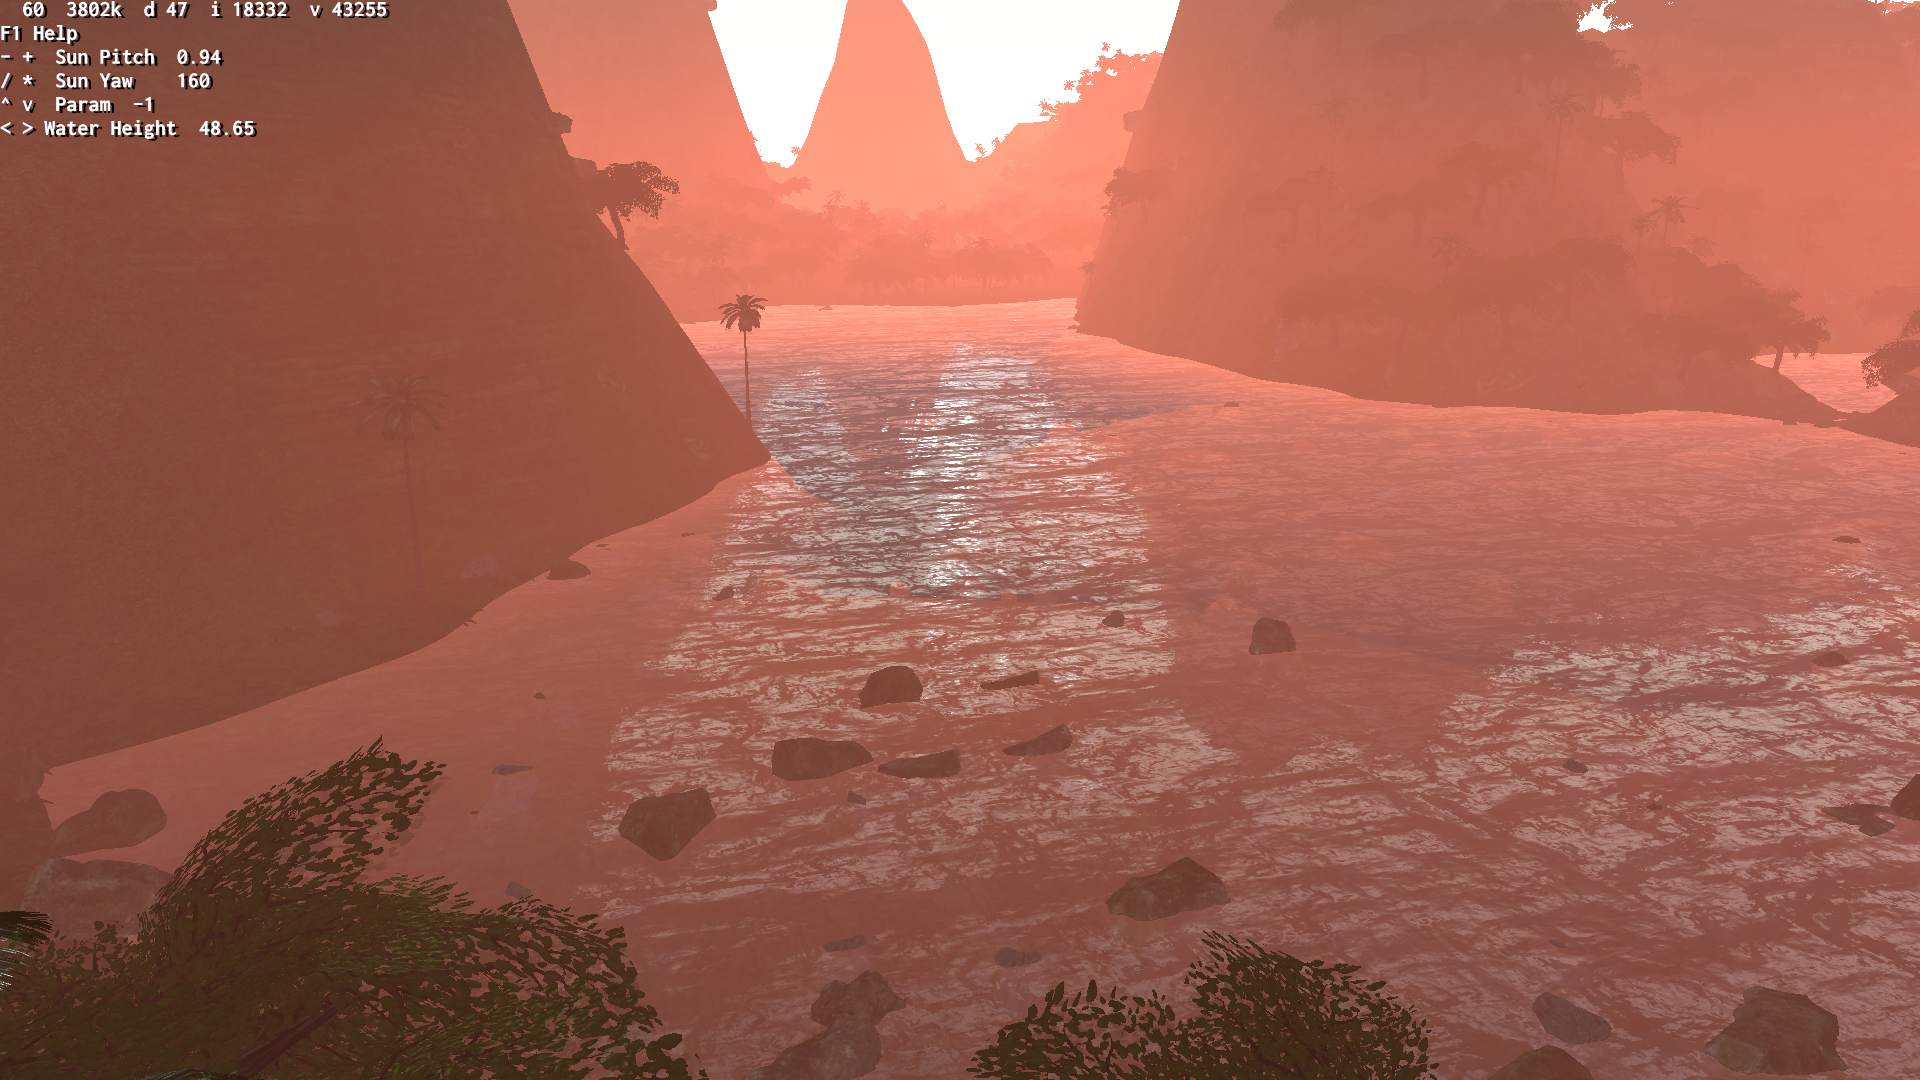
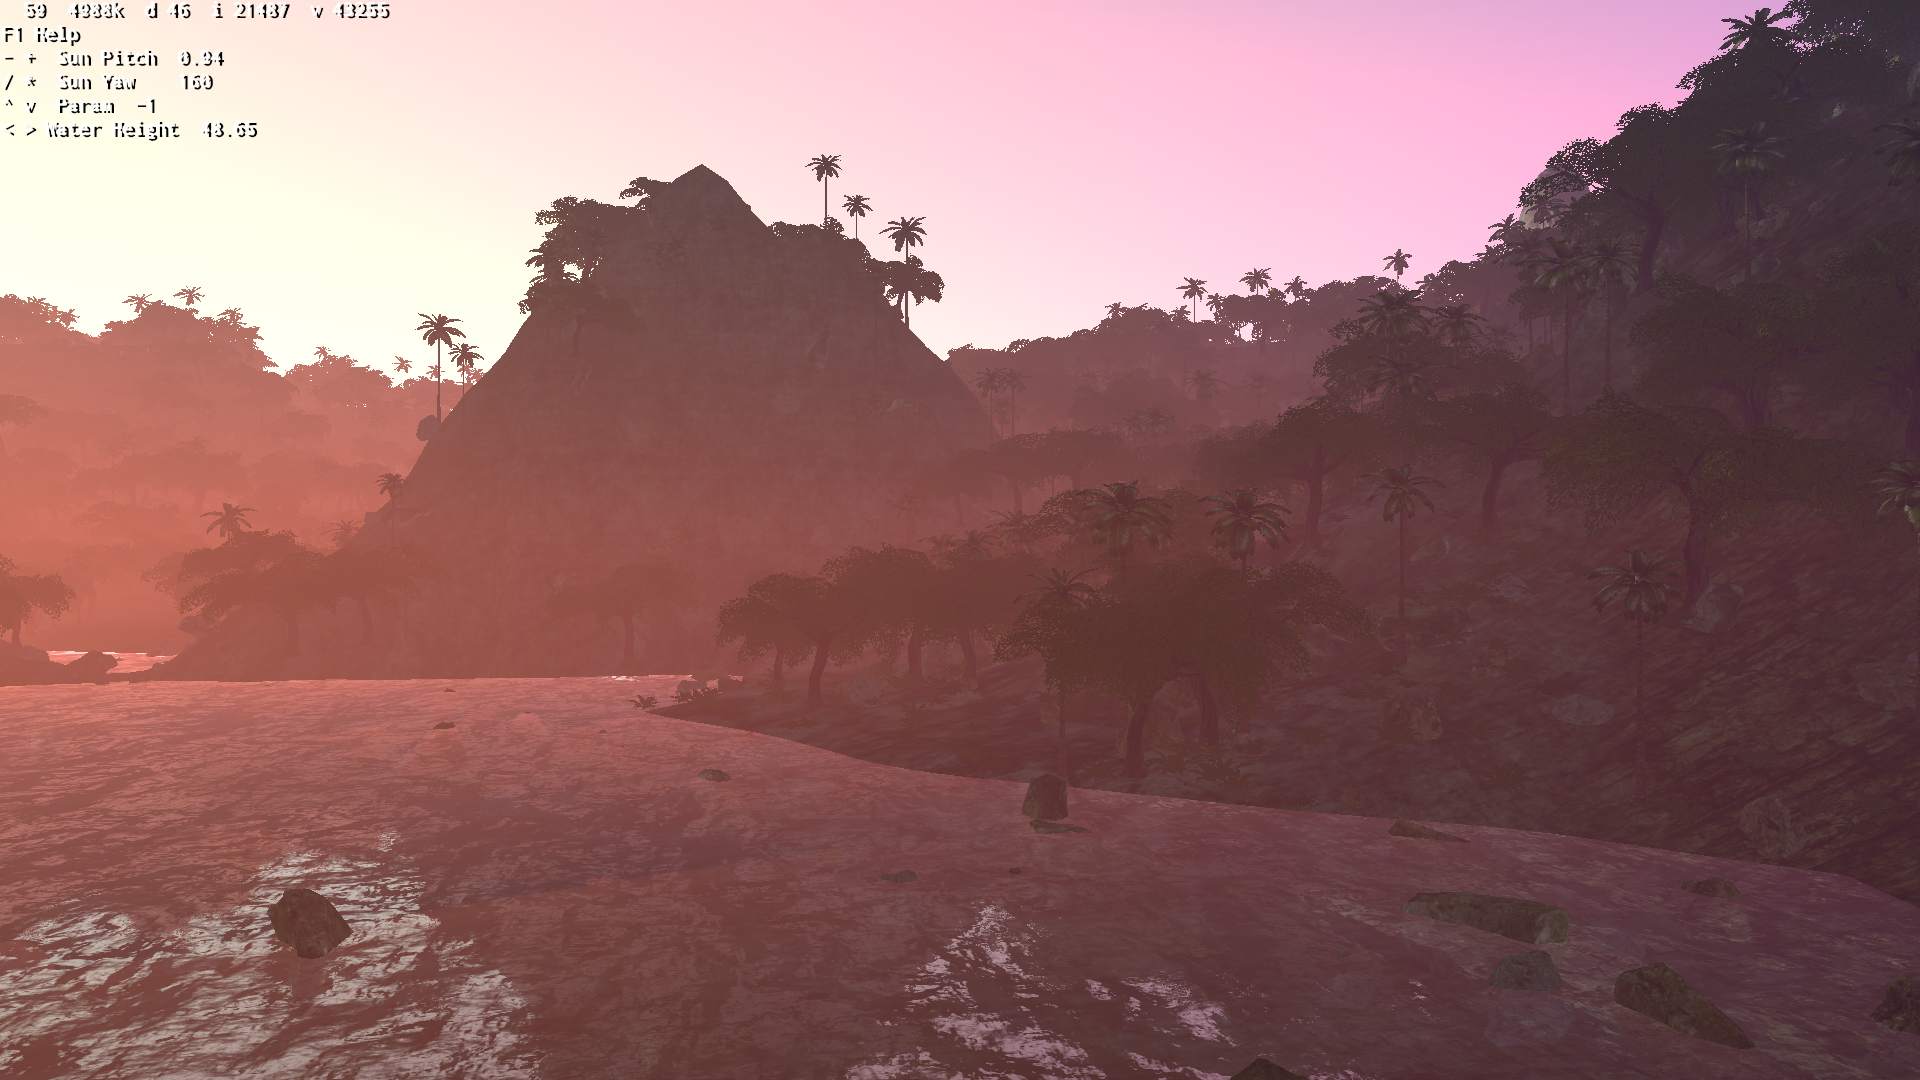
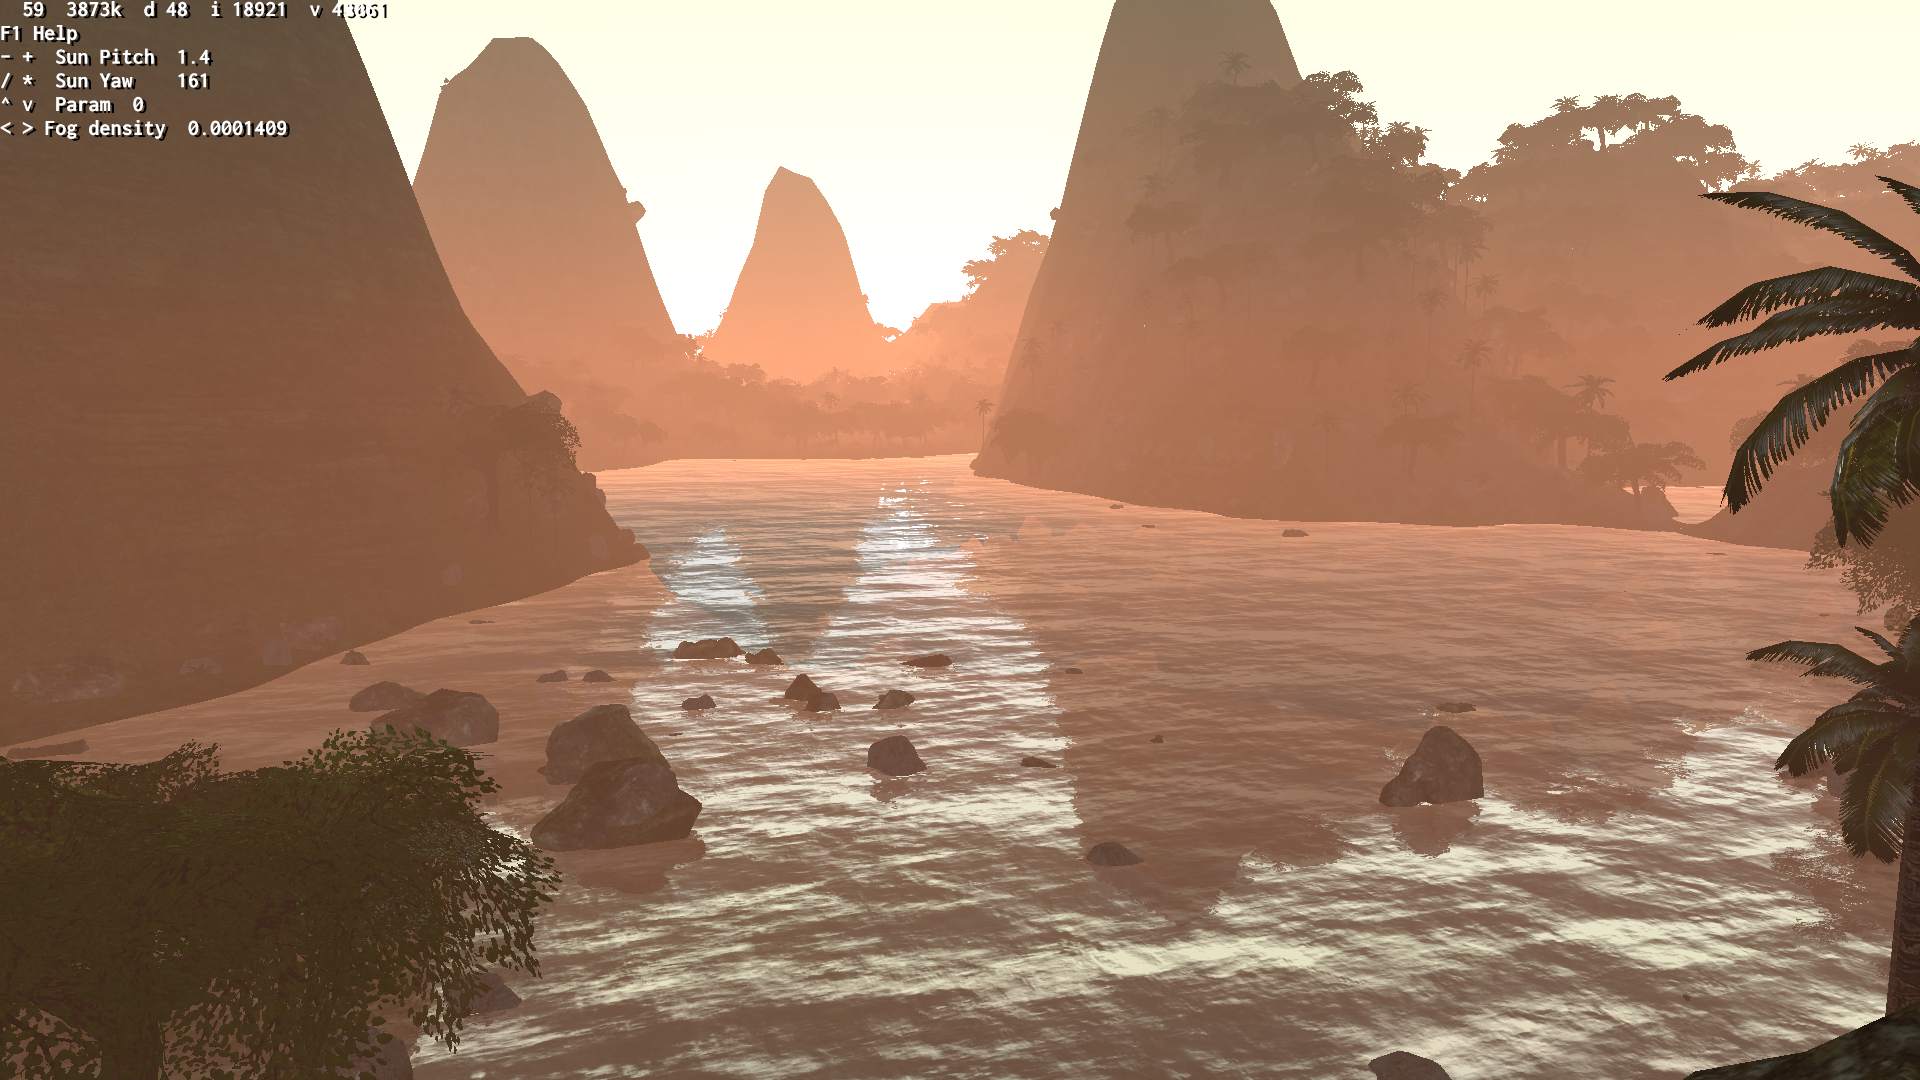
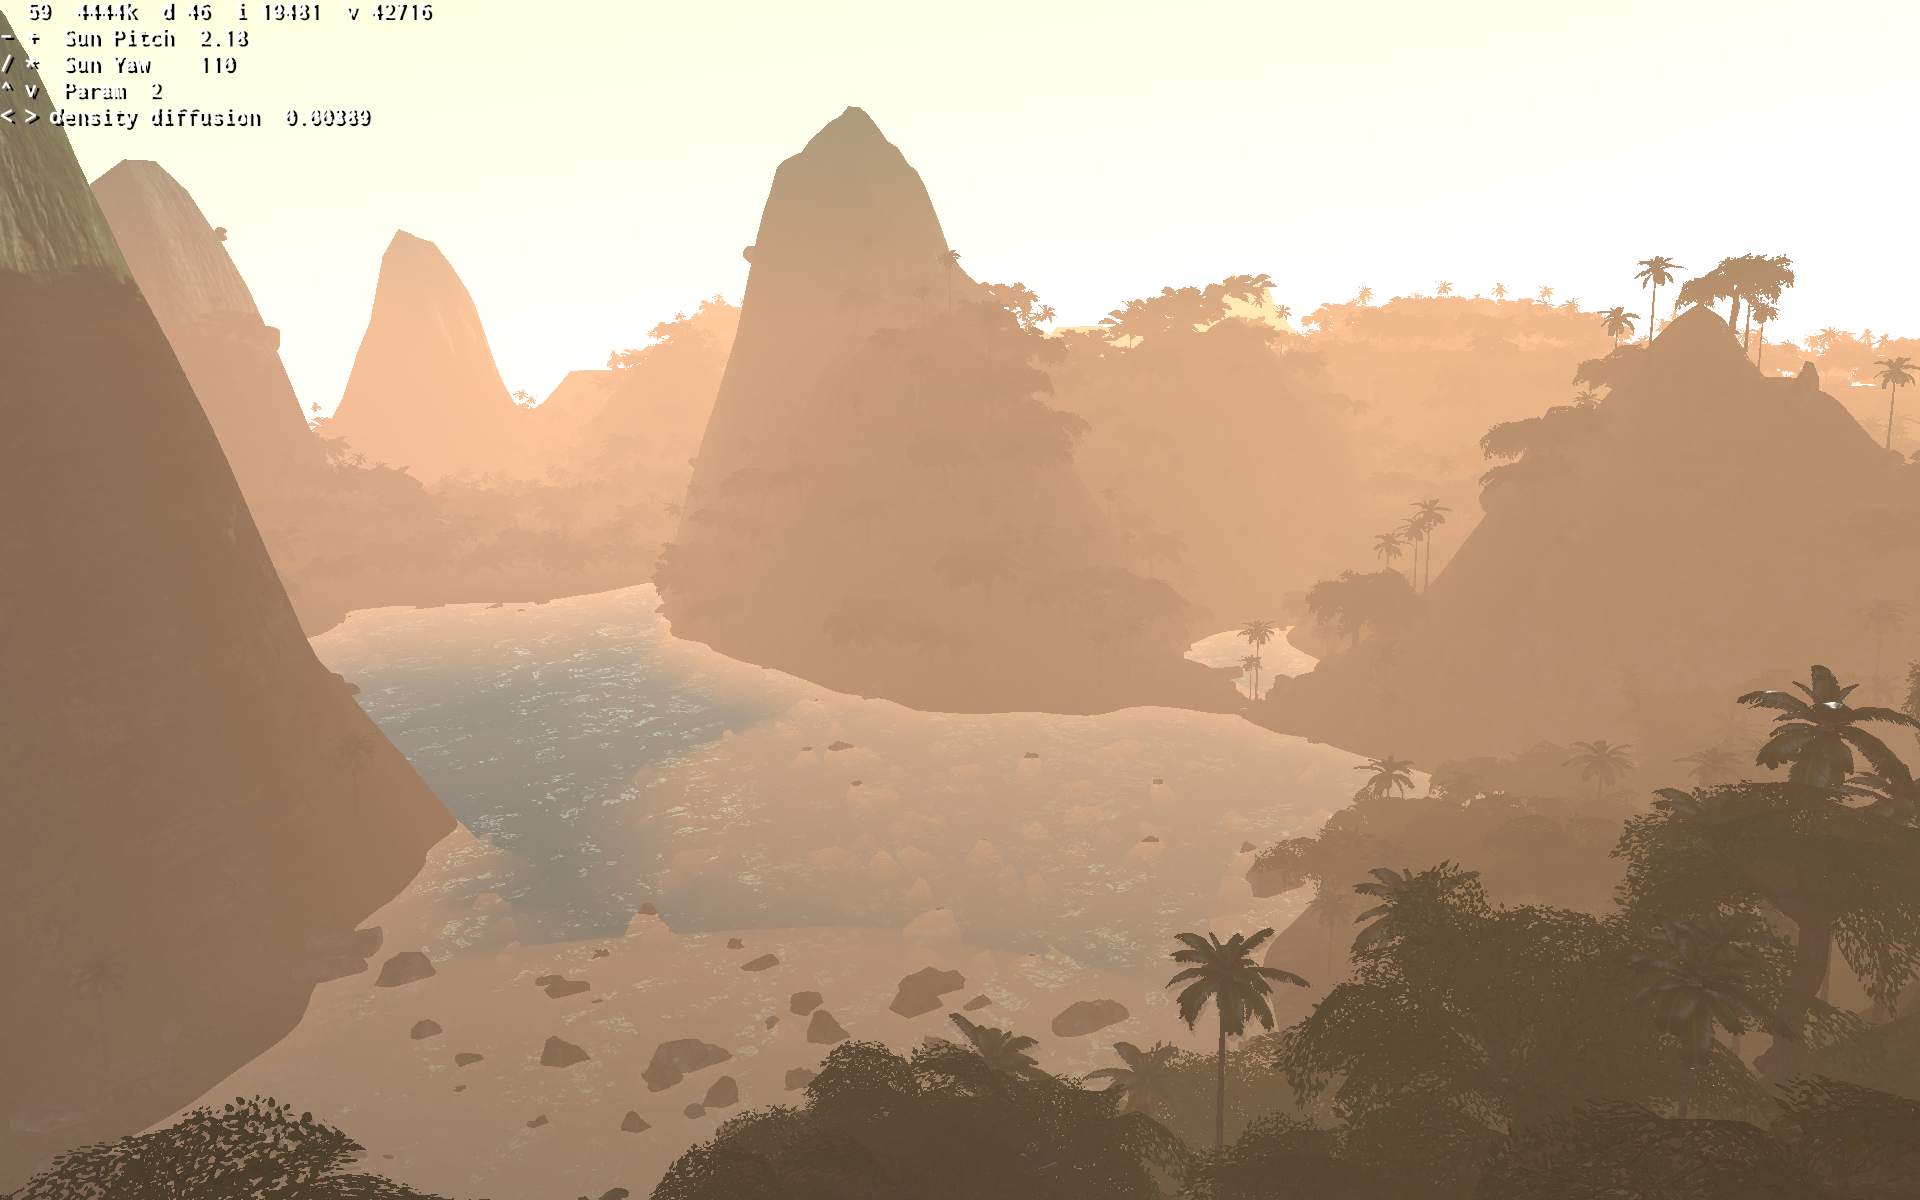
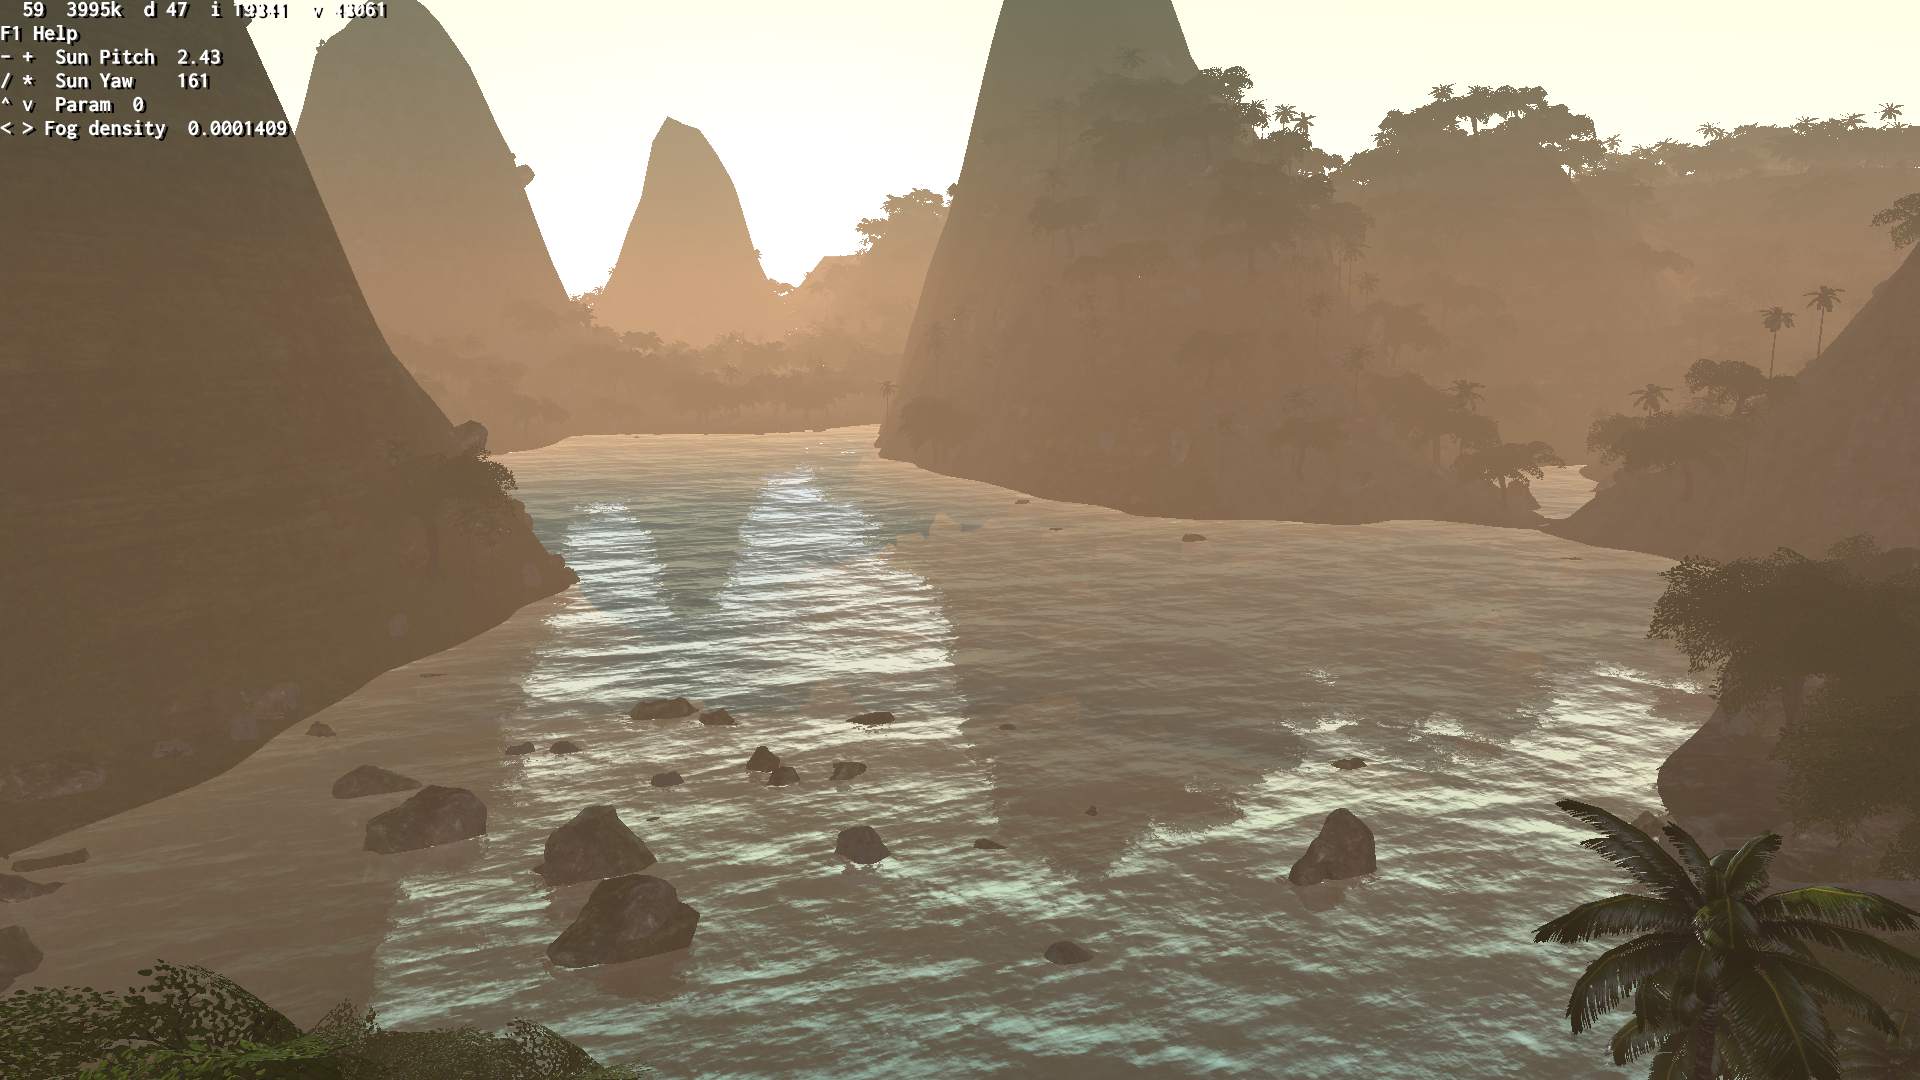
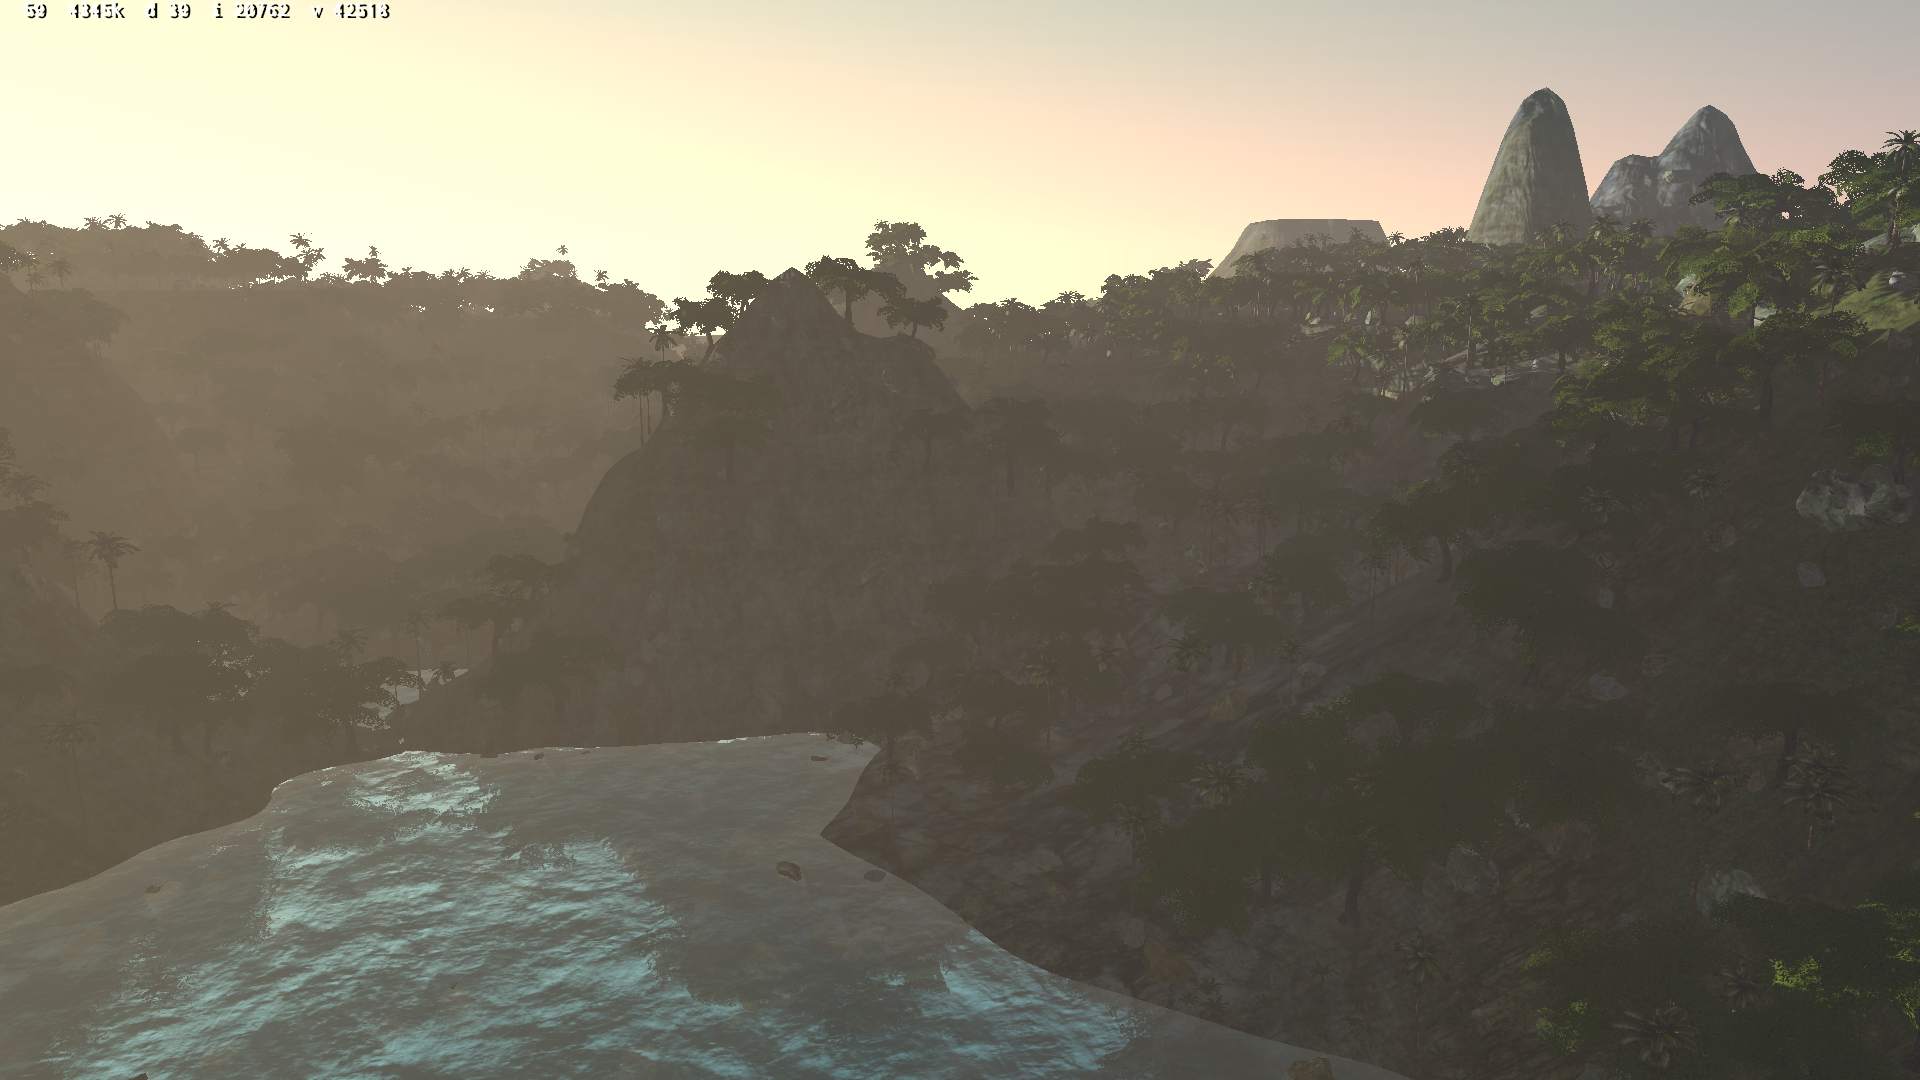
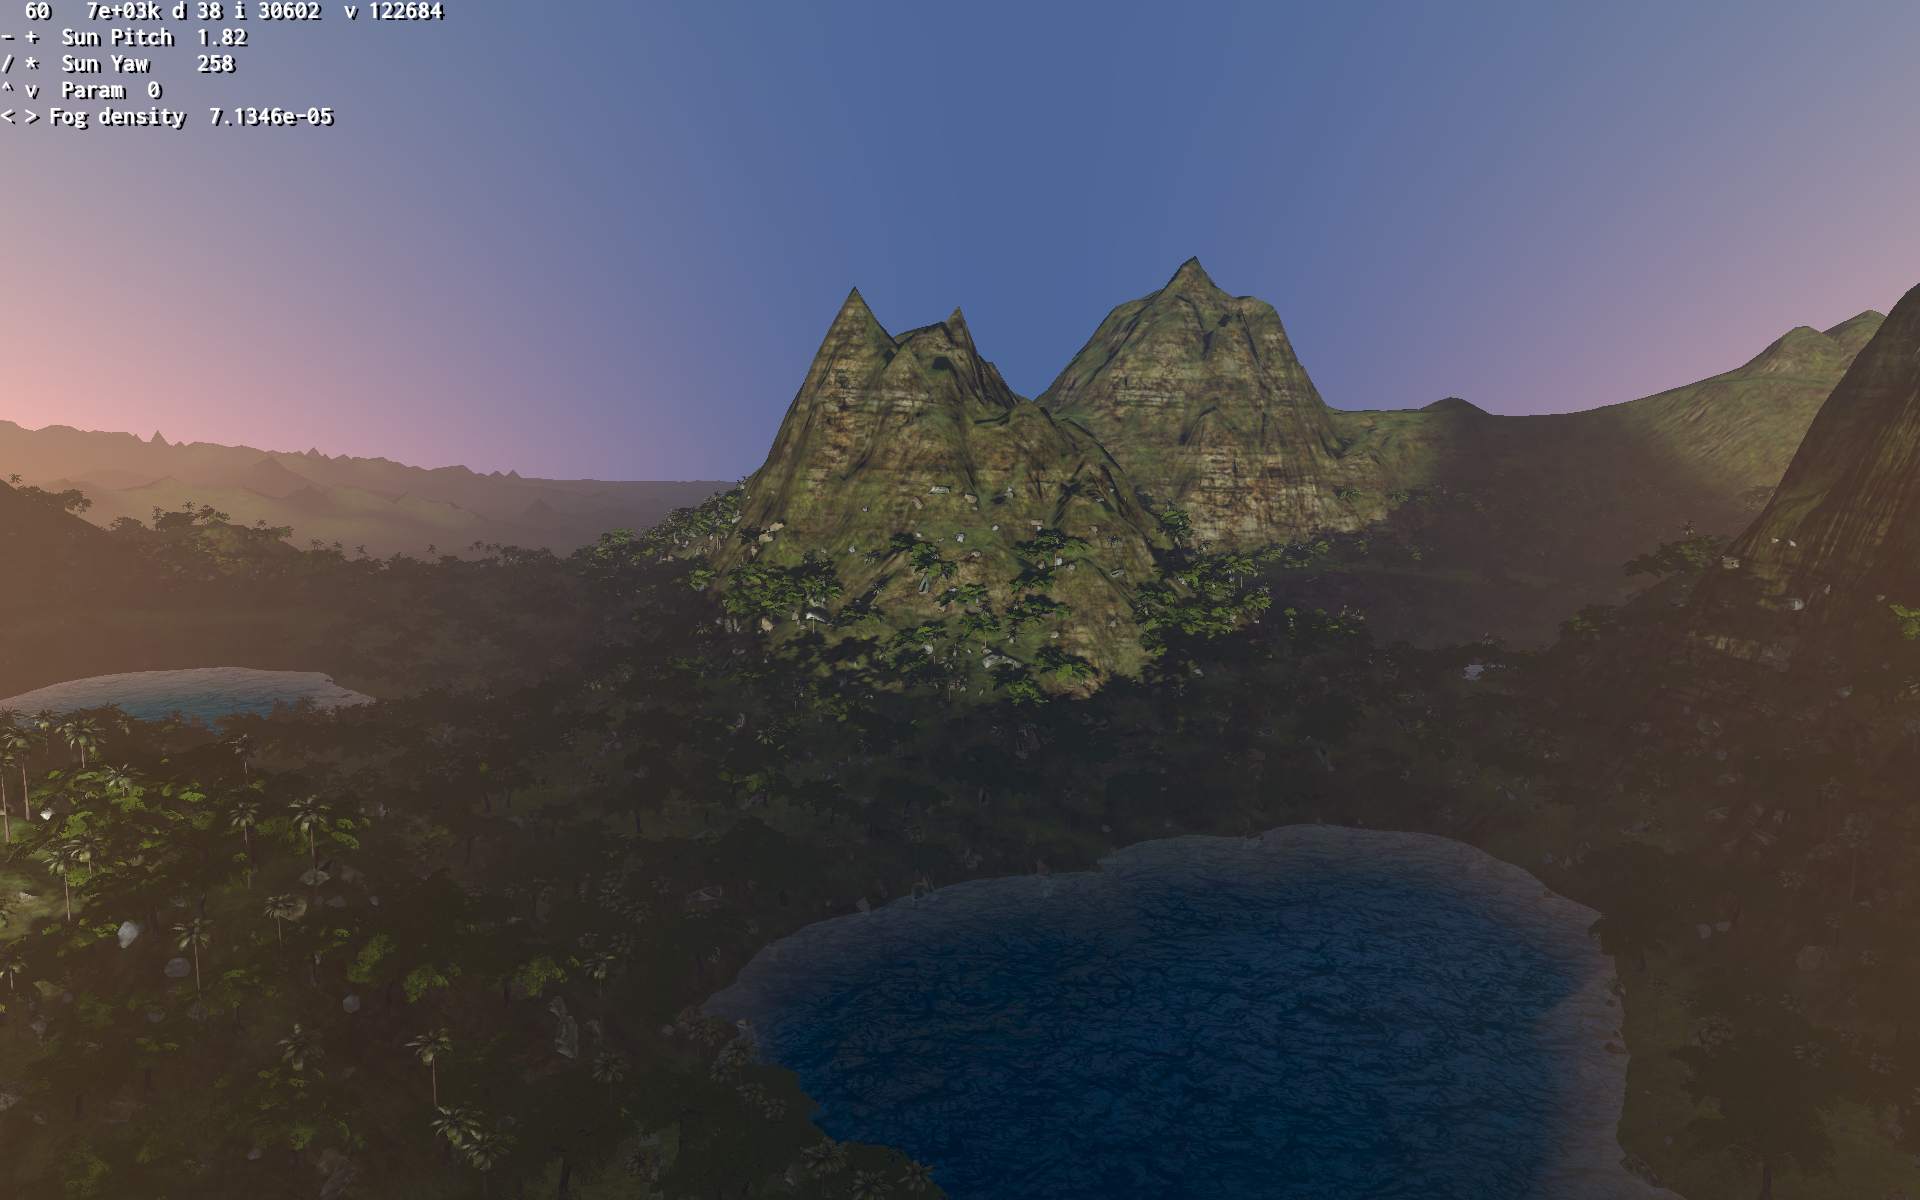
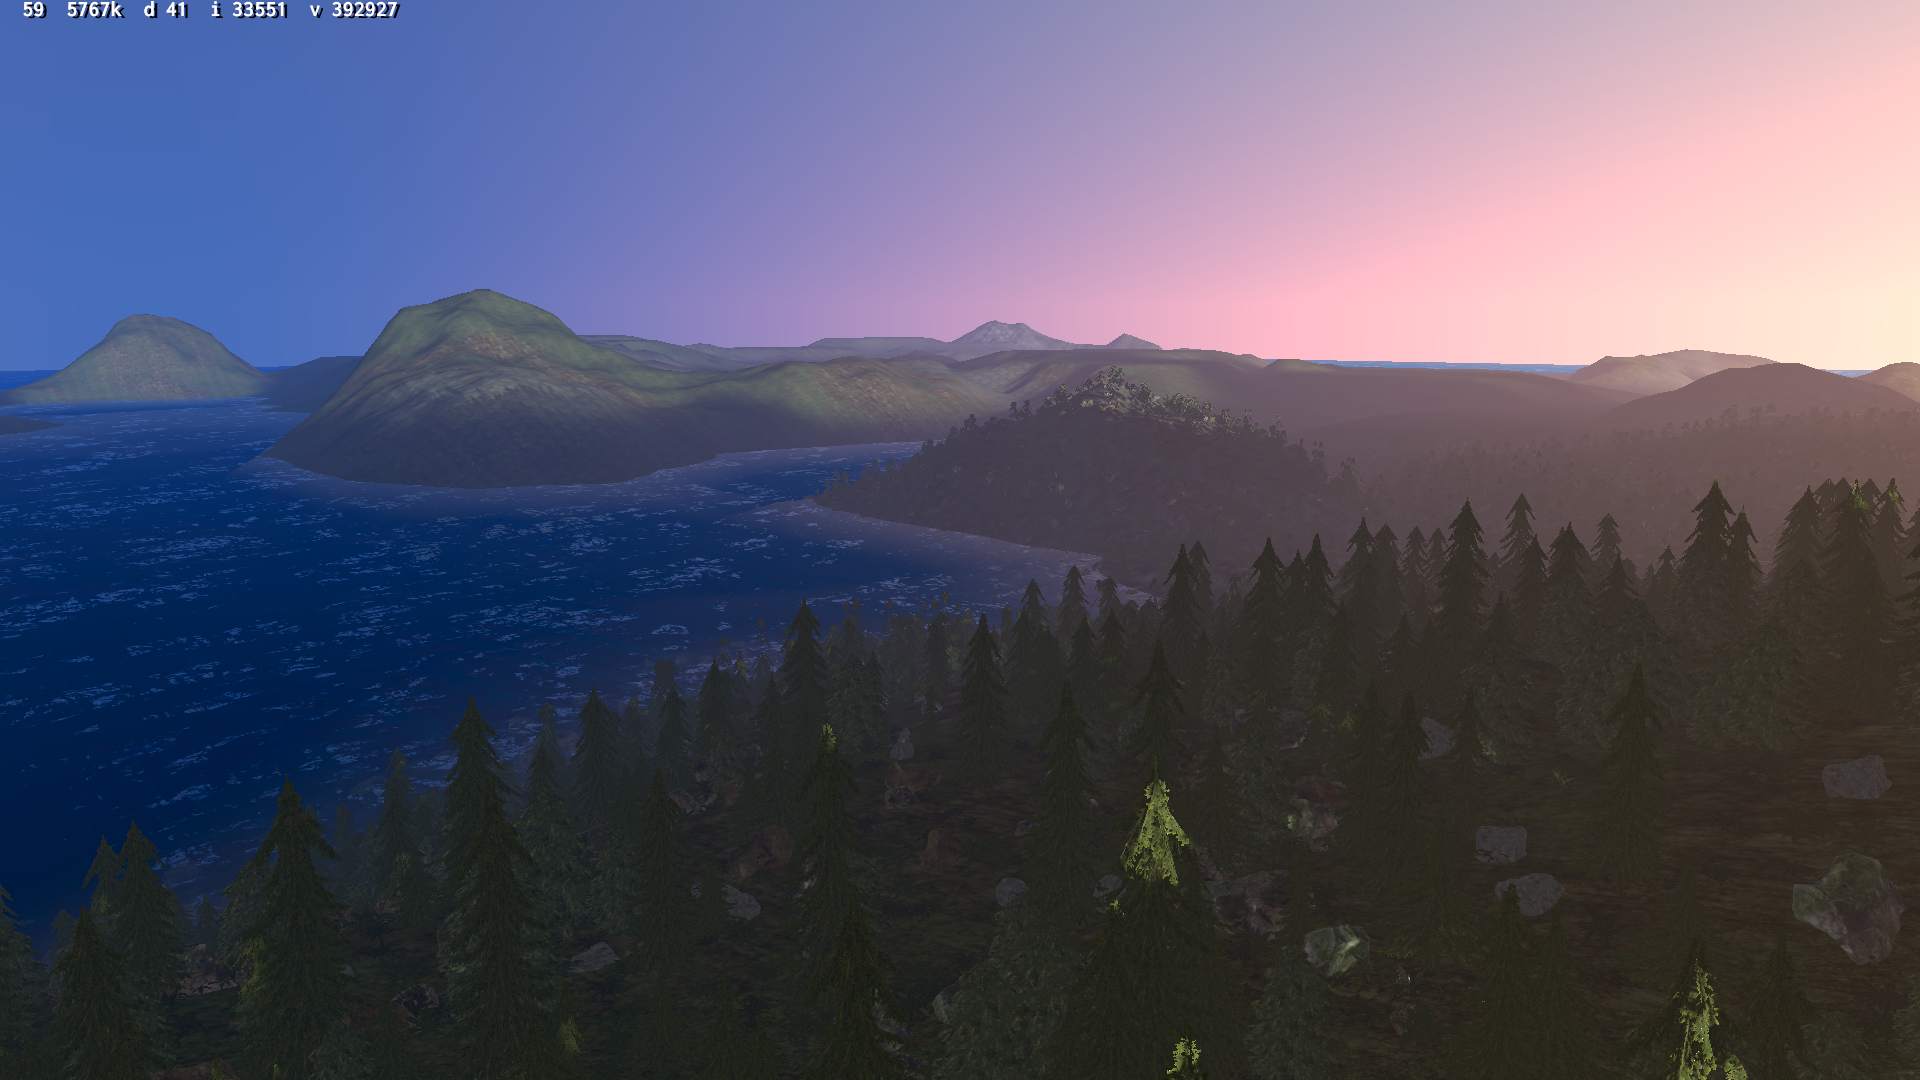
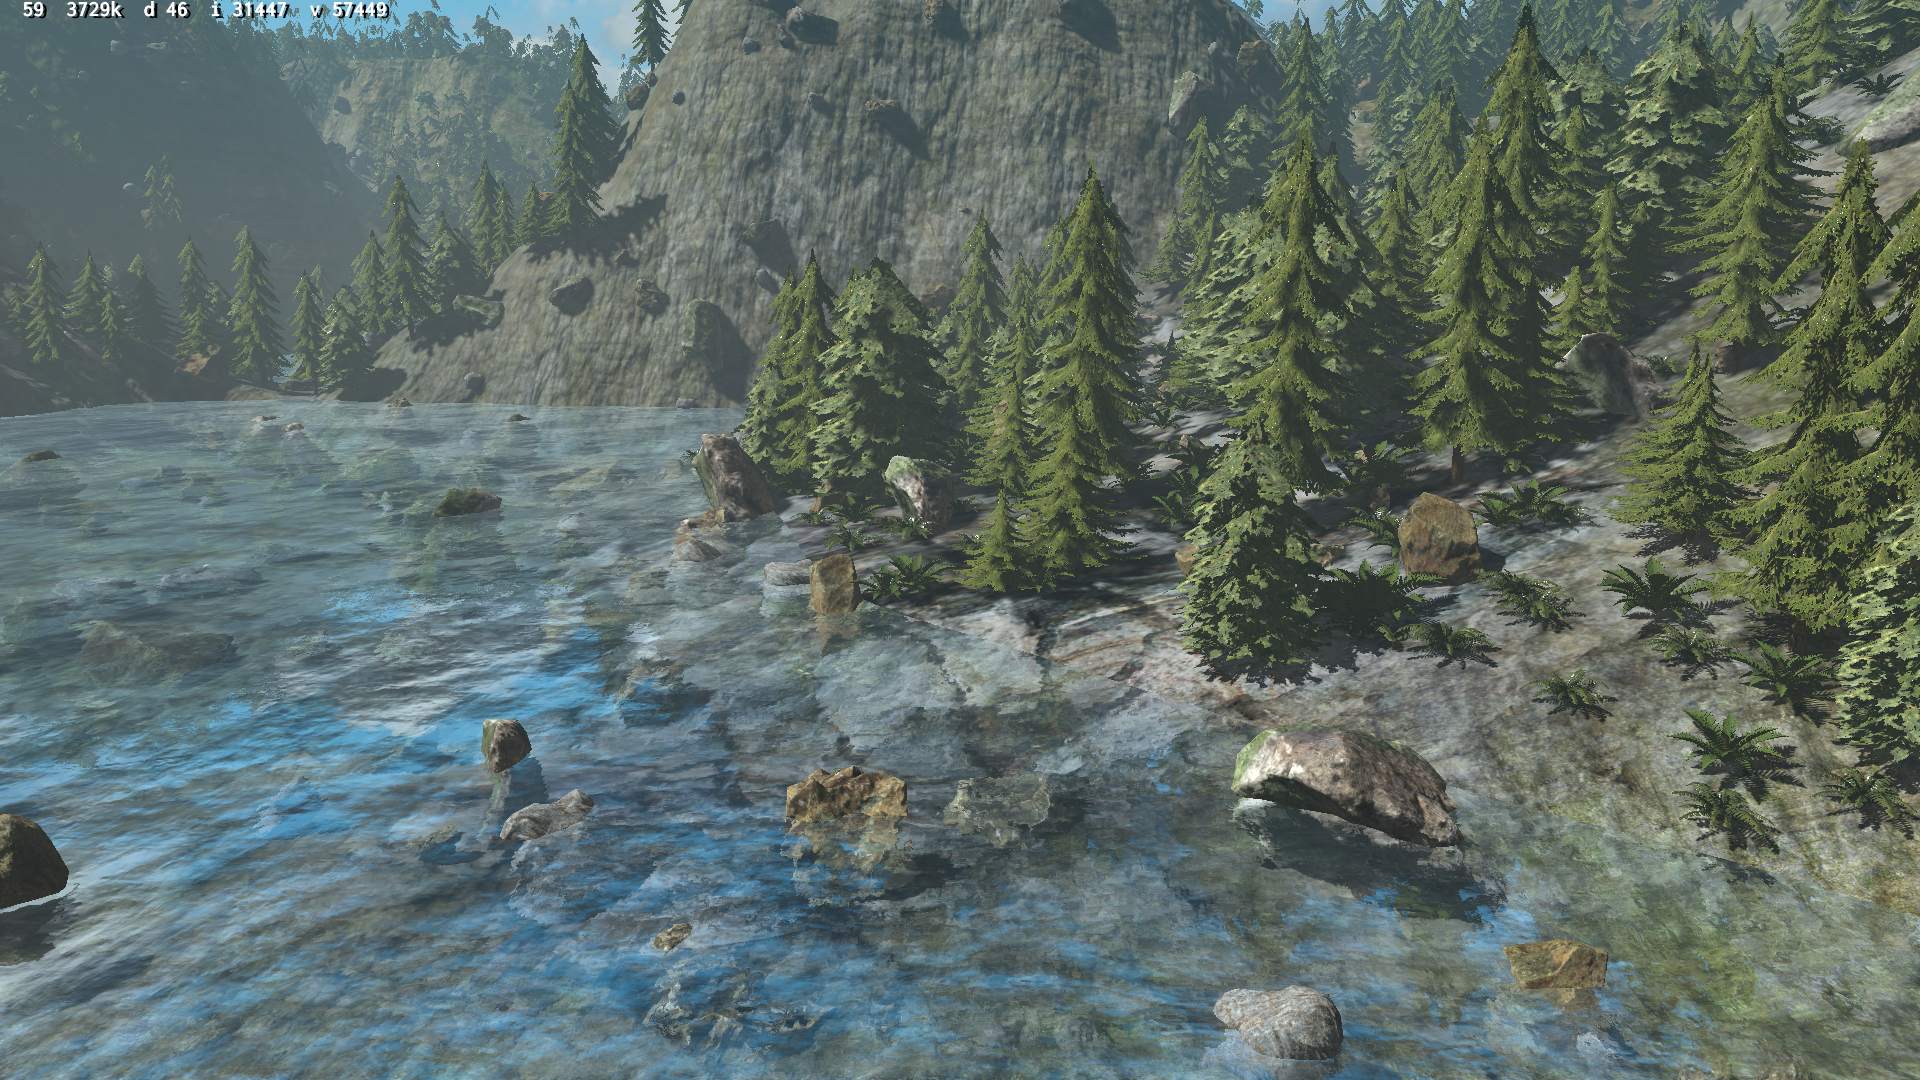
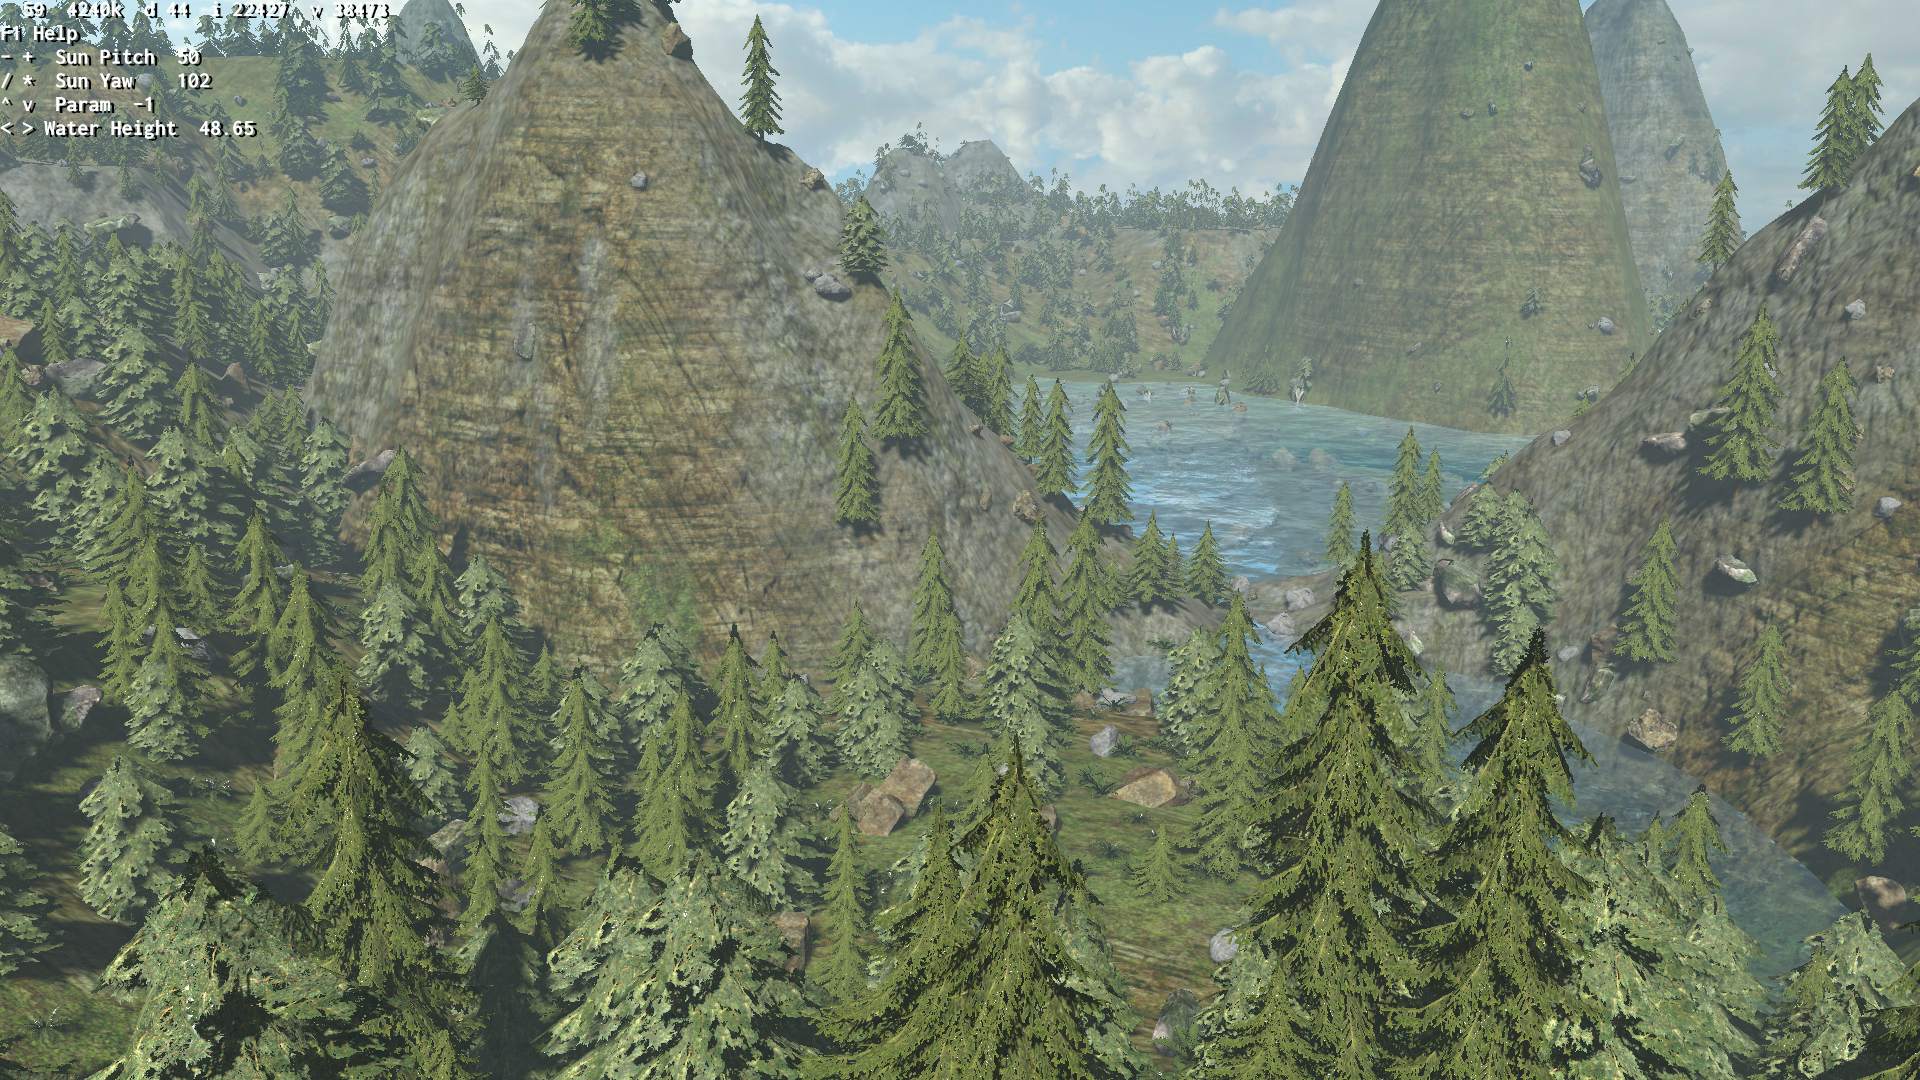
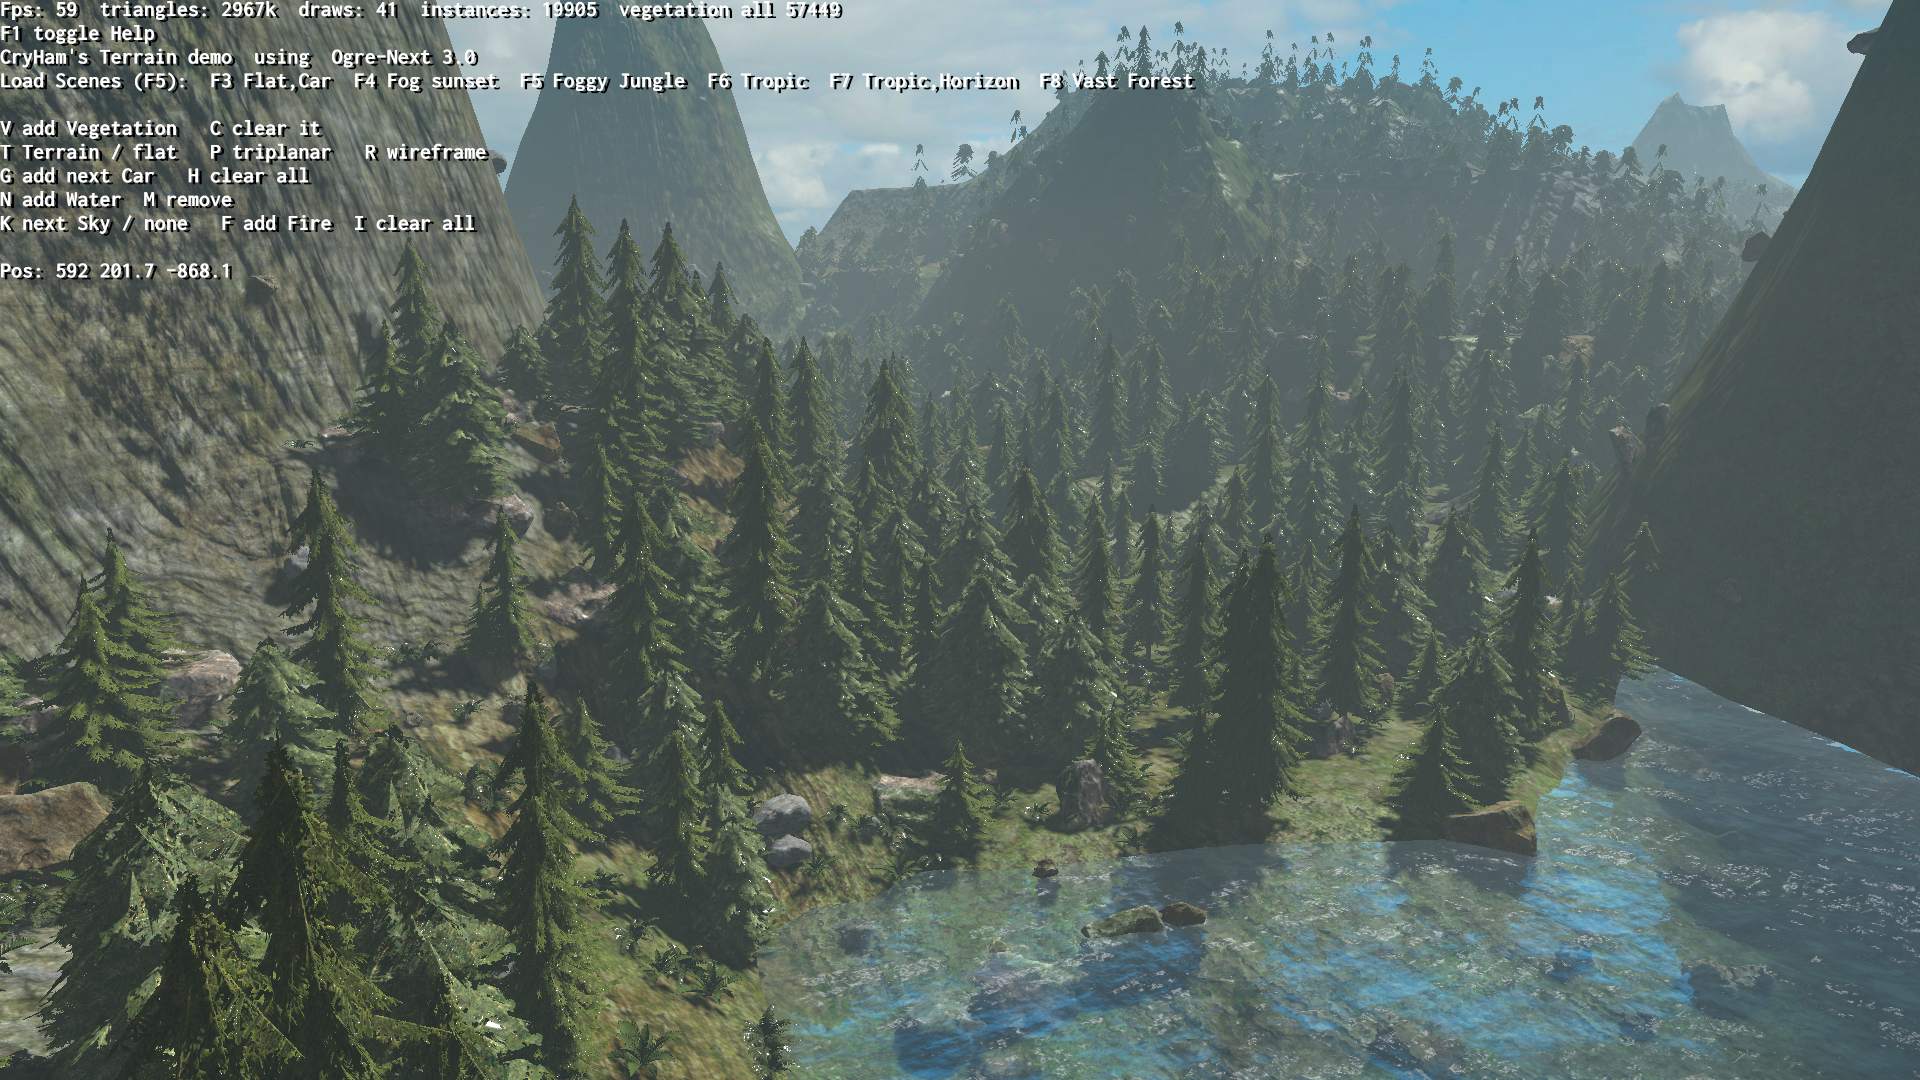
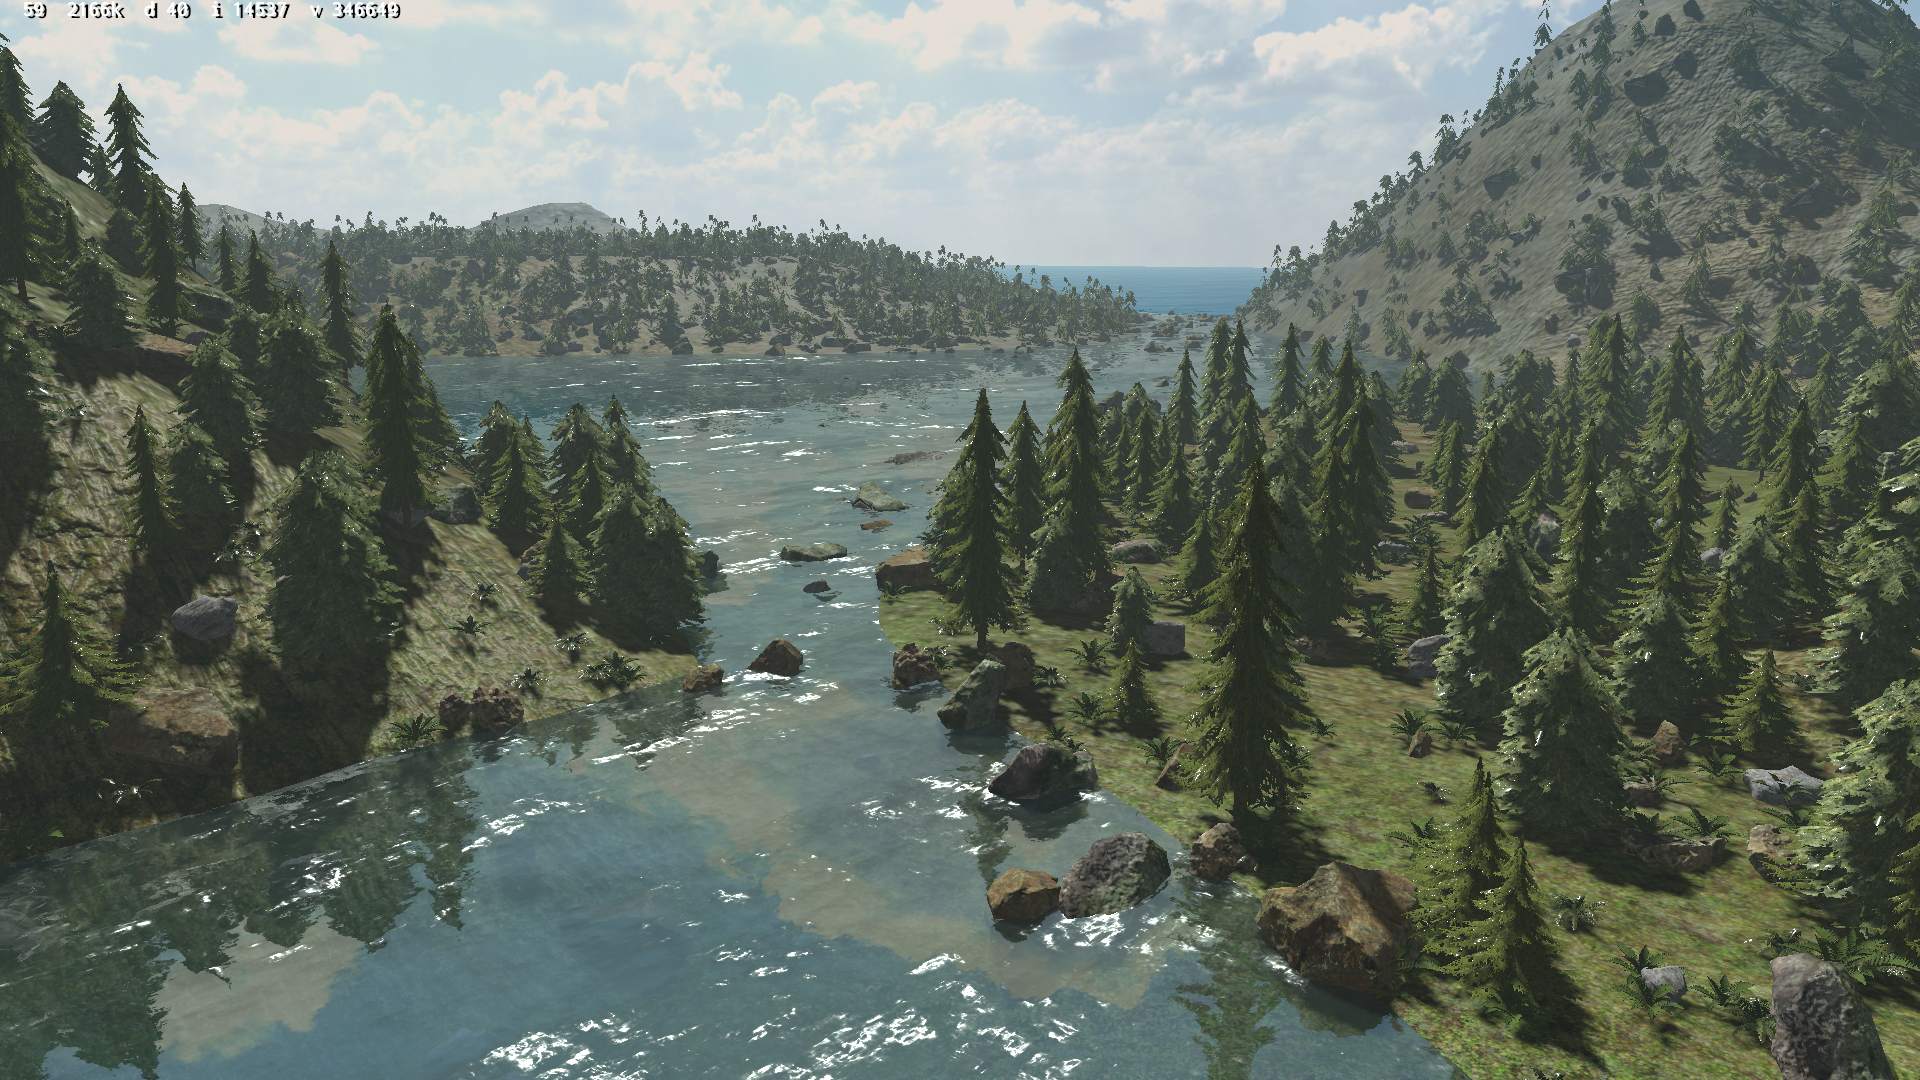
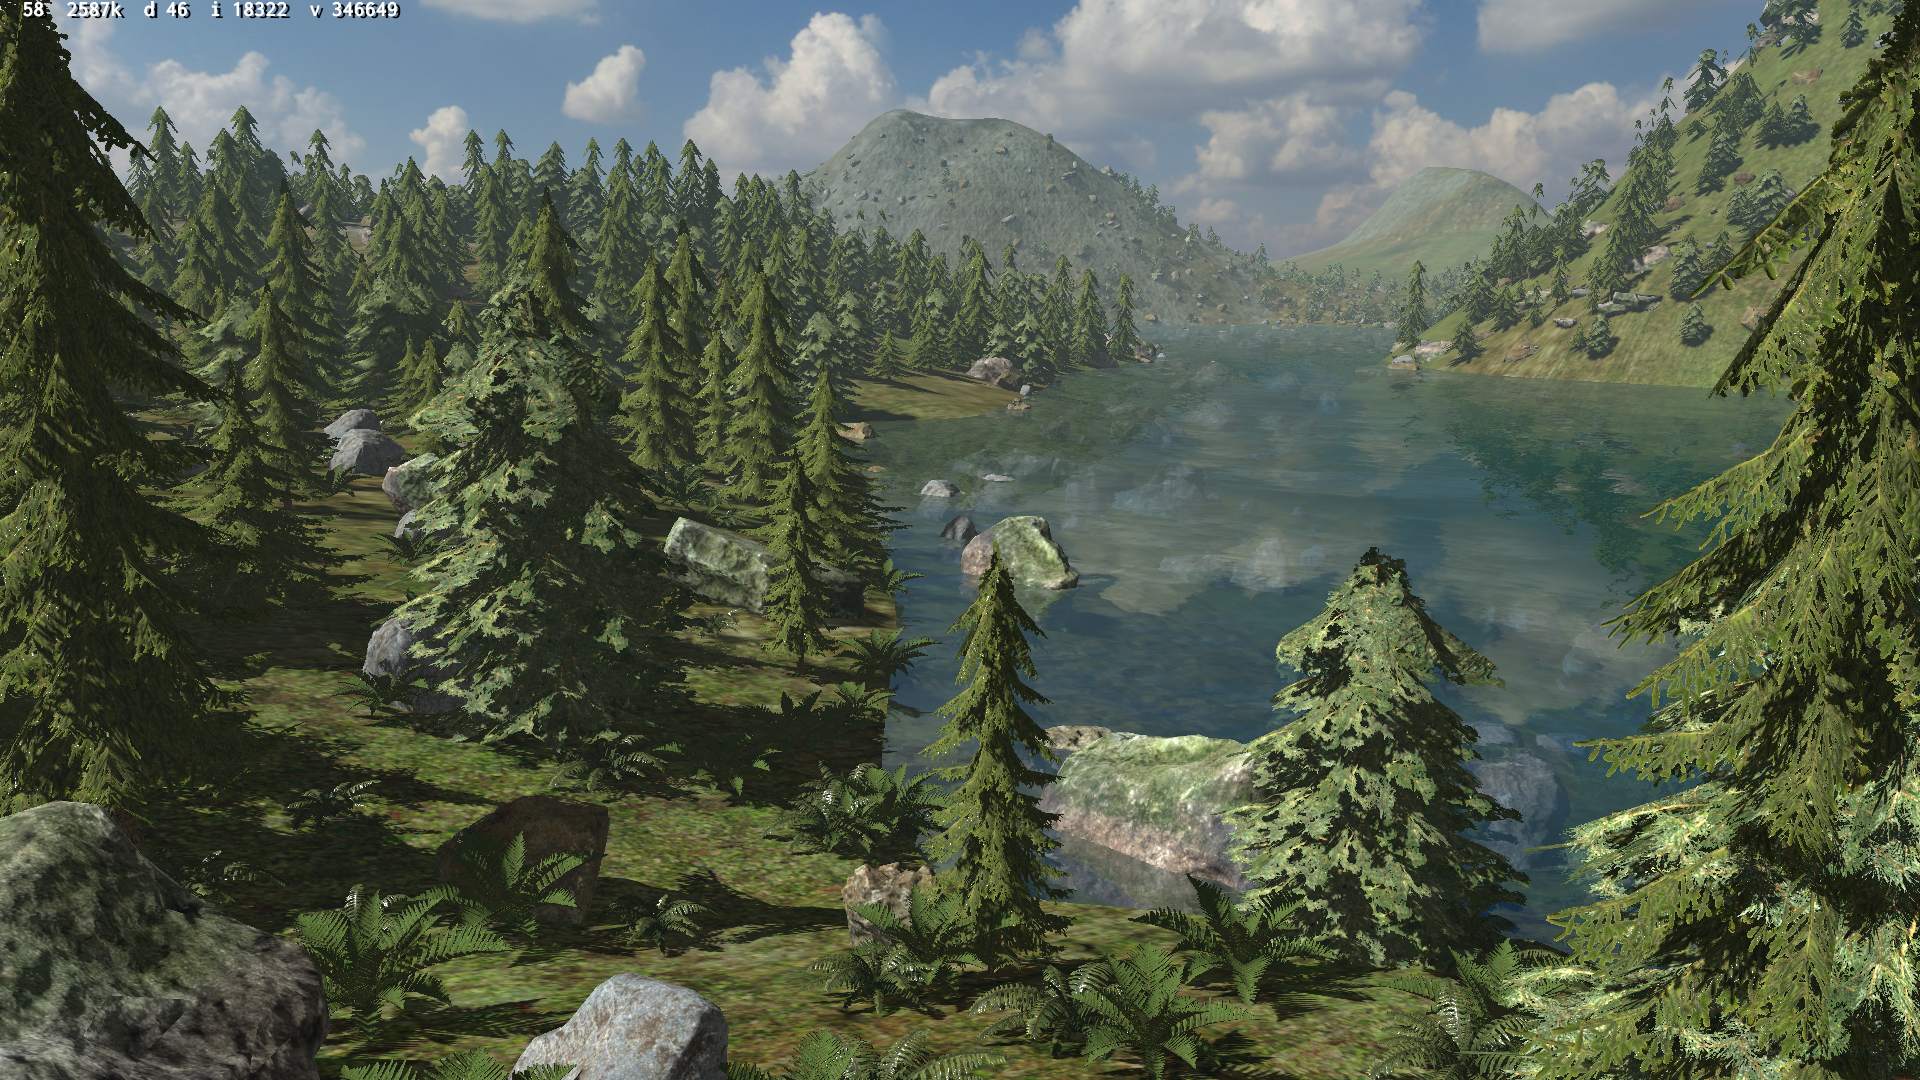
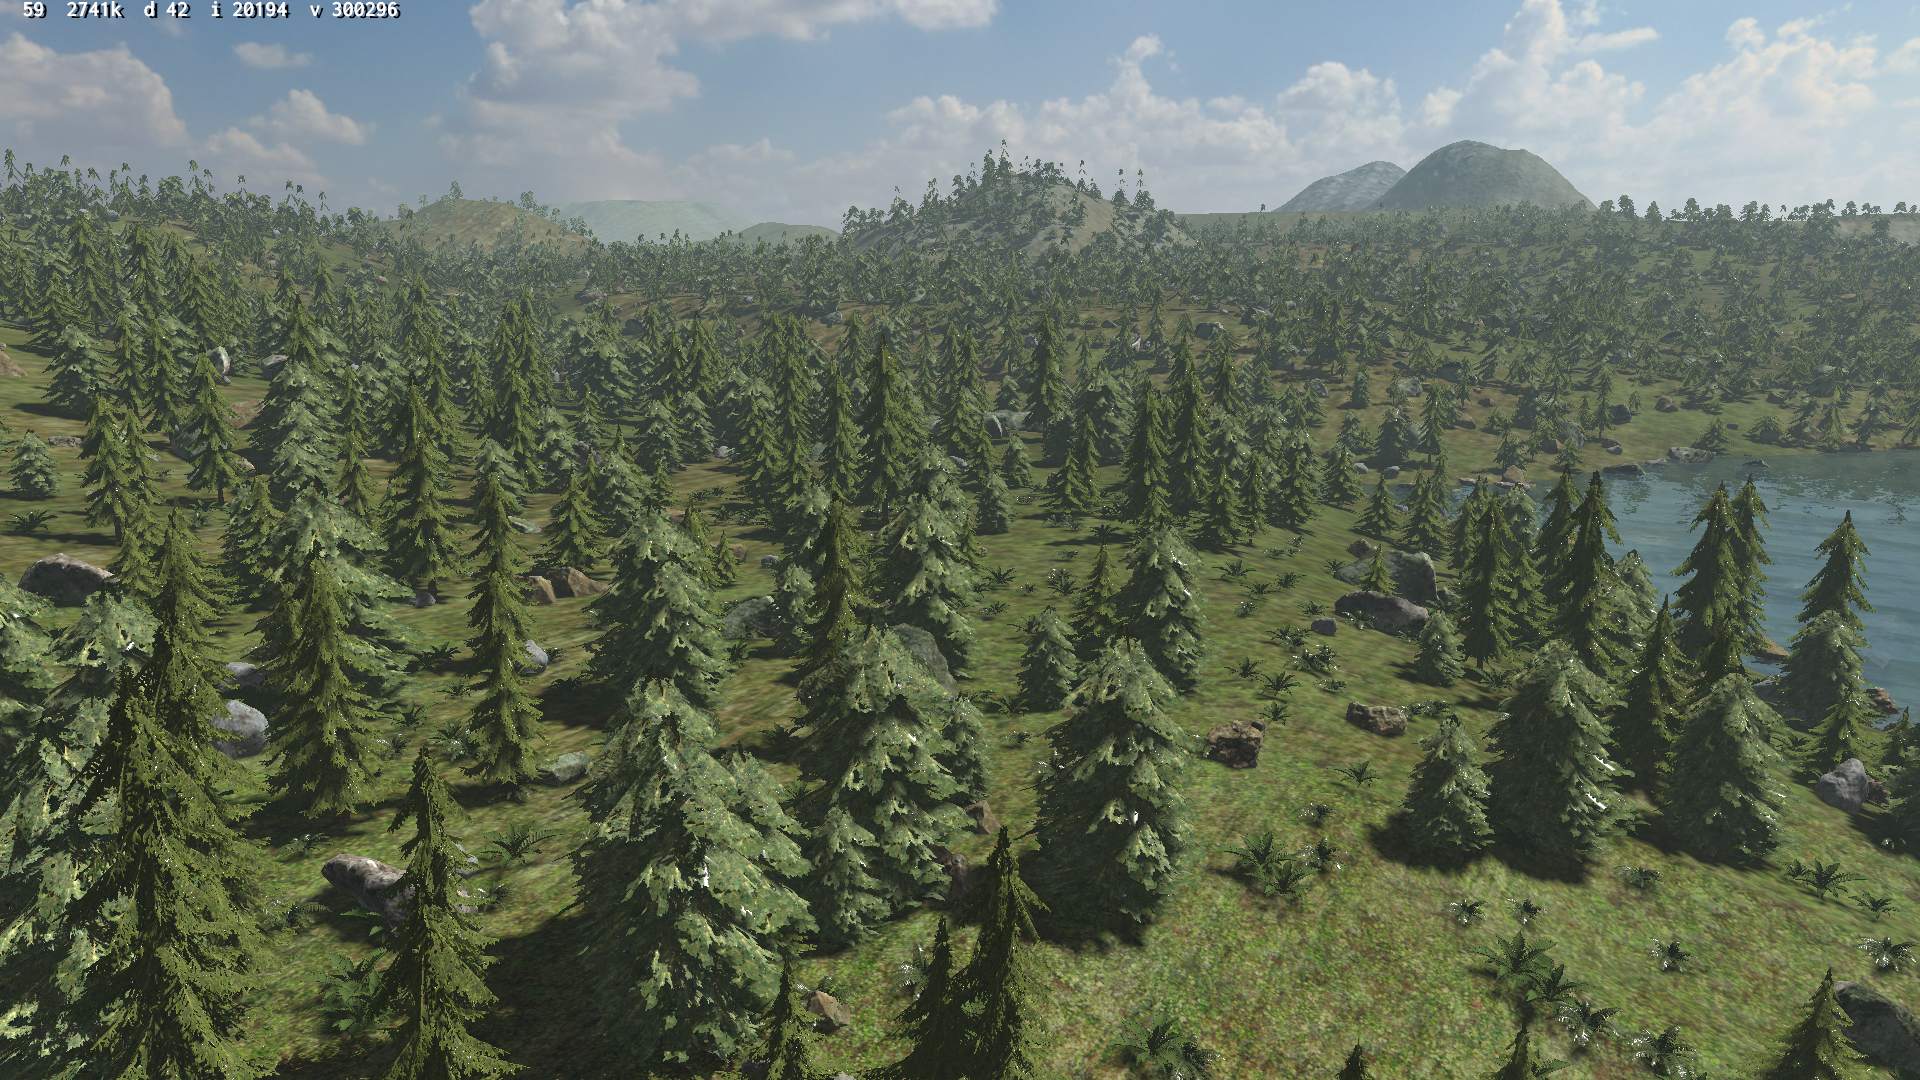
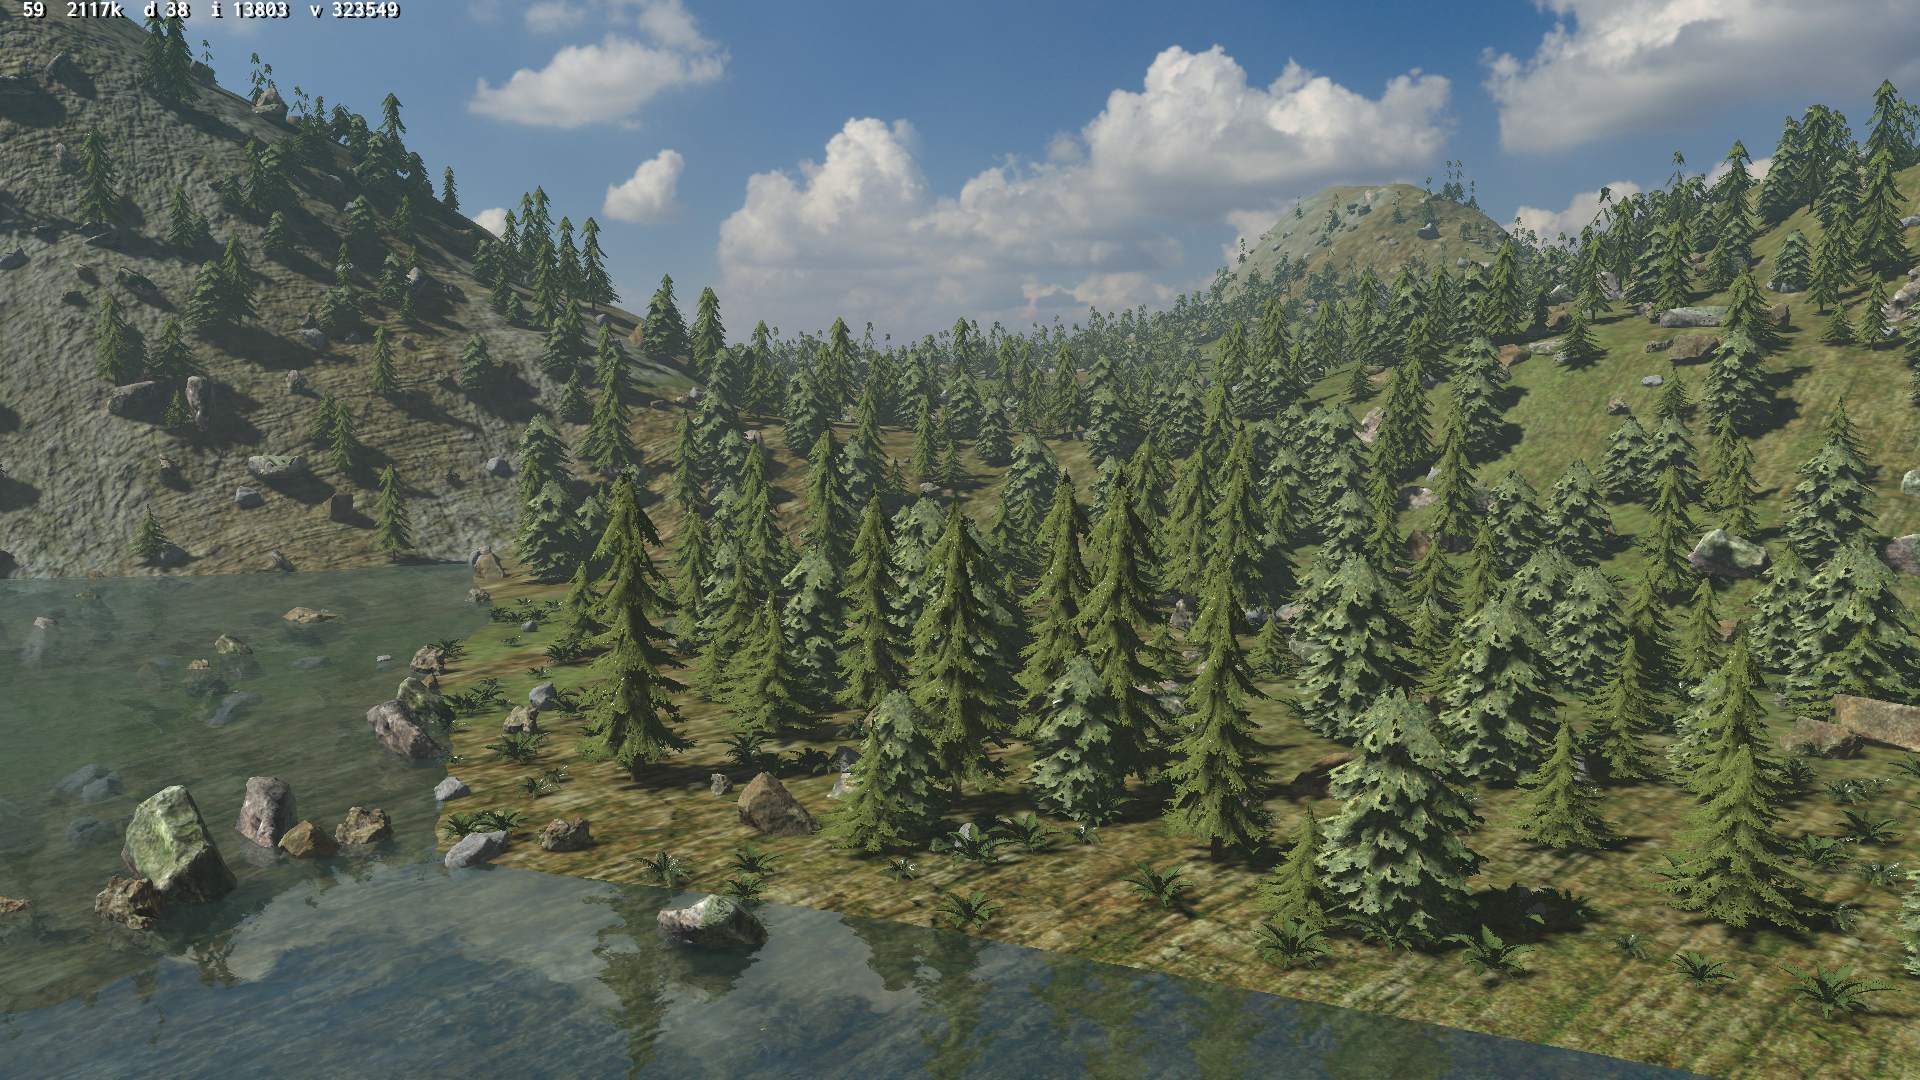
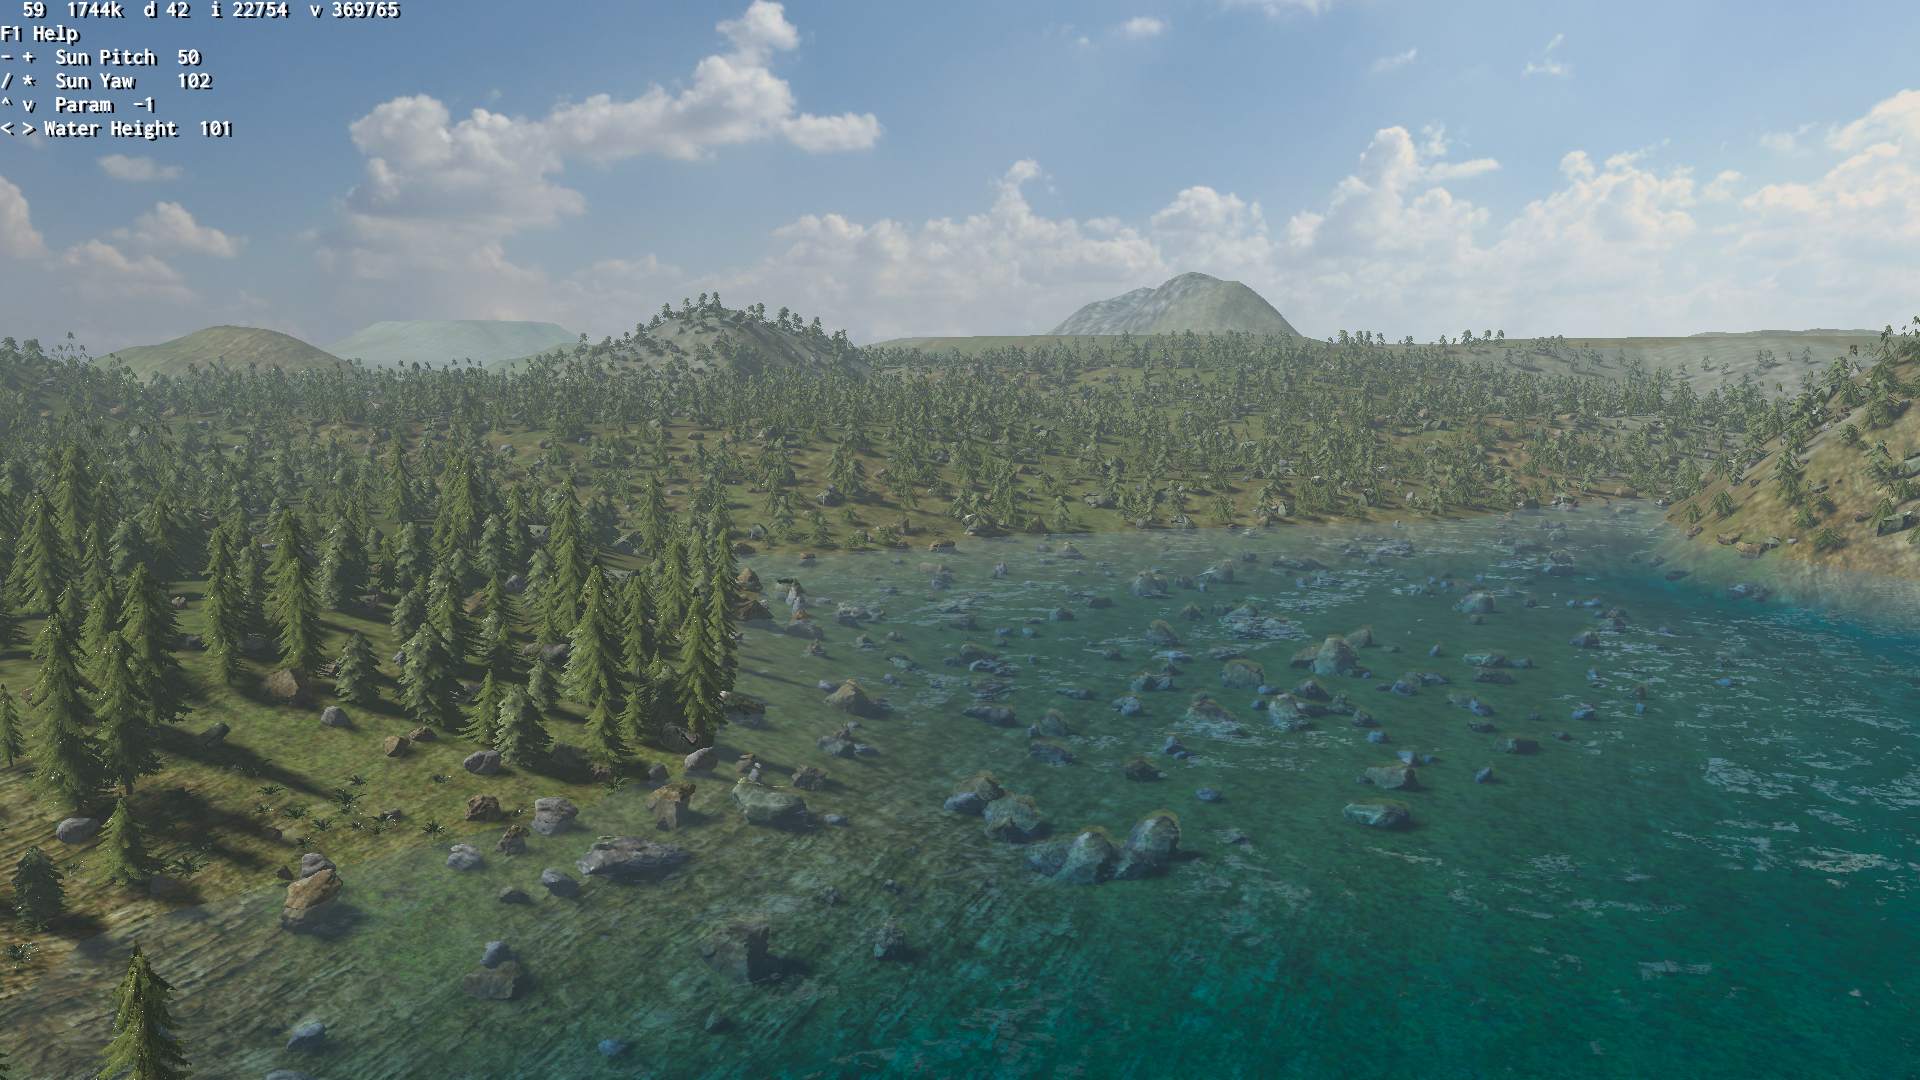
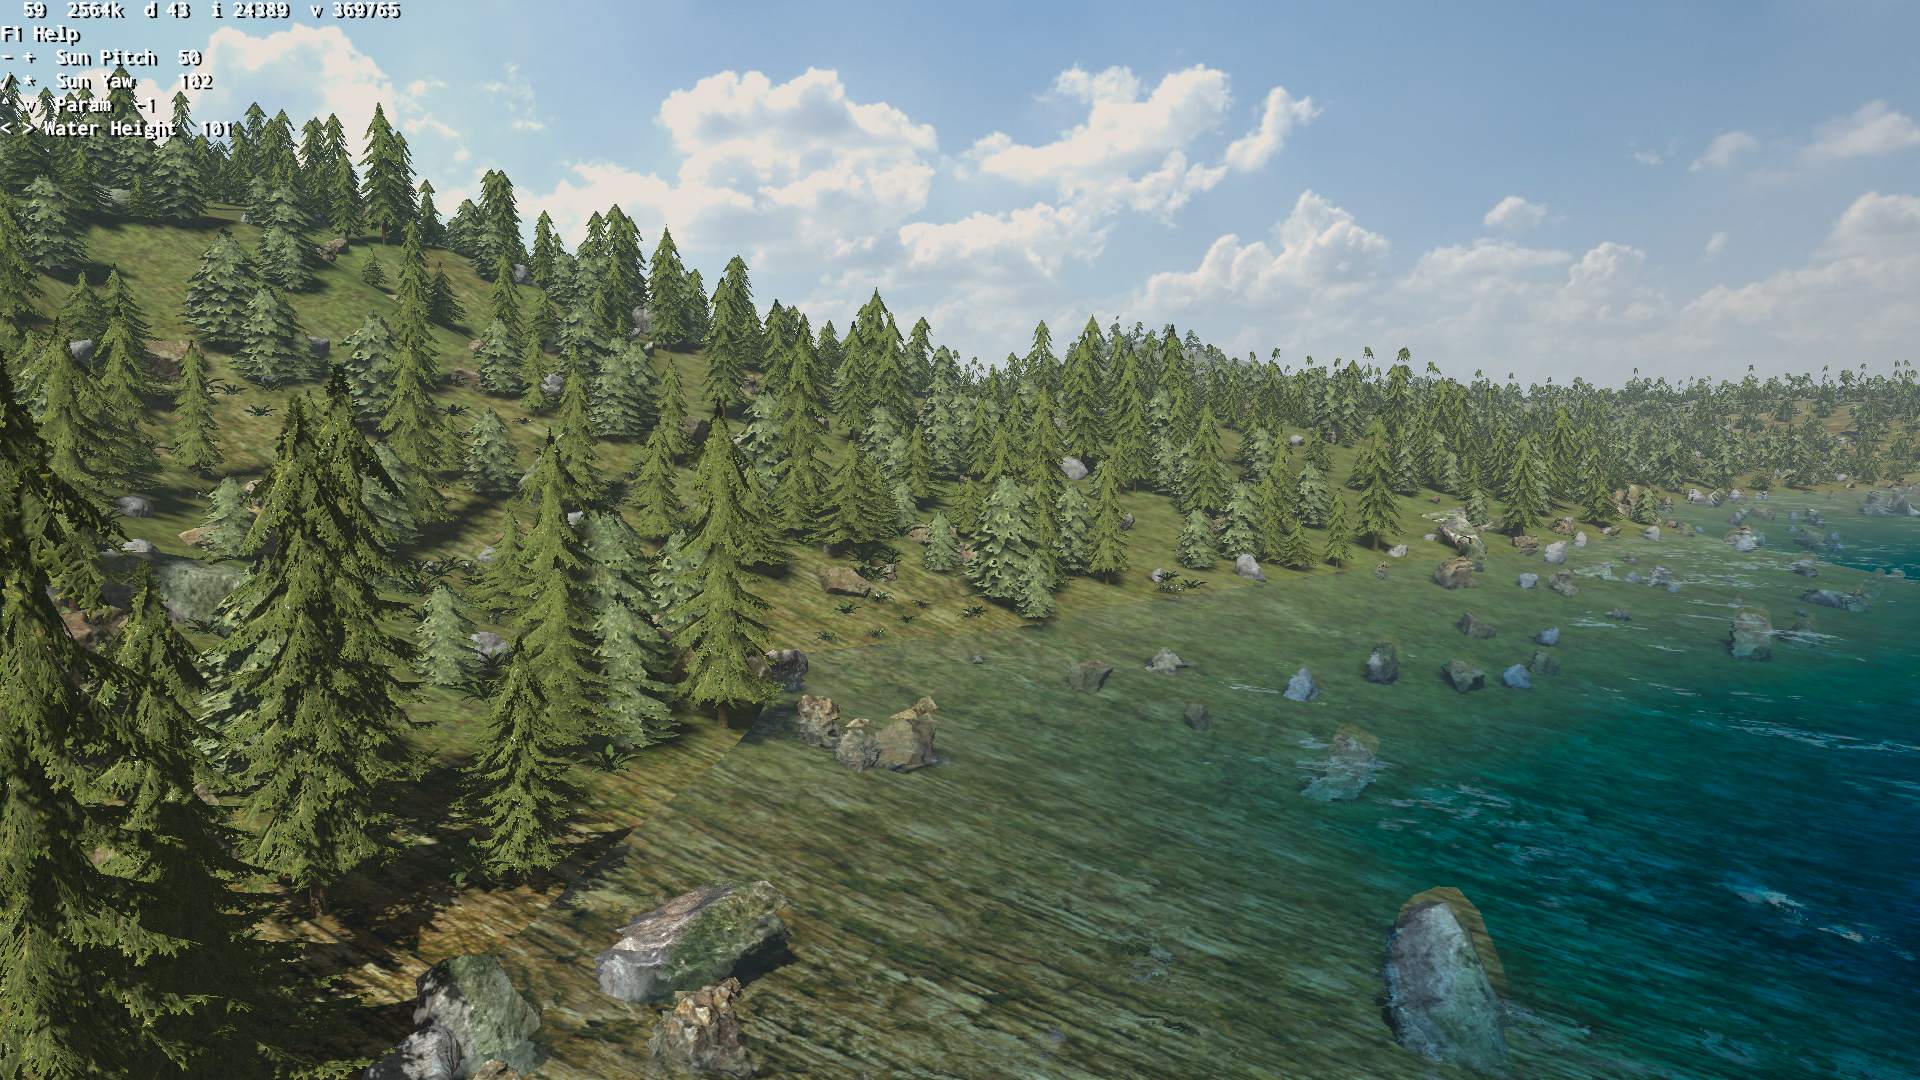
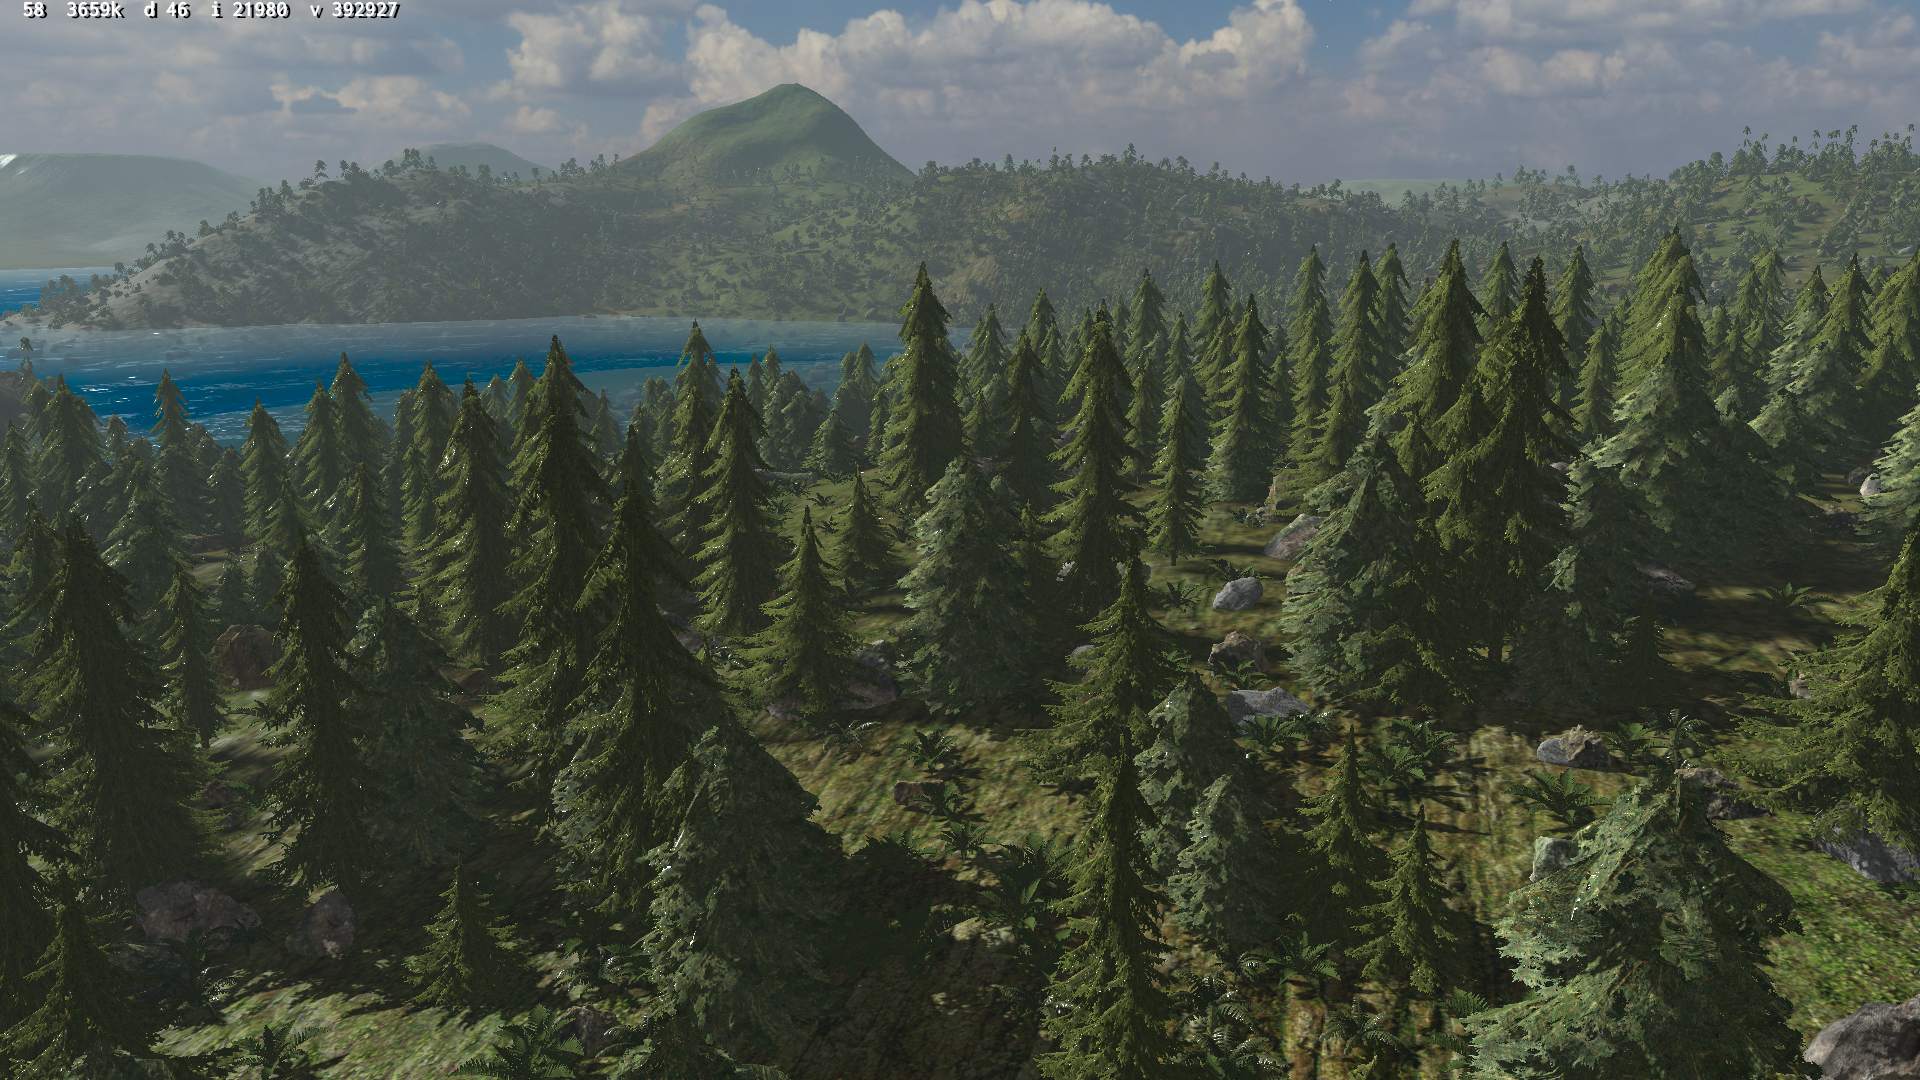
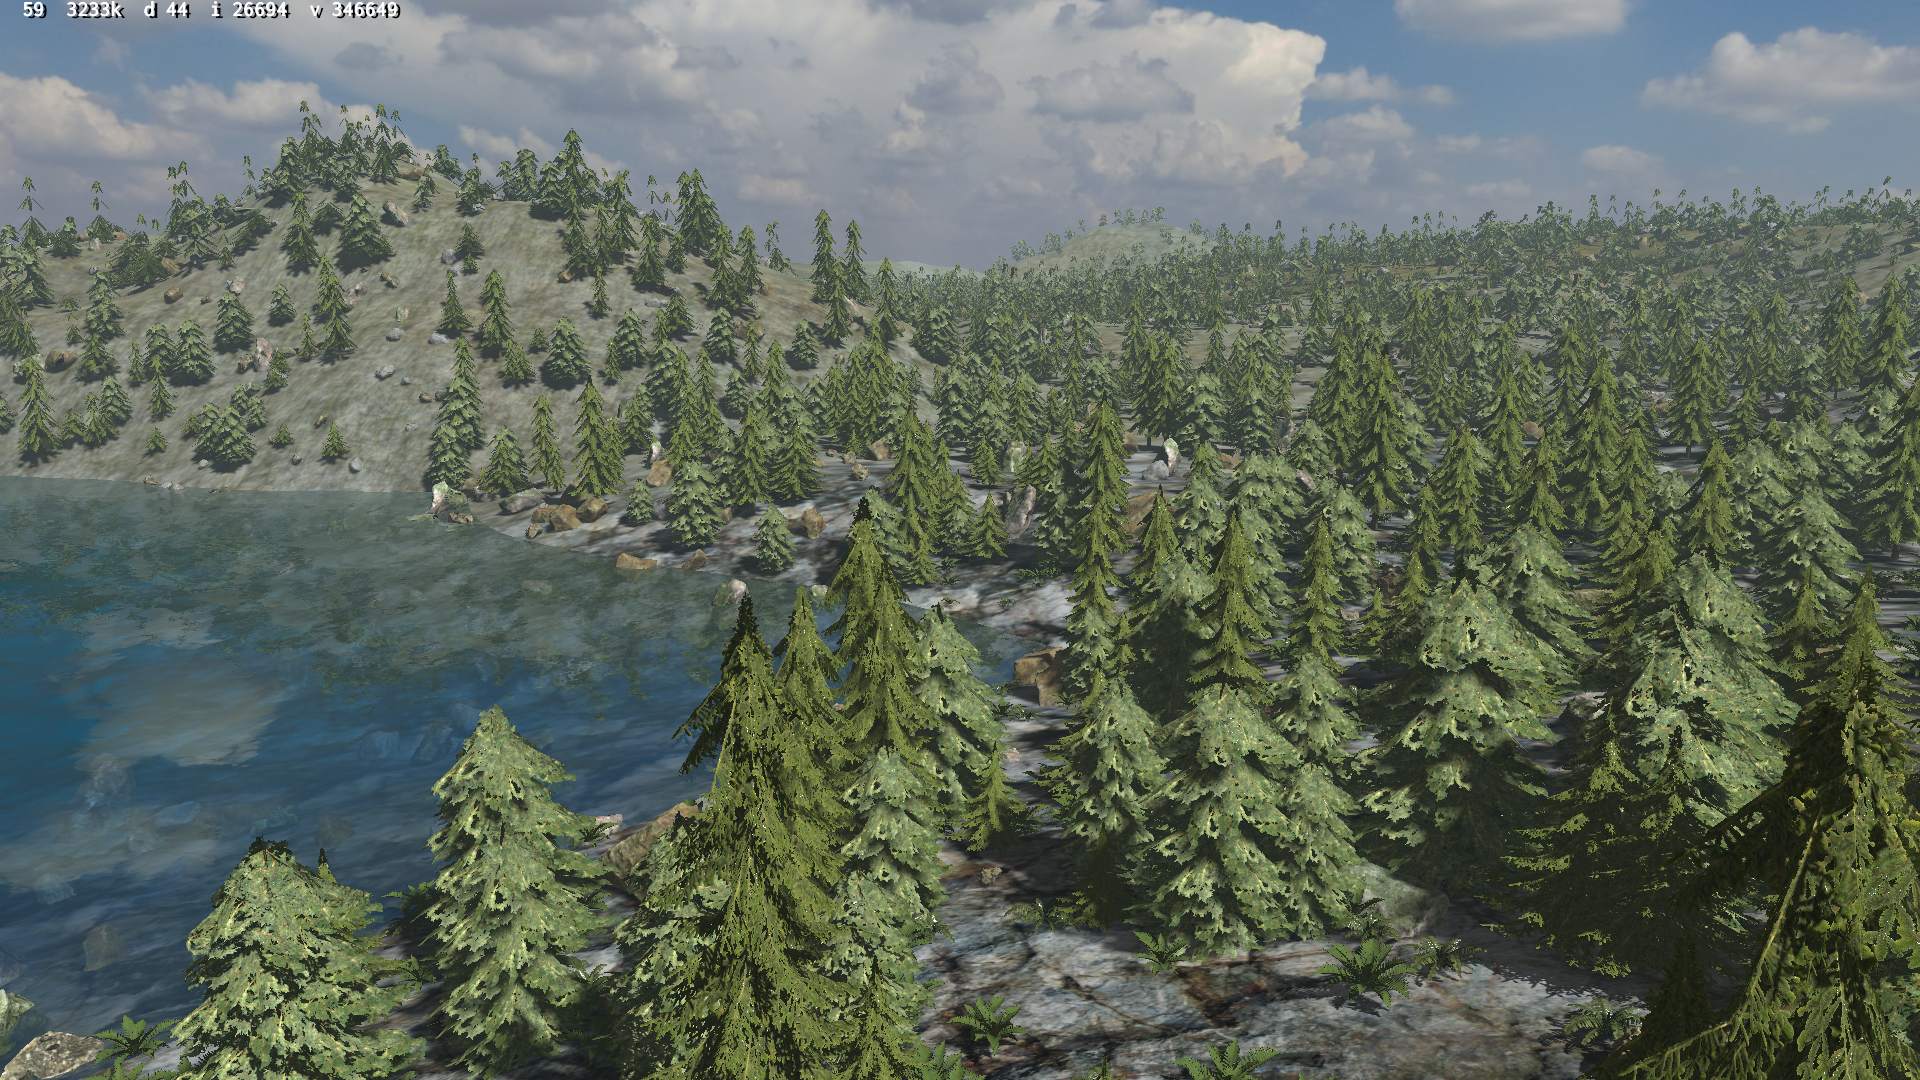
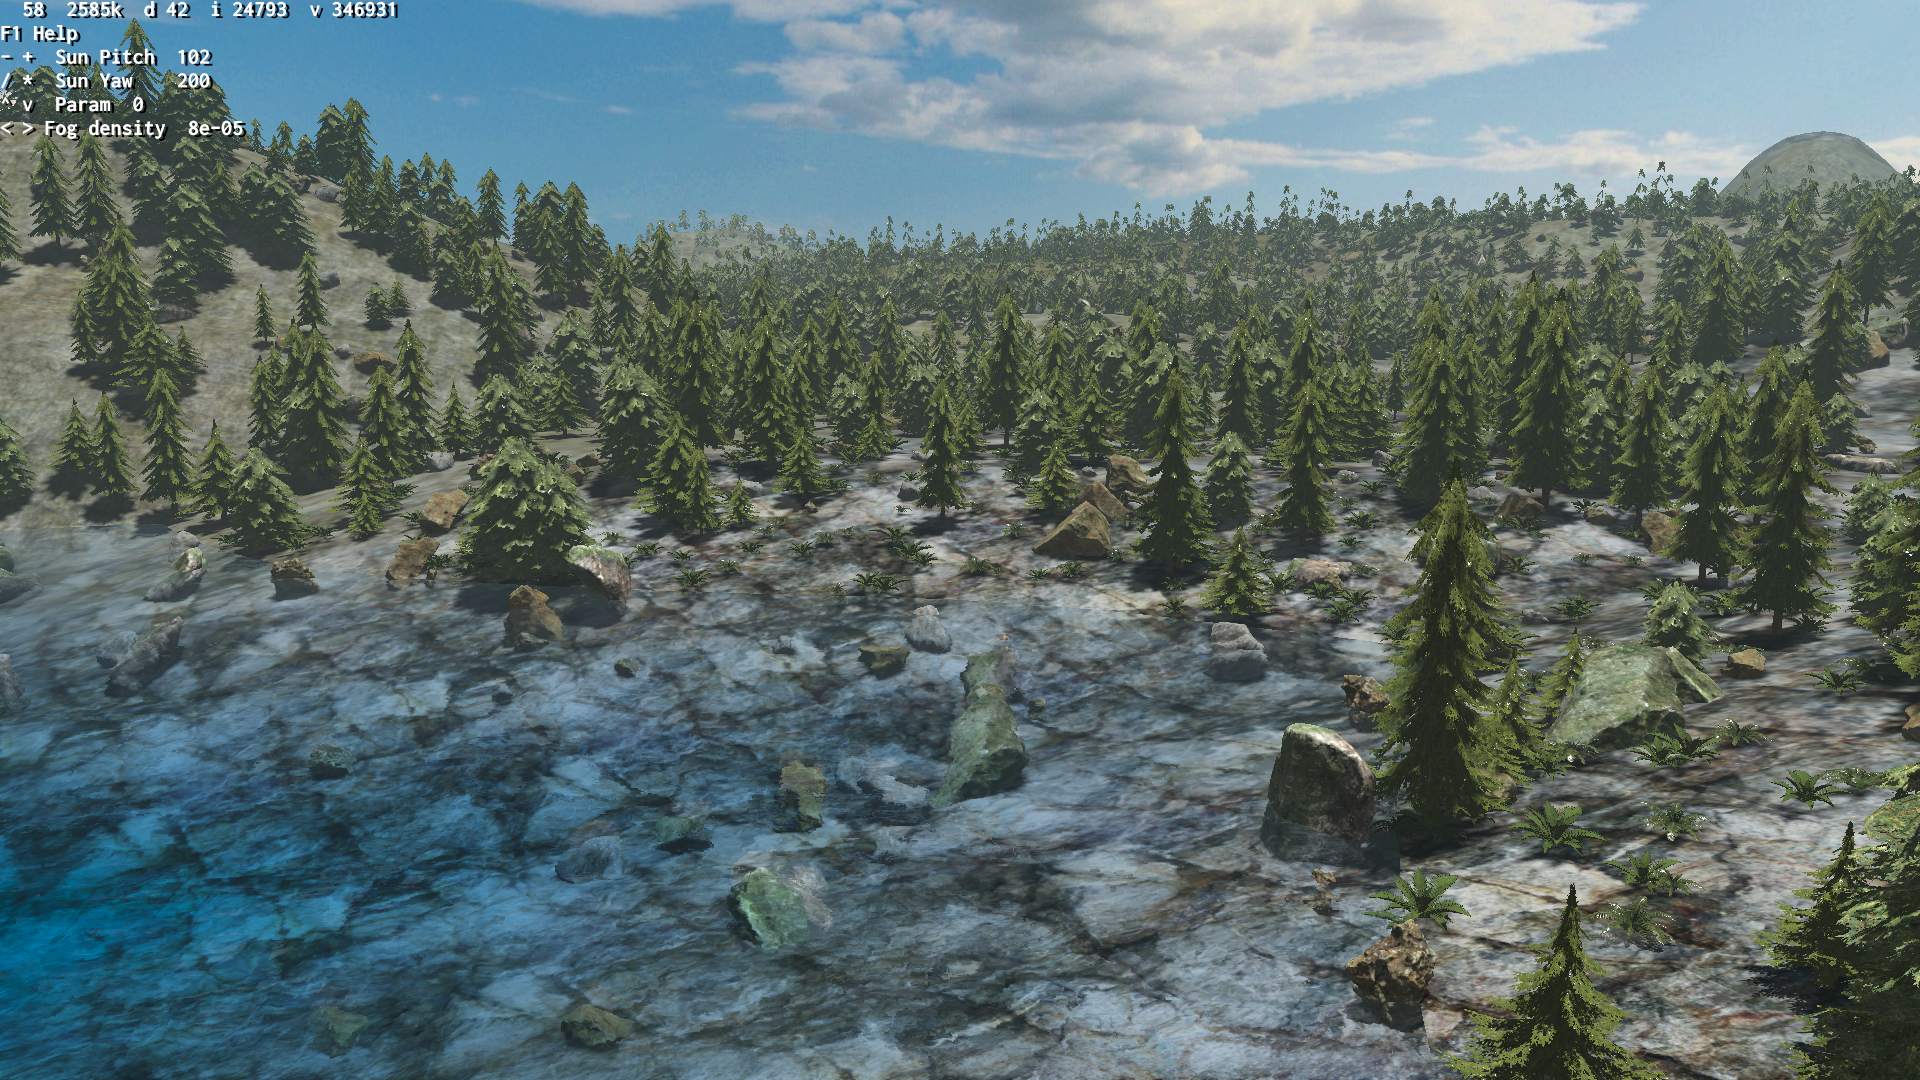
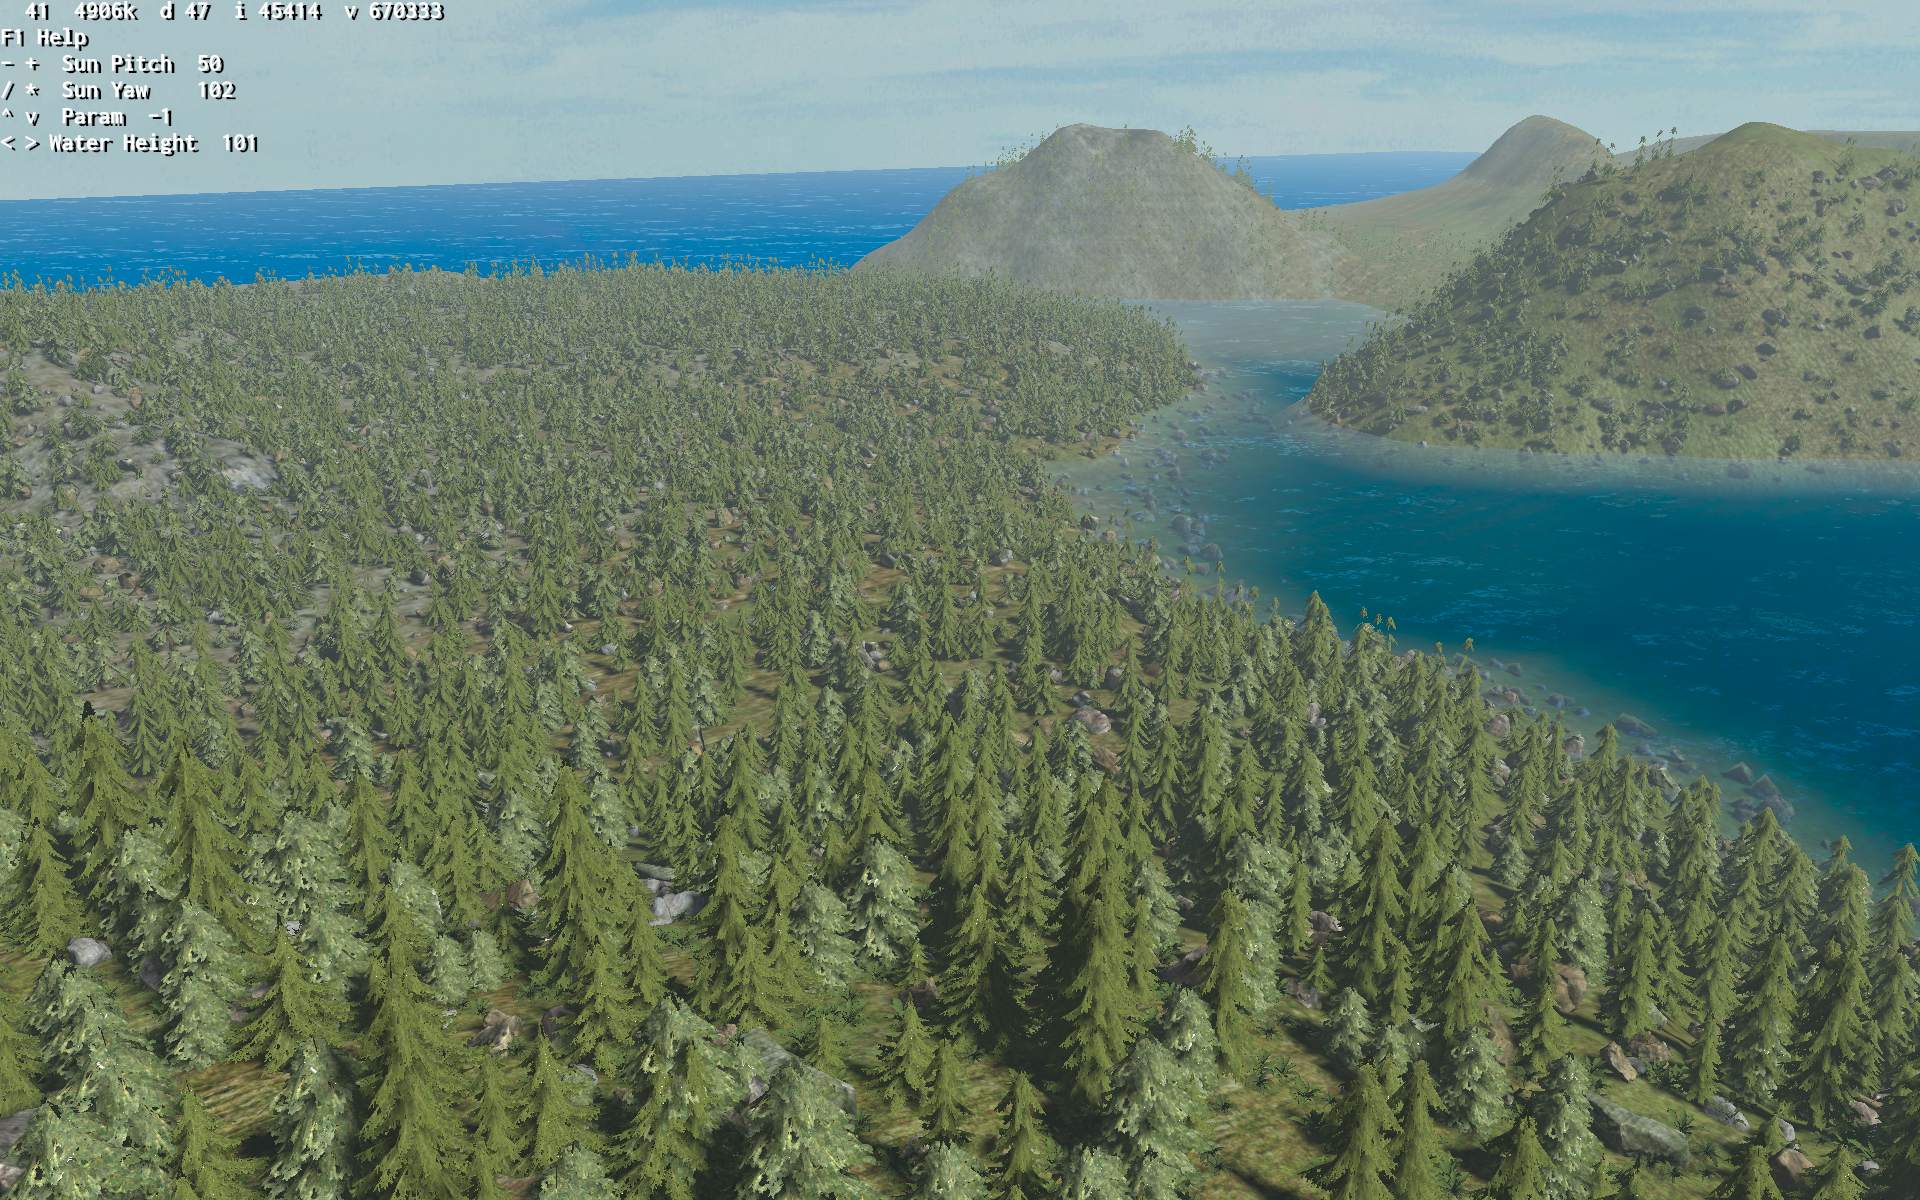
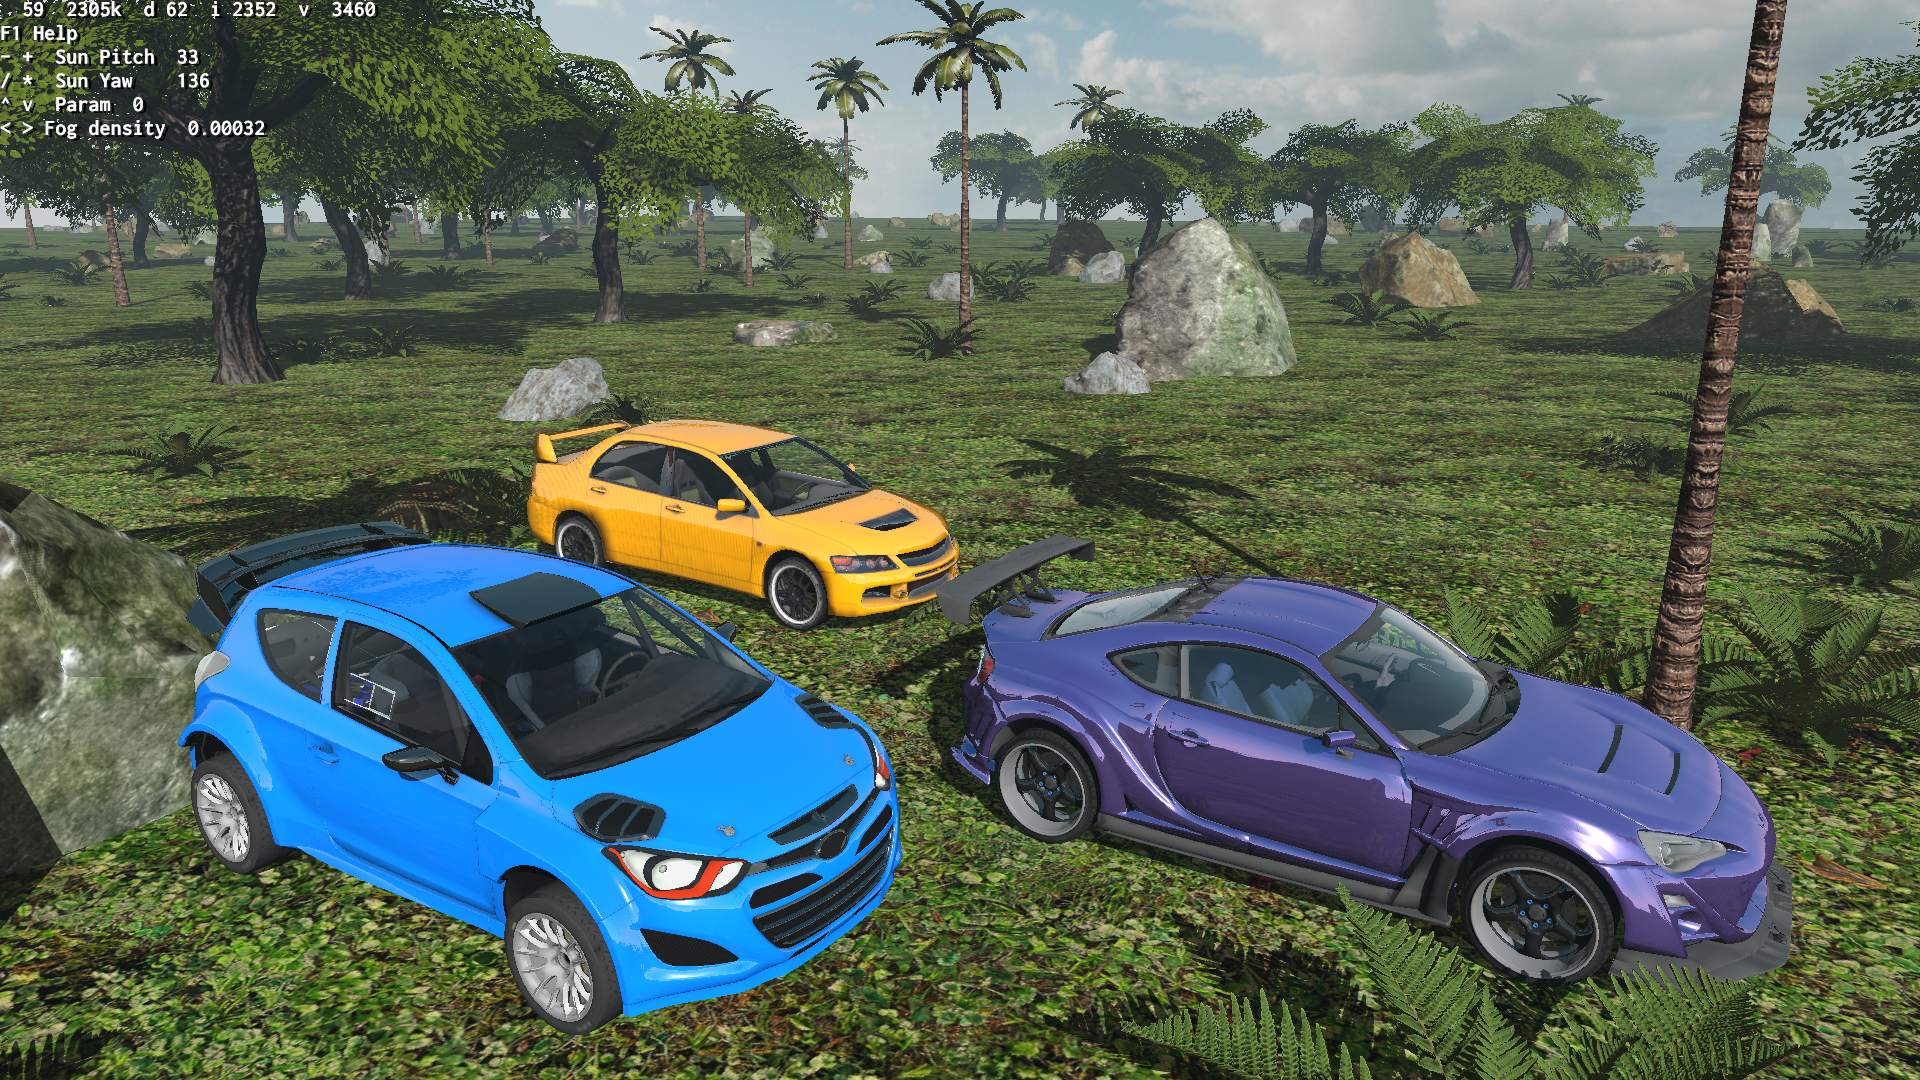
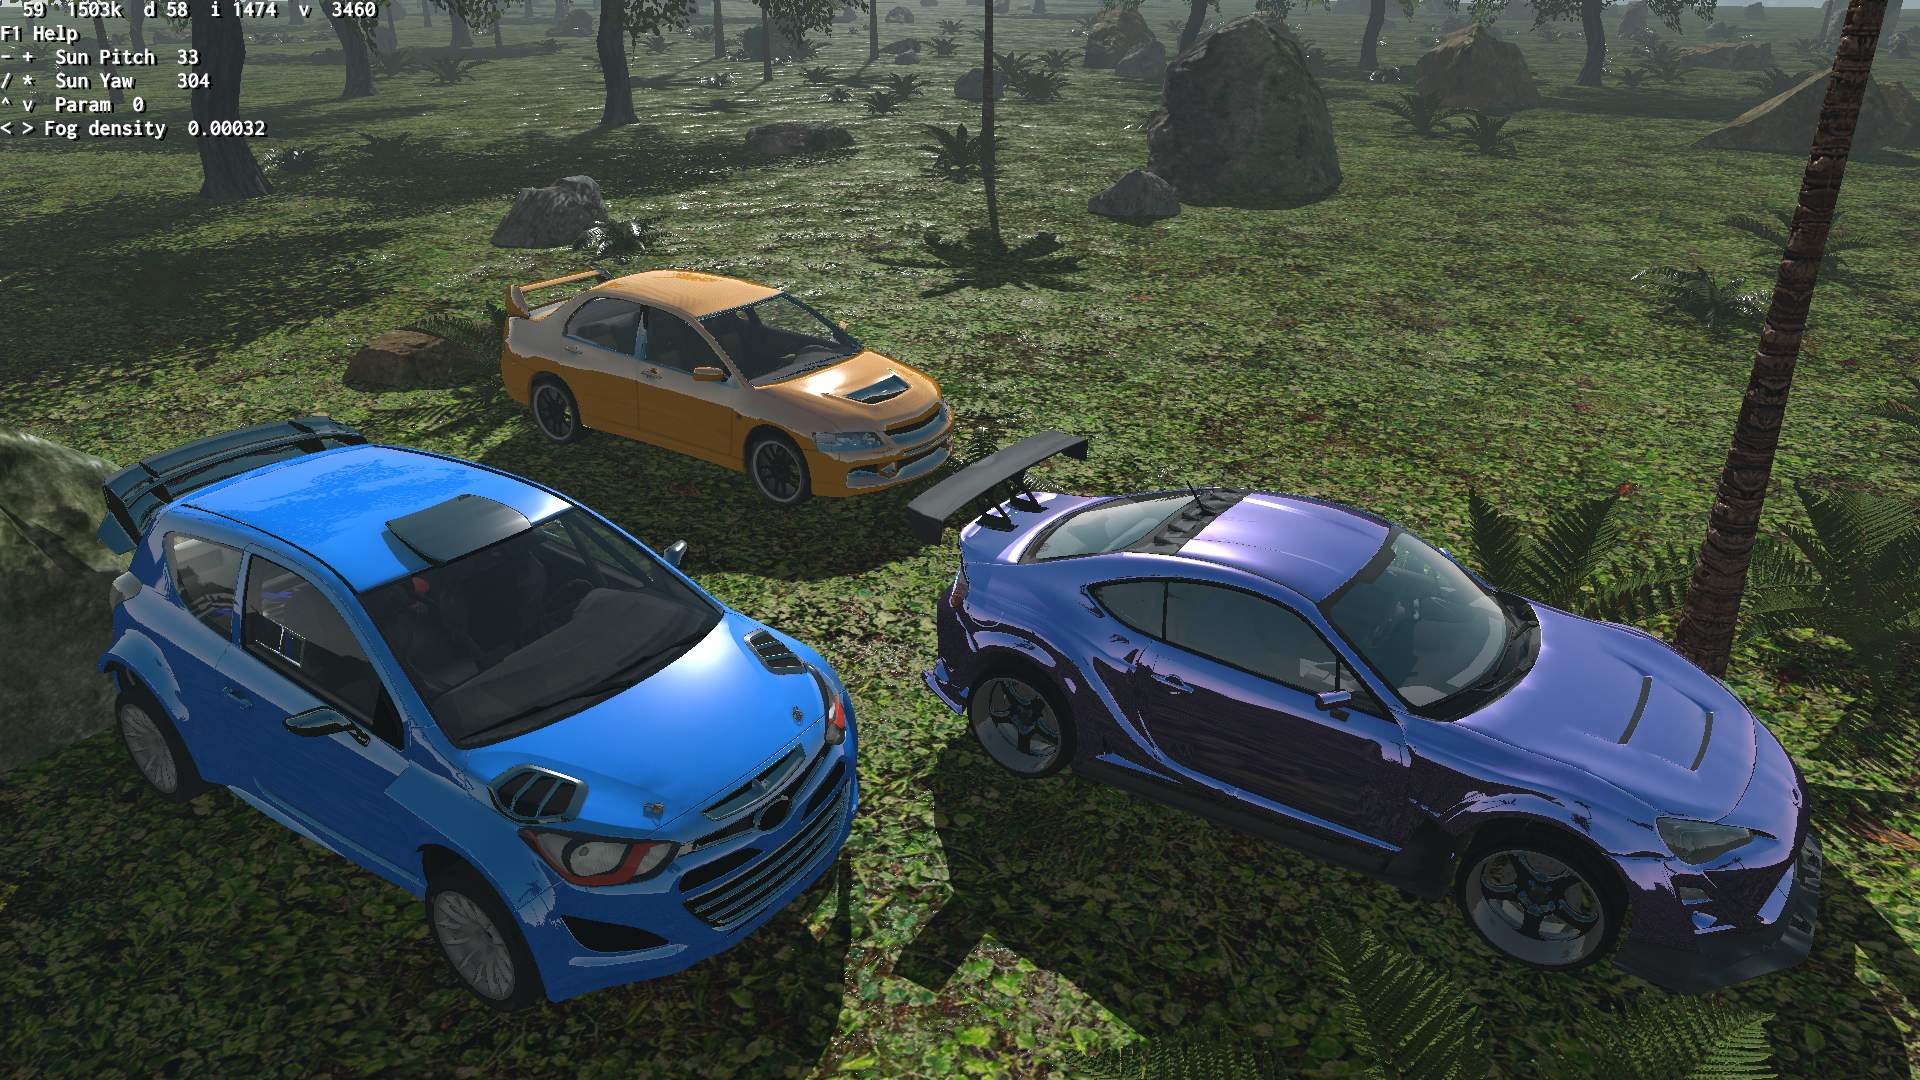
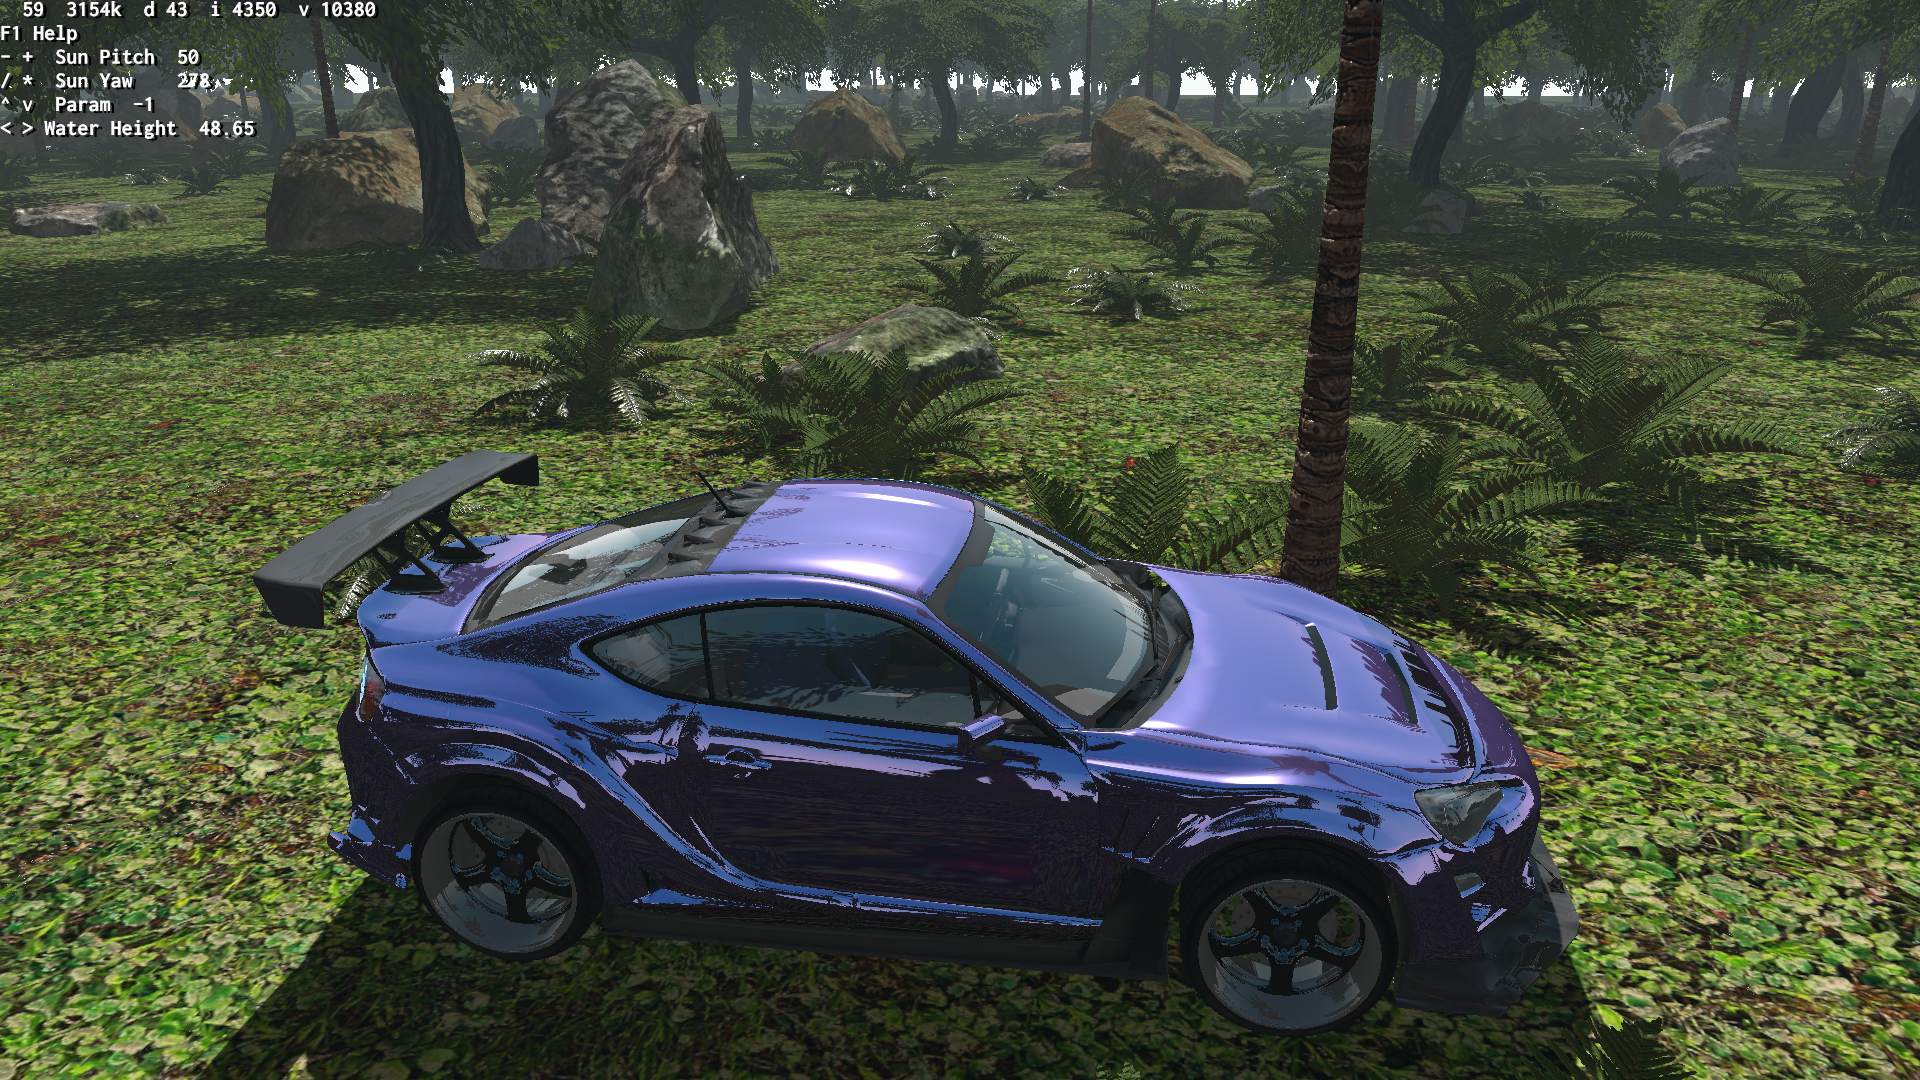
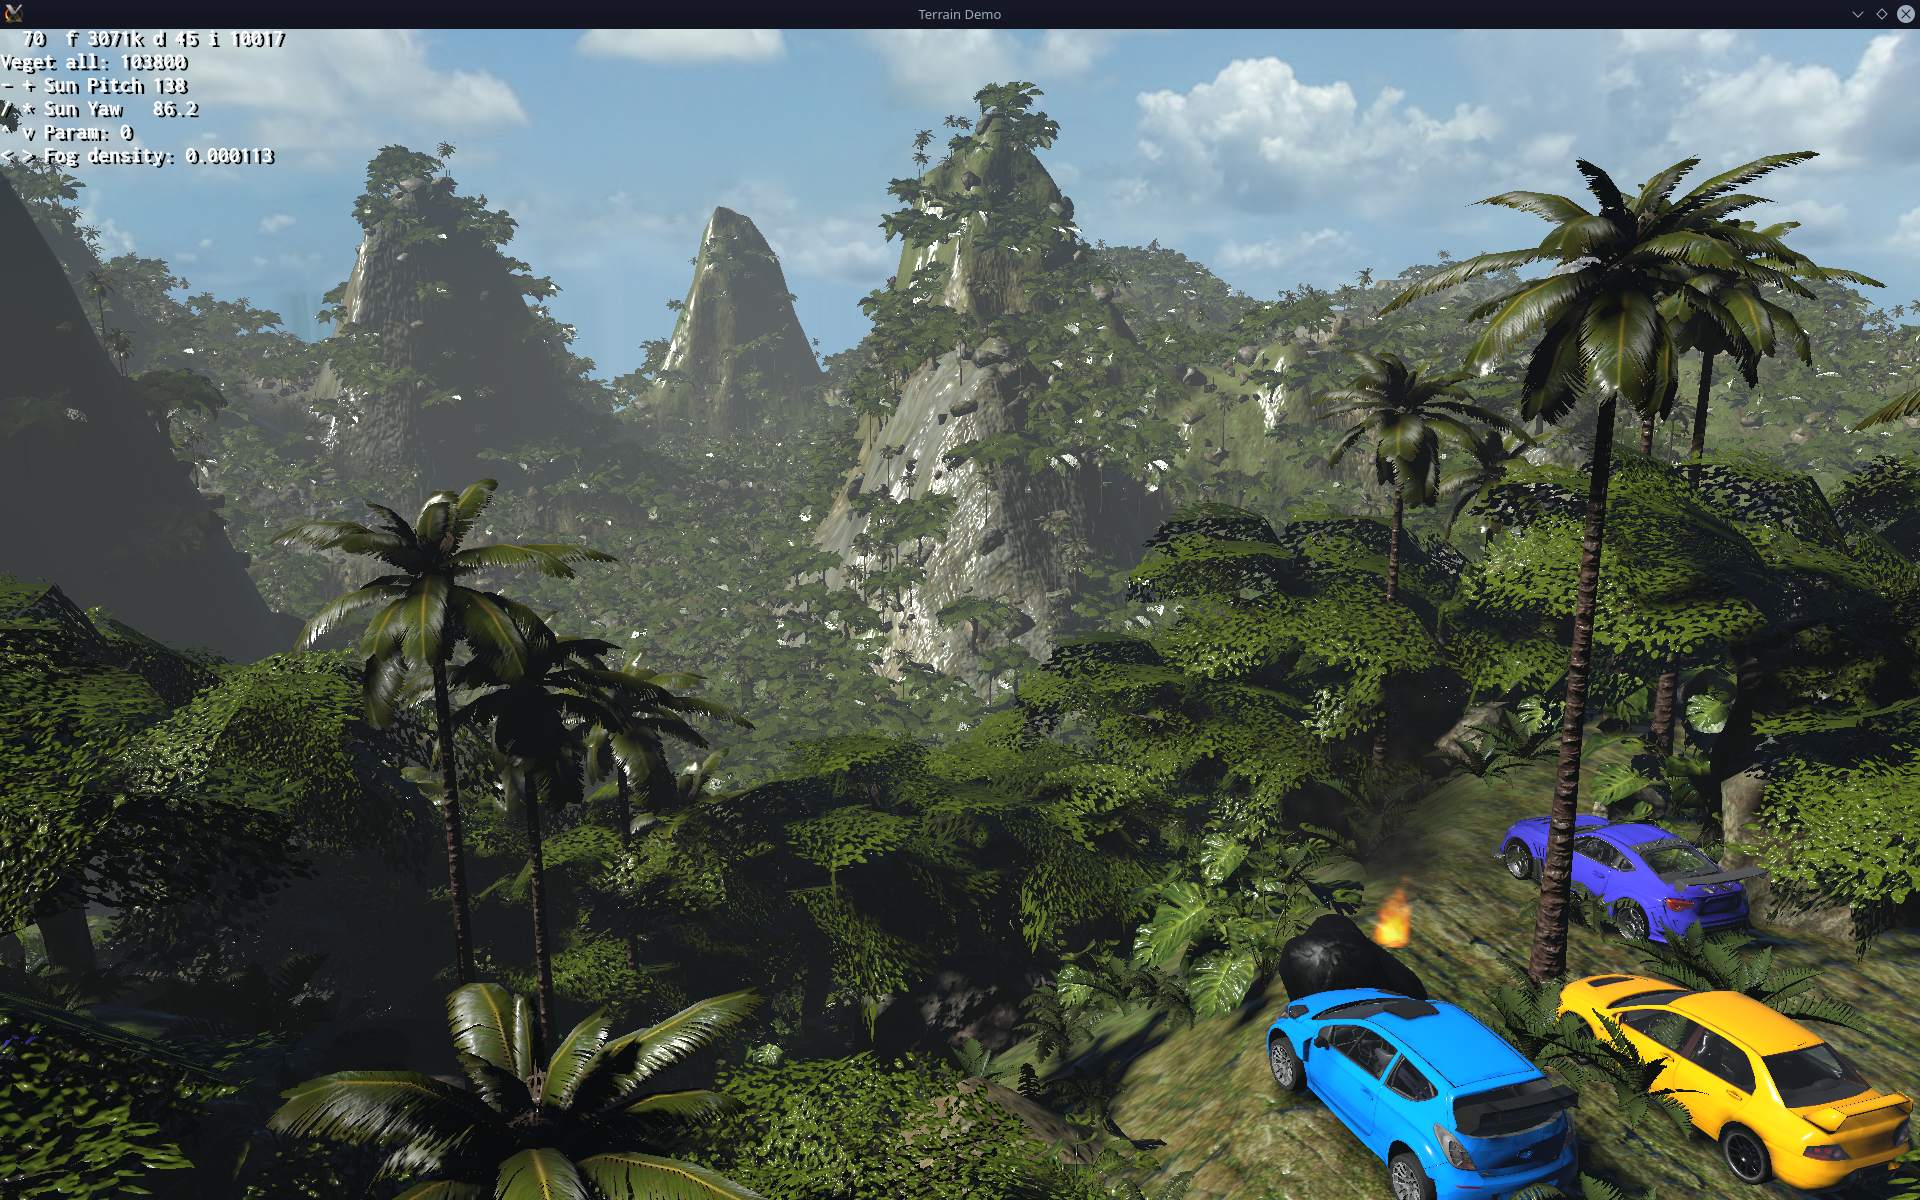
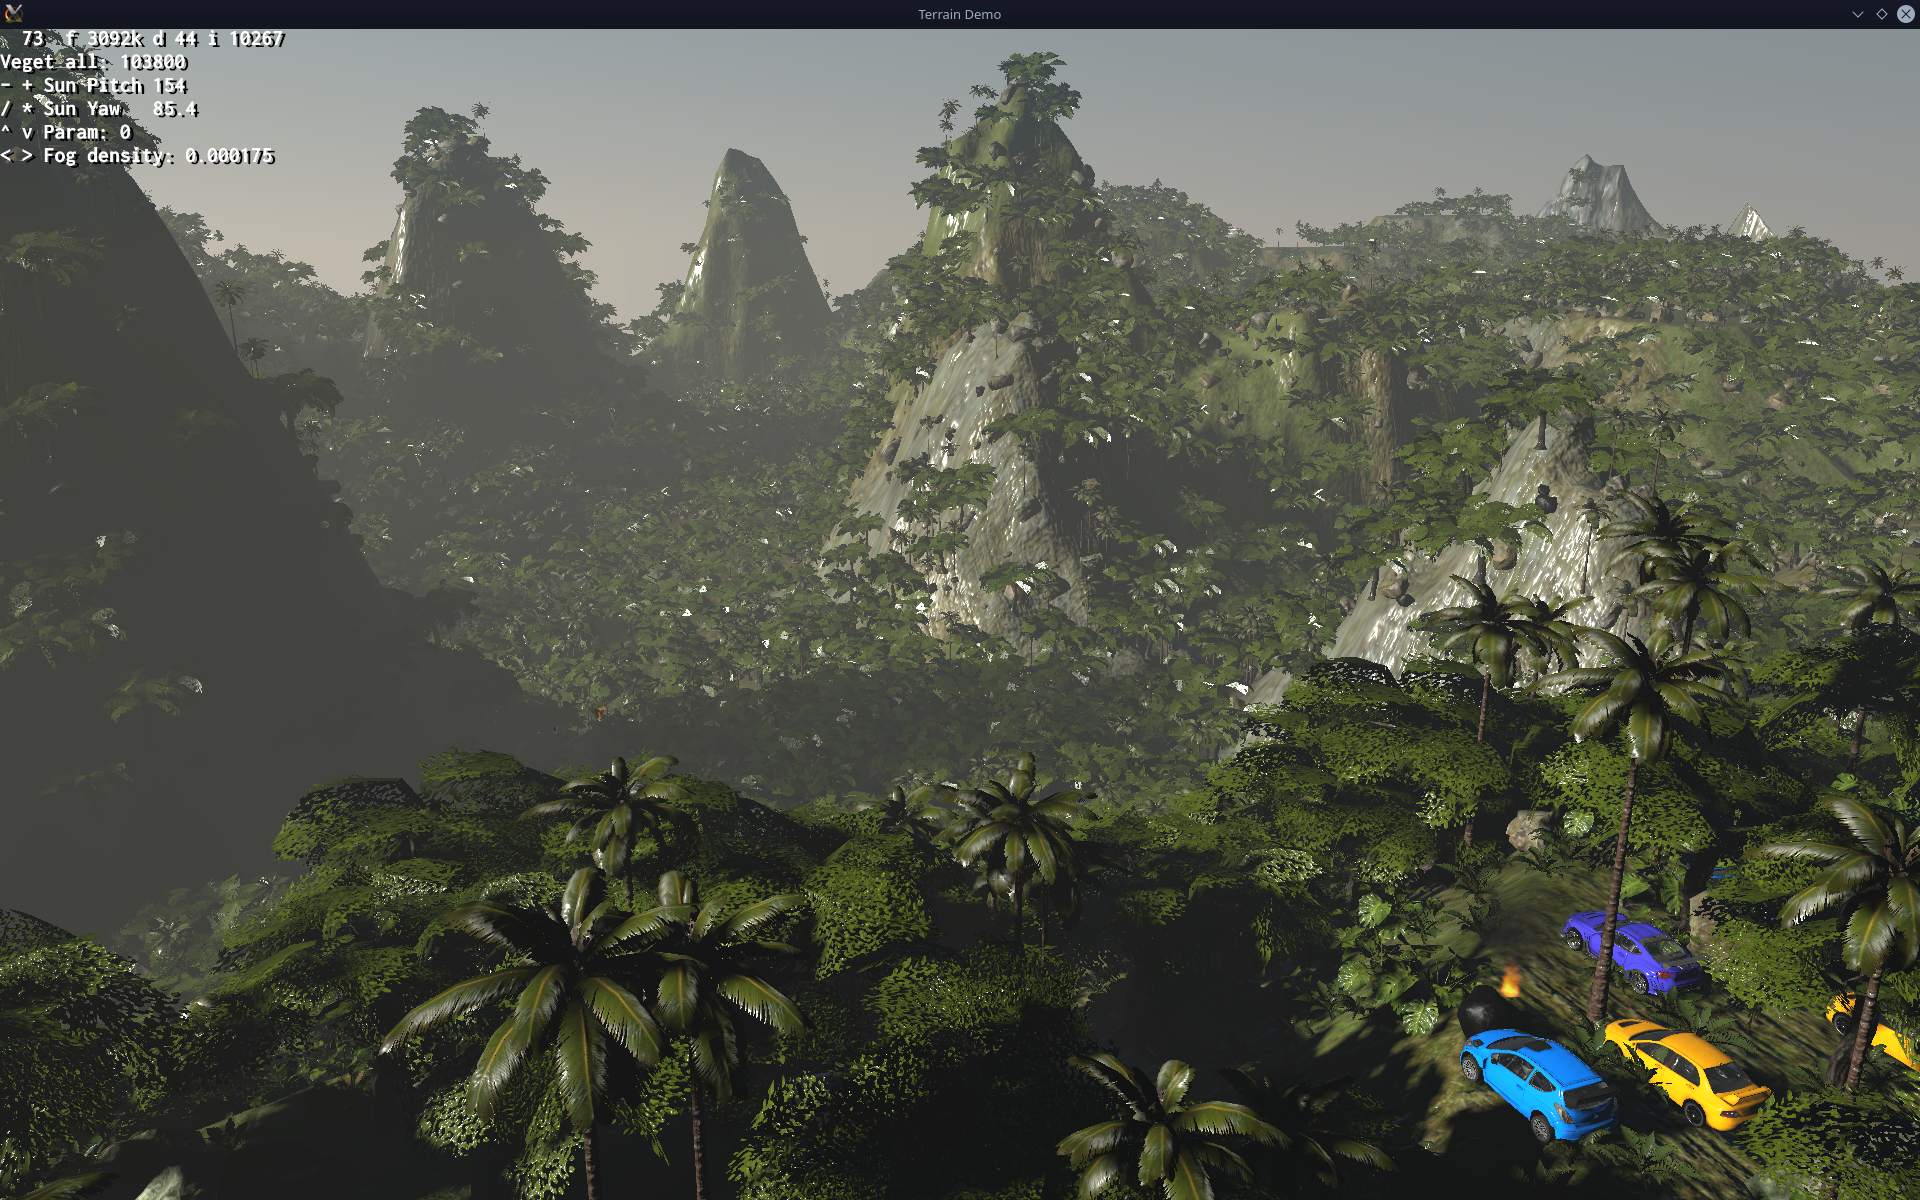
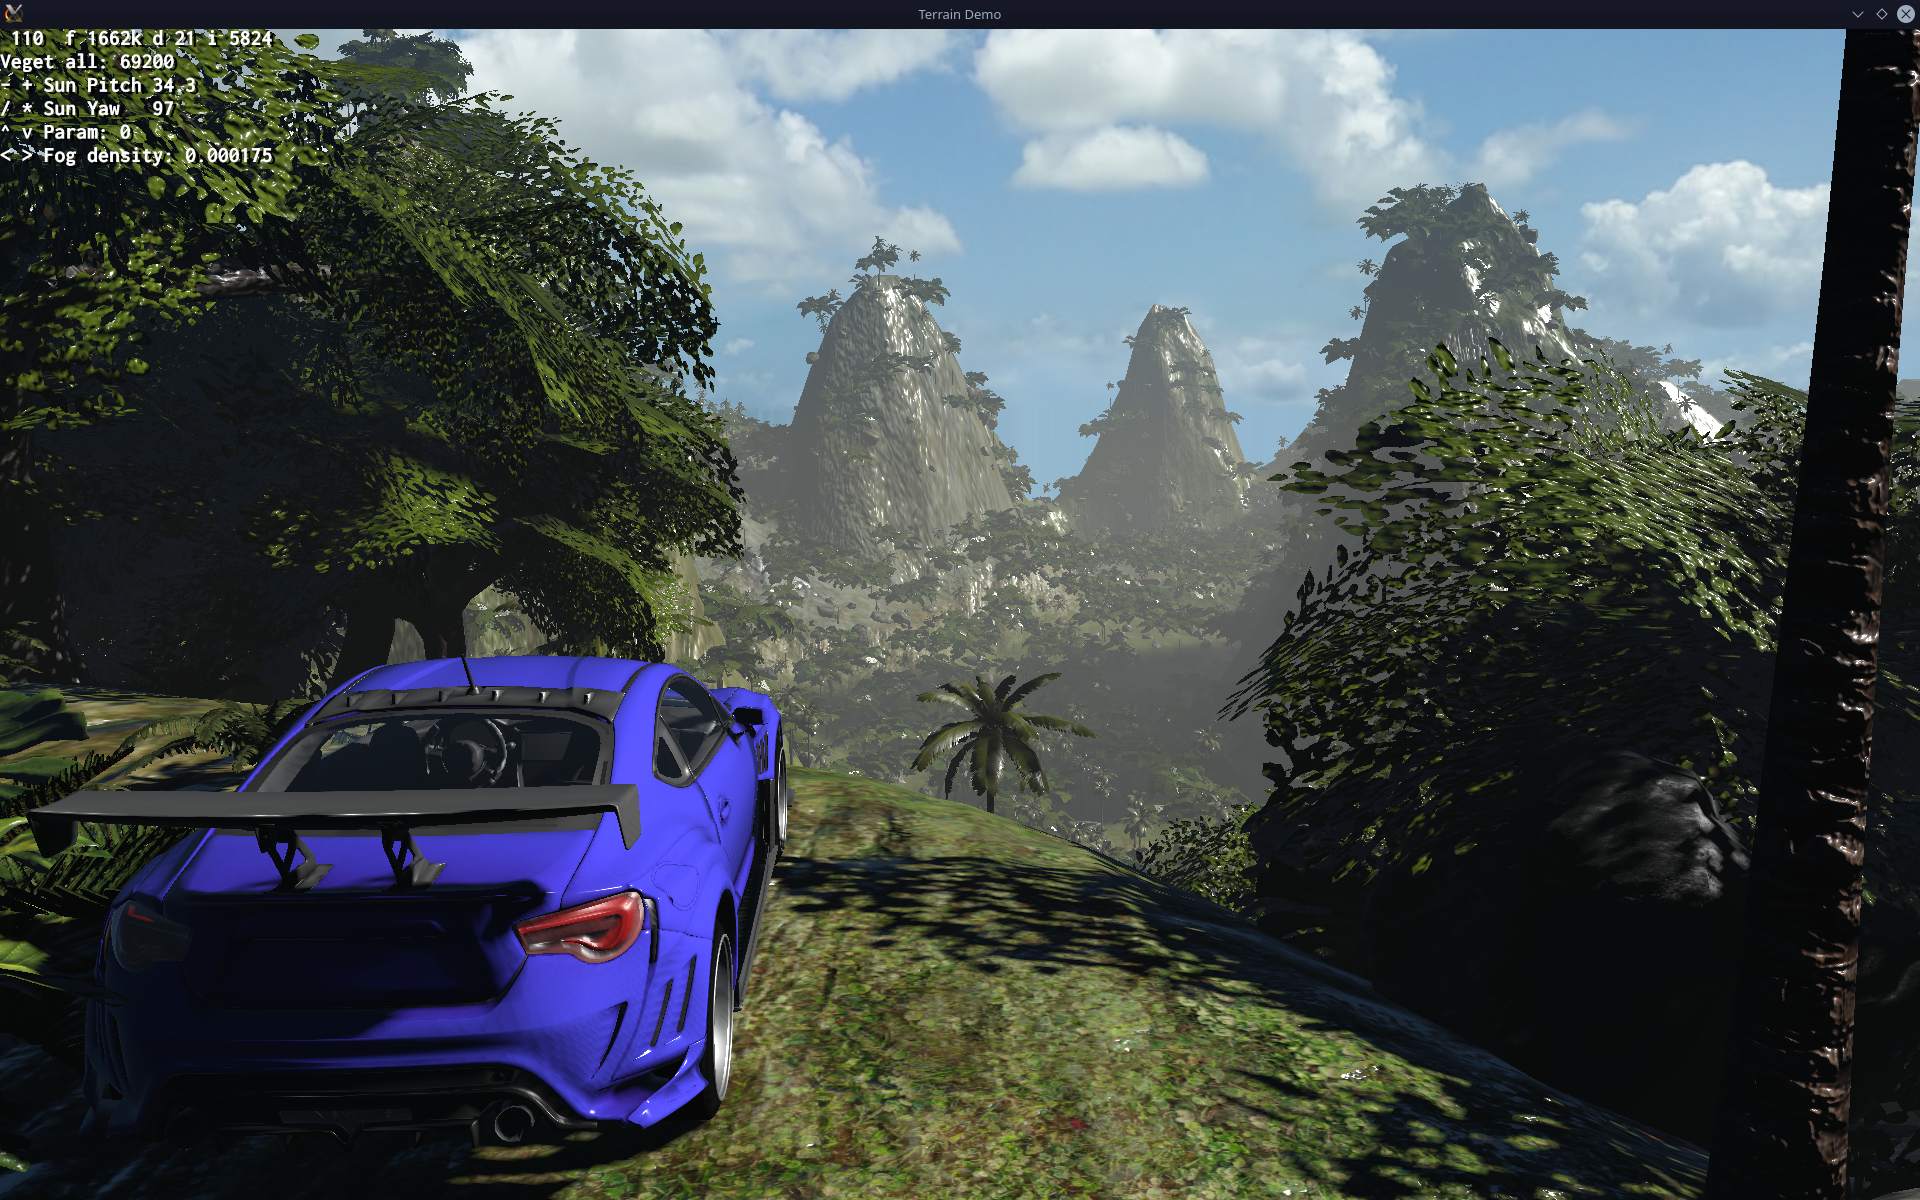
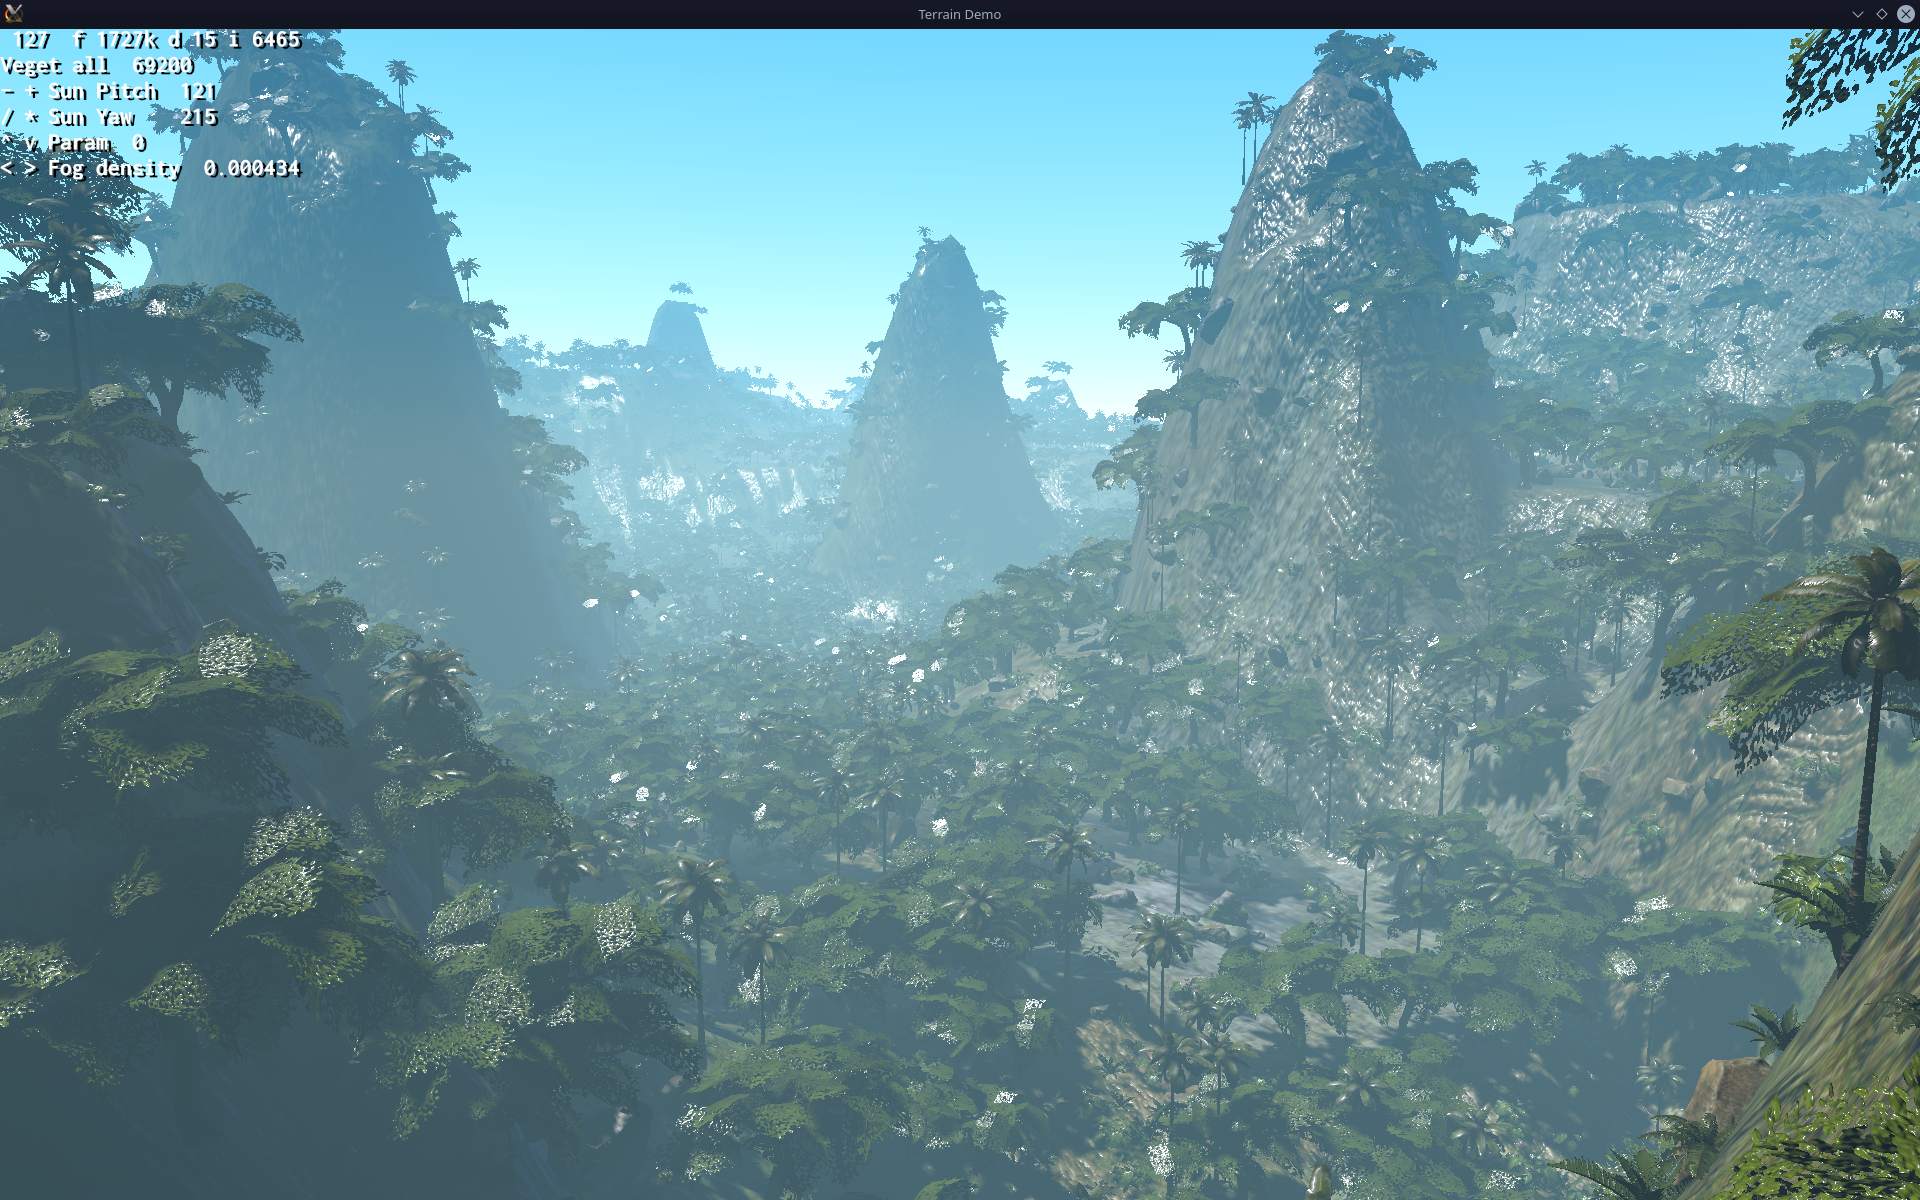
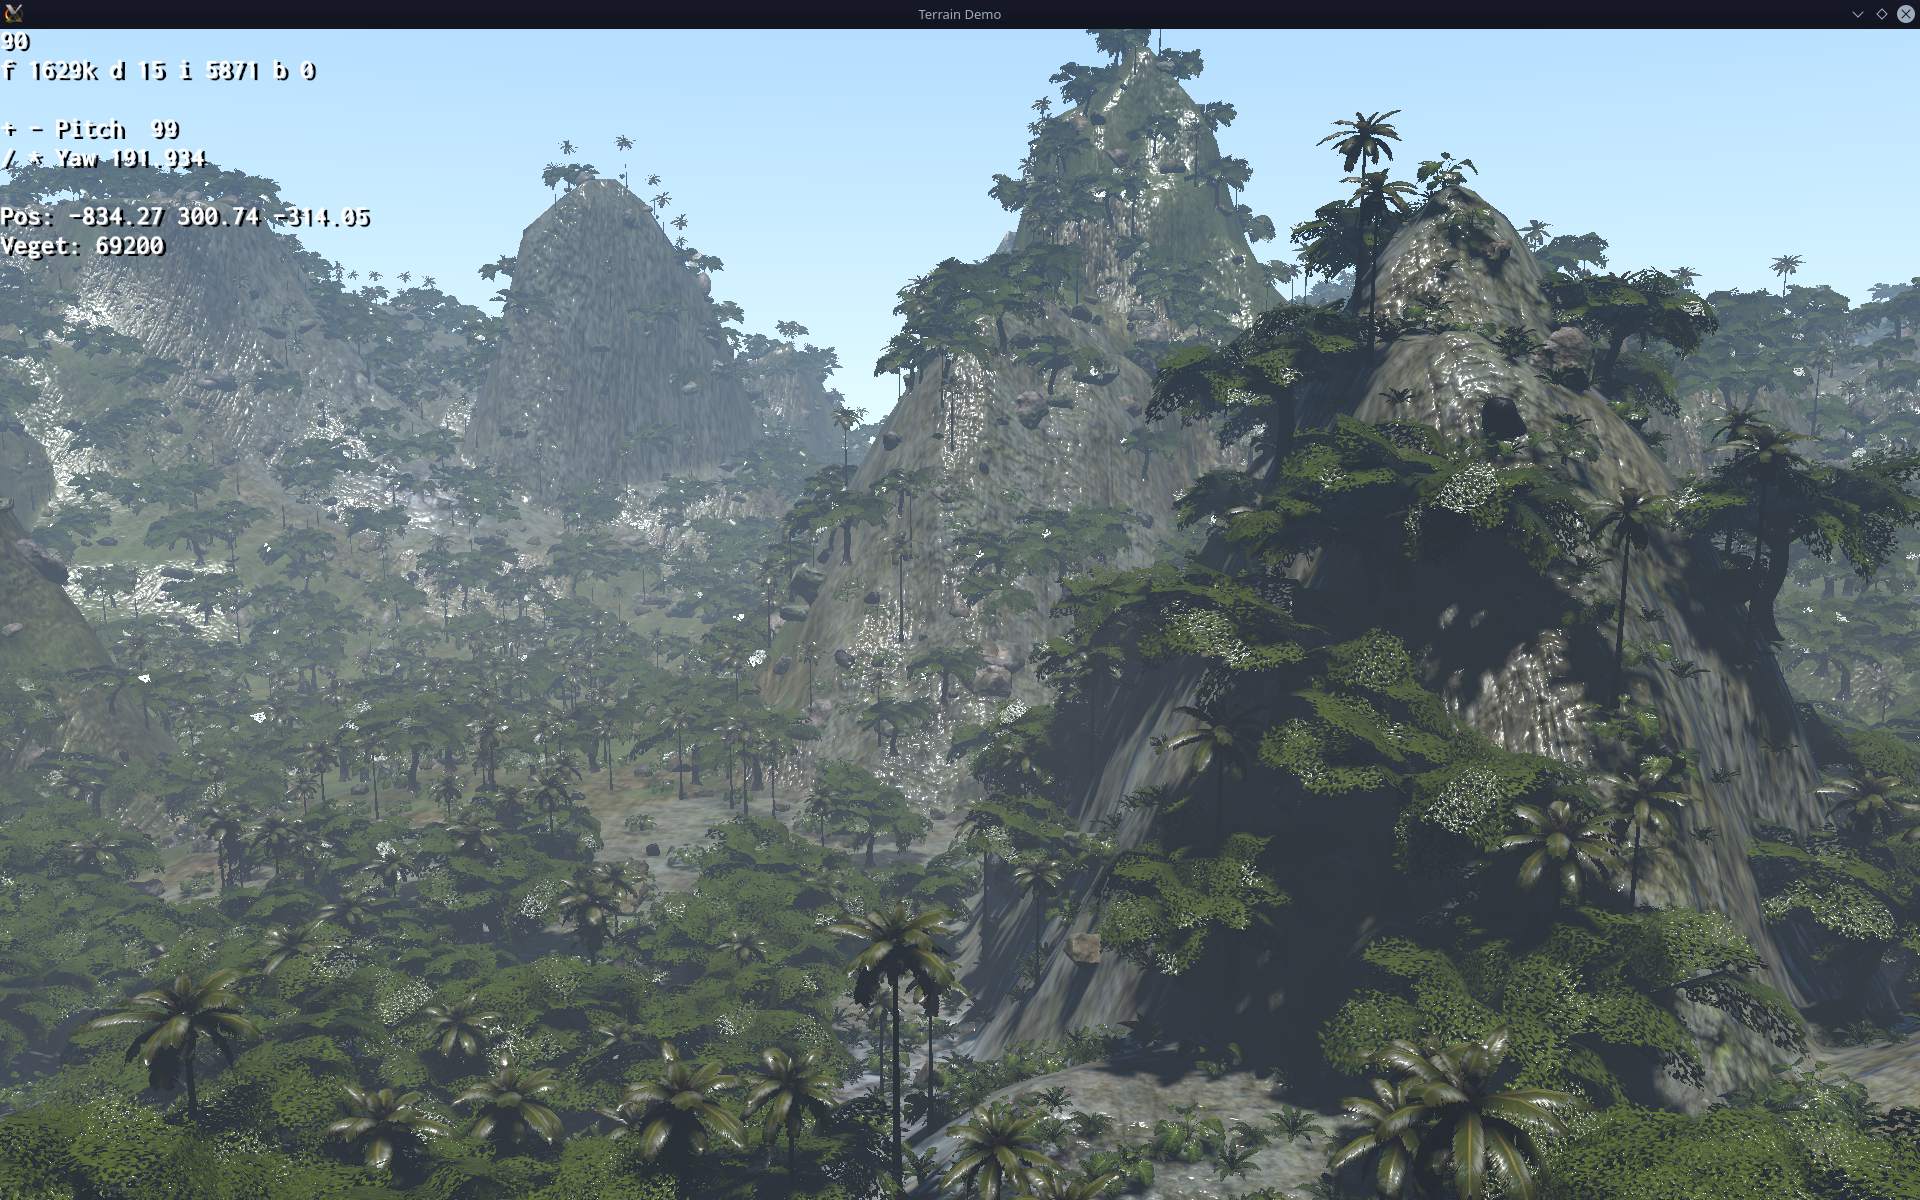
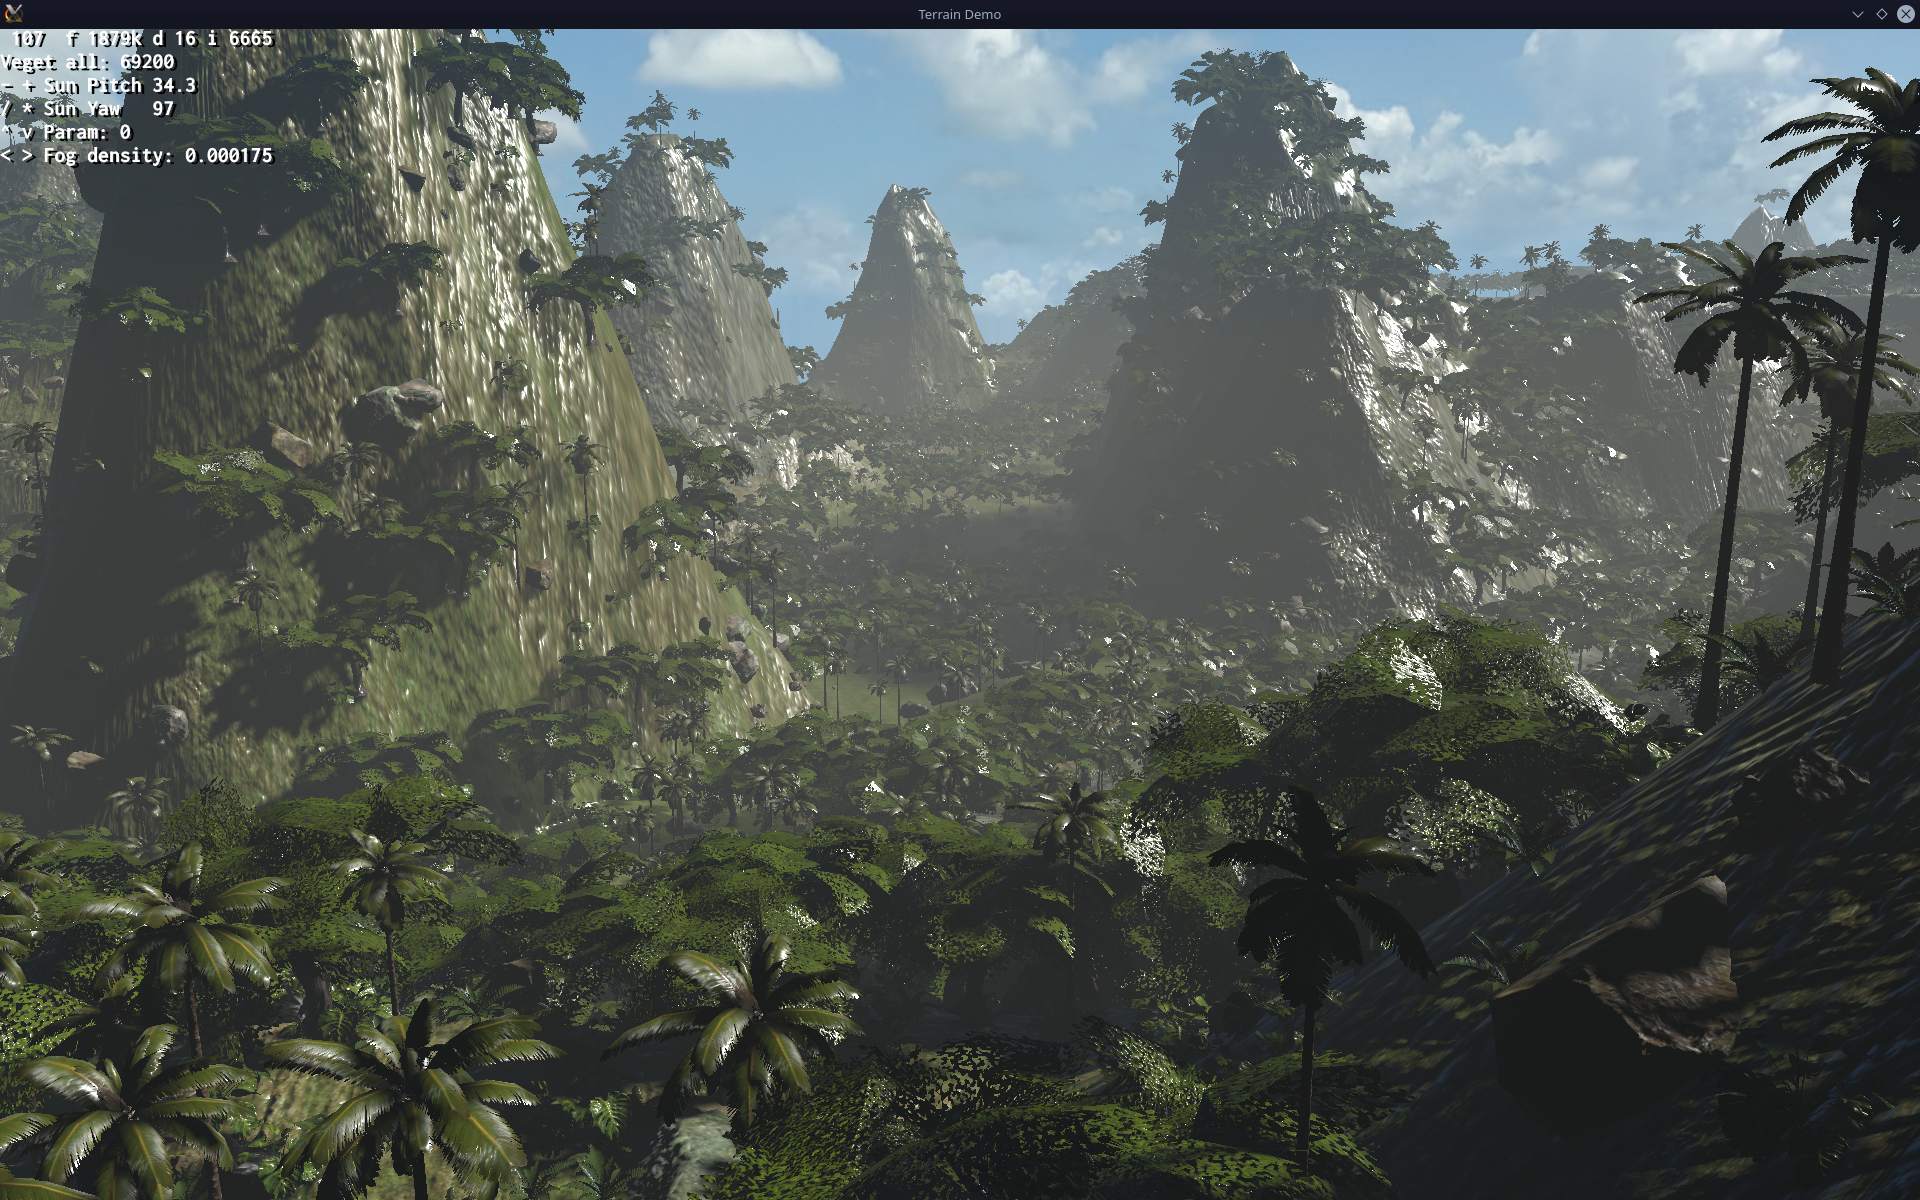
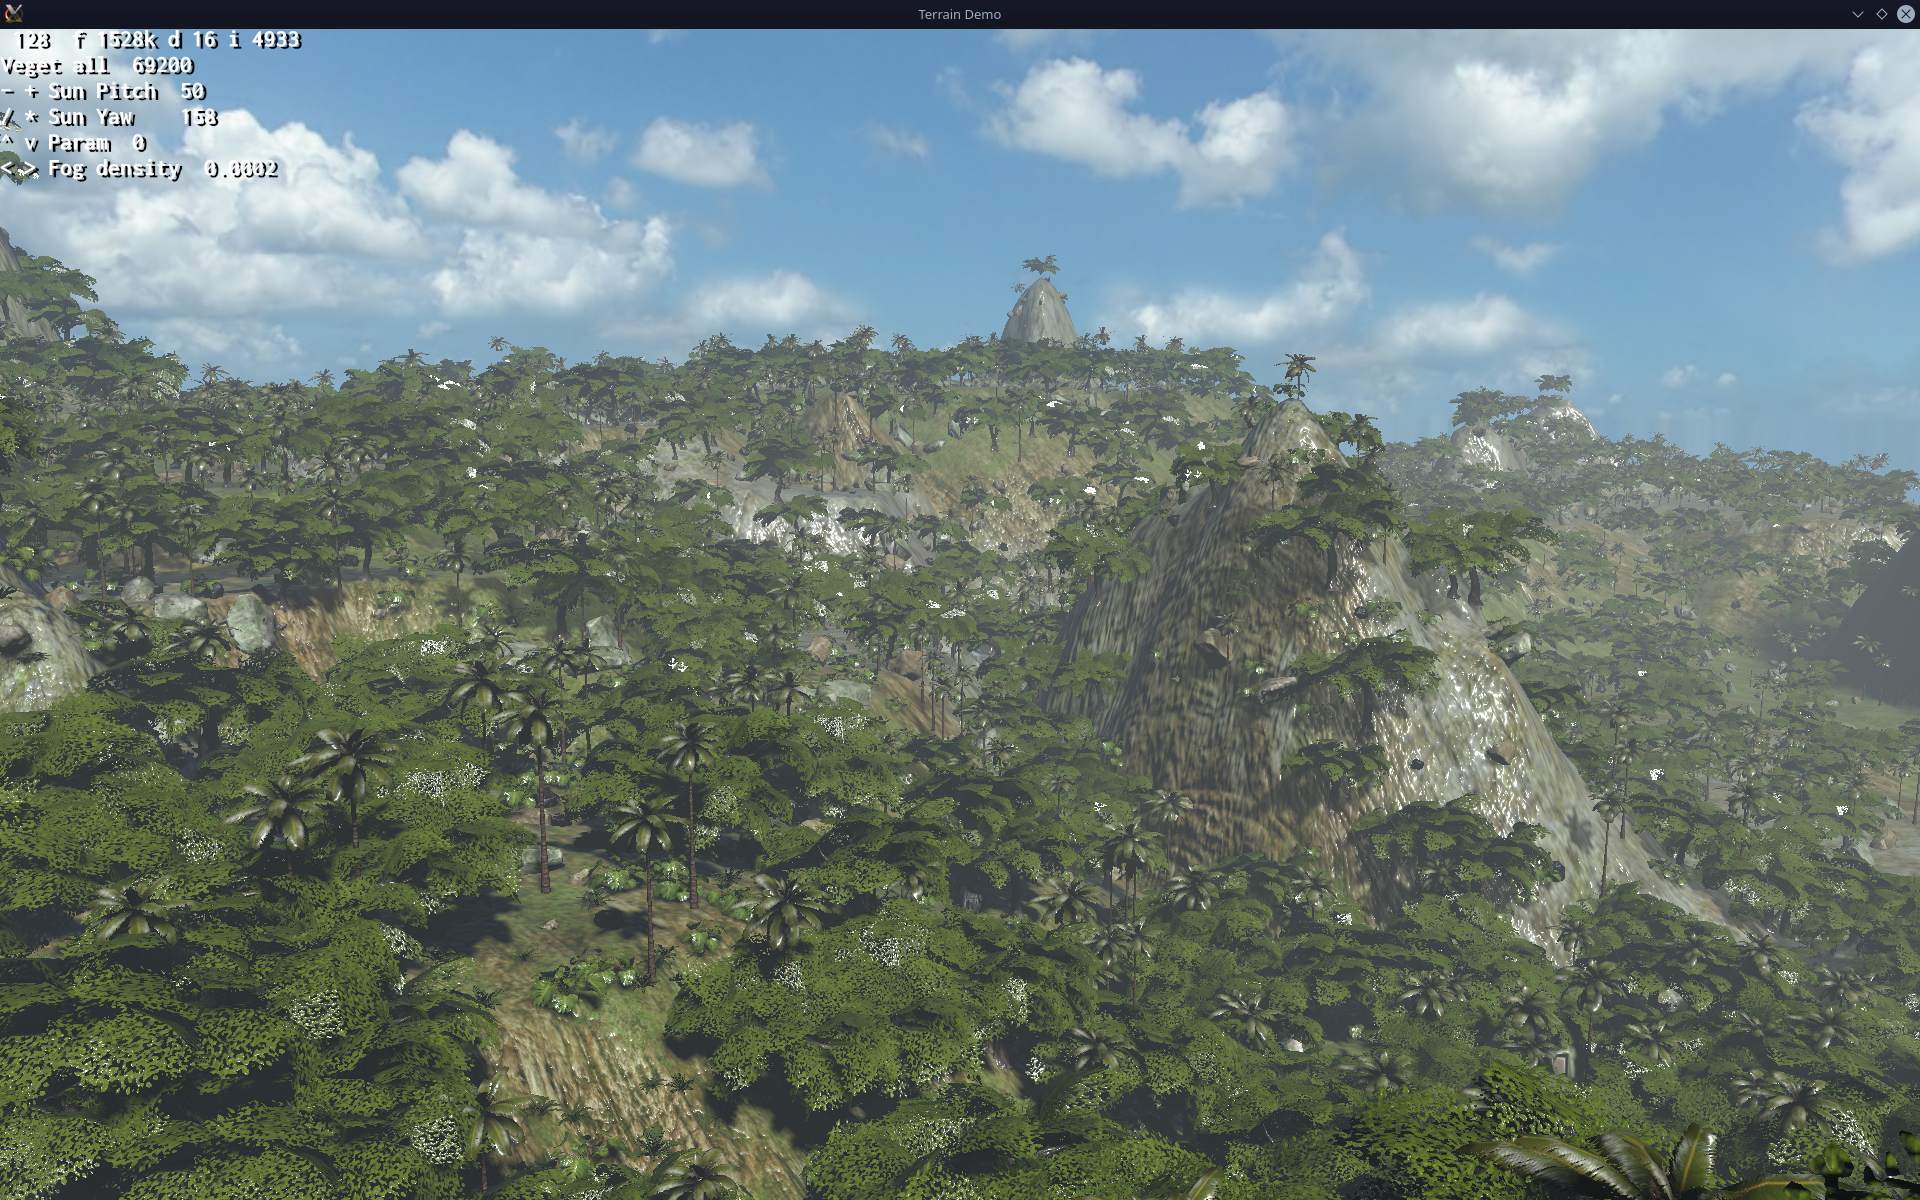
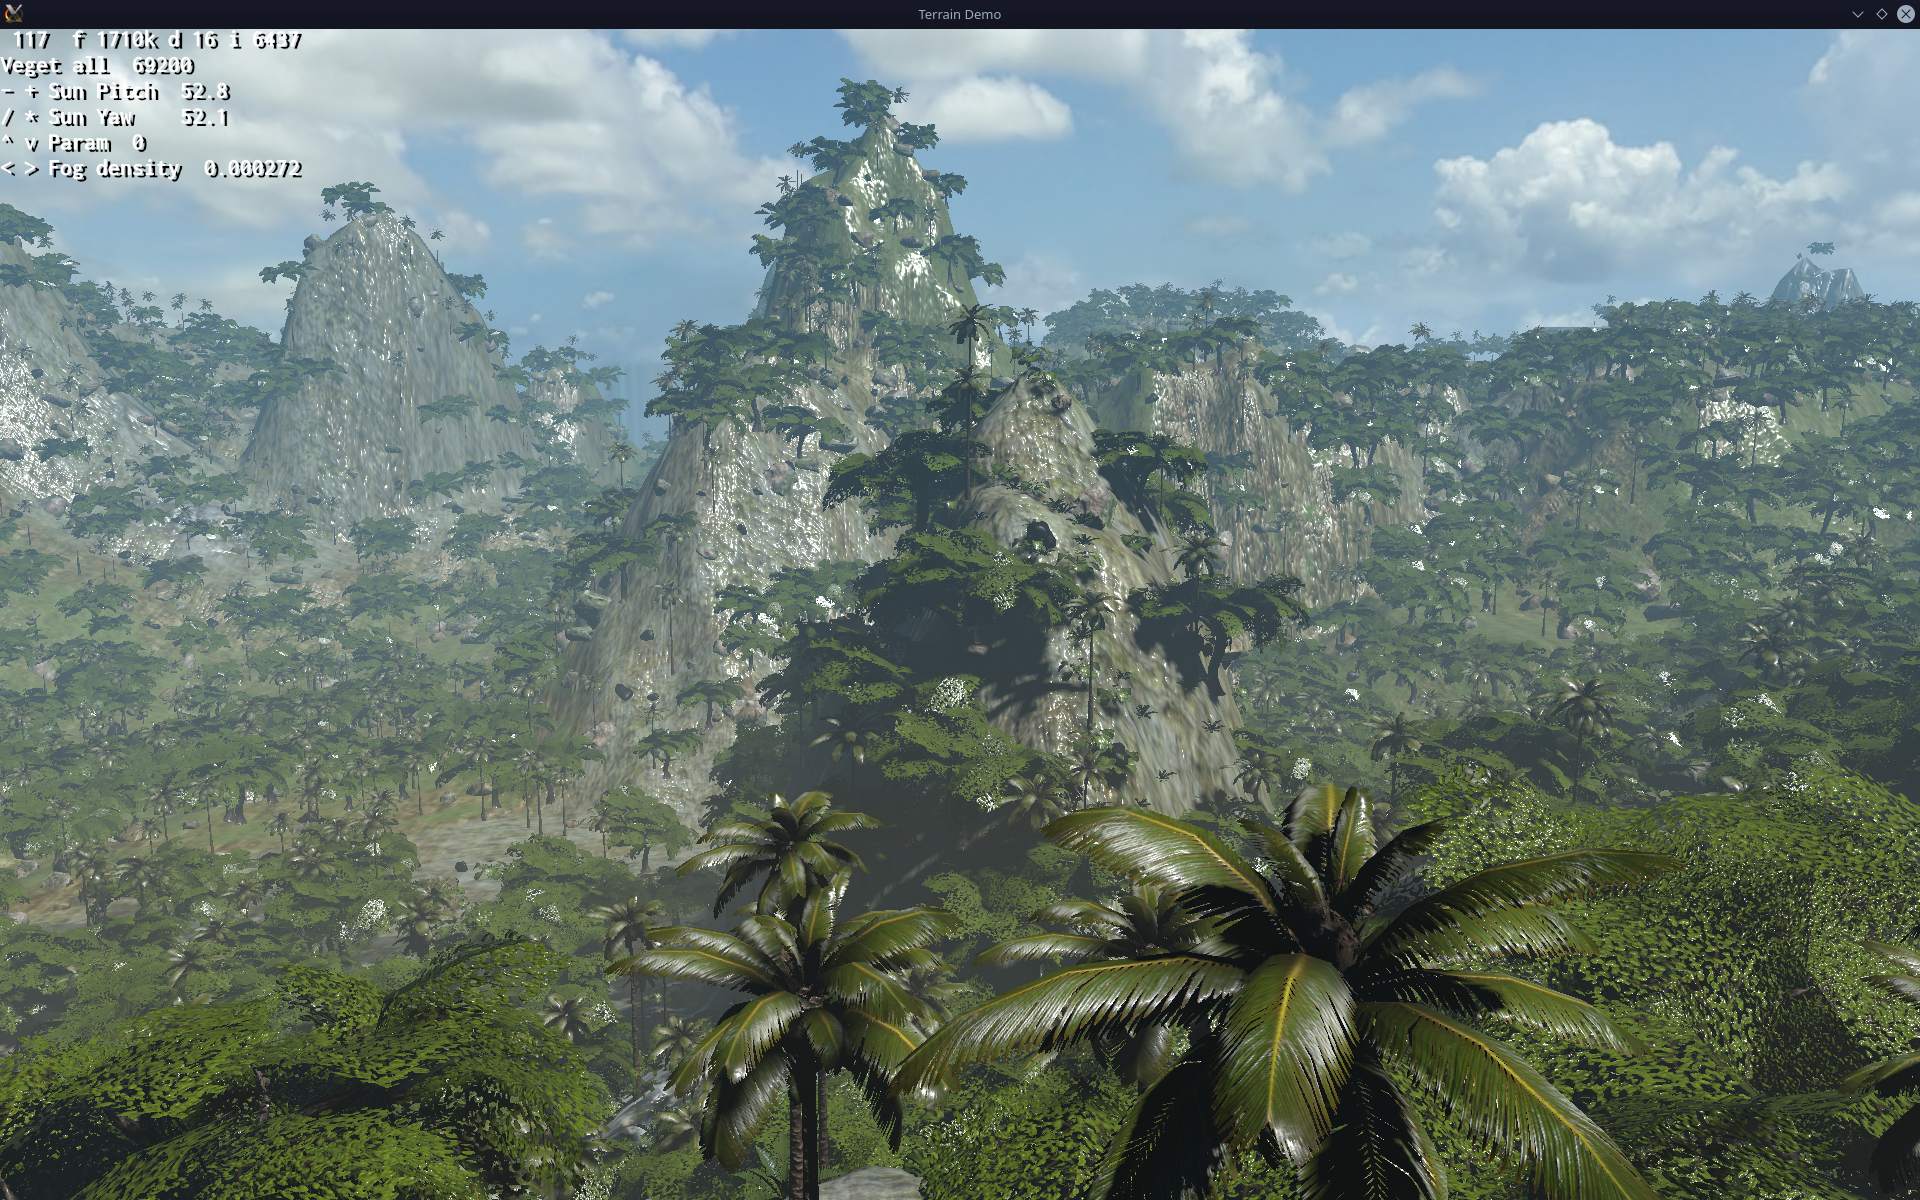
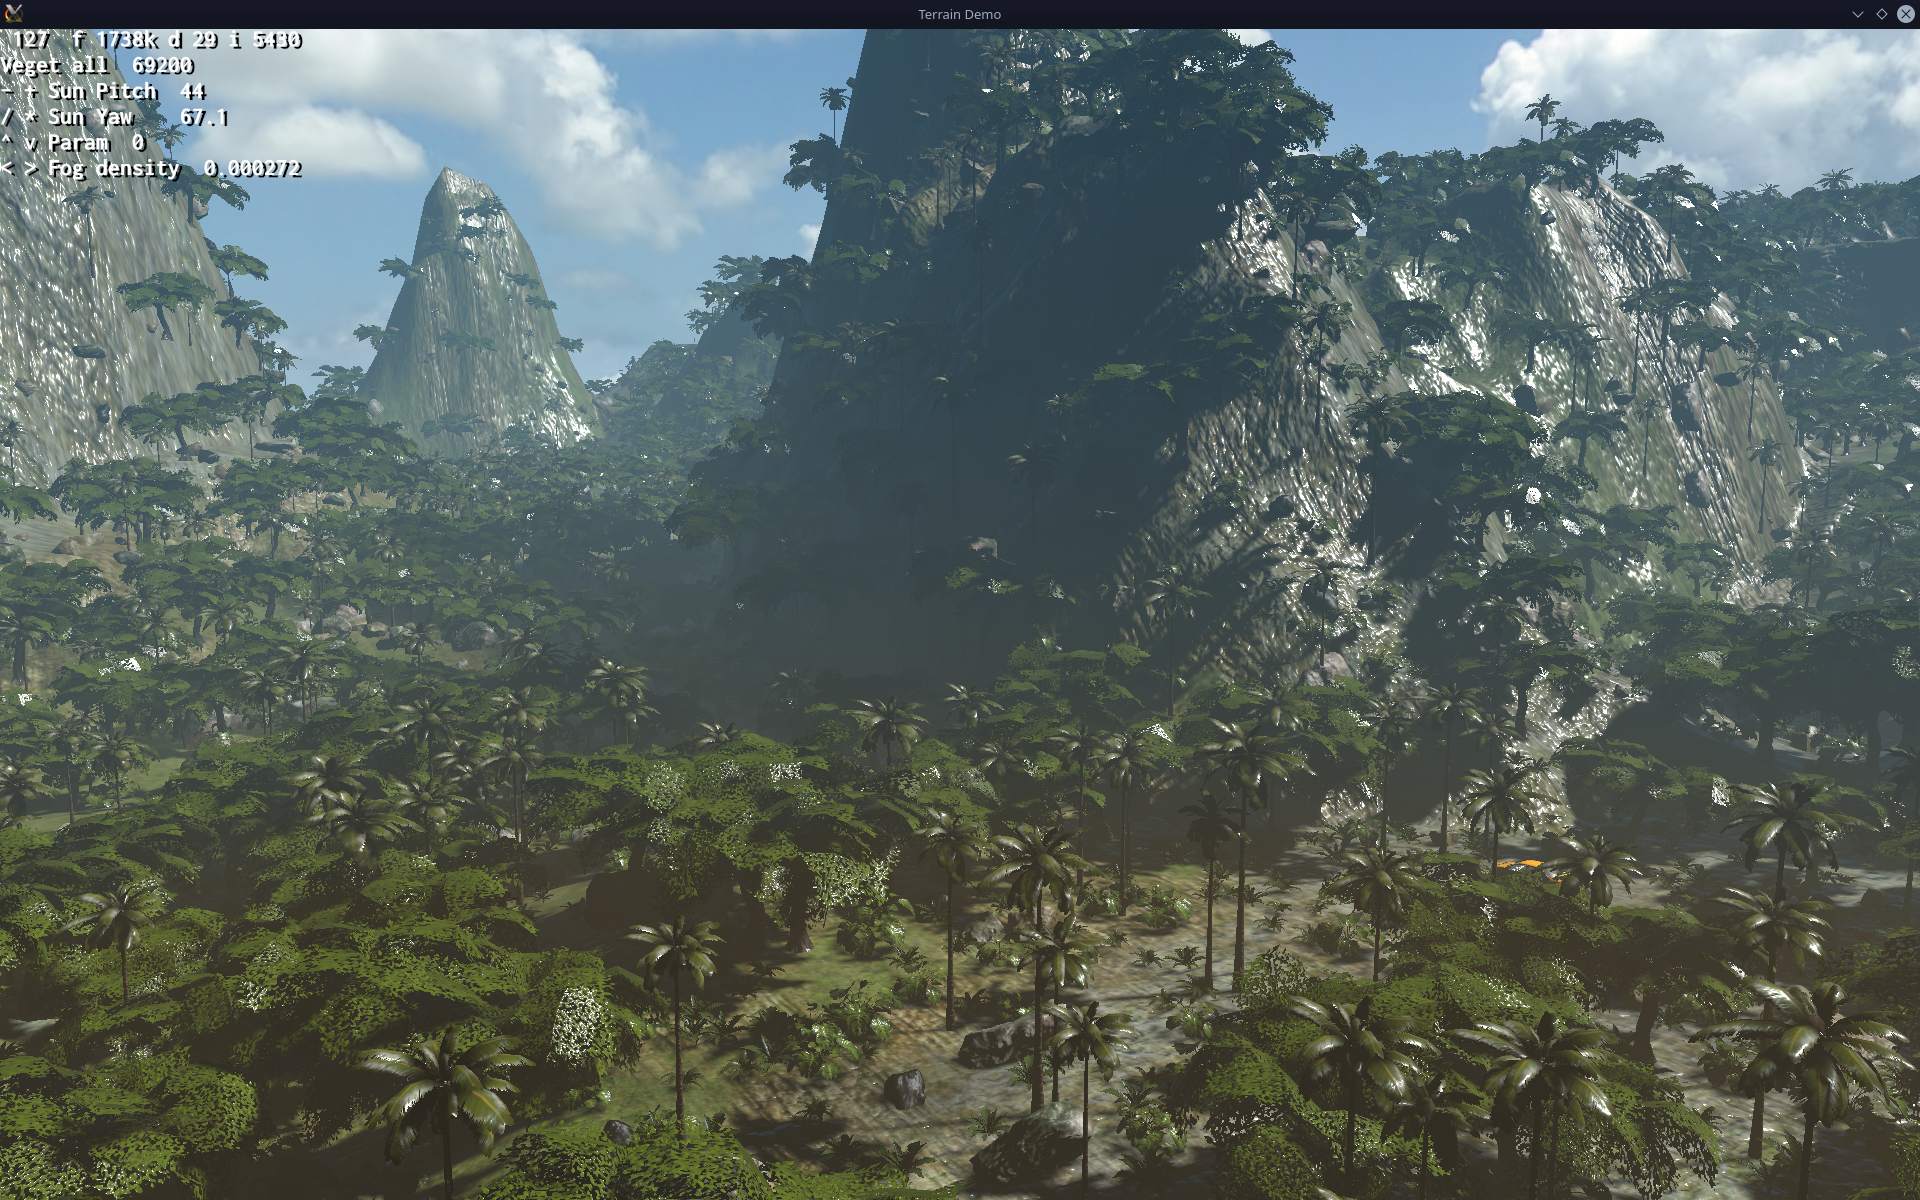
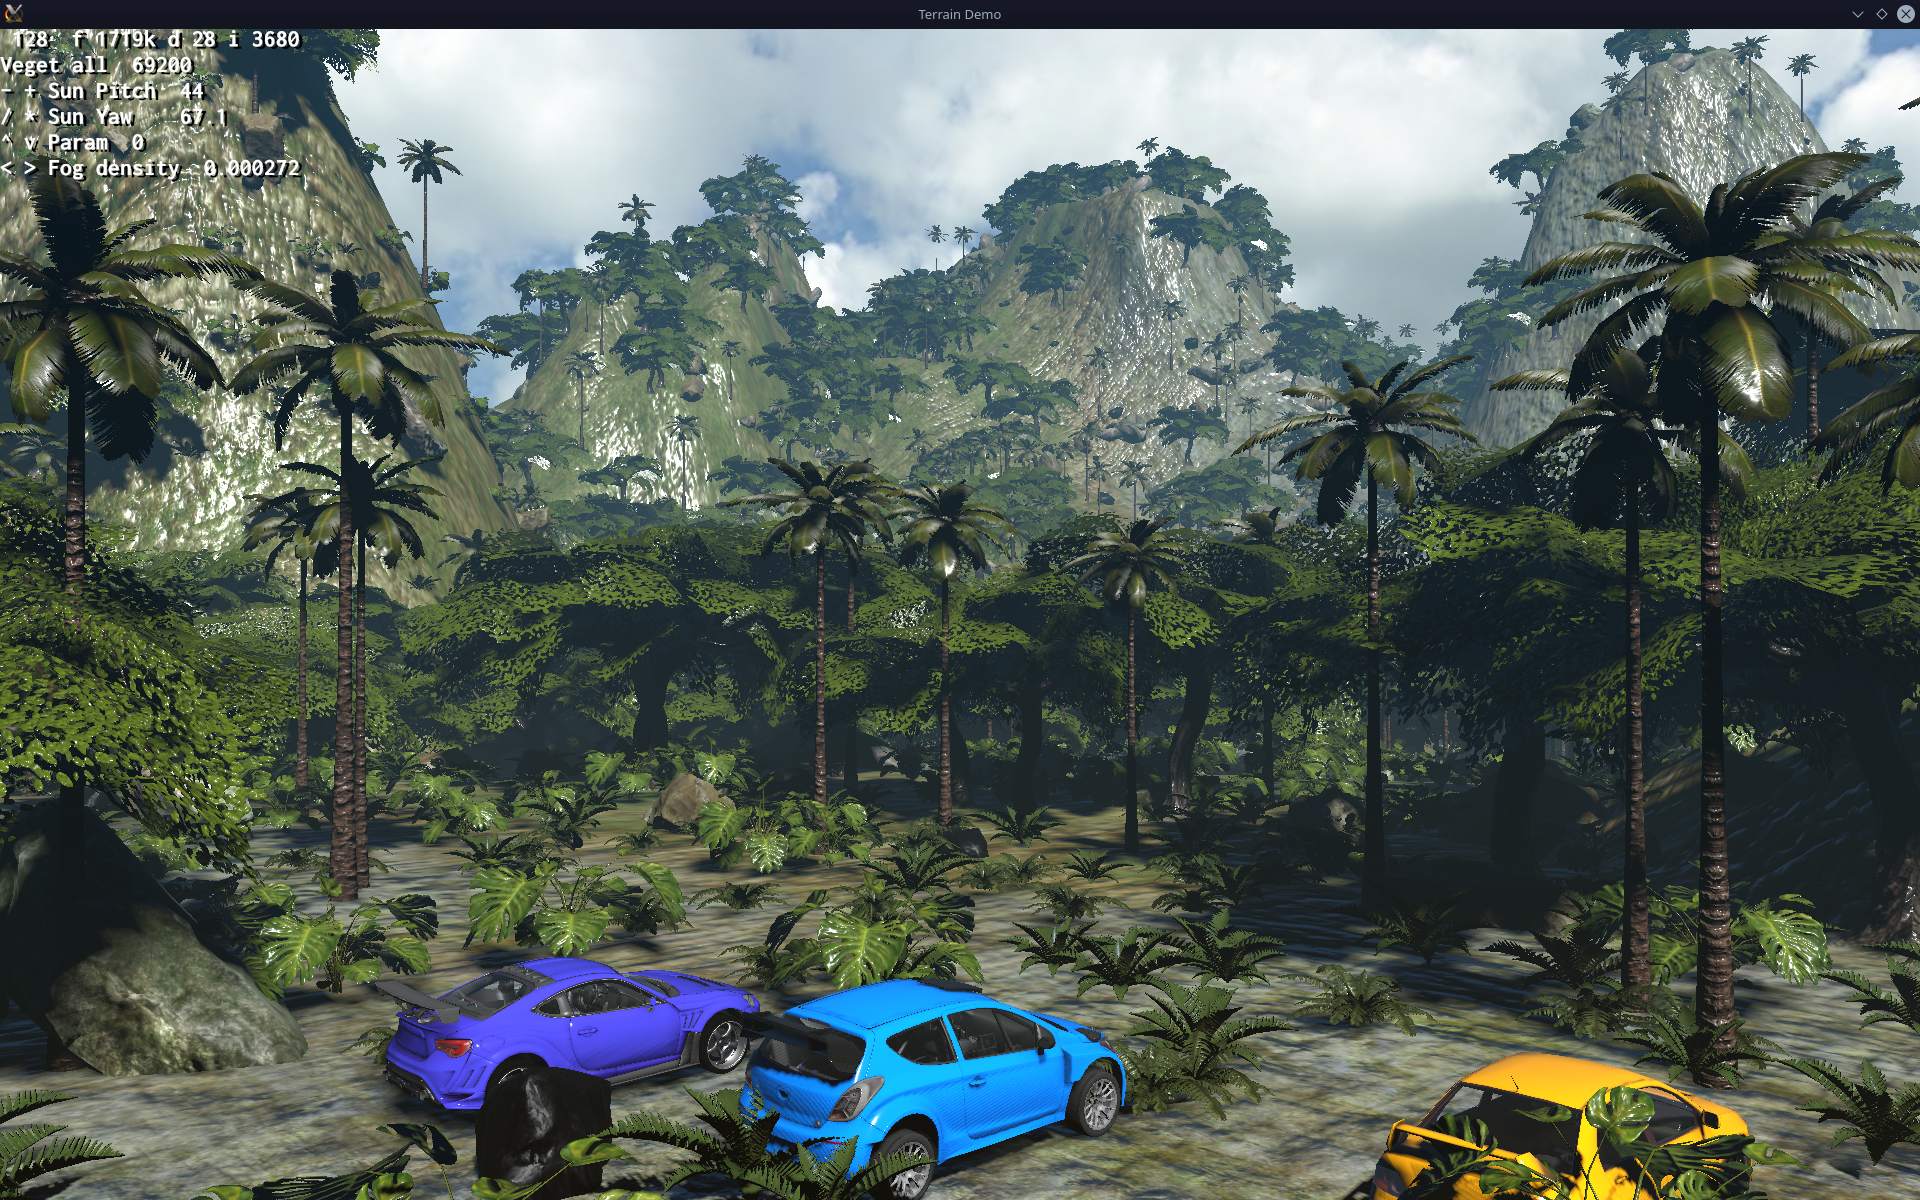
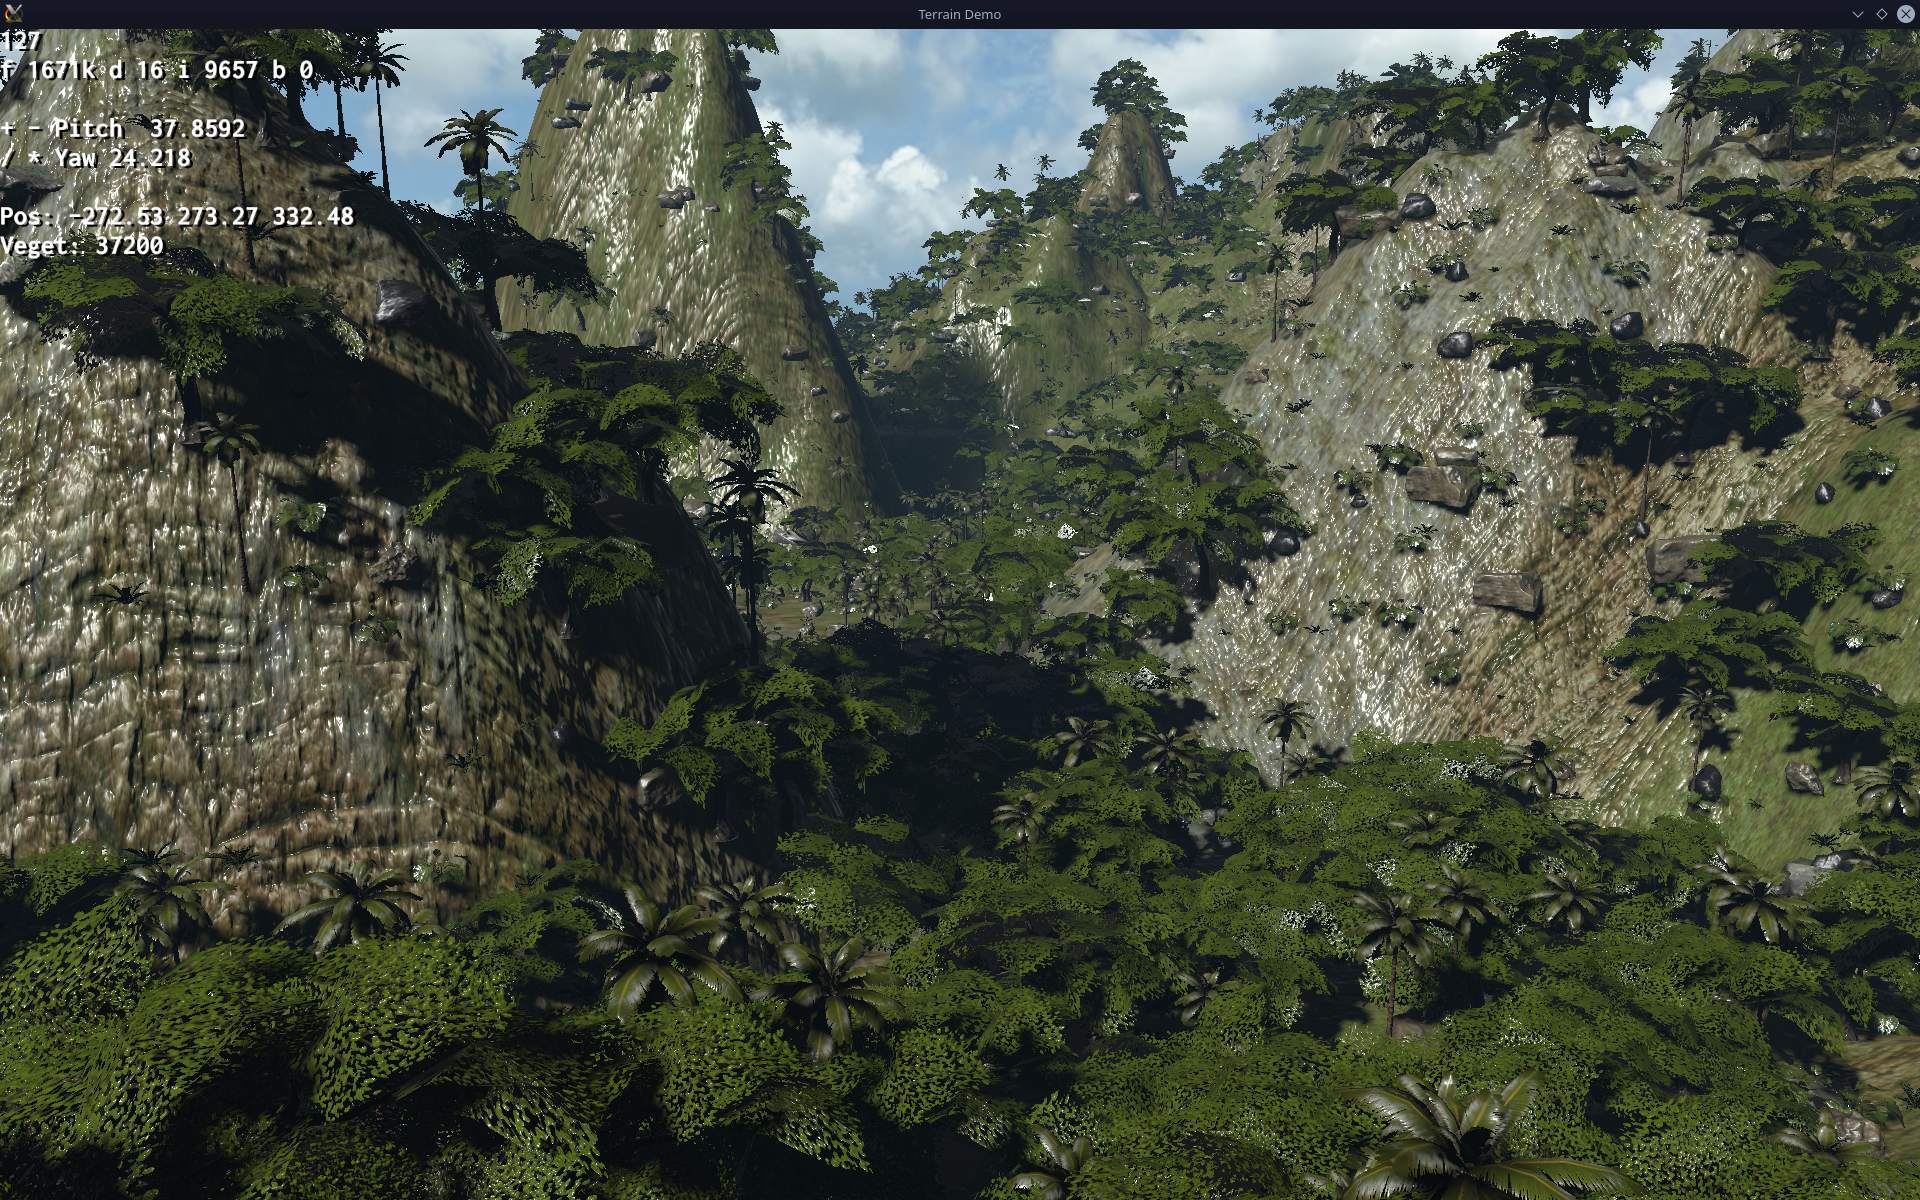
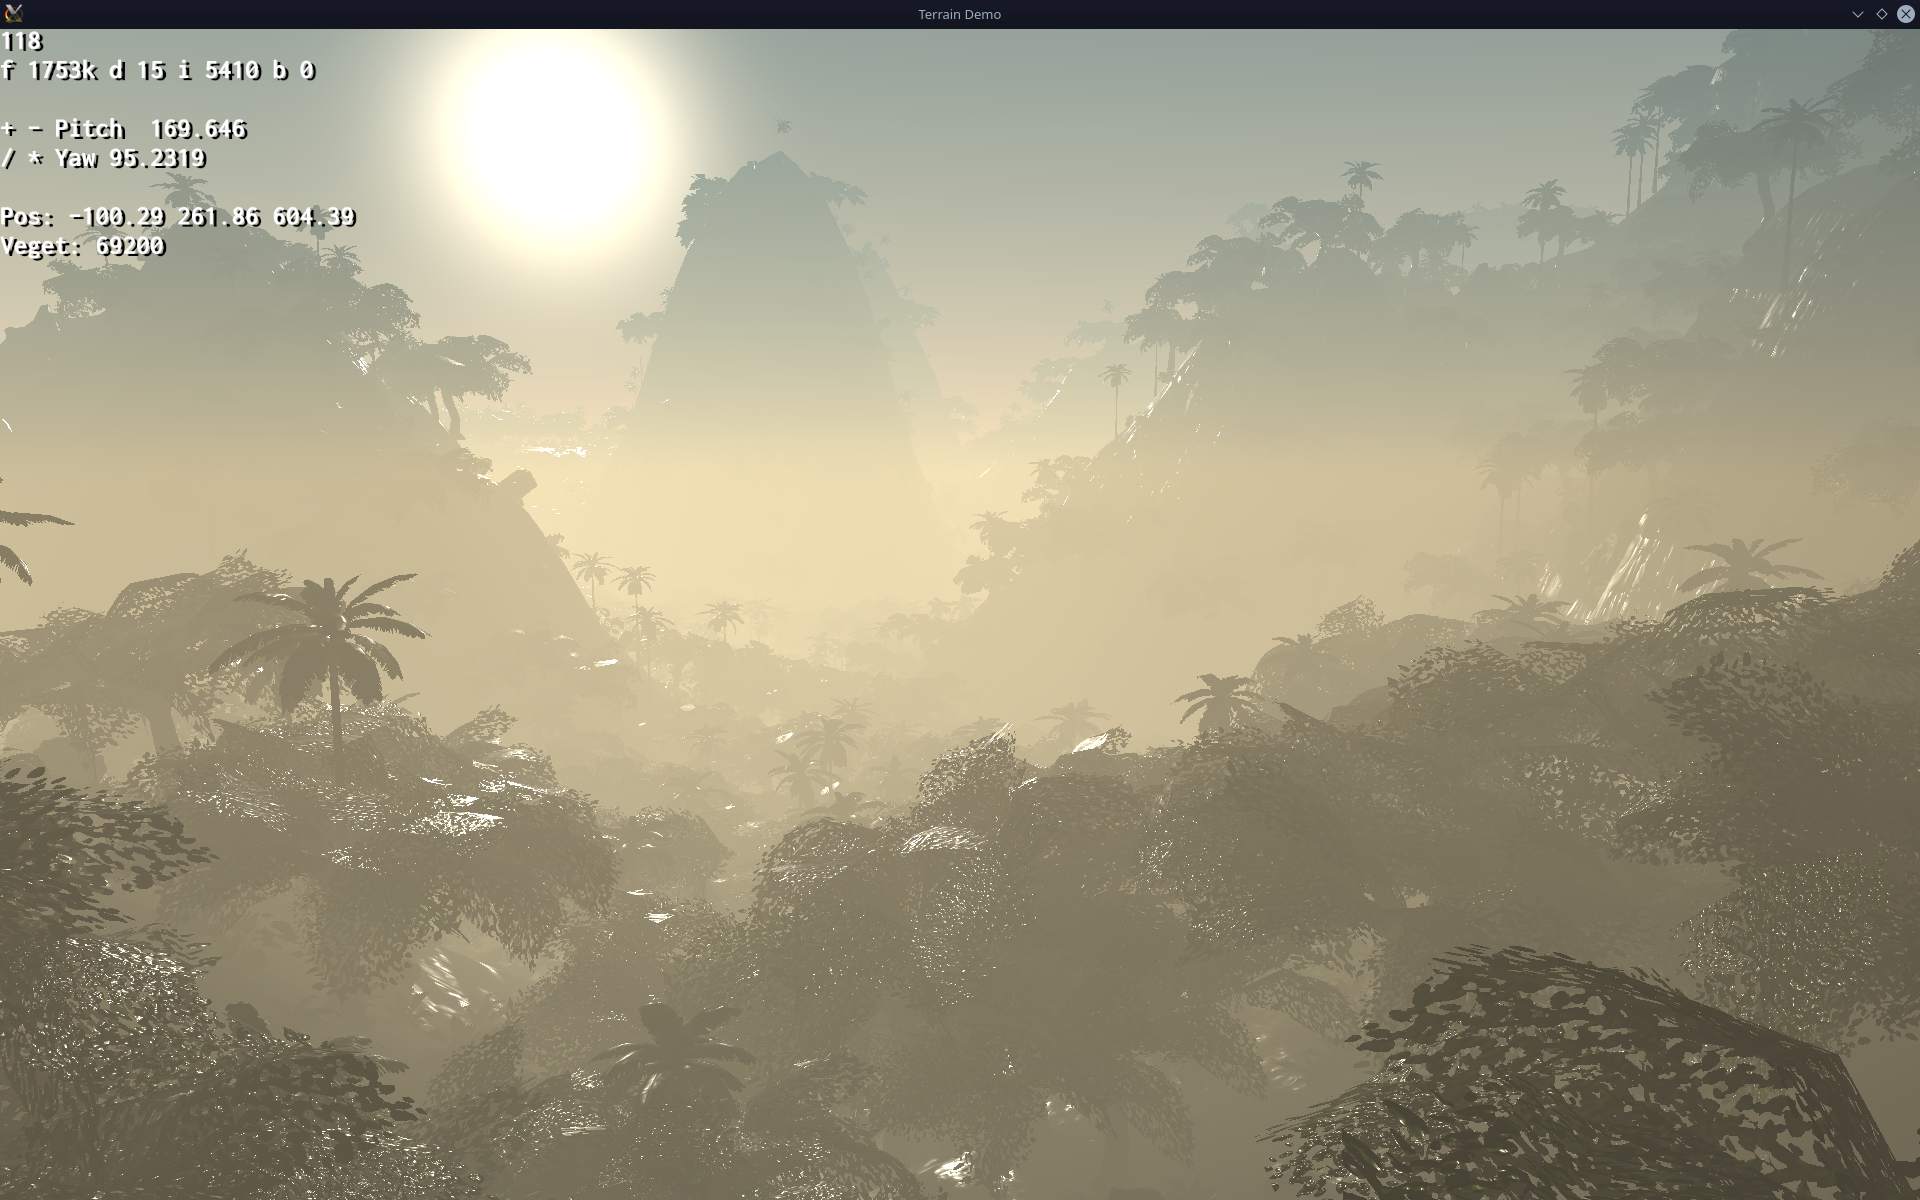
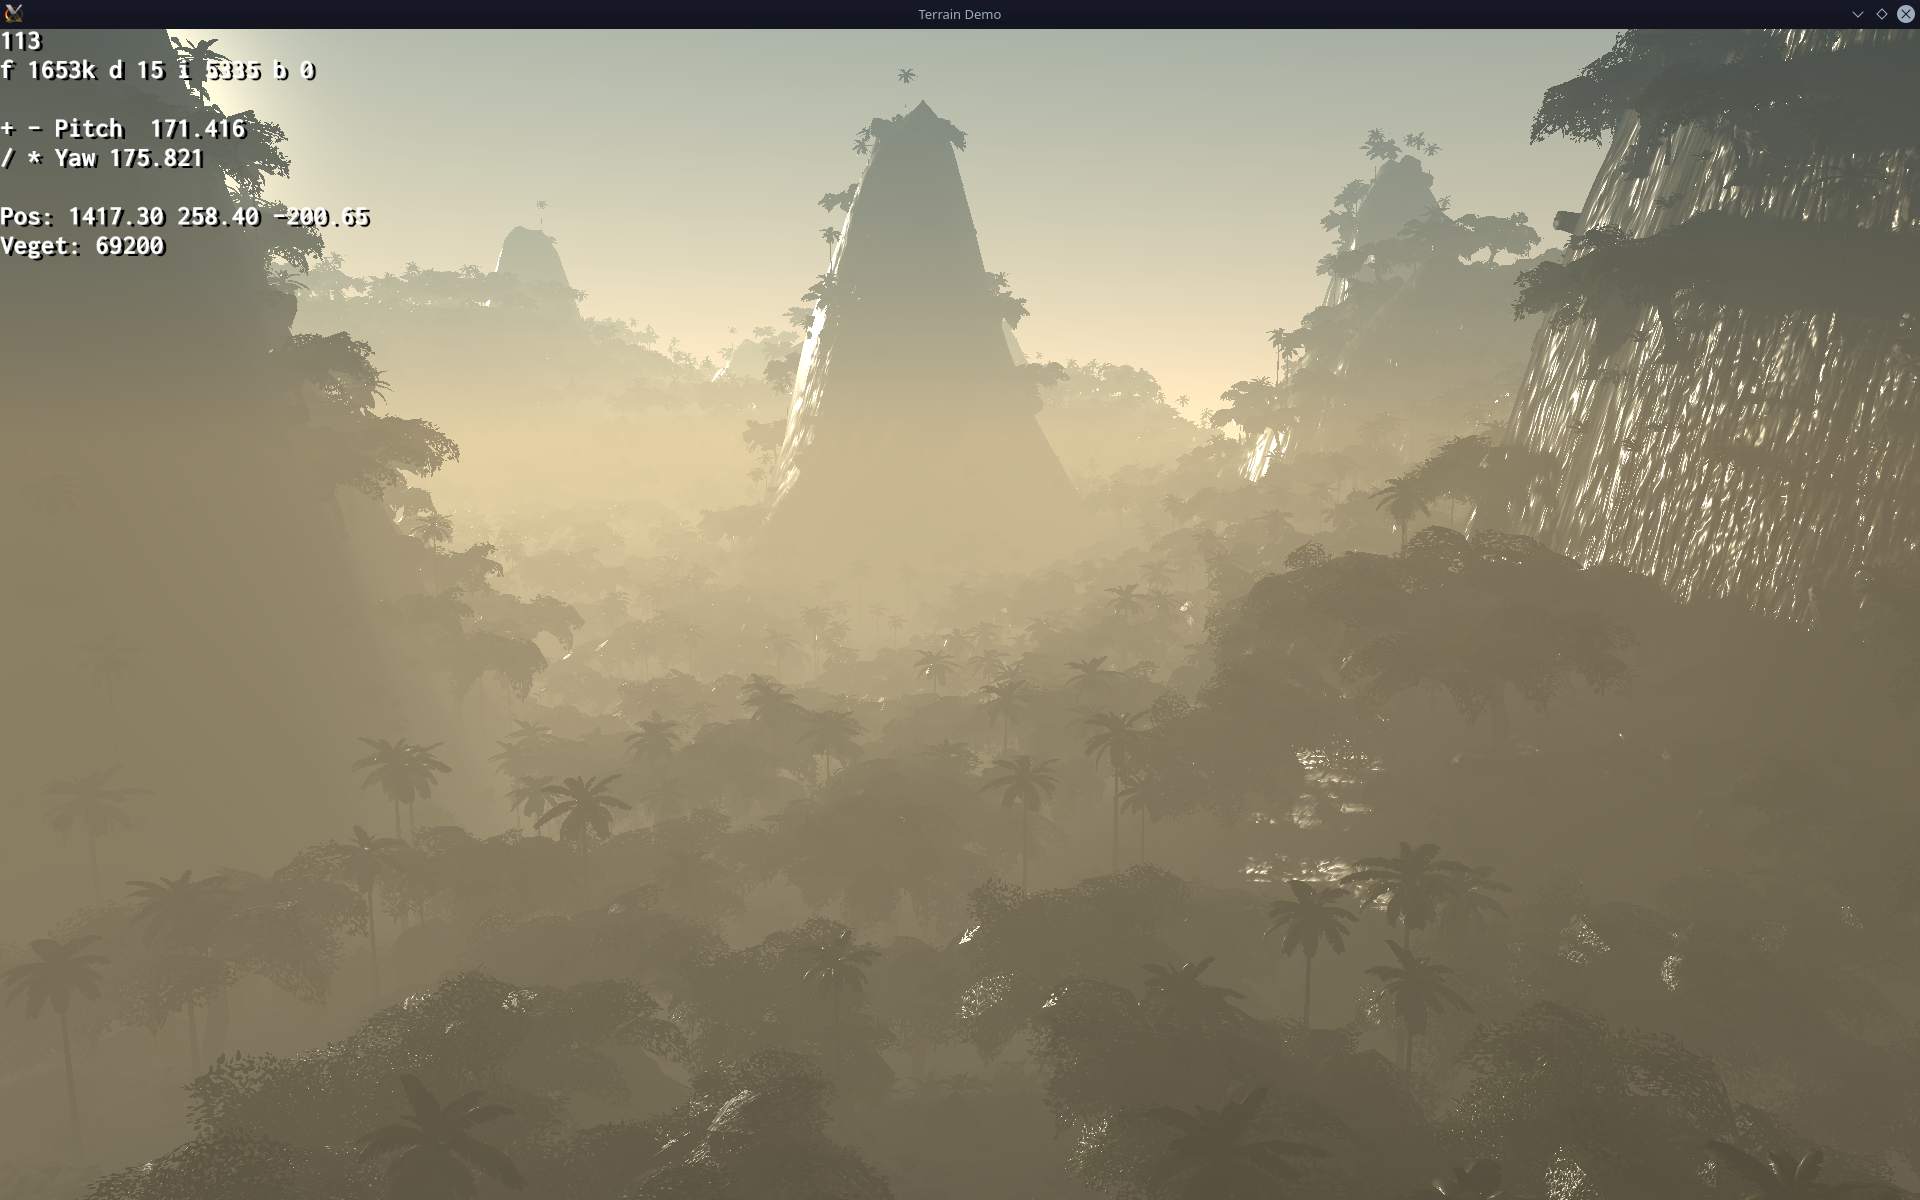
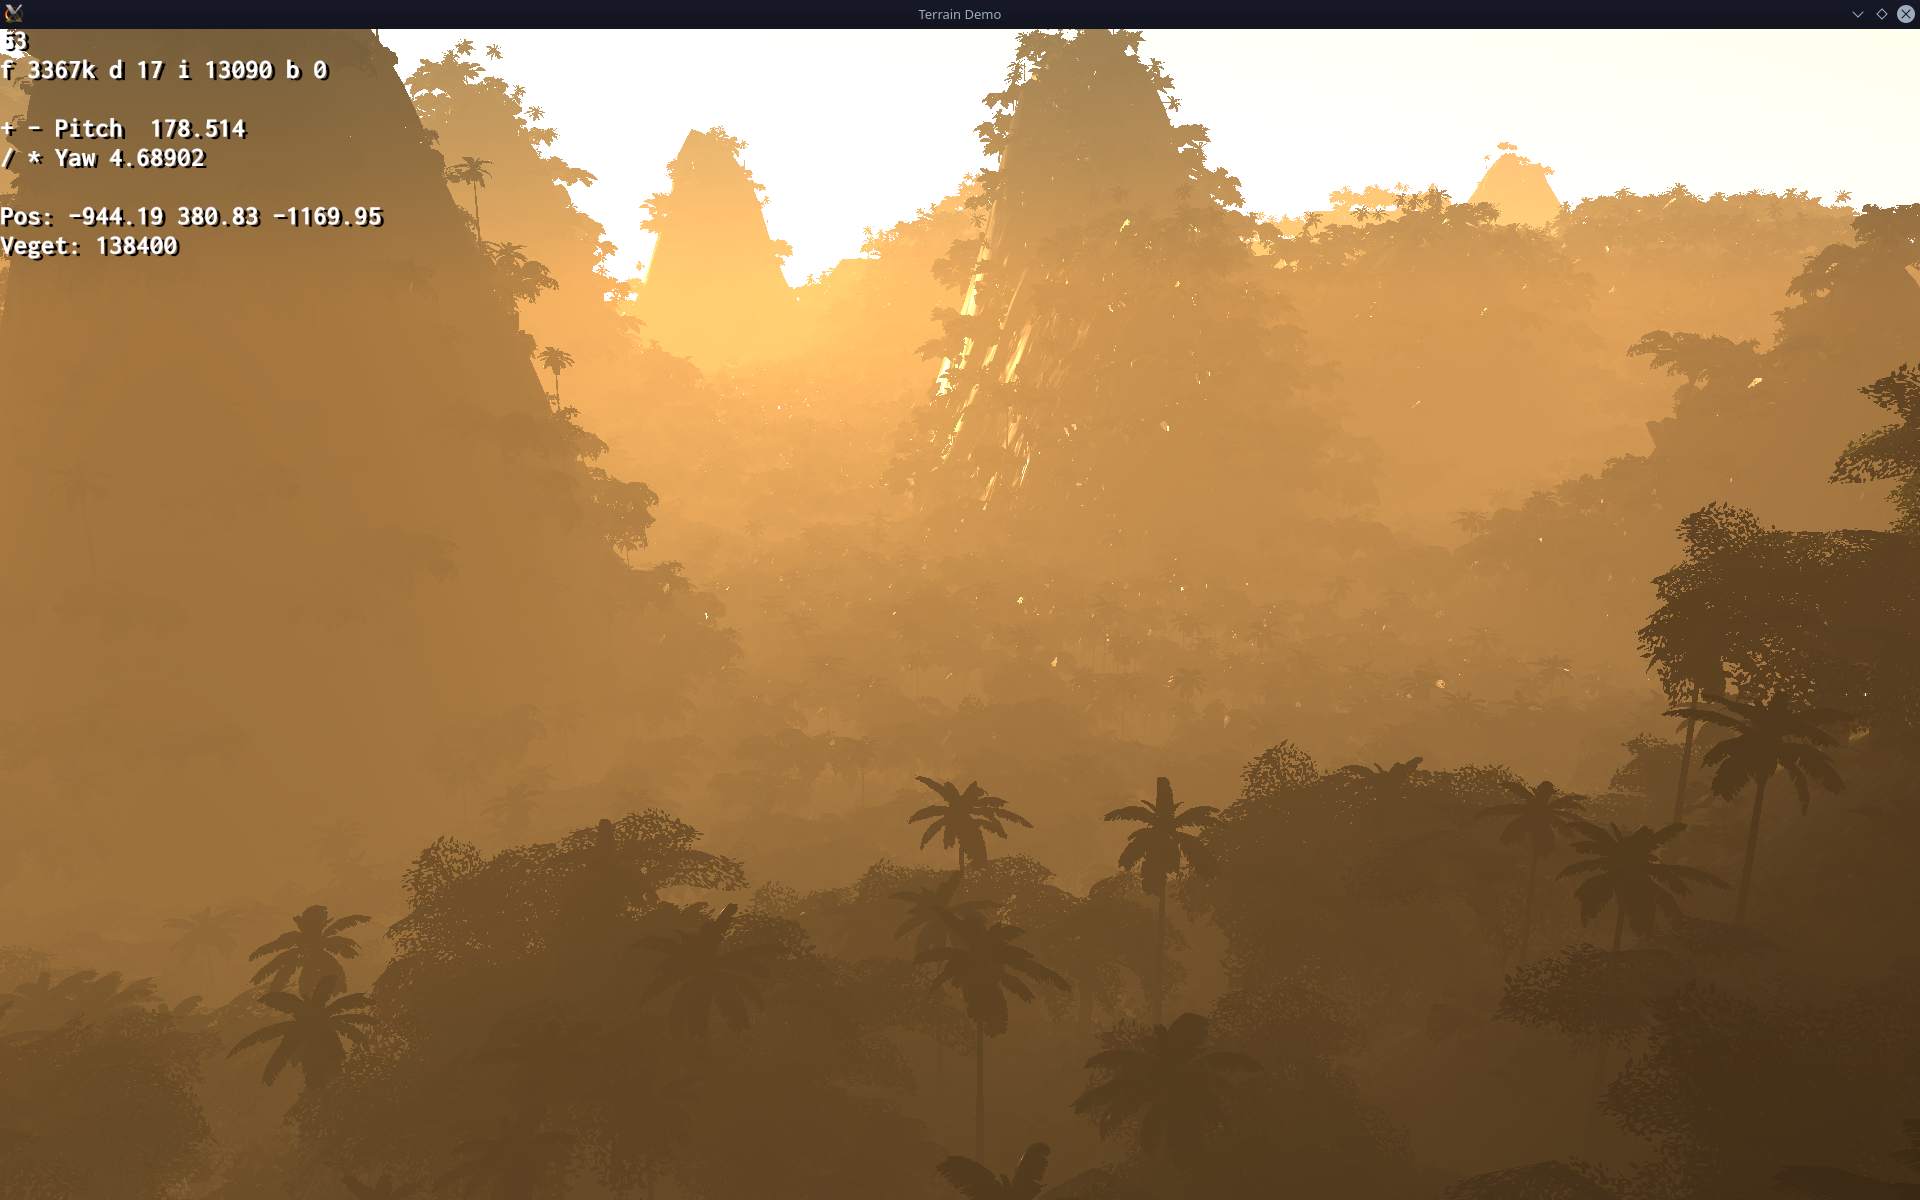
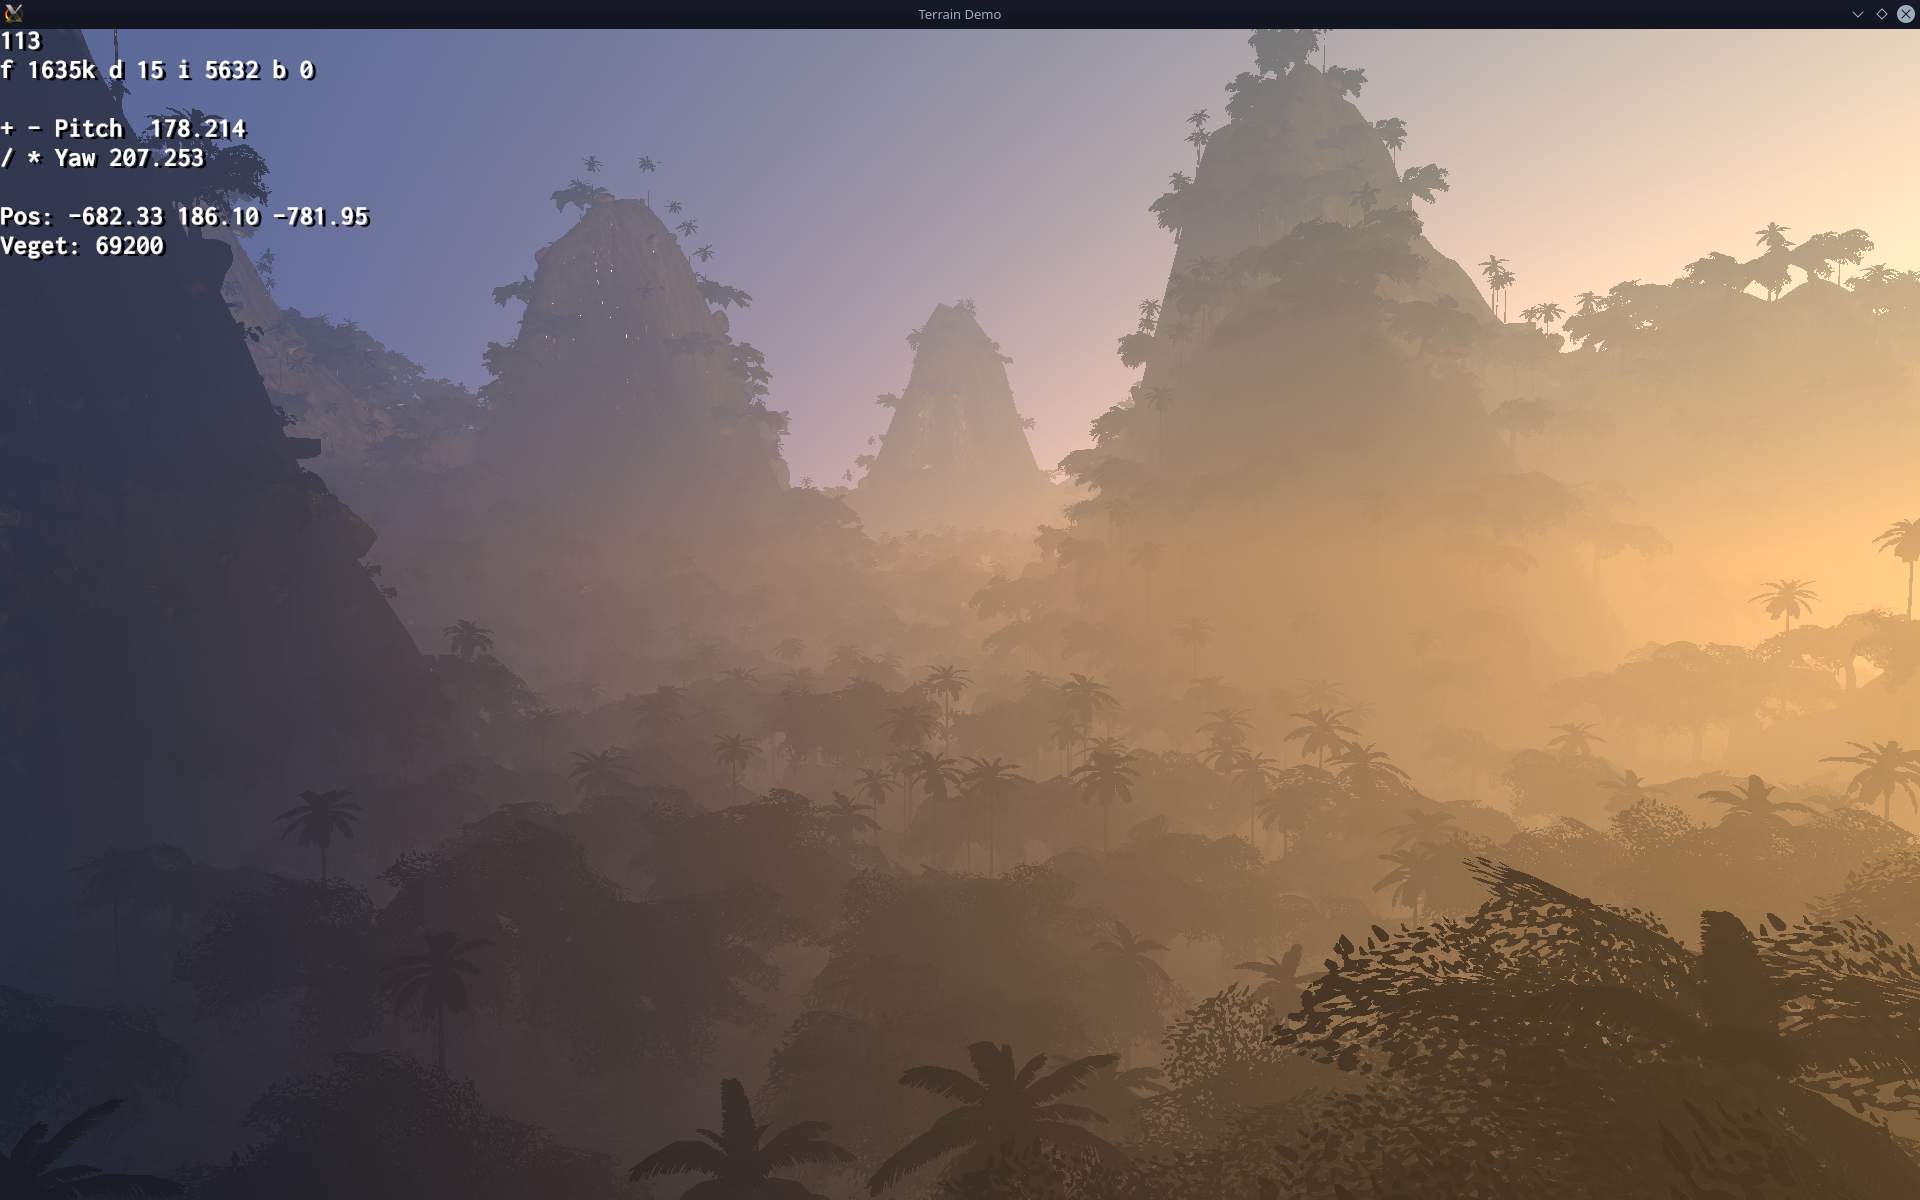
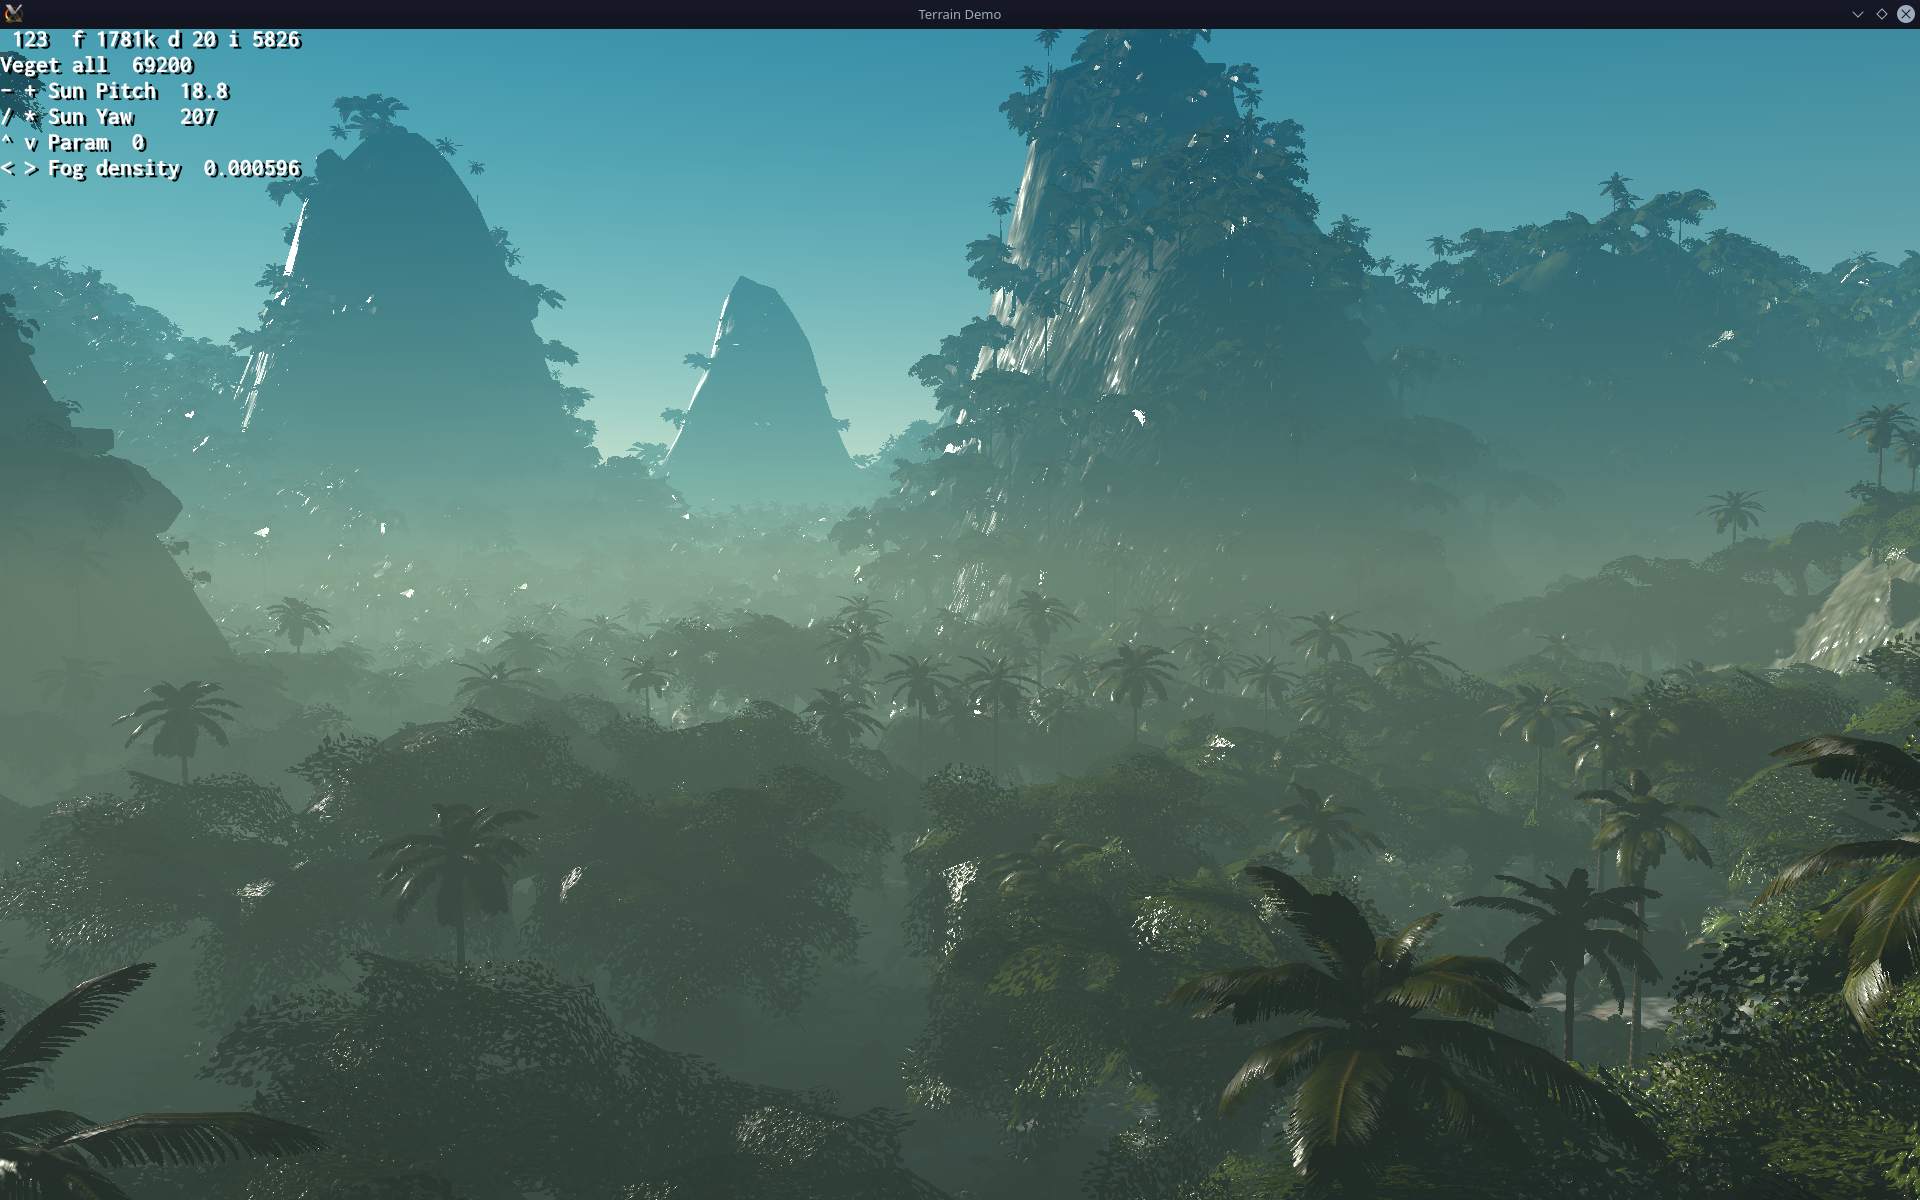
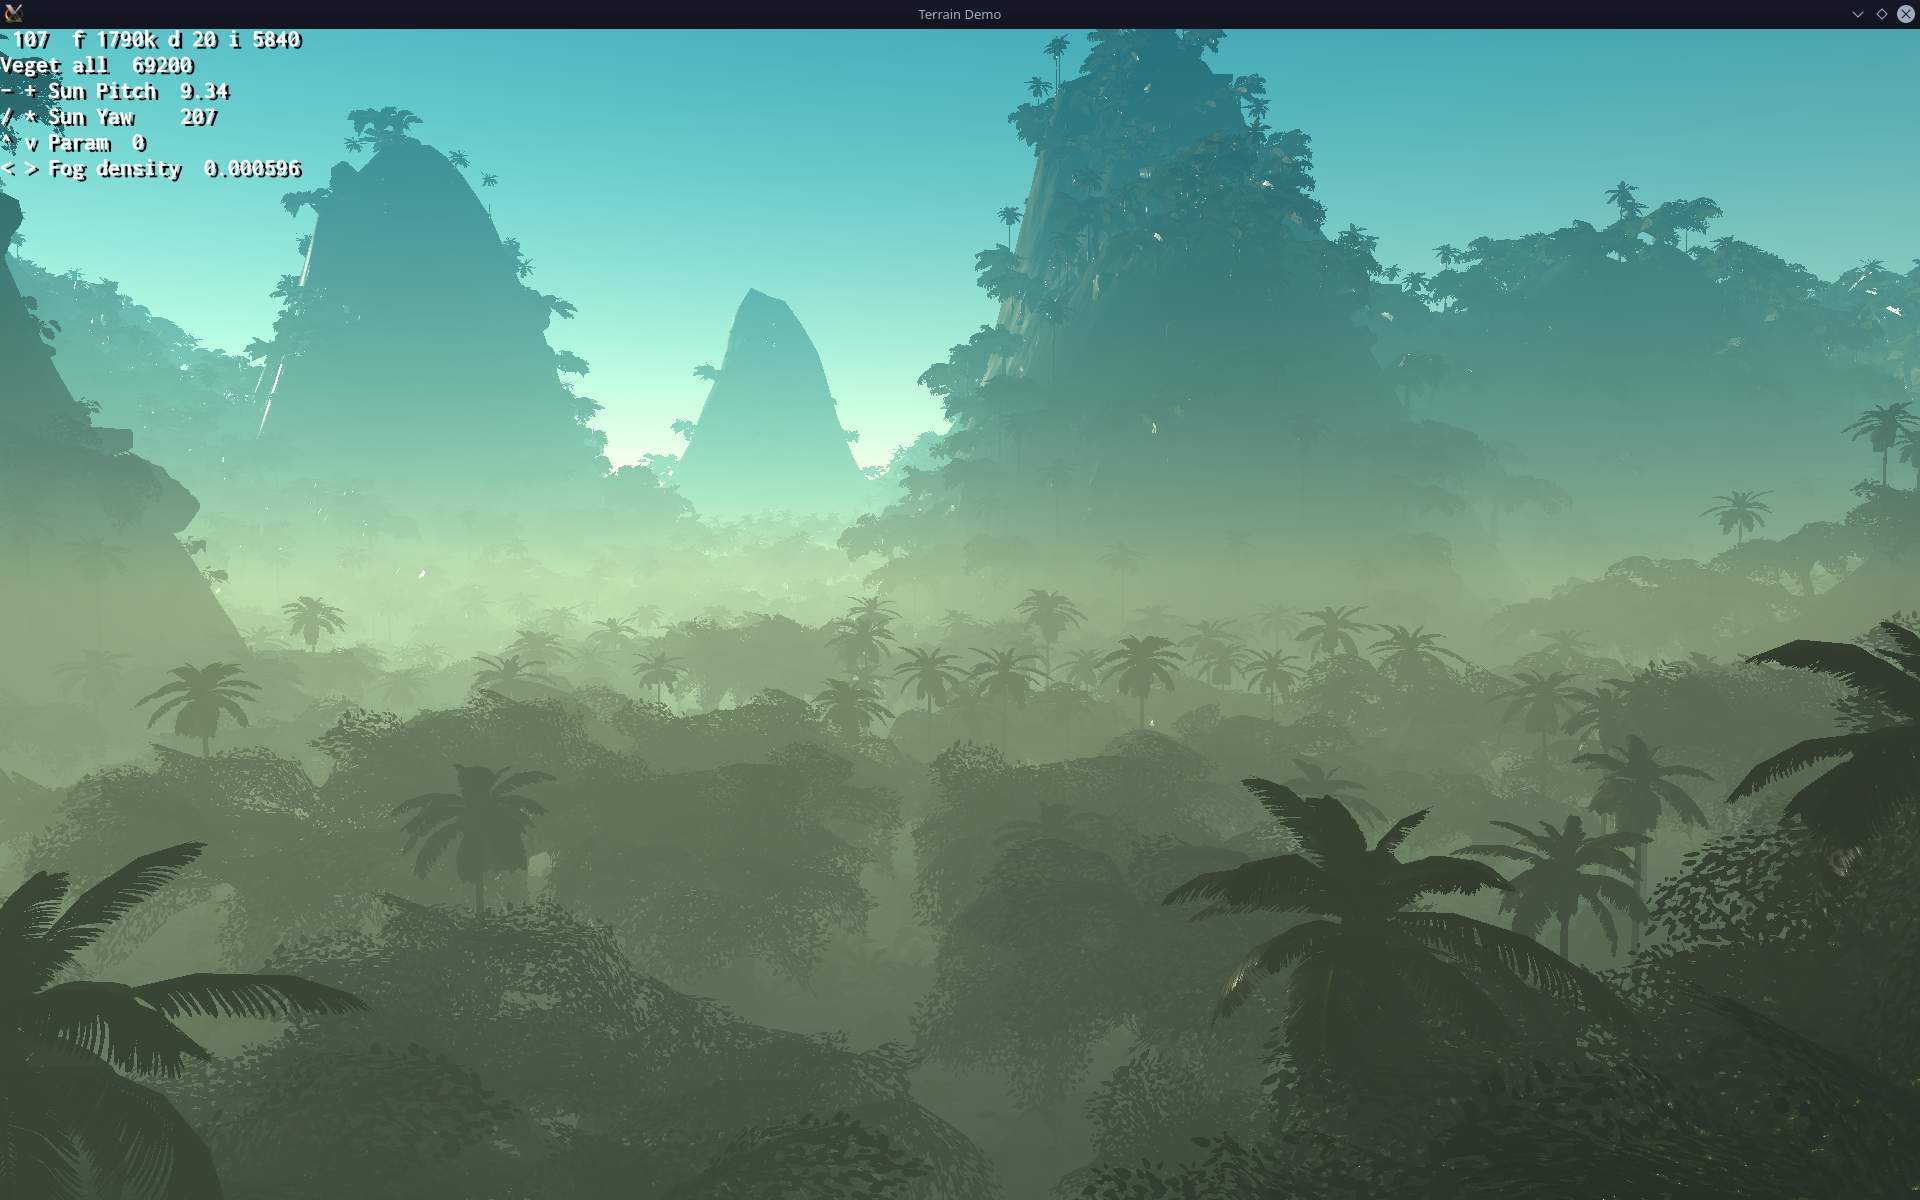
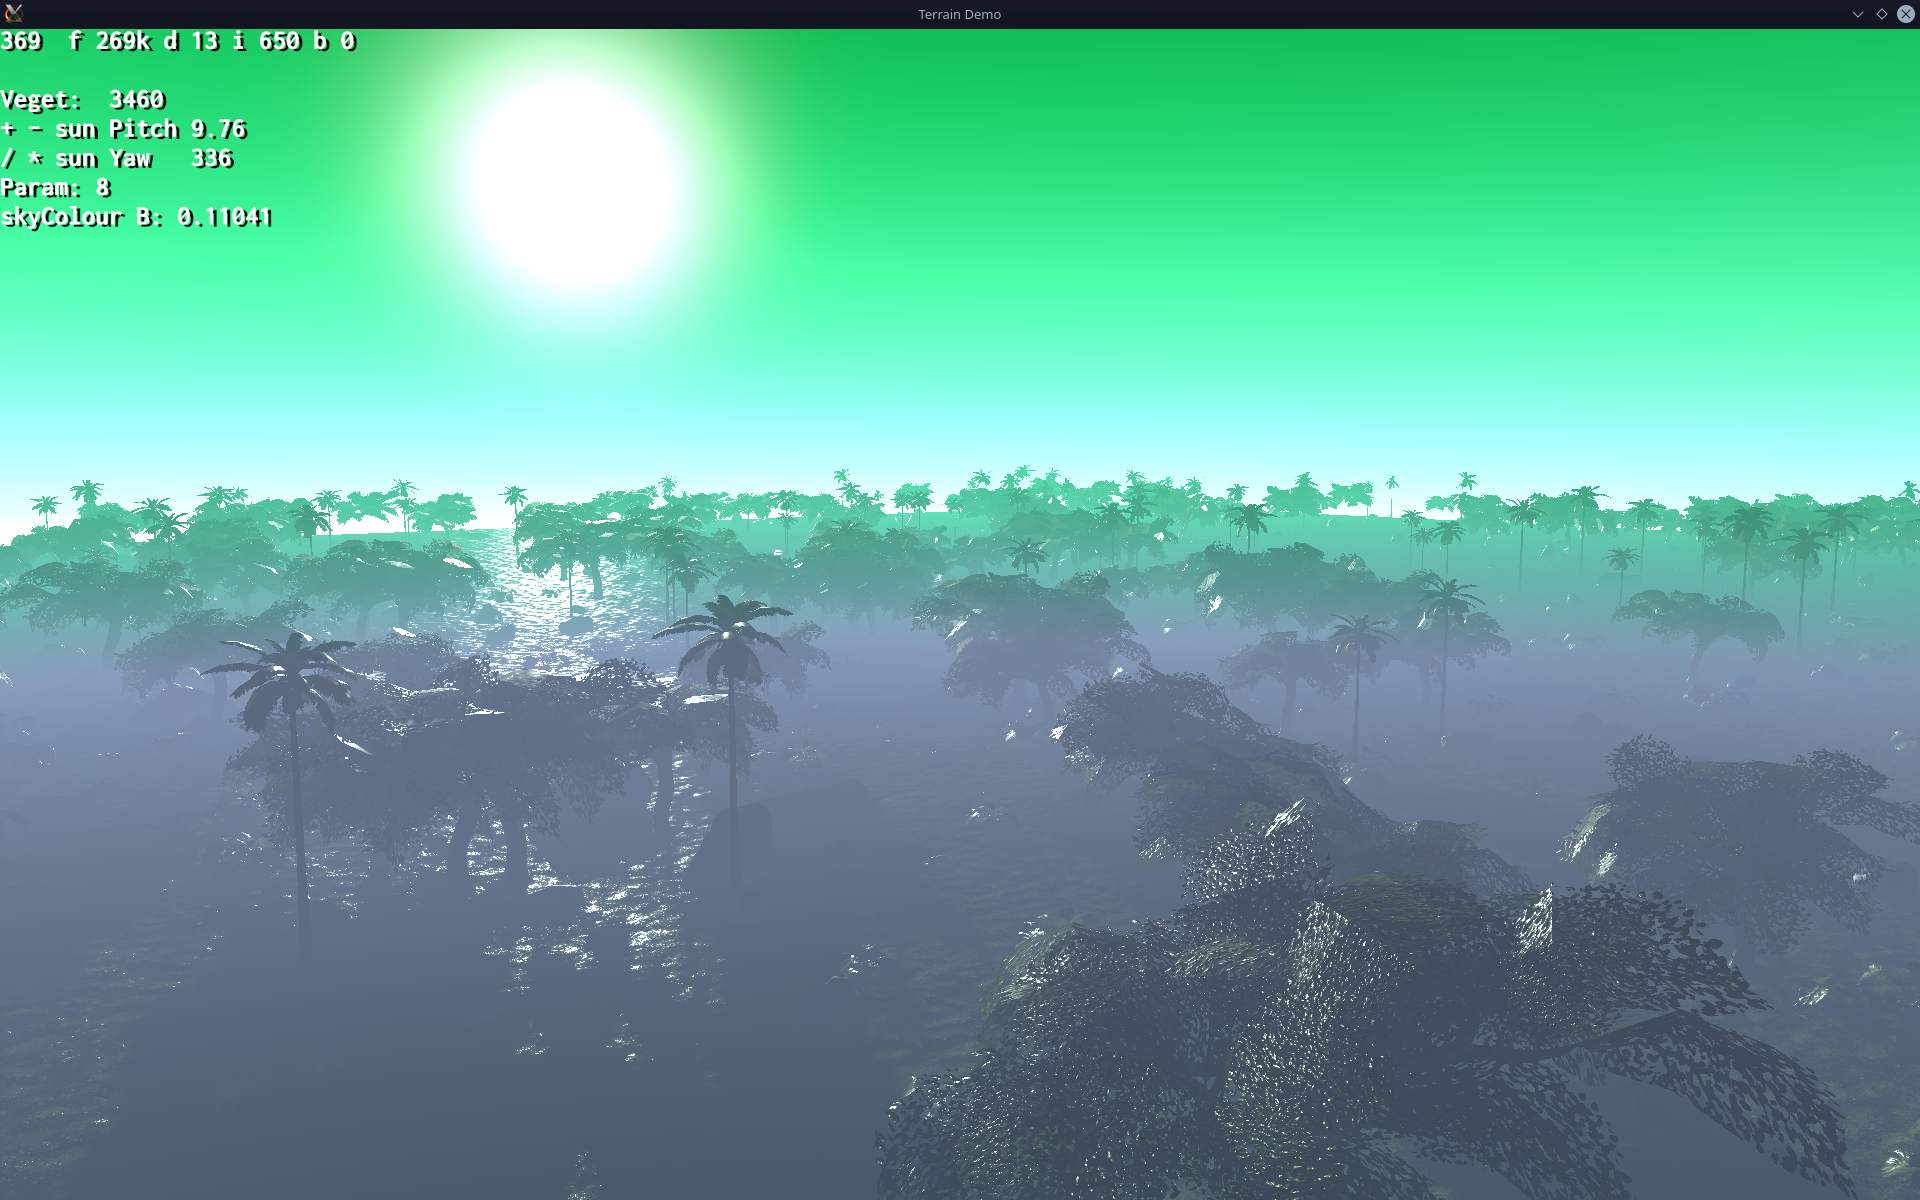
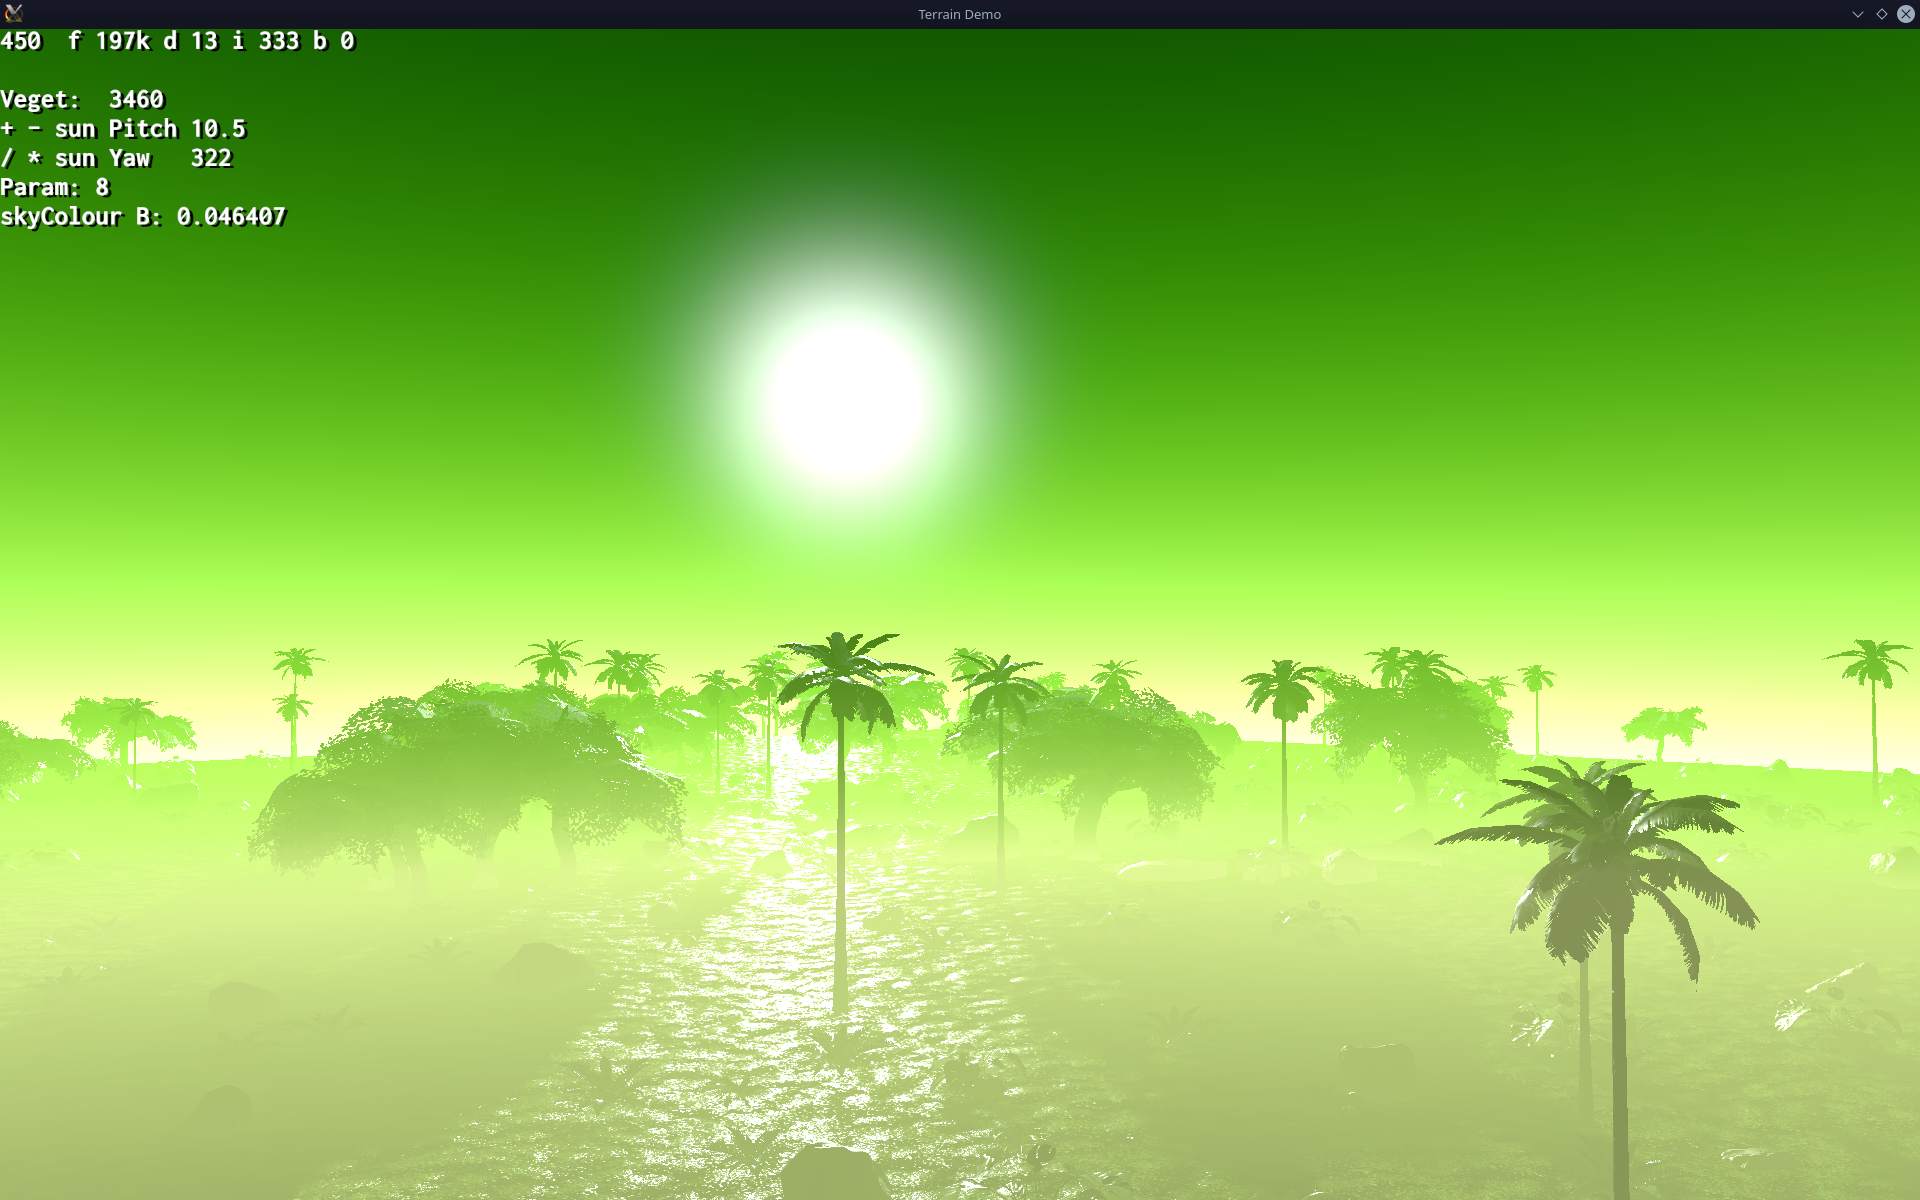
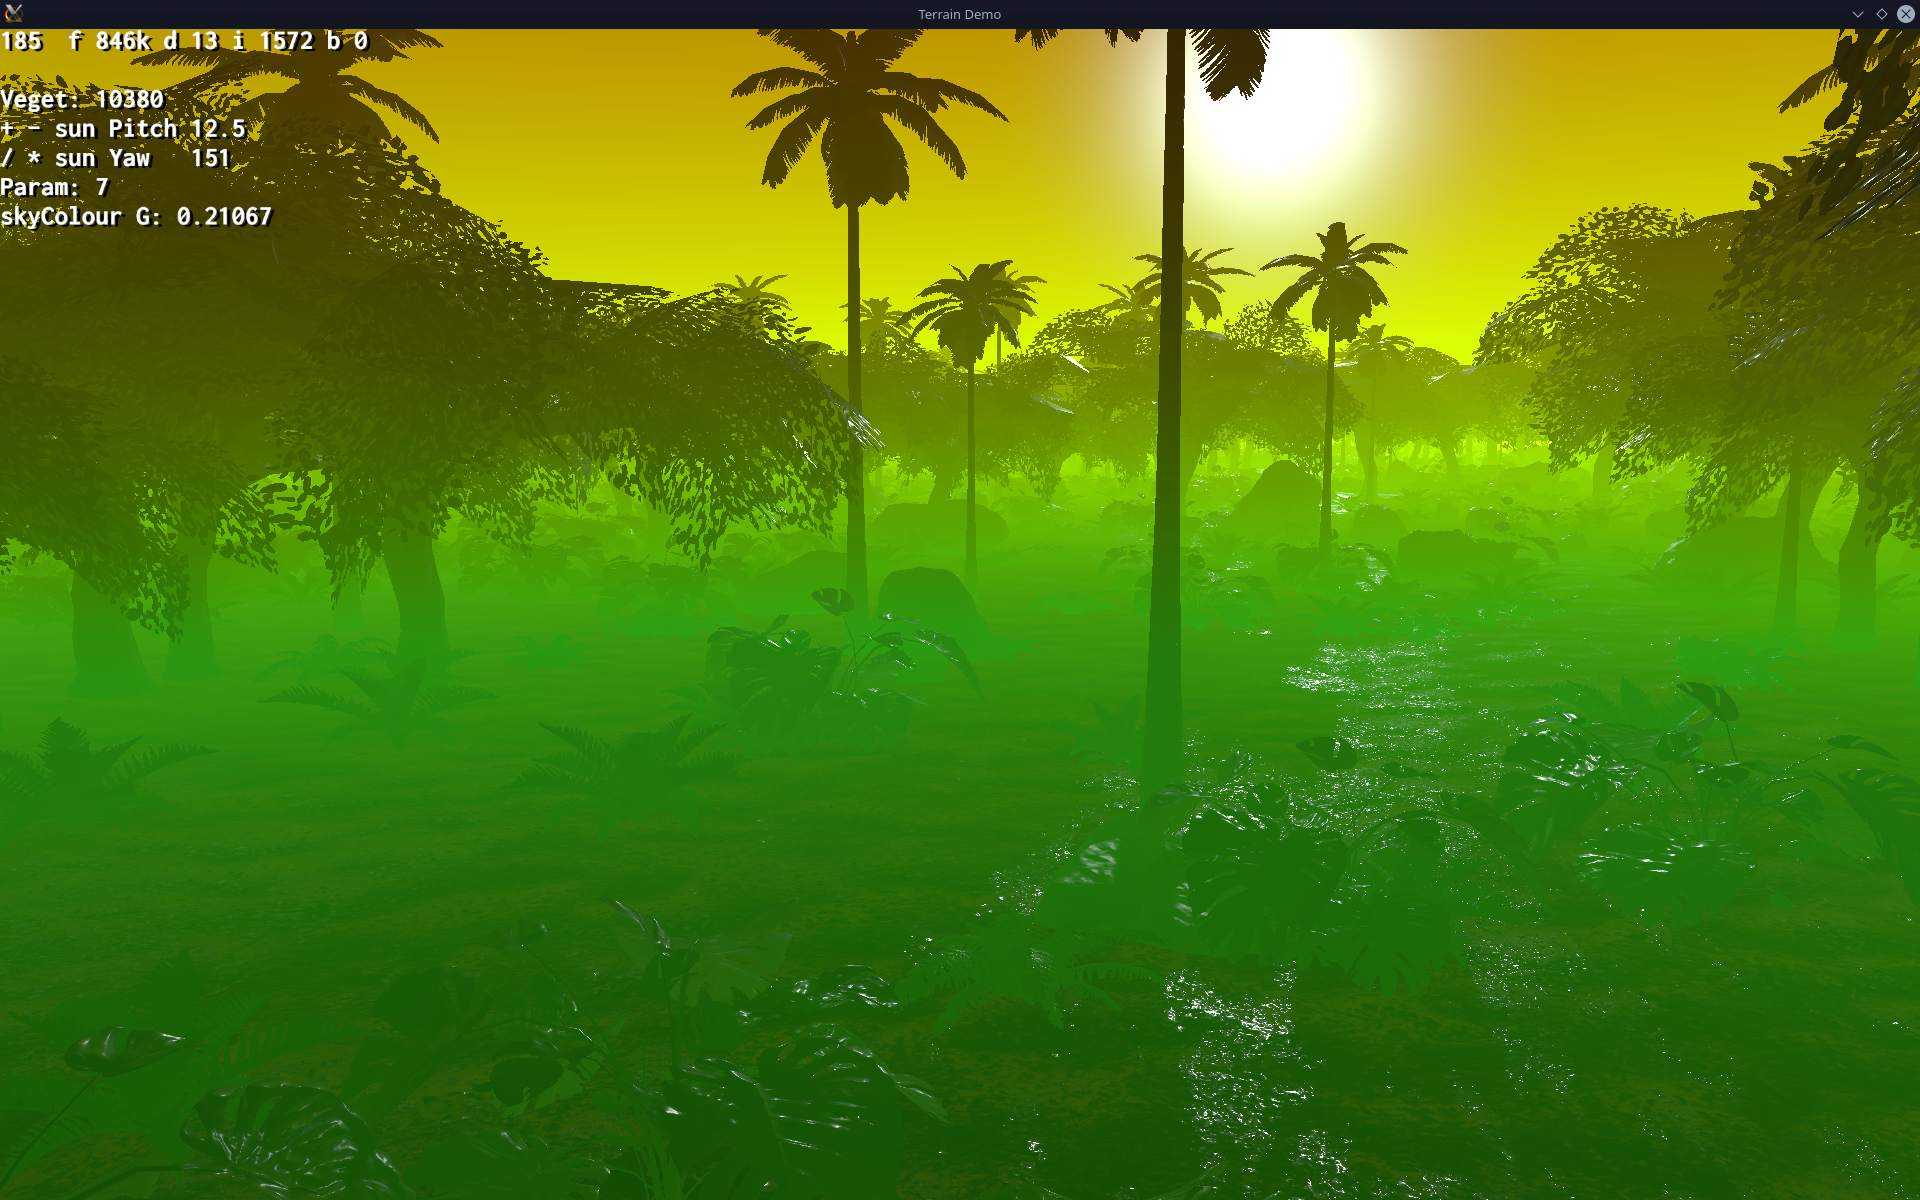
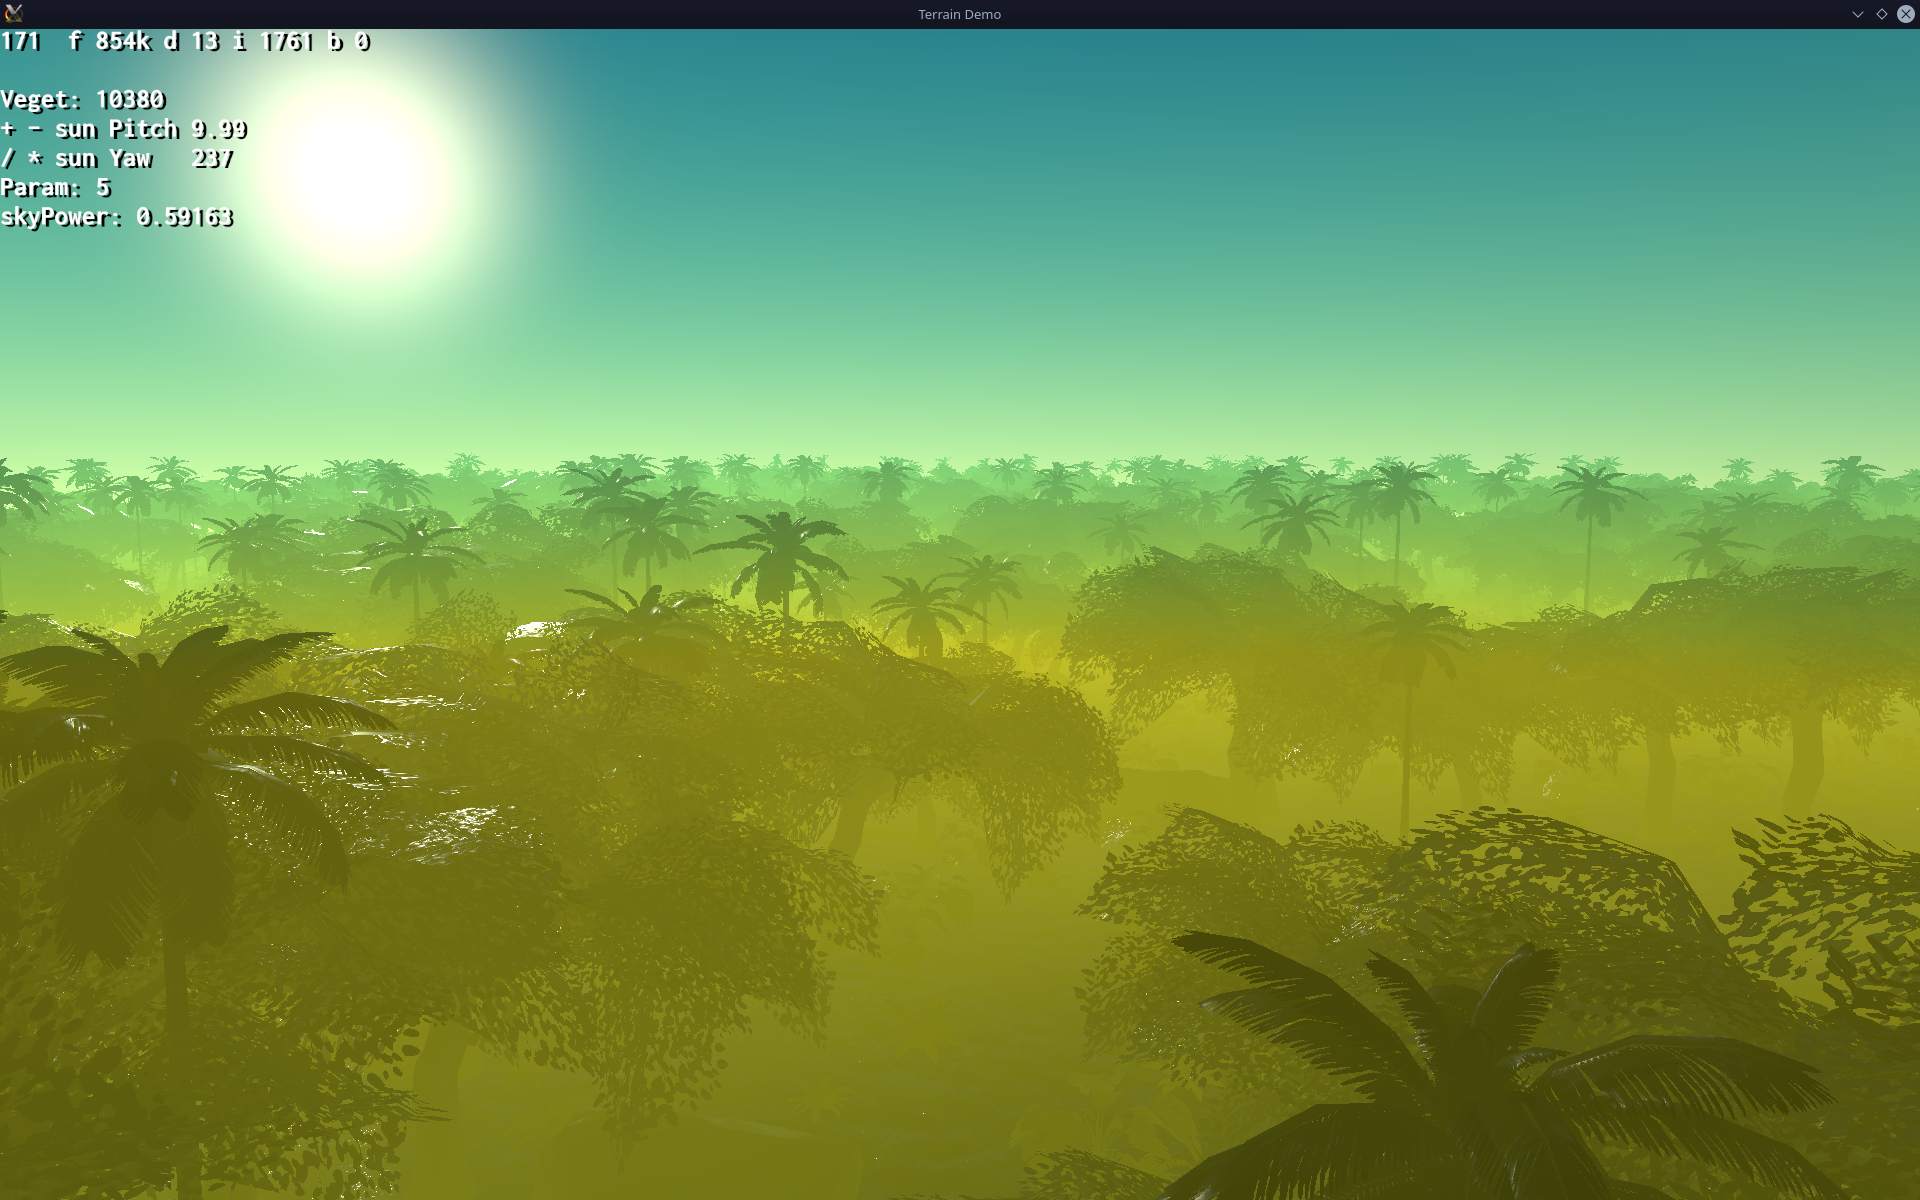
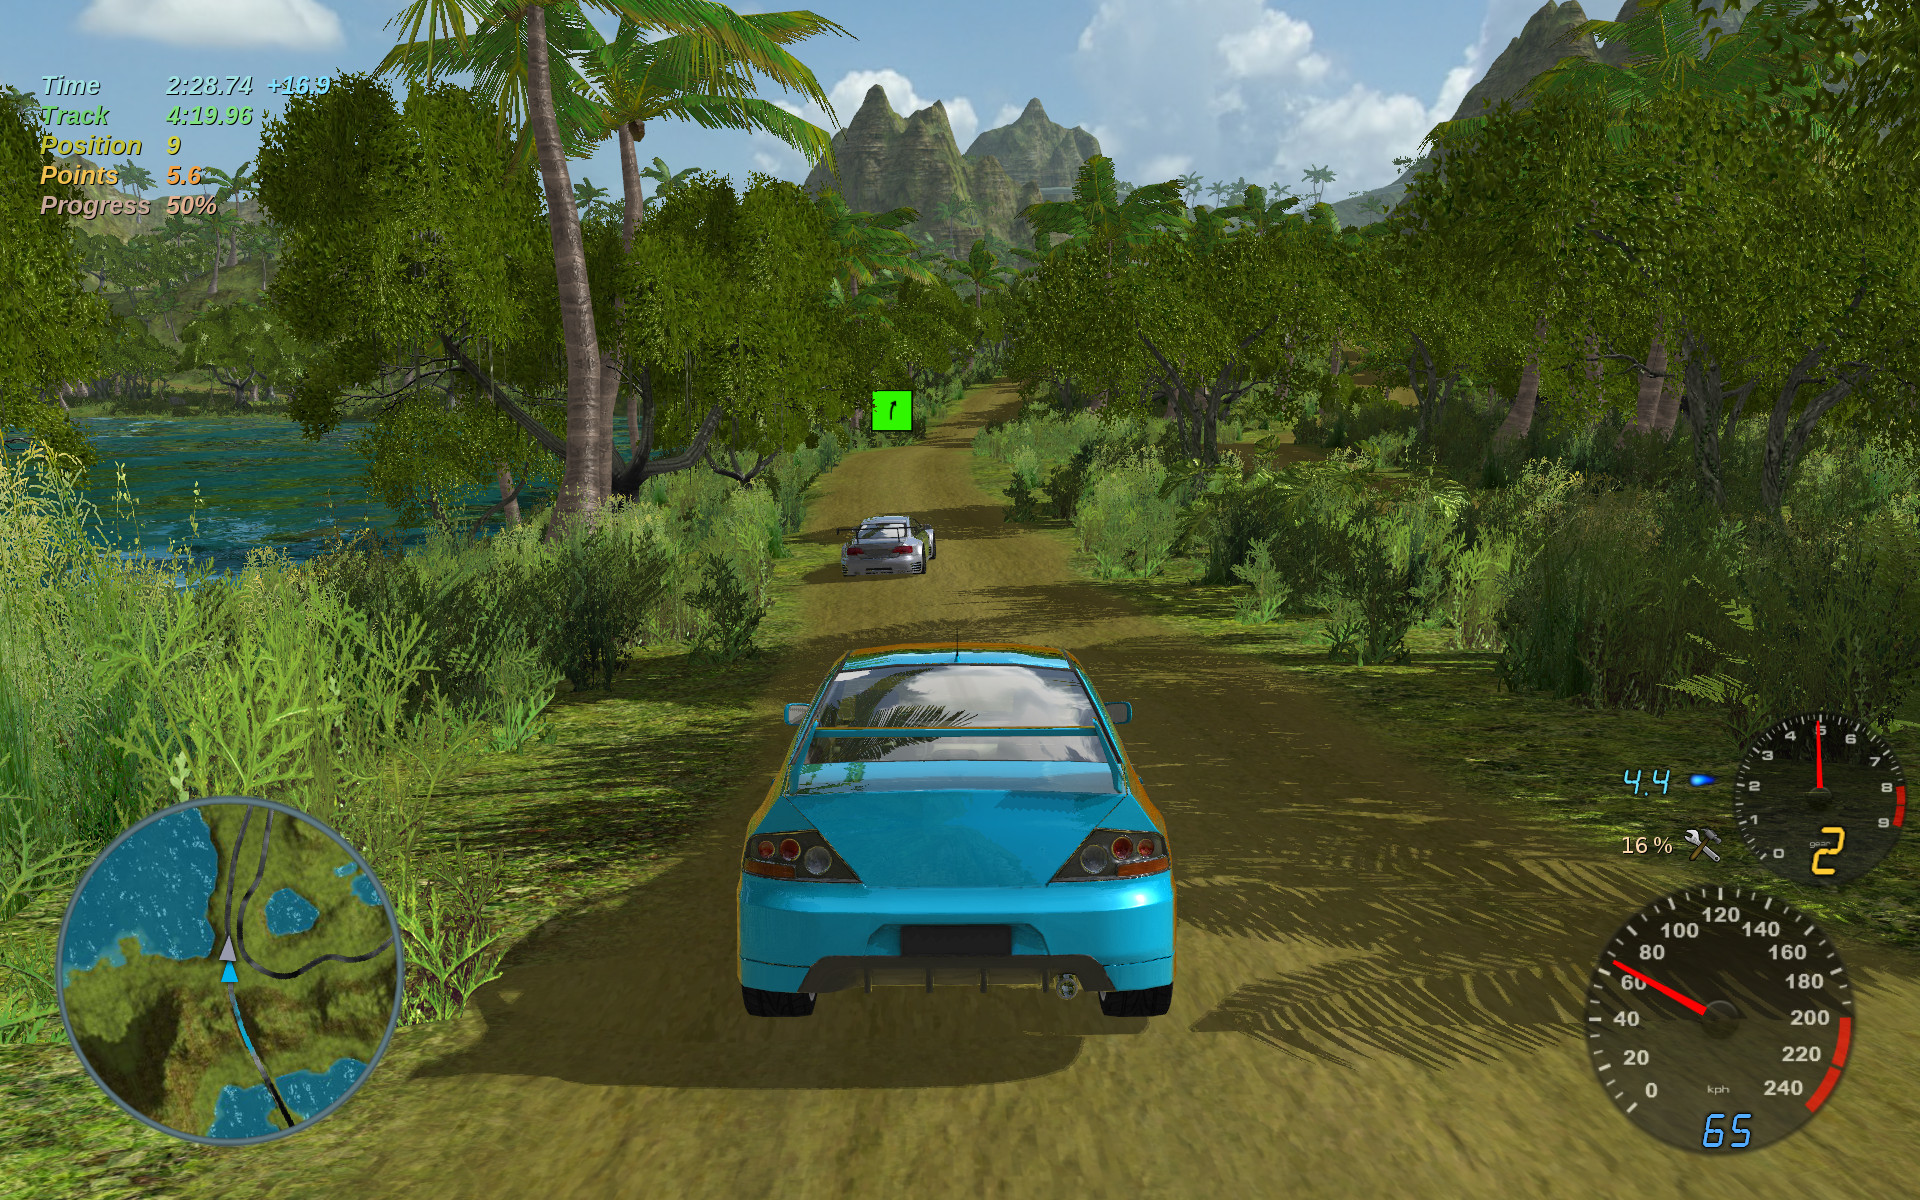
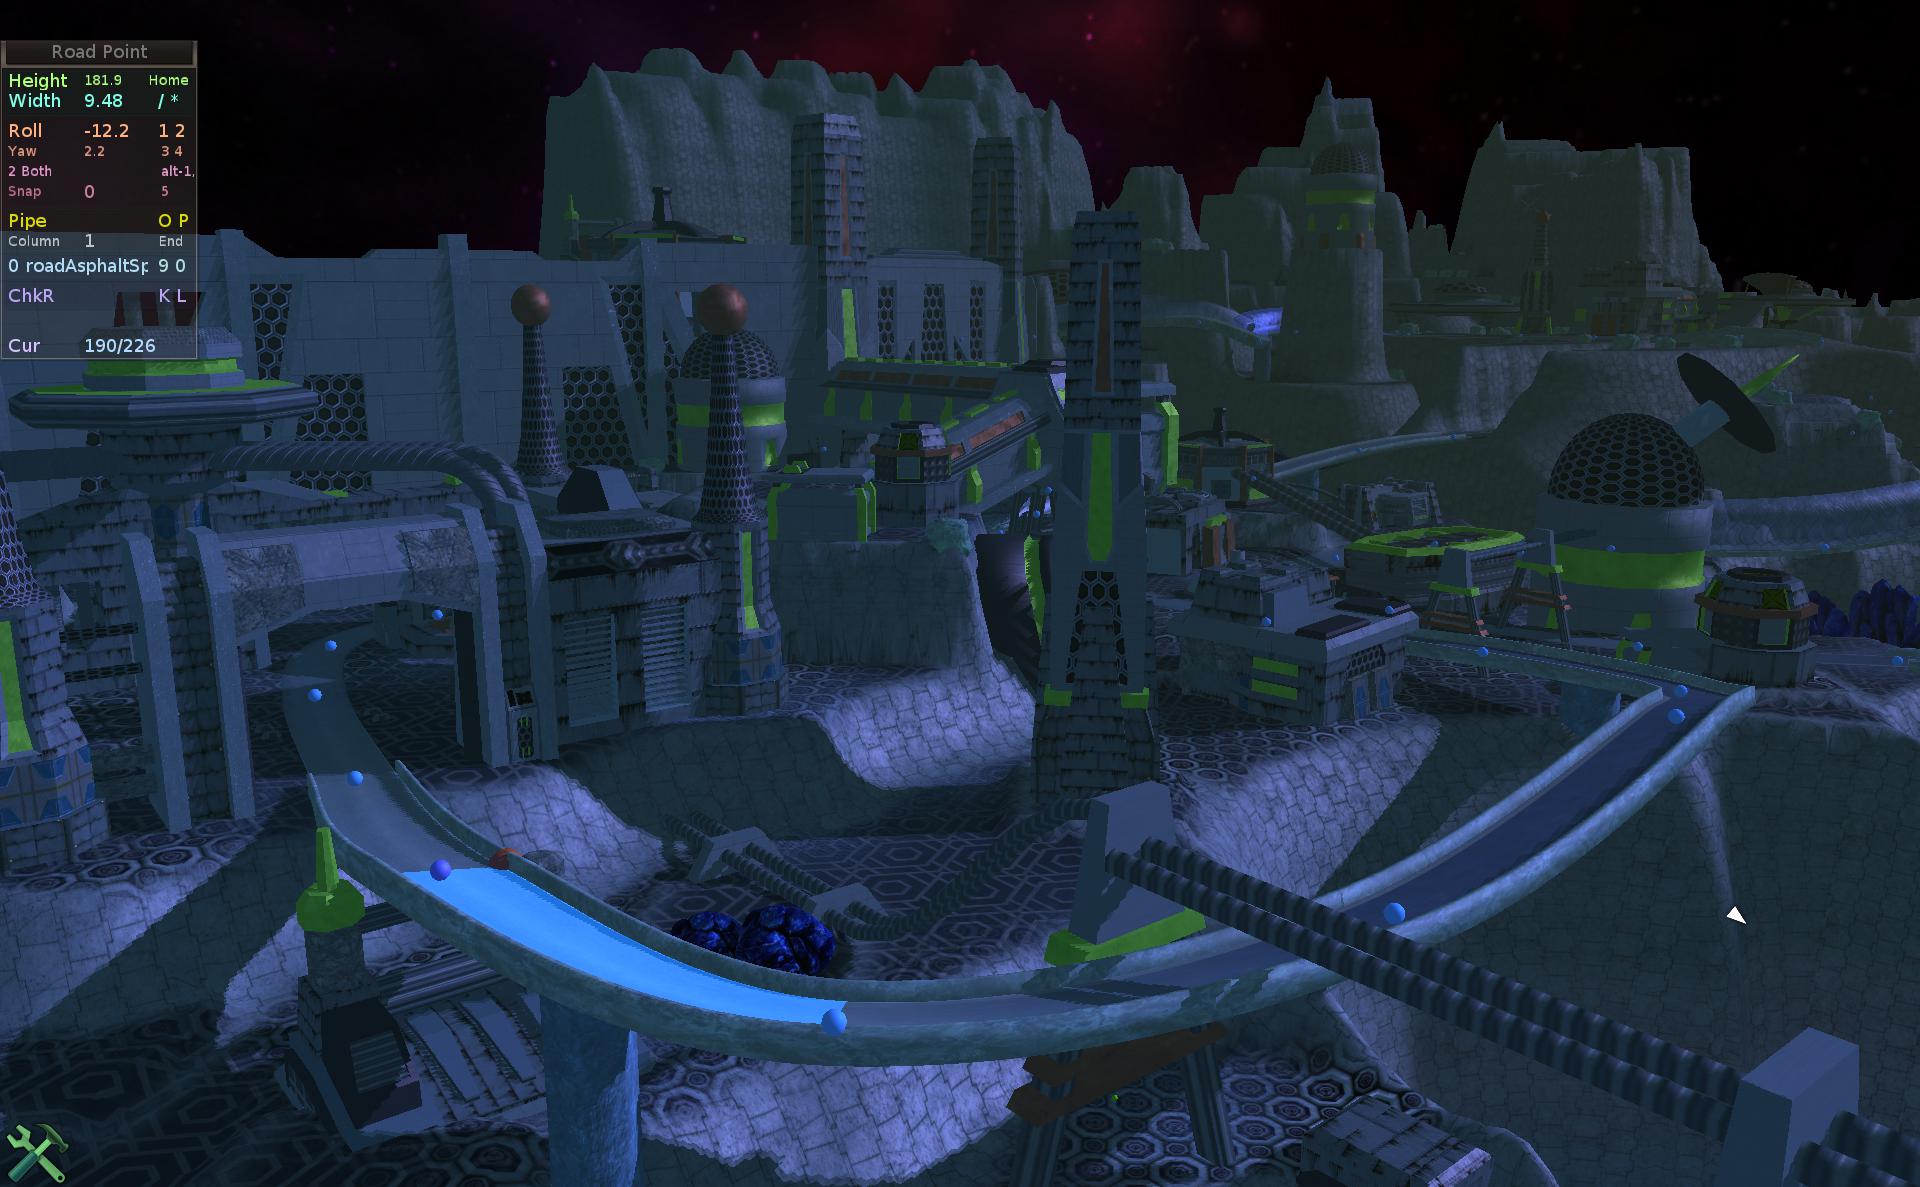
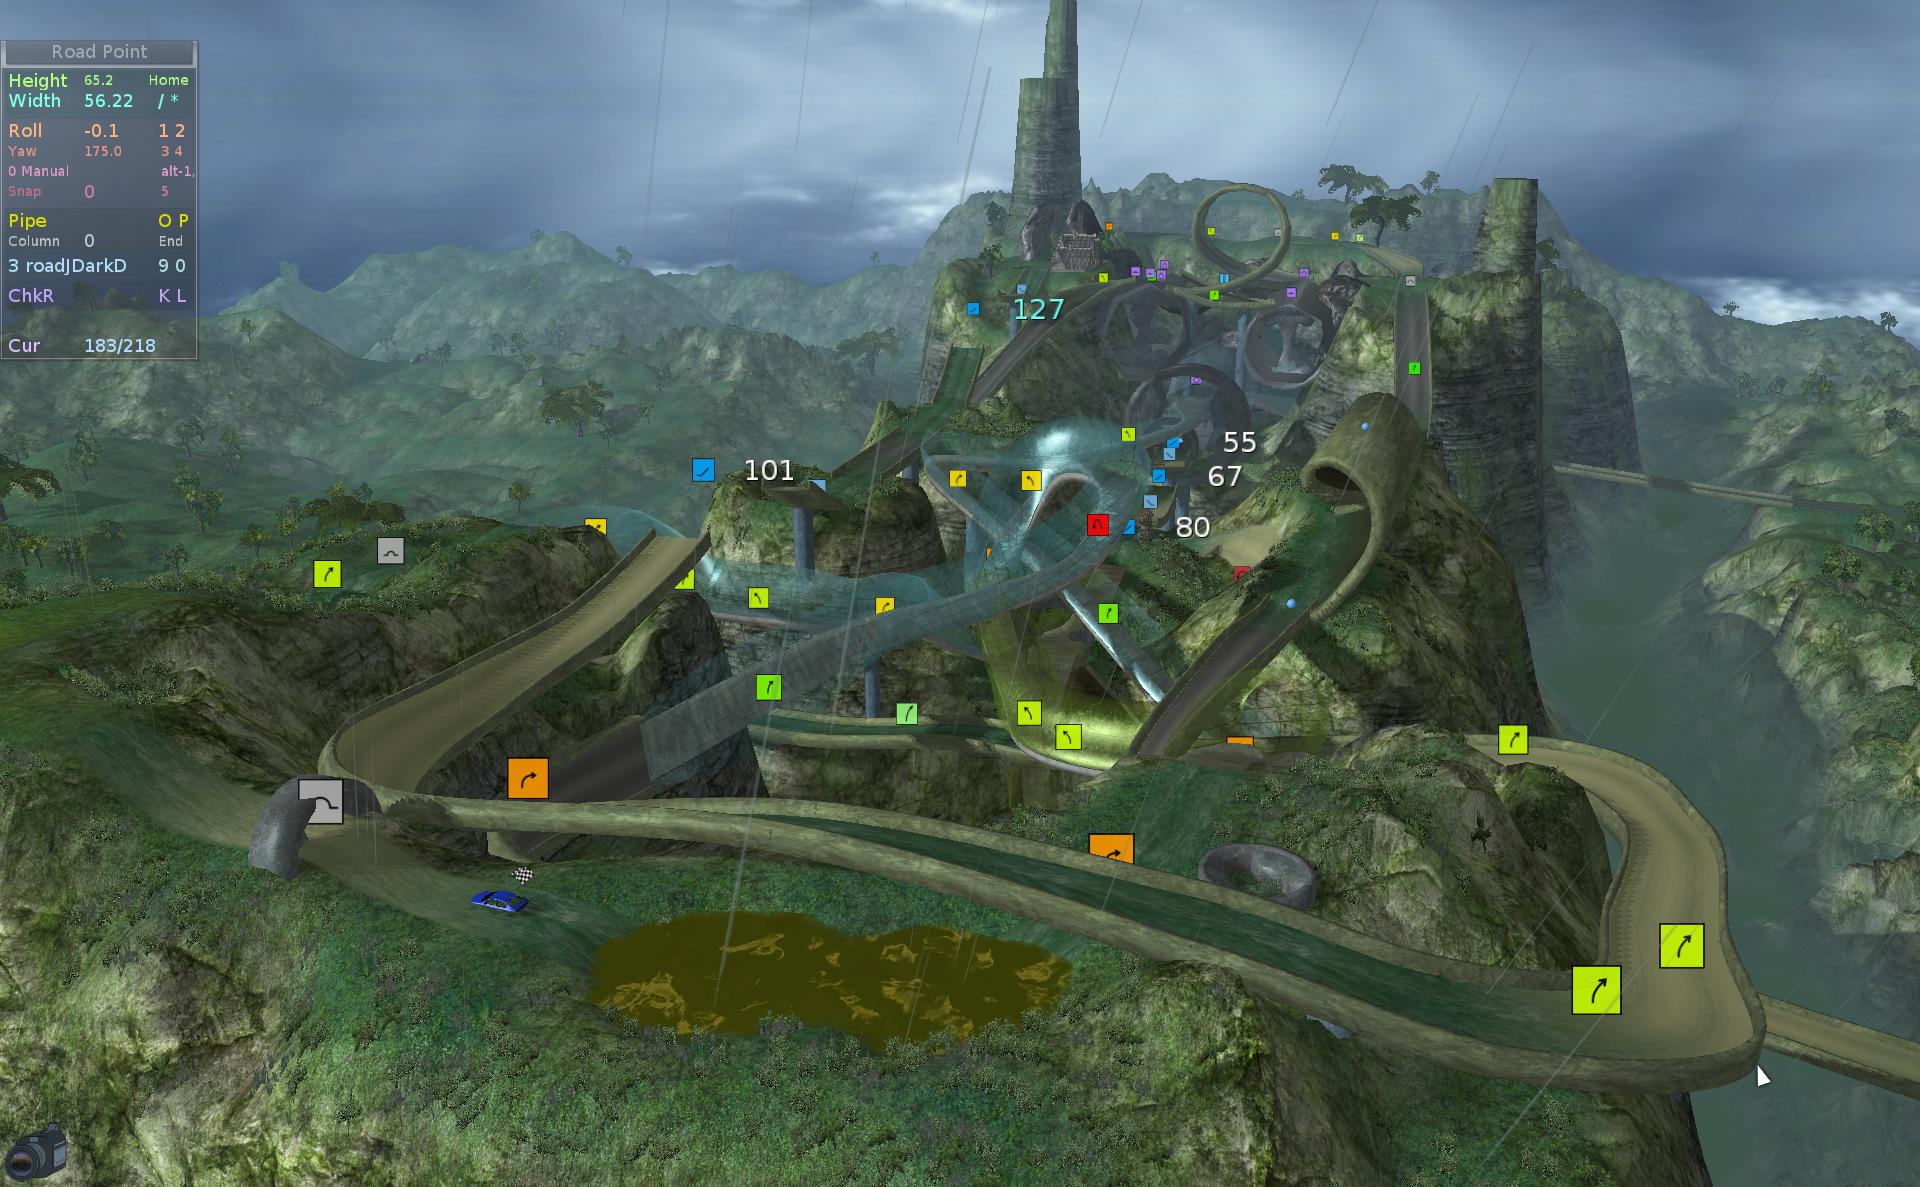
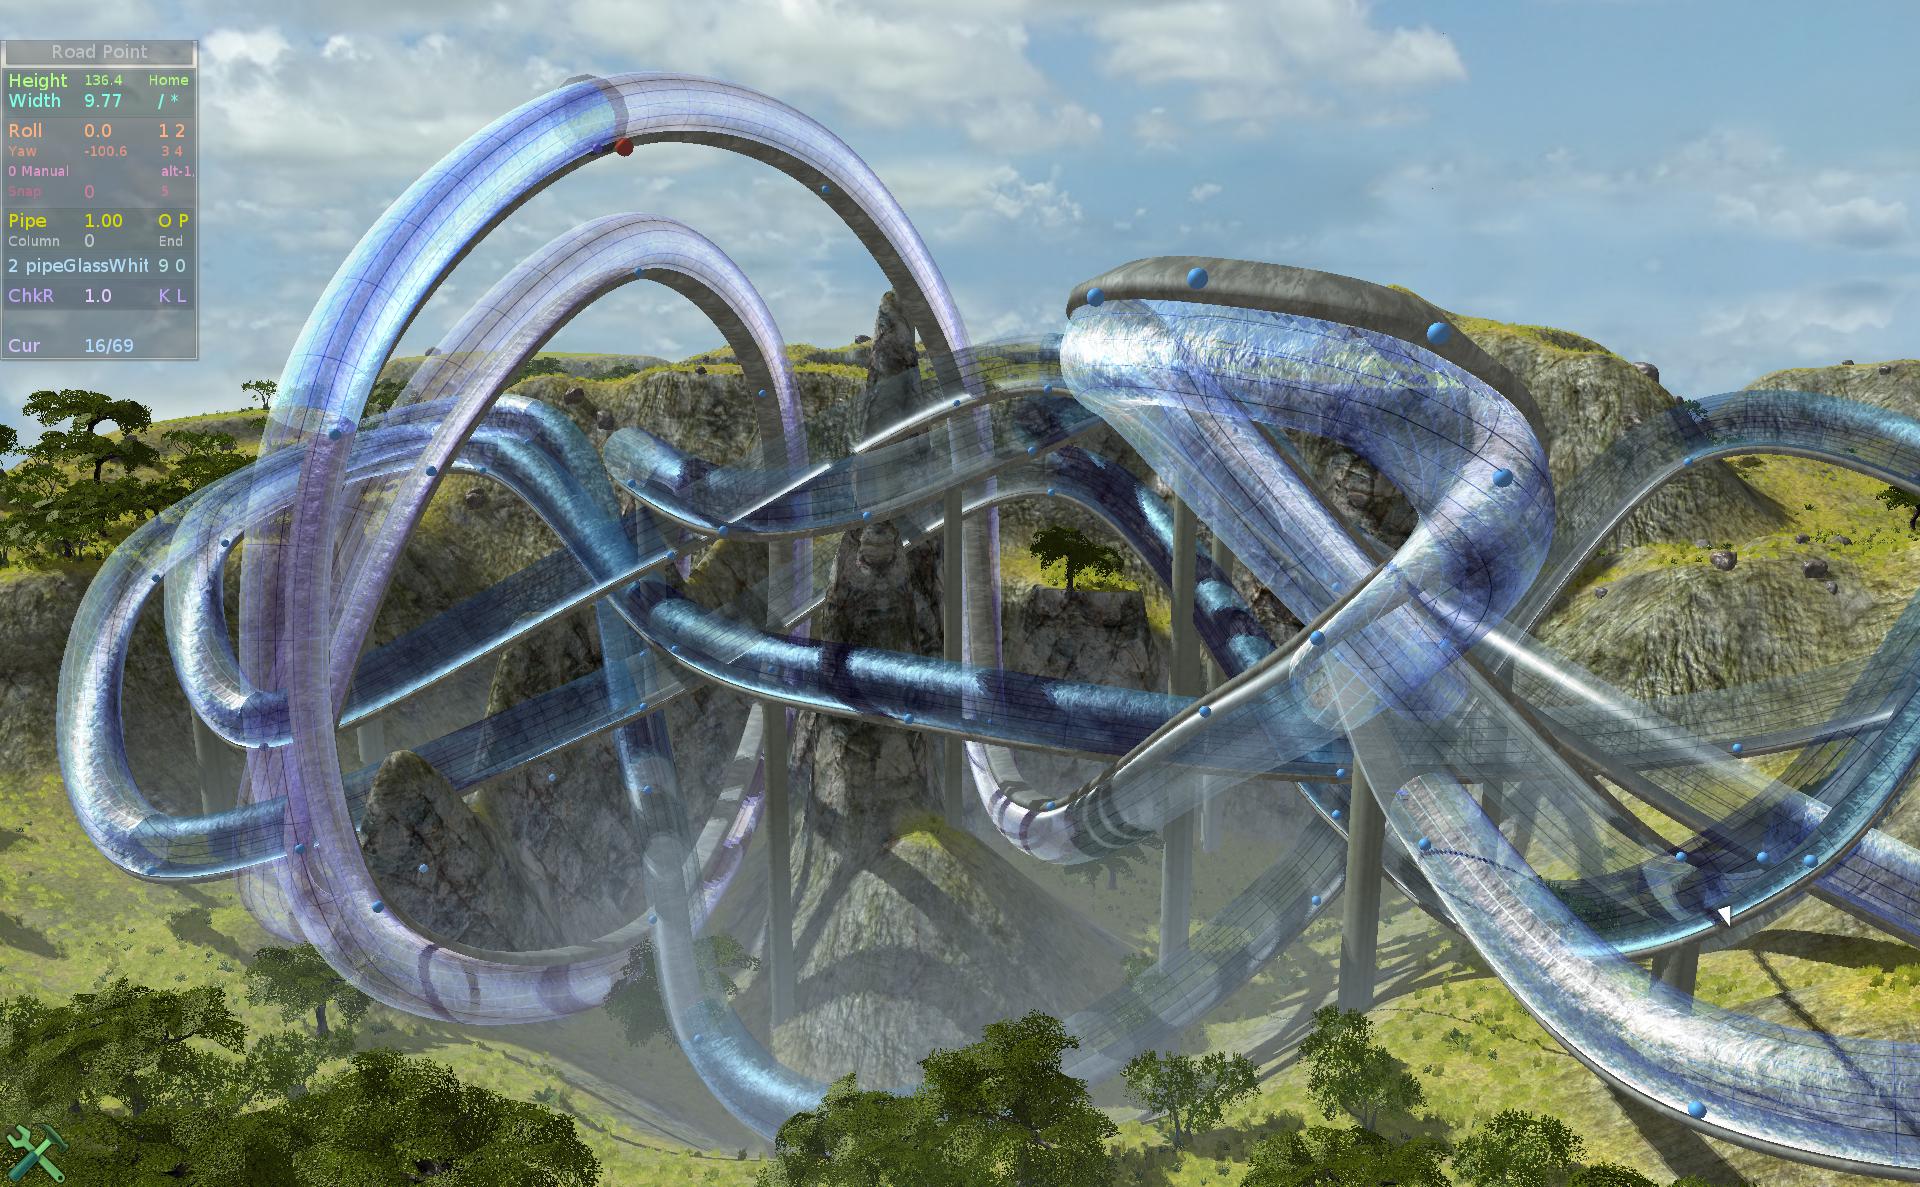
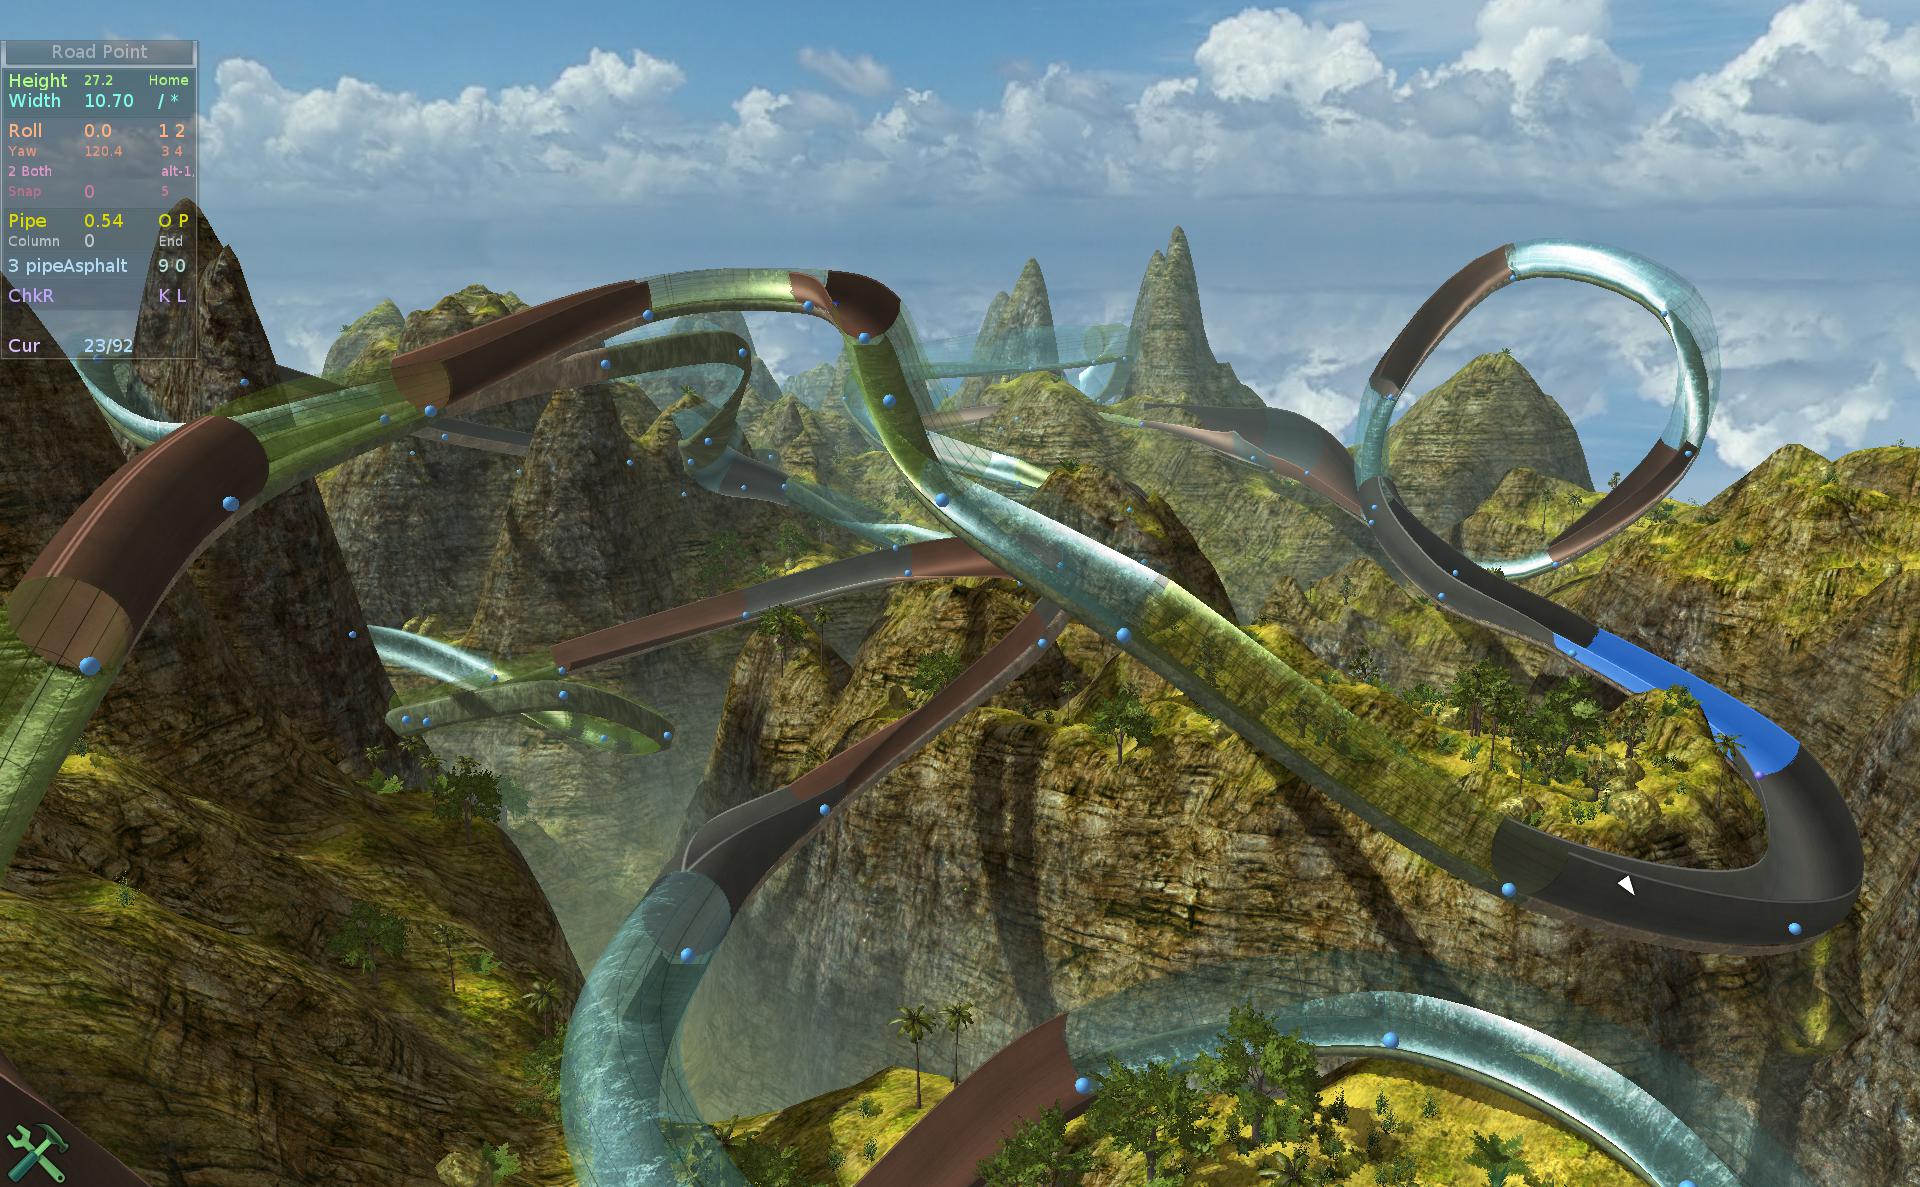
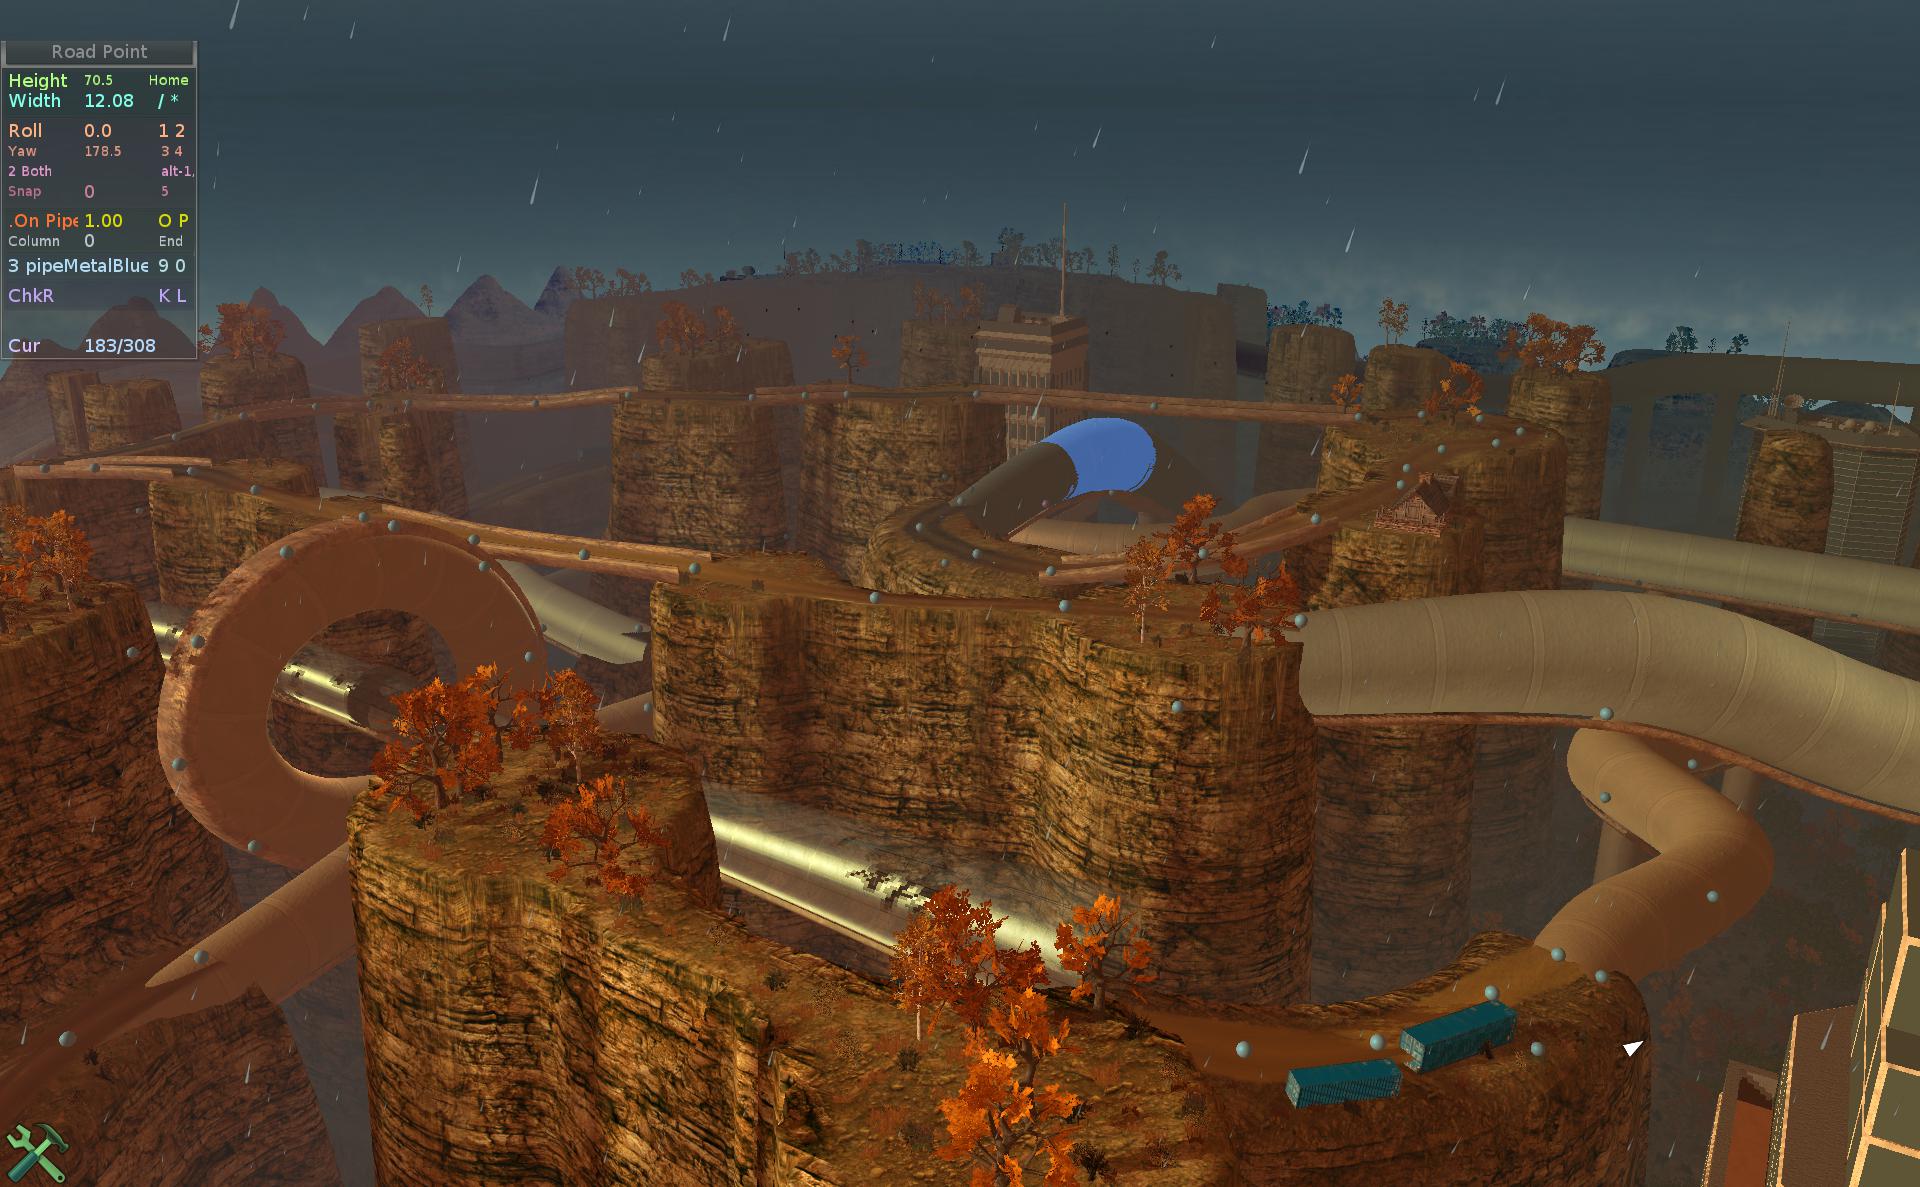
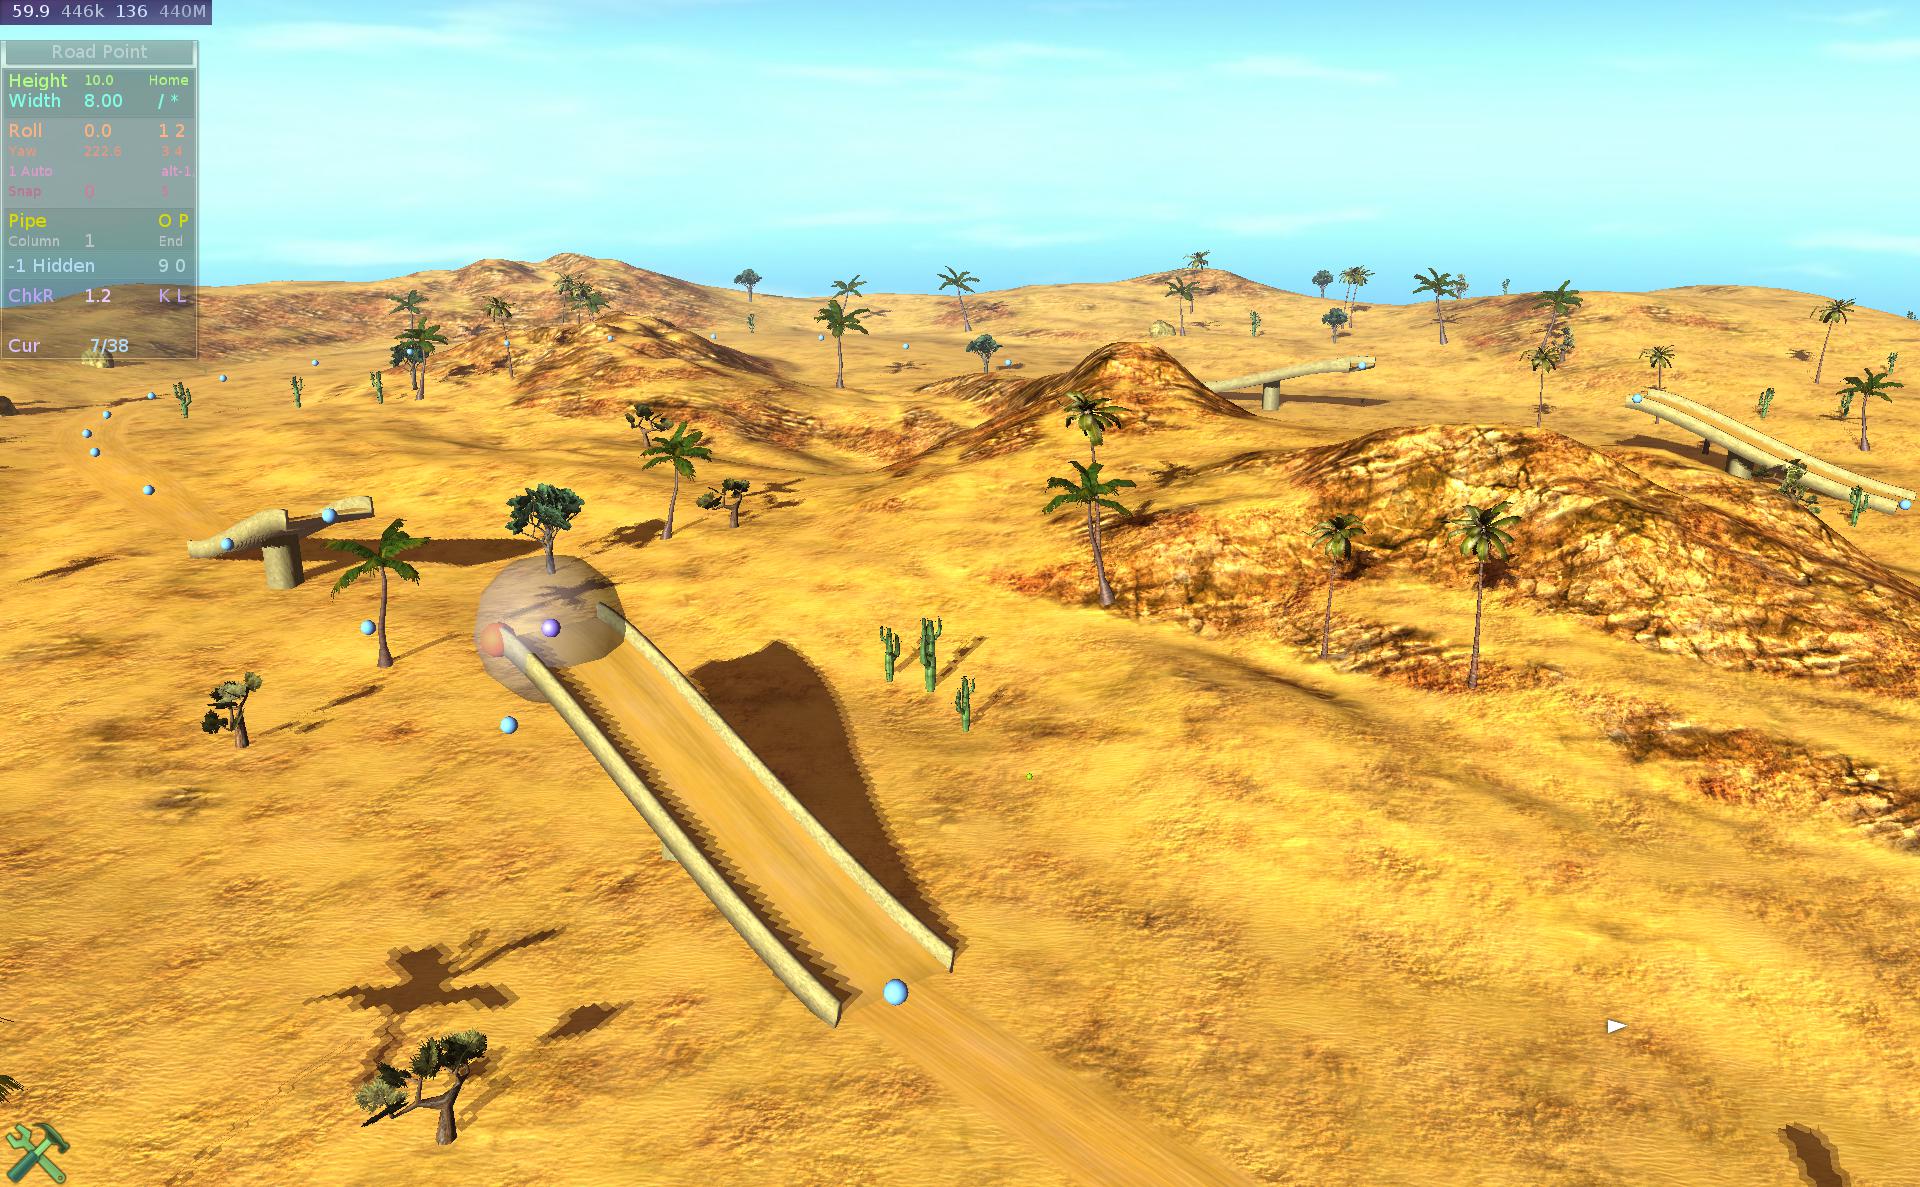
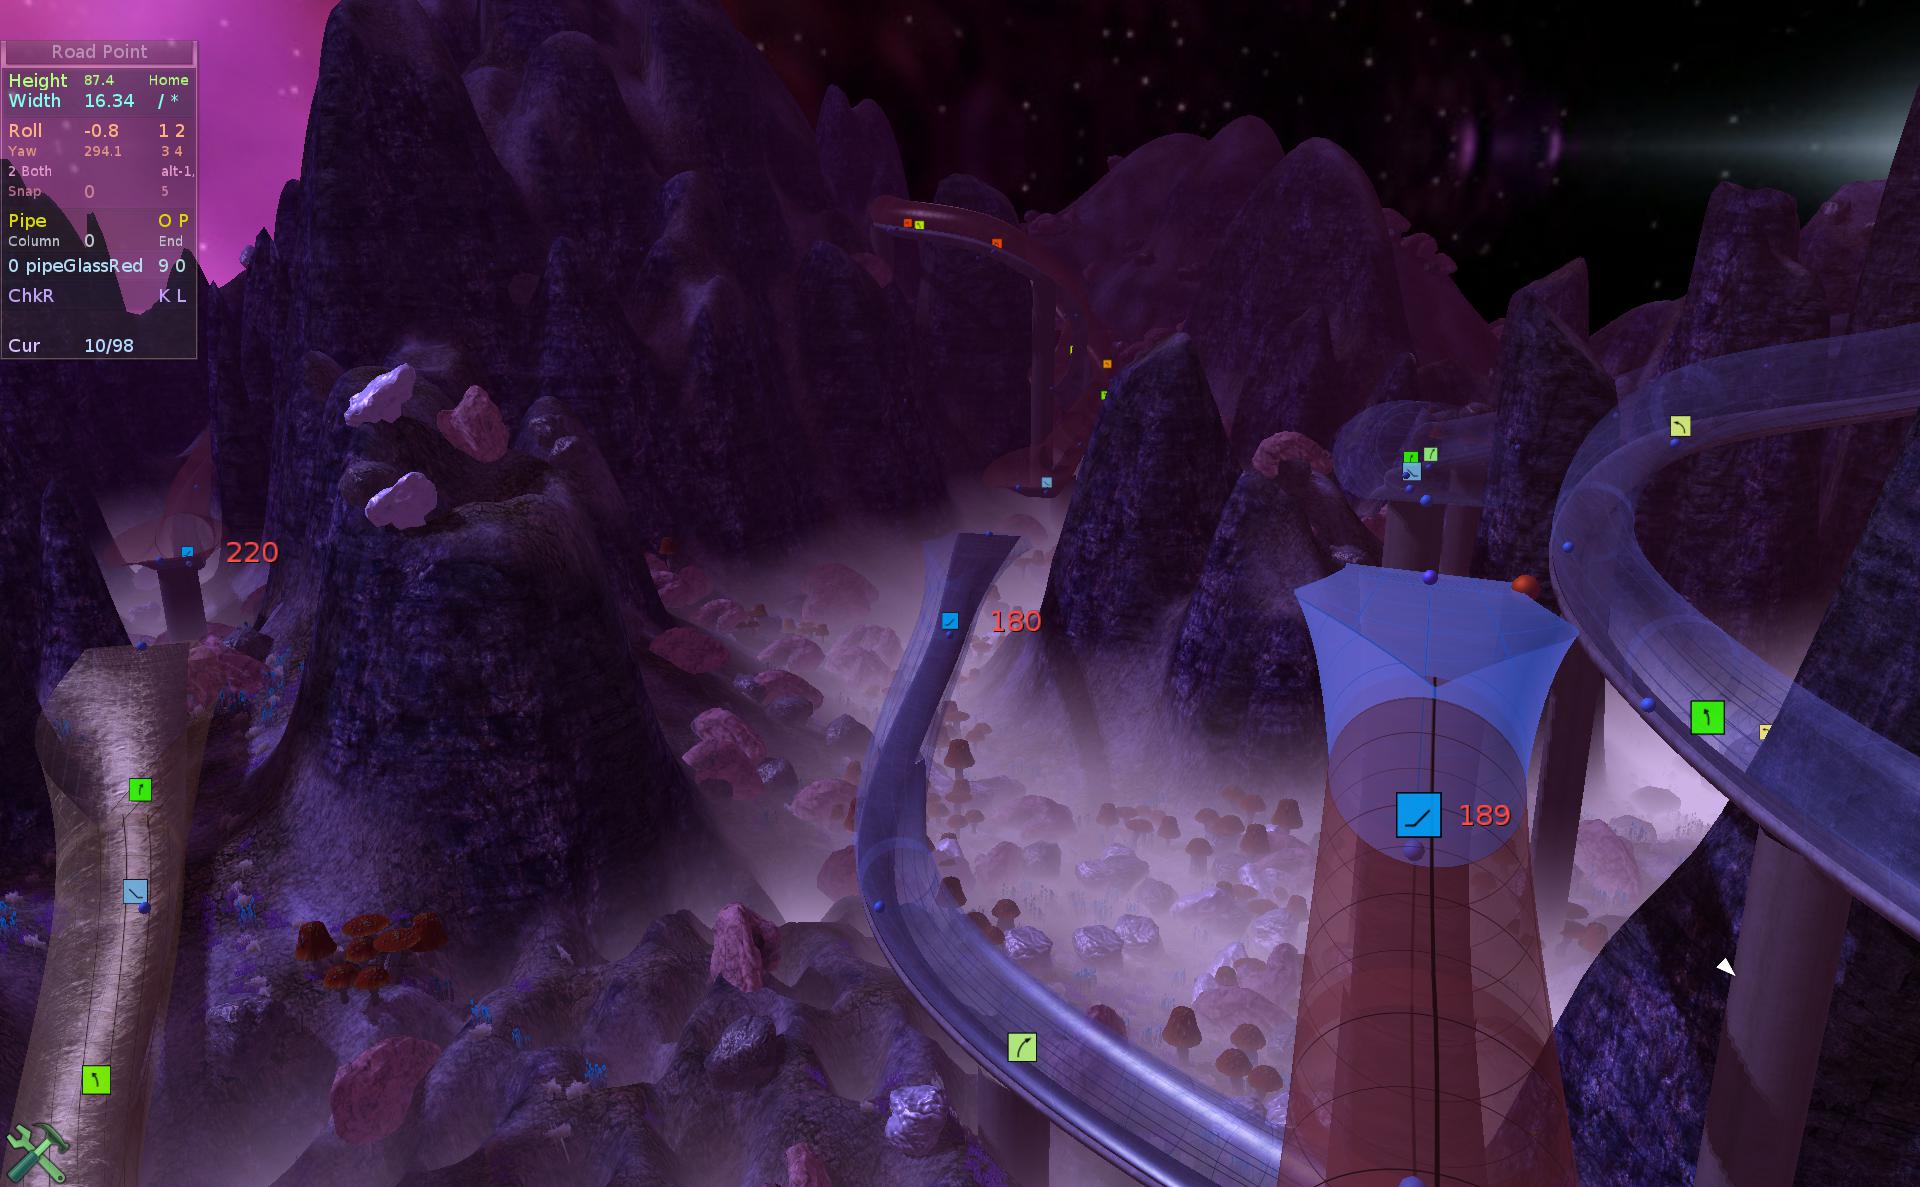
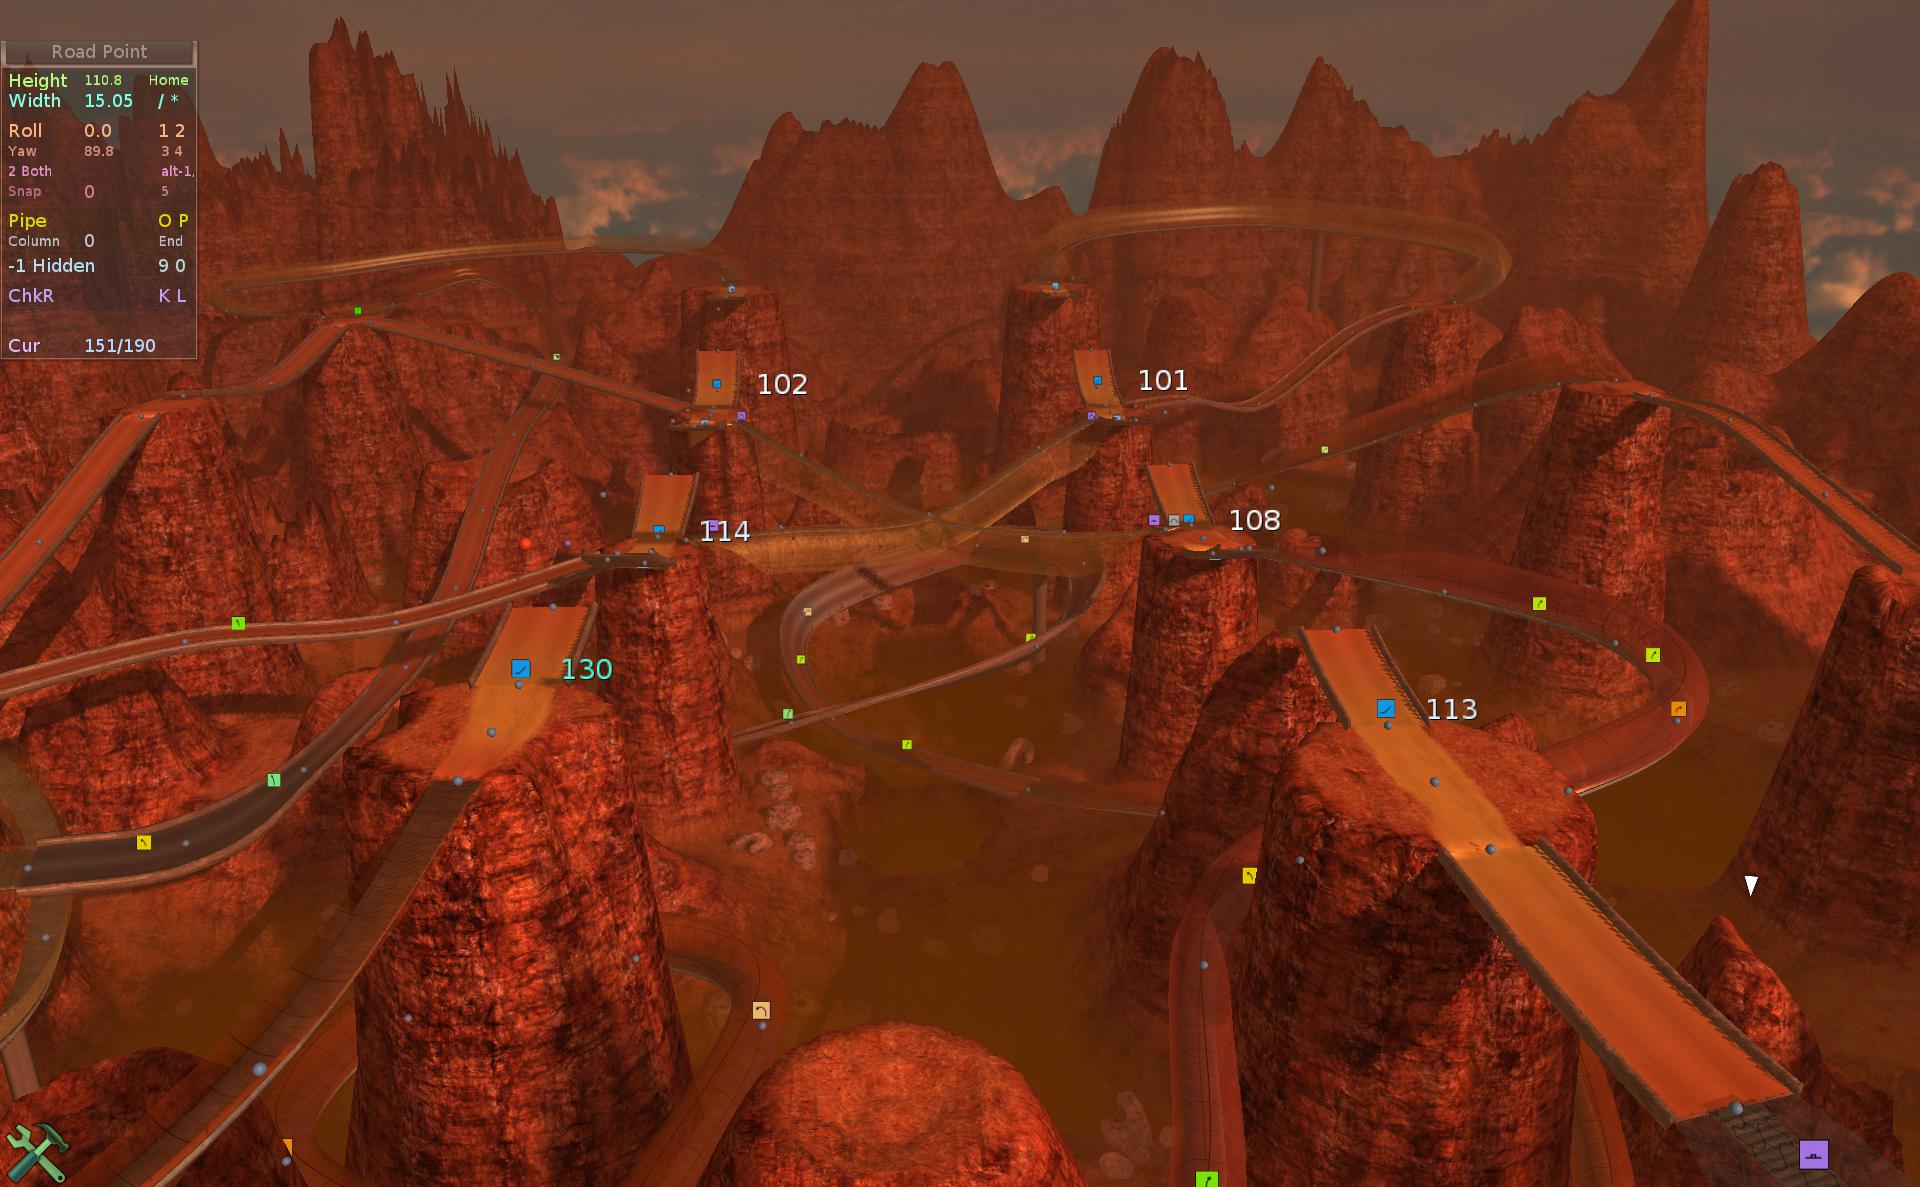
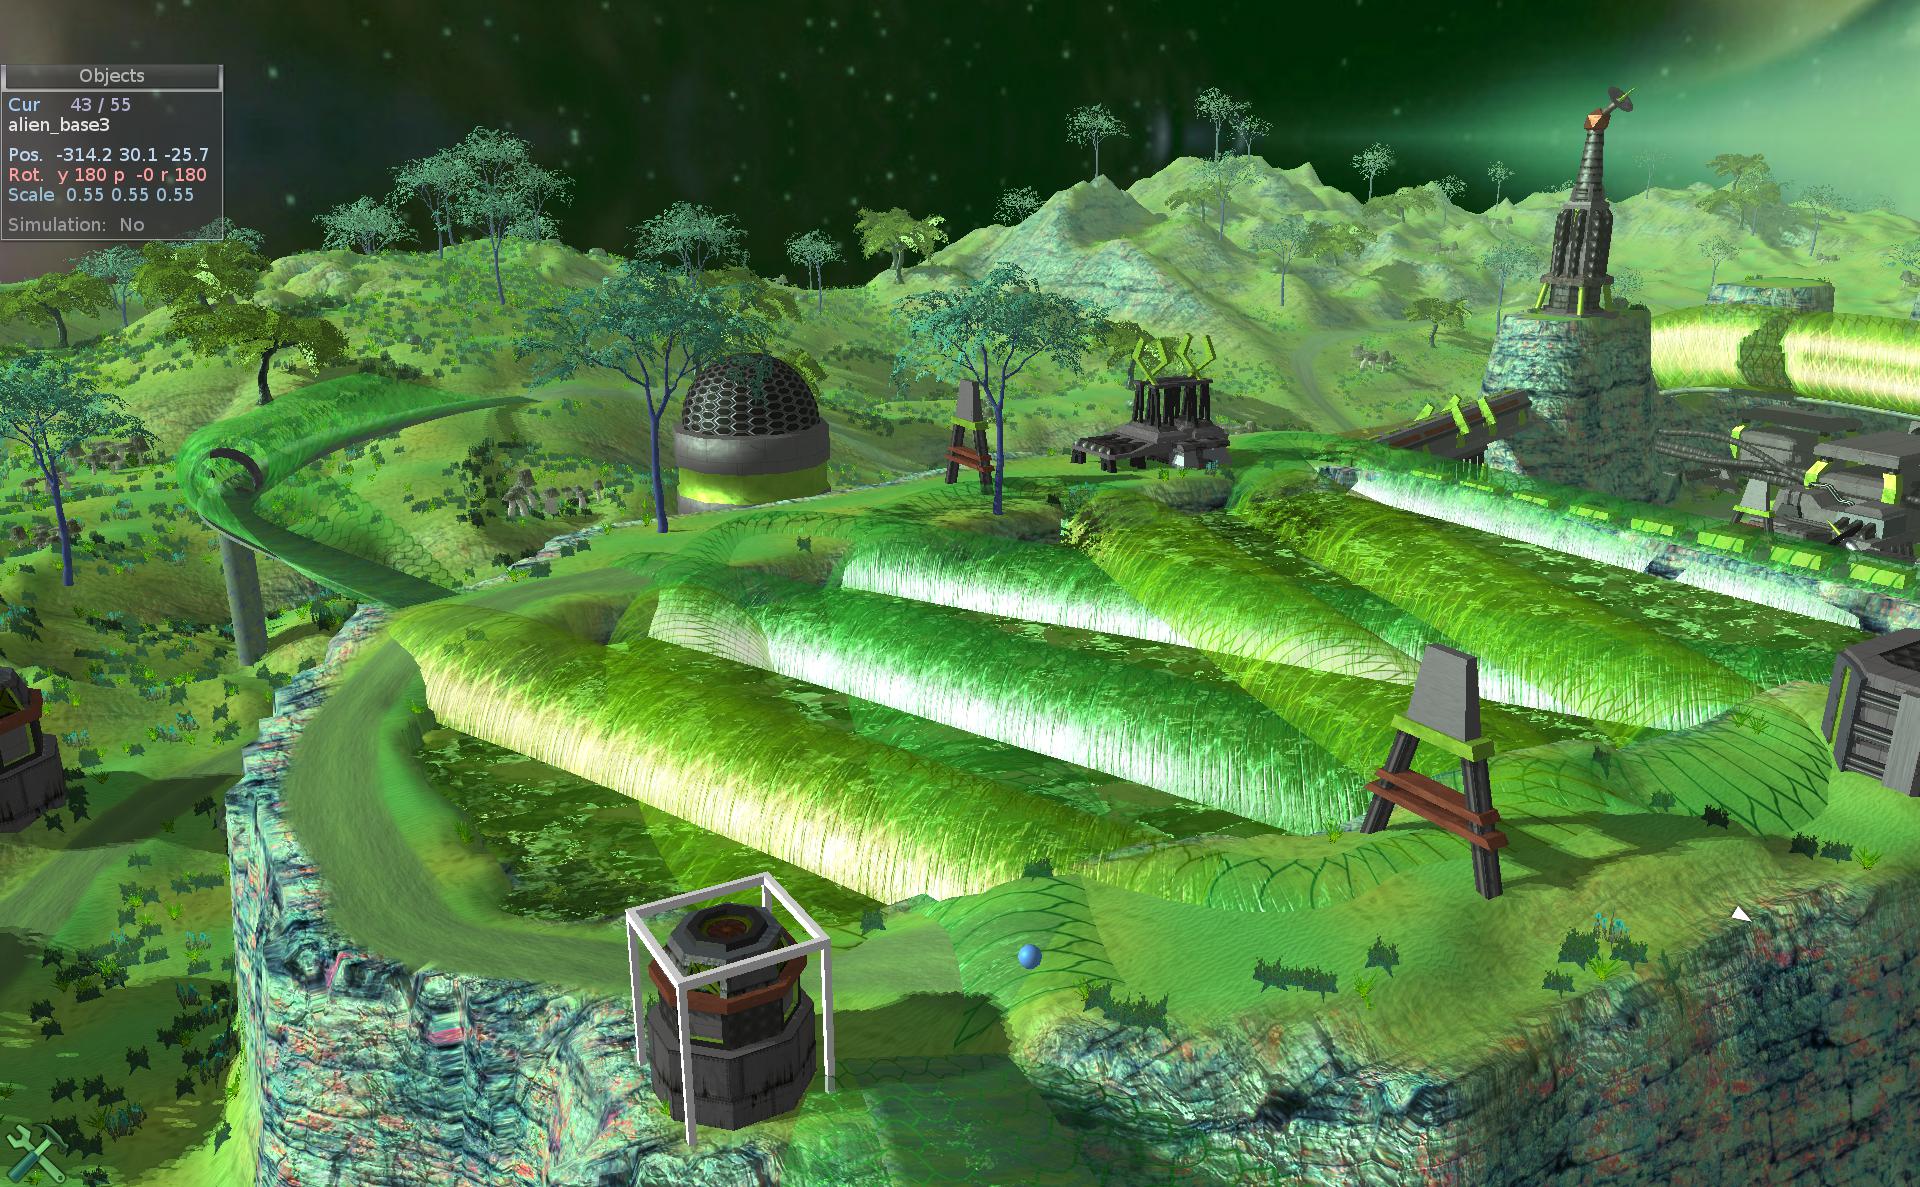
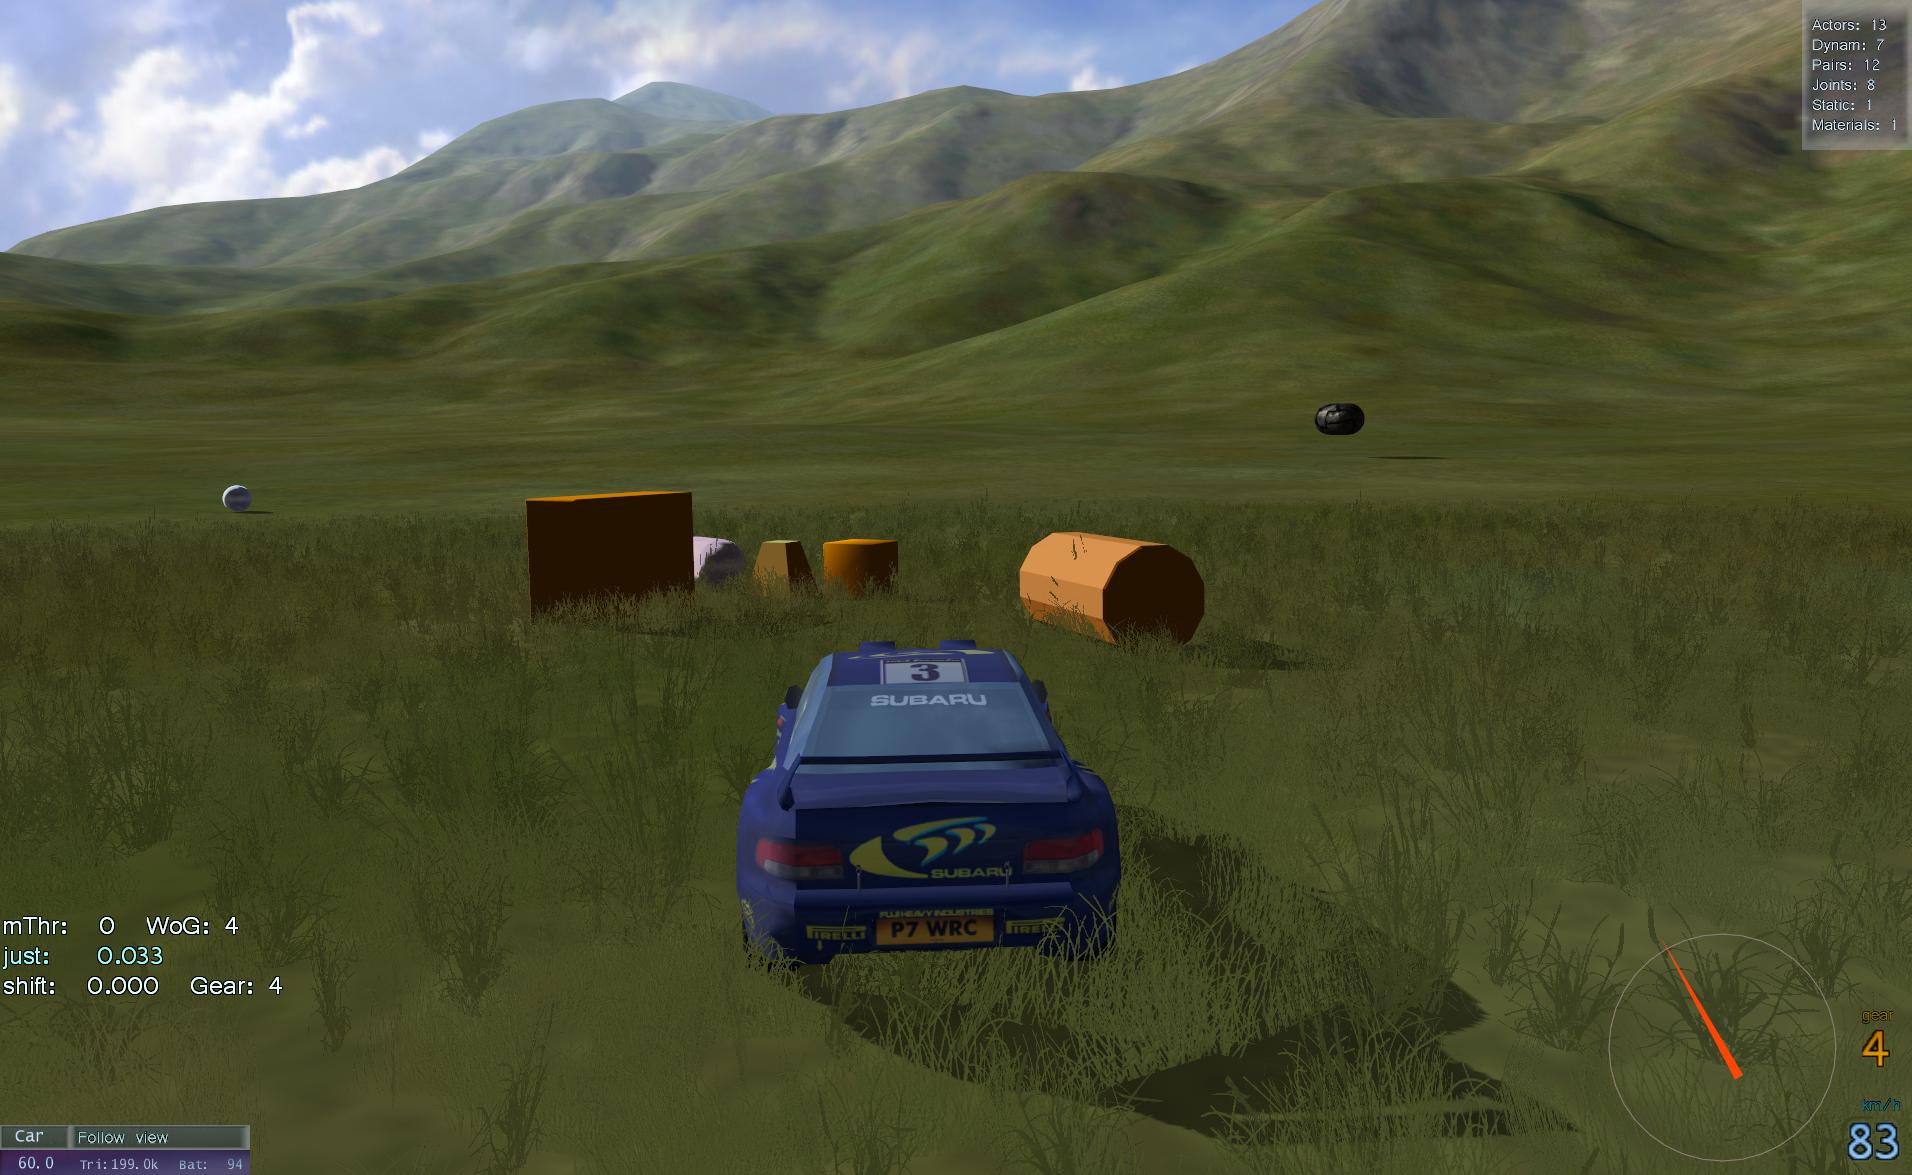
The continuation of our Stunt Rally game, now using latest Ogre-Next rendering engine. That older project page has more history with info. I will focus here only on new updates.
📂Media
Sources available here and also tracks (all repos here).
Forum topic with key progress steps and few screenshots.
✍️Motivation and progress
Intro
I took over 6 years break from old Stunt Rally. I was occasionally playing and enjoying it, but also ignoring any flaws, and thinking hard not to get into developing it again more (well that’s also the way for any left commercial software), as I knew it would absorb all my free time if I did.
Forum Q&A👥
In January 2022, I started thinking of checking out the new rendering engine Ogre-Next and posted on Ogre forum my topic with many questions to get more knowledge about it’s state. I has been developed (and used) since years (probably 2015 or so) but I haven’t seen few key features like: Gui, fog, old plugin for grass, no demos for particles or water etc. Old Ogre had plenty. Ogre-Next had many, but not the very broad palette of game related components.
Terrain Demo⛰️
Shortly after I gave it a try and started a small demo (sources here) with nature scene. I was quite surprised by performance, how high and smooth Fps was with lots of vegetation. Contrary to old vegetation plugin PagedGeometry, we still used in old SR, which was also the worst thing, causing lags and delays while driving. Back then even fog wasn’t part of new engine and had to be added with some knowledge. Luckily new Atmosphere component for fog and sun was made not long after.
No Gui
Since there was no working MyGui fork (was earlier) and all else was difficult, I didn’t move much further. Even though Ogre-Next is still technically Ogre, about half of everything in code changed. Even using terrain was completely different as the system was new. It was good since it has better performance but it also meant a lot more trouble to use it and later port Stunt Rally stuff into it, and we have an editor for it too and own custom blendmap I made with noise.
Continued
Half a year later in October 2022 I got back to my terrain demo, which was based on Ogre-Next terrain sample. Sources for it are there and I even made a gallery, it looked cool.
Gui🪟
I also managed to build MyGui with Ogre-Next (forum topic) and with some help continued its fork, after some trouble later, it was fixed and started working well. This was likely the key point to start porting SR, while also knowing particles work, and my demo works smooth with better Fps and no lags for vegetation.
SR3 start🚗
I then started porting SR still in Oct 2022 and calling it SR3 (3.0 was also latest Ogre-Next version). First by disabling almost everything in old SR code and making it build with Ogre-Next. Then by slowly restoring stuff one at a time and I mean really slowly.
Restoring stuff🌐
It took months and literally almost everything was causing trouble or not working at first in Ogre-Next. It’s like normal developing, I mean I code then test and fix it to work (yeah the old way, no unit tests, seriously). On top of that, there were few annoying new bugs due to how Ogre-Next works and needed something extra to fix, what was already working normally in Ogre before.
Fast forward⏩
In Feb 2023 MyGui started working and could be used in SR3. Worse still, during my endless forum topic we found many bugs in Ogre-Next too. It’s like half of my problems there ended in a bug. A bit disappointing TBH, but that’s the way with software nowadays. It’s buggy and needs updates constantly. Which brings me to support aspect. If it was great I wouldn’t mind. And mostly it was, but lately was waiting 1-3 weeks for response and have many ongoing issues and unanswered questions. It’s a pity that it’s just (putting all contributors aside) mostly a one man’s project. Kind of like with SR too, especially after that one year when there were more programmers.
Water🌊, Effects
Last major, needed features for SR3 were: water and effects (like SSAO), probably the biggest thing. Worse still, it wasn’t developed by me, but mostly by scrawl (and others) back in 2013 or so. So I had to redo another thing in Ogre-Next by myself now. It was difficult but good learning experience. HLMS shaders, are big, complicated, have lots of code and variations, and yeah it’s much more difficult than just using a shader editor and putting together blocks or just installing a water add-on. We still are missing a few essential ones like: soft particles and HDR with bloom, that old SR had around 2013 already.
📊Other engines
Well this section might be of use and have some info. Not just SR3 history like above. Meanwhile I did think about other engines and shortly looked at 3 of them. There is a big list on wiki too.
I did recently write a tutorial page on CG graphics, its Engines section could be better too.
This is my personal view, and let’s keep in mind that I did look at them after SR was already made (took 5 years) and it has its own track / map editor made by me. It is FOSS too.
Unity
Bit older than UE I guess but also a huge hub for commercial stuff. Even the tutorial mini game had paid crap one could buy for it. That’s really the first thing that pops out instantly for me. I do hate commercial stuff. I guess you could find something “free” but its like looking for free money in city, roughly for me. It will only be a free commercial for paid stuff. Sure you can find stuff made already like rivers, vegetation and what not but given that this has a price, it’s instantly not for me. And it never has any other license than “you can only use it for Unity”.
UE5
This thing certainly got on my nerves. Turns out I don’t even have a PC for it. I started by trying to download. Nope, you need to get full sources with deps and then build them on Linux. I tried few times before I realized this needs over 100GB to complete IIRC. Yeah my SSD with OS is still just 128GB and the one new I got has just 512GB and doesn’t really have that much free space.
Whatever, the next thing was a real killer for me. When it finally started (after building for hours) it showed a tiny logo with a tiny text showing that it needs to build shaders, over 4000 of them. I can’t even. And it did compile them on like 6 CPU cores for 30 minutes. Seriously WTF.. and I don’t even use this term. I don’t know for sure, but it wasn’t just once that it had to do this. I remember few times that “building all shaders” time waste, possibly even on each new project created or so.
Well then I realized my PC (with 12 year old CPU) isn’t even in same era, UE5 would need you to first spend a lot of money for PC with latest hardware.. to probably still take a long to even start. Needless to say it is also a huge hub for commercial add-ons etc.
If we look at SR which has over 200 tracks already and on average 1 of them is just 5MB, not GB we can see the huge gap. One demo in UE5 was 100GB.
I did later try it out and wrote here. After even found a whole channel talking about its bigger issues.
Godot
I was pleasantly surprised to find waterways plugin for rivers and also seeing it’s MIT license. Feels like the proper way of doing stuff for FLOSS software and games like SR3. Would be nice to have it in SR for sure, but at least I can learn from it and even use sources if I ever find the time for this. Well, getting back to Godot, it’s big, I don’t have much of experience. It has its way of doing things and may be even extended. But own language. But let me sum this all up in next chapter. I did at some point ask Calinou who knows it, and he did not recommend using Godot for SR3. The best nature and terrain demo I found is this jungledemo for Godot. It did feel a bit slower (than SR3 now), got below 60 Fps.
Common
So let’s end this quick look around. Each game engine has lots of stuff. And I can’t even judge how long would I need to learn it, to estimate how long it would need, to port SR to it (any engine). And how would loading tracks look in it, or how much more complicated editing them would be. I’m pretty sure it’d be a waste of time and effort. As for game simulation, I guess I could build as a DLL or something to run in it, but that just doesn’t feel right at all. I mean what for, so that I could use engine’s features sure, but I’d need to waste a lot of time (in total) for starting it, clicking everywhere, etc. Lastly learning its issues and their solutions. Every big engine has something specific to it and problems with some things for sure. Meanwhile I already had a lot of code written to do what and exactly how I wanted it to be, e.g. editor for creating SR tracks.
🟢Ogre-Next
❔Is it good for you?
Obviously it depends. But shortly: no, not really, unless you’re already using it, or Ogre. It is a rendering (by rasterization) engine only. So contrary to the game engines listed above, you don’t get anything beside rendering, i.e. no physics (e.g. bullet), no sound (e.g. openal), GUI, scripting, network etc.
It is for advanced users / programmers. This means you need advanced programming skills to use it fully. Right now I also believe it means you need to find bugs in it yourself too. Surely there are some still and the more I use it the more I find. And I’d expect it to have none OFC, sadly that’s not possible.
There is documentation for it, but I can’t say it is covering all topics you might need. Some features I needed later had solutions that needed to be found in older forum topics. This wasn’t easy since they’re old and I don’t know if it’s still valid and there are also plenty of unneeded texts in posts. And support? Yeah it’s nice and great when it happens but otherwise you’re left alone with it (even for months). I also can’t say it’s popular. Seems it was much more earlier around 2016 or so and the Ogre 1.x version is still more popular also supports more hardware.
Good things last, it has few features, modern ones too like few types of GI (yet it doesn’t support terrain so it’s useless), HLMS shaders, etc. It is low level, meaning it can give you more control and optimization. This also means much more work and coding, not just setting checkboxes etc. I don’t have any practical comparison here, I haven’t used any other just older Ogre. Not counting that fail of a commercial engine UE5 or Unity.
✅Why I use it
The main reason was really simple. I/we made SR in Ogre so moving to Ogre-Next sounded like least effort. Surely old Ogre changed and I got myself stuck to shiny material generator which scrawl wrote back in 2013 or so. Meanwhile RTSS shaders got better in Ogre, and lately even got auto instancing. I decided to skip all that and make a bigger step, biggest possible for better hardware and that was using latest Ogre-Next. Even with few things or components missing. It also featured auto instancing by itself which I liked most, secondly the new terrain has less batches too (more performance).
🔮Engines
Surely there are other engines possible to use, eg. bgfx. There is a good website about engines here. I wrote a tutorial page on rendering, with engines section.
Recently I got interested in Wicked game engine, it has way more features, is active, has editor, physics, etc. It would be the engine of my choice now for SR. Or the next huge thing to move SR to. I wrote more on this topic in status page.
⌛Conclusions
After 3 full years of SR3 developing I got tired again and stopped with 3.3 release at end of 2024 (for which I did finally make 3 new tracks). So in total SR3 took about 8 years of development. There was a 6 years gap between SR2 end and SR3 start.
I’m glad SR3 runs very smooth now, has SSAO and sunrays etc. After I replaced most vegetation it also gained new great look in jungles, deserts, forests, etc. New engine sounds were badly needed since the game start, I finally made them one way I could, unfortunately still an issue here. I even made 2 game videos for 3.3 version as a nice way to remember it (with my favorite music, metal songs parts).
I think I wrote too many things in my roadmap list, lots of them are just bugs from using Ogre-Next or things left to fix in SR3 for it. And it all got too tiring and complicated, not easy and fun after time. Even adding SSAO was a long process, something that is just done and ready to use in other engines. Those OgreNext related issues would go away if I started moving do WickedEngine, but of course there would be a gigantic explosion with plenty more, stuff needing to be reimplemented there.
I also got less time due to IRL issues and topics I have to deal with, like my mother’s disability. At end of SR3 status page, I also wrote that I just needed a break and do other projects, including electronics. These are now visible in projects from 2025, and up. Many cool things. way smaller than this big game project.
I’ve spend over 1 month in total, exploring the Unreal Engine 5.3 on Linux and gathered some opinions about it. I’ll say upfront: I don’t really like it and this version is not even fully working on Linux. And no: I will not make or port Stunt Rally to it, I know for sure now. This isn’t a strict tutorial, but my gathered experience, many complaints, with some useful links. UE like other big, commercial, modern engines has even bigger issues. I added a chapter at end with them and more links.
📂Gallery🏞️
Short gallery with showcase here. Long gallery with many more things shown and including visible bugs.
✍️Motivation
Well I have been using Ogre rendering engine since about 2007. Over a year ago moved to OgreNext, which is even less popular. I can simply say there is just one person (the developer) who is able to, and does usually answer my questions, or fixes issues.
Naturally at some point I wanted to get at least a basic knowledge of other engines. Since they’re so highly popular and have big forums and communities. And get my own opinion, also regarding what’s best for Stunt Rally (rendering only since we already have simulation and even own track editor).
I made 3 initial choices due to highest popularity: Unreal, Unity, Godot. I did already check them in 2022, and wrote a little in my Rendering “tutorial”. But ultimately for me, Unity died a sudden death due to their freaking license changes (which shocked lots of developers and made them move). I did check out Godot and so far its best demo for terrain and nature, and it didn’t seem too great at performing there. Which seems also a popular opinion that it doesn’t handle big 3D scenes that well.
So, the goal was not really to move SR to any of them. It was to assess if that’d be even reasonable, and logically prove that it’s not (even only for rendering purpose). Last and quite important reason was to learn “the other side”, new effects and technologies, and know what would be possible to achieve in SR too (someday).
📜Earlier try
I did try UE on my old PC. Back then in 2020, UE5 had to be built from sources on Linux. Took me like 50 GB of space to download. And few tries to finish, as there was no info (and I had a small SSD). Then few hours to even build. Lastly at start it took 30 min to compile over 5000 freaking shaders. So ugh, yeah, clearly my PC was too old for UE5. I did try later after I bought a new PC. It does still need 5 min for shaders now. And that’s needed when major options are changed. Still, my impression is that most people would need to buy a new PC to use UE5, unless they already got a new gaming PC. It is really demanding on hardware.
🔍Observations, my issues
Of course, these are specific to me, using it on Linux. Also to what I was testing: for Stunt Rally try, so in 3D, mainly for driving cars, on gravel and for stunts. Also I didn’t spend years using UE just maybe over 1 month total. I could be wrong, or assumed something using my anti-commercial logic, or just didn’t care to investigate longer.
I list here all my issues I had using UE5.
UE is a big commercial hub, feels like a shop. Not for true FOSS projects. Lots of assets, meant to be used for Unreal projects only. Nothing is CC Licensed. They also have own binary file format for everything, only .ini readable for options. I did import e.g. trees from .fbx (which can be exported from Blender) but that needed more work, making materials later.
Aimed at Windows and making big profits. Obviously if someone paid for Windows, they’re more likely to pay for its software. Linux is the least popular so least supported.
Not meant to be used on Linux only. Nothing can be downloaded, as this needs the freaking Launcher application which has only msi installer. Even their demos don’t support Linux, e.g. this and that. Thus IMO they don’t fully support Linux, just wanted to add it to platforms list, as only the engine works but not the rest of their ecosystem. The Quixel Bridge is also not working at all. I don’t care about that integration, to add assets directly to project content. I’m a fan of simple download buttons or repositories. But big companies progress by buying other companies and so “improving”, which is also a way to be more monopolistic.
Editor GUI. IMO it’s utter garbage and a mess. I wouldn’t enjoy using it daily. There is a “magical” way to scale whole GUI. But no real options to choose font sizes, icons, themes or other visual stuff. Seriously, in such a big editor, used by so many people every day? Sounds like a joke to me. I can’t take seriously any* programs which don’t allow user to (at least) change their theme and font size. *even small, but except my own. I have made my own themes for every software I used for longer.
Tons of properties, written in same tiny, plain text, no idea which important, no icons for settings or e.g. even colors or bigger fonts for more important/significant ones. No way to bookmark properties or settings to know which I want to remember easily. Should I like write them on paper or something like in middle ages, or remember all that? Some have tooltips (white) with decent text, some very little. At least the worst stuff is bottom in properties usually. And the (rhi) statistics texts are even smaller and less readable. I made my own Fps and statistics bar in SR and it has few detail modes now, medium size font, and even coloring from value, if it’s red that’s bad.
Editing terrain. Seriously cumbersome. If you ever seen or used Stunt Rally Track Editor, it should be pretty clear what I mean. Sure, I wrote it myself so it has what I find best already. I mean using just mouse wheel to adjust brush size and force. Also having keys that increase those. Then plenty of terrain brushes to choose from. All brushes using floats and computed for needed size. I could go on. We made over 200 tracks just using those tools. Seems like UE doesn’t care much about such tools. There are some other software programs (big and commercial too) that will make a terrain which you can import instead of editing. BTW I saw no way to import raw float heightmaps which we use since years for best quality.
Gizmo. Well it may be my personal hatred for that thing. But how am I supposed to drag that one axis if it’s covered by another. Probably need to focus, rotate around or use ctrl, meh. We don’t have a gizmo in SR editor, yes it may not be obvious how you’ll move etc, but you’ll always be able to do it, directly from anywhere.
Physics. I’ve seen some opinions on internet that it got worse in UE5 (has Chaos), from UE4 (had PhysX) if I got it right. So far I had plenty of sudden car jumps because of what looked to be normal wheel force from contact, getting weirdly high. Also had some sudden object jumps, flying far very quickly. All not looking good or real, seems like an instability. I did increase substeps and decrease interval to get better simulation at high speeds, and I did surprisingly fix that wheels wobbling suspension. I could drive even over 600 km/h in big glass pipe loop and 450 in smaller one. That’s probably the only thing better than in SR with Bullet physics, but I’m still using old version and didn’t try new in years.
As of UE 5.3 which I tried, I was not able to turn on Nanite at all, and neither HW ray tracing. And those are UE’s biggest, prominent features. I used Debian 12 and AMD GPU with Vulkan. Saw some post that 5.4 could fix it, maybe.
Lumen software reflections. Man, those look laughable. I guess most would use HW ray tracing now or in few years. But I’d rather have my own cubemap rendered and used for other parts too. Instead of looking at Screen Space Reflections (a recent disease) or those blobs (done by Lumen software reflections) when screen space didn’t cover. Plus I’ve never seen car underside reflected properly here. Lastly I tried adding reflection captures and these didn’t work. Could be my fault, whatever.
Many effects are iterative, updated partly over time, and so they work best when not moving. E.g. volumetric fog lit from car lights, is moving inside car when driving. Reflections also have some noise, changing pixels. Global Illumination with Lumen, also does fluctuate and spread unevenly over time. Sure, it’s new technology and best if it didn’t melt GPUs doing impossible today. But it feels to me like these are just targeted for those indoor furniture designs and static shots, not games.
Many things even vehicle parameters need that Compile pressed after changing, then running to test. Really not convenient. The default vehicle simulation is completely nonsense. I guess it could be good for basic arcade games. That’s to be expected. Can’t touch dedicated C++ code for vehicle simulation like VDrift or even RoR with deformation. I found an older UE4 vehicle simulation, whole made with blueprints. Is good to learn from, didn’t feel great to drive though, but I’ve spend not much time with it.
Lots of thins are still done from console with typing commands. I guess no need to add them to that pile of unrecognizable settings list yet, probably translated though. But on the up side, there are plenty of options to customize for sure.
Crashes. Last but not least. IDK if it’s just because I use Linux, or Vulkan, or AMD, or their drivers. Doesn’t matter, either way I had many UE crashes. Luckily I didn’t loose much, seemed to be at end mostly. Still, not a good sign, not for stable software, not for daily use. Also seems to me like UE is favouring NVidia GPUs or maybe they have better hardware ray tracing, IDK and don’t have time to investigate. Ah and trying to start profilegpu did reset my PC instead.
Whenever you change key options it will be building over 5000 shaders again, which takes for me 5 min. And Package project at first takes like 30 min, but later it does much faster even less than 1 min. There are slow downs of like 5-15 sec whenever you save a material etc, there are structures in UE that need to be rebuild and this a slow delay when editing.
🎛️Blueprints
Quite a lot of stuff can be done using Blueprints. There are games made just using them. But then you’ll be dependent on them, which means no full control over what’s happening, and just doing what others tell you to do their (commercial) way. There is no avoiding blueprints, even with C++ code. Another thing is that the list with blocks in blueprints is again huge. Here even a video with main ones. So usually you’ll have to type more to find a block. Even if + or * etc is enough to get simple operations, that’s still just ridiculous for me as a programmer to put a block and connect those lines to it, instead just typing + in code. But yes, they’re easier to understand for non programmers. Still, I felt like I didn’t know how to do anything at all, when I was starting with blueprints. So it’s not like those were easier to start, just less to set up (no external IDE, compiler). Lastly big, complex games would require a lot of code, which in blueprints means few times more clicking connecting, picking blocks, to me it feels like slow playing with toys instead of developing. And then area is huge, also hard to find stuff, lots of moving around and zooming. Sure there are comments, same as in code. But much more code can fit in text editor. And it doesn’t go both vertical and horizontal (when done right). Doesn’t need zooming. I find code easier to navigate (definitions, references) too. All can be done faster by keyboard.
There is a cool website with lots of blueprints here. One good part for blueprints (similar to scripts) is their safety, since they show errors, won’t break, etc. While code can crash, corrupt memory, loop infinitely etc. And could take more time to build and test too.
❌Why not
While there are some apparently good things about Blueprints, e.g.
it’s easy to get stuff done (or find how to on youtube, since they aren’t convenient and there isn’t much help in UE)
easy to see how stuff is made (until they get too big anyway, just like code)
no need for using their old C++ (I still prefer to write code, not play with blocks)
I see a bigger picture here. Since this is UE-only thing, once you get used to their blueprints (too much), you won’t want to use other engines, right? Secondly, the easier it is to start with UE (using blueprints), the more people will use UE, so more profit. Perhaps it was also another way of doing stuff, added as alternative to their old, specific C++, which I’d surely dislike using.
☑️ Somewhat good parts
At least good at start, because I end them with a view that’s bad. For me UE was only good for observing and learning some new things, I won’t be using UE myself.
A lot of stuff working already. But as the saying goes: if something is good for everything it’s also good for nothing (i.e. not great for anything particular). Also if you wanted a change in their sources then it’s a huge amount of it to even grasp (like 50 GB total). And more games using UE will mean more will look the same due to its technology.
Plenty of (free) Plugins. Even fancy things like Niagara (3D smoke and fluids simulation, rather not for my/current hardware). But Water is still Experimental (yet essential), and I had some bugs with it (underwater fog was bad at times, even white flashes, then after publish it was at random level above sometimes). Very many plugins are also in Beta and version 0.1. Seems like it’s still too early. IDK maybe UE5 is still too young. I’m obviously only considering free plugins.
Useful modelling tools included. E.g. video. Can quickly edit and draft a scene with basic models, already inside UE. For me not needed, as we already have our assets, and tracks made.
Many possibilities to generate and place stuff (meshes, vegetation etc) with PCG. Still, those are rather new UE features. Which I’d expect much earlier. E.g. someone using UE4 didn’t have them, years ago. And frankly, in Stunt Rally we had automatic vegetation placing and road generation with LODs since the beginning in 2010.
Can move camera with W,S,A,D and Q,E, that’s cool, even bookmark places. But I didn’t find a way to change the speed by keys, and sliders don’t allow any values just predefined, IDK.
Plenty of debugging view modes and visualizations. Well the rendering engine is very complicated and “heavy” (high HW requirements) so these will be needed to optimize, probably even if you don’t want to. A very good (but older UE4) video series pipeline bottlenecks, passes.
Seems like Visual Studio is again default for C++ but at least VS Code is supported. So my setup with clang and VSCodium won’t work. And OgreNext supports clang officially. UE C++ is also in its own style. Quite old, not even similar to new C++ versions. All variables used and methods use big letters. Video here. Yes it’s a matter of preference (or getting used to) but yeah I dislike this too.
Many resources to learn from. Still those are commercials for Unreal and their addons etc but if you filter this out and ignore, then there can be plenty of useful, or universal information to learn in general.
UE is definitely huge and complex. With high popularity and big community it’s easy to find solutions to problems. But that doesn’t mean less problems. Actually I found many topics on forum which didn’t solve anything and seemed like unnecessary distraction, like from people not knowing English not only UE. Surely it was easy to find out why I got gray models after Packaging, but why on Earth weren’t shared wrap samplers the default, causing this issue. I think there is a lot of detail to be known to get UE working for any project.
⏳Summary
Well definitely you can learn a lot, not only from using UE in practice, but also from that big number of videos either in their playlist, or lots of other videos from creators around UE. There is also a decent amount of documentation. This can help when starting or using UE, but also for getting information on various subjects around rendering or games etc (just at a smaller fraction).
So it was a cool experience, completely opposite to mine. I mean using an advanced rendering only engine, built from C++ sources. Not just installed, and already with most needed tools. There is a gigantic gap or difference between those. And not only in software size and thus difficulty, but also in the community. It’s a complete opposite too. In UE (or Unity, Godot etc) you can simply even put your question in youtube and find a video (or few) with answer. When I was searching for UE vehicle tutorials there were even few playlists with that.
Still, it’s not reasonable to change rendering or game engine far in production. Only possible at start. And SR is and already was far in production, having my own coded features, even when those engines weren’t available, that popular or so feature full. So clearly just because of that I won’t really be able to change engine. And neither would I have patience to spend 2 years or so, right after I’ve spend over 1 year to move “just” from Ogre to OgreNext.
UE is big, and very commercial, so Windows, NVidia, Visual Studio are default, if not only option here for all things to work. So definitely not for me as a Linux only developer. I think they also use some telemetry, I’m not sure, but I saw urls, sent to their website from UE, as warnings in log, when I didn’t have internet.
Lastly there are plenty open source engines, e.g. listed here, or new list here, also tools here, and a big collection of engine related links here with lots of libraries and sources.
🛑Big issues☠️
This is an update chapter. Later after my tests, I found more, pretty big and serious issues about UE. There is a whole channel with many videos. First is detailing the TAA and bad optimization (temporal aliasing) that is excessively used and forced by UE (and some other engines too, also to fuel the vendor locked, upscaling algorithms like DLSS, FSR, and putting AI into graphics, I can’t even) and another about Broken Mindset Of Modern Graphics & Optimization. What’s gets even ridiculous is that we already had games with better graphics 10 years ago, before the modern graphics introduced garbage effect of smearing from TAA when moving and blur from upscaling. There is a reddit channel with anti TAA topics. There is also another problem with UE being based on Fortnite where it works on dynamic (destroyable) environment and lighting and most of rendering is based on that. While most games don’t need that, and so they work slower with UE. There are also many paid influencers and AI comments spreading lies in favor of the bad algorithms etc. All this is absolutely disgusting for me and I’m glad I don’t have a job where I’d have to deal with all that. I’m not interested in modern games or GPUs either, especially if they are made performing worse to fuel buying latest expensive GPUs, while being more buggy then ever. And they’re also pushing ray tracing too early. A short summary of the issues is starting here. Too many games are made just using UE5, making them all look the same, and bad (video, and another video). So ultimately this is not just UE’s fail, but the failed way of how modern graphics go in recent years. But UE is spreading and leading this garbage too (video). One more thing, UE is not only for games, there are many other industries like movies (can render slowly), architecture design (static views) etc using it. Which in turn makes it worse for gaming too as games need real time graphics with dynamic camera.
This is a notable but short entry, not much of a project, rather a contribution. I developed an Exporter code in Stunt Rally 3 Track Editor allowing tracks export for Rigs of Rods (also FOSS game). BTW also gathered many (CC licensed) assets from SR for use in RoR.
📷Screenshots gallery from many tracks start here on RoR forum topic. Also older WIP here.
▶️Videohere Shows drive in RoR on one SR track and at end (somewhat outdated) Gui for Export in SR3 Track Editor.
Documentation here. Explaining differences and how to use SR3 Export for SR or own made tracks for RoR.
🔍Details
I first noticed some interest in this topic. It also has a lot more detail in my posts, screens, and RoR bugs listed too. There wasn’t a lot of interest, so it was actually much more a challenge for me to try. And well it consumed me for like 3 weeks. A lot of C++ coding (76 kB in total) for that Export functionality and even my hands started hurting after (was too much typing late into nights). The Export also allows others to create tracks for RoR using our SR3 Track Editor.
Finally 130 tracks from SR are available in RoR, so about 55% from 229. Is quite significant at once I think. It was also a lot of fun to drive SR tracks in RoR simulation and BTW learn about RoR code and people involved. Of course I got back to developing SR3 after.
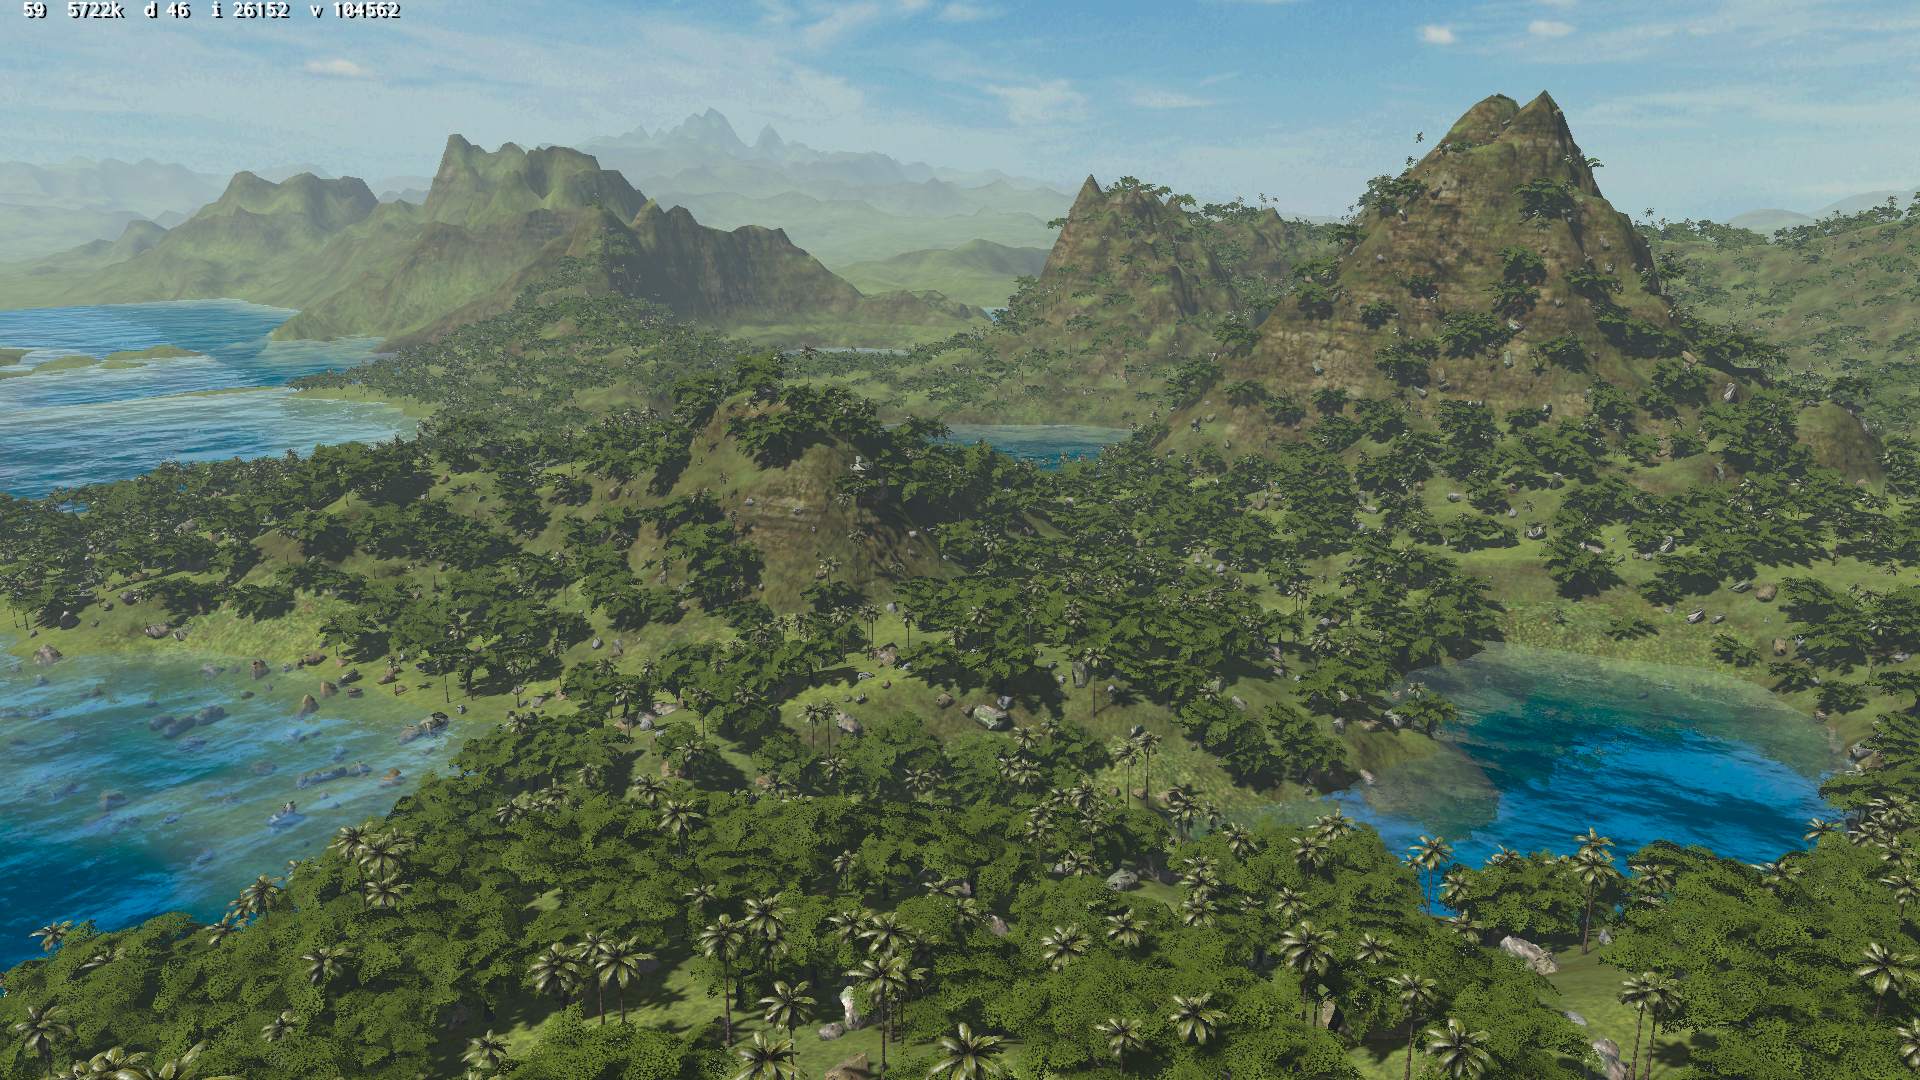
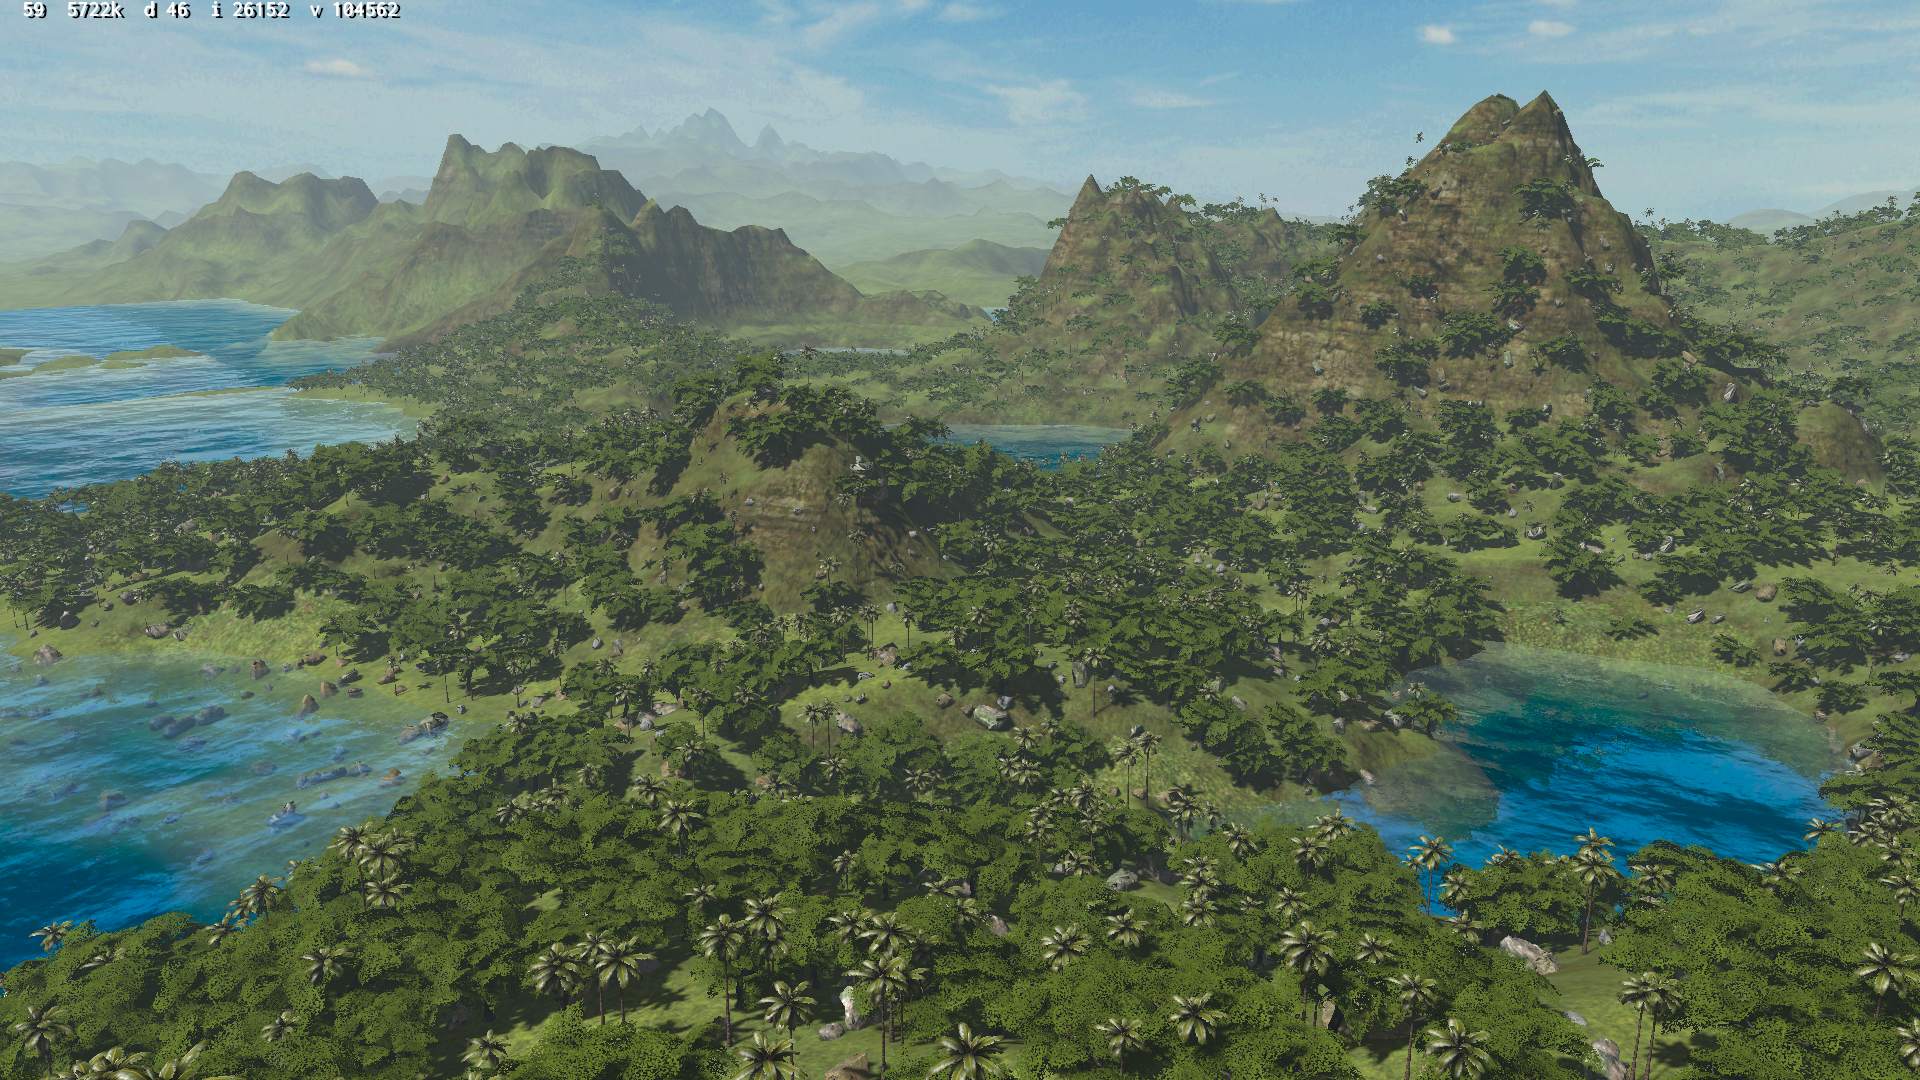
This is a project I started to learn and test newer version of Ogre rendering engine: Ogre-Next. Later I moved Stunt Rally 3 to use the engine too. Now also a showcase for nature scene rendering using the engine.
▶️Videos
Are here: new (with water reflection), old (only refractions).
📂Sources
Available here. Licensed: MIT. Unlike my other projects, where I choose GPLv3 that requires releasing modifications, under same license.
It has no Gui or other dependencies and should be easy to build.
🔍Details
At first it was a project to test Ogre-Next and code needed to get things done in it. Surprisingly half (or more) is done different way than in Ogre. But I am also surprised by better performance and optimizations done by the engine.
It is also a good tool to test and fix bugs in Ogre-Next, e.g. many for planar reflections used for water.
Recently I also updated it with some media from Stunt Rally 3 to make it look better and be a showcase.
Stunt Rally is the game I started in Dec 2009, having first release in Apr 2010 and last (2.6) in Sep 2015. It was my biggest project by far, I developed it for 5 years almost continuously.
Update: I started developing again after about 5 years break, and continued with new version 2.7 and moved to newer Ogre-Next in upcoming Stunt Rally 3.
The game works on GNU/Linux and Windows. It features its own Track Editor. Simulation for cars comes from VDrift and rendering using OGRE 3D engine, more info here.
I’m proud of what it became, but most importantly from the people I met, who contributed to this project, especially developers and track creators. The experiences gained and things learned with this project are significant. And it was a lot of fun.
🔍Detail
I created the 📖SR presentation book, it has 196 pages with lots of screenshots and explanations of the whole project (until version 2.6).
So, the game’s documentation will tell you everything about the game, track editor and tools. But it won’t tell you the history behind it. While the presentation book covers whole project (both the game and editor) in general, this post tells how it all started.
That’s why I made this page. It’s also my dearest project and I get very sentimental every time I play it or even look at screens or videos. So I think it deserves it, and could be informative.
📜History
Around Dec 2009 I started looking for open source racing games, from which I could use the simulation code. My previous projects from 2008 and 2007 already showed me the limits of using only physics engine’s included car demo’s code for games. So PhysX and Newton Dynamics respectively. Bullet had its own car/vehicle demo too, so I knew it could only be fit for a basic arcade game.
I was aiming at a simulation and wanted the most complicated code. After all I was playing Richard Burns Rally already for a long time (on keyboard), liked WRC (on gravel and from 2004-6 mostly) and actually despised any other car simulation games for being too simple (maybe RBR fans of that time know what I mean).
Open source racing games
There were actually just 3 games: some old code from Racer, TORCS (now SpeedDreams) and VDrift. I played them somewhat, then compiled all and tested. After that and decided that VDrift is the best, simulation code was quite sophisticated.
The projects I didn’t consider were: SuperTuxCart (IMO too arcade and for kids) and RigsOfRods (not a racing game, rather a sophisticated vehicle simulation, but also using OGRE).
VDrift was also still actively developed at the time. And I liked their move to also use bullet. That was simply needed to have any collision with environment.
I edited the .car file a lot to find if it is possible to use VDrfit for gravel rally, later posting the results. It was good and fun, I played VDrift somewhat with my setups (gravel, wet, ice) since the original game was quite unplayable for me.
Compiling VDrift and adding OGRE
The beginning part was the most difficult. I was at the time just Windows programmer (but really liked GNU/Linux thanks to this project). So compiling a Linux project on Windows in Visual Studio wasn’t easy. When I finally managed to do it (IIRC after 2-3 weeks), I started tinkering with it, removing code I don’t want, etc. Still using the OpenGL renderer.
Then on side, I started a simple OGRE app with just few models on scene. Later connected both. Getting the VDrift meshes to show right was a bit work (different x,y,z axes, 3D models). But without it, I wouldn’t see anything, so it was crucial.
Once all worked I made the first release pack in April 2010. Was Windows only and most likely it wouldn’t even start without proper MSVC framework installed and such.
It had only 1 car, VDrift tracks and no GUI. I compared the performance and started a topic on VDrift forum. It was terribly bad because of their tracks having thousands of meshes. So using OGRE for VDrift would be a bad idea. But that wasn’t my point. I knew OGRE already and in my previous attempt had a big terrain with good look and performance. I knew what I wanted in my own game and how to do it now.
What happened next was fast (given only my free time) and needed a lot of coding and testing. But it was easier than the previous part. You can check the screenshots of funny situations from versions 0.1 to 0.5 in the first development gallery.
Terrain
I quickly added tire trails and particles, since they were already in OGRE and it was easy. Trails were never in VDrift and particles weren’t great. At the time VDrift moved to using bullet and that was perfect, since it was needed for any car collisions with environment. Then I added the Terrain component and tweaked code to have proper fitted heightmap triangles in bullet world too.
Next I added PagedGeometry (I knew it already) to have some jungle vegetation, that came with Ogitor (same project we had textures from, for a very long time).
Later I also added MyGUI. The options looked quite similar to my previous project, but this GUI system was much better and there were already more tabs.
Also included 2 more cars. Then made the 0.2 release pack in Jun 2010, and started the topic on OGRE forum.
Road
Since there was no road plugin for OGRE, I started coding my own. Based on a Catmull-Rom spline, which is probably the easiest to edit and most intuitive, it just interpolates between points.
Terrain already had its own LOD (level of detail) system. Road surely needed one too, to not quickly produce extreme counts of triangles visible. I thought of just 4 LOD levels for each road segment (auto generated in code), and a simple distance to camera check to pick one accordingly, showing less triangles further. Picture here. It wasn’t the easiest code to write, but I’m glad that I did it. It became the base for road and was extended few times later. Nothing else would fit so perfectly as own written system.
📖Presentation
I focused on creating the SR presentation book, which covers not just our history but the whole project with all of its aspects and implementation. The presentation has 196 pages with lots of screenshots and explanations.
⏩Fast Forward
📜History of added features in each release in Old changelog.
What came next is summarized below in short points, in more detail than on presentation.
Key steps of project:
As described on previous pages the start was in Dec 2009 when I found VDrift and experimented with its car settings.
I created the project on Google Code in 2010 to hold releases.
My first release was in Apr 2010.
Then came first issues.
The game ran only on Windows at start. I suspected it would be rather easy to port to GNU/Linux (since both VDrift and OGRE did work).
I was doing screenshot galleries on each release and game video every few. In a year I made nearly 10 releases (“Release quickly, release often”). I didn’t have a repo.
After a year in Mar 2011 two guys (scrawl and Tapio) have joined and did quickly port game to Linux. Also added CMake build system.
Also in Mar 2011 I created repository. Initially was Mercurial, because Google Code didn’t have Git. But then we quickly moved to GitHub (in Apr 2011 or so).
At the same time we started using IRC on freenode to quickly communicate,
Translations was surely one good thing done by new guys at start.
In version 1.0 (Jan 2011) my track editor was ready and fully functional. I made a series of tutorials on how to use it. I was developing it further too (only I did that).
Game was featured on freegamer blog, first with version 1.0. It did boost game’s popularity. Every time a post appeared after too.
Since version 1.2, we started uploading the Releases to Source Forge. Google Code and its 100 then 200 MB limit were a problem. At that point it only was for homepage and issues (that view was very nice and customizable though).
At some point the game was also added on playdeb, and on lgdb. I think those were (or are) the biggest Linux gaming sites and they helped with game’s popularity too.
Scrawl did many things in the game. A lot of related to input (for controllers), post process effects, shaders, split screen, water in 1.5, etc.
In version 1.5 we finally finalized multiplayer, done by Tapio. I was doing the Gui part. It took him a year to finish it, but I was glad anyway, since I could do other things at the time. I posted on Vdrift forum. I think, VDrift project was developing more slowly then.
Scrawl did a wonderful task of creating a material generator once, and then even a second version called shiny (as a separate library for OGRE). And this thing made us reach a great look with nicely coded shaders (generated for both DirectX and OpenGL) at a higher level. I loved using it.
Scrawl and Tapio (link) were mainly active for about a year. Then I was developing alone again.
We started a forum for the project, somewhat later in version 1.8, Nov 2012.
Forum was great on freegamer, since there were many users already. It attracted the greatest people, artists creating tracks (and even sceneries) for the game using my track editor that I was also developed with the game. The best being: rubberduck (link) who also made many buildings and objects, and Wuzzy (link).
I should also mention Calinou (link). He was always on IRC and had an opinion whenever I asked. This is already a useful skill. A couple of his many tracks went into the game.
At some point I found out the greatest Nobiax/Yughues (link) CC0 textures and replaced all tracks terrain look, also implementing own blendmap with noise (for mixing them). There were a few such revamps of all tracks (big artistic task, bit tedious), for shaders, waters, skies. Terrain was the biggest. I uploaded a pack of them to opengameart in 2014, from version 2.3.
Project’s website was done very late in 2015, more info about it here.
⚖️Contributors
There were few other people e.g. a guy who let me use his IRC bouncer. Tapio was later doing translation syncs, until I someday finally learned that. He was also hosting multiplayer game list server on his PC for years. Scrawl did later a VM setup and was making GNU/Linux binary packages on each version release. There were also few people translating the game to other languages than English (9 all, 5 of them fully). Finally, I can not forget to mention all those artist sharing their CC-BY 3D models on blendswap, also textures, vegetation, objects, and even 0 A.D. buildings. I was gathering all authors and website urls in txt files in our data/ directory each time I added something (later visible in game’s Credits page). Naturally all the open source libraries used (including OGRE and VDrift) have to be mentioned here too, since without them the game would be completely different.
All that was great and helpful. I want to thank all who contributed to this project.
➡️Break
I was constantly developing Stunt Rally for 4.5 years. I was thinking of finishing the development a couple of times.
I first ended developing in Nov 2014. But I returned after about 9 months for 3 more, rewriting sound system, replay files, adding pace notes and more.
I announced development end on 19 Sep 2015. It was version 2.6, the 26th since start.
Lastly, I have to add, it wasn’t just the 5 years it took to create all this. I took many years before that, of me learning from my projects (this fork in 2007, then own in 2008, both using Ogre), and having more experience every year doing so.
Update: It wasn’t the end, but a few years break. I resumed the project over 6 years later as Stunt Rally 3 for 3 years, from 2022 start to 2024 end.
SR Track Editor is the program that comes with Stunt Rally and was used to create and edit all of its tracks. It first featured in version 0.6 (6th release in Nov 2010) and in version 1.0 (10th release, in Jan 2011) it was already fully functional (could edit all track features, at that time).
I will describe here its features, from the latest version. It surely evolved with the project and changed its look in time. Unlike the Stunt Rally page, which shows the whole history, here I’m describing the present (it is free and open). And I focus on features, visible on GUI.
🔍Detail
Since the program is rich in features this page will be long. But also explanatory, for unique tracks and game features. I also reference any tracks that show off a particular feature with links to our online track browser.
Editor is 100% designed and coded by me. There were many contributions to the game, but none to editor. I customized it to be a fast tool for editing, as I was also the main user of it. There were few awesome people using it too and creating tracks for the game.
There is a series of ▶video tutorials for using it (from older versions though) and a Wiki page. If using editor, keep in mind that many places (GUI controls) have hints, so mousing over them can show a tooltip, possibly with useful information. Editor itself has help pages, listing key and mouse actions for each mode. Having seen all this, it should be easy to use it.
📊Features
One main aspect of editor is that it doesn’t feature an Undo/Redo, for me this feature was never needed and too time consuming to implement. We use quick Save F4 and Reload F5. One can also make backups manually of the directory. It is recommended to save often and on mistake just reloading.
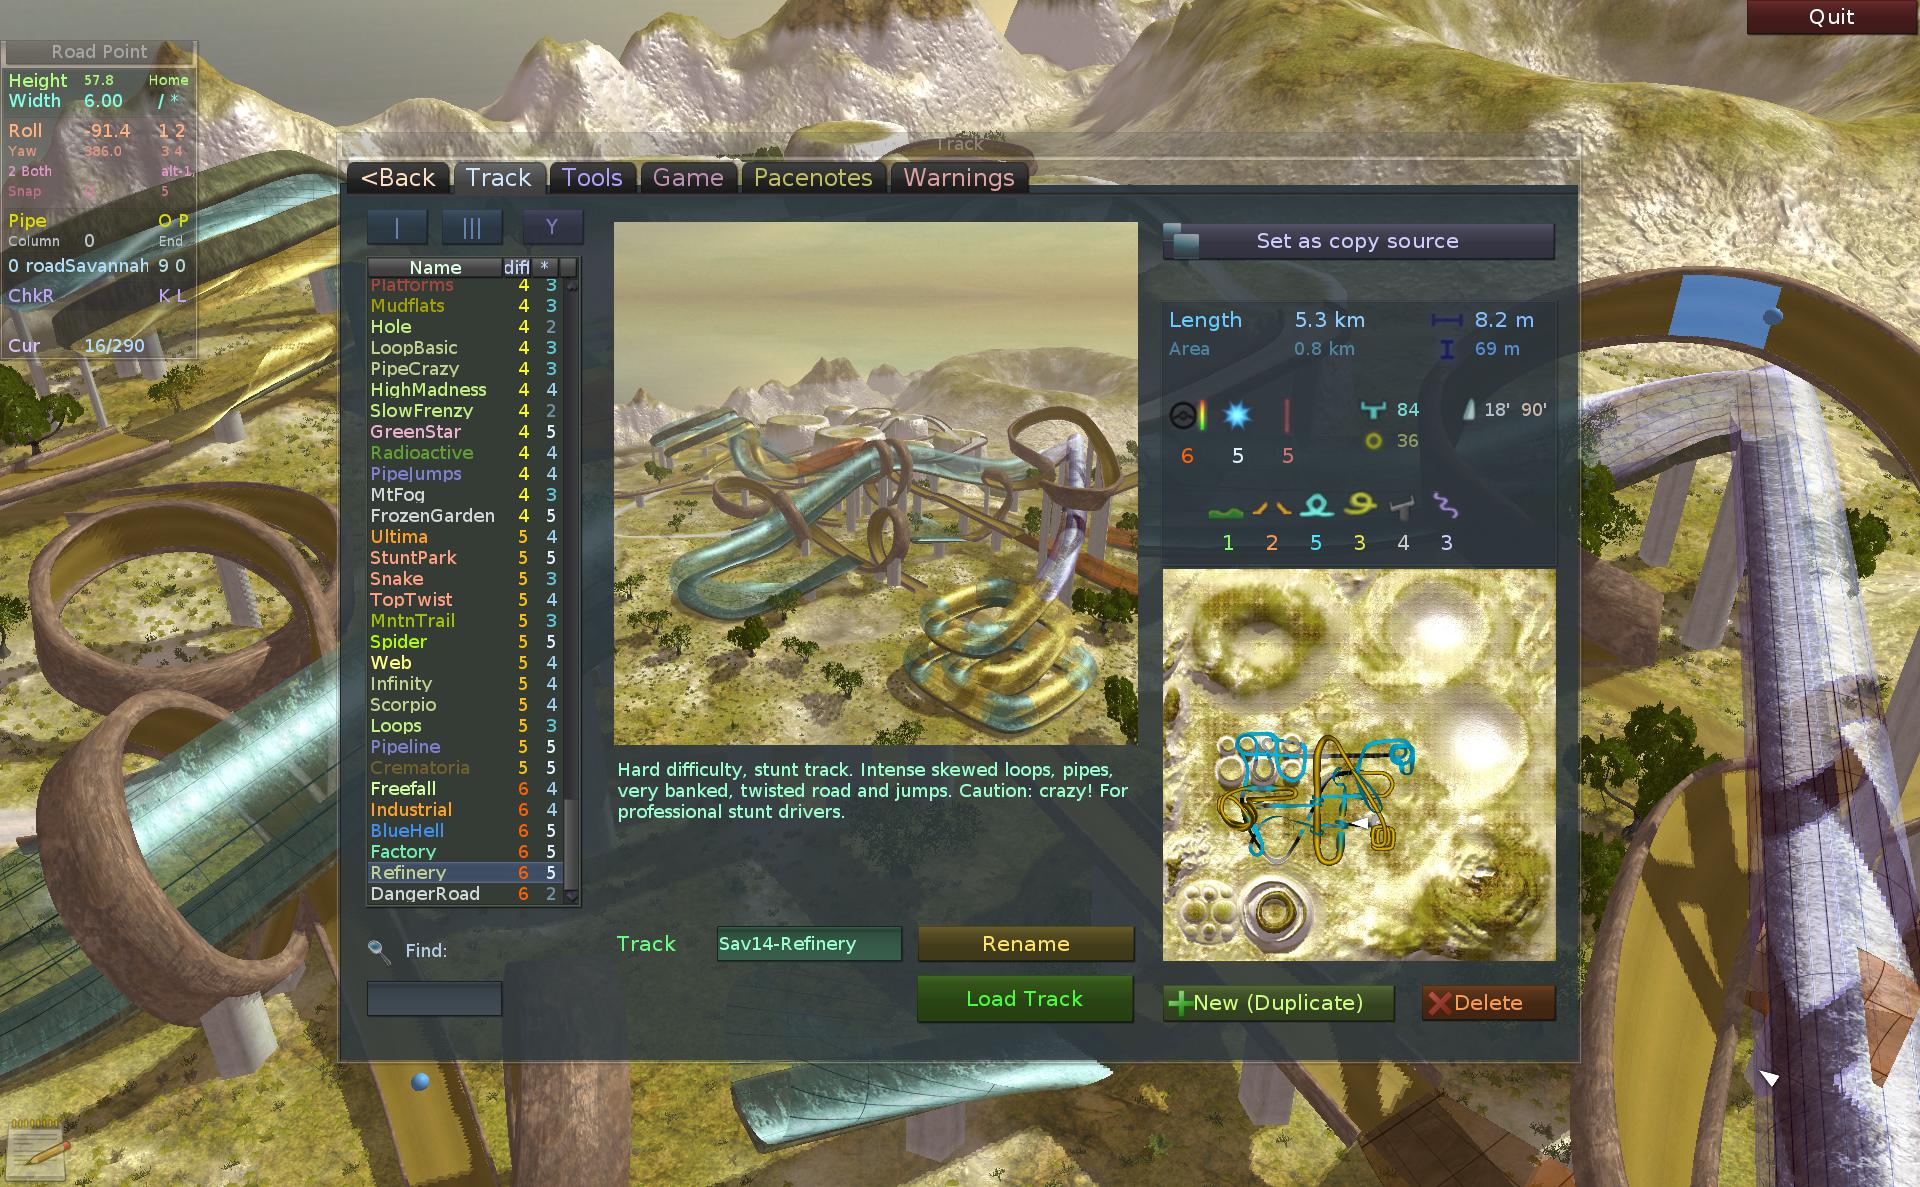
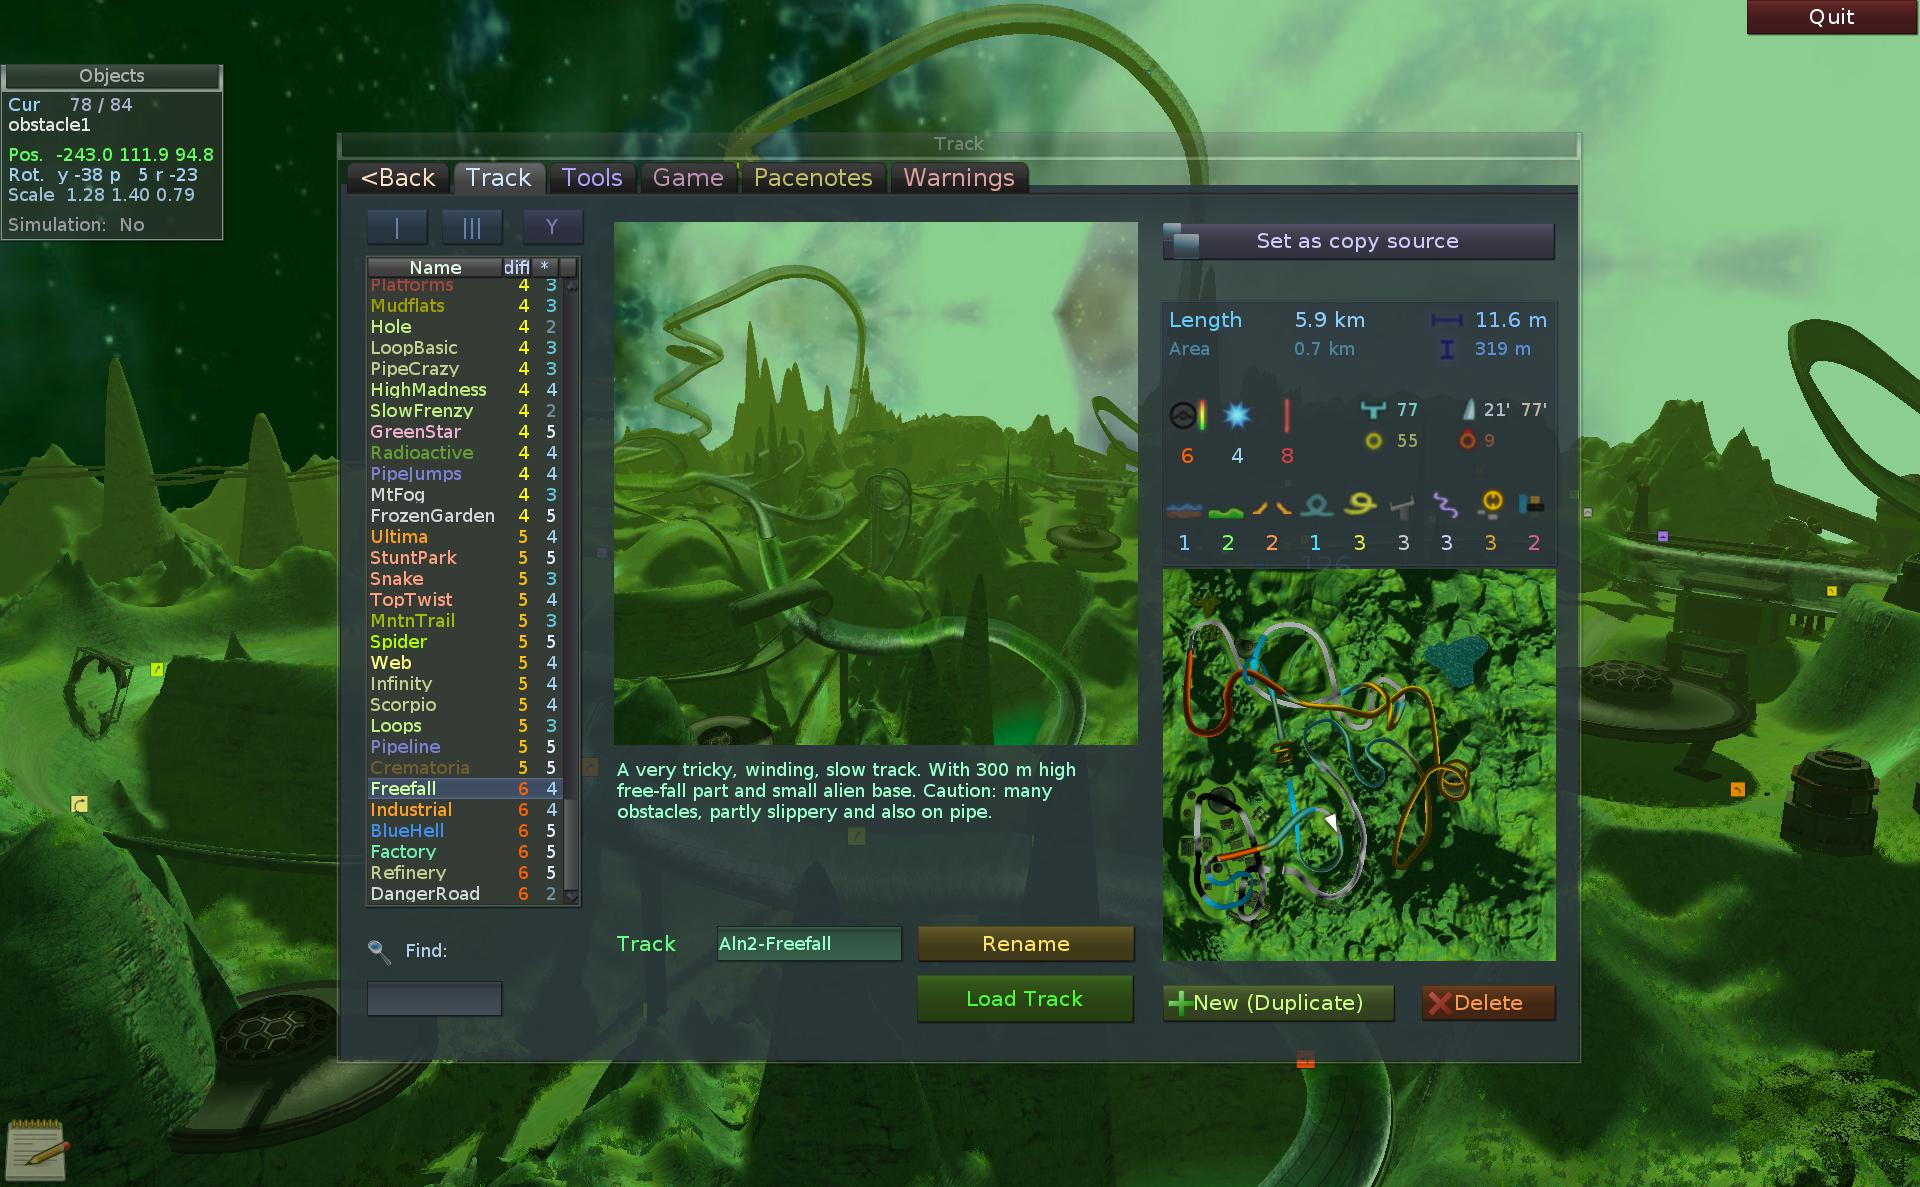
Track tab
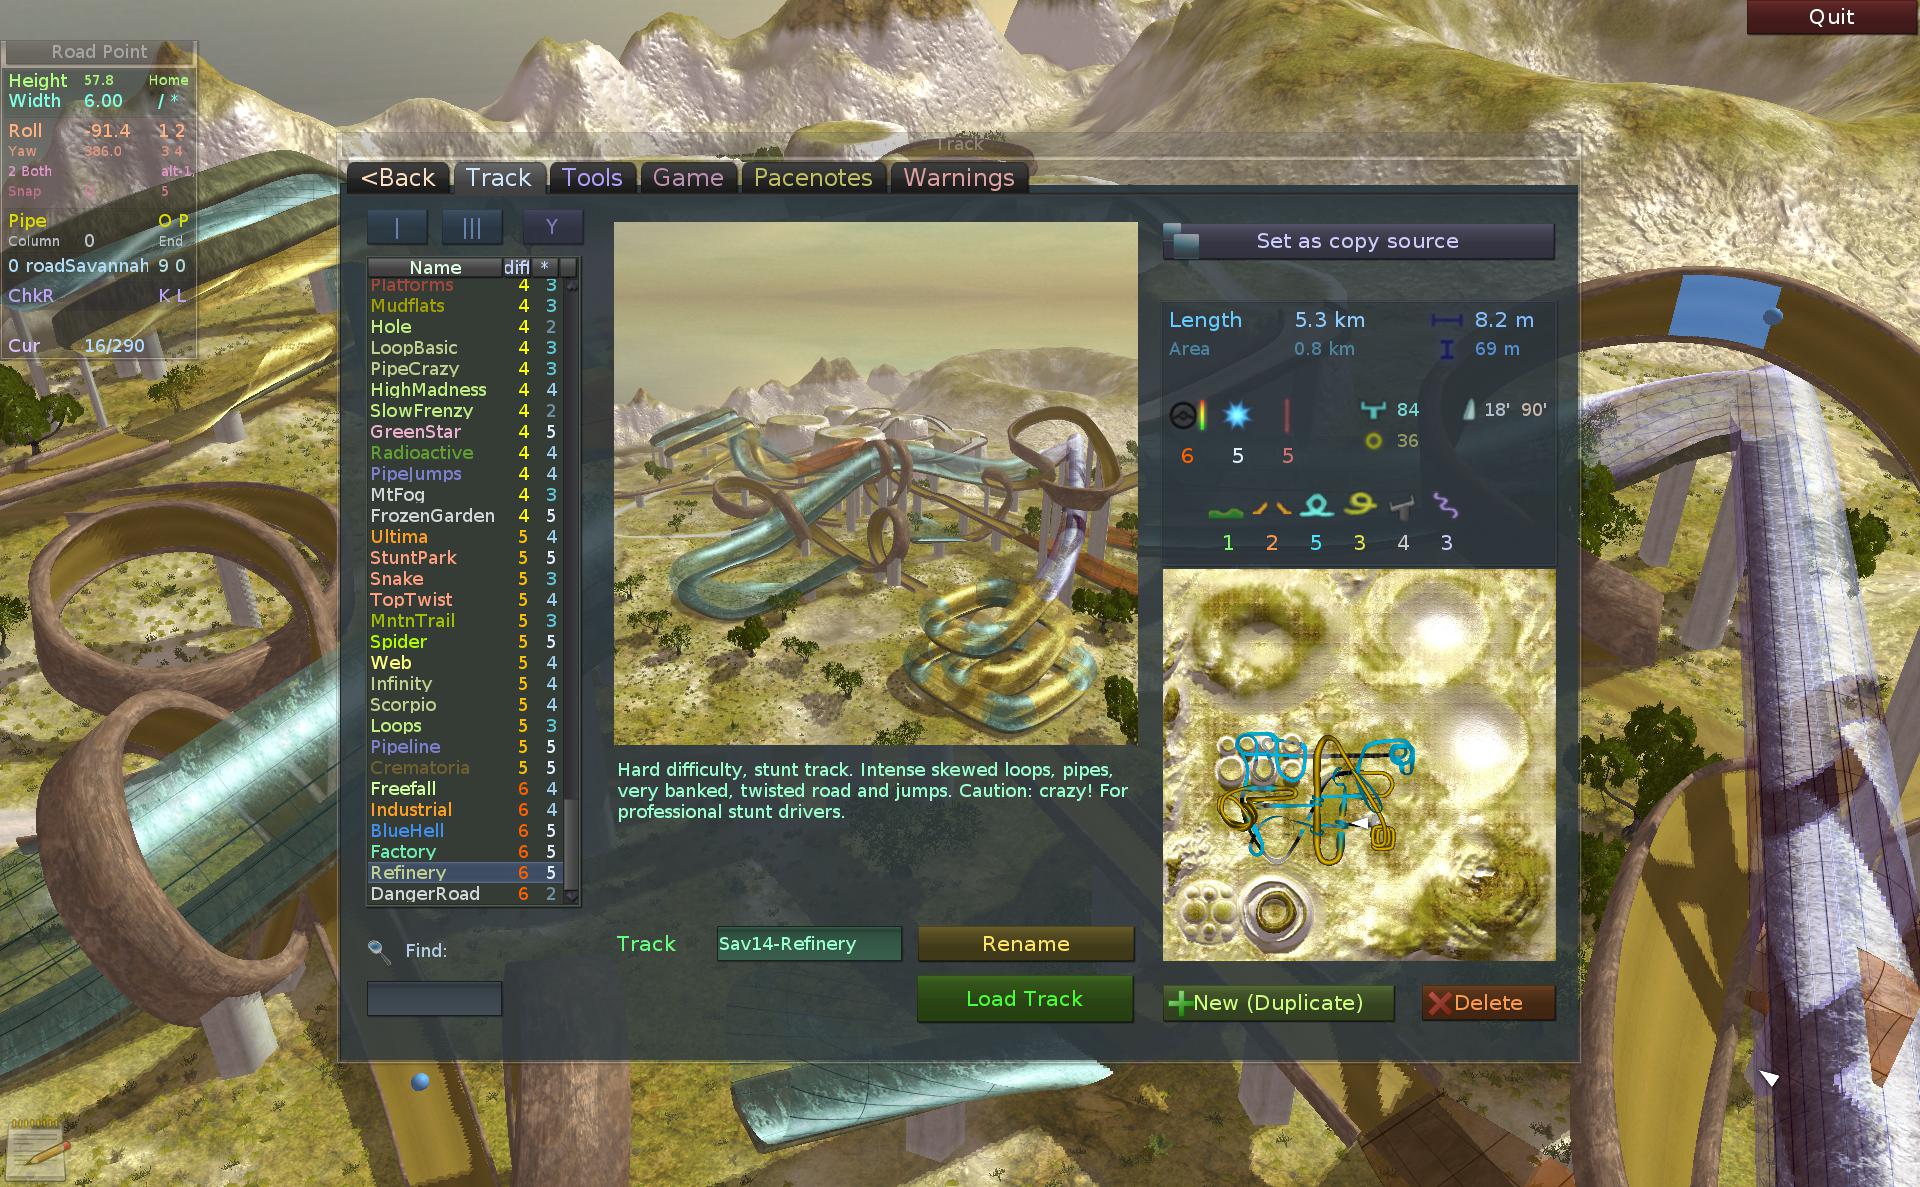
Track tab is the first I’ll explain. It takes some time to understand all what is visible here. Knowing it will help picking your base track to edit. Or finding an interesting track to drive.
First, on left we have the list of tracks (172 total in version 2.6).
In the middle there is an image with view of the track. Usually camera is high to show most of it.
Below a short description. It is sometimes crucial to read it on difficult tracks, as it may contain useful warnings and hints. It’s writable in editor.
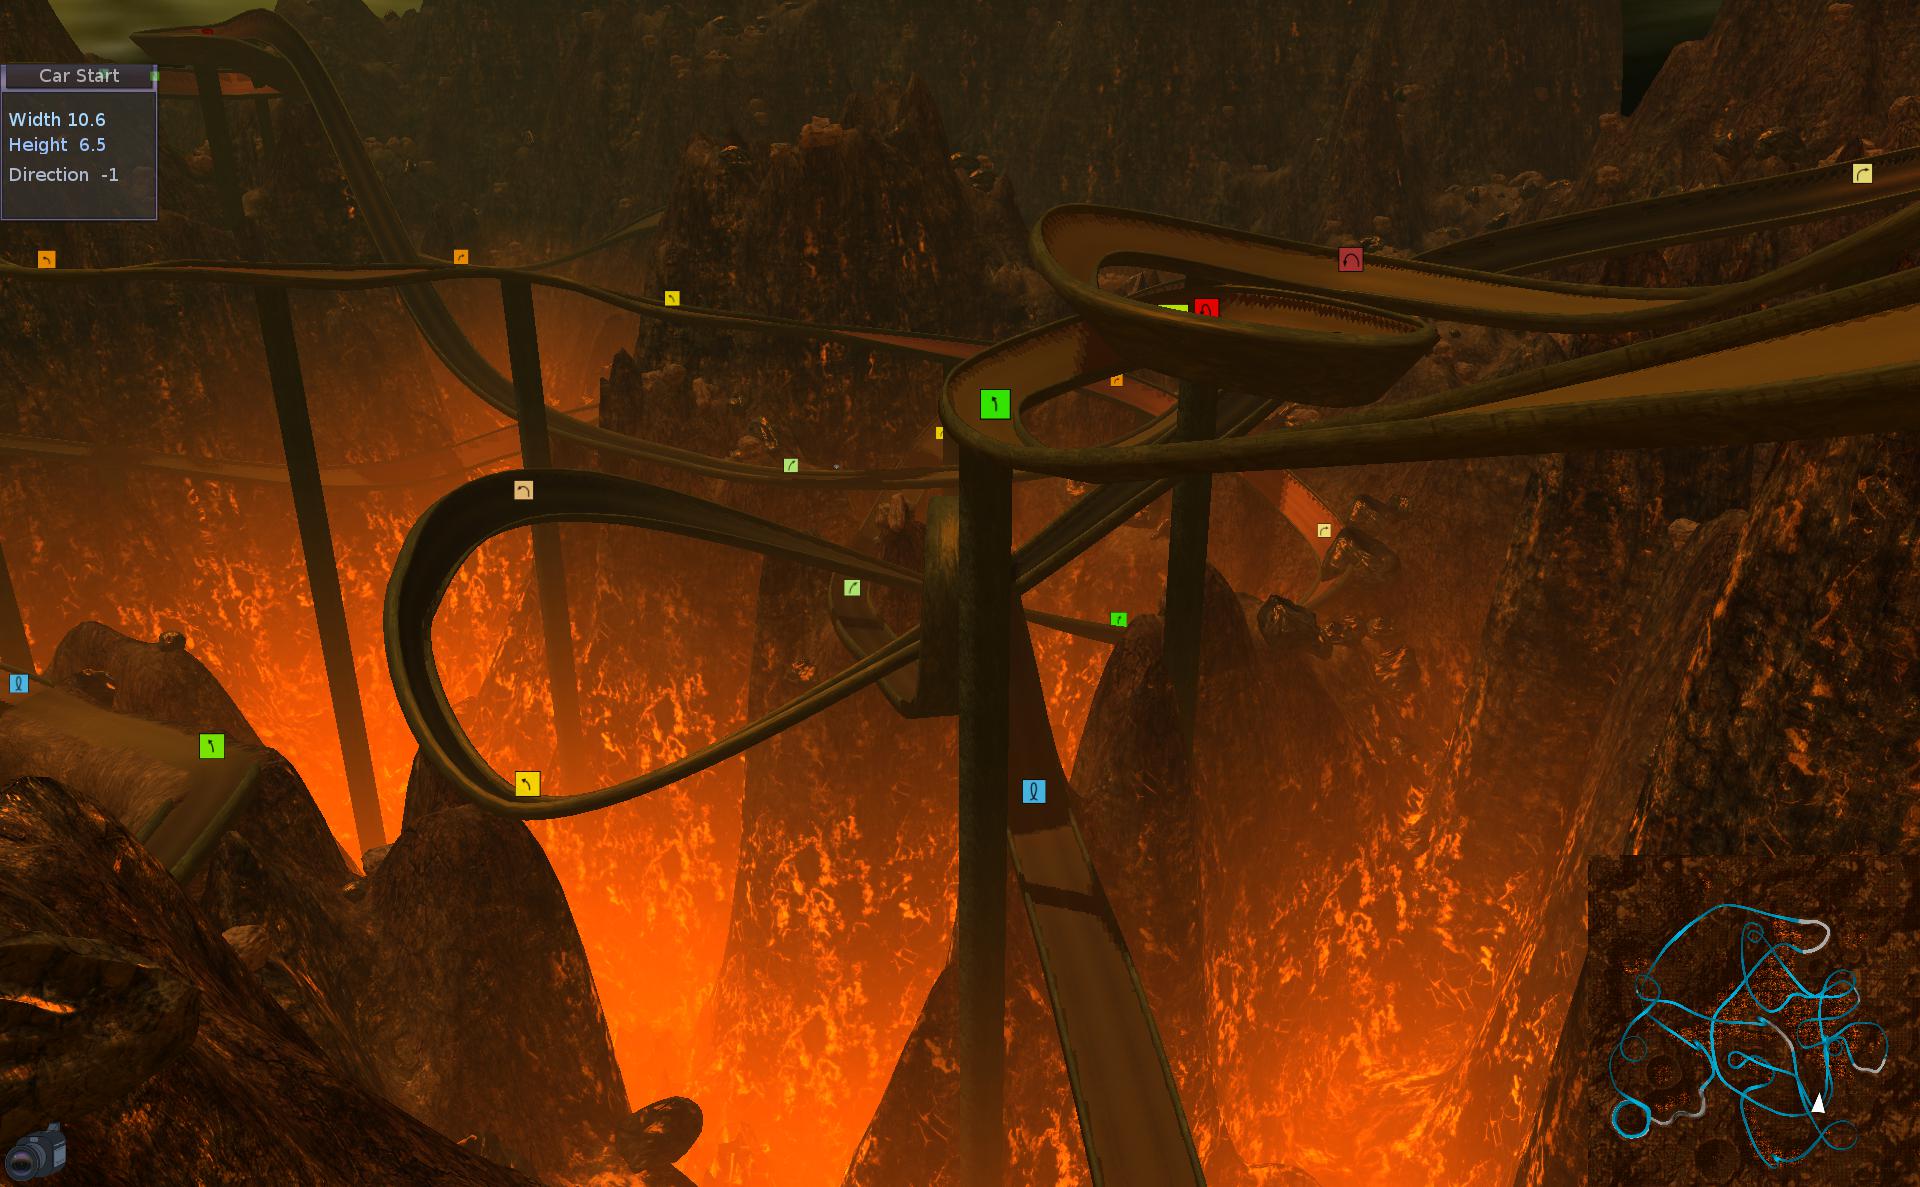
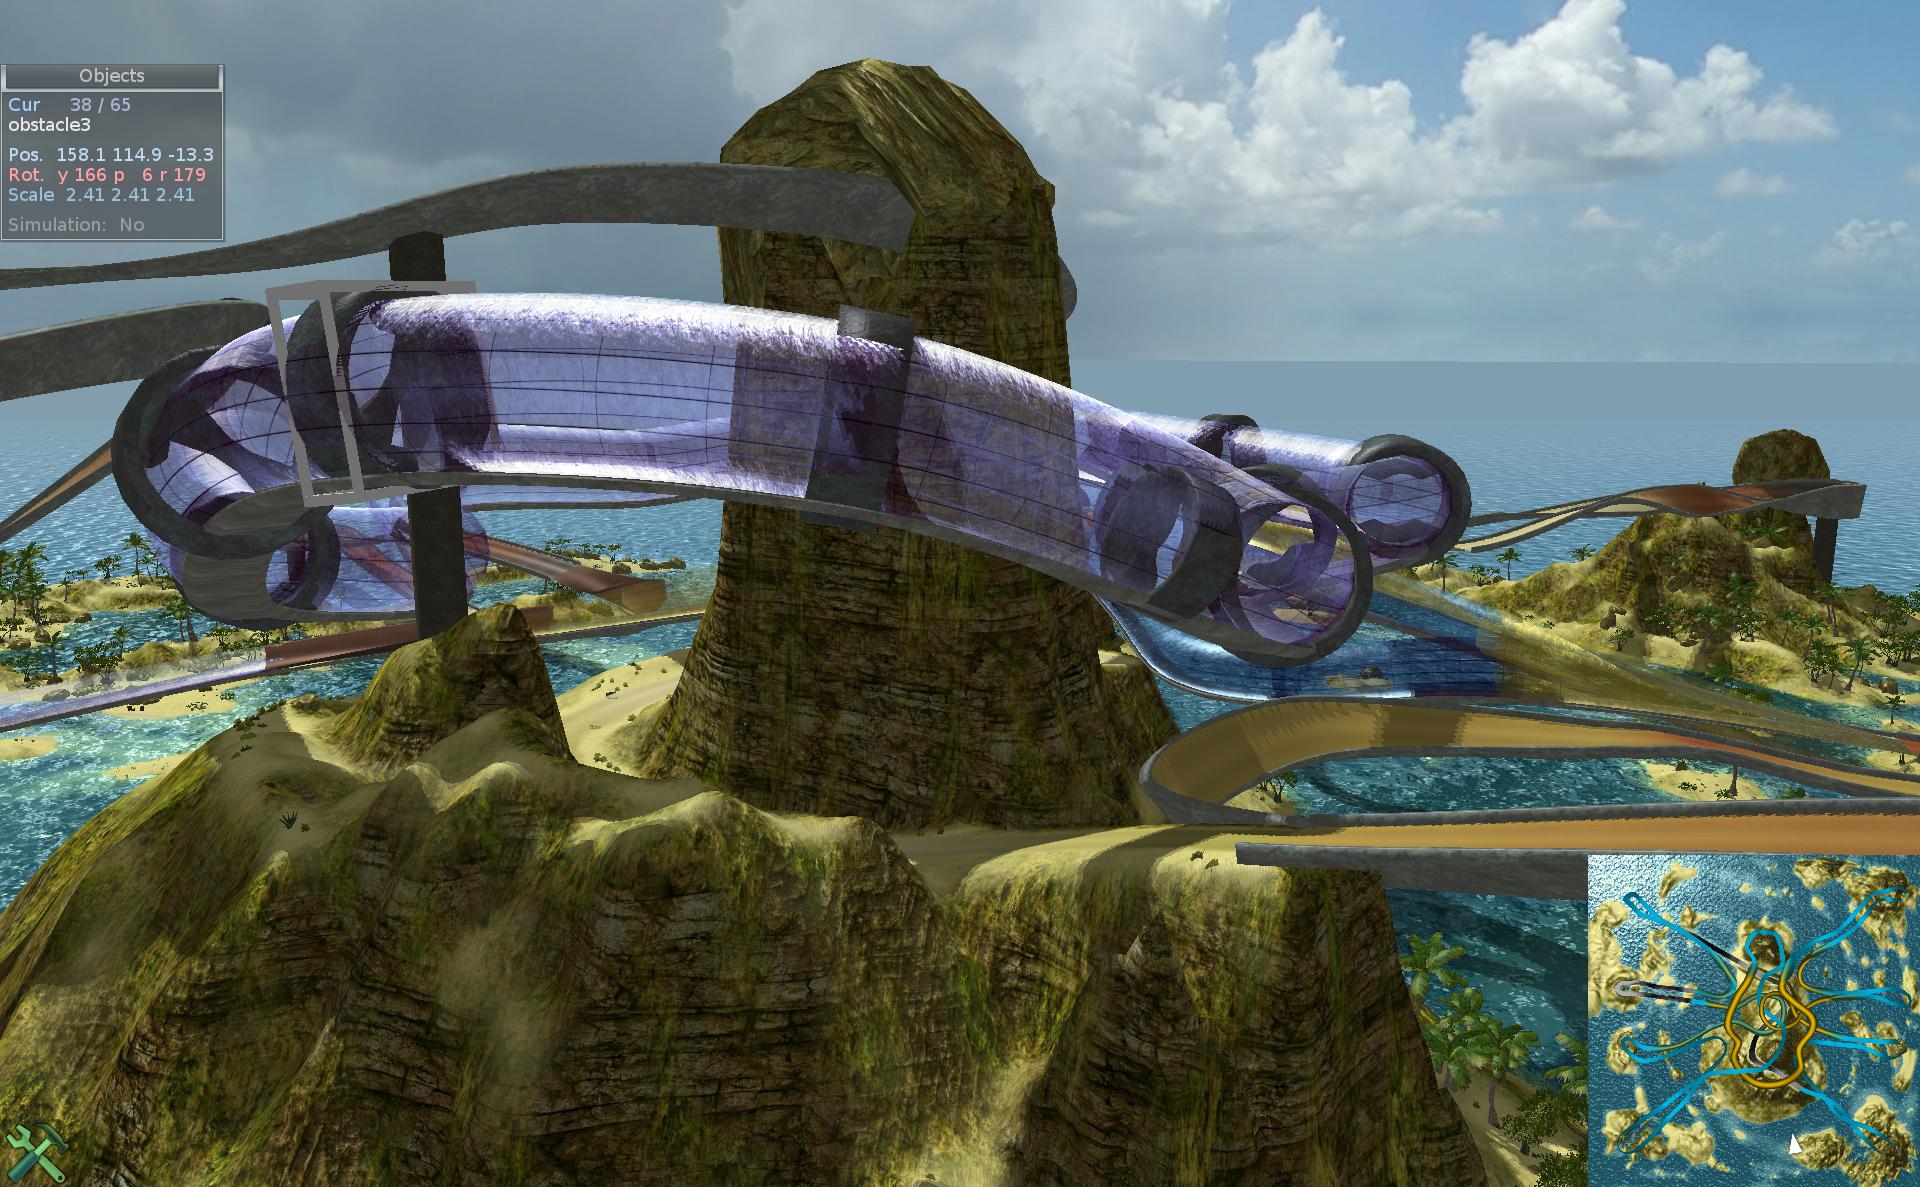
Right bottom image is the minimap (view from top). It has useful info too. Background shows terrain shape. Flat road is black line, bumpy or banked road gets more gray. Bridges are cyan, pipes yellow. Half pipes will be green (0.5 mix between cyan and yellow). And lastly On-Pipe driven sections are orange.
The track list (on left) has 2 extra columns: difficulty and rating (*). You can sort on them to easier find the tracks you want to drive. This is the default short view. The detailed view has many columns and can be toggled using the buttons above it [ | ] and [ ||| ]. Some useful columns are N: (track index, sorting to get oldest to newest order), Scenery (we have 34) and ver (game version when track first appeared).
Next button [ Y ] toggles an additional, complicated filter window. It has sliders for min and max values for all columns and checkboxes to toggle their visibility (possible in both views).
Since the tracks count is very high, we have a find box (bottom left, Ctrl-F), where you can type name or phrase to search.
Use track load button or press Enter to load it. Arrow keys move in list (with Ctrl by 5).
Duplicate button will make new track which is a copy of loaded one. There is no New button since it’s easier and faster to start from an existing track with similar scenery.
Track icons (extra)
Just above minimap we have a row of icons with small values indicating various things on track (they disappear when zero). Those are as follows: fluids (water or mud areas), bumps, jumps, loops, pipes, banked bridges, frenzy (curly road), obstacles and objects (dynamic). Of course hints for them will show under mouse. The higher the value of each, the more will be there on track and thus it will become difficult.
Above this row on left we have track difficulty (most important) value: 1 (green, easy) to 6 (red, extreme). Next is rating (star icon), it is my personal quality assessment of the track. The third icon (red vertical line) is general (coarse) length.
All those show in columns in detailed view and the list can be sorted by one. This allows searching for tracks with e.g. most loops or fluids etc.
They all are set manually (be me) for official tracks and stored in tracks.ini file. User tracks have none.
Track stats
The next group of road stats is above icons and those are automatically computed by the road system. They are: length (in km), area (just side length of the always square map), average width, height difference (between highest and lowest road point). Below in middle center, with icons are: bridges percentage (cyan), pipe % (yellow) and on pipe % (red) on right. Above on right are road banking angle values (average and maximum).
So that was a lot, and this is only the first tab. But it’s also present in game, and nearly the same.
Sun
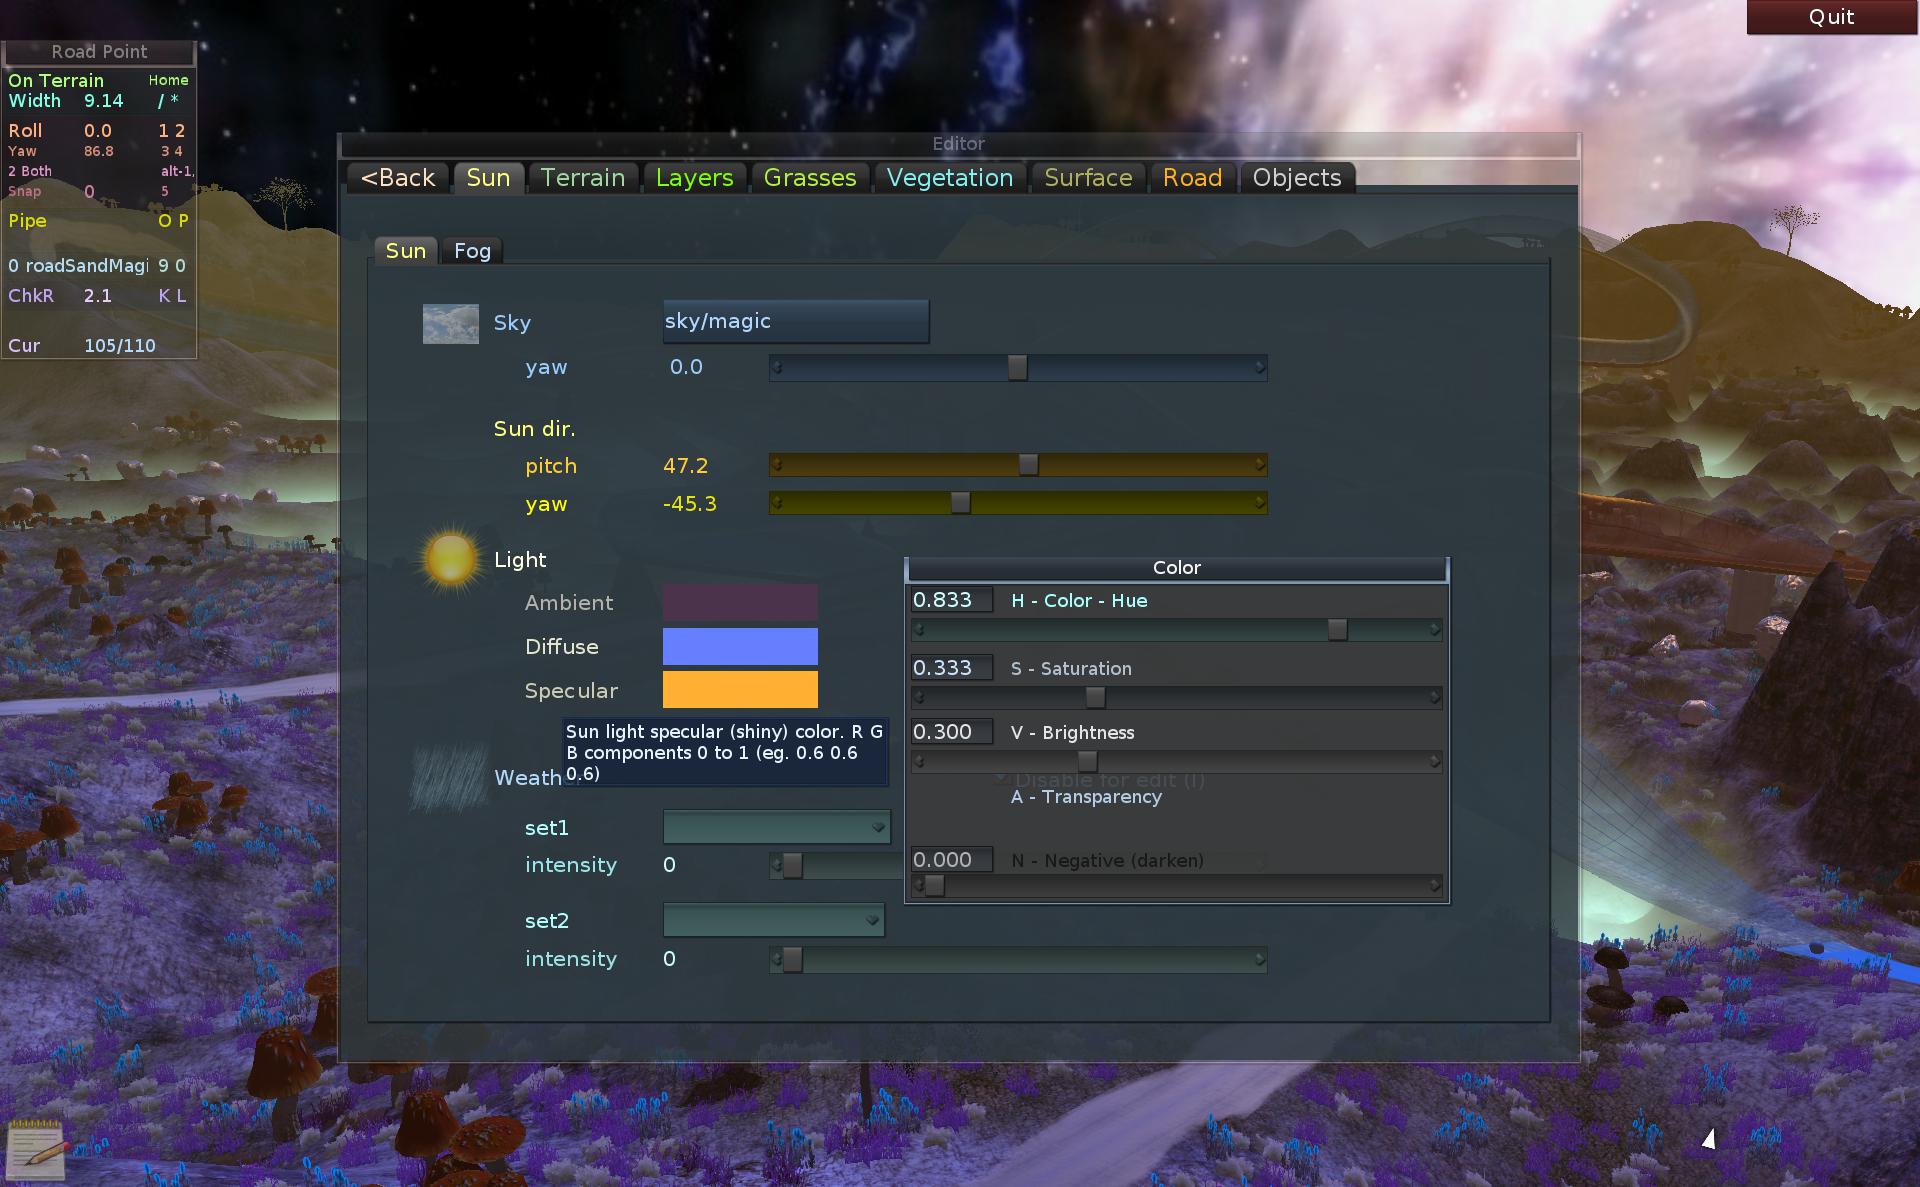
Sun tab has all the options for sky, light and weather (and fog on next sub-tab). If in editor, you can read hints from tooltips for more info.
Sky can be rotated to better fit track. Sun direction has rotation too (yaw), and pitch sliders. For example small pitch will make long tree shadows.
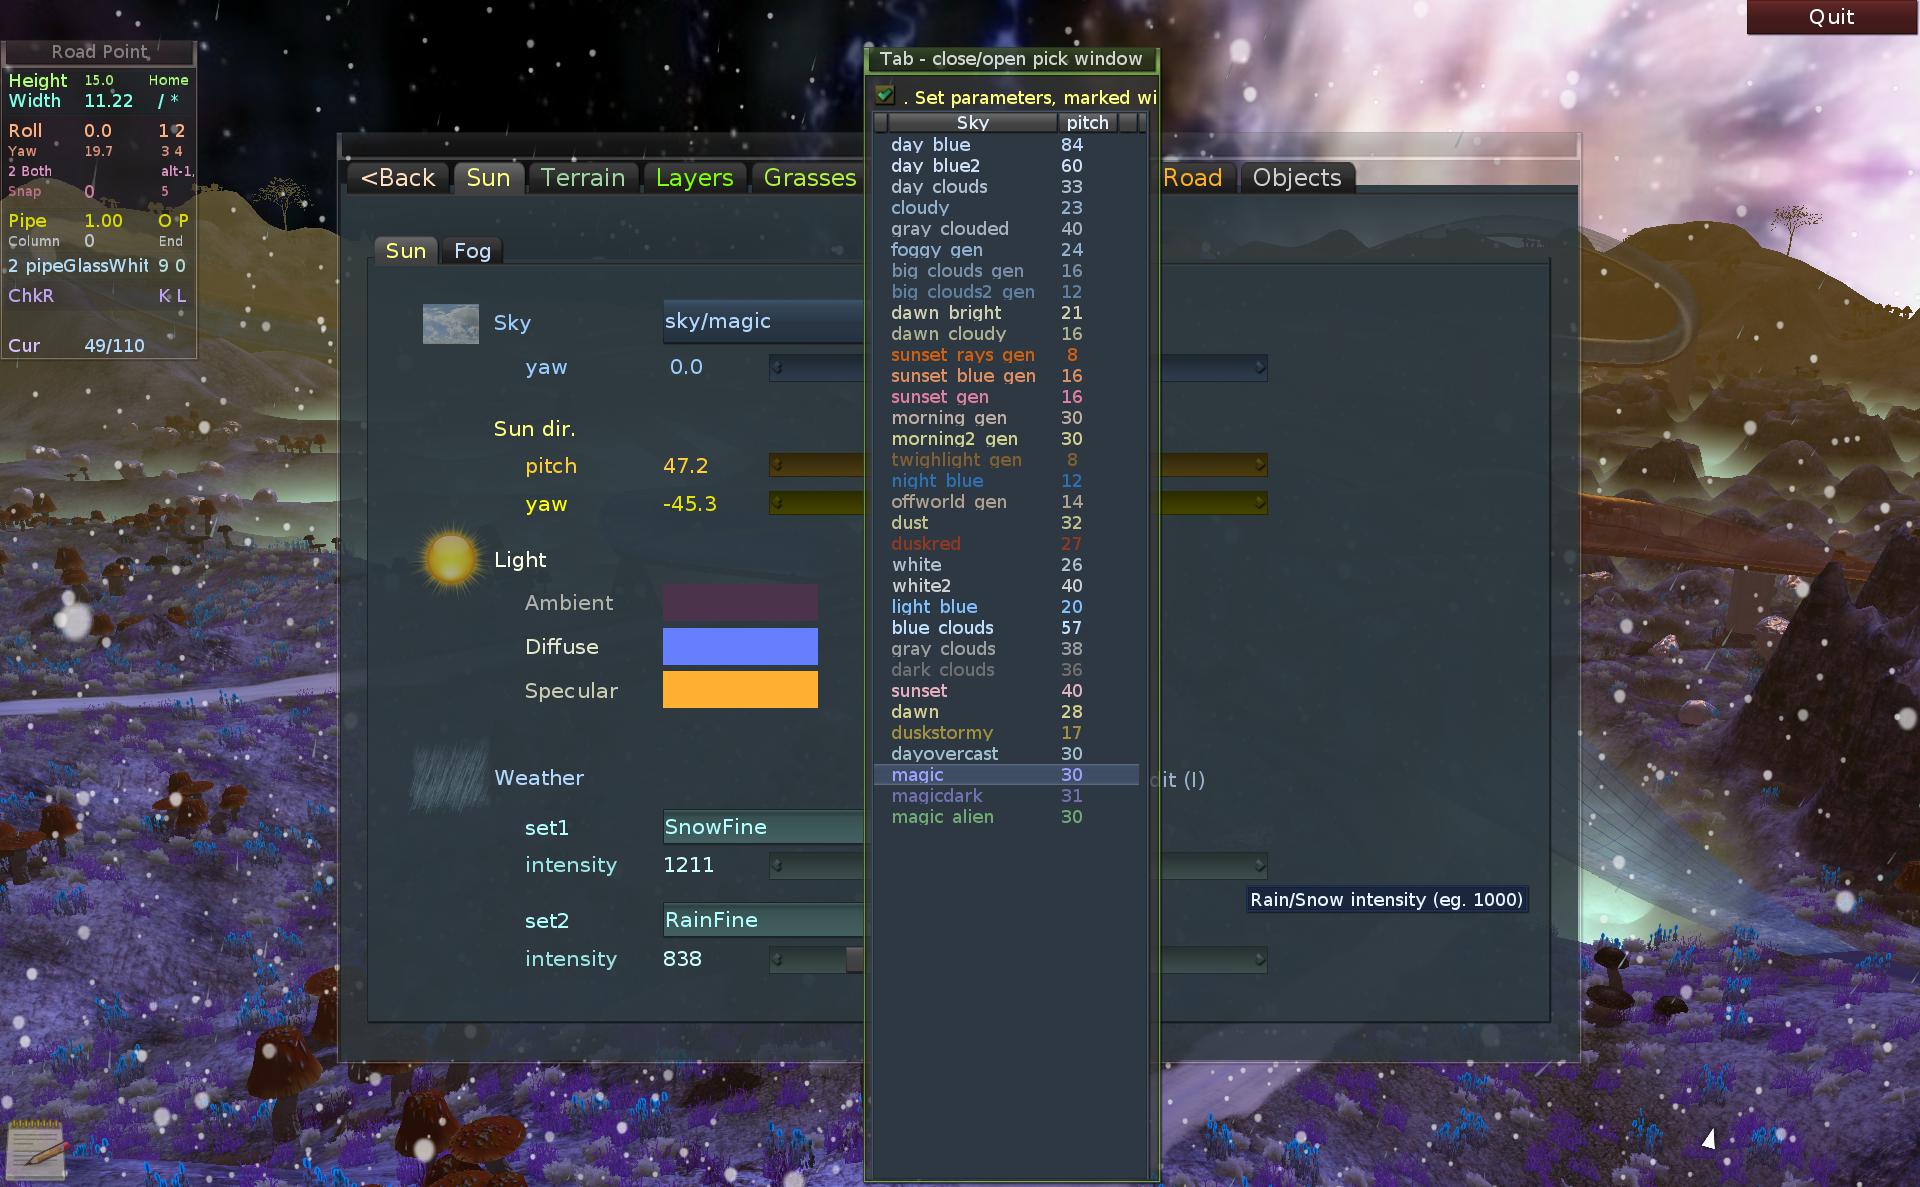
These angles will be set when picking sky from list (if checkbox for it is set there).
Pressing sky name button will show pick list with all available skies. Tab key is the shortcut for this (on other tabs too).
Weather has 2 possible slots. Each can have one of many different particle types: rain, snow, fine, heavy, storm etc.
Their intensity (emit rate) is set with sliders.
Since it’s usually not needed to see weather emitting while editing track, it is toggleable here (or with key I).
There can only be 1 light source in game. It is directional and is called sun.
For this light, we have 3 parameters: Ambient, Diffuse and Specular. Ambient is the constant background color. Diffuse depends on surface angle (sun direction versus surface normal). And Specular is similar but has also power, it is the shininess.
All colors here have: Hue, Saturation and Value (Brightness), which are obvious. But additionally, Value can go above 1, lightening more, used e.g. on deserts (Dunes etc). And there is a new Negative value, very rarely used. It can act as a negative light, decreasing brightness, e.g. a blackening sun on BlueHell.
Fog
It is a cheap effect, already present in earliest games. But quite good and present on most tracks.
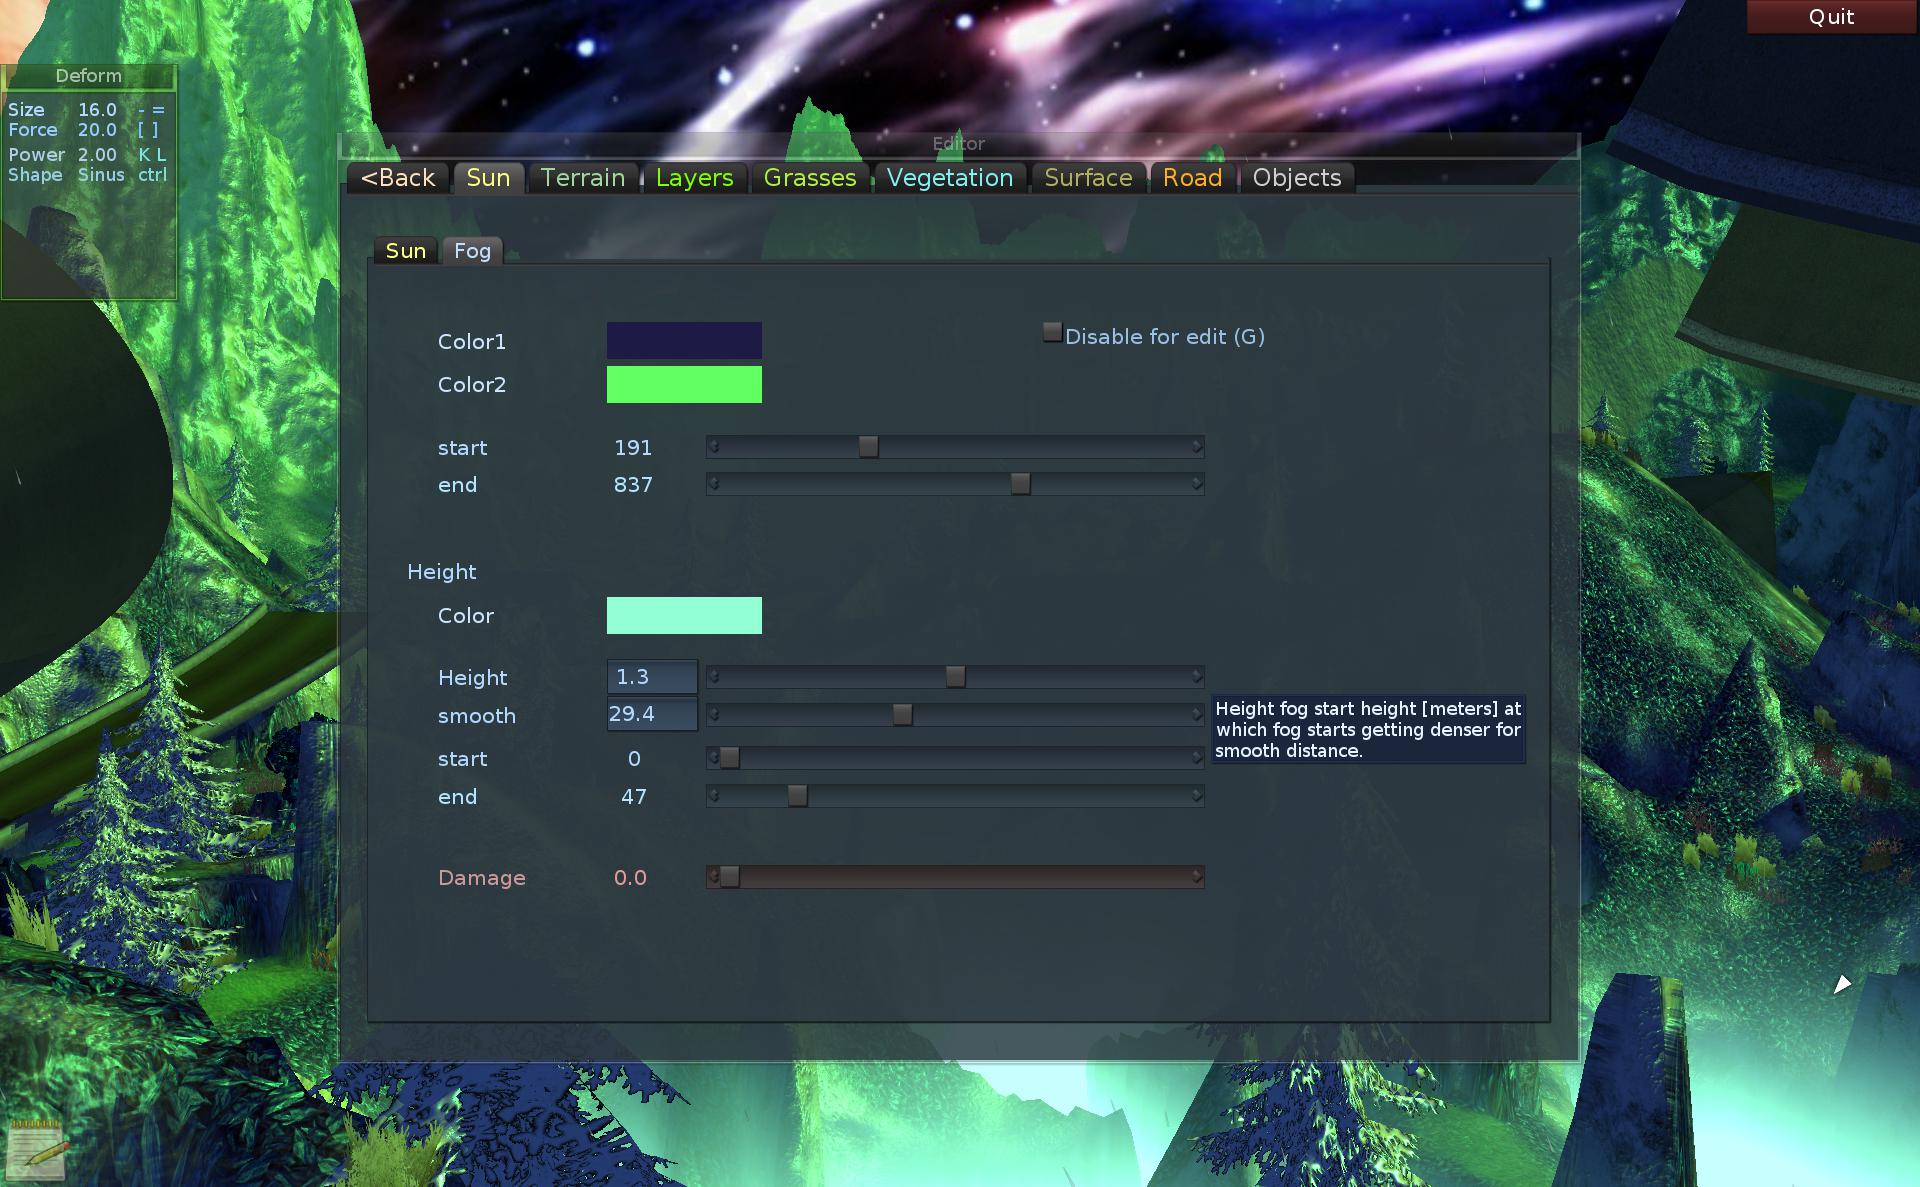
Fog itself is linear and has 2 sliders: start and end. Until start distance there is no fog at all. And above end distance, there is full opacity fog.
Fog can have 2 colors. If not needed those can be the same. Useful for example on a sunset sky where one color is orange near sun and other can be gray on the opposite side.
Height fog is an additional type (with own color) added to there regular fog. It depends on height, so gets denser when lower. Start and end parameters are here too (to allow own values for distance). Height and smooth values determine where it will be and how fast will it be dense (opaque).
Fog colors (beside the Hue, Saturation, Value and Negative) can all also have Alpha (transparency). When below 1, fog never reaches full opaque in end, allowing some visibility.
Higher than 1 for Value results in glowing fog, seen as light. Present e.g. on tracks: Pipeline, Crematoria, GreenStar and more.
Last thing for fog, it can deal damage (over time) to vehicle. Happens inside lava, acid, radioactive pool etc. E.g. on Craters, Radioactive and AcidLakes.
Road is made using a Catmull-Rom, 3D spline. It can go in any direction. The system building geometry for it (segments, with LOD) was also coded completely by me. Started in the earliest versions and developed further to support bridges, columns, pipes etc.
Let’s start with the simplest features.
Points
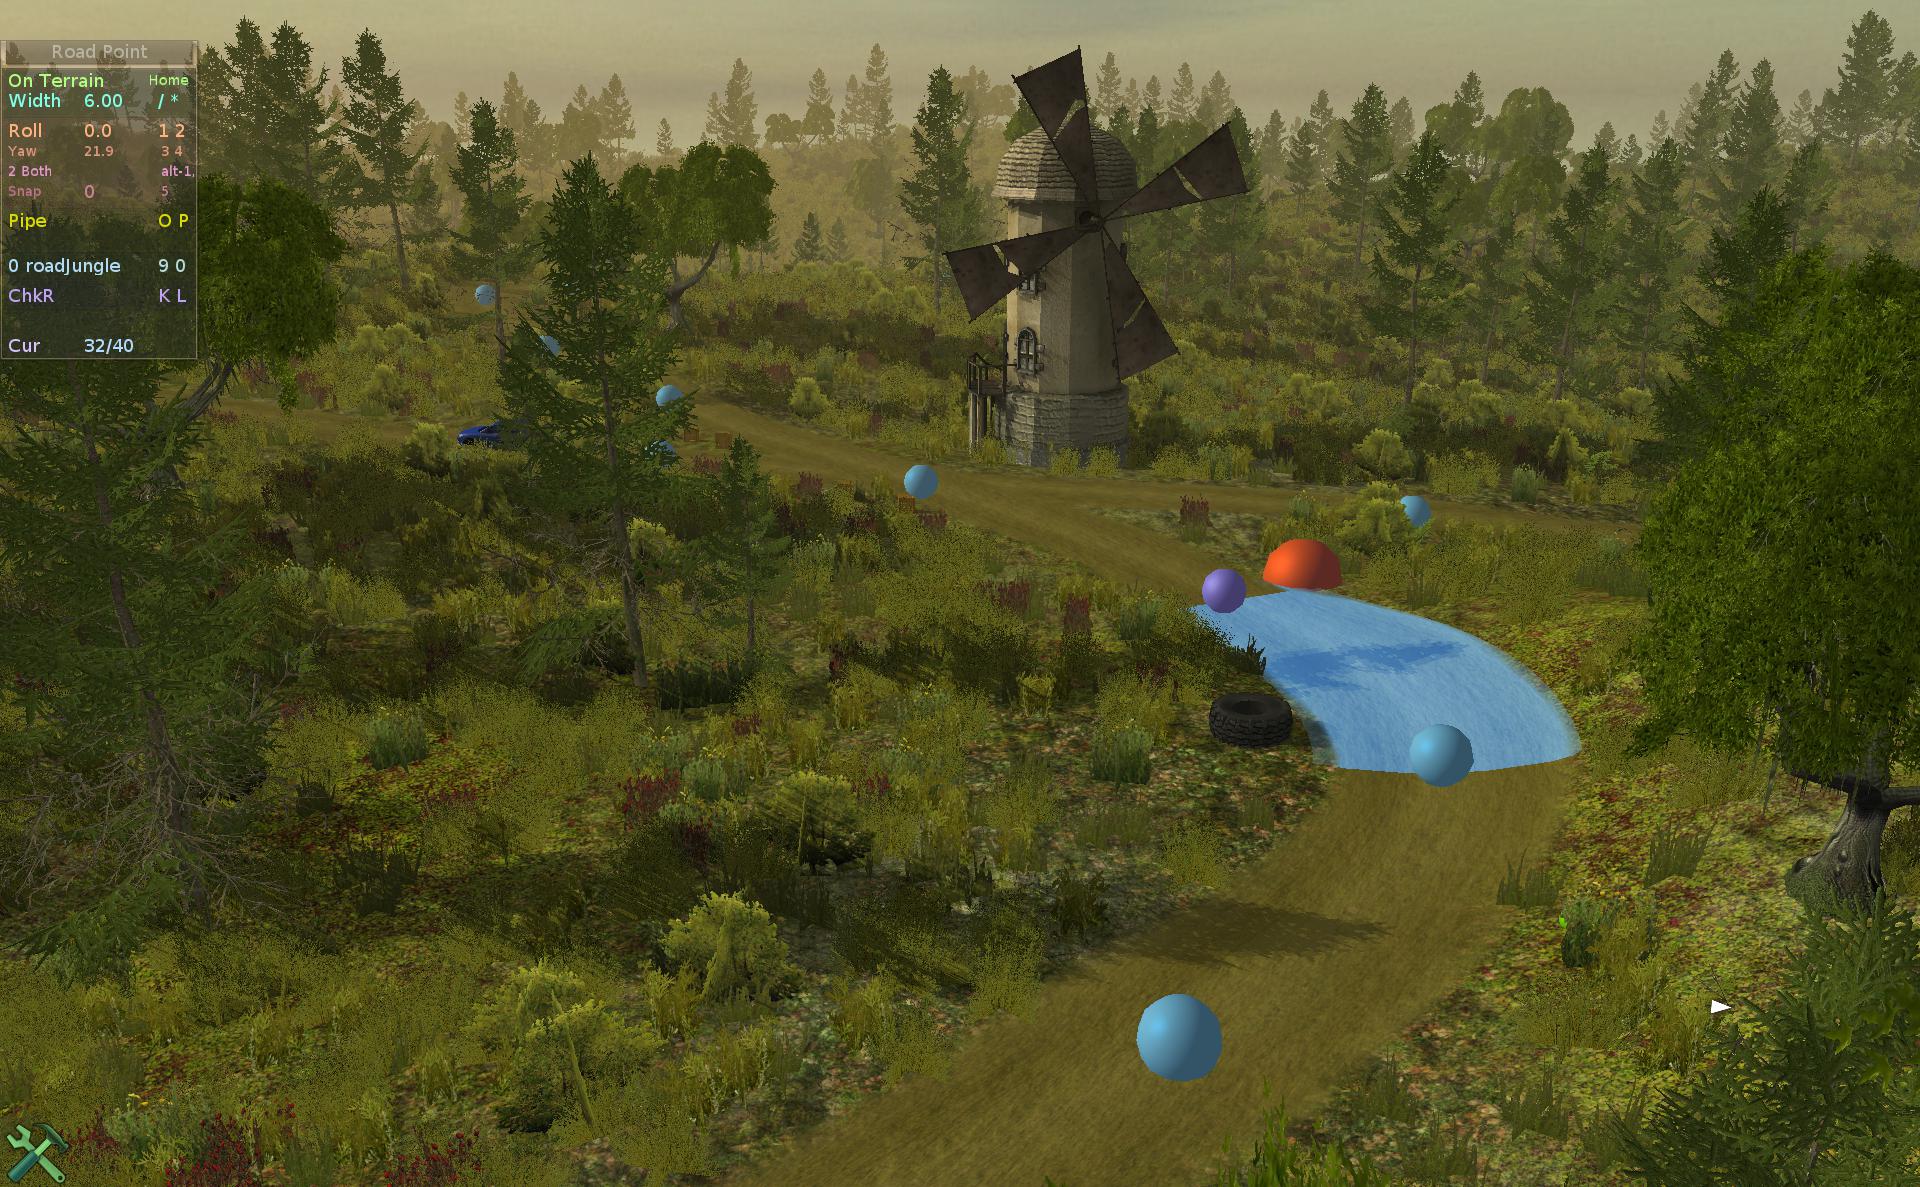
Road consists of points. Each point has several parameter values. Point is associated with road segment. As can be seen on picture, the blue spheres are road points. Selected point is violet. It also has a bigger red sphere beside it, which is used to show rotation for banked bridges.
Points are inserted inside the glowing segment. The simplest road point parameter is width. Road width gets smoothed between points.
Checkpoints
A point can have a checkpoint sphere radius set. For road on terrain it’s recommended to be wider than road e.g. 1.6, but this will vary in places, bridges and pipes naturally have 1.
Checkpoints are set manually for each track and used for many things: driving progress percentage, direction arrow (where to drive), also a beam (in place there), and most importantly to show Wrong Checkpoint, if driver misses it, while being too off road. They are explained in this video.
Bridges
Those were points On Terrain. Now if you toggle this snap off (Home), it will allow moving point vertically and automatically produce bridges, with side and bottom walls and columns.
Materials
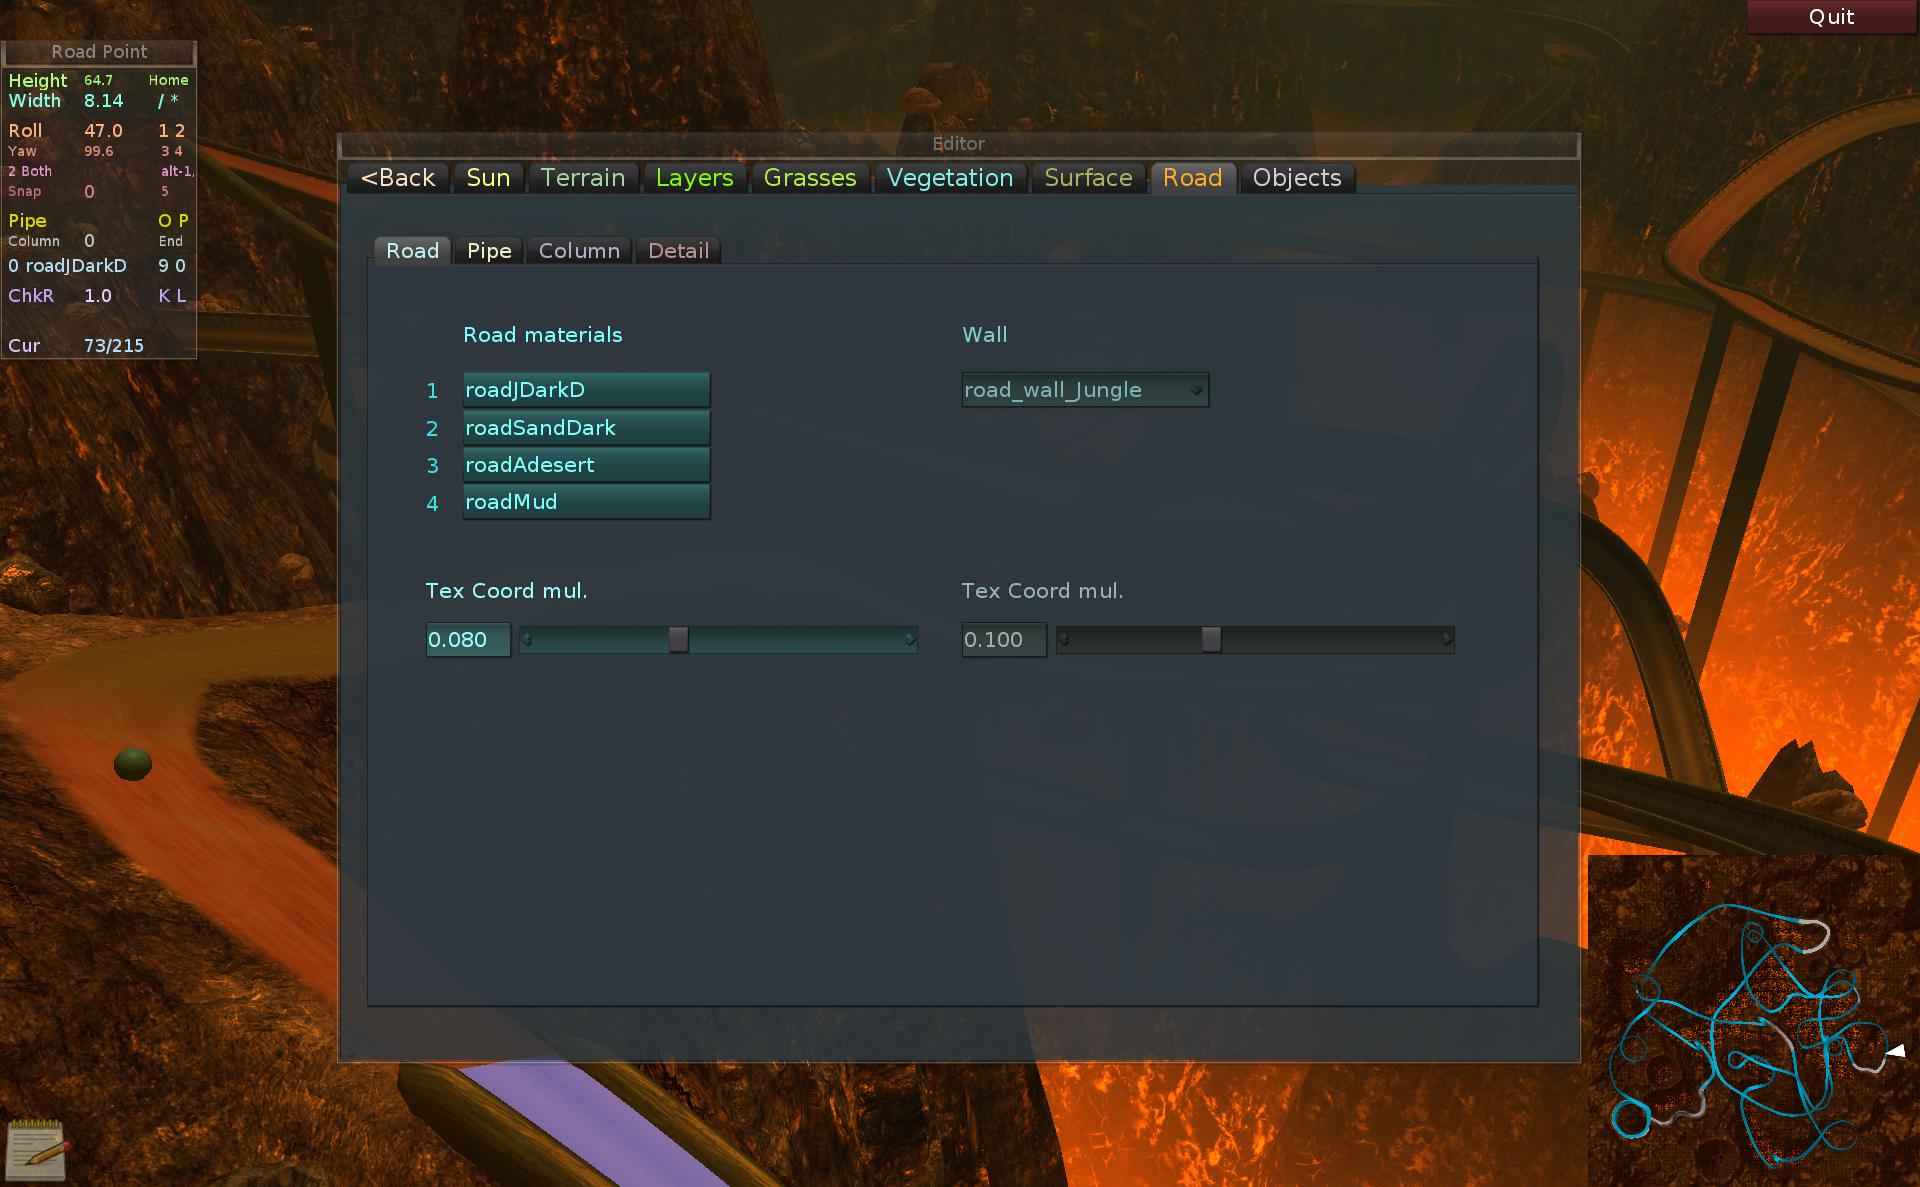
Next easy topic for start is road materials. There can be only 4 (for performance) and they are set in Road tab. There is also a pick list to choose from all.
Materials are changed with keys per road point, and this will blend (transition) in and out the material from close segments.
Also on Road tab, we can change wall material, and column geometry (radius, sides). Columns are added automatically, always in half of segment. They can be toggled off. But manual placing isn’t possible. Adding more road points, evenly can fix it. There is only 1 wall and column material per whole road (also performance).
Now let’s get back to the point.
Banked
Having a point in middle air lets you rotate it. Changing roll angle will make banked road. This allows side turns and skewed loops like shown here (Refinery).
Pitch is never set, it is automatic. Yaw also, but it can be adjusted. It decreases width, but is sometimes needed, e.g. when creating loops (upside down road part).
Tracks with a lot of banked roads are e.g. Web, Spider.
Loops
Loops require 8 points or more to be good and smooth. And as we can see, having full control of each point gives freedom to create any types and original shapes of loops. Since they have walls, it’s hard to fall off of them, except when upside down and driving too slow, or for difficult, skewed ones.
At this point, it is worth saying that: (many) road segments (with points) can be selected.
Besides that one point (or none) can be picked.
The selection can be:
Moved (all at once)
Rotated (yaw, around picked or center), or Roll (used rarely)
Scaled (to center or picked)
Copied and then
Pasted (even on different track), or Pasted reversed
Mirrored (reverses order of points)
Changed, i.e. some parameter value change, for all at once
And lastly picked points parameters can be copied, so when inserting, new one(s) will get same values. Makes it easy to e.g. continue a bridge in air at some height or split segment (add an extra point inside) etc.
The system making them is (almost) fully automatic. This code was also challenging to write. But it proved my idea, we had already so many tracks and auto generated pacenotes for all turns were the way to go (saved an imaginable amount of tedious work if it had to be manual, also for any future edits). It is not perfect, as it sometimes does 2 turns where it could be just 1 but otherwise is great.
There are a few exceptions. Loop types (regular, side, barrel, 2 in 1, etc) have to be set on point manually as extra parameter. There was already one to mark a loop for game camera change. Next, jumps for their text with speed are using recorded track’s ghost, which means without it there is no info and also means that values will be exact only for ES car. All others will be scaled and may not match if aerodynamics is different. And lastly some roads have invisible parts that only tweak something and we don’t want any pacenotes there, another parameter to mark them not real was added.
Pipes
Introduced early and quite fun. Actually easy to drive in, since they direction the car in turns when driving fast. But will play tricks otherwise with beginners.
Also sometimes steering is needed in turns, or to counter act car inertia. And driving too fast will damage car bottom due to high acceleration acting too much on suspension (just like in loops).
Pipes require more triangles to be smooth and have own advanced parameters for geometry in Road tab. The most difficult part here though was making the transitions. They can start from bridge or terrain road, and both have a huge difference of width vertices compared to pipe. This value has to inc/decrease smoothly and make triangles/faces accordingly. Picture here.
A pipe itself is just a value of parameter pipe for road point set to 1. This allows many other possibilities and having around 0.5 had the name of half-pipes. And few own tracks: Snake, HalfPipes, Knotted, MagicFog.
They are also one of coolest things in the game. Are more difficult than pipes, since you can fall out of them.
Of course pipe is a factor for each point and it can have any value from 0 to 1. E.g. 0.1 will be nearly flat bridge (with no borders) and 0.9 will give a not yet fully closed pipe.
Since pipes were very easy, at some point obstacles were introduced inside them. More on that later in Objects section.
On Pipe
Introduced later in game. Pipes are difficult to drive on them (and easy inside). This happens because you can fall out easily. Being on center is crucial for straight road, but in turns finding the right place can be tricky and fun. This screen is from Industrial, a heavy and long track that has most of it driven on pipe. There is also DangerRoad which has full on-pipe drive and thus is very difficult.
On pipe loops were probably the most difficult stunt element. It’s very difficult not to fall off and tricky to stay center until end of it.
Jumps
Were also quite early. But a bit more problematic for the simulation. Car suspension has to be stiff to land well and usually the tolerance of speed is narrow (i.e. too little won’t jump across and too much will land badly and roll over).
At first they weren’t open. At some time a new hidden material (-1) was introduced and they started to look well. Shown here is one of first tracks with them. Also, notice the spheres on ground between jumps. This was the first way and isn’t the best. Having those single points higher than jumps is better since, the auto pitch (of road) will make jump ends go straight into sky, and not turn lower like here.
Fortunately it is easy to select both jump end points and move them up. Or select all jump segments and then: move, rotate, scale or copy them.
This track Platforms (left) has many jumps. Version 2.6 has introduced Pacenotes system to the game. And added an extra text showing required / minimal vehicle speed to jump across. An original idea and track using it was PipeJumps (right).
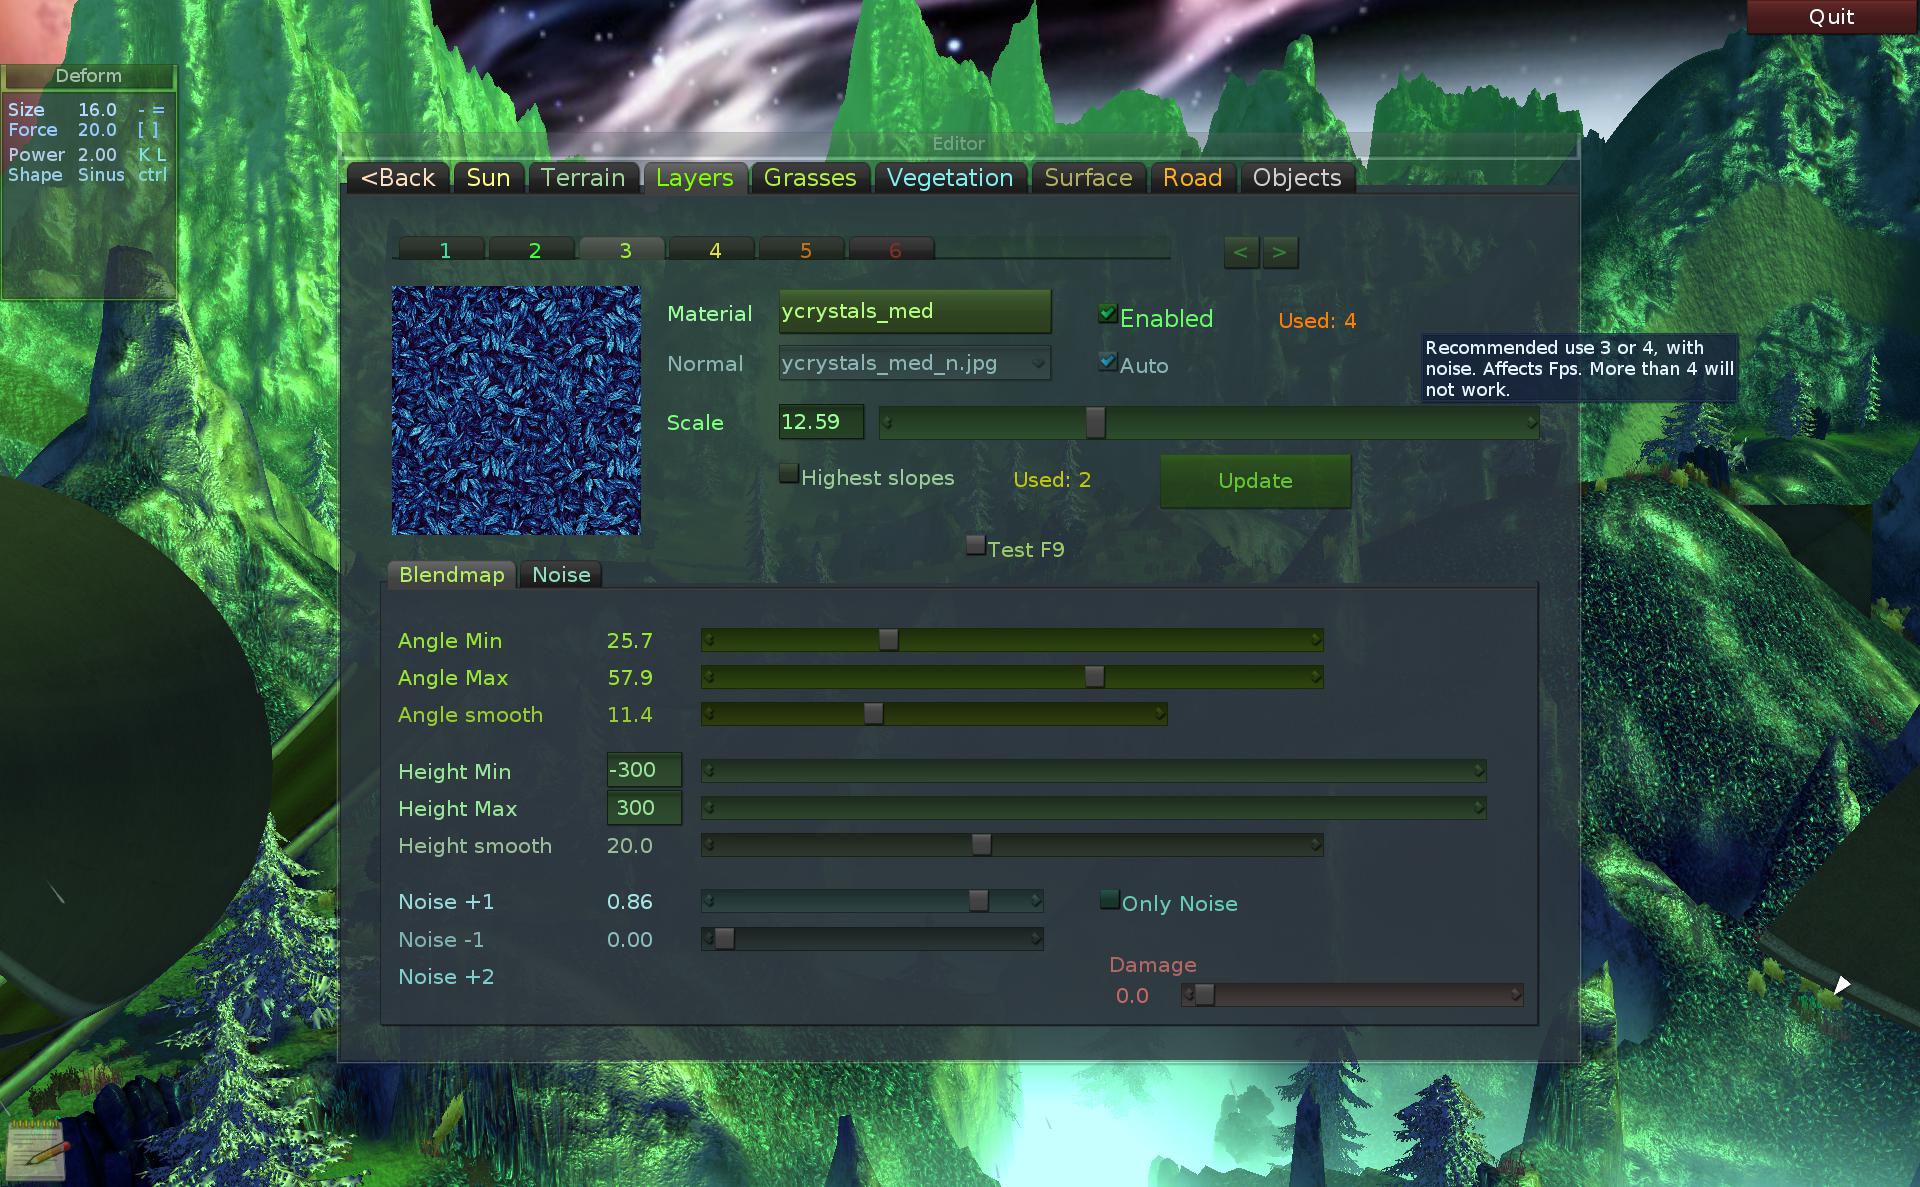
Terrain is using OGRE terrain component with additions from shiny material generator. Due to limits of shader texture units and using 1 pass, it can have maximum 4 layers.
Each layer is a set of 2 textures, 1 having diffuse+specular and 1 with normal+height data. In practice an example for 4 layers would be: grass (or sand), other grass or mud, rocks, snowy rocks. The more are used the worse performance, but 3 or 4 look best. We have 6 layer tabs and enable checkboxes just for convenience.
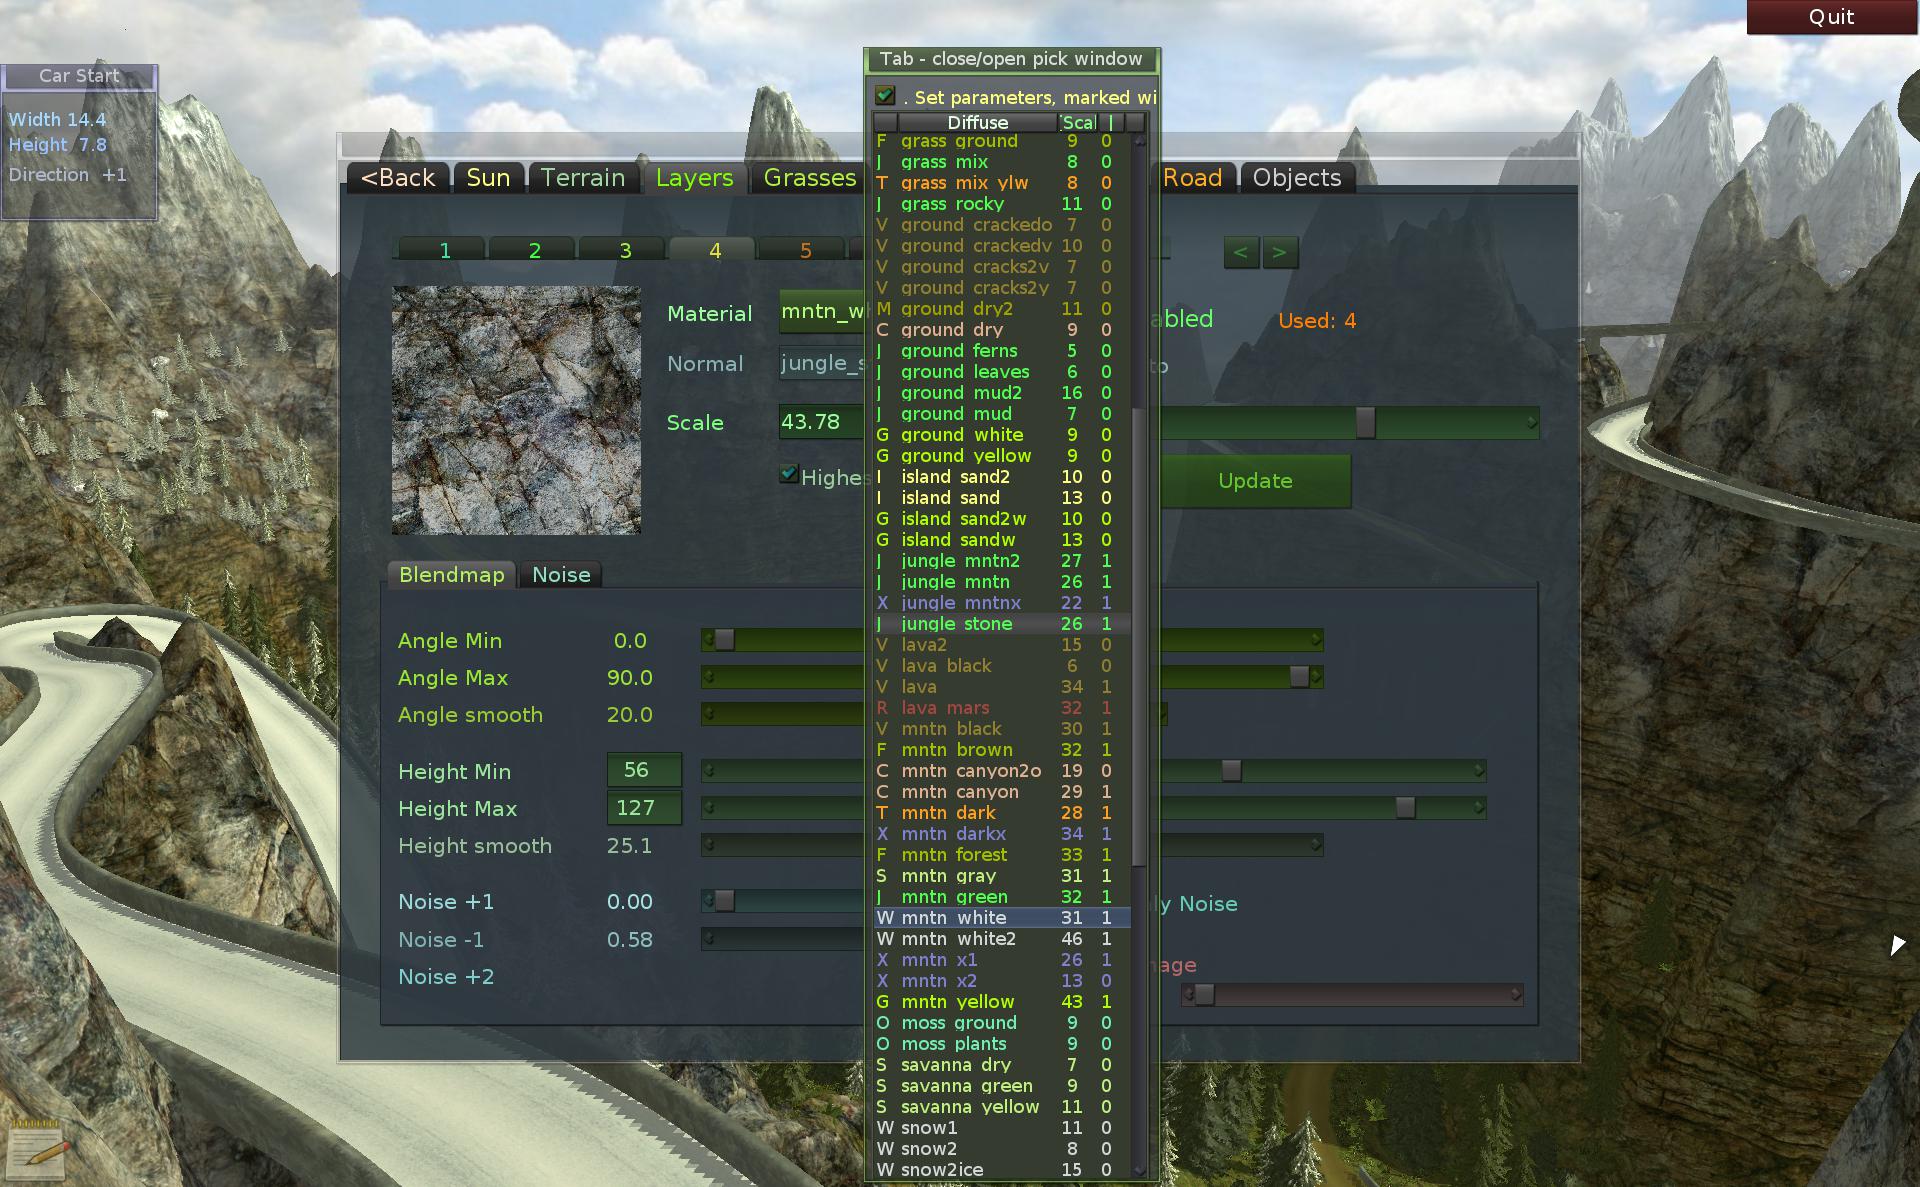
We have a huge number of textures (109) mainly 1k size, CC0 licensed, pack and info here. This gives a great base for the variety of our sceneries.
There is a pick list with all available. It also fills scale. It is a very important parameter. We don’t want to much texture repeat and on the other hand we can’t have them stretched too much (or just have unrealistic size).
Another important aspect is where the layer will appear. We can customize this by telling terrain angles range, and also height range. For example: sand at 0m level and below, grass otherwise, but not higher than 50m and additionally mountains if terrain angle is higher than e.g. 22 degrees. Layer painting is not implemented and not really needed. It would be sometimes useful though to have some manual feature. But otherwise this system saves artists time to decorate terrain.
Noise
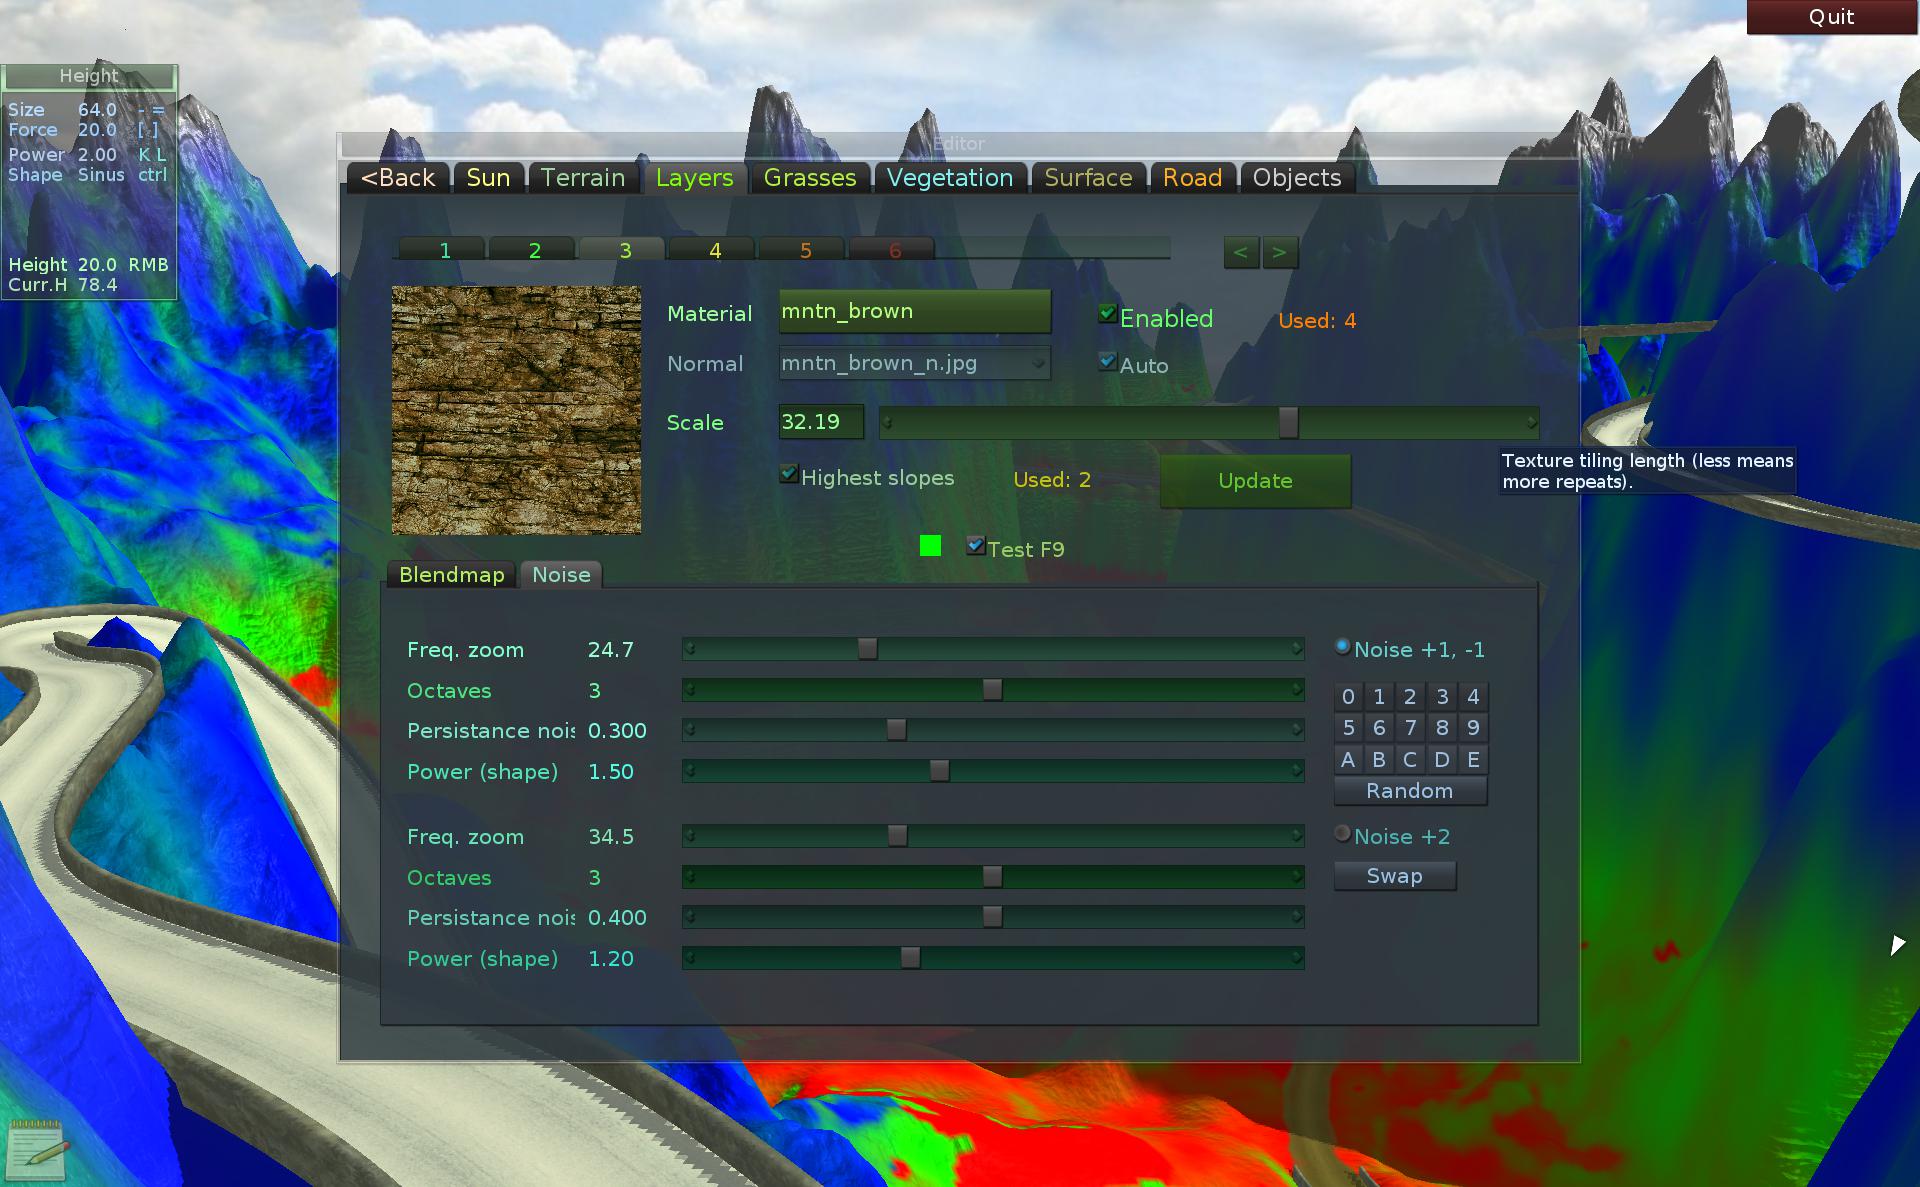
Also each layer can additionally have noise, that can blend into next+1, next+2, or previous -1 layers. Each has own slider, giving 3 factors total. This allows e.g. the first (sand) layer having spots of second and third in other places, making it more unique and less repeating. Also the last (mountains) layer can have spots from previous. Example shown here on picture, from track HighPeaks.
Blendmap
Blendmap is the texture that will have information of how to finally blend layers on terrain. There is a helpful visualization for it (Test F9), shown on picture. When done well, it should show Red, Green, Blue colors, mostly separated (and White when 4 layers). Even if this track is flat and small and dense with grasses, it has 3 mixing terrain layers.
Advanced
There are some extra parameters for terrain, rarely changed. The sliders are shown in next chapter heightmap below.
Terrain can emit light i.e. have emissive layer. This has a checkbox to turn on, and a slider for scale. It will disable normal specular light though, instead using it for emissive map.
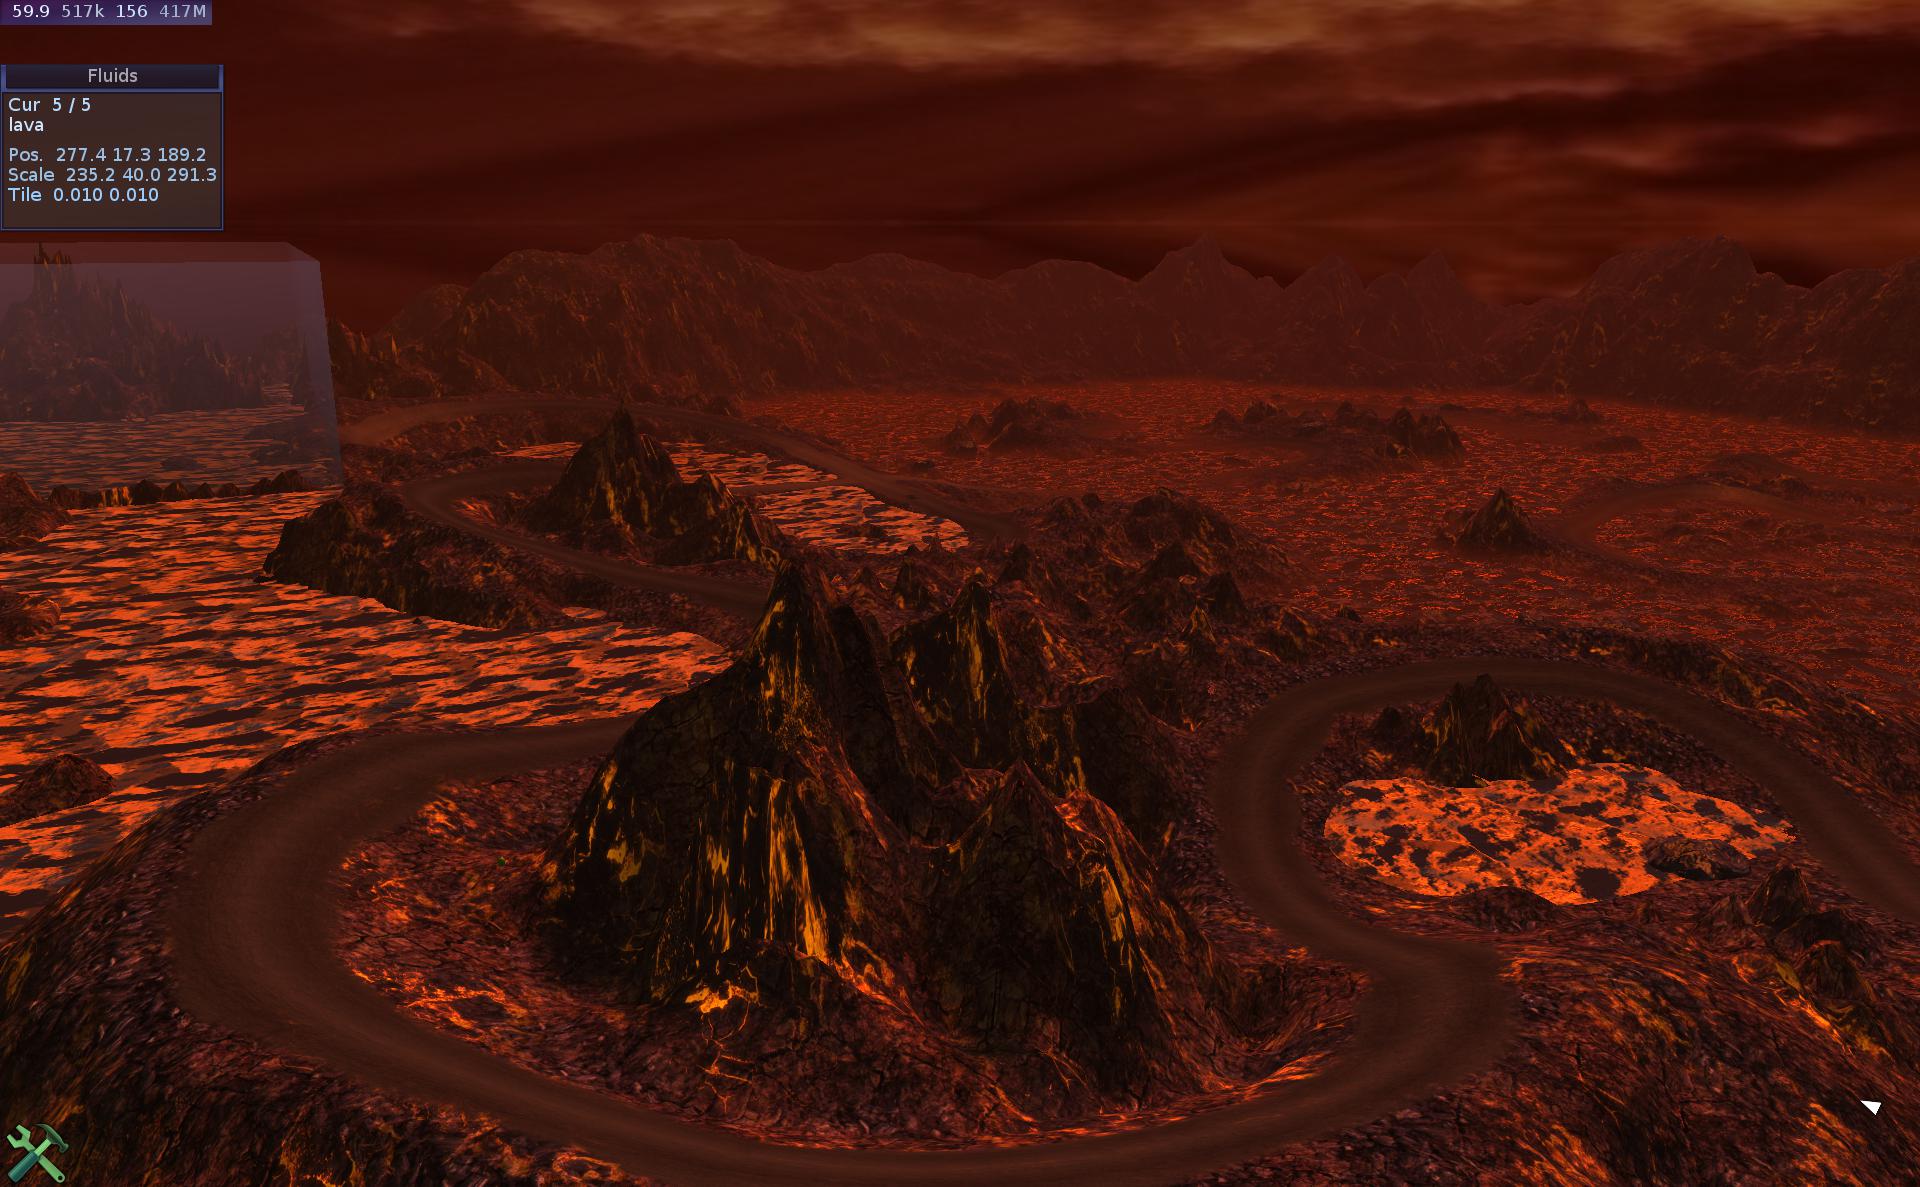
An example here is lava e.g. on Crematoria, Craters. Without it the look would be too dull and unrealistic. And others examples on Radioactive, Magic, Wild.
Next, normals scale and specular power change terrain lighting as whole.
Terrain heightmap
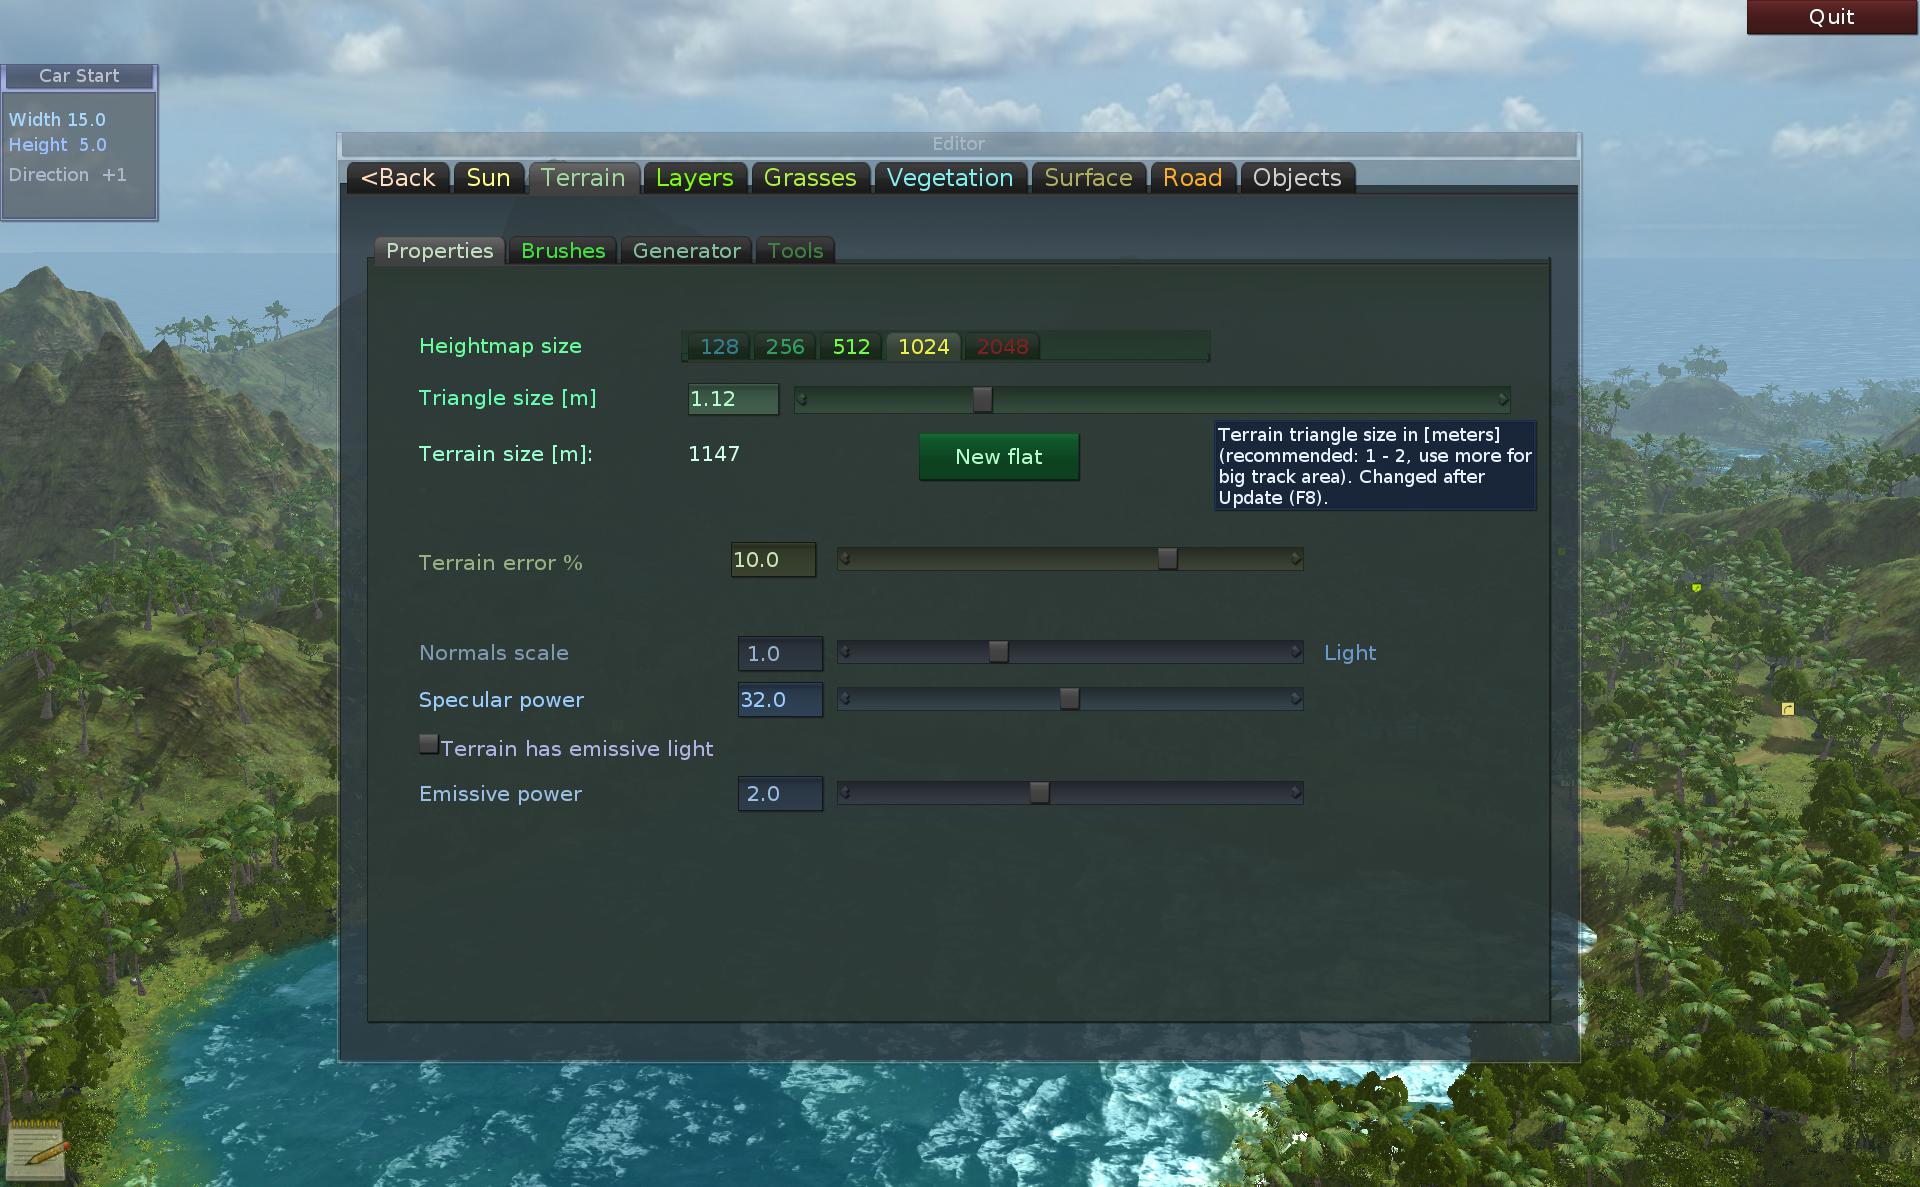
On terrain tab we got parameters that setup the heightmap. It will always be square grid. But larger maps need more area. Heightmap size can only be power of two. It also decreases performance when high and additionally makes track bigger on disk. So 2048 should never be used. And if track isn’t big, 512 should be good.
Once set it shouldn’t be changed. But there is a button on Tools tab, to half the value, as a last resort to make track have more Fps (better performance).
Triangle size is a real number and it can be scaled freely. But recommended is the size of 1-2 meters, since if too big it doesn’t feel real when driving. The resulting size in meters (side length) is computed and shown here too.
Terrain brushes
Having good looking terrain means putting some time to paint it. It is like a canvas for an artist. Best to paint in each place and also using different brushes. It’s also good practice to decorate terrain more, after road is final.
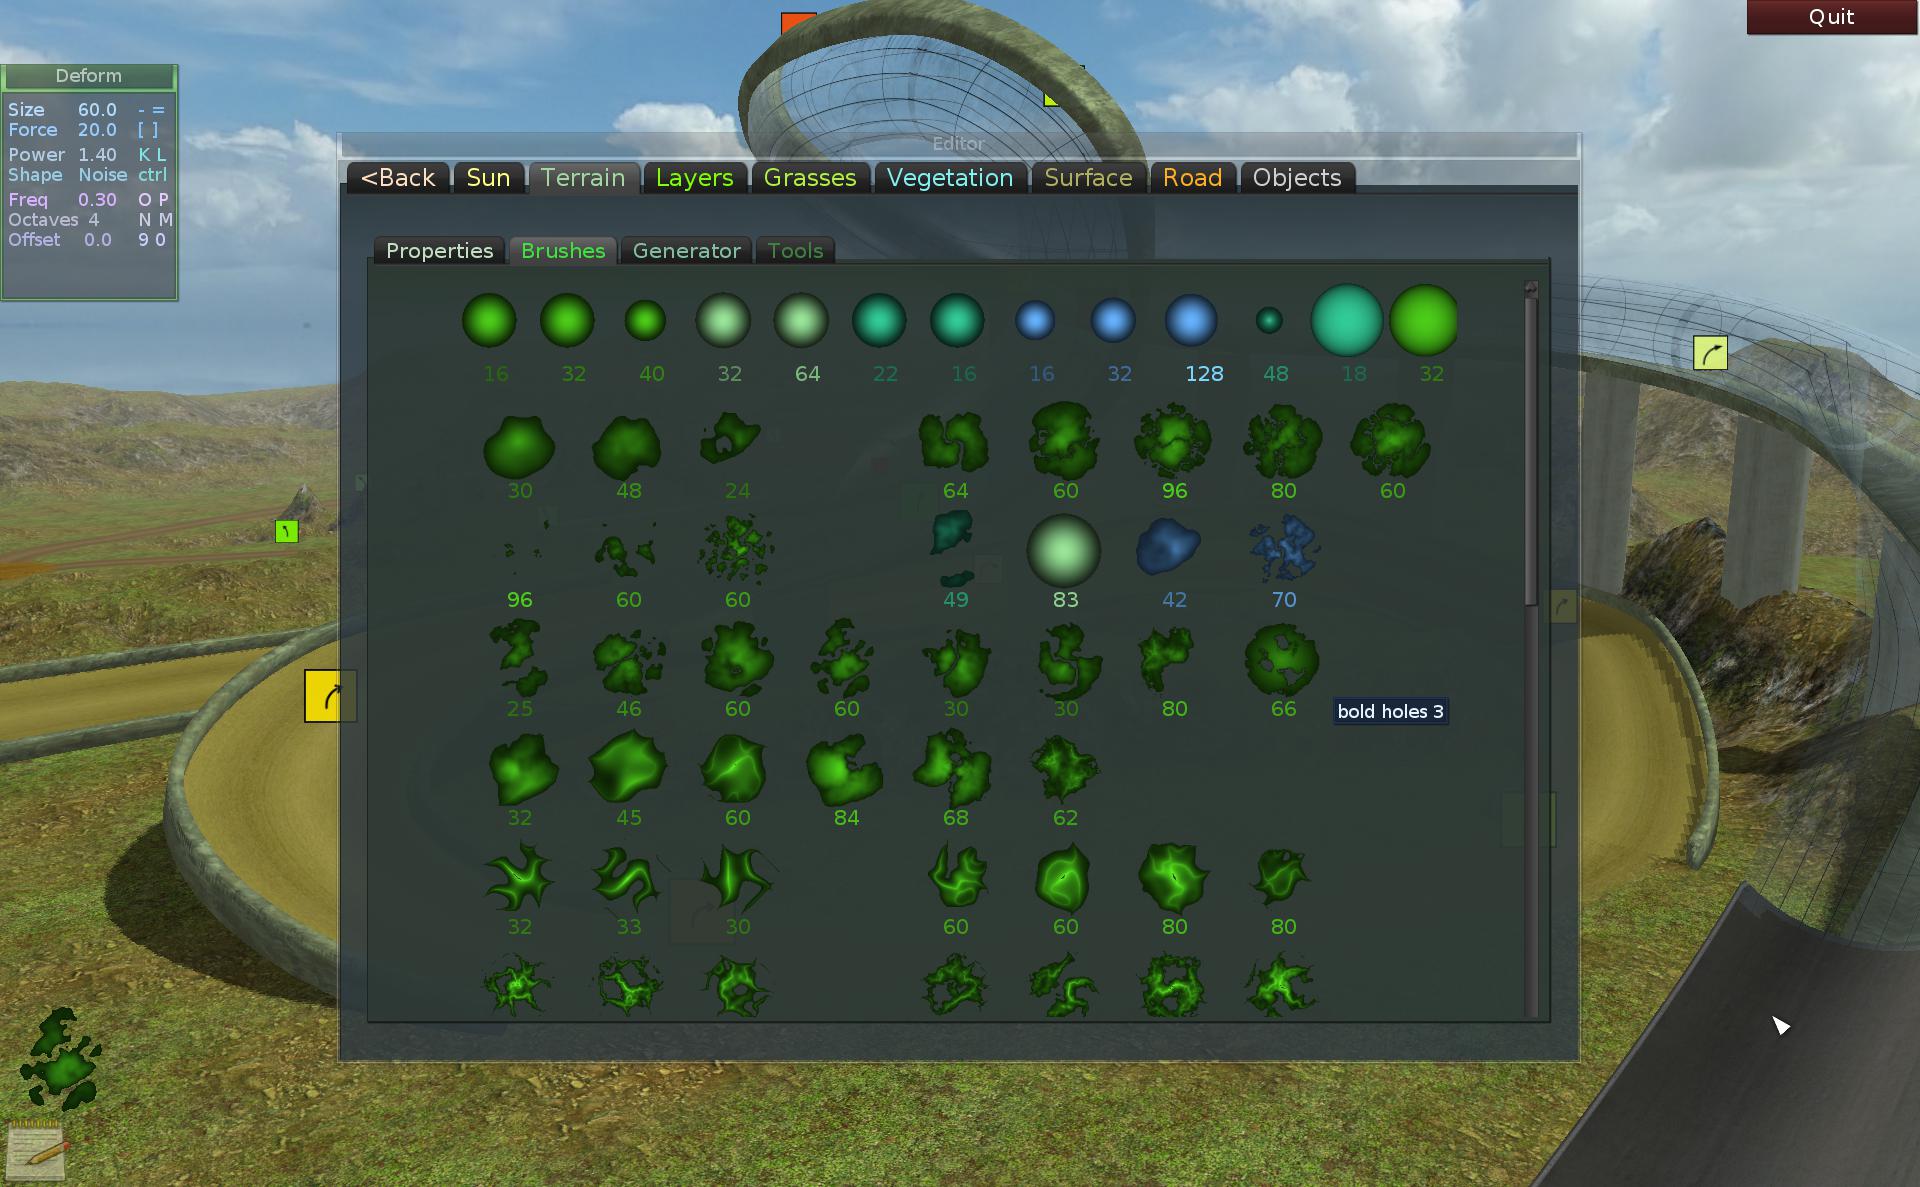
We have 4 types of brushes: Deform, Smooth, Filter and Height set. All brushes have common factors like radius (size) and intensity (strength).
Deform can make terrain lower or higher, by factors from brush. The simplest are of course just a solid sinus circle, most effective in center and not at all on borders. Smooth brush will tend to flatten terrain in place, it was made first, and sometimes needed. Better and new is the Filter brush. Filter brush can fix all your problems (except real life ones). It smooths terrain without loosing shape, it is a filter that reduces high frequencies (noise) on terrain. Also has a parameter for kernel radius. Height brush sets a height value in place. The value can be adjusted with mouse. It can create flat place
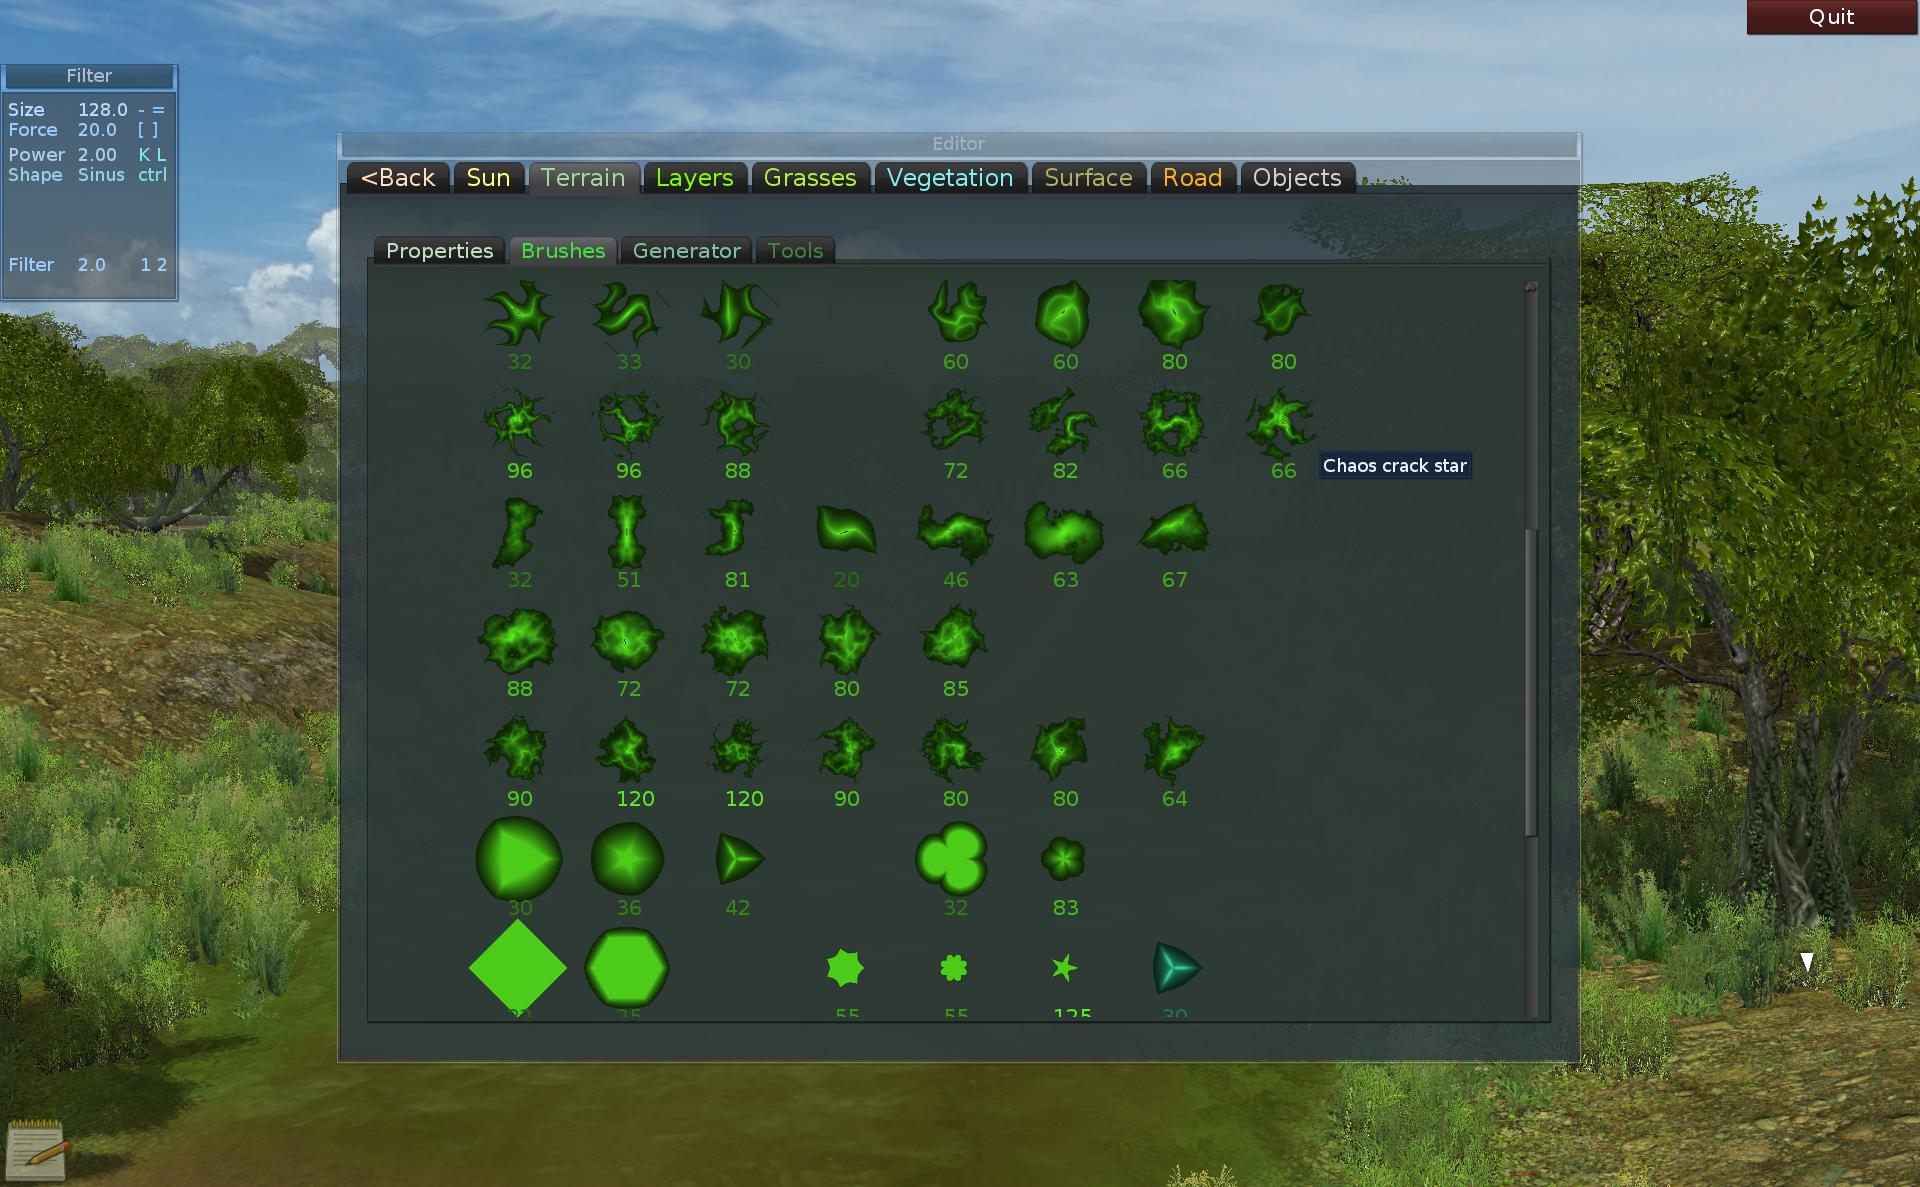
There are several terrain brush presets, shown here on screens. The first row is just the basic circle tools with different type, radius and intensity. The rest is various deform with noise presets. And last 2 rows have fancy regular shapes. Below each image there is a number with radius. Also hints show a name, but image is mostly sufficient.
Terrain – Generator
Terrain generator is a great start for tracks. Especially those big, scenic, nature tracks. It isn’t enough to just use it, manual painting gives unique feel and character.
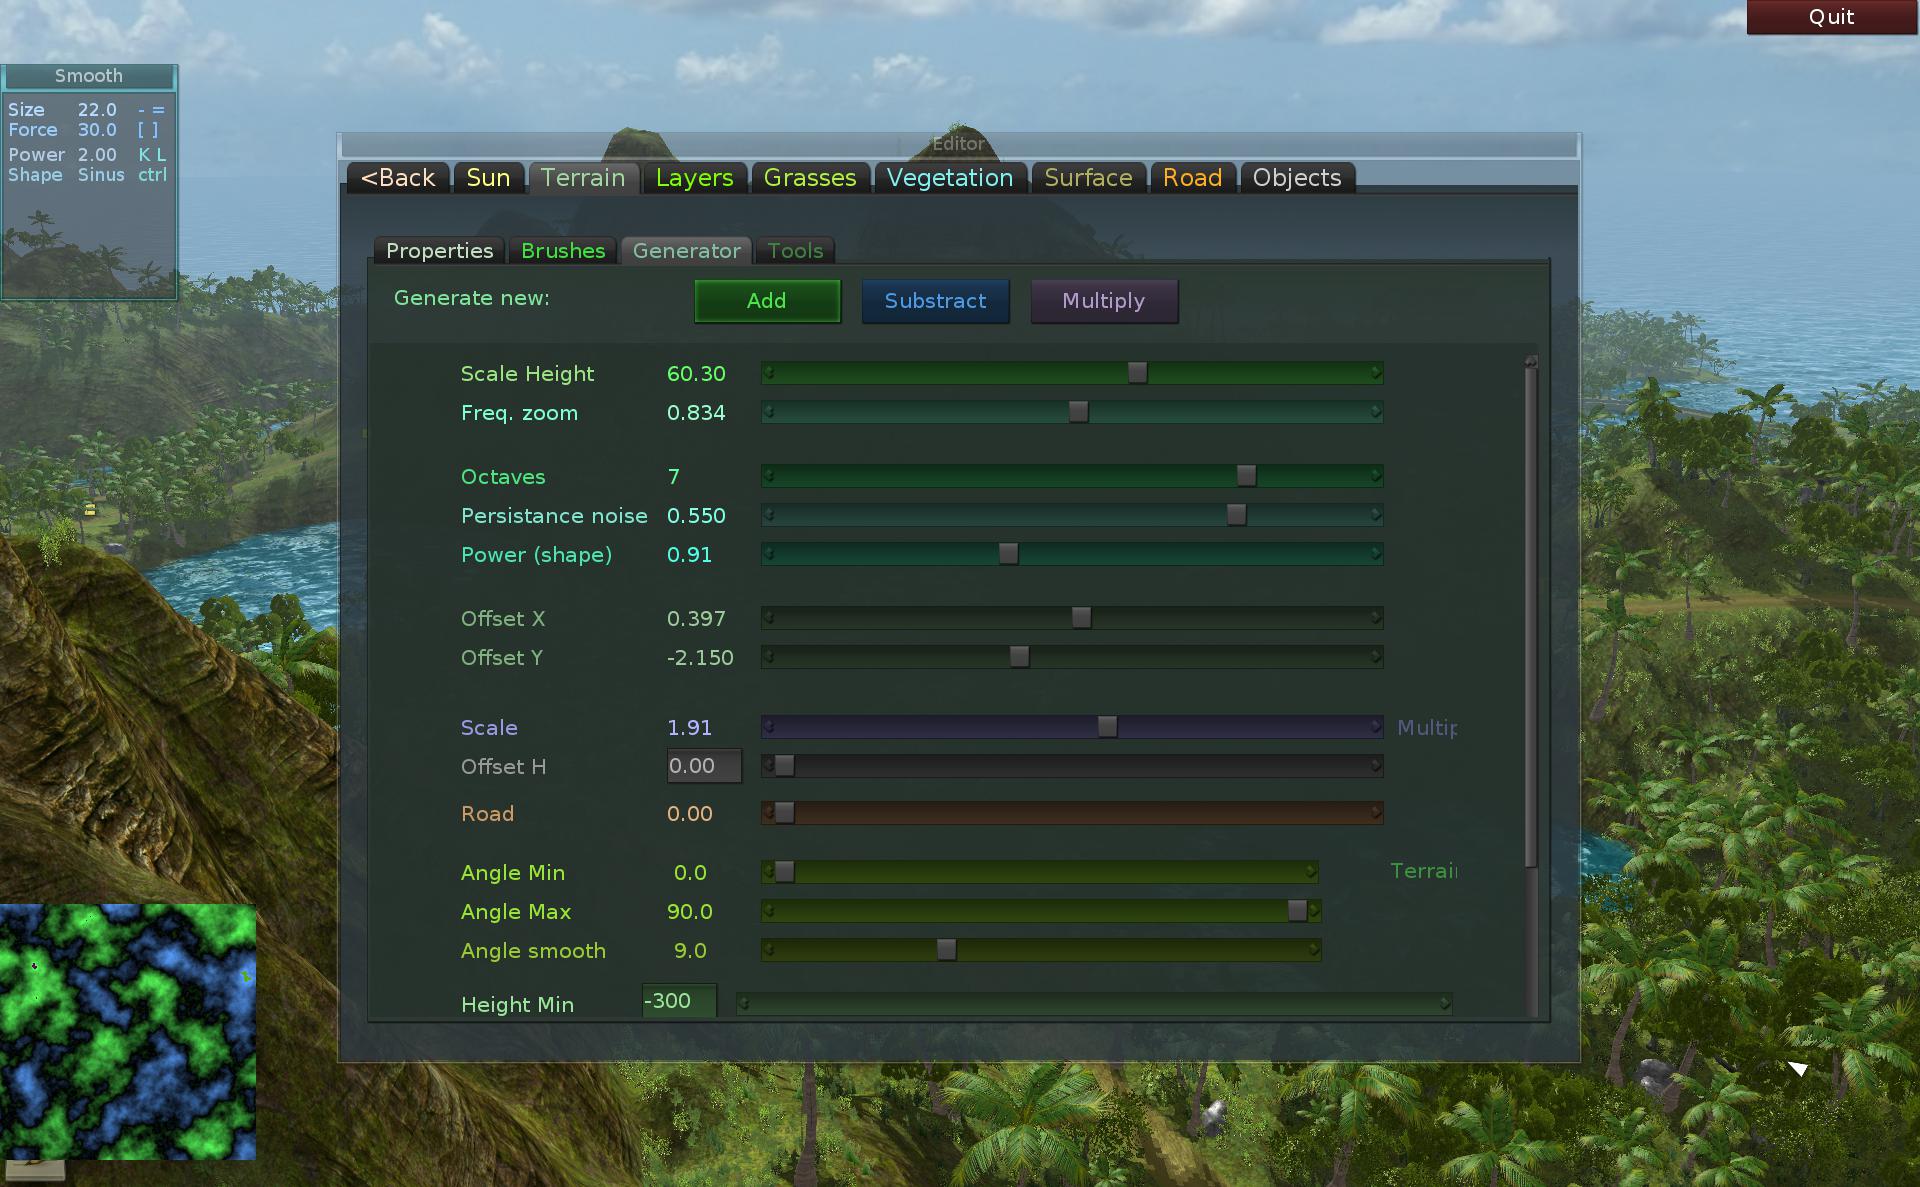
It is a functionality that generates noise, the size of whole terrain. Preview of it is shown in left bottom corner. It has many parameters available on sliders. Like with every slider, clicking RMB on it will reset value. The resulting noise can be moved around with offset and scaled to real heights. Clicking buttons can either Add that to the terrain, Subtract or Multiply it with. Thus multiple uses are possible. It can also ignore road, so be used even after road was placed on terrain, but need adjusting bridge ends then.
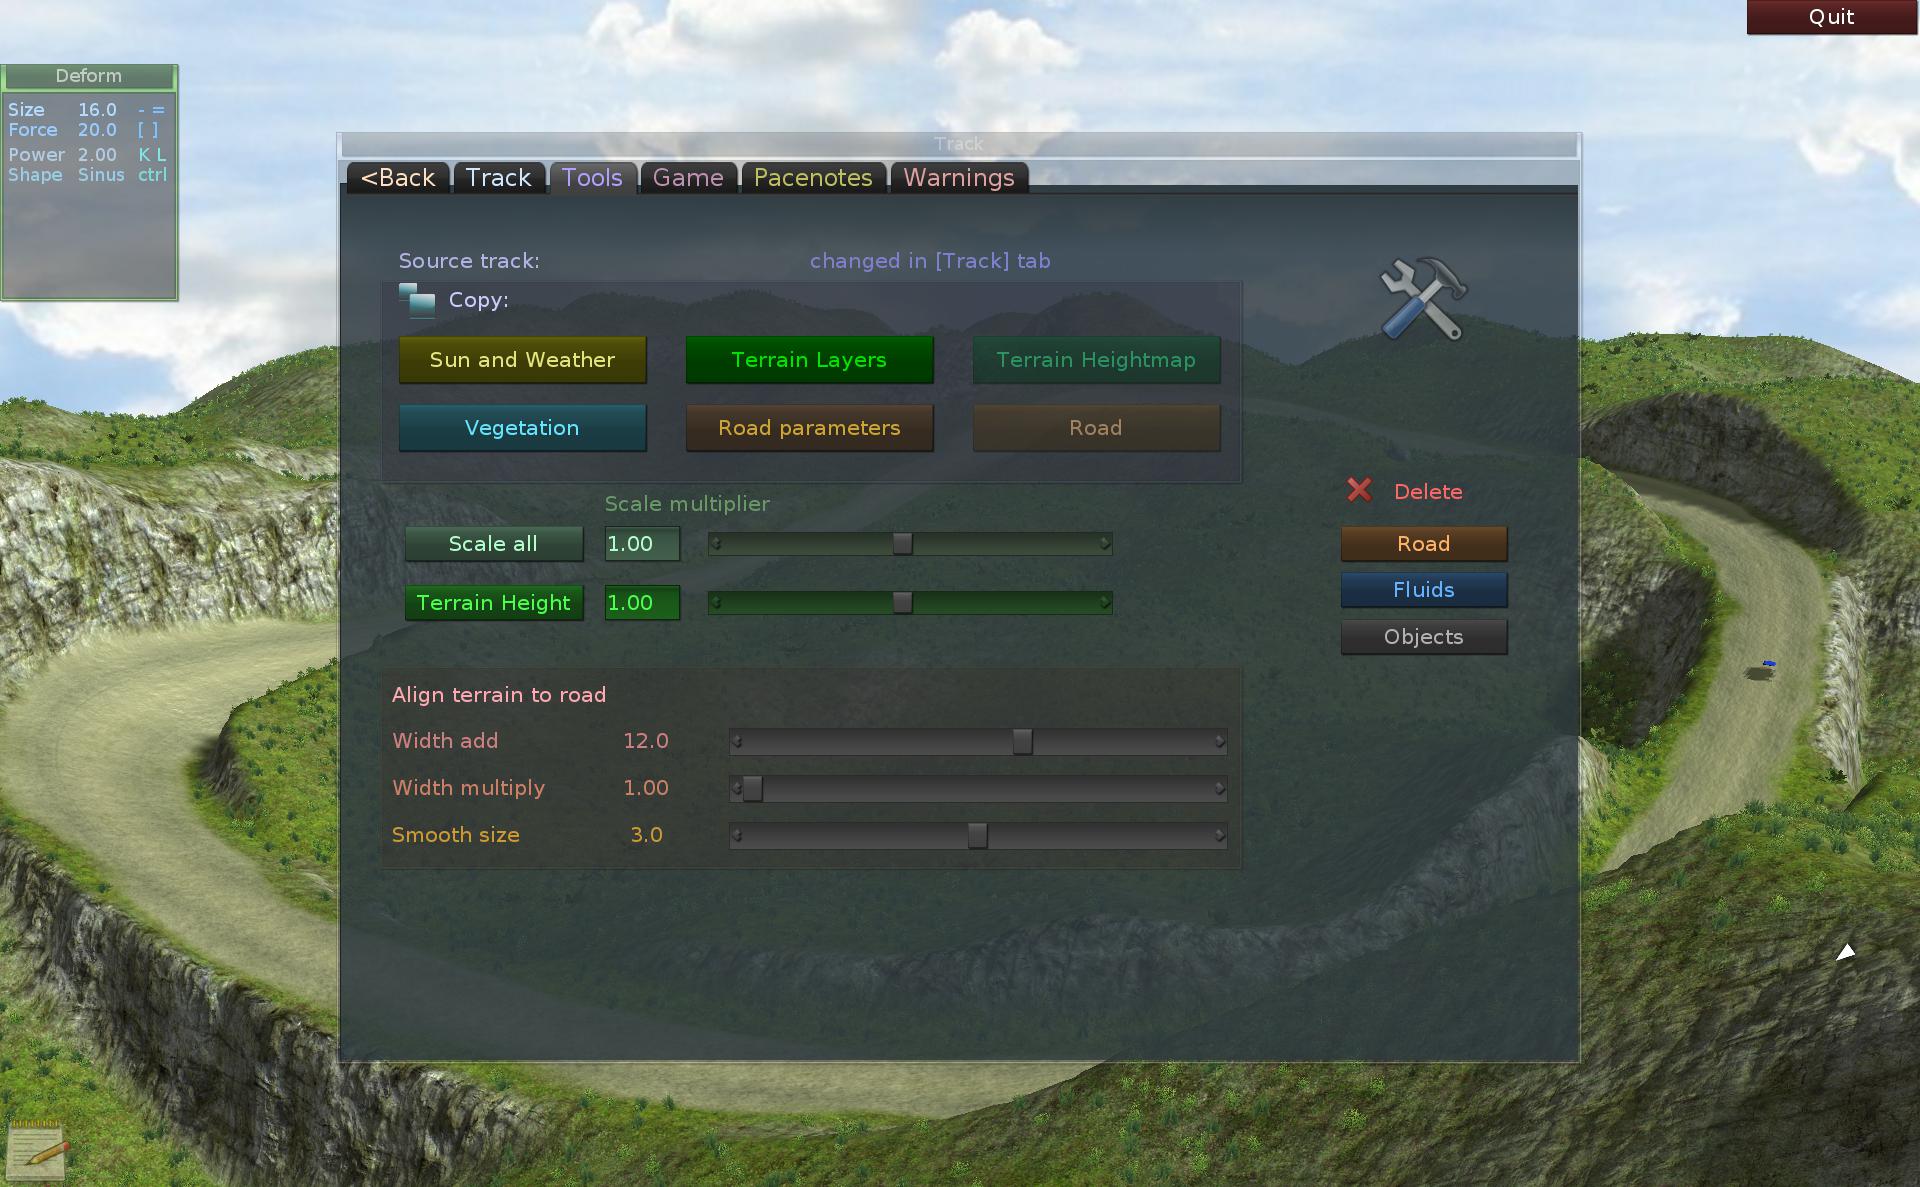
Align Terrain to Road is a very useful tool. It is shown in a video here. It has own test track that demonstrates the result. The tool needs a road with selected segments. Road needs to be in air (bridge, otherwise nothing is needed). Upon using it will adjust terrain heights so it ends to be where bridge road was. Then road can go On Terrain instead of bridge, preserving shape. It also has 3 sliders for smoothing terrain a bit to the road on borders for small distance.
Other tools available here are from top, the ability to copy various things from other track to current. On Track tab there is a button set as copy source, so once another track is picked and button clicked, we can use buttons on Tools tab to copy stuff from it. E.g. Vegetation, Sun and weather, Terrain layers, Road parameters etc.
There are Delete buttons here too. Since there is no new track, just duplicate, you may want to delete various things like Road, Fluids, Objects for your new track.
Lastly on this tab, we have scaling ability. One can scale whole track by factor from slider (and editbox) or scale just the terrain height. This is useful, since when driven after editing, track may feel too big, stretched out and it’s an easy fix by scaling it below 1.0. Contrary if it feels to big, above 1.0 can fix it. For compensation, terrain height can also be scaled.
Game setup
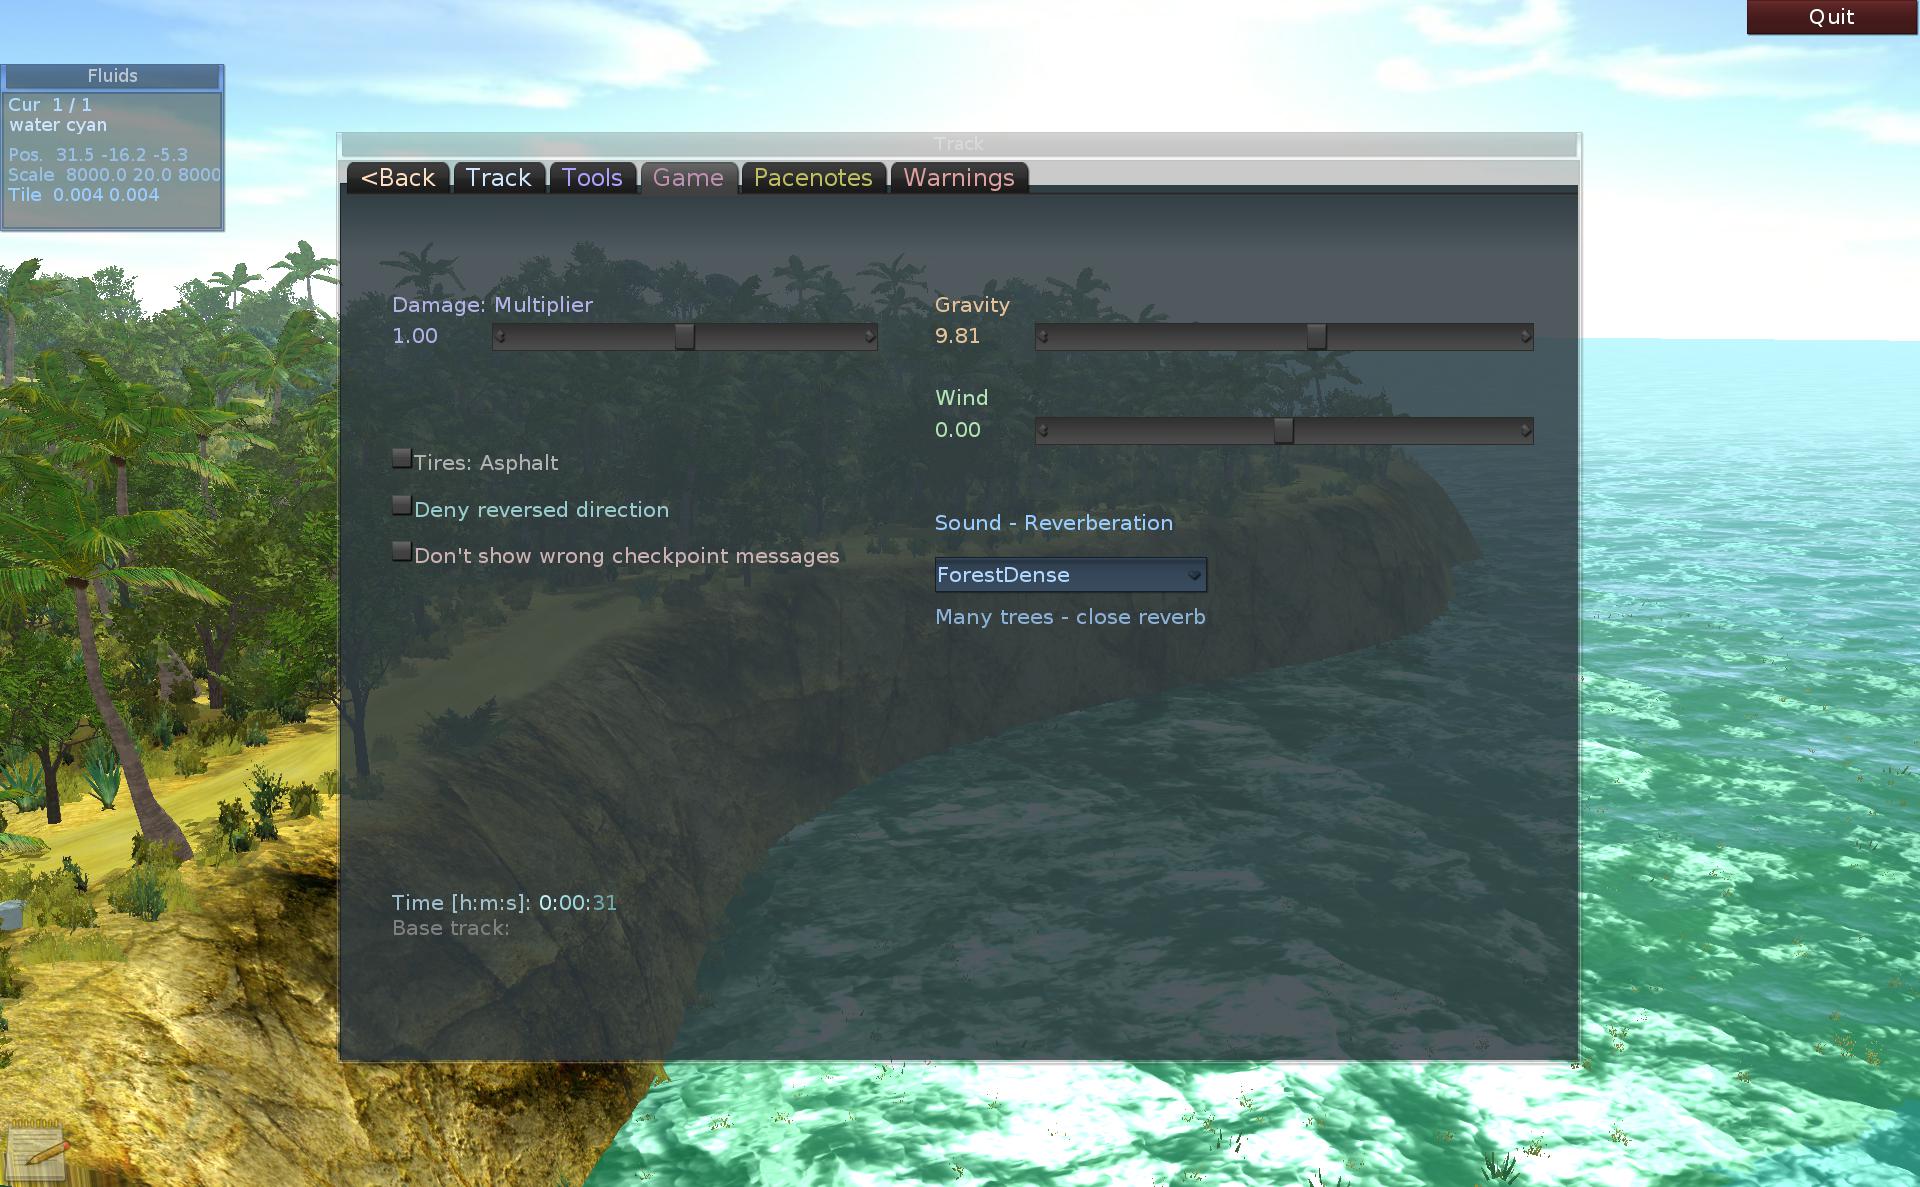
Game setup tab is quite new and unique. It actually has settings for the game, on this track.
So gravity, which is different on Mars and other planets.
New in version 2.6 of the game we have reverb sound effect on track for ambience feel. There are presets here in combobox to pick from.
Wind is present on track Sandstorm also lesser on Twister and here is its strength.
Damage multiplier is less than 1.0 on very difficult and long stunt tracks. Otherwise it wouldn’t be possible or too difficult to drive them until end.
Grasses
Grass is done with PagedGeometry plugin for OGRE. It also shows the same old approach and enforces things that wouldn’t be done today. Namely the page size. Which is a constant value used for optimizing view and reducing drawn batches.
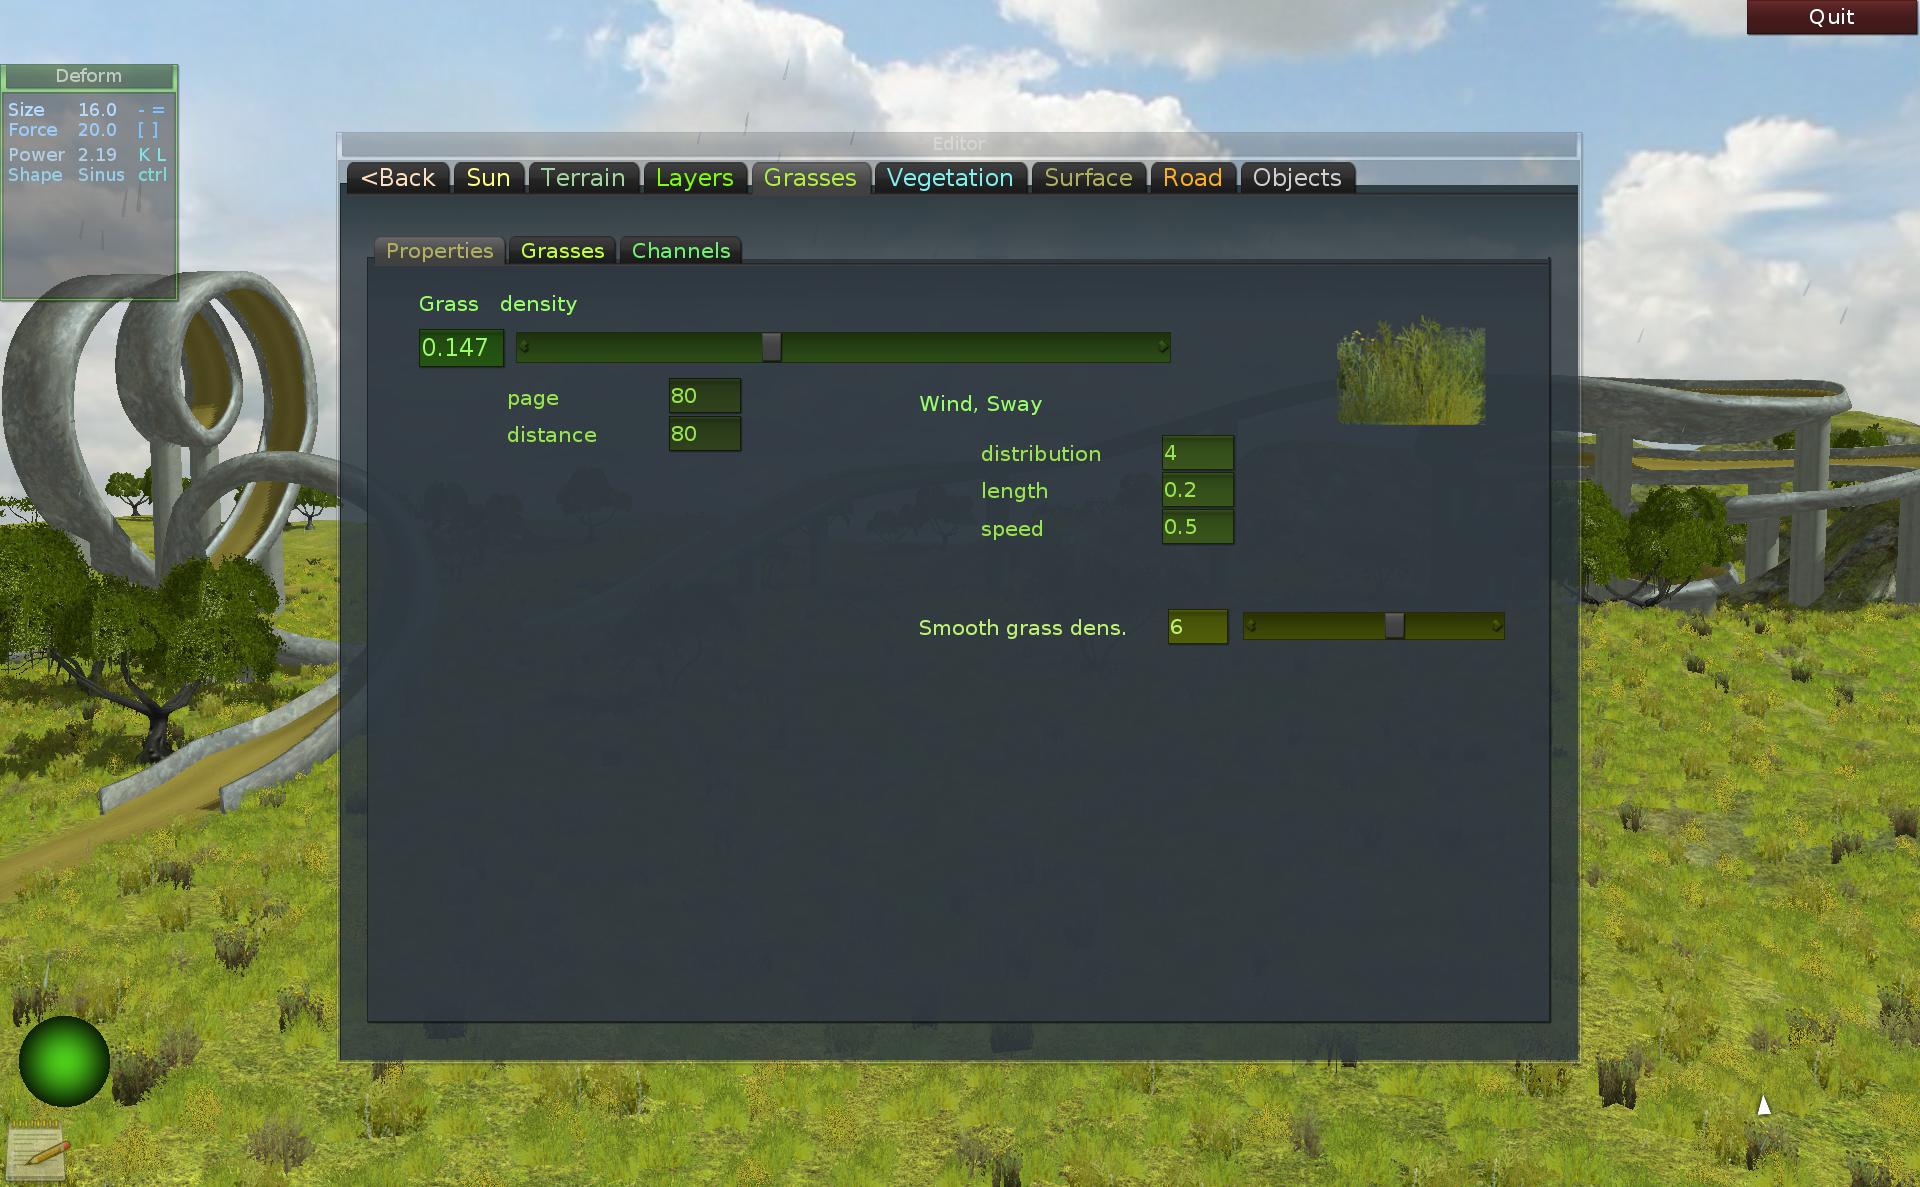
Main page with properties has the slider for global grass density, it’s the first thing to adjust.
Also present here are grass sway (from wind) parameters. They were rarely changed, and added late. Smooth parameter makes the transition from road to grass more natural and less sudden. It blurs the grass density map.
Next tab has more options.
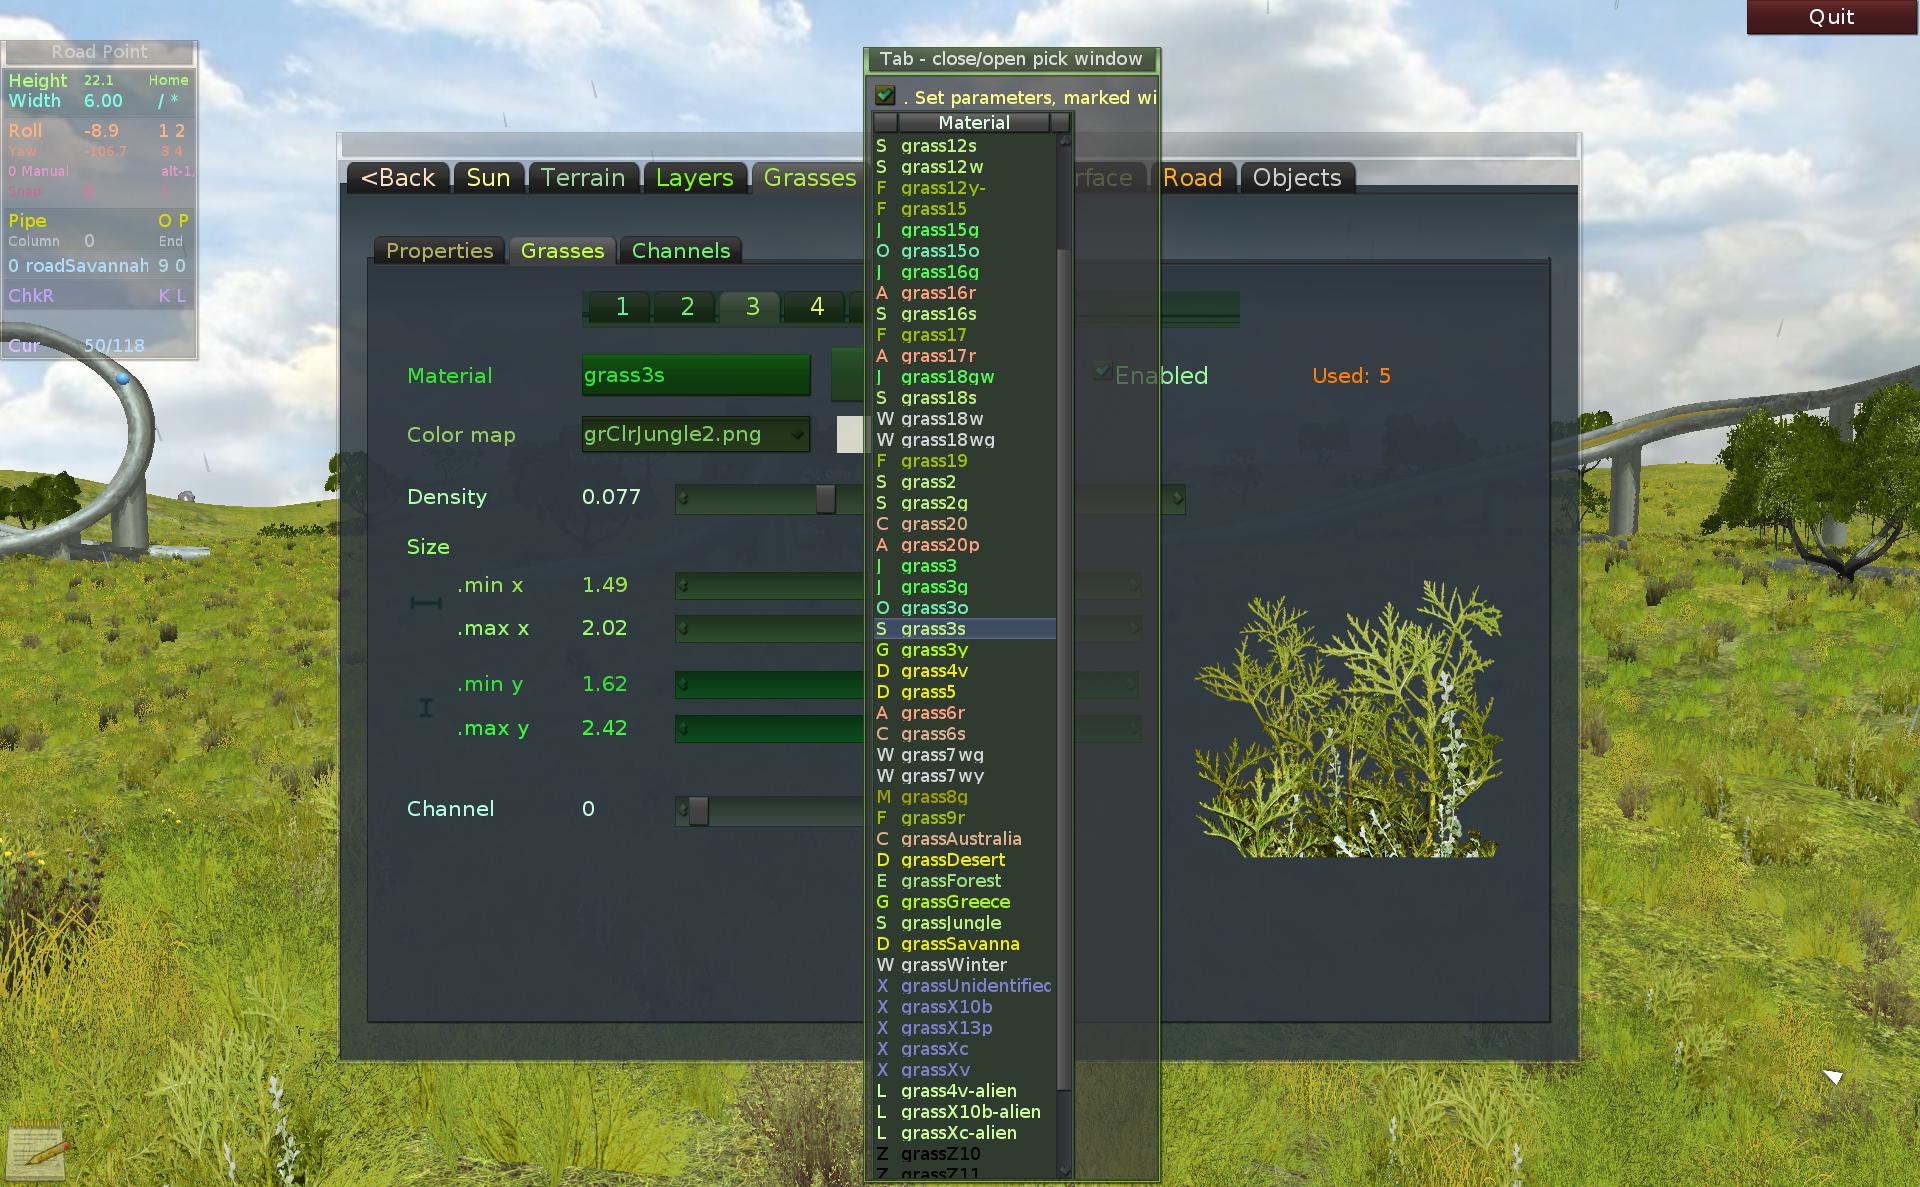
Here you can actually pick grasses, and see the texture on right, to check its look.
Then adjust its vertical and horizontal size ranges (x,y min and max).
Each grass also has its own density.
There is a color map, picked from combo to slightly adjust final color.
Grasses can be picked from another long colored list, that helps finding particular types. Picking can also auto set parameters for faster change.
After change either press V twice to disable and enable vegetation showing or press Update (F8).
Grass channels
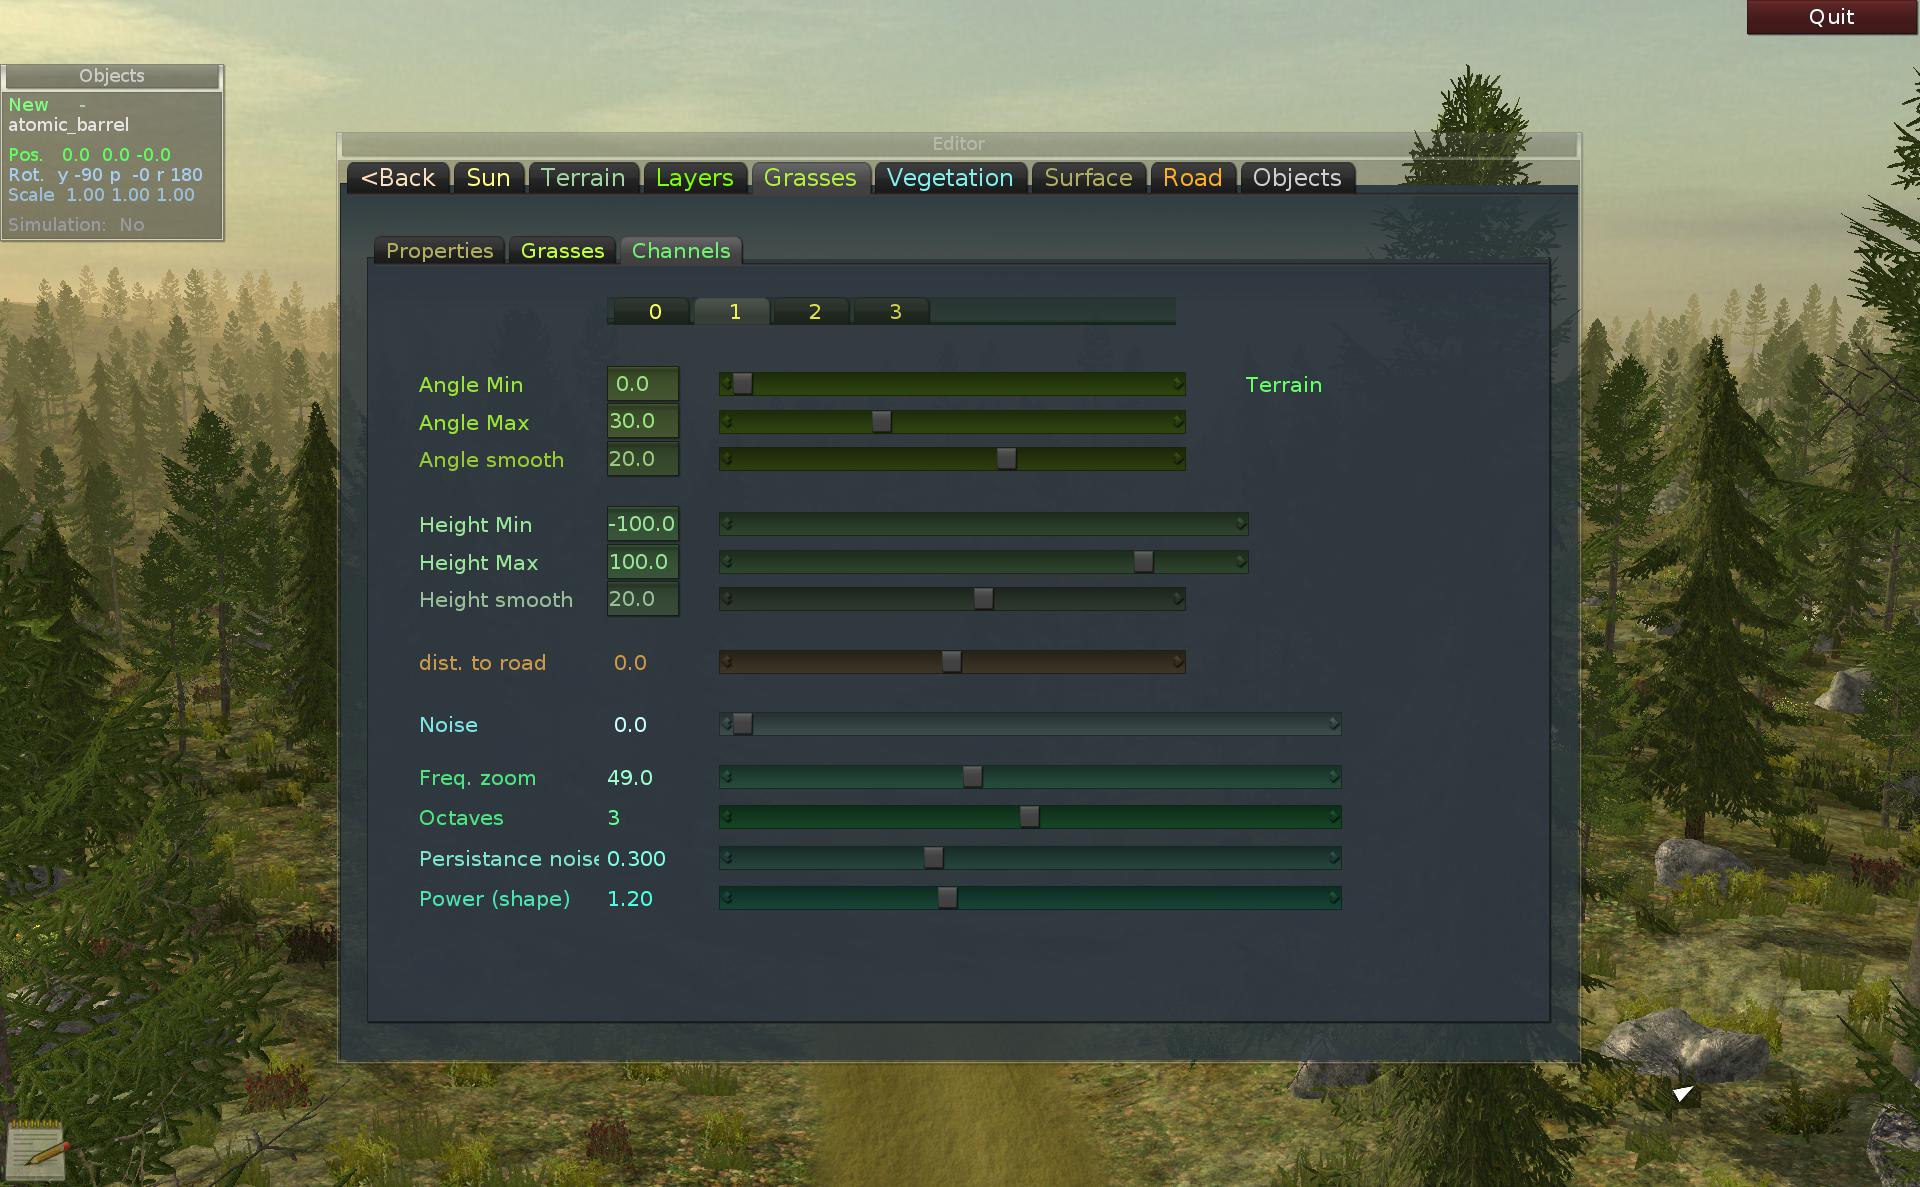
Grass channels are optional. But useful for different grass setups, e.g. regular forest grass and other one appearing in snowy mountain parts.
In more detail you pick a channel for each grass. A channel has common parameters for terrain like its height and angle ranges. And other parameters for noise and road distance.
Vegetation
Vegetation here means: trees, rocks, ferns, mushrooms etc. Basically everything natural that repeats a lot and is automatically placed on track, basing on terrain.
It uses the PagedGeometry component (unfortunately not Instancing) and comes from an old era, when meshes were batched on CPU into larger pages, to reduce batch count of single meshes. At distance meshes are displayed as flat billboards called impostors, prerendered at few angles and cached on disk for later.
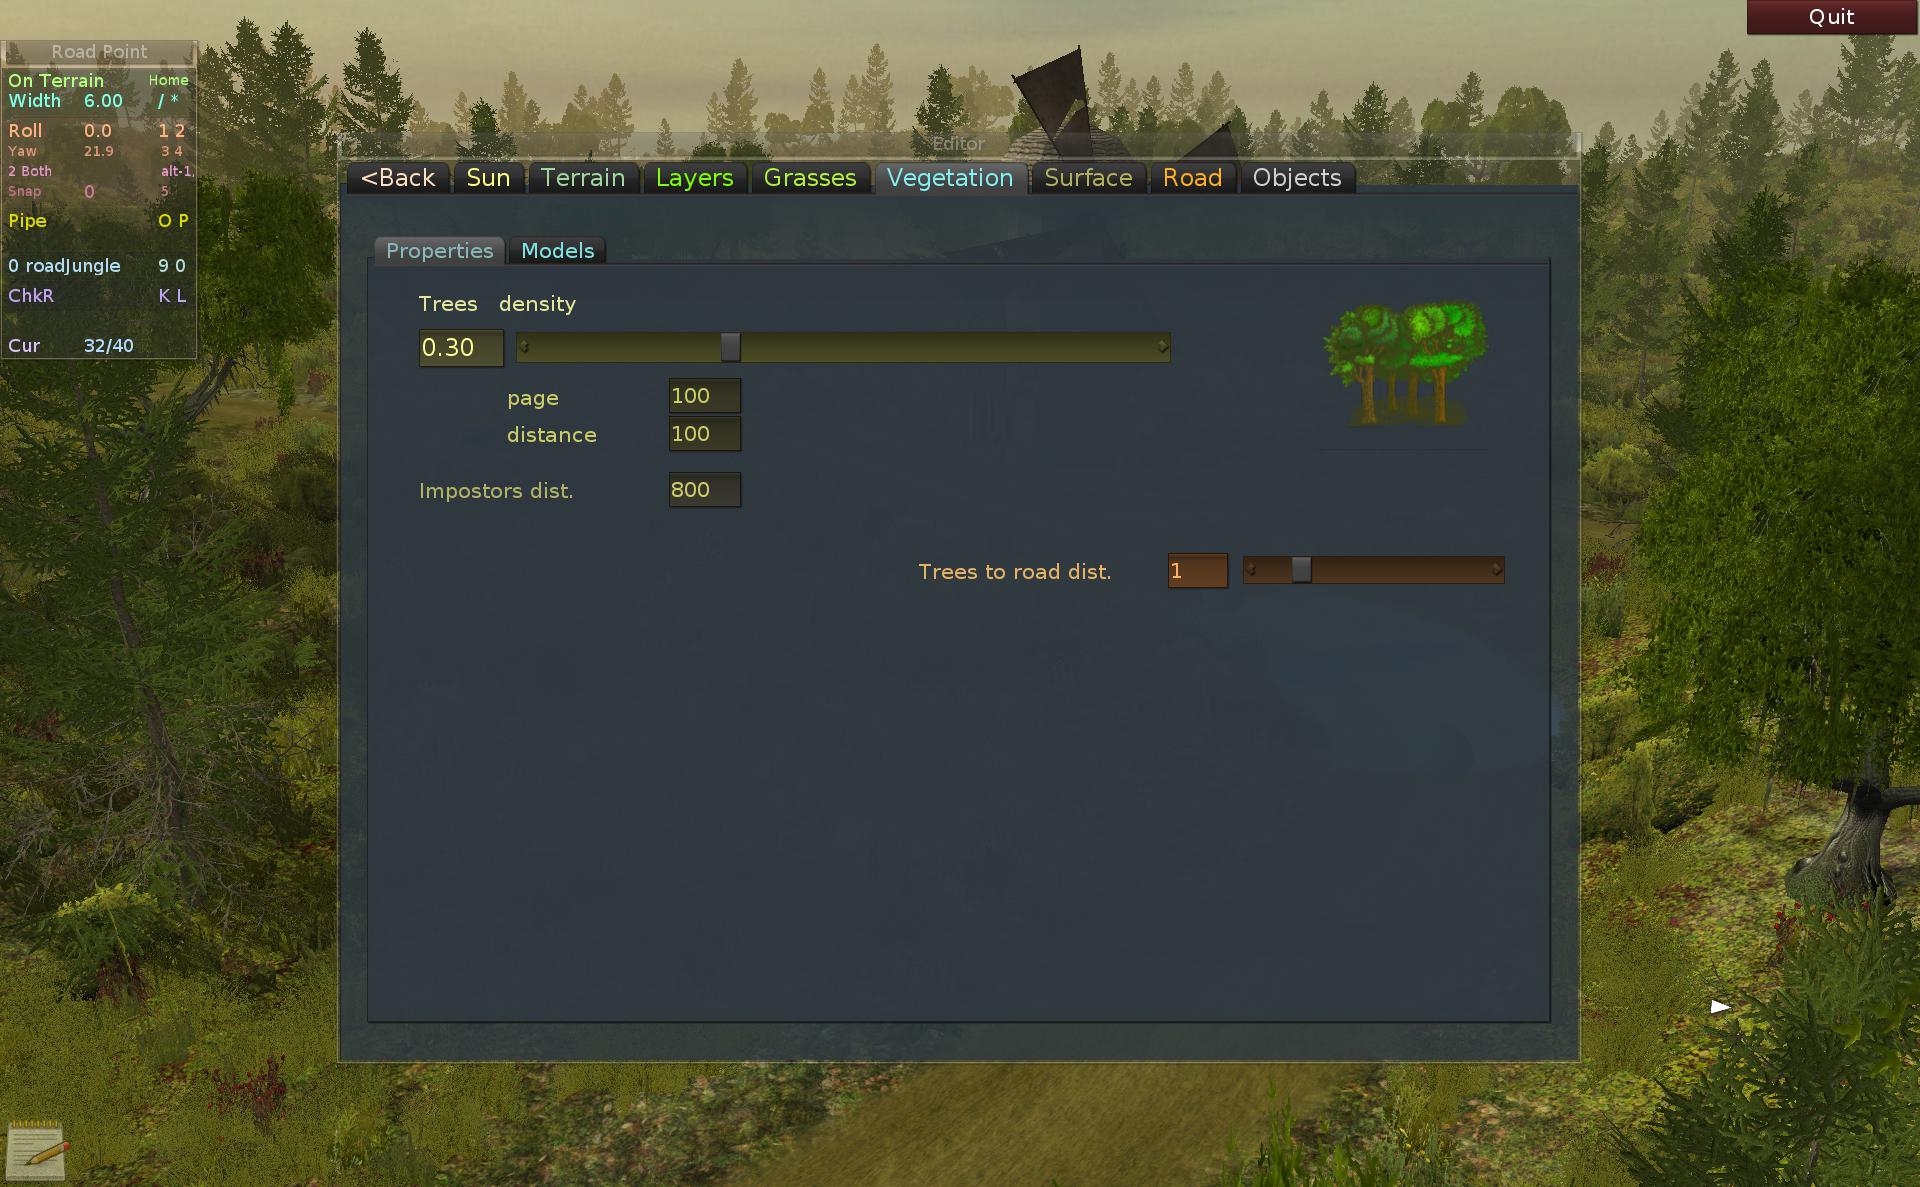
The key parameter in properties is density, which is global for whole track’s vegetation.
The same page size as for grass is also here, just with different values. Also distance which is basically the same as page and impostors distance, at which trees will be flat billboards.
Usually tweaked for each track to optimize batches draw versus triangle count. Higher size pages will create lag and make more triangles, while lower would visually switch more and create more batches.
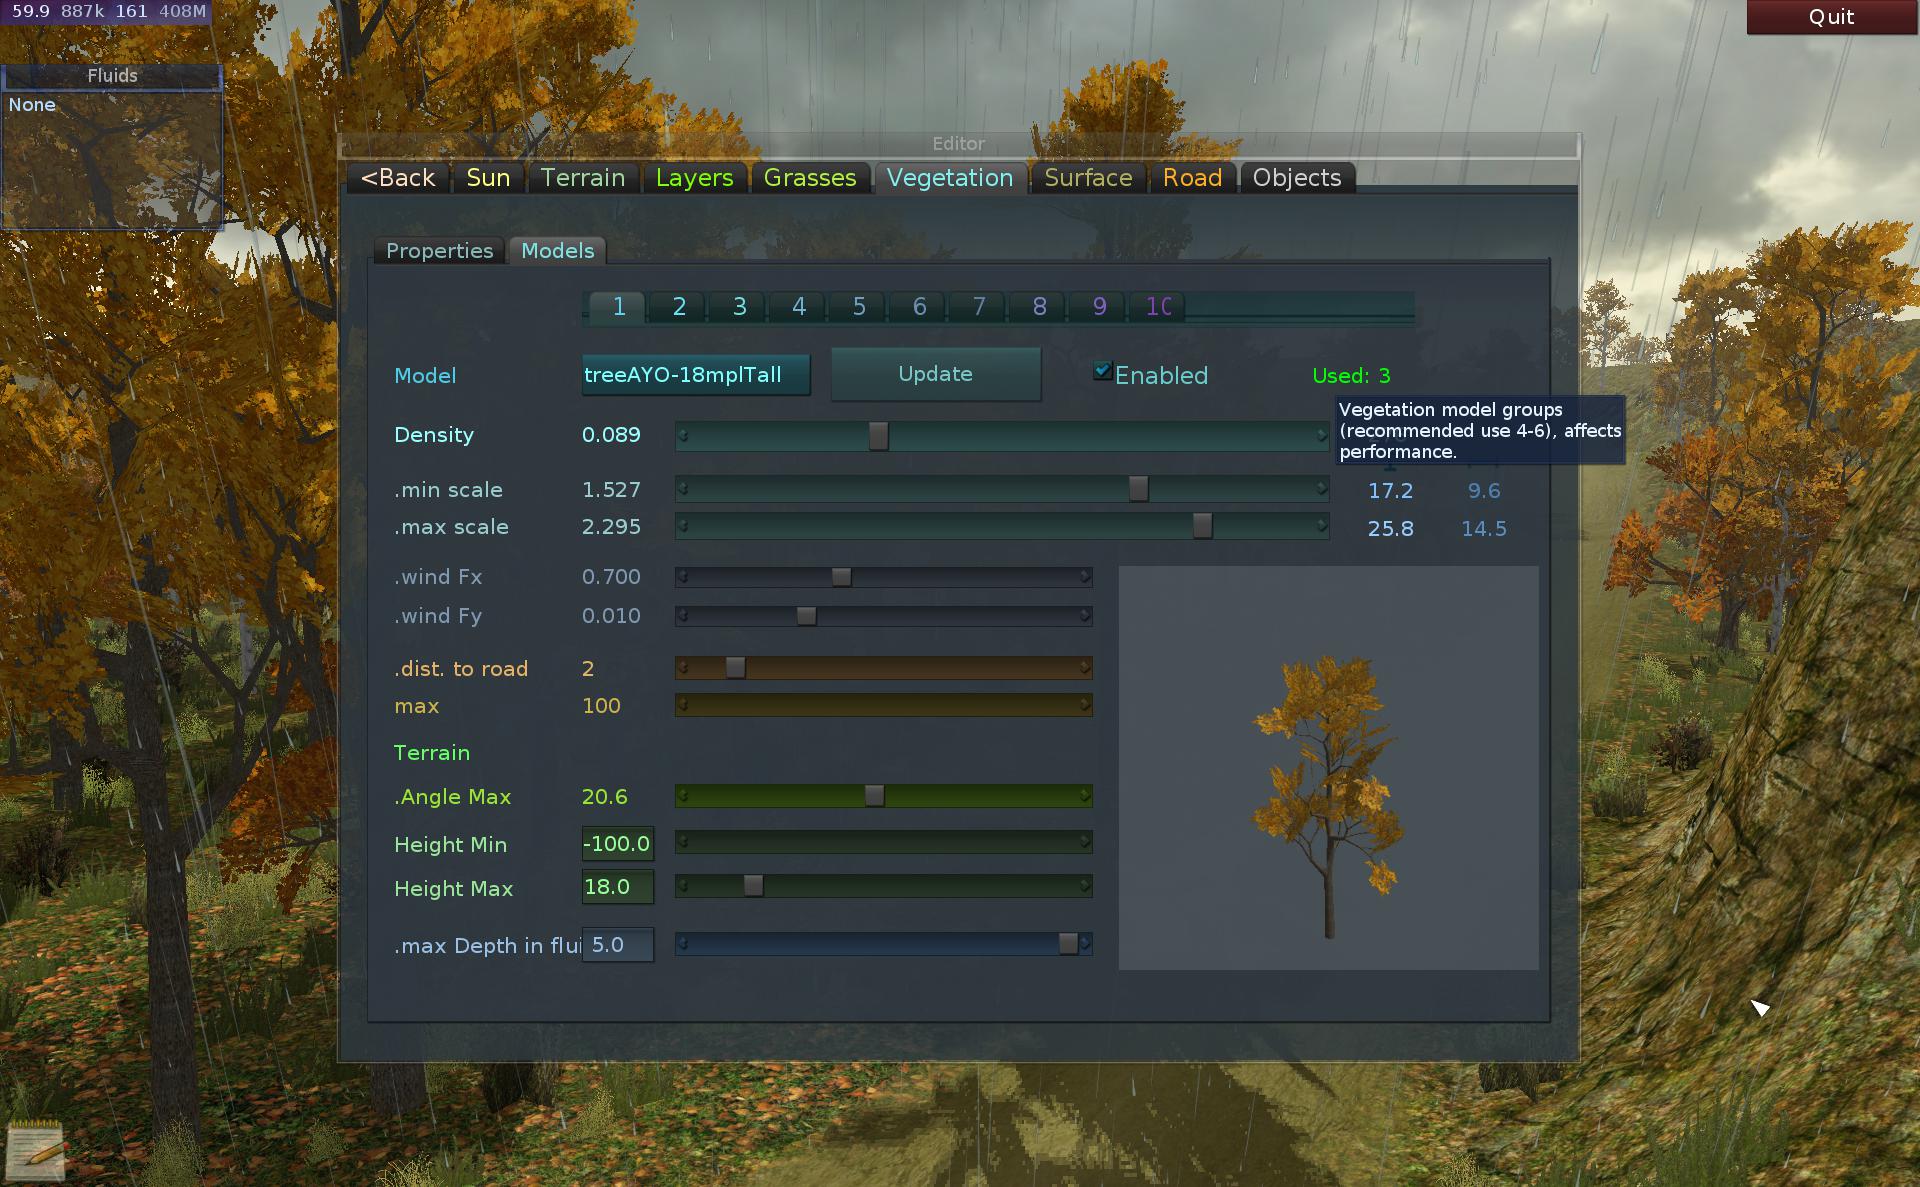
On next tab, individual Models are picked and and their properties adjusted.
Main are density and size range.
Next useful are road distance (could be e.g. higher for trees and lower for ferns).
And the same terrain properties: height and angle ranges, where this model can appear on track.
Lastly fluid depth allows excluding models from water, mud etc. It can allow few meters submerge.
It is recommended to use 4 to 6 models. It depends on count, but generally more models will mean lower Fps, more lag, etc.
As for grasses, to see the change change either press V twice or press Update (F8).
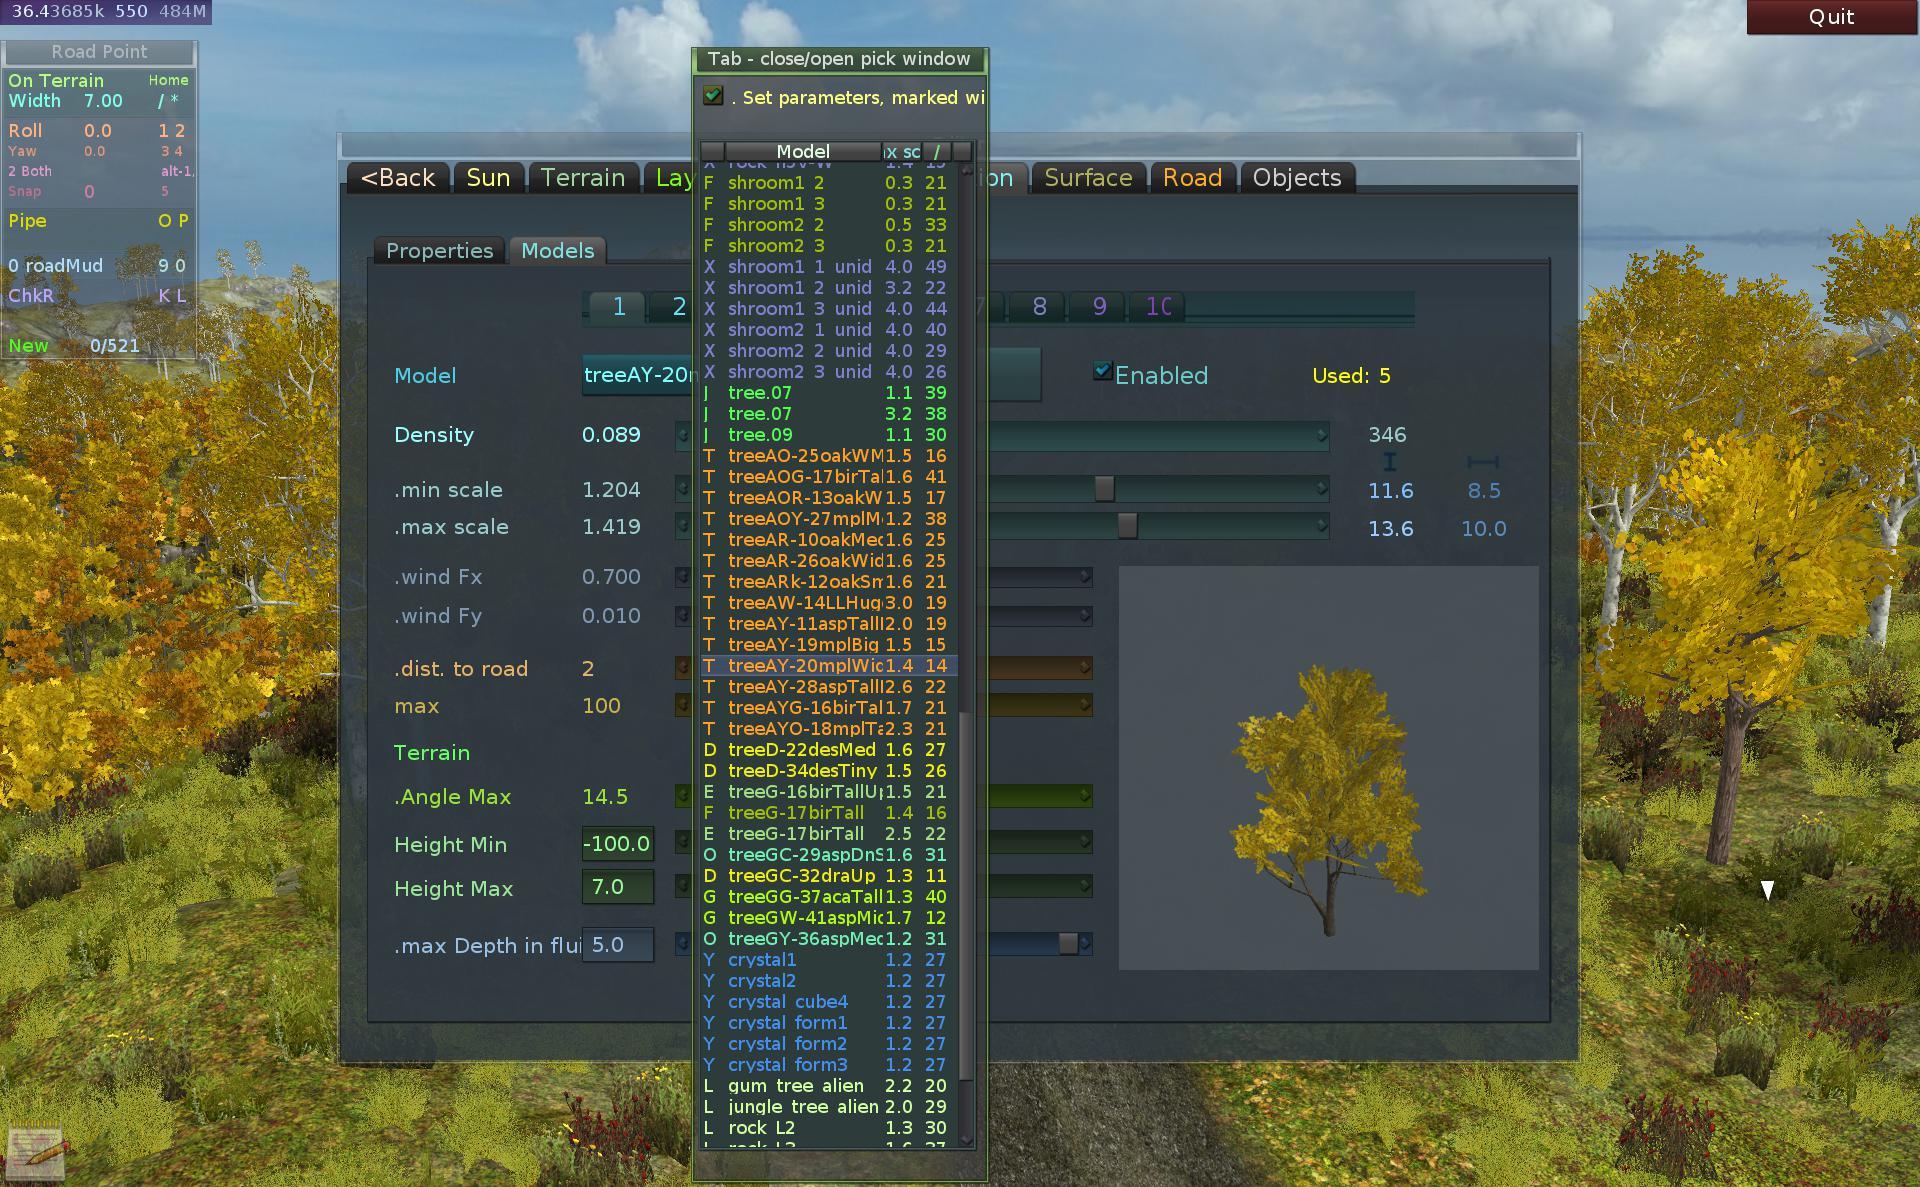
As before for grasses, you can also see the long pick list here for finding models. They are colored with scenery color (same as tracks) and can also auto set few parameters when picked.
Provided here is the 3D view of rotating model. And the numbers above it are real size after scaling, min and max values. This way you can get an idea of size and compare it to e.g. real life size of a tree.
After the density slider is the actual count of occurrences for this model on track.
Fluids
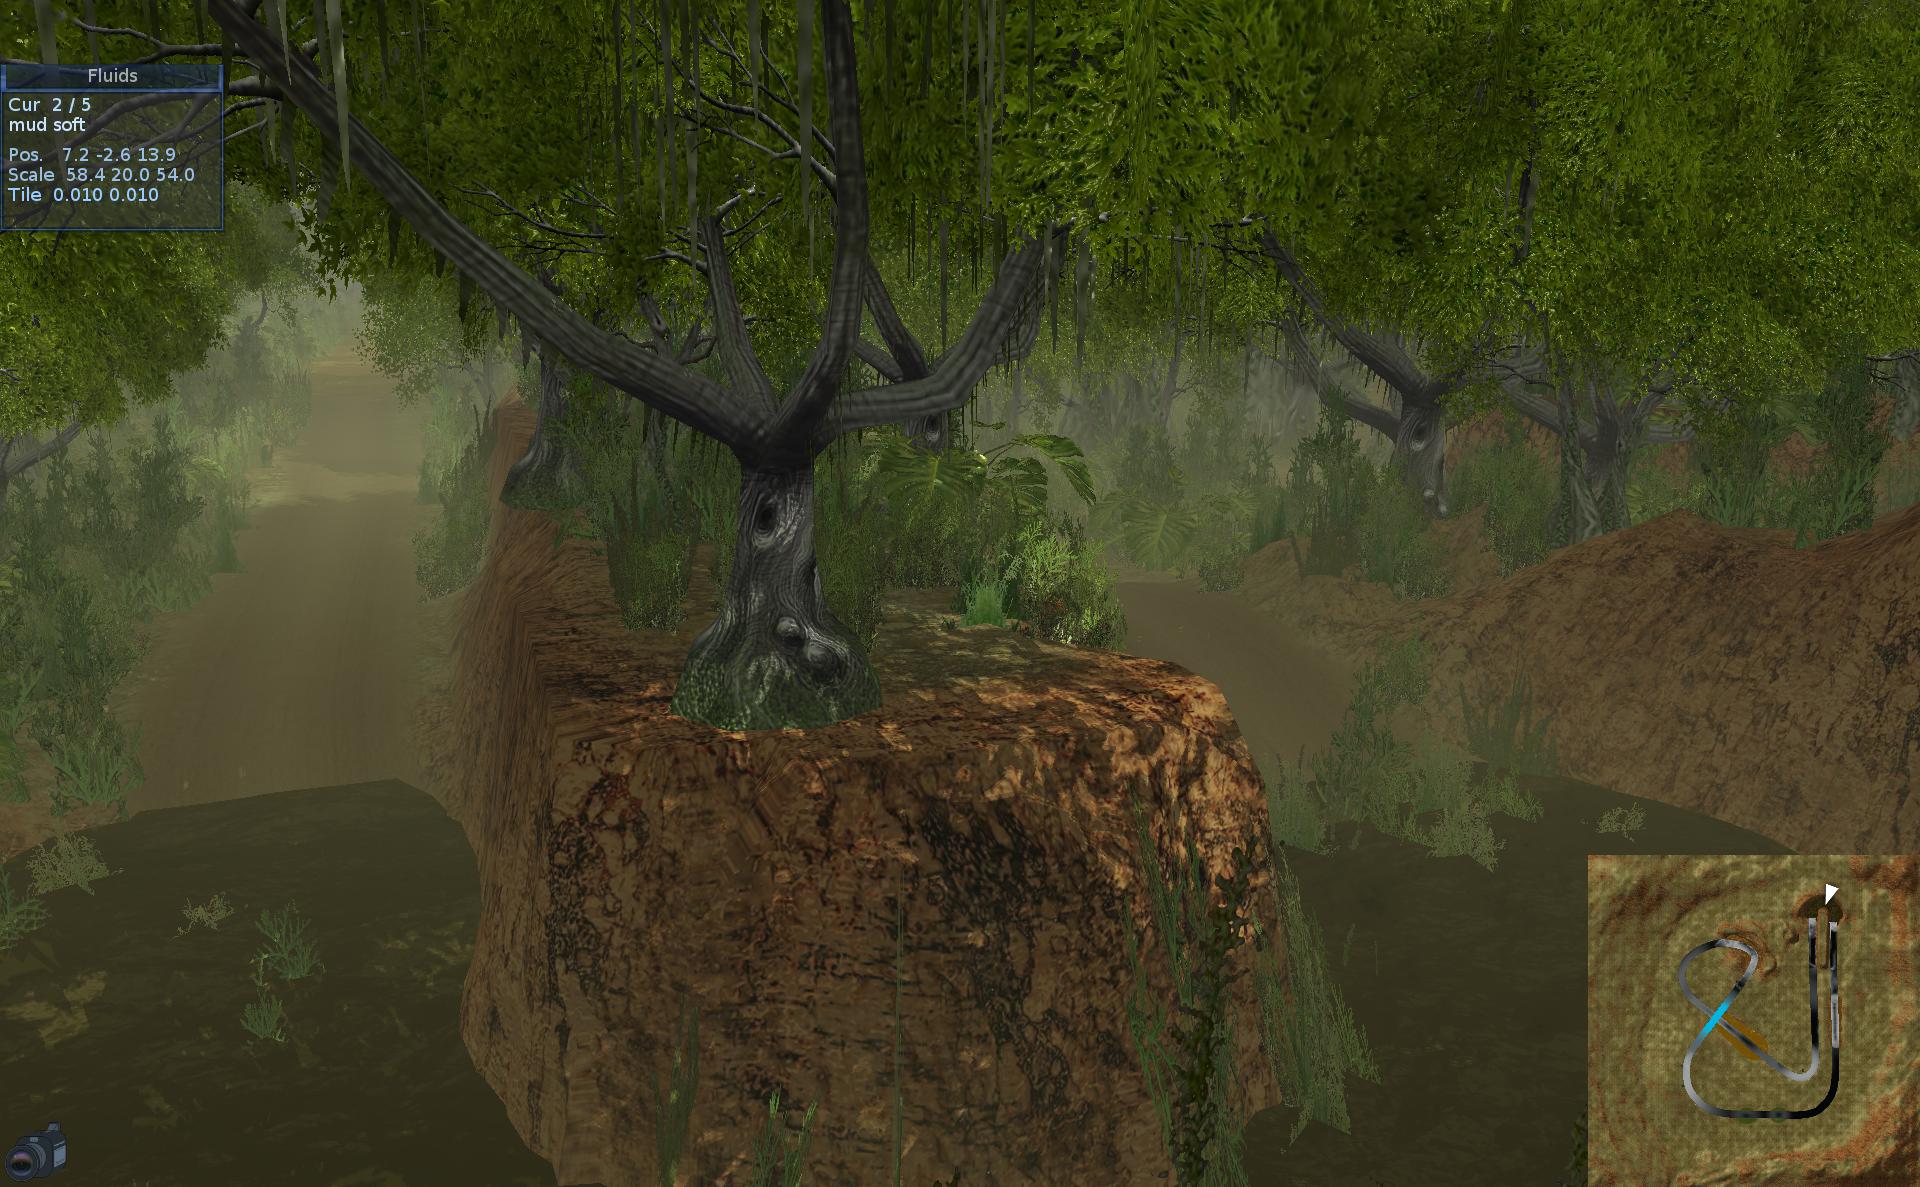
By fluids I mean water (mostly), mud (few types) and other special ones like acid, lava, ice.
Here you can see the water, depth map, which is made by editor, making deeper water appear more dark and also transition smoothly to terrain.
Fluids are just rectangular areas moved and sized by mouse. While editing depth map is disabled.
You can also change their depth. This could allow more than one at different heights on track. I think this wasn’t used though.
Mud has 3 basic types: slippery (light), medium and hard (dense, dark), giving different friction when submerged. Next 3 types have a modulation for direction to not be so linear.
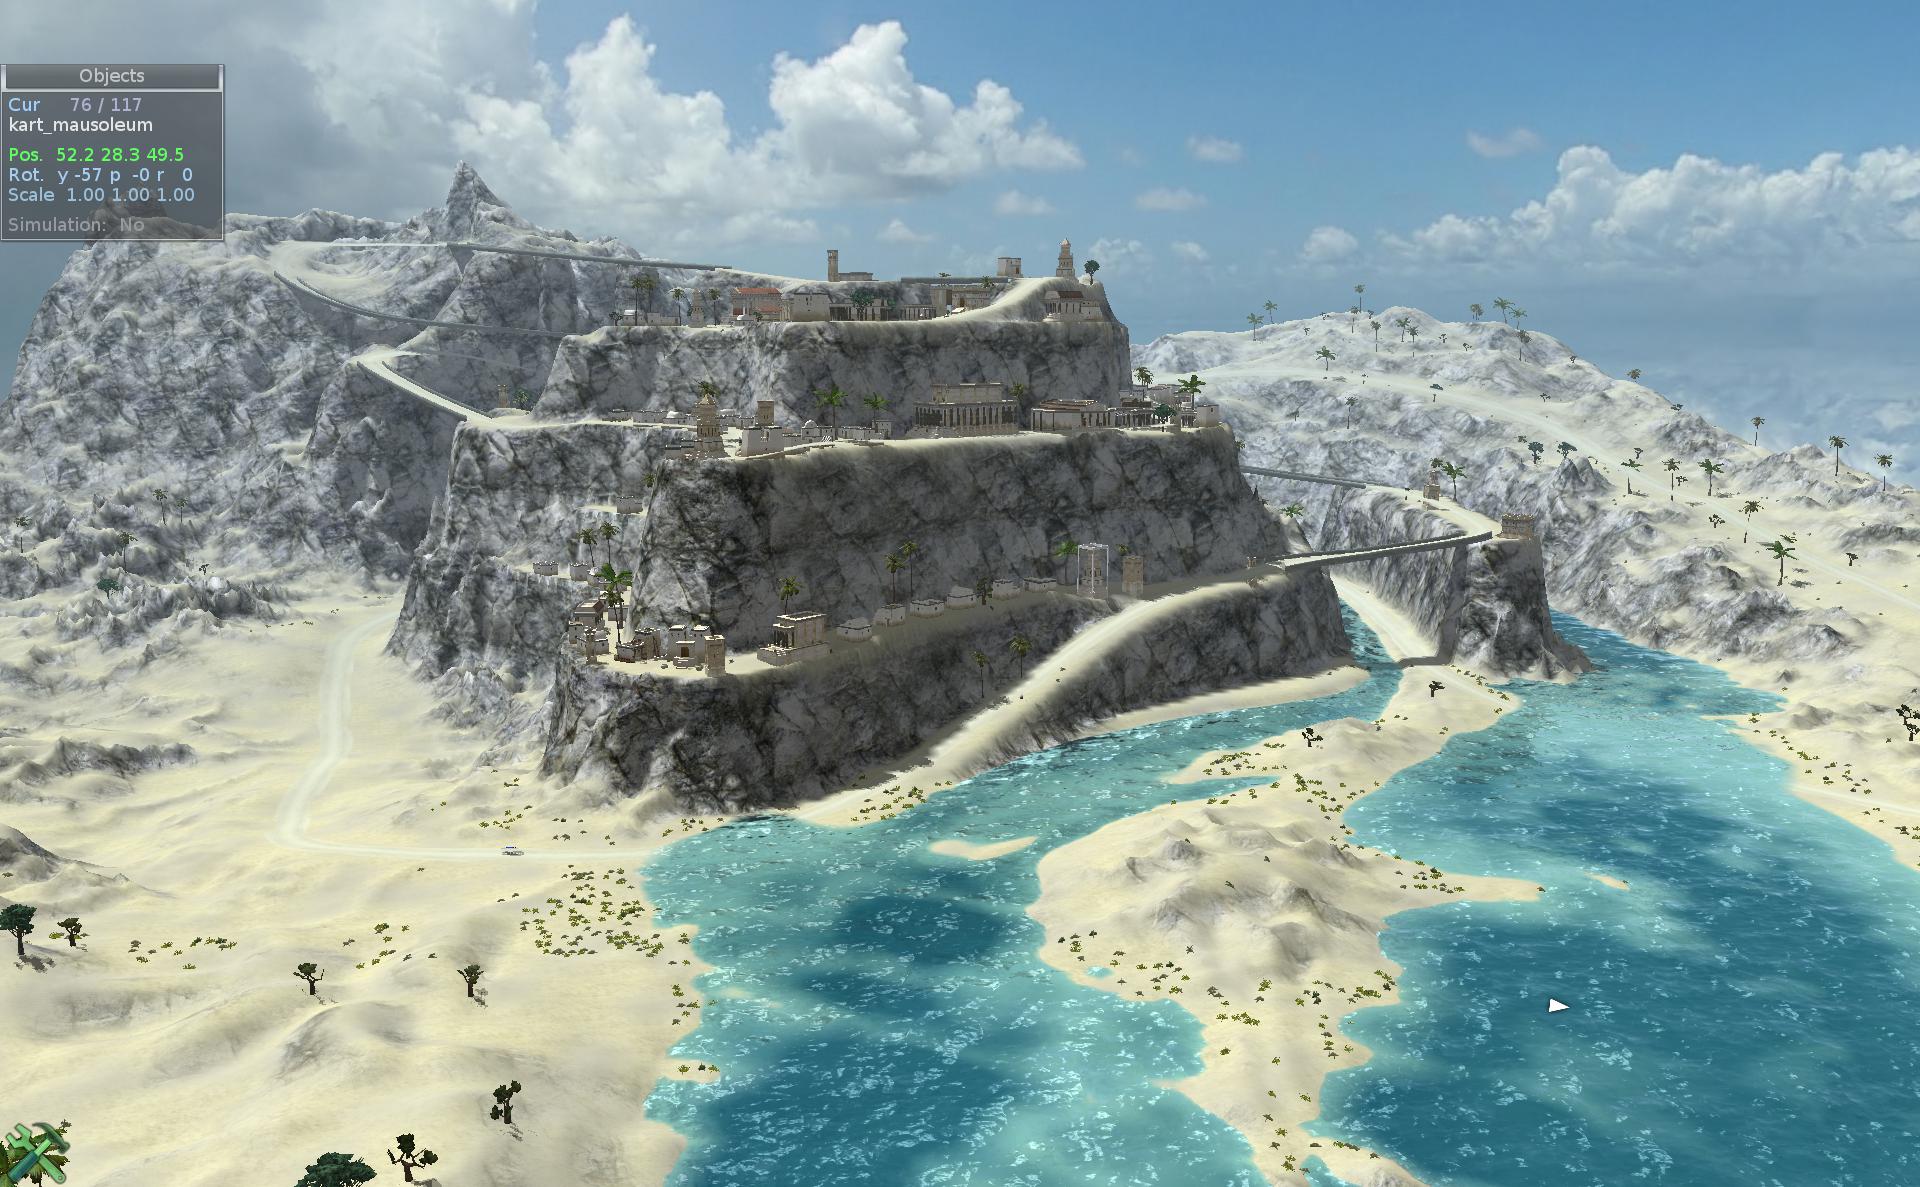
Objects were featured a bit later in game and are a quite essential part of every editor.
Static object allow placing a mesh like rock, cave, building, obstacle, statue, balloon, etc.
They can be moved, rotated and scaled freely. There is also multi select option (similarly to road points). Allowing faster manipulation for many at once.
Dynamic objects are the ones you can hit in game and will move or fly away. They cannot be scaled, but otherwise are placed and edited the same way.
They have a special simulation mode in editor. It is meant to be turned on, so they can settle on the ground. Then turned off and track can be saved. This is to save the game from doing that on each track loaded. Thus game creates them all in asleep (not moving) mode.
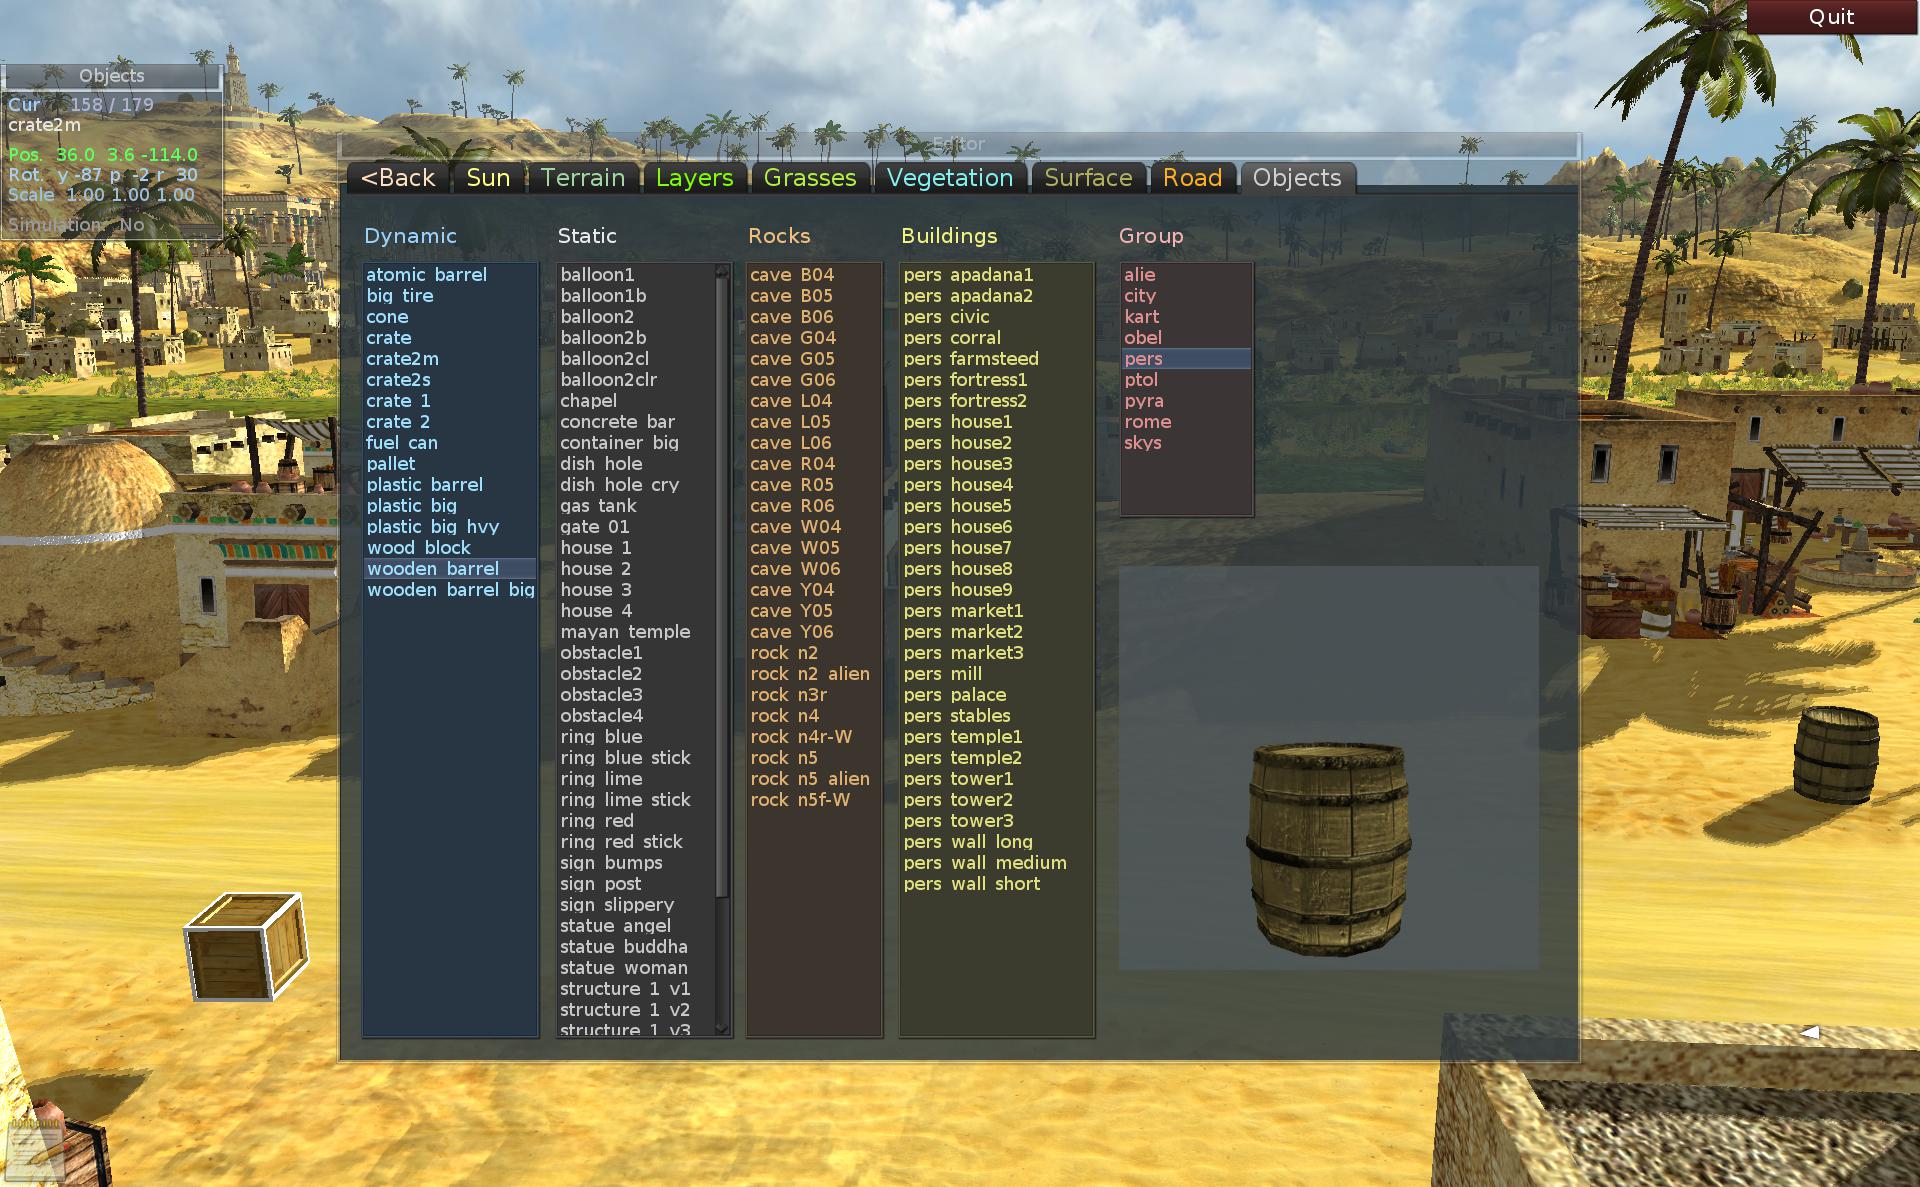
Shown here on screen are the lists with object types. Dynamic ones are in blue on left. Rest is static. Single ones are in white list. Rocks and caves have special, orange column. And lastly buildings in yellow. Since there are many of them, they have another short list with categories, that upon picking will fill the buildings list.
Obstacles were introduced later by contributors and are a great way to make driving in pipes more difficult and also have some surprising sections on tracks too. Possibly for decorating too. They don’t move with road so are meant to be placed rather as last. Changing road would then require moving them accordingly.
Warnings
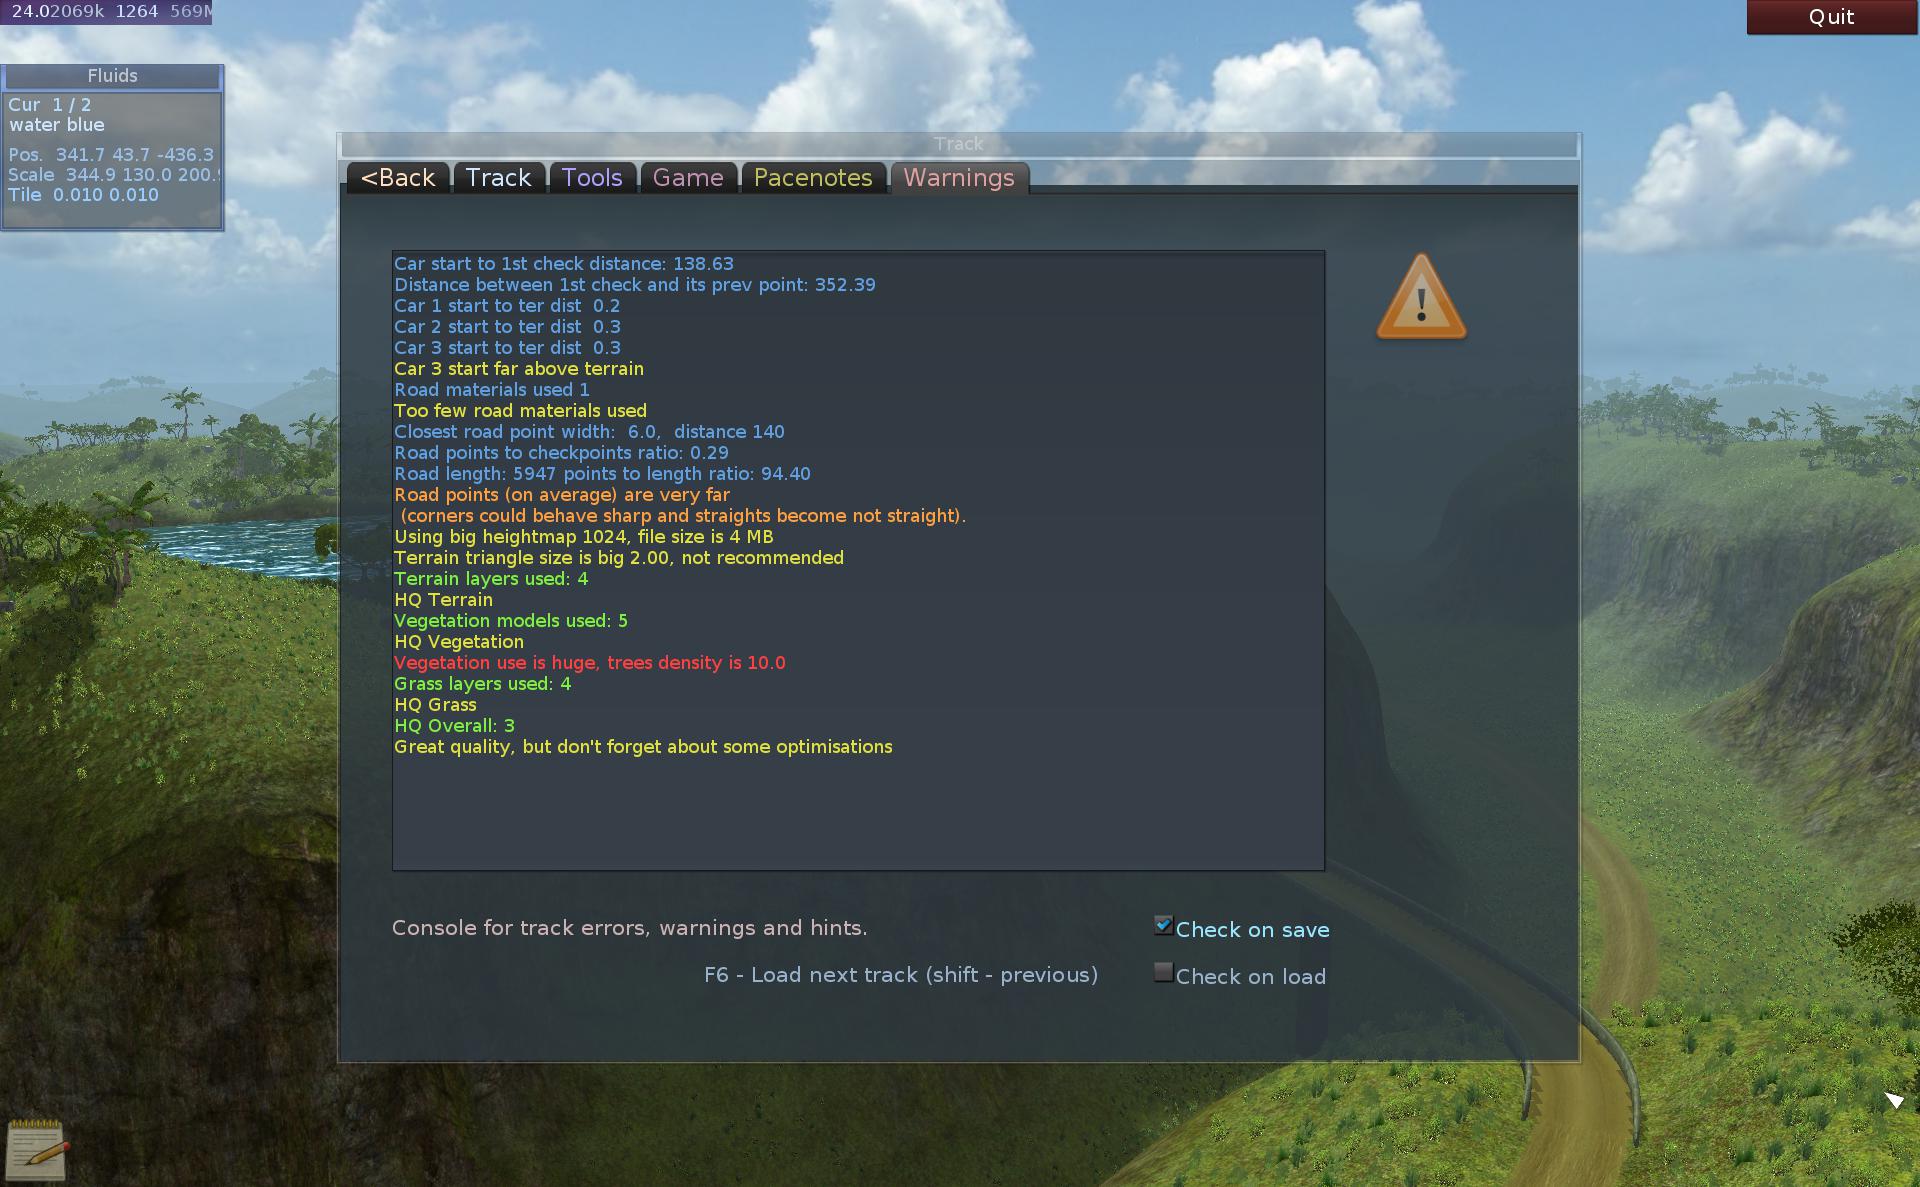
Last feature of editor is showing some warnings for things done bad or just not optimal for performance. By default checked on track save. A video shows the various things checked. Wiki page lists all.
Those are very simple checks for performance and some tracks (that reach the graphics limits of old OGRE) can have warnings.
Also road system, checkpoints and car start warnings are here.
Settings
Editor has also a tab with settings, where you can adjust e.g. minimap, camera speed and intertia, road points size, startup options, etc. Also jumping camera to track start, or predefined views.
It also features a basic but functional material tweaker, on Settings – Tweak tab. When picked material in combobox, it will show editboxes and slider and allow adjusting its parameters in real-time. Very useful for creating new materials, fluids and tweaking colors.
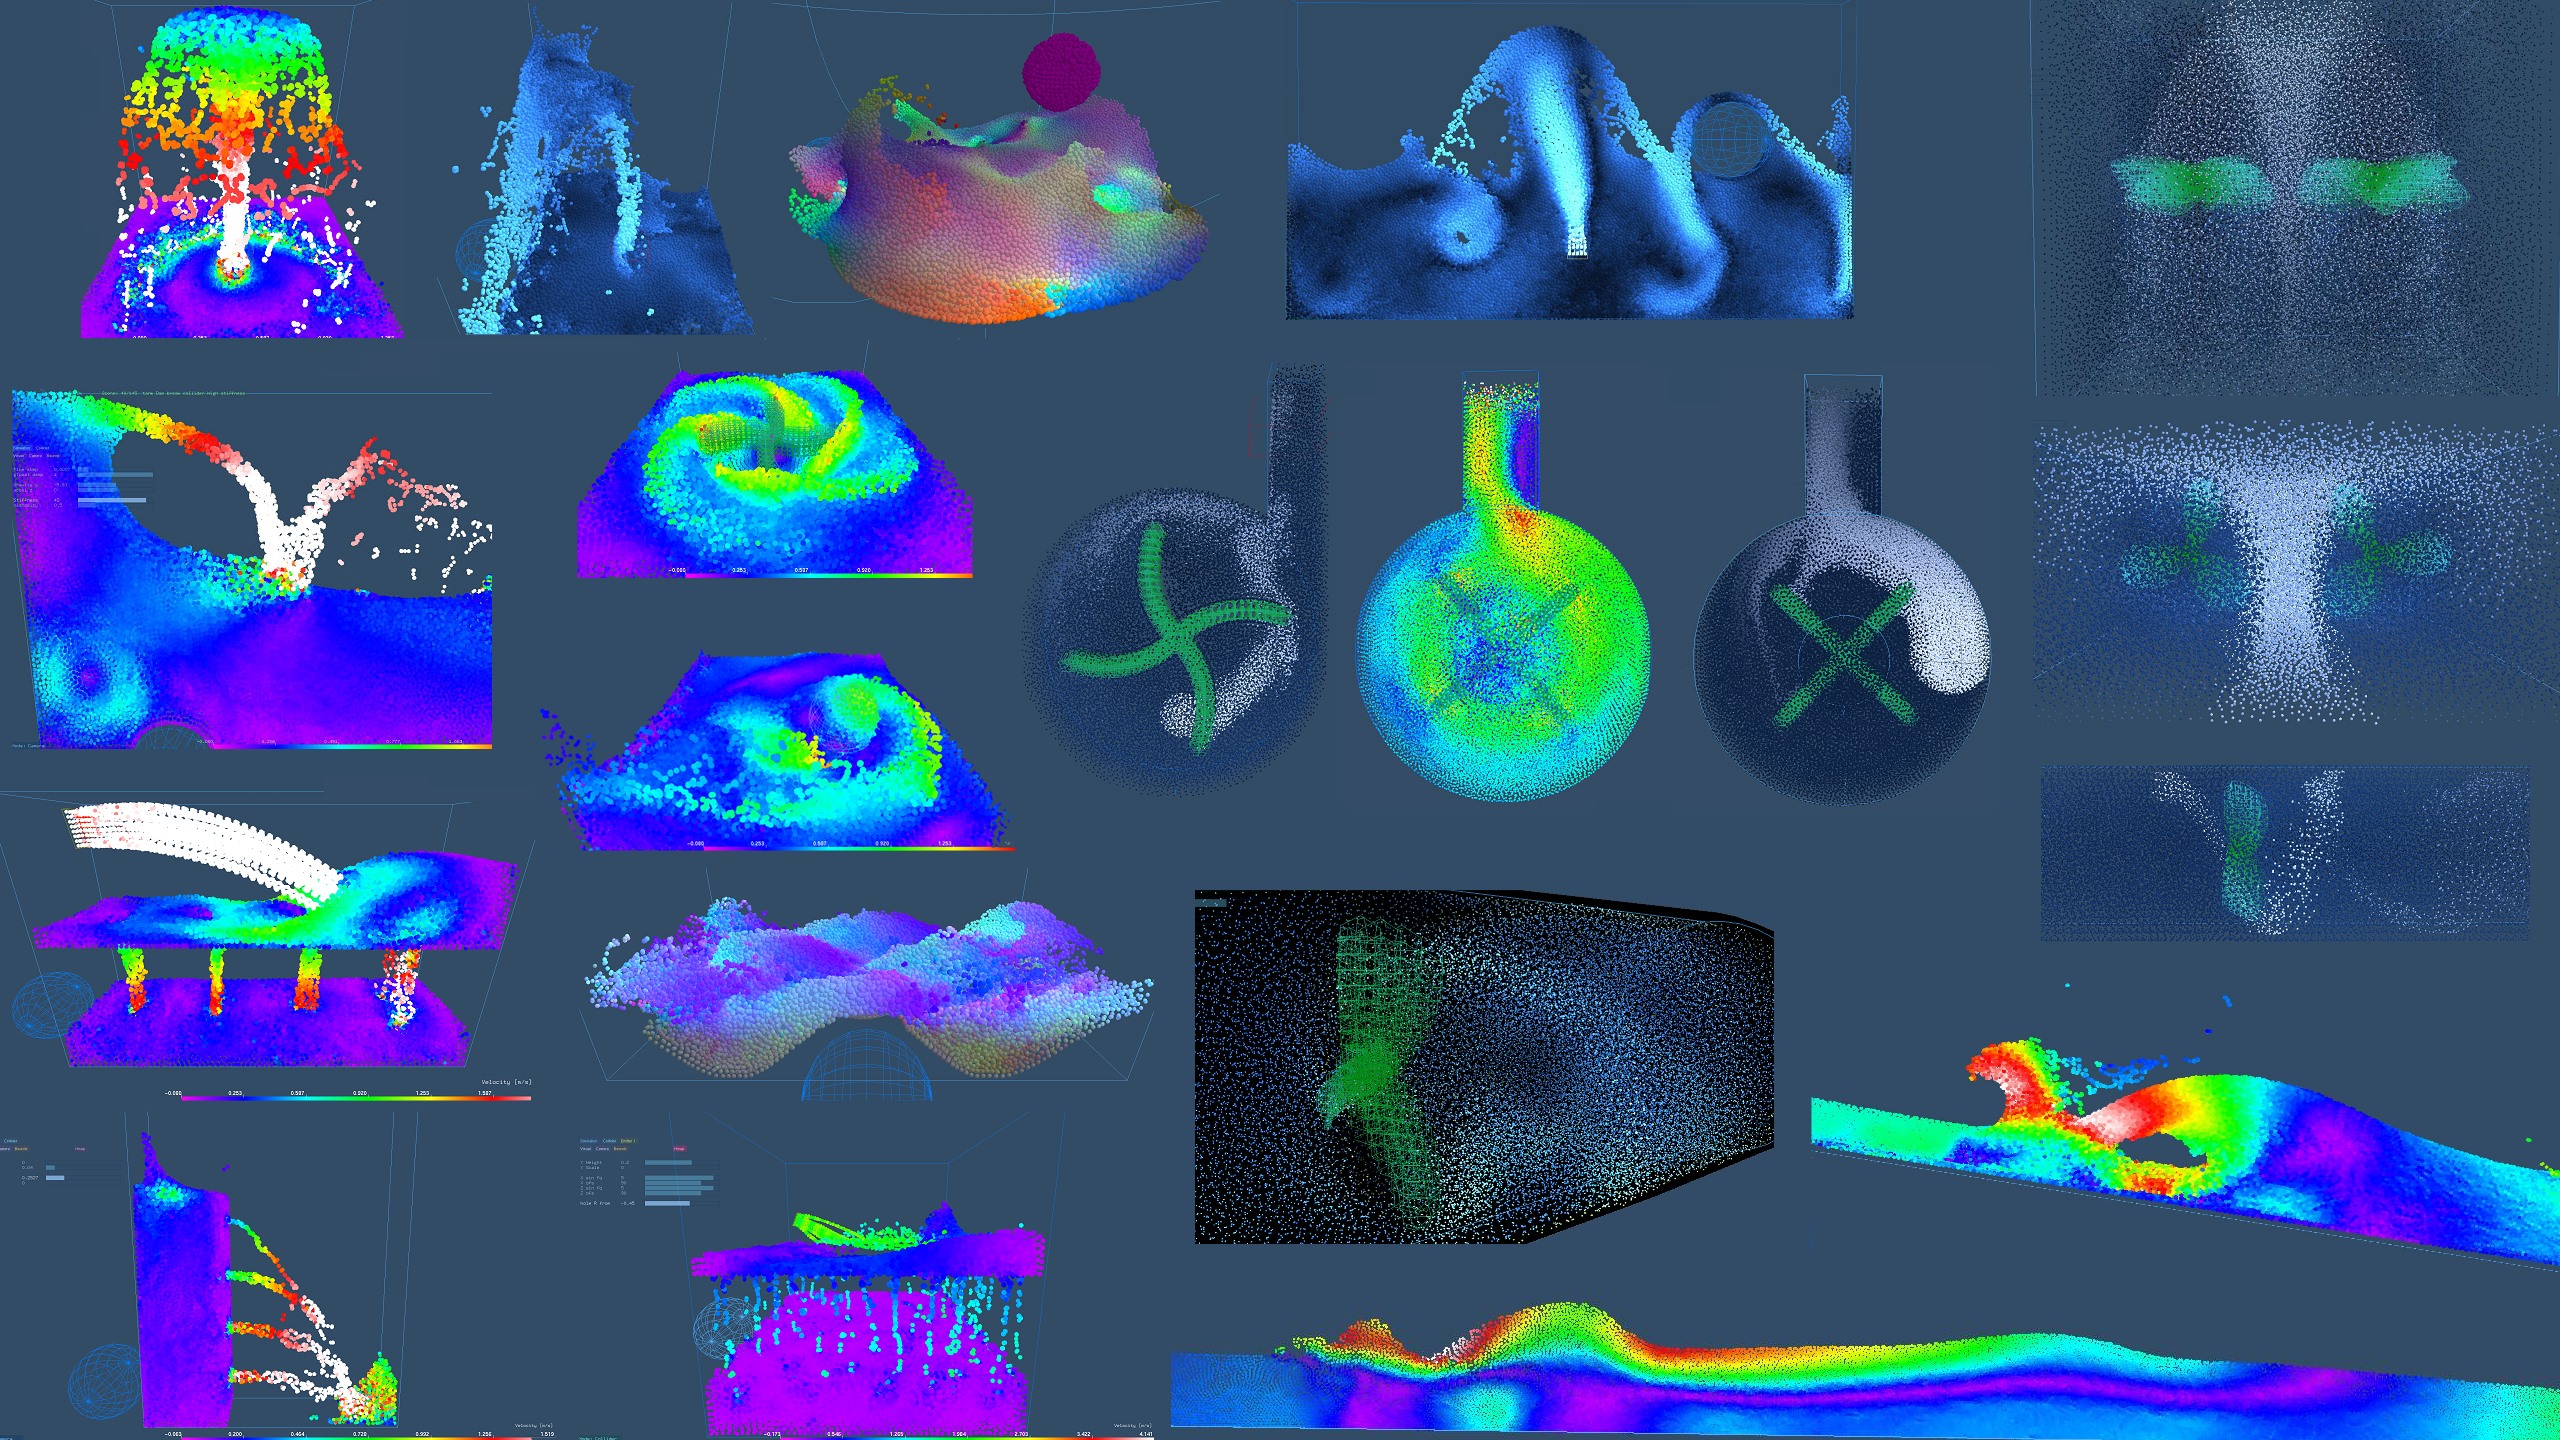
The program from my master’s thesis from 2009, implementing Smoothed Particle Hydrodynamics using CUDA and proving 5 times faster simulation of small scale fluids on GPU vs CPU. Nowadays I would rather use OpenCL.
The program is very fun to play with and has a vast number of 119 predefined scenes.
For 56k particles it allows about 2 to 3 times slower than realtime simulation, due to small time step requirement of SPH.
After getting more familiar with OGRE and reaching limits of Stunt Playground fork, I started doing my own project (2007-2008).
📝Implementation
It took previous camera code and put Ogre’s terrain component to a good use. Additionally familiarizing myself with PagedGeometry for grass and later for trees too.
It was using fmod for sound, PhysX for physics (with NxOgre). Those were used by me at work, so it was easier. Of course I wouldn’t recommend any of those two, aren’t open source.
🔍Detail
Total sources were just 86kB at this stage.
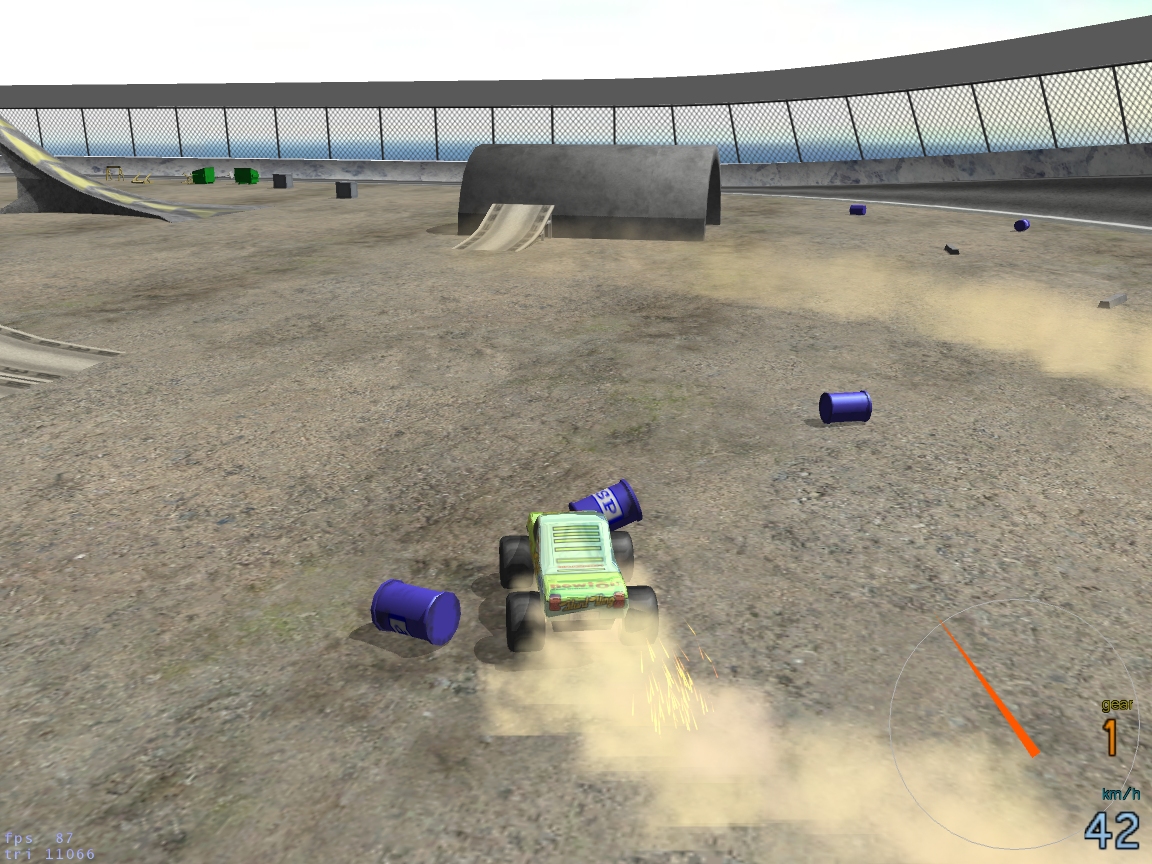
You can see Stunt Rally‘s Fps bar here in left bottom corner. Surprisingly the project still starts in 2016. Must have been the time when I finally learned not to use Debug all the time, and leave some Release builds for my future self.
🛠️Editor
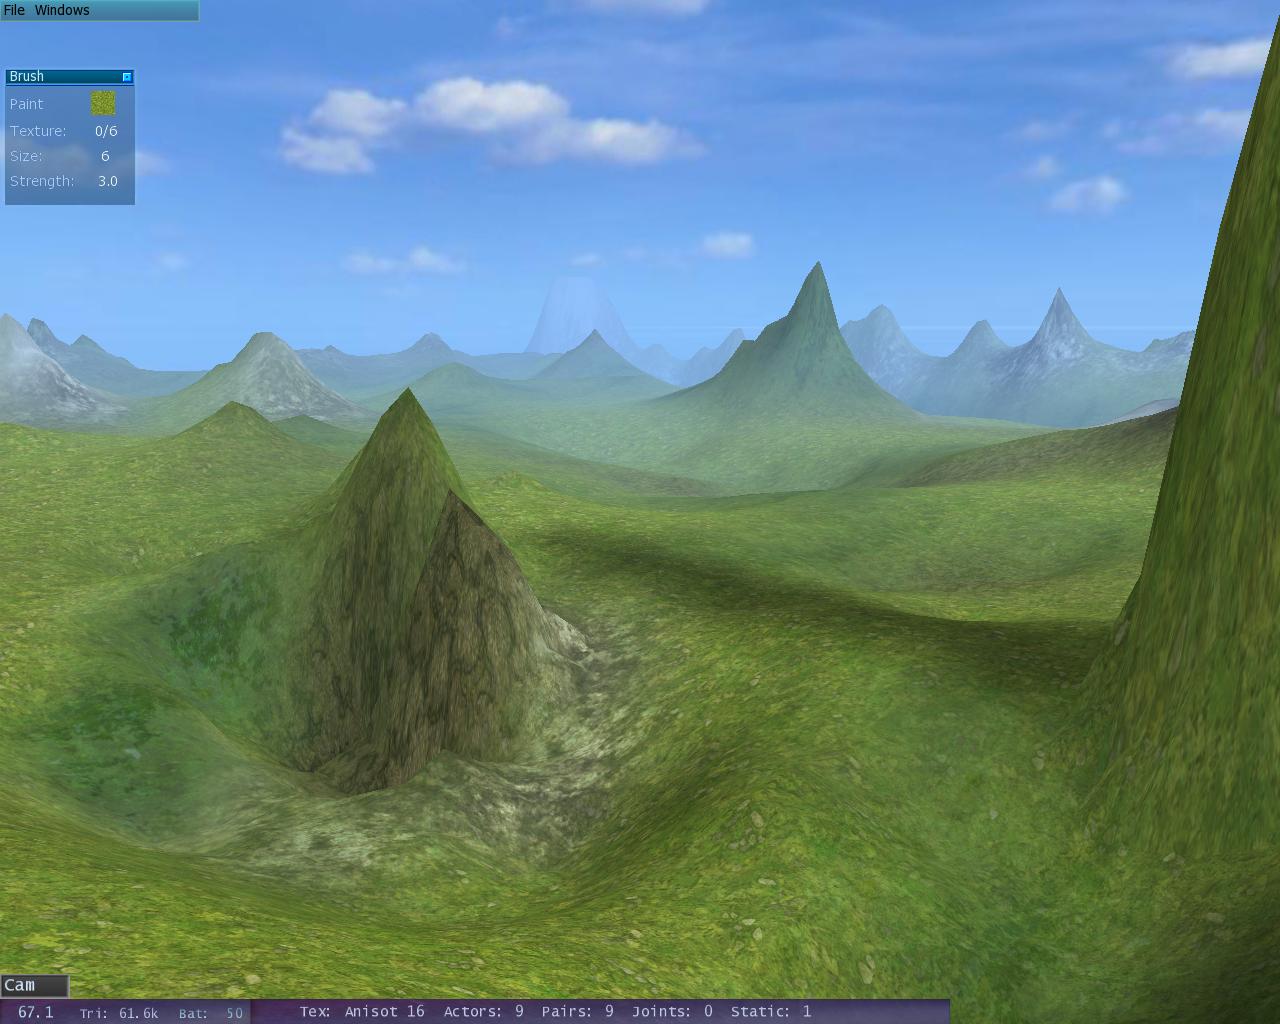
At the same time I was also experimenting with Editable Terrain Manager to have an editor for terrain, and with RBGui which looked a lot cooler and better for me then. There is the first [Cam – Edit] toggle bottom left, same like in earlier Track Editor versions from Stunt Rally and a brush tool window too.
Somewhere around 2006 to 2007 I was learning OGRE in practice by forking an existing project. It was Walaber’s Stunt Playground, original video looked quite different. Is on website, but the sources aren’t available anymore (he’s gone fully commercial).
📜History
OGRE was very popular at that time, had many plugins, so it was the best choice of engine for me. Its version was 1.2.1 (Dagon) then.
GUI was made using CEGUI and physics with Newton Dynamics through OgreNewt. Both of which I didn’t continue to use later since their limitations.
📊Features
The game had few cars, dynamic objects, an editor for placing and moving them, loading/saving maps, replay and sound systems.
Tracks were exported just like objects, which posed a big penalty having no level of detail on them. Plus tedious editing in 3D modellers (not in own editor) and lastly not allowing an optimized terrain, grass or trees.
✍️Motivation
Back then it also had open sources, great to learn from and not too big (180kB total). Compiling them was also not too difficult for me at that time. I learned a lot by modifying the game and it was a perfectly fitting experience that moved me forward in the direction I wanted to learn, without too many obstacles.
➡️Next
The static tracks got me into looking for terrain editors next. And I eventually developed my own track editor years later.
Now, if you know Stunt Rally 😉, you can probably already start spotting something similar. Well the camera system is greatly based on this one. And particles like sparks and dust I developed then are nearly the same.
These are various demo projects done at work, using PhysX a realtime physics simulation engine. More or less the same features can be achieved using Bullet, is open source and IMO better. I did everything it offered then, e.g. rigid body, joints, cloth, fluid and car (tires) simulation.
📜History
I also implemented rag doll (for bodies) and water buoyancy areas. I had a demo with rag doll in water.
The job was very underpaid (also my first), but educational. Also good experience for my next job, since it used PhysX too.
In the next one I implemented sailboat dynamics and water buoyancy for objects, way simpler (for my taste), but at least fast. The algorithm was for a height based water and just used 2 points on each shape type to compute forces.
⏳Summary
So I learned and developed many things for game physics at the time. Definitely not all, e.g. no simulation or destruction/fracture, which got me interested. But I’d say I was a game physics programmer for few years.
The car simulation was very basic, I continued later on my own with car games.